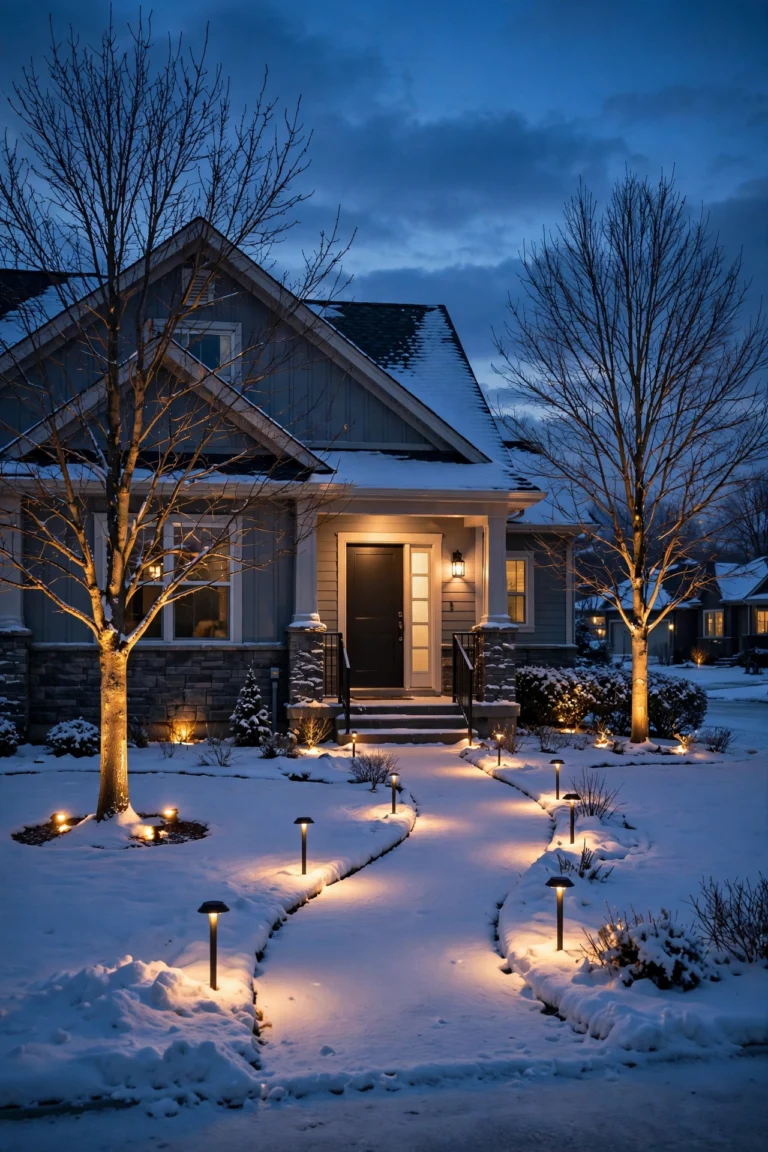
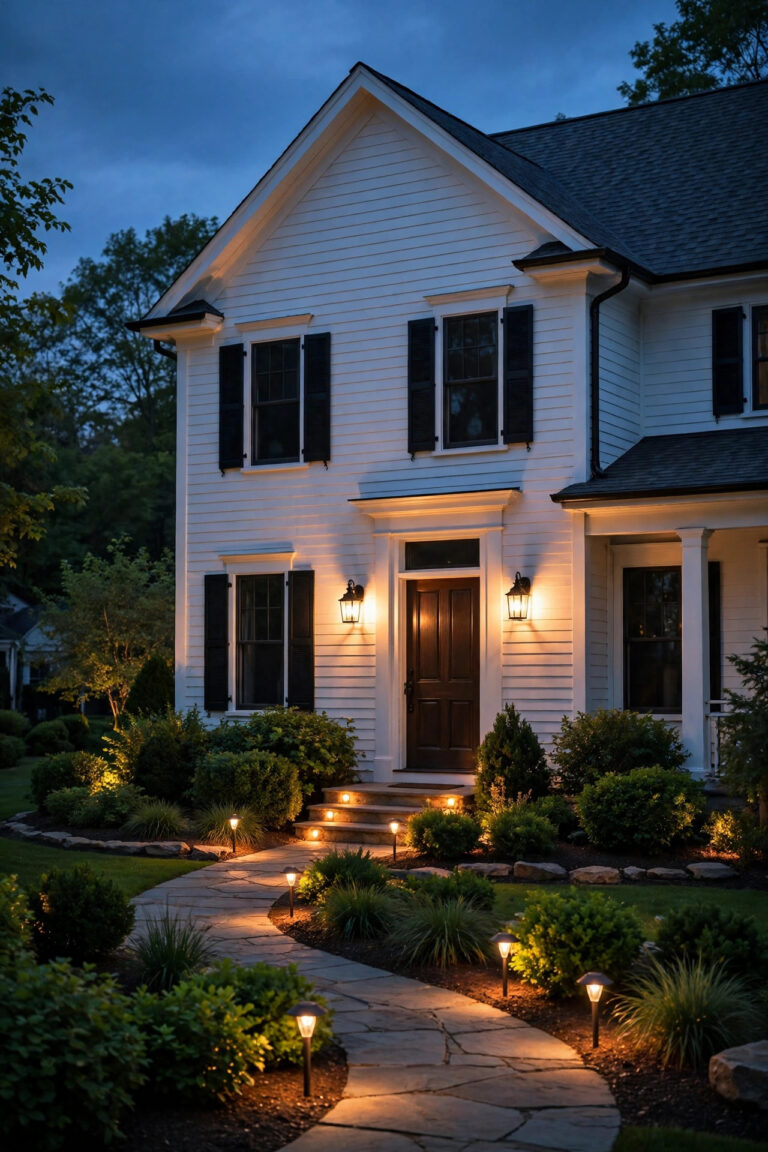
If you've ever stood at the hardware store staring at three spools of cable that all look identical, you're not alone — choosing a landscape lighting wire gauge is the most confusing step of a low-voltage install, and the one most people get wrong. Pick wire that's too thin and the lights at the far end of your run glow a sad, dim orange while the ones near the transformer blaze. Pick wire that's thicker than you need and you've overspent on copper. The good news: the choice isn't guesswork. It comes down to three numbers you already know — how many watts your lights draw, how far the cable runs, and which transformer tap you'll use. In this guide I'll walk you through what AWG means, the simple voltage drop math, my rules of thumb for 16, 14, and 12 gauge, and three real yard examples worked out step by step. By the end, you'll be able to size your cable in about two minutes — and your end-of-run lights will thank you.

The Short Answer
For most suburban yards, 14 AWG is the sweet spot: it comfortably handles runs up to about 100 feet with a typical LED load of 40–80 watts. Reach for 16 AWG only on short runs under 50 feet with light loads (under about 35 watts) — a few path lights near the transformer. Step up to 12 AWG for runs over 100 feet, loads above 100 watts, or any run where you want the last light to shine as brightly as the first. When in doubt, go one gauge thicker than the math says; copper is cheaper than re-trenching.
Why Wire Gauge Matters More Than You Think
Here's what nobody tells you when you buy a lighting kit: low-voltage systems are far more sensitive to wire size than the 120-volt wiring in your walls. Your transformer steps power down to 12 volts, which is wonderfully safe — you can bury the cable with a garden spade and never worry — but that low voltage comes with a trade-off. Electricity loses energy pushing through copper, and at 12 volts, losing even 2 volts means your fixtures are running on about 17 percent less power than they were designed for. At 120 volts, the same loss would be a rounding error.
With old halogen bulbs, undersized wire showed up as lights that got progressively dimmer and more yellow down the line. Modern LED fixtures are more forgiving — most are rated for a range like 10 to 15 volts — but they're not immune. Push the voltage too low and LEDs flicker, shift color, or drop out entirely, and the drivers inside them work harder and die younger. I've troubleshot "bad fixture" complaints that turned out to be perfectly good lights starving at the end of 150 feet of skinny 16-gauge cable.
The fix is baked in before you bury a single inch of wire: match the gauge to the job. That's what the rest of this guide is about, and once you see the pattern, you'll never size cable by vibes again.
AWG in Plain English: Smaller Number, Thicker Wire
AWG stands for American Wire Gauge, and it's backwards from what your intuition wants: the smaller the number, the thicker the wire. Sixteen gauge is the skinny stuff, 14 is medium, 12 is chunky, and 10 gauge (occasionally used for very long commercial runs) is thicker still. I remember it this way — the number counts how much the wire was stretched during manufacturing, so more stretching means a thinner strand. You don't need the history, just the rule: lower number, more copper, more capacity.
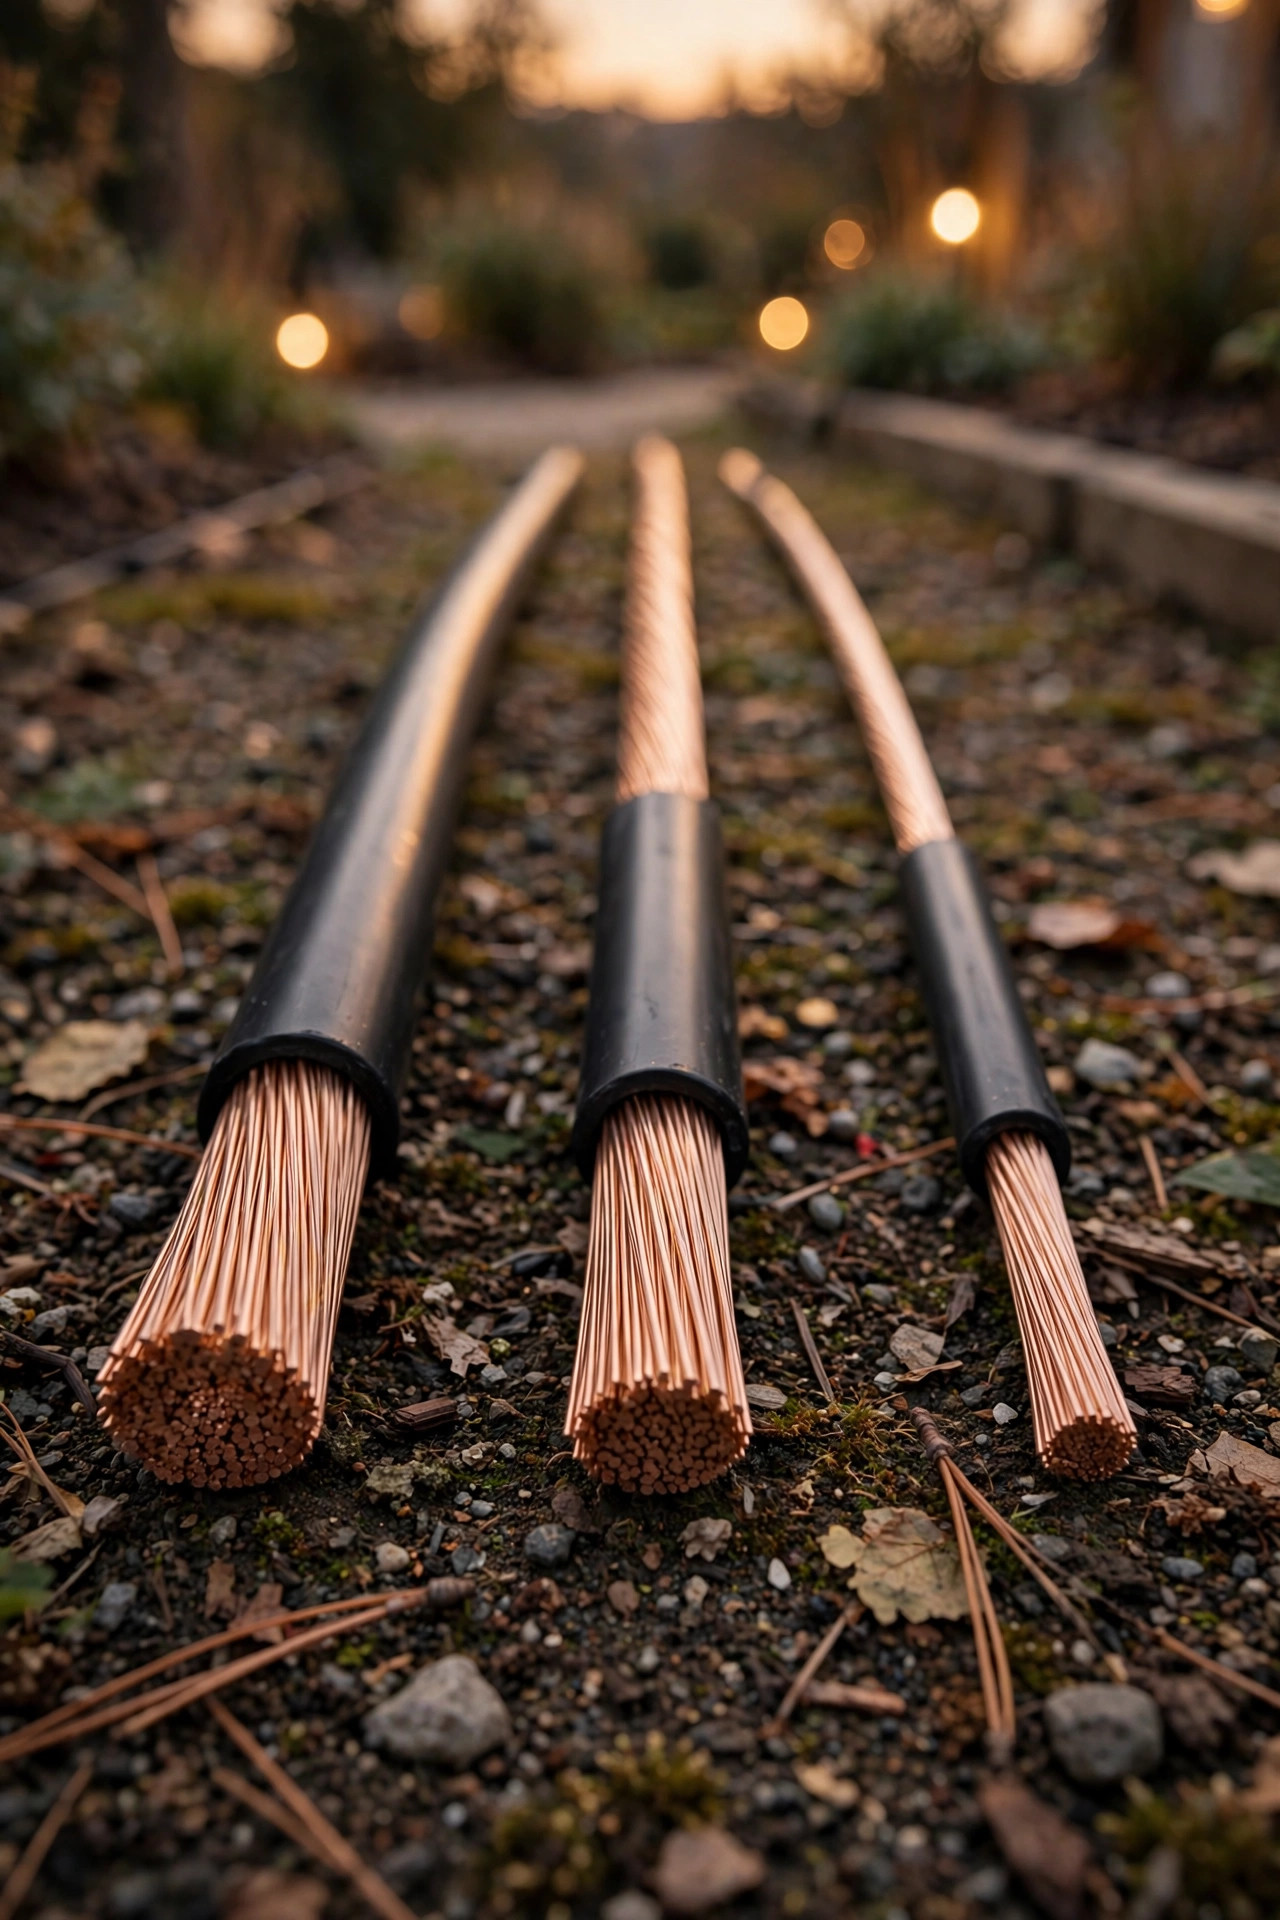
Landscape cable is sold as a two-conductor stranded wire, written as "12/2" or "14/2" — gauge first, then the two conductors. What matters electrically is each conductor's resistance, which is just how hard it fights the current flowing through it. Here are the numbers worth memorizing, in ohms per 1,000 feet of copper:
– 12 AWG: about 1.6 ohms per 1,000 feet
– 14 AWG: about 2.5 ohms per 1,000 feet
– 16 AWG: about 4.0 ohms per 1,000 feet
Notice the pattern: 16-gauge wire resists current about two and a half times as much as 12-gauge. That resistance is what eats your voltage on a long run, and it's the whole reason gauge selection exists. Thicker wire also costs more per foot — you're buying copper by the pound, essentially — which is why "just use 12 for everything" isn't the automatic answer either. The goal is the thinnest (cheapest) wire that still delivers healthy voltage to your last fixture.
Choosing a Landscape Lighting Wire Gauge Starts With Voltage Drop
Voltage drop is the voltage your cable loses along the way, and it's governed by three things: the wire's resistance (gauge), the length of the run, and the current flowing through it. Current is the one people forget. Your fixtures draw watts; the transformer delivers 12 volts; divide watts by volts and you get amps. A modest 48-watt LED system pulls 4 amps. An older 150-watt halogen setup pulls 12.5 amps — and current multiplies voltage drop, which is why halogen-era systems needed such fat cable.
Distance is sneaky, too, because the electricity makes a round trip: out on one conductor and back on the other. A fixture 80 feet from the transformer is really asking current to travel 160 feet of copper. That's why the standard formula doubles the length, as you'll see in the next section.
My working target: keep total voltage drop at or below about 1.5 volts, so the last fixture sees at least 10.5 volts from a 12-volt tap. Most quality LED landscape fixtures are rated 10–15 volts (some 9–17), so 10.5 keeps everything in the happy zone with margin for a cold night or a slightly long splice. If your transformer offers multiple taps — 12, 13, 14, 15 volts — you can also start higher to compensate, which I'll cover in the layout section.
The Voltage Drop Formula (Simpler Than It Looks)
Here's the only equation in this guide, and it's genuinely easy:
Voltage drop = (2 × run length in feet × amps × resistance per 1,000 ft) ÷ 1,000
And amps = total watts on the run ÷ 12.
Let me run one real example. Say you have eight LED path lights at 4 watts each — 32 watts total — on a run that ends 90 feet from the transformer. Amps = 32 ÷ 12 = 2.7 amps. Now try all three gauges over that 90-foot run:
– 16 AWG (4.0 Ω): 2 × 90 × 2.7 × 4.0 ÷ 1,000 = 1.9 volts dropped — the last light gets about 10.1 volts. Marginal.
– 14 AWG (2.5 Ω): 2 × 90 × 2.7 × 2.5 ÷ 1,000 = 1.2 volts dropped — last light sees 10.8 volts. Comfortable.
– 12 AWG (1.6 Ω): 2 × 90 × 2.7 × 1.6 ÷ 1,000 = 0.8 volts dropped — last light sees 11.2 volts. Excellent.
One honest caveat: this simple version assumes the whole load sits at the end of the run, which is the worst case. In real life your fixtures are spread along the cable, so each stretch of wire carries less current than the one before it, and the actual drop is noticeably less than the formula predicts. I like that — the math errs on the safe side. If the worst-case number passes, your real-world result will be better.
16 AWG: Short, Light-Duty Runs Only
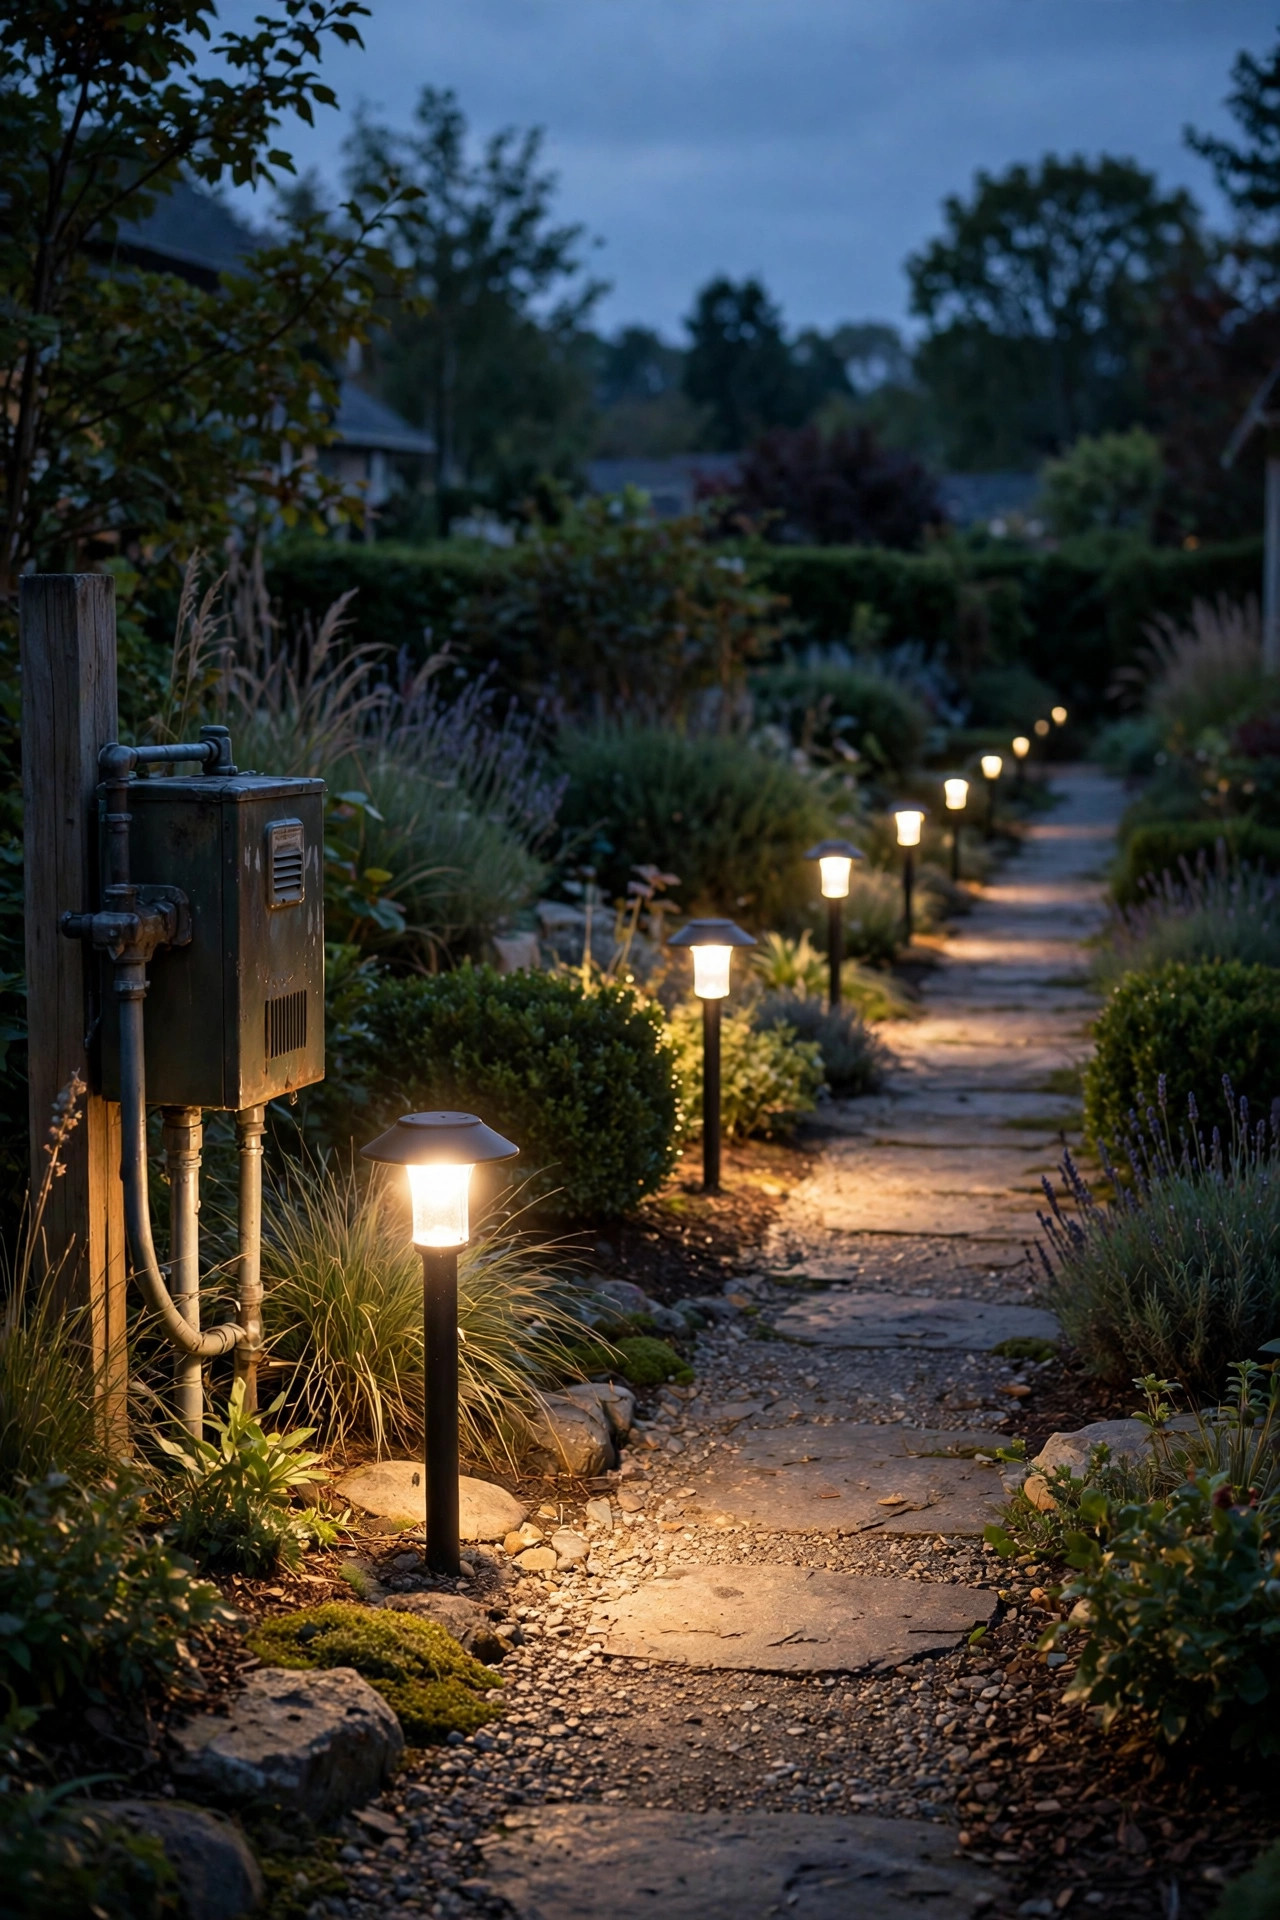
Sixteen gauge is the wire that comes in most big-box kits, and it's fine — within strict limits. I use it for short, light runs: under about 50 feet of cable and under roughly 35 watts of total load. Think four to six small LED path lights along a front walk close to the house, or a little accent run for two spotlights on a foundation shrub. In that territory, the math works: 35 watts is about 2.9 amps, and even at 50 feet the drop on 16 AWG is around 1.2 volts — acceptable.
Where 16 gauge gets people in trouble is ambition. It is not the wire for a backyard run, a long driveway, or anything you plan to expand later, and it was never meant to carry halogen loads. If there's any chance you'll add fixtures next spring — and in my experience there always is — skip 16 entirely and start with 14. The price difference on a 100-foot spool is maybe ten dollars, and re-pulling cable is a miserable Saturday.
One more legitimate use: short branch runs. If your main 12-gauge trunk passes near a small cluster of lights, a 15-foot 16-gauge branch off that trunk is perfectly sensible. The trunk does the heavy lifting; the branch barely drops anything.
14 AWG: The Workhorse for Most Yards
If I could only stock one spool in my garage, it would be 14/2. For the typical suburban LED system — 40 to 100 watts spread over runs of 60 to 100 feet — 14 gauge lands the last fixture right in the comfortable zone, and it does it at a friendly price. At 100 feet with a 60-watt load (5 amps), worst-case drop is 2 × 100 × 5 × 2.5 ÷ 1,000 = 2.5 volts, and since your fixtures are distributed along the run rather than stacked at the end, the real-world drop is closer to 1.3–1.5 volts. Pair that with a 13- or 14-volt transformer tap and every light sits happily between 11 and 13 volts.
Fourteen gauge is also just pleasant to work with: stiff enough to push through a slit trench, flexible enough to coil into a hub, and it fits standard gel-filled connectors without a fight. When I'm planning a system, 14 AWG is my default for every individual home run from the transformer, and I only deviate when the math in the next sections tells me to.
Its ceiling: once a run pushes past about 120 feet or the load climbs above roughly 120 watts, 14 gauge starts needing help — either a higher tap, a smarter layout, or a step up to 12.
12 AWG: Long Runs and Heavier Loads
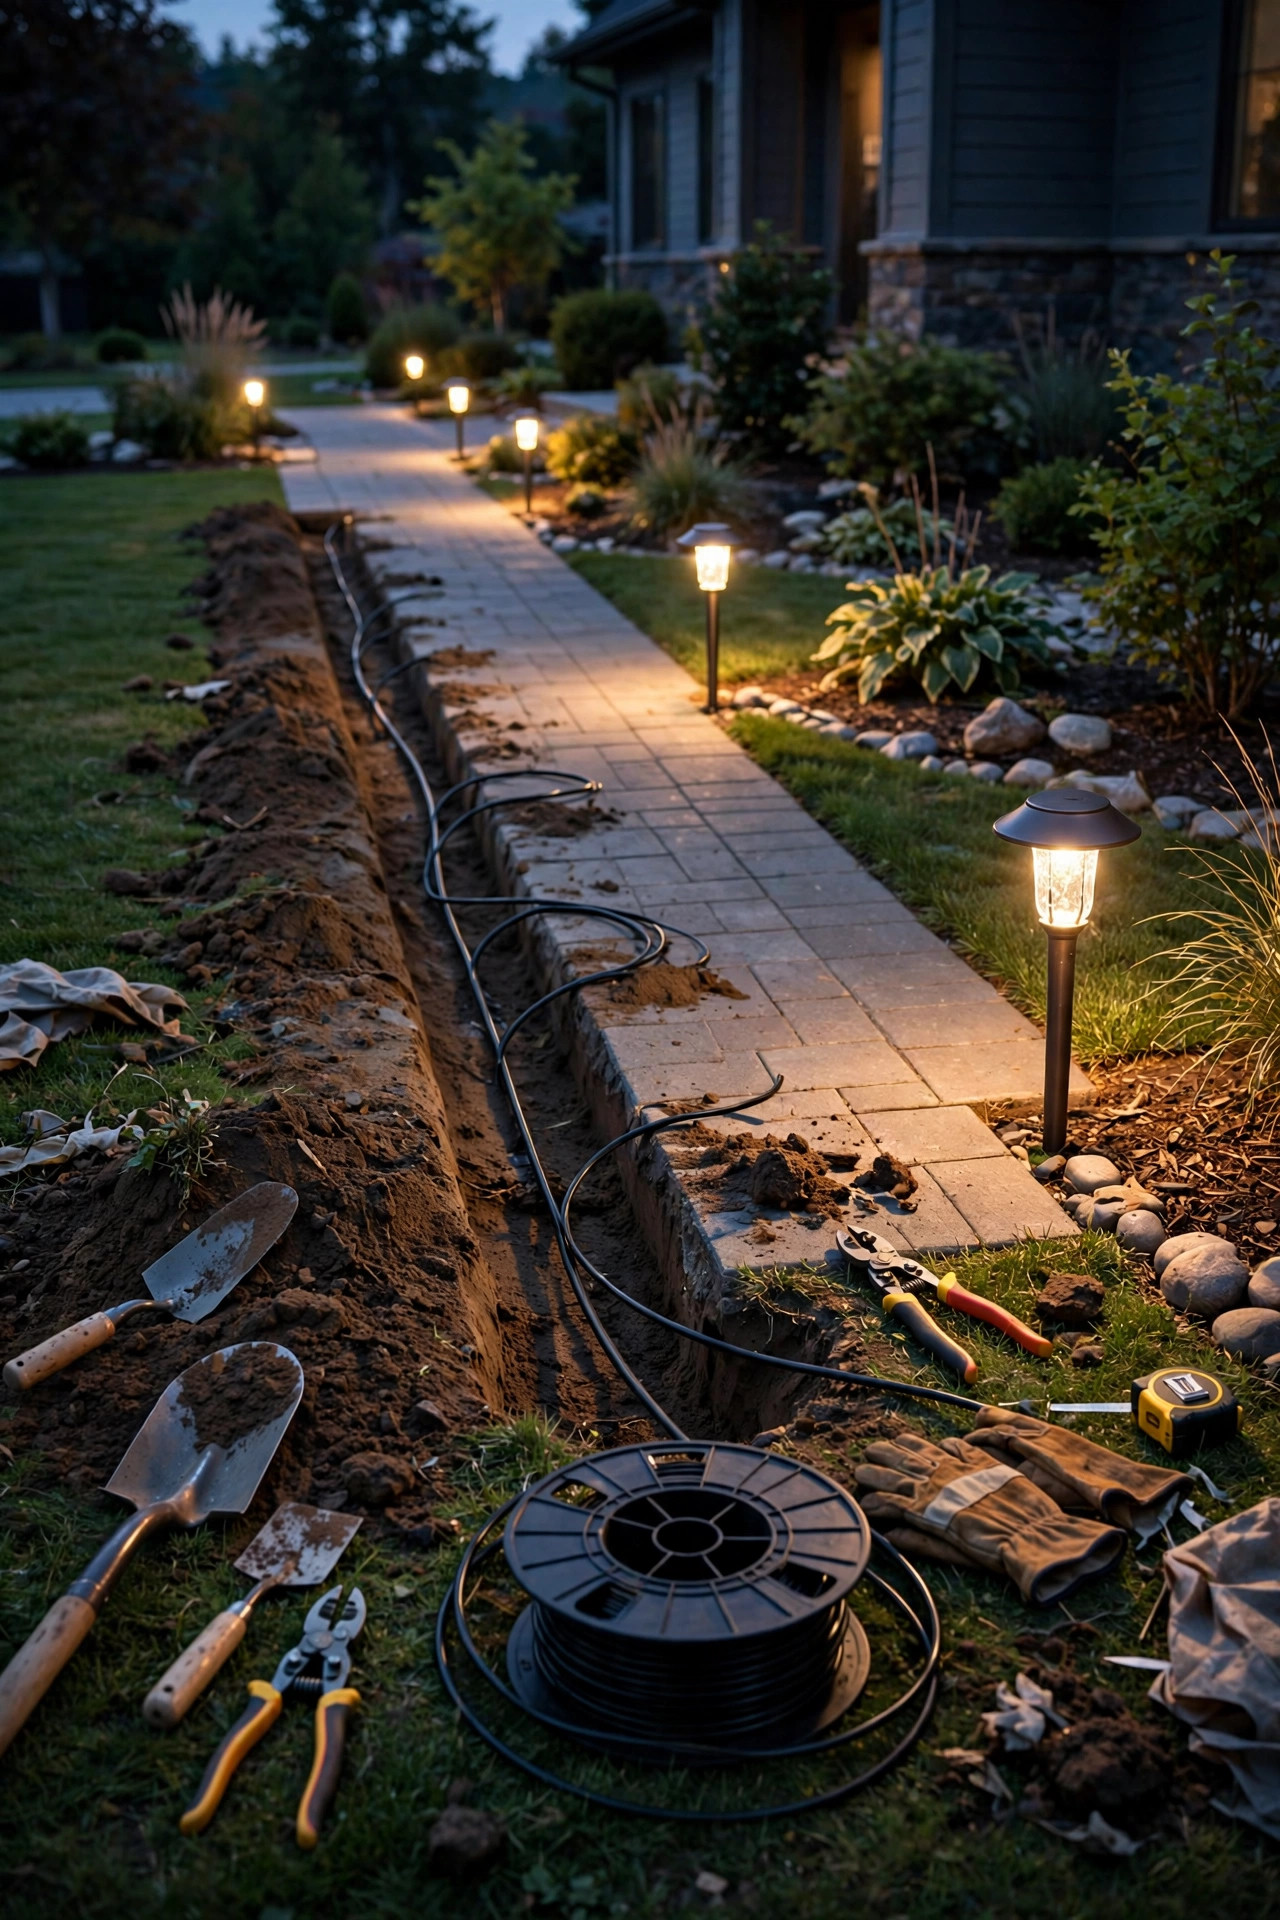
Twelve gauge is the problem-solver. With resistance of only about 1.6 ohms per 1,000 feet, it carries current roughly 60 percent more efficiently than 14 gauge, and that headroom buys you distance and wattage. I reach for 12 AWG in four situations: runs longer than about 100–120 feet, loads over 100–120 watts on a single run, properties where the transformer has to live far from the action (a big front yard, a detached garage), and any run feeding hungry fixtures like wide flood lights.
It's also my choice for a main trunk line in a hub layout — one fat cable carrying power out to a central junction, with shorter 14-gauge branches radiating to the fixtures. That architecture keeps the high-current portion of the journey on the fattest wire, which is exactly where it matters.
The trade-offs are real but modest: 12/2 costs noticeably more per foot, the spool is heavier, and the cable is a bit stiffer in a trench. None of that matters compared to the cost of digging up an undersized run. And here's a money-saving truth — on a long run, one spool of 12 AWG is often cheaper than the alternative of a second transformer, a new outlet, and the electrician to wire it.
Step-by-Step: Sizing Your Landscape Lighting Wire Gauge in Five Steps
When neighbors ask me to sanity-check their plan, this is the exact routine I run through. It takes two minutes with a phone calculator.
1. Add up the watts. List every fixture on the run and its wattage (LED wattage, not "equivalent" wattage). Eight 4-watt path lights plus two 7-watt spots = 46 watts.
2. Convert to amps. Divide total watts by 12. Forty-six watts ÷ 12 = 3.8 amps.
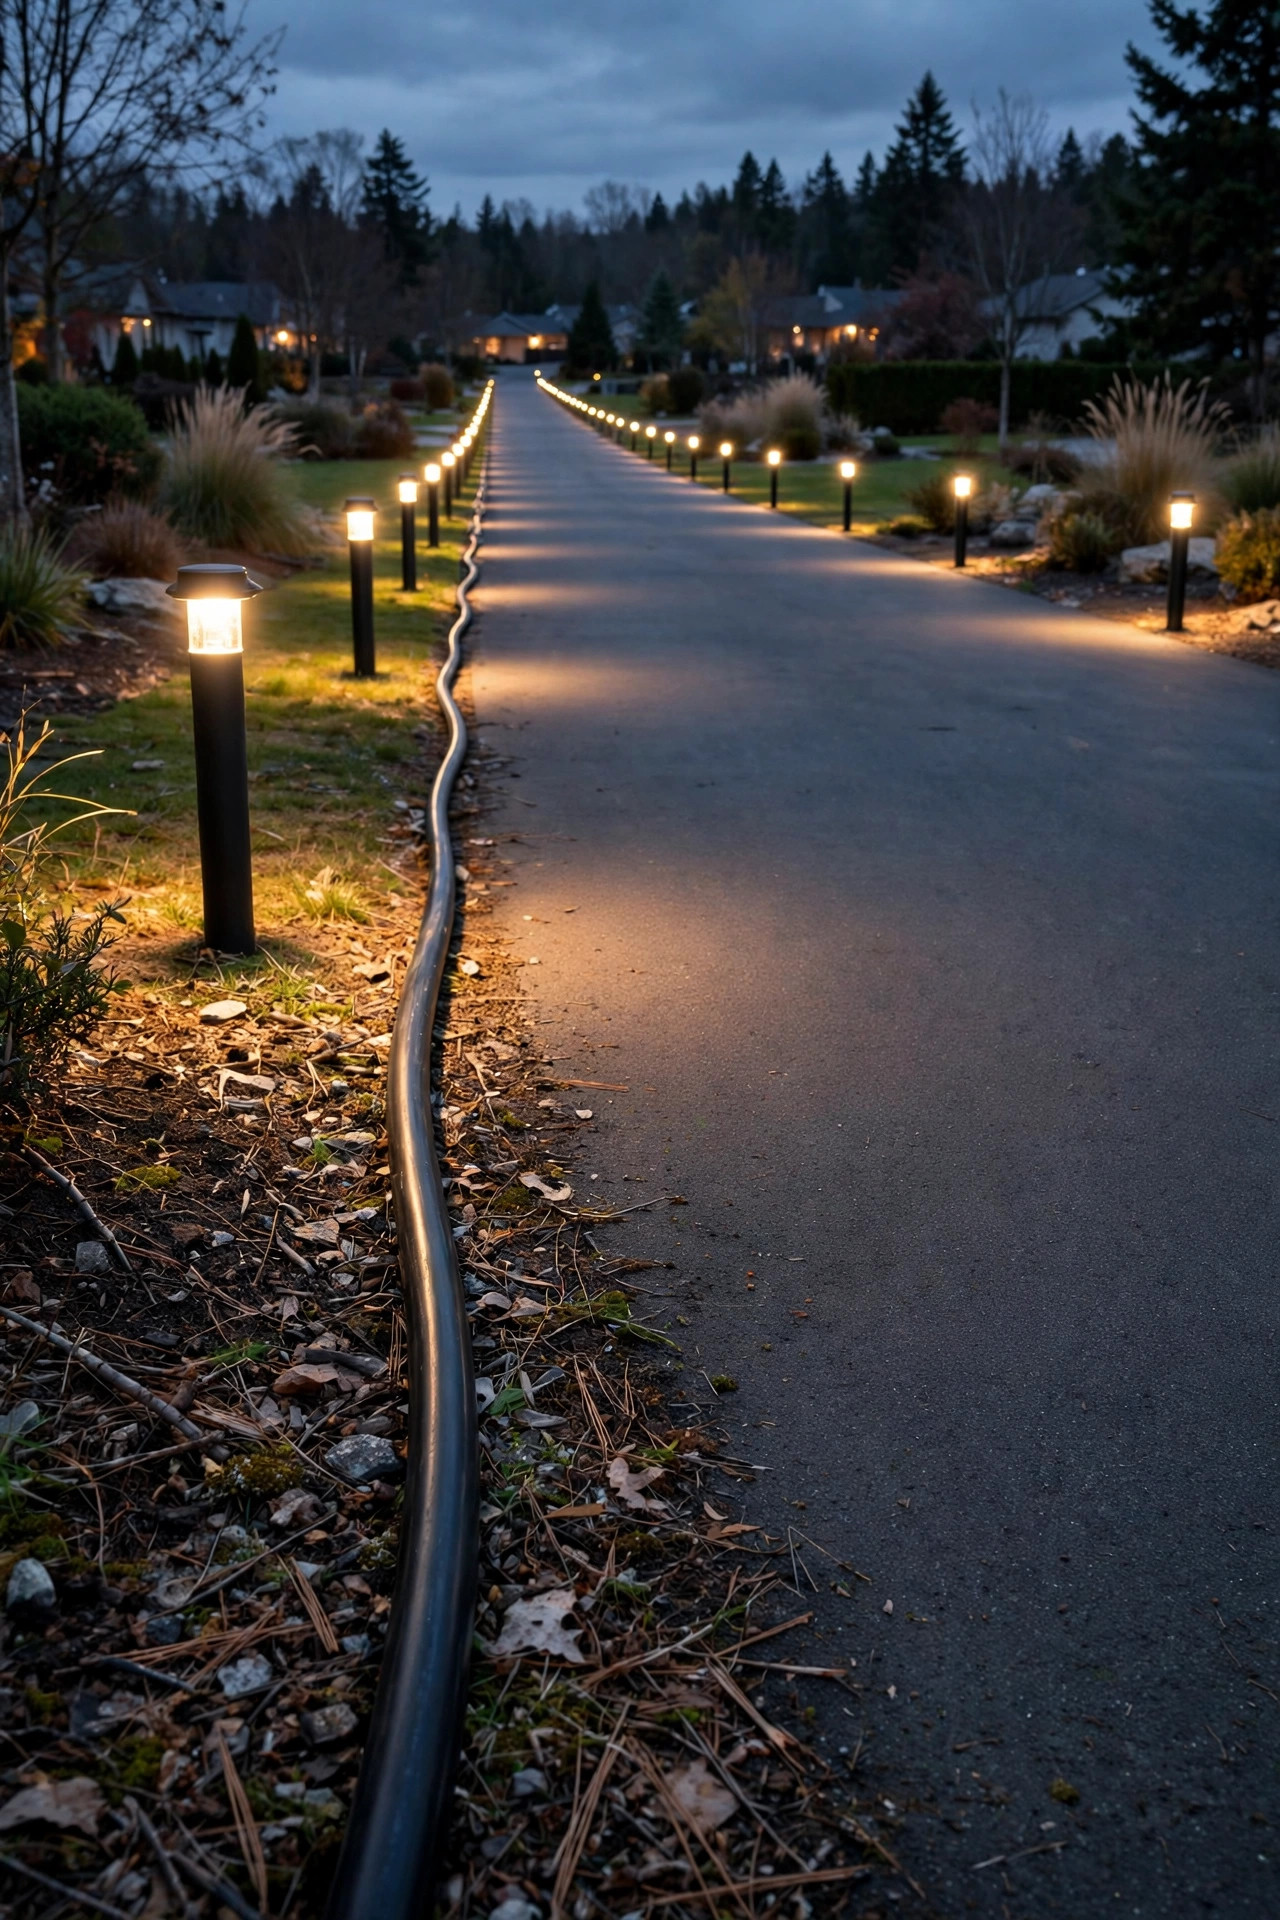
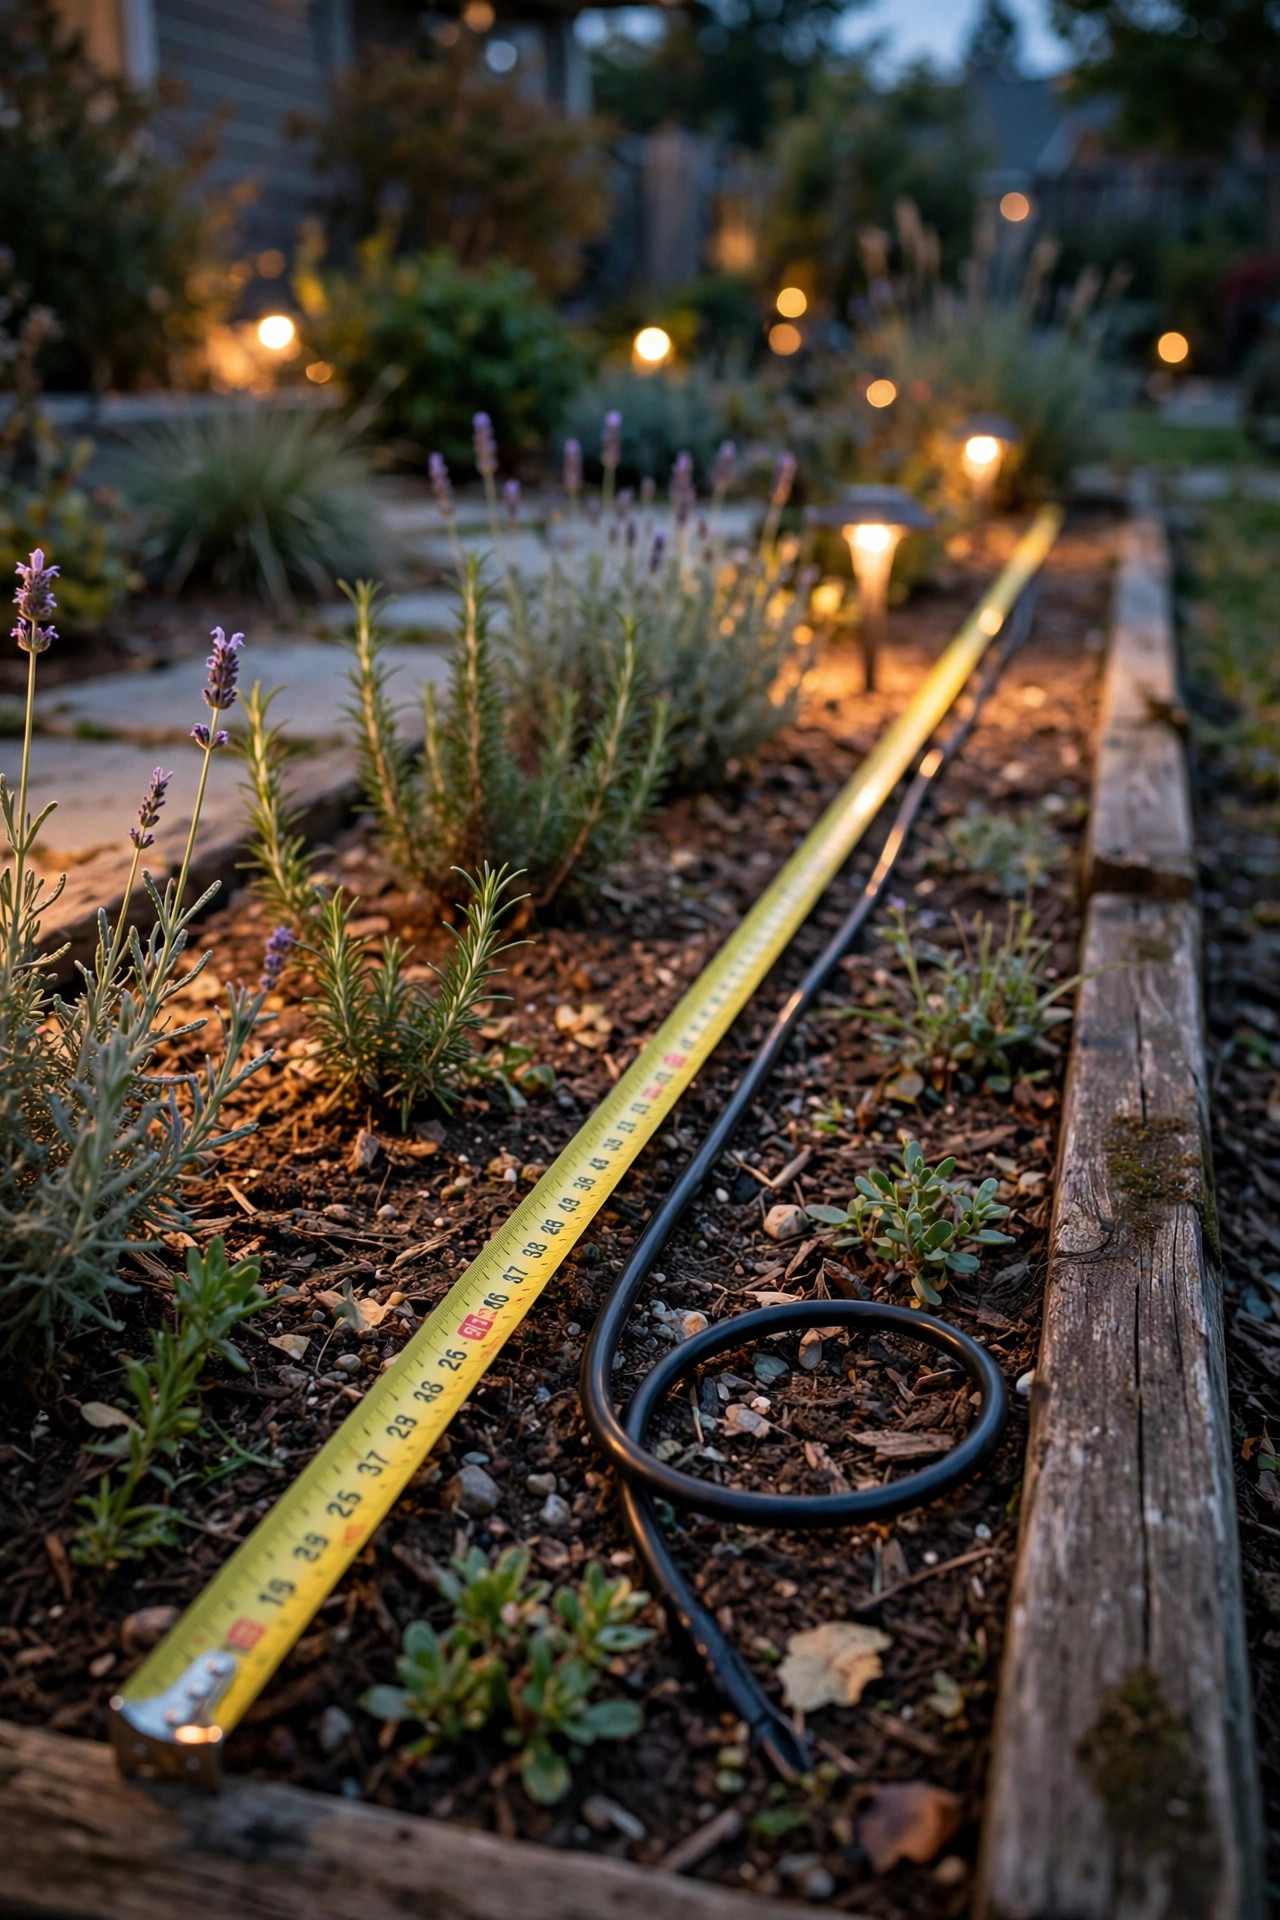
3. Measure the real run. Walk it with a tape or pacing, transformer to the farthest fixture, following the path the cable will actually take — around beds and patios, not as the crow flies. Add 10 percent for slack and routing.
4. Run the formula for each gauge. Voltage drop = (2 × feet × amps × resistance) ÷ 1,000, using 4.0 for 16 AWG, 2.5 for 14, and 1.6 for 12.
5. Pick the thinnest gauge that keeps drop at or under ~1.5 volts. If two gauges both pass, choose based on expansion plans: adding fixtures later argues for the thicker one.
Write your numbers on the spool with a marker before you bury anything. Future you, troubleshooting at dusk with a flashlight, will be grateful.
Three Worked Examples From Real Yards
Example 1 — The front walk (16 AWG passes). Five 3-watt LED path lights, 15 watts total, farthest light 38 feet from a transformer by the porch. Amps = 1.25. On 16 AWG: 2 × 38 × 1.25 × 4.0 ÷ 1,000 = 0.4 volts dropped. Even the kit wire is fine here — last light sees about 11.6 volts.
Example 2 — The typical backyard (14 AWG is right). Ten fixtures totaling 55 watts — path lights, two tree uplights, three deck accents — farthest point 95 feet. Amps = 4.6. On 14 AWG: 2 × 95 × 4.6 × 2.5 ÷ 1,000 = 2.2 volts worst case; with the load spread along the run, real drop lands around 1.2 volts. Use the transformer's 13-volt tap and every fixture sits between roughly 11 and 12 volts. On 16 AWG the worst case jumps to 3.5 volts — that's the sad-orange scenario. Fourteen it is.
Example 3 — The long driveway (12 AWG earns its keep). Eight 8-watt bollards, 64 watts, farthest bollard 170 feet down the drive. Amps = 5.3. Fourteen gauge: 2 × 170 × 5.3 × 2.5 ÷ 1,000 = 4.5 volts — hopeless. Twelve gauge: 2 × 170 × 5.3 × 1.6 ÷ 1,000 = 2.9 volts worst case, about 1.5 real-world, and feeding it from the 14-volt tap keeps every bollard in range. Alternatively, a center-fed layout on 12 gauge would cut it further, which brings us to layouts.
Layout Tricks That Let You Use Thinner Wire
Gauge is only one lever; layout is the other, and it's free. The worst design is a single daisy chain where every amp travels the full length of cable. A few smarter patterns:
– Home runs: Give each zone its own cable back to the transformer. Three 60-foot runs on 14 AWG beat one 180-foot run on anything.
– The hub method: Run one thick trunk (12 AWG) to a central junction, then branch short 14-gauge legs to clusters of fixtures. My favorite for backyards, and it pairs beautifully with a thought-out low-voltage landscape lighting design.
– Center feeding: Land the transformer connection in the middle of a run instead of the end. Two 60-foot halves drop a fraction of what one 120-foot run does.
– The loop: Connect both ends of a run back to the transformer, forming a ring. Current flows both ways, loads balance, and drop falls dramatically. Just keep polarity consistent — it's low voltage, so this is forgiving, but neatness helps troubleshooting.
– Multi-tap transformers: If your transformer offers 12/13/14/15-volt taps, a longer run on the 14-volt tap can perform like a shorter run — you're pre-paying the drop at the source. Never use a higher tap to rescue a run that's wildly undersized, though; the first fixtures then get over-voltaged while the last ones barely make it. Balance matters more than brute force.

What Landscape Lighting Wire Costs in 2026
Copper prices wander, but here are the honest 2026 ranges I see for direct-burial, sunlight-resistant low-voltage cable, sold as 2-conductor spools:
– 16/2: roughly $0.25–$0.35 per foot — about $25–$40 for 100 feet, $55–$85 for 250 feet.
– 14/2: roughly $0.35–$0.50 per foot — about $35–$55 for 100 feet, $80–$120 for 250 feet.
– 12/2: roughly $0.50–$0.70 per foot — about $50–$80 for 100 feet, $110–$170 for 250 feet.
Stepping from 14 to 12 on a 150-foot run typically adds $25–$40 to the project — against a total system cost of several hundred dollars, that's cheap insurance. Budget a few dollars more for gel-filled waterproof connectors ($1–$3 each; buy extras, you'll drop one in the mulch, ask me how I know). For a fuller picture of what an entire system runs, my breakdown of landscape lighting costs in 2026 covers fixtures, transformers, and installation line by line.

Buy the spool length you need plus 15 percent. Running out at 7 p.m. with 20 feet to go is a special kind of heartbreak, and cable splices buried mid-run are future failure points you're choosing on purpose. One buying tip from years of watching prices: landscape cable goes on genuine sale in late fall, when retailers clear outdoor electrical for the season. Copper doesn't care what month you bury it, so stocking a spool in November for a spring project is easy money saved.
5 Mistakes That Starve Your Lights
Every dim-yard problem I've ever helped troubleshoot traced back to one of these five — and every one of them is free to avoid, as long as you catch it before the trench closes.
1. Trusting the kit wire. The thin cable bundled with cheap fixture sets is sized for the showroom, not your yard. Do the two-minute math before you bury it. Quick tell: if the spool doesn't list resistance per 1,000 feet anywhere, that's the manufacturer answering the quality question for you.
2. Measuring as the crow flies. Cable goes around the patio, under the walk, and along the bed edge. Straight-line measurements undercount by 20 percent easily, and voltage drop bills you for every real foot.
3. Planning for today's load only. Three extra fixtures next year can push a marginal run over the edge. Size for the system you'll have, not the one in the cart — I plan every run with about 30 percent of load headroom to spare.
4. Mixing halogen math with LED hopes. One leftover 20-watt halogen draws like five LED fixtures. Convert everything to LED first, then size the wire.
5. Burying first, calculating later. Once it's under the mulch and the sod heals, nobody re-digs. A $60 spool upgrade is painless; a re-trench never is.
Safety and Code Basics for Low-Voltage Cable
The beauty of 12-volt systems is that they're genuinely DIY-friendly: the cable can't shock you, and in most jurisdictions low-voltage landscape wiring (under 30 volts, from a listed transformer) doesn't need a permit or conduit. A few ground rules I never skip:
– Bury it properly. The common standard is about 6 inches deep for low-voltage cable — enough to survive aerators and edging, shallow enough to find later. Where the cable crosses under a walkway or driveway, sleeve it in a scrap of PVC conduit for protection. My guide to hiding landscape lighting wires covers trench tricks that keep cable invisible and safe.
– Protect the 120-volt side. The transformer plugs into a GFCI-protected outdoor outlet with an in-use cover. That's the only part of the system that can hurt anyone, so treat it with respect.
– Use the right cable. Buy wire actually rated for direct burial and sunlight resistance (often marked UF or "low-voltage landscape cable"). Indoor lamp cord underground is a two-season mistake.
– Seal every connection. Gel-filled or silicone-filled waterproof connectors only — never bare wire nuts underground. Corrosion at a splice causes more dim-light mysteries than gauge ever will.
– Call before you dig. Even for a 6-inch trench, a free 811 call marks the buried utilities you really don't want to meet.
Frequently Asked Questions
Can I mix wire gauges in one landscape lighting system?
Yes, and it's often the smart play. Use 12 AWG for the long trunk run and 14 AWG for shorter branches off it — the current on each branch is smaller, so thinner wire drops less there. Just size every segment for the load it actually carries, and avoid the reverse (thin trunk, thick branches), which helps nothing.
Is 12 gauge wire overkill for landscape lighting?
Sometimes. On a 40-foot run with a handful of LED path lights, 12 AWG buys you nothing measurable over 14 — the drop on either is a fraction of a volt. It earns its price on runs past roughly 100 feet, loads over 100 watts, and trunk lines. Everywhere else, spend the difference on better fixtures.
Can I use leftover house wire or speaker wire for landscape lighting?
Please don't. Indoor wire and speaker cable aren't rated for direct burial or UV exposure; the insulation degrades underground, resistance climbs, and connections corrode. Proper low-voltage landscape cable is inexpensive and made for exactly this — stranded copper, thick sunlight-resistant jacket, easy to strip. It's one of the cheapest parts of the whole system.
How do I know if my existing wire is too thin?
Walk your yard at night: if the fixtures farthest from the transformer are visibly dimmer or warmer in color than the nearest ones, that's voltage drop talking. A cheap multimeter confirms it — measure voltage at the first and last fixture while the system is on. A difference of more than about 1.5–2 volts means the run is undersized, overloaded, or suffering a corroded connection. And no, a bigger transformer won't fix it — capacity is about total watts, but gauge decides how much of that power arrives as useful voltage, which is why the two choices should always be made together.
Conclusion
Choosing a landscape lighting wire gauge really comes down to one habit: do the two-minute math before the cable goes in the ground. Add the watts, divide by 12 for amps, measure the honest length of the run, and check the drop for each gauge. Sixteen for short and light, 14 for the great majority of yards, 12 for the long and the loaded — and a smart layout can rescue a borderline case better than brute copper. Get this unglamorous detail right and everything downstream gets easier: even brightness, happy LEDs, and a yard that glows the way you pictured it on the first try. If you're planning the rest of your system, browse the lighting guides and ideas here for fixture picks, layouts, and seasonal inspiration — and measure twice, trench once.