Your mailbox is the very first thing anyone sees when they pull up to your home — guests, delivery drivers, the neighbor walking her dog at dusk — and honestly? Most of us leave it sitting in total darkness. That's a missed opportunity, because the right mailbox lighting ideas can turn that plain post at the curb into a little beacon that makes the whole front yard feel finished. I always think of outdoor lighting in layers: a soft glow on the box itself, something that lights the ground around it, and numbers people can actually read after dark. In this post I'm sharing 17 ways to get that layered look, from a $12 solar cap you can pop on in five minutes to a built-in stone pillar fixture that looks like it came with the house. Every idea is renter-of-a-post friendly, weatherproof, and kind to your electric bill.
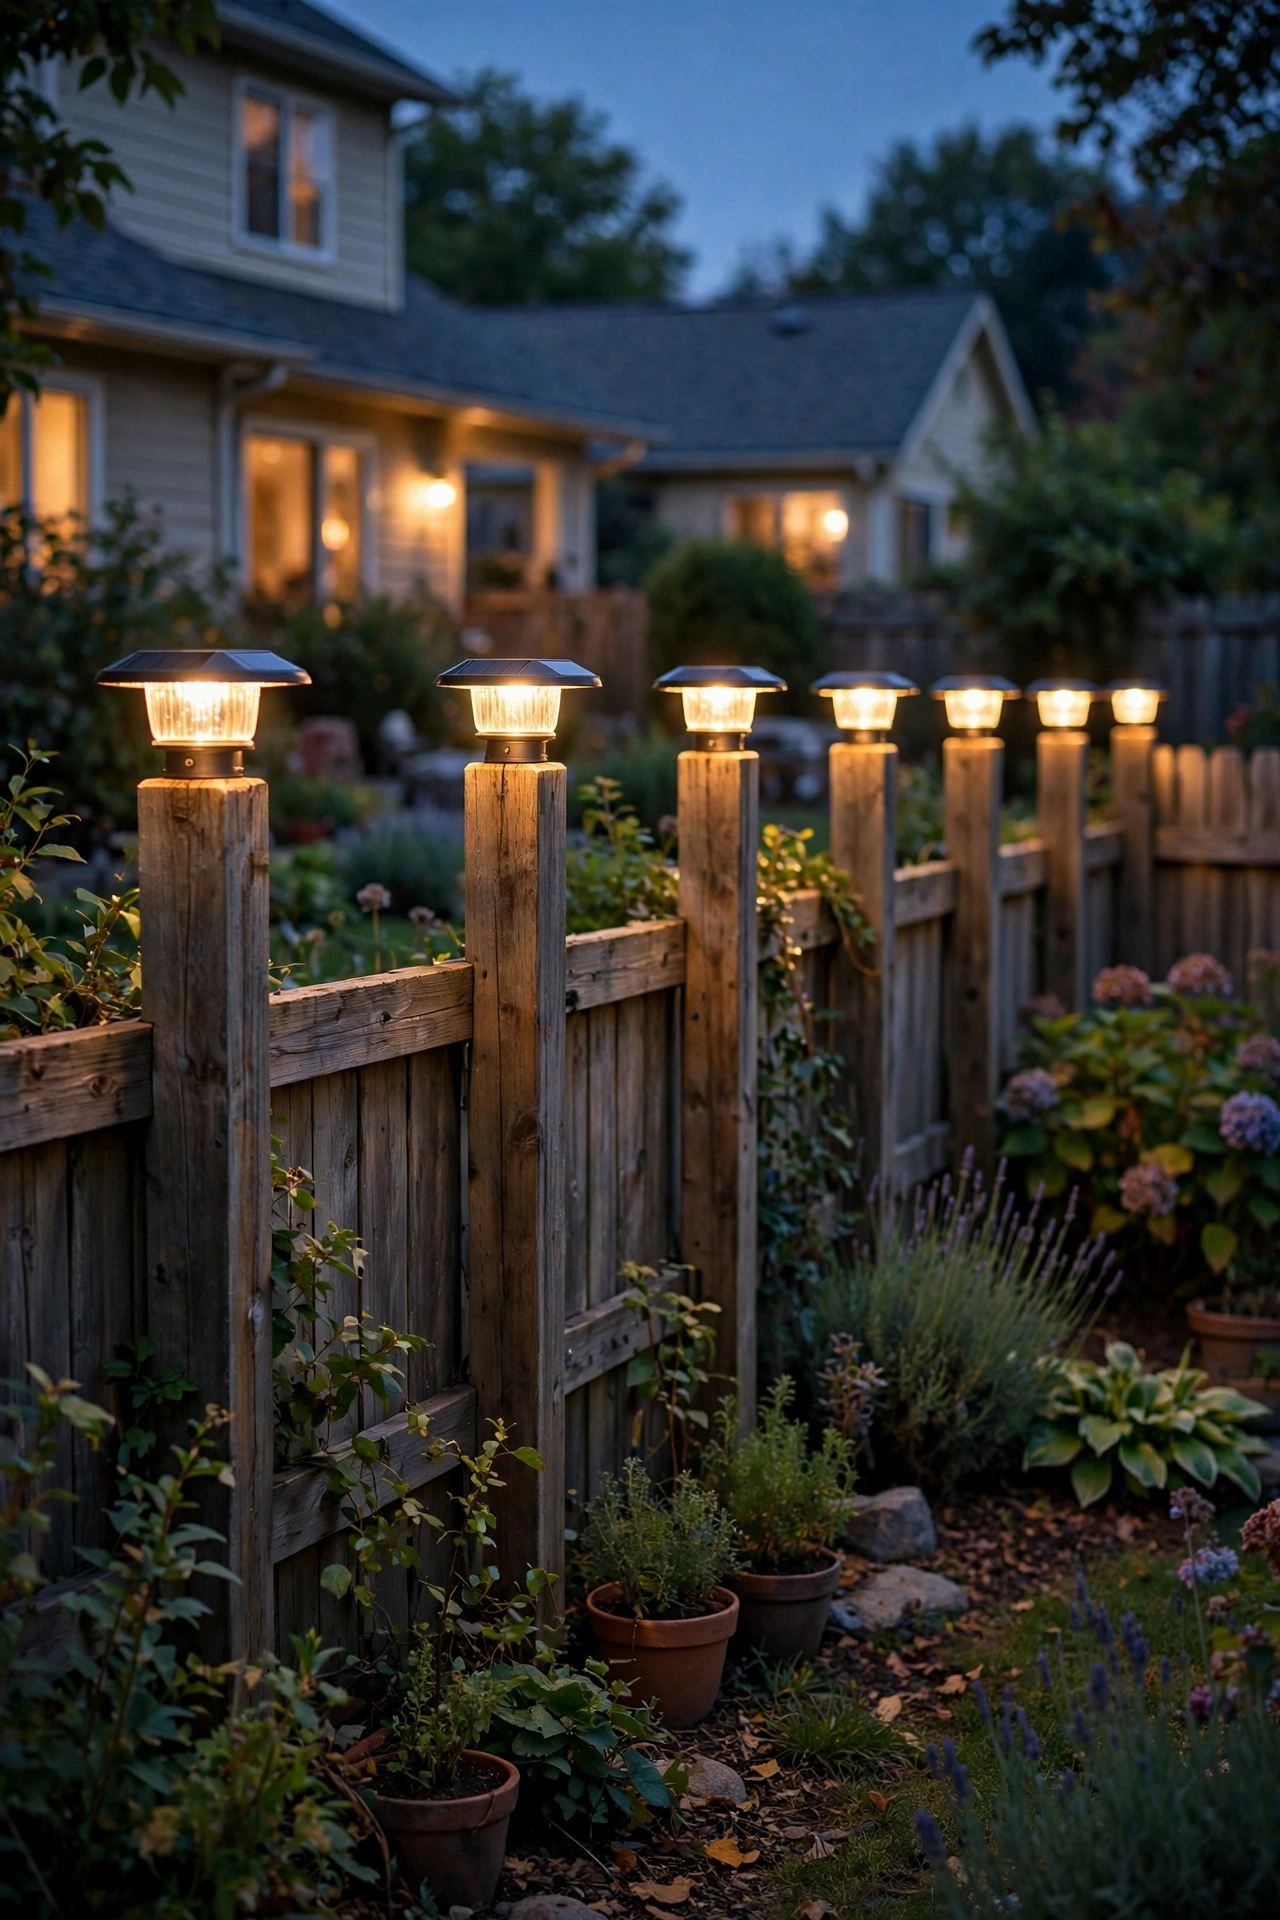
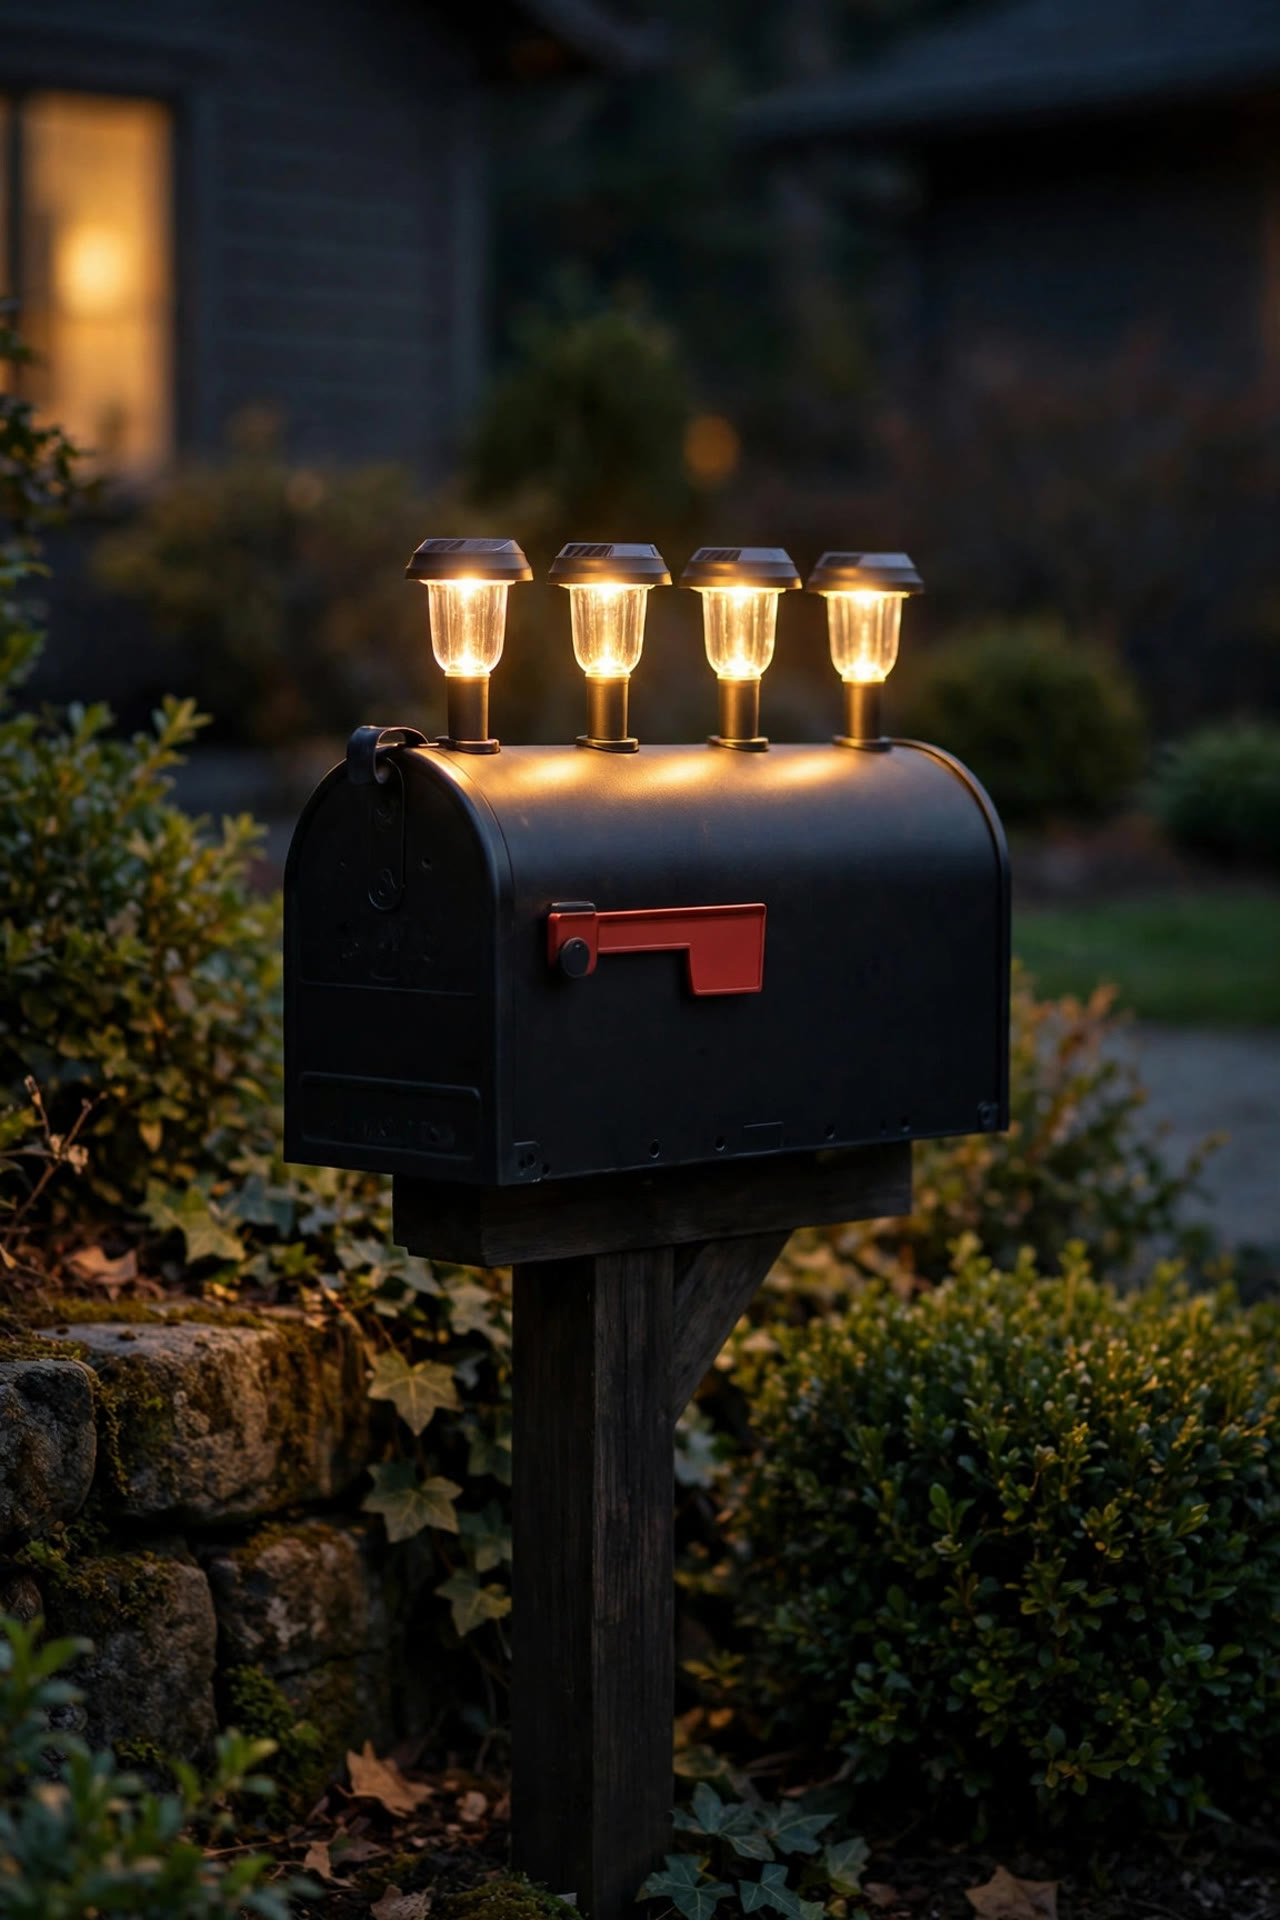
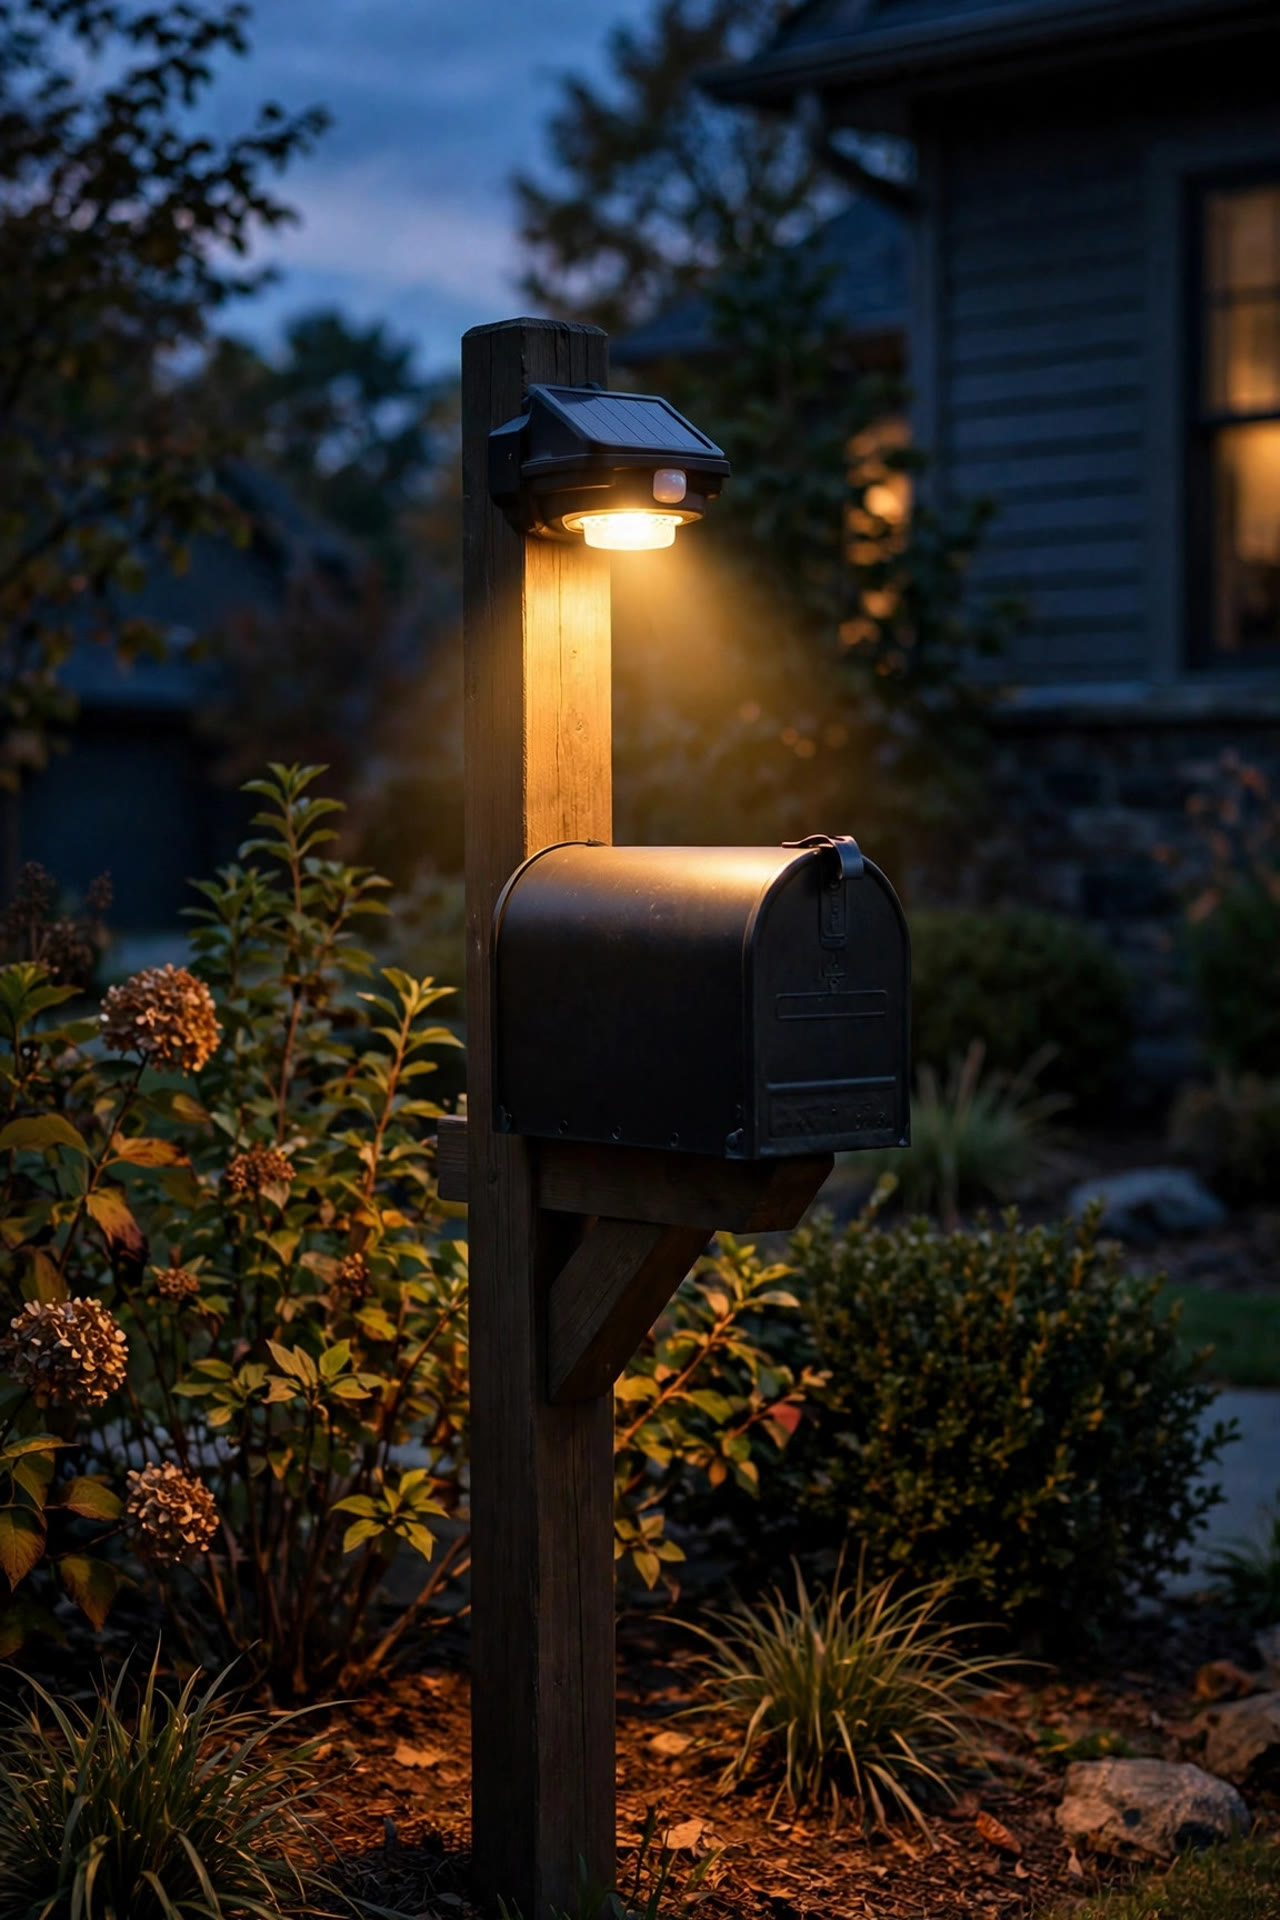
1. Pop a Solar Cap Light Right on Top of the Post
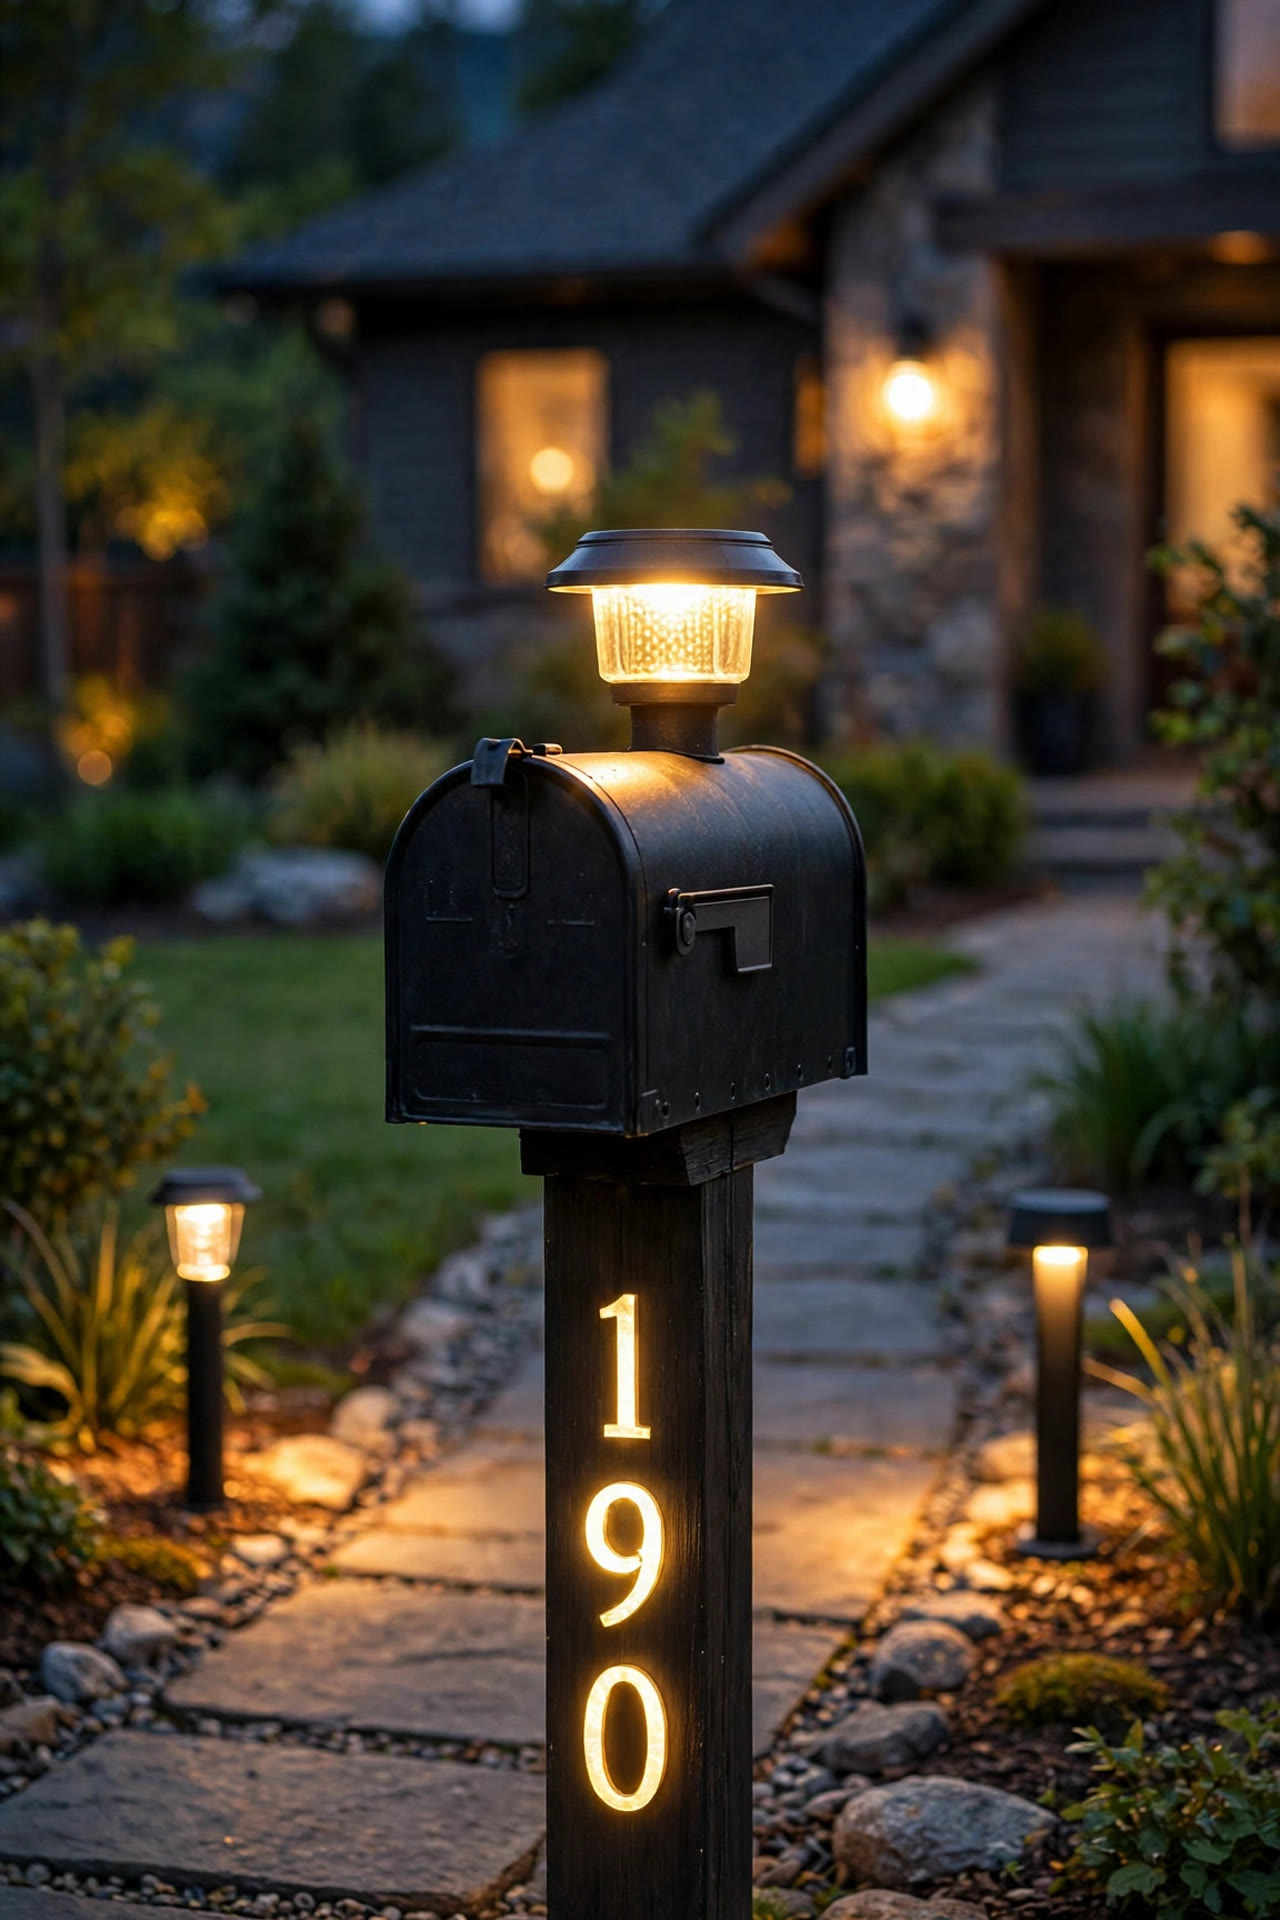
If you do nothing else on this list, do this one. Solar post cap lights are made to sit on top of a standard 4×4 or 6×6 wooden post, and most mailbox posts are exactly that. You just set the cap on, drive in the two little screws, and you're done — no wiring, no transformer, no digging. The built-in solar panel charges all day and a warm-white LED (look for 2700–3000K so it glows golden, not blue) switches on automatically at dusk. In my experience, the caps with a frosted lens look far more expensive than the clear-lens ones because the light diffuses instead of glaring. Measure your post before you order, because a 4×4 cap on a 6×6 post looks goofy and wobbles. Give the panel a wipe every few weeks — pollen and road dust cut the charge noticeably. Most run 6–8 hours on a full charge, which covers the evening hours when people are actually finding your house.
Suggested budget range: $12 – $30.
2. Mount a Small Lantern Fixture on the Post
For a look with a little more presence, swap the plain post top for a small outdoor lantern mounted on a short bracket or flat cap. This is the classic coach-light look, scaled down, and it makes a mailbox feel like a deliberate design feature instead of an afterthought. Low-voltage lanterns are my pick here: you run a slim cable from your existing landscape lighting transformer, bury it 6 inches deep along the bed edge, and tap in. If you don't have a transformer yet, a battery-powered lantern with a dusk-to-dawn sensor is a perfectly good stand-in. Choose a fixture rated for wet locations (it sits fully exposed to rain, unlike a porch light under a roof), and keep the bulb modest — 200–400 lumens is plenty at the curb. Anything brighter starts to glare into drivers' eyes, which is the opposite of welcoming. A seeded or frosted glass panel hides the bulb and gives you that soft, storybook glow.
Suggested budget range: $35 – $90.

3. Backlight Your House Numbers So They Glow
Readable house numbers are half the reason to light a mailbox at all — ask any delivery driver circling a dark street at 8 p.m. A backlit number plaque mounts on the post or the side of the box, and a hidden LED strip behind it washes the wall of the plaque with light so the numbers read as crisp silhouettes. Solar versions charge from a small remote panel you angle toward the sun; wired low-voltage versions are steadier in winter. Mount the plaque on the side of the post that faces oncoming traffic from the direction most visitors approach, and if your street gets traffic from both ways, put numbers on both sides — it's cheap insurance against missed packages. Keep the numbers at least 4 inches tall; that's the size most fire and EMS guidance recommends for visibility from the street. Honestly, this is one of those upgrades that feels invisible until the first time a guest says, "Your house was so easy to find."
Suggested budget range: $25 – $70.

4. Try Solar Number Lights That Stick On in Minutes
Not ready for a full plaque? Individual solar house numbers are the five-minute version of the same idea. Each digit is its own little solar light — you peel, stick or screw it onto the box or post, and by the first evening the numbers are glowing on their own. They work best on a flat mounting surface, so if your post is rough-sawn timber, screw on a small smooth mounting board first and attach the numbers to that. Space the digits evenly with painter's tape before you commit; crooked glowing numbers are worse than no numbers. One honest caution: the adhesive pads that come in the box rarely survive a full summer of heat, so use the screw holes if they're offered, or add a dab of outdoor construction adhesive. In my experience these last two to three seasons before the batteries fade, which at this price is a fair trade. They're also a lovely low-commitment way to test whether you like lit numbers before investing in a wired plaque.
Suggested budget range: $15 – $35.
5. Flank the Mailbox with a Pair of Path Lights
A mailbox floating alone in a dark yard looks stranded; a pair of path lights either side of it makes it look placed. This is the layering trick I use everywhere — it works on walkways and it absolutely works at the curb. Set one light 12–18 inches to each side of the post, slightly in front of it, so the beams pool on the ground and graze the post without shining straight up into the box. Solar stakes are the easy route (my solar path lights guide breaks down which ones are actually worth buying), and they mean zero trenching near the road, where buried utilities like to hide. Match the finish to your mailbox hardware — black with black, bronze with bronze — and keep the color temperature consistent at warm white. Odd numbers rule doesn't apply here; symmetry is the whole point. Two lights, same height, same distance. It's a small thing, but it's the difference between "lit" and "designed."
Suggested budget range: $20 – $60.

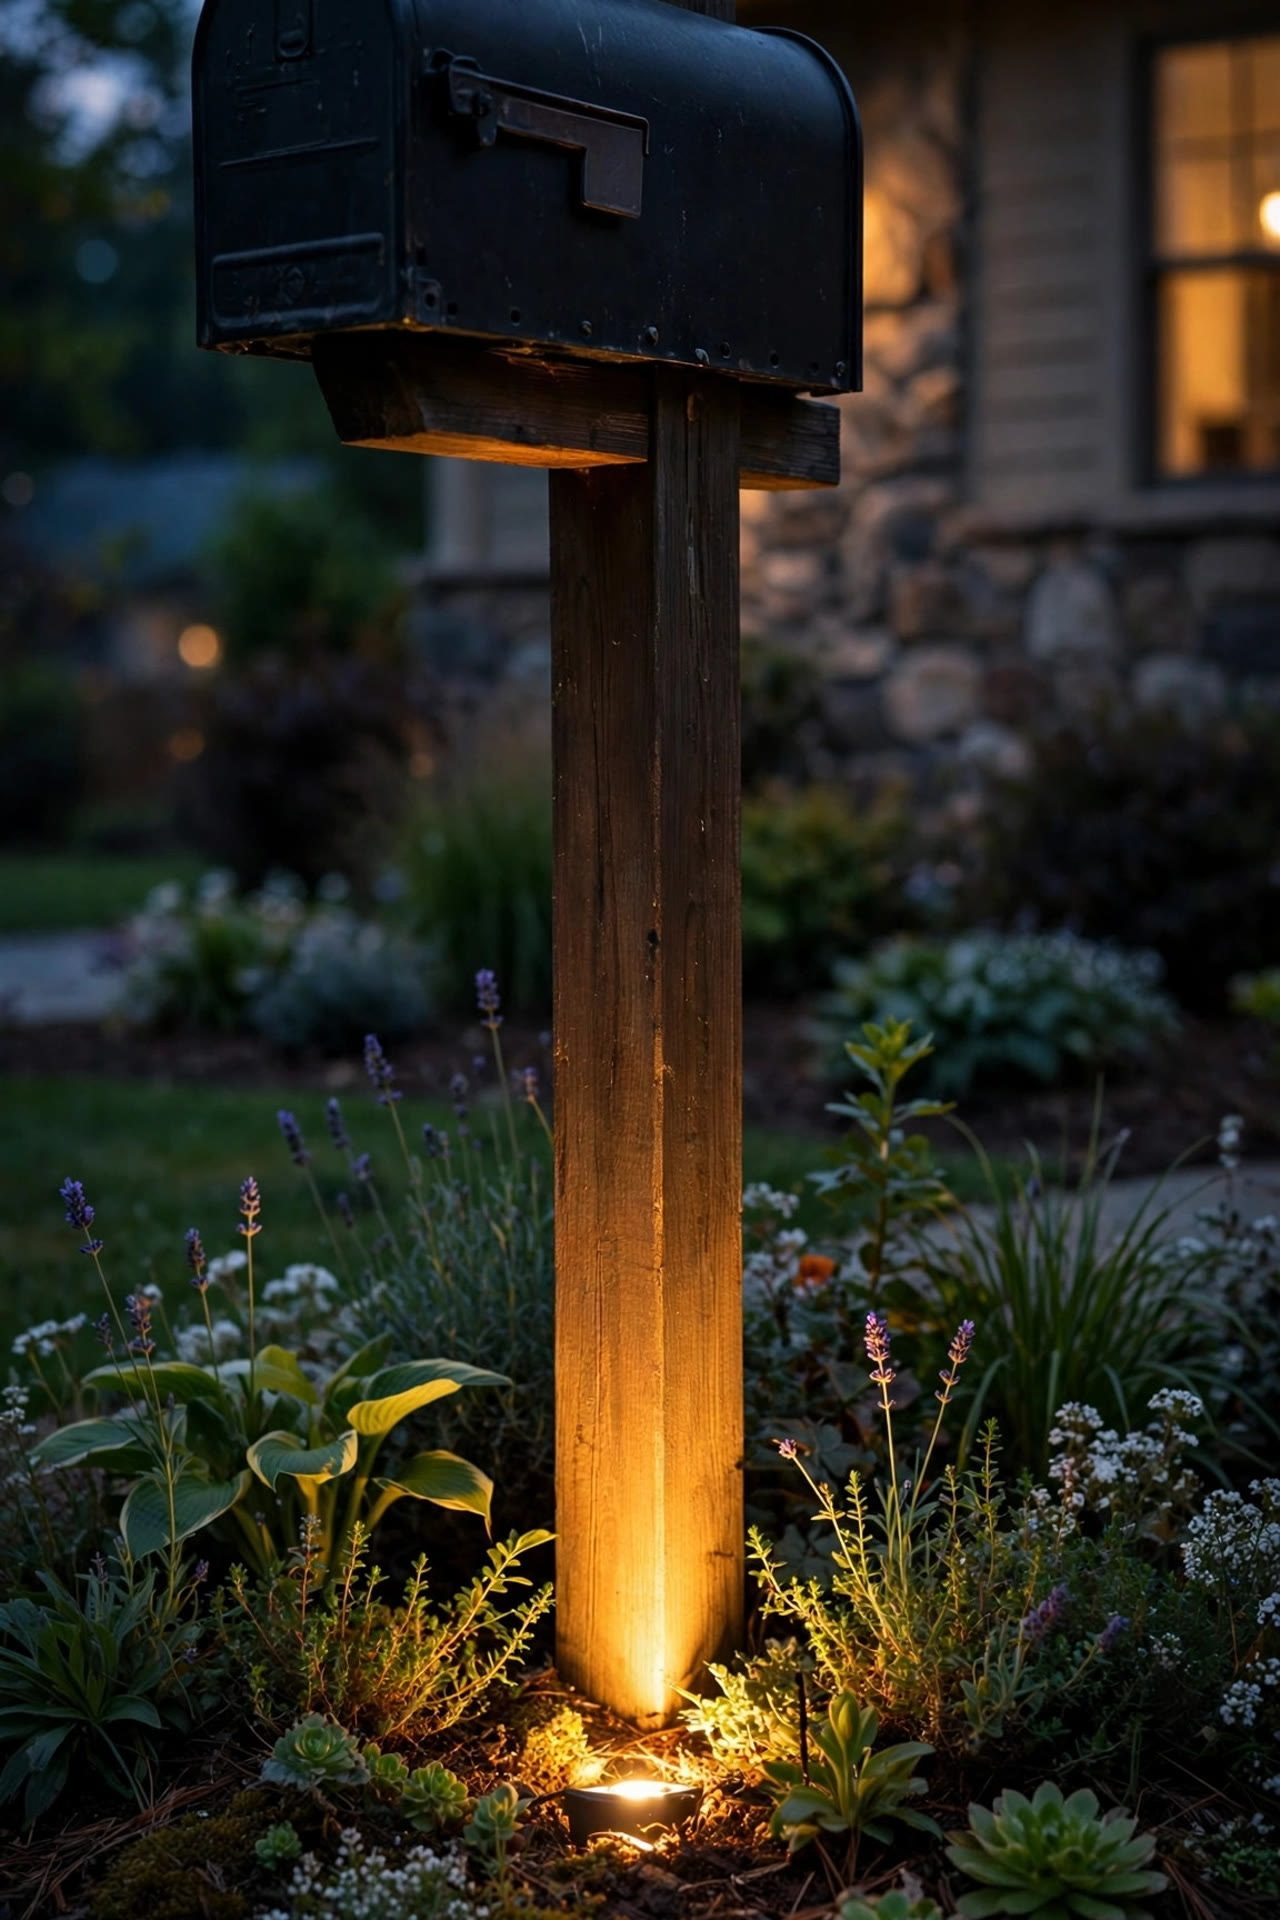
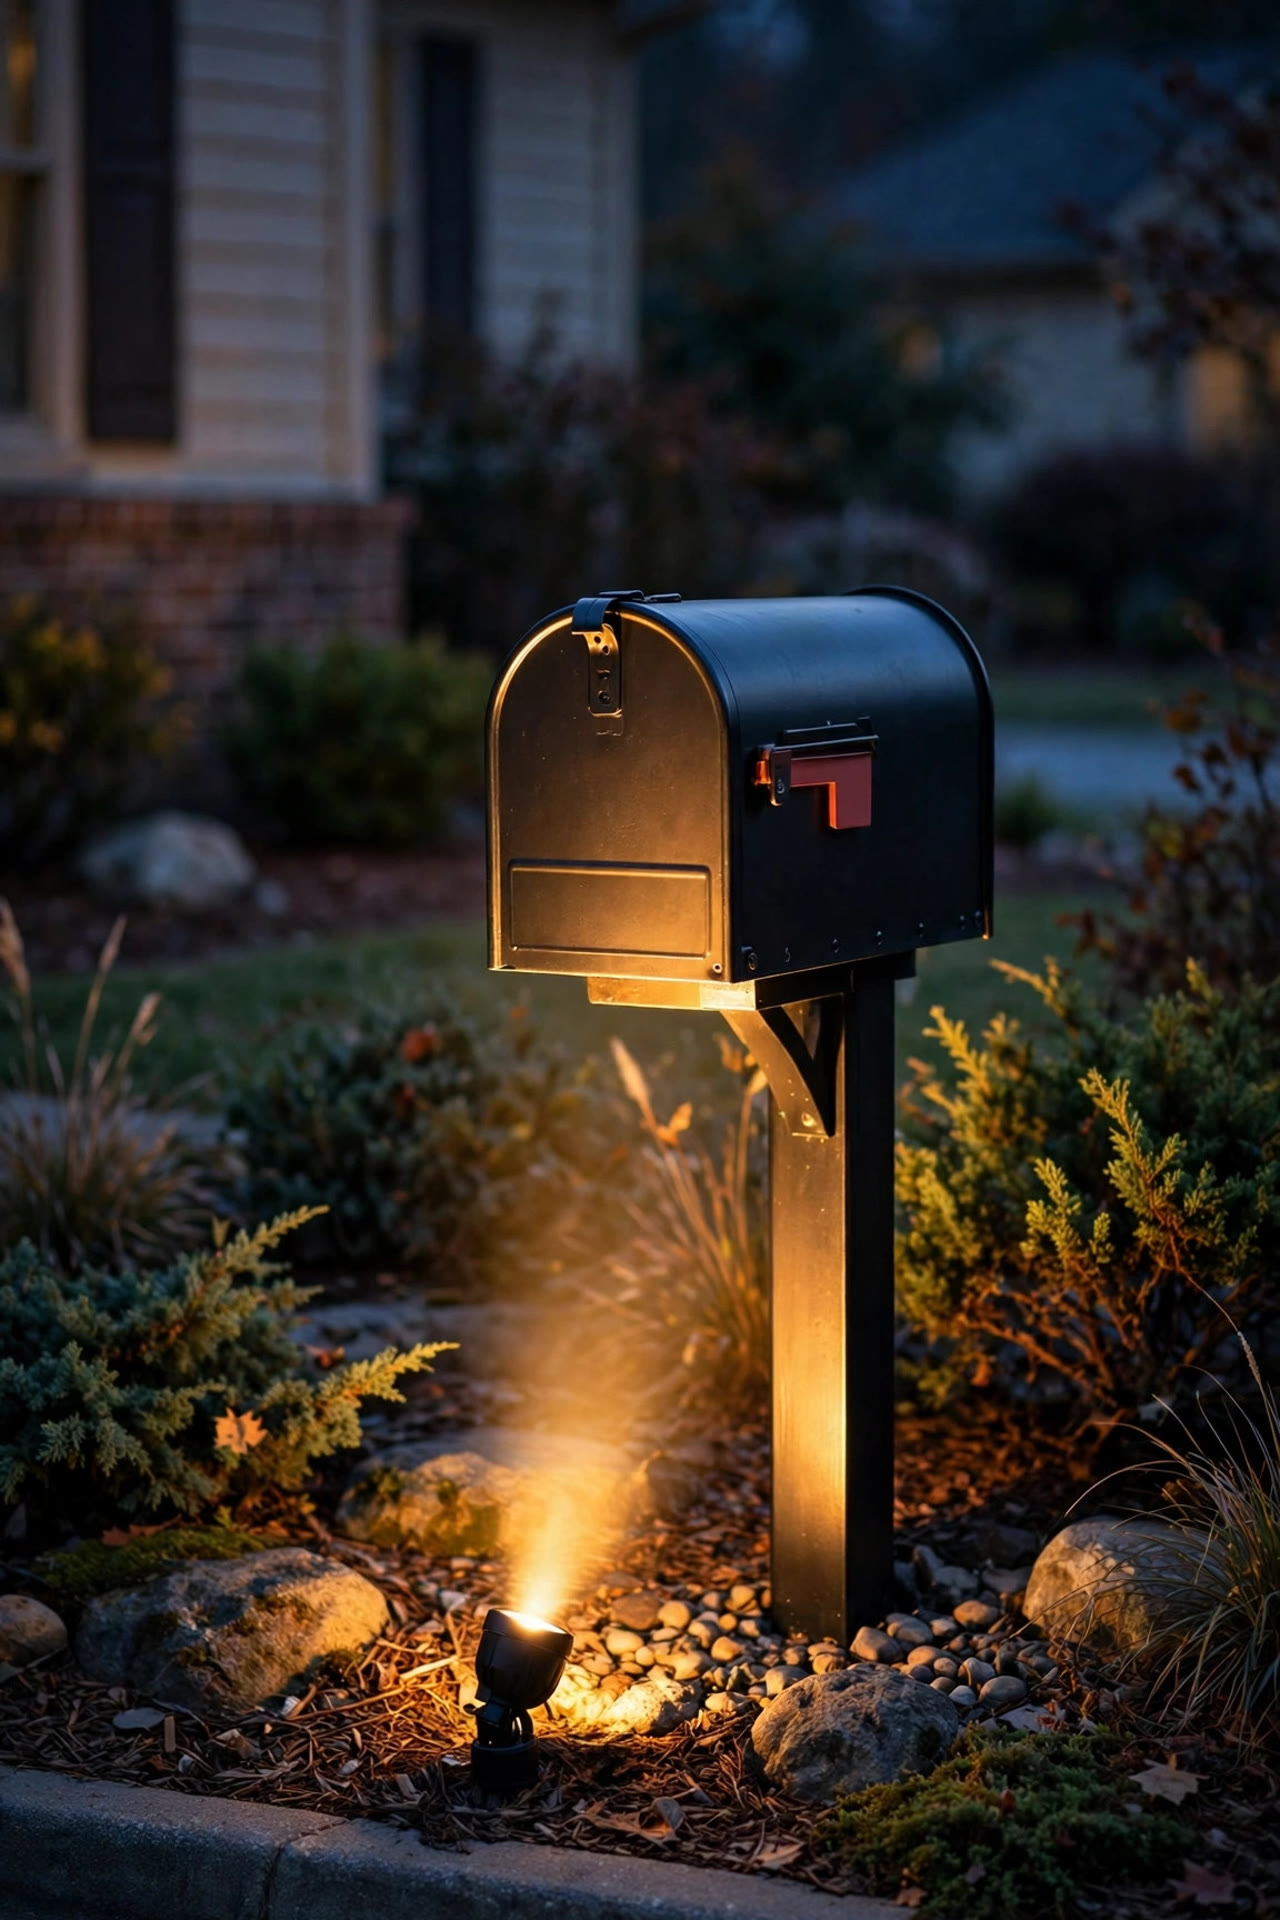
6. Uplight the Whole Scene from a Little Flower Bed
Here's where it gets pretty. Plant a small crescent flower bed around the base of the mailbox post — everyone does the flowers — and then tuck one low-voltage uplight into the bed, aimed up at the box. The light grazes across the post, catches the underside of the mailbox, and silhouettes your plantings from behind. It looks like something a landscape designer charged real money for. A narrow-beam spotlight (around 30 degrees) works better than a flood here; you want a gentle wash, not a stadium. Angle it slightly from the side rather than dead-on to avoid a harsh hotspot, and bury the fixture's stake deep so the mower doesn't find it. Mulch hides the cable beautifully. Choose plants that won't swallow the light by July — I lean on low mounds like creeping juniper, dwarf mondo grass, or a tidy row of annuals I can cut back. When the flowers bloom under that glow in June, honestly, it's the prettiest spot on the street.
Suggested budget range: $40 – $110.
7. Wrap the Post in Warm String Lights
For pure charm, nothing beats a post wrapped in fairy lights. A strand of outdoor string lights or copper-wire fairy lights spiraled around the post — roughly one wrap every 4–5 inches — turns a plain 4×4 into a glowing column you can see from down the block. Solar strands with the little panel staked into the ground nearby are the fuss-free choice; battery strands with a built-in 6-hours-on timer are a close second. Two rules from experience: first, warm white only, because cool-white string lights read "holiday clearance" by February. Second, keep the wrap loose enough that you can still open the mailbox door fully and your mail carrier isn't fighting wires to reach the box — carriers need a clear, safe approach, and anything that snags will get your pretty lights quietly removed. Tuck the battery pack on the back of the post inside a small weatherproof box. Done neatly, this reads less "Christmas" and more "fairy-tale cottage," especially with a climbing rose nearby.
Suggested budget range: $10 – $25.

8. Mailbox Lighting with a Mini Lamp Post Beside the Box
If your mailbox sits at the end of a long driveway, a lamp post beside it does double duty: it marks the entrance, lights the box, and gives delivery drivers a landmark. This is also where you can gracefully introduce driveway lighting ideas into the same scene so the entrance feels like one composition. Solar lamp posts have gotten genuinely good — a 5- to 6-foot post with a lantern head, planted in a small concrete footing or a heavy planter base, no wiring at all. Place it 2–3 feet to the side of the mailbox, never directly behind it, so the carrier's door swing and your own car door both stay clear. Height matters: the lantern head should sit above the mailbox, around 5 feet, so light falls down onto the box rather than shining level into eyes. In snowy climates, set it back at least a foot further than you think — plows throw snow wider than anyone expects. It's the priciest idea in this section of the list, but it's also the one that makes people slow down and look.
Suggested budget range: $80 – $220.

9. Hide an LED Strip Under the Box for a Floating Glow
This is the modern one, and I love it more than I expected to. A short run of waterproof LED strip light mounted underneath the mailbox — on the underside of the box itself or under a small mounting board — throws light downward onto the post and the ground, so the box appears to float over a pool of glow. Because the strip is hidden, there's no visible fixture at all, just light. Use an IP65-or-better outdoor strip, warm white (3000K), powered by a small solar battery pack or tapped into low voltage. Stick it with the strip's adhesive plus a few dabs of clear silicone, because summer heat will defeat adhesive alone within a month — ask me how I know. Keep the strip at least an inch back from the front edge of the box so you never see the individual diodes, only their reflection. The effect at night is genuinely striking, and during the day absolutely nothing looks different. Minimalists, this one's yours.
Suggested budget range: $18 – $45.

10. Set Solar Brick Lights into a Pillar Base
Brick and stone mailbox pillars are common in a lot of neighborhoods, and solar brick lights were basically invented for them. These are glass-brick-sized lights that drop into a paver or pillar cap, charging by day and glowing from within at night — no wires inside masonry, which is the expensive part of lighting a pillar any other way. If you're building or rebuilding a pillar, leave two brick-sized voids in the top course and drop the lights in. If your pillar already exists, the same lights work beautifully set into a low paver border at the pillar's base, glowing upward along the stone face. In my experience the frosted-glass versions look far more high-end than the clear ones. Check the fit before you commit — "standard paver size" varies more than it should. One more tip: in northern states, pull them and store them indoors before the deep freeze if the manufacturer rates them only to 14°F; lithium batteries will thank you.
Suggested budget range: $30 – $80.

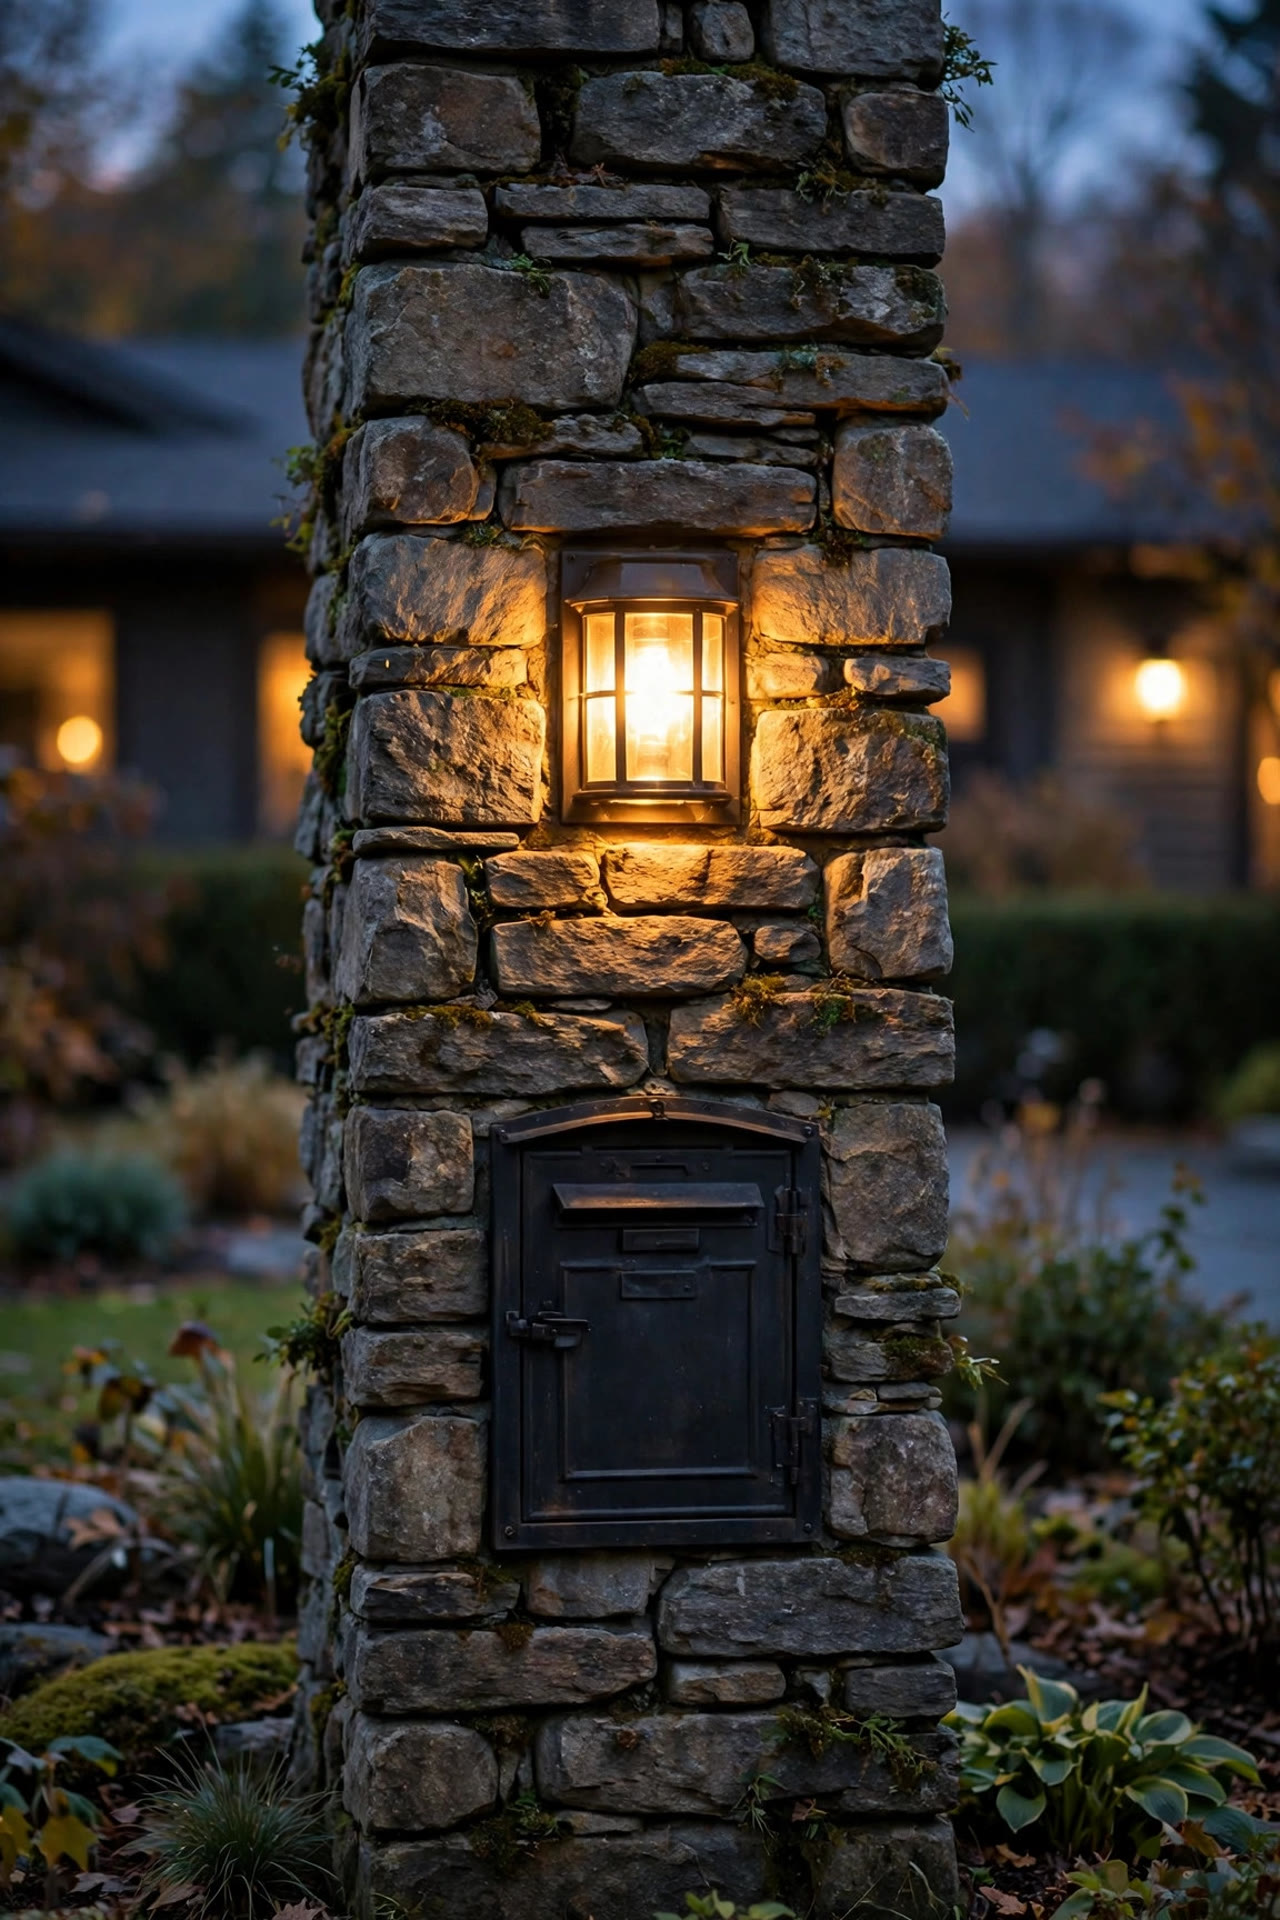
11. Build the Light into a Stone Pillar with a Proper Fixture
The forever version of the pillar idea: a real low-voltage fixture built into the masonry, with the cable run through conduit inside the pillar before the stone is laid. If you're already planning a pillar build or rebuild, this is absolutely worth the small extra effort — a lantern or sconce-style fixture set into the front face of the pillar, about a foot above the mailbox door, wired to a transformer on a timer. Because the wire is inside the structure, there's nothing to weed-whack, nothing to trip on, and the light will outlast every solar gadget on this list. Match the fixture style to your home's porch lights so the street view feels coordinated. This is also the one idea here where I'd gently suggest hiring out the electrical tie-in if you're not comfortable with low-voltage work — it's simple, but a pro makes it invisible. Everything about this says "this home is cared for," which is exactly the message a curb should send.
Suggested budget range: $250 – $600.
12. Aim a Motion-Sensor Light at the Mailbox Area
Sometimes the point isn't ambience — it's knowing when someone's at your box after dark, and giving yourself light when you're grabbing the mail after work in December. A solar motion-sensor light mounted on the post (or on a fence or tree nearby, aimed at the mailbox zone) stays dark until it detects movement, then washes the area in light for 30–60 seconds. Position the sensor so it triggers when someone approaches the box, but aim it thoughtfully: if every passing car on the street sets it off, you'll hate it within a week, and so will your neighbors. Most units let you angle the sensor head down and narrow its field — use that. Set it to its warmest or medium brightness setting if it offers one; the prison-yard white blast is effective but deeply unpretty. For rural boxes on posts by the road, this is also a quiet little security upgrade, since mail theft tends to prefer darkness.
Suggested budget range: $20 – $50.
13. Hang a Candle Lantern from a Shepherd's Hook
Soft, flickering, a little bit storybook — a hanging lantern is my favorite budget romantic option. Push a sturdy shepherd's hook into the ground beside the post (or clamp one to the post itself), and hang a small outdoor lantern with a flameless LED candle inside. The gentle sway and flicker make the whole mailbox corner feel like the entrance to a garden. Use a candle with a timer — five hours on, nineteen off — so it lights itself every evening without you touching it, and choose an LED candle, always: real flame near a wooden post, dry mulch, and paper mail is a combination nobody needs. Weight matters outdoors; a lantern heavy enough not to swing wildly in wind but light enough for the hook is the sweet spot, and a hook sunk at least 10 inches holds through storms. In autumn I swap in a lantern with a little more presence and add a pumpkin at the base. It's twee. It's wonderful. No regrets.
Suggested budget range: $25 – $60.

14. Wash the Post with a Ground-Level Well Light
Well lights sit flush in the ground — you mow right over them — and throw a clean column of light straight up whatever stands above them. Set one about 8–10 inches in front of your mailbox post and it will graze the post, light the underside of the box, and outline your numbers if they're mounted low. Because the fixture is in the lawn rather than a bed, there's no mulch volcano and no stake for the mower to catch; just a discreet metal disc. Low-voltage well lights wired to your main system are the durable choice, and they handle being driven over (carefully) and rained on for years. Honestly, the biggest risk is forgetting where they are — mark the spot on your mental map before aerating the lawn in fall. Pair one well light at the mailbox with a matching one at your front walk and the eye reads them as a set from the street. Clean, architectural, zero visual clutter during the day.
Suggested budget range: $45 – $100.

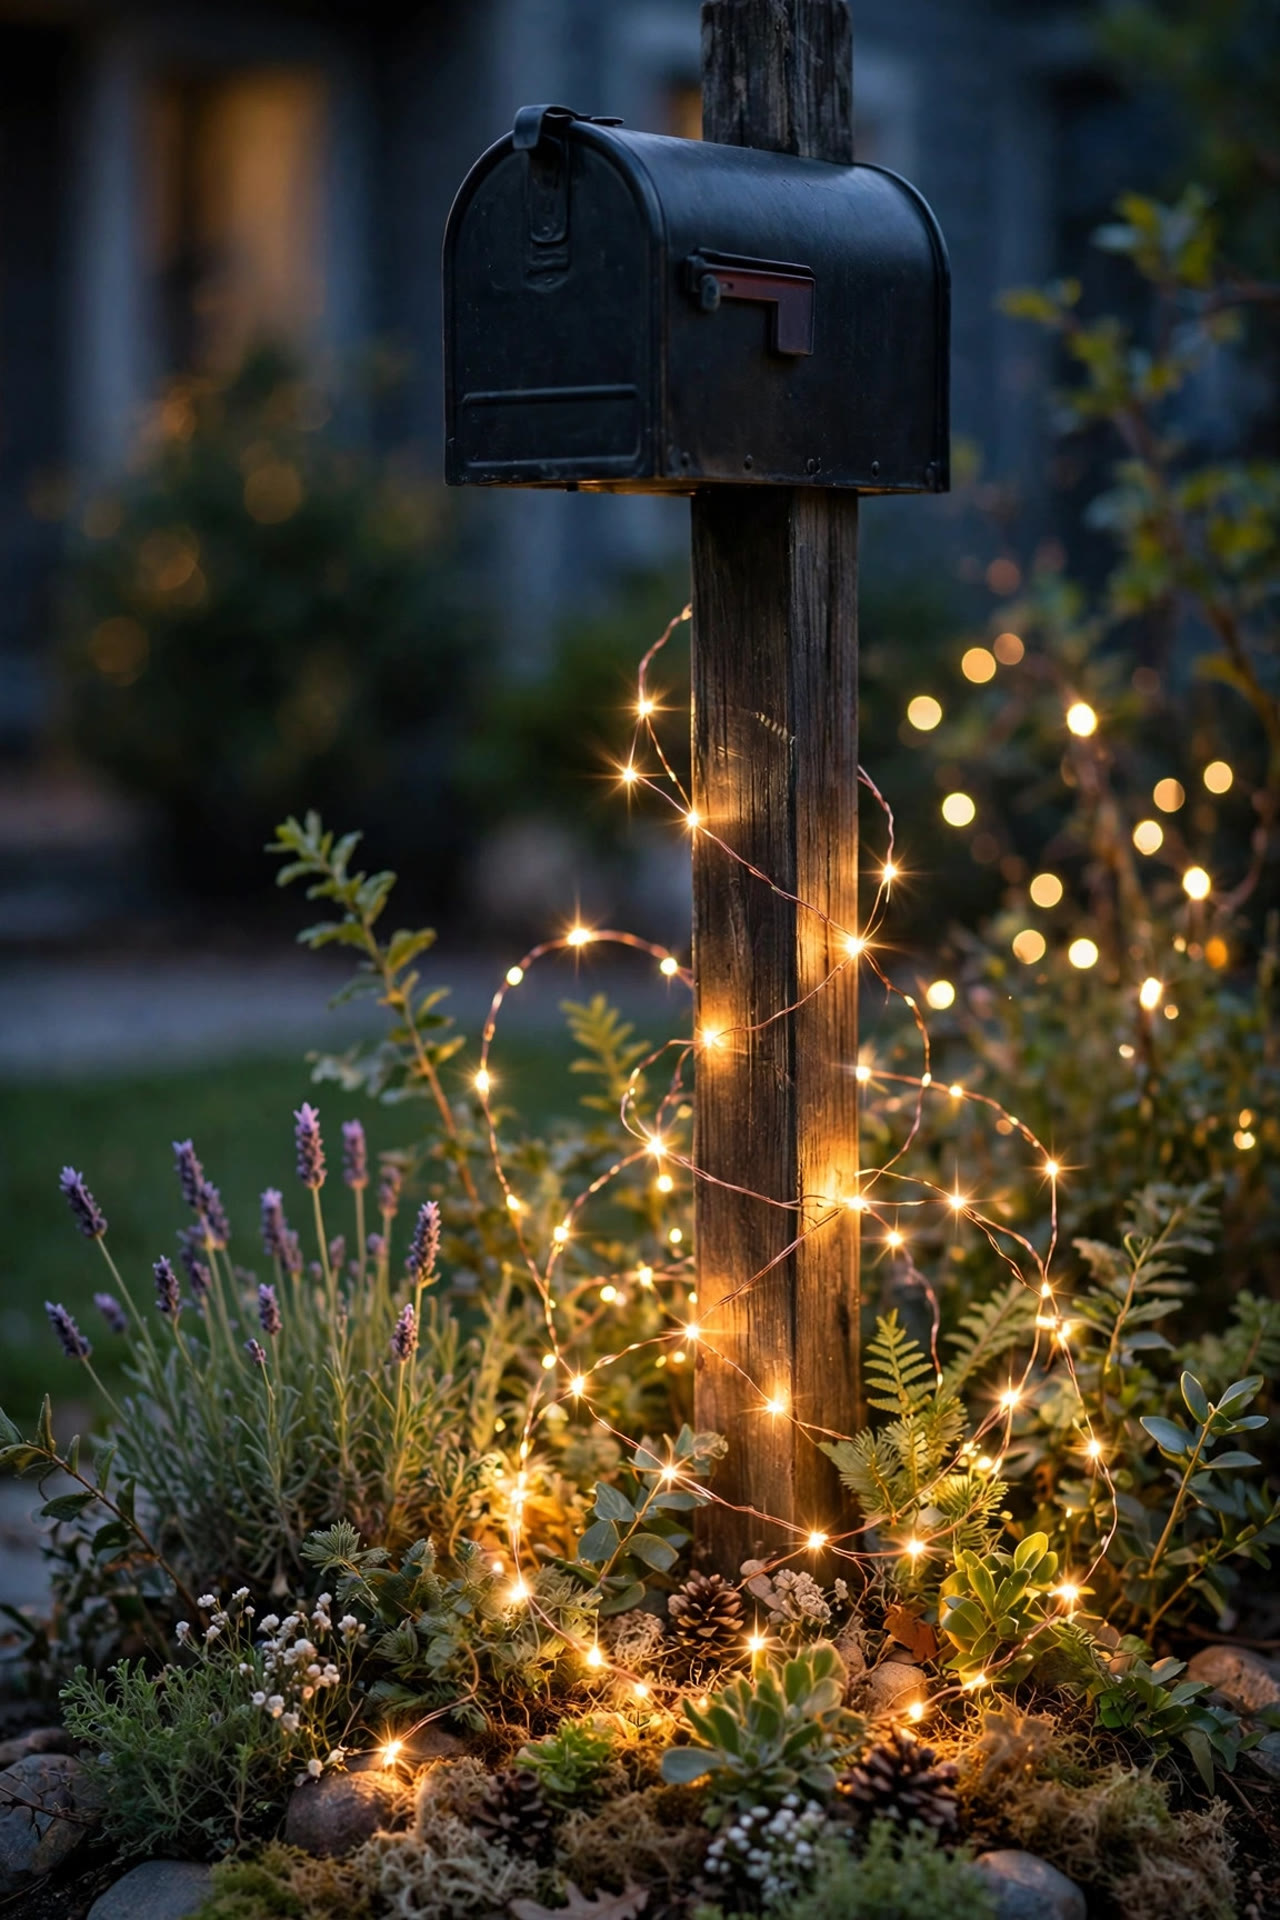
15. Thread Fairy Lights Through a Mini Garden at the Base
Take the flower bed idea in a more magical direction: instead of a proper fixture, weave two strands of solar copper-wire fairy lights through the plantings at the base of the post. The tiny warm points of light nestled in foliage make the whole base of the mailbox sparkle like fireflies that decided to stay. Copper wire bends and holds its shape, so you can spiral it lightly around taller stems and let the excess drift through lower groundcover. It works especially well with plants that have some structure — lavender, small ornamental grasses, boxwood — because the wire disappears against them by day. Solar packs stake into the bed behind the plants; just keep the little panel clear of leaves so it charges. This layer pairs beautifully with one real light from earlier in the list: fairy lights alone are decoration, but fairy lights plus a cap light or a plaque is decoration with a job to do. In my own yard this is the version that gets the most compliments from people walking past, and it costs less than a pizza.
Suggested budget range: $12 – $28.
16. Low-Voltage Mailbox Lighting on a Timer — the Set-and-Forget Option
If you've caught the bug and want the mailbox to be part of your whole landscape lighting system, wire it in properly. A low-voltage spotlight or post-mount fixture connected to your transformer, with the transformer on a dusk-to-dawn photocell or a smart timer, means your curb lights itself every single night of the year with zero thought from you. This is the most reliable version of mailbox lighting there is — no batteries to fade, no panels to clean, no dim February disappointments. Run the cable in a shallow trench, 6 inches down, and before you dig anywhere near the street, call 811 — the strip between your yard and the road is exactly where utility lines love to live, and the call is free. Size the transformer with headroom if you think you'll add path lights later (most people do). My whole front system runs about four hours a night on a timer rather than dusk-to-dawn year-round, which keeps the electric cost to a few dollars a year while still covering every evening arrival.
Suggested budget range: $60 – $180.
17. Finish with a Seasonal Swag and Battery Fairy Lights
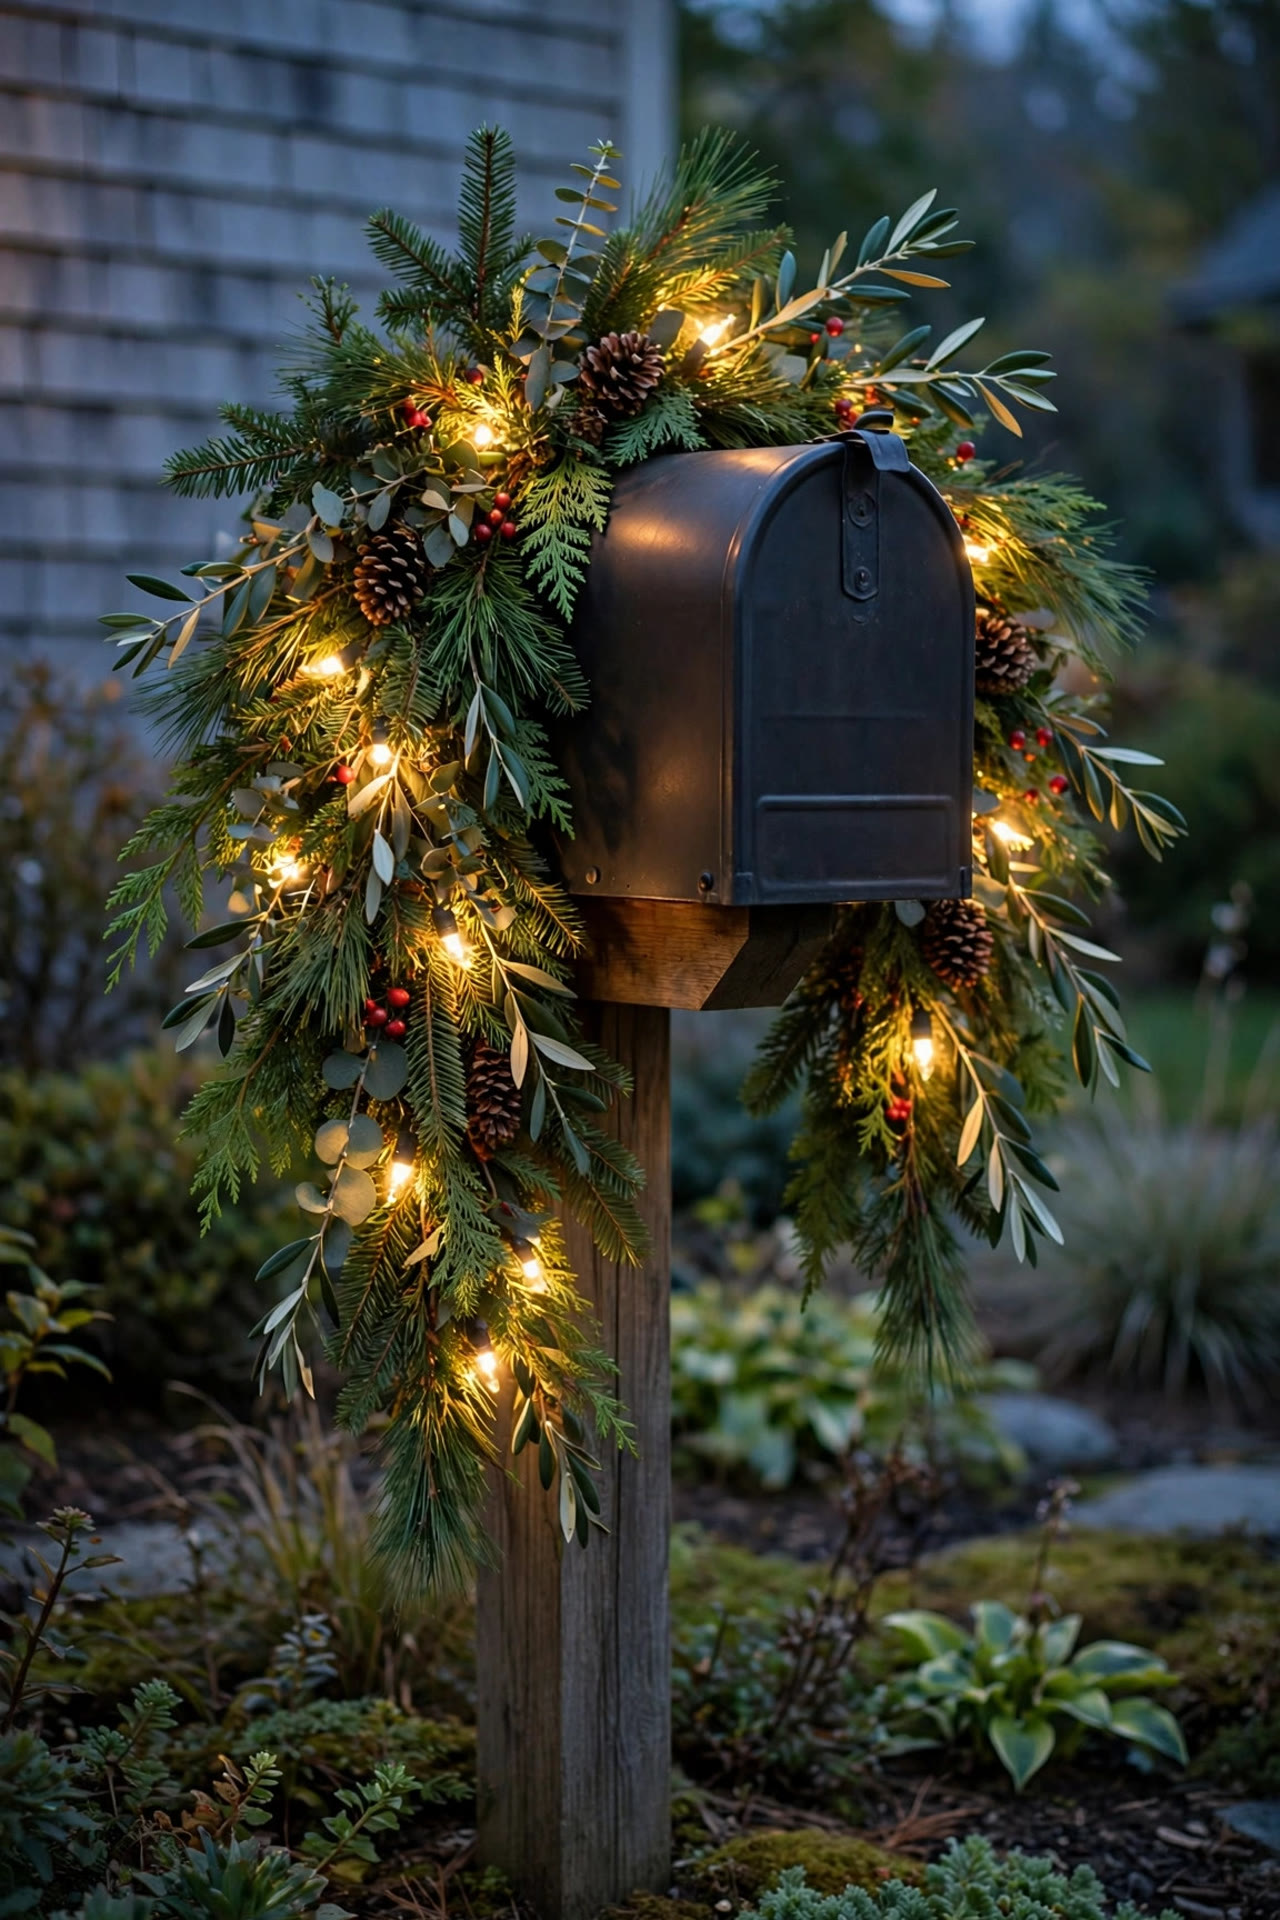
Last, the one that changes with the calendar. A faux (or fresh, in December) greenery swag draped over the top of the mailbox, threaded with a strand of battery-powered fairy lights on a timer, takes ninety seconds to hang and makes the mailbox look dressed for the season — spring tulips tucked in, fall leaves and a mini pumpkin, winter pinecones and red berries. Keep it tasteful and keep it clear: the swag should never block the door swing, cover your house numbers, or hang where the carrier has to reach through it. Battery fairy lights with a built-in timer are essential here because there's no outlet at the curb, and LED-only is non-negotiable around dried greenery — that's a standing safety rule in my house for any decor lighting. It ties into something bigger, too: lit details at the curb genuinely lift a home's whole street presence, which real-estate folks back up — I dug into the numbers in my post on outdoor lighting and curb appeal value. Small glow, big impression.
Suggested budget range: $20 – $55.
Frequently Asked Questions
What kind of light works best for a mailbox?
For most homes, a solar post cap light or a solar backlit number plaque gives the best result per dollar — no wiring, automatic at dusk, and enough light to make the box visible and the numbers readable. If you already have a low-voltage landscape system, tying the mailbox into it is more reliable long-term, especially through winter when solar charge is weakest.
Are there any rules about putting lights on a mailbox?
A few worth knowing. Your mail carrier needs clear, safe, unobstructed access, so nothing should block the door, the approach, or hang where a carrier has to reach past it. Don't modify the box in ways that damage it, keep numbers visible, and check your HOA rules if you have one — some neighborhoods restrict fixtures at the curb. If you're digging or trenching near the street, call 811 first to have utilities marked; it's free.
How bright should a mailbox light be?
Softer than you think. Around 100–400 lumens is the sweet spot for a cap light, lantern, or plaque — enough to read numbers and see the box clearly from the street without glaring into drivers' eyes or washing out your whole front yard. Warm white (2700–3000K) looks residential and welcoming; cool blue-white light tends to look commercial at the curb.
Will solar mailbox lights work in winter?
Mostly, yes — with shorter runtimes. Shorter days and low sun angles mean less charge, so a light that runs 8 hours in June might manage 4–5 in December, which still covers the busy evening hours. Keep the panel wiped clean, angle it toward the southern sky if it's adjustable, and clear snow off it after storms. If reliable all-night light matters to you, low-voltage wired is the winter-proof choice.
Conclusion
The mailbox is the handshake of your home — it's where every guest, driver, and neighbor quite literally arrives. A little glow there goes further than almost anywhere else in the yard. Start with one layer from these mailbox lighting ideas (a solar cap or lit numbers is a ten-minute win), then add a second when you're ready: flanking lights, a fairy-lit bed, a lantern with presence. Layered, warm, and automatic is the whole secret. If this has you eyeing the rest of your front yard after dark, browse the site for more lighting inspiration — your porch and pathways deserve the same treatment your curb is about to get.