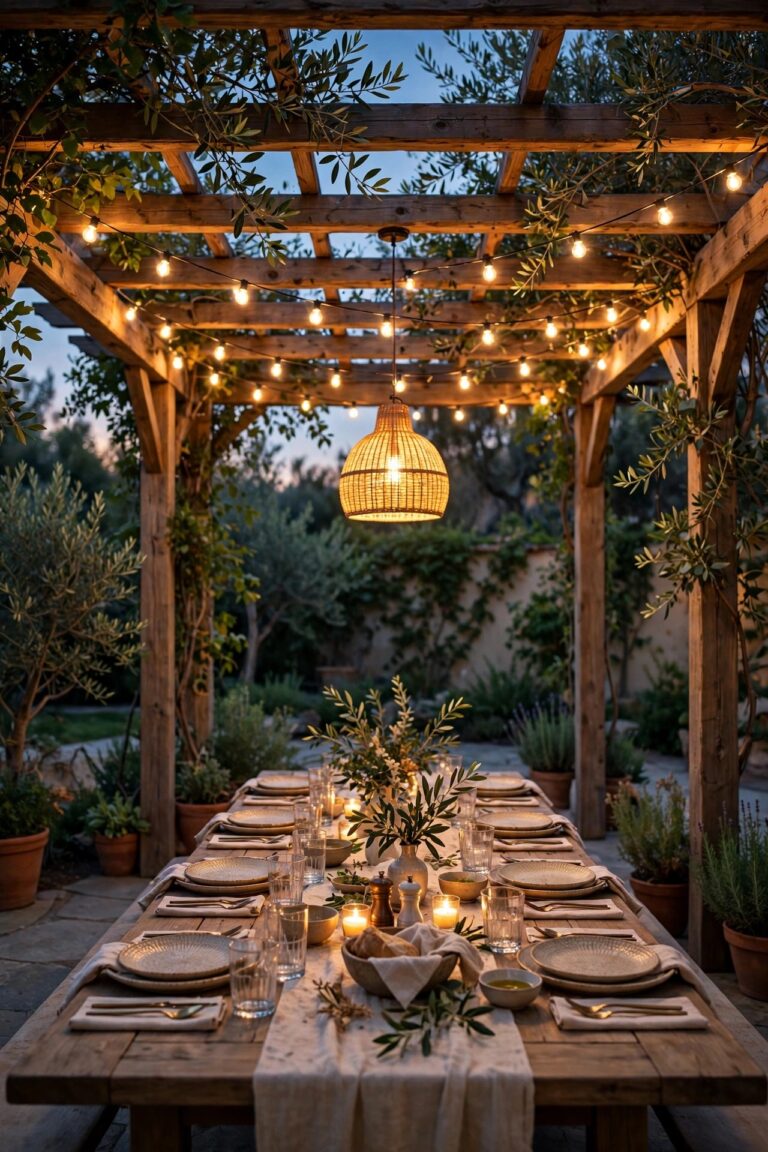
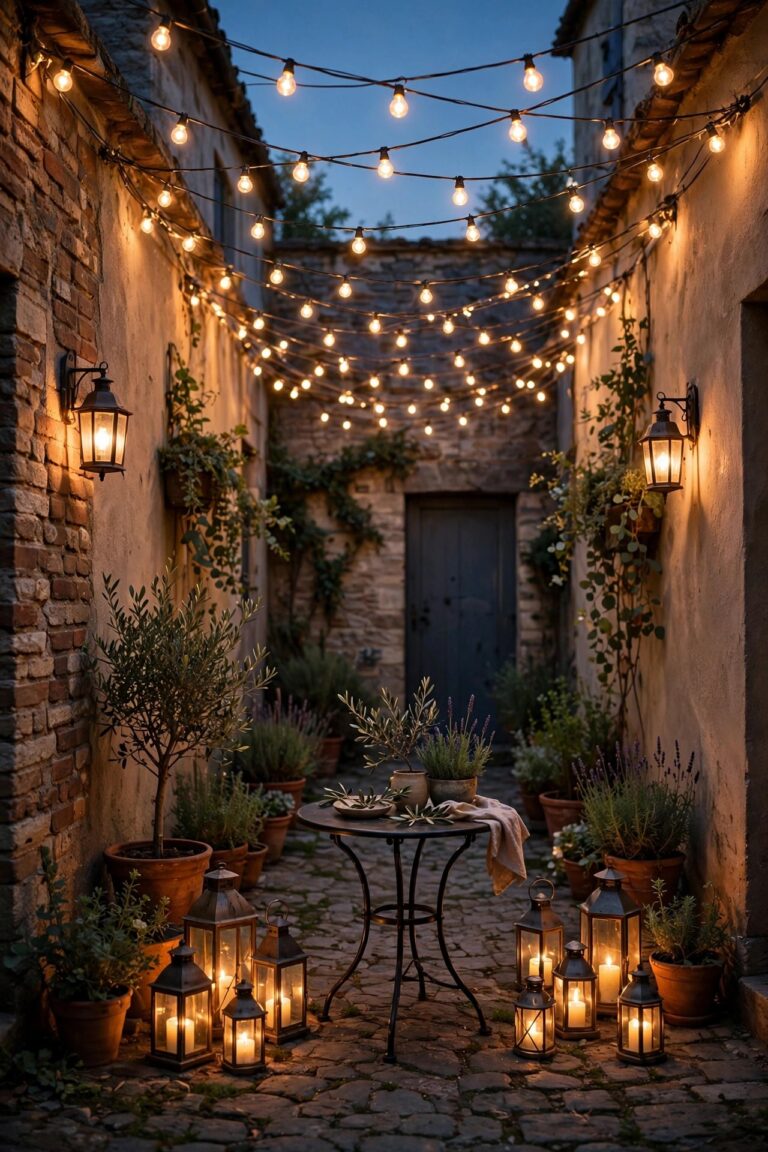
The side yard is the hardest-working strip of your property and usually the worst lit. It is where the bins roll out on trash night, where guests slip through to the backyard, and where you fumble with a gate latch in the dark more often than you would like to admit. The side yard gate lighting ideas in this post fix that forgotten corridor for good. My approach is the layering I use everywhere: a welcome layer at the gate itself so the latch and handle are easy to find, a guidance layer along the path so every step is visible, and a soft accent layer on the fence line so the whole passage feels intentional instead of spooky. None of this needs an electrician or a huge budget. Below are 15 ideas sized for real side yards, with honest prices, spacing numbers, and the little placement tricks that keep narrow spaces from looking like airport runways.

1. Plan Your Side Yard Gate Lighting Ideas Around the Gate Swing
Before you buy a single fixture, stand at the gate and swing it through its full arc, both directions if it opens both ways. Every light you plan has to live outside that swing, or the gate will clip it within a month — I learned this the hard way with a path light that survived exactly nine days. Mark the latch side, the hinge side, and where people naturally pause while they work the handle; that pause point deserves the brightest pocket of light in the whole passage. Then walk the route to the backyard or the front sidewalk and note the dark stretches, the uneven pavers, and any step up or down. Most side yards only need light in three zones: the gate itself, the middle stretch of path, and the far end where the route turns a corner. Sketch those zones on paper, assign each one a job — welcome, guide, or accent — and buy for the sketch instead of guessing in the store aisle. This ten-minute plan keeps a narrow space layered and calm instead of dotted with random fixtures.
Suggested budget range: $0 – $40.
2. Cap the Gate Posts With Solar Post-Cap Lights
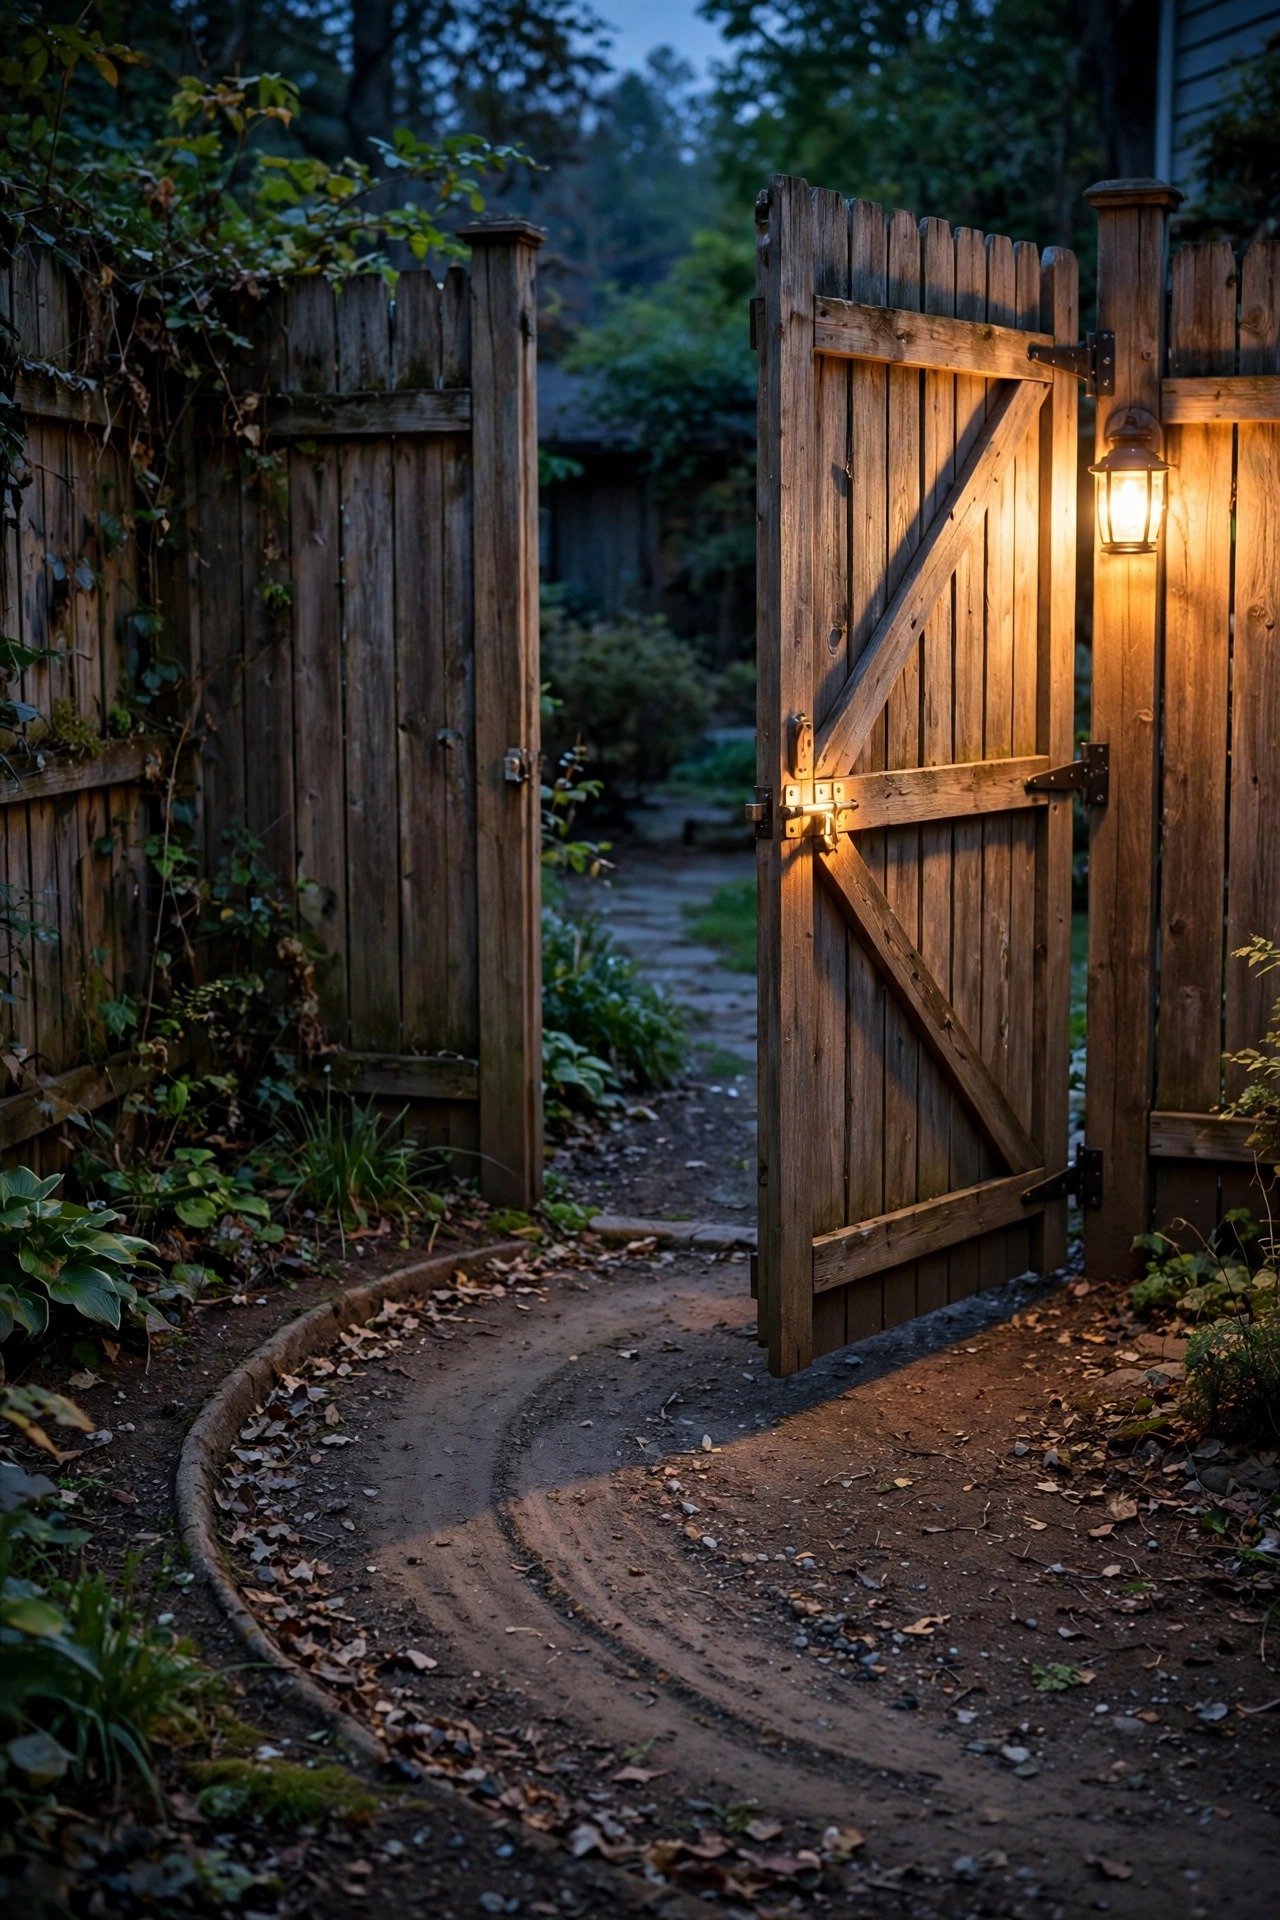
Gate posts are the natural anchors of the whole passage, and a solar post-cap light turns each one into a small glowing landmark you can spot from either end. They slip over standard 4×4 or 6×6 posts, need no wiring at all, and switch themselves on at dusk, which makes them the easiest upgrade on this entire list. Choose caps with a warm white LED around 2700K and a frosted lens — clear lenses throw harsh dots of light in a narrow yard, while frosted ones bathe the gate in a soft pool that flatters wood and paint alike. In my experience, you get what you pay for here: the cheapest caps fade to a weak blue glow by midsummer, so look for replaceable batteries and a stated output of at least 10 to 20 lumens per cap. If one post sits in shade all day, run a low-voltage wired cap on that side instead, or pick a model with a separate solar panel you can mount up on the fence where the sun actually reaches.
Suggested budget range: $25 – $70.
3. Hang a Motion-Sensor Lantern Beside the Latch
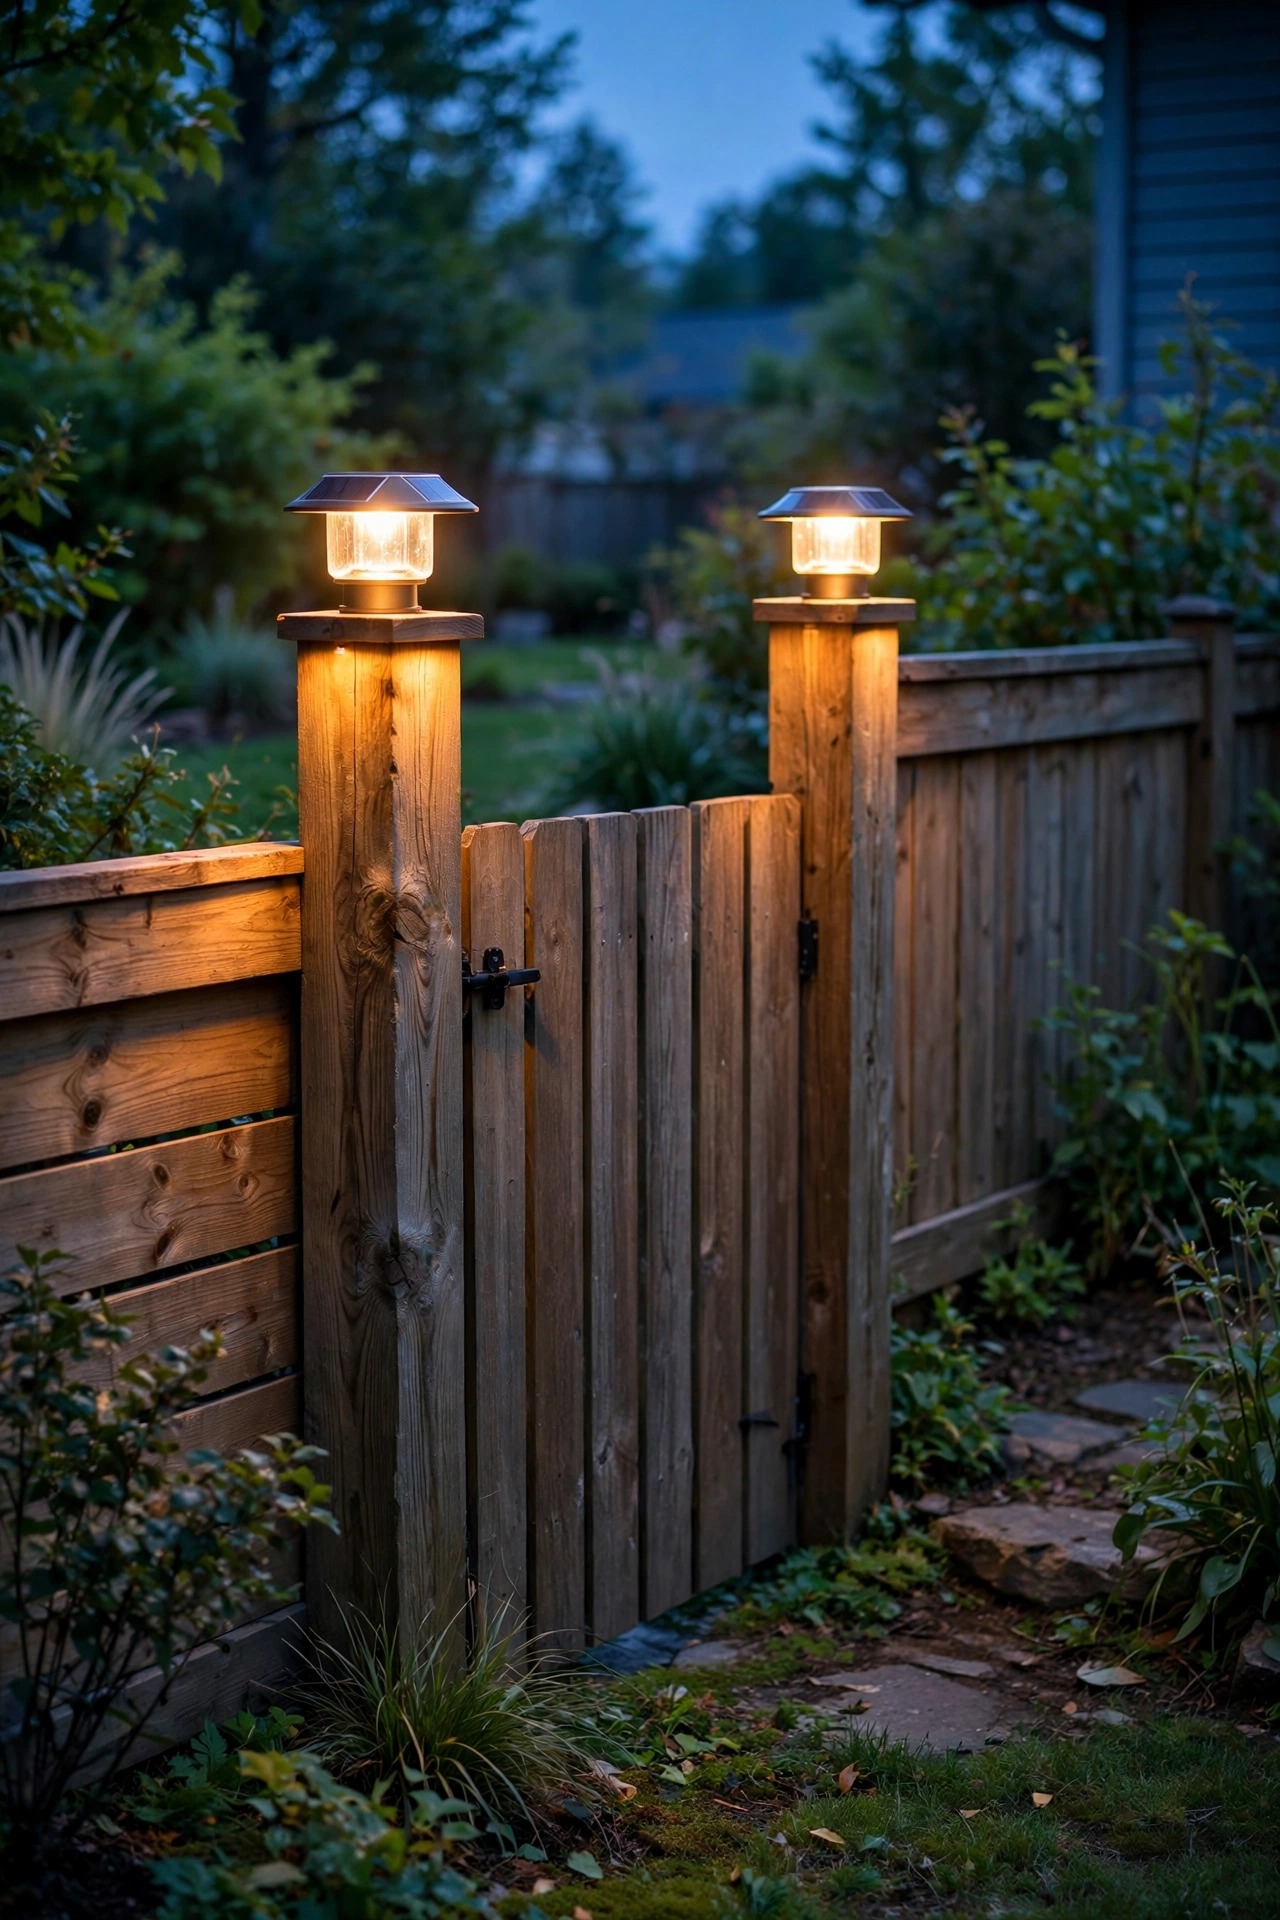
The moment you most need light at a gate is the moment your hands are full — groceries, a squirming dog leash, a bin you are dragging behind you. A motion-sensor lantern mounted on the fence or gate post at latch height solves that completely: it wakes up as you approach and gives you a clear look at the handle, the lock, and whatever is waiting on the other side. Mount it about 5 to 6 feet up so the light falls across your hands rather than into your eyes, and angle the sensor toward the path, not the street, so passing cars do not trigger it all night. Battery models with a dusk-to-dawn low-glow mode are my favorites for side yards; they idle at a soft 10 percent so the passage never looks pitch black, then brighten when they sense movement. Set the timer to one or two minutes — long enough to get through with your load, short enough that the neighbors are not watching it blink until midnight.
Suggested budget range: $20 – $60.

4. Add a Slim Wall Sconce on the House Wall by the Gate
If your gate sits close to the house, the wall beside it is prime lighting real estate that most people ignore. A slim, downward-facing sconce there does double duty: it washes the gate area with a wide, welcoming pool of light and it marks the corner of the house so nobody clips it carrying a ladder through. Choose a fixture with a hooded or louvered design that pushes light down and out rather than straight into the eyes of anyone walking the path — in a passage only 4 to 6 feet wide, bare bulbs at eye level are genuinely unpleasant. This is one spot where a hardwired fixture earns its keep, because it can join the porch circuit and share the same switch or smart control. Keep the color temperature matched to your gate lights at 2700K so the corner reads as one designed moment instead of two competing ones. If hardwiring is not in the cards, a solar sconce with a remote panel mounted above the roofline shadow does a respectable job for a fraction of the effort.
Suggested budget range: $40 – $120.

5. Swag String Lights Along the Fence Line
Nothing softens a long, plain fence like a gentle swag of string lights, and a side yard is the perfect place for them because the fence gives you a ready-made mounting line. Screw small cup hooks or eye bolts into the fence posts every 6 to 8 feet, let each span dip about 12 inches in the middle, and the whole fence line turns into a scalloped ribbon of warmth that makes the passage feel like a garden walk instead of a service corridor. Outdoor-rated LED string lights with shatterproof bulbs are the only kind I recommend here; glass bulbs above a walkway you use in the dark are an accident waiting to happen. One honest caution: keep the strands on your side of the fence and talk to your neighbor first if your fence is shared, since the glow will spill pleasantly into their yard too. For more ways to weave strands into a full fence design, my roundup of fence lighting ideas covers post, rail, and panel options in depth. On a timer set for dusk to 11 p.m., this layer costs pennies a night to run.
Suggested budget range: $30 – $85.

6. Guide the Path With Low-Voltage Path Lights
String lights give you glow, but the layer that actually keeps ankles safe is low, steady light on the walking surface itself. Low-voltage path lights are my first choice for a side yard because they run cool, sip electricity, and stay consistent on cloudy weeks when solar lights sulk. In a narrow passage, resist the urge to line both sides like a driveway; a single staggered row on one side, spaced 5 to 6 feet apart, lights the path beautifully without the runway look. Aim the fixtures so their pools of light just overlap on the ground, and tuck each one a few inches back from the path edge so mower wheels and bin wheels pass cleanly. A small 100 to 150 watt transformer handles most side yards with room to grow, and burying the cable just under the mulch or gravel edge takes an afternoon at most. If your side yard doubles as your main garden access, my broader guide to side yard lighting ideas shows how to extend this same backbone down the whole side of the house.
Suggested budget range: $90 – $220.

7. Wash the Fence Boards With Discreet Uplights
A tall, blank fence can feel like a wall closing in after dark, but a few small uplights at its base completely change the mood. Set low-voltage well lights or compact spotlights in the planting bed or gravel strip at the bottom of the fence, angled up at about 30 degrees, and the boards catch a soft vertical wash that shows off the wood grain and makes the passage feel twice as wide. Space them 6 to 8 feet apart under the widest, emptiest stretches of fence, and let trees, gates, and corners break the rhythm so it never looks mechanical. This is grazing light, so closer is better: fixtures sitting 6 to 12 inches from the boards give you that dramatic texture, while fixtures pulled farther back flatten everything into a dull flood. Keep the beams on the fence and out of the sky — your neighbors and the local birds will both thank you. The same grazing technique works beautifully on stone and brick too, as I show in my fence wall wash lighting ideas post. Honestly, this is the layer that gets the compliments.
Suggested budget range: $60 – $160.

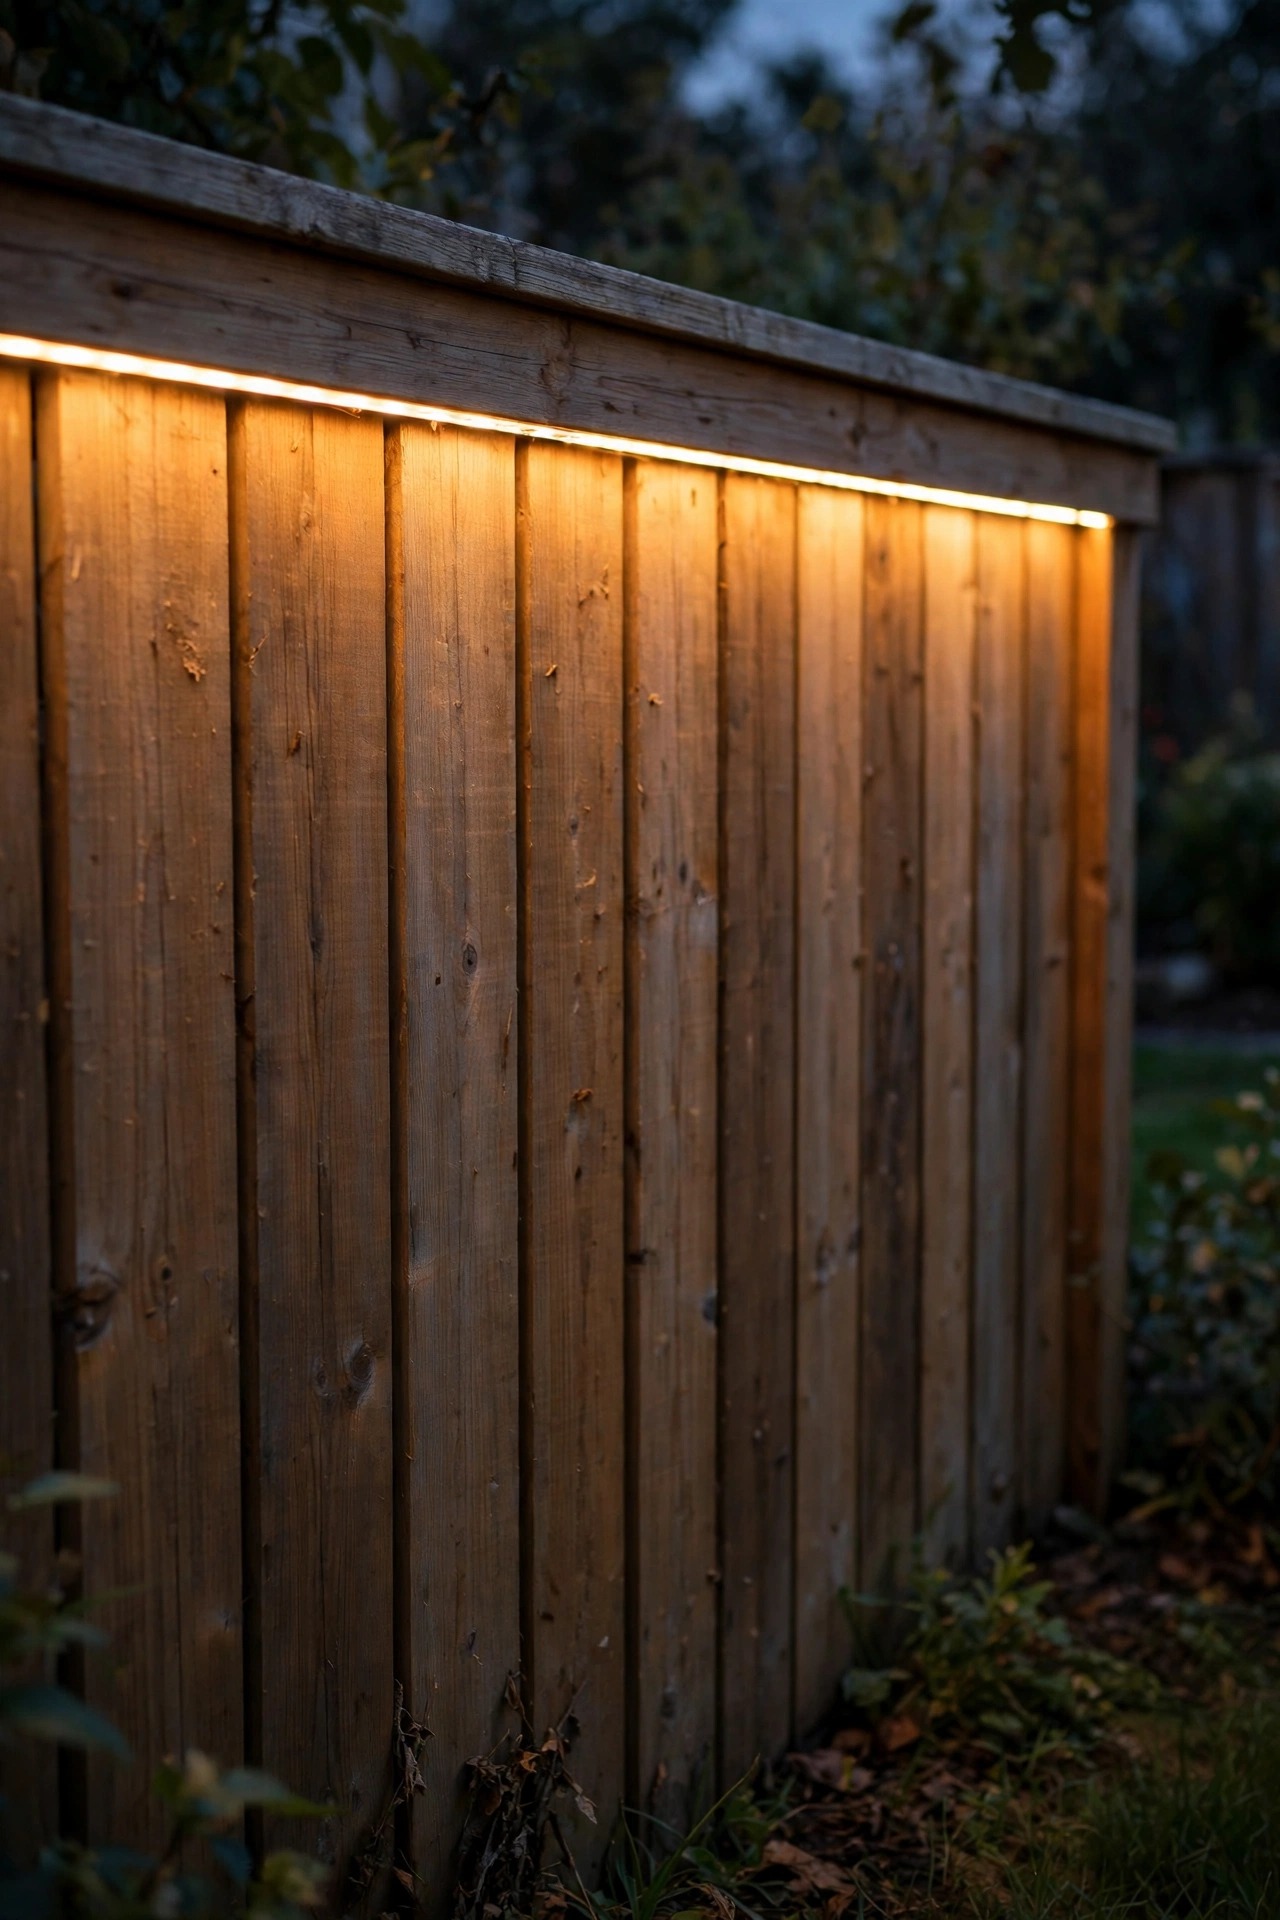
8. Run an LED Strip Under the Fence Cap Rail
Many fences have a flat cap rail running along the top of the boards, and the underside of that cap is a perfect hiding place for a waterproof LED strip. Mounted in a slim aluminum channel and aimed down, the strip throws a continuous, shadowless ribbon of light along the whole fence line — no hot spots, no fixtures to knock, and nothing visible during the day except the cap itself. It is the most modern look on this list, and in a narrow side yard it doubles as both accent and guidance, because that unbroken line of light leads your eye (and your feet) straight to the gate. Use an IP65 or IP67 rated strip at 2700K, keep the low-voltage driver in a weatherproof box near the gate, and add a simple inline dimmer so you can drop the whole run to a whisper on quiet nights. One practical note from my own install: buy the strip and channel from the same product line so the strip seats snugly, and silicone the end caps, because the underside of a cap rail collects more driven rain than you would expect.
Suggested budget range: $45 – $110.
9. Fill the Gaps With Solar Stake Lights
Not every stretch of a side yard justifies running cable, especially the far end that only sees traffic on garden days. Solar stake lights are the gap-fillers of the lighting world: push them into the soil, and by evening they mark corners, hose bibs, and that one paver that always catches a toe. Their reputation suffers because the bargain-bin versions are dim and die young, so shop by specs instead of price — look for at least 10 lumens, a warm white LED, and a solar panel that is not the size of a postage stamp. Place them where they honestly get six hours of sun; in the shadow of a two-story house, even a good solar stake will fade by 10 p.m., and a low-voltage fixture is the honest answer there. I use stakes in odd numbers and vary them slightly — one at the turn of the path, a pair flanking the utility corner — so the light feels placed rather than parked. Swap the rechargeable batteries once a year and they will serve far longer than most people expect.
Suggested budget range: $20 – $55.

10. Hang a Battery Lantern Right on the Gate
There is something undeniably charming about a lantern hanging on the gate itself, swaying just slightly when the gate swings, and modern battery lanterns make it practical. Choose a compact lantern with a built-in timer and hang it from a sturdy hook on the gate face, high enough to clear the latch handle and low enough that its light pools on the handle and the ground in front of you. The timer is the whole trick: set it to glow from dusk for five hours and you never walk out to a dark gate or a dead battery surprise. Because the lantern travels with the gate, it lights both sides of the passage as the gate opens, which no fixed fixture can do. Pick a metal or weather-sealed resin frame, since a gate is a rough neighborhood — it gets slammed, rained on sideways, and leaned on by every delivery box. Flameless LED candles inside give you the flicker without any fire risk near dry fence boards. It is a small touch, but guests mention it more than almost anything else on this list.
Suggested budget range: $15 – $45.

11. Light the Steps Where the Path Changes Level
Most side yards have at least one sneaky level change — a step down off the patio, a raised threshold at the gate, a single step nobody remembers until a guest finds it with their shin. Recessed step lights or small surface-mount tread lights are the targeted fix, and they are non-negotiable in my book if your route has any rise at all. Mount one fixture per step, either in the riser face or on the fence or wall beside it, aimed across the tread so the edge of each step reads clearly in shadow and light. Small LED units in the 1 to 3 watt range are plenty; this is definition light, not floodlight. If the steps already exist and cutting into them is not an option, a solar step light with a motion boost gives you most of the benefit with four screws. Wire or time them with your path lights so the whole route wakes and sleeps as one system. It is the least glamorous idea here and the one your knees will thank you for at every trash night for the next decade.
Suggested budget range: $35 – $100.

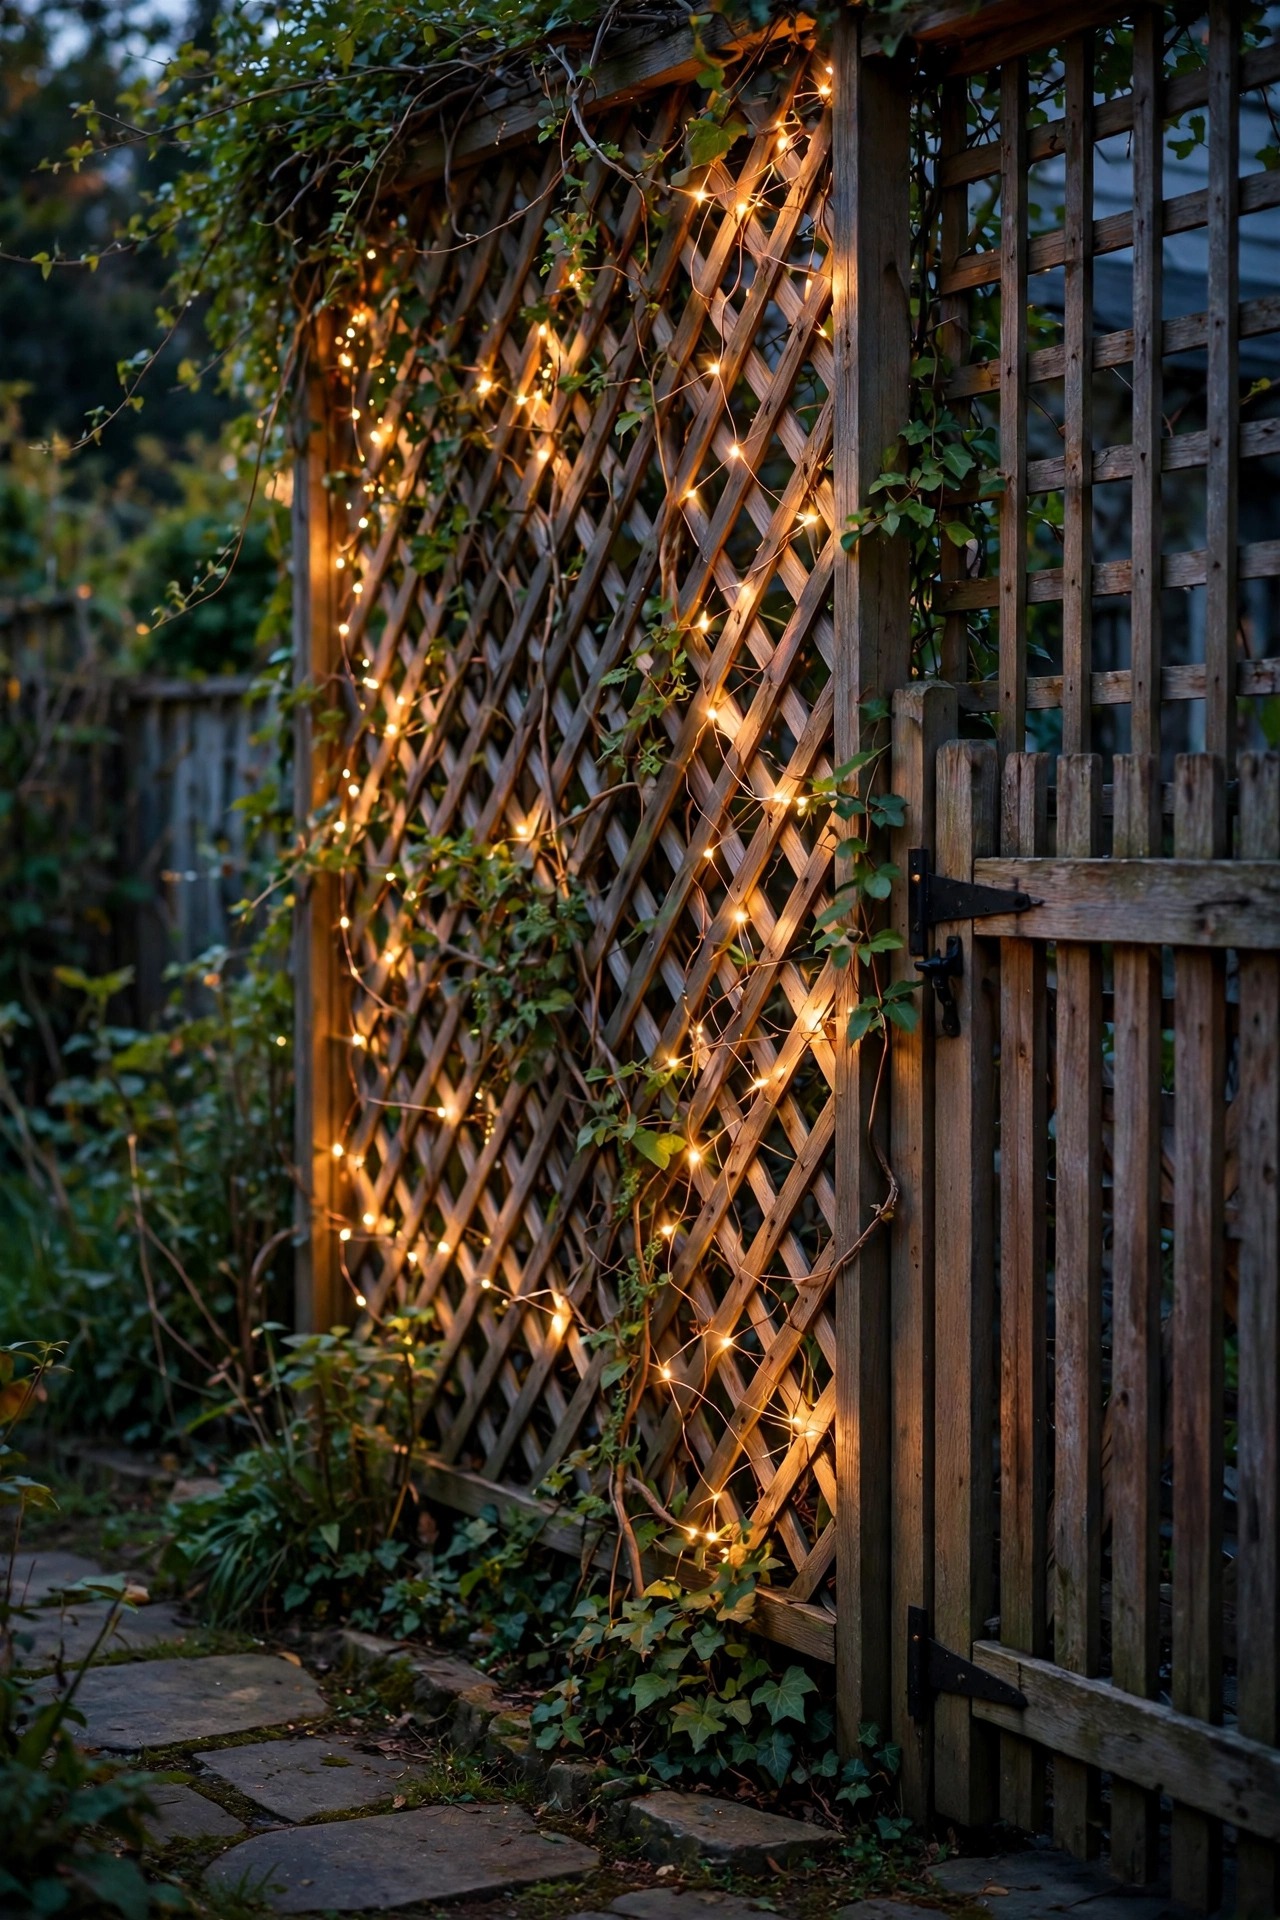
12. Weave Fairy Lights Through a Fence Trellis
If your fence line includes a trellis, lattice panel, or a climbing vine, copper-wire fairy lights were made for it. The wire is nearly invisible in daylight and bends wherever you guide it, so you can lace it through the lattice in loose waves and let the tiny warm points of light trace the pattern of the panel itself. It is pure accent — fairy lights will not help you find a latch — but as a backdrop layer they make the gate area feel like a garden room instead of a corridor, especially woven through jasmine, clematis, or a climbing rose. Use battery packs with timers for small panels and solar strands for sunny stretches; either way, tuck the battery pack into a weatherproof box at the base of the fence where you can reach it in January. Keep every strand LED and cool to the touch, because dry vines and hot bulbs are a combination I never allow in my yard. Two or three 30-foot strands cover a typical gate-side trellis with light to spare, and the effect at dusk is honestly magical for the price of a pizza.
Suggested budget range: $15 – $40.
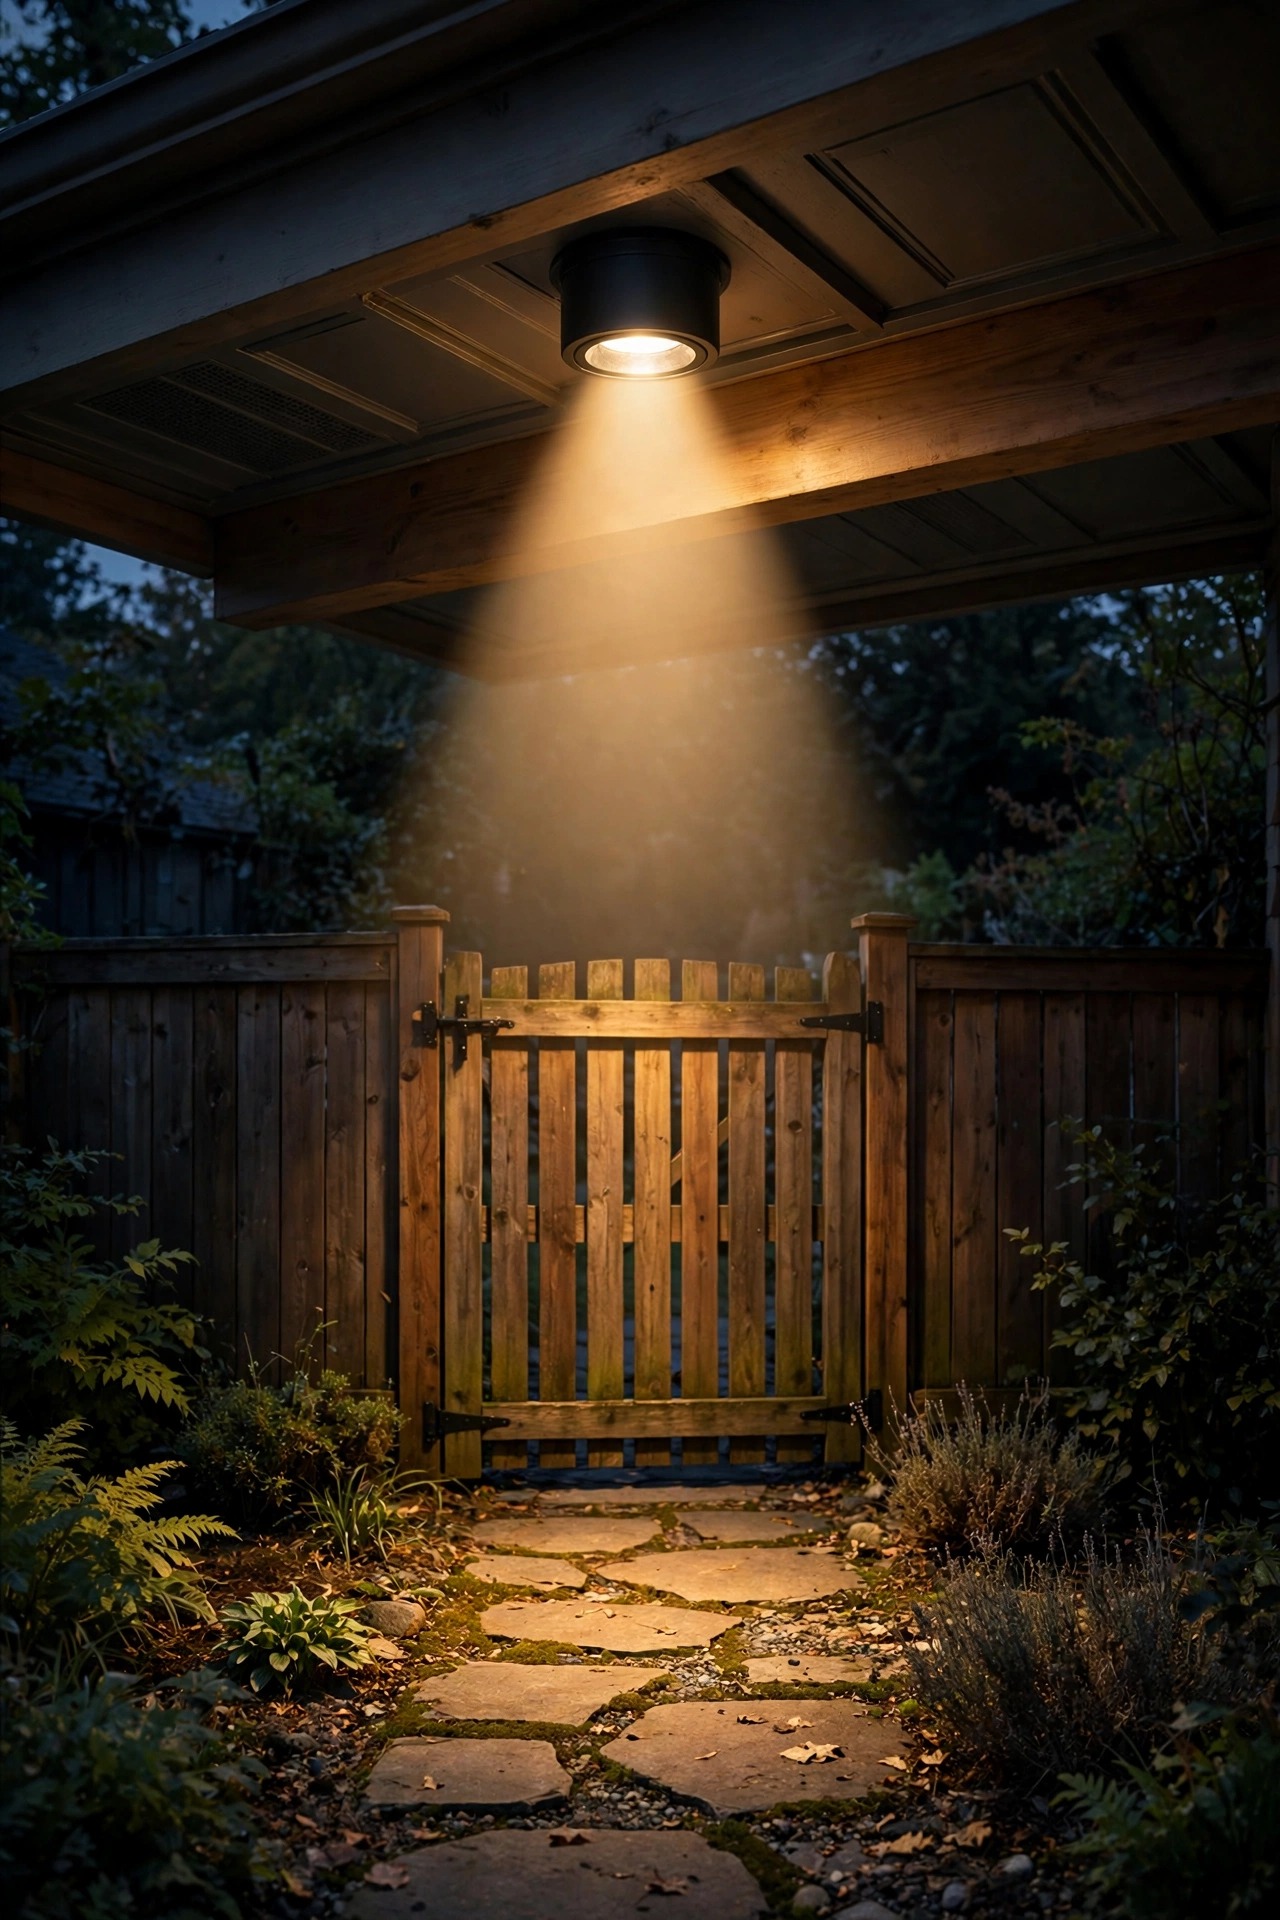
13. Borrow the Moonlight With a High Downlight
Sometimes the most elegant light in a side yard comes from above. A single shielded downlight mounted high — under an eave, on the fence corner post extended upward, or in a tree that overhangs the passage — casts a broad, soft cone of light that mimics moonlight and covers the gate and a good stretch of path with one fixture. The trick is the shielding: a deep hood or louver keeps the bulb invisible from below, so you get the glow without the glare, and aiming it straight down keeps the light on your side of the fence line. This works beautifully as the anchor layer for a long passage where running a dozen small fixtures feels fussy; one or two downlights plus your gate lantern can carry the whole route. Keep the mounting height around 10 to 14 feet so the cone spreads wide but still feels intimate, and choose a warm 2700K LED so the effect reads as moonlight rather than stadium light. Have an electrician handle any new hardwired run at height — this is the one idea on the list where I happily hand over the ladder.
Suggested budget range: $80 – $200.
14. Put the Whole Passage on a Dusk-to-Dawn Timer
Fifteen good fixtures still fail you if they are dark when you need them, so the smartest money in a side yard goes to control. A plug-in astronomical timer or a smart outdoor plug on your low-voltage transformer brings every wired layer on at dusk and off at your chosen hour — I run mine to 11:30 p.m., then let the motion lantern stand guard alone until dawn. Astronomical timers adjust themselves through the seasons, which matters more than people realize; a fixed 7 p.m. start is useless in June and wasteful in December. Smart plugs add voice and phone control, which sounds like a gimmick until you are at the gate with your arms full of groceries, telling the lights to turn on. Whichever route you choose, keep the solar fixtures out of the plan — they run their own schedule, and that is fine, because they are your accent layer anyway. Set it once in spring, check it once in fall, and the side yard simply handles itself every single night of the year.
Suggested budget range: $15 – $50.

15. Layer Your Side Yard Gate Lighting Ideas Into One Welcoming Route
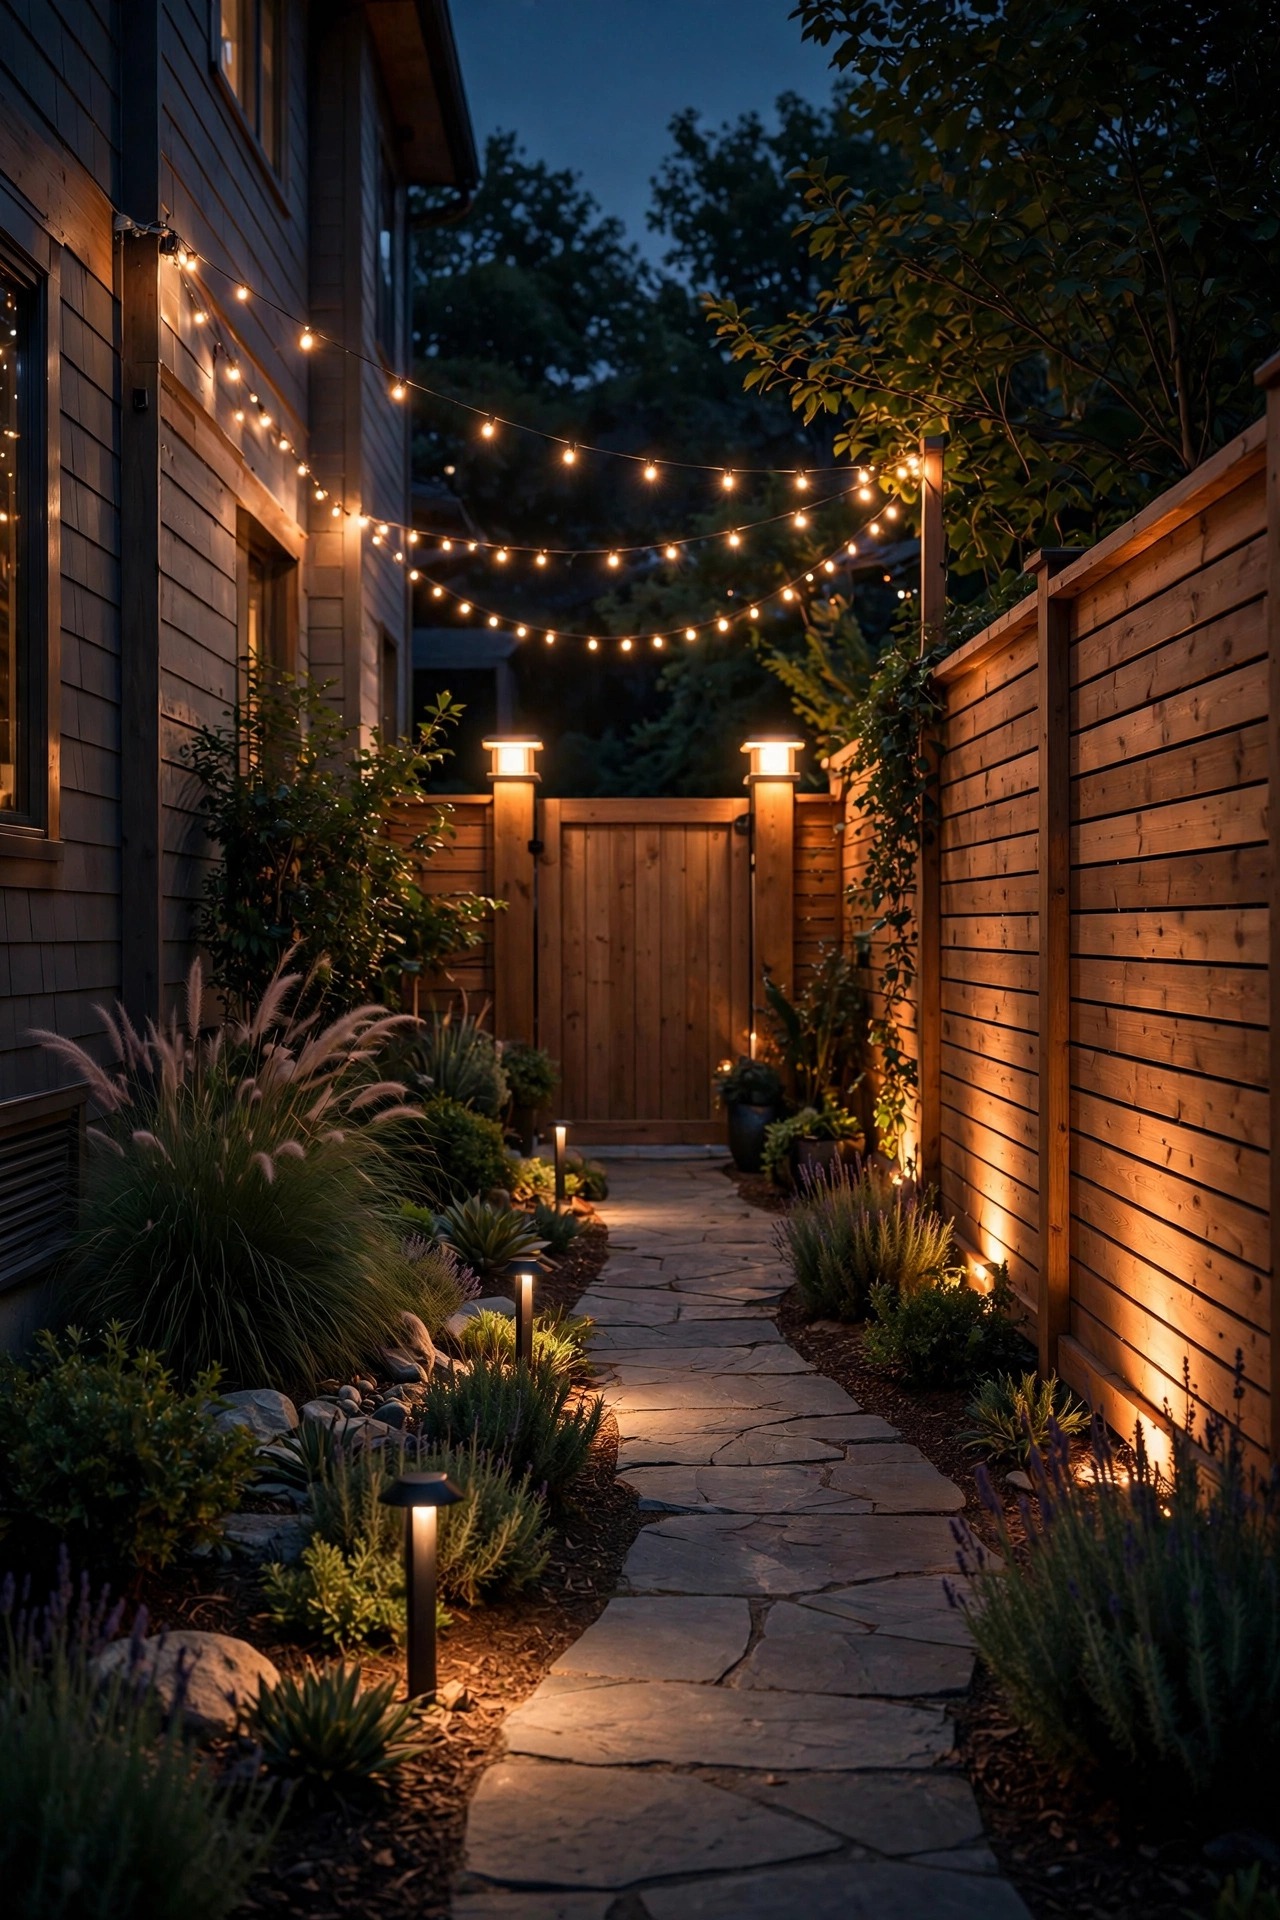
Here is how it all comes together on a real Saturday afternoon. Start with the backbone: low-voltage path lights down one side of the walk and uplights washing the emptiest stretch of fence, both on one transformer and one timer. Add the welcome layer at the gate — post caps glowing on both posts, a motion lantern at the latch, and the lantern hanging on the gate itself. Then finish with the pretty layer: a swag of string lights or an LED strip under the cap rail, fairy lights in the trellis, and your step lights guarding the level change. Walk the route at dusk before you tidy up, and judge it the way a guest would: can you find the latch without thinking, see every step without staring, and does the passage feel like somewhere you would linger for a second? Dim or nudge anything that glares, because in a narrow yard one harsh fixture poisons the whole effect. That layered balance — bright where hands and feet need it, soft everywhere else — is what turns a service corridor into the prettiest shortcut in the neighborhood.
Suggested budget range: $250 – $600.
Frequently Asked Questions
How many lights does a side yard gate actually need?
For most side yards, three zones do the job: the gate itself, the middle of the path, and the far end. Within those zones, one welcome fixture at the latch, path lights every 5 to 6 feet, and one accent layer on the fence will light a typical 30 to 40 foot passage comfortably without overdoing it.
Are solar lights bright enough for a side yard?
Good solar fixtures are plenty for accents, post caps, and gap-filling along sunny stretches. The catch is shade: a side yard squeezed between two houses may only get a few hours of direct sun, and solar lights there will fade early. Use solar where the sun honestly reaches, and low-voltage wired lights for the main path.
What color temperature looks best along a fence line?
Warm white, 2700K to 3000K, is the sweet spot. It flatters wood, brick, and skin tones, and it makes a narrow passage feel cozy instead of clinical. Match every fixture in the passage to the same temperature, because mixing a warm lantern with a cool white path light is the fastest way to make a side yard look accidental.
Can I light a side yard without an outdoor outlet?
Yes. Solar post caps, solar stakes, and battery lanterns with timers cover the welcome and accent layers with no wiring at all. For the path itself, a battery or solar setup works on sunny lots; on shaded lots, a low-voltage transformer can often plug into an existing porch or garage outlet and run cable through the gate gap.
Conclusion
A side yard asks very little of you — just enough light to find the latch, see the steps, and feel welcome instead of wary. These side yard gate lighting ideas give you that in layers: post caps and a motion lantern greeting you at the gate, steady path light underfoot, and a soft wash or sparkle along the fence to make the walk between them a pleasure. Start with the gate zone this weekend, add the path layer when you can, and let the fence line be your finishing touch. Then browse the rest of my outdoor lighting ideas here on the site and give the front walk the same treatment — it has been patiently waiting its turn.