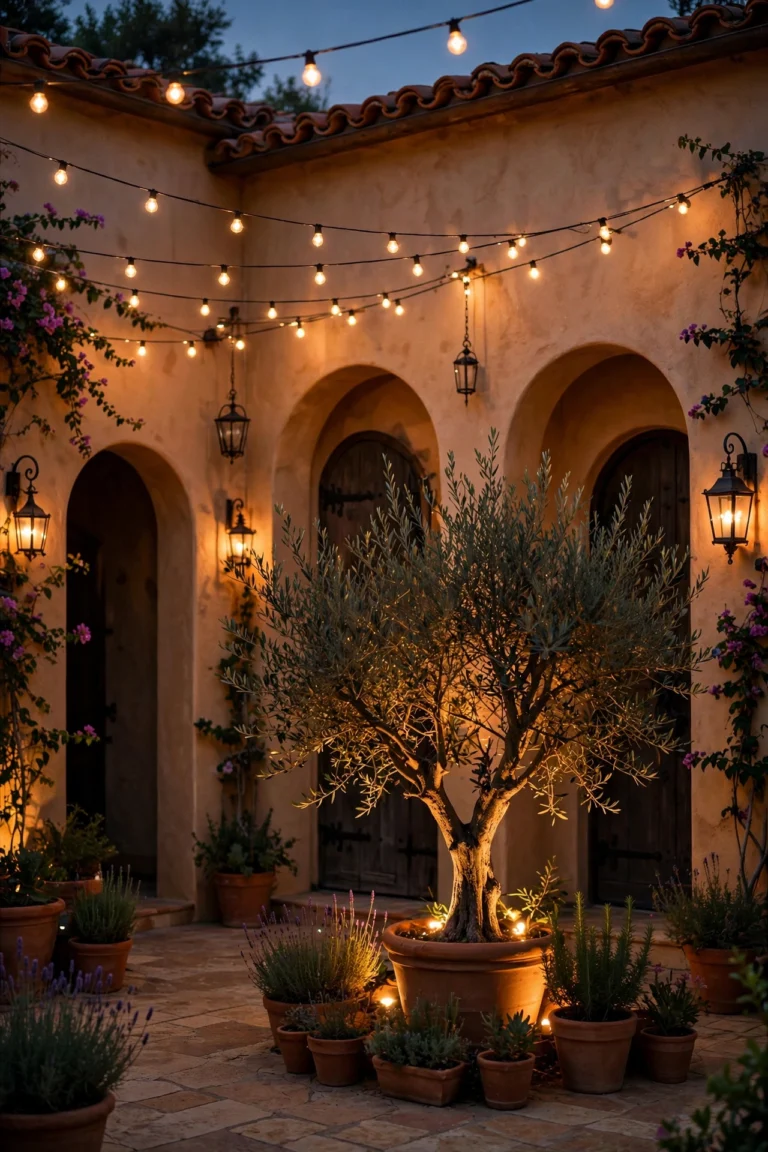
The side yard is the most forgotten strip of most homes — a narrow pass-through of gravel and stepping stones that you only think about when you are dragging the trash bins out in the dark. Mine was exactly that for years, until one evening I caught my sandal on a hose fitting and decided this little corridor deserved better. That is when I started collecting side yard stepping stone lighting ideas that actually work in a tight space: low, warm and layered, so the path feels intentional instead of forgotten. The secret is the same layering philosophy I use everywhere else in the yard — a soft base of light at ground level to define each stone, a guiding layer for safety, and a little sparkle up high so the run never feels like a tunnel. Below are the 19 combinations I have tested along my own gravel path, with real spacing measurements, honest costs and the mistakes you can skip. If your side yard is wider or heavily planted, my broader side yard lighting ideas roundup covers those layouts too.
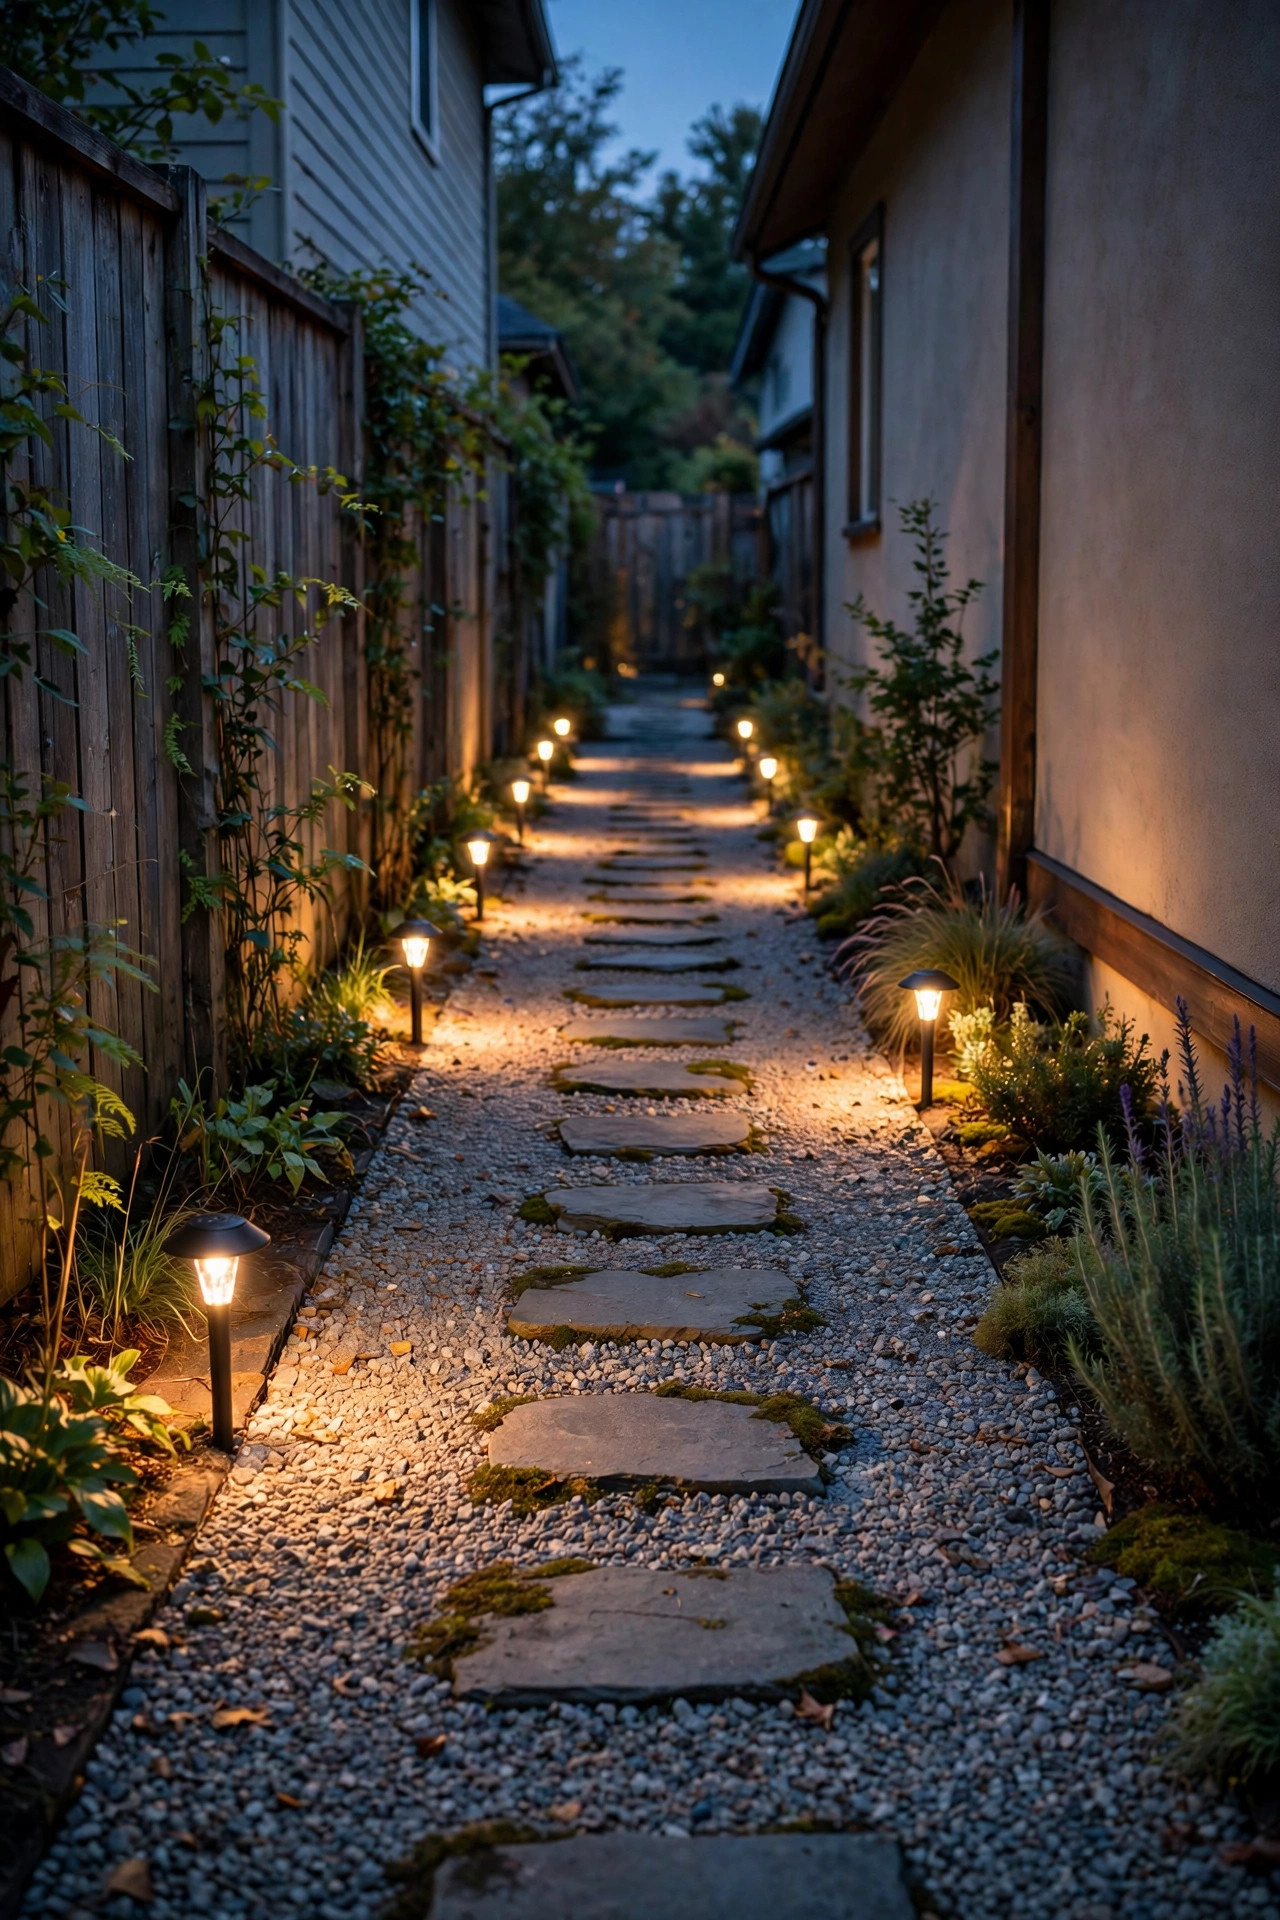
1. Low-Voltage Path Lights: The Backbone of Most Side Yard Stepping Stone Lighting Ideas
If I could pick only one upgrade for a gravel-and-stone side path, it would be a simple 12-volt low-voltage path light system. It is the most reliable light you can put in a narrow yard — no batteries fading by February, no solar panels starved by the fence shadow — and the warm pools it throws across each stone make the whole run feel deliberate. I space mine 4 to 6 feet apart, staggered on alternating sides of the stones rather than in one straight runway line, which keeps the path readable without that airport-strip look. Choose fixtures 12 to 18 inches tall with a shielded, downward-facing head so the light lands on stone and gravel, never in your eyes. The cable run is the easy part in gravel: rake a shallow 3-inch trench alongside the stones, press the cable in, and let the gravel fall back over it. Size the transformer with about 20 percent headroom so you can add a fixture or two later, and choose 2700K lamps for that candle-warm tone against gray stone. In my experience, this single layer does 80 percent of the work — everything else in this list is layering on top of it.
Suggested budget range: $120 – $260.

2. Solar Stake Lights Tucked Between the Stones
Solar stake lights are the fastest win on this list: push them into the gravel between the stones, and by dinner the path is dotted with light. I place one at every stone or every other stone, about 6 to 8 inches out from the stone edge, so the glow rims the stepping surface instead of sitting in the middle of your stride. Now the honest part — side yards are shady, and a panel buried in fence shadow will give you a sad two-hour glow. The fix is choosing models with a separate cabled solar panel that you mount on top of the fence or gate post where the sun actually lands, while the lights themselves stay down in the shade. My full solar path lights guide walks through panel placement in detail. Look for warm-white output around 3000K, replaceable batteries, and stakes with a pointed metal tip, because plastic tips snap in compacted gravel. Expect 6 to 8 hours of light after a decent day of sun. These will never outshine a wired system, but for renters and quick weekend fixes, nothing beats them.
Suggested budget range: $35 – $90.
3. Recessed Puck Lights Set Flush in the Gravel
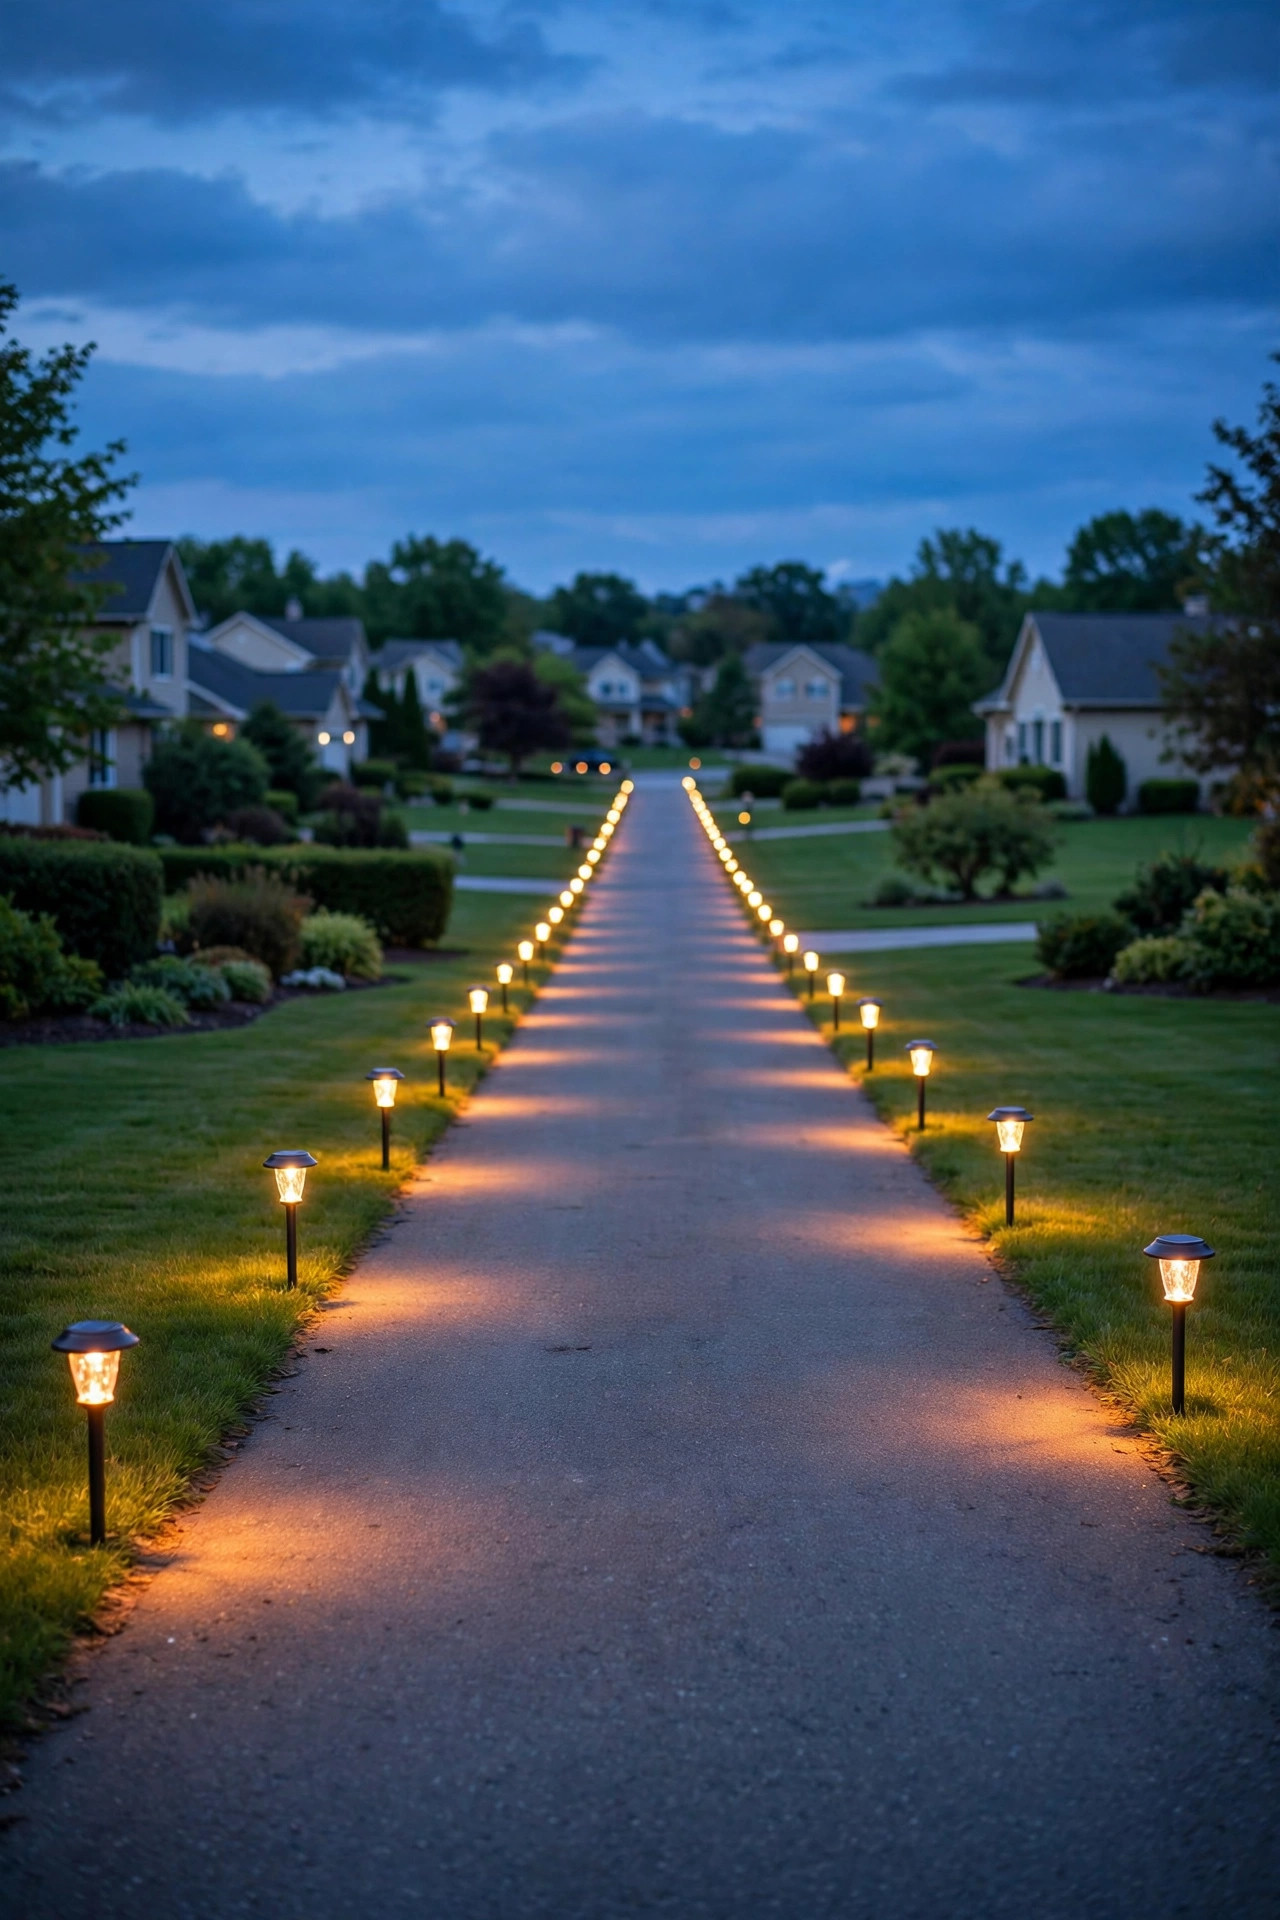
For a clean, modern look, recessed puck lights are my quiet favorite. These small round fixtures sit nearly flush with the ground, tucked into the gravel right at the corners of each stepping stone, so they mark the edges of your footing without anything sticking up to kick or trip over. Because they live at ankle height in loose stone, insist on a sealed IP67 rating or better, and run their low-voltage cable in a shallow channel beneath the stones themselves where foot traffic never disturbs it. I aim the layout like runway markers in pairs — one puck at the near-left corner of a stone, the next at the far-right of the following stone — which reads as a gentle zigzag of light that pulls you forward. The effect is all glow and no visible hardware, and it flatters gravel beautifully because each stone of the path catches a soft halo. One warning from experience: buy two spares. Gravel shifts, gardeners rake, and matching a discontinued puck style three years later is a headache you do not need. Keep the spares in a labeled bag in the garage and future-you will be grateful.
Suggested budget range: $90 – $220.
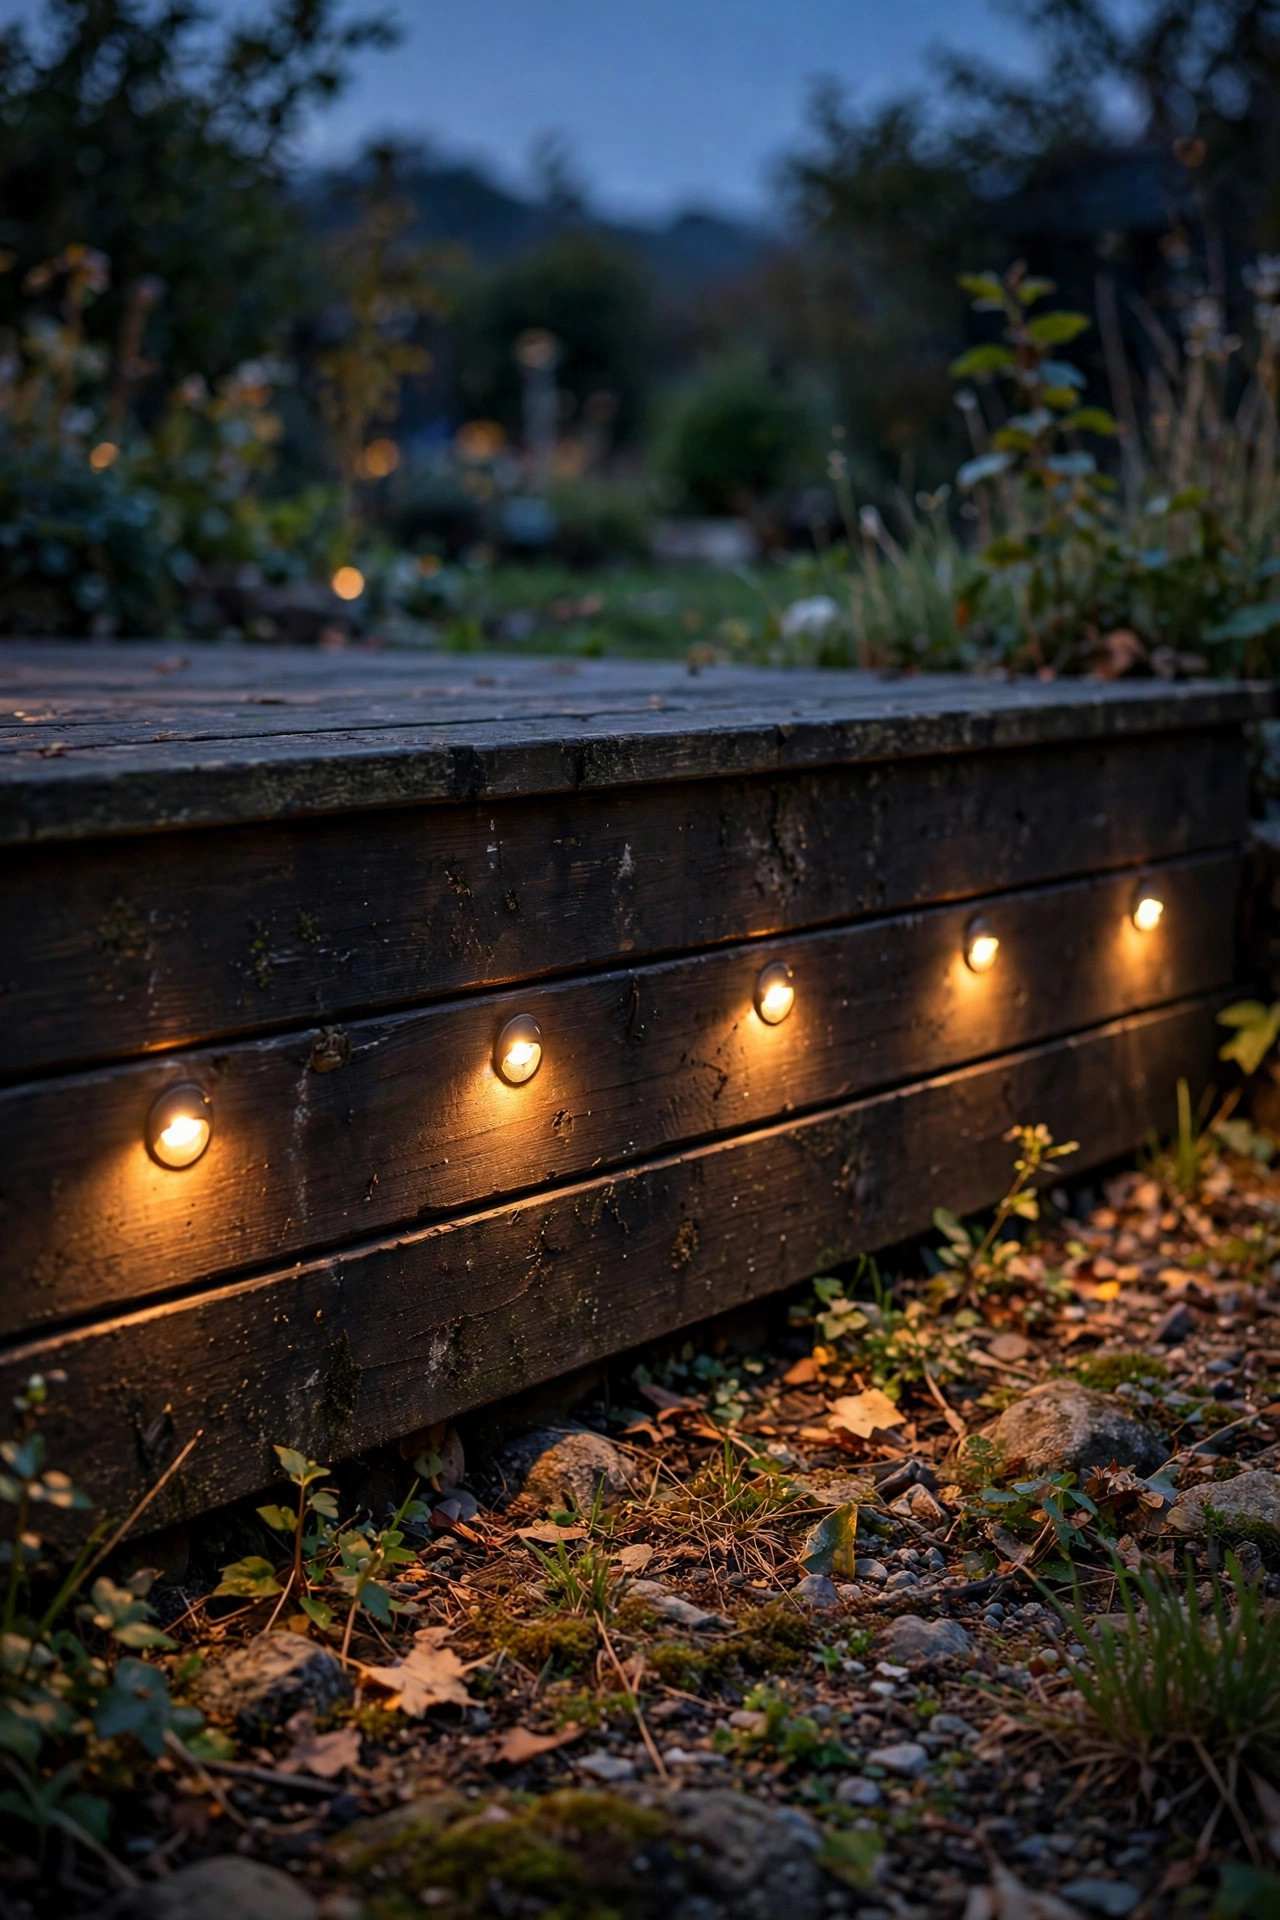
4. LED Strip Light Under a Timber or Stone Edge
If one side of your path runs along a timber retaining edge, a raised planter or a row of taller border stones, an LED strip tucked underneath that lip creates the most magical line of light in the whole side yard. The strip hides in an aluminum channel — the channel matters, it protects the diodes and diffuses the light so you see a glow, not a row of dots — and it washes down across the gravel in one continuous ribbon. Use an outdoor-rated IP65 strip at 2700K, and power it from the same low-voltage transformer as your path lights if the driver allows, or a small dedicated plug-in supply in a weatherproof box. This works best where the path sits lower than the edging by at least 3 or 4 inches; the bigger the drop, the softer and more dramatic the wash. I installed mine along a railroad-tie edge and it instantly made the stones look like they were floating. Avoid facing strips outward at eye level — in a narrow yard that glare is miserable. Under a lip, pointed down, it is pure atmosphere and genuinely useful light for finding your footing.
Suggested budget range: $45 – $110.

5. Lantern-Style Path Lights for a Cottage Feel
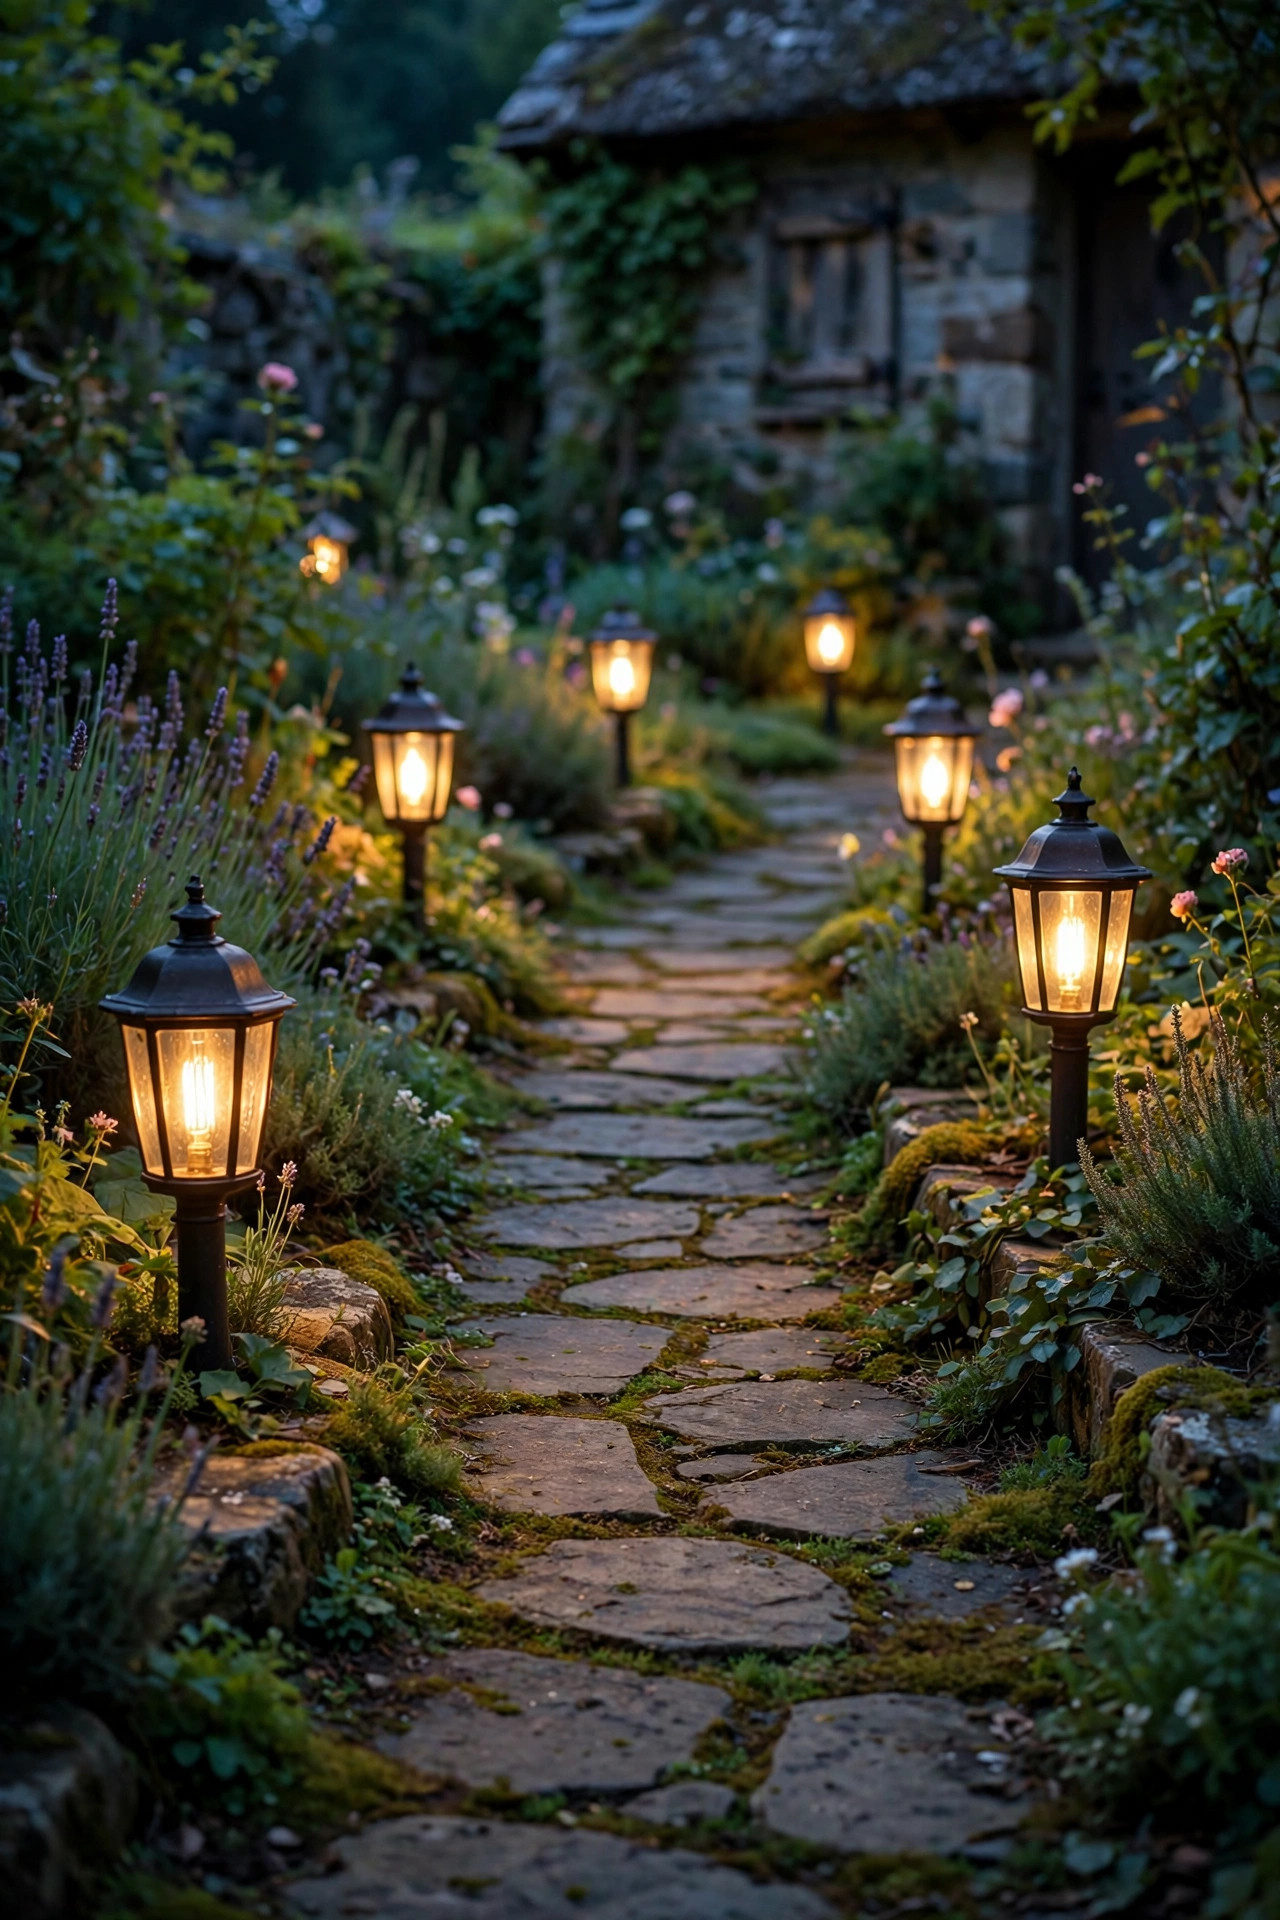
Some side yards do not want modern minimalism — they want charm. Lantern-style path lights, with their little glass houses and visible warm filaments, turn a utilitarian gravel run into something that feels like the way to a garden cottage. I like them best on the shorter side, 14 to 20 inches, with real glass rather than plastic so the light sparkles instead of going milky after one summer. Space them a touch wider than basic path lights, every 6 feet or so, because their glow is broader and more decorative than directional. They pair especially well with irregular natural stones and pea gravel; if your path leans cottage, my stone walkway lighting ideas has more pairings in that style. Choose LED filament bulbs so you get the vintage look without the heat or the energy draw, and keep the finish consistent with your gate hardware — black with black, bronze with bronze — so the run looks collected rather than random. One practical note: lanterns collect cobwebs and dust faster than shielded fixtures, so give them a quick wipe whenever you are out there with a broom.
Suggested budget range: $80 – $200.
6. Motion-Sensor Lights for the Bin Run and Back Gate
Let us be practical for a moment: the side yard is where the bins live, where the AC unit hums, and where you haul things in the dark with both hands full. A pair of motion-sensor lights — one near the house end, one near the gate — is the hardest-working lighting you will install out there. Mount them 6 to 7 feet up on the wall or fence so their sensor sweeps the full length of the path, and angle the heads down so the beam pools on the stones instead of blasting the neighbors. Modern solar and battery models make this a ten-minute, no-wiring job, and the better ones let you dial sensitivity and timeout; I set mine to 60 seconds, long enough to wrestle a bin through the gate without the light abandoning me mid-trip. Choose warm-white output if you can find it — harsh blue-white security light makes a narrow yard feel like a loading dock. And place the sensors so they trigger as you enter the path, not halfway down it. That first step out the side door, bins in hand, is exactly when you need the light most.
Suggested budget range: $40 – $120.
7. Overhead String Lights Zigzagged Fence to House
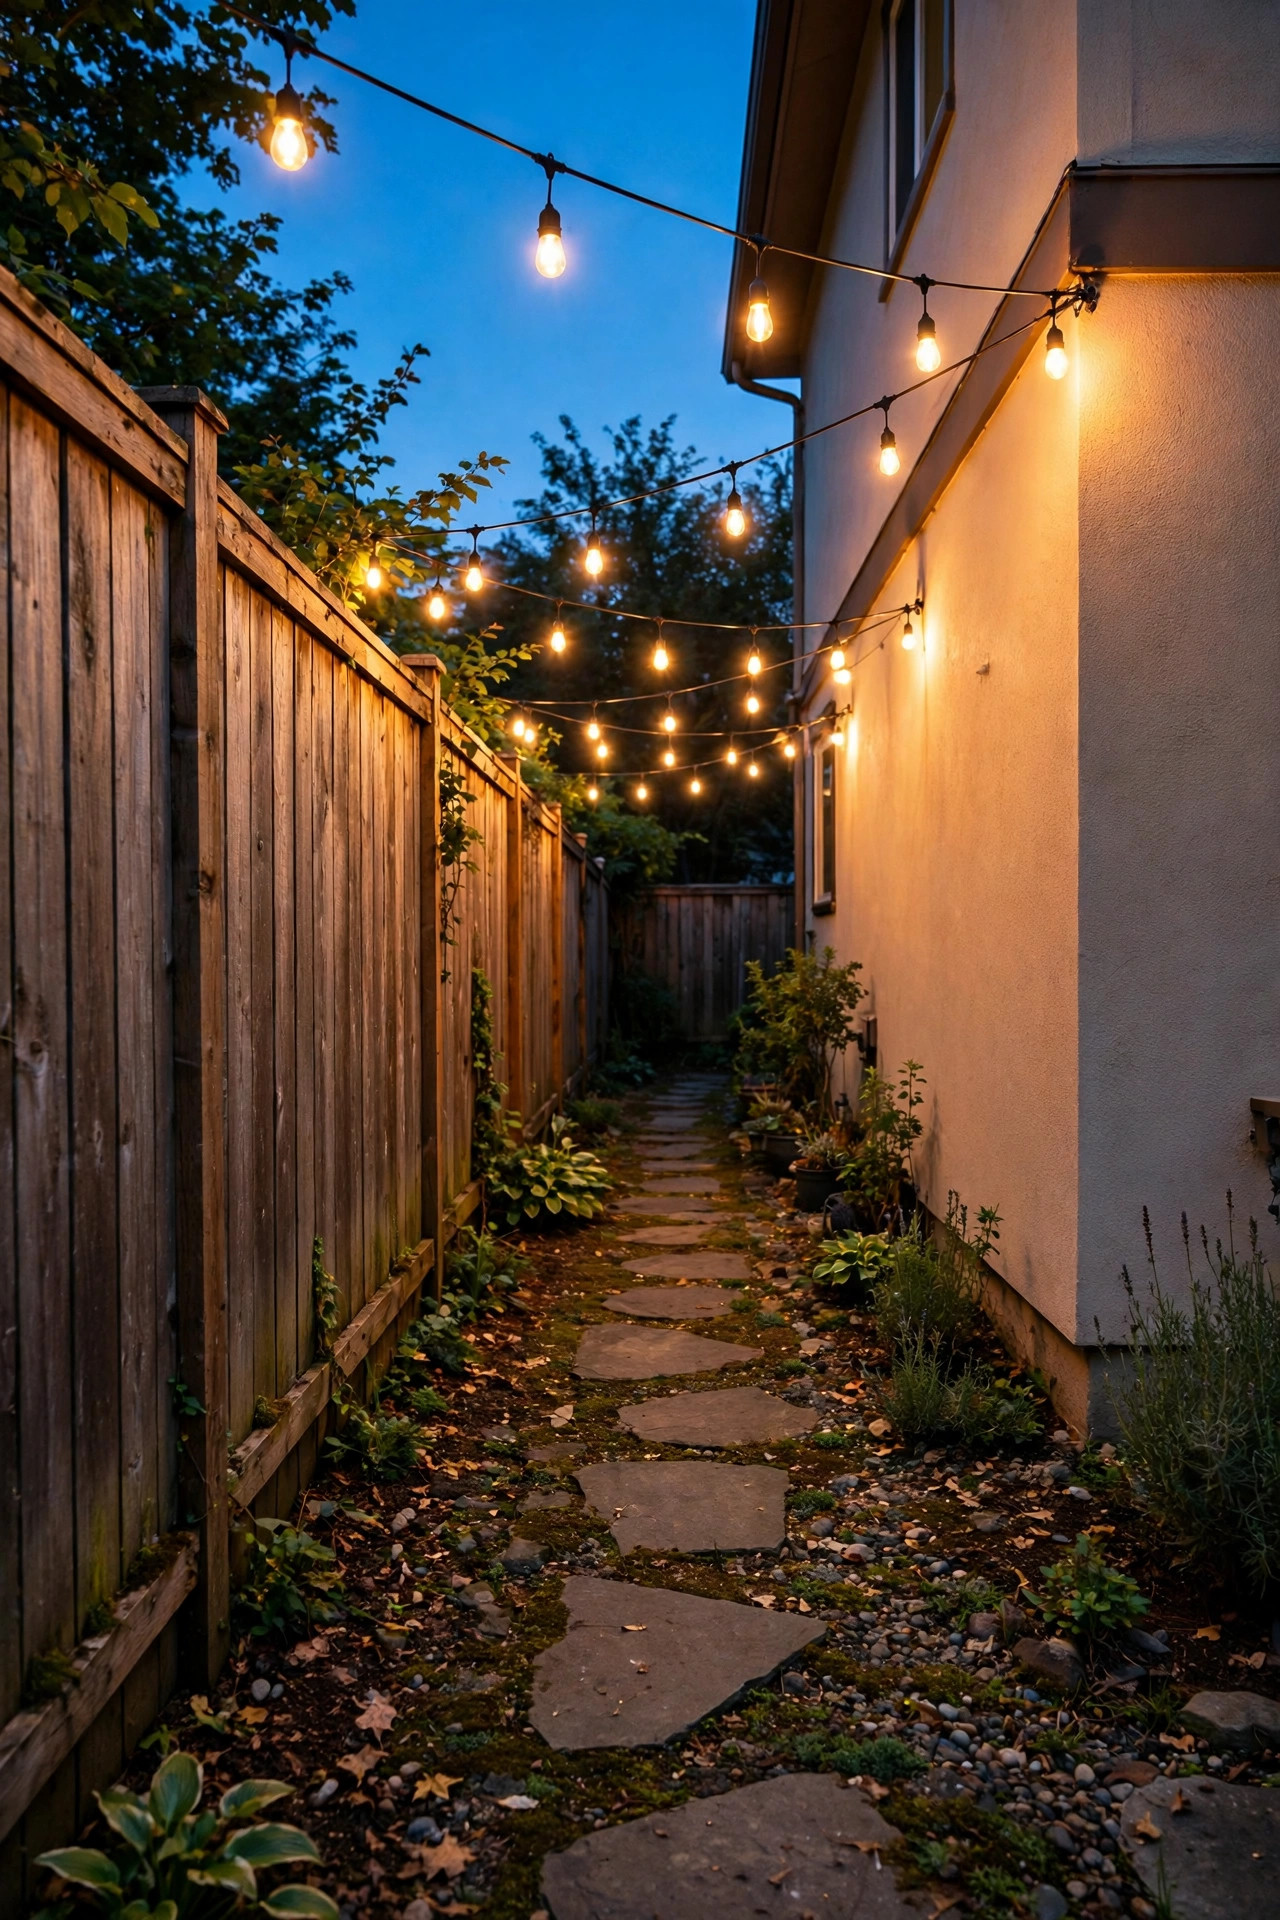
The moment you add light overhead, a side yard stops feeling like a corridor and starts feeling like a room. A single zigzag of outdoor string lights, run from the fence to the house wall and back, is enough for most narrow yards — you do not need a dense canopy, just one graceful swag every 4 to 5 feet. Use commercial-grade strand with suspended sockets, and support any span over about 10 feet with a thin guide wire so the weight never pulls on the sockets themselves. Keep the lowest swag at least 7 feet above the stones so tall guests and carried ladders pass cleanly. Shatterproof LED bulbs are non-negotiable over gravel; a dropped glass bulb in loose stone is a cleanup nightmare. I run mine on the same timer as the path lights, and honestly, the combination — warm pools below, gentle swags above — is what finally made our side yard feel like part of the garden instead of the gap between two properties. If your side yard is roofed by a big tree instead, string the swags from trunk to fence and let the leaves filter the glow.
Suggested budget range: $30 – $85.
8. Copper-Wire Fairy Lights Woven Through the Border Plantings
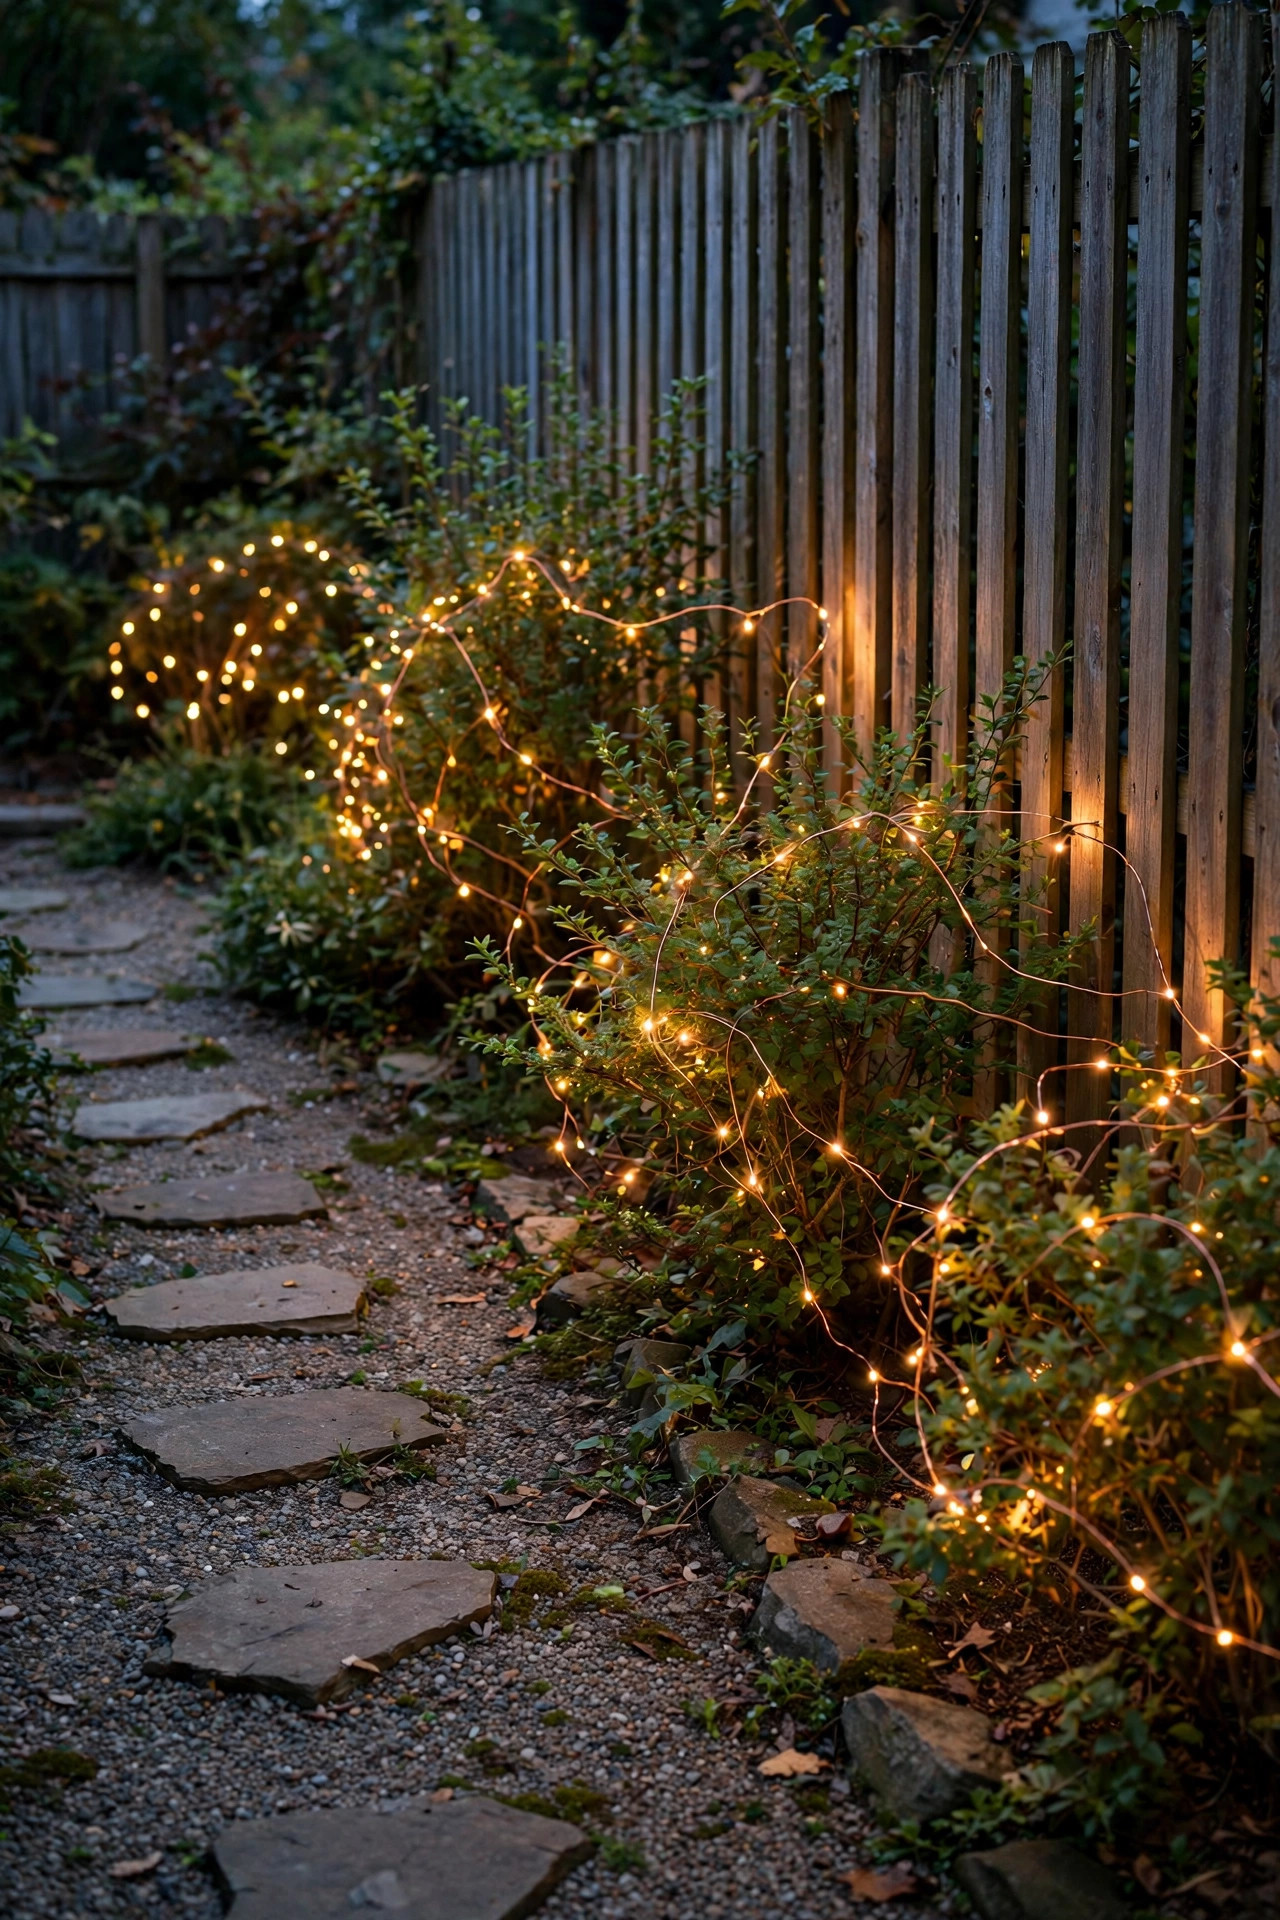
Every layered path needs a sparkle layer, and along a side yard that job belongs to copper-wire fairy lights woven through whatever grows along the fence — shrubs, ornamental grasses, a climbing vine on a trellis panel. The wire disappears completely, so all you see are dozens of tiny warm points floating in the foliage at stone height, and the reflection of that sparkle on the gravel is honestly prettier than paths costing ten times more. Solar-powered strands are perfect here because the plantings usually sit where a little sun reaches the top of the fence line; tuck the small panel up high and let the strand drape down. Work the wire in loose S-curves rather than tight wraps, and leave slack — plants grow, and a strangled strand snaps by midsummer. Keep this layer dim and dense rather than bright; it is jewelry, not task lighting, and its job is to soften the fence line so the path feels gardened. In winter, when the plantings die back, the same strands woven along the bare fence boards still read as a gentle dotted line guiding you down the path.
Suggested budget range: $15 – $45.
9. Short Bollard Lights for a Clean Modern Line
If your home leans modern, short bollard lights give a side yard an architectural calm that lanterns and stakes cannot match. These are simple squared or cylindrical posts, usually 18 to 24 inches tall, with the light source hidden behind a louver or a downward shield so all you see is a crisp blade of light raking across the gravel. Gravel is where bollards truly shine — literally — because that low raking angle picks up every bit of texture in the stone and throws long soft shadows from the stepping stones themselves. Space them wider than standard path lights, every 6 to 8 feet, because each one throws a generous, controlled wash. Alternate sides for a relaxed rhythm, or run them down one side only for a gallery feel. Spend for metal bodies with powder-coat finishes; the bargain plastic versions yellow and lean within a couple of seasons, and a leaning bollard ruins the whole disciplined look. Bollards also double as subtle physical markers at the path edge, which is genuinely handy in the narrowest yards where guests tend to wander off the stones and into the plantings at night.
Suggested budget range: $110 – $280.

10. In-Ground Well Lights Washing the Fence
A fence is a huge blank canvas running the length of your side yard, and a row of in-ground well lights turns it into the backdrop of the whole scene. Set the fixtures flush in the gravel 6 to 10 inches out from the fence base, angled slightly toward the boards, and the light grazes upward, catching every grain and knot in the wood. It is the same trick landscape designers use on house walls, scaled down for a side yard. Because the light source sits below eye level and points up a vertical surface, the path itself stays softly lit by bounce — enough to walk by, never glaring. Choose well lights with a honeycomb louver or shield option if your path is very narrow, so you are not staring into the lamp as you approach. Water management matters here: well lights sit in a gravel pit by design, so dig the fixture pocket a few inches deeper and fill it with coarse drainage stone so the housing never sits in a puddle. Done right, this layer makes the whole run feel twice as wide at night, because your eye reads the lit fence as open space instead of a wall closing in.
Suggested budget range: $70 – $180.
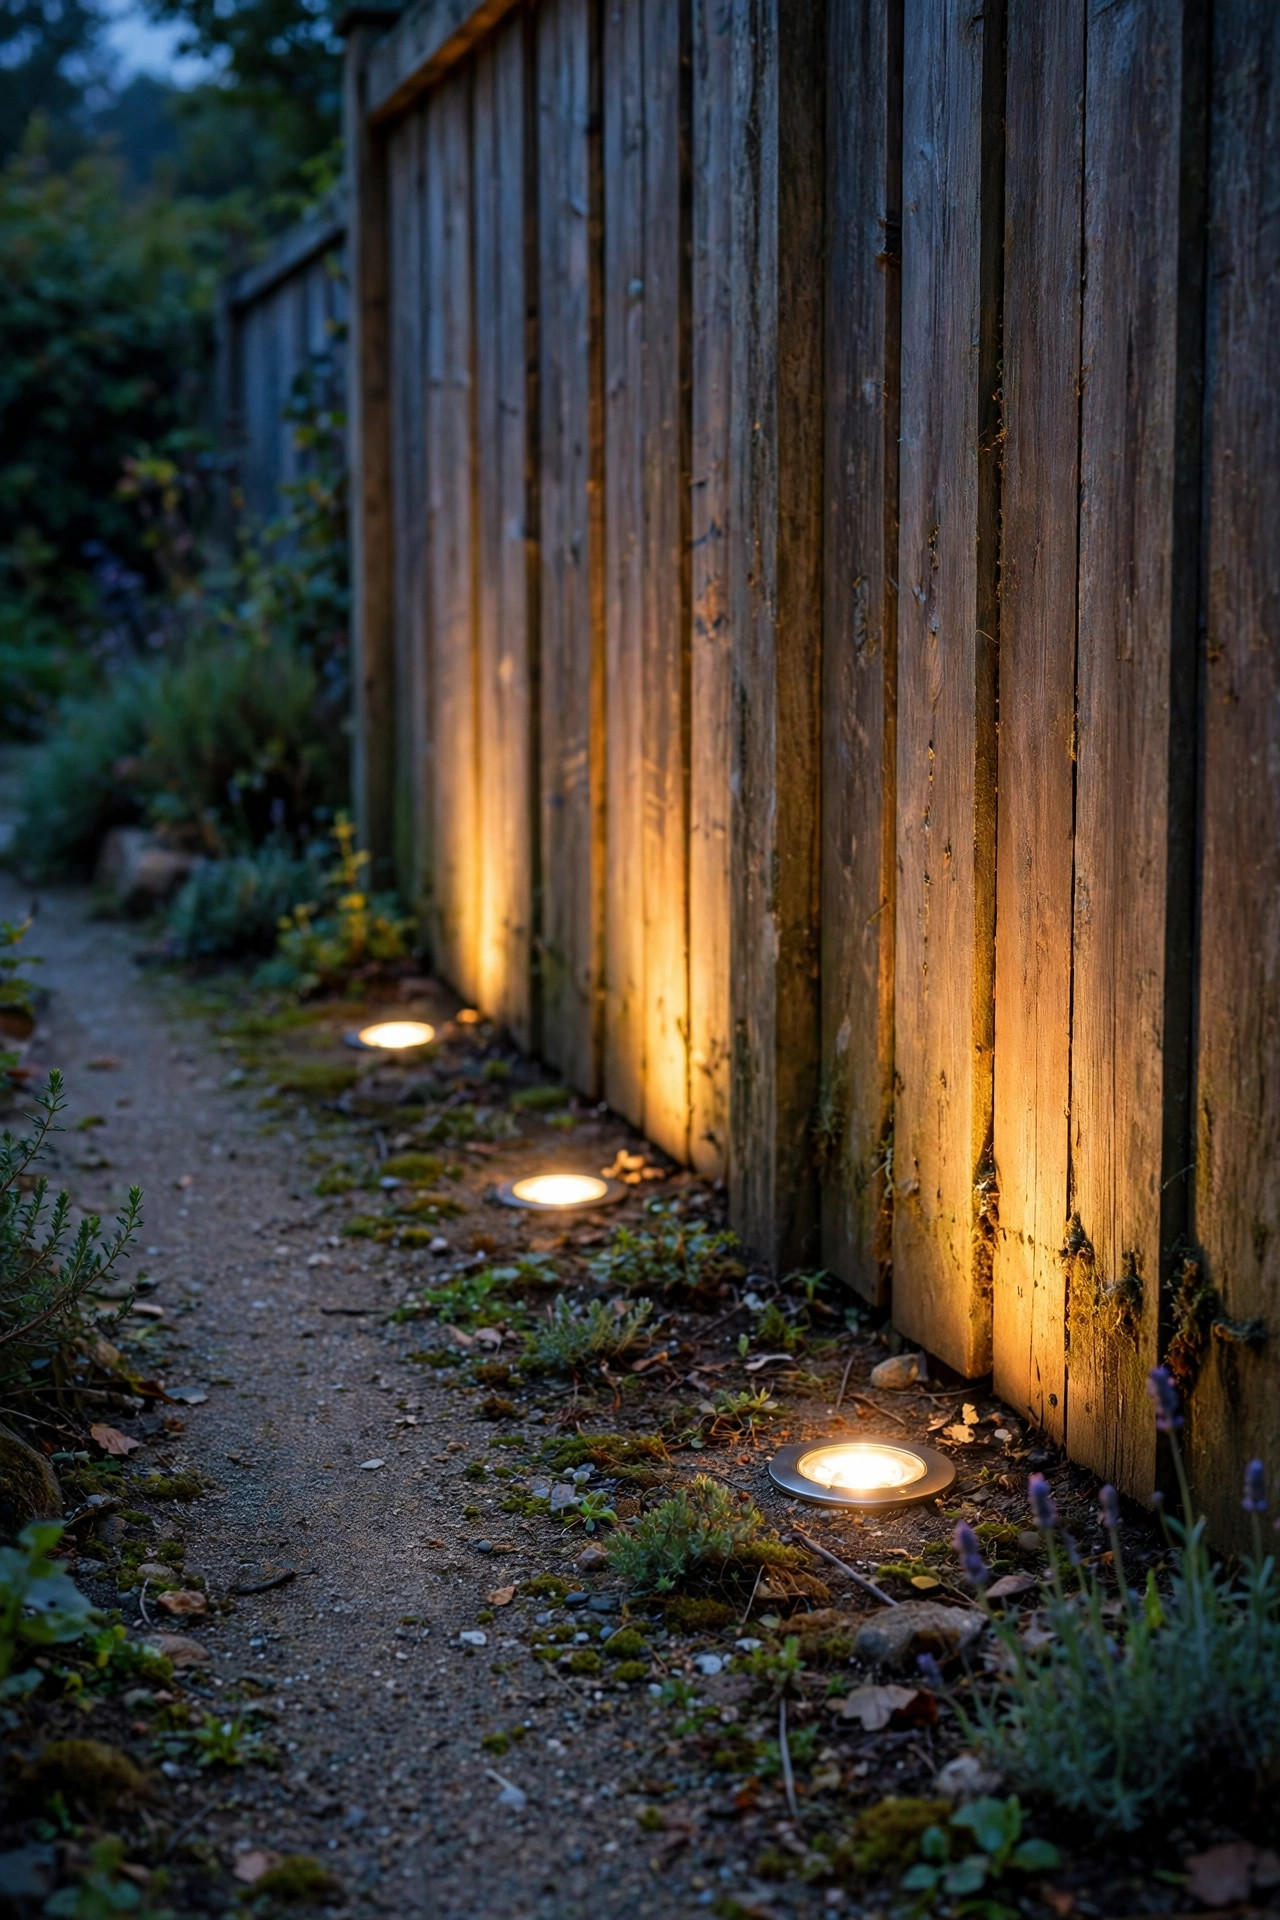
11. Glow Stones Mixed Into the Gravel
This is the playful one, and I will be honest about what it can and cannot do. Photoluminescent glow stones — little resin pebbles that charge in daylight and glow softly after dark — will not light your path on their own. But scattered through the top layer of gravel around each stepping stone, they create a faint starfield at your feet that guests always notice and children absolutely love. Mix them at roughly a handful per square foot concentrated near the stone edges, where they read as a loose outline of the walking route. The blue-green shades glow longest and brightest; the warm tones are subtler and blend better with 2700K lighting, so choose based on the mood you want. They need real sun to charge, which makes them best for the brighter end of the yard or south-facing runs, and a cloudy week will dim them noticeably. Treat them as the final garnish on a properly lit path — a detail layered over your path lights, never a replacement for them. They cost almost nothing, need no wiring, and pulling a few out to rearrange the pattern is a strangely satisfying ten minutes.
Suggested budget range: $20 – $55.
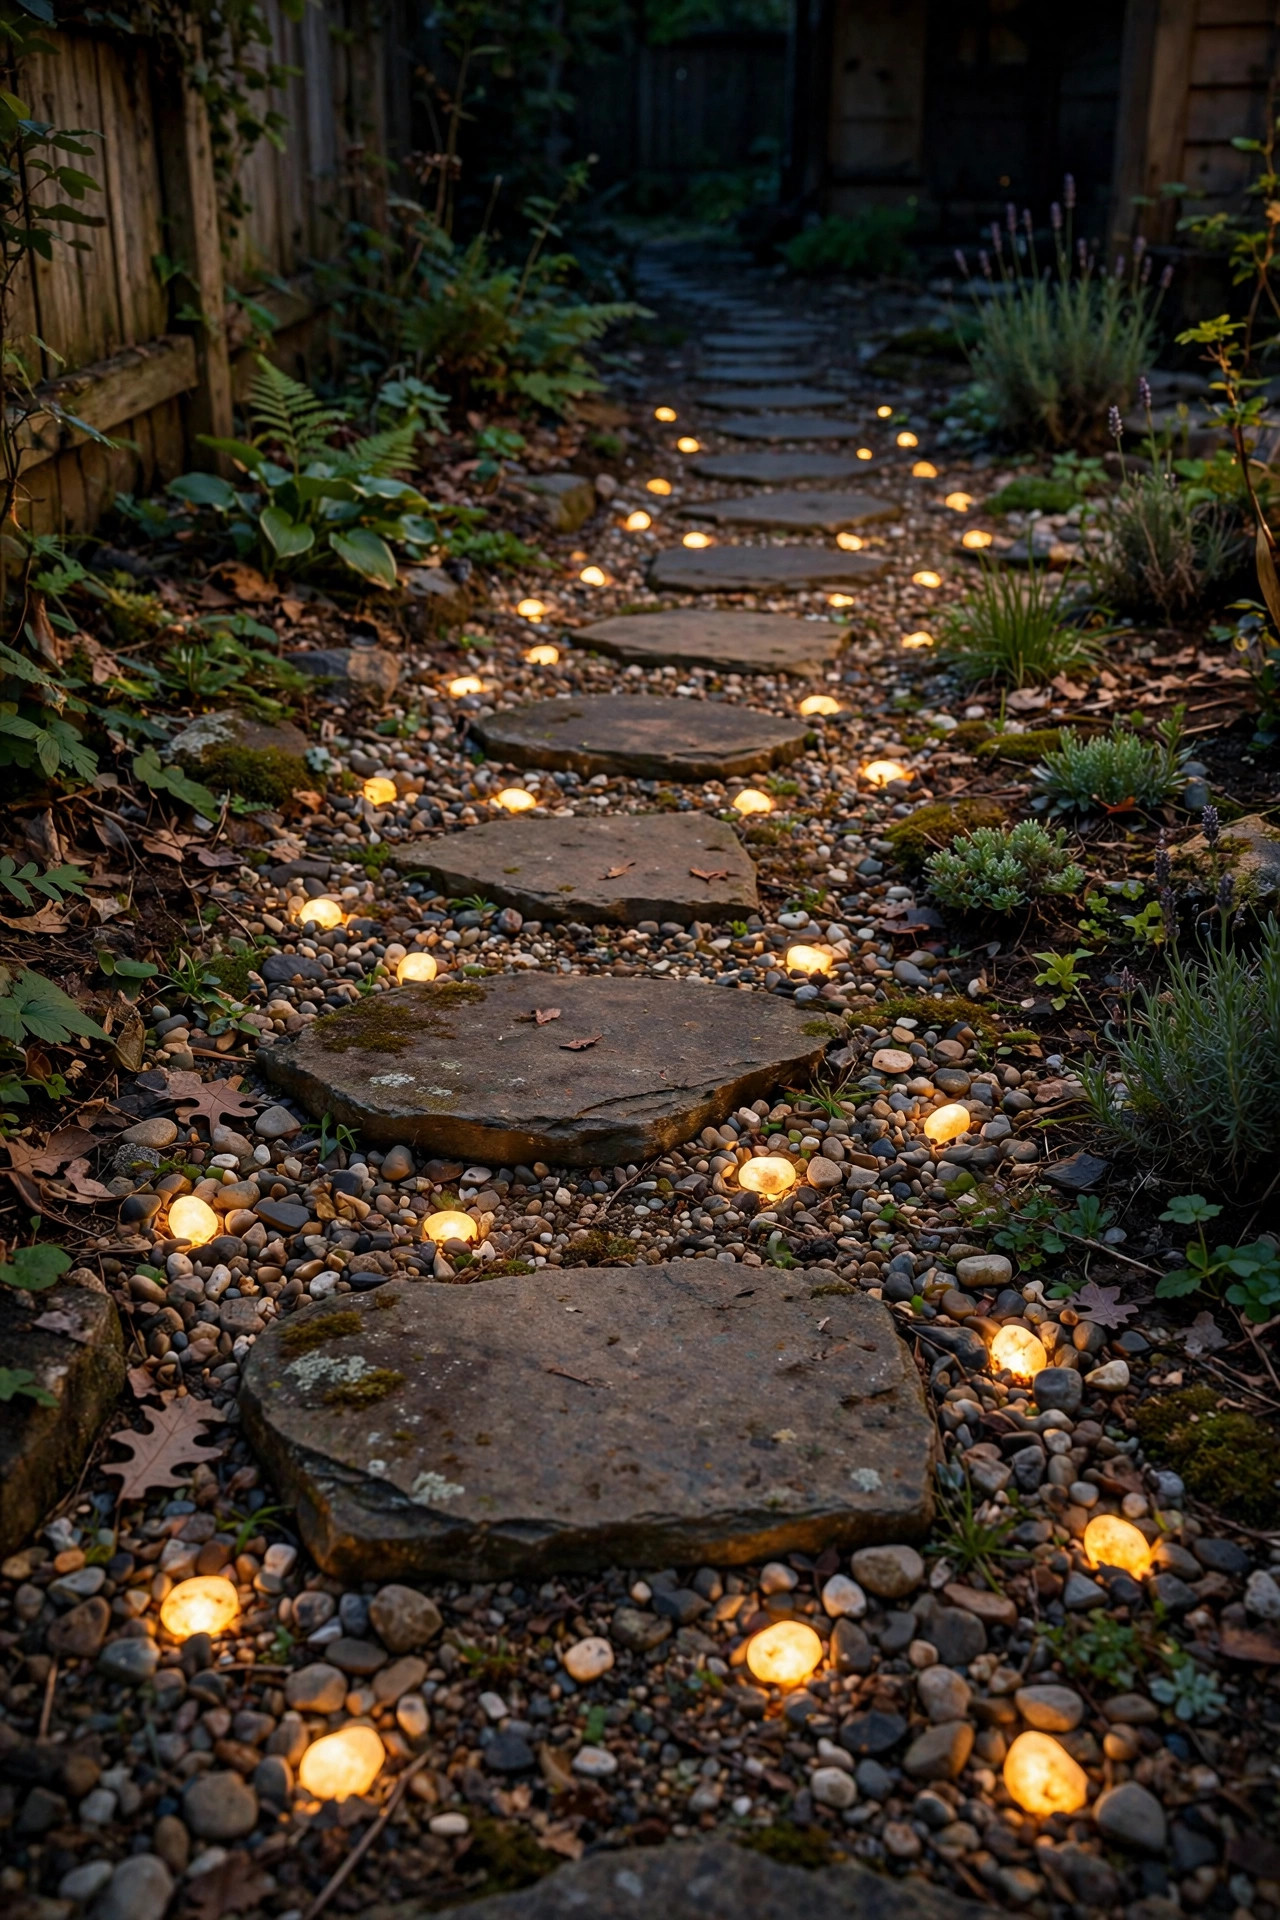
12. Step Lights Where the Path Changes Level
Most side yards are not perfectly flat — there is a step up to the back gate, a drop where the path meets the patio, or a single raised stone everyone forgets about. That one level change is where ankles get twisted, so give it its own dedicated light. Recessed step lights set into the riser face are the tidiest option if the step is wood or masonry you can drill; for a simpler retrofit, surface-mount a low-profile LED fixture on the side of the riser or on the fence post right beside it, aimed across the tread. The rule I follow: the light should rake across the step surface so the edge casts a tiny shadow line, which is what your eye actually reads as "step here." Power it from your path-light transformer so it always comes on with the rest of the system — a step light on a separate switch will be off exactly the night someone needs it. If your level change is a single tall stepping stone rather than a built step, a puck light at its base from idea 3 does the same job. Safety lighting is never the prettiest layer, but this is the one your guests will thank you for.
Suggested budget range: $50 – $140.

13. Shepherd's Hook Lanterns Along the Run
For renters, or anyone who wants zero wiring and total flexibility, shepherd's hook lanterns are the charming answer. Push the hooks into the soil strip or a gravel pocket along the path edge, hang a solar or battery lantern from each, and you have instant old-fashioned wayfinding. I stagger mine — a taller 48-inch hook, then a shorter 36-inch one — so the lanterns hang at varied heights and the rhythm feels collected rather than installed. Solar lanterns with a warm flicker mode are lovely here, though I keep flicker subtle and only on one or two; a whole row of fake flames can tip from cozy to theme park quickly. The huge advantage is rearrangeability: hosting a garden party, you can lift three hooks and move them to the patio in a minute, then put them back on Sunday. Anchor them firmly, though — a hook rocking in loose gravel will lean within a week. I pack a collar of larger stones around each base to lock it in, which also looks deliberate and tidy. Come winter, the lanterns come indoors for fresh batteries while the hooks stay put.
Suggested budget range: $45 – $130.
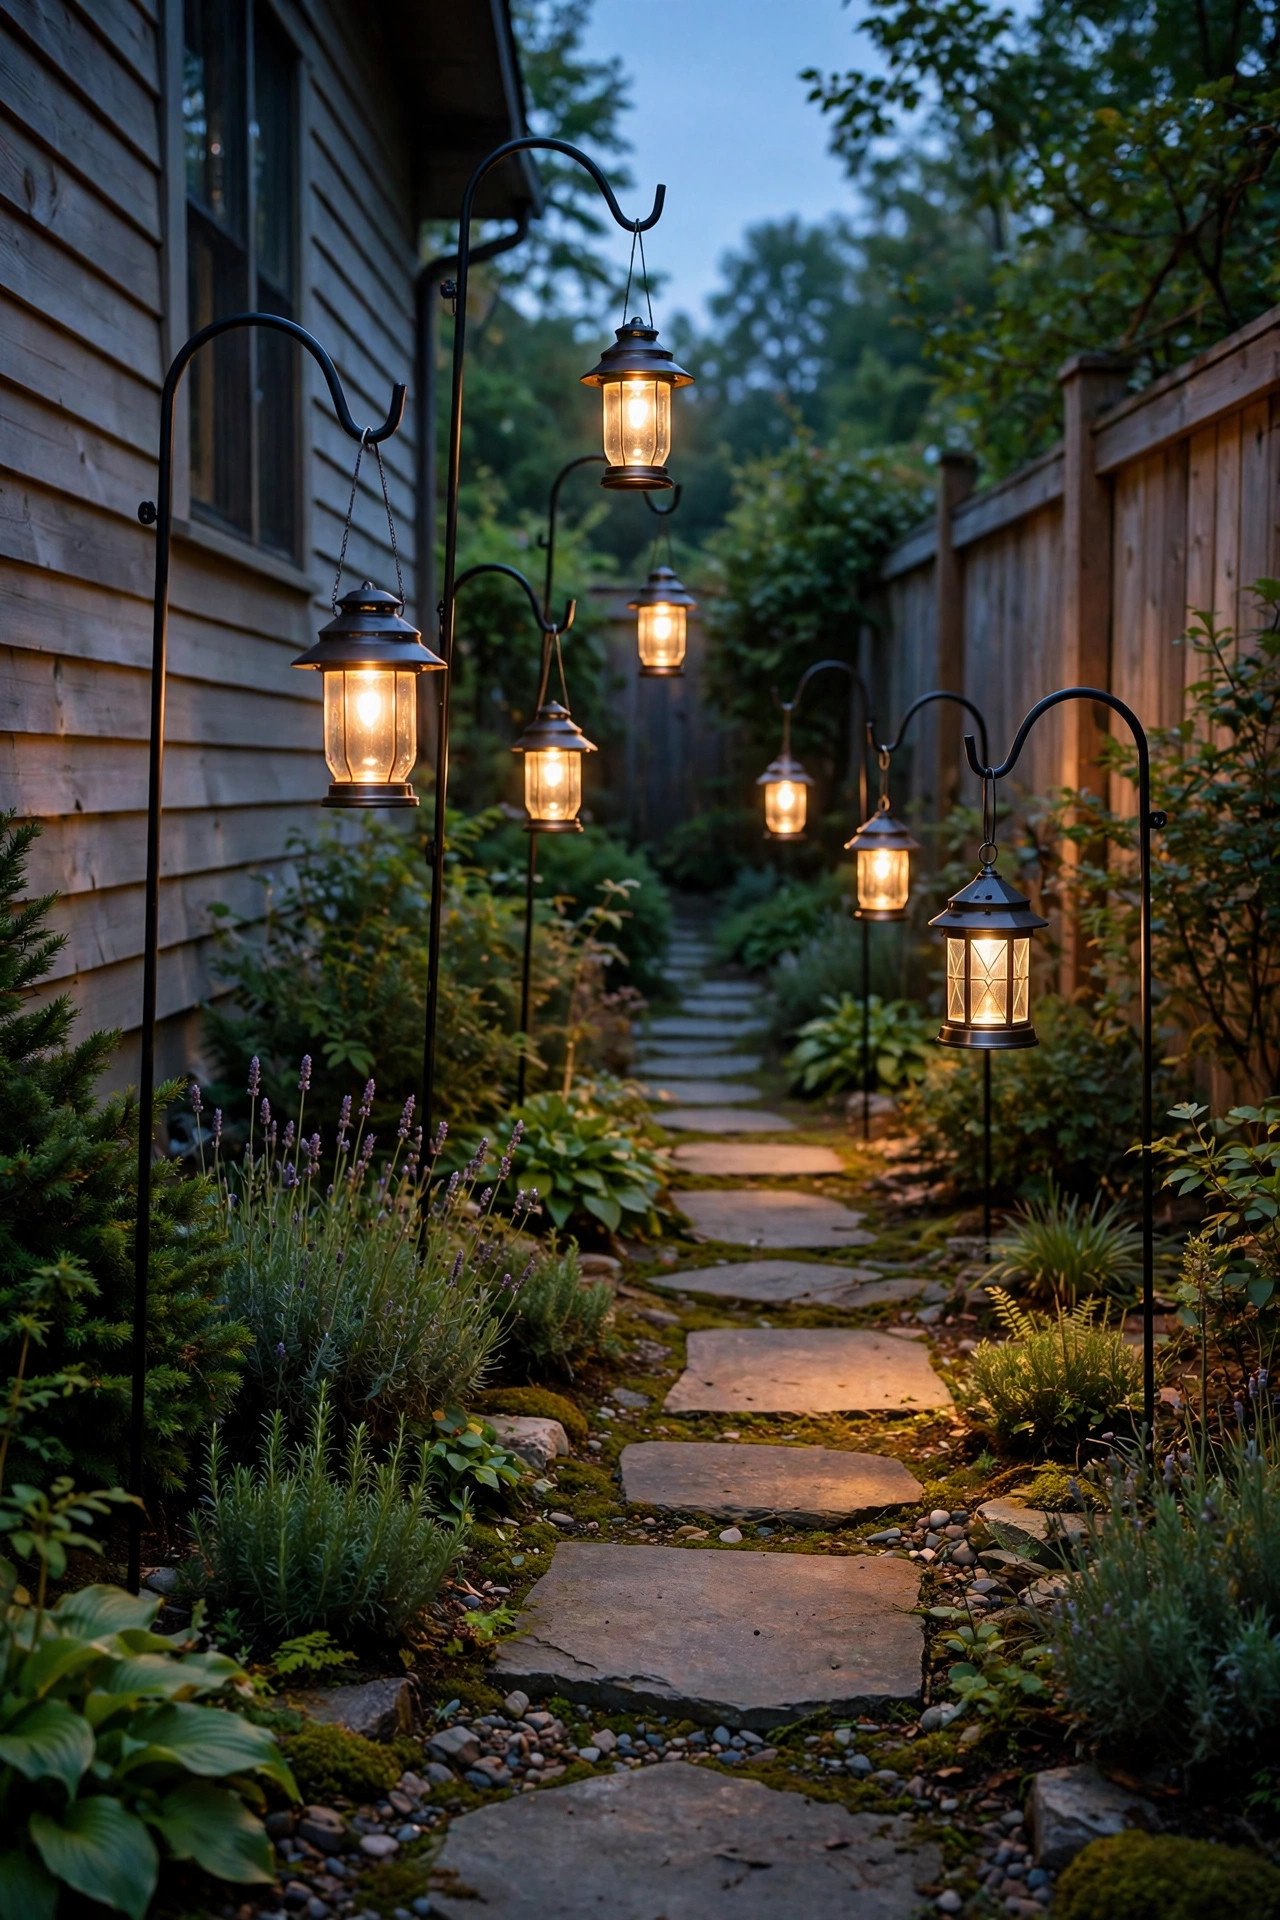
14. A Downlight From the Eave for a Moonlight Effect
Look up: the roof eave running above most side yards is a free mounting platform for the softest light of all. A single wide-beam downlight tucked under the eave, aimed straight down the middle of the path, mimics moonlight — soft, shadowy, and flattering to everything below. This is the layer that makes the whole yard read as one calm scene rather than a collection of fixtures, because the light feels like it comes from the sky instead of from hardware. Choose a fixture with a frosted lens or a wide 120-degree spread to avoid a hard spotlight circle, keep it at 2700K to stay warm, and put it on the timer with everything else. One caution from my own install: check the angle against your neighbor's windows before you finalize. In a narrow yard, an eave light angled even slightly outward can spill into the house next door, and good lighting never starts a fence-line feud. If your eave is very high, you may need two fixtures spaced along the run; if it is low, one at the midpoint usually covers a typical 20-to-30-foot path in gentle overlapping pools.
Suggested budget range: $60 – $160.
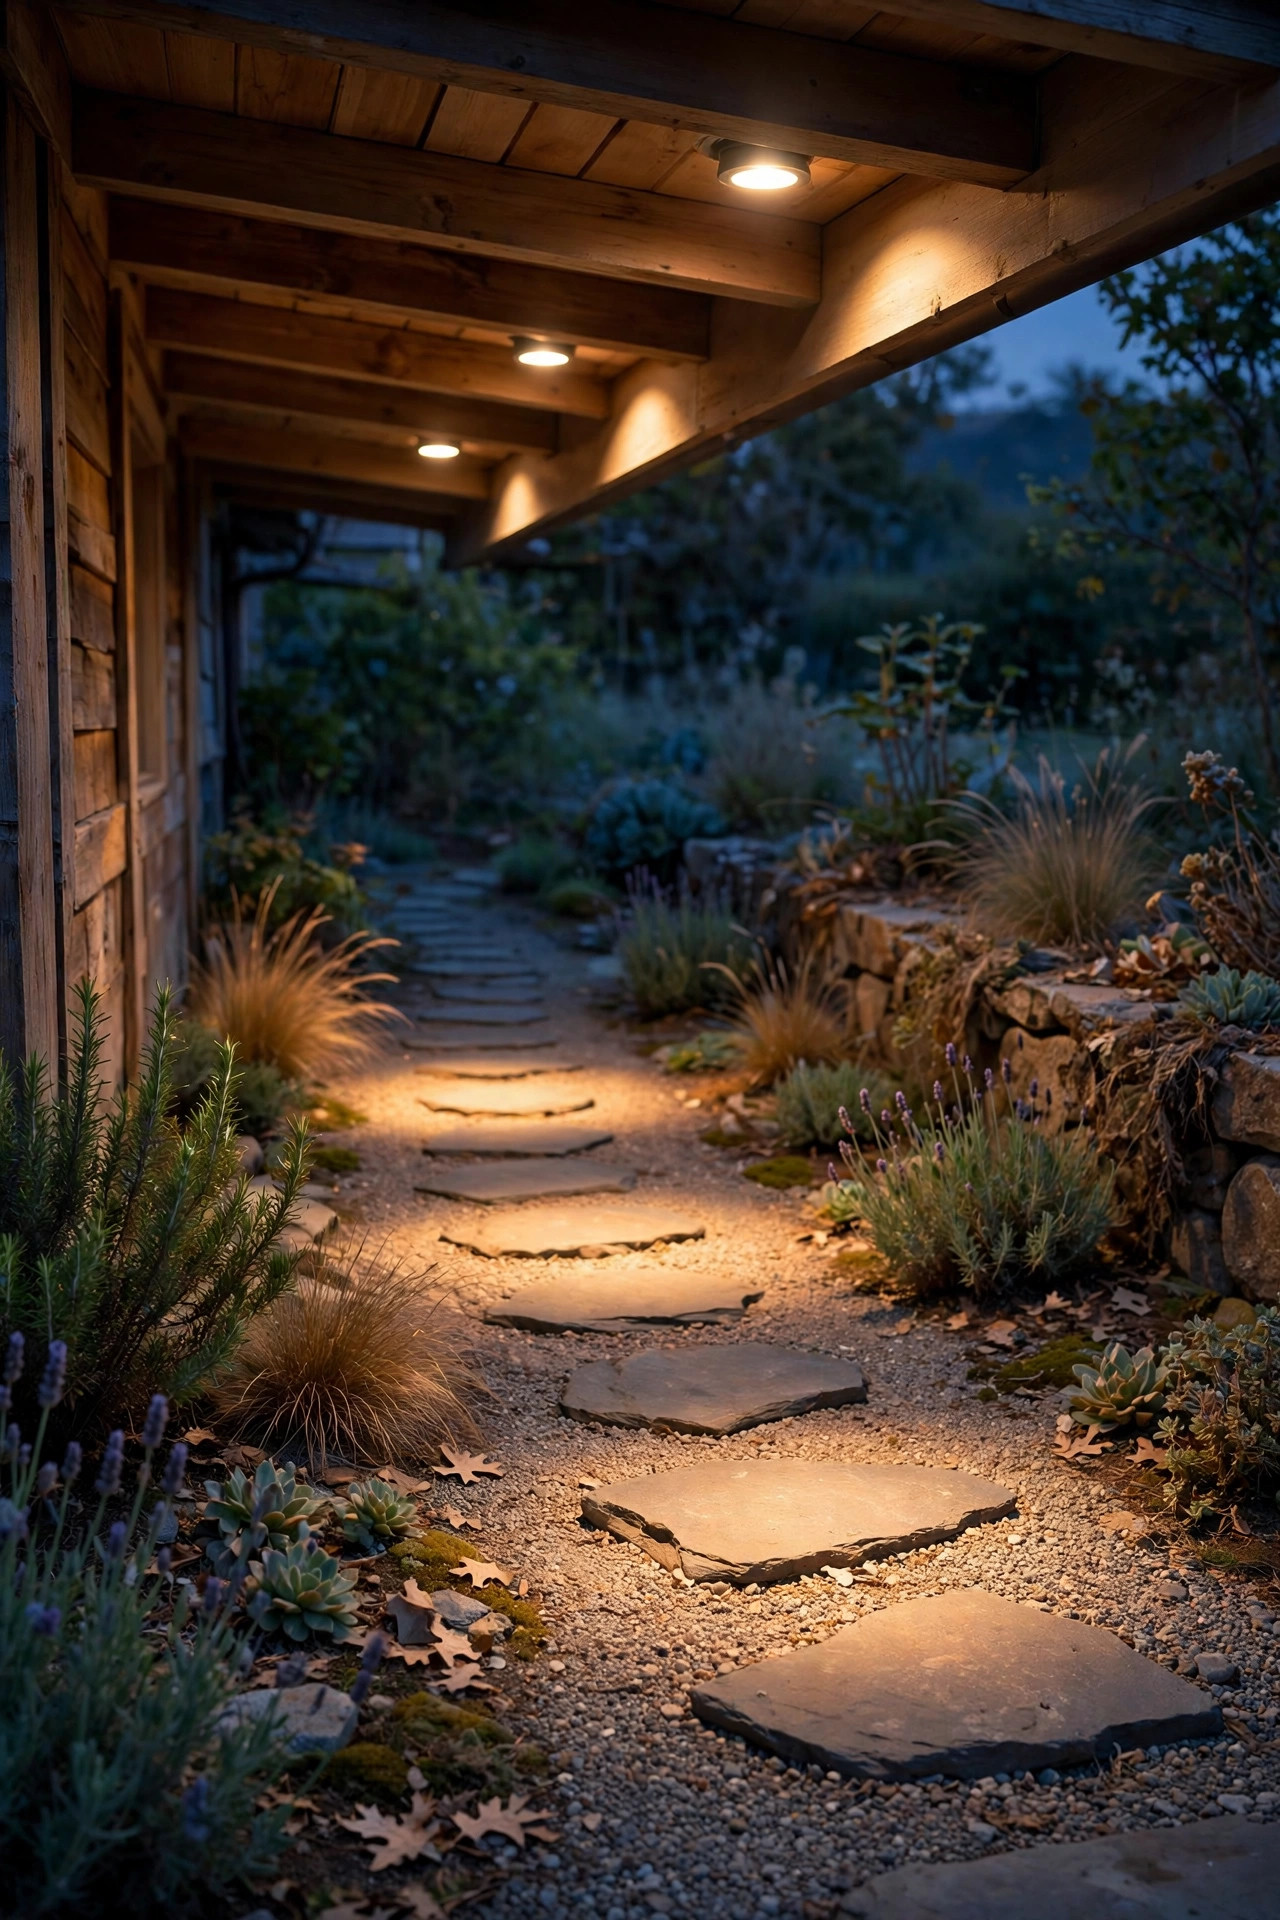
15. Solar Rope Light Tracing the Gravel Border
A gravel path needs a visible edge at night, and a solar rope light woven along the border does that job with one unbroken line of light. Run it along the landscape edging on one side — or both, if your yard is wide enough — tucked right where the gravel meets the soil or lawn, so the stones sit inside a softly defined ribbon. The solar versions come with a small staked panel you angle toward the best sky, and the rope itself can be gently S-curved around plants that spill over the edge. This is guide light, not see-by light, so think of it as the outline that keeps feet on the path and gravel off the grass. It also quietly solves the gravel-creep problem visually: a defined glowing edge makes the whole run look maintained even when the stone has migrated a bit that month. Use warm-white rope only — the cool blue-white versions make a home path look like a holiday display in the wrong season — and expect to replace the battery pack every couple of years. Clip the rope down every 18 inches or so with landscape staples so raking and sweeping never drag it out of line.
Suggested budget range: $25 – $70.

16. One Spotlight on a Focal Point at the End of the Path
Every path should lead somewhere, and a single well-aimed spotlight gives your side yard a destination. At the far end of most side yards there is something worth featuring — a small ornamental tree by the gate, a cluster of tall grasses, a birdbath, even a handsome section of fence with a hanging planter. One warm spotlight, staked in the gravel and angled up into that feature, pulls the whole composition together and draws the eye (and your guests) down the path. This is the only place in a side yard where I use a narrower beam, around 30 to 45 degrees, because the drama comes from contrast: one bright, beautiful thing glowing at the end of a softly lit run. Keep everything else dimmer than the focal point, or the effect collapses. Choose a low-voltage spotlight so it runs with your main system, and note where the beam lands from inside the house — you want to enjoy the view through a window, not catch glare while washing dishes. Honestly, this single fixture is what turned my side yard from a passage into a tiny evening garden tour.
Suggested budget range: $35 – $95.

17. Timers and Photocells So It All Just Happens
The best side yard lighting is the kind you never think about, and that takes one small box: a timer or photocell running the whole system. I use a transformer with a built-in photocell and timer — lights on at dusk, off at midnight — because the side yard does its real work in the evening, and there is no reason to burn electricity past bedtime on a Tuesday. For solar pieces, choose models with reliable dusk sensors and leave them be; for plug-in string lights and rope lights, an outdoor smart plug on the same schedule keeps every layer in sync. Seasonal drift is the one detail people miss: a fixed 6 p.m. start that was perfect in June leaves the path dark at 5:30 in November, so a photocell trigger beats a clock timer in my experience. Set it, then walk the path once a month at night as part of your regular yard putter — that is when you will spot the one fixture a rake knocked sideways or the gravel that has crept over a puck light. Fifteen minutes of attention a month keeps the whole layered system looking intentional year-round.
Suggested budget range: $20 – $75.
18. Mix Your Heights: Low, Mid and Overhead Layers
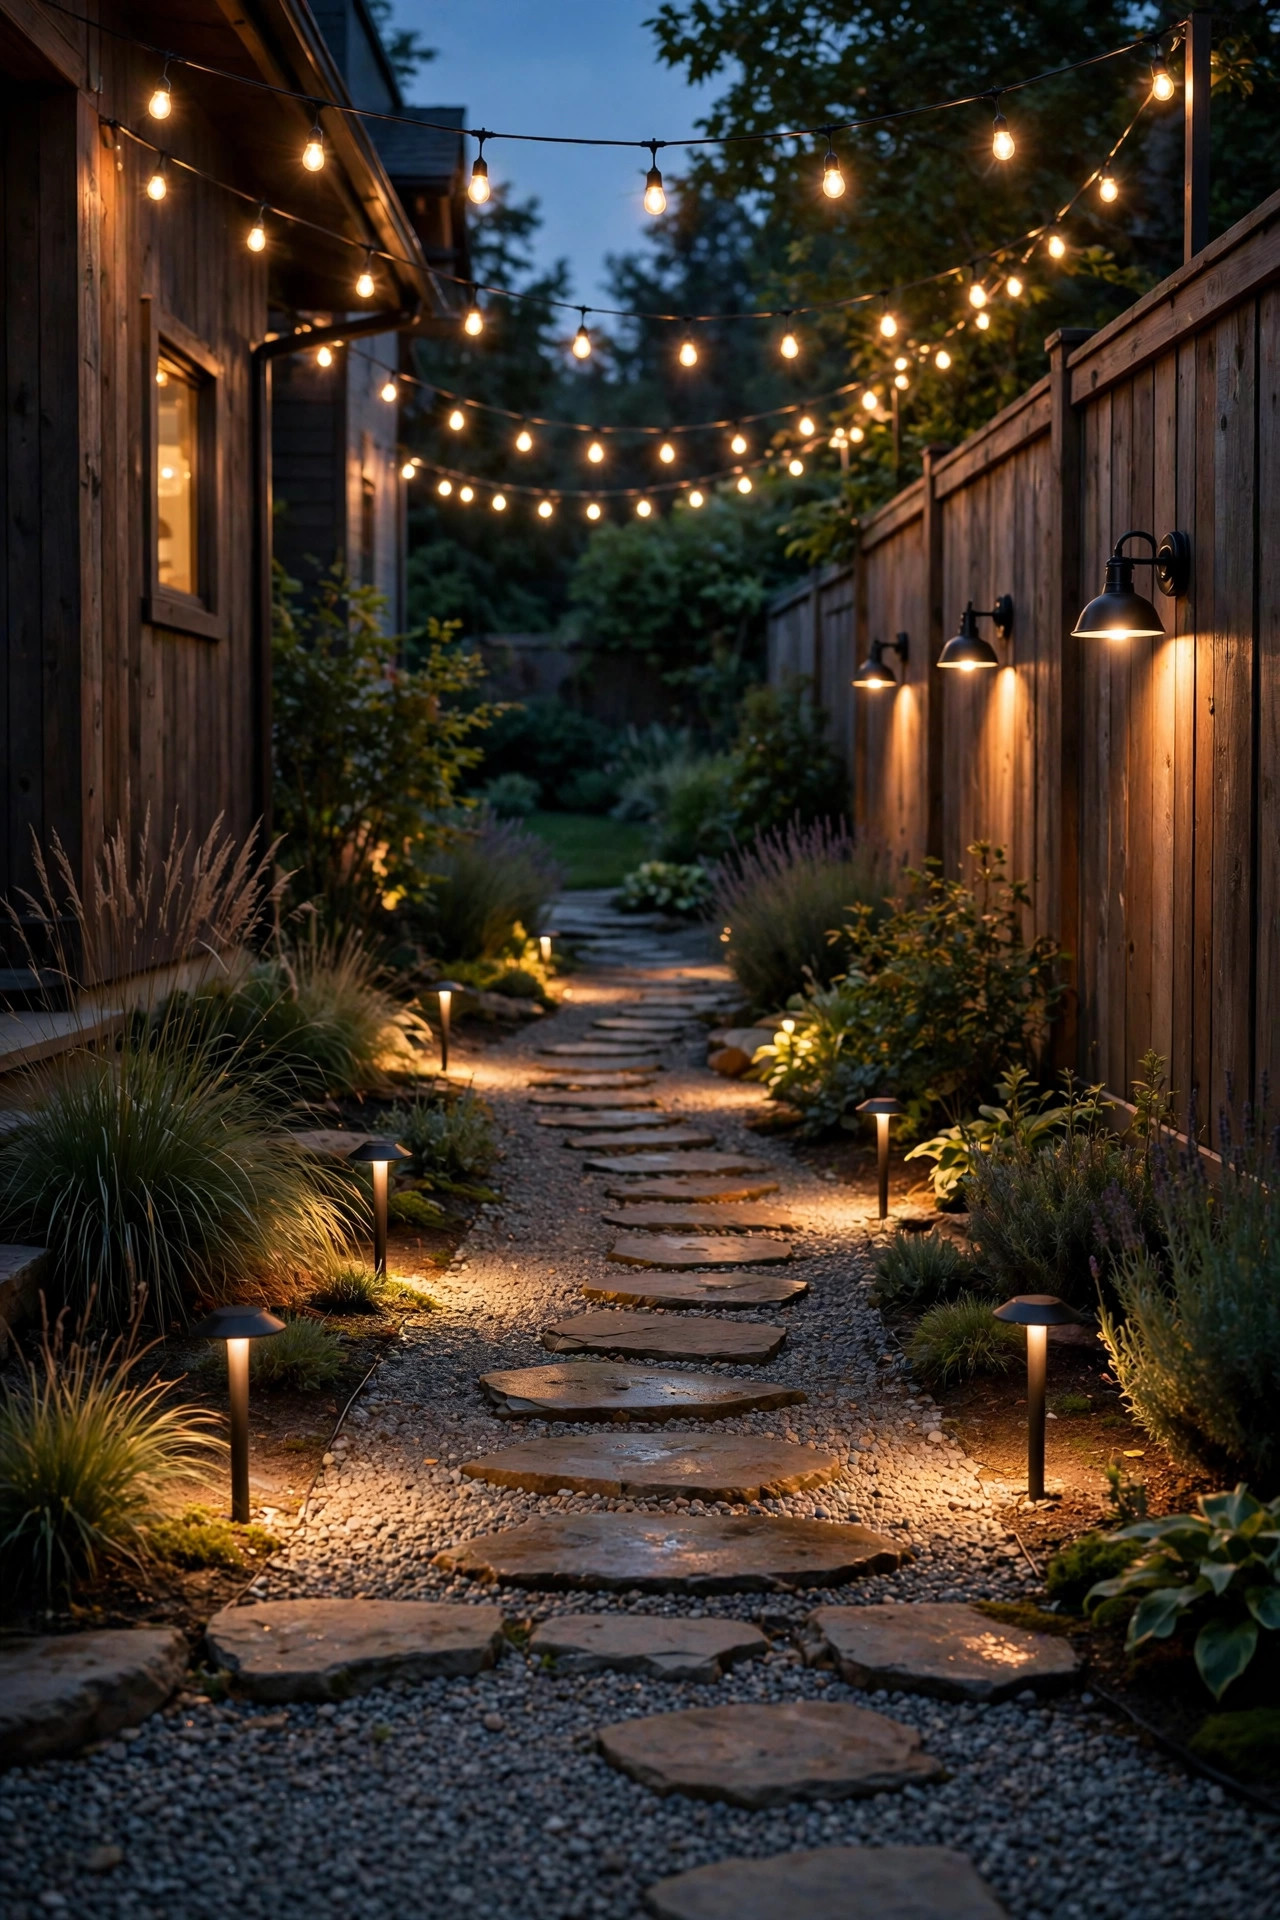
Here is the idea that ties the whole list together, and it is the one most people skip: in a narrow side yard, light needs to live at three heights, not one. Down low, pucks, rope light and glow stones define the ground plane and the edges of each stone. At mid height, path lights, lanterns and bollards in the 12-to-24-inch range do the guiding and make faces and footing readable. Up high, string lights, an eave downlight or fairy-lit plantings open the space so it never feels like a trench. When all three layers glow at once — each one dimmer than you would expect — the yard feels twice as wide and genuinely finished. The mistake I see most often is a row of identical stake lights doing all three jobs badly: too bright at the ground, nothing at the fence, black sky above. You do not need many fixtures; you need the right ones at the right heights. My own path runs two pucks, four path lights, one string swag and a strand of fairy lights, and it looks like a designed garden room every single night.
Suggested budget range: $150 – $400.
19. The Full Recipe: Layered Side Yard Stepping Stone Lighting Ideas, Start to Finish
If you want one plan to copy this weekend, here is the exact build I recommend for a typical 25-foot side yard, assembled from the side yard stepping stone lighting ideas above. Start with the backbone: four low-voltage path lights from idea 1, staggered every 5 feet on a single transformer run. Add the ground layer next — a solar rope light from idea 15 tracing the long border, and puck lights from idea 3 flanking the two most-used stones. Hang one string-light zigzag from idea 7 overhead and weave fairy lights from idea 8 through the fence-side shrubs for sparkle. Put the focal spotlight from idea 16 on whatever waits at your gate, and let a photocell timer from idea 17 run the whole show. Work in that order — backbone, ground, overhead, sparkle, control — because each layer is easier to judge with the previous one lit. Total runtime is one honest Saturday, including the gravel trenching, and every piece can be added in stages as budget allows. Light it, walk it at dusk, adjust two angles, and that forgotten strip of yard becomes the prettiest way to take out the bins you have ever had.
Suggested budget range: $250 – $650.

Frequently Asked Questions
How far apart should I space lights along a stepping stone path?
For most side yards, 4 to 6 feet apart works beautifully for standard path lights, staggered on alternating sides of the stones. Bollards with wider beams can stretch to 6 to 8 feet. The real test is simple: stand at one end at dusk and look for dark gaps where a stone edge disappears. If two pools of light overlap slightly on the stones themselves, your spacing is right; if you see bright dots and black holes, tighten it up.
Do solar lights work in a narrow, shady side yard?
Honestly, basic all-in-one solar stakes struggle in deep shade and will fade a few hours after dusk. Solar absolutely can work, though, if you choose models with a separate cabled panel that mounts on the fence top or gate post in real sun while the lights stay down in the shade. Wired low-voltage remains the most reliable choice for fully shaded runs, which is why I use it as the backbone and solar as the accent.
What color temperature looks best on stone and gravel?
Warm white, 2700K to 3000K, every time. It flatters gray and tan gravel, makes natural stone look rich instead of chalky, and reads as candlelight rather than security lighting. Cool white above 4000K turns a side yard into a loading dock and makes warm wood fences look gray. Whatever you choose, match every fixture in the run to the same temperature — mixed color temperatures are the fastest way to make a layered path look accidental.
How do I keep cables and fixtures from getting buried by gravel?
Run cables in a shallow 3-inch trench along the path edge and cover them last, so routine raking stays in the middle where nothing is buried. Keep gravel depth around 2 to 3 inches — deeper gravel swallows puck lights and tips stake lights. Metal or stone edging between the gravel and planting beds stops most creep, and a quick monthly walk to flick gravel off fixture lenses keeps everything at full brightness.
Conclusion
A side yard will never be the biggest space in your home, but with a little layering it stops being the forgotten one. Define the stones at ground level, guide the walk at mid height, add a touch of sparkle above, and let a timer run the show — that is the whole secret behind the best side yard stepping stone lighting ideas. Start with the backbone layer and add one idea at a time; each layer makes the next one look better. When you are ready to keep going, browse the rest of the lighting ideas here on the site for the front path, patio and garden beds, and give every corner of your yard the same warm, deliberate glow.