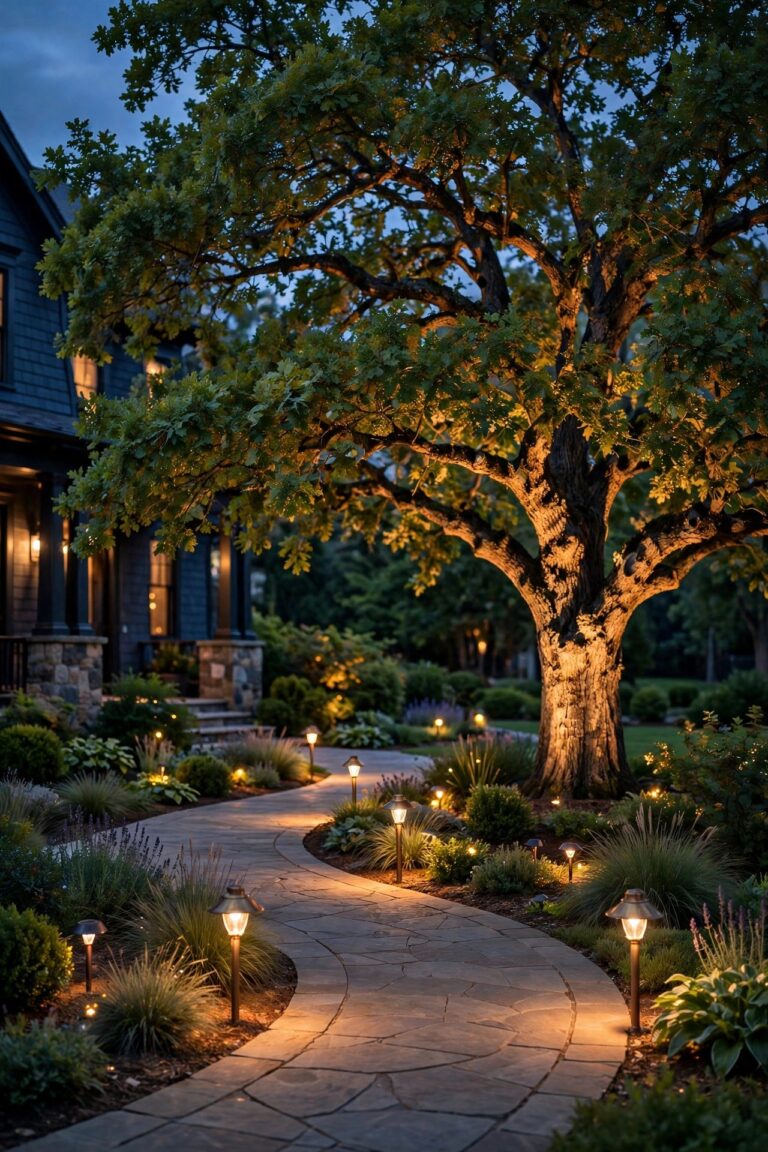
Every yard has one troublemaker: the tree or column that's simply too tall for ordinary landscape lights. I learned this the hard way with the 45-foot oak in my front yard — my wide flood fixtures lit the bottom six feet beautifully and left the entire canopy in darkness, like a spotlight pointed at a stage with no actor. That's exactly the problem narrow beam spotlights solve. Instead of spreading light thin over a wide area, a narrow beam (usually 10 to 25 degrees) concentrates it into a focused column that can travel 30, 40, even 60 feet up a trunk or pillar. In my experience, they're the secret weapon in any layered lighting plan: path lights handle the ground, soft washes handle the beds, and narrow beams deliver the vertical drama. Below are the 19 ways I use them on tall trees, columns, and everything in between — with the aiming tricks, distances, and honest budgets that actually work.
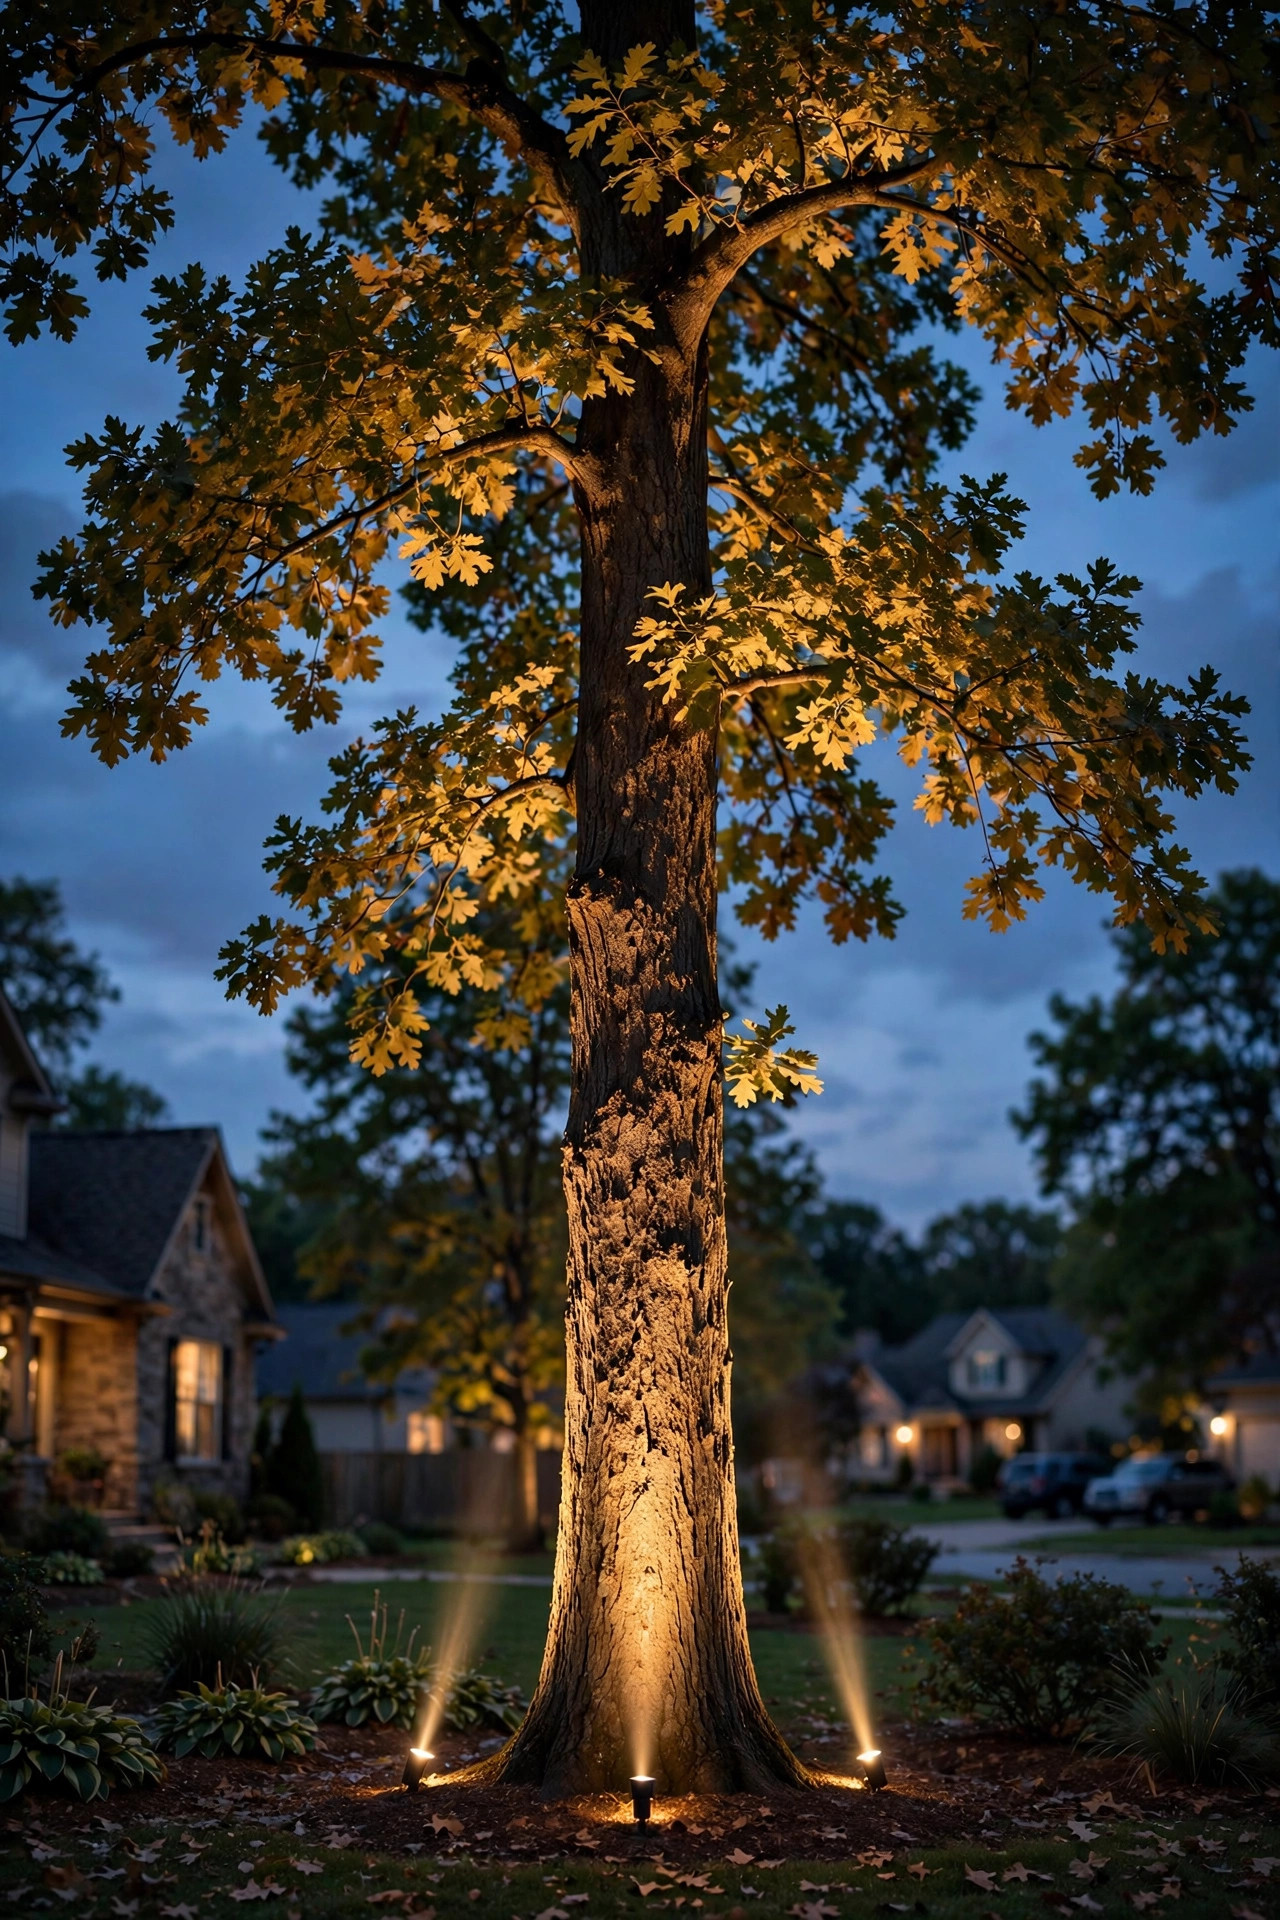
1. Aim Narrow Beam Spotlights Straight Up a Mature Oak
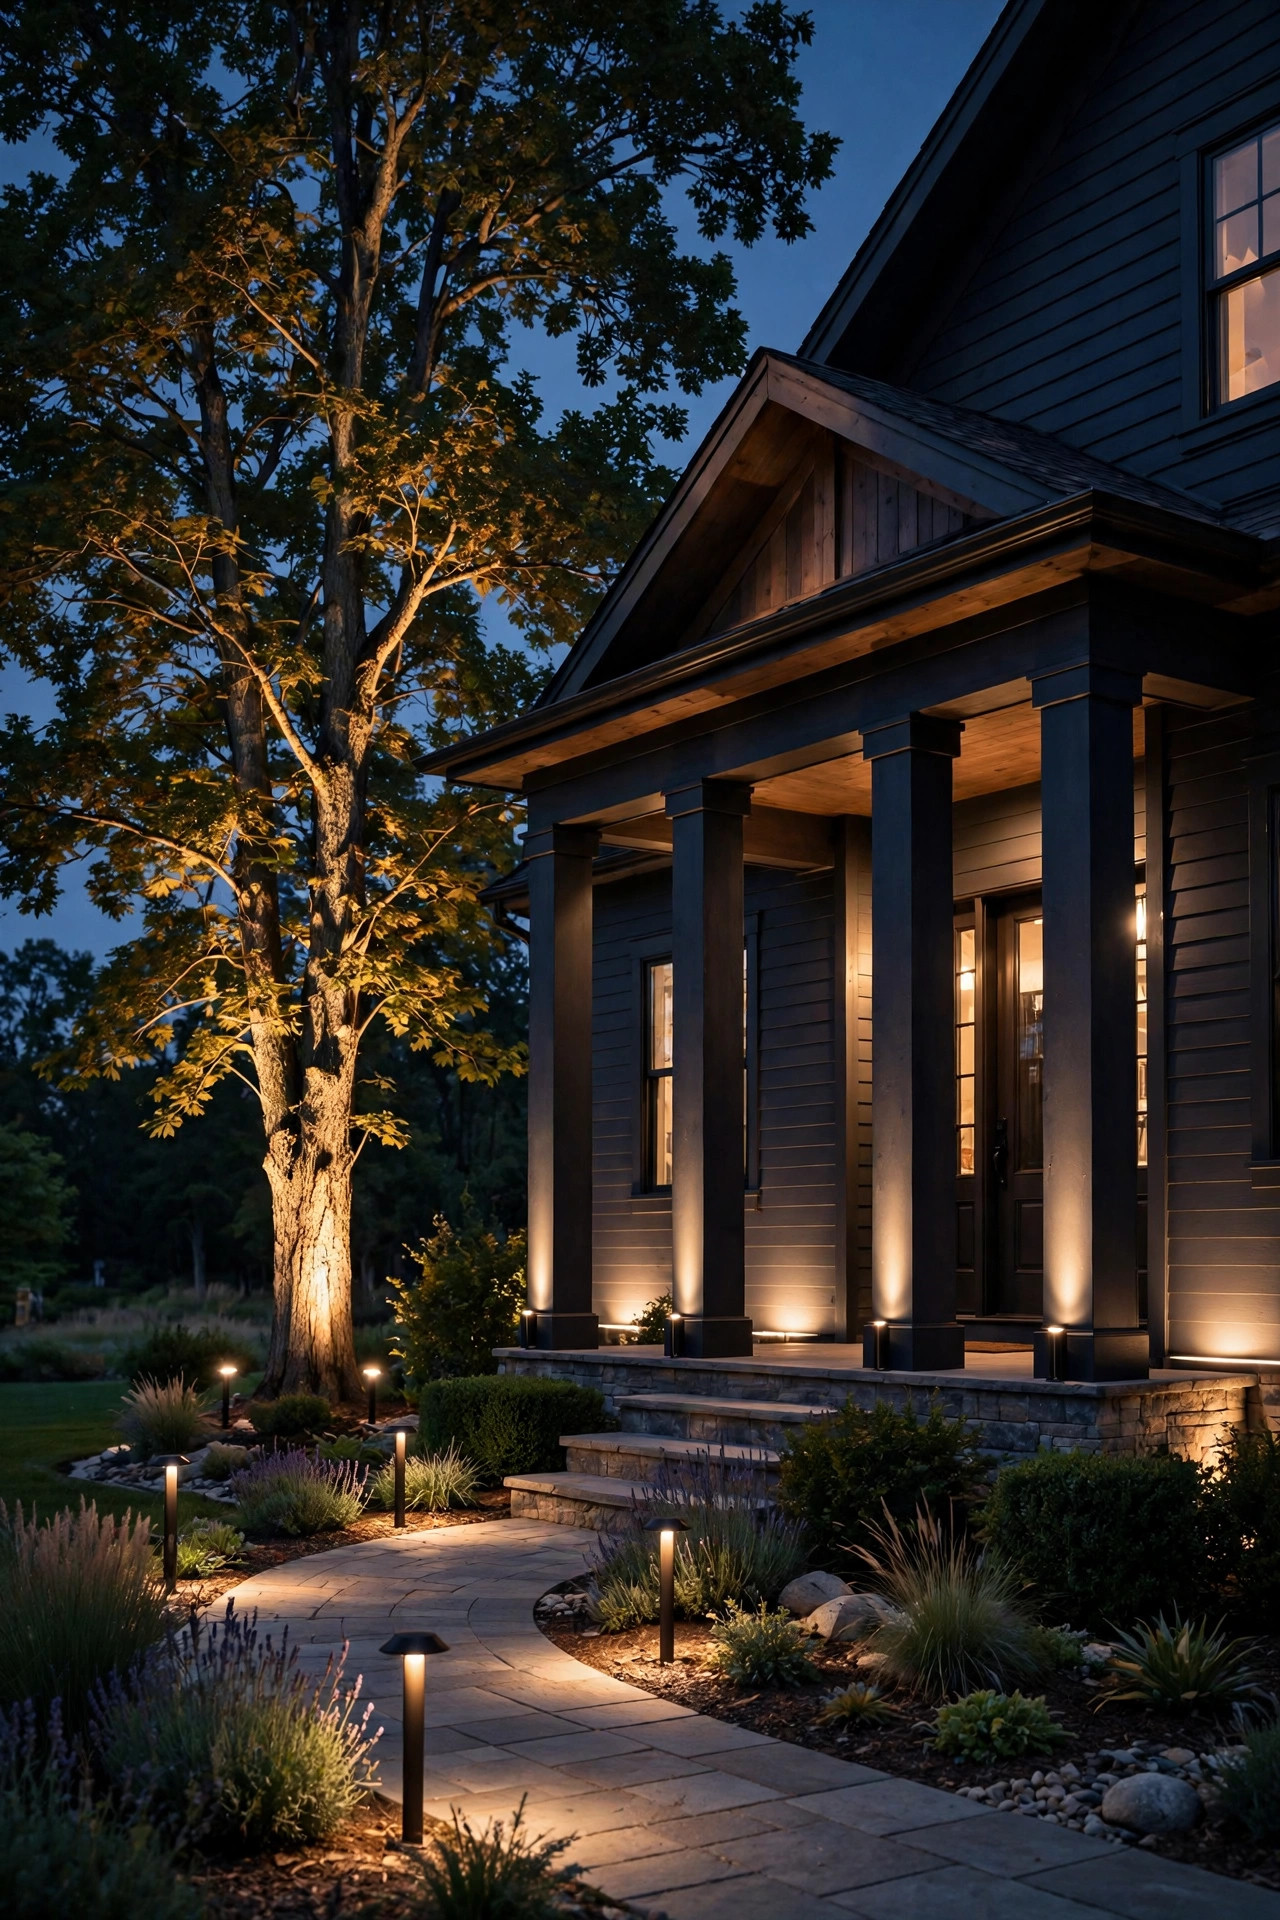
If you only try one idea, make it this one. Place a single 10 to 15-degree fixture 2 to 4 feet from the base of a mature oak, tilted almost straight up with just a slight angle toward the trunk. The tight beam rides the bark's ridges and keeps climbing until it feathers out into the lower canopy, which is exactly the theatrical look most people are chasing. I always recommend a fixture with at least 600 to 900 lumens for a tree over 35 feet — weaker lights simply run out of steam halfway up. A stake mount works fine in mulch beds, but in lawn areas, push the stake deep and add a glare shield so you're not blinding everyone who walks past. Sweetgums, red oaks, and magnolias all respond beautifully to this treatment because their branching starts high. Test your aim after dark with the fixture on a temporary extension cord before you bury a single wire; small adjustments at the base make enormous differences 30 feet up.
Suggested budget range: $35 – $85.

2. Split the Job: One Beam for the Trunk, One for the Canopy
Tall trees are really two subjects stacked on top of each other, and one fixture rarely flatters both. My favorite upgrade is a pair of fixtures with different jobs: a 15-degree beam close to the base that grazes the trunk's texture, and a second, slightly wider 24-degree beam placed 6 to 8 feet out that washes the canopy from underneath. The trunk light gives you architecture; the canopy light gives you that glowing green ceiling. Run both on the same circuit so they always come on together, and keep the canopy fixture a touch dimmer so the trunk stays the star. This two-fixture approach is the core technique in my tree uplighting guide, and it works on everything from pin oaks to tall tulip poplars. If the budget only stretches to one fixture now, buy the trunk light first and add the canopy light later — the wiring run is the annoying part, so bury a spare wire while the trench is open.
Suggested budget range: $70 – $160.
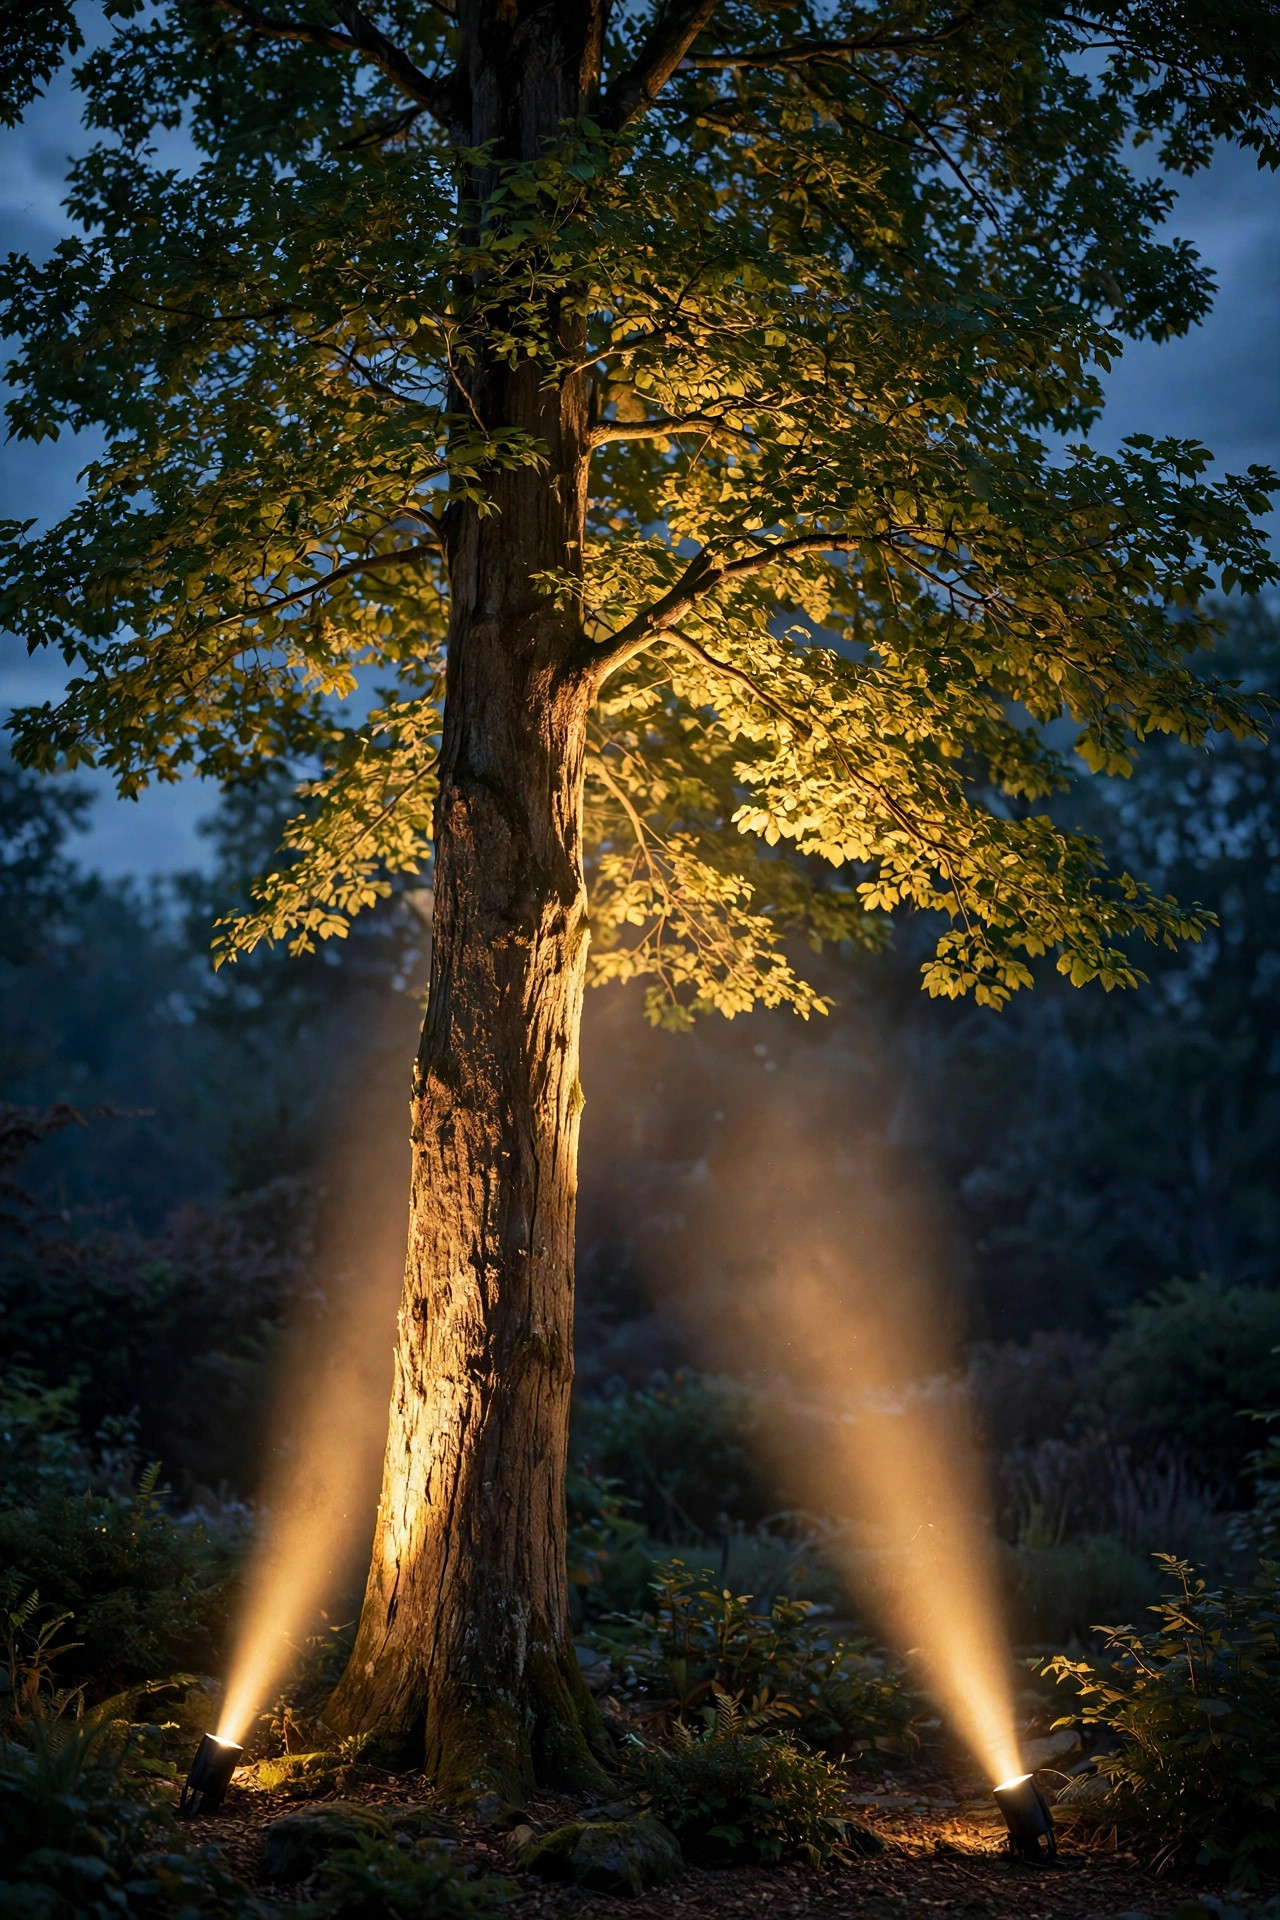
3. Backlight a Palm for a Pure Silhouette
Palms are the exception to almost every uplighting rule because their magic is in the outline, not the detail. Instead of lighting the trunk from the front, park a narrow beam 3 to 5 feet *behind* the palm, aimed up through the fronds from the far side. From the street, the ribbed trunk goes dark and sculptural while the frond canopy glows from behind like a firework frozen mid-burst. A 10-degree beam works best here because you want the light concentrated through the crown, not spilled across the whole yard. This is also a forgiving setup for slightly undersized fixtures, since a silhouette needs far less brightness than a front-lit subject. If your palm leans (and honestly, the charming ones always do), aim along the lean rather than fighting it. Just keep the fixture out of the direct line of sight from seating areas — a hidden well light or a shielded stake keeps the trick invisible.
Suggested budget range: $30 – $75.

4. Bookend Porch Columns With Matching Narrow Beams
Symmetry is what makes an entry feel grand, and tall porch columns are practically begging for a matched pair of narrow beams. Place one fixture at the base of each column, 12 to 18 inches out from the foundation, aimed straight up the shaft. A 15-degree beam hugs a round or square column without wasting light on the wall behind it, and on fluted or brick columns the grazing angle turns every ridge and mortar line into shadow play. I always recommend wiring both fixtures to the same switch and matching the bulbs exactly — same wattage, same color temperature — because the eye catches mismatched pairs instantly. For two-story porticos, step up to 900+ lumens so the beam still reads at the capitals. If your columns are painted white, you'll need less output than you think; white surfaces bounce light generously, and over-lighting them looks harsh in photos and in person.
Suggested budget range: $60 – $140.
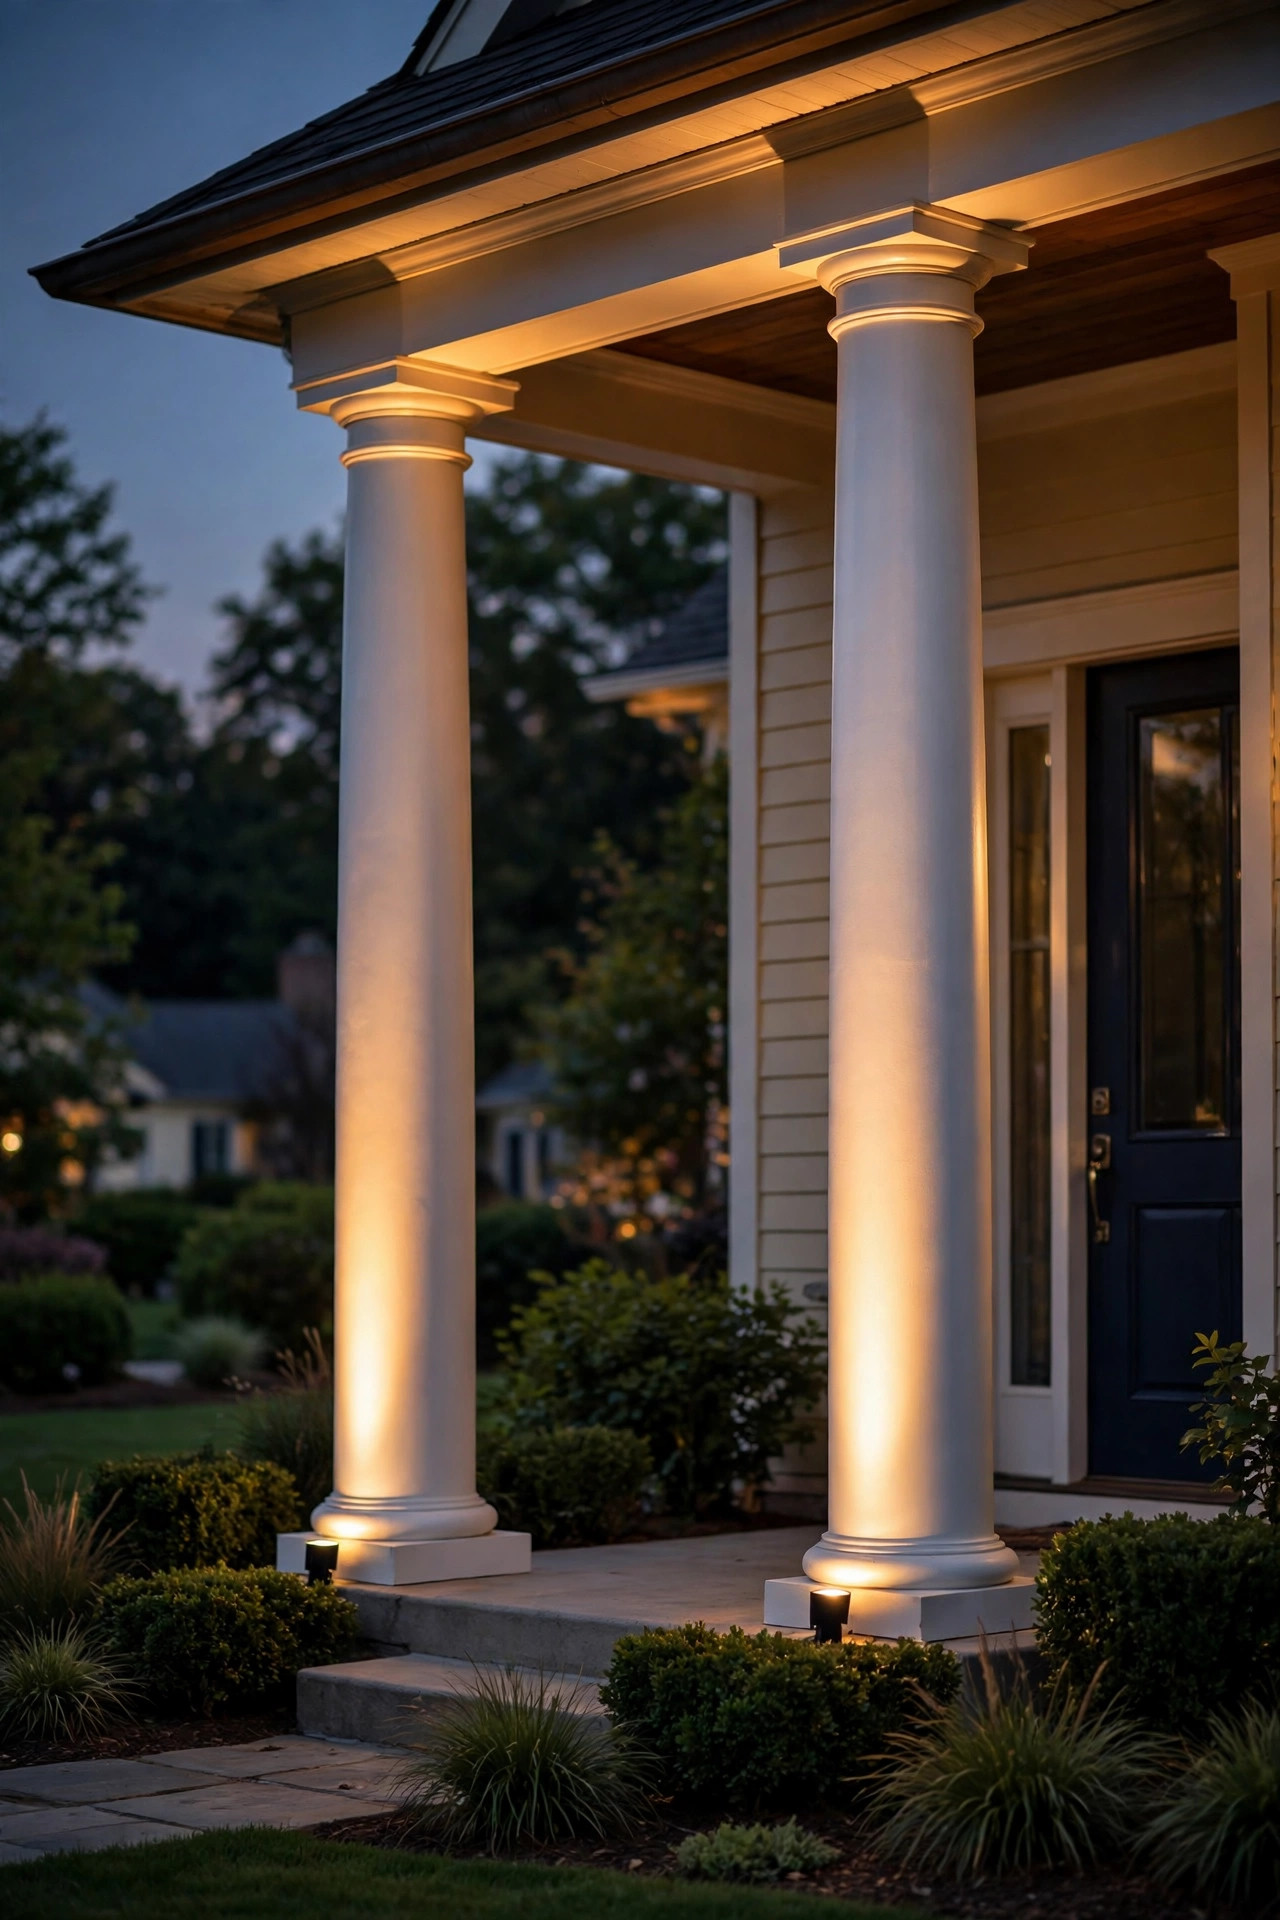
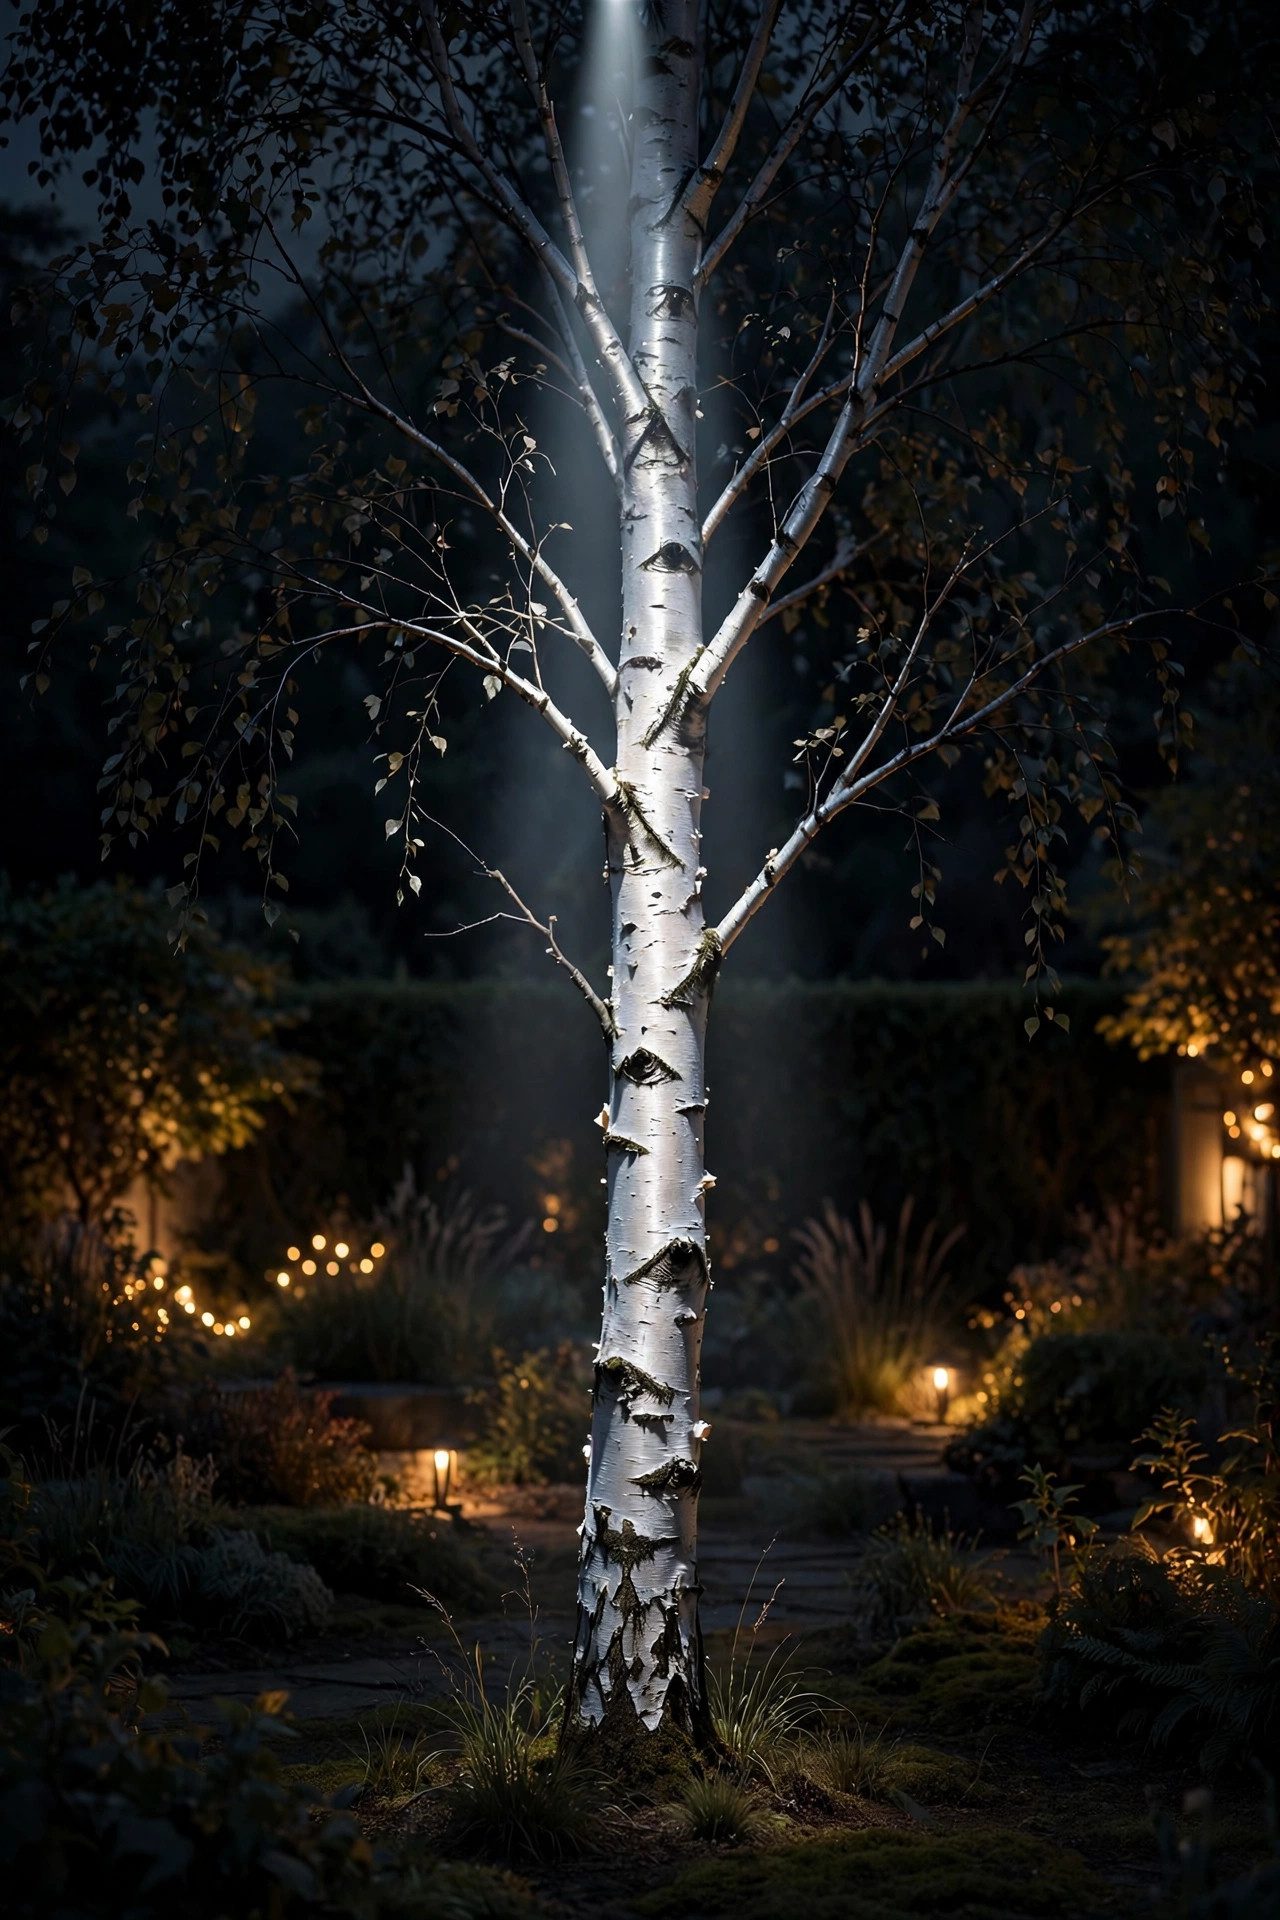
5. Drop In-Ground Well Lights at Column Bases
Where columns meet lawn or a walkway, above-ground stake fixtures are a tripping hazard and a mower's worst enemy. In-ground well lights solve both problems: the fixture sits flush in a buried sleeve, and only the lens shows. Choose a model with a narrow 10 to 20-degree optic and a rock guard or louvered top if feet or tires pass nearby. Depth matters — set the top of the fixture exactly flush with the soil or gravel line, because even a half-inch lip collects water and trips toes. These are the same fixtures I use throughout my in-ground well lights projects, and the narrow-beam versions aimed up columns and tall hollies are the hardest-working lights in my yard. Spend the extra money on brass or composite housings rated for burial; the cheap plastic sleeves crack within two winters. Budget for a proper drainage gravel pocket under each fixture, too — standing water is what kills in-ground lights, not the cold.
Suggested budget range: $55 – $130.
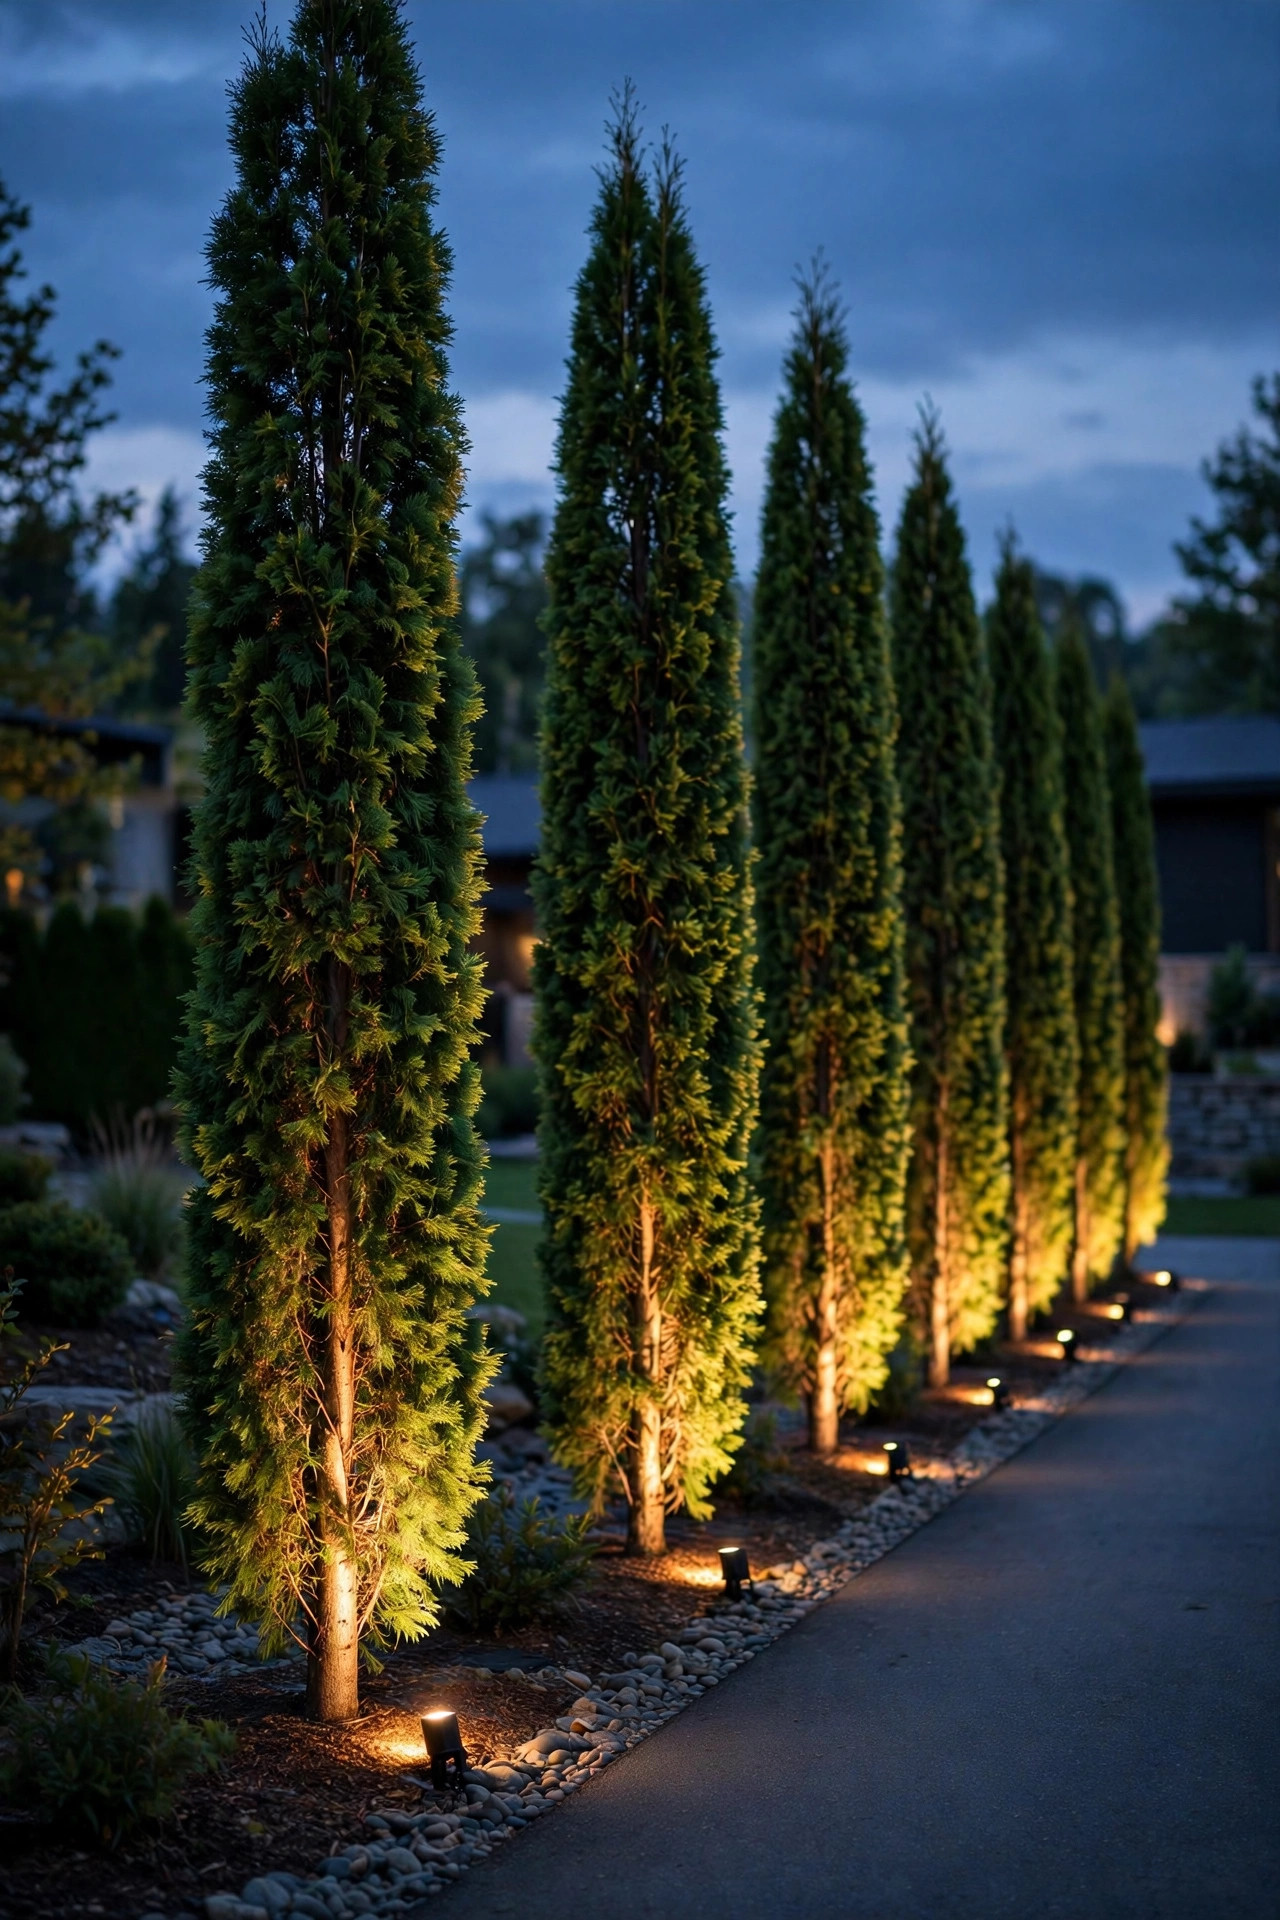
6. March Narrow Beams Down a Row of Columnar Arborvitae
A row of tall, skinny arborvitae or columnar junipers is basically a colonnade the garden grew for you, so light it like one. Place a 15 to 20-degree fixture 18 inches in front of every tree — or every *other* tree on a long row — and aim straight up through the foliage. The beams turn each tree into a green exclamation point, and the rhythm down the row does the same work as path lights for guiding the eye along a driveway or property line. Keep spacing consistent within an inch or two; rhythm lighting forgives a lot, but it never forgives sloppy spacing. Arborvitae foliage is dense, so most of the light stays in the lower two-thirds — that's fine, and honestly the fade into darkness at the tips looks natural. For trees over 15 feet, bump up to fixtures in the 700-lumen range. Matching color temperature across the whole row matters more than raw brightness.
Suggested budget range: $30 – $80.
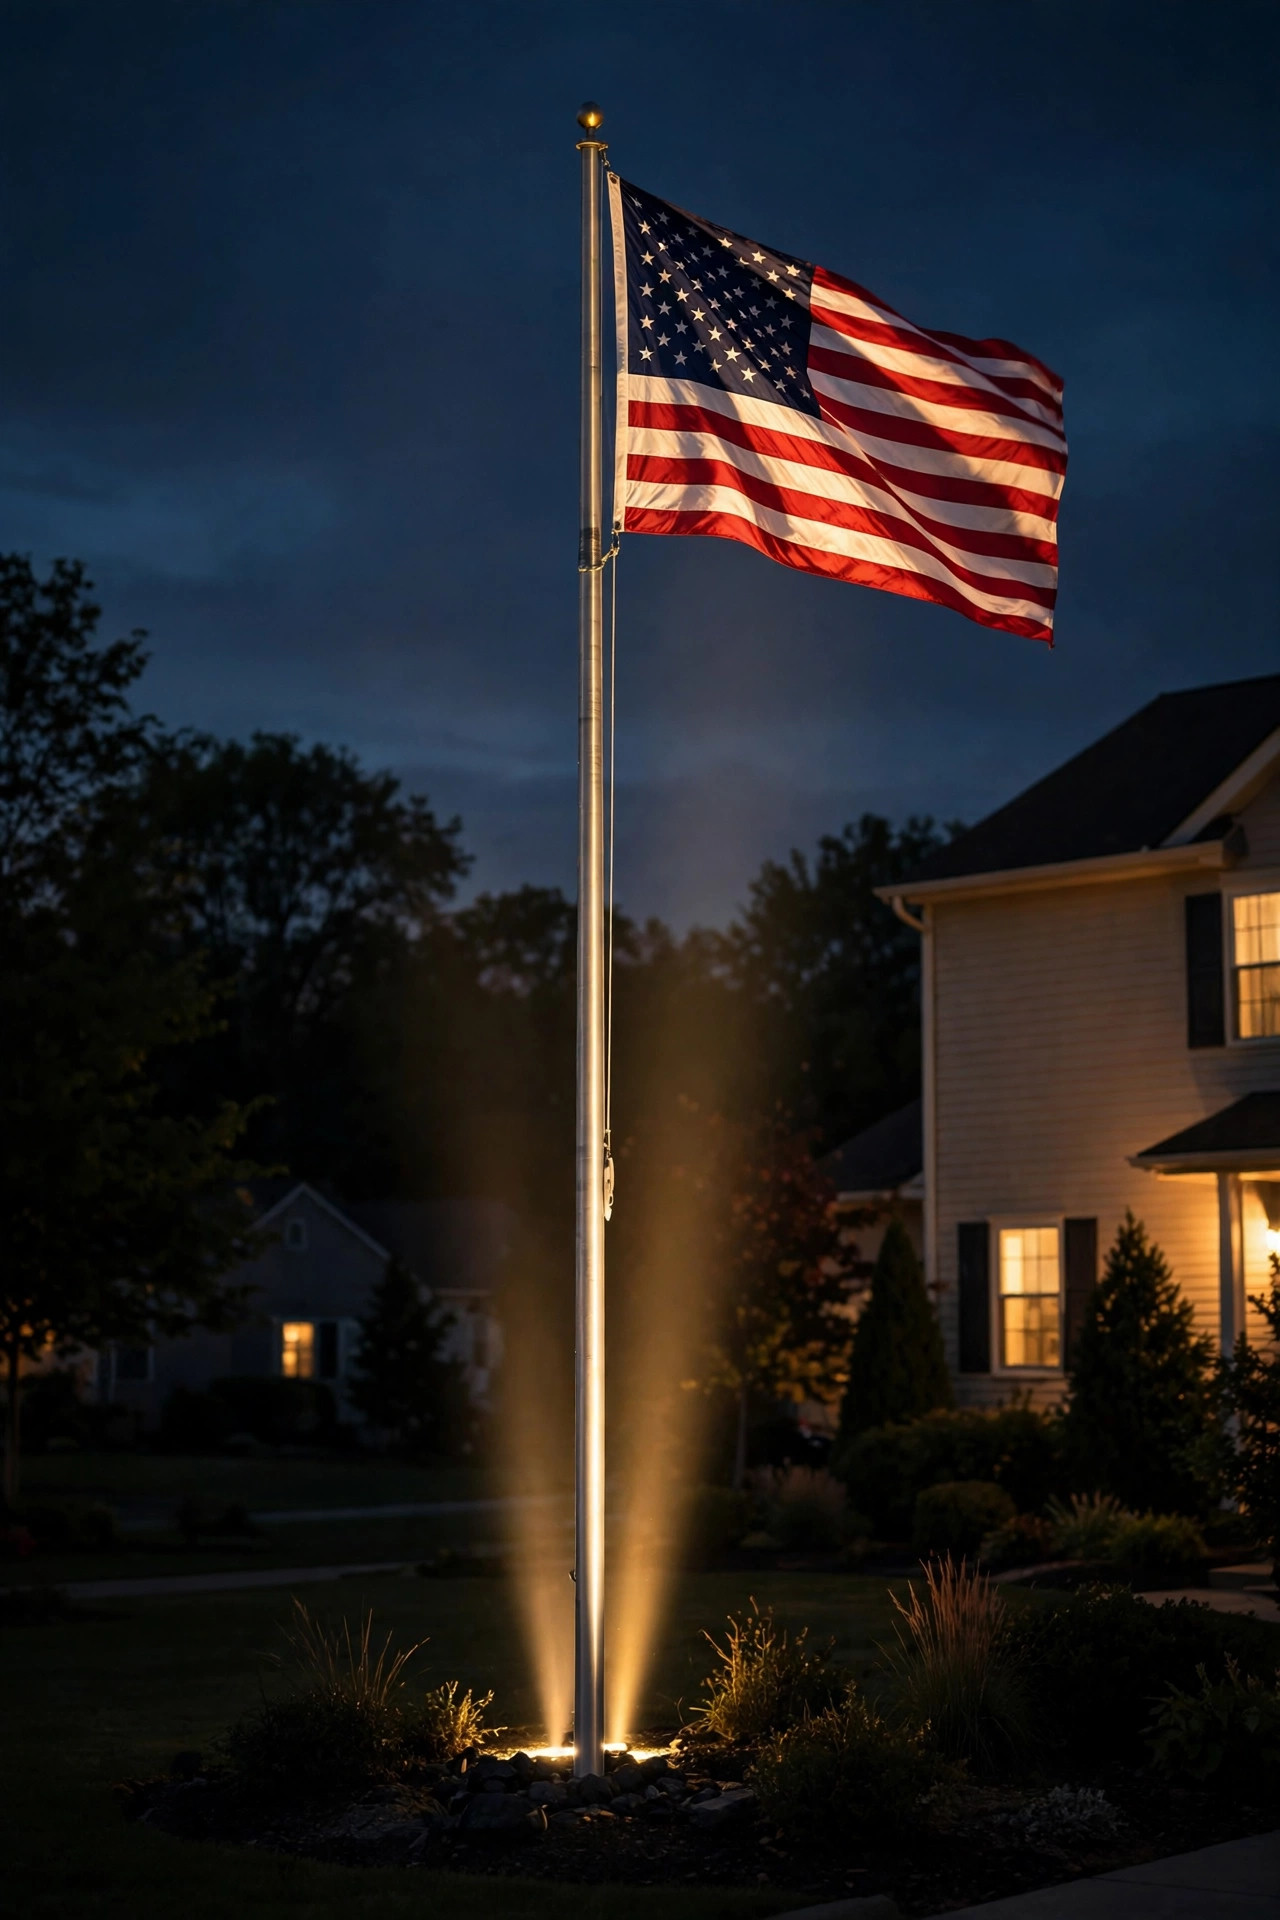
7. Light the Flagpole the Right Way
A flag flown at night should be properly illuminated — that's not just etiquette, it's the U.S. Flag Code — and a single sloppy floodlight rarely does the job. A narrow beam spotlight placed 6 to 10 feet from a 20 to 25-foot pole, aimed carefully at the flag's flying position, concentrates enough light to keep Old Glory readable all night without turning the whole yard into a stadium. For poles over 25 feet, I recommend two fixtures at slight angles so the flag stays lit as it shifts with the breeze. Choose 3000K for a crisp, respectful look, and put the lights on a photocell or astronomical timer so they never miss a night. One caution: aim from below and slightly behind the most common viewing angle, so neighbors see a glowing flag instead of a bare bulb. A shielded, ground-level fixture also keeps the beam out of bedroom windows across the street.
Suggested budget range: $40 – $110.
8. Give a Japanese Maple a Pencil-Beam Portrait
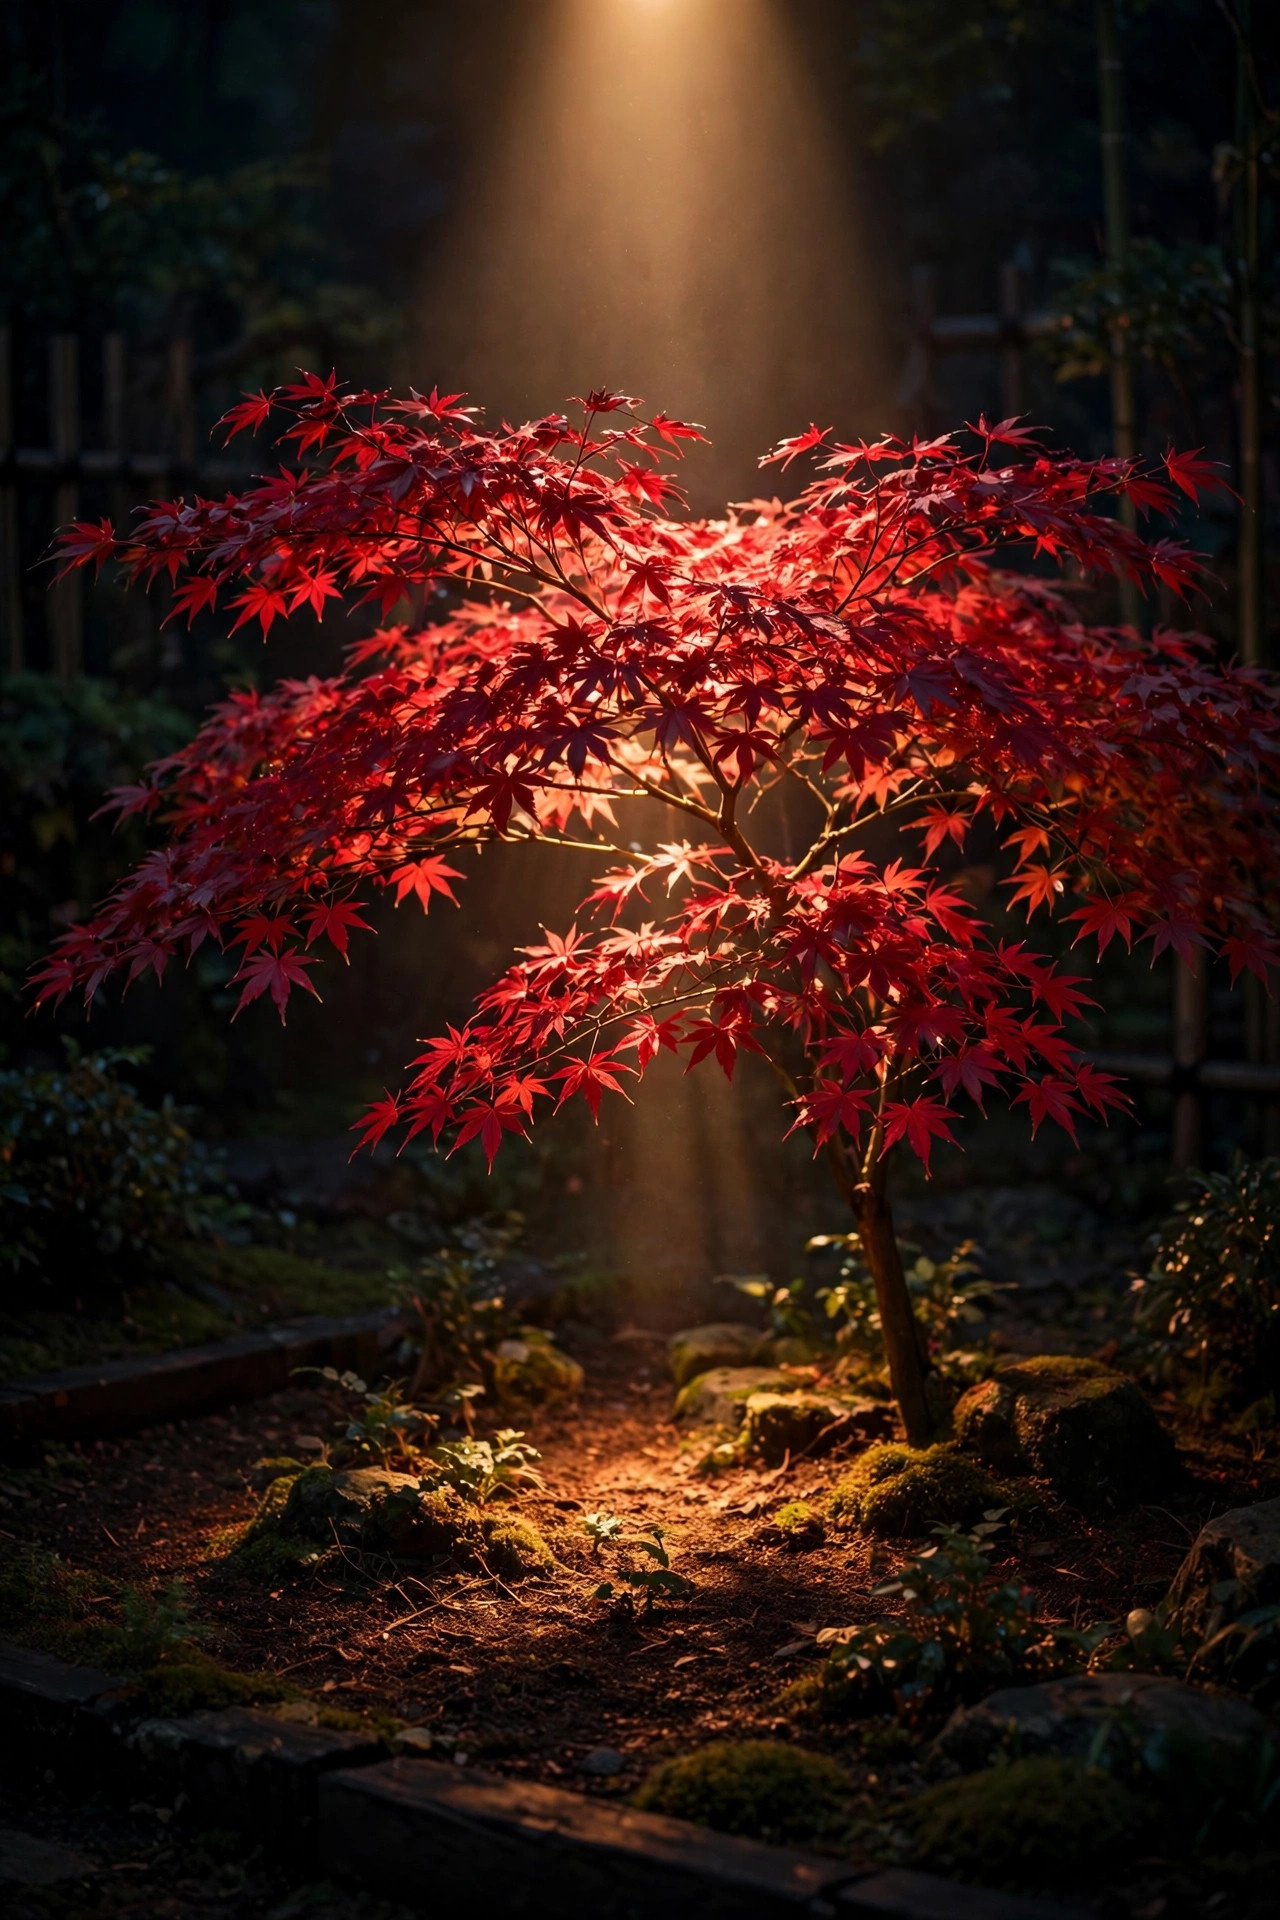
Not every narrow beam job is about height records. A Japanese maple is short but precious, and a pencil-thin 10-degree beam aimed into its layered canopy creates the single most photographed corner of any garden I've lit. Place the fixture 2 to 3 feet from the trunk, tilted to rake light across the underside of the lowest branch layer. Red-leaf varieties absolutely glow under warm 2700K light — the leaves transmit the light like stained glass. Because the tree is small, you can use a modest 300 to 450-lumen fixture; anything stronger blows out the delicate branch structure into a blob. This is a portrait, not a flood, so resist adding a second light "for balance." One beam, one tree, deep shadows everywhere else. In winter, the same fixture shows off the maple's sculptural bare branching, which is why this little light earns its keep twelve months a year.
Suggested budget range: $25 – $65.
9. Layer Three Heights in a Tall Pine Grove
One tall pine lit well is a feature; a grove of them lit in layers is a destination. When I light grouped pines or spruces, I work in threes: the nearest tree gets a 10-degree beam at its base, the middle tree gets a slightly wider beam placed a few feet farther out, and the farthest tree gets just a kiss of light from a low-output fixture. That gradient of brightness creates real depth — your eye reads near, middle, and far instead of a flat wall of trunks. Keep the fixtures on one circuit with a dimmer if you can, because groves go from "enchanted forest" to "airport runway" faster than any other setup. Pines drop needles and lower branches self-prune over time, so check the aim every spring; a beam that hit foliage last year may be spearing into open sky this year. Resin-rich bark texture looks incredible under grazing light, so keep at least one fixture close and low.
Suggested budget range: $90 – $210.

10. Graze Up a Brick Chimney or Tall Gable
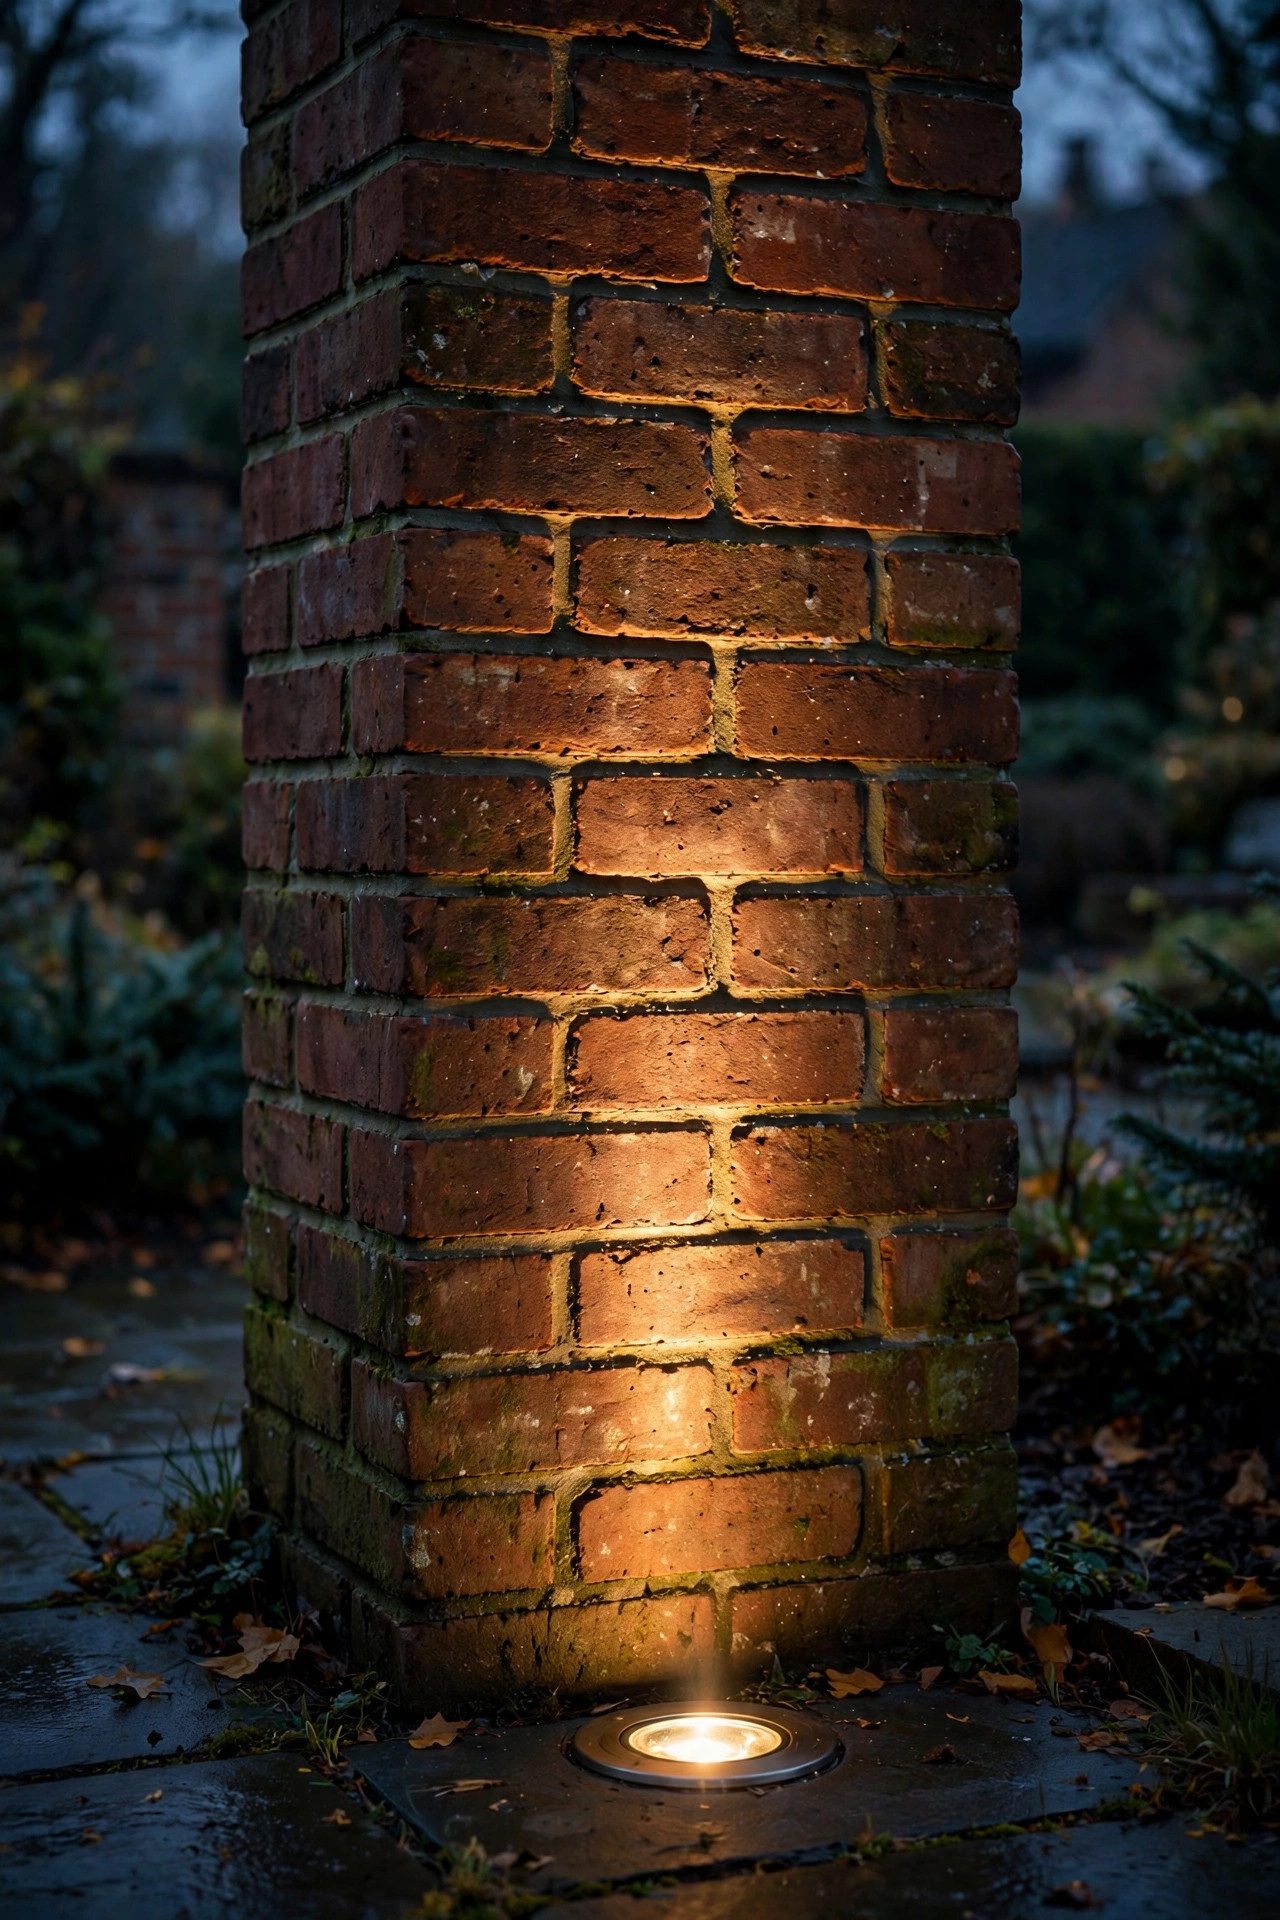
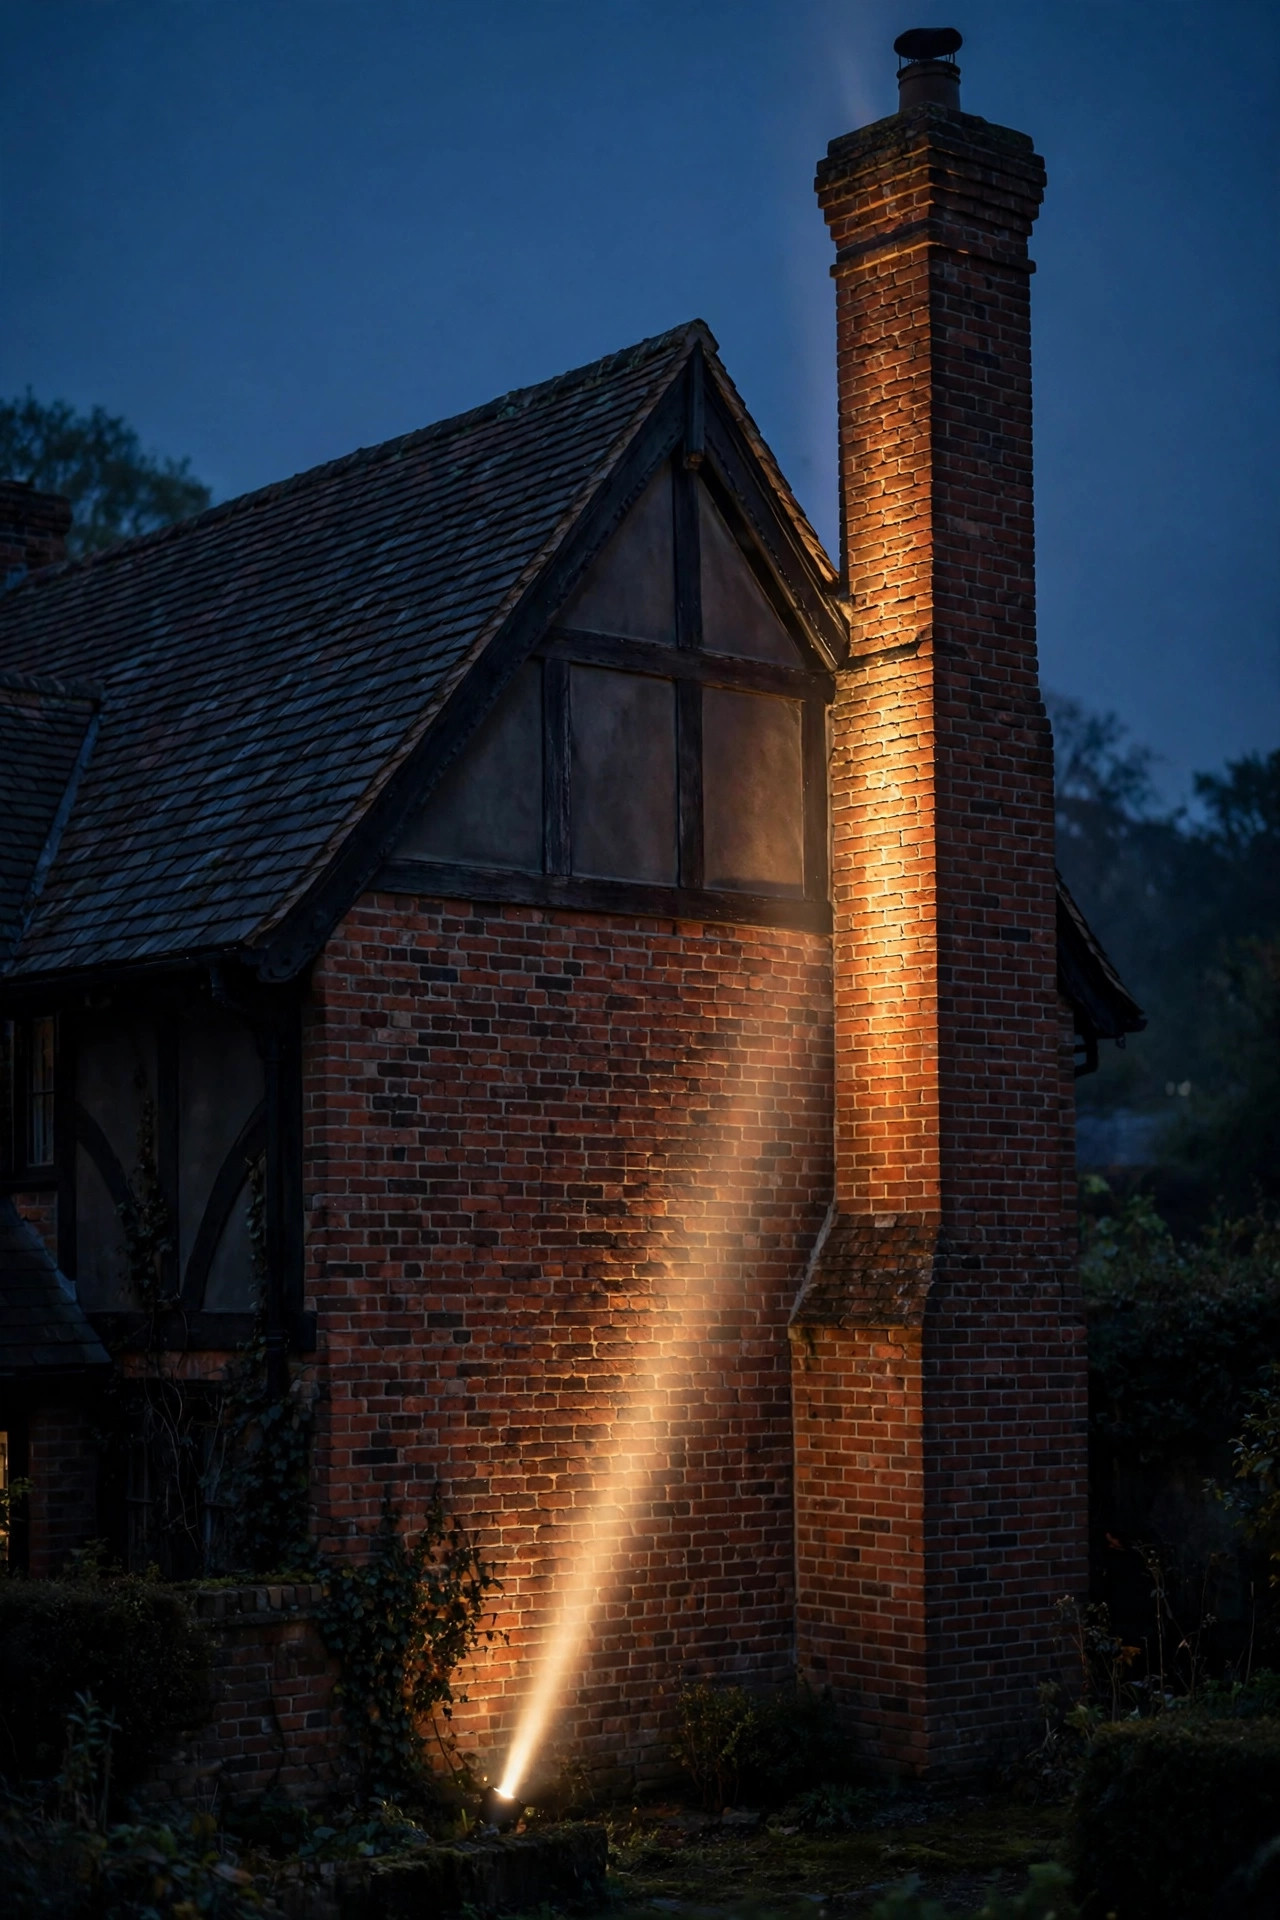
Columns aren't always round, and they aren't always on the porch. A tall brick chimney, a stone gable end, or the two-story corner of a facade takes a narrow beam beautifully because the tight column of light emphasizes height without washing the whole wall. Set the fixture 12 to 24 inches from the wall — closer means more dramatic texture, farther means a softer read — and use a 15-degree beam aimed parallel to the surface. On brick and stone, grazing light is pure magic: every mortar joint casts a tiny shadow and the wall looks hand-carved. This is the same trick designers use to make a plain two-story box feel like a manor house. Watch for windows in the beam path; a louver or a few degrees of tilt keeps light out of second-story bedrooms. For chimneys over 30 feet, you'll want a fixture at the higher end of the lumen range, around 1,000.
Suggested budget range: $35 – $95.
11. Try Solar Narrow Beams on Far-Corner Trees
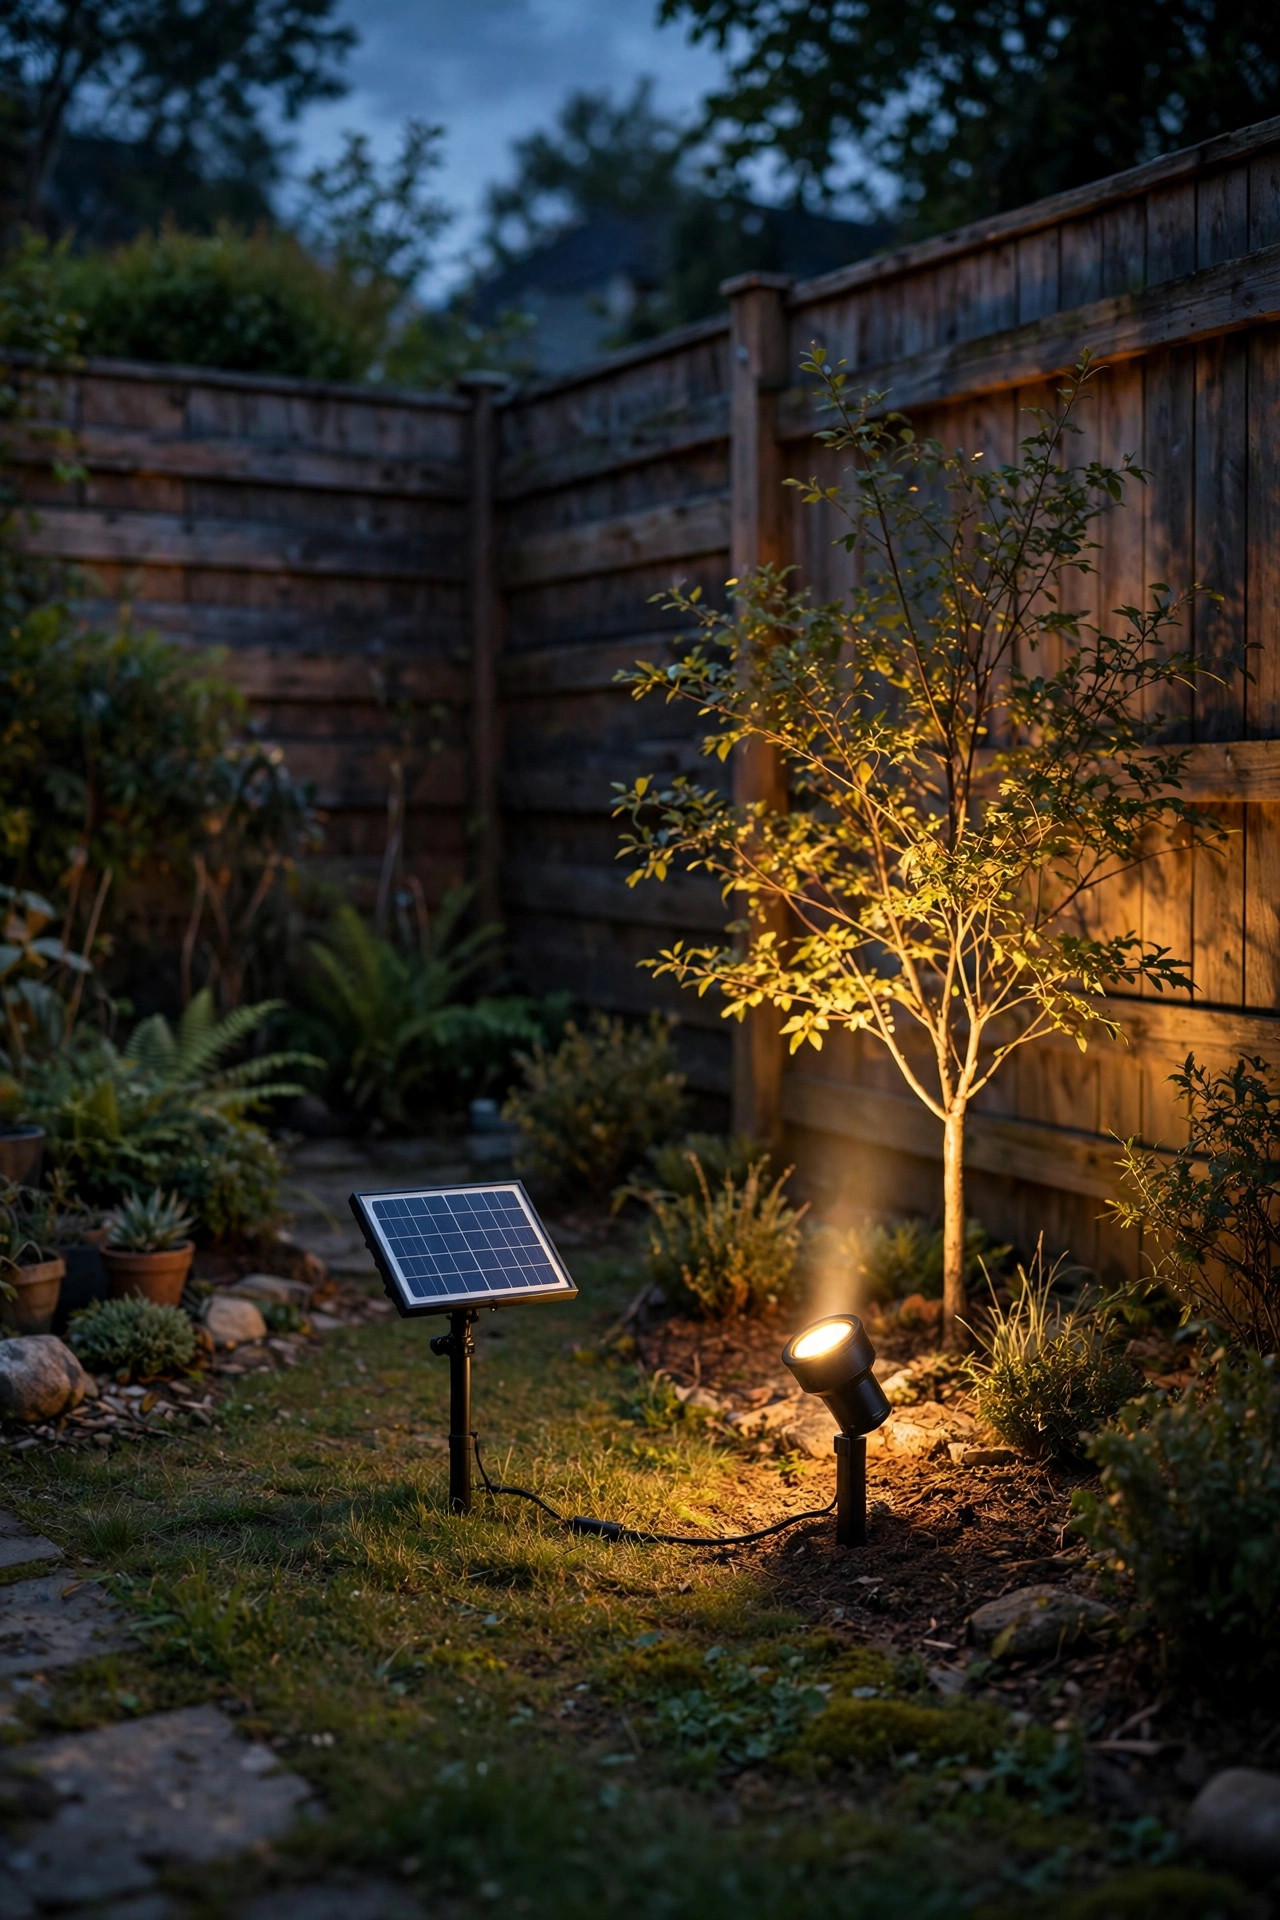
Running low-voltage cable to a tree 150 feet from the house is nobody's idea of a fun Saturday, which is where solar narrow beam spotlights earn their place. Modern solar spots with a focused 20 to 30-degree lens and a separate, stake-mounted panel can throw a respectable beam 15 to 20 feet up a midsize tree — not the 40-foot oak, let's be honest, but plenty for the far corner crabapple or the back fence line. The separate panel is non-negotiable in my book: it lets you park the panel in full sun while the fixture sits in the tree's shade. Expect 6 to 8 hours of light after a clear day, less in December. I use these as audition lights, too — live with the aim for a month, and if the tree deserves it, that spot graduates to wired. As I covered in my front yard tree lighting ideas, starting solar and upgrading the winners is the cheapest way to light a big yard without regret.
Suggested budget range: $20 – $55.
12. Use Adjustable Zoom Fixtures on Trees That Are Still Growing
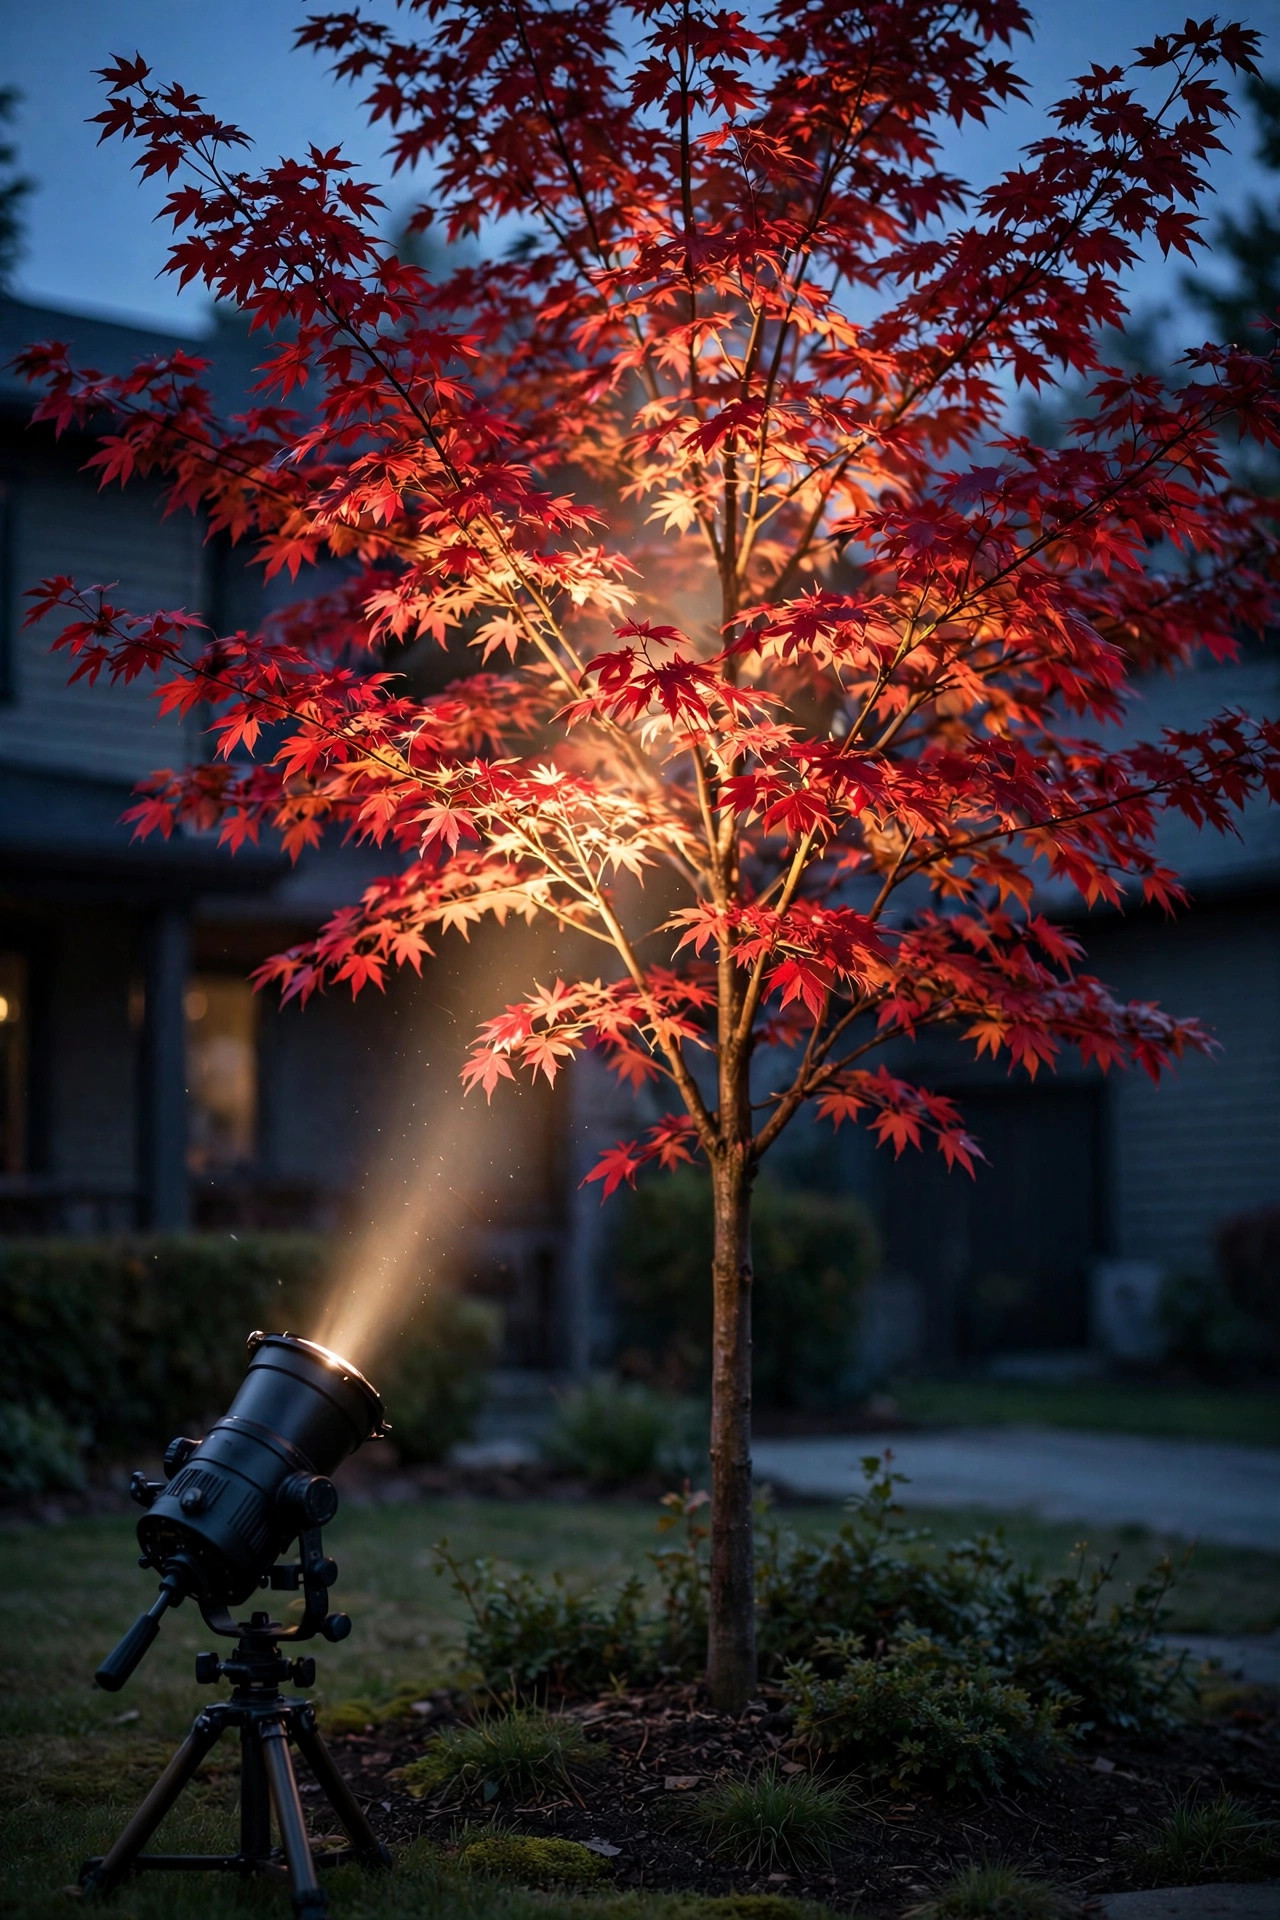
A young tree is a moving target: the red maple you plant at 12 feet will be 25 feet before you've finished paying attention. Zoom-focus spotlights — fixtures whose beam angle adjusts from a tight 10 degrees out to 40 or so with a twist of the lens housing — are made for exactly this. Start wide and gentle on a young canopy, then narrow the beam as the tree gains height and you need the punch concentrated. The same fixture also rescues bad guesses: if your aim turns out wrong after the first dark test, you adjust optics instead of buying a different light. These cost more per fixture, so I reserve them for specimen trees and anywhere I'm genuinely unsure of the final look. One practical tip: mark the zoom setting with a dab of paint once you're happy in year one, so after cleaning or a curious raccoon, you can dial right back to your setting.
Suggested budget range: $60 – $120.
13. Match Color Temperature to the Bark and Foliage
Narrow beams are unforgiving about color temperature because the light is concentrated — whatever tint you choose, you get a lot of it in one place. My rule of thumb: warm 2700K for reddish and brown barks, fall-color trees, brick, and anything near the house's warm window light, because it deepens those tones and looks like candlelight. A neutral 3000K reads better on blue spruce, silver birch, and gray stone columns, where 2700K can make things look muddy or orange. What I never do is mix temperatures within one view — a 2700K trunk beam under a 4000K canopy wash looks like two different yards stapled together. If you're unsure, buy one fixture in each temperature and test both on the same tree for a night; the tree will tell you which one it wants. Bulb-swappable fixtures make this experiment cheap, and you can standardize the whole yard once you've seen the winner in person.
Suggested budget range: $30 – $90.
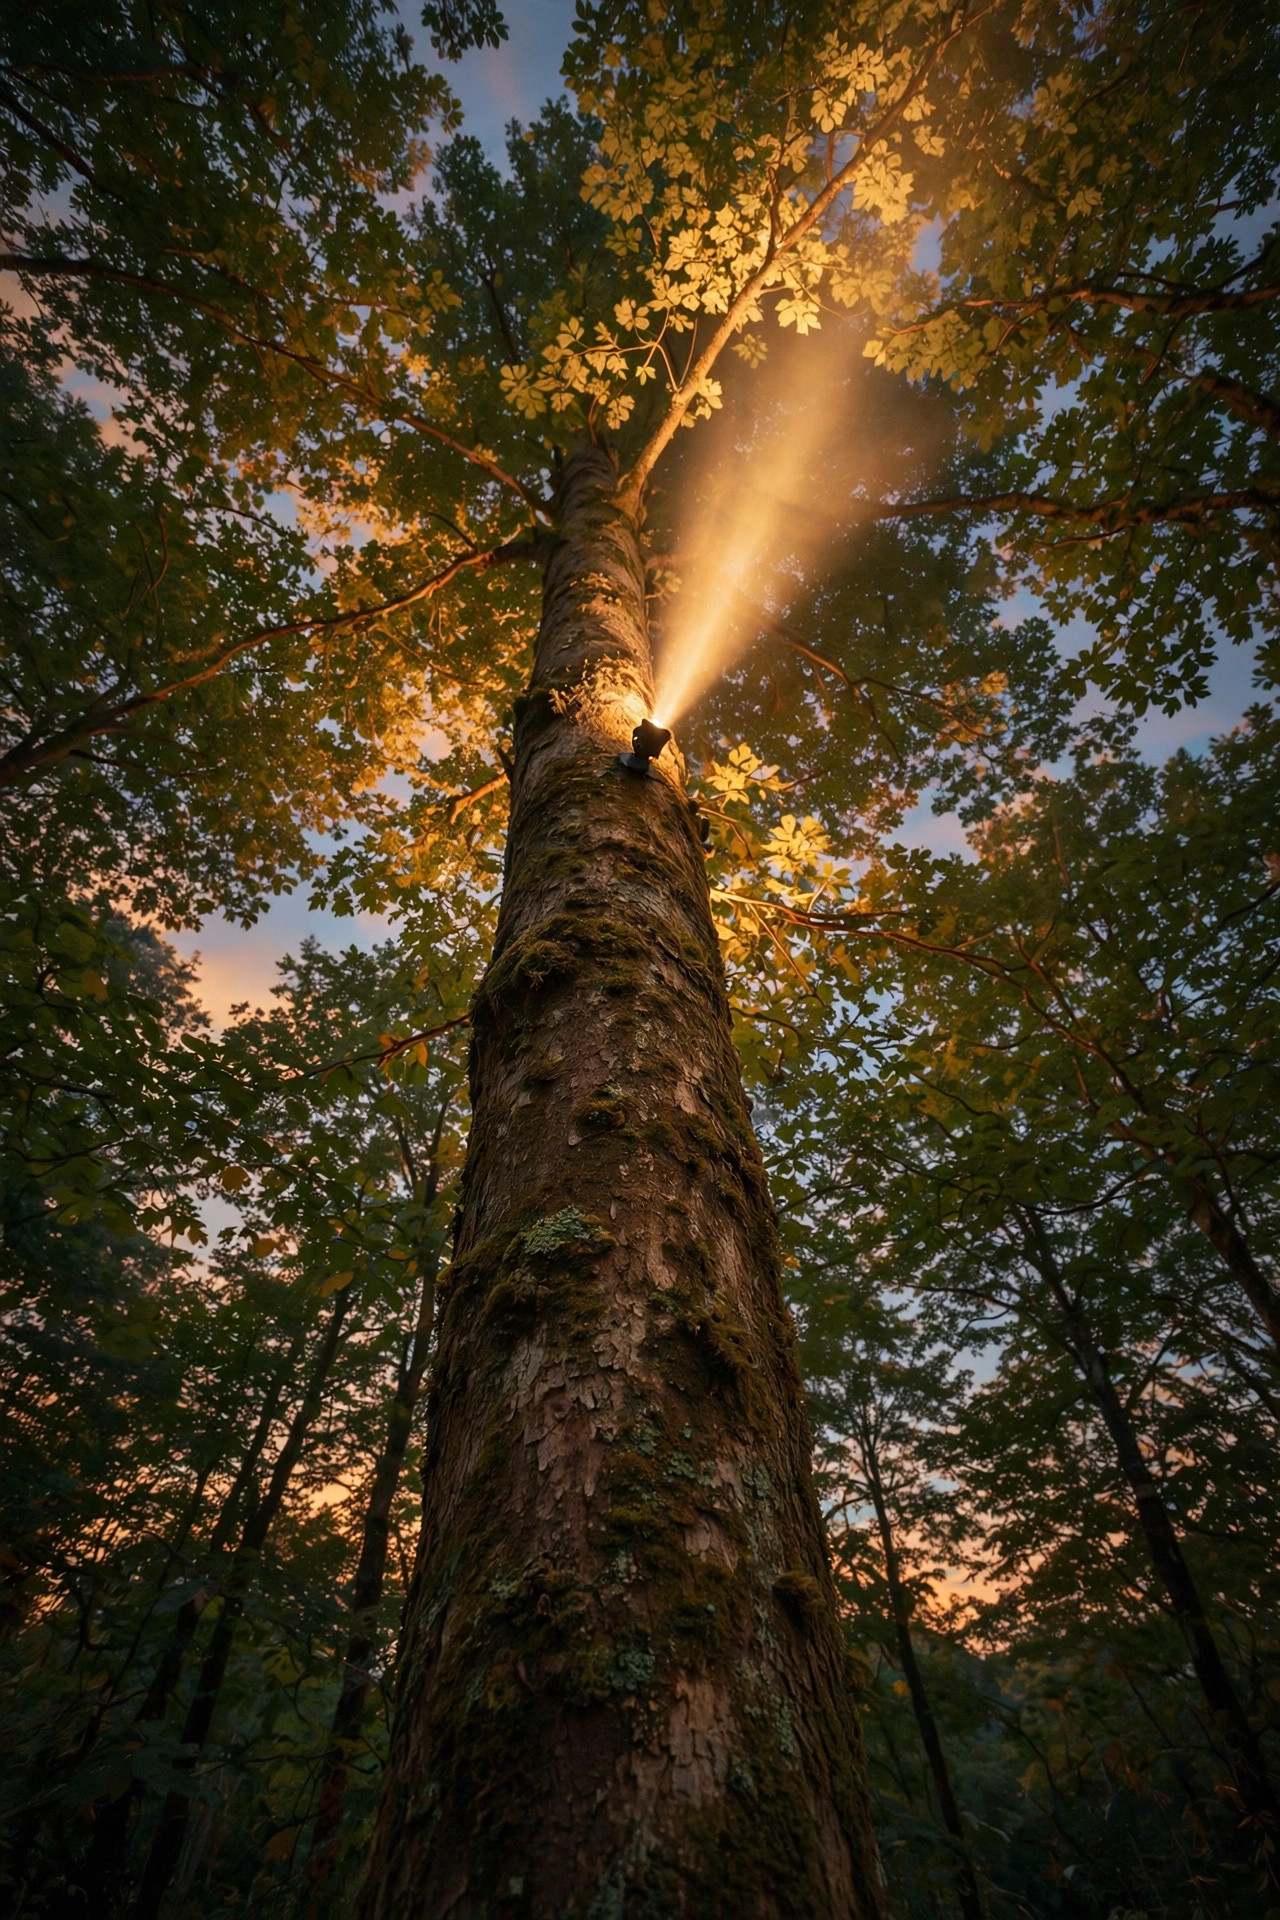
14. Mount the Fixture Up the Trunk for Very Tall Trees
Physics is the enemy of ground-level lighting: a beam loses punch with every foot of throw, and past about 45 feet even a strong fixture starts to fade. For genuinely tall trees, I mount a compact spotlight on the trunk itself, 12 to 18 feet up, aimed into the canopy above. Cutting the throw distance in half transforms the result — suddenly 500 lumens does the work of 1,200 from the ground. Use stainless lag screws sized to the tree, leave slack in the cable for growth, and re-check the mount every couple of years so nothing girdles. This is arborist-adjacent work, so if the mount point is beyond a comfortable ladder reach, hire it out — it's a one-hour job for a pro with a bucket or climbing gear. The ground stays clean, mowers stay safe, and the light source disappears completely, which is the hallmark of lighting that looks expensive.
Suggested budget range: $85 – $200.
15. Add Honeycomb Louvers to Keep Beams Neighborly
A narrow beam is only polite if it stays where you aimed it, and tall trees near property lines are where good intentions go to die. Honeycomb louvers — thin grid inserts that snap into the fixture's face — cut off the beam's stray edge spill without dimming the center, so the canopy glows but your neighbor's bedroom window doesn't. Barn-door style shields do similar work on columns near the street, blocking the direct view of the lens from the sidewalk. In my experience, these five-dollar add-ons prevent ninety percent of lighting complaints, because what people actually object to is glare in their eyes, not light on your tree. Aim first, then louver, then stand in your neighbor's yard (with permission, honestly) and check your work from their side of the fence. Many towns also have dark-sky or light-trespass ordinances now, and a shielded, downward-shielded, warm-temperature setup keeps you well inside every rule I've ever read.
Suggested budget range: $10 – $30.

16. Build a Seasonal Re-Aiming Habit Into Your Calendar
Here's the unglamorous truth about narrow beams: they drift out of perfection. Canopies leaf out and shift the silhouette, frost heaves nudge stakes, mulch gets topped up over lenses, and a beam that crowned the oak in April is lighting a squirrel's nest by August. I do a ten-minute walk with a coffee after full dark twice a year — once after spring leaf-out, once after the first hard frost — and re-aim anything that's wandered. Keep a small notebook or phone note of each fixture's angle and distance so you're restoring a plan, not reinventing one. Fall is my favorite adjustment: with the leaves thinning, beams travel farther, and I often dial dimmers down a notch to compensate. This tiny habit is the difference between lighting that looked great the week it was installed and lighting that looks great for a decade. It pairs perfectly with a once-a-year lens cleaning, since pollen film can steal a third of your throw.
Suggested budget range: $15 – $45.

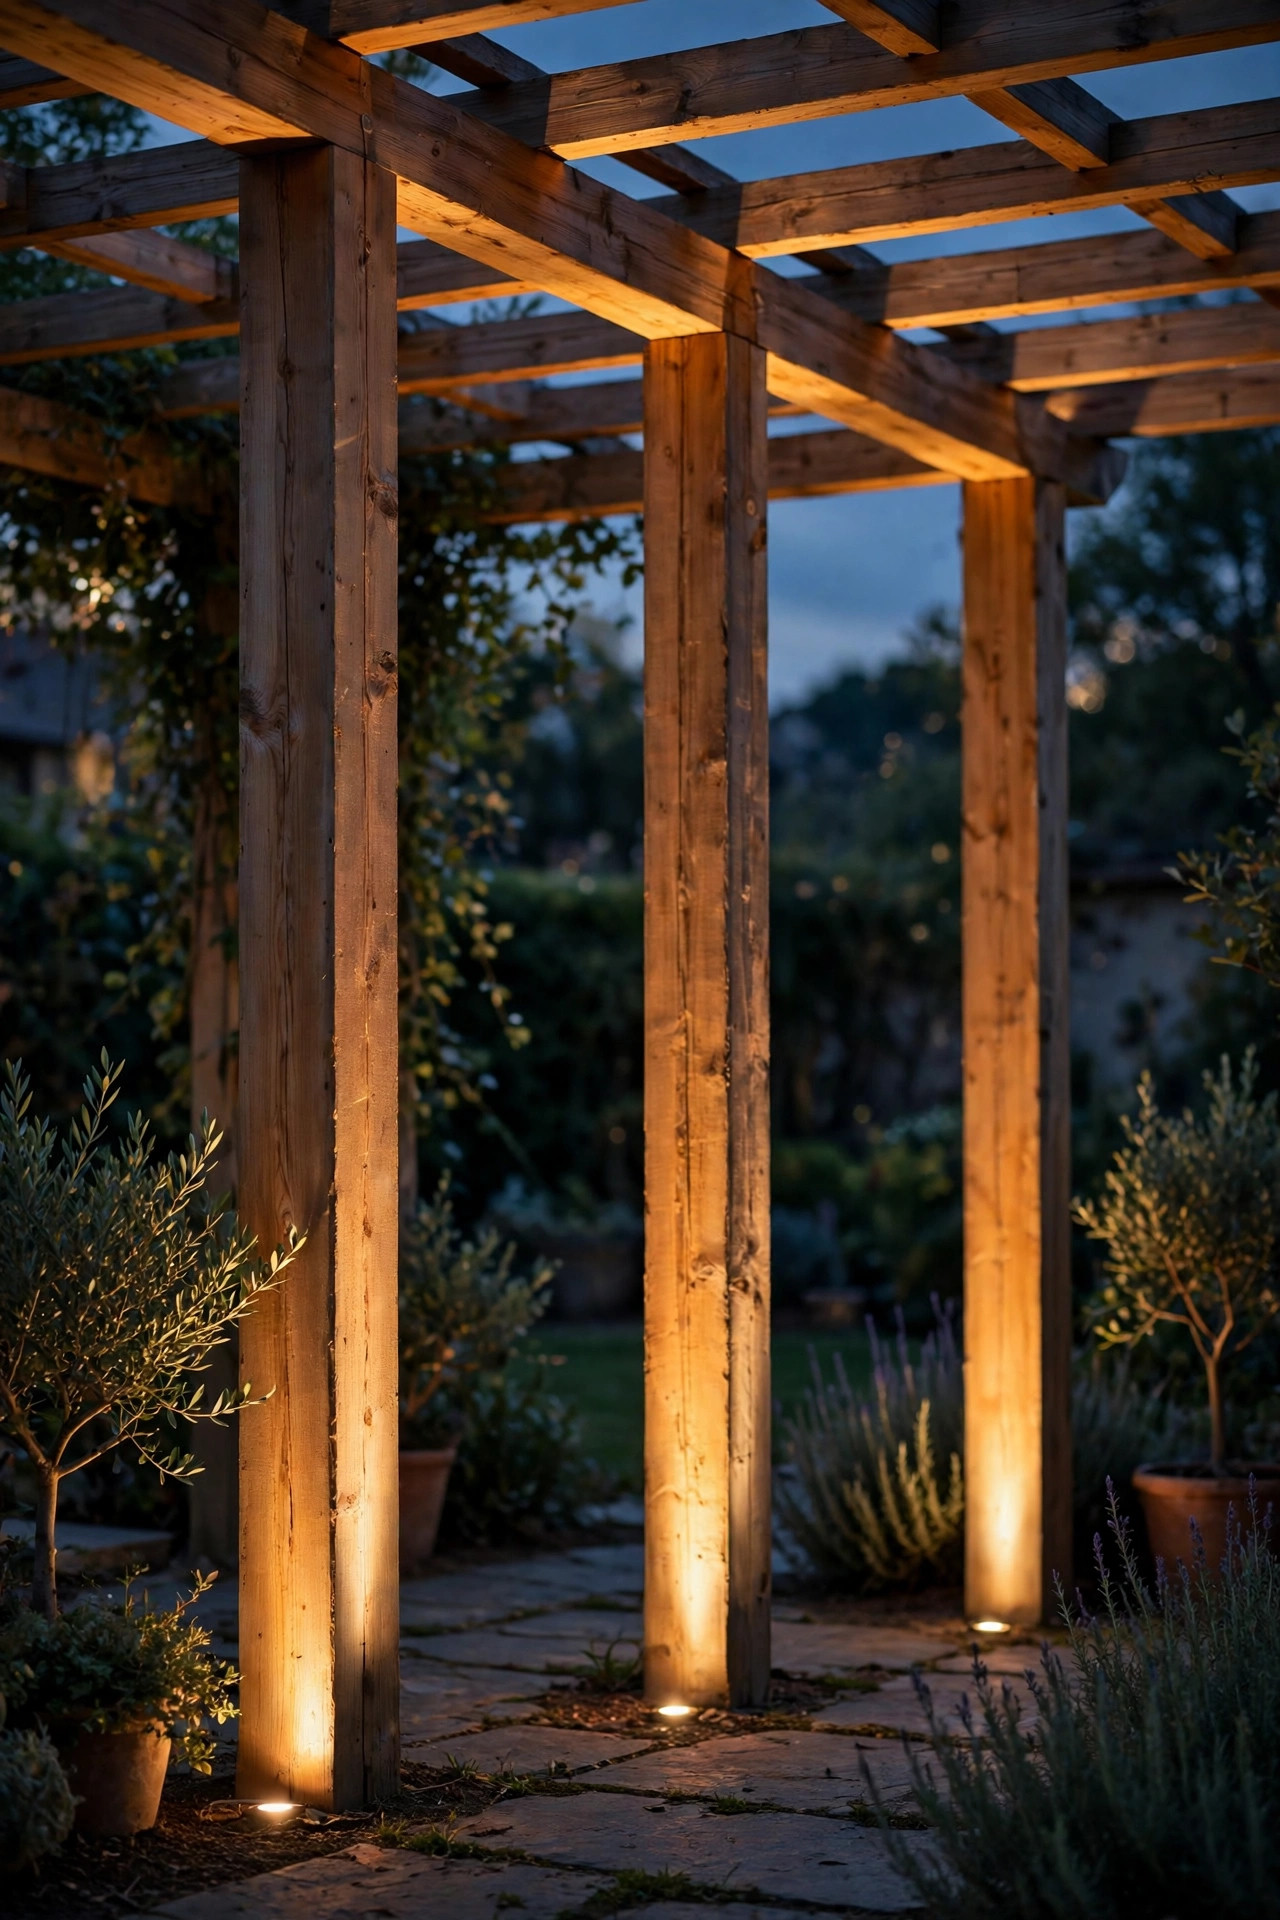
17. Turn Pergola and Garden Columns Into Night Architecture
Garden structures have columns too, and at night they're usually invisible. A narrow beam at the base of each pergola post, aimed up and slightly inward, turns a plain structure into a glowing pavilion — the beams outline the posts and spill just enough light onto the rafters to suggest a ceiling. The same trick works on the posts of a garden gate, an arbor over a path, or the brick piers flanking a driveway. Keep the beams tight, 10 to 15 degrees, because the goal is definition, not illumination; the space inside should stay dim and romantic, lit mostly by bounce. If the pergola hosts dinners, put these on a separate dimmer from any overhead string lights so you can tune the balance. Wood posts drink up warm 2700K light beautifully, while painted white structures need a lighter hand — start dim and creep up. Matching fixtures at every post matters more than expensive fixtures at one.
Suggested budget range: $45 – $110.
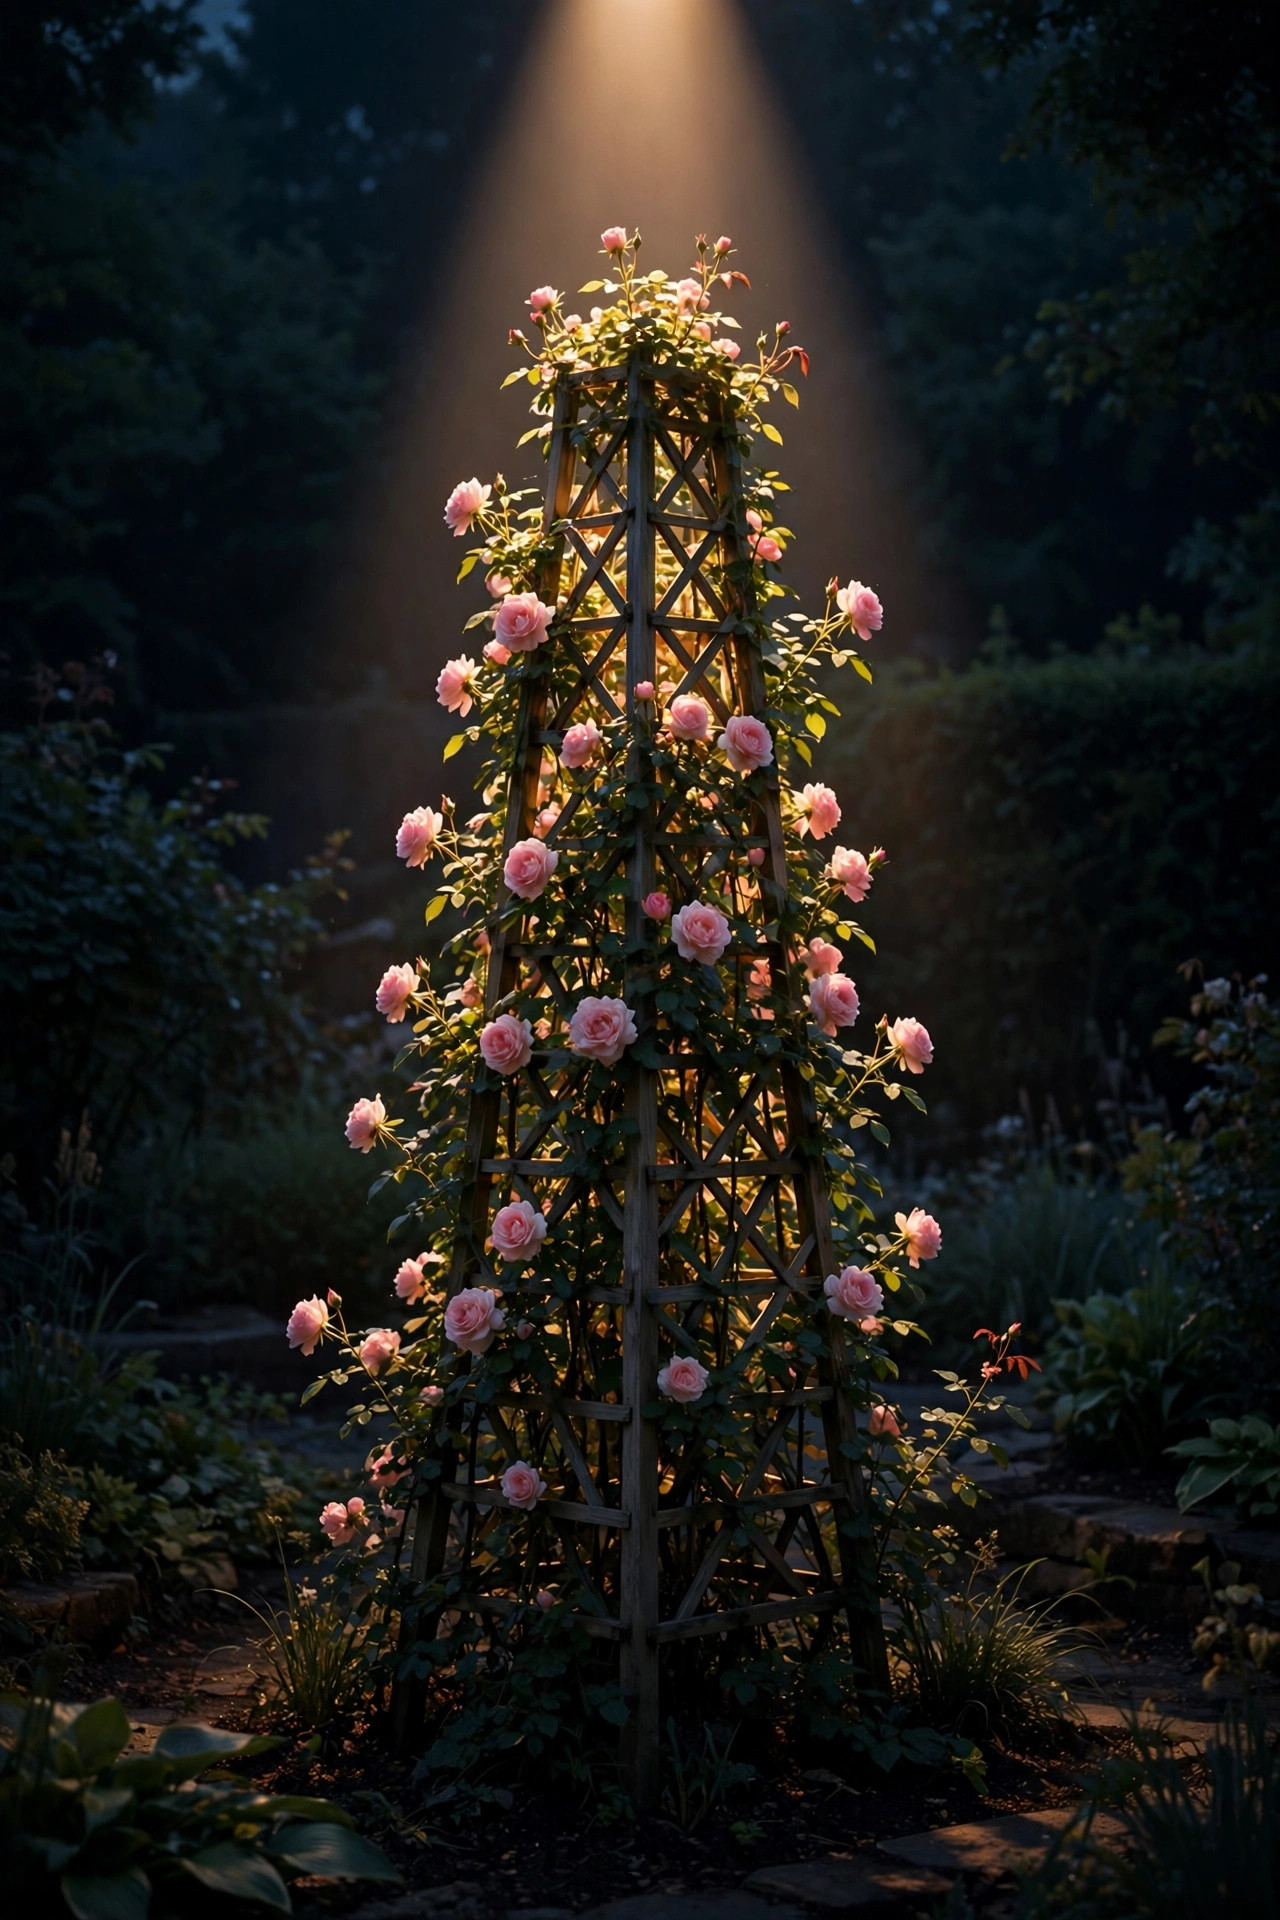
18. Spotlight a Tall Trellis or Obelisk as a Garden Focal Point
Every garden needs one thing that glows on purpose, and a tall obelisk trellis, a climbing rose pillar, or a columnar topiary makes a perfect target for a single narrow beam. Position the fixture 3 to 4 feet out, aim at the top third, and let the beam taper down the structure so the planting reads as a lit sculpture after dark. When the climber is in bloom — clematis, jasmine, climbing roses — the flowers catch the light like ornaments, and the fragrance plus the glow is honestly the whole argument for garden lighting in one corner. A 15 to 20-degree beam suits most obelisks; go tighter for topiary columns over 8 feet. This is also a lovely way to mark the end of a path: the glowing pillar acts as a destination beacon that pulls people through the garden. Keep surrounding beds dark so the contrast does the work — drama is just light with darkness around it.
Suggested budget range: $25 – $70.
19. Build the Full Look: Narrow Beam Spotlights as Your Accent Layer
After all these single tricks, here's how they combine. Think of your yard in three layers: soft path and bed lighting near the ground, a gentle wash across the facade in the middle, and narrow beams as the exclamation points on top — the tallest tree, the porch columns, one glowing obelisk at the garden's end. Two to four narrow beam accents are plenty for most yards; more than that and the exclamation points start shouting over each other. Put the beams on their own circuit or smart plug schedule so you can run the gentle layers nightly and save the drama for evenings you're home to enjoy it. When every layer shares one warm color temperature, narrow beam spotlights stop looking like individual fixtures and start looking like moonlight with opinions. Walk the whole plan from the street before you finalize anything — the curb view is the one your whole neighborhood gets to enjoy, and it's the truest test of whether the layers sing together.
Suggested budget range: $120 – $350.
Frequently Asked Questions
What beam angle actually counts as "narrow" for a spotlight?
In landscape lighting, narrow beams run roughly 10 to 25 degrees. A 10 to 15-degree beam is a true pencil beam for tall trunks and columns, 20 to 25 degrees suits mid-height trees, while 35 degrees and up is a flood that spreads too thin for height work. Check the fixture's spec sheet rather than the box marketing — "spot" gets printed on almost anything these days.
How many lumens do I need to light a 40-foot tree?
For a ground-mounted narrow beam on a 35 to 45-foot tree, I start around 600 to 900 lumens and adjust from there. Dense dark canopies (oaks, magnolias) want the high end; pale bark and white columns need far less. Trunk-mounted fixtures can do the same job with half the output because the throw distance is so much shorter.
Can solar spotlights really reach the top of a tall tree?
Honestly? Not a truly tall one. Good solar spots with focused lenses manage a convincing 15 to 20 feet of throw, which is lovely on small and midsize trees, but a 40-foot canopy needs wired low-voltage power. My approach is solar for far corners and auditions, wired for the heroes — and never solar in deep shade, where the panel starves.
How far from the trunk or column should the fixture sit?
For uplighting, 12 inches to 4 feet is the working range. Close in (12 to 24 inches) gives dramatic grazing texture on bark, brick, and fluted columns; farther out (3 to 4 feet) reads softer and covers more canopy. The steeper the aim, the taller the effect — but test after dark before burying cable, because six inches at the base changes everything at the top.
Conclusion
Tall trees and columns aren't a lighting problem; they're the whole opportunity. With narrow beam spotlights doing the vertical work — a pencil beam up the oak, matched pairs on the columns, a silhouette behind the palm — the rest of your lighting can stay low, soft, and simple. Start with one hero tree, aim it carefully after dark, and let that single glowing canopy convince you to do the columns next. If you'd like more ways to build the layers underneath, browse my other outdoor lighting ideas here on the site and plan your own curb-view masterpiece.