For years, all my holiday decorating energy went to the front yard — the wreath, the roofline, the little row of pathway stakes for the neighbors to admire. Then one December evening I carried a mug of cocoa out back, looked at my dark, forgotten patio, and thought: honestly, this is where we actually live. That was the night I started collecting backyard christmas lighting ideas, and I have never gone back. The backyard is where the fire pit is, where the dog does his evening zoomies, where we bundle up in blankets and watch our breath fog in the cold air. It deserves the good lights too. In my experience, the secret is the same layering I use all year: something glowing overhead, something sparkling at eye level, and something warm and low along the ground. In this post I am sharing 21 ideas, from a $15 strand of fairy lights in a shrub to a fully wrapped oak that stops backyard traffic. Most of them go up in a single weekend with a ladder, a timer, and a thermos of something hot.

1. Backyard Christmas Lighting Ideas Begin With the Big Tree
If your backyard has one mature tree, it is your headline act, and everything else is the supporting cast. I wrap the trunk in a tight spiral of warm white mini lights, spacing each pass about 4 to 6 inches apart, then work my way out along the three or four biggest limbs. A rough rule from my own trial and error: a 15-foot tree drinks up 600 to 800 lights before it looks properly dressed, so buy more strands than you think you need and keep the receipt. Start at the base with the plug end near your outdoor outlet, wrap upward, and secure strands with plastic light clips or soft garden ties — never anything metal that can nick the wire or bite into bark. Work at dusk if you can; you will spot the dark gaps as you go and fix them while the ladder is still out. For the year-round tree-lighting tricks I lean on in every season, see my guide to backyard tree lighting ideas — the Christmas version just adds more sparkle and a warmer color temperature.
Suggested budget range: $40 – $120.

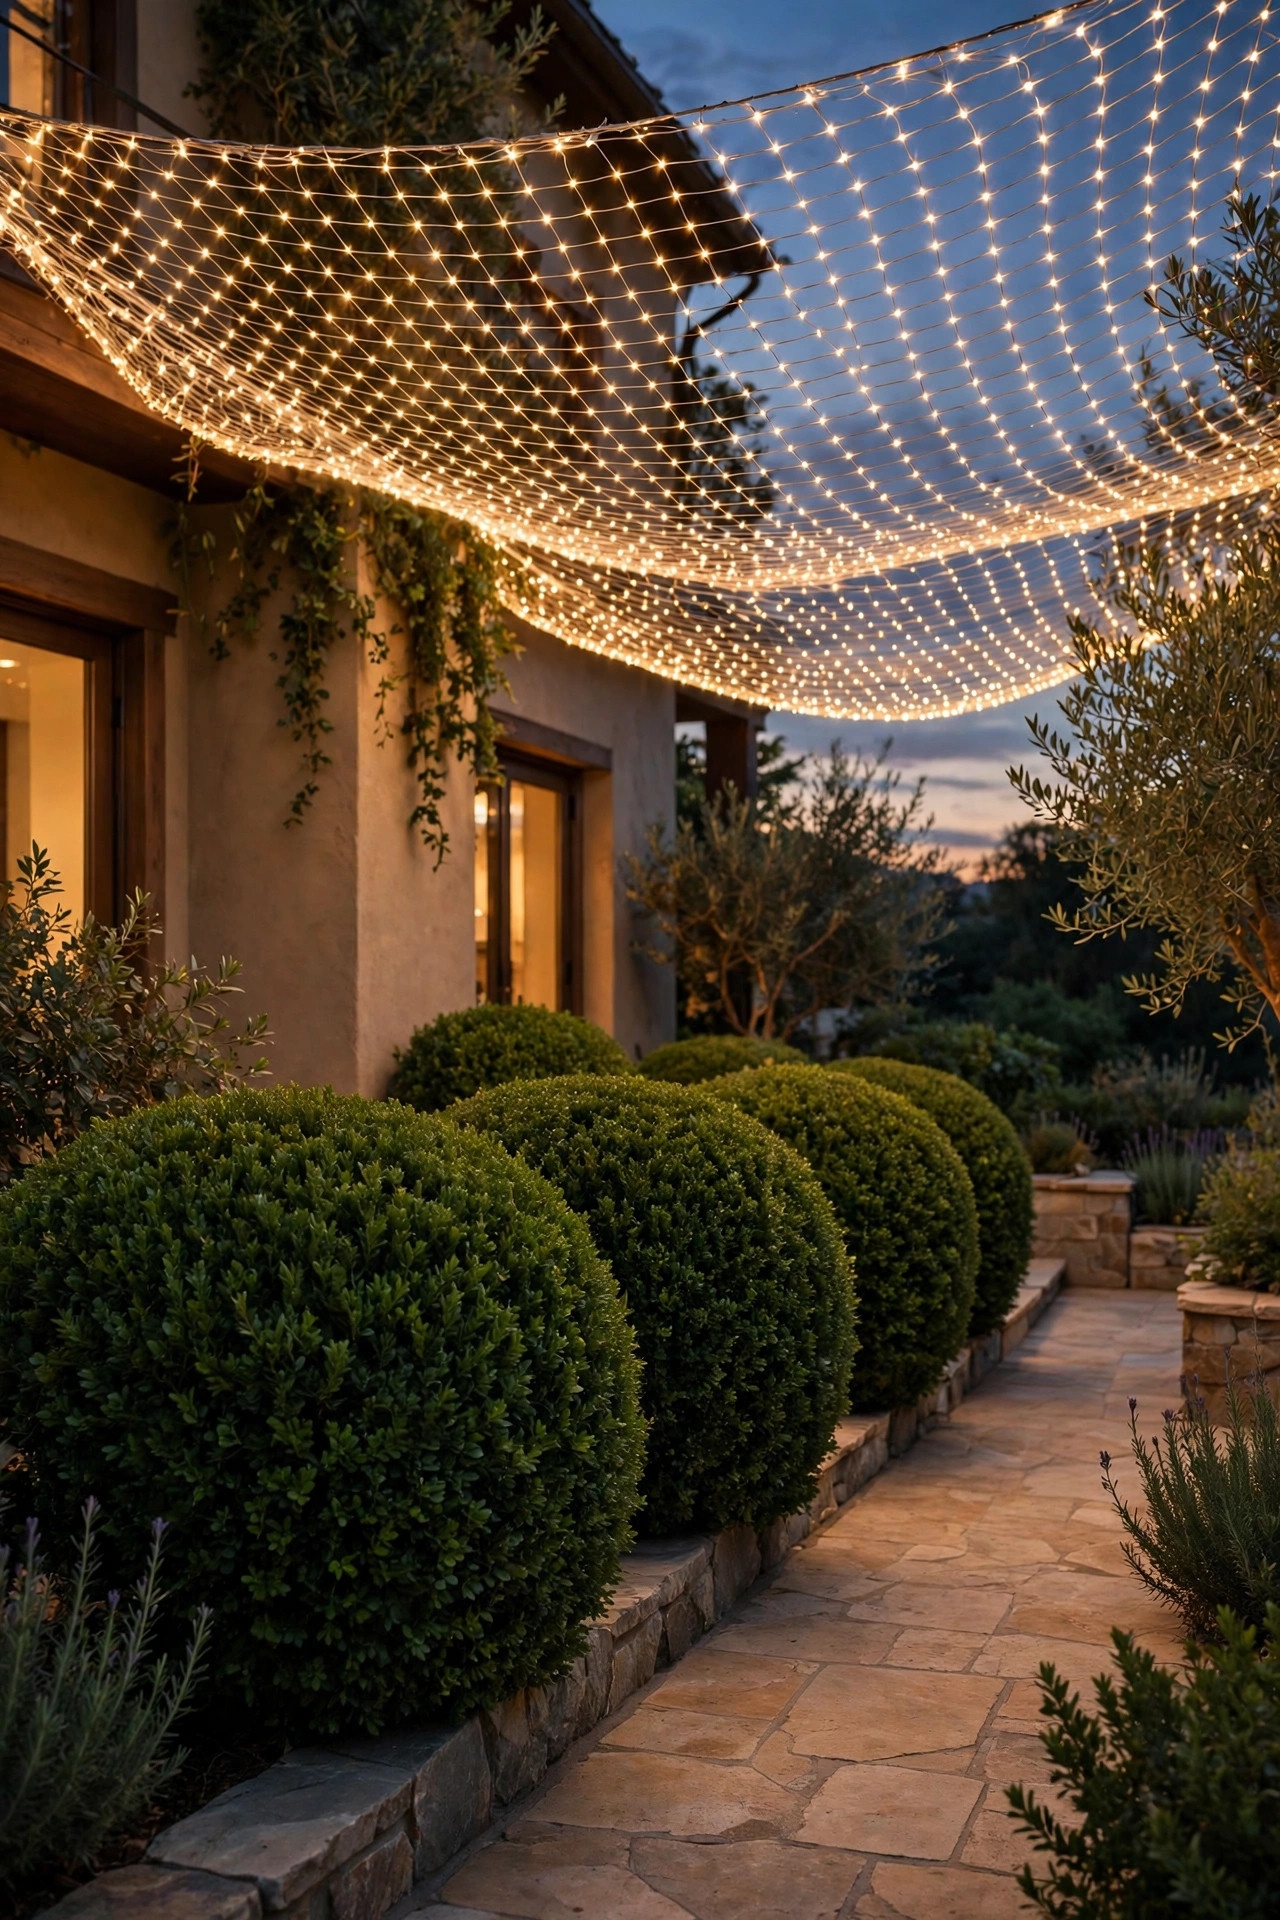
2. Drape Net Lights Over the Shrubs
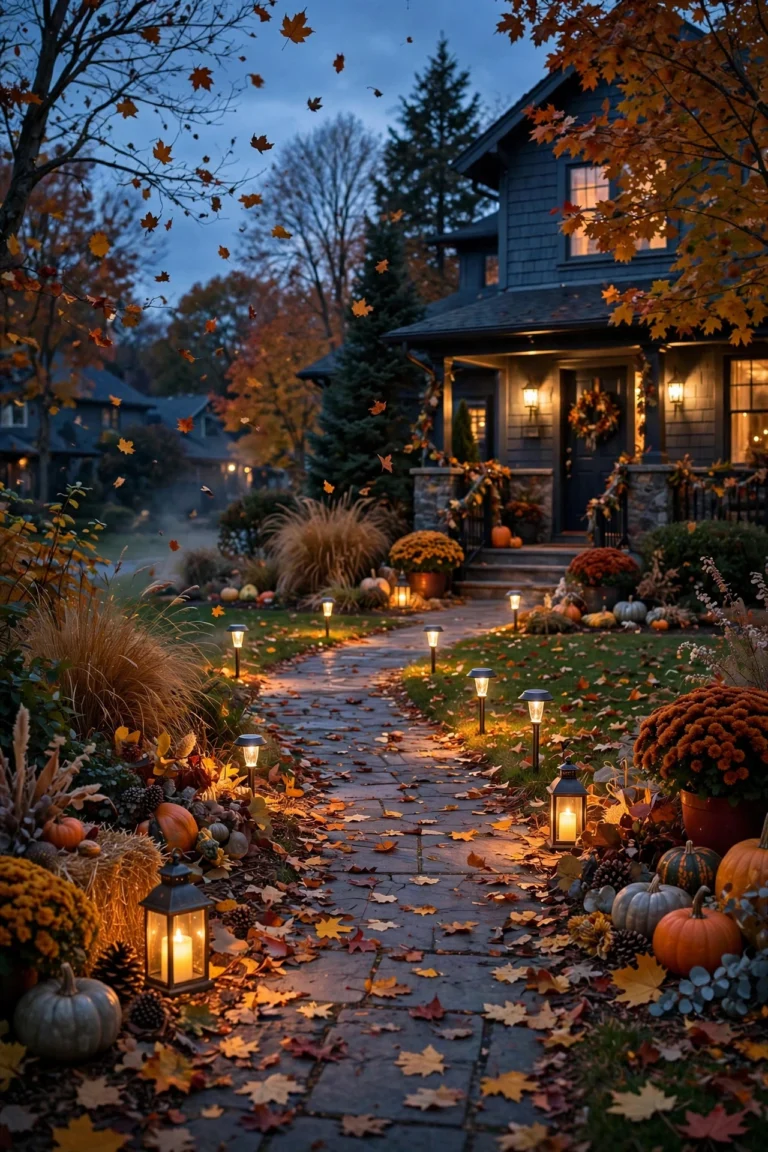
Net lights are the hardest-working shortcut in my whole holiday stash. Each net is a grid of lights on a flexible mesh, usually about 4 by 6 feet, and you simply drape it over a shrub like a blanket and plug it in — ninety seconds per bush, truly. They are perfect for the boxy foundation shrubs along the back of the house and the rounded evergreens flanking the patio, because the even spacing looks intentional instead of tangled. I shake each bush lightly first so loose leaves drop, drape the net with the plug end at the bottom back, and tuck the edges under the foliage so the mesh disappears after dark. Warm white reads classic, while multicolor feels playful if you have little kids voting. Buy nets with end-to-end plugs so you can chain two or three off one outlet, and check the package for the maximum number of strands you may connect — usually three to five. Because the lights rest right against leaves, LED nets only, please: they run cool to the touch and sip electricity. Come January, fold each net flat like a bedsheet, and it stores in almost no space at all.
Suggested budget range: $25 – $60.
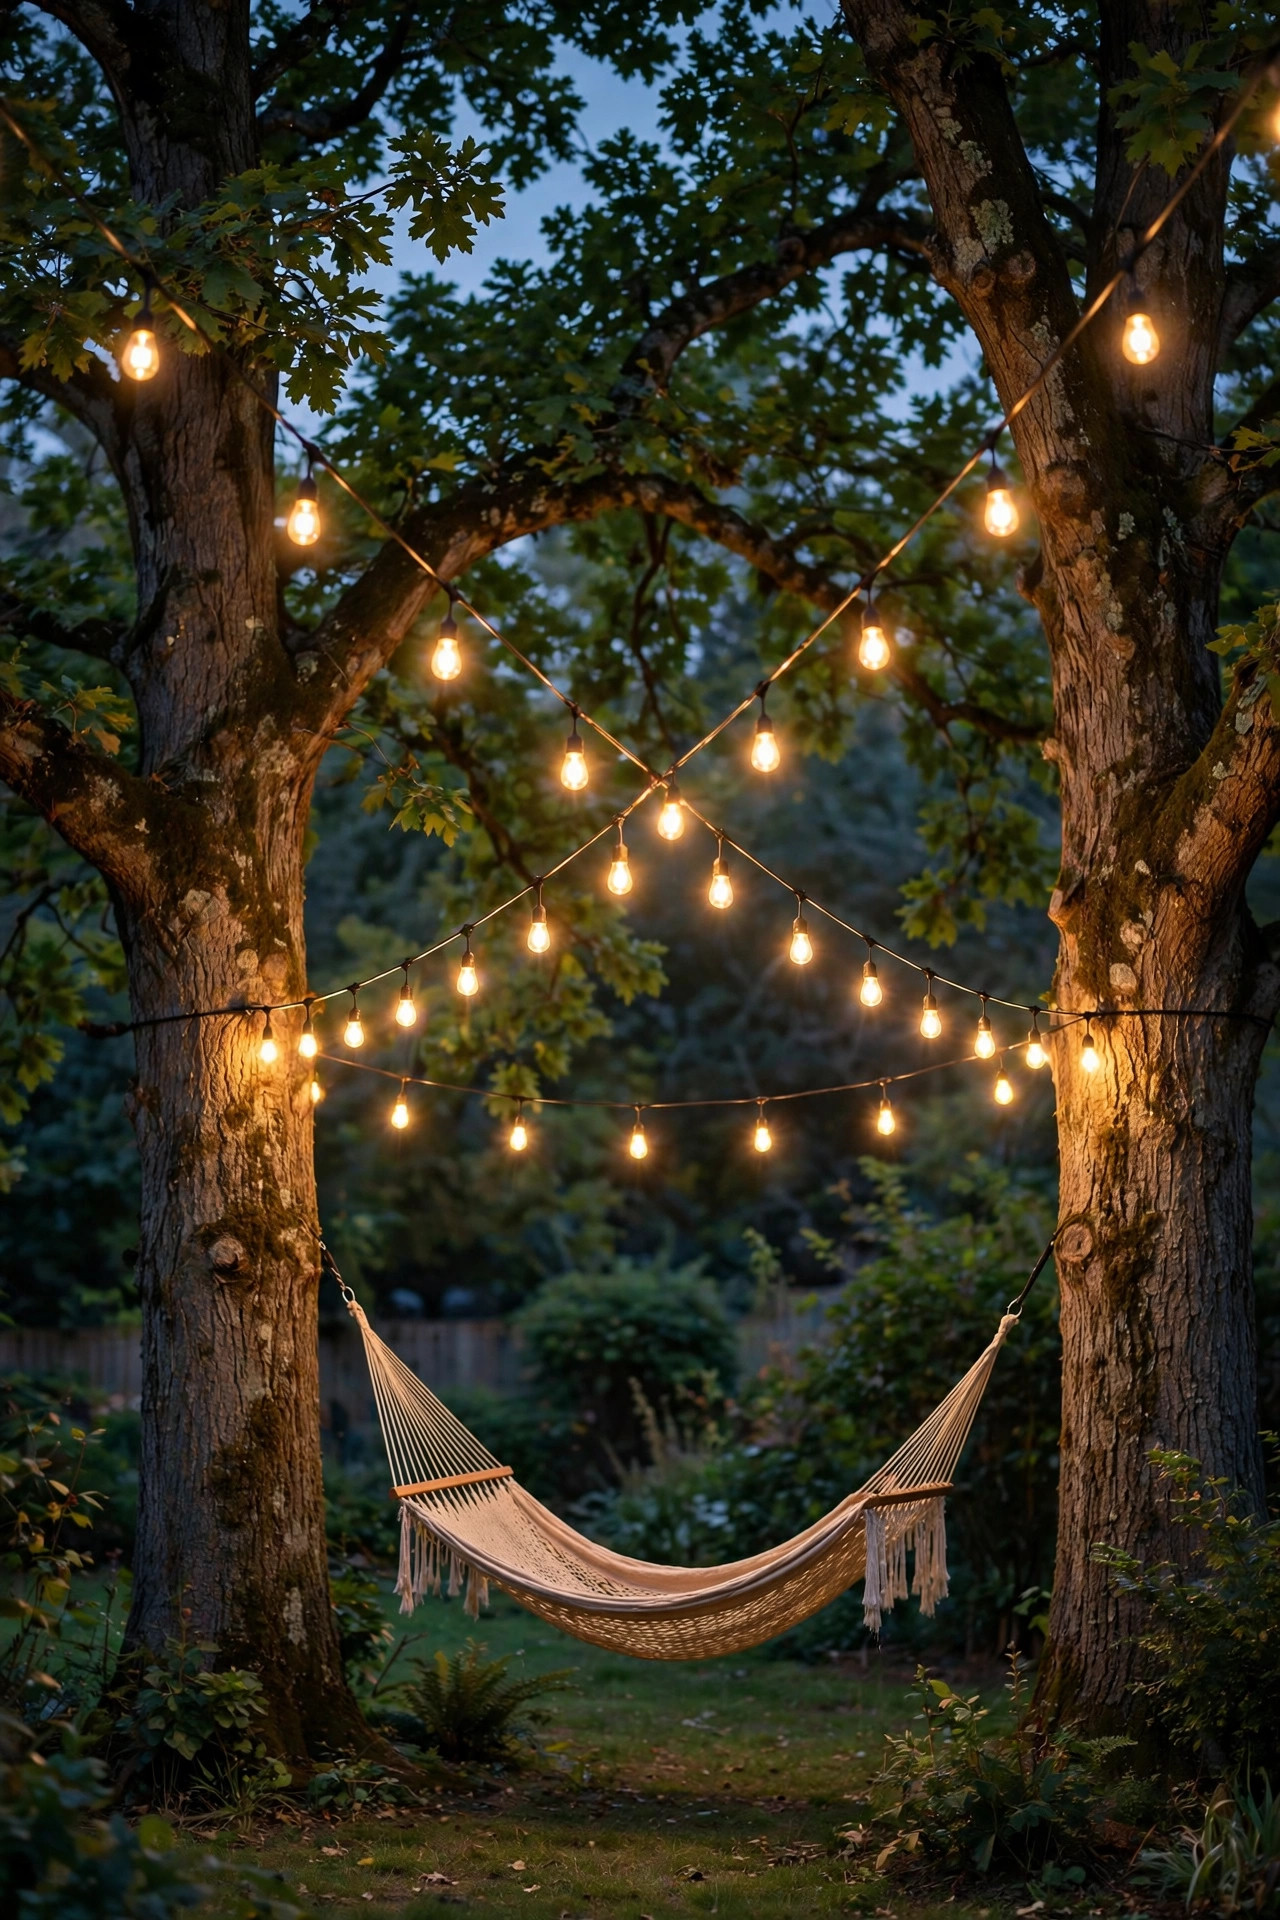
3. Crisscross Café String Lights Over the Patio
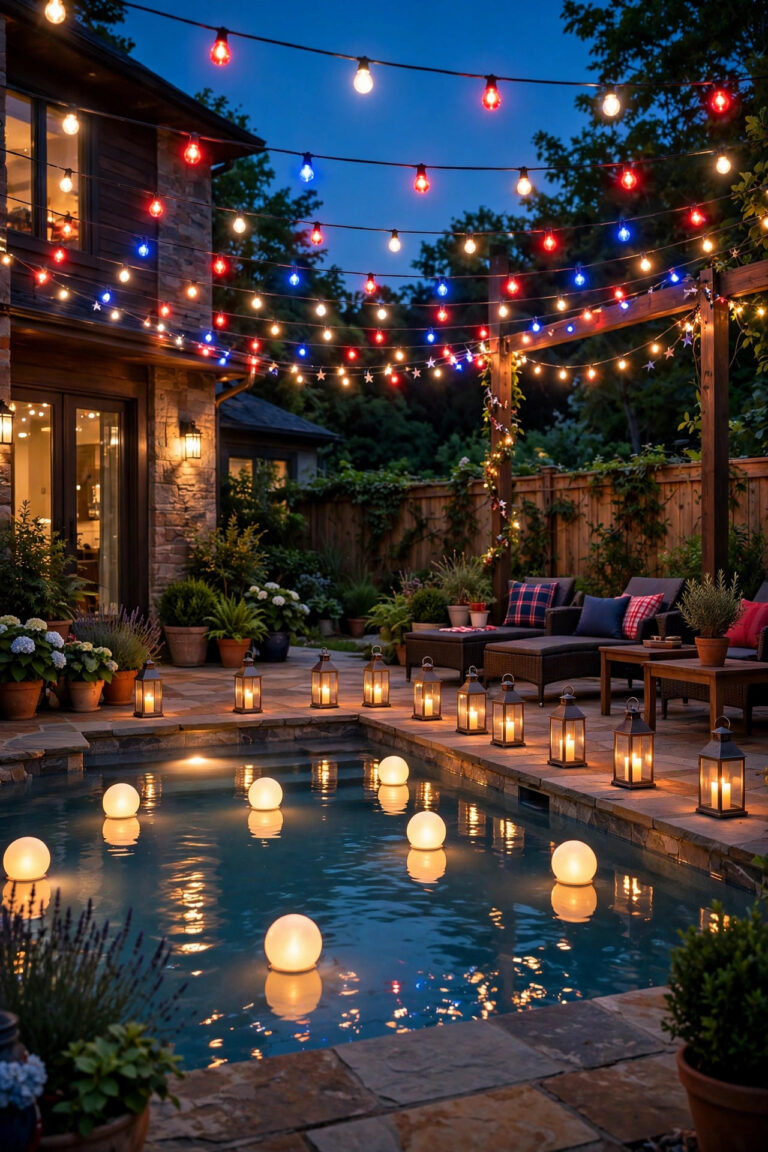
Overhead light is the layer that makes a backyard feel like a room, and in December my patio café strings trade their summer job for a holiday one. I keep the same crisscross runs I use all year — guide wires corner to corner, strings swagged every 8 to 10 feet — but I swap in warm white bulbs and clip a little faux greenery and a few shatterproof ornaments along the wire. If your strings are still in the planning stage, my backyard string light ideas post walks through poles, spans, and hardware in detail. Use commercial-grade outdoor string lights with suspended sockets and LED filament-style bulbs; they shrug off December rain and the occasional dusting of snow. Hang the lowest swag at least 7 feet above the patio floor so tall guests and raised cocoa mugs clear it easily. On a plug-in dimmer, these go from practical dinner light to a soft background glow in one twist, and honestly, they do more for holiday mood per dollar than anything else I own. Weave a strand of mini fairy lights into the same swag if you want sparkle layered over the glow.
Suggested budget range: $30 – $90.
4. Hang Icicle Lights Along the Pergola Beam
Icicle lights belong on more than rooflines. Along the front beam of a pergola or the rim of a gazebo, those dangling drops look like actual winter weather doing the decorating for you. Most strands run 8 to 10 feet with drops of mixed lengths, and they clip neatly to a beam with all-in-one clips or simple screw hooks spaced every foot or so. I run mine along the pergola beam that faces the house, so when we look out the kitchen window on a dark morning, the whole structure sparkles back at us. Choose warm white for a classic look or blue-white if you want that frosty, just-snowed feel — just commit to one temperature across the whole yard so it reads as a single design. Keep the plug end at a corner post, where an outdoor extension cord can run straight down the post, out of sight and out of foot traffic. Because icicle drops hang free, give each strand a gentle untwist as you hang it so every drop falls straight. LED versions use a fraction of the power of the old incandescent sets, and the bulbs stay cool even when the wind presses them against wood.
Suggested budget range: $20 – $55.

5. Line the Back Walkway With Candy-Cane Stakes
The walk from the back door to the gate or the fire pit deserves the same welcome as the front path. Candy-cane stakes are the nostalgic favorite — they line up like a little parade — but if your style runs calmer, plain warm white stake lights or snowflake-topped markers do the same job with less whimsy. Space them 3 to 4 feet apart on alternating sides of the walk so the path reads as a gentle zigzag of light rather than an airport runway. Push the stakes in before the ground freezes hard; in cold climates I install mine around Thanksgiving while the soil still gives a little. Solar versions are fine on open, sunny paths, but in December, when days are short and skies stay gray, plug-in low-voltage stakes are far more reliable and stay bright well past midnight. Run the cord along the edge of the bed and pin it flat with landscape staples so nobody trips and no shovel ever meets it. At our house, these are the lights the designated dog walkers appreciate most: safe footing, clear edges, and a small hit of Christmas on every chilly evening trip outside.
Suggested budget range: $15 – $40.

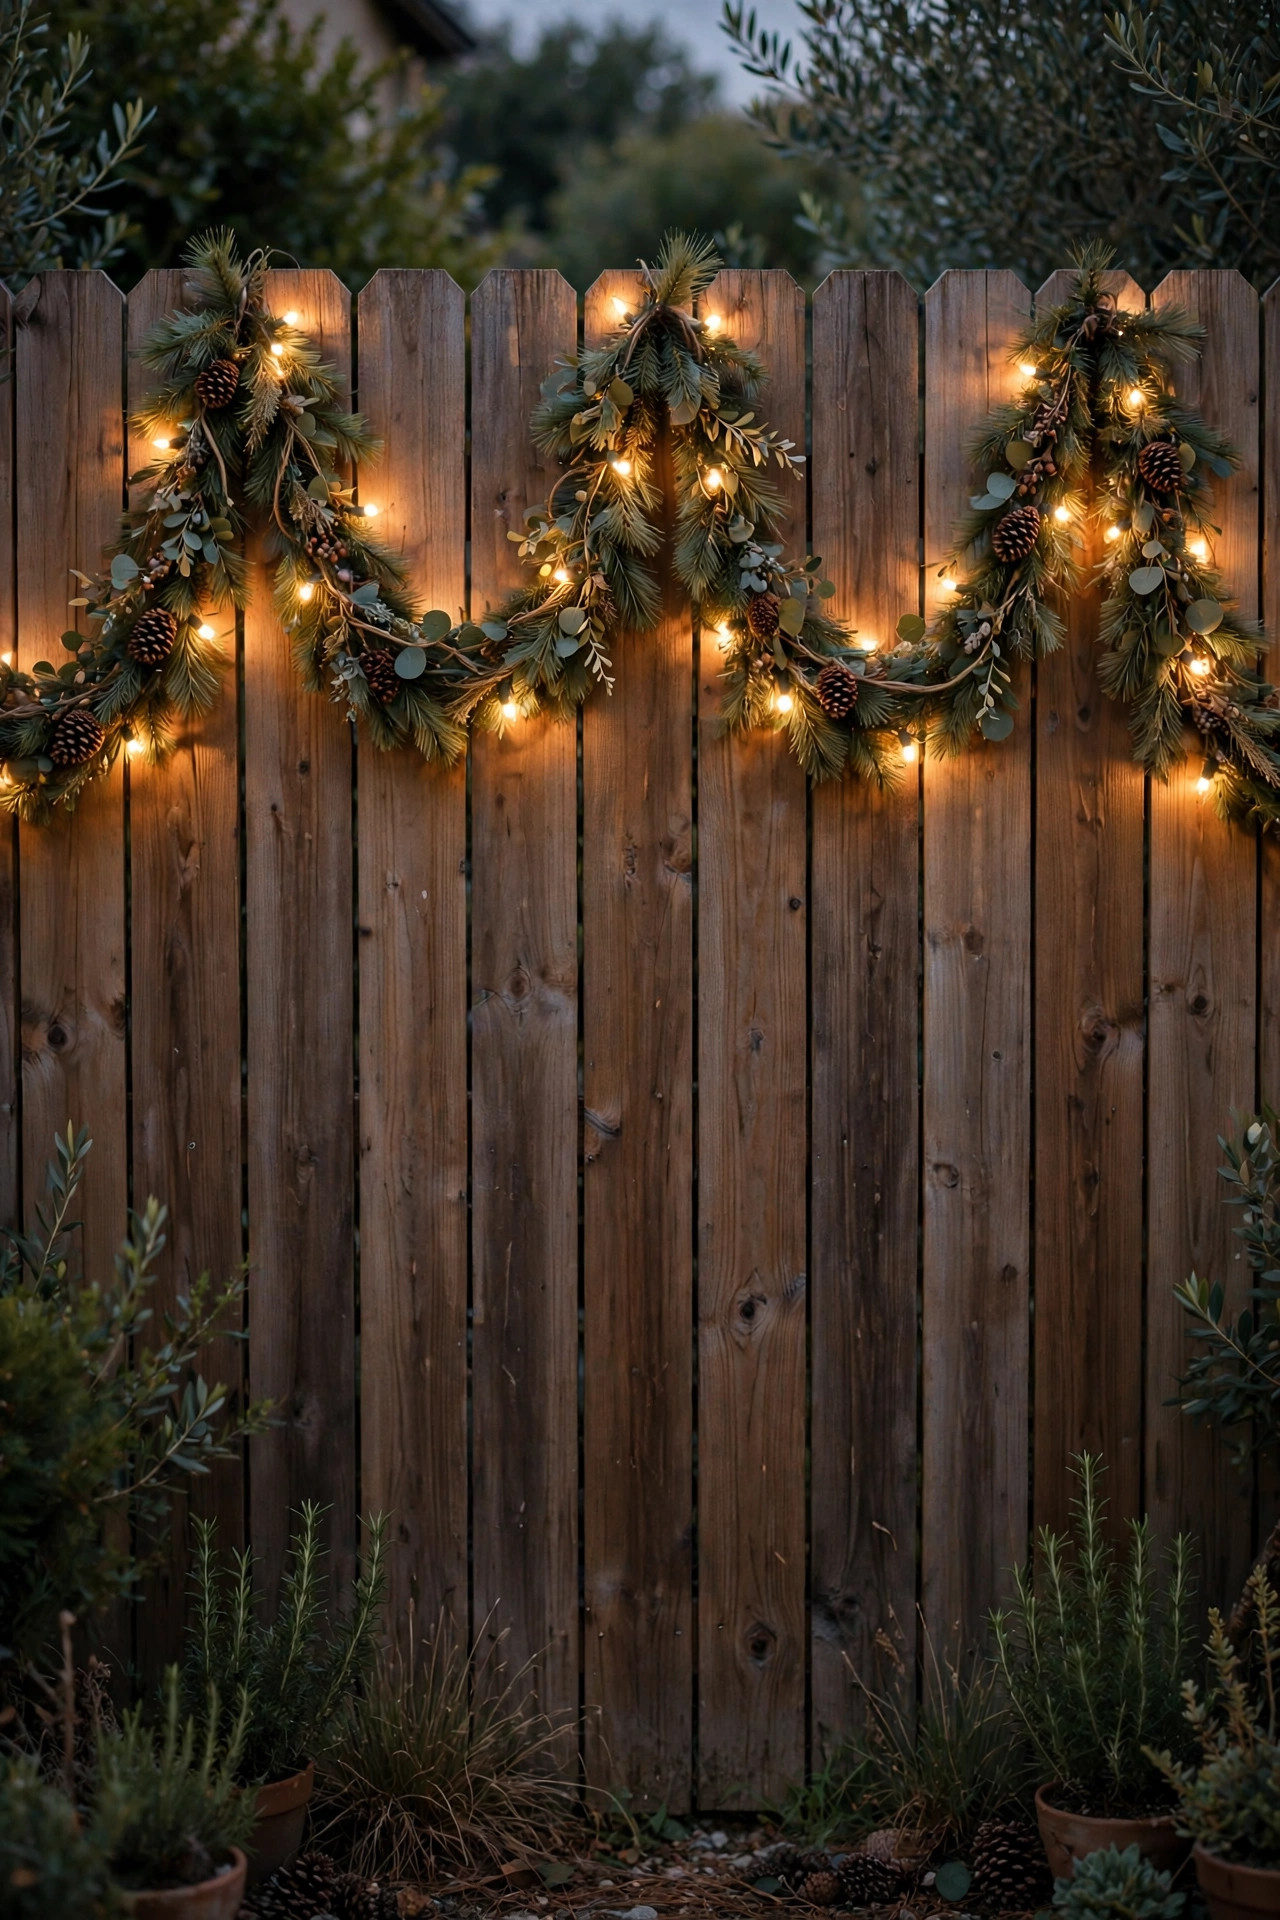
6. Swag Lighted Garland Along the Fence
A plain privacy fence is the biggest blank canvas in the backyard, and a swagged garland turns it into scenery. I use unlit faux pine garland in 9-foot lengths — the inexpensive kind is fine once it is dressed — and swag it in gentle scallops along the top rail, fastening every 2 feet with outdoor zip ties or floral wire. Then I weave a strand of warm white mini lights through each swag, roughly 100 lights per 9-foot section, and finish with a weatherproof bow or a cluster of shatterproof baubles at each dip. Prelit garland skips the weaving step and is worth the small premium if your fence run is long. Work from a step ladder with a helper feeding garland up to you so it never drags through wet grass. Keep the ambition sensible: two or three full swagged sections on the most visible fence run beat a skimpy single line stretched around the entire yard. If your fence borders a neighbor, remember this is the view they get all December too — ours told us it made their kitchen window feel like the inside of a snow globe, which I count as the highest praise.
Suggested budget range: $35 – $80.
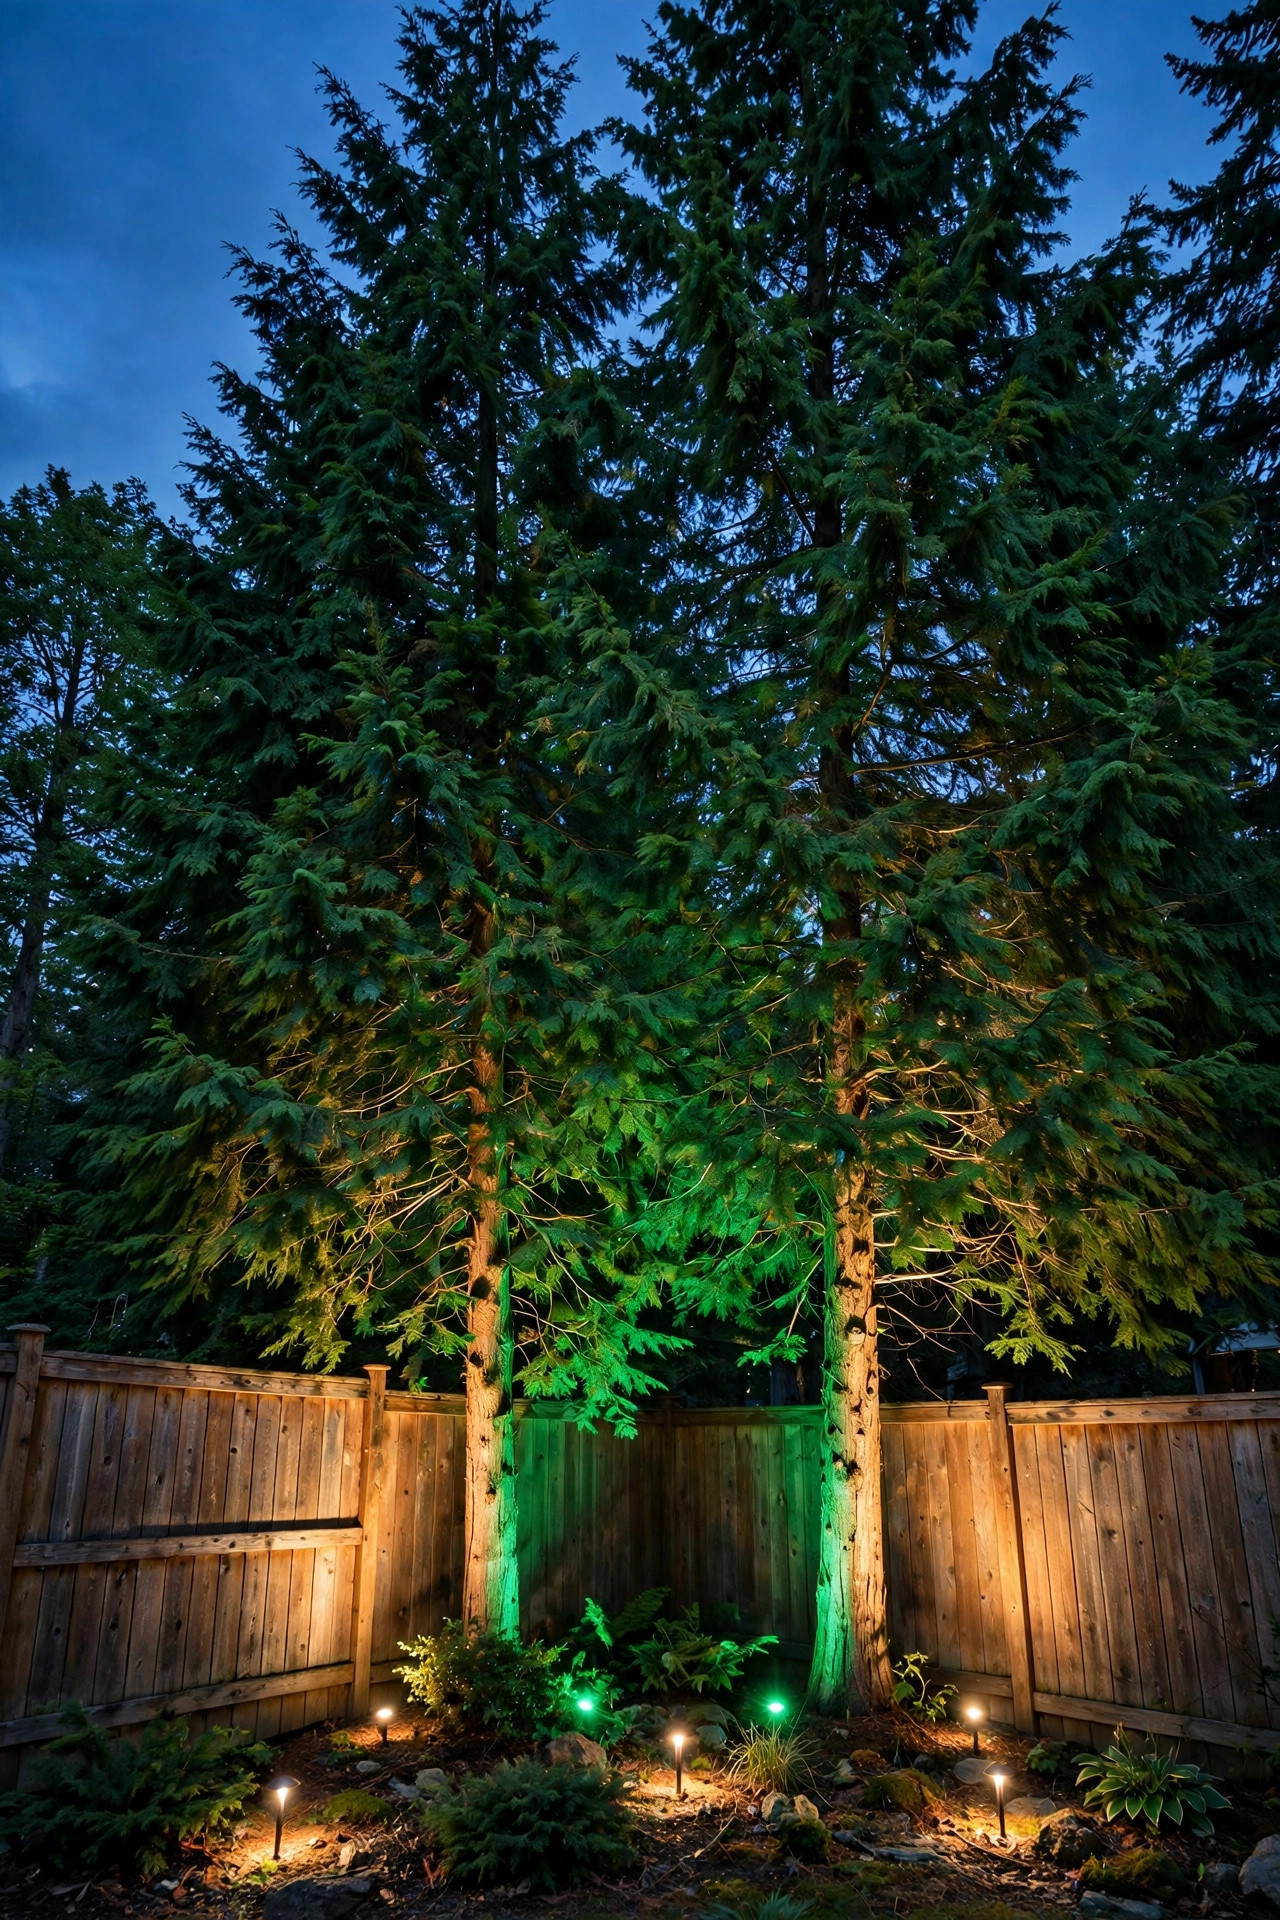
7. Uplight the Evergreens With Spotlights
Those dark green sentinels in the back corners — the arborvitae, the spruce, the holly — are free Christmas trees that never need watering. I light mine from the ground with outdoor spotlights instead of wrapping them, which takes about five minutes each and still looks lush. A warm white uplight at the base gives an elegant, sculptural glow; swap in a color-changing LED bulb in green or red and the whole tree becomes a holiday statement visible from the street. Stake the fixture 2 to 3 feet from the trunk and aim it up into the fullest part of the canopy, then step back at dusk and adjust the angle until the light spreads evenly instead of hot-spotting a single branch. Smart color bulbs on a schedule are my favorite upgrade here: warm white on weeknights, red and green on party nights, all controlled from the couch. Use fixtures rated for wet locations with sealed lenses, and keep cords tucked under mulch or pinned flat against the soil. This is also the kindest option for tall evergreens — no ladders, no reaching, and no arguing with a 20-foot spruce in the cold.
Suggested budget range: $25 – $70.
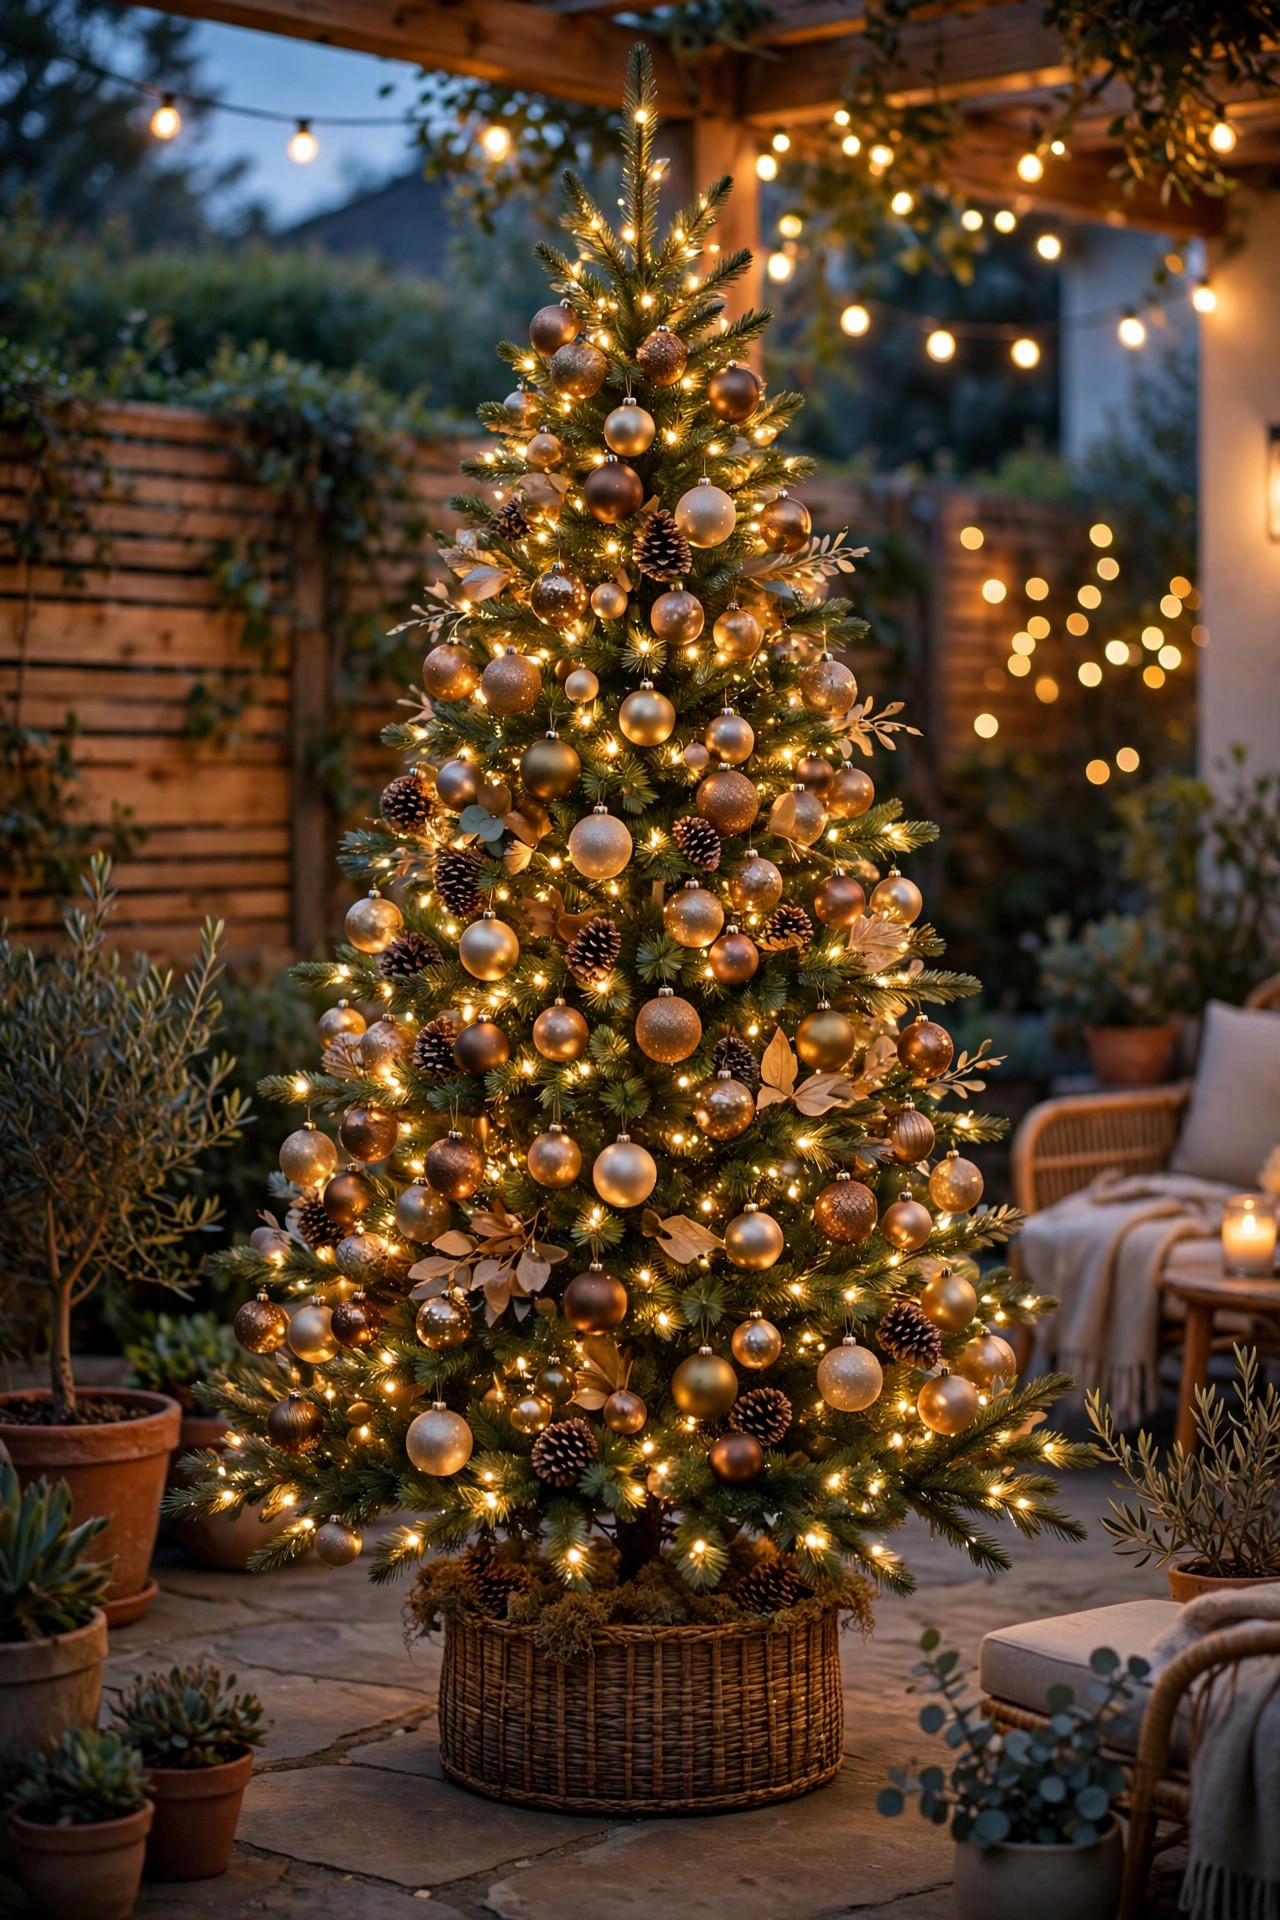
8. Give the Backyard Its Own Christmas Tree
Here is my favorite indulgence: a second Christmas tree that lives outside. It can be a potted spruce or fir on the patio that you plant in the garden come spring, a small living tree in a back bed, or an artificial tree rated for outdoor use stationed by the back door. Decorate it like you mean it — lights first, at about 100 mini lights per foot of height, then shatterproof ornaments, weatherproof ribbon, and a star or a big bow on top. Because this tree takes the weather, skip anything paper, anything sentimental, and anything fabric without an outdoor rating. Ours sits where we see it from the couch through the sliding door, and honestly it gets admired more than the indoor tree, framed by the dark yard like a picture in a frame. Solar lights can work on a small potted tree near a sunny wall, but a plug-in set on a timer is brighter and steadier for a full-size one. If kids or grandkids visit, hand them the ornament box for this tree: low stakes, high joy, and the breakable treasures are not invited.
Suggested budget range: $50 – $150.
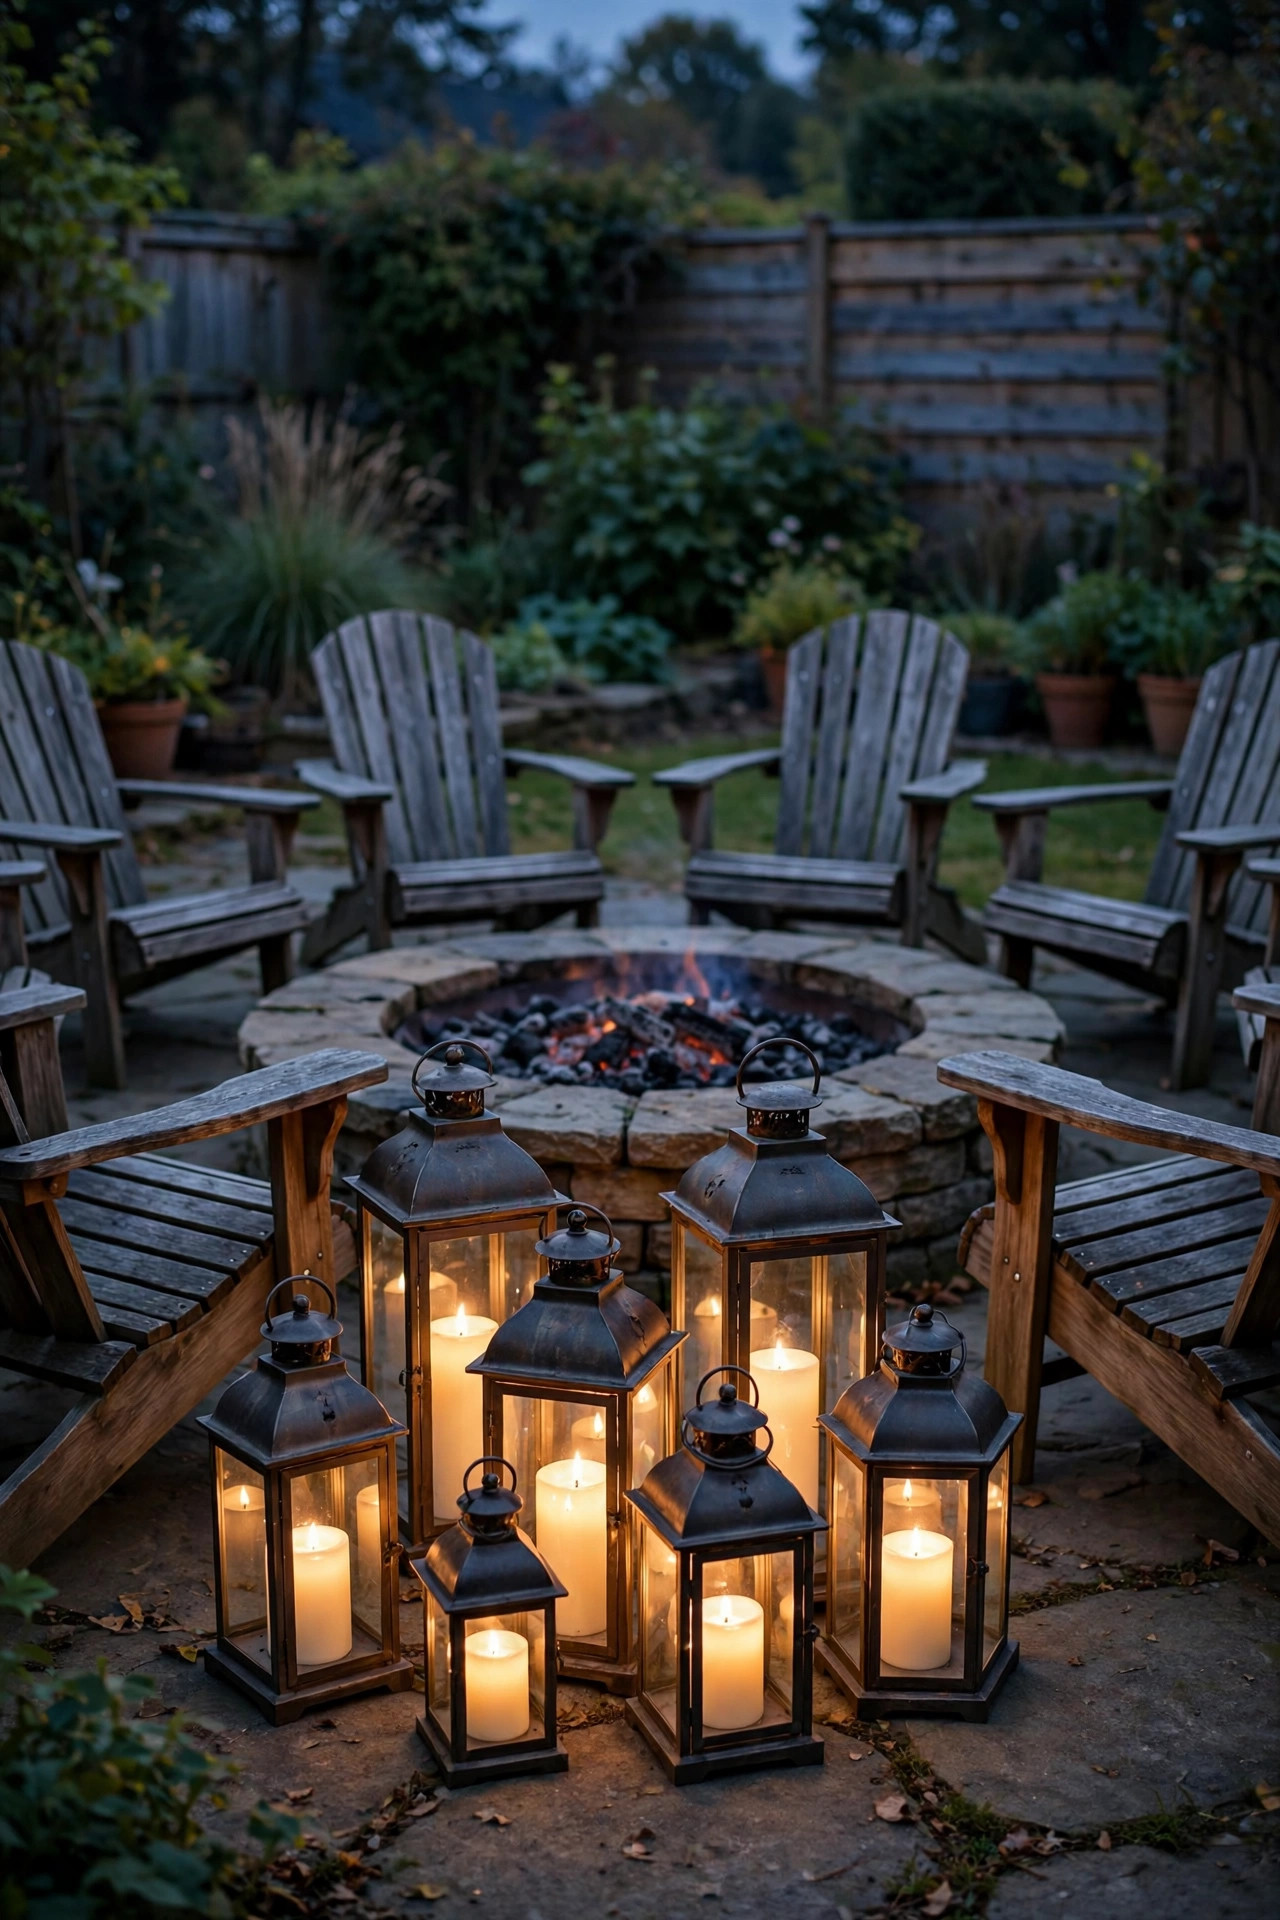
9. Cluster Lanterns Around the Fire Pit
Our fire pit is the true living room of the backyard in December, and it deserves a ring of light that works even on nights too windy or too busy for an actual fire. I cluster three to five outdoor lanterns of different heights at the edge of the seating circle — flameless candles inside, always, this close to cushions and blankets — and add a low strand of fairy lights along the back of the bench or across the log store. The layering matters: flame height, lantern height, ground height. Metal lanterns with real glass read best and shrug off weather; I bring the candle inserts inside during heavy rain to keep the battery compartments dry. A couple of solar lanterns that charge by day and glow by night are the set-and-forget option for the far side of the pit. Keep all cords well clear of the fire bowl itself, and leave a slightly dark gap between the seating glow and the rest of the yard so the circle feels intimate rather than staged. This is where we end every December evening out back, wrapped in blankets, watching the lights do their quiet work.
Suggested budget range: $20 – $60.
10. Set Lighted Deer Loose on the Lawn
A pair of lighted deer on the back lawn is pure storybook, and I make no apologies for it. The wire-frame figures wrapped in warm white lights come in every size, from a 2-foot fawn to a full grazing buck, and placed out on the lawn — near a tree, at the edge of a bed — they read as visitors rather than decorations. Anchor them properly: every set includes ground stakes, and you want every one of them in the soil, because a December gust will happily relocate an unsecured deer into the neighbor's yard. Position the plug side toward your power source and run the cord low through the grass where nobody walks. I angle mine as a little scene, one head up and one grazing, and let the wrapped tree behind them finish the picture. LED figures stay cool and are cheap to run for the season; check the tag for an outdoor rating, since some are porch-only. Storage tip from hard experience: photograph your arrangement before takedown, and coil each figure's own cord with it, so next December's setup takes minutes instead of a troubleshooting session.
Suggested budget range: $45 – $130.

11. Wrap the Deck Railing in Lighted Garland
If your backyard social life centers on a deck, dress the railing — it frames the whole picture. I wrap the top rail with lighted garland, letting it dip slightly between posts, and secure it with green zip ties that vanish against the greenery. Prelit garland with warm white LEDs is the one-and-done choice; with plain garland, one 100-light strand per 6 feet of rail gives full, even sparkle without bald patches. Add pinecones, a few shatterproof ornaments, or a bow at each post if your style leans festive, and keep everything snug so wind cannot work it loose and dangle it into the yard below. Mind the stairs, too: wrap the handrail as well, both for looks and because a lit rail is genuinely safer on frosty evenings. Keep bulbs and greenery a sensible distance from the grill — heat and faux pine are not friends — and route the plug to the outlet on the house wall rather than across the deck floor, where feet and chair legs will find it. Glowing from within, a dressed railing makes the whole deck feel like a holiday room.
Suggested budget range: $30 – $75.

12. Aim a Snowflake Projector at the Fence
A light projector is the fastest transformation on this entire list: stake it in the lawn, aim it at the fence or the back wall of the house, and a calm drift of snowflakes covers 20 feet of blank surface in seconds. The back fence is my favorite screen — it is wide, flat, and dark, so the pattern reads clearly all the way from the patio. Set the projector 10 to 15 feet from the surface for the sharpest, brightest image, and put it on the same timer as everything else so the yard performs as one show. Choose a single calm pattern over the busy rotating ones if the rest of your lighting is classic warm white; chaos on the fence fights with elegance everywhere else. These units are inexpensive, which means quality varies, so look for one rated for outdoor use with a sturdy ground stake and a remote, and expect the image to soften a little in fog. I also angle mine slightly upward so the pattern clears the fence top and dusts the bare tree branches above it. Five minutes of setup, a whole wall of Christmas.
Suggested budget range: $25 – $60.

13. Hang Oversized Ornaments From the Branches
Oversized shatterproof ornaments hanging from tree branches might be the best cost-to-drama ratio on this list. The big baubles — 6 to 10 inches across in red, gold, and silver — catch every bit of light in the yard and swing gently in the breeze, and from inside the house they look like the tree decorated itself. Hang them at varied heights from sturdy lower branches using clear fishing line or thin weatherproof ribbon, tied with a proper knot rather than a hope and a prayer. Keep the lowest ones at least 6 feet off the ground so nobody meets one face-first on a dark path. Group them in odd numbers — three in one branch cluster, five in another — and echo the colors you used on the fence garland so the yard feels planned rather than random. They also work beautifully along a pergola beam or in the bare branches of a large shrub by the patio. Because they are shatterproof plastic, weather is a non-issue, and in January they nest together inside a single storage bin. Guests always ask where they came from; the honest answer is the craft store, half price, in November.
Suggested budget range: $20 – $50.

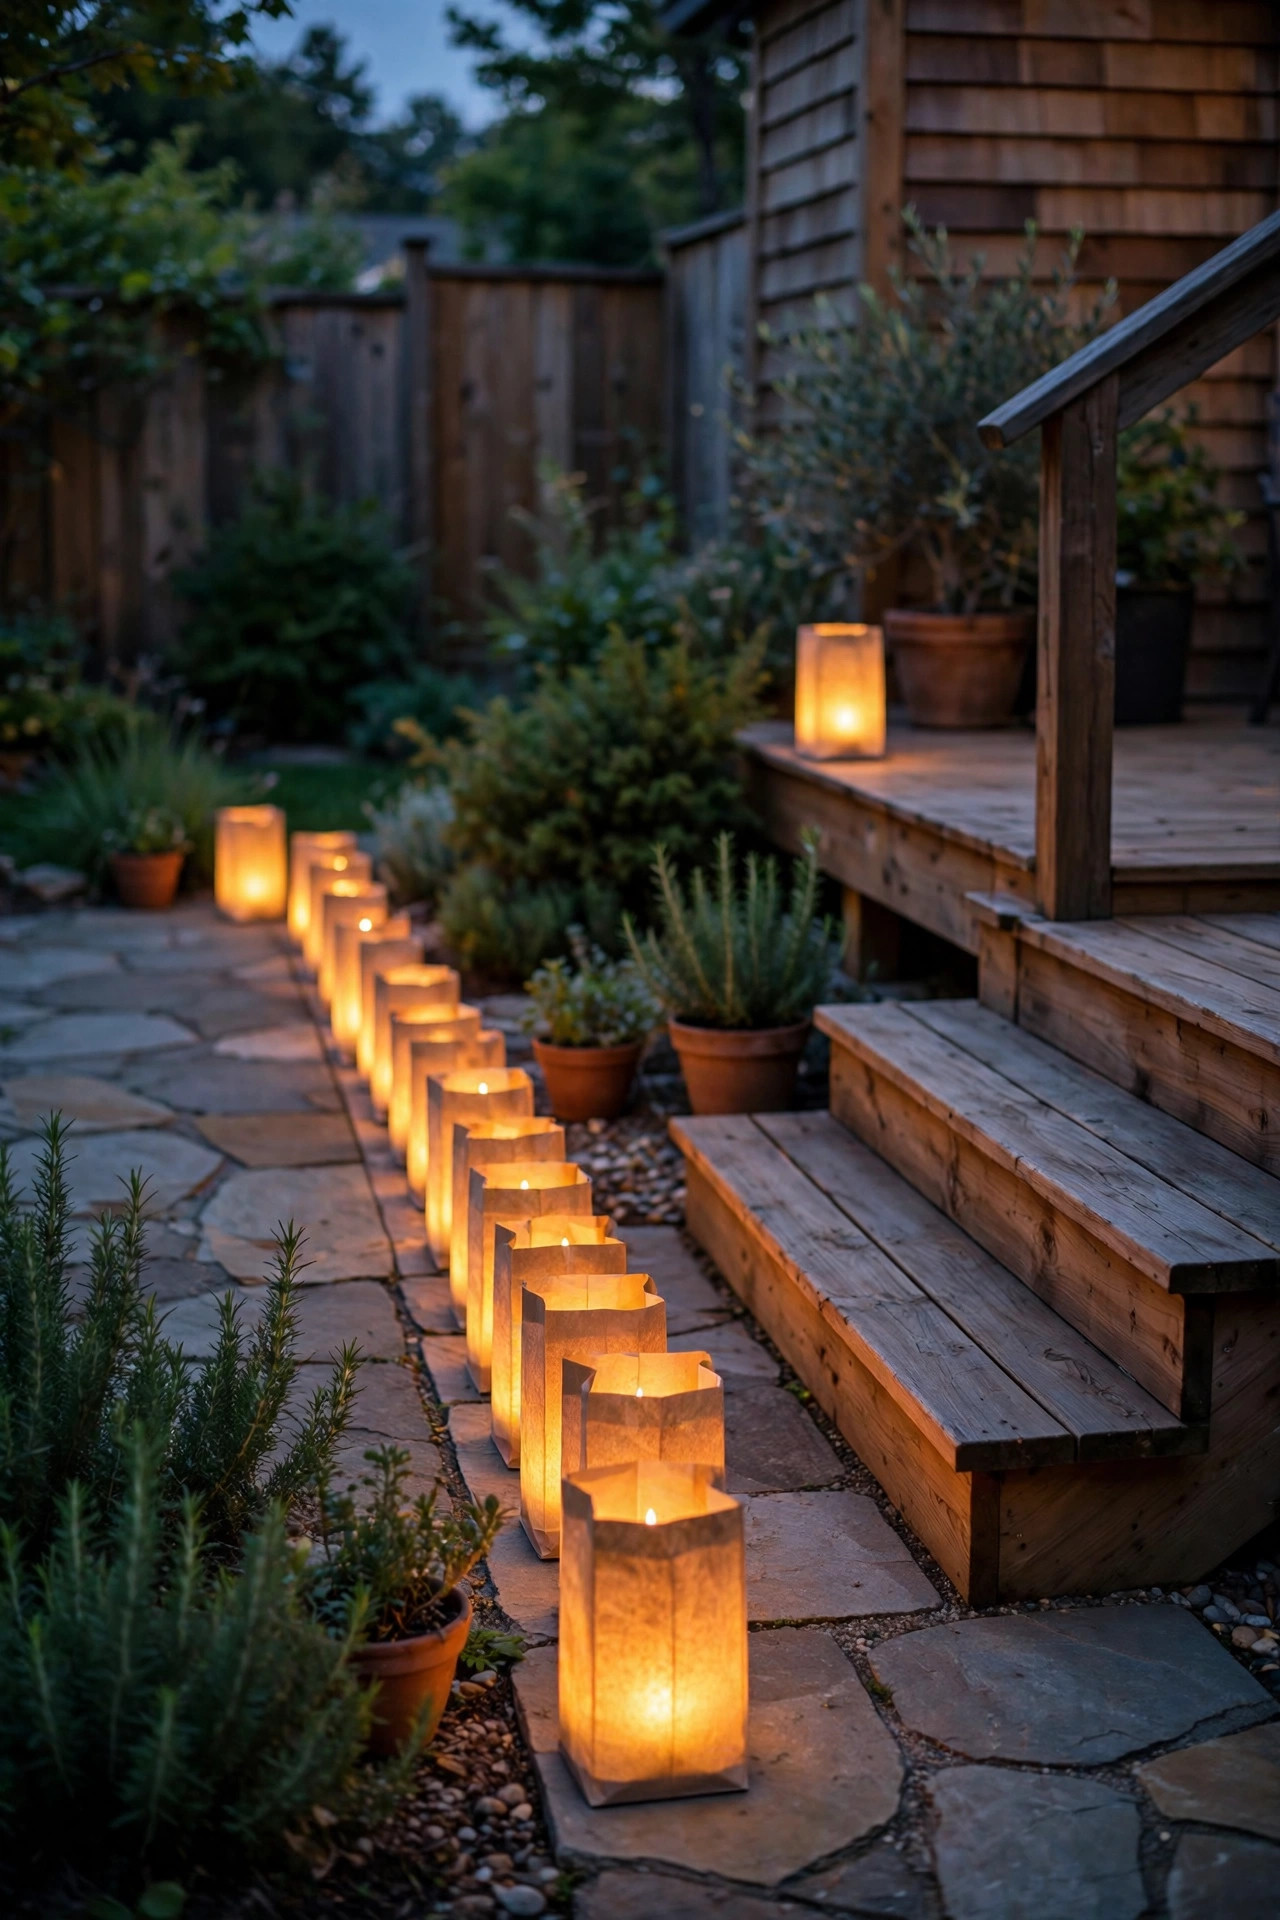
14. Set Out Luminarias Along the Patio Edge
Luminarias bring a soft, low glow that no other light quite matches — the kind of candlelit warmth that makes a patio edge feel like a celebration. The classic version is a paper bag, sand in the bottom, and a real candle, but in a real backyard with real weather I use sturdy reusable luminaria lanterns or paper bags fitted with flameless LED tea lights. Open flame near December's dry leaves and paper is a risk I simply do not take. Line them along the patio edge, down the deck steps, or flanking the path to the fire pit, spaced about 2 feet apart so the pools of light overlap into a gentle ribbon. Weight each one well, because a December breeze will test the light ones. The flicker on modern LED candles has gotten genuinely convincing, and on a timer they are already glowing when you pull into the driveway. For a neighborhood luminaria night, they also carry beautifully up the side path to the front yard. Simple, inexpensive, and somehow the thing everyone photographs — there is a lesson in that about glow over gadgets.
Suggested budget range: $10 – $30.
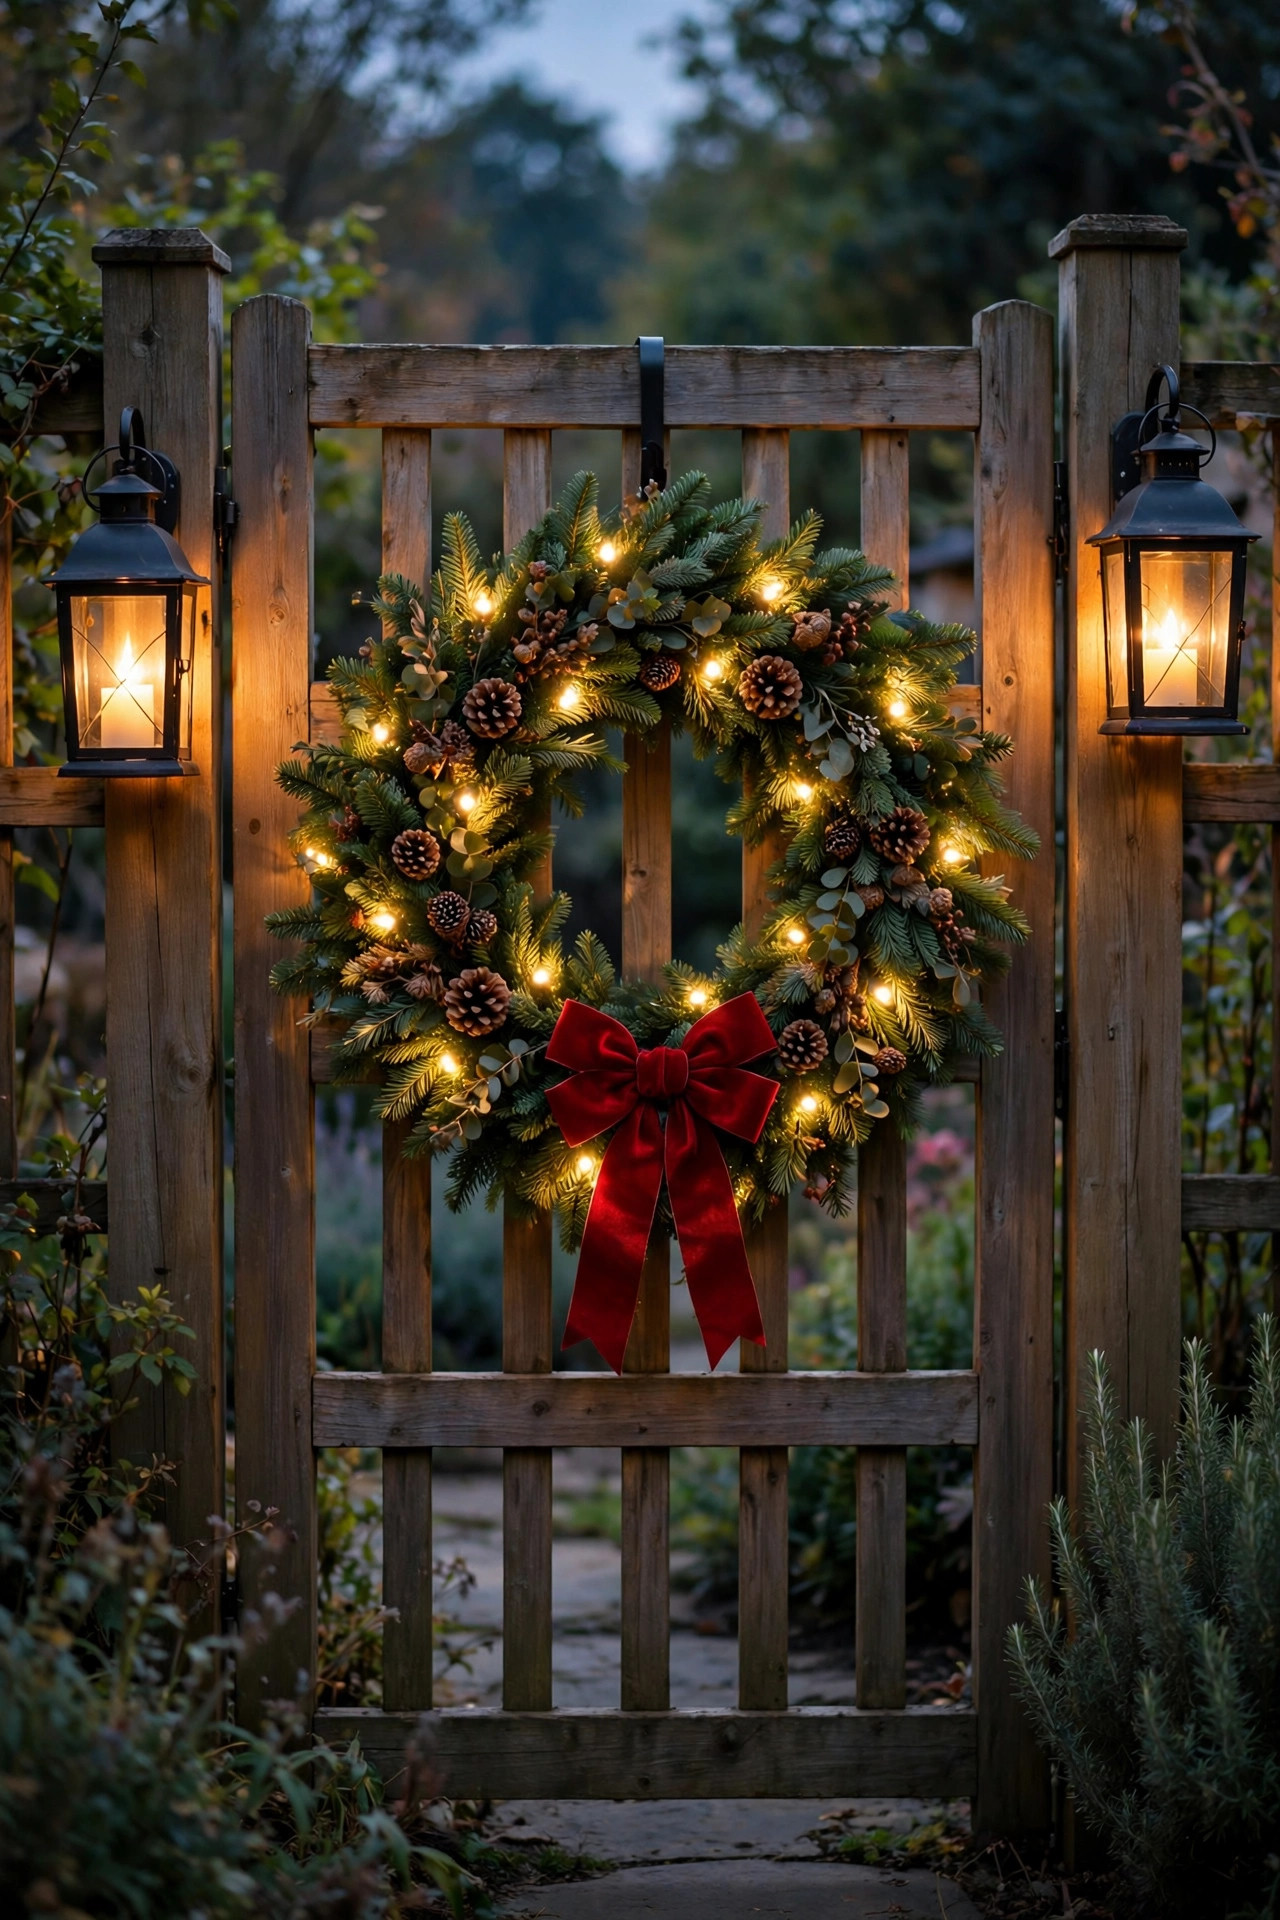
15. Hang a Lit Wreath on the Gate or Shed
The garden gate or the shed door is the backyard's front door, and it deserves a wreath with lights in it. A 24-inch faux pine wreath with warm white mini lights woven through — or a prelit one to skip the weaving — hung on a sturdy over-door hook turns an ordinary gate into a welcome. I add a weatherproof bow at the top and, if the shed is the backdrop, a battery lantern on either side of the door to balance the little scene. Battery-operated light strands with a built-in timer are the smart power choice here, since gates and sheds rarely have outlets nearby; on a 6-hours-on cycle, one fresh set of batteries easily lasts the whole season. Hang the wreath high enough to clear the latch and the swing of the gate, and double-check that closing the gate does not pinch any wires. This vignette greets us every time we come home through the back or take the trash out on a dark evening, and it never fails to lift the mood of an ordinary chore. Small spot, big return — that is the kind of decorating math I like.
Suggested budget range: $25 – $65.
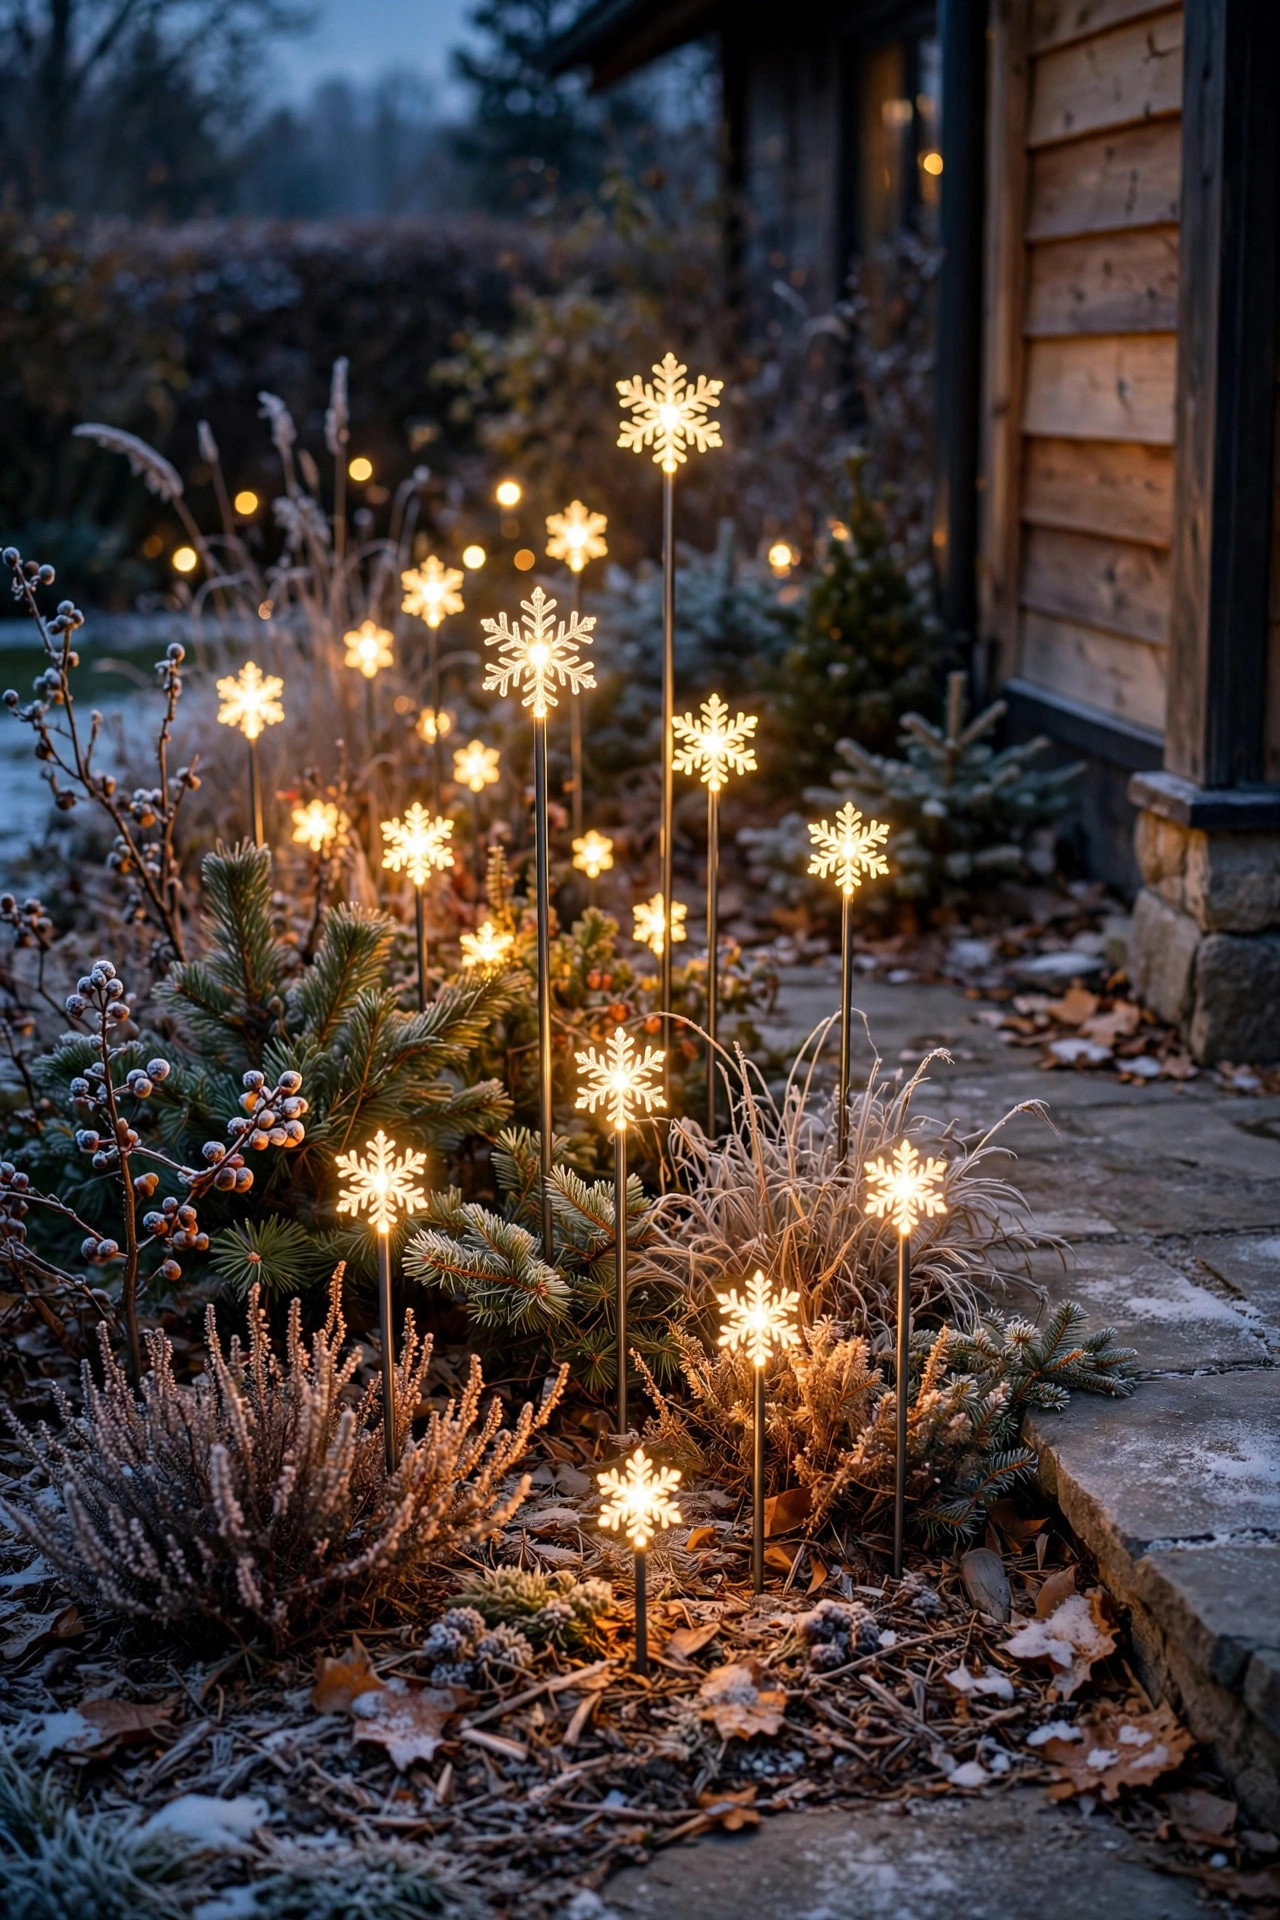
16. Stake Solar Snowflakes in the Flower Beds
For the garden beds that go quiet in winter, solar stake lights shaped like snowflakes, stars, or little glowing ornaments are pure cheer with zero wiring. Each stake carries its own small panel and battery, so you push them into the soil wherever a bed needs sparkle — along the patio border, around the base of the wrapped tree, tucked into the raised beds. A dozen stakes at varied heights reads as a scattered constellation once the sun goes down. Here is the honest caveat I give for all December solar: short, cloudy days mean shorter run times, so place the panels where they catch the best midday sun, wipe them clean when you think of it, and expect four to six hours of glow rather than all night. That is plenty for the dinner-and-fire-pit hours when the yard is actually in use. Mix solar pieces in with plug-in lights rather than relying on them alone, and they will never disappoint you. Look for stakes with replaceable rechargeable batteries, too — when one dims after a season or two, a fresh battery usually revives it instead of sending the whole stake to the landfill.
Suggested budget range: $15 – $45.
17. Hang a Fairy-Light Curtain on the Pergola
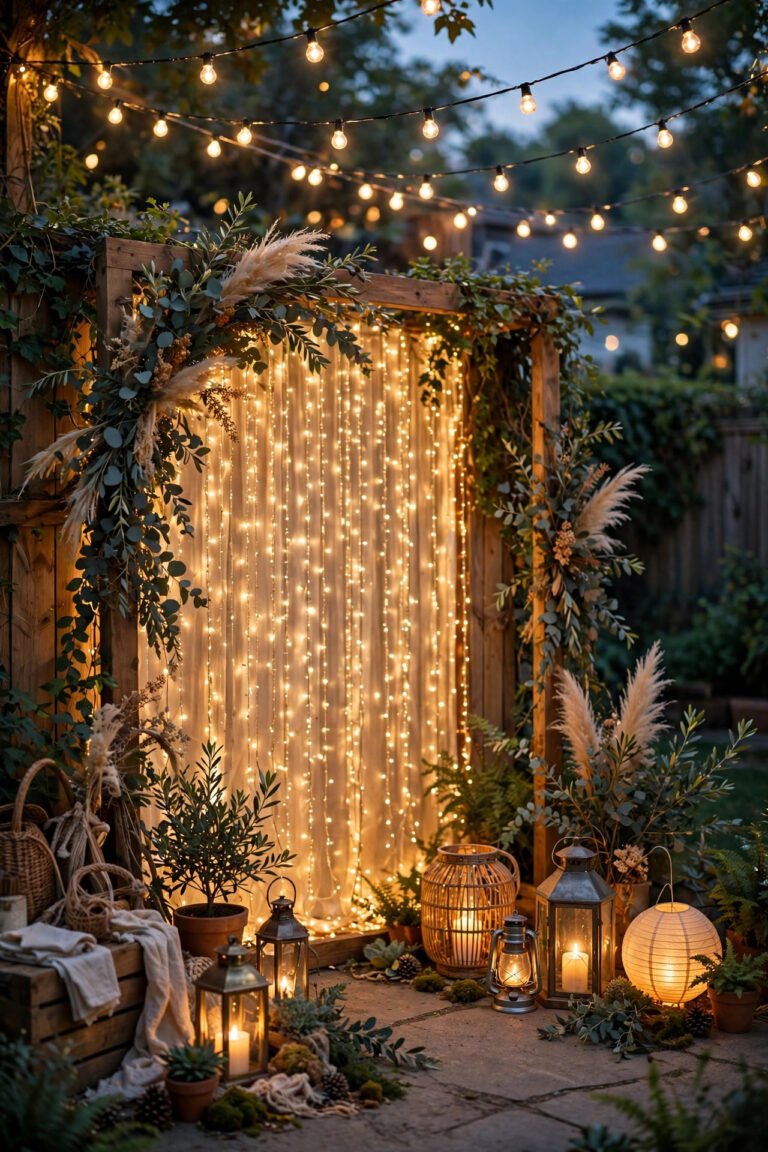
A curtain of fairy lights turns a gazebo opening, the open side of a pergola, or even a section of fence into a wall of soft, rain-like sparkle. Curtain strands come as a horizontal header wire with vertical drops — commonly 10 feet wide with drops of 6 to 10 feet — so measure your opening before you order. I hang mine across the back opening of the pergola, where it backdrops the seating, and the effect behind the fire pit glow is honestly a little magical. Copper-wire fairy lights on a timer are the low-effort cousin of this idea: drape them through a bare shrub or along a bench for the same twinkle at a smaller scale. Keep curtain strands out of walkways, obviously, and secure the header wire at both ends and in the middle so the wind cannot swing the whole curtain into a tangle. Warm white keeps it classic, while a soft gold reads extra cozy against winter greenery. Because the individual LEDs are tiny and run cool, curtain lights are safe around the faux greenery and fabric drapes of a gazebo, which is more than I can say for some older light styles.
Suggested budget range: $20 – $50.

18. Build a Glowing Tabletop Lantern Centerpiece
If you host outdoors in December — and with a fire pit and a mild evening, you absolutely can — the dining table needs its own pool of light. I build a low centerpiece on a wooden tray: three flameless candles in glass hurricanes, a scattering of faux greenery and pinecones, and one short strand of battery fairy lights woven through the whole arrangement. It glows at exactly face height, which is the most flattering light there is, and it makes a simple soup-and-bread supper feel like an event. Flameless is non-negotiable at my table: real candles plus paper napkins, sweater sleeves, and December wind are a combination I have no interest in refereeing. The whole tray lifts off as one piece when dinner ends, and it lives on the sideboard indoors between gatherings. Scale the idea up for a long table with two trays, or down to a single lantern for a bistro set. This is also my emergency plan when a strand somewhere in the yard quits mid-party — nobody notices one dark corner when the table itself is glowing and the cocoa is hot.
Suggested budget range: $15 – $45.

19. Fill Patio Urns With Twinkle-Lit Branches
By December my patio urns have lost their flowers, so I give them a second act: a bundle of bare branches — curly willow if you can get it, dogwood or birch if you cannot — wrapped in warm white fairy lights and anchored in the urn with soil or a few stones. A 100-light copper-wire strand winds up a branch bundle in about ten minutes, and the result looks like a small lit sculpture flanking the back door. A matched pair of urns framing the door or the deck steps gives the whole entry a designed, symmetrical welcome, and the battery packs tuck neatly behind the branches, out of sight. Use branches 3 to 4 feet tall for presence without blocking sightlines, and weave the lights loosely — tight wrapping reads fussy, while loose reads natural. These are also the easiest decor I own to store: lift the whole bundle out, coil the strand, and the urn is ready for spring pansies. On a patio with no room for a second tree, twig urns deliver the same vertical sparkle in about a square foot of floor space.
Suggested budget range: $20 – $55.

20. Put Every Zone on a Timer or Smart Plug
None of this matters if you have to remember to turn it on, so here is the unglamorous idea that makes all the others work: put the entire backyard on timers. A simple outdoor mechanical timer handles most strands — set it from dusk to 11 p.m. and the yard lights itself every evening without a thought from you. Smart outdoor plugs earn their keep for the special pieces; I can bring the projector and the big tree on early for guests, or check from the couch that everything actually lit. Add up your wattage before plugging in. LEDs make this easy, since a whole backyard of them often draws less than one old incandescent strand, but stay comfortably under the timer's rating all the same. Use one timer per zone — tree, patio, fence — so a single tripped breaker or faulty strand never darkens the whole yard, and keep connections off the ground in weatherproof covers where meltwater might pool. Dusk-to-dawn sensors are the other hands-free option, though I prefer a firm off-time. Set it all up once in November, and thank yourself every single evening until January.
Suggested budget range: $10 – $35.

21. The Finale: Layering Your Backyard Christmas Lighting Ideas Together
Here is how it all comes together at my house, and the order I would build it in if I were starting from a dark yard and one free Saturday. First, the anchor: wrap the big tree, because it sets the scale and the warm white color temperature for everything else. Second, the overhead layer — café strings over the patio — because that is the space we actually sit in. Third, the eye-level sparkle: garland on the fence and the railing, the wreath on the gate, the deer out on the lawn. Fourth, the ground layer — pathway stakes, luminarias, solar snowflakes in the beds — because safe, pretty footing is what lets people wander with a mug in hand. Put every zone on its own timer, then stand at the back door at dusk and edit like a designer: anything that glares gets dimmed or moved, and anything still dark gets one more strand. None of this is about having the most lights on the block. It is about building a yard that pulls you outside on a cold night, cocoa in hand, just to stand in the glow for a minute.
Suggested budget range: $100 – $300.

Frequently Asked Questions
How many lights do I need for a backyard tree?
My working rule is about 100 mini lights per foot of tree height for a full, generous look, and roughly half that for a lighter touch. A 15-foot tree wrapped trunk-and-limbs usually takes 600 to 800 lights. Buy one or two extra strands beyond your estimate; a dark gap discovered mid-wrap is much easier to fix with a spare strand already in the garage.
Can Christmas lights stay outside all winter?
Yes, as long as they are rated for outdoor use — check the tag for a wet-location or outdoor rating before you hang them. LED strands handle cold, rain, and snow well and can stay up from late November through January without trouble. What shortens their life is water sitting in connections, so keep plugs off the ground and use weatherproof cord covers where cords join.
Are solar Christmas lights bright enough in December?
They are softer than plug-in lights, and December is their hardest month, with short days and frequent cloud cover. Expect four to six hours of gentle glow from a decent set, which is plenty for stakes, bed accents, and small features. For headline pieces like the big tree or the patio strings, I always recommend plug-in power on a timer for full, dependable brightness.
How do I power lights in the middle of the yard safely?
Run a heavy-duty outdoor extension cord rated for the load, keep it along edges rather than across walkways, and plug everything into a GFCI-protected outlet. Where two cords connect mid-run, seal the joint in a weatherproof connection cover and keep it off the ground. Never run cords through door jambs or under rugs outdoors, and if a run feels like a stretch, a low-voltage landscape system or a battery piece is the safer answer.
Conclusion
However you mix and match these backyard christmas lighting ideas, hold on to the one principle behind all of them: layer the light — overhead, eye level, and low — and the backyard stops being the dark half of your property and becomes the room everyone drifts toward. Start with the tree, add the layer you will see from your favorite chair, and let the rest grow year by year. And when the season wraps up, my guide to storing outdoor Christmas lights will keep every strand tangle-free, so next December's setup is the easy part. Now go stand in your own glow for a minute — you built it, after all.