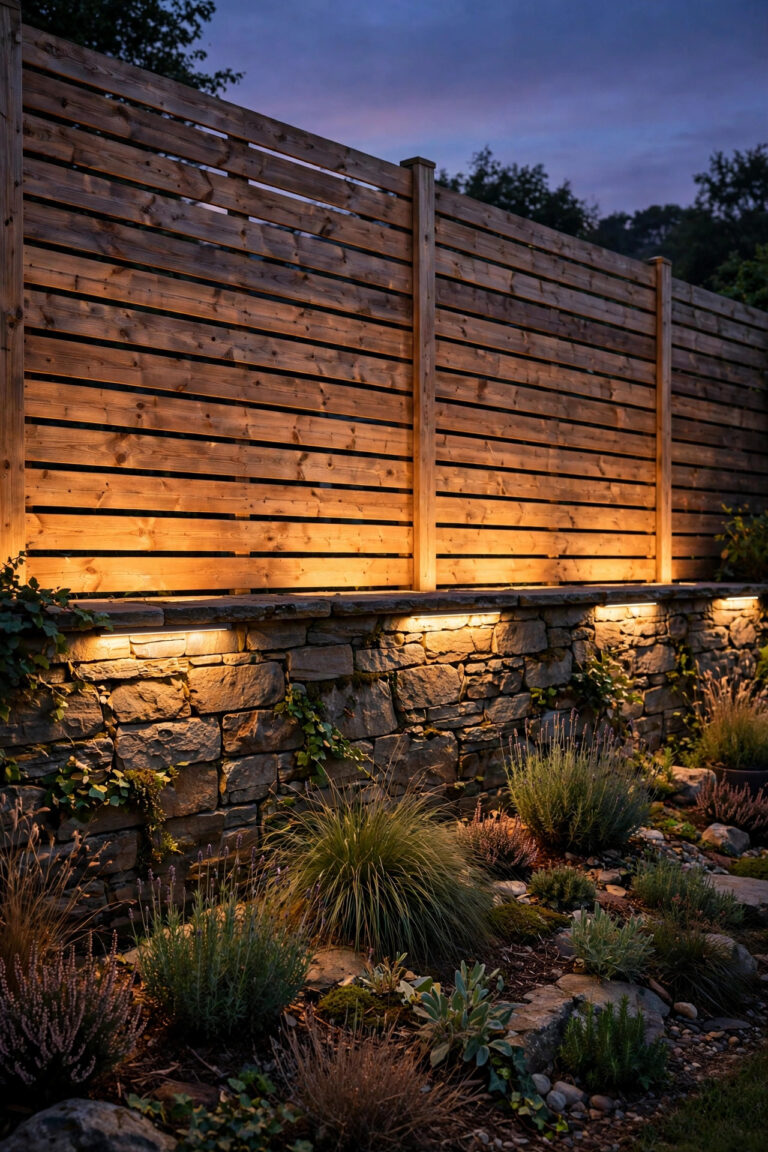
Every December, the front yard gets all the attention, and honestly? The patio is where my family actually lives during the holidays. We drink cocoa out there, we host the cookie exchange out there, and nobody wants to do it under one harsh porch light. That is why I have spent years collecting christmas patio lighting ideas that make a back patio or deck feel like a second living room, just with better stars. The secret is the same layering I use all year: a soft overhead layer so the space feels enclosed, a middle layer at eye level for sparkle and faces, and a low layer along steps and edges so nobody trips carrying a tray of cider. In this list I will walk you through 17 ways to build those layers, from a five-minute railing wrap to a full canopy of string lights, with honest budgets, bulb advice, and the safety notes I wish someone had given me before my first tangled, overloaded December.
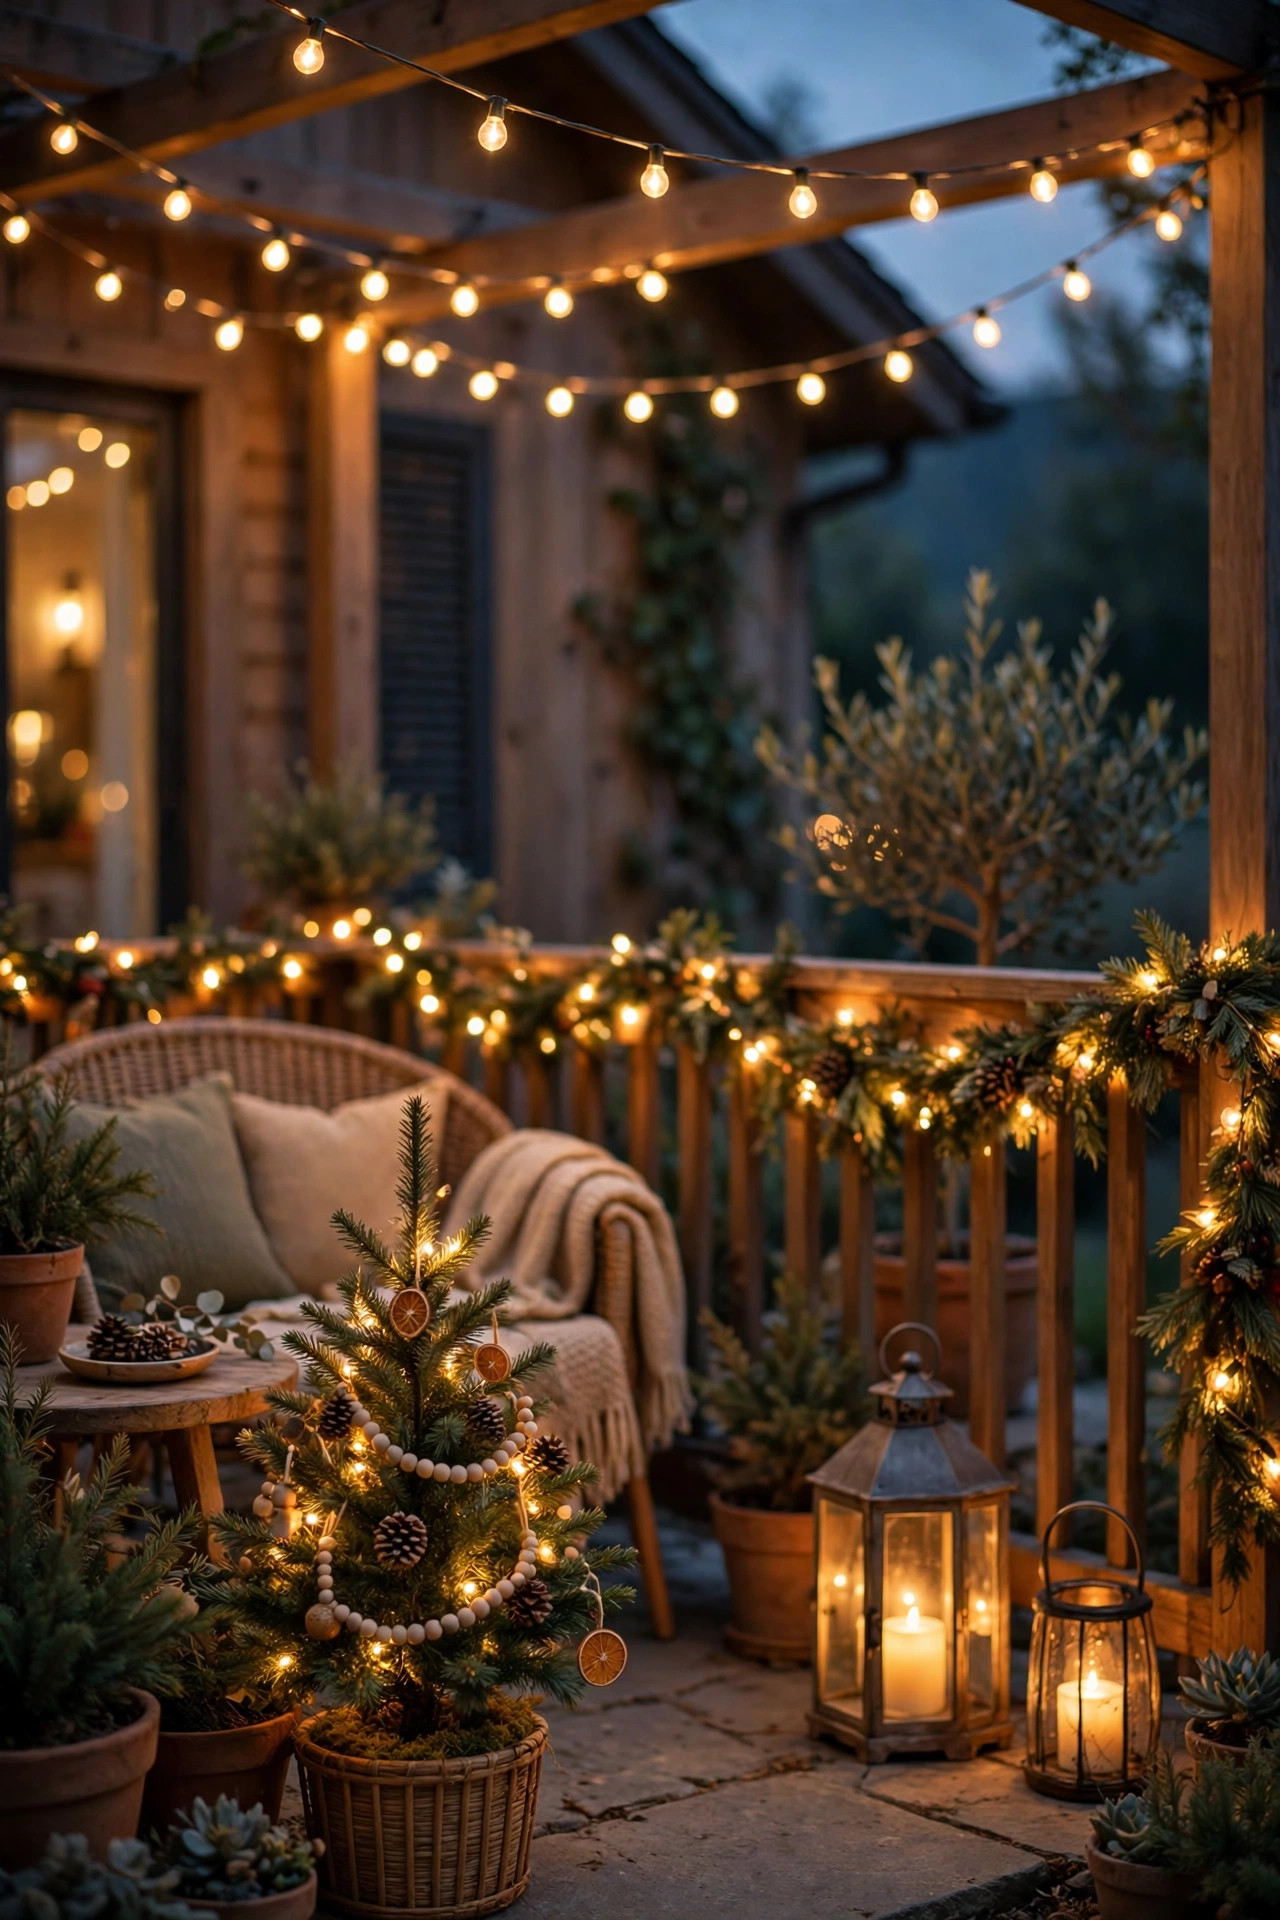
1. String Light Canopy: The Base Layer of Christmas Patio Lighting Ideas
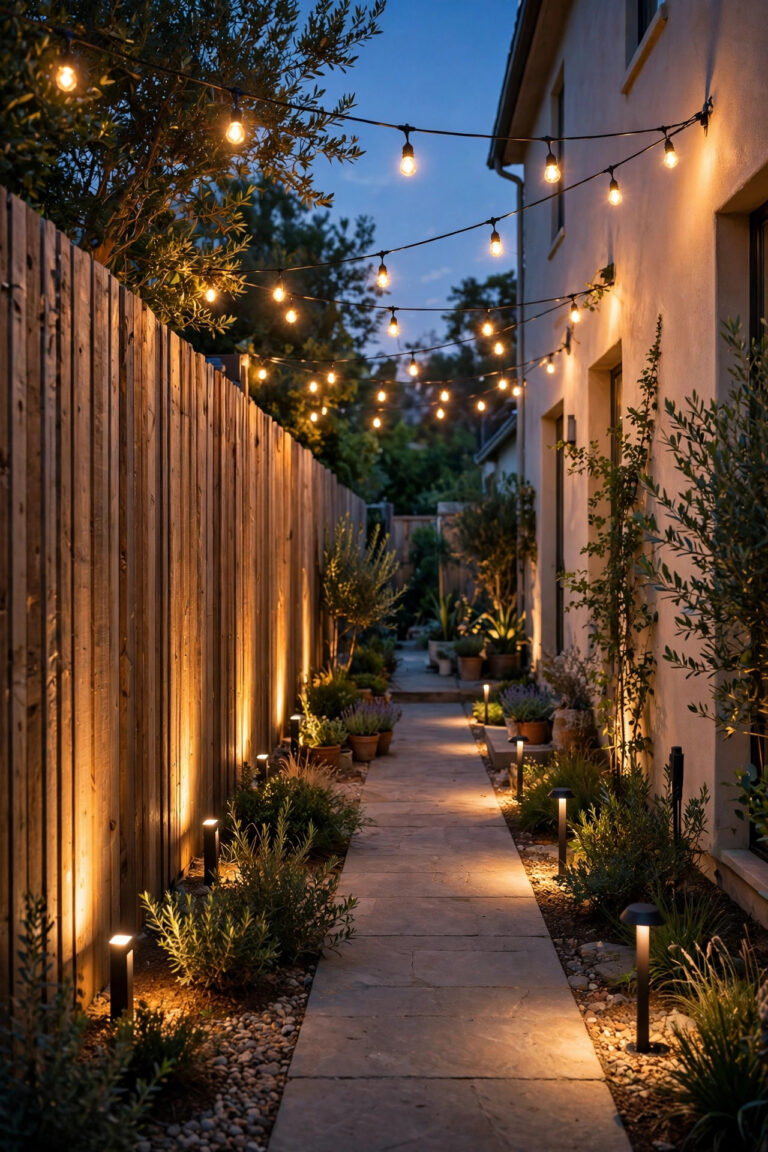
If you only do one thing from this list, make it the overhead canopy, because it is the layer that turns an open patio into a room. I run warm white LED string lights in gentle swags from the house eave out to two poles or the pergola corners, keeping each swag about 8 to 10 feet off the ground so tall guests and raised mugs clear them easily. Space the swags 3 to 4 feet apart; closer reads lush, wider reads airy. Use commercial-grade strands with suspended sockets if the runs are longer than 25 feet, and always support the wire with a steel guide cable on long spans so the sockets are not carrying the weight. If your patio has no anchor points, my guide to string light poles for patios covers the planter-pot pole trick I use every year. Stick to 2700K warm white so the light flatters faces and food, and put the whole canopy on a timer set for dusk to 11 p.m. It is the single most-requested look from my neighbors.
Suggested budget range: $60 – $180.
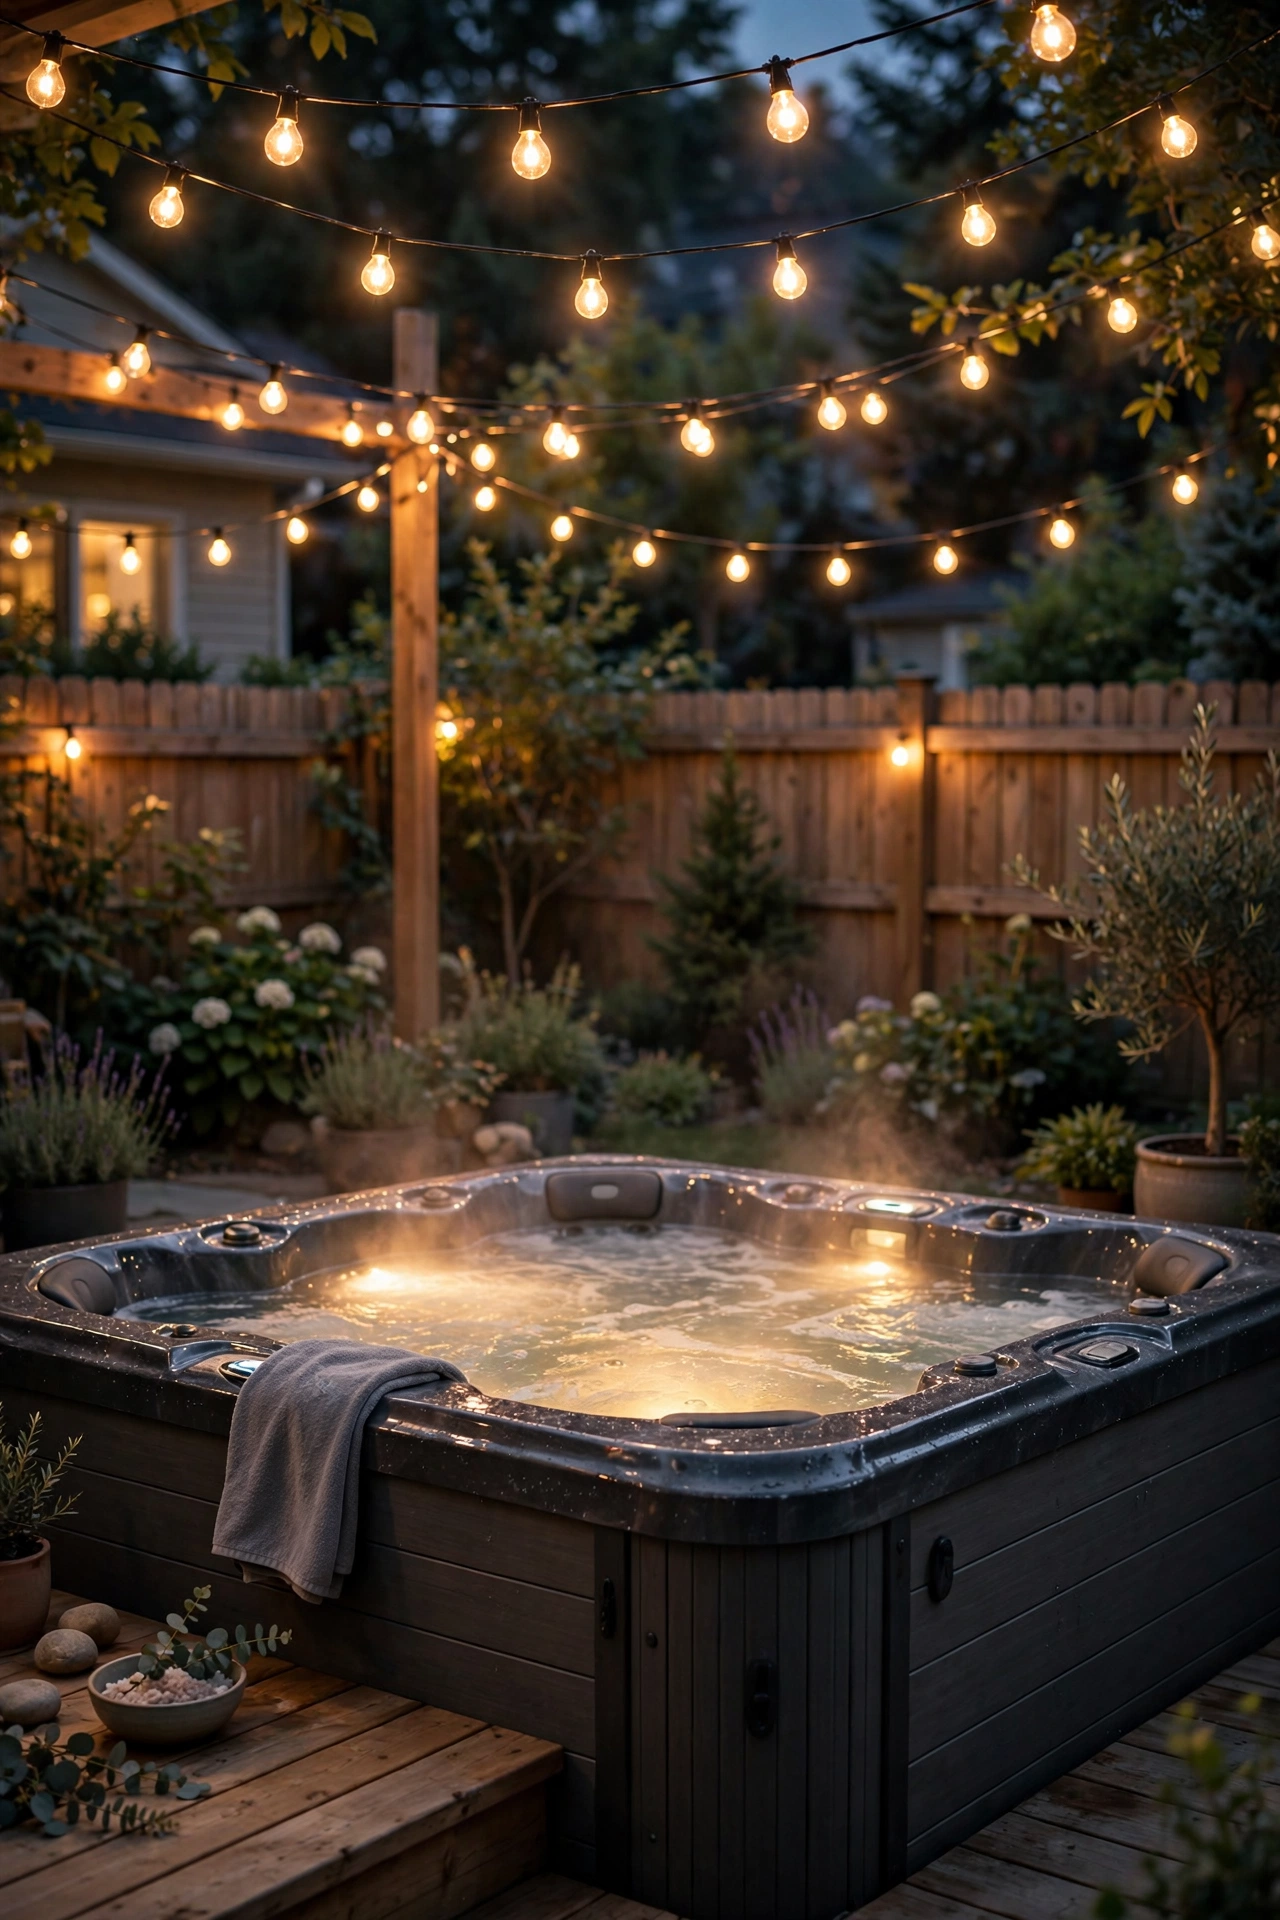
2. Wrap the Deck Railing in Prelit Garland
The railing is free real estate, and wrapping it is the fastest ten minutes in all of holiday decorating. I use a prelit artificial garland, 9 feet at a time, and let it drape in soft swags between the balusters rather than pulling it drum-tight; the swags catch the light and look expensive. Secure it with green zip ties or floral wire every 12 to 18 inches so December wind does not rearrange your work. On my deck, one garland run does the long side, and I add a second thinner garland on the stair railing so the glow leads guests up safely. Choose battery-operated garland if your railing sits far from an outlet, but know the batteries fade after about two weeks of nightly use, so keep spares in the junk drawer. Mix in a few shatterproof ornaments or pinecones on wire picks if you want more than lights. For multi-level decks, repeat the same garland on every level so the whole structure reads as one design, an approach that pairs beautifully with the layered approach in these multi-level deck lighting ideas.
Suggested budget range: $35 – $120.
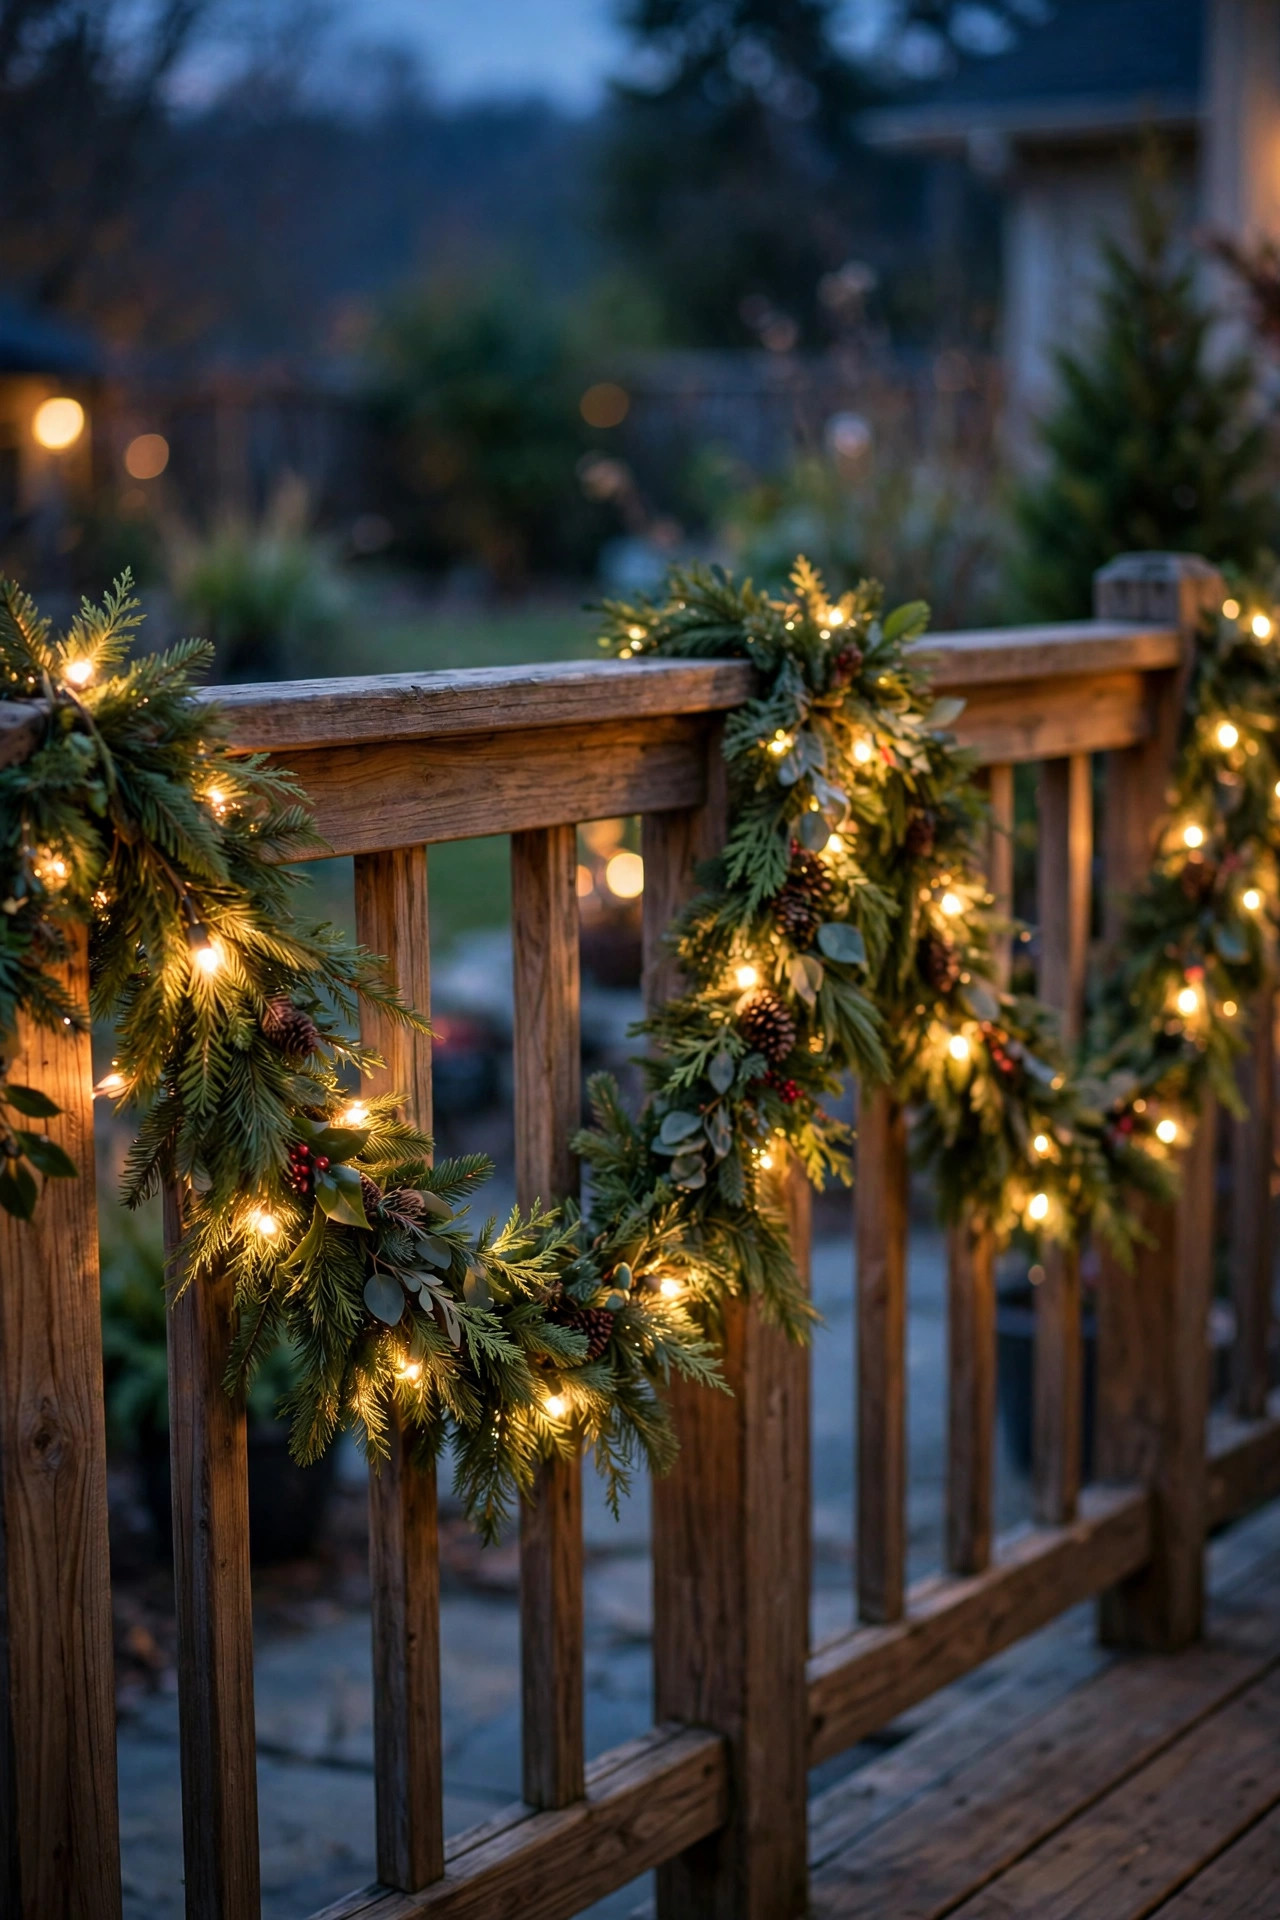
3. Hang Icicle Lights Along the Patio Roofline
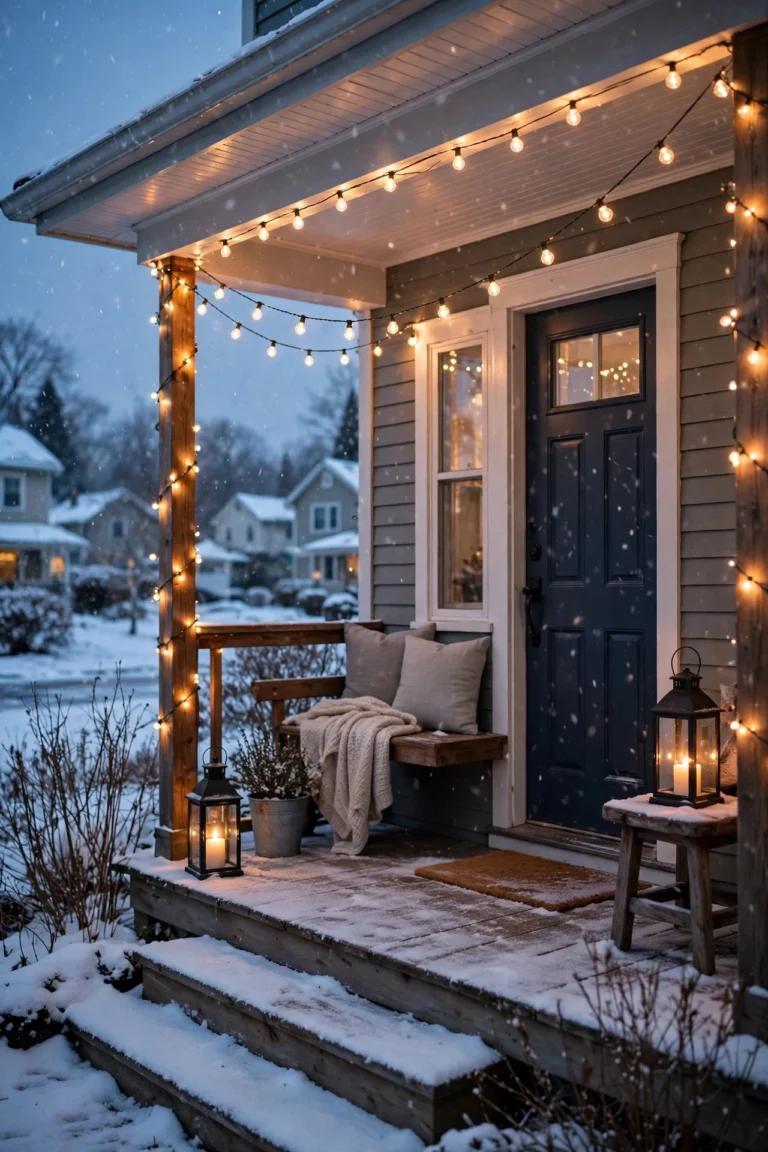
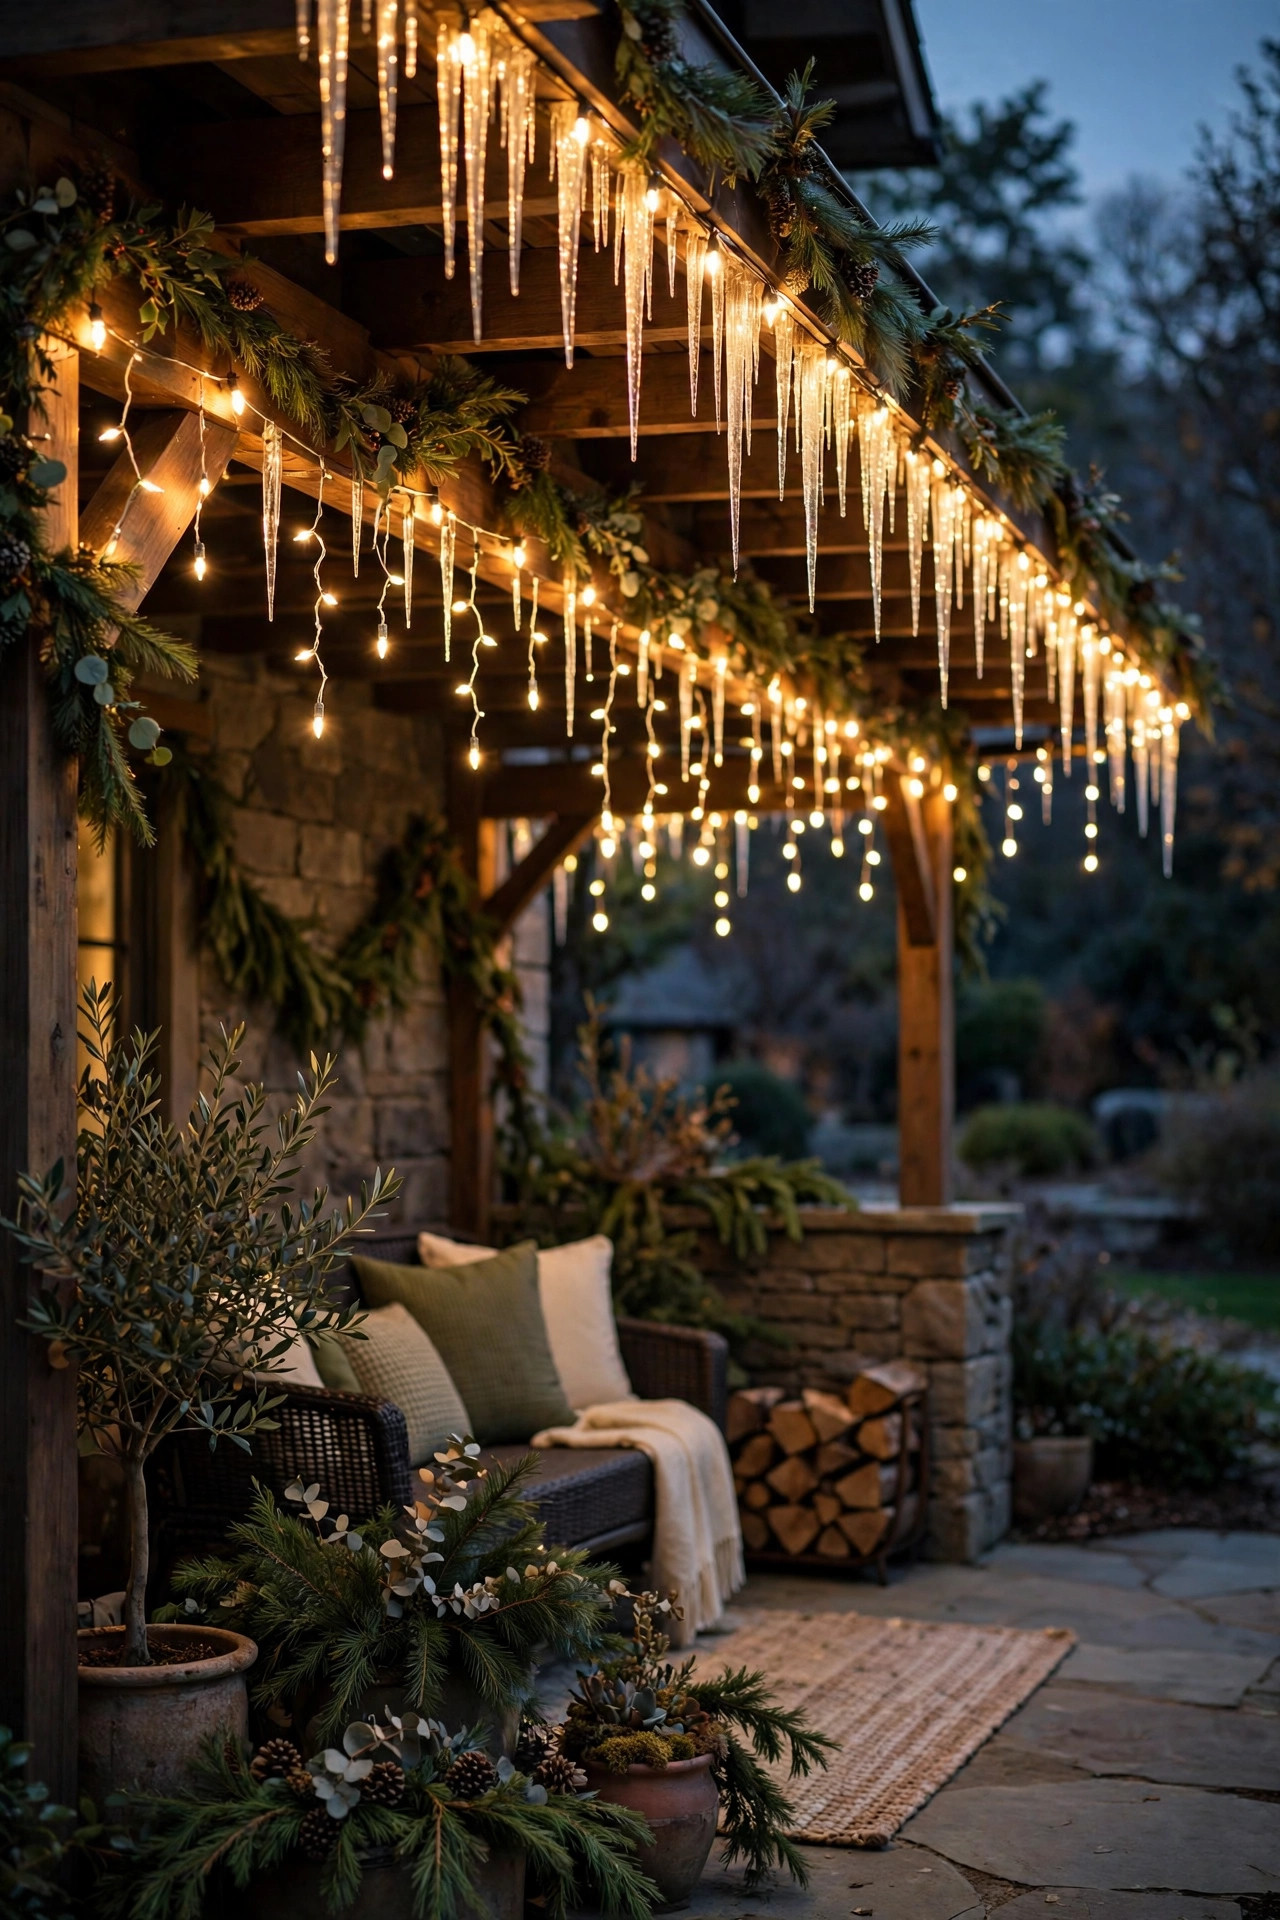
Icicle lights are not just for the front eave. Along the back patio roofline or the edge of a covered porch, they draw a bright frame that makes everything inside it feel intentional. I hang mine from gutter clips or screw-in hooks spaced about a foot apart, and I let the drops vary in length, 12 to 24 inches, because uniform drops look like a store display while varied drops look like actual ice. Warm white is my default, though a soft blue-white reads beautifully if your other decor leans silver and frosty. One caution from experience: measure your run before you buy. Icicle strands are usually 10 to 15 feet, and discovering you are one strand short on December 20 is a special kind of misery. Connect no more strands end-to-end than the package allows, usually three to five, and feed the run from the end nearest your outlet so the plug stays under the eave and dry. From the yard, this line of light is what makes the patio visible and inviting from the street side of the house too.
Suggested budget range: $25 – $90.
4. Cluster Lanterns With Flameless Candles on the Steps
Steps are where guests actually hesitate in the dark, so I light them with something pretty enough to count as decor. I group metal or wooden lanterns in odd numbers, threes and fives, on alternating sides of the patio steps, each holding a flameless LED candle with a realistic flicker. Flameless is non-negotiable for me near garlands and dry winter air; real candle flames and evergreen decor are a combination I will not risk. Look for candles with a built-in timer, the kind that turn on for five hours at the same time each evening, and your steps will glow every night without a single thought from you. Vary the lantern heights, 12 to 20 inches, so the cluster feels collected rather than matched. If your steps are wood, set each lantern on a small slate or tile coaster to protect the finish from trapped moisture. This is also the idea I steal for the front walk when company comes, because it takes four minutes to move the whole cluster.
Suggested budget range: $30 – $85.

5. Give the Patio Its Own Small Christmas Tree
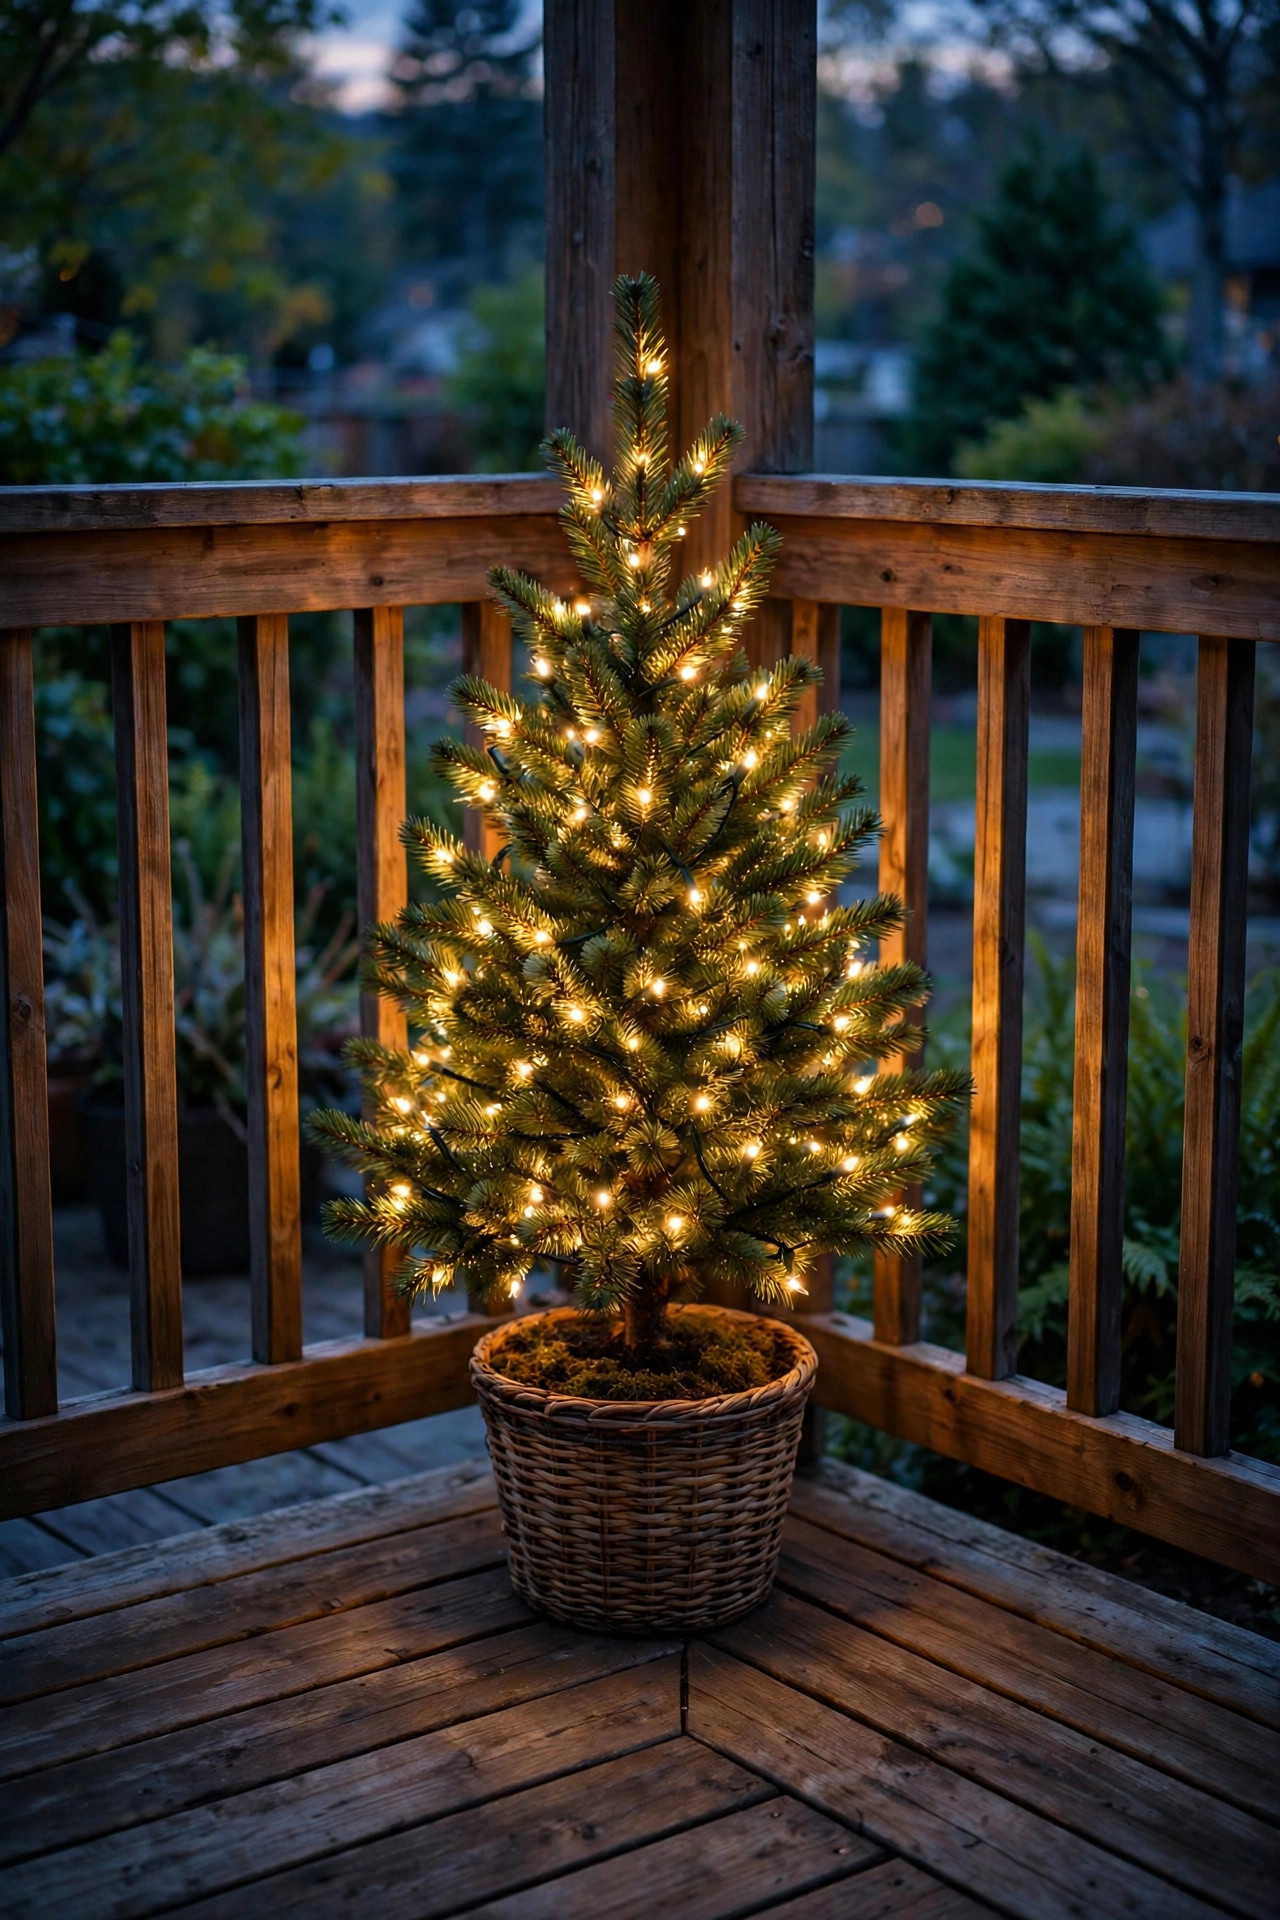
A patio tree sounds indulgent until you realize it does the work of five other decorations at once: height, color, sparkle, and a focal point your eye lands on from inside the house. Mine is a 4- to 5-foot slim tree in a heavy planter in the corner where the patio meets the deck, close enough to the sliding door that we see it from the sofa. A potted live Norfolk pine works if your winters are mild; otherwise a weather-rated artificial tree saves the heartbreak. Wrap it with 200 to 300 mini lights, warm white or classic multicolor, and keep the ornaments shatterproof and wired on, because patio wind is undefeated. Anchor the planter with a few bricks hidden under the skirt if your corner catches gusts. Elevating the tree on a sturdy plant stand adds presence without buying a bigger tree. Honestly, of all my christmas patio lighting ideas, this is the one that gets photographed most by guests, usually with a mug in front of it.
Suggested budget range: $45 – $150.
6. Weave Fairy Lights Through Planters and Winter Shrubs
Your summer planters do not have to sit empty and sad until spring. I fill mine with cut evergreen boughs, red twig dogwood stems, and a strand of copper-wire fairy lights woven loosely through the greenery, and the whole pot glows like a little lantern. Copper-wire lights are perfect here because the wire nearly disappears and the tiny LEDs read as fireflies caught in the branches. One 33-foot strand dresses two medium planters. The battery packs tuck under the boughs; choose packs rated for outdoor use and set the built-in timer so they run six hours a night. The same trick works on boxwoods and small evergreens flanking the patio doors, just keep the weaving loose so you are highlighting the shape, not shrink-wrapping it. Solar fairy lights are tempting, but in December, with short days and cloudy weeks, battery sets are far more reliable in my experience. This is my favorite low layer because it puts sparkle right at the edge of the seating, where people actually notice it.
Suggested budget range: $15 – $50.

7. Hang a Lighted Wreath on the Patio Door
We hang wreaths on the front door for the neighbors; the patio door deserves one for us. A 24- to 30-inch prelit wreath on the sliding door or French doors gives you a glowing focal point at eye level, which is exactly the middle layer most patios are missing. Hang it from a clear adhesive hook rated for the weight, or loop ribbon over the top of the door frame so nothing rattles when the door opens. Battery-operated wreaths with timers are the practical choice here, since a cord across a doorway is a trip hazard and an eyesore. I match the wreath lights to my canopy color temperature so the whole patio speaks the same warm language. If you have double doors, twin smaller wreaths, one per door, look tailored and symmetrical. Add a simple burlap or velvet bow at the bottom and skip the glittery picks; outdoors, simple reads elegant and survives the weather. Guests always assume this took effort. It took six minutes.
Suggested budget range: $25 – $75.

8. Drape Net Lights Over Patio Bushes for Instant Coverage
When the weekend is short and the to-do list is long, net lights are my cheat code. A net is a grid of lights, usually 4 by 6 feet, that you drape over a shrub and plug in, and in ninety seconds the bush is evenly lit with zero weaving, zero fussing, and zero bare spots. They shine on the foundation shrubs beneath patio windows and on the rounded evergreens flanking deck stairs. Trim or tuck the shrub roughly round first; nets forgive a lot, but a wild branch poking through ruins the illusion. I connect two nets for a long hedge run along the patio edge, keeping total connected sets within the manufacturer limit, usually five. Warm white nets blend with the rest of my scheme, and because the spacing is machine-even, they look tidy in photos. Store them flat, folded once, not wadded, and they will untangle gracefully next year. This is the idea I recommend to anyone who says they have no decorating patience at all.
Suggested budget range: $20 – $60.

9. Line the Deck Edge With C9 Bulbs for a Retro Glow
Some of my favorite christmas patio lighting ideas are pure nostalgia, and a row of chunky C9 bulbs along the deck edge is the most nostalgic of all. Those big teardrop bulbs are what glowed on every house of my childhood, and along a deck fascia or the top rail they throw real, usable light, not just sparkle. I use LED C9s, which stay cool, sip power, and come in the same warm white or cheerful multicolor as the old glass ones without the breakage and burns. Space them along the fascia board with screw-in clips every 12 inches, bulbs pointing up for a marquee feel or down for a softer wash on the deck boards. A 25-bulb string covers about 25 feet, which handles most patio edges in one or two runs. Retro bulbs pair surprisingly well with modern string light canopies; just keep the color story consistent, all warm white or all classic multicolor, not a mix of both palettes at once.
Suggested budget range: $30 – $80.

10. Stake Solar Candy Cane Lights Along the Patio Path
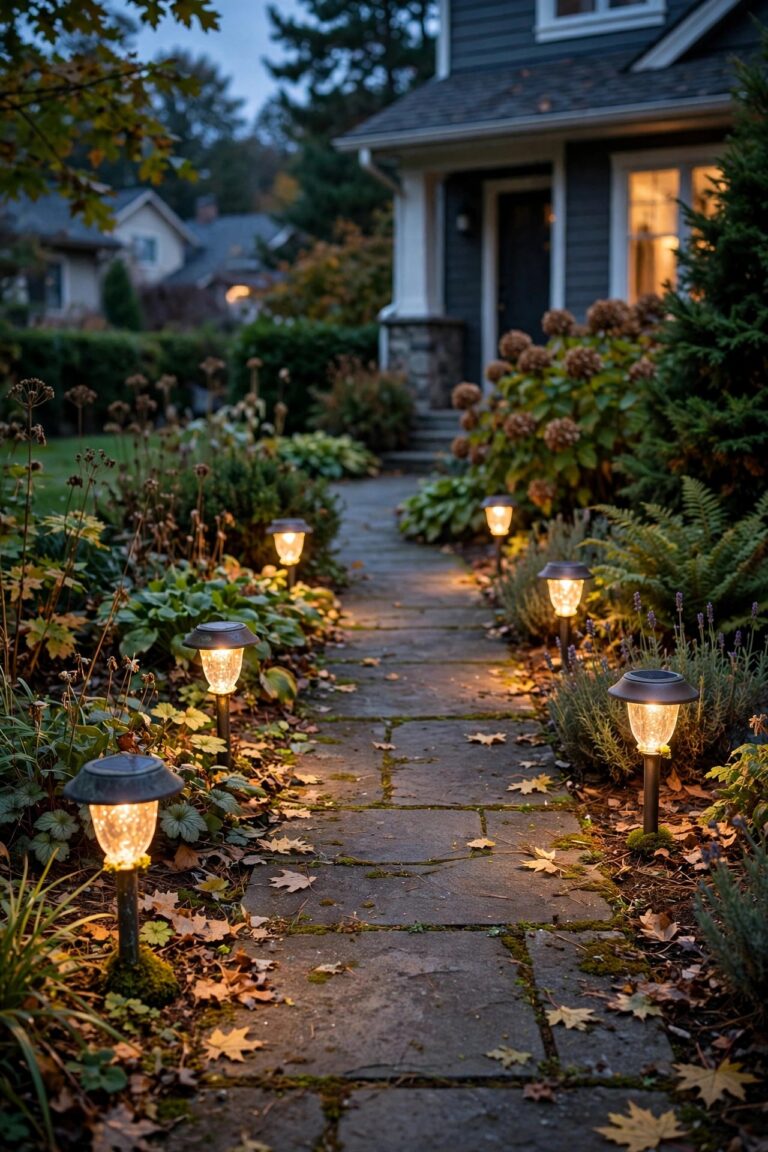
The walk from the back door to the patio, or from the patio to the hot tub, needs its own low layer of light, and holiday stake lights make it festive instead of merely functional. I line the path with solar candy cane markers, about 18 to 24 inches tall, spaced 3 to 4 feet apart in a gentle stagger rather than a rigid runway line. They charge during the day and switch on at dusk on their own, which still feels like a tiny miracle in mid-December. A fair warning from my own yard: solar stakes dim noticeably after two or three heavily overcast days, so in cloudy climates, treat them as accent sparkle rather than your only path lighting, and keep the lantern cluster from idea 4 as backup near steps. Push the stakes in while the ground is soft, before a hard freeze makes installation a wrestling match. If candy canes are not your style, the same placement works with solar snowflake or star stakes.
Suggested budget range: $20 – $55.

11. Put Candles in the Windows Facing the Patio
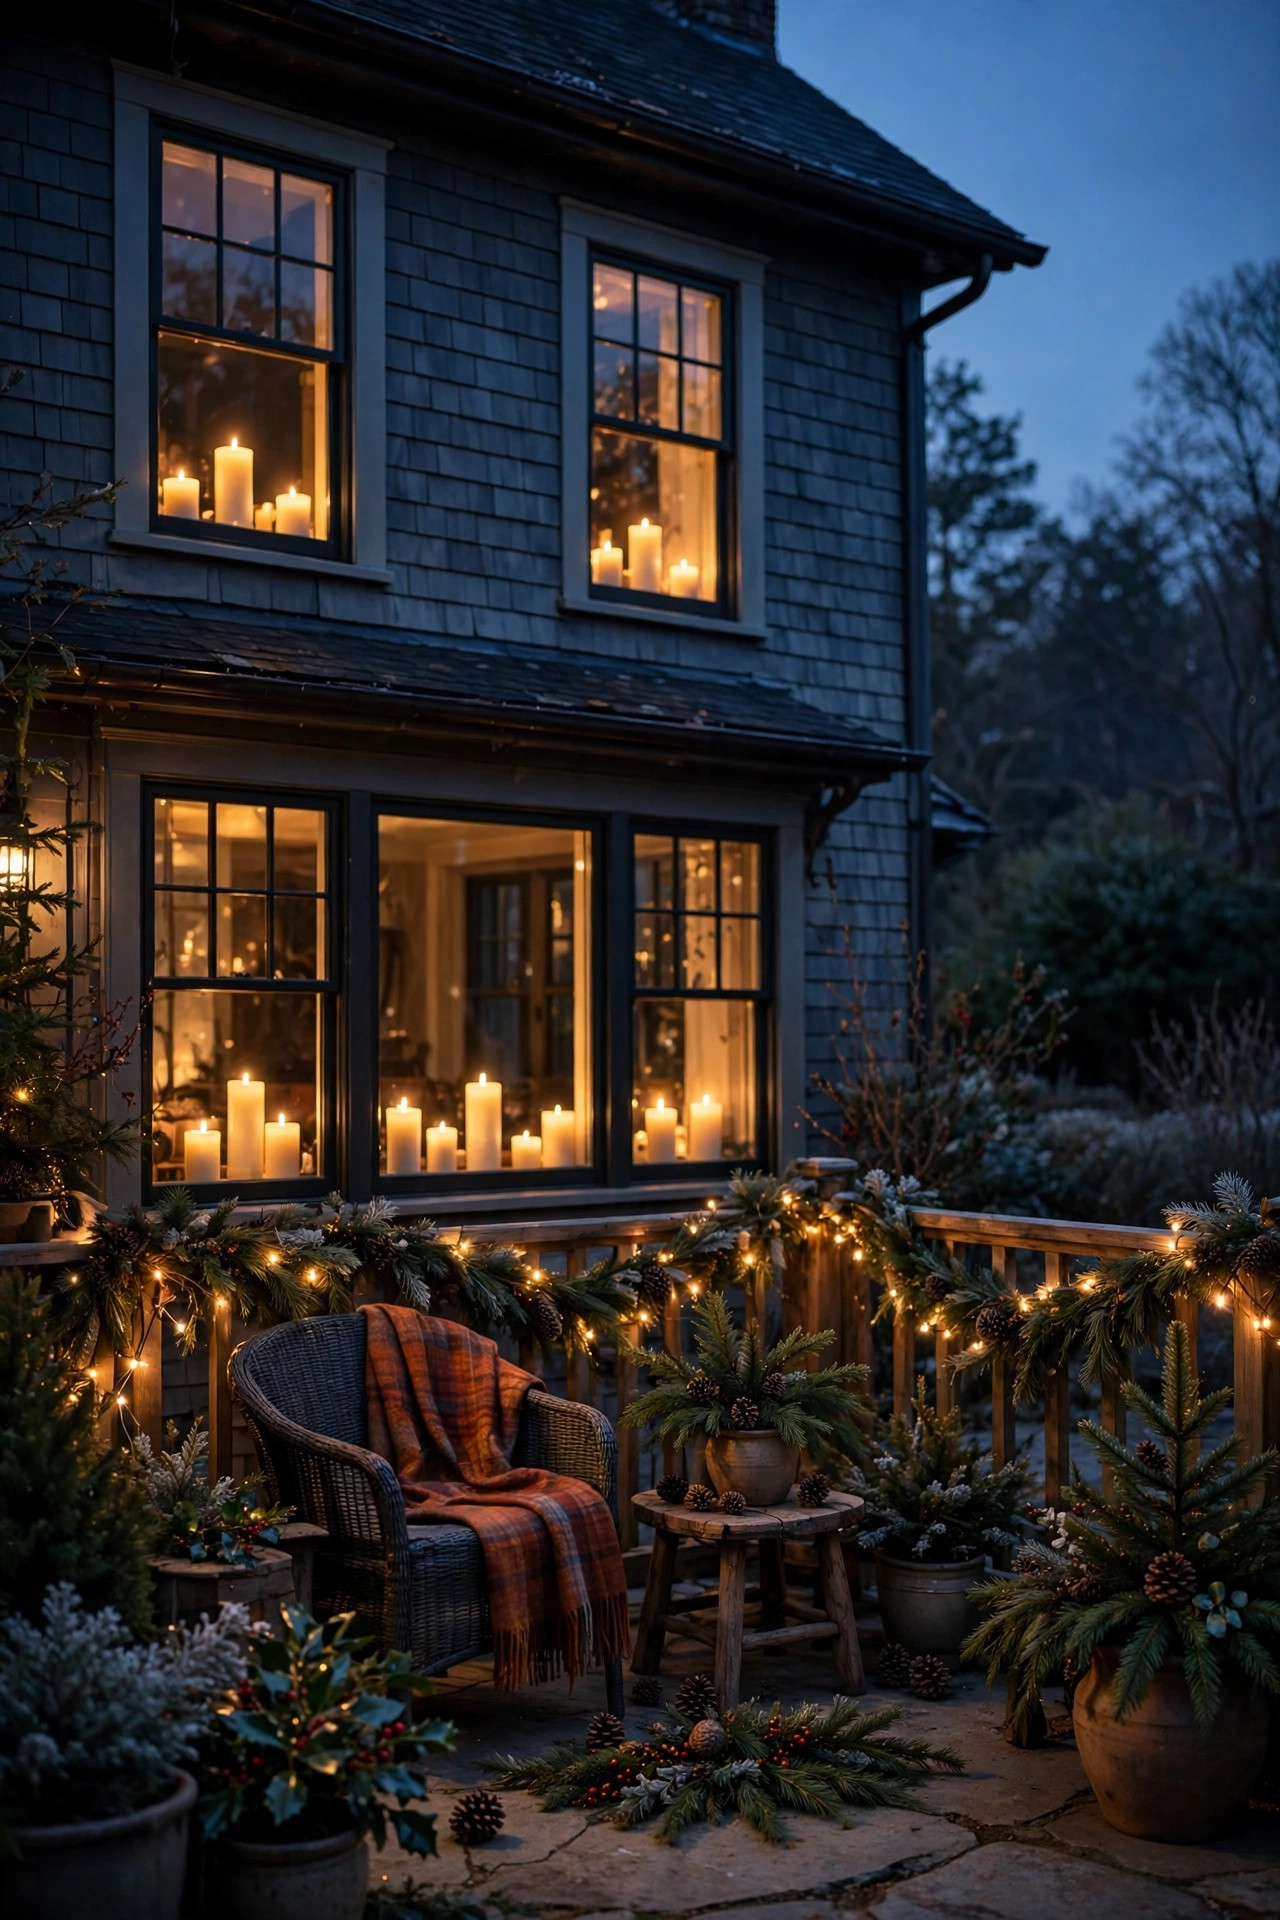
Here is a layer most people forget: the light that comes from inside the house. A single flameless candle centered in each window that faces the patio adds a colonial, storybook glow that ties the house to the yard, and it costs almost nothing. I use the slim taper style on small brass-look bases, one per window, all on timers so the whole back of the house lights up in unison at dusk. Because they sit indoors, there is no weather to fight and no batteries freezing; most run for a full season on one set. The effect from the patio is surprisingly powerful: the windows become warm rectangles that make the whole space feel sheltered, like sitting in a village square. If your windows have muntins, center the candle in the middle pane for the classic look. This trick also photographs beautifully behind a patio gathering. Pair it with the patio wreath on the door and the house itself becomes half your decorating, before you have hung a single outdoor strand.
Suggested budget range: $10 – $40.
12. Hang Paper Star Lanterns From the Pergola or Eave
For a softer, more designer look, I hang large paper star lanterns at varied heights from the pergola beams or the patio eave. A cord kit with an LED bulb inside each star turns them into glowing sculptures, and the cutout patterns throw little constellations on the ceiling and floor. Hang three to five stars, 18 to 30 inches across, at staggered heights between 7 and 9 feet, low enough to feel intimate but high enough to walk under. Use warm white bulbs, 40-watt equivalent LED at most, and only hang paper under a covered patio or bring them in when rain threatens, because paper and December weather are not friends. Between covered space and dry nights, mine have lasted three seasons. The stars look particularly magical paired with the string light canopy: the canopy gives you the twinkle, the stars give you the drama. When guests ask where the look came from, I tell them honestly, it is the cheapest five-star upgrade on this whole list.
Suggested budget range: $35 – $95.

13. Swag Prelit Garland Across the Pergola Beams
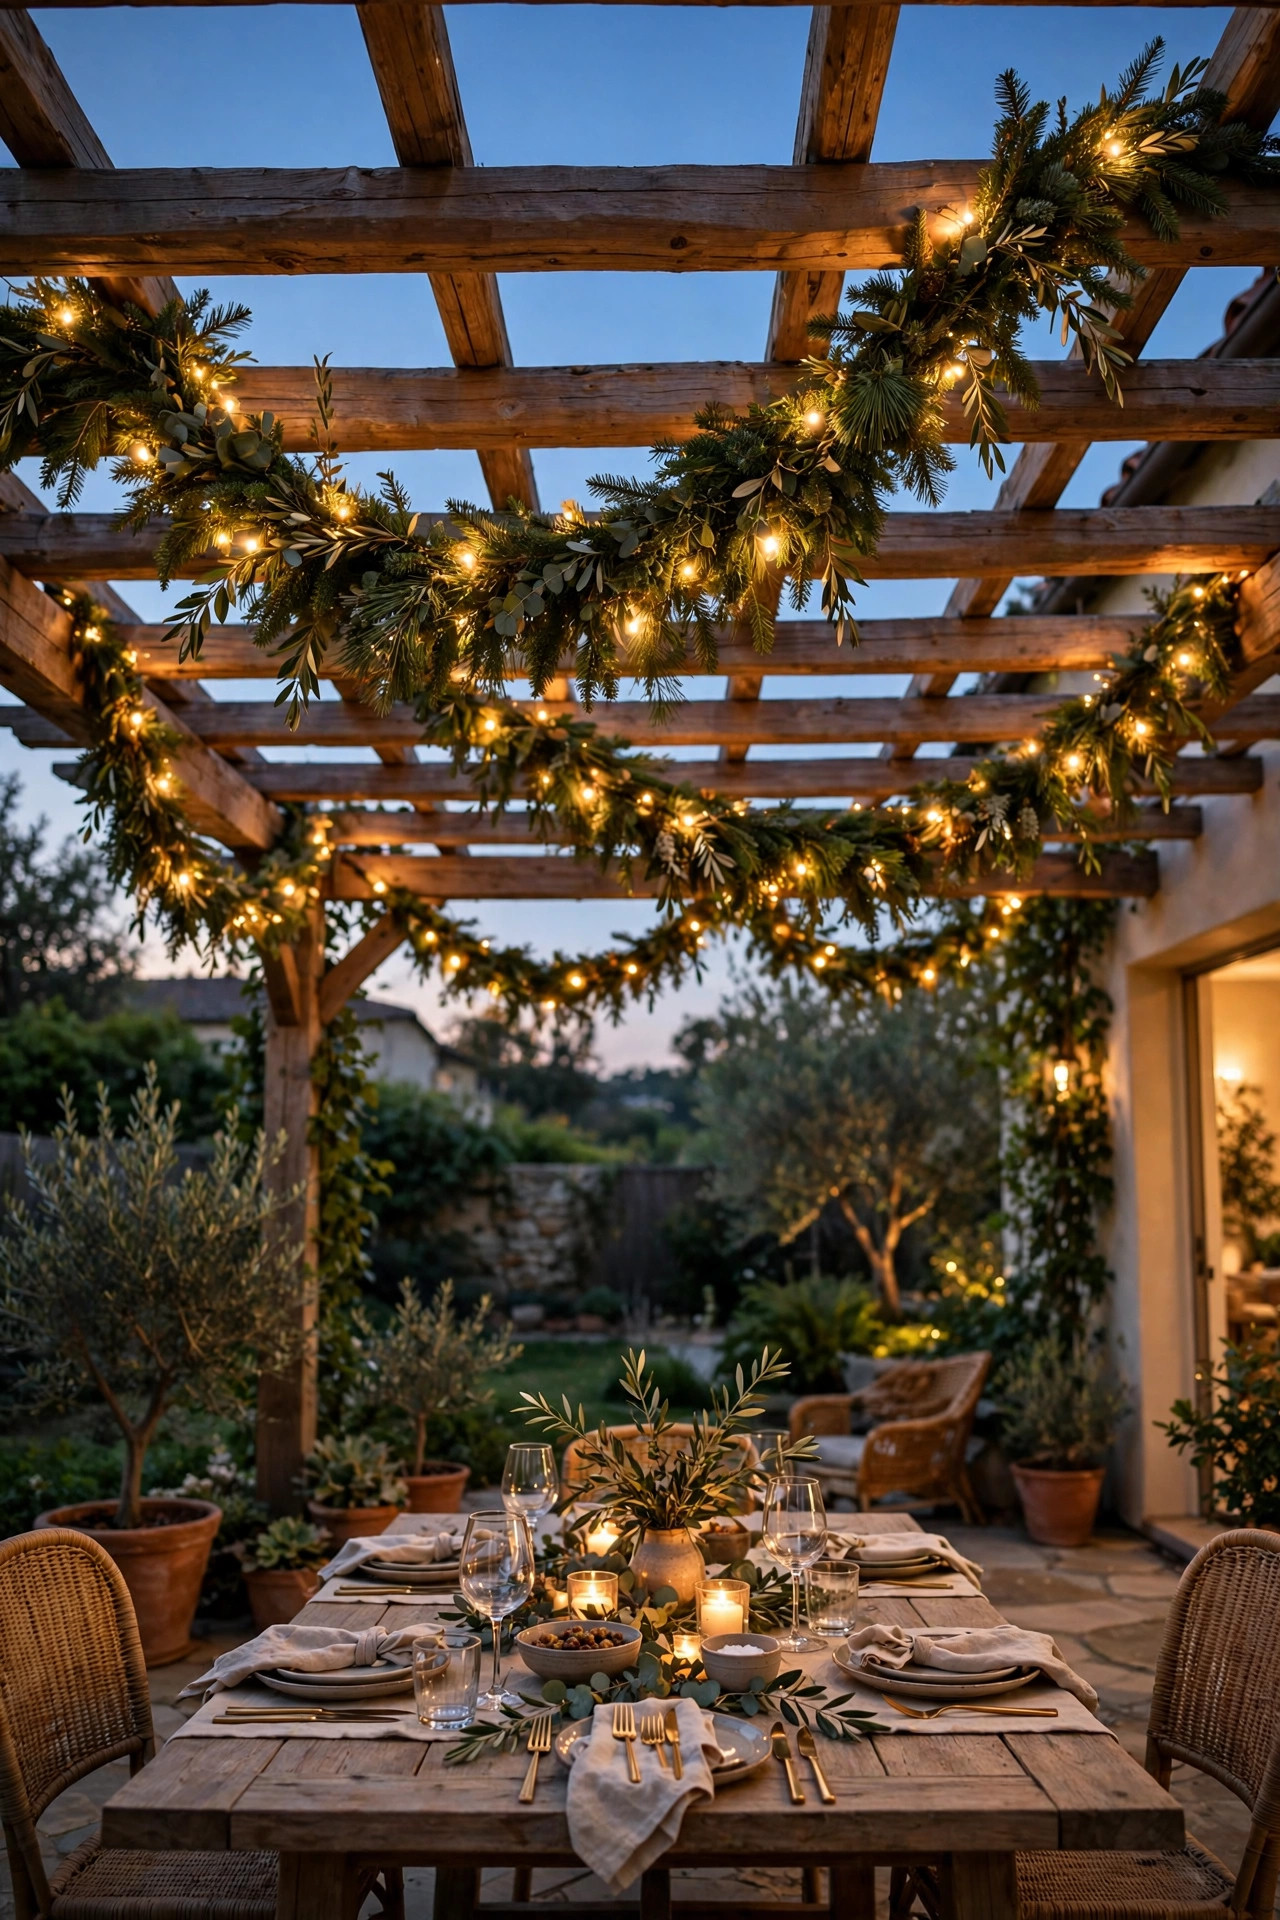
If your patio has a pergola, the beams are begging for garland. I drape thick prelit garland in deep swags from beam to beam, letting each swag dip about 12 to 18 inches, and the ceiling of the patio becomes a glowing evergreen canopy that smells wonderful if you mix in a few real cedar boughs. Attach it with heavy-duty zip ties or wire at every beam crossing; a 9-foot garland section filled with lights and ornaments is heavier than it looks, and a mid-party garland collapse is a core memory nobody wants. Battery garland works, but for a pergola I prefer plug-in, because the run is usually near the house outlet and the brightness stays strong all season. Weave a strand of larger globe lights through the garland if you want two scales of light playing together. From underneath, eating dinner beneath lit evergreen swags feels like dining in a holiday market hall. It is dramatic, it is not hard, and the whole job takes one ladder and one afternoon.
Suggested budget range: $50 – $160.
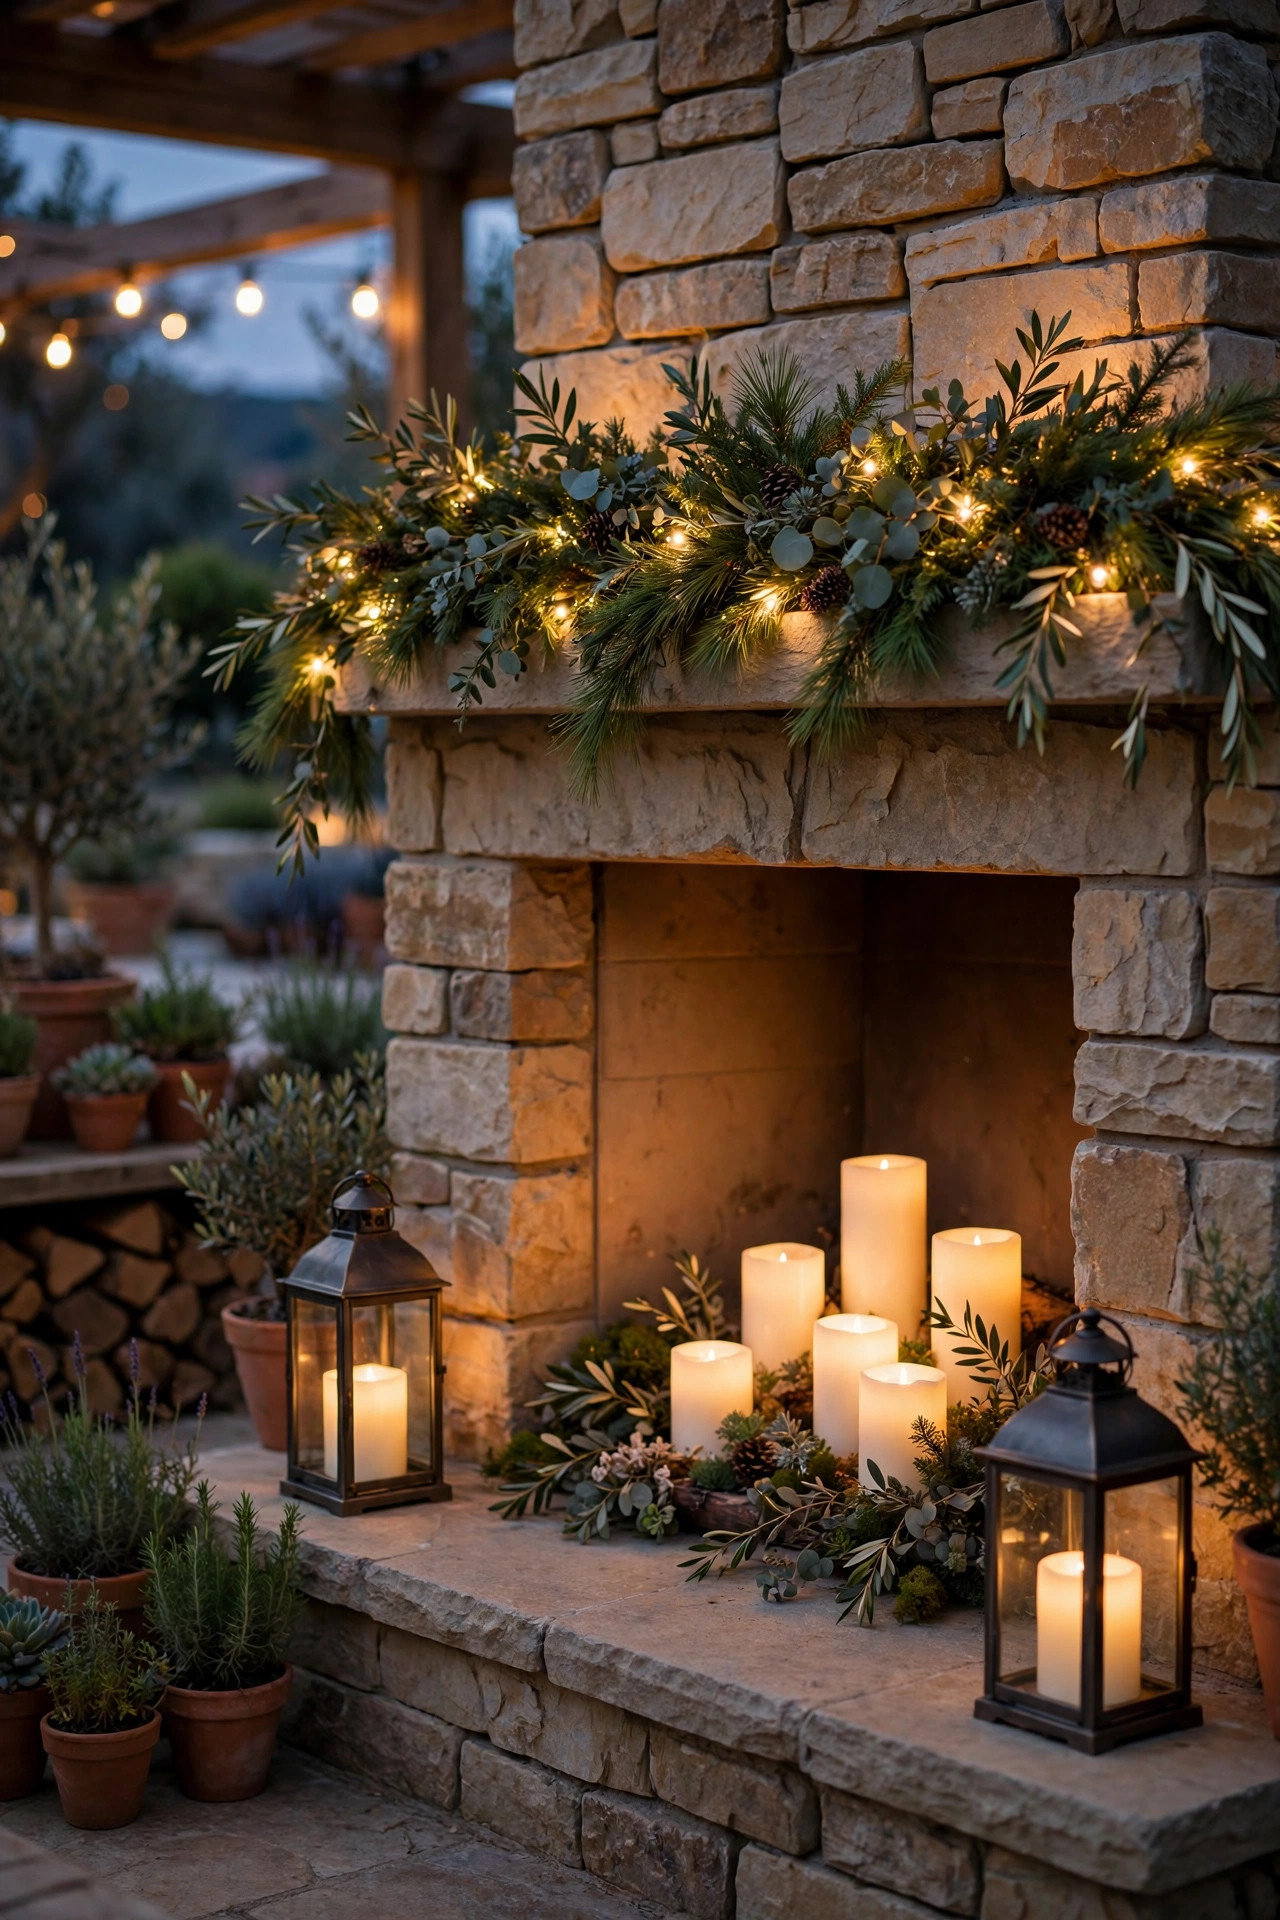
14. Light the Outdoor Fireplace or Fire Pit With a Mantel Glow
If your patio centers on a fireplace or fire pit, give the fire some company. Real flames are warm but flickery-dark, so I dress the mantel or the surrounding ledge with a short prelit garland, two lanterns at the ends, and a pair of flameless pillar candles in the firebox for the nights we do not build a fire. That last trick is a favorite: the firebox glows softly, the hearth looks alive, and nobody had to chop anything. Keep all decor at least 3 feet from open flame, use only LED candles near heat, and never drape garland where sparks can land; evergreen and sparks are a hard no in my yard. The firelight plus the steady electric glow solves the biggest problem with fire-only lighting, which is that faces go dark every time the flames settle. With the mantel lit, the whole seating circle stays readable and warm. This layered fireside look is the coziest seat on our patio all winter.
Suggested budget range: $40 – $110.
15. Choose One Color Story and Commit to It
This idea is less about buying and more about editing, and it is what separates a patio that looks decorated from one that looks accumulated. Pick one palette before you hang anything: classic warm white with red and green accents, vintage multicolor, or a frosty scheme of cool white and silver. Then audit what you already own and hang only what fits. In my experience, warm white at 2700K is the most forgiving and the most flattering for an outdoor living space, because it mimics candlelight and makes wood decks look richer. Multicolor is joyful and best kept to one zone, like the patio tree, so it reads as a deliberate moment. The frosty look is stunning with silver ornaments and blue-green evergreens but can feel chilly on a bare deck, so warm it with lantern candlelight. Whichever you choose, match your bulb color temperature across every strand. A single cool-white strand in a warm-white scheme sticks out like a wrong note, and swapping it in week one beats squinting at it until New Years.
Suggested budget range: $0 – $60.

16. Put Everything on Timers and One Smart Plug
The difference between a patio that glows every night and one that glows twice in December is automation. I plug the canopy, garland, and icicle runs into one outdoor-rated smart plug or a simple mechanical timer, set for dusk to 11 p.m., and the whole show runs itself. Put the plug where it stays dry, ideally under the eave or in a weatherproof outlet cover box, and use a plug rated for outdoor use with a ground fault protected outlet. Group by zone if you can: one timer for overhead, one for the low layer, so the path and step lights can run an hour later than the party lights. Remember the load math: LED strands draw so little that one 15-amp outlet handles a whole patio easily, but incandescent C9s add up fast, which is another reason I converted to LED years ago. Set it once in late November, then spend December enjoying the patio instead of crawling behind planters with cold fingers every evening.
Suggested budget range: $15 – $45.

17. Pull It Together: Christmas Patio Lighting Ideas in Three Layers
Every December I finish with the same walk-through, mug in hand, checking my christmas patio lighting ideas against the three layers that make any outdoor space glow. Overhead first: the string light canopy, icicle line, or garland swags should give the patio a ceiling of light. Eye level second: the wreath, the patio tree, the mantel, and the window candles should sparkle where faces are, because that is the layer guests actually photograph. Ground level last: lantern clusters on the steps, path stakes, and fairy-lit planters should draw a safe, pretty outline of where to walk. If a corner still feels dark, it is almost always one missing layer, not a lack of stuff, so add the missing layer instead of adding more of another. Stand at the back door, then at the far edge of the yard, and look both ways; the patio should glow like a little house of light from every angle. When all three layers hum together, the simplest patio furniture looks styled, and the space begs people to linger.
Suggested budget range: $100 – $400.

Frequently Asked Questions
What color temperature is best for Christmas patio lights?
Warm white, around 2700K, is the most flattering choice for patios and decks because it mimics candlelight and makes wood, faces, and food look rich. Match every strand to the same temperature; one cool-white strand in a warm scheme stands out immediately.
Can I leave Christmas lights on my patio up all season?
Yes, as long as everything is rated for outdoor use and plugged into a GFCI-protected outlet. LED strands handle cold and moisture well, and a timer set for dusk to late evening keeps run time sensible. Bring paper lanterns and unprotected decor in during storms.
How do I light a patio with no outdoor outlet?
Go battery and solar: timer-equipped battery garlands, wreaths, and flameless candles do most of the work, with solar path stakes as accents. Expect solar to dim after cloudy stretches in December, so let battery pieces carry the main glow.
How much does it cost to decorate a patio with Christmas lights?
A simple setup with a string light canopy, one garland run, and lantern clusters usually lands between $100 and $250 using LED products you will reuse for years. Since LEDs draw very little power, a full season of nightly use typically adds only a few dollars to the electric bill.
Conclusion
The patio deserves the same holiday magic as the front yard, and with a layered plan it usually ends up warmer out back than anywhere else in the house. Start overhead, sparkle at eye level, and outline the ground, and these christmas patio lighting ideas will turn even a plain concrete slab or simple deck into the room everyone chooses all December. Pick two or three ideas this weekend, put them on a timer, and let the patio do the hosting. If you want to extend the glow beyond the patio, browse more of our guides here on the site, including our roundup of outdoor Christmas light ideas for the front yard and roofline, and let the whole house shine.