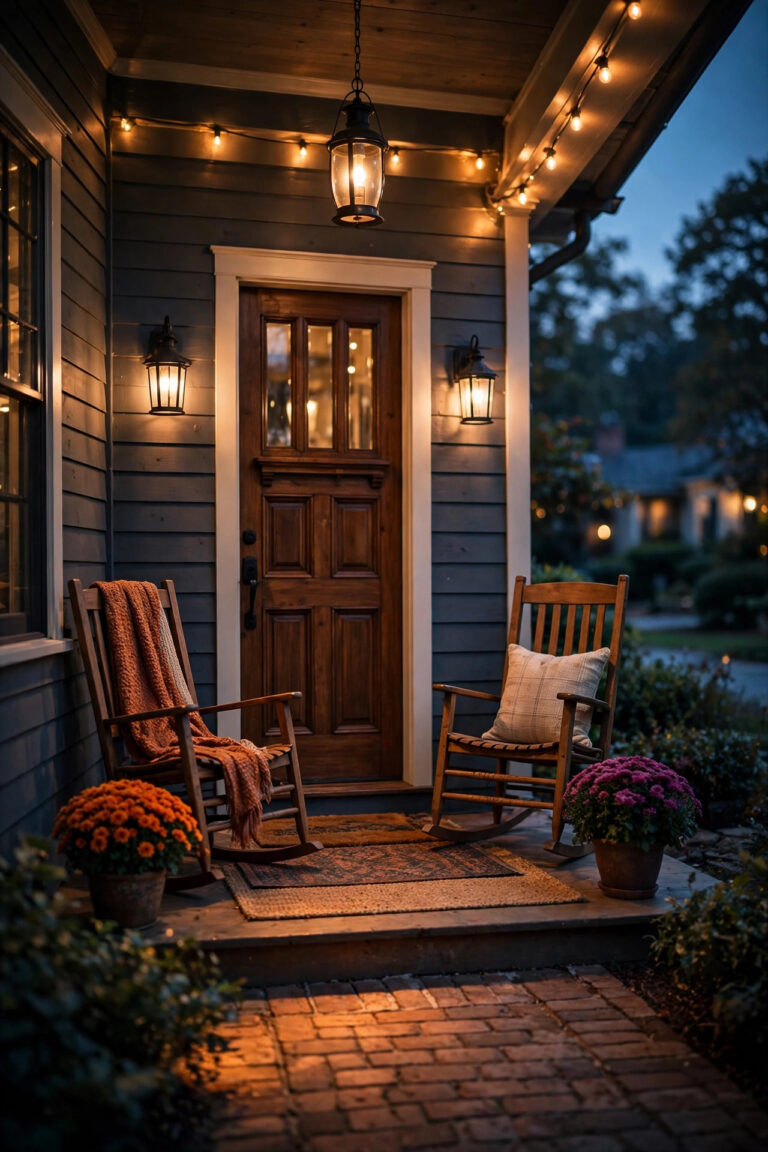
Living near the water is a dream right up until the morning you walk outside and find your pretty new path lights freckled with rust. I learned that lesson my first year in our little beach cottage, and honestly? It changed how I shop for outdoor lighting completely. The good news is that the right coastal driveway lighting ideas do exist; you just need fixtures built for salt spray, humidity, and the occasional sideways storm. In this post I am sharing the 15 setups that have actually survived at my place and at the beach houses of friends up and down our street. My approach is always the same: layer the light. A soft wash for safe footing, a welcoming glow at the entry, and a few accents that show off palms and dune grass. Every idea below covers corrosion-resistant materials, spacing that works, and the small maintenance habits that keep everything shining. By the end you will know exactly how to light a driveway and front walk that looks gorgeous on night one and still looks gorgeous three summers from now.

1. Start With Layers: Coastal Driveway Lighting Ideas That Work as a System
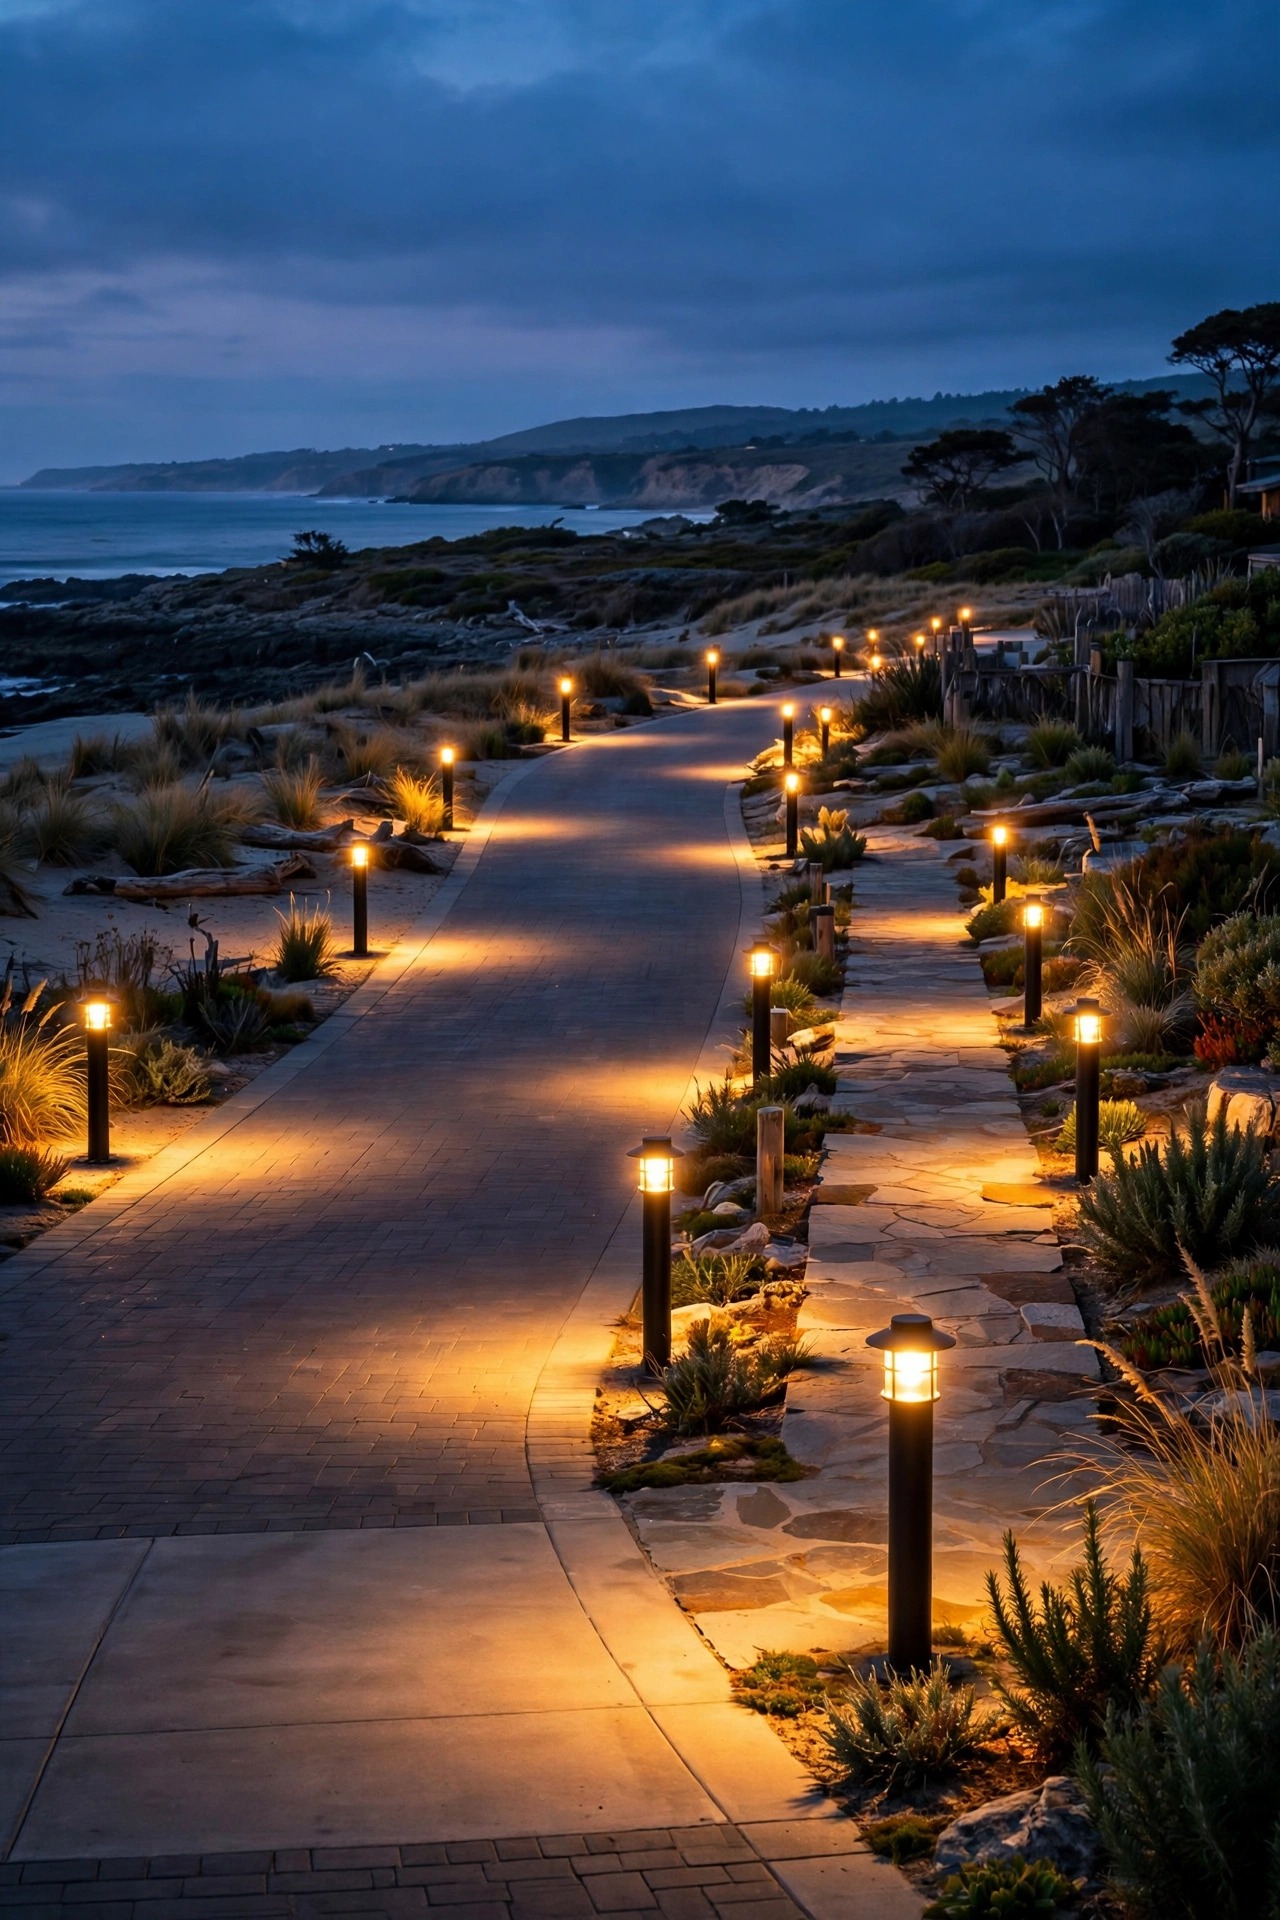
Every coastal lighting plan I trust starts the same way: a slow walk down the driveway at dusk with a notepad. Think in three layers. First, guidance light, a low steady line of fixtures that traces the driveway edge and the walkway so guests and tires always know where the pavement ends. Second, welcome light, a warmer brighter pool at the garage, the front steps, and the door. Third, accent light, one or two uplights in a palm or a wash across dune grass for that resort glow. Sketch the layers before you buy anything, and mark where your outdoor GFCI outlet and low-voltage transformer will live. In my experience, planning the system first stops the two classic coastal mistakes: fixtures that are too dim to matter and a random mix of color temperatures that makes the whole yard look patched together. Keep every bulb at 2700K warm white, space guidance lights 6 to 8 feet apart, and choose corrosion-resistant finishes for all three layers, because salt air does not care which layer a fixture belongs to. Ten minutes of planning here will save you hundreds of dollars and a lot of re-digging later.
Suggested budget range: $150 – $600.
2. Choose Marine-Grade Stainless Steel Fixtures First
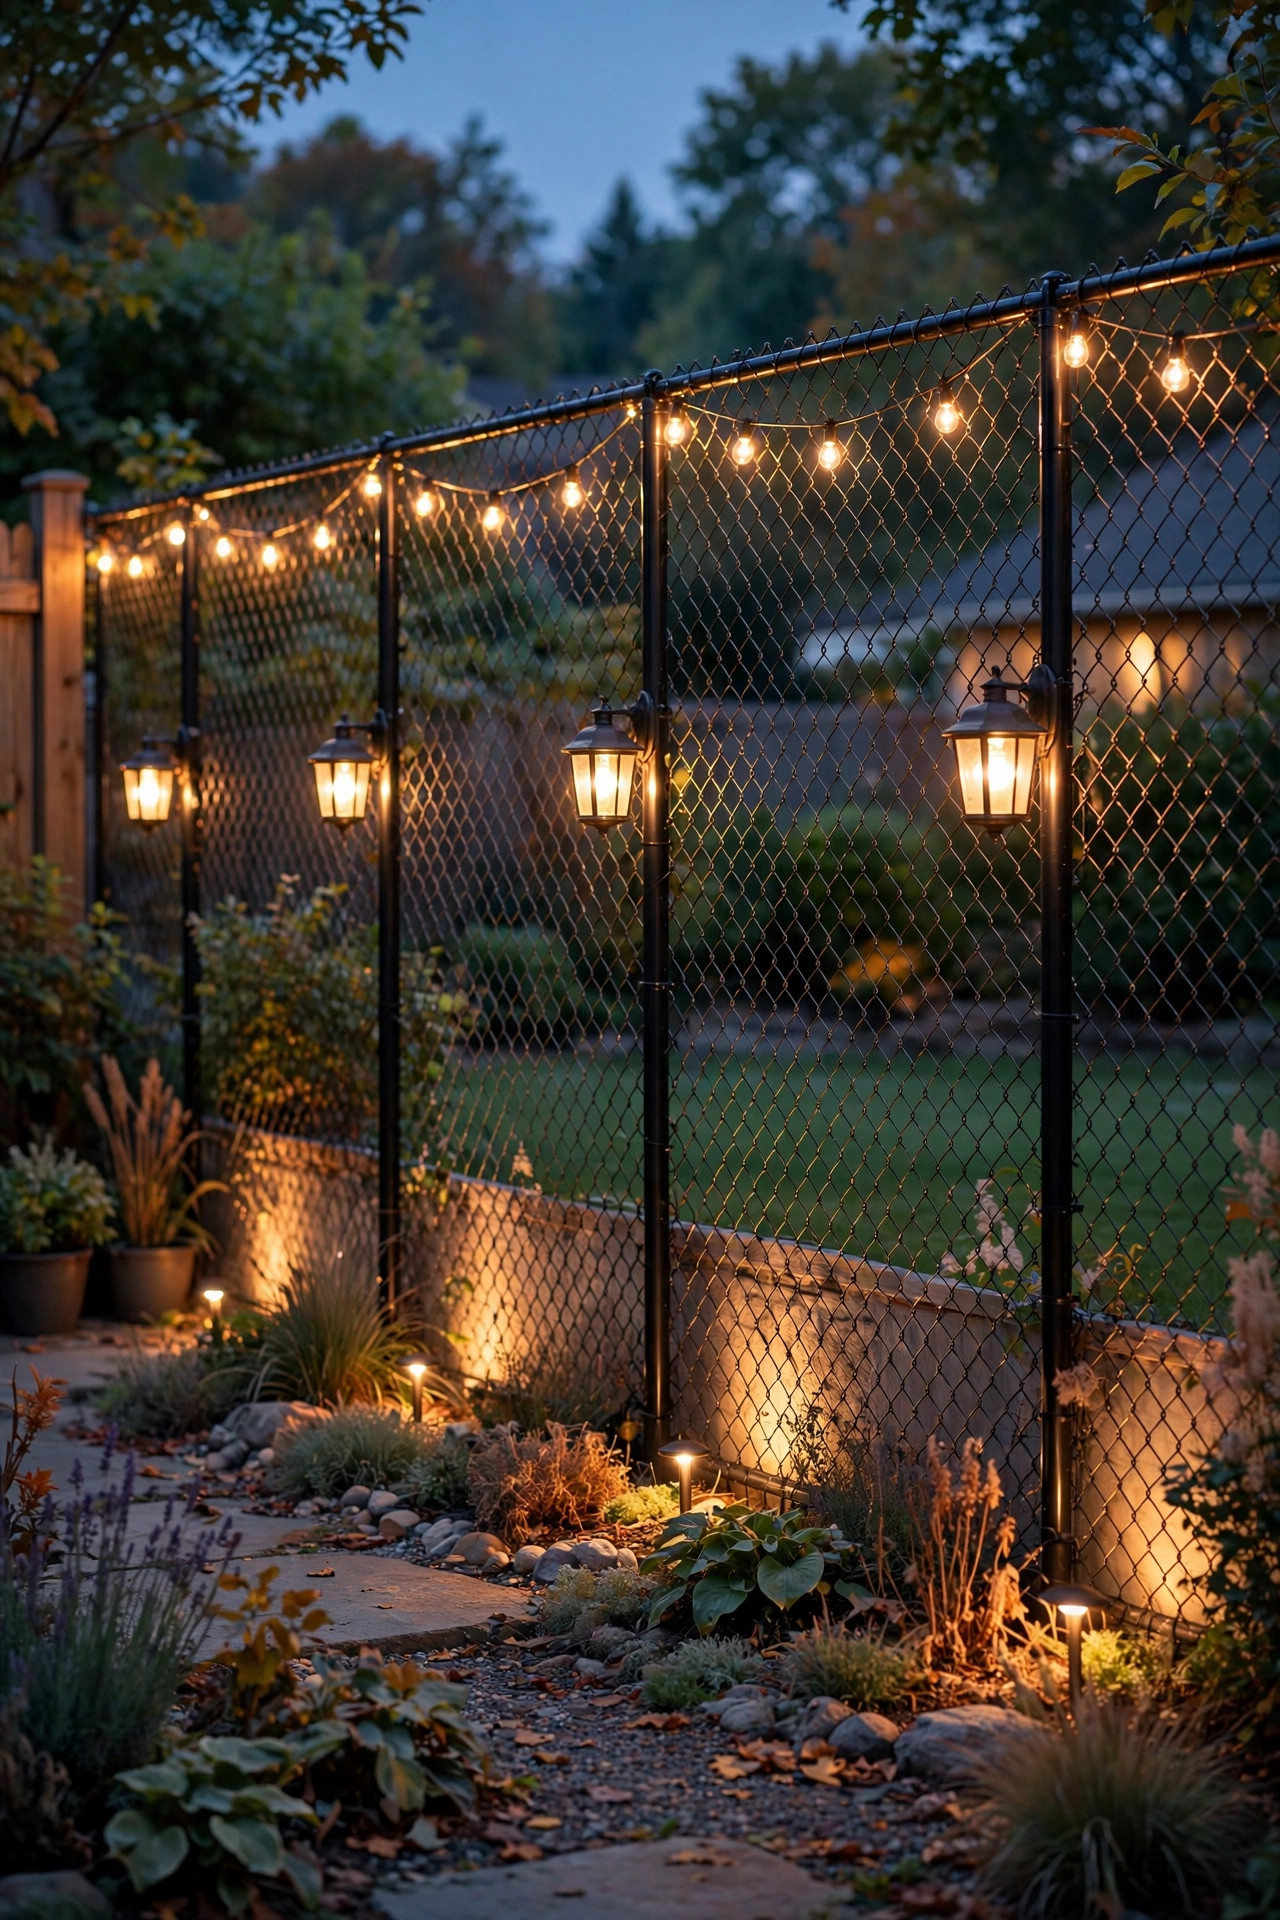
If you remember one thing from this post, make it this: near the ocean, the metal matters more than the style. Standard 304 stainless and cheap plated finishes pit and tea-stain within a single season in salt air. Look for fixtures cast or spun from 316 marine-grade stainless steel, solid brass, or copper, all of which form a protective surface instead of flaking. I always recommend running a finger over the hardware too; screws, hinges, and set screws should be stainless as well, because one cheap screw will bleed rust streaks down a beautiful fixture. Sealed LED modules are your friend here since there is no bulb socket for humid air to creep into. When I redid our front walk, I followed my own deeper guide to coastal outdoor lighting materials and swapped every fixture to 316 stainless or powder-coated cast aluminum, and three years later they still wipe clean with a damp cloth. Yes, marine-grade costs more up front. It costs far less than replacing a whole set of lights every spring, which is exactly what my neighbor did twice before she finally listened.
Suggested budget range: $45 – $140.

3. Line the Drive With Powder-Coated Aluminum Bollards
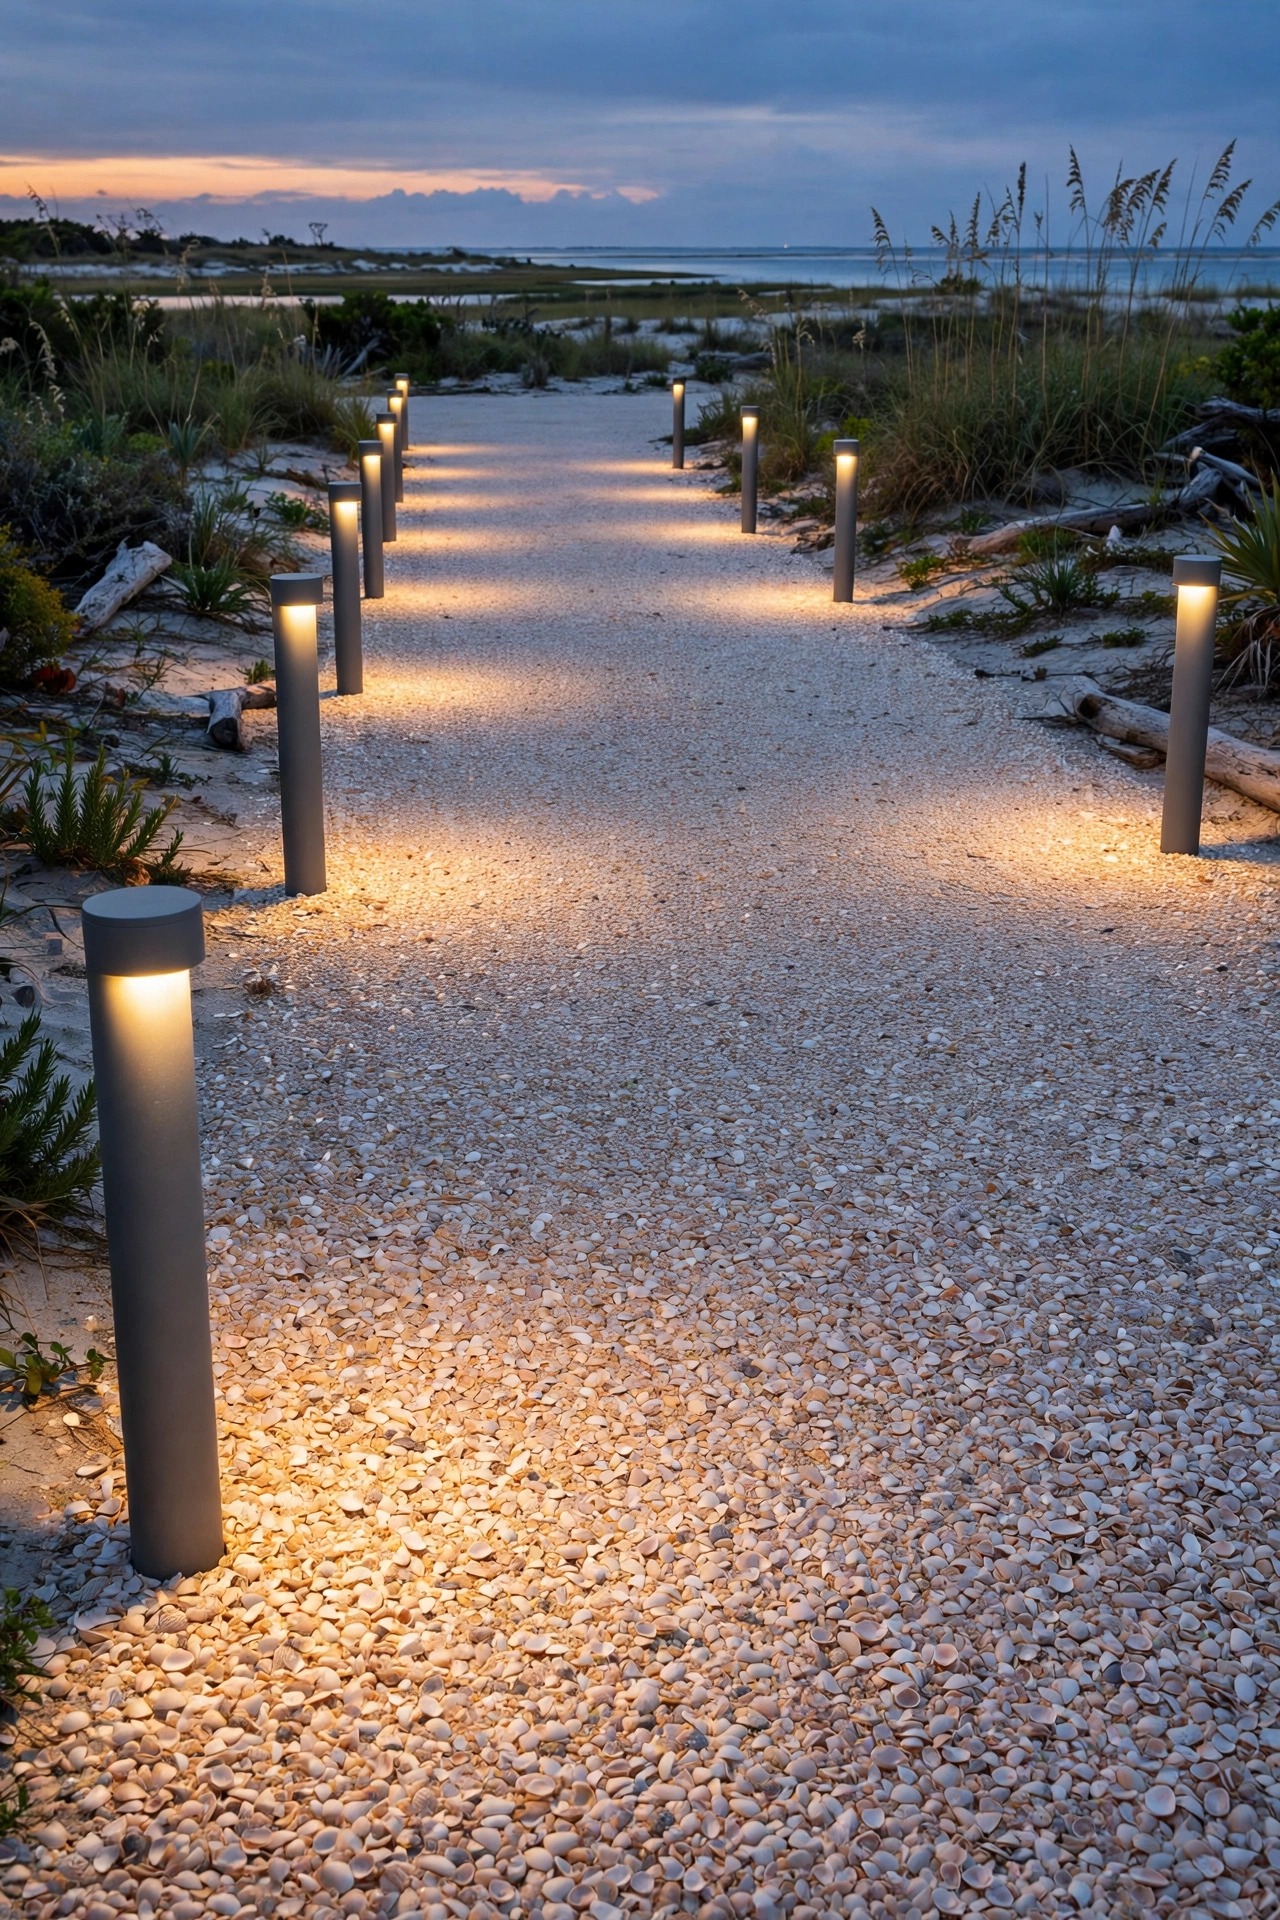
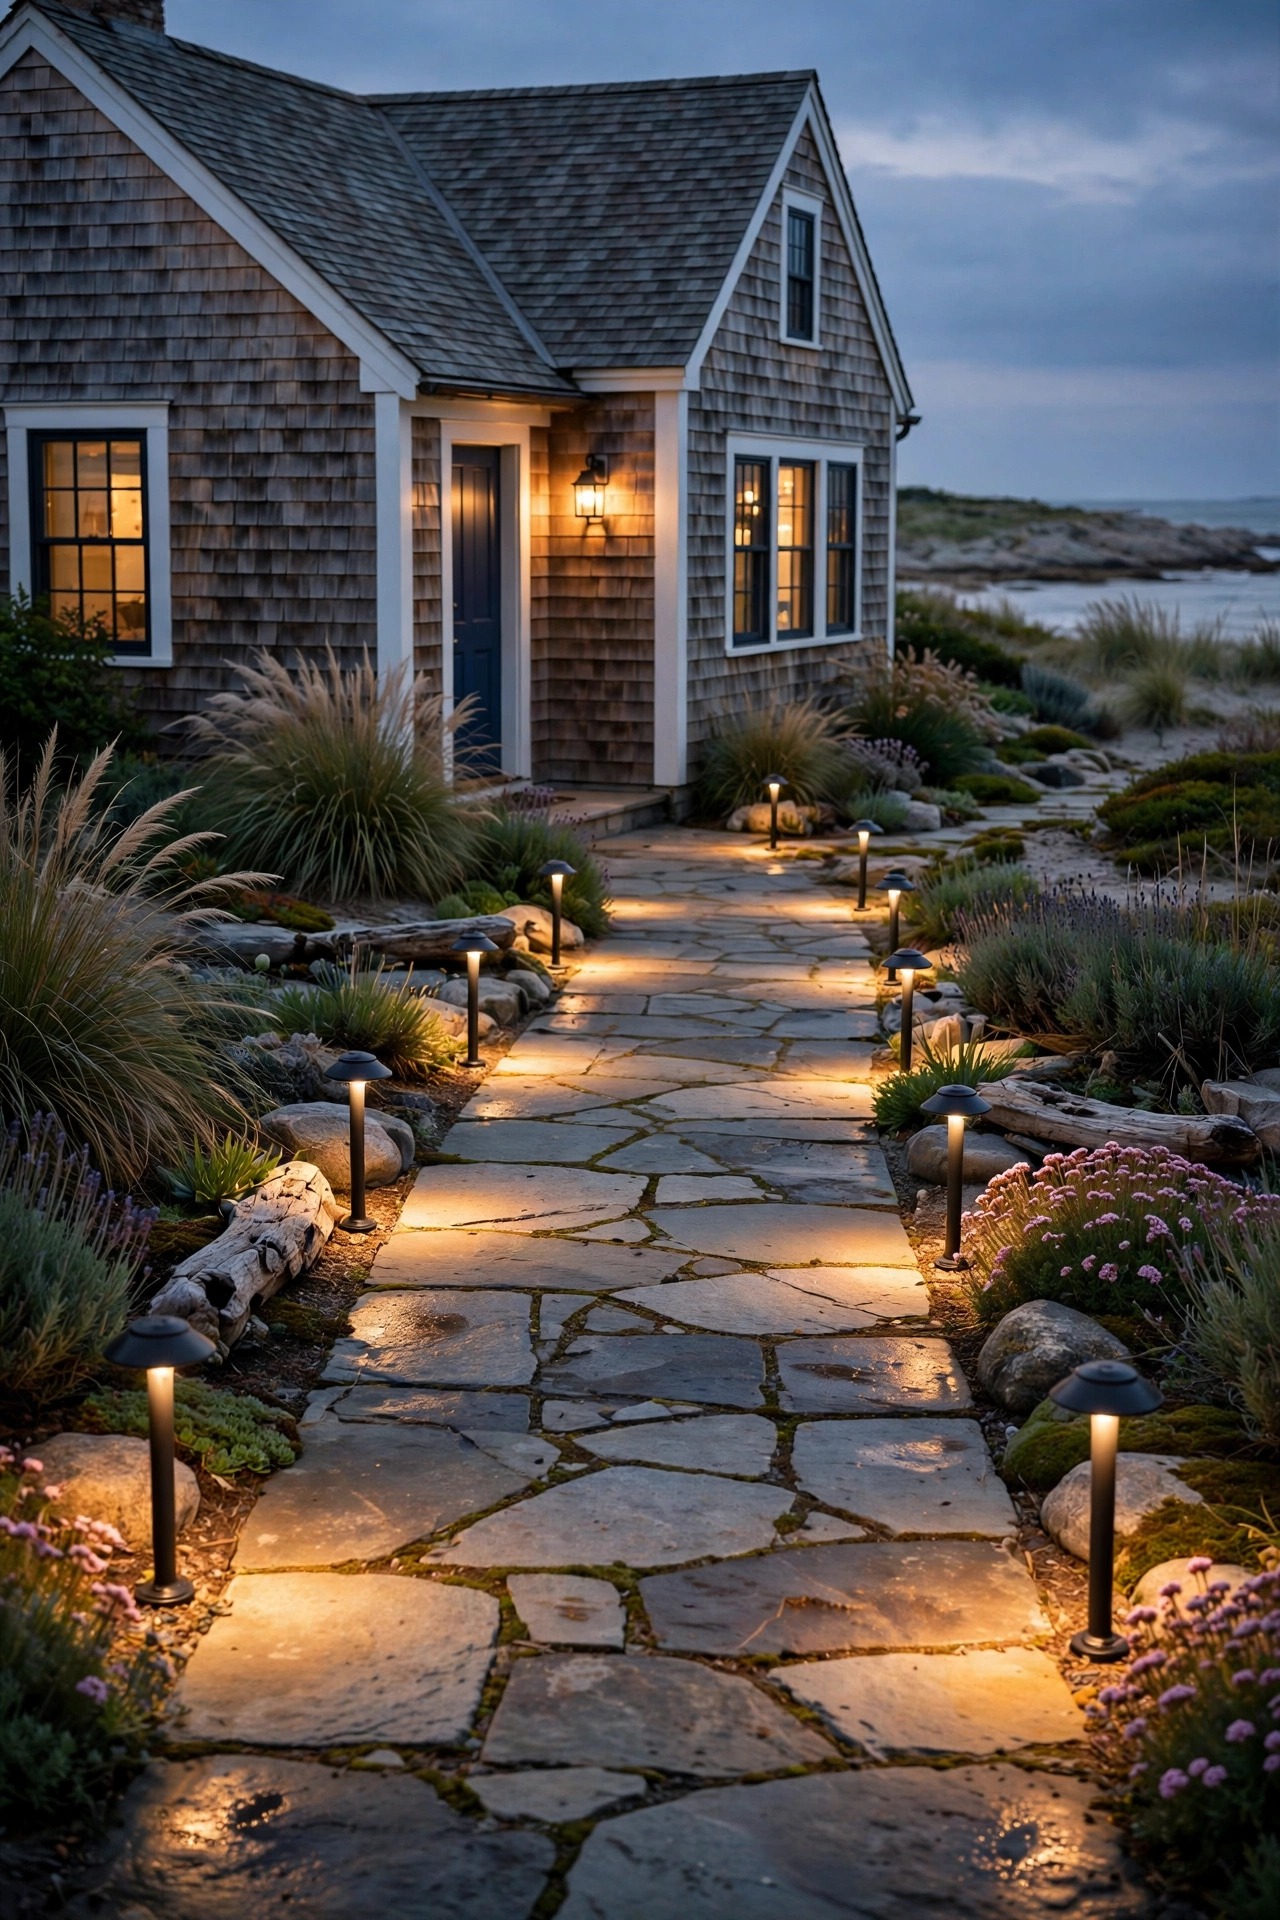
Bollards are the workhorses of coastal driveway lighting ideas in real life, because they sit tall enough to guide cars yet throw their light down where tires and feet actually go. Cast aluminum with a marine-grade powder-coat finish shrugs off salt spray, and the textured bronze or black finishes hide sand scuffs beautifully. I space bollards 8 to 10 feet apart along one side of the drive, staggered if the driveway is wide, and I look for shielded designs that aim light downward instead of into drivers eyes. Aim for fixtures 18 to 24 inches tall with an IP65 rating or better, and anchor them in small concrete footings if your soil is sandy, because loose sand lets tall fixtures lean by August. My friend two doors down lines her crushed-shell drive with bollards on a low-voltage run, and the pools of light overlap just enough that there is never a dark gap. For a softer coastal look, choose bollards with louvered or frosted lenses; the glow reads like lantern light and flatters everything from pavers to plain concrete.
Suggested budget range: $250 – $800.
4. Pick Solar Path Lights With Sealed Panels and Swap-In Batteries
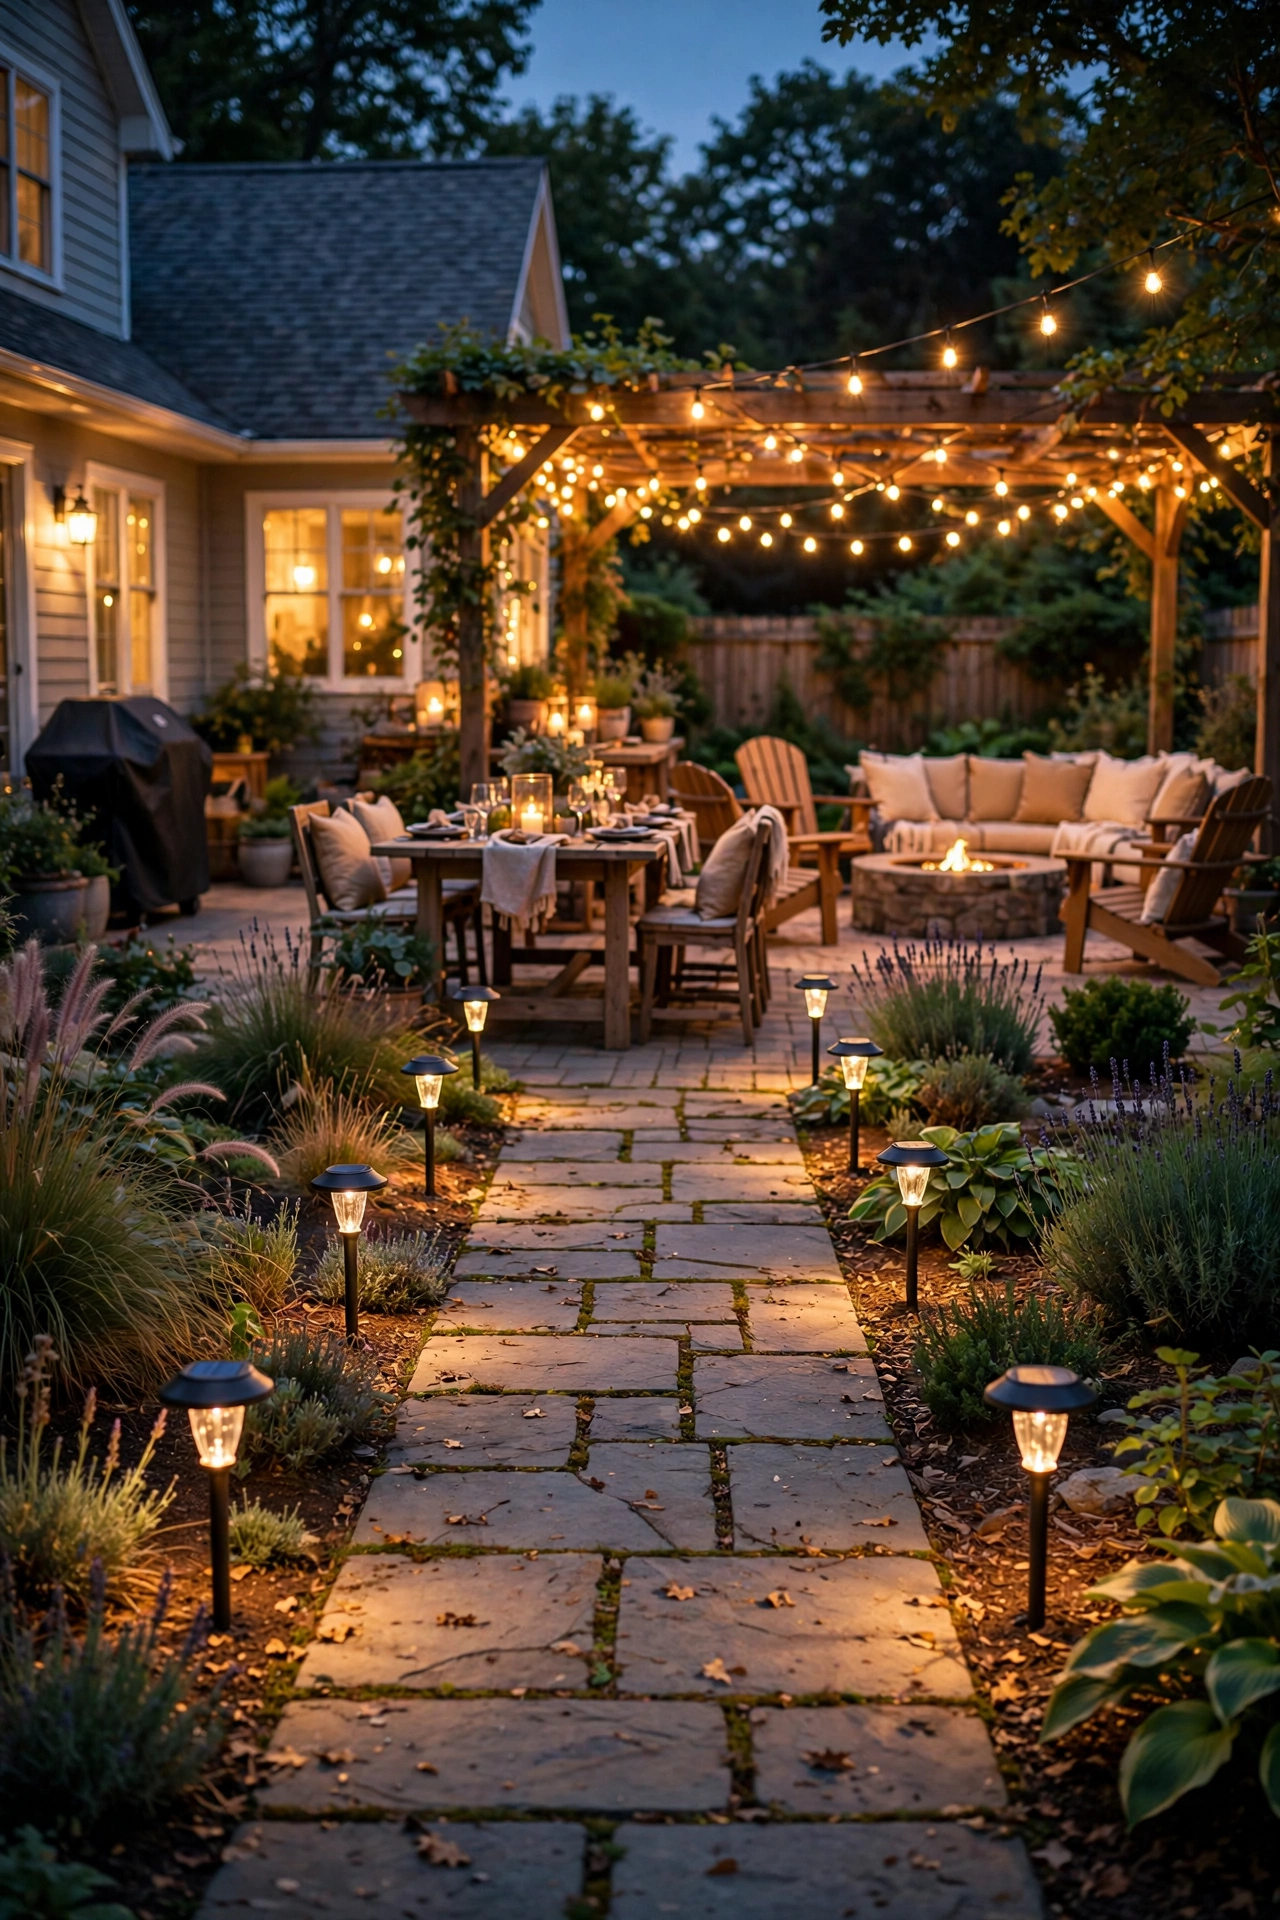
Solar path lights can absolutely work at the coast, but only the ones built like they mean it. The bargain-bin stakes fail fast here because salt film clouds their little panels and moisture sneaks into unsealed battery doors. Look for solar stakes and markers with a monocrystalline panel under glass or hard resin, an IP65 or IP66 rating, and a battery compartment you can open to swap in a fresh rechargeable cell each year or two. Stainless or powder-coated aluminum bodies survive; painted steel does not. I use solar along the garden edge of our walkway where running wire would mean tearing up pavers, spacing them 4 to 6 feet apart since solar output is gentler than wired light. Wipe the panels with a damp cloth every few weeks, honestly, it takes two minutes and restores a surprising amount of brightness, because salt haze is the number one reason coastal solar lights seem to die early. Give each light a full day of direct sun when you first install it, and avoid tucking panels under palm fronds or porch overhangs where they will only ever sip light.
Suggested budget range: $60 – $200.
5. Run Low-Voltage LED Along the Main Walkway
For the walkway you use every single night, hardwired low-voltage LED is still my top recommendation. A 12-volt system is safe to install yourself, sips electricity, and delivers the steady brightness solar cannot promise on cloudy winter weeks. The coastal trick is in the connections: use gel-filled waterproof wire connectors, never the pinch clips that come free in the box, because salt moisture wicks into cheap connections and greens the copper within a year. Bury cable 6 inches deep along the walk edge, keep the transformer mounted at least a foot off the ground on a post or wall near a GFCI outlet, and choose integrated LED path lights in brass or powder-coated aluminum. I space heads 5 to 6 feet apart, alternating sides for a gentle zigzag of light. There is a full breakdown of layouts in my driveway lighting ideas guide if you want to compare wired runs side by side. A well-built low-voltage run at the coast should give you a decade of service with nothing more than an occasional lens wipe.
Suggested budget range: $200 – $700.
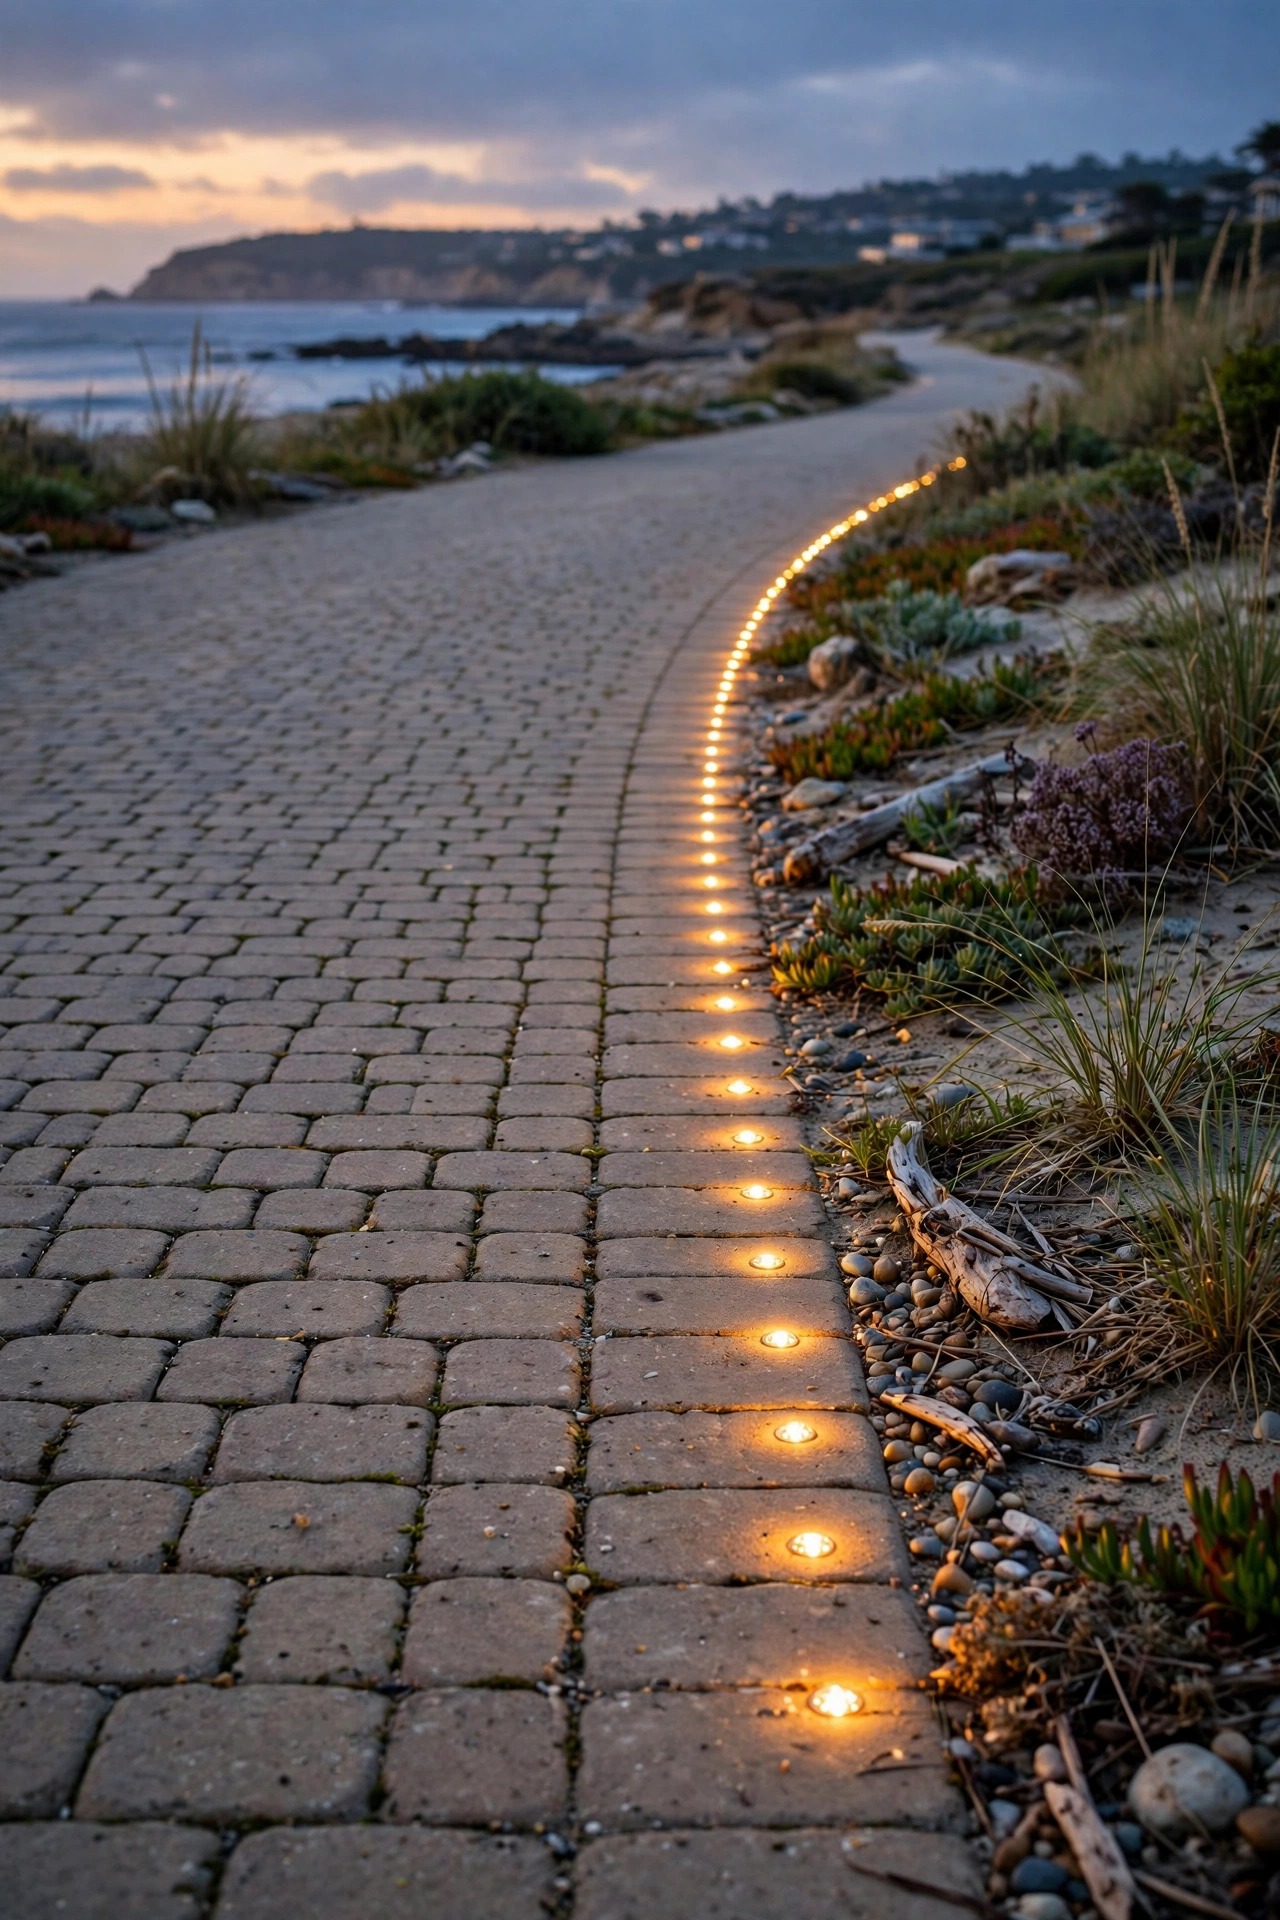
6. Add Flush In-Ground Markers Along the Driveway Edge
Flush in-ground markers are the idea guests always ask about at our house. These small round or square pucks sit level with the pavement, so mower wheels, car tires, and bare feet pass right over them, and at night they draw a calm dotted line down each side of the drive. For coastal installs, pick markers with stainless steel or heavy resin housings, tempered glass lenses, and a true IP68 seal, since they will sit in puddles and sprinkler spray. Solar versions work well on sunny drives; wired versions tie into your low-voltage run and stay consistent. I set ours about 6 feet apart and offset them a few inches in from the driveway edge so nobody drives directly over the lens every day. They are also the safest option where kids ride bikes, because there is nothing to knock over or trip on. One honest caution: skip the plastic no-name markers. The lenses craze and yellow fast in strong coastal sun, while glass-and-steel versions still look brand new after several summers at our place.
Suggested budget range: $120 – $450.
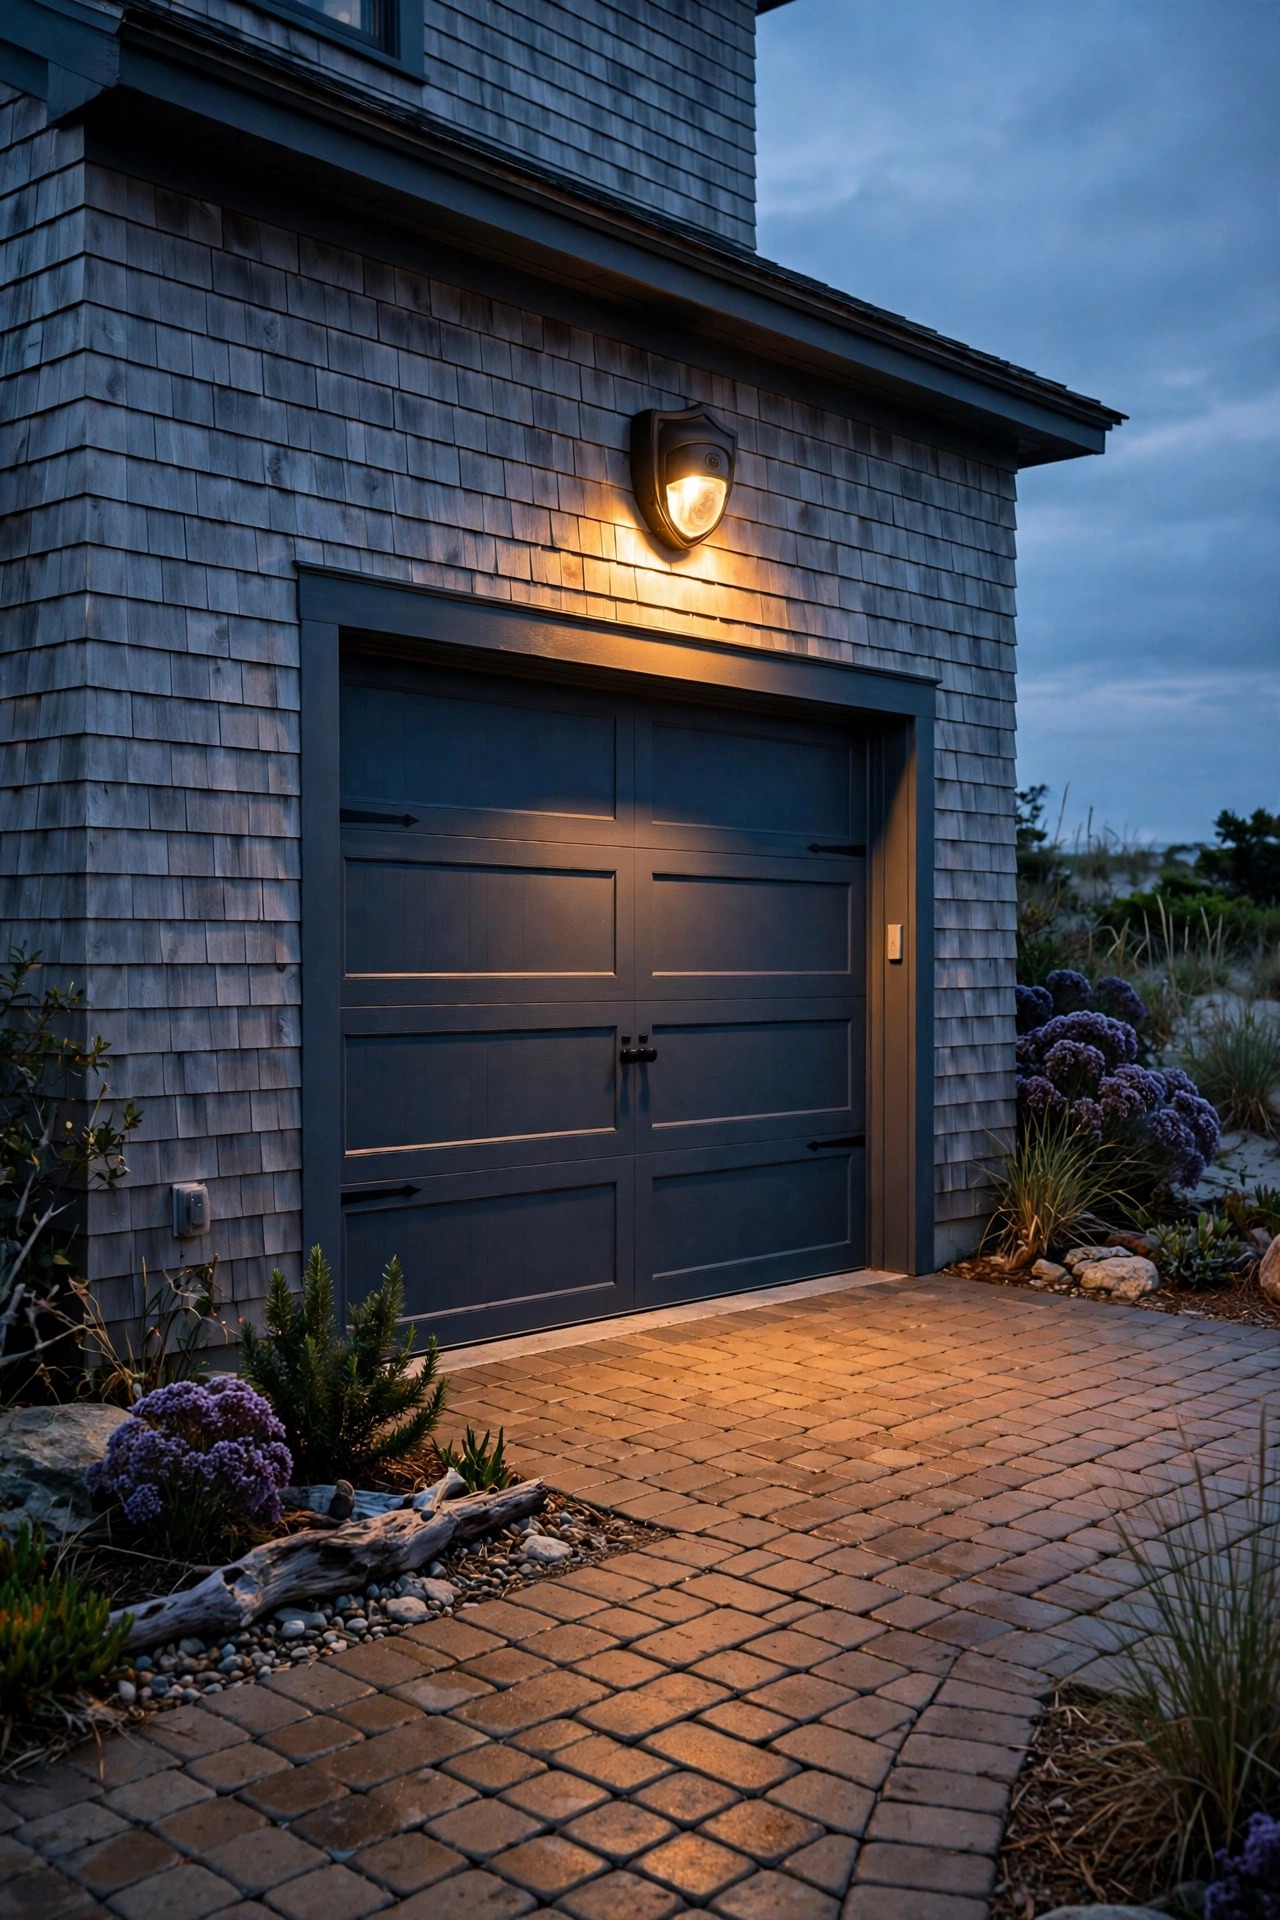
7. Put One Shielded Motion-Sensor Light at the Garage
A driveway needs a greeter, and a shielded motion-sensor light over the garage door does that job without blasting the whole street all night. Choose a fixture with a marine-grade finish, a sealed housing, and an adjustable sensor so you can aim the detection zone at your own pavement and not at every passing car or raccoon. I always recommend models with a dusk-to-dawn low-glow mode: the light idles at a soft 20 percent for ambience, then brightens when it senses movement. That keeps neighbors happy, saves the bulb, and still lights your keys, your steps, and your grocery bags the second you pull in. Mount it 8 to 10 feet high, angle the head slightly down, and test the sensor by walking the driveway the way a guest would. LED-only is the rule here too, and check the IP rating; IP65 handles wind-driven rain at the coast just fine. One good fixture, well aimed, beats three cheap floods every single time.
Suggested budget range: $35 – $150.
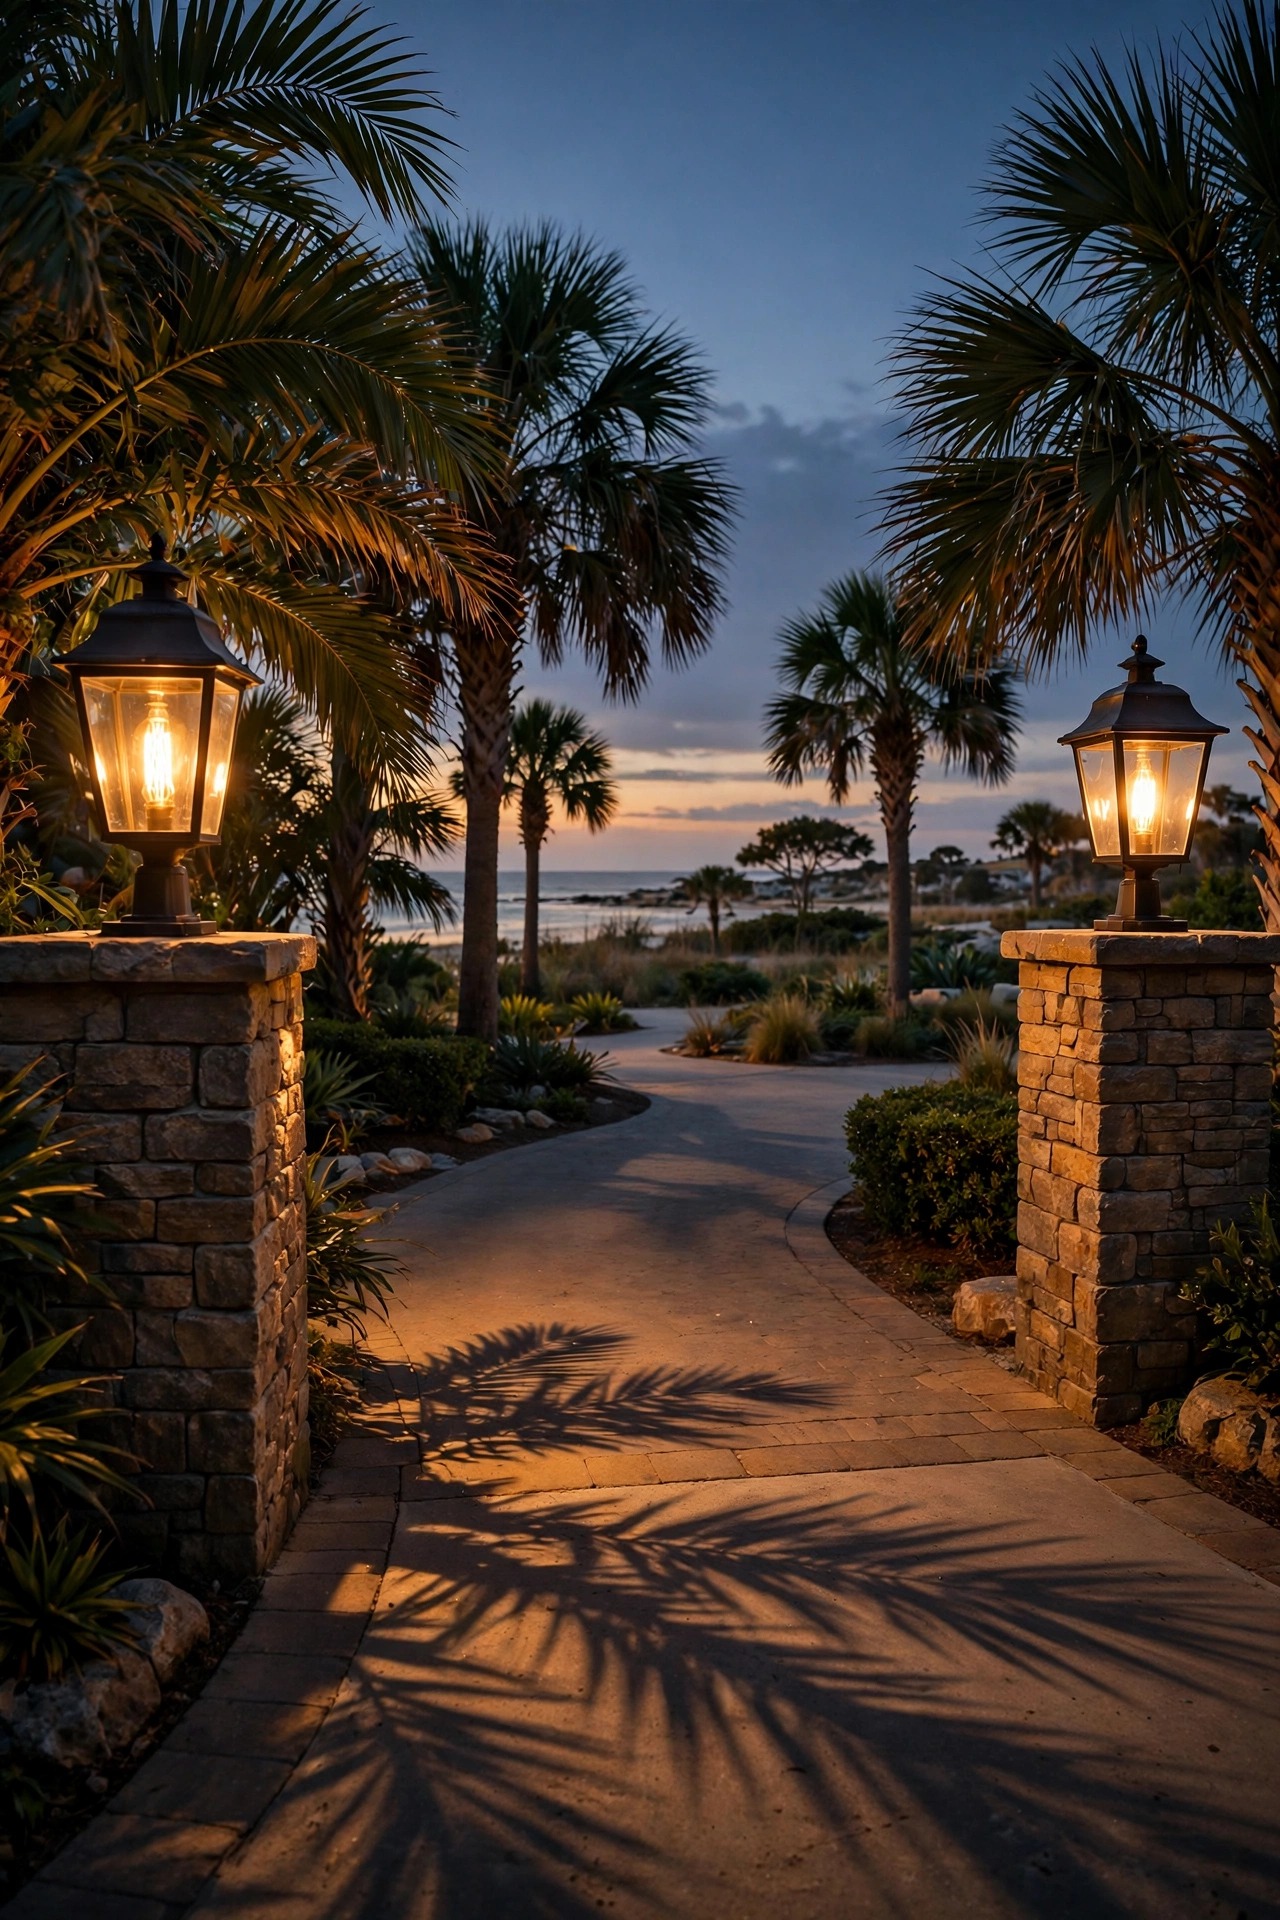
8. Frame the Entrance With a Pair of Lantern Post Lights
Every coastal driveway deserves a proper hello, and a pair of lantern-style post lights at the entrance delivers it. This is the classic beach-house look: two posts at the mouth of the drive, glass lanterns glowing warm, maybe a third matching fixture waiting at the front door. For salt air, insist on cast aluminum or stainless posts with a powder-coat or marine finish, seeded or clear glass that is easy to rinse, and LED filament-style bulbs around 2700K for that gaslight warmth without any real flame. Posts 5 to 6 feet tall read as welcoming rather than institutional. Anchor them in concrete footings, especially in sandy soil, and wire them into the same low-voltage or line-voltage circuit as your other welcome lights so one switch or timer runs the whole arrival scene. On foggy nights, which we get plenty of, that pair of lanterns is the first thing you see coming down the street, and it makes the whole house feel cared for. It is curb appeal and safety in a single purchase.
Suggested budget range: $180 – $600.
9. Light Every Walkway Step With Recessed Step Lights
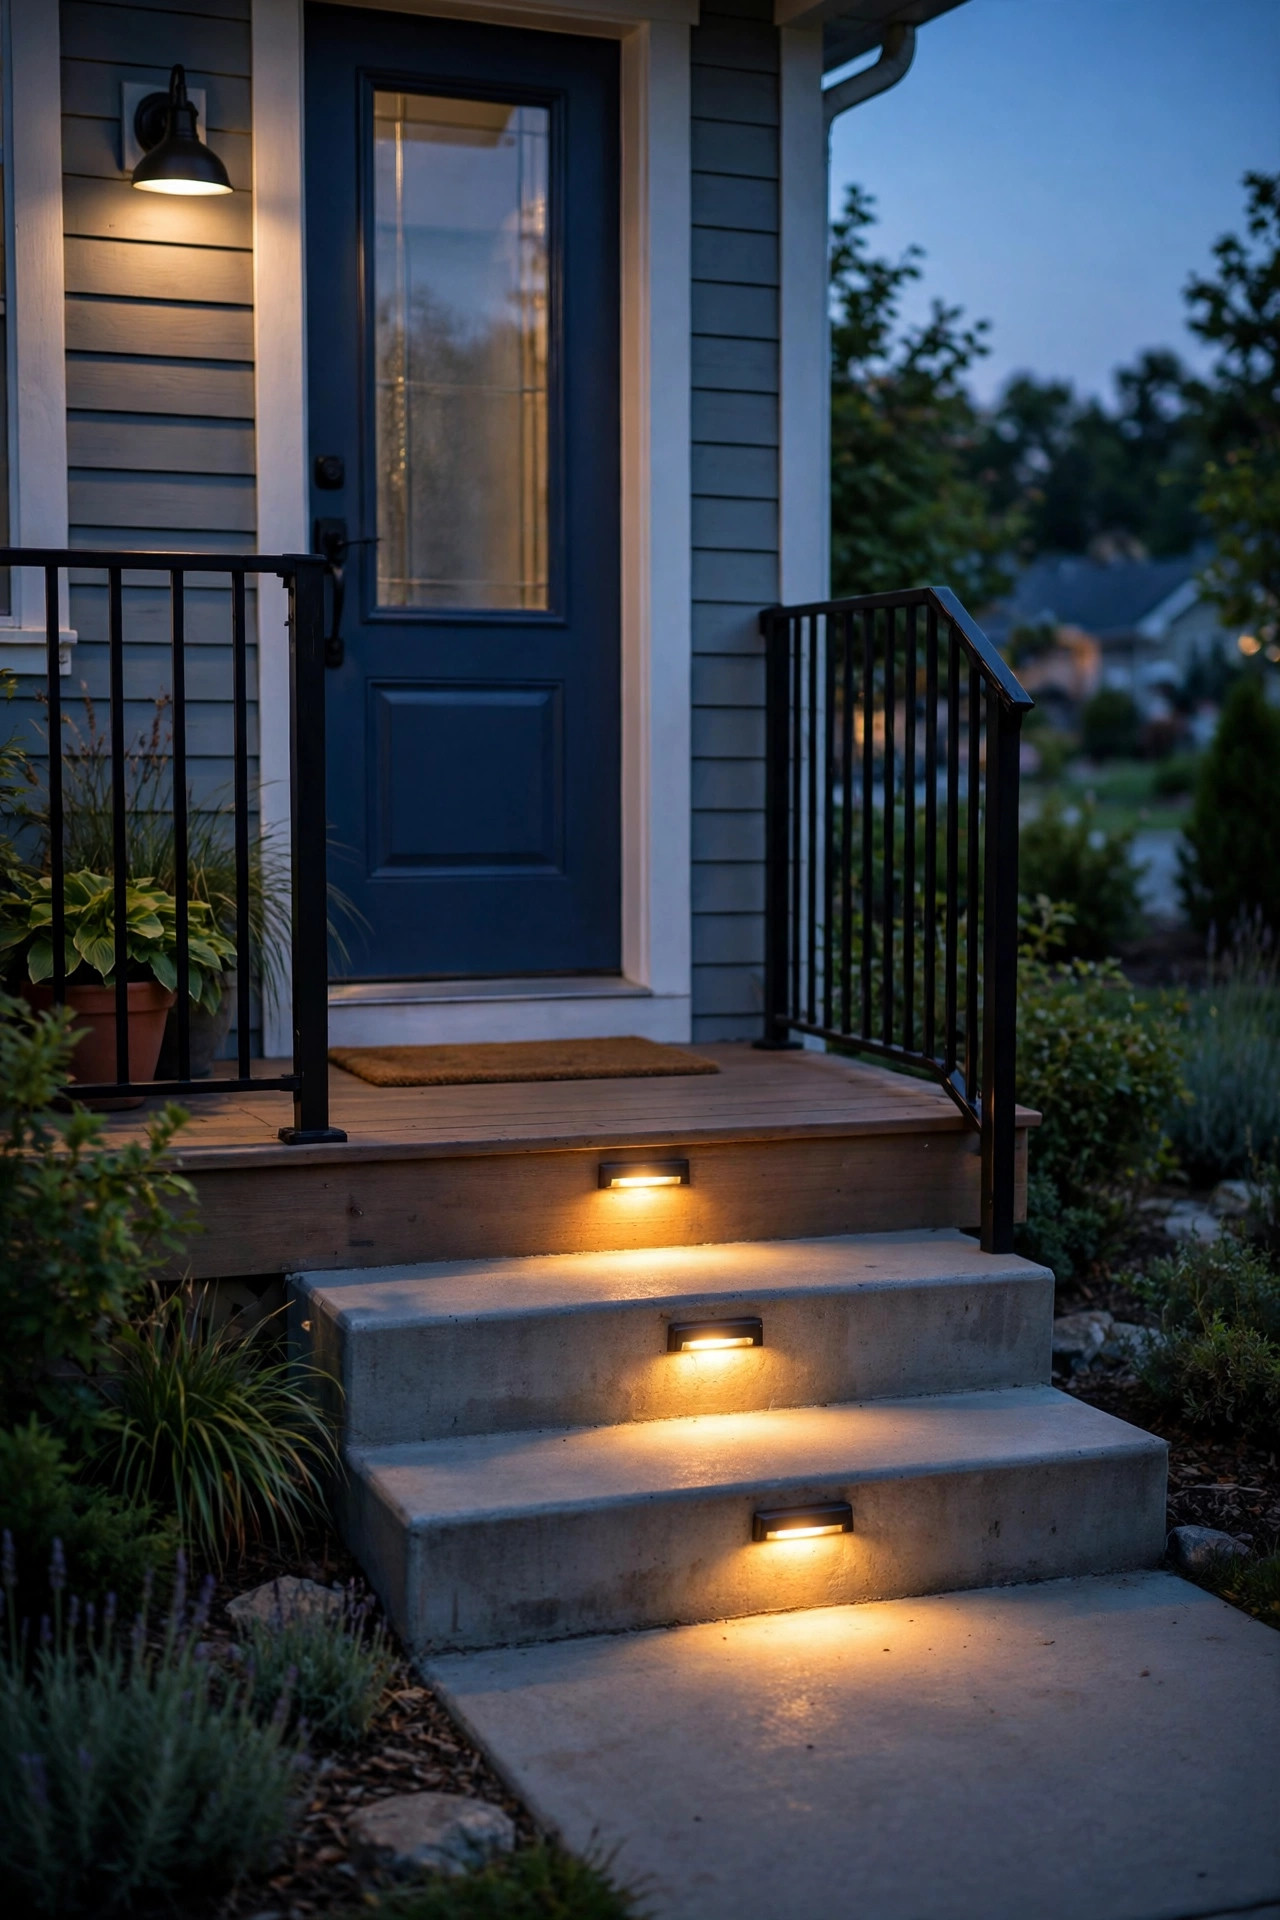
Front walks at beach houses love to include two or three sneaky steps, and those steps are exactly where guests trip after dark. Recessed step lights solve it elegantly: small louvered fixtures tucked into the riser or the wall beside each step, washing light down across the tread where your foot lands. Choose stainless or brass faceplates with sealed LED modules, and aim for a fixture on every step or every other step on wide stairs. The louvers matter at the coast because they cut glare when you are walking up with your eyes adjusted to the dark. I wired ours into the same low-voltage run as the path lights, and the whole system comes on together at dusk. If your walk has no steps, the same fixtures work beautifully mounted low on a garden wall or fence post. I gathered more layouts in my walkway lighting ideas collection if your front path winds or splits. Safe steps are invisible design; nobody notices them, and that is the highest compliment lighting can get.
Suggested budget range: $90 – $350.
10. Uplight Palms and Coastal Trees for a Resort Finish
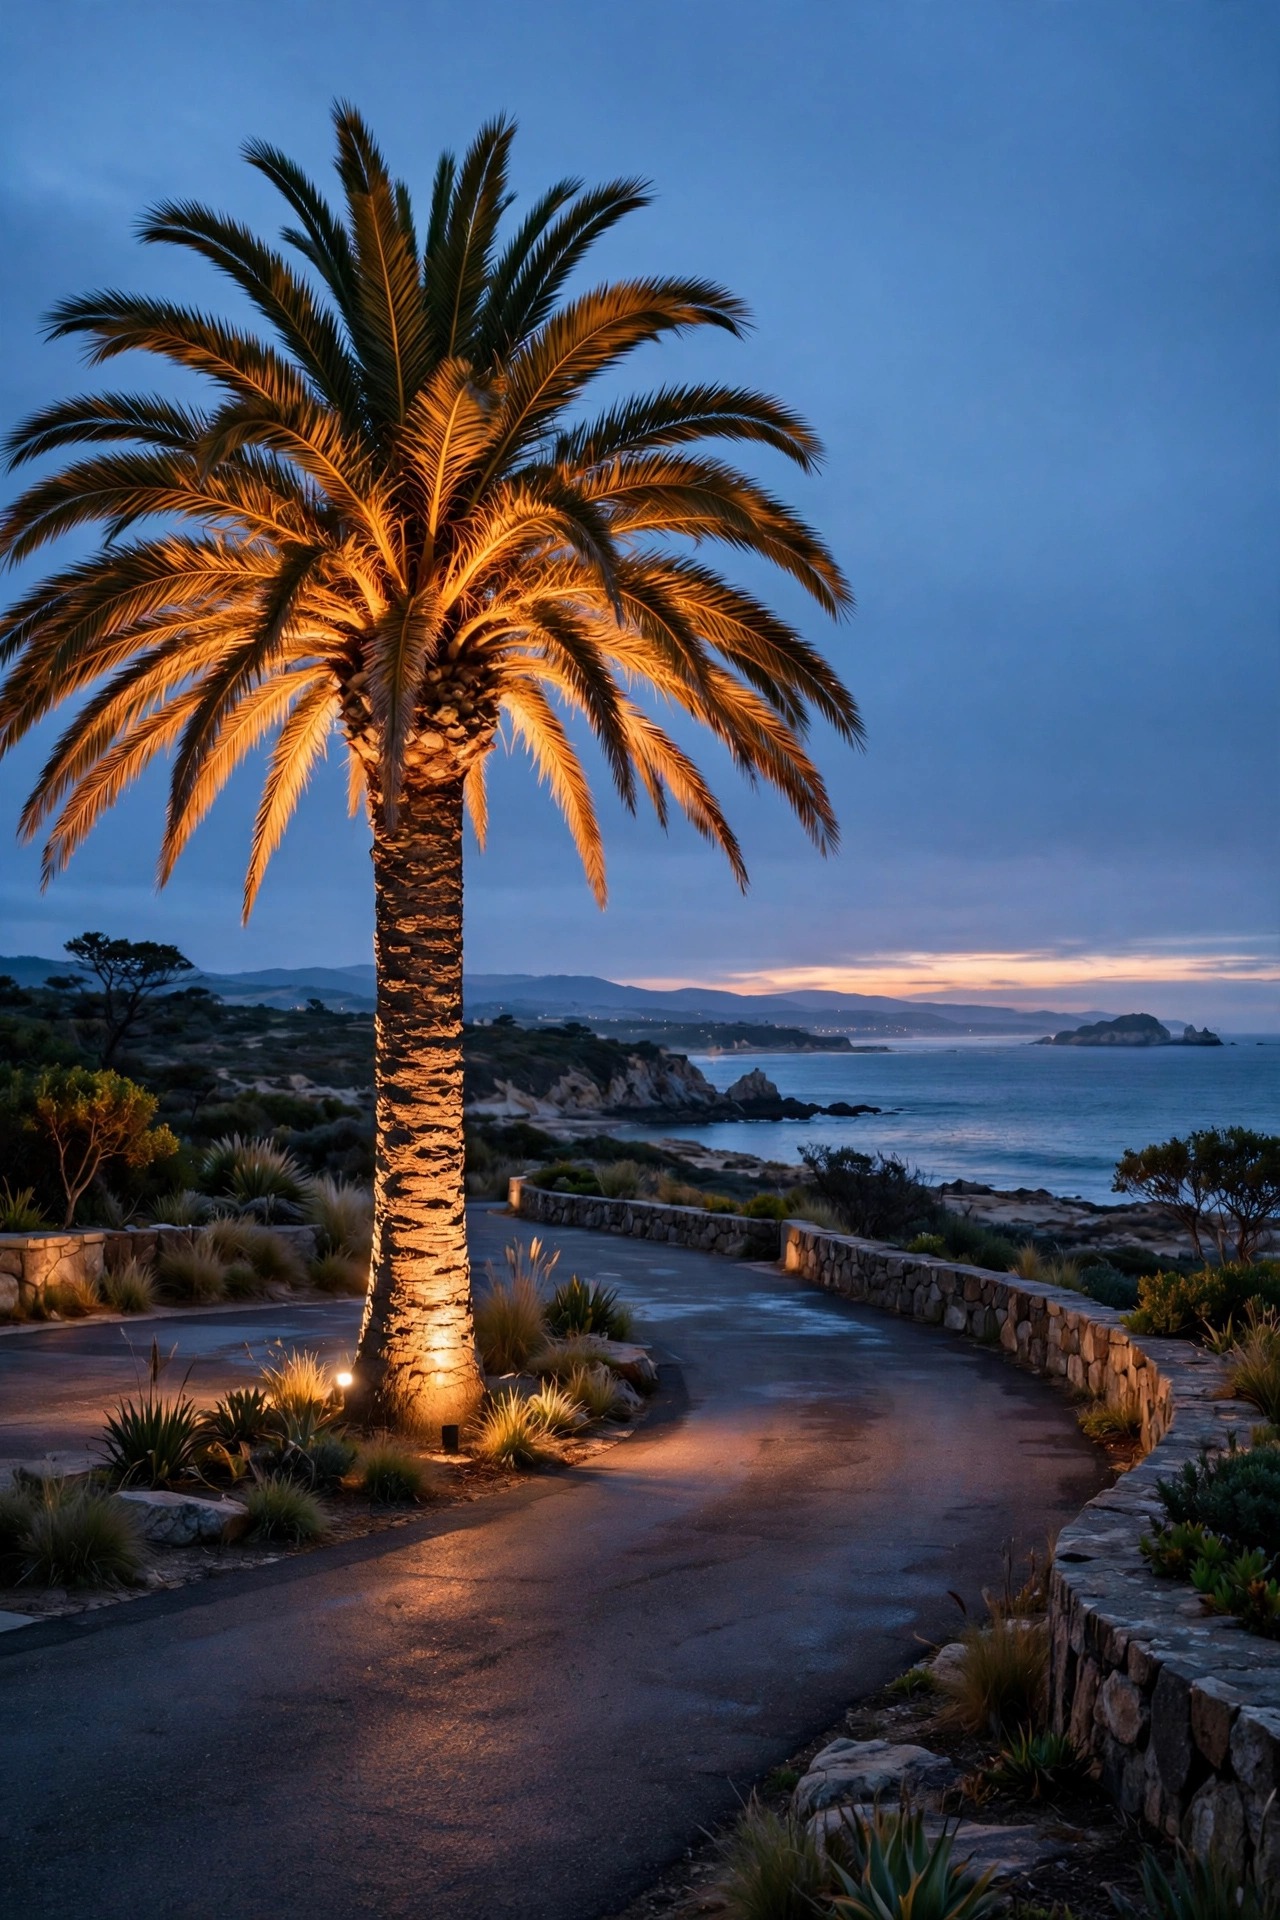
Once the safety layers are handled, one or two uplights turn a plain driveway into a postcard. Palms are the obvious candidates at the coast; a single well-placed spotlight at the base, angled up the trunk, makes the fronds glow against the night sky. Use a sealed LED well light or a stake-mounted spot with a brass or stainless housing, and bury or aim it carefully so the beam does not spill into the street or a neighbor window. A narrow beam around 30 degrees suits palm trunks, while a wider flood flatters an oak or olive. Keep fixtures a foot or two out from the trunk so the light grazes the bark texture instead of blowing it out. I run our palm uplights on the same timer as the path lights, and honestly, they do more for the mood of the whole property than anything else we installed. Wind note: stake-mounted spots in sandy soil should get the longer ground stakes, or they will be pointing at the lawn by the end of storm season.
Suggested budget range: $80 – $300.
11. Swag Shatterproof String Lights Along the Side Fence
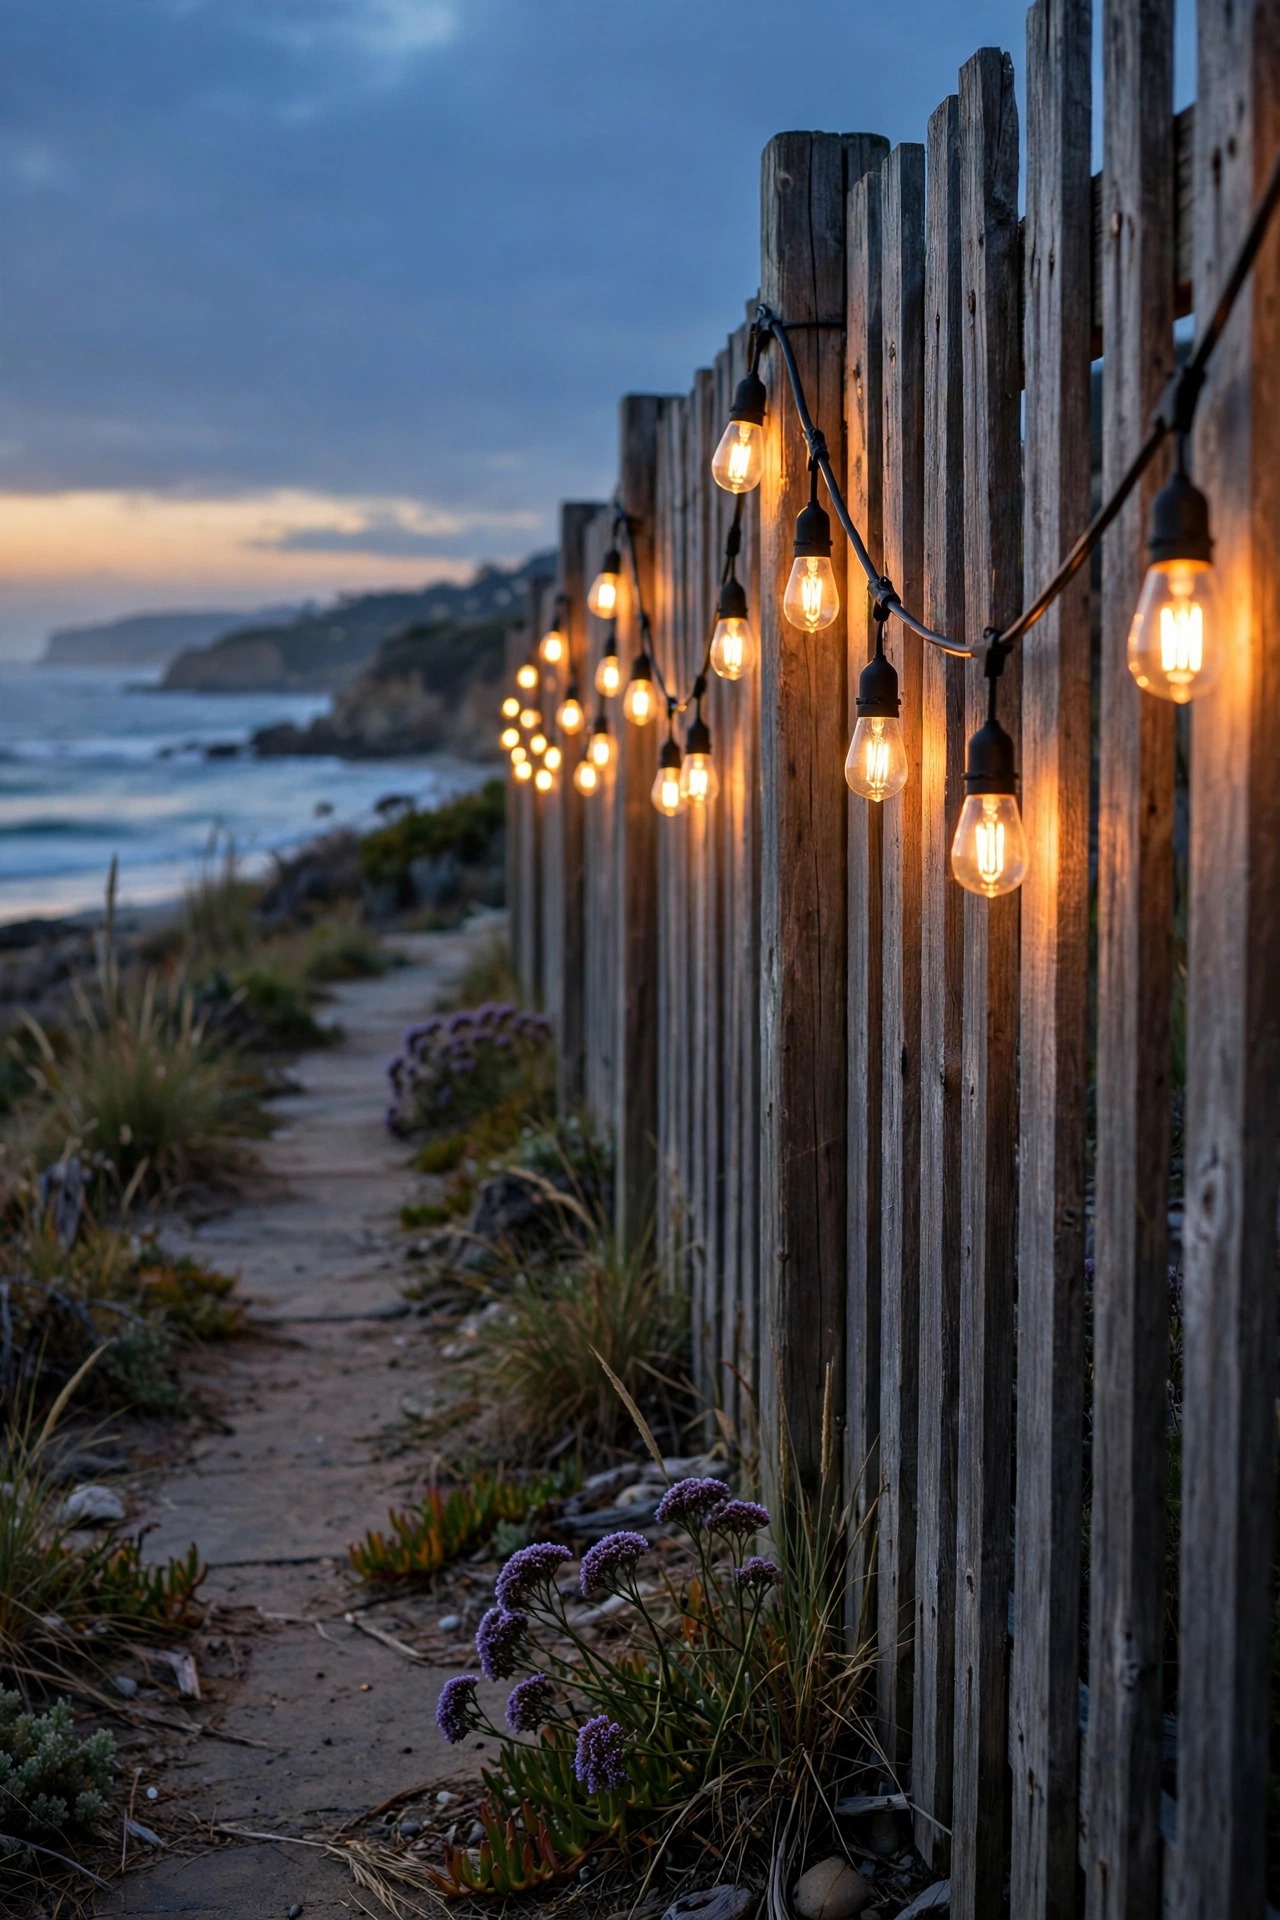
Not every coastal light needs to be permanent. Where a fence or hedge runs beside the walkway, a swag of commercial-grade string lights adds instant vacation-house charm for very little money. The coastal-specific shopping list matters here: shatterproof LED bulbs instead of glass, rubber sockets with little drainage holes facing down, and a strand rated for permanent outdoor use, not the flimsy indoor kind. I hang ours from stainless screw hooks on the fence posts with a gentle dip between spans, about 7 feet above the walk so taller guests clear it comfortably. Keep the strand on a timer so it is not glowing at 2 a.m., and in hurricane season the whole thing unclips in five minutes and rides out the storm in the garage, which is a genuine advantage no hardwired fixture can match. The warm 2700K filament-style bulbs pair perfectly with bollards and path lights. It is the layer visitors photograph, and the layer my family asks me to switch on first when we come home after sunset.
Suggested budget range: $40 – $160.
12. Automate Everything With Timers and Photocells
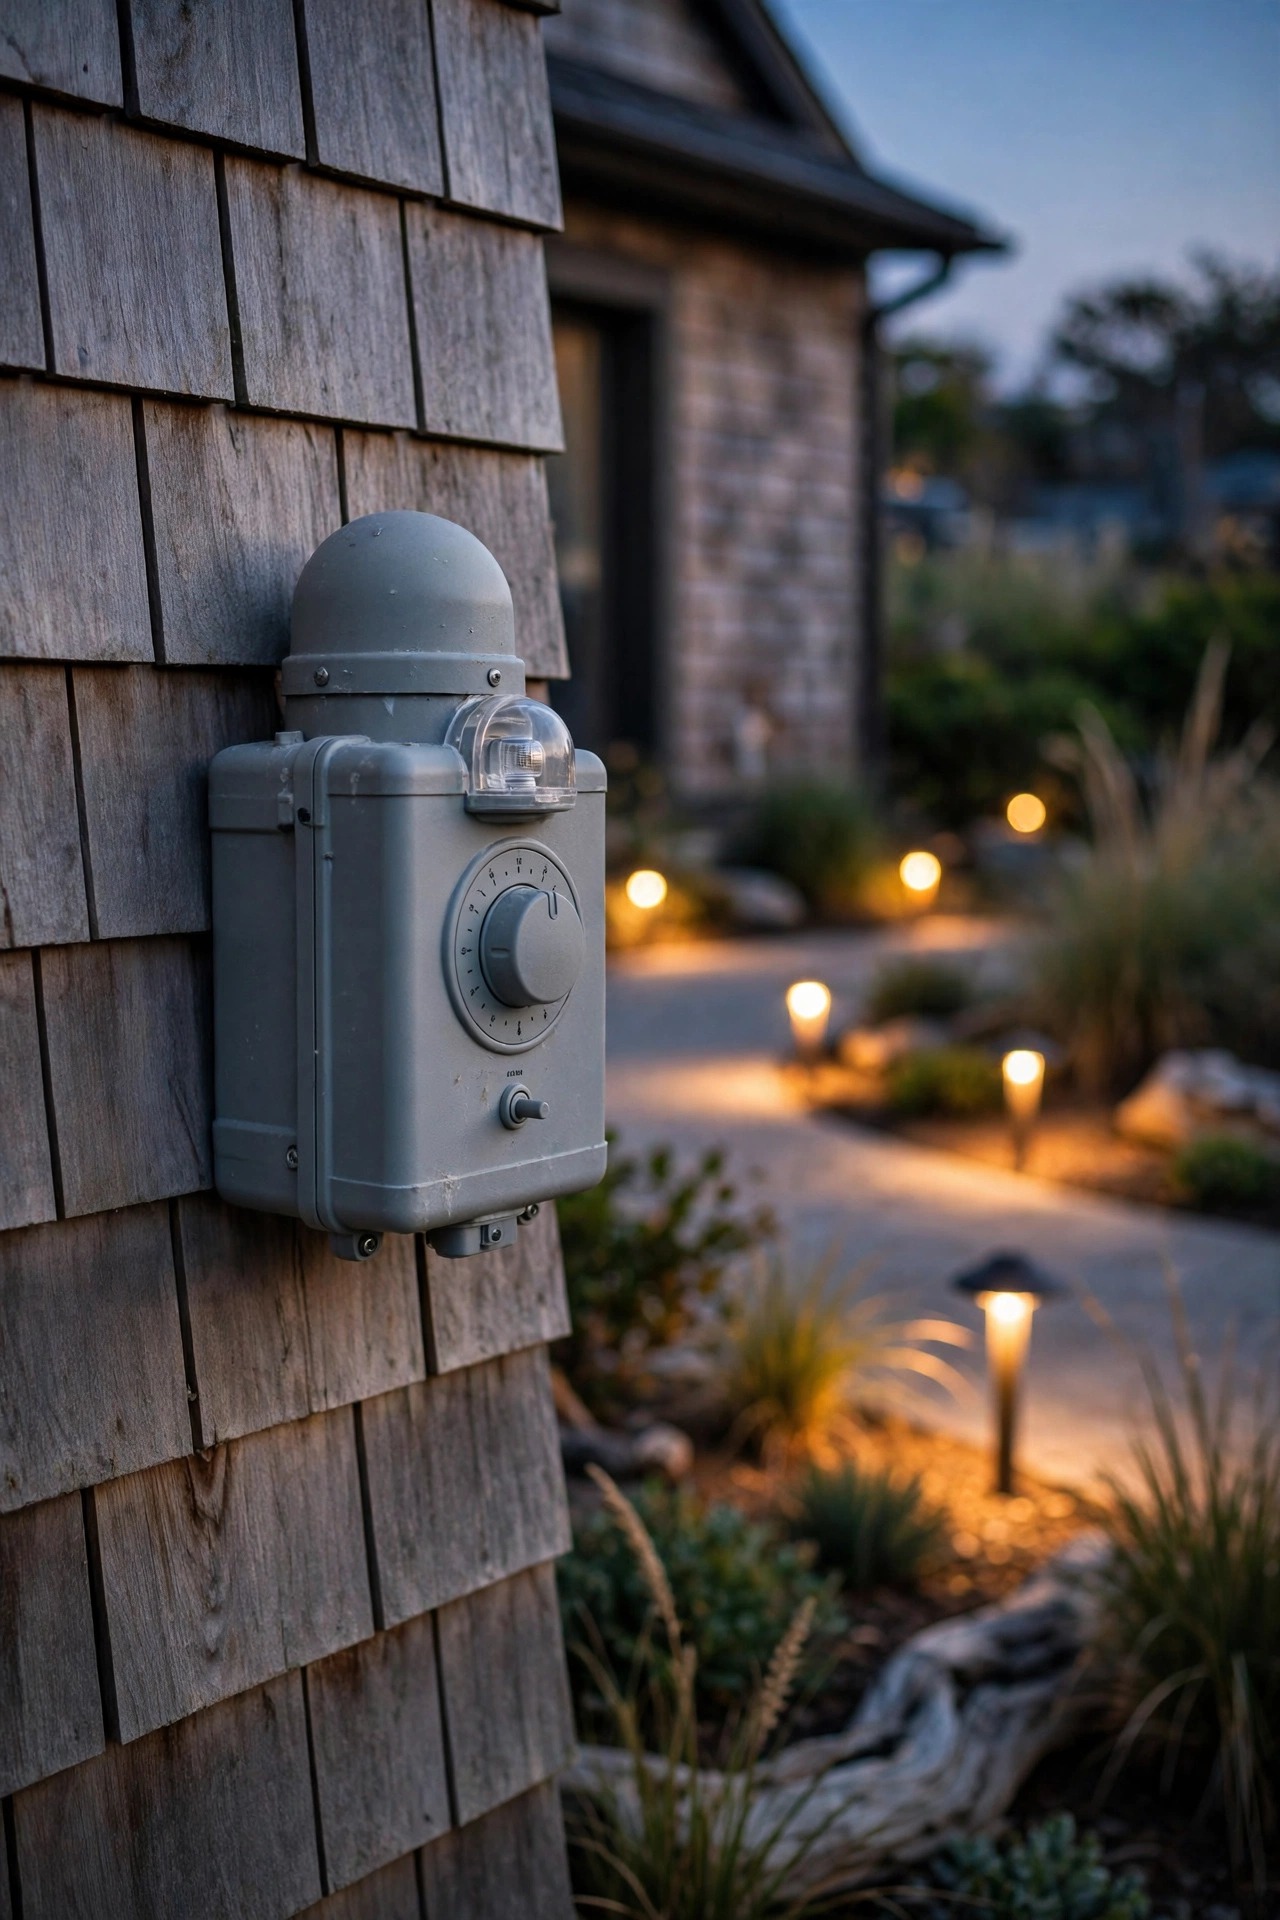
The prettiest coastal lighting plan still fails if it depends on you remembering a switch. Photocells and timers turn the whole system into a habit you never think about: everything wakes at dusk, glows through the evening, and rests by midnight. Many low-voltage transformers include a photocell and timer built in, so the driveway and walkway run together with one setting. For line-voltage lanterns and the garage sensor light, a smart plug or an in-wall timer on the same schedule keeps the scene unified. I set ours to turn off around 11 p.m. on weeknights, later on weekends, and the consistency does something subtle and nice: the street learns your house rhythm, and the property always looks lived-in even when you are away. Solar lights handle themselves, of course. One more coastal tip: after big storms, do a quick dusk check from the street. A tripped GFCI or a timer knocked off schedule is a two-minute fix, but only if you notice it before guests arrive on Saturday.
Suggested budget range: $25 – $120.
13. Keep Every Bulb at One Warm 2700K Temperature
Here is the styling rule that quietly separates polished coastal homes from patched-together ones: every light on the property should share one warm color temperature, ideally 2700K. That golden tone flatters stucco, cedar shake, shell drives, and skin alike, and it echoes lantern light and sunset, which is exactly the mood the coast sells. The trouble starts when one bargain fixture sneaks in at 5000K daylight blue; suddenly the walkway looks like a parking lot and every warm light around it looks orange by comparison. When you shop, check the Kelvin number on every box, including solar lights, which are notorious for drifting blue. Buy a couple of spare bulbs from the same batch as your main order, because manufacturers quietly change bins between production runs. I keep a small labeled bin in the garage with spare LED bulbs, batteries, and connectors for our system. It takes ten seconds to confirm a replacement matches, and your future self, fixing a light in the dark before company comes, will be very grateful.
Suggested budget range: $30 – $150.
14. Rinse Monthly: The Salt Routine That Saves Fixtures
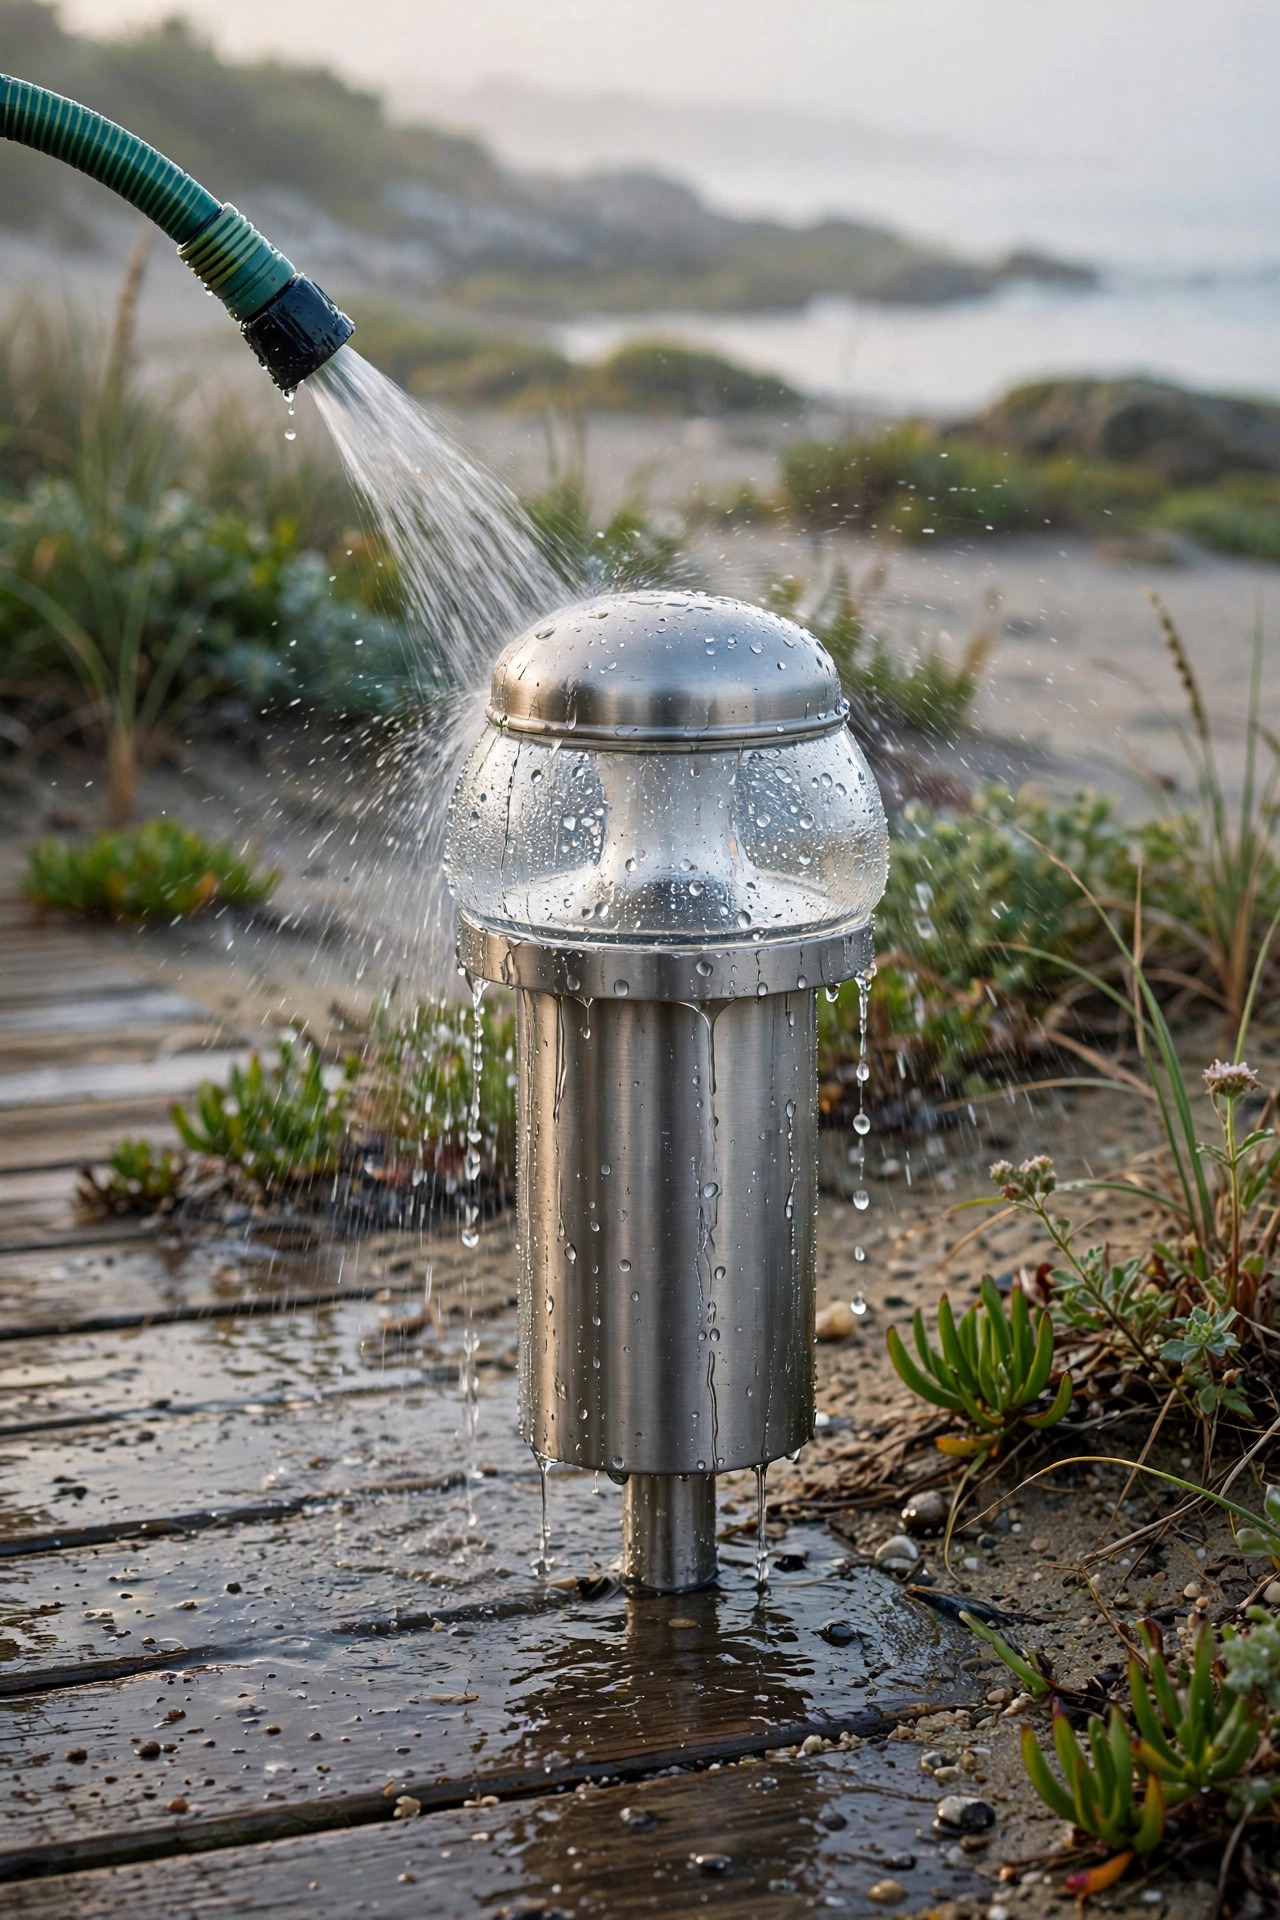
This is the least glamorous idea on the list and the one that doubles the life of everything else on it. Salt air leaves an invisible film on lenses, solar panels, and finishes, and that film dims light, traps moisture, and starts corrosion at every seam. Once a month, I walk the driveway with a hose on a gentle shower setting and rinse every fixture, then wipe lenses and panels with a soft cloth. Twice a year, I go a step further: a drop of mild soap for stubborn grime, dielectric grease on wired connections, and a check of every set screw and gasket. Powder-coated finishes appreciate an occasional coat of car wax, which sounds fussy until you see water bead off a bollard like it is freshly painted. The whole routine takes twenty minutes with a coffee in hand. Compare that with the cost of replacing a corroded set of lights, and honestly, the rinse is the highest-value habit in this entire post. Set a phone reminder for the first Saturday of the month and it simply becomes part of coastal living.
Suggested budget range: $15 – $60.
15. Do a Dusk Walk-Through to Finish Your Coastal Driveway Lighting Ideas
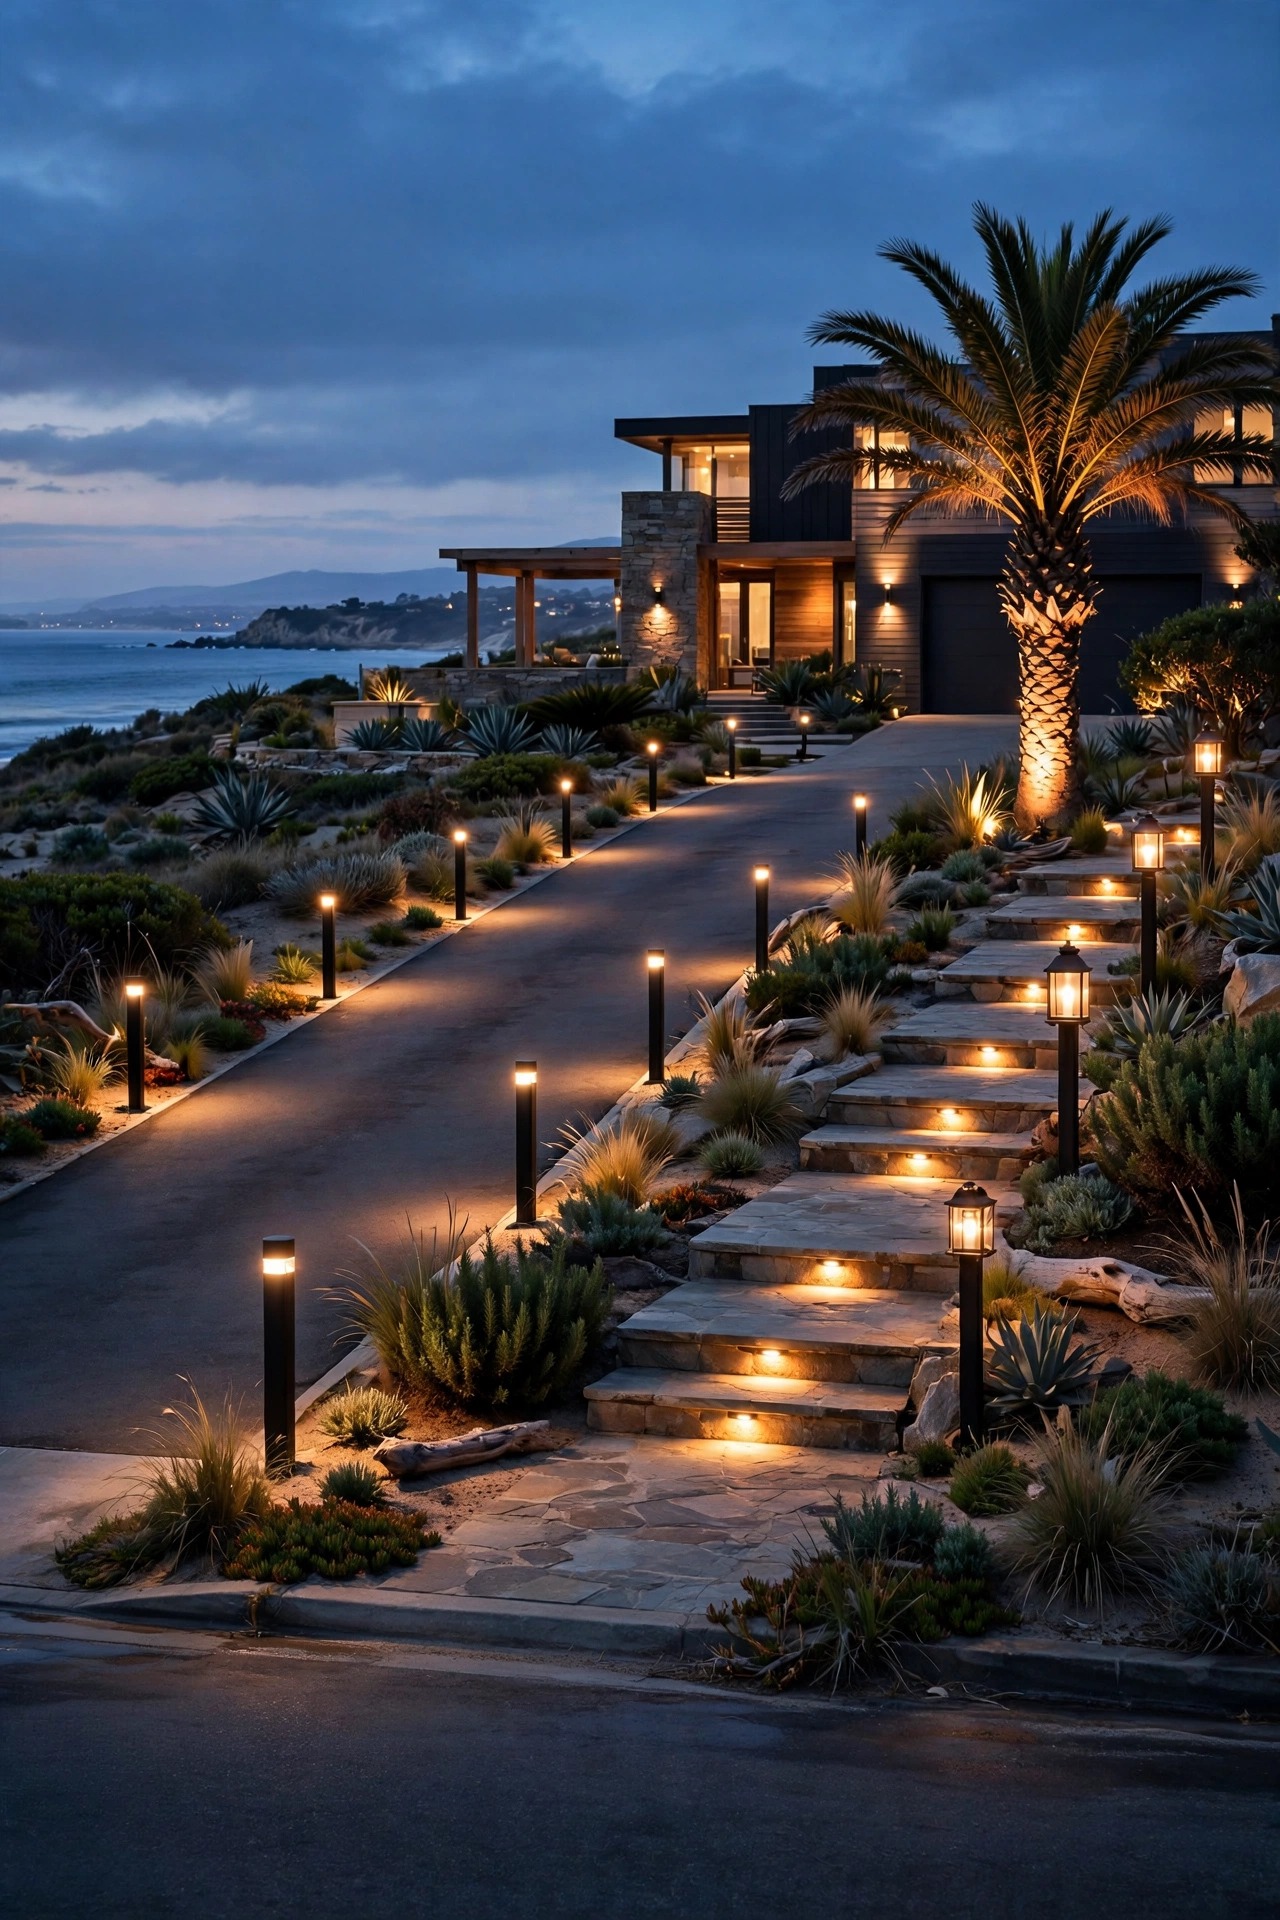
The final step costs nothing and catches everything: once your system is in, walk it at dusk the way a stranger would. Park across the street and look at the house fresh. Is the driveway edge readable without glare? Do the bollard pools overlap, or is there a dark gap at the curve? Then walk the front path slowly, checking steps, gates, and the spot where the walkway meets the drive. I do this walk every season, and every season I find one thing to nudge: a palm spot that needs re-aiming after the fronds grew, a timer to shift as sunset moves, a solar light that drifted into shade. Treat this little ritual as the polish that turns a list of coastal driveway lighting ideas into one calm, connected scene. Take a phone photo each time, too; comparing seasons shows you exactly what changed. Five quiet minutes, four times a year, and your driveway and walk will greet every guest the way a beach house should: safe underfoot, warm at the door, and glowing like the last light of the day never quite left.
Suggested budget range: $50 – $250.
Frequently Asked Questions
What color temperature is best for coastal driveway and walkway lights?
I recommend 2700K warm white for everything. It flatters coastal materials like stucco, cedar, and shell, feels like lantern light, and keeps glare gentle for drivers and pedestrians. Avoid mixing temperatures, because one 5000K daylight fixture makes every warm light around it look off. If a fixture does not list its Kelvin rating, skip it.
How do I stop salt air from corroding my outdoor lights?
Start with the right metals: 316 marine-grade stainless steel, solid brass, copper, or powder-coated cast aluminum. Then rinse fixtures monthly with fresh water to remove salt film, wipe lenses and solar panels, and check gaskets and connections twice a year. Most coastal corrosion I see is really skipped rinsing, not bad fixtures.
Are solar lights bright enough for a driveway?
Quality solar lights are bright enough for edge marking and walkway guidance, especially spaced 4 to 6 feet apart. For the main arrival area and steps, I still prefer low-voltage wired light for consistent brightness on cloudy weeks. Many coastal homes, mine included, happily use both: wired for the core, solar for the edges.
How much does it cost to light a coastal driveway and walkway?
A simple solar-and-bollard setup starts around $250 to $400 in materials. A full layered system with low-voltage path lights, entrance lanterns, and uplighting typically lands between $800 and $2,000 DIY. Marine-grade fixtures cost more per piece, but they are the budget-friendly choice once you count replacements.
Conclusion
Salt air is tough on outdoor lighting, but it does not have to win. Choose marine-grade materials, layer guidance, welcome, and accent light, keep everything at one warm 2700K, and give your fixtures a monthly rinse. Those habits turn simple coastal driveway lighting ideas into a system that greets you beautifully for years. Start with the walkway you use every night, add the entrance lanterns when you are ready, and browse the rest of the lighting ideas here for the next project whenever inspiration strikes.