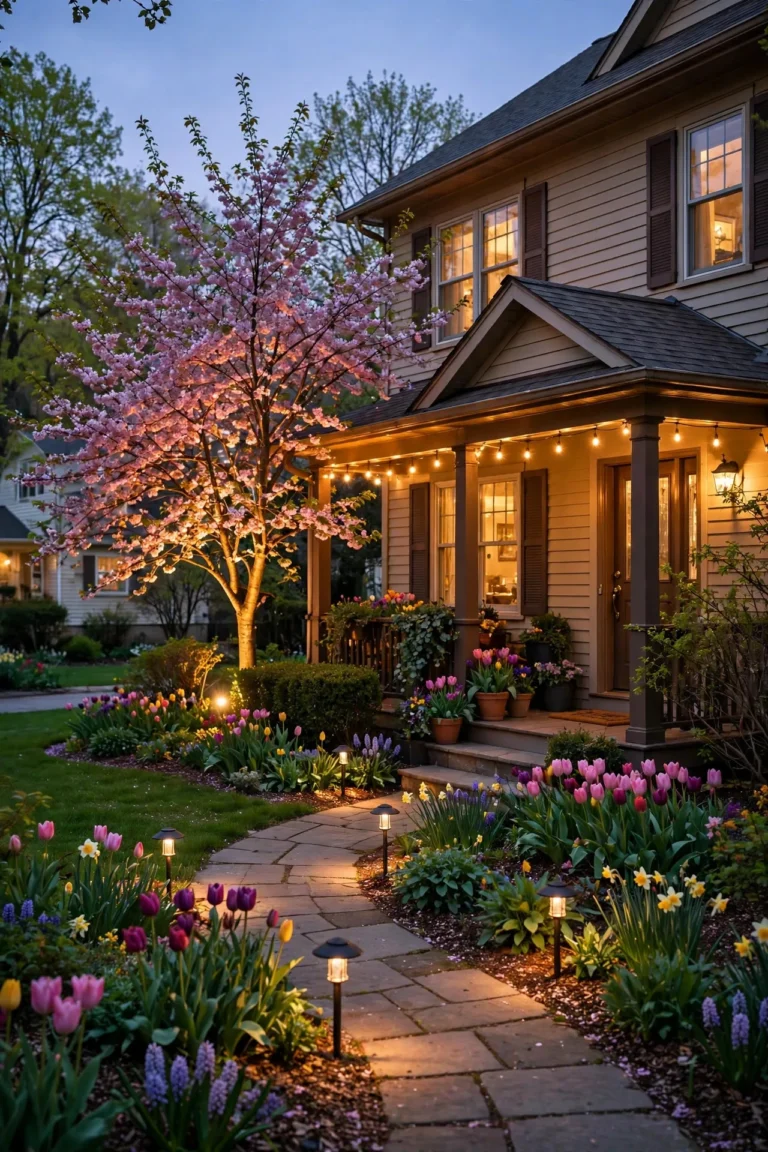
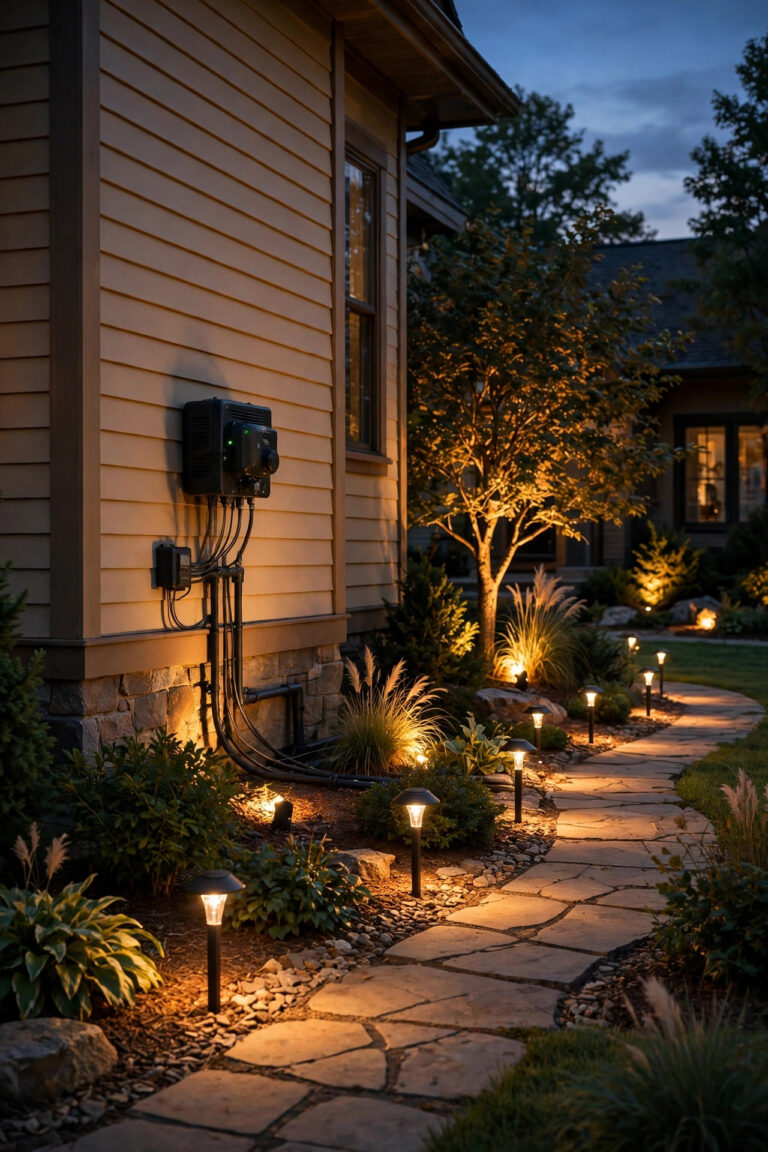
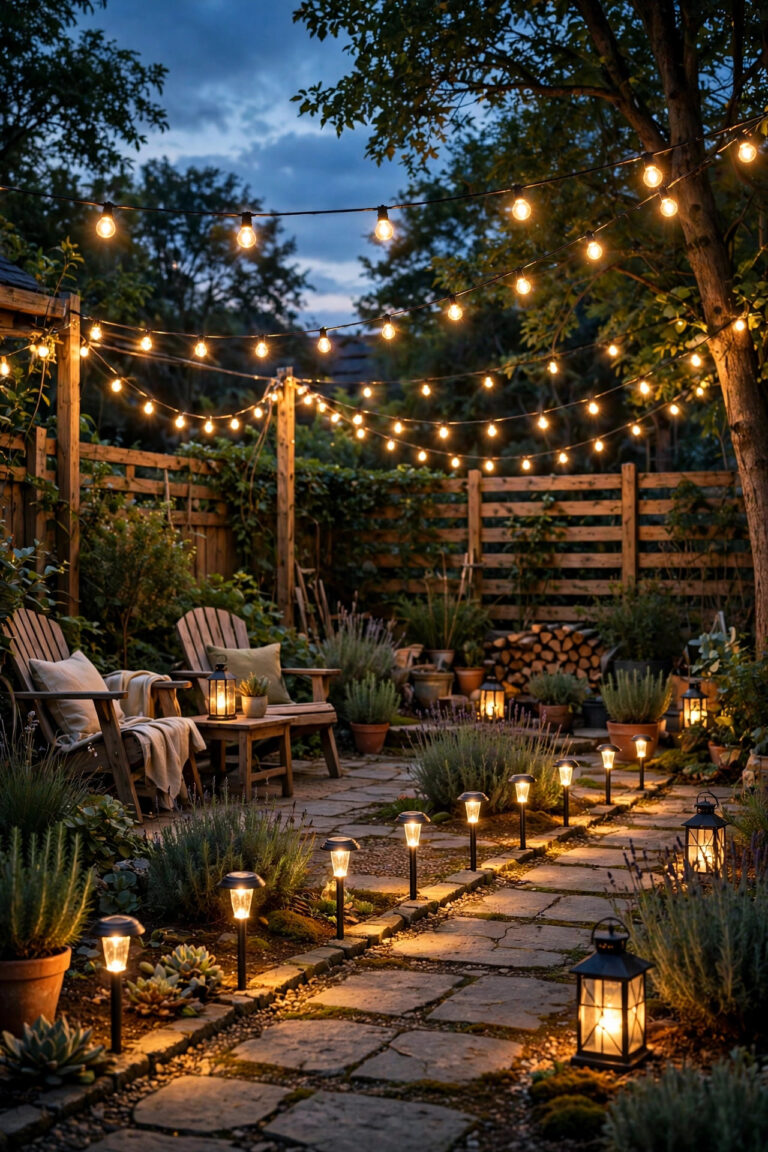
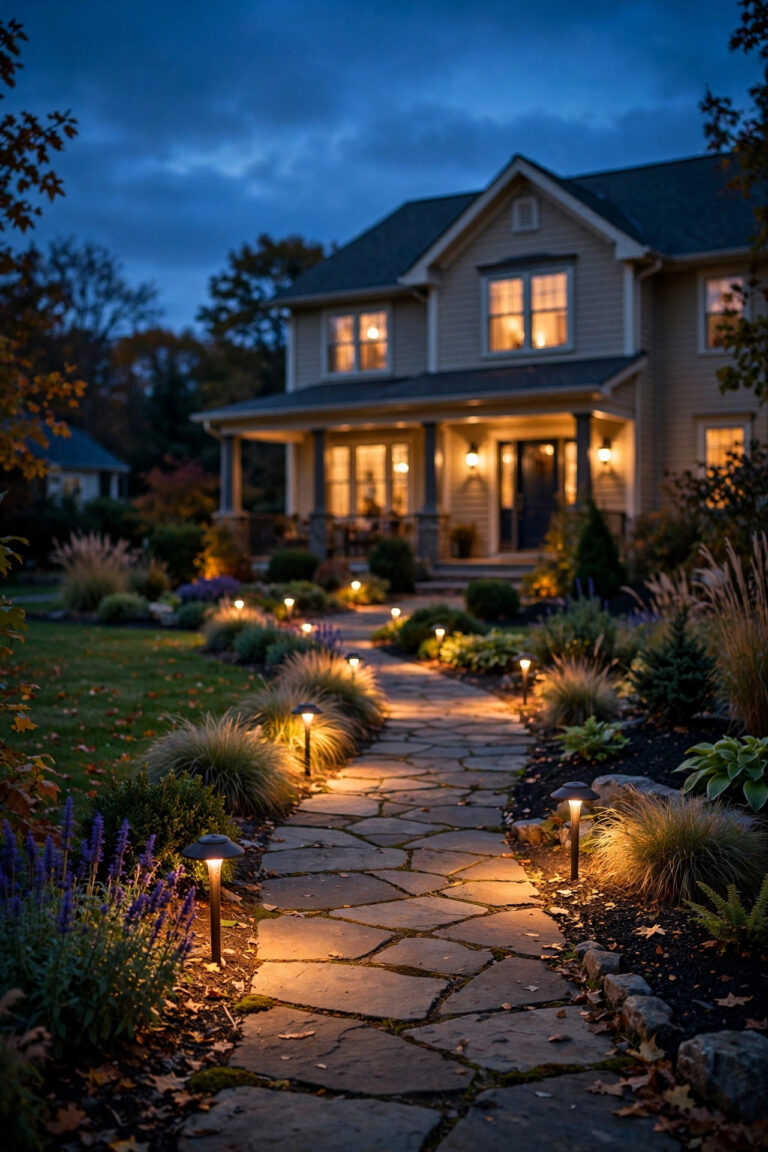
Here's a little heartbreak every gardener knows: you spend all spring shaping your boxwoods, feeding your hydrangeas, and edging the foundation beds until they look like a magazine spread — and then the sun goes down and the whole front of your house goes flat and dark. All that texture just vanishes. That's why shrub uplighting ideas are always the first thing I suggest when a friend asks how to make their home look "finished" at night. A small fixture tucked at the base of a shrub, aimed up through the branches, brings back every bit of depth and shadow your plantings have during the day — honestly, sometimes they look even better lit than they do at noon. Uplighting is also the backbone of my layering philosophy: light the plants first, then the architecture, then the pathways. In this post I'm sharing 17 ways to uplight shrubs and hedges of every size, from wire-free solar stakes to smart low-voltage systems, with honest budgets, spacing rules, and the little placement tricks I've learned from years of tweaking my own foundation beds after dark.
1. Start With Classic In-Ground Well Lights
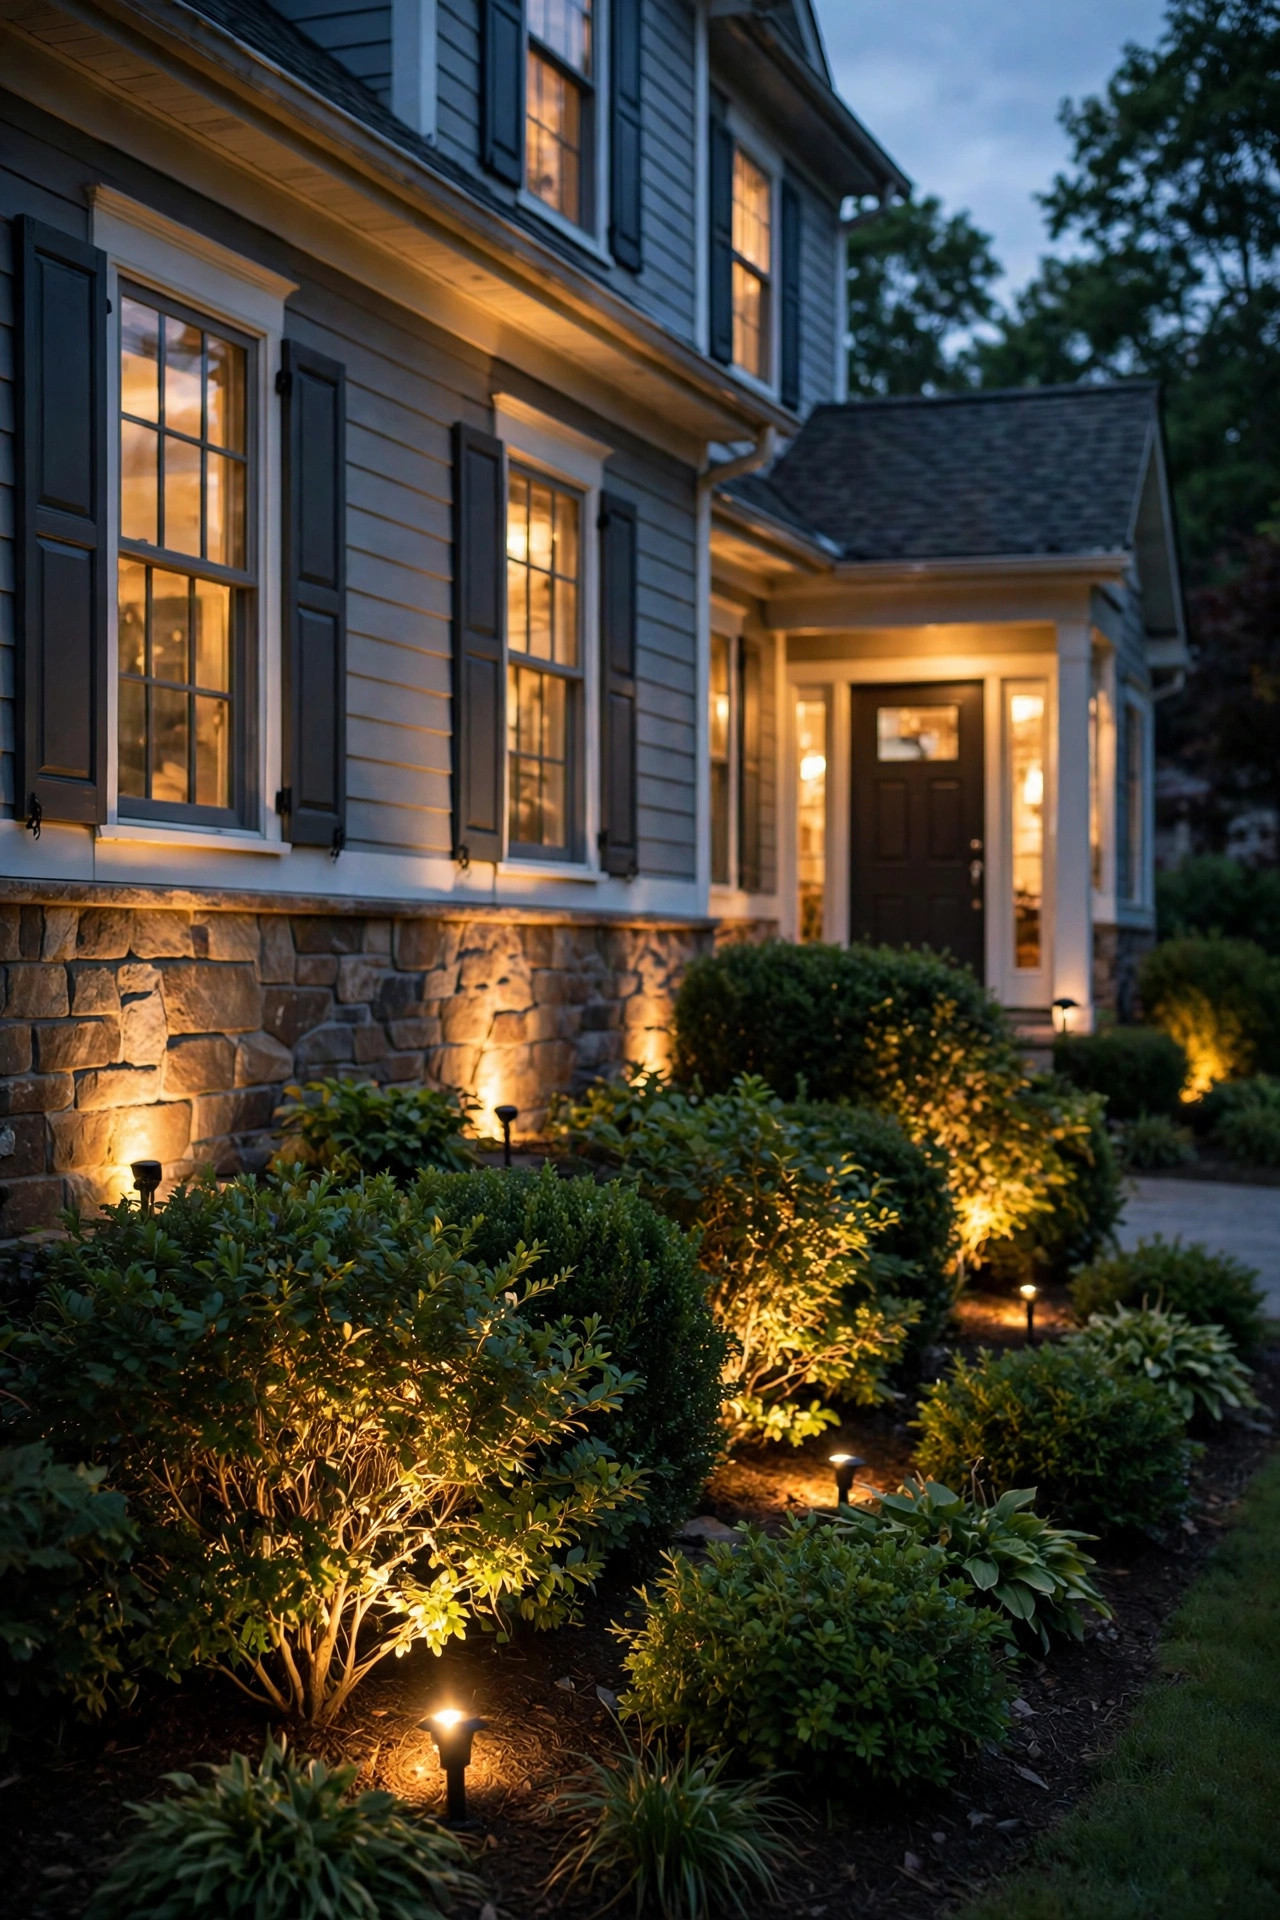
If you only try one of these shrub uplighting ideas, make it this one. In-ground well lights sit flush with the soil at the base of your foundation shrubs, so during the day they're practically invisible — no fixtures cluttering up your pretty mulch — but at night they send a clean column of light straight up through the foliage. I place mine about 6 to 10 inches out from the trunk or main stems of a boxwood or holly, angled just slightly outward so the beam catches the outer leaf surface instead of disappearing into the center of the plant. For a standard 3-foot foundation shrub, one well light is usually enough; wider shrubs look better with two, spaced about 18 inches apart. Choose fixtures with a grated or louvered lens if the bed borders a walkway, since the glare from a bare lens at ground level can be harsh on eyes. If you want the full rundown on fixture styles and drainage (important — these sit in the ground, so a gravel bed underneath matters), my guide to in-ground well lights covers it in detail. Low-voltage LED versions are my pick: cool-running, safe around dry mulch, and gentle on the electric bill.
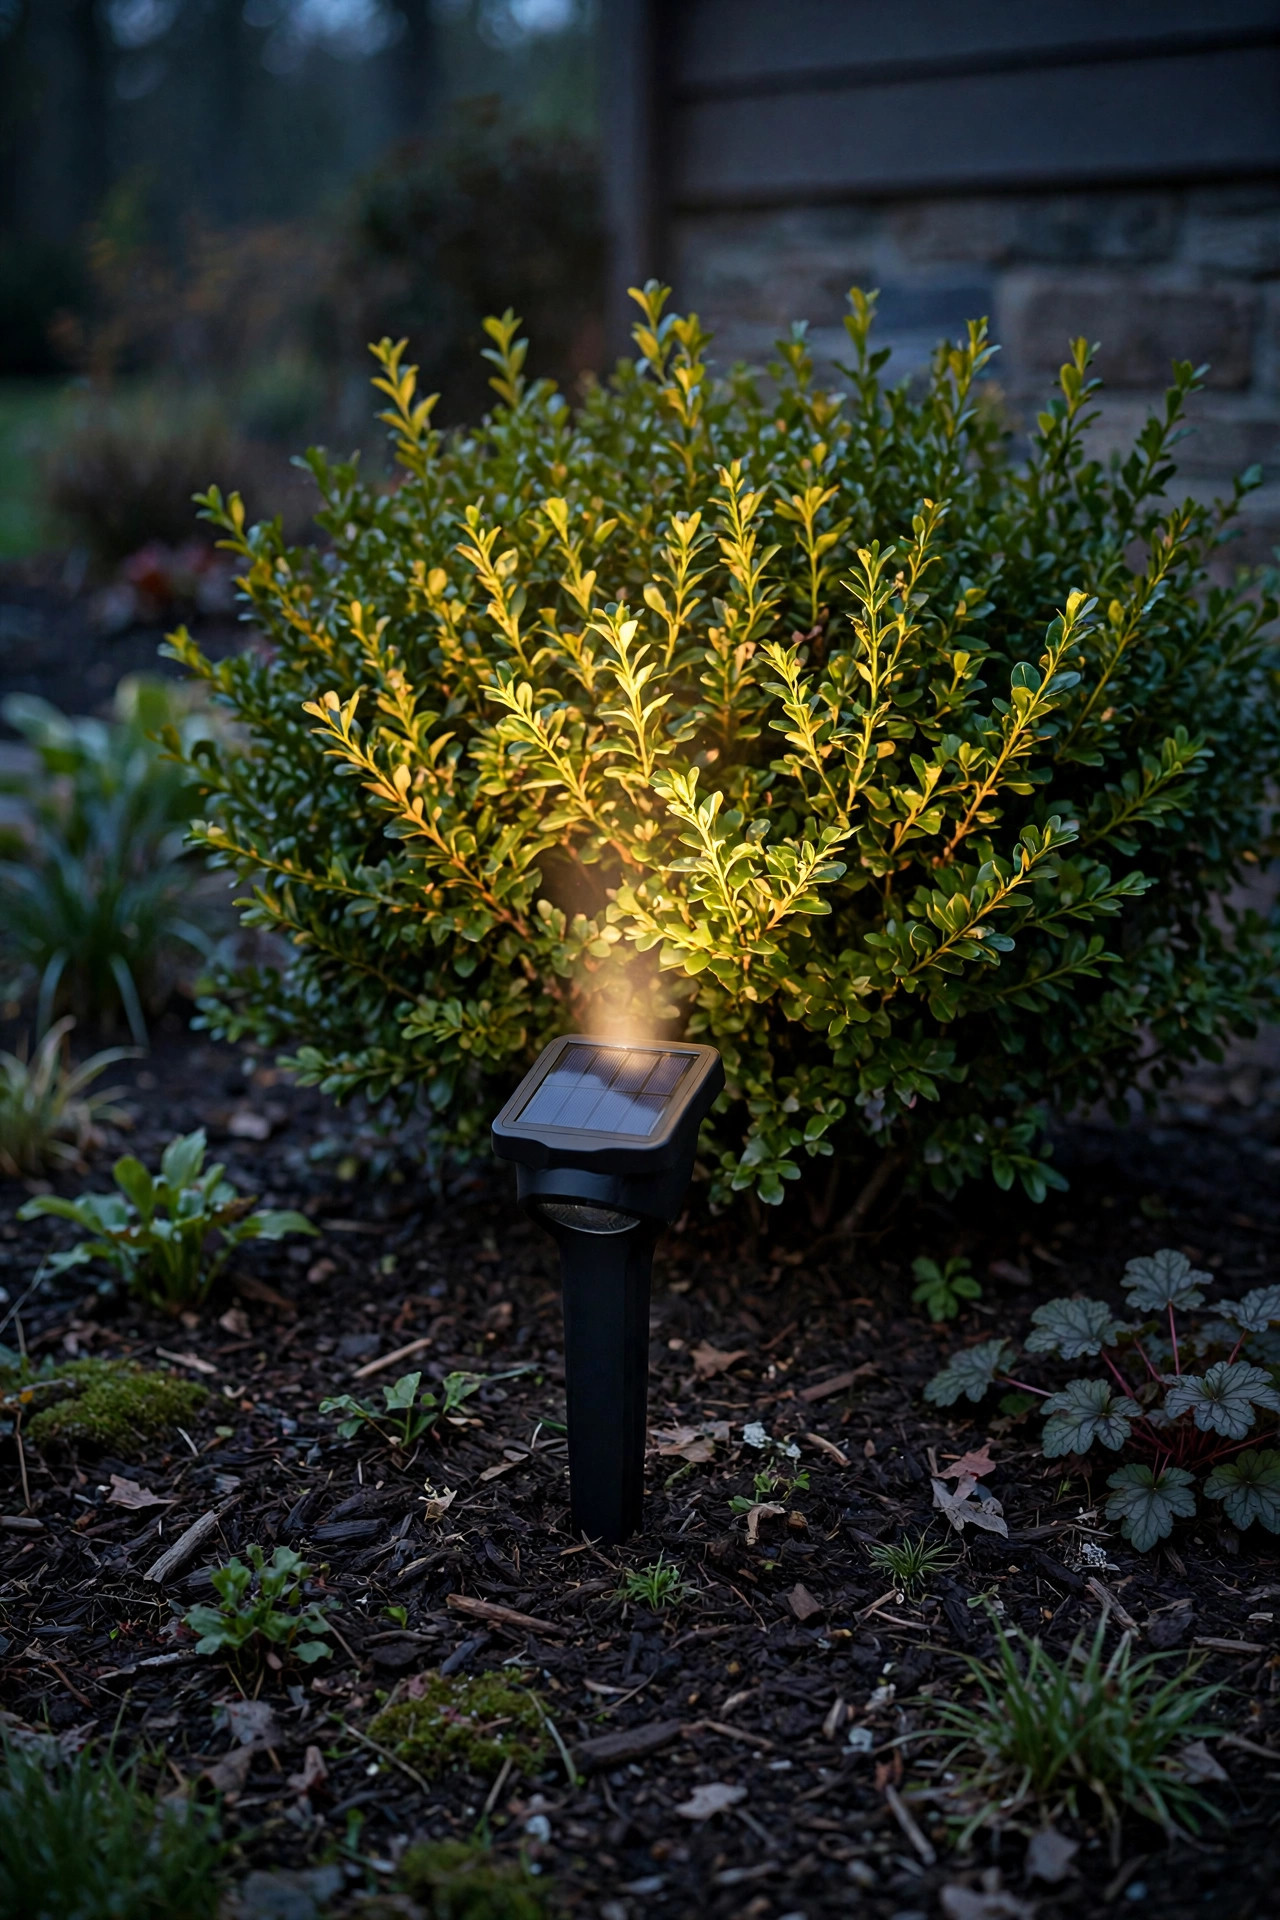
Suggested budget range: $25 – $60 per fixture.

2. Use Adjustable Bullet Spotlights for Mixed Beds
Foundation plantings are rarely one neat row of identical shrubs — mine are a happy jumble of boxwood, spirea, a dwarf Alberta spruce, and one hydrangea that refuses to stay the size the tag promised. Adjustable bullet spotlights on short ground stakes are perfect for that kind of mixed bed because you can aim each one individually and re-aim as plants grow. The knuckle joint lets you tilt the beam up, down, or sideways, which matters more than people realize: a young shrub needs a narrow, close beam, while a mature one wants the fixture pulled back a foot or two and tilted to wash the whole canopy. I stake bullets about 12 inches in front of each shrub, bury the low-voltage cable under an inch of mulch, and leave a little slack loop at each fixture so I can shift it later without rewiring. Swap the bulbs to control spread — a 35-degree beam for most shrubs, narrower for anything tall. Twice a year, when I do my spring and fall cleanup, I spend ten minutes re-aiming. Plants grow; your lighting should grow with them.
Suggested budget range: $20 – $45 per fixture.

3. Try Solar Stake Uplights for a Wire-Free Weekend Project
No transformer, no cable, no trench — solar stake uplights are the fastest way to test whether uplighting suits your beds before you commit to a wired system. Modern solar spotlights with a separate or tilting panel are a real step up from the dim little path stakes of a few years ago: look for ones rated at 150 lumens or more, with an adjustable head you can actually angle into the shrub instead of straight up at the sky. Placement is everything with solar. The panel needs six-plus hours of direct sun, which can be tricky under a dense shrub, so I push the fixture toward the sunny front edge of the bed and angle the head back into the foliage. Expect four to six hours of strong light on a good charge — plenty for evening curb appeal, though they'll fade before dawn in winter. Honestly, I treat solar as my "audition" layer: live with the glow for a few weeks, learn which shrubs deserve the spotlight treatment, and then decide where the permanent low-voltage fixtures go. For a renter or a first-timer, though, solar might be all you ever need.
Suggested budget range: $15 – $35 per fixture.
4. Graze the Light Up a Tall Hedge Wall
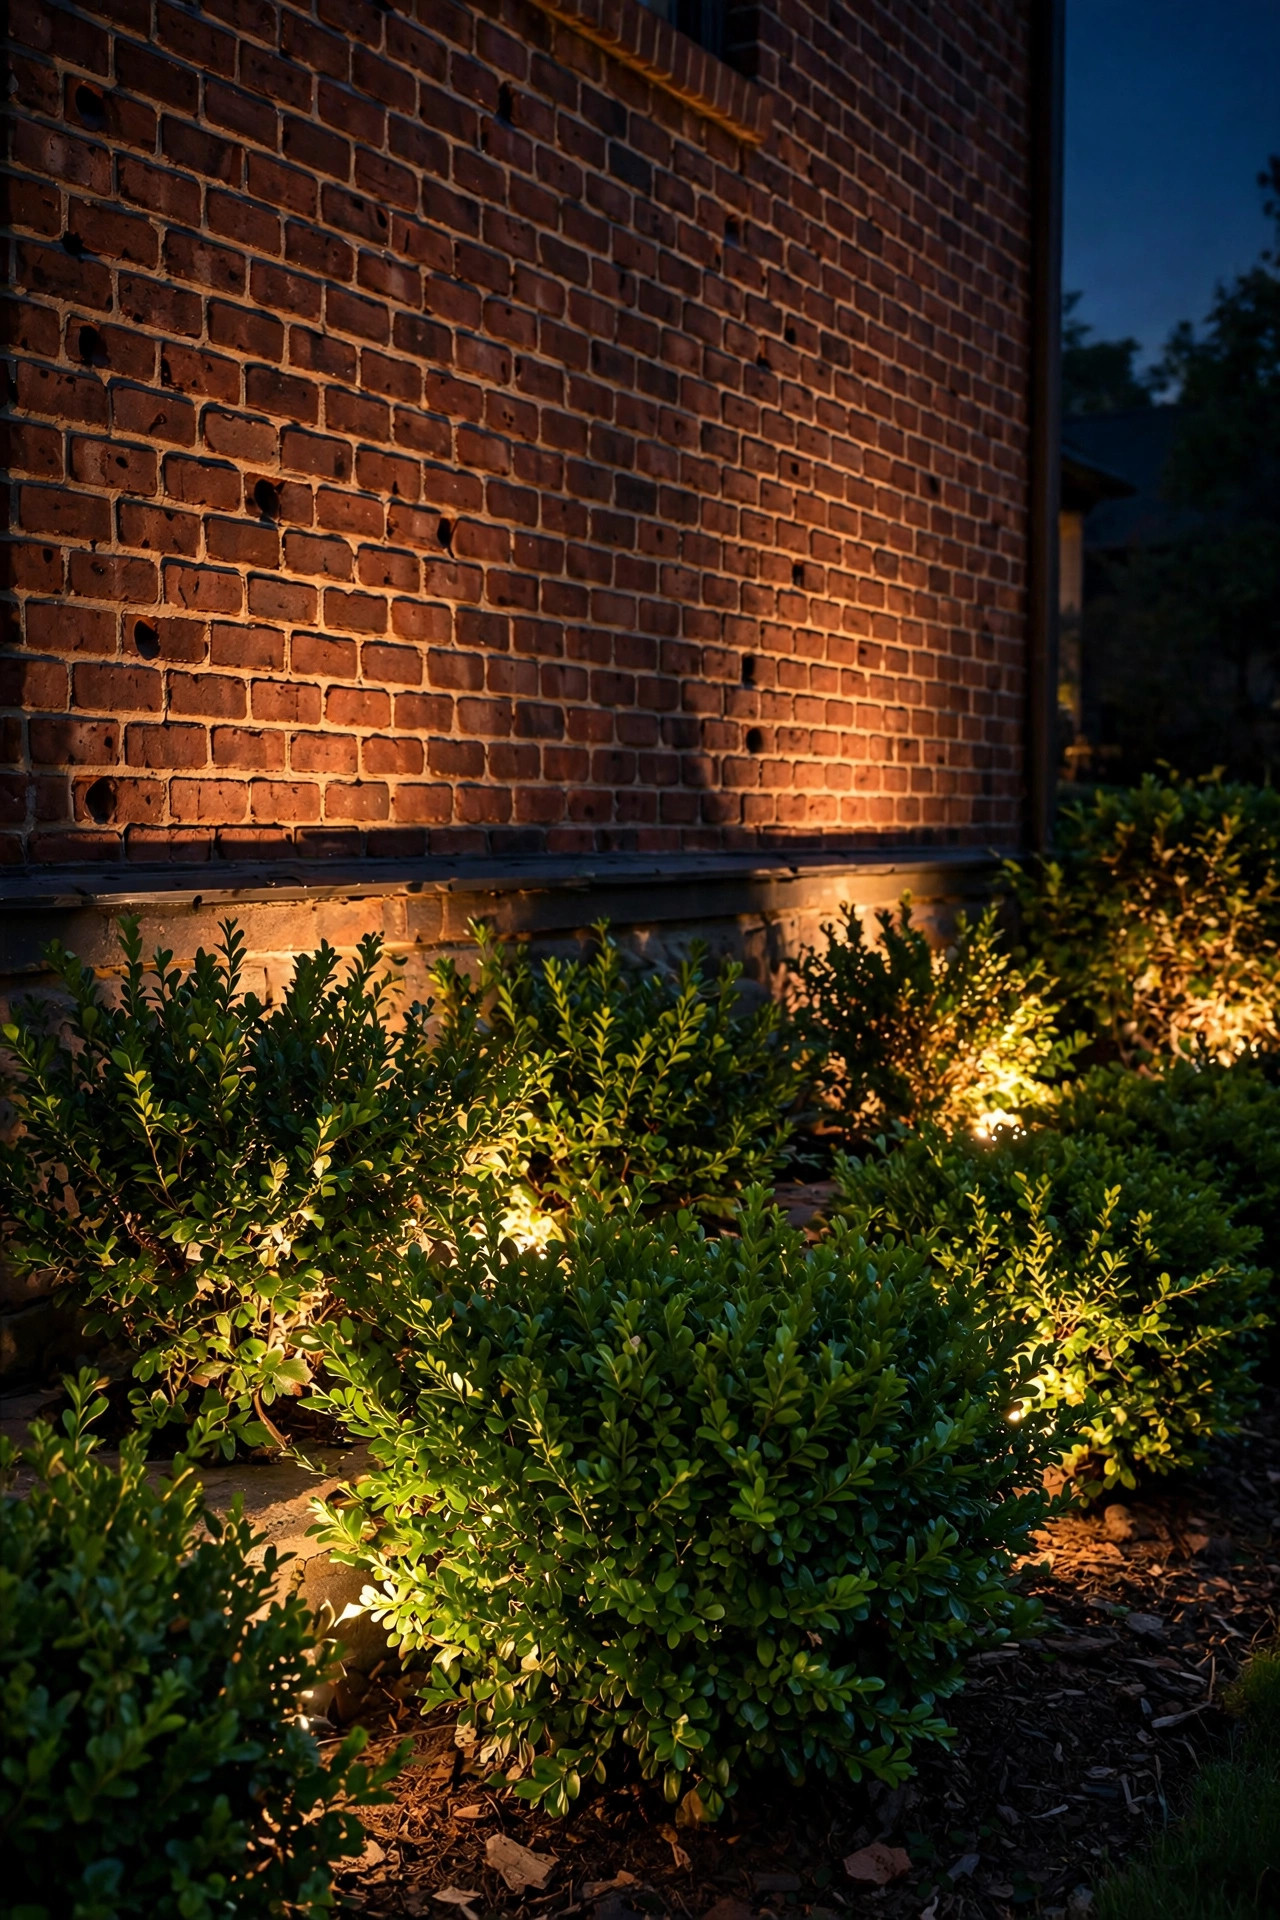
A long privacy hedge — privet, arborvitae, or a clipped yew wall — is basically a giant green canvas, and grazing is the technique that makes it look expensive. Instead of standing fixtures back and flooding the hedge (which flattens it), you place narrow-beam uplights very close to the base, just 3 to 5 inches out, aimed almost straight up. The beam skims the surface, raking across every leaf and twig so the hedge gets this gorgeous, rippled texture, almost like corduroy. Spacing is tighter than with shrubs: I run fixtures every 3 to 4 feet along the run so the scallops of light overlap slightly and there are no dark gaps at the base. Keep the wattage modest — a hedge wall lit too brightly reads as a green billboard from the street. Warm white in the 2700K range keeps the foliage looking natural and rich rather than blue-green and spooky. If your hedge backs a fence, this trick also throws lovely leaf-patterned shadows onto the fence boards behind it. It's my favorite "designer" look in this whole list, and it costs less than people think because the fixtures themselves can be simple.
Suggested budget range: $22 – $50 per fixture.

5. Backlight Shrubs for a Soft Silhouette Glow
Most of these ideas light shrubs from the front, but flipping the fixture behind the plant creates a completely different mood. When you hide a small uplight between the shrub and the house wall, the foliage goes dark and sculptural while a halo of light spills around its edges and washes softly up the siding. It reads as silhouette and glow rather than detail, and it's wonderfully forgiving — a slightly scraggly shrub that looks tired under front light looks artistic backlit. This works best with shrubs planted 12 to 18 inches off the wall, which most foundation plantings are. Use a wide, soft beam rather than a tight spot, and keep brightness low; you're painting the wall, not spotlighting the plant. I love this treatment flanking a front door, where two backlit evergreens frame the entry like stage curtains. One caution: keep LED fixtures a few inches from siding and never use old halogen bulbs near dry foliage or vinyl — LEDs barely warm up, which is one more reason I've switched everything over. If you enjoy this moodier approach, it pairs beautifully with the techniques in my tree uplighting guide, scaled down for shrubs.
Suggested budget range: $18 – $40 per fixture.

6. Layer Shrub Uplighting With Path Lights
Here's where the layering philosophy really earns its keep. Uplights alone can make a front yard look like a row of glowing green lollipops floating in darkness — pretty, but disconnected. Add a line of low path lights along the walkway or the front edge of the bed and suddenly everything has context: the path lights anchor the ground plane, the uplights lift the middle layer, and your porch light crowns the top. The trick is balance. Path lights should be the dimmest layer, just pools of light to walk by. Shrub uplights sit a step brighter, and nothing should compete with the entry. I keep all of them in the same color family — mixing a cool-white path light with warm uplights looks like a mistake, not a design choice. If you're curious about how uplighting compares with its opposite number in a layered scheme, my breakdown of uplighting vs. downlighting explains when each one wins. Run both layers on the same timer so the whole scene comes on together at dusk; that single-switch moment, when the whole front yard exhales into light, never gets old for me.
Suggested budget range: $120 – $300 for a combined starter setup.

7. Give Corner Evergreens the Anchor Treatment
Every foundation planting has its anchors — the substantial evergreens at the corners of the house that frame everything else. These are the shrubs that most deserve a dedicated uplight, because lighting them defines the whole nighttime outline of your home. I give each corner shrub two fixtures instead of one: a main uplight in front, angled up through the fullest side, and a second, dimmer fixture tucked to the outer side to catch the silhouette edge that faces the street or driveway. For a pyramidal arborvitae or juniper, place the front fixture about a foot out and aim steeply — tall, narrow plants need the beam to travel. For a broad corner boxwood or rhododendron, pull back 18 inches and widen the beam. Anchors are also where I spend a little more on fixture quality, since these run every single night and sit in the most visible spots on the property. Solid brass or copper-finish fixtures weather beautifully and won't crack after a few freeze-thaw winters like thin plastic housings can. Light your anchors well, and even a modest house looks grounded, intentional, and quietly elegant from the curb.
Suggested budget range: $60 – $140 per corner shrub.
8. Choose 2700K Warm White for Happy Foliage
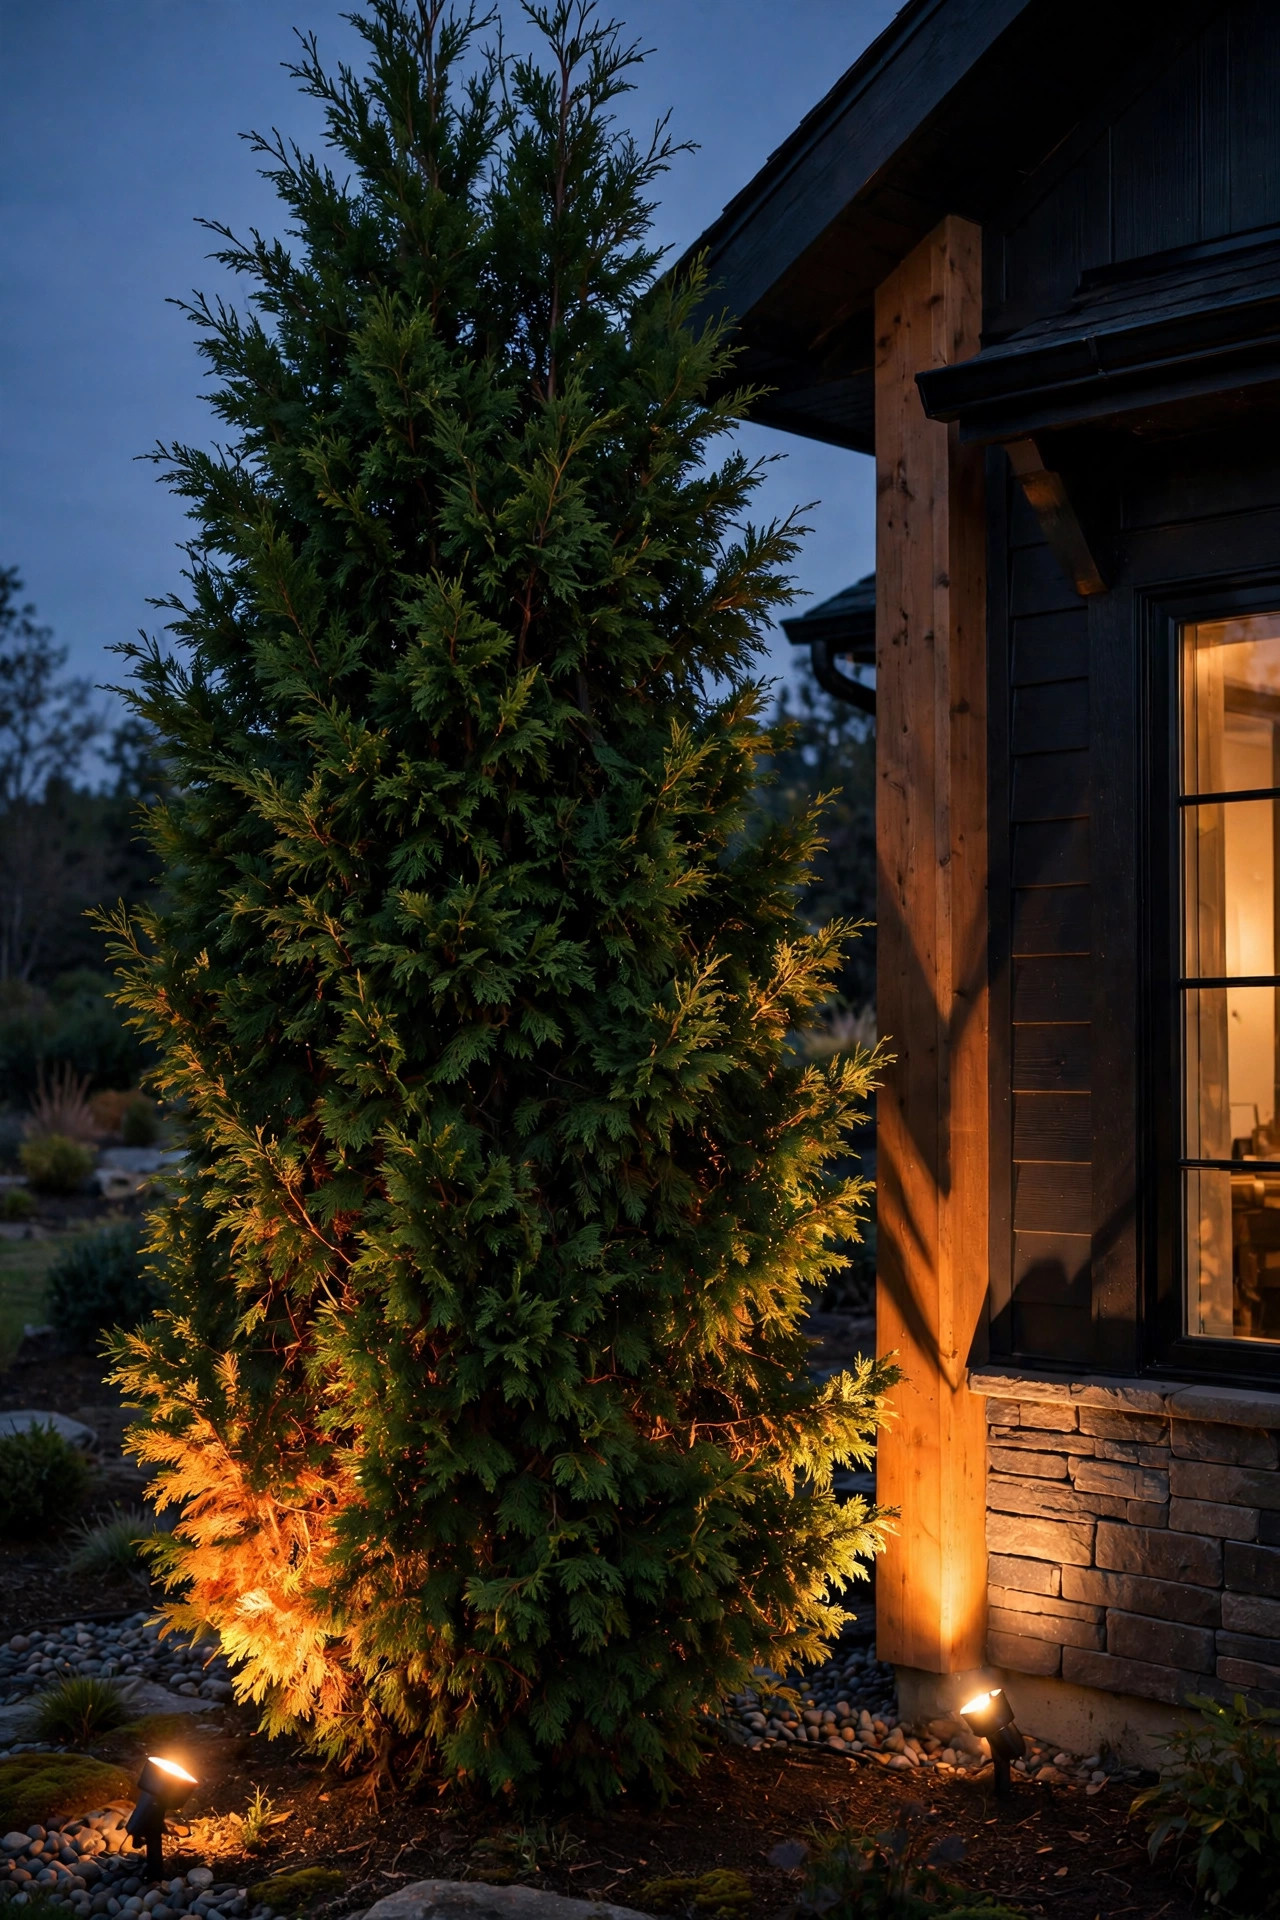
Can we talk about color temperature for a minute? Because it's the single detail that makes the difference between "cozy storybook cottage" and "gas station parking lot." For shrubs and hedges, I always recommend warm white around 2700K. Green foliage has yellow undertones, and warm light flatters them — leaves look lush, deep, and alive. Push up to 4000K or 5000K and that same boxwood turns a chilly blue-green that reads as sickly, especially in winter when there's no summer lushness to rescue it. There's one exception in my own yard: blue-needled shrubs like Colorado blue spruce or blue star juniper actually look rather striking under a slightly cooler 3000K light, which plays up their silvery color. But as a rule for mixed foundation plantings, 2700K across every fixture keeps the scene unified. When you're buying, check that replacement bulbs and any solar fixtures you mix in are labeled with the same temperature — "warm white" on a package can mean anything from 2700K to 3300K, and your eye will catch the mismatch at night even if you can't name it. Consistency is the whole secret. One temperature, everywhere, no exceptions.
Suggested budget range: $8 – $20 per LED bulb.
9. Put Shrub Uplighting on a Timer or Smart Control
The best shrub uplighting setup is the one you never have to think about. My system runs on an astronomical timer built into the transformer: it knows sunset in my zip code, clicks the lights on at dusk, and turns them off at 11 p.m. on weeknights, midnight on weekends. No wasted electricity lighting empty shrubs at 3 a.m., and no walking outside in slippers to flip a switch. If your transformer is older, a plug-in smart plug or a photocell timer does the same job for very little money — photocells are dead simple and reliable, though they can't do an early shutoff. Smart controls add the fun extras: I can bump the lights on early from my phone when guests are coming, or trigger a "welcome home" scene. A gentle note from experience — avoid running landscape lights all night long. Beyond the electric bill, constant light can confuse the plants and the neighborhood birds, and honestly the magic fades when it's just always there. Dusk to bedtime is the sweet spot: your foundation plantings perform for the hours anyone is awake to admire them, then the garden gets its rest.
Suggested budget range: $15 – $80 for timer or smart control.

10. Uplight Flowering Shrubs for Seasonal Color Shows
Green texture is lovely, but the weeks when a flowering shrub is in bloom are pure theater — and an uplight underneath turns the show up to eleven. Hydrangeas are my favorite: those big mophead blooms catch the light from below and practically glow against the dark leaves, white varieties especially. Azaleas in spring become mounds of lit color, and a lilac with light filtering up through it on a May evening, with the scent drifting? Heaven. The technique is simple: use a wide beam, keep the fixture a little further back than you would for an evergreen (about 15 to 18 inches), and let the light wash the whole plant rather than punching a hot spot through the middle. If your flowering shrubs sit in a bed with evergreens, aim for balance so the bloom doesn't steal every glance — sometimes I'll put the flowering shrub's fixture on the dimmer circuit or choose a slightly lower-lumen bulb. And when the blooms fade, the same fixture keeps lighting the foliage, so nothing is wasted. It's a four-season investment that happens to throw a spectacular party for a few weeks a year.
Suggested budget range: $20 – $50 per fixture.

11. Use Narrow Beams for Tall, Skinny Shrubs
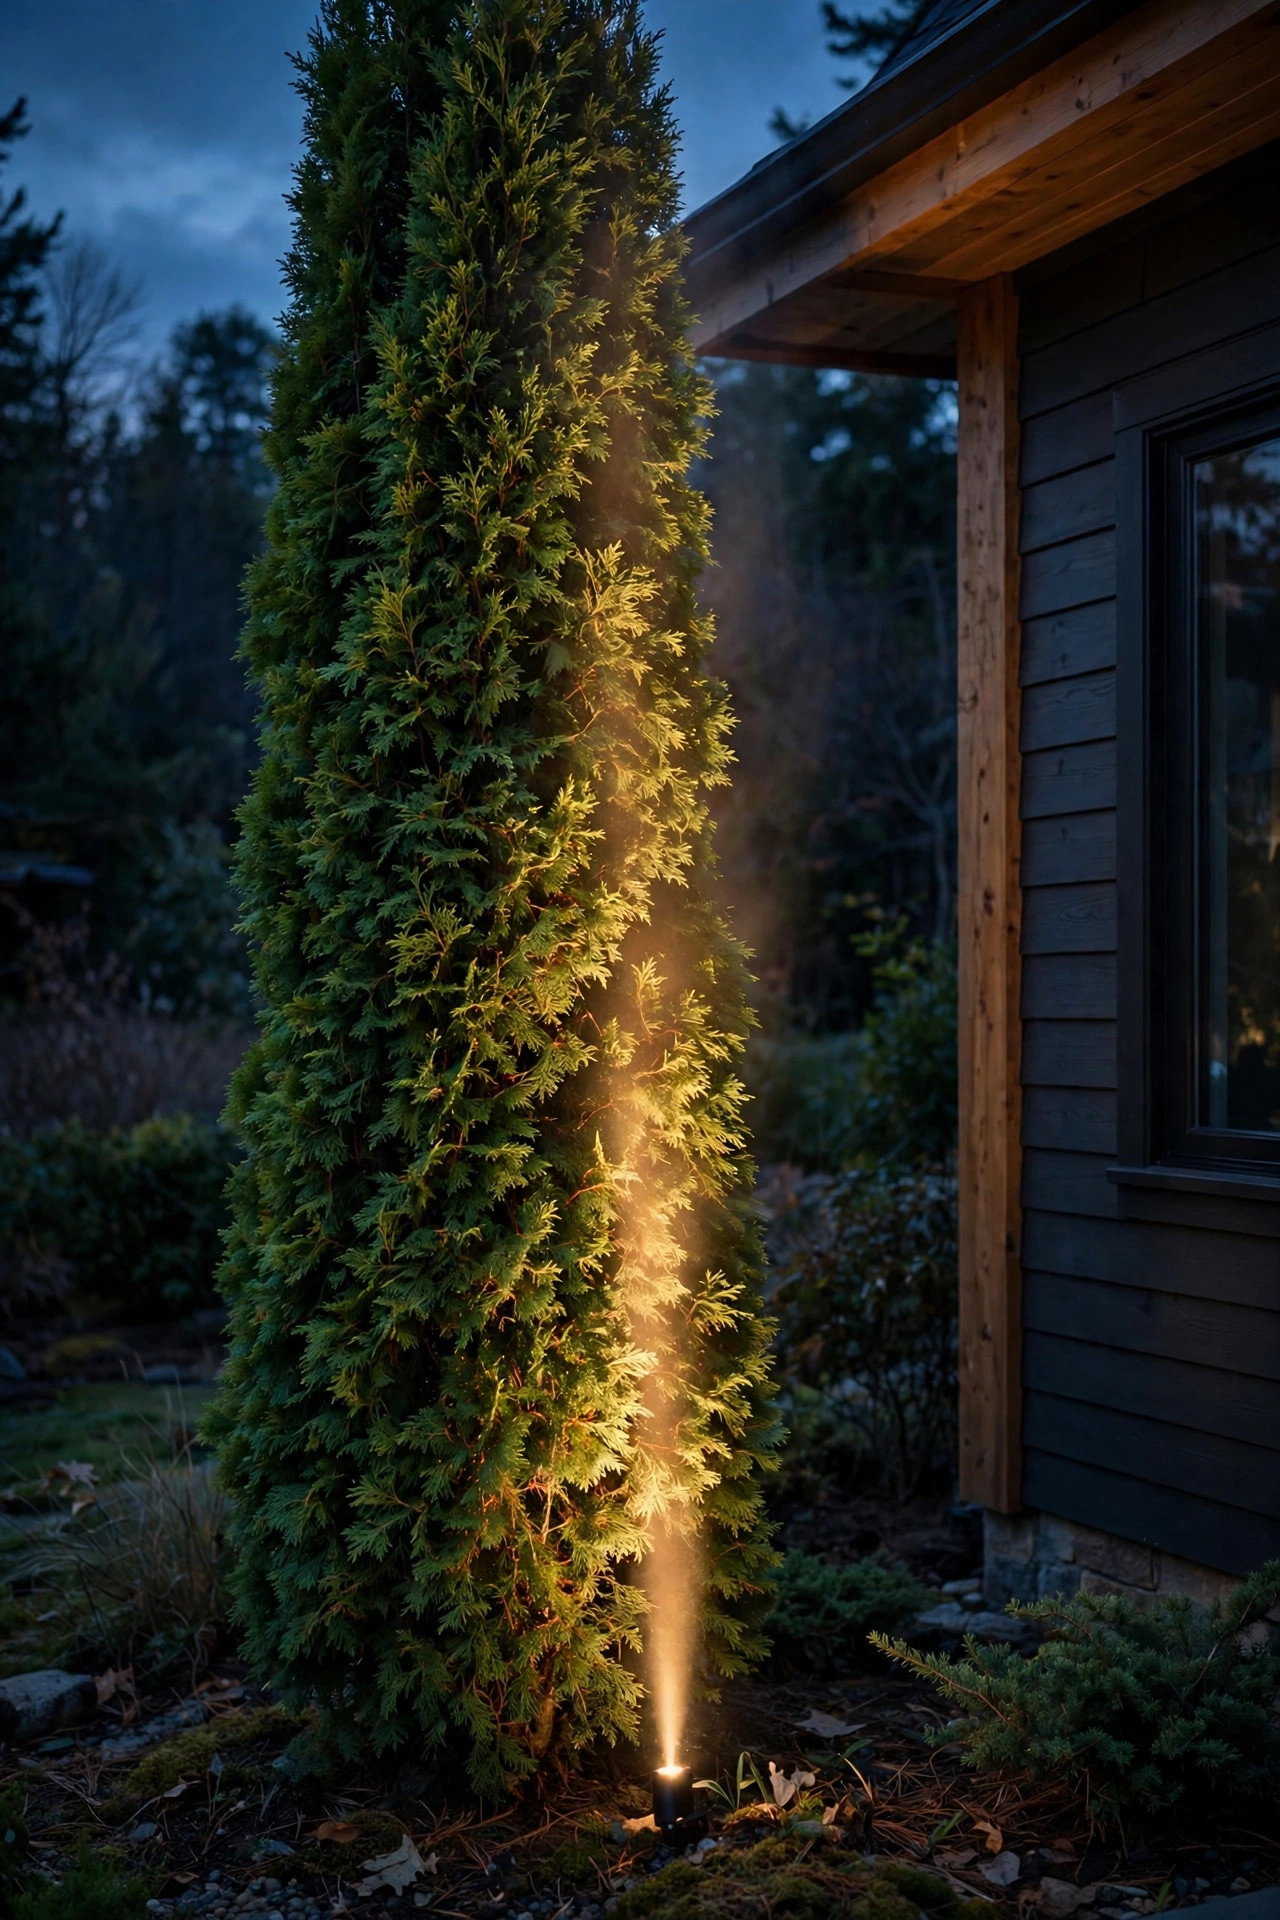
Columnar shrubs — arborvitae, sky pencil holly, Italian cypress, upright juniper — are the exclamation points of a foundation planting, and they need a different beam than their round neighbors. A wide flood in front of a narrow column wastes most of its light on the mulch and the wall behind. What you want is a narrow spot, around 15 to 24 degrees, placed close to the base — sometimes just 4 to 6 inches out — and aimed nearly straight up so the beam travels the full height of the plant, feathering out gently near the top. This is called a column wash in my notebook, and done right, the shrub looks like a green flame. Height matters when you're shopping: check the fixture's throw, and don't be afraid of a slightly higher lumen count for anything over 8 feet, since light falls off as it climbs. One fixture per column is the rule; two skinny shrubs flanking a window, each with its own narrow uplight, give the front of the house a tailored, almost formal rhythm at night. Just keep the beam off the windows themselves, or you'll light your own living room.
Suggested budget range: $25 – $55 per fixture.
12. Flood Long Hedge Runs With Wide-Beam Fixtures
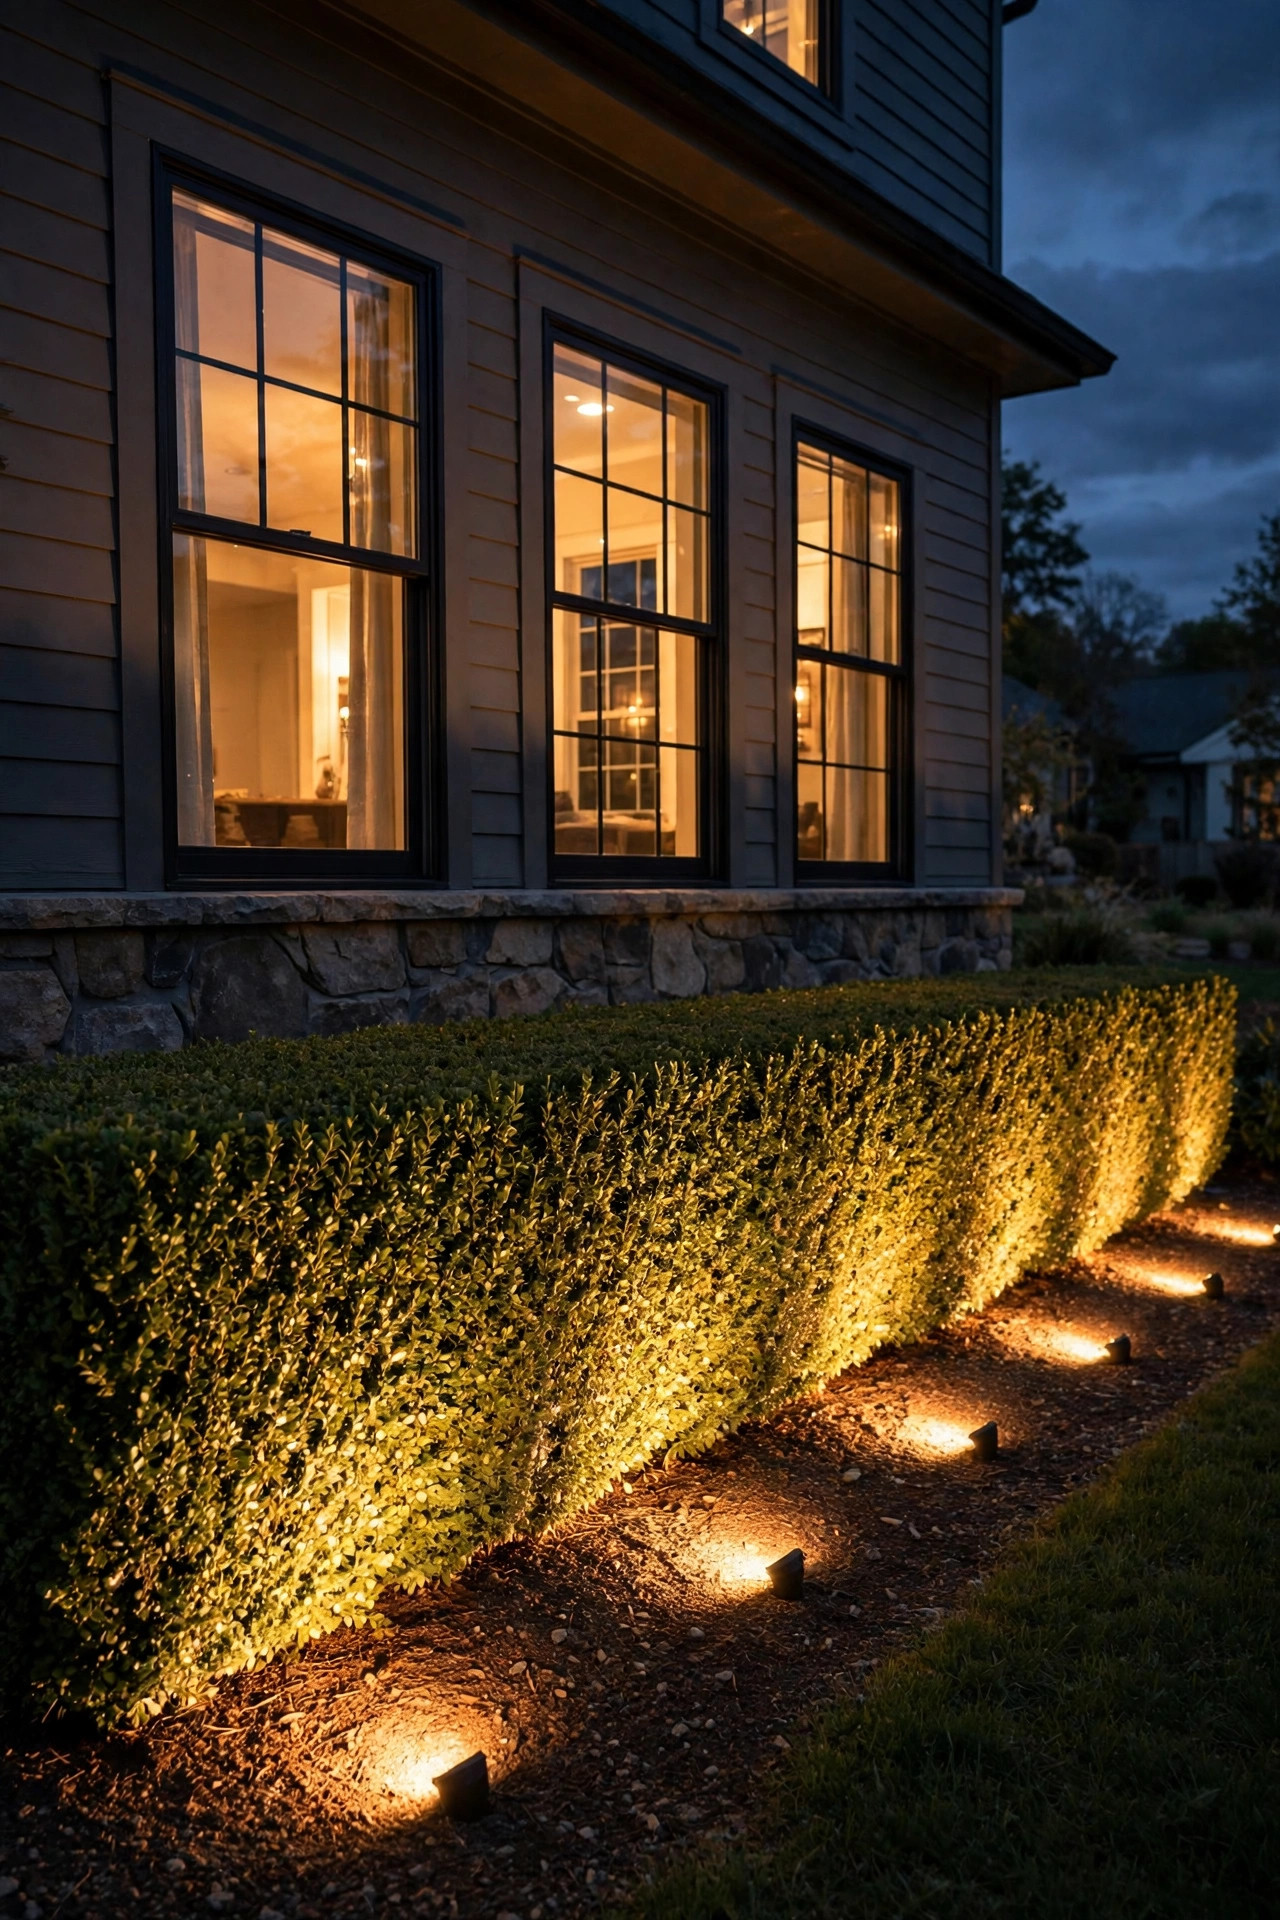
Where grazing (idea 4) is about texture, flooding is about coverage — the right choice for a long, low hedge like a boxwood border along the front walk or a row of dwarf shrubs under the front windows. Wide-beam flood fixtures, 60 degrees or more, placed 18 to 24 inches in front of the hedge and spaced 4 to 6 feet apart, wash the whole run in an even, gentle glow. The goal is uniformity: no scalloped hot spots, no zebra stripes of light and dark. To get there, overlap each beam by about a third and keep the fixtures aimed at the middle height of the hedge rather than the top. This is the most forgiving technique in the list, which makes it a great first wired project. It's also the one where consistent color temperature matters most, because your eye compares fixture to fixture all the way down the row — buy all your bulbs at once, from the same batch if you can. In my experience, a softly flooded hedge border under the windows makes a house look wider and more welcoming, like the whole facade is smiling. Subtle, even, done.
Suggested budget range: $20 – $45 per fixture.
13. Hide Fixtures in the Mulch for a Magic, Source-Free Glow
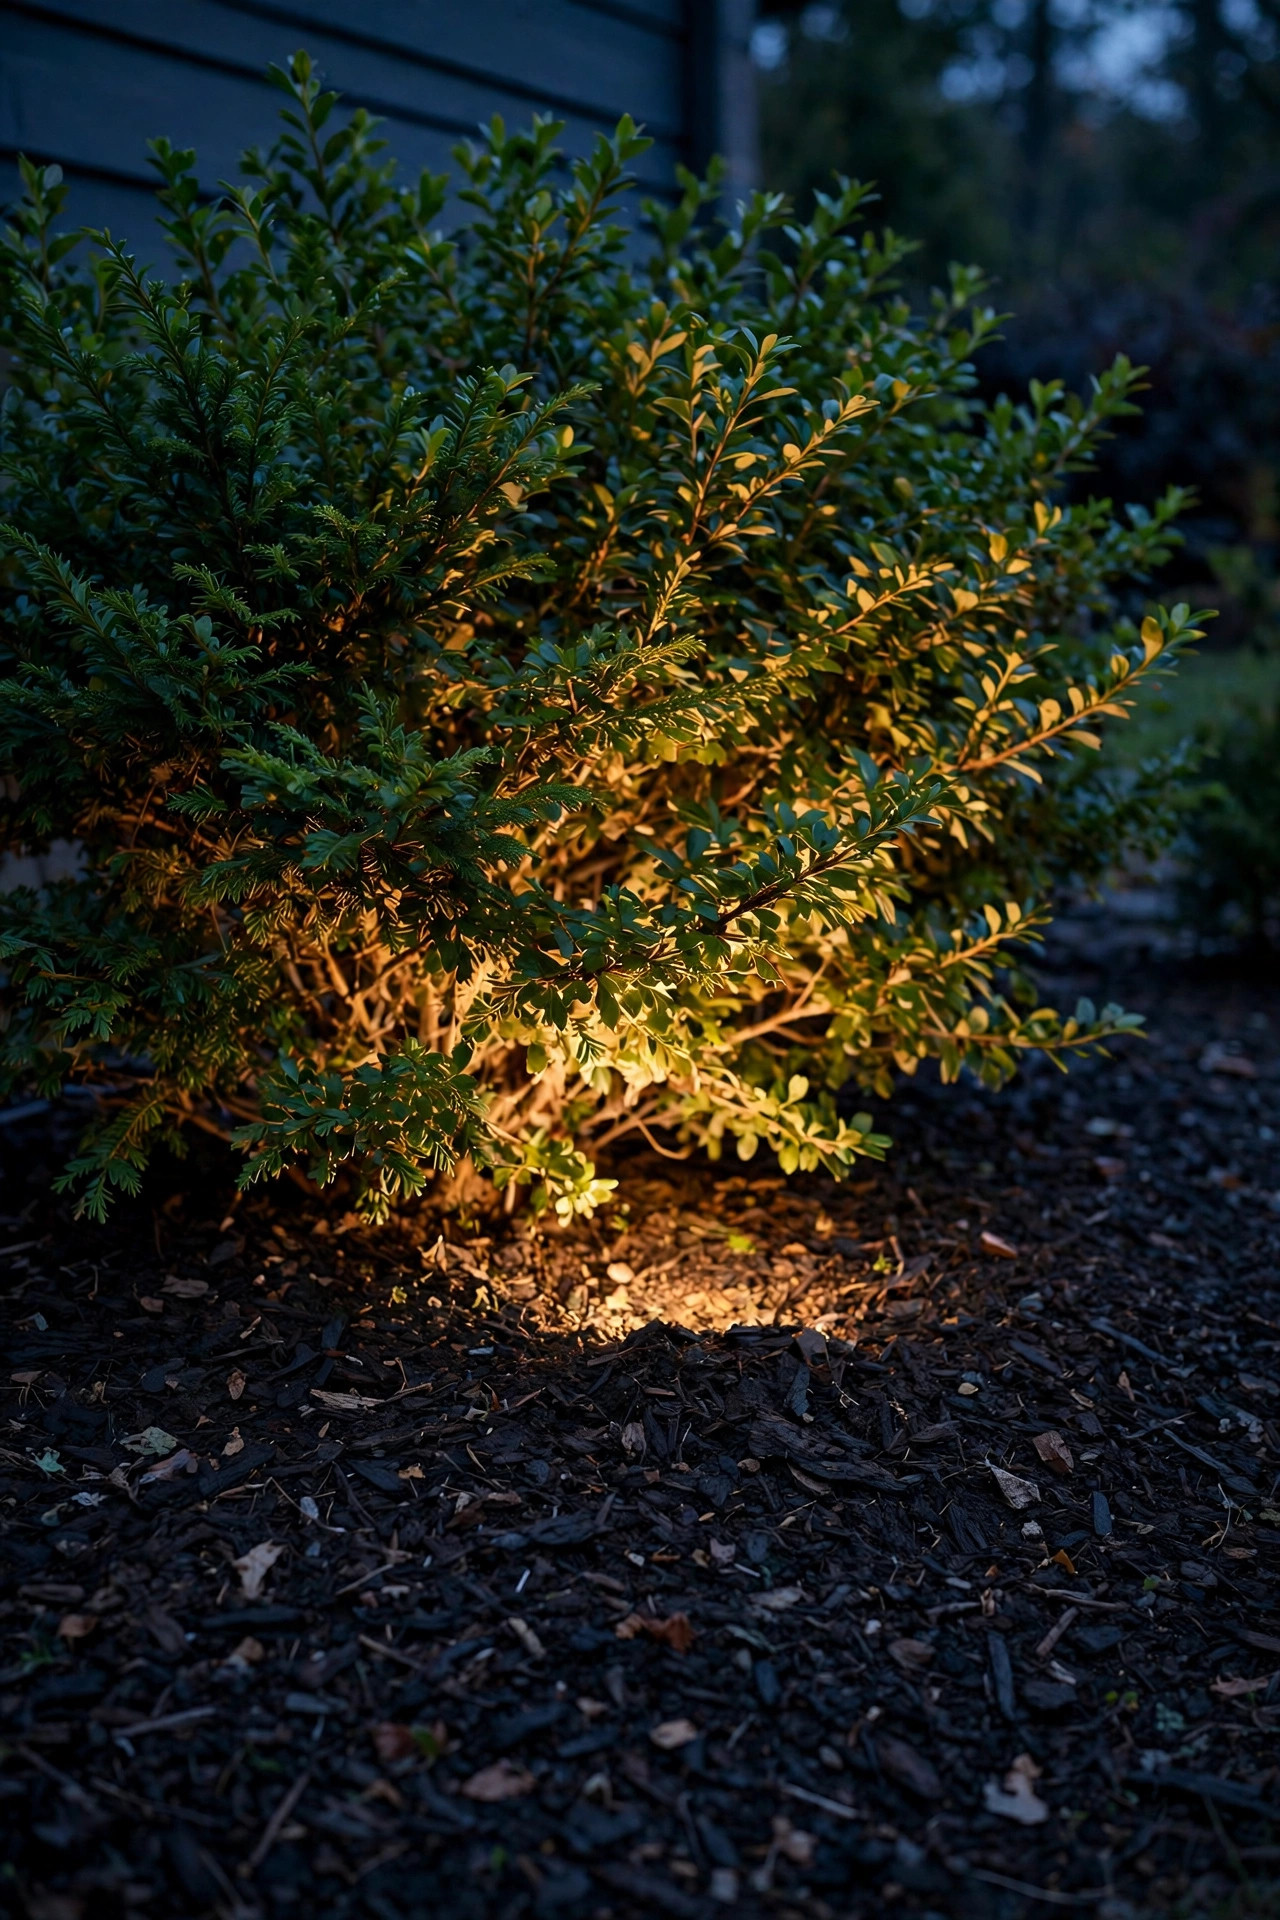
If you've ever admired a professionally lit garden and wondered where on earth the lights were, this is their secret: the fixtures are there, but they're buried, camouflaged, and boring on purpose. My favorite version uses low-profile uplights with a matte bronze or black finish that nestle down into the mulch, lens just above the surface, so all you see after dark is light arriving from nowhere. A few tricks make it work. First, choose fixtures with a recessed lens and a glare shield or honeycomb louver — hiding the housing does no good if the bare bulb still blinds you. Second, rake mulch back in a small crater around each lens so it doesn't drift over and block the beam (mulch migrates; check every spring). Third, mark every fixture's location before you spread fresh mulch — ask me how I know, and I'll show you the bag I nearly dumped on a well light. Stake a small painted marker or snap a phone photo with measurements. The result is the most "designed" look on this list: shrubs and hedges glowing as if lit by moonlight that happens to come from below. Guests notice the garden, never the gear.
Suggested budget range: $30 – $70 per fixture.
14. Add Motion-Sensor Uplights Along the Side of the House
Foundation plantings don't stop at the front corners — most homes have shrubs running down the sides too, and those side beds are usually the darkest, least loved stretch of the yard. Motion-sensor uplights are a smart fit there: the plantings stay softly dark most of the night (good for sleeping bedrooms and the electric bill), then bloom into light when someone walks the side path, takes out the trash, or — less welcome — pokes around where they shouldn't. Solar motion spotlights with a decent sensor range, about 10 to 15 feet, are the easiest install since side yards often lack an outlet; wired options on your low-voltage run work too if the cable route is simple. Aim them into the shrubs rather than straight down the path, so the light feels like ambiance first and security second. Position the sensor so it catches movement at the gate or the corner, not every pass of a neighborhood cat — most let you dial sensitivity and duration, and a 30-to-60-second glow is plenty. It's practical, a little bit clever, and it makes the side yard feel cared for instead of forgotten.
Suggested budget range: $18 – $40 per fixture.

15. Uplight Shrubs in Raised Beds and Terraced Plantings
Sloped lots and raised foundation beds deserve a mention of their own, because uplighting works differently when the plants sit above — or below — eye level. In a raised bed or a retaining-wall planter, fixtures placed at the front lip of the bed, angled back and up, make the shrubs glow like they're on a stage, and the wall face below catches a lovely spill of light too. Short stake-mounted fixtures or compact surface-mount uplights bolted to the wall itself are the easiest to position here; in-ground well lights can work if the bed is deep, but make sure drainage runs away from the fixture, since raised beds dry fast at the edges and soak in the middle. For terraced plantings on a slope, I light each tier from the tier below it — the beam climbs the retaining wall and into the shrubs, doubling the drama. Keep cables tidy in conduit where they cross wall caps or steps; exposed wire on a terrace looks messy and trips feet. These are the plantings guests see from the patio at eye level, so take the time at dusk to stand where your guests will sit and adjust the aim from there.
Suggested budget range: $25 – $60 per fixture.

16. Cross-Light One Large Specimen Shrub
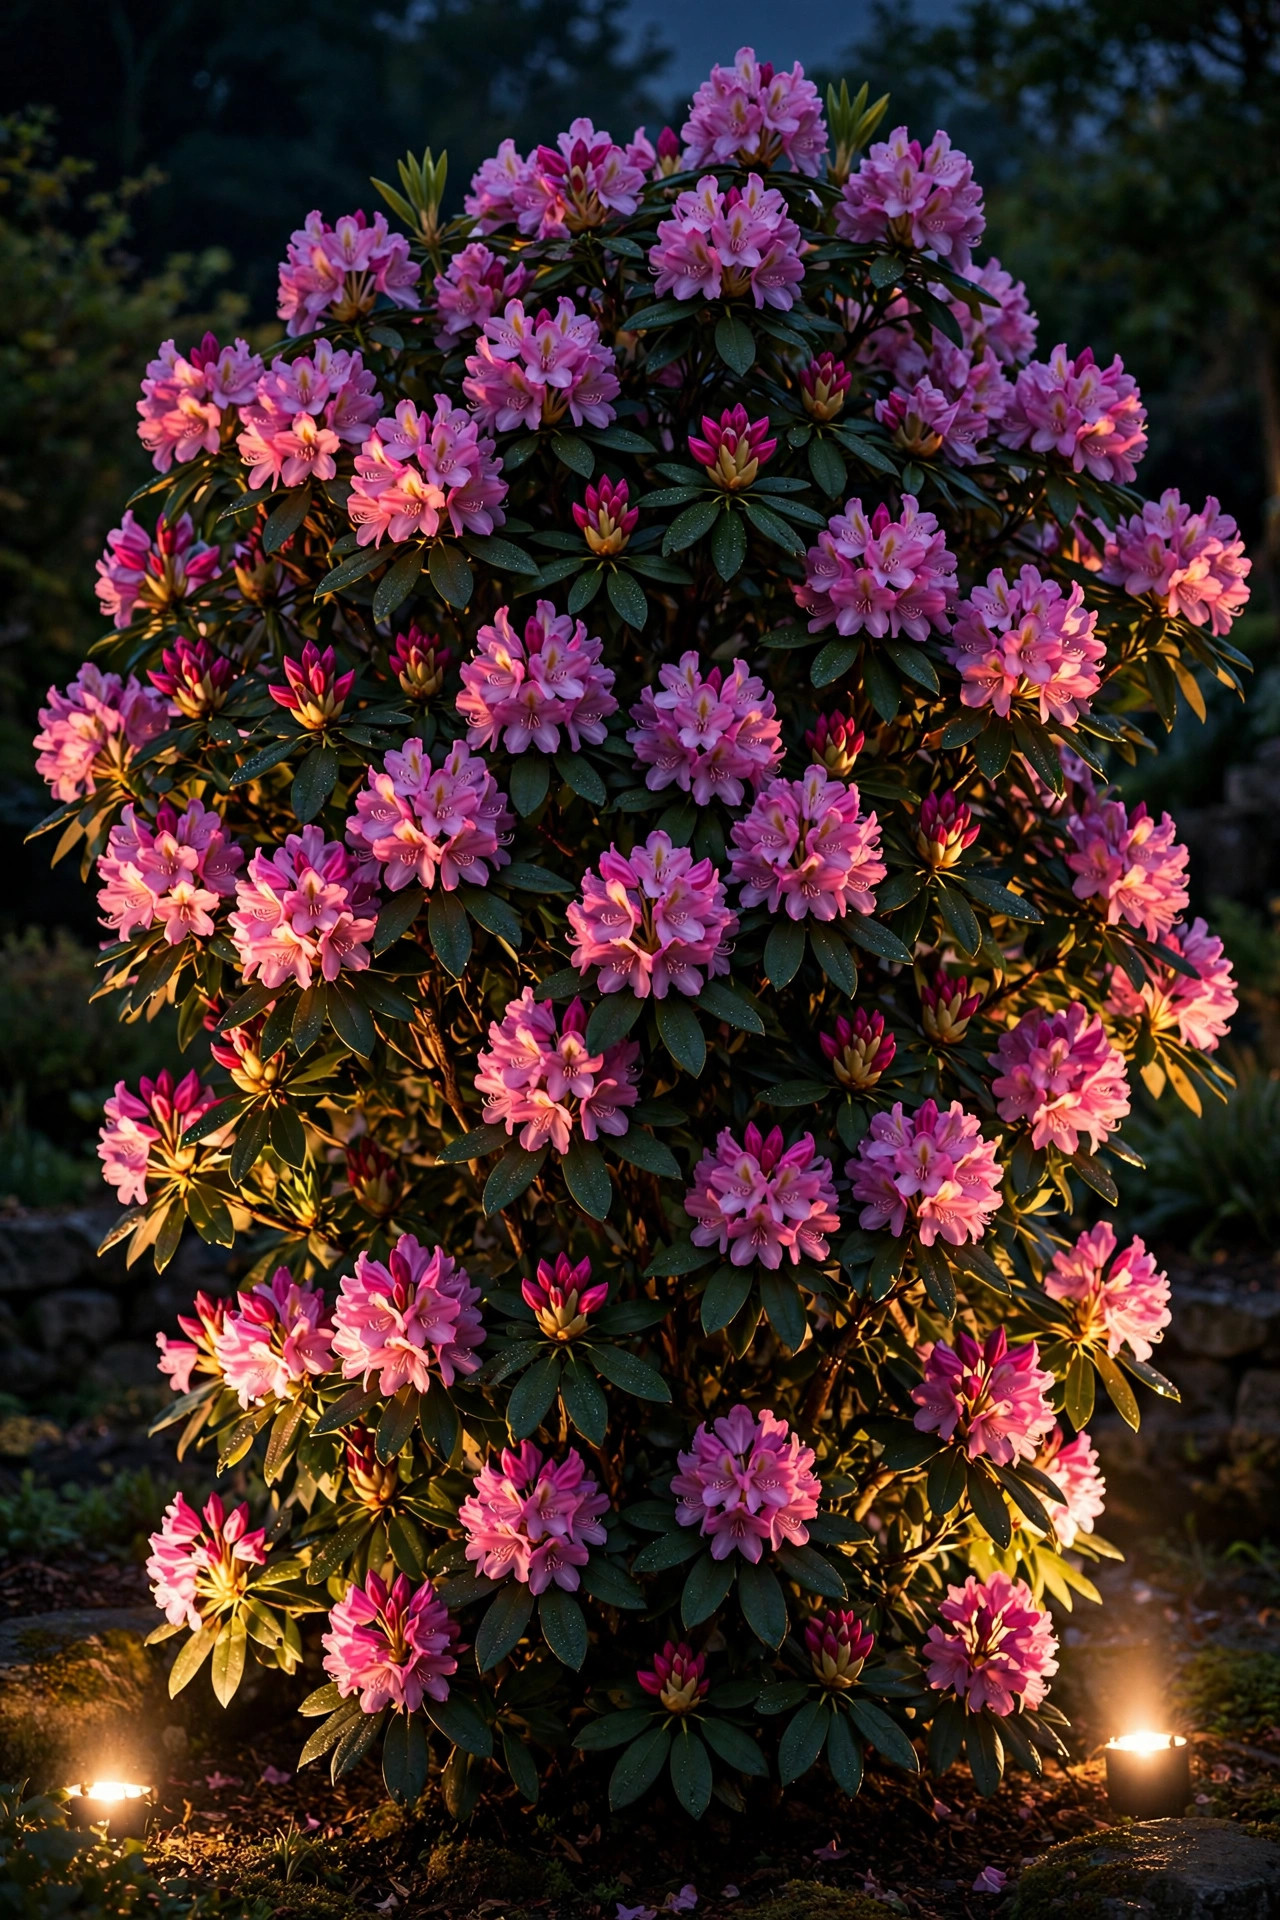
Big, characterful shrubs — a mature rhododendron, a viburnum that's become a small tree, an old lilac by the corner — are focal points, and a single front uplight honestly sells them short. Cross-lighting uses two fixtures placed at roughly 45-degree angles to the front of the plant, their beams overlapping through the canopy. The crossing beams model the shrub's shape the way a portrait photographer lights a face: dimension, depth, no flat hot spot staring back at you. Cross-lighting also fills in the shadowy interior that one straight-on fixture leaves looking like a black hole. Set the two fixtures at slightly different distances if the shrub is asymmetrical — closer on the sparser side, a touch further back on the fuller side. This is the treatment I'd give the one plant everyone comments on, the one you'd save if you could only save one. It takes fifteen extra minutes of standing back, squinting, and nudging aim at dusk, and it is absolutely worth it. When a shrub has earned specimen status in your garden, its lighting should say so.
Suggested budget range: $50 – $110 for a two-fixture setup.
17. Build a Whole-Front Shrub Uplighting Plan in Zones
Let me pull it all together, because the real secret to great shrub uplighting isn't any single fixture — it's having a plan. Here's the simple zoning method I use. Zone one: the anchors. Corner evergreens and the shrubs flanking your door get the anchor treatment (idea 7) on the main circuit. Zone two: the fill. The general run of foundation shrubs gets one modest uplight each — well lights or bullets, evenly spaced, nothing fancy. Zone three: the accents. Your flowering star, your specimen, your hedge wall — these get the special techniques and, if your transformer allows, their own circuit so you can dim or schedule them separately for parties or bloom season. Sketch it on paper first: house outline, dots for shrubs, a star where each fixture goes. Count fixtures, add up the wattage, and size your transformer with 20 percent headroom for the shrub you will inevitably fall in love with next spring. In my experience, a zoned plan installed over one or two weekends — anchors first, fill second, accents when budget allows — beats a random splurge every time. Your foundation plantings become a composition, not a collection.
Suggested budget range: $300 – $900 for a complete zoned setup.

Frequently Asked Questions
How far from the shrub should I place an uplight?
For most foundation shrubs, 6 to 12 inches out from the base is the sweet spot. Narrow, tall shrubs want the fixture closer — 4 to 6 inches — with a steep aim, while wide shrubs look better with the fixture 12 to 18 inches back so the beam can spread. When in doubt, wait for dusk, hold the fixture in place before you stake it, and move it around until the glow looks right. Your eye is a better measuring tool than any chart.
How many lumens do I need to uplight a shrub?
A small shrub under 3 feet does beautifully with 100 to 200 lumens. Medium shrubs in the 3-to-5-foot range want 200 to 400, and large or very dark-foliaged shrubs may need 400 to 600. Remember that light falls off with height — a tall shrub needs more output at the base for the top to glow. It's always easier to start modest and swap in a brighter bulb than to tame an over-lit plant.
Are solar uplights bright enough for foundation shrubs?
For small to medium shrubs, good-quality solar spotlights (150+ lumens with an adjustable head) are genuinely adequate and wonderfully easy. Where solar falls short is large shrubs, dense shade, and winter, when short days mean weak charges and early fade-outs. My honest recommendation: use solar to test placements and light smaller plantings, and go low-voltage wired for your anchors and anything you want glowing reliably until bedtime.
Will uplighting hurt my shrubs or attract bugs?
LED uplights run cool and won't scorch foliage the way old halogen fixtures could — just keep any fixture a couple of inches from direct contact with leaves. As for bugs, warm 2700K light attracts noticeably fewer insects than cool white, and since the beam points up into the plant rather than out into the yard, most of the action stays in the shrub. Running lights on a timer that shuts off late evening helps both the bugs and the plants rest.
Conclusion
If I had to boil all 17 of these shrub uplighting ideas down to one principle, it's this: light the plants you already love, warmly and deliberately, and the house will take care of itself. Start with your anchors, keep your color temperature at a consistent 2700K, and let a timer handle the rest. Foundation plantings work hard for your home's curb appeal all day long — a few well-placed uplights simply let them keep working after dark. If you're ready to keep going, browse the rest of my outdoor lighting ideas here on the site; the tree uplighting and layered landscape guides pair beautifully with everything in this post. Happy lighting, friends.