The night I finally understood cross lighting and backlighting, I was standing in my front yard holding two spotlights and feeling annoyed. For months I'd lit our big oak with a single uplight, and it looked fine — until a landscape-designer friend gently pointed out it also looked flat, like a cardboard cutout glued to the sky. Her fix took ten minutes: move one light to the other side so the beams crossed, and tuck a third behind the trunk so the canopy glowed from within. The tree went from flat to sculptural, with depth in every branch. That's the heart of these techniques: cross-lighting models a tree's shape from two angles, and backlighting turns it into a glowing silhouette. In this post I'm sharing 15 ways I use both, from a simple two-light cross on a shade tree to backlit winter branches, with the fixture distances, beam angles, and honest costs for each one. If your trees disappear after sunset, this is how you bring them back.

1. Cross-Lighting Basics: The Classic Two-Light Cross
If you only try one technique from this whole post, make it this one. Pick your biggest, best-shaped tree and give it two spotlights instead of one. Set the first fixture at about 10 o'clock around the trunk and the second at 2 o'clock, each 12 to 18 inches out from the bark. Angle both heads up at roughly 30 to 45 degrees, aimed slightly across the tree's center line so the beams overlap in the middle of the canopy instead of running parallel up either side. That overlap is the whole trick: it fills the shadowed core, models the branch structure, and makes the tree read as round and lush from the street. Use matched fixtures with the same color temperature — 2700K to 3000K warm white — because mismatched light on one tree looks like a mistake even when guests can't name why. My tree uplighting guide covers fixture types and beam spreads in detail if you're shopping from scratch. Test the aim after dark and nudge each stake until the canopy glows evenly, with no hot stripe racing up the trunk.
Suggested budget range: $40 – $90.

2. Backlight a Tree Against the House for a Giant Silhouette
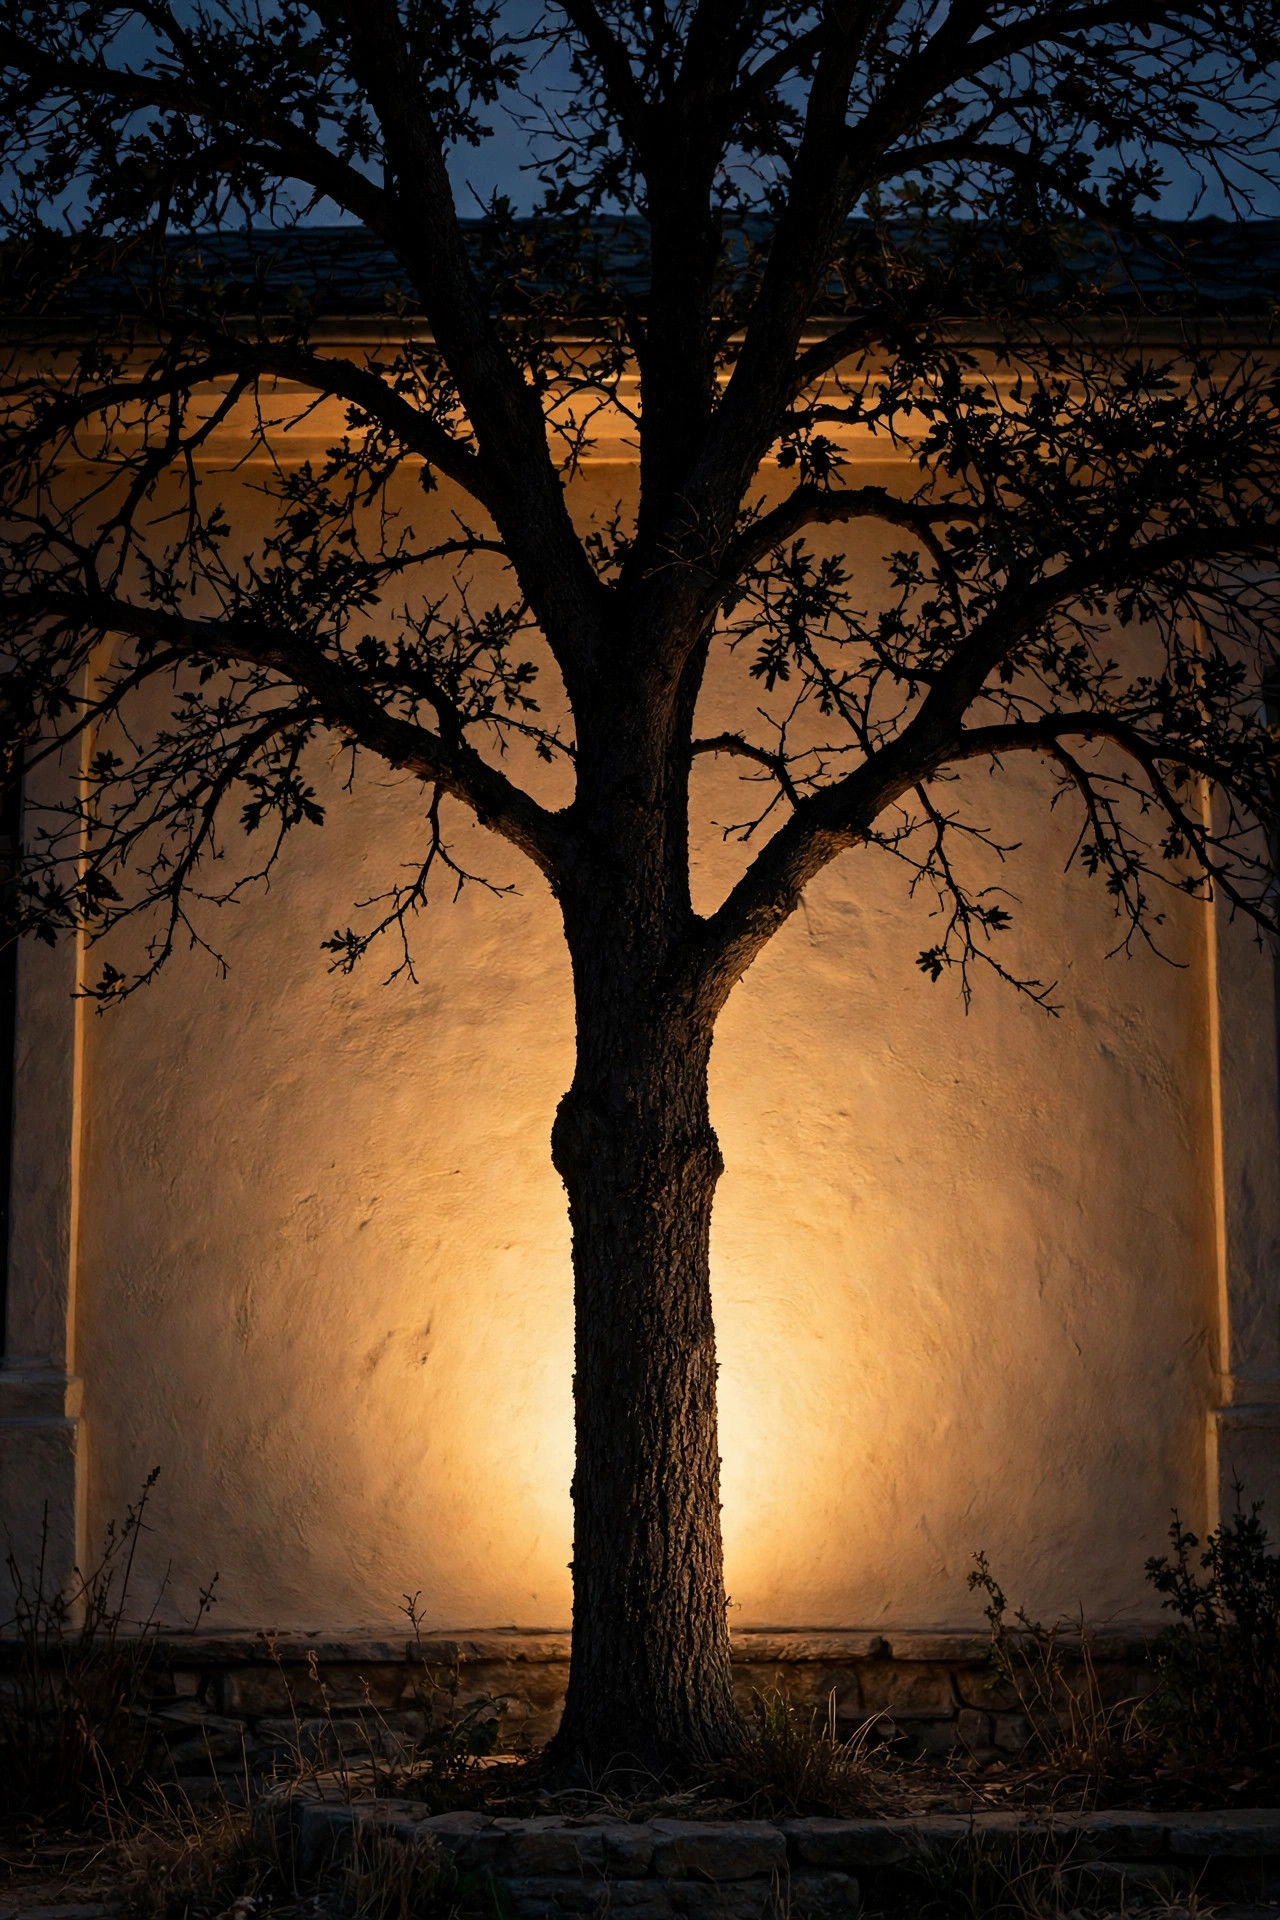
Backlighting sounds fancy, but the setup is almost embarrassingly simple: put the light behind the tree and let the tree block it. Place a spotlight 2 to 4 feet behind the trunk, aimed past the tree toward the wall or fence beyond it. The trunk and branches go dark and graphic while a halo of light blooms on the surface behind — suddenly a plain stretch of siding becomes a theater backdrop. This works best when the backdrop sits 4 to 10 feet behind the tree; too close and the halo shrinks to a tight ring, too far and it washes out to nothing. If your tree stands alone with no backdrop at all, aim the rear light up into the canopy instead, so the glow seems to come from inside the branches themselves. Either way, hide the fixture behind the trunk or a shrub from your main viewing angle — the magic dies the moment you can see the bulb. Warm white keeps the halo golden and cozy, while cool white reads like a security light. It is the single most dramatic look on this list, and it needs exactly one fixture.
Suggested budget range: $25 – $60.
3. Go Three-Point on a Truly Massive Canopy
Some trees are simply too big for two lights. Our neighbor's silver maple has a canopy wider than her house, and cross-lighting it with two spotlights left a dark wedge at the back that looked like a bite taken out of the tree. The fix is a third fixture, spaced roughly 120 degrees around the trunk from the other two, so the tree gets modeled from every side — front-left, front-right, and back. Stagger the distances slightly (one at 12 inches, one at 18, one at 24) so the light isn't mechanically even, and consider aiming the back fixture a touch lower so it rims the canopy's edge with light. Each fixture wants 400 to 600 lumens for a tree this size, which is why I recommend wired low-voltage here: three solar panels competing for sun under a huge canopy rarely all charge well. Add up the wattage before you buy a transformer — three 7-watt LEDs plus cable losses means a 45-watt transformer at minimum, and a 100-watt unit gives you comfortable room to grow. Buying fixtures in multi-packs drops the cost per light considerably.
Suggested budget range: $90 – $180.

4. Turn Your Back Fence Into a Silhouette Screen
Small yard, big payoff: if a tree grows within a few feet of your back fence, you already own a silhouette screen. Tuck a single spotlight on the ground between the trunk and the fence — or just behind the trunk — and aim it at the fence boards at a low, wide angle. The boards catch a broad pool of light, and the tree stands in front of it in perfect black outline, every twig drawn like ink on paper. Cedar and painted fences glow warmest; chain-link, honestly, just sparkles awkwardly, so cross-light those trees from the front instead. Keep the fixture's own glare out of the picture by sinking it into the mulch or shielding it with a flat stone laid on edge. This is also my favorite trick for renters, because one solar spotlight does the whole job with zero wiring and zero permission slips. In fall, a carved pumpkin or a small stack of gourds at the base catches the edge light beautifully. One caution: aim the pool low so you're not beaming light up into a neighbor's bedroom window — the silhouette works just as well kept under the fence line.
Suggested budget range: $20 – $50.

5. Cross-Light a Matching Pair to Frame the House
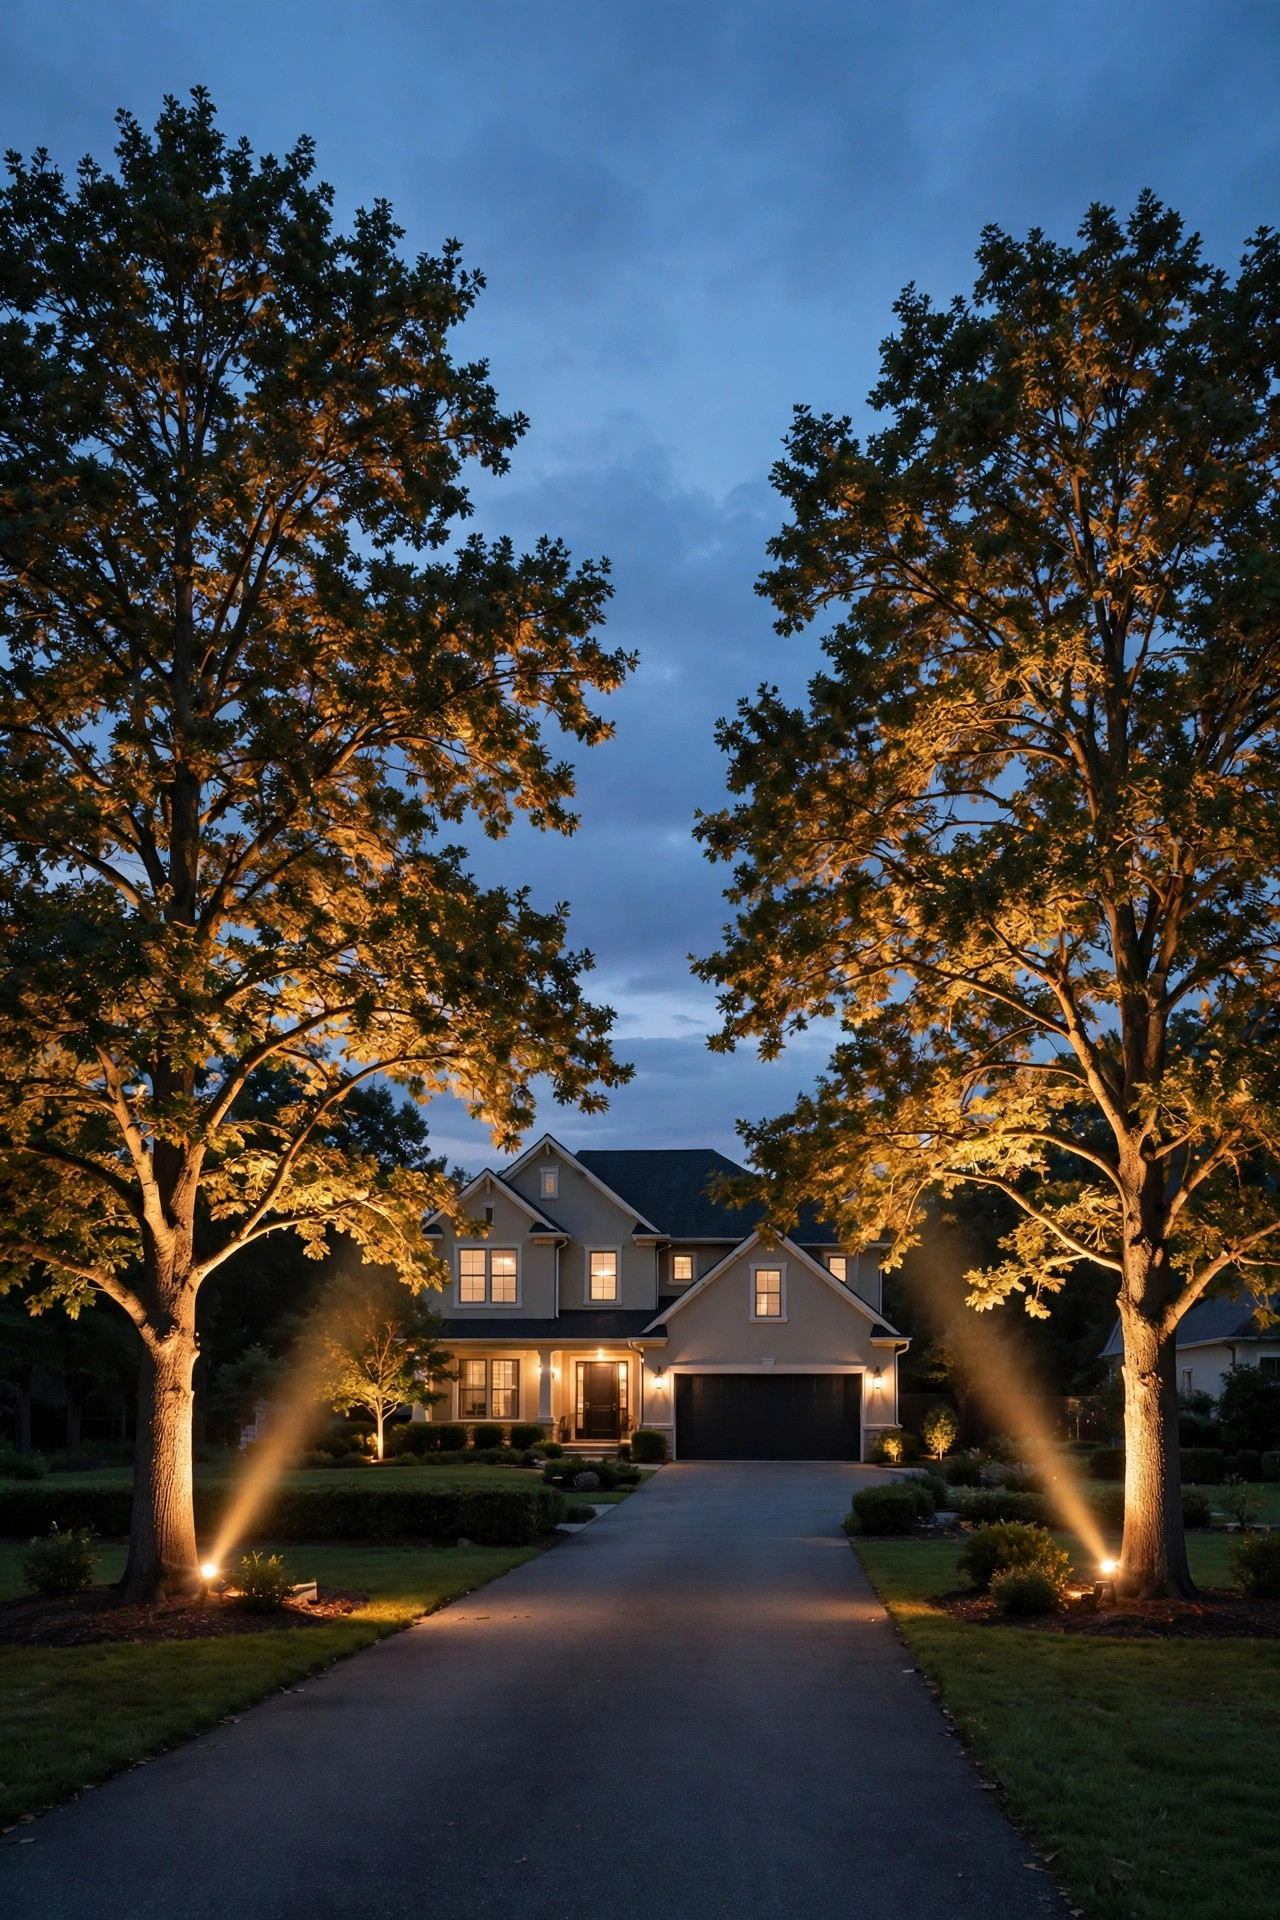
Two matching trees flanking a driveway or front walk are begging for this treatment. Give each tree its own two-light cross — fixtures at 10 and 2 o'clock, 12 to 18 inches from each trunk — and mirror the setup on the other side so the pair reads as one designed gesture from the street. Symmetry is the whole point here, so match everything: same fixtures, same color temperature, same angles, and ideally the same timer, so both trees switch on together at dusk. Small differences in canopy size are fine; just aim the fuller tree's lights a few inches wider to compensate. From the road, the twin glows frame your house like parentheses and make the entire front elevation look intentional. If one tree of the pair is younger and smaller, resist the urge to add extra light to make up for it — brightness can't fake size, and an over-lit small tree just looks nervous. Let it grow into the design over a few seasons. Put both crosses on one transformer circuit when you can, so a tripped breaker never leaves you with one glowing tree and one ghost.
Suggested budget range: $80 – $160.
6. Backlight a Weeping Tree Into a Waterfall of Light
A weeping willow or weeping cherry lit from the front looks like a green lampshade. Lit from behind, it becomes a waterfall. Slip a spotlight in behind the trunk, close to the base, and aim it up and slightly outward so the light catches the hanging strands from inside the dome. The outer curtain of foliage glows along its edges while the strands nearest the light sparkle, and the whole tree shimmers whenever the breeze moves it. If there's a wall or a hedge behind the tree, even better — you'll get the silhouette and the glow at the same time. Avoid placing the fixture directly under the drip line's lowest strands, which can look harsh and will tangle with growth by midsummer; a foot or two outside the curtain works much better. Warm white flatters the yellow-green of willow, and on a weeping cherry in spring, the backlight turns the last blossom clusters into little lanterns for the two weeks they hang on. Keep the ground under the dome unlit if you sit there — a dark, canopied nook beneath a glowing tree is one of the loveliest seats in any yard I know.
Suggested budget range: $25 – $55.

7. Add a Backlit Shrub Layer for Real Depth
A cross-lit tree floating alone in a dark yard can look like a museum piece on a black stage. The designer's cure is a middle layer: shrubs between the viewer and the tree, backlit at lower intensity so they read as soft, dark mounds against the tree's glow. Place small spotlights or well lights behind the shrubs, aimed up into them or at the backdrop behind them, and keep this layer noticeably dimmer than the hero tree — about half the brightness is a good working rule. The eye then travels in planes: dark lawn, glowing shrub shapes, radiant tree. Foundation shrubs under a front window are perfect candidates, because they already sit between the street and the house. Match color temperatures across all the layers or the effect falls apart; a warm tree behind cool-toned shrubs looks like two different yards arguing with each other. Solar fixtures handle this layer well since the brightness demands are modest, and their stakes disappear right into the mulch. Start with just two shrubs, live with it for a week, then add more — layering is easy to overdo, and restraint is exactly what makes it look expensive.
Suggested budget range: $35 – $75.
8. Glow-Through Backlighting for Japanese Maples and Redbuds
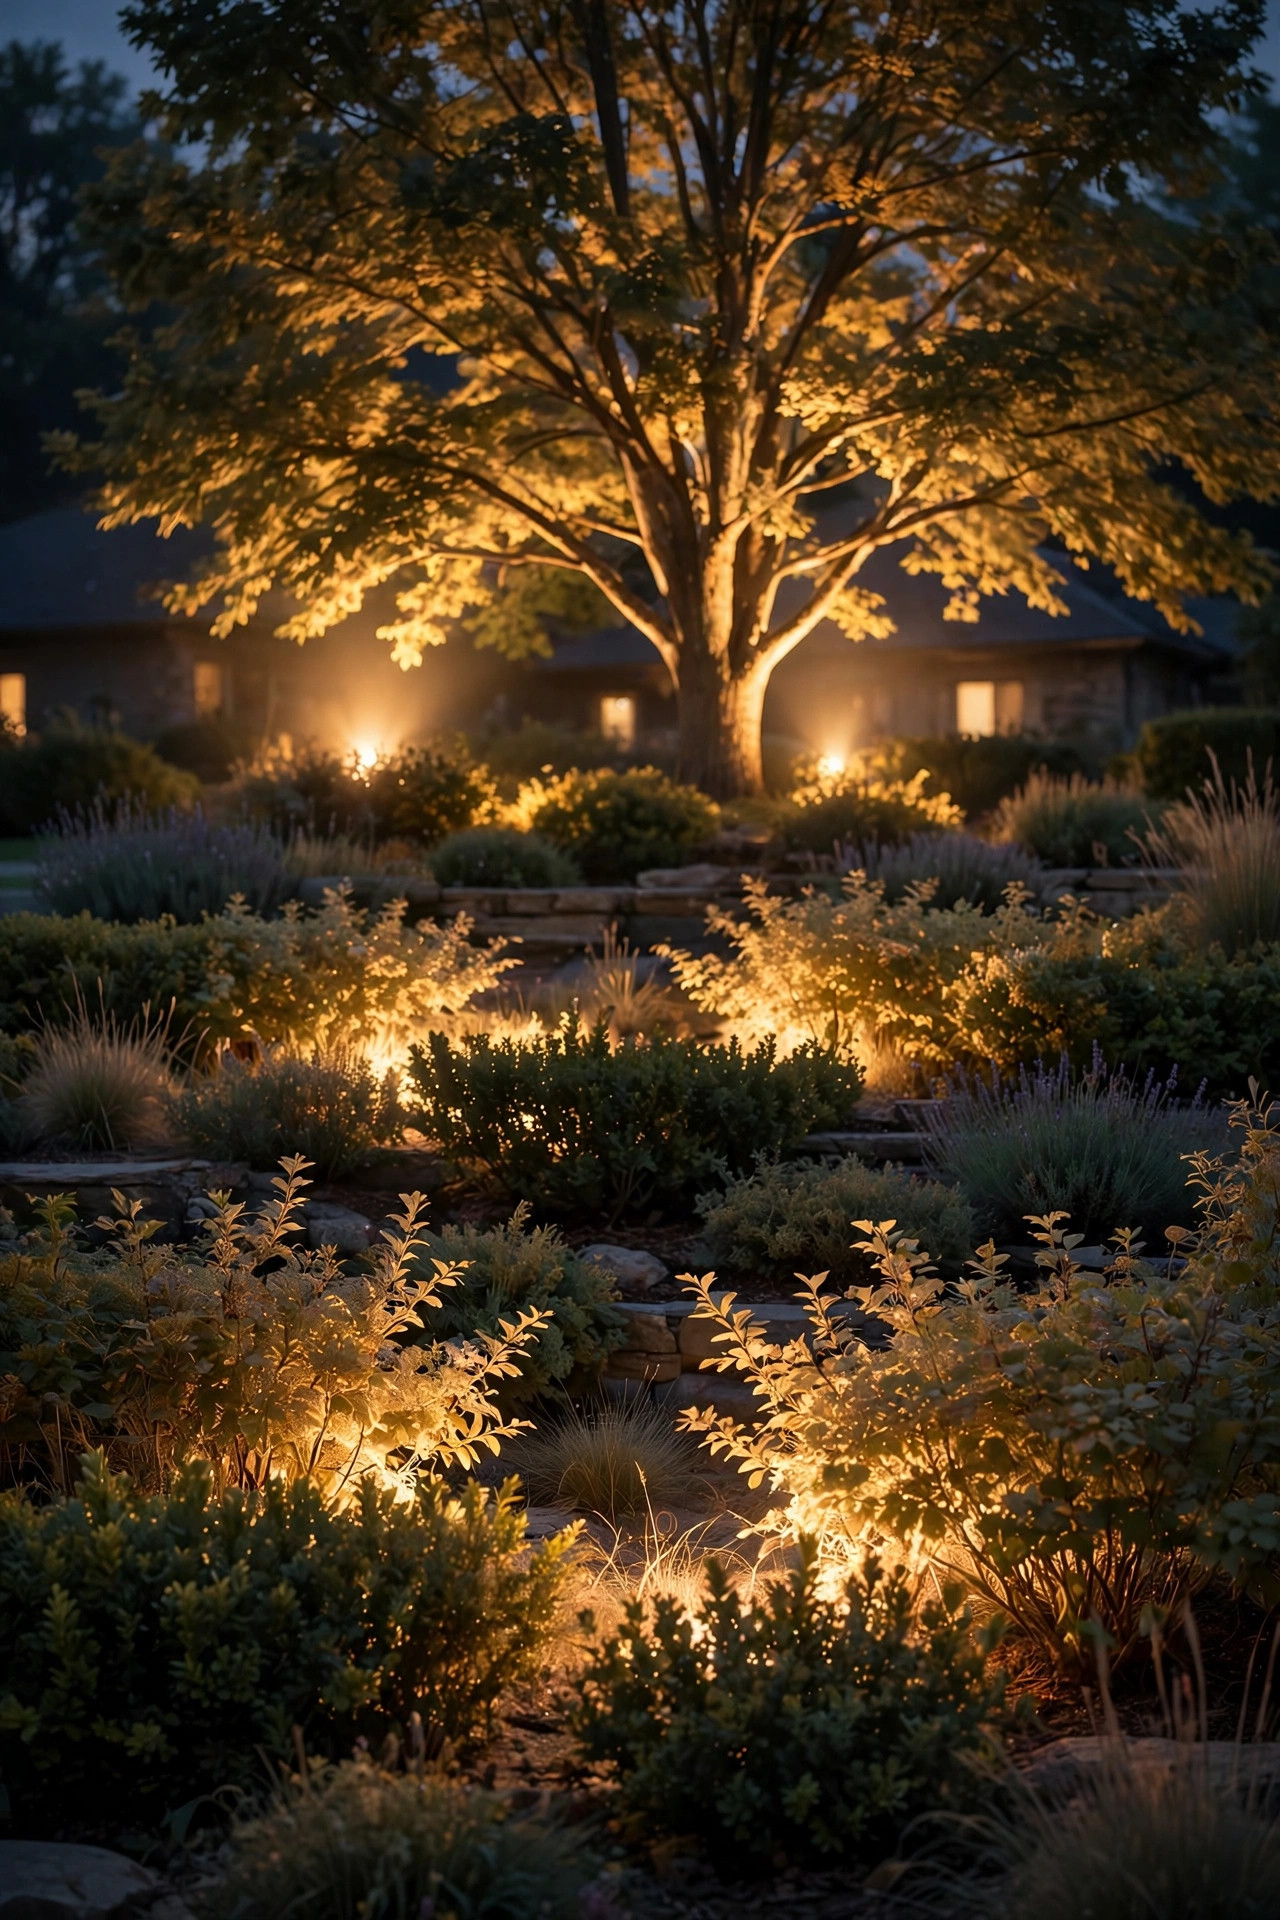
Some leaves are stained glass waiting for a lamp. Japanese maples, redbuds, and serviceberries carry thin, translucent foliage that literally glows when light shines through it from behind. Place your spotlight behind the tree, a foot or two from the trunk, and aim it up into the underside of the canopy so the light radiates outward through the leaves. A red Japanese maple lit this way turns the color of embers — it stops neighbors on the sidewalk, truly. The effect peaks in spring when the leaves are fresh and thin, and again in fall when the reds deepen toward burgundy. Broad, thick leaves like a magnolia's won't glow through at all; for those, use the silhouette treatment from idea 2 and let the shape do the work. Keep the fixture out of the mulch volcano piled around the trunk — a couple of inches of clearance keeps heat and moisture from pressing against the bark. Because the light source hides inside the canopy's own shadow, this is the most glare-free technique on the list, which makes it perfect near bedroom windows and front porches where people actually sit.
Suggested budget range: $20 – $45.

9. Pair Cross-Lights Below With Moonlight Above
Ready for the advanced class? Cross-light your tree from below, then add moonlighting — a downlight mounted high in the canopy itself, shining down through the branches. The uplights model the trunk and crown while the moonlight throws lace-like branch shadows across the lawn, exactly the way a full moon does on a clear night. Together they give a tree the dimensionality of a stage set, and guests always end up asking who my "lighting person" is. My full moonlighting trees guide walks through mounting heights and fixture choices in detail. Now the honest fine print: mounting a fixture 15 to 20 feet up means a tall ladder, a tree-friendly strap mount (never screws into a healthy tree if you can possibly avoid it), and wire run discreetly down the back side of the trunk. Plenty of people hire an arborist or an electrician for this one step, and I count that money well spent. Use a cooler-neutral bulb up high if you want a true moonlight feel, or keep it warm to match the uplights below — both work, but pick one story and tell it consistently.
Suggested budget range: $120 – $250.
10. Backlight a Privacy Row Into a Glowing Green Wall
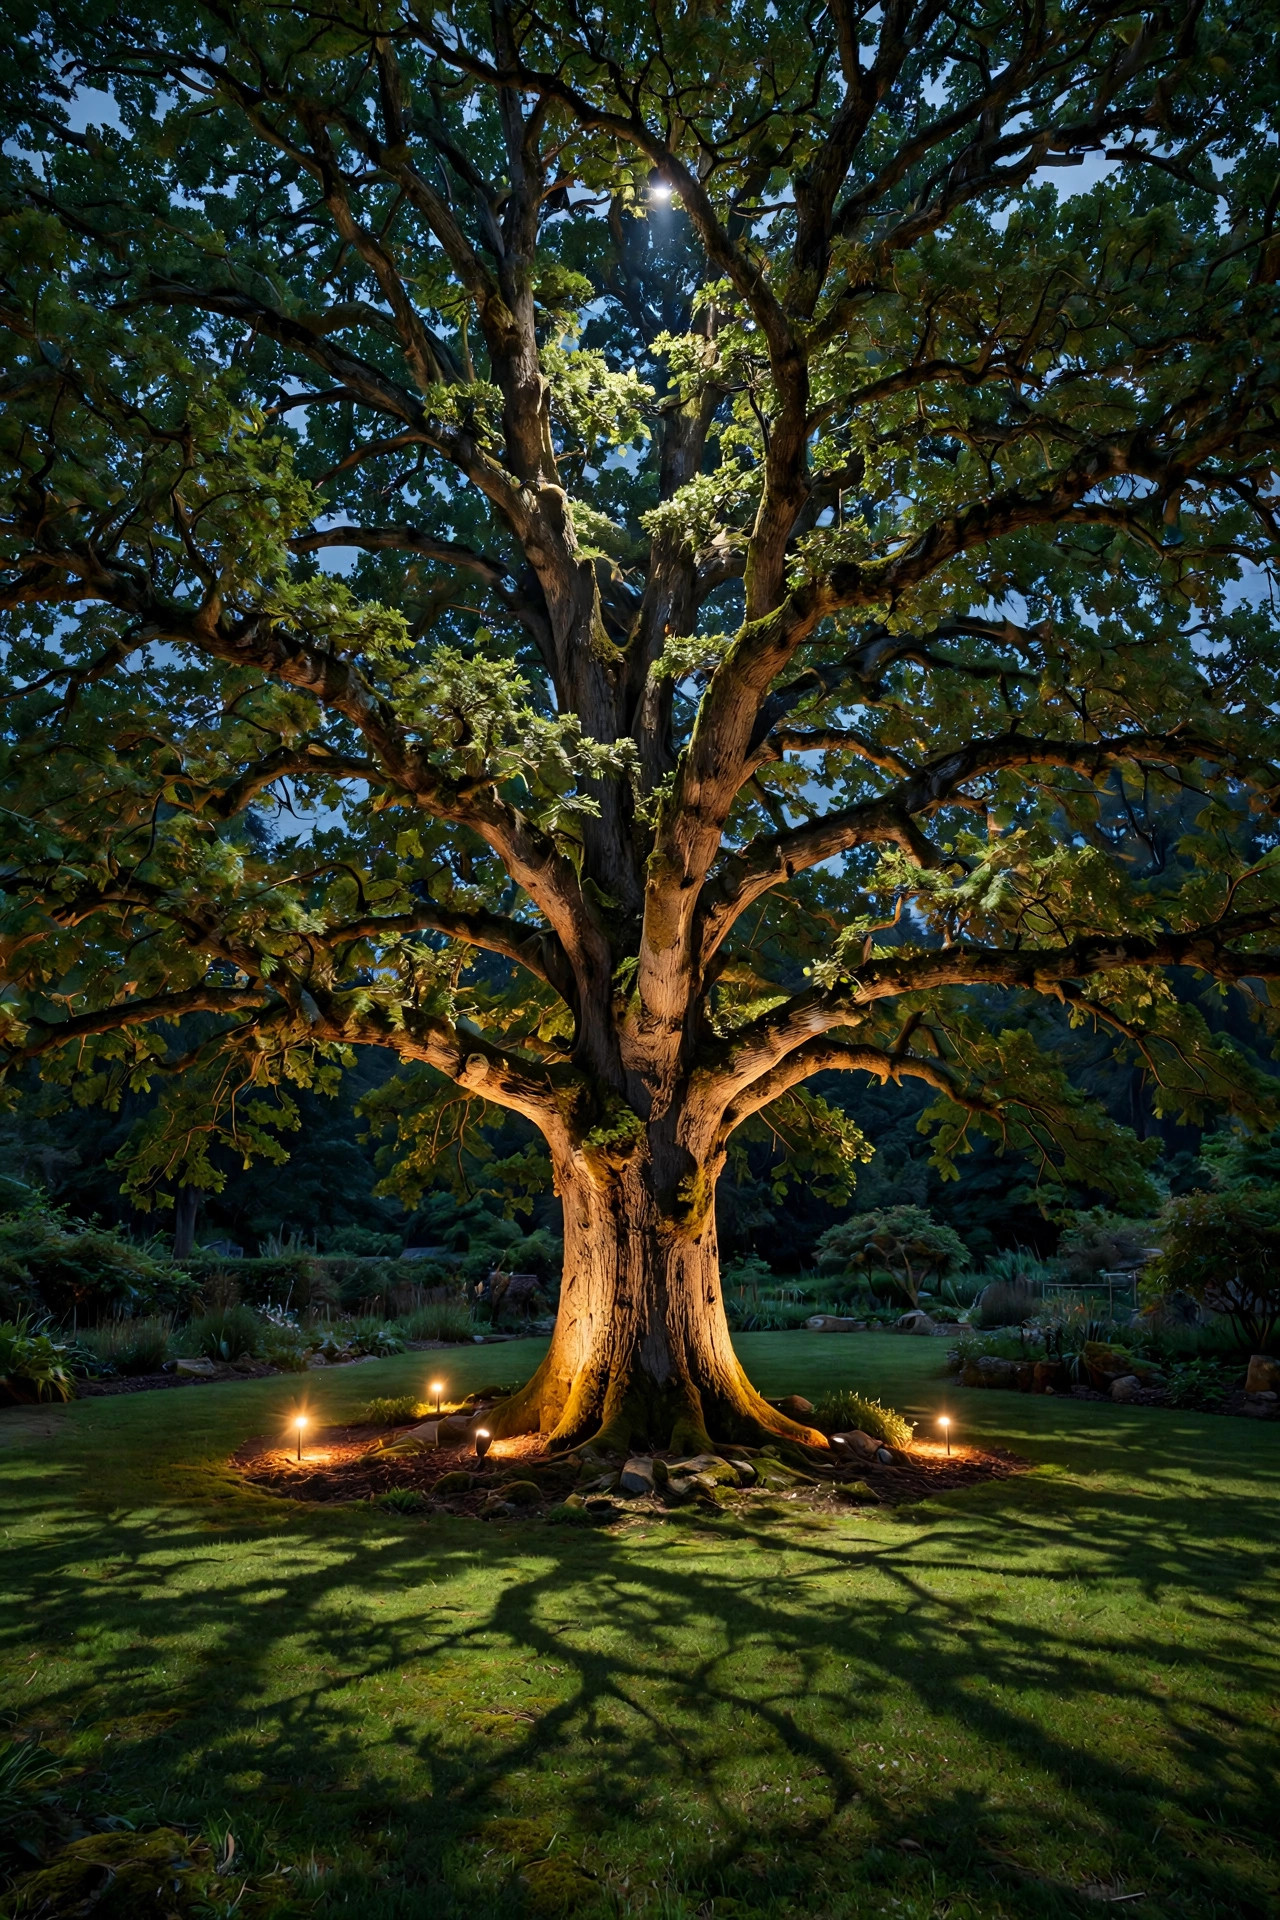
A row of arborvitae or Leyland cypress is a wall by day — make it a glowing wall by night. Run fixtures along the back side of the row, one every 8 to 10 feet, aimed either up into the foliage from behind or at the fence behind the trees, so each trunk and branch plane stands out in relief. From your patio, the row reads as a continuous ribbon of light and shadow instead of a flat black void, and the yard instantly feels deeper than it is. Because these fixtures hide behind the planting, solar stakes are tempting, but panels back there rarely see enough sun to charge — wired low-voltage earns its keep on this one. Be a good neighbor while you're at it: backlighting near a property line can spill into next door's windows, so aim low, shield the fixtures, and put the row on a timer that shuts off by 11 p.m. The light also does quiet security work, erasing that dark corridor along the fence where someone could stand unseen. Evergreens carry this look all winter long, which is when most yards need it most.
Suggested budget range: $60 – $140.
11. Light a Leaning Tree Asymmetrically
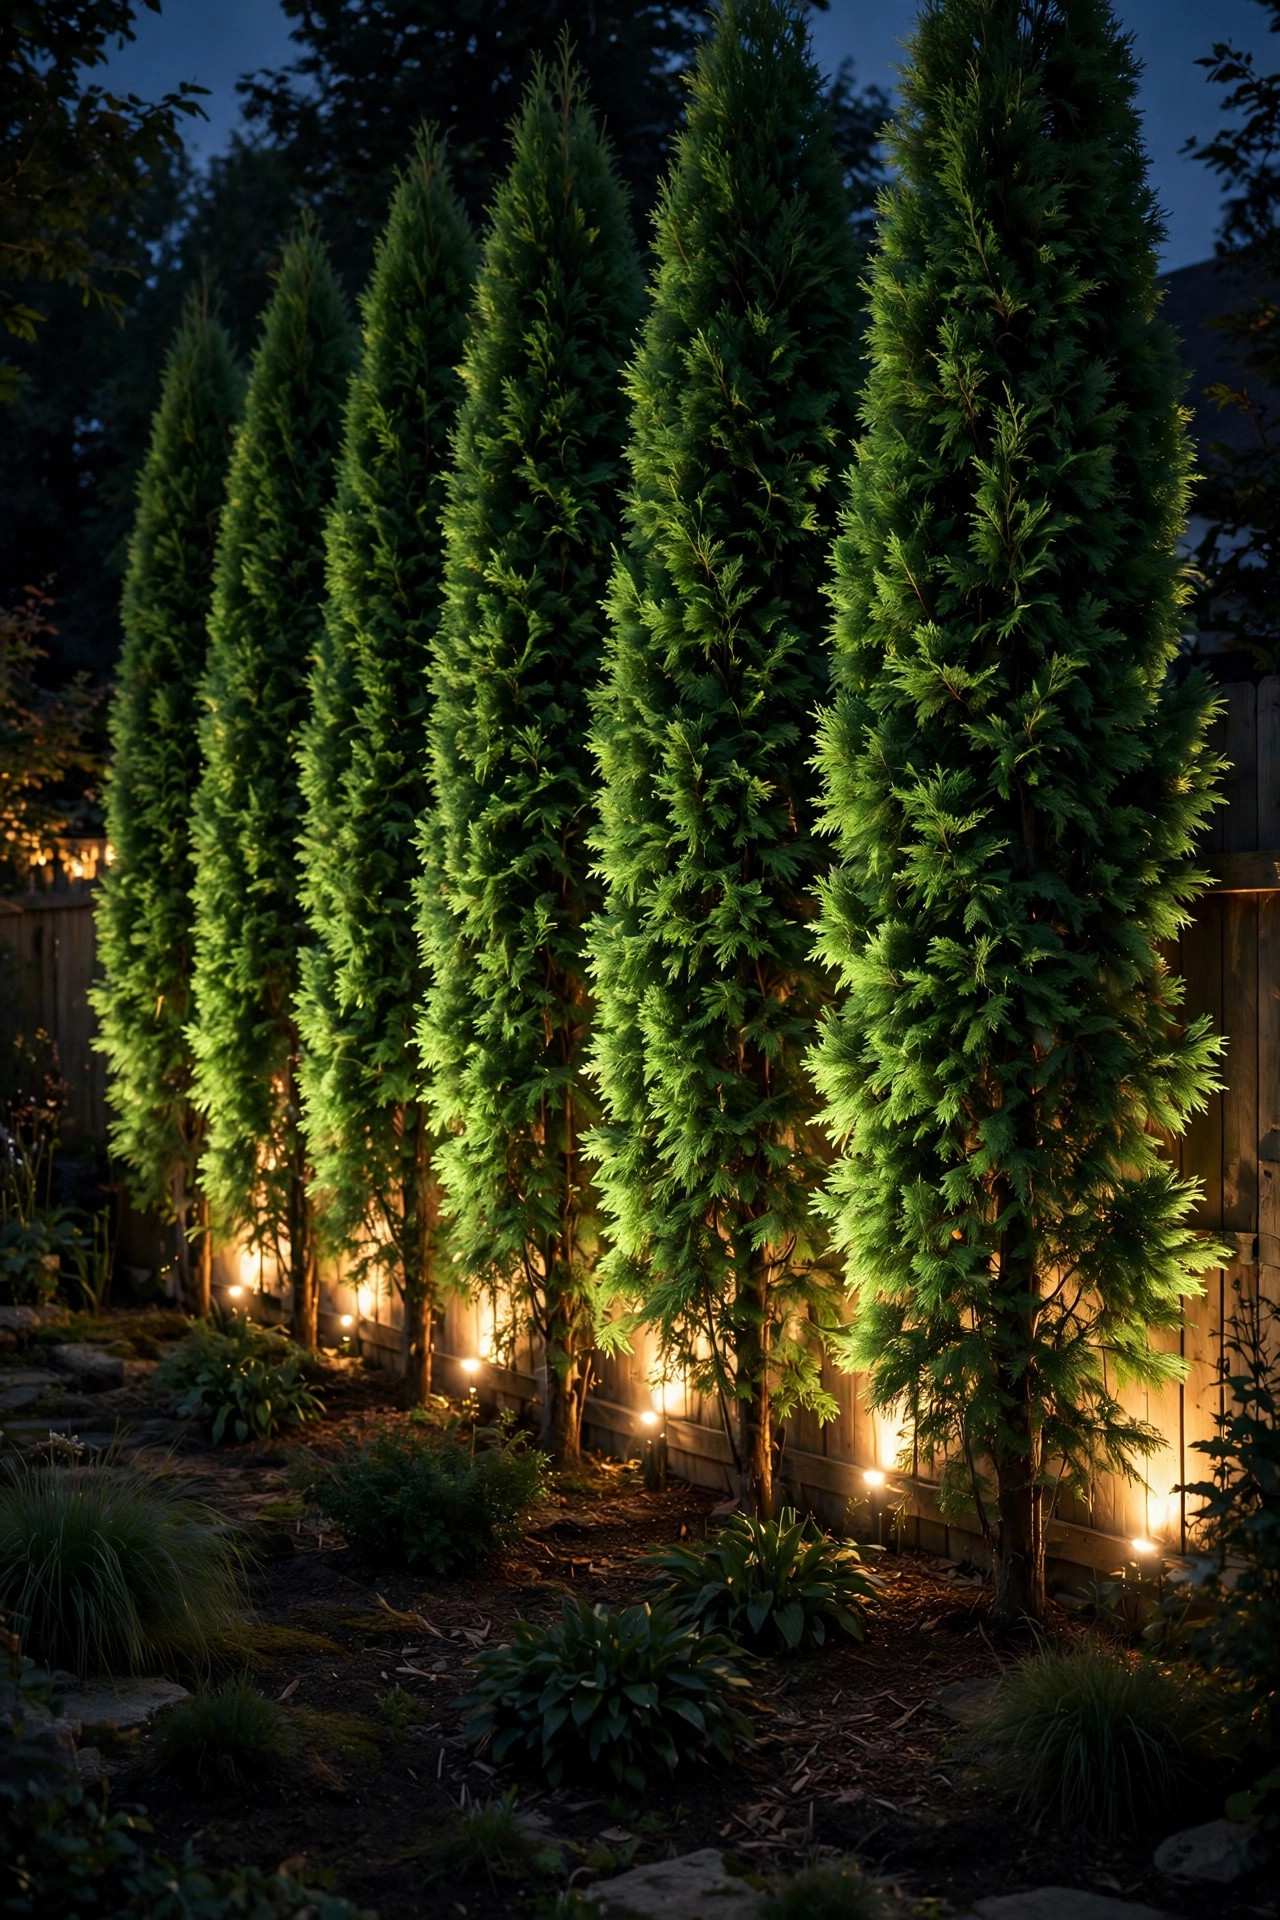
Not every tree grows straight, and the crooked ones — the leaning pine, the old apple with a permanent stoop — have the most character after dark, if you light with their shape instead of against it. Skip the symmetric cross entirely. Put your main spotlight on the side the tree leans toward, low and close, so the beam rakes along the bent trunk and exaggerates that wonderful diagonal. Then add a much dimmer fill light from the opposite side — a third of the main light's brightness is plenty — just to keep the back of the canopy from going completely black. The result looks like the tree is caught mid-gesture, frozen in light. Photographers call this lighting the short side, and it works on any sculptural tree: contorted willows, windswept junipers, multi-stemmed olives in big pots or mild climates. Spend a full evening testing before you bury any cable; move the main light a few inches at a time and watch the trunk's shadow lines shift across the bark. Character trees forgive almost any angle except dead-center front light, which flattens the very crookedness you fell in love with. Trust the lean.
Suggested budget range: $40 – $85.

12. Backlight Bare Branches for Winter Drama
When the leaves drop, most people assume tree lighting season is over. Honestly? Bare branches backlight even better than full canopies. Place a spotlight several feet behind the tree — farther back than you'd set it in summer, a good 4 to 6 feet — and aim it up through the branch structure toward the sky or a dark backdrop. Every fork and twig draws itself in black against the glow, like something cut from a woodcut print. Snow makes it better still: fresh snow resting on the branches catches the backlight and sparkles, and snow on the ground bounces extra light up into the canopy for free. You can often drop to a dimmer fixture in winter and get the same effect. Oaks, with their heavy horizontal limbs, are the undisputed champions of this look, and a mature elm's vase shape runs a close second. If your backdrop happens to be a stand of dark evergreens, the contrast doubles. This is also the one season I nudge the color temperature slightly cooler — 3000K to 3500K reads crisp and wintry against snow, while still staying far away from blue-white glare.
Suggested budget range: $20 – $50.
13. One Soft Beam Per Trunk on Multi-Trunk Trees
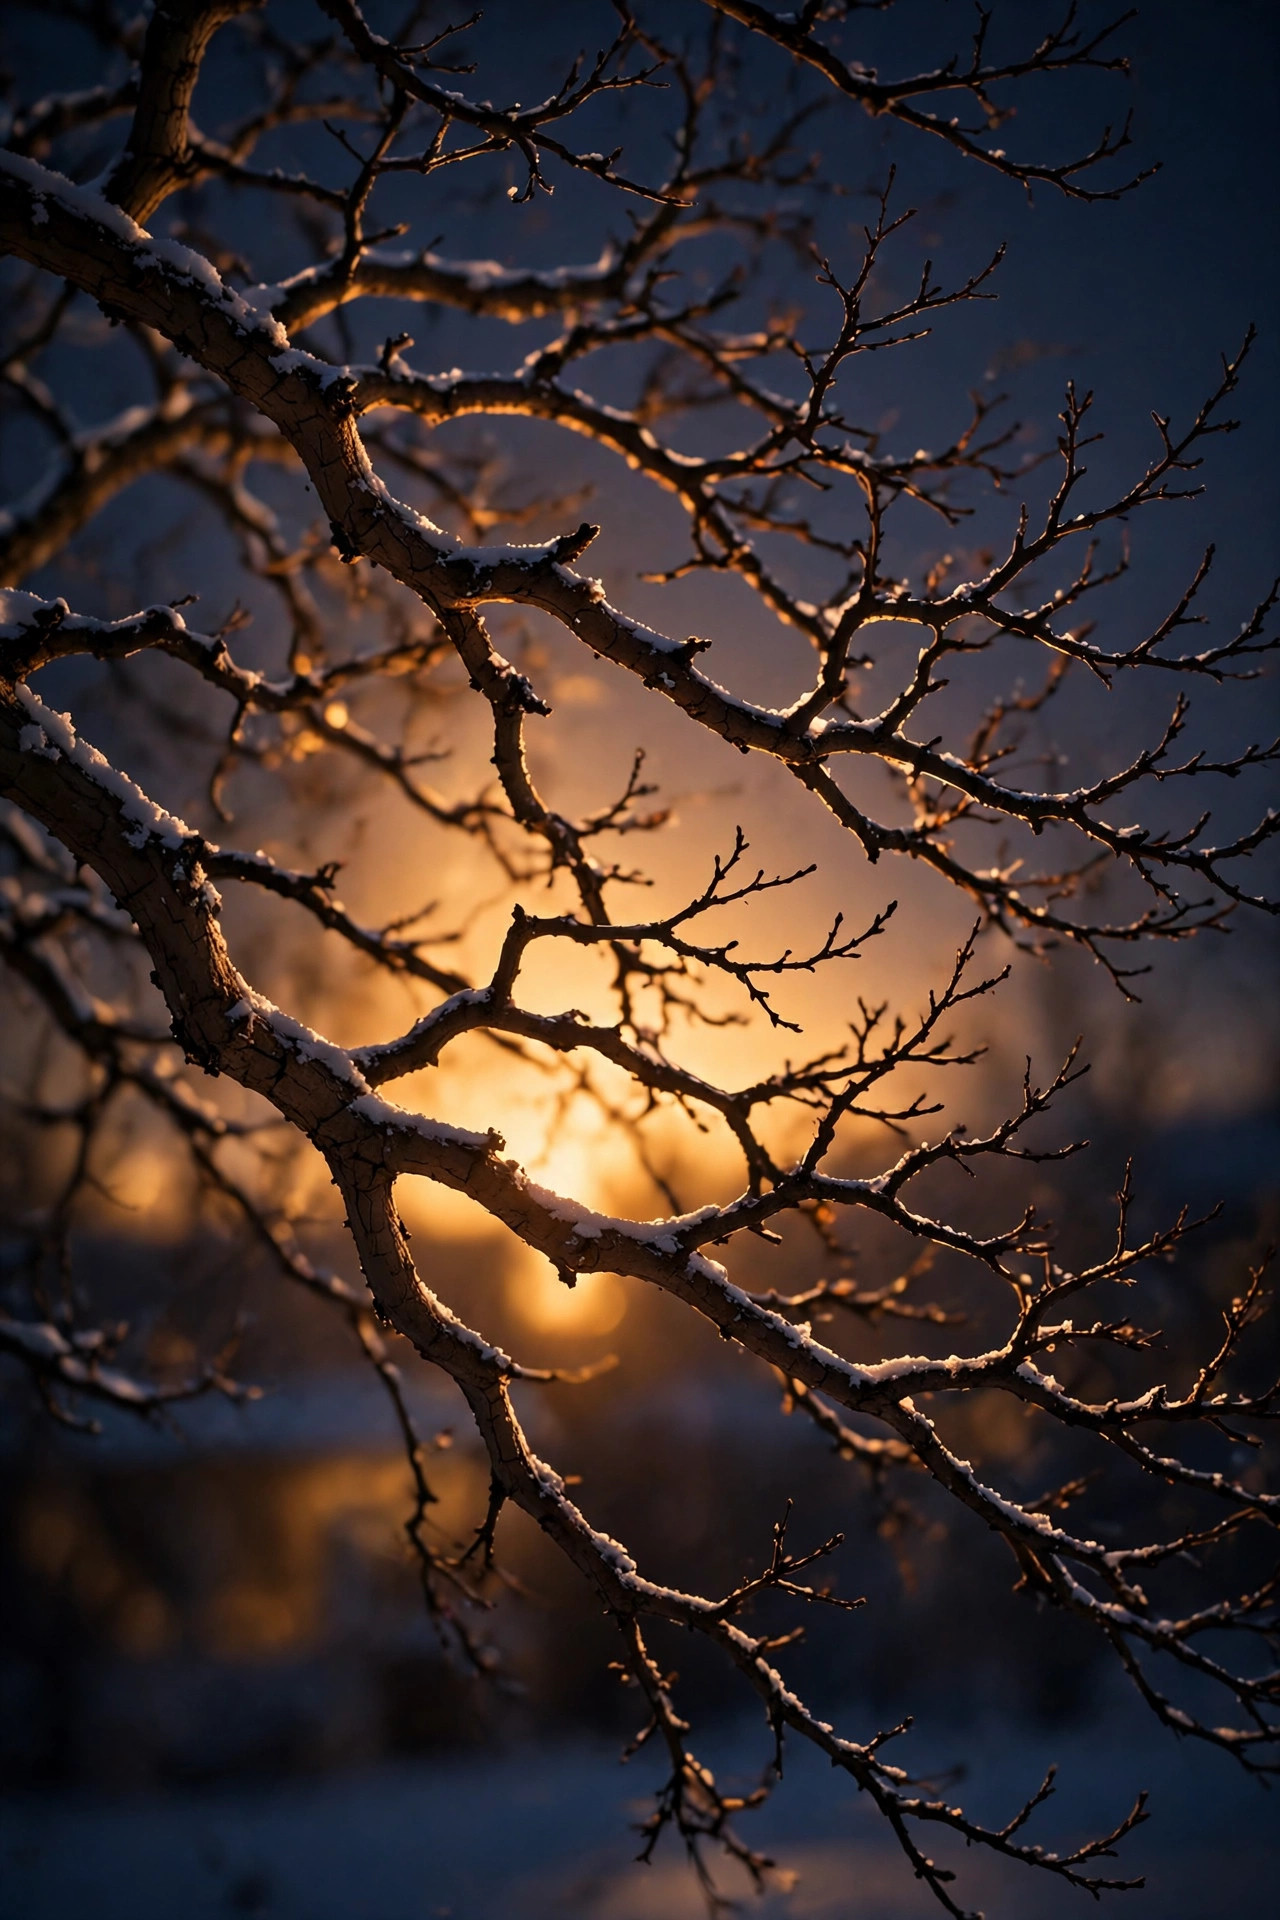
Crepe myrtles, river birches, and clumping palms break the two-light rule because they don't have one trunk — they have three, five, seven. The trick is one soft beam per trunk rather than two strong beams overall. Use smaller fixtures at reduced brightness, one staked about a foot out from each main trunk and aimed up its length, letting the separate beams merge in the shared canopy above. River birch is the showpiece here: warm light on that peeling, papery bark is pure texture, and aiming the trunk lights to cross slightly makes the bark ridges cast tiny shadows of their own. A crepe myrtle's smooth, muscular trunks take a tighter, more vertical beam. Resist flooding the center of the cluster, which just turns into a white blob; the beauty lives in the individual glowing columns. Buy the fixtures in multi-packs to keep the per-light cost sane, and put the whole cluster on one circuit so the trunks always switch on together at dusk. In winter, when birch and crepe myrtle stand bare, this exact setup slides straight into the silhouette trick from idea 12 without moving a single stake.
Suggested budget range: $50 – $110.

14. Backlight Trees Behind Seating for Glare-Free Glow
If your prettiest tree stands behind your patio chairs, backlighting isn't just an effect — it's good manners. A fixture placed on the far side of the tree, shining toward the seating area but blocked by the trunk and canopy, gives you a glowing halo to look at without a single bulb in your eyes. Compare that with front-lighting the same tree, which aims two spotlights straight at your guests' faces like an interrogation lamp. Position yourself in the actual chairs at night and check every viewing angle; you should see glow, never the fixture itself. If a sliver of direct light sneaks through the branches, a glare shield or one well-placed shrub fixes it. A dimmer or a smart timer earns its place here too — drop the backlight to half strength during dinner, then let it bloom back up afterward. There's a bonus nobody mentions: insects gather at the light source, and a source on the far side of the tree keeps them over there, away from your plate. Comfort is a design feature, and this is the most comfortable tree lighting I know.
Suggested budget range: $30 – $70.

15. Combine Cross Lighting and Backlighting in One Layered Scene
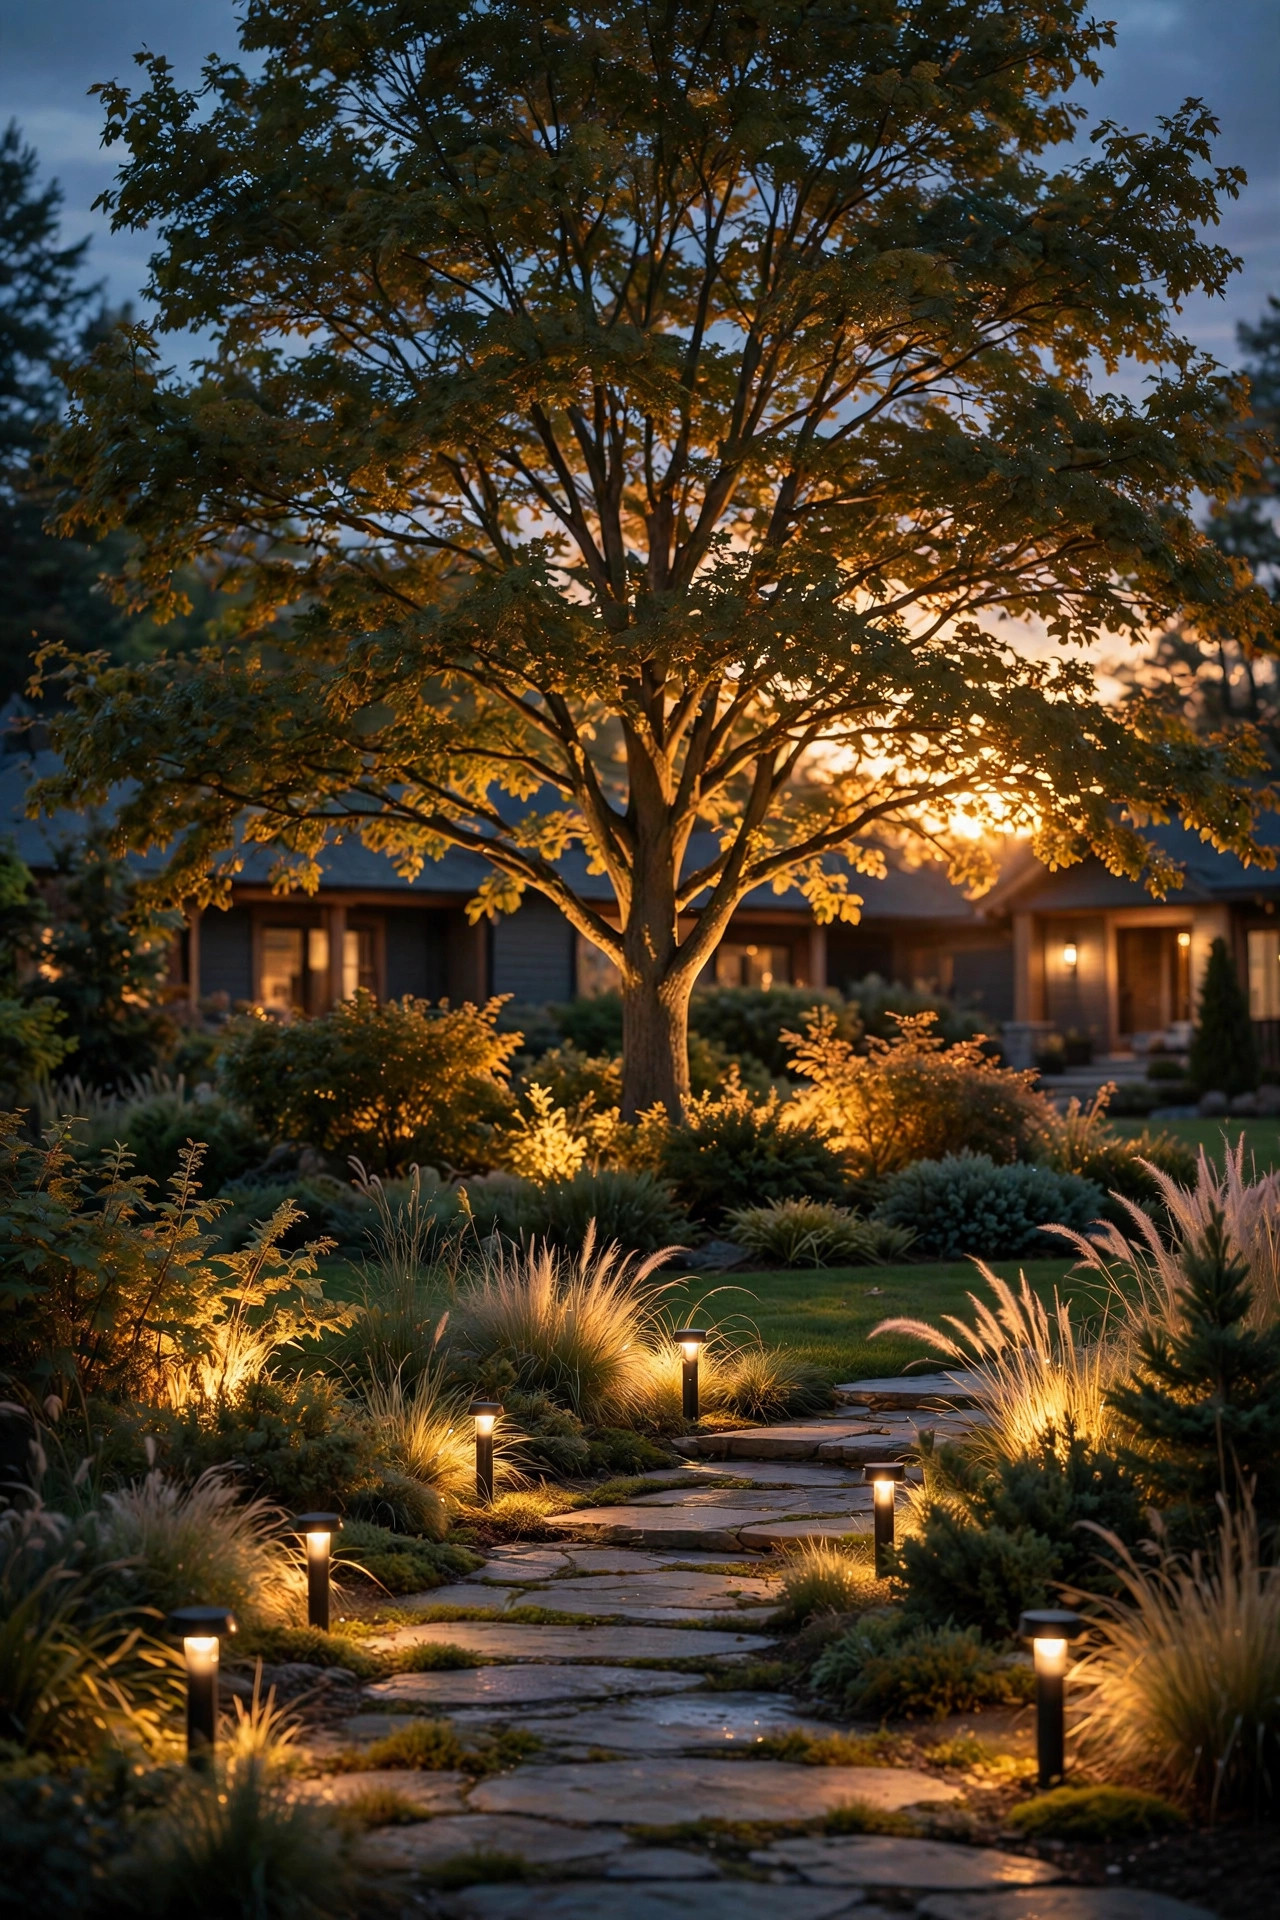
Here's how it all comes together in my own front yard — the full layer, in the order I'd build it. First, cross-light the hero tree with two warm spotlights (idea 1) so it has real shape and presence. Second, backlight the middle layer: the shrubs or the small maple behind and beside it get their own dimmer glow (ideas 7 and 8), so the scene has depth instead of a single bright actor on a dark stage. Third, ground the whole composition with a few low path lights or a soft moonlit wash, so the eye has a floor to rest on. Keep every fixture in the same warm family — I mix nothing cooler than 3000K anywhere in the yard — and run the whole scene on one timer so it ignites as a single picture at dusk. My deeper walkthrough of building scenes like this lives in my guide to layered landscape lighting, including how to phase the purchases across a season. Build it in stages over a few weekends, live with each layer for a week before adding the next, and stop one layer sooner than you think you should. That's the whole secret, honestly: cross-light for shape, backlight for magic, and quit while it still looks effortless.
Suggested budget range: $150 – $300.
Frequently Asked Questions
What's the difference between cross-lighting and backlighting a tree?
Cross-lighting uses two or more fixtures in front of and beside the tree, aimed so their beams cross each other — it reveals shape, bark texture, and depth. Backlighting puts the fixture behind the tree, so the foliage goes dark and dramatic against a halo of light, or the leaves themselves glow from within. Most designer-quality scenes use both: cross-light the star tree, backlight the supporting players around it.
How many lumens do I need to cross-light or backlight a tree?
For a small ornamental tree, 100 to 200 lumens per fixture is plenty. A medium shade tree wants 200 to 400 per fixture, and a large canopy needs 400 to 600 — or three fixtures sharing the job. Whatever the brightness, keep every fixture on a tree at the same color temperature, ideally 2700K to 3000K warm white, so the light reads as one design.
How far from the trunk should I place the fixtures?
For cross-lighting, stake uplights 12 to 24 inches from the trunk and angle them 30 to 45 degrees so the beams overlap in the canopy. For backlighting, set the fixture 2 to 6 feet behind the trunk, aimed either at a wall or fence 4 to 10 feet beyond, or up into the canopy's underside. Always do your final aiming after dark — distances that look right at noon rarely are.
Can I cross-light trees with solar lights, or do I need wired ones?
Solar spotlights work genuinely well for small trees, fence silhouettes, and shrub layers, especially models with a separate panel you can place in full sun. For big cross-lighting jobs, wired low-voltage wins on brightness and consistency, since panels tucked under a canopy rarely charge fully. Plenty of beautiful yards mix both — wired for the hero trees, solar for the accents — and nobody can tell the difference at night.
Conclusion
Once you see what cross lighting and backlighting can do to an ordinary tree — real shape from the front, pure magic from behind — a single uplight will never satisfy you again. Start with the two-light cross on your best tree this weekend; it takes twenty minutes and one trip to the hardware store. Then wander through the other lighting ideas here on the site for the paths, porches, and garden beds that will complete the picture. Your trees have been performing in the dark for years — it's time they got an audience.