If you've ever opened one of those thin HOA envelopes with your stomach already sinking, you know exactly why hoa friendly front yard lighting matters. Most boards aren't anti-lighting — they're anti-glare, anti-clutter, and anti "one house glowing like a stadium while the rest of the street sleeps." Honestly? Once I understood that, designing around the rules got easy. The formula is simple: uniform fixtures, warm light aimed down or in, nothing visible and messy during the day, and everything on a timer. It's the same layering philosophy I use everywhere — a soft path layer, one gentle accent layer, a welcoming porch layer — just edited down to its tidiest, quietest version. Below are 17 ideas that have kept my yard glowing and my mailbox free of violation letters, each with placement tips and an honest budget range.
1. Uniform Low-Voltage Path Lights in One Finish
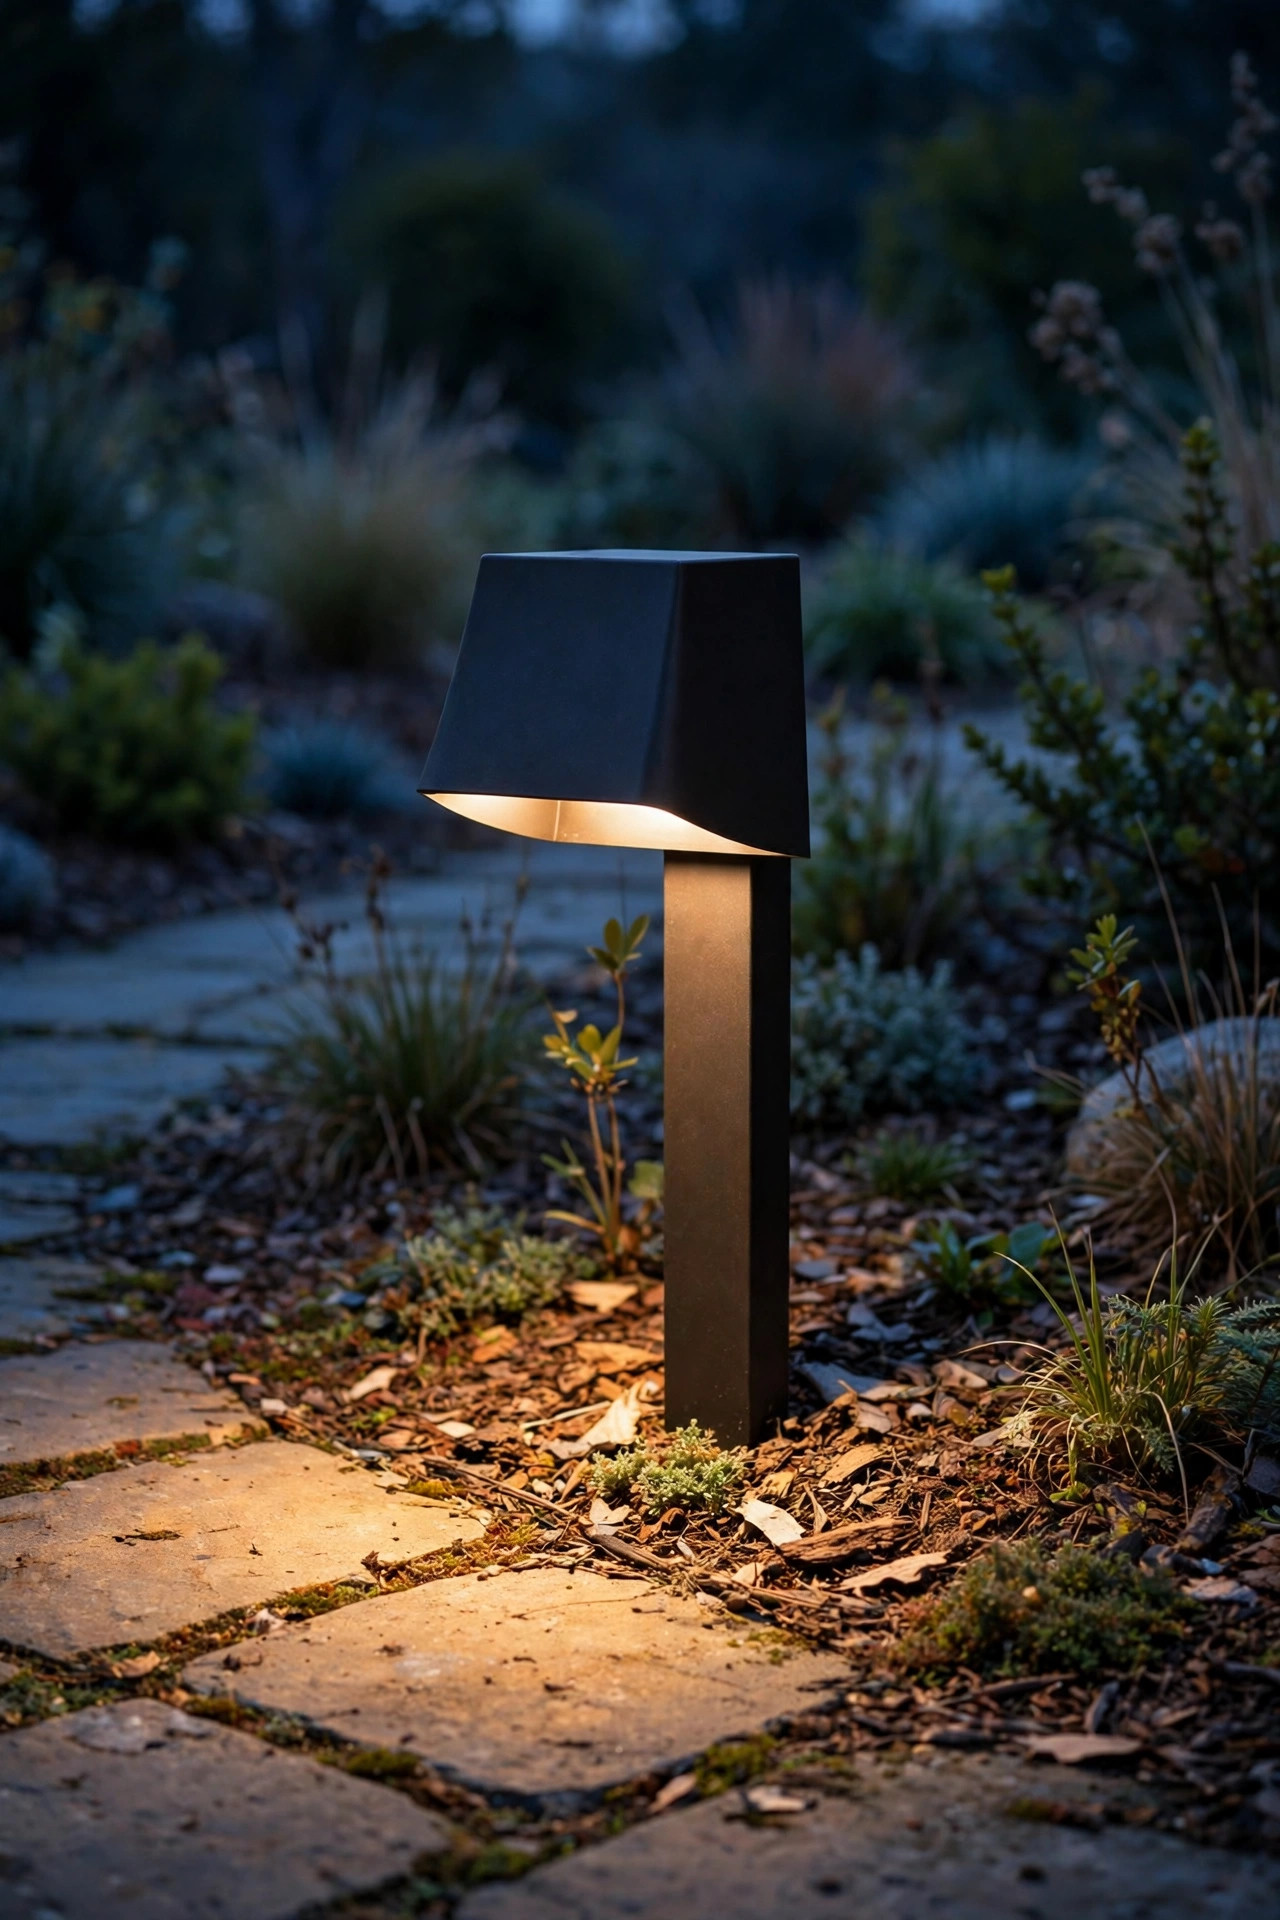
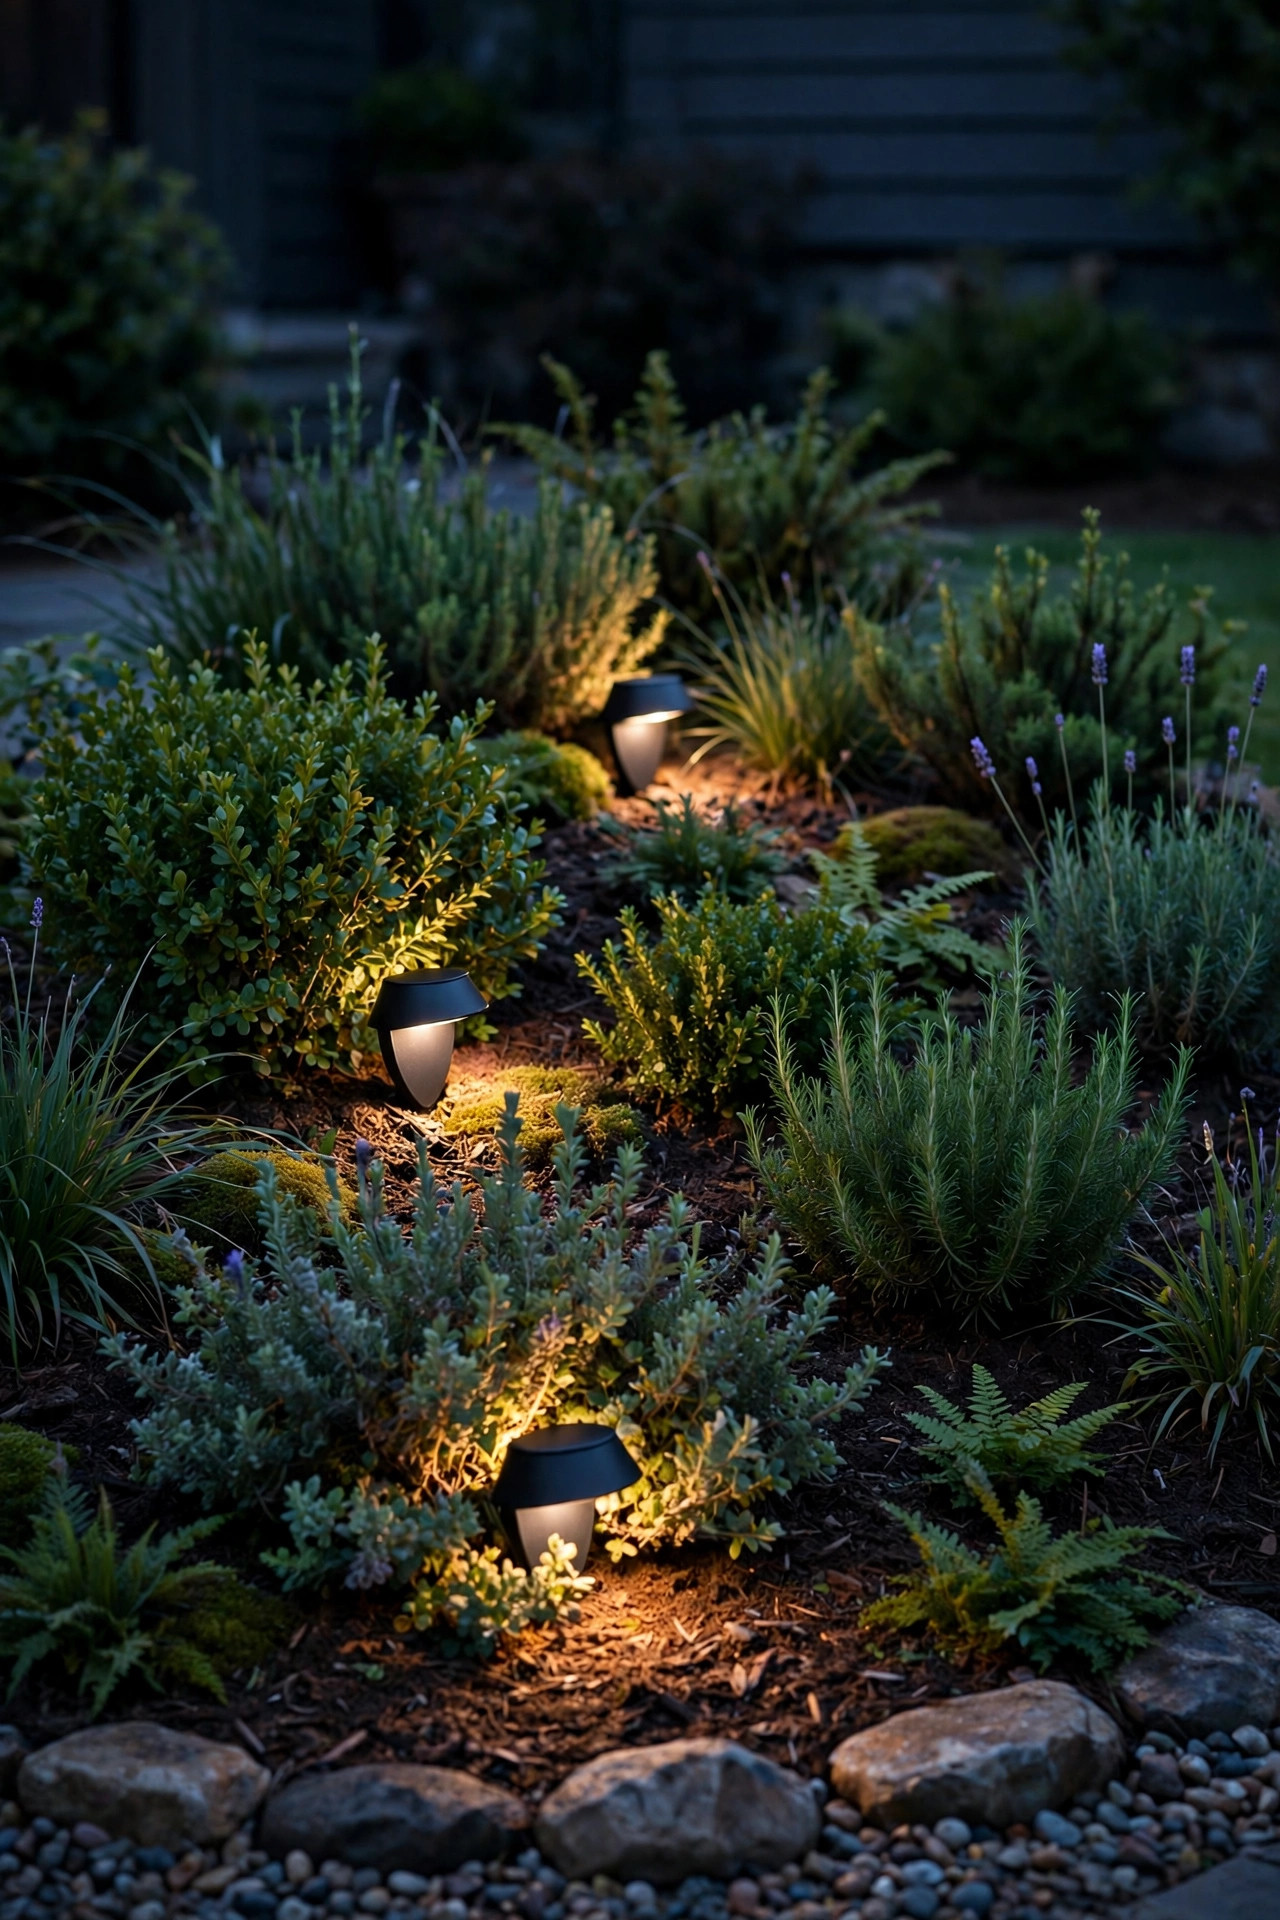
Nothing reads "compliant" faster than a matched set. Choose one low-voltage path light style — a simple matte black or oil-rubbed bronze mushroom or lantern shape — and repeat it down both sides of your walkway or along one side only. Matching fixtures look intentional and architectural, which is precisely what architectural review committees want to see. Space them evenly, about 6 to 8 feet apart, and stagger them slightly if your walk curves. Keep each light modest: 100 to 200 lumens is plenty for a walkway, and low-voltage LED fixtures in the 2700K range give that warm, candlelit feel without any spill into the street. Run the cable in a shallow trench along the bed edge and bury it 6 inches down so nothing shows by day. In my experience, the single biggest mistake is mixing finishes or heights from different shopping trips — buy two spares from the same set now, because that exact model will be discontinued the moment one gets clipped by a mower. A tidy, symmetrical run of identical lights is the safest first project in any HOA neighborhood. Suggested budget range: $120 – $300.

2. Fully Shielded Fixtures: The Heart of HOA Friendly Front Yard Lighting
If your CC&Rs mention lighting at all, they almost certainly mention glare — and shielded fixtures are the answer. A full-cutoff or fully shielded fixture hides the bulb behind a solid cap or louver so light travels down onto your walkway, beds, and lawn instead of sideways into a neighbor's bedroom window or a driver's eyes. From the street, you see the glow, never the bare bulb, and that one detail prevents most complaints. Look for fixtures described as "dark-sky friendly" with the source recessed up inside the housing. When you install, stand at the property line and at the street and check your sight lines — if you can see the bright element itself from either spot, tilt or reposition until you can't. I apply the same test to spotlights: the beam should land entirely on your own house, tree, or planting bed, with the edge of the beam stopping well short of the sidewalk. My deeper dive into dark-sky friendly outdoor lighting explains shielding and placement rules in detail if your HOA's guidelines use that language. Shielding is the cheapest insurance policy in this entire list. Suggested budget range: $80 – $240.
3. Warm 2700K Bulbs, Everywhere, No Exceptions
Color temperature is where lovely yards get flagged. One porch bulb at 5000K daylight blue-white next to warm landscape lighting looks like a gas station, and harsh blue light is what neighbors actually complain about. HOA friendly front yard lighting is warm front yard lighting: 2700K across every fixture, from the porch sconce to the smallest path light. If a fixture has a selectable color setting, lock it to 2700K before it goes in the ground. Mismatched color is also the first thing that makes an installation look DIY — the eye reads consistency as quality. While you're at it, keep brightness consistent too: a single overpowered bulb in a row of gentle ones draws the eye for all the wrong reasons. LED filament-style bulbs give a classic warm look in open lantern fixtures, and integrated LED landscape fixtures are almost always sold in 2700K or 3000K — either is fine, just don't mix the two in the same view. Swapping a handful of cool-white bulbs for warm ones is the fastest, cheapest compliance upgrade there is. Suggested budget range: $25 – $80.

4. Flush In-Ground Well Lights That Vanish by Day
Many HOA rules regulate what's visible from the street — and during the day, a well light simply isn't. These fixtures sit in a sleeve buried flush with the soil, mulch, or turf, so there's no stake, no stem, nothing for the architectural committee to object to and nothing for you to mow around. At night they wash a trunk, a column, or a stretch of facade with a soft upward glow that looks far more expensive than it is. Choose sealed, gasketed housings rated for direct burial; cheap open wells collect mulch and water and die young. A model with an adjustable internal gimbal lets you tilt the beam a few degrees after burial, which matters because you can't nudge a buried fixture the way you can a staked one. Add a louvered or honeycomb lens if the light sits where people walk, to cut glare at ankle height. In my experience, one well light 18 to 24 inches out from a trunk or wall gives the cleanest wash. Set it, aim it, mulch over the cable, and the whole installation disappears until dusk. Suggested budget range: $90 – $220.
5. One Statement Tree, Softly Uplit
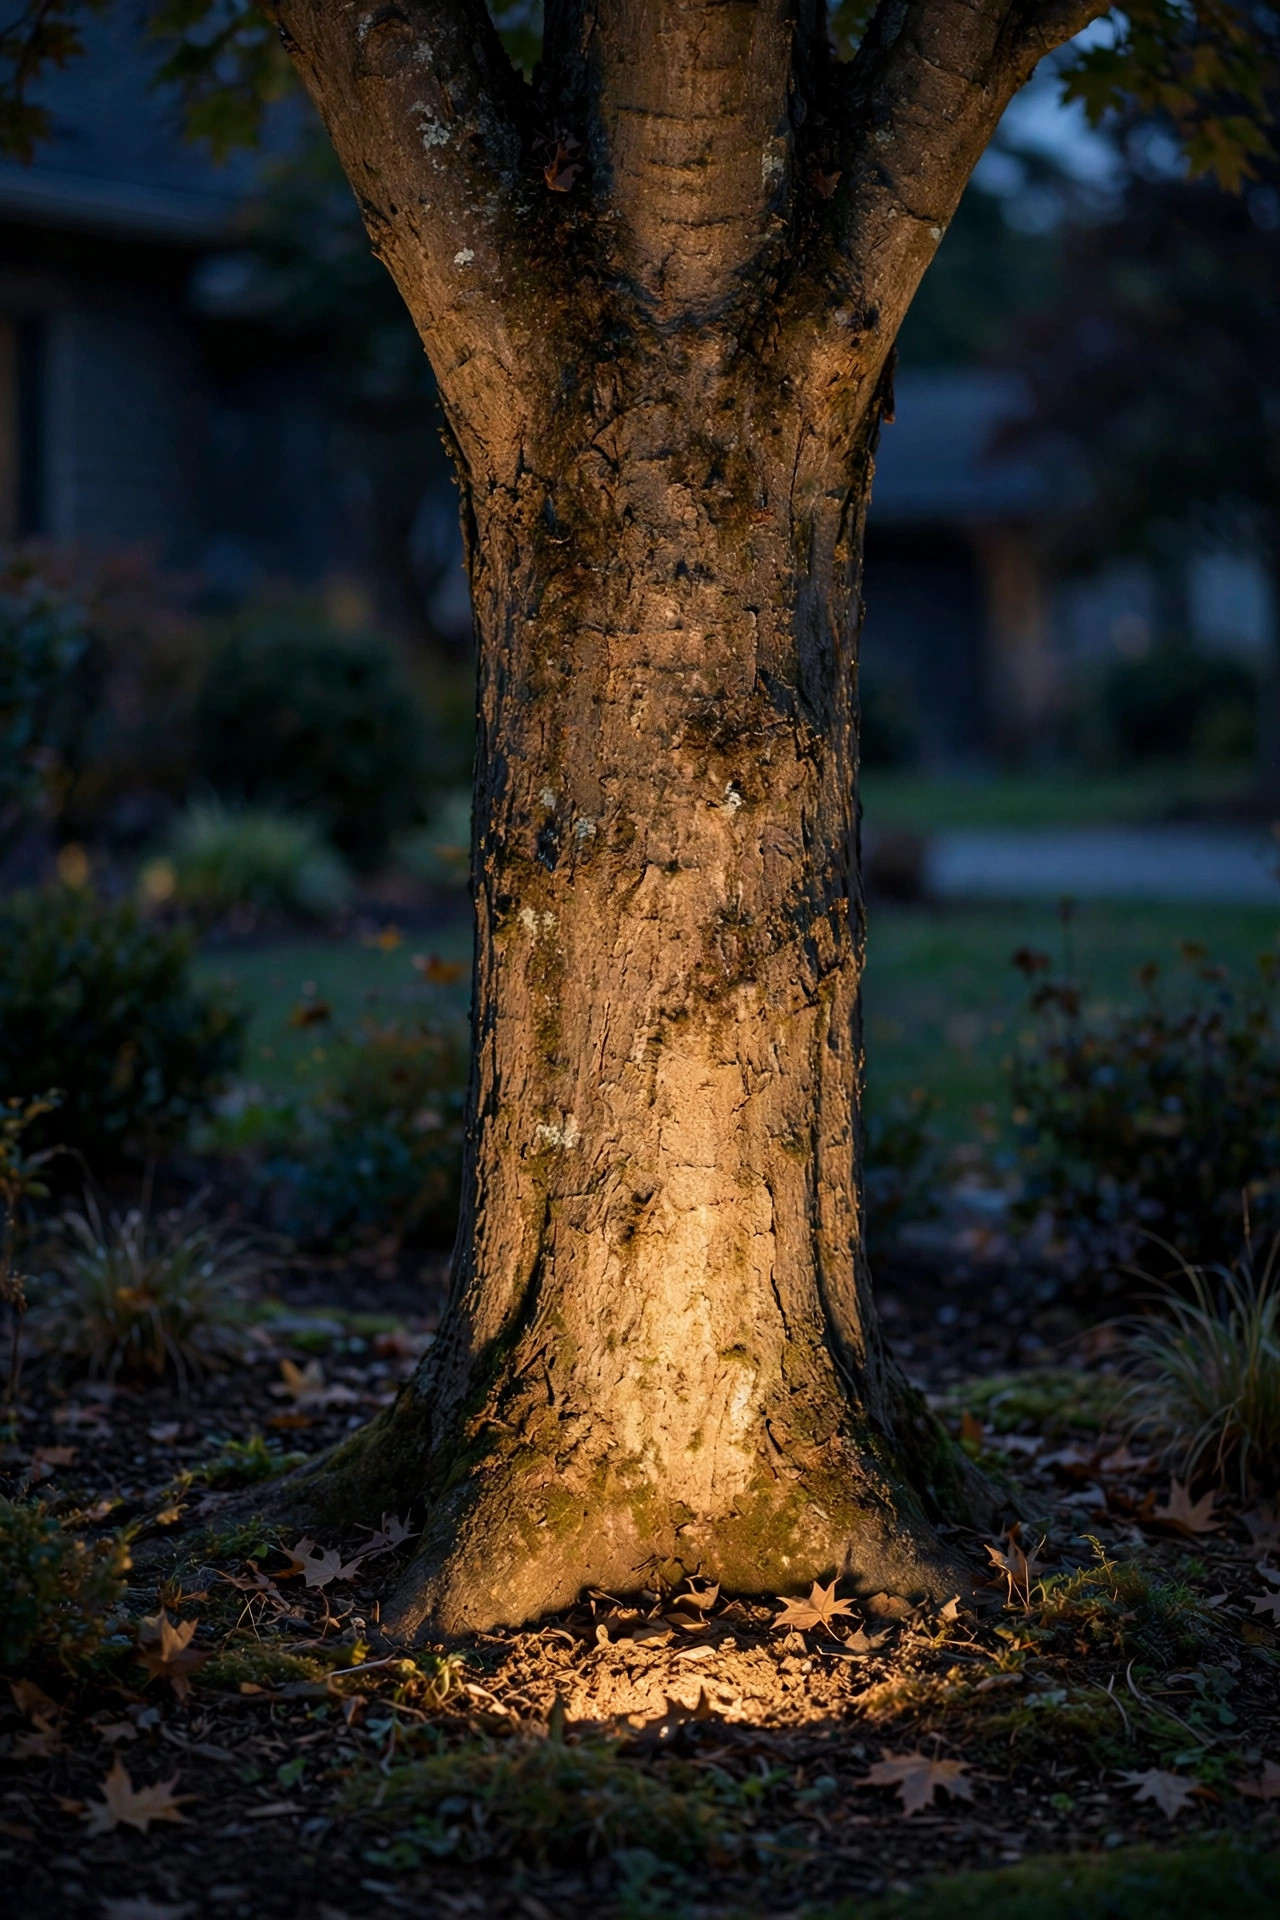
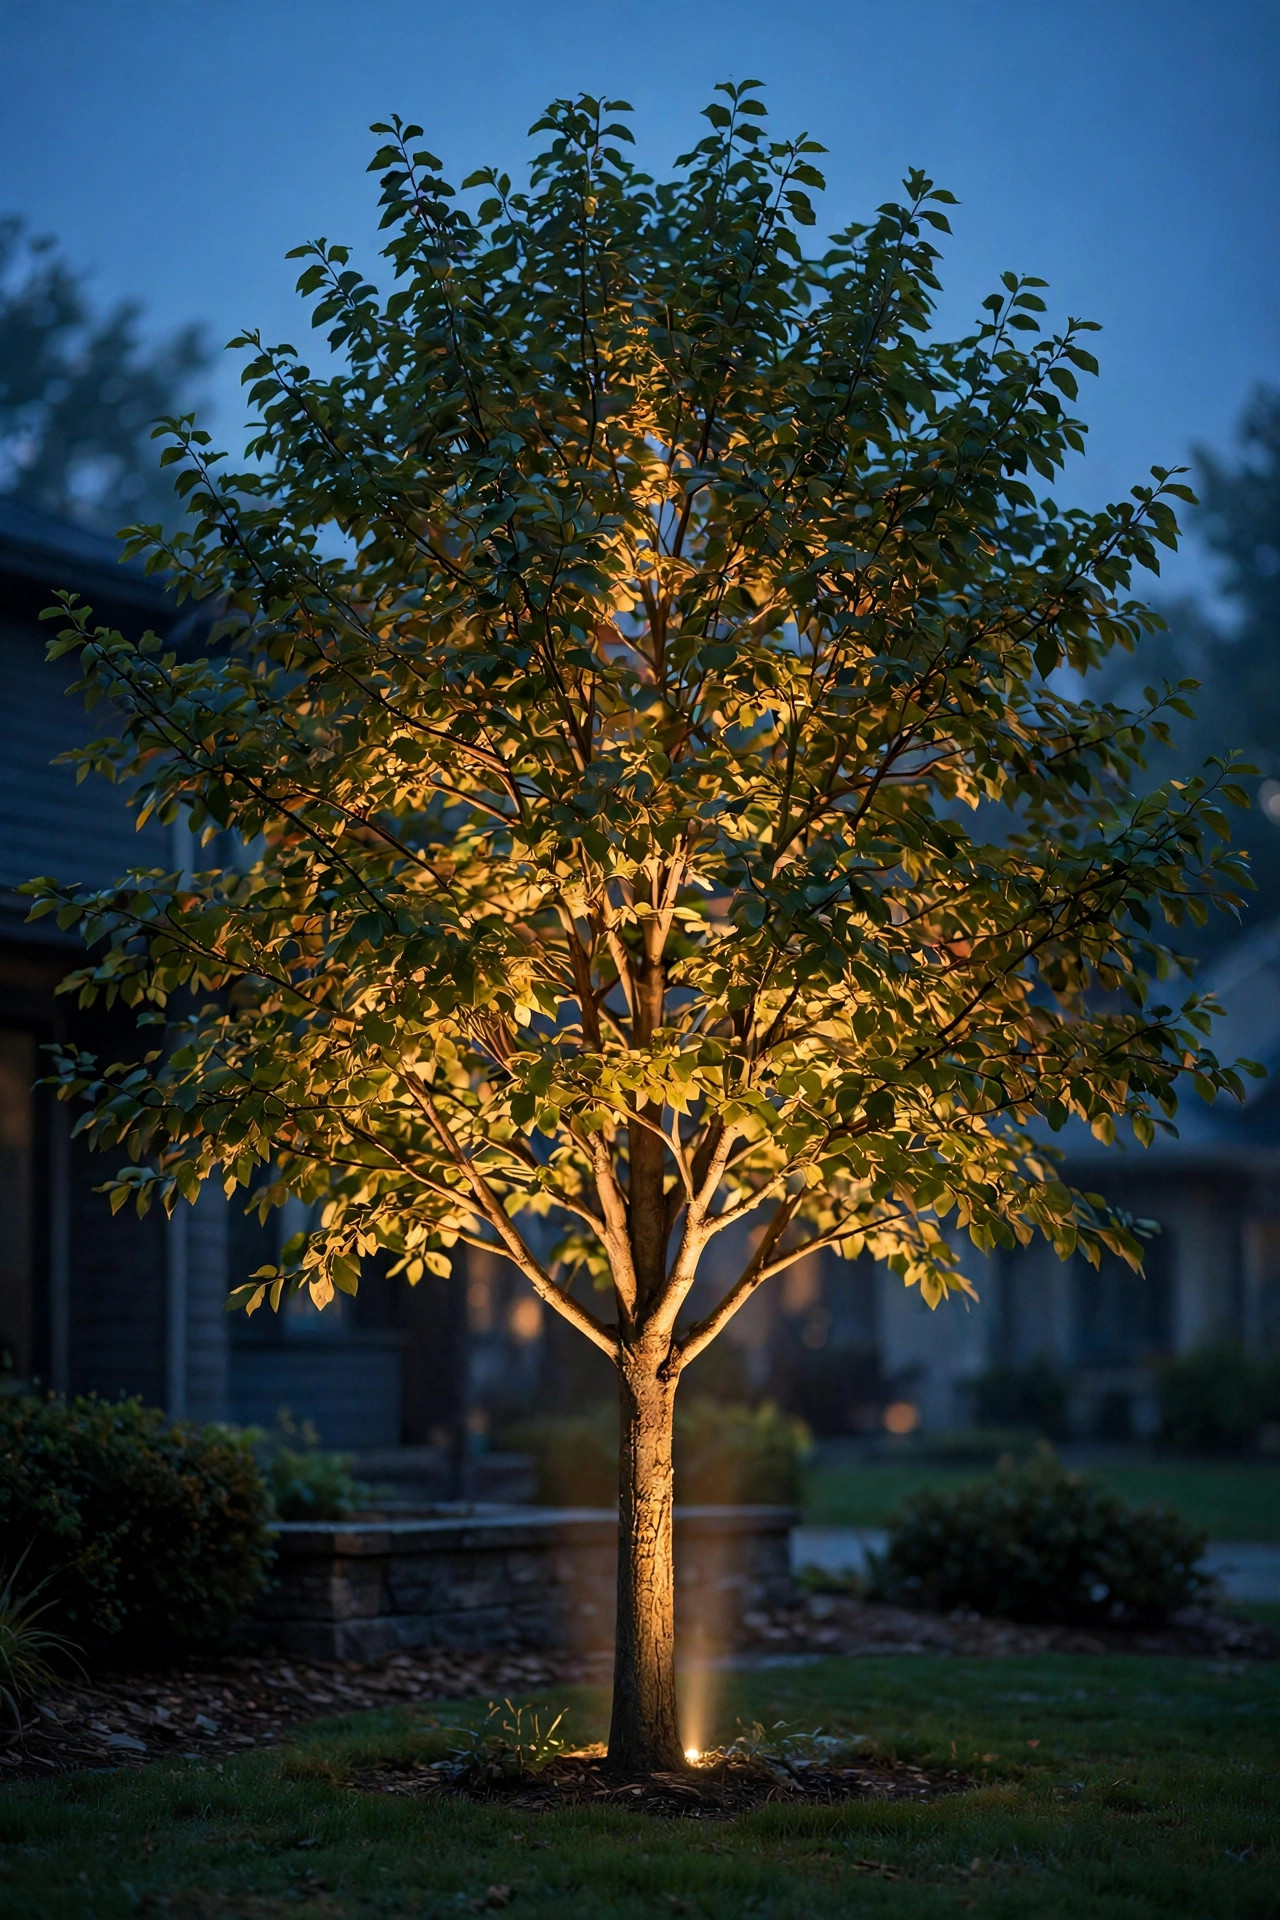
You don't need to light every tree — in an HOA, restraint is the aesthetic. Pick the single best tree in your front yard, usually the one anchoring a corner or framing the house, and give it one low-voltage bullet uplight at the base. Use a narrow beam, around 24 to 36 degrees, at modest wattage, and aim so the light blooms inside the canopy and stops there. A beam that's too wide or too strong spills past the branches and silhouettes your house against a glowing tree, which is exactly the "feature lighting" look some communities restrict. Place the fixture 12 to 18 inches from the trunk so the beam grazes the bark texture on its way up. One tree, gently lit, reads as classic and deliberate — the landscape equivalent of good manners. If your tree is large, a second fixture cross-lighting from another angle is acceptable, but keep both at the same low output. Test with a flashlight first on a dark night; if the canopy glows and the street doesn't, you've nailed it. Suggested budget range: $60 – $150.
6. A Matching Set of Solar Path Lights
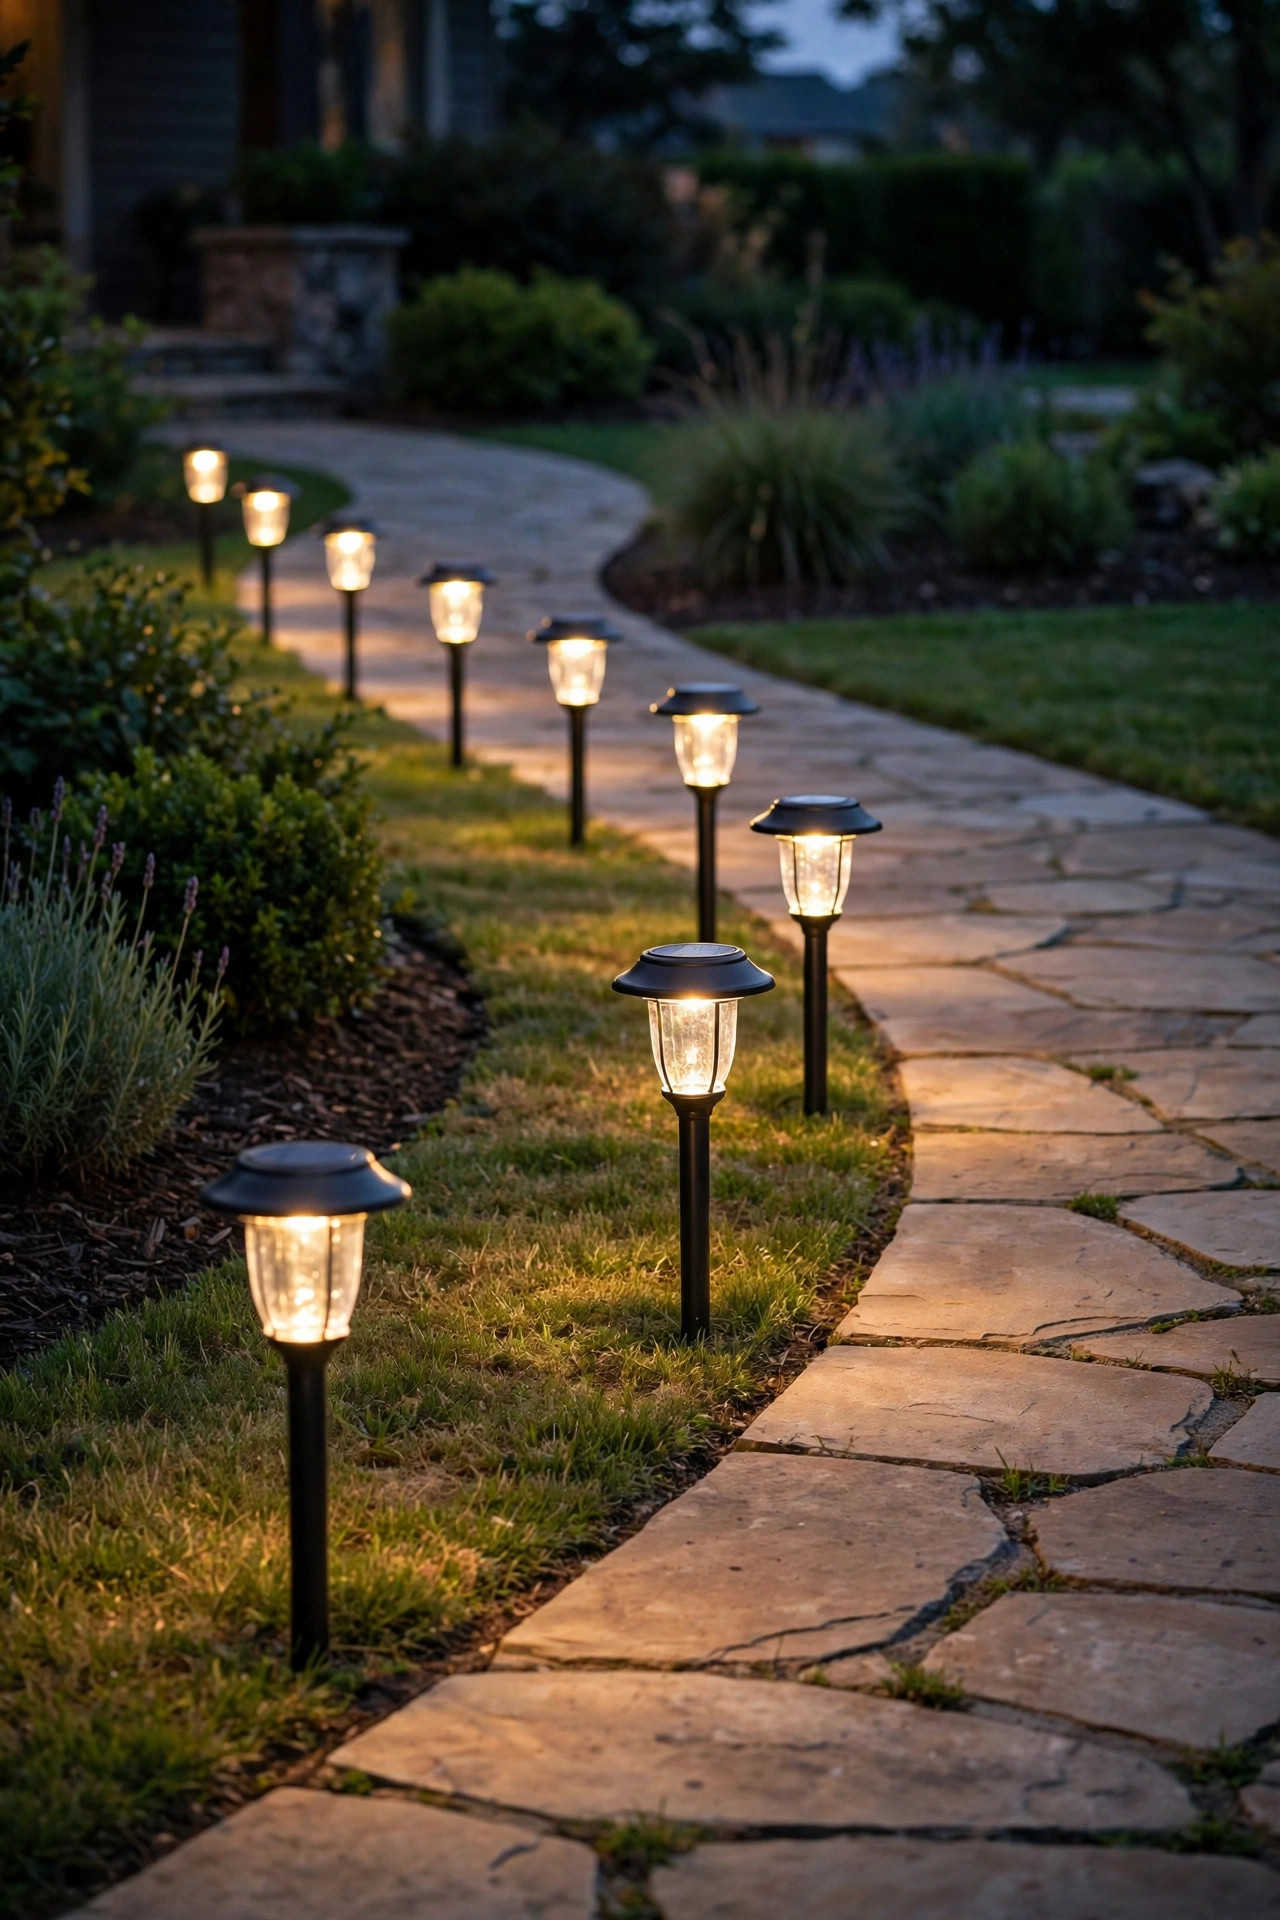
Solar lights are the easiest yes in most communities — no wiring, no transformer, nothing permanent — but they only look HOA-appropriate when they're a true matched set. Buy the full run at once, in one style and one finish, warm white rather than color-changing. Please skip the rainbow and flashing modes entirely; several HOAs I know ban them by name, and honestly, they cheapen an otherwise pretty yard. Space solar stakes evenly, 4 to 6 feet apart, and keep them dead straight — a wobbly, leaning solar light is the fastest way to make tidy lighting look neglected. Expect a gentle 10 to 40 lumens per light: that's a soft guide glow, not task lighting, and it's all a walkway needs. The maintenance rule matters as much as the purchase: when one light in the set fades or dies, replace the whole row or at least the panel's battery, because a run with one dark soldier and two dim ones attracts exactly the wrong kind of attention. Retire tired sets promptly and the look stays crisp. Suggested budget range: $50 – $140.
7. A Porch Sconce Refresh in an Approved Finish
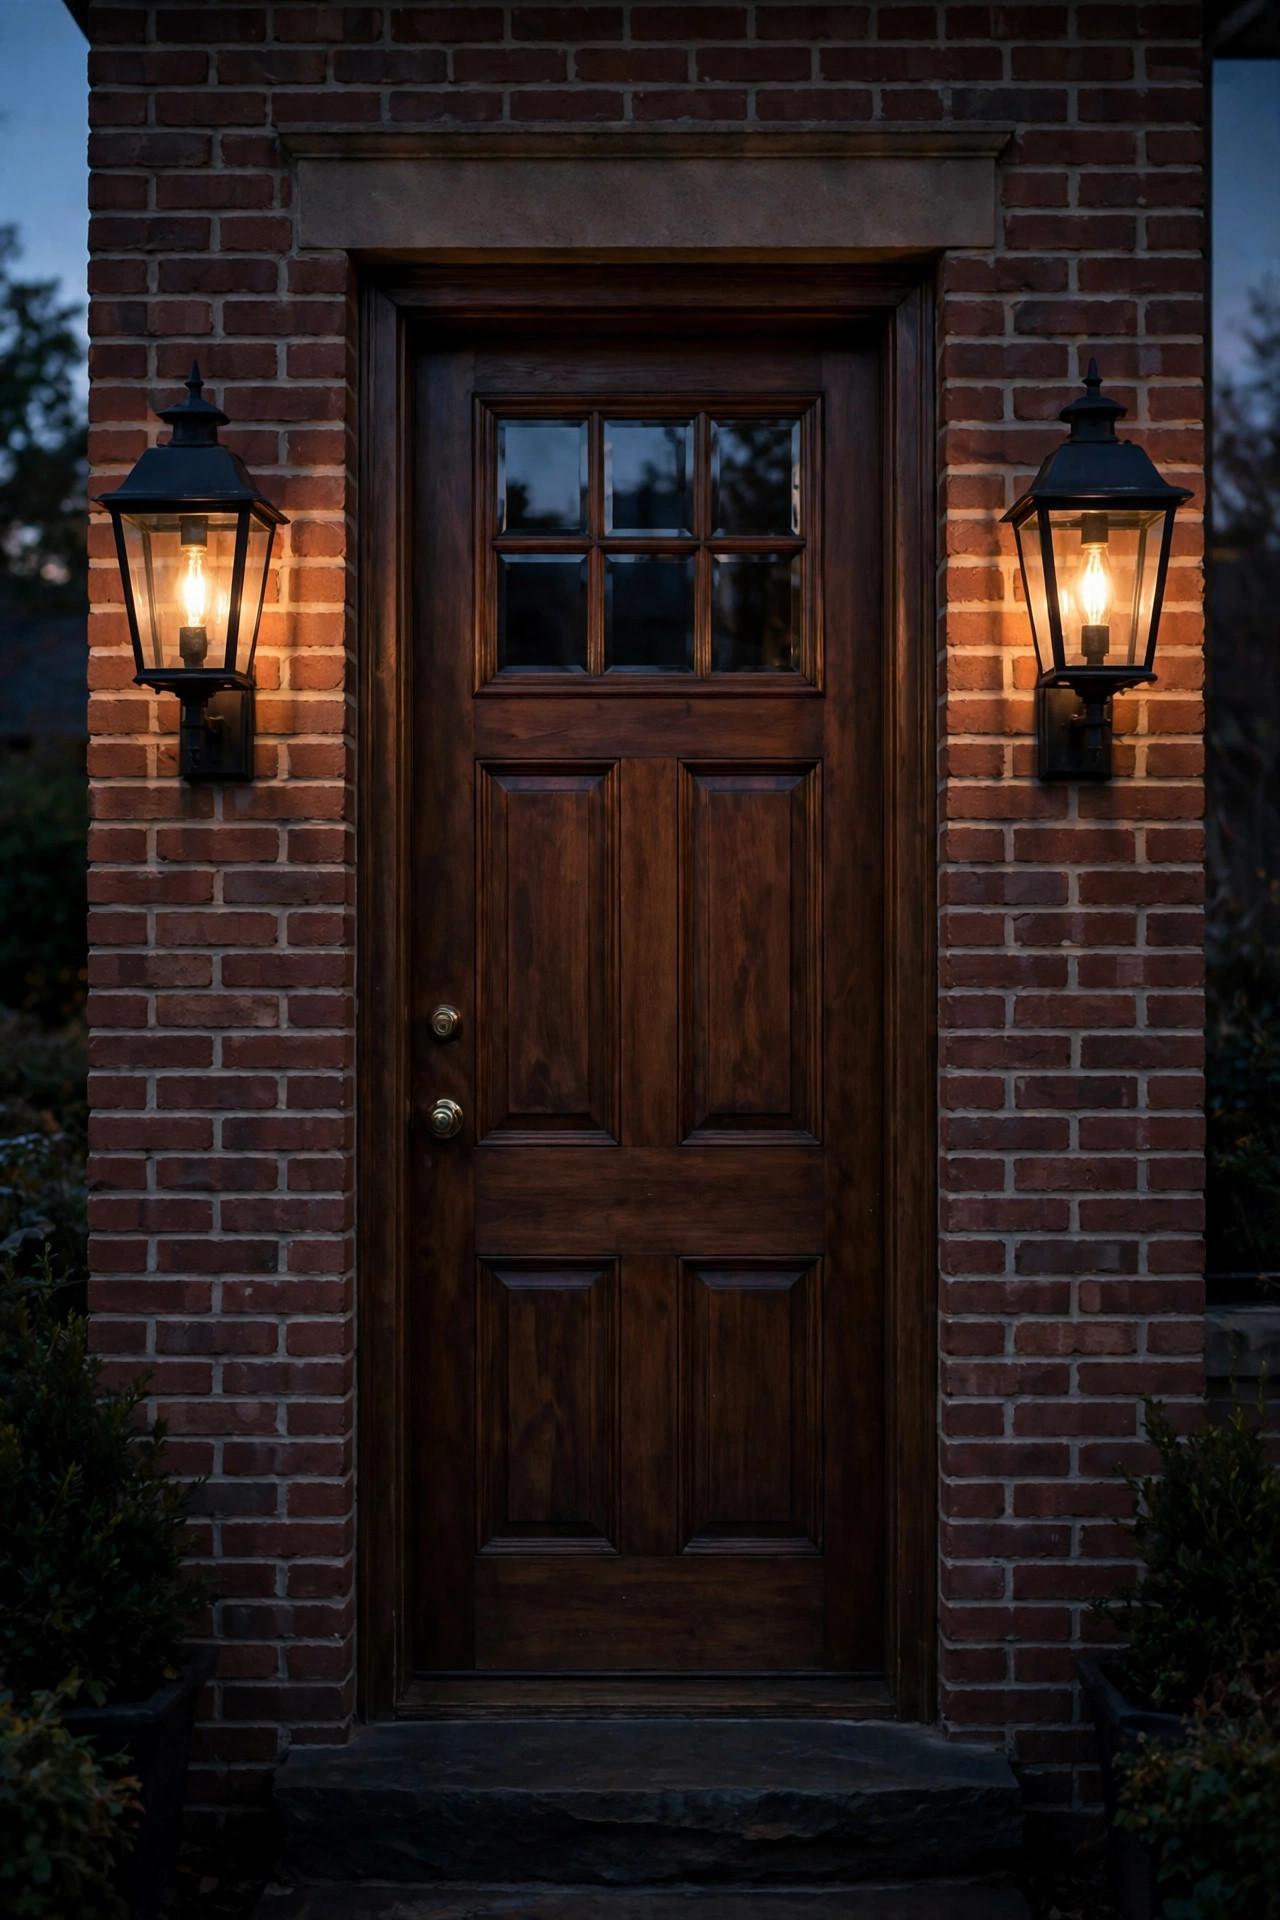
Most HOAs regulate the porch fixture least when the replacement looks like it belongs to the house. Swap tired builder sconces for a classic lantern style in one of your community's standard finishes — matte black, oil-rubbed bronze, or brushed nickel — and keep the mounting position and roughly the size of the original. Traditional architecture gets a traditional fixture; that's the whole trick. Choose a design with the bulb shielded or frosted so the light glows rather than glaring, and fit it with a 2700K LED filament bulb at a modest 450 to 800 lumens — bright enough to welcome guests and read house numbers, dim enough to feel residential. A pair flanking the door always looks more intentional than a single oversized fixture, and symmetry photographs beautifully if your home ever gets featured in the community newsletter. Stick to hardwired fixtures on the existing junction box so there's no visible cord or solar panel. This is usually a 30-minute, two-screwdriver project, and it quietly upgrades the entire facade. Suggested budget range: $60 – $180.
8. Soffit Downlighting With Hidden Fixtures
Downlighting from the eaves is the most invisible technique on this list: recessed fixtures tucked into the soffit wash the wall and walkway below in soft pools of light, and from the street there's no visible hardware at all — just a well-kept house that happens to glow. Because the source is high and shielded by the roofline, glare is nearly zero, which makes this a favorite in strict communities. Space recessed soffit lights 6 to 8 feet apart over entries, garage doors, and the front walk, and keep them on the warm 2700K setting at moderate output. The effect mimics moonlight, so plants below get gentle modeling instead of the flat blast of a floodlight. This one does involve house wiring, so hire an electrician unless you're genuinely qualified — expect them to tie into an existing circuit with a GFCI-protected run and a timer or smart switch inside. It's the priciest idea here, but it's also the one most likely to be cited as the model installation at a board meeting. Subtle, permanent, and zero daily visual footprint. Suggested budget range: $250 – $600.

9. Low Bollard Lights Along the Driveway Edge
Bollards give a driveway definition without a single spotlight aimed at the street. Choose short bollards — 12 to 18 inches tall — with louvered or shielded heads that throw their light down and slightly inward onto the pavement, never outward. Run them down one side of the drive rather than both; a single disciplined line looks planned, while two rows can tip into runway territory. Space them 8 to 10 feet apart, set back at least a foot from the pavement edge so car doors and snow shovels leave them alone. Low-voltage models wire into the same transformer as your path lights, which keeps the whole system on one timer. Keep output gentle, around 100 to 200 lumens each — you're marking an edge, not landing planes. In my experience, bollards in a finish that matches your path lights make the entire front yard read as one designed system, and designed systems sail through architectural review. Sturdy metal housings outlast plastic ones by years, especially anywhere a basketball might roll. Suggested budget range: $150 – $400.

10. Recessed Step and Walkway Lights
Safety lighting is the easiest category to defend to any board, and recessed step lights are its most discreet form. These small fixtures mount into stair risers, retaining wall caps, or the faces of paver steps, glowing downward across each tread so guests can see exactly where to put their feet. Because the light source sits inches above the surface it serves, you need very little of it — most step lights run just 20 to 60 lumens — and the beam never leaves your property. They're especially good on the two or three steps up to a porch, where a path light can't reach and a bright sconce creates harsh contrast. Choose louvered faces that push light down and hide the LED from anyone approaching, and wire them into your low-voltage system so they follow the same timer schedule as everything else. Retrofitting into existing masonry takes a bit of drilling; installing during a walkway or step project is nearly free in effort. Quiet, useful, invisible by day — this is compliance lighting at its best. Suggested budget range: $100 – $350.

11. Put Your HOA Friendly Front Yard Lighting on a Timer
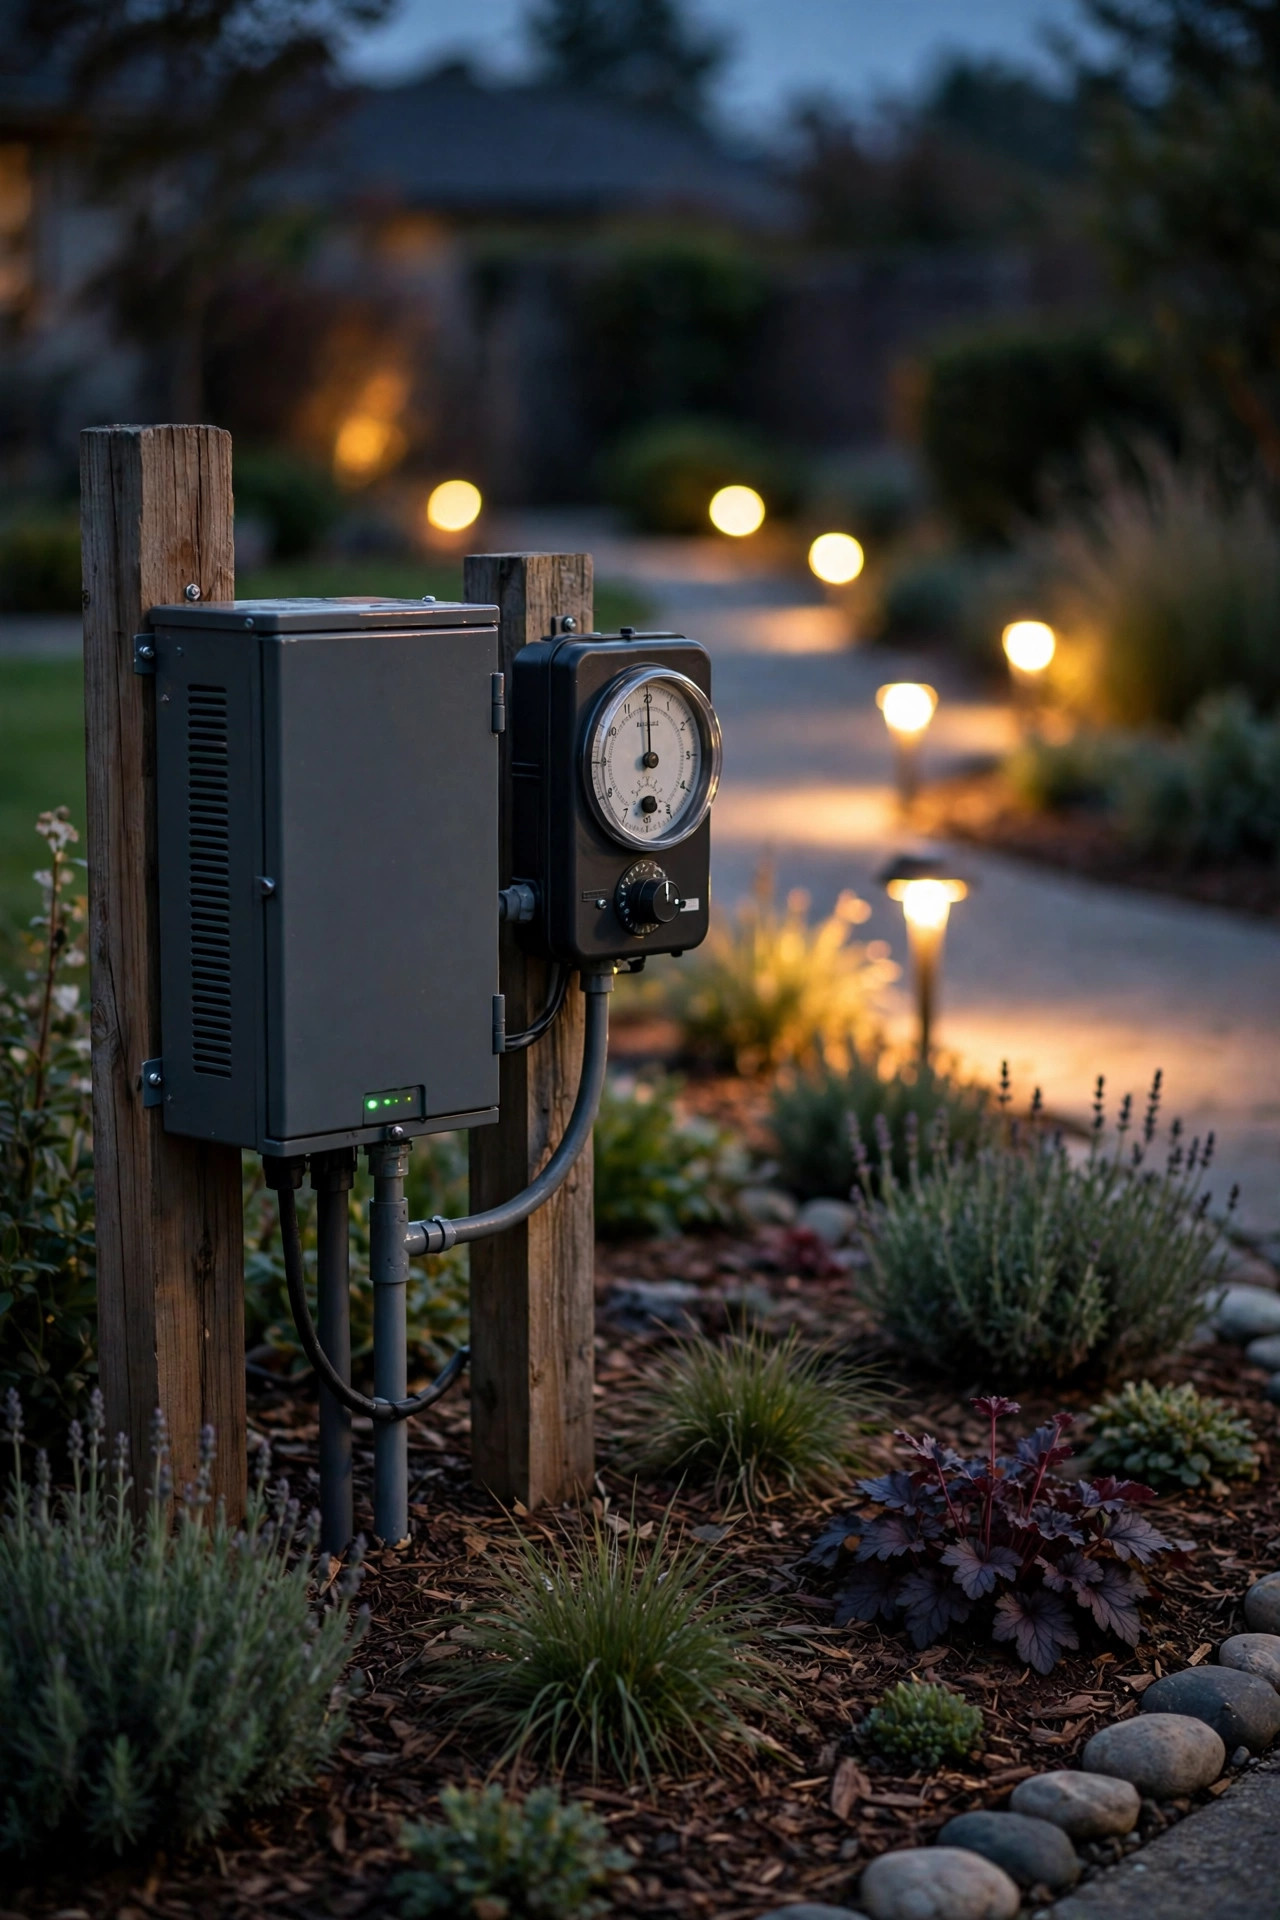
Here's the unglamorous secret: half of "compliant" is a schedule. Many communities require exterior lighting off by 10 or 11 p.m., and even where they don't, a yard that goes dark at a reasonable hour never generates complaints. An astronomical timer on your low-voltage transformer handles it automatically, adjusting for sunset all year — on at dusk, off at your community's quiet hour. Astronomical models beat cheap mechanical timers because they never drift out of season, so your lights aren't blazing at 5 p.m. in June. Smart plugs and app-controlled transformers add the option to override for guests arriving late, then return to schedule. I set my own system to full brightness until 10 p.m., because that's when the street is active, and off entirely after — the yard still looks lovely in the early evening hours when anyone's actually looking at it. My guide to outdoor lighting timers and automation compares timer types and setup steps if you want the details. A predictable schedule is the neighborliest feature your lighting can have. Suggested budget range: $30 – $120.
12. Motion-Sensor Lights That Stay Off Until Needed
A light that's off 95 percent of the night can't bother anybody. Motion-sensor fixtures earn their keep at the driveway, the side gate, and the path to the trash bins — the spots where you want real brightness for thirty seconds, not a permanent glow. Choose shielded, downward-aimed models rather than twin-head floods, and set the sensitivity and range so passing cars on the street don't trigger them; a sensor that fires all night is worse than a steady light. Many newer fixtures offer a dual-level mode: a very dim warm accent glow at dusk that brightens only when someone approaches, which is a lovely compromise for a garage-adjacent walkway. Keep color temperature at 2700K like everything else, and aim the head down your own driveway, never across it toward the neighbors' windows. Test the trigger zone on foot after dark and adjust until it catches you at the property line but not the sidewalk. Functional, brief, and self-limiting — boards tend to approve these without discussion. Suggested budget range: $40 – $130.

13. A Small, Shielded House-Number Light
Readable house numbers are a safety feature — delivery drivers, guests, and emergency vehicles all depend on them — so lighting yours is one of the most defensible upgrades in this whole list. The tasteful way to do it is a small shielded fixture or a softly backlit number plaque mounted right at the numbers themselves, casting a gentle wash across the digits and nothing else. Keep the output tiny; you're illuminating a 6-inch plaque, not the facade, so even 50 to 100 lumens is generous. Solar backlit plaques exist and need no wiring, but choose a warm white version and mount it dead level — a crooked glowing plaque undoes all the tidiness points you just earned. If your numbers sit on the garage or a porch post rather than beside the door, aim the light so the beam stops at the numbers and doesn't streak across siding. Match the plaque's finish to your sconce and path light finishes so it reads as part of the same system. Practical, pretty, and essentially unobjectionable. Suggested budget range: $35 – $110.

14. Garden Bed Spotlights With Glare Shields, Aimed Down
Flower beds are where a front yard gets its personality, and low spotlights let you enjoy them after dark without lighting up the street. The HOA-friendly method is small, low-output spotlights — 3 to 5 watts each — fitted with glare shields or honeycomb louvers, tucked into the bed and aimed downward at a low angle into the planting rather than up and out. Light should pool among the shrubs and perennials and die there. A shield extends past the lens and physically blocks the view of the bulb from the sidewalk, which is the difference between "glow" and "glare" in every rulebook. Place fixtures 12 to 18 inches in front of the plants you want to model, keep the beam inside the bed's edge, and mulch over the cable run. Two or three beds, gently lit, do more for evening curb appeal than a dozen fixtures scattered at random. Because the fixtures hide among the foliage, there's nothing for a daytime street view to object to either. Suggested budget range: $70 – $200.
15. One Classic Porch Lantern Instead of String Lights
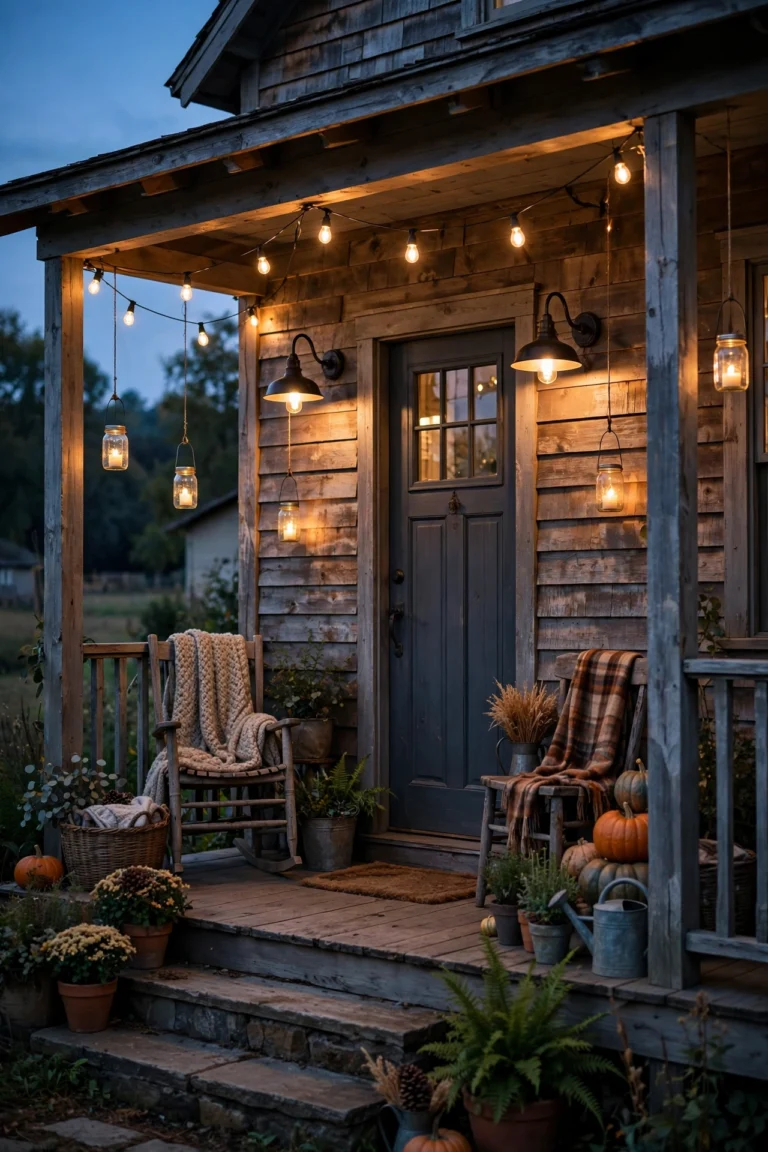
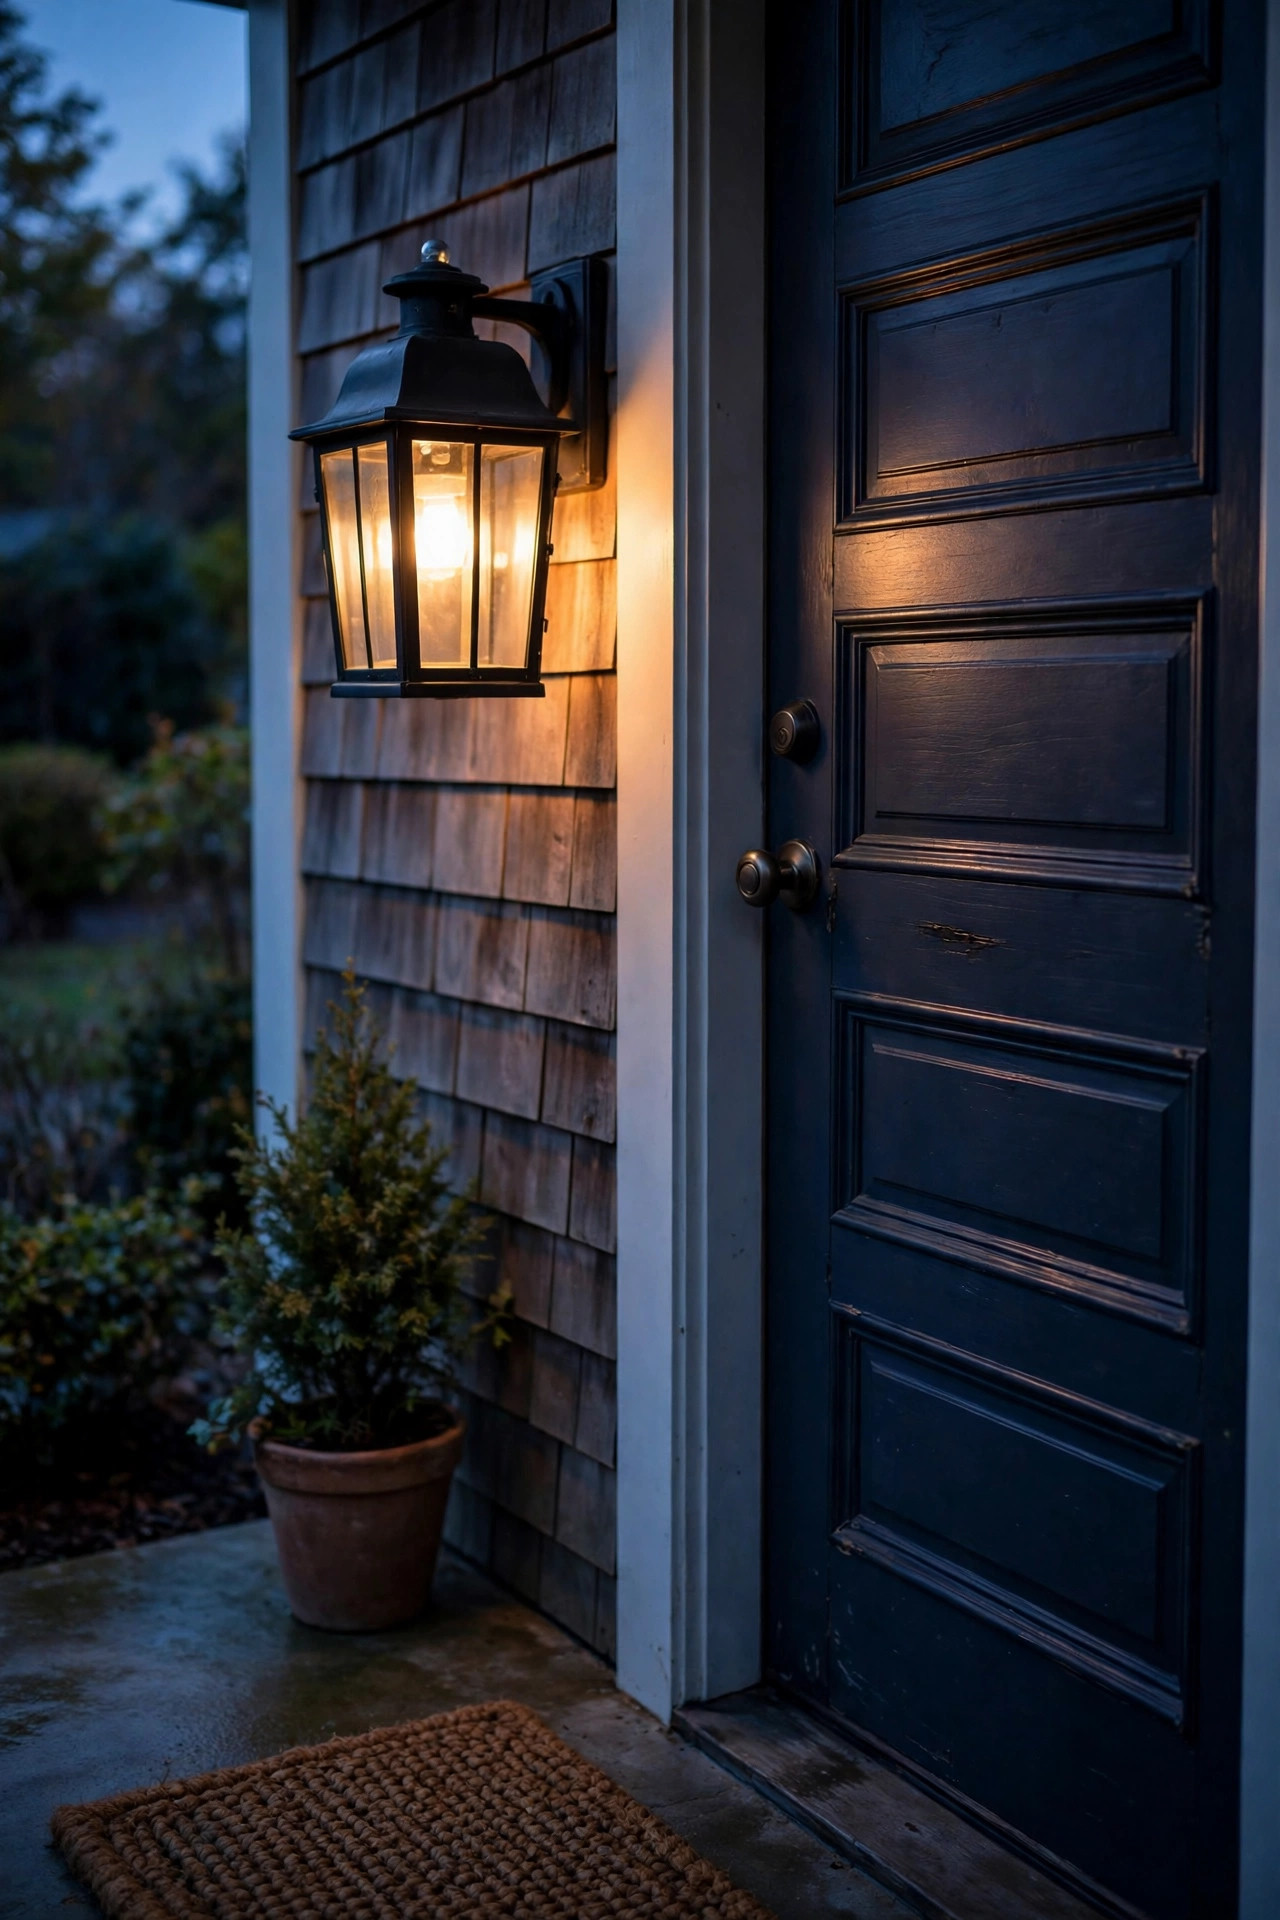
I love string lights, but year-round visible string lights are banned outright in many communities — and honestly, a single beautiful porch lantern gives you the same welcoming glow with none of the risk. Choose a classic hanging lantern pendant or a flush-mount ceiling fixture sized to your porch, in the same approved finish as your sconces, and fit it with a warm 2700K LED filament bulb. The enclosed glass softens the light, the fixture reads as permanent architecture rather than decoration, and nobody's rules restrict a porch ceiling light. If your porch has no ceiling fixture, a pair of lantern-style wall sconces beside the door achieves nearly the same effect. Keep the bulb modest — 450 to 800 lumens — so the porch feels candlelit rather than interrogated. For holidays, many HOAs allow temporary string lights within a set seasonal window, so enjoy them then and take them down on schedule. The rest of the year, let the lantern carry the porch. It's the look the neighborhood was designed around in the first place. Suggested budget range: $50 – $160.

16. Dusk-to-Dawn Photocell Fixtures on Low Brightness
A fixture with a built-in photocell turns itself on at dusk and off at dawn with metronome reliability — and consistency is a compliance virtue, because a house whose lights keep the same gentle schedule every night never looks random or forgotten. The key is choosing low-brightness models: a 40-watt-equivalent LED at most, warm 2700K, in a shielded housing, for porch and garage positions. Photocell lanterns are especially good for households that travel, since the house keeps its normal evening rhythm with nobody home and no timer to set. One caution from experience: place photocell fixtures away from your own landscape lighting, or the sensor may read your path lights as daylight and cycle off — a few feet of separation solves it. Also avoid pointing any other light directly at the sensor. Because these run all night, some readers in strict communities put the photocell fixture on the porch only, where an all-night glow is customary and expected, and keep the yard itself on the timer. That split schedule is the best of both worlds. Suggested budget range: $45 – $120.
17. A Narrow-Beam Accent on One Architectural Feature
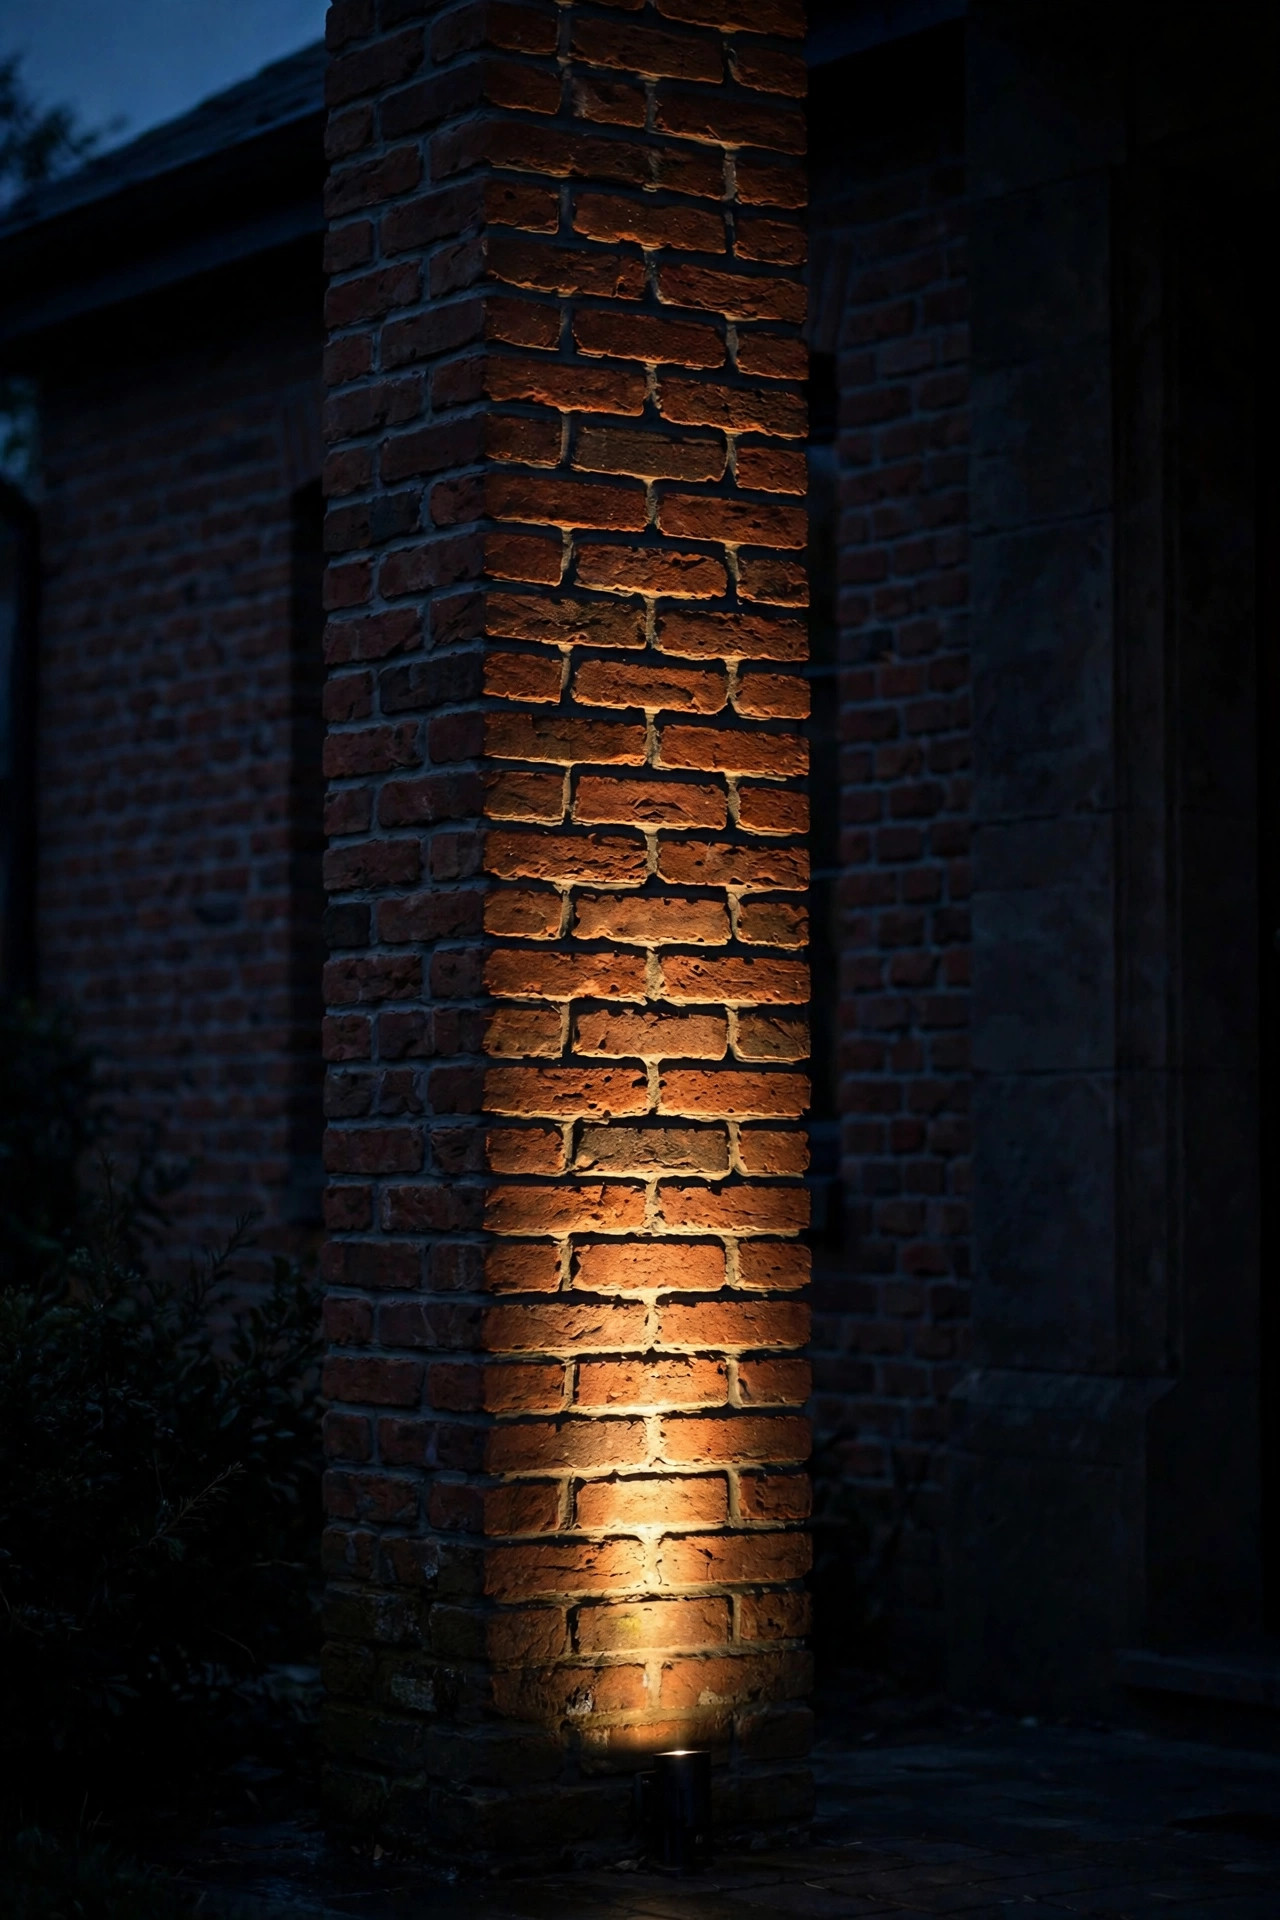
Save your one flourish for the architecture: a single narrow-beam accent light washing a brick column, a stone entry surround, or the texture of a gable gives a house that quiet, expensive look — provided the light stays home. A 10- to 15-degree beam is the secret; it's a pencil of light that lands entirely on the feature and stops, with no halo spilling onto the roof or into the sky. Stake the fixture close to the wall, 6 to 12 inches out, and aim straight up the surface so the beam grazes the texture. From the street, viewers see the lit stonework, not the fixture and not the source. Choose one feature only — the moment you accent the column, the gable, the chimney, and both trees, you've built the display the rules were written about. I think of this as punctuation: one exclamation point per facade. Paired with the soft path lighting and porch layers from earlier in this list, a single contained accent is what separates "nicely lit" from "lit up," and boards notice the difference. Suggested budget range: $70 – $180.
Frequently Asked Questions
Do I need HOA approval before installing front yard lighting?
It depends on the type. Low-voltage plug-in systems and solar lights are treated as landscaping in many communities and need no approval, while hardwired fixtures, soffit lights, and anything that changes the facade often require an architectural review form first. Read your CC&Rs' exterior lighting section, and when in doubt, submit the short form with a photo of the fixture and its specs — warm color temperature and shielding noted. In my experience, boards approve tidy, shielded, warm-white plans quickly, and having the approval on file ends any later dispute.
What color temperature is best for HOA-friendly outdoor lighting?
Warm white, 2700K, is the safe universal choice, with 3000K acceptable in most communities. Anything 4000K and above reads blue-white and commercial, draws the eye for the wrong reasons, and is the single most common reason lighting gets flagged. Whatever you choose, keep it identical across every fixture in the front yard — consistency looks intentional, and intentional reads as compliant.
Are solar lights allowed in HOA neighborhoods?
Usually yes, because they're not permanent and need no wiring. The conditions that trip people up are about appearance: sets must be uniform, in good working order, and in a calm warm white. Color-changing, flashing, and novelty shapes are restricted in many communities. A matched set of classic warm-white path lights, promptly replaced when they fade, is welcome on most streets.
How do I keep my front yard lights from bothering the neighbors?
Aim everything down or inward, choose shielded fixtures so the bulb itself is never visible from the property line, keep brightness modest, and put the system on a timer that respects the neighborhood's quiet hours. Then do the walk-test yourself: stand in the street and at each neighbor's edge after dark. If you see glow rather than glare, and pools of light rather than beams, you're in good shape.
Conclusion
Good hoa friendly front yard lighting isn't about having less light — it's about having light with manners: warm in color, shielded at the source, aimed only where it belongs, and off when the street goes to sleep. Start with a uniform path layer and a welcoming porch, add one soft accent if you like, and let a timer keep the whole system polite. That combination has kept my yard glowing for years without a single letter in the mailbox. If you'd like to plan the bigger picture once your basics are approved, browse my broader front yard landscape lighting ideas for layouts that layer beautifully — just bring the same subtle hand to whatever you build next.