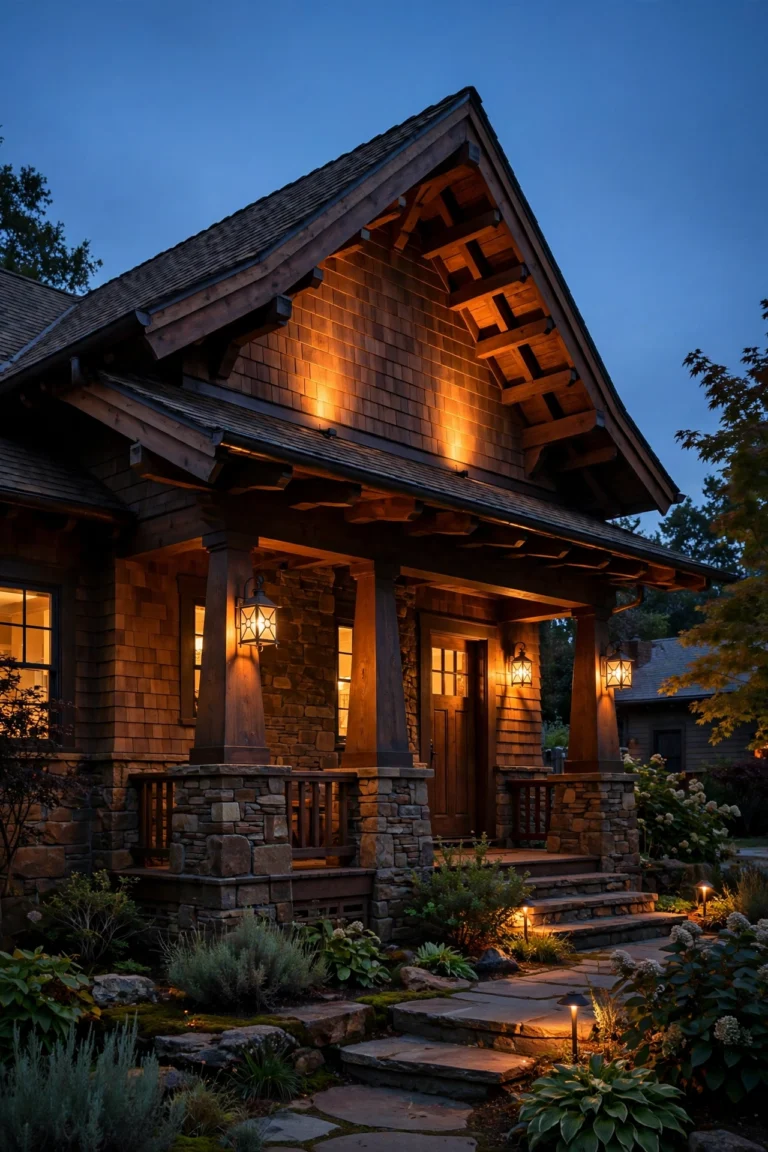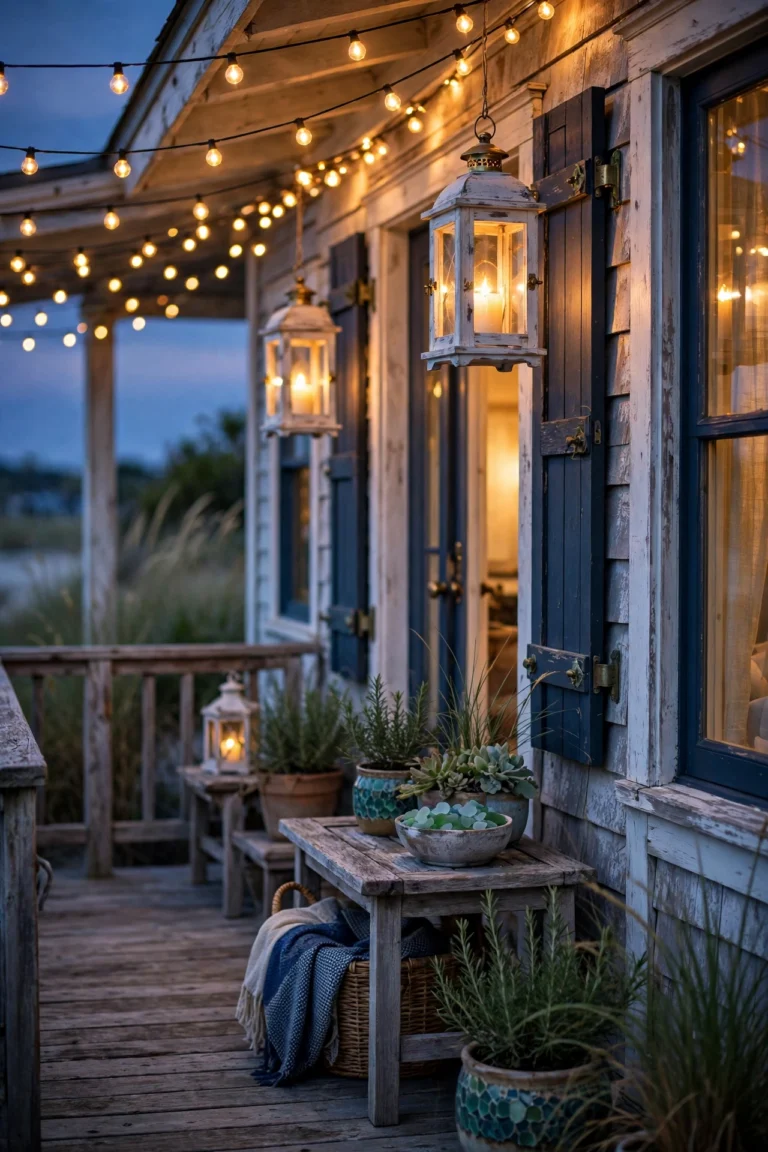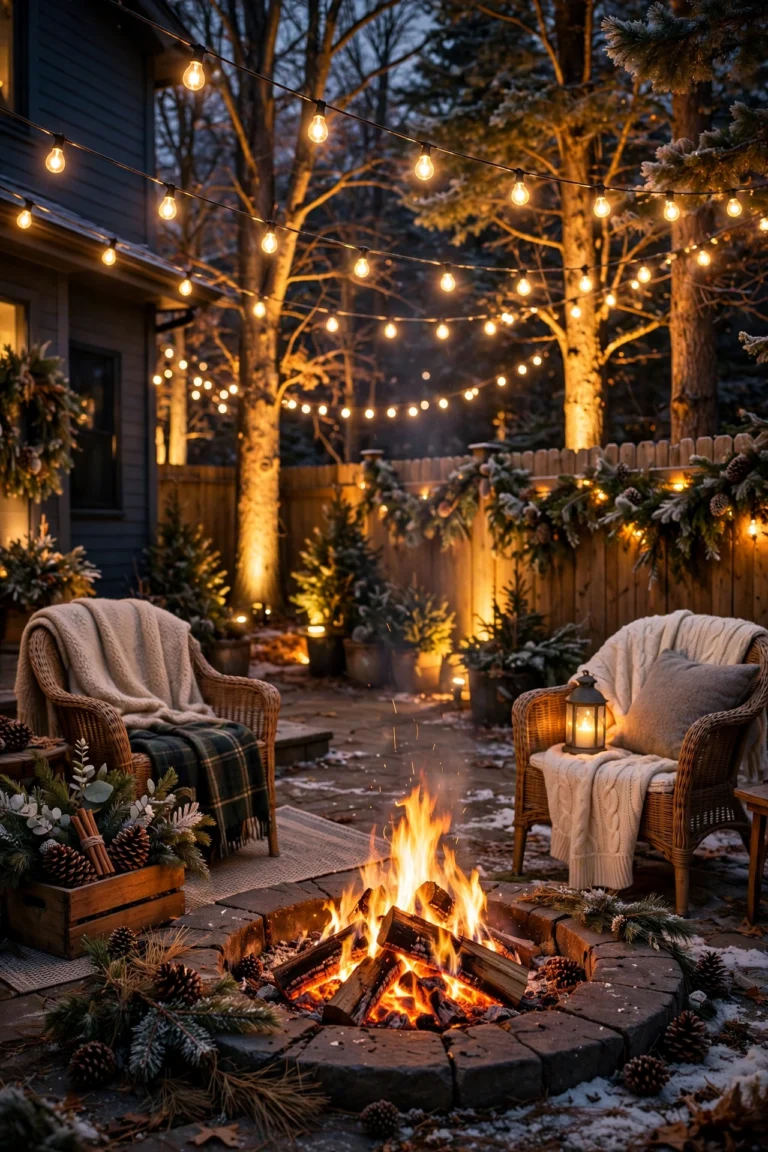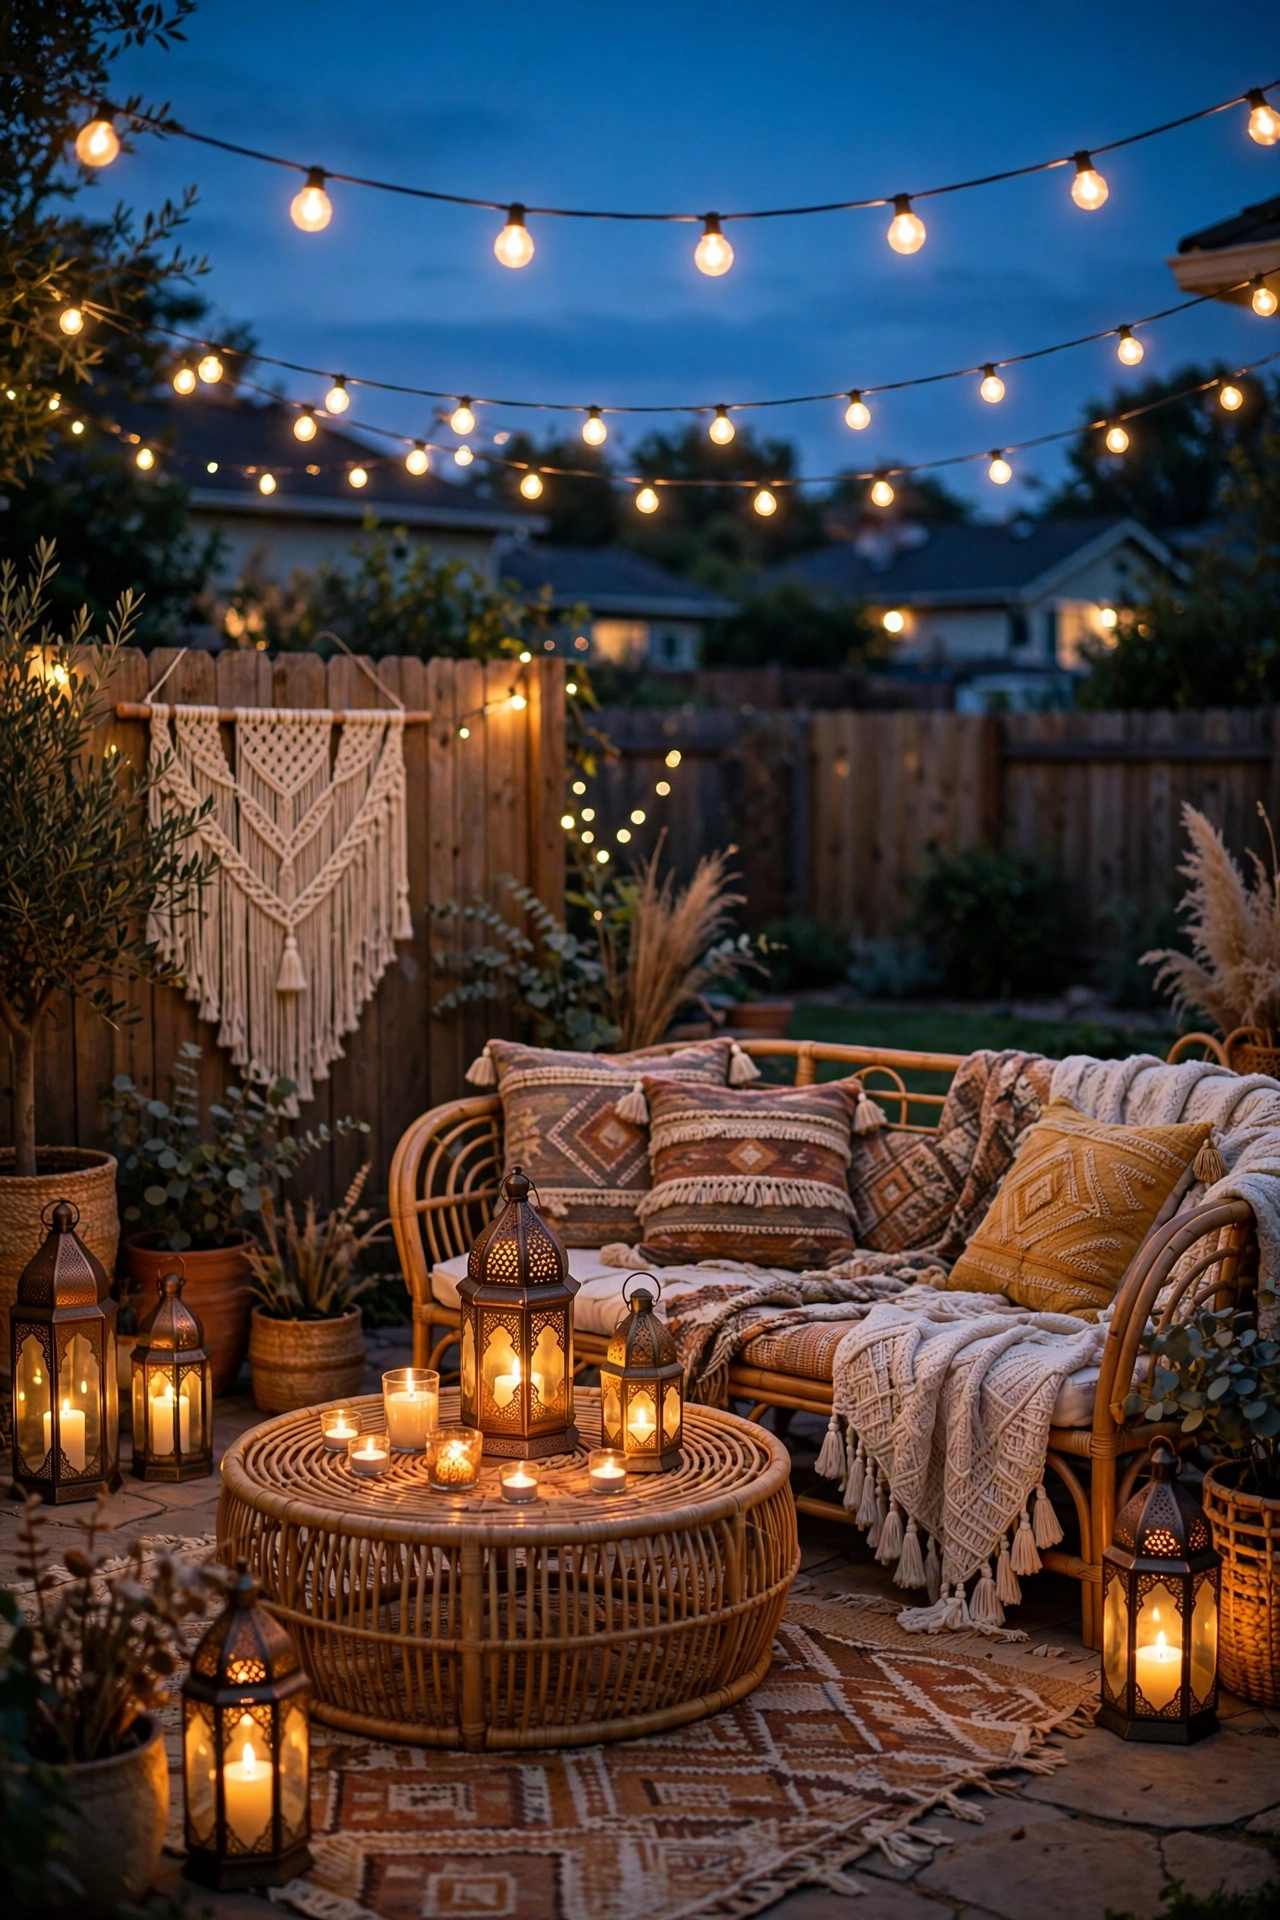
There's something about a boho patio after dark that just makes you exhale. Nothing matches, everything works, and the whole space hums with a warm, flickering glow that makes even a Tuesday night feel like a little getaway. If you've been hunting for boho patio lighting ideas that actually feel relaxed instead of staged, you're in the right place.
Here's my guiding philosophy, and it's the thread running through all 21 ideas below: layer your light. Boho style is never about one single bright source — it's about dozens of small, warm glows at different heights. String lights overhead, lanterns at seating level, candles down low. When you stack those layers, shadows soften, textures pop, and even a tiny concrete slab feels magical.
So pour yourself something cold and let's walk through 21 ways to light your boho patio — from five-minute candle tricks to weekend projects you'll brag about. If you're gathering broader inspiration too, my roundup of patio lighting ideas pairs well with everything here.
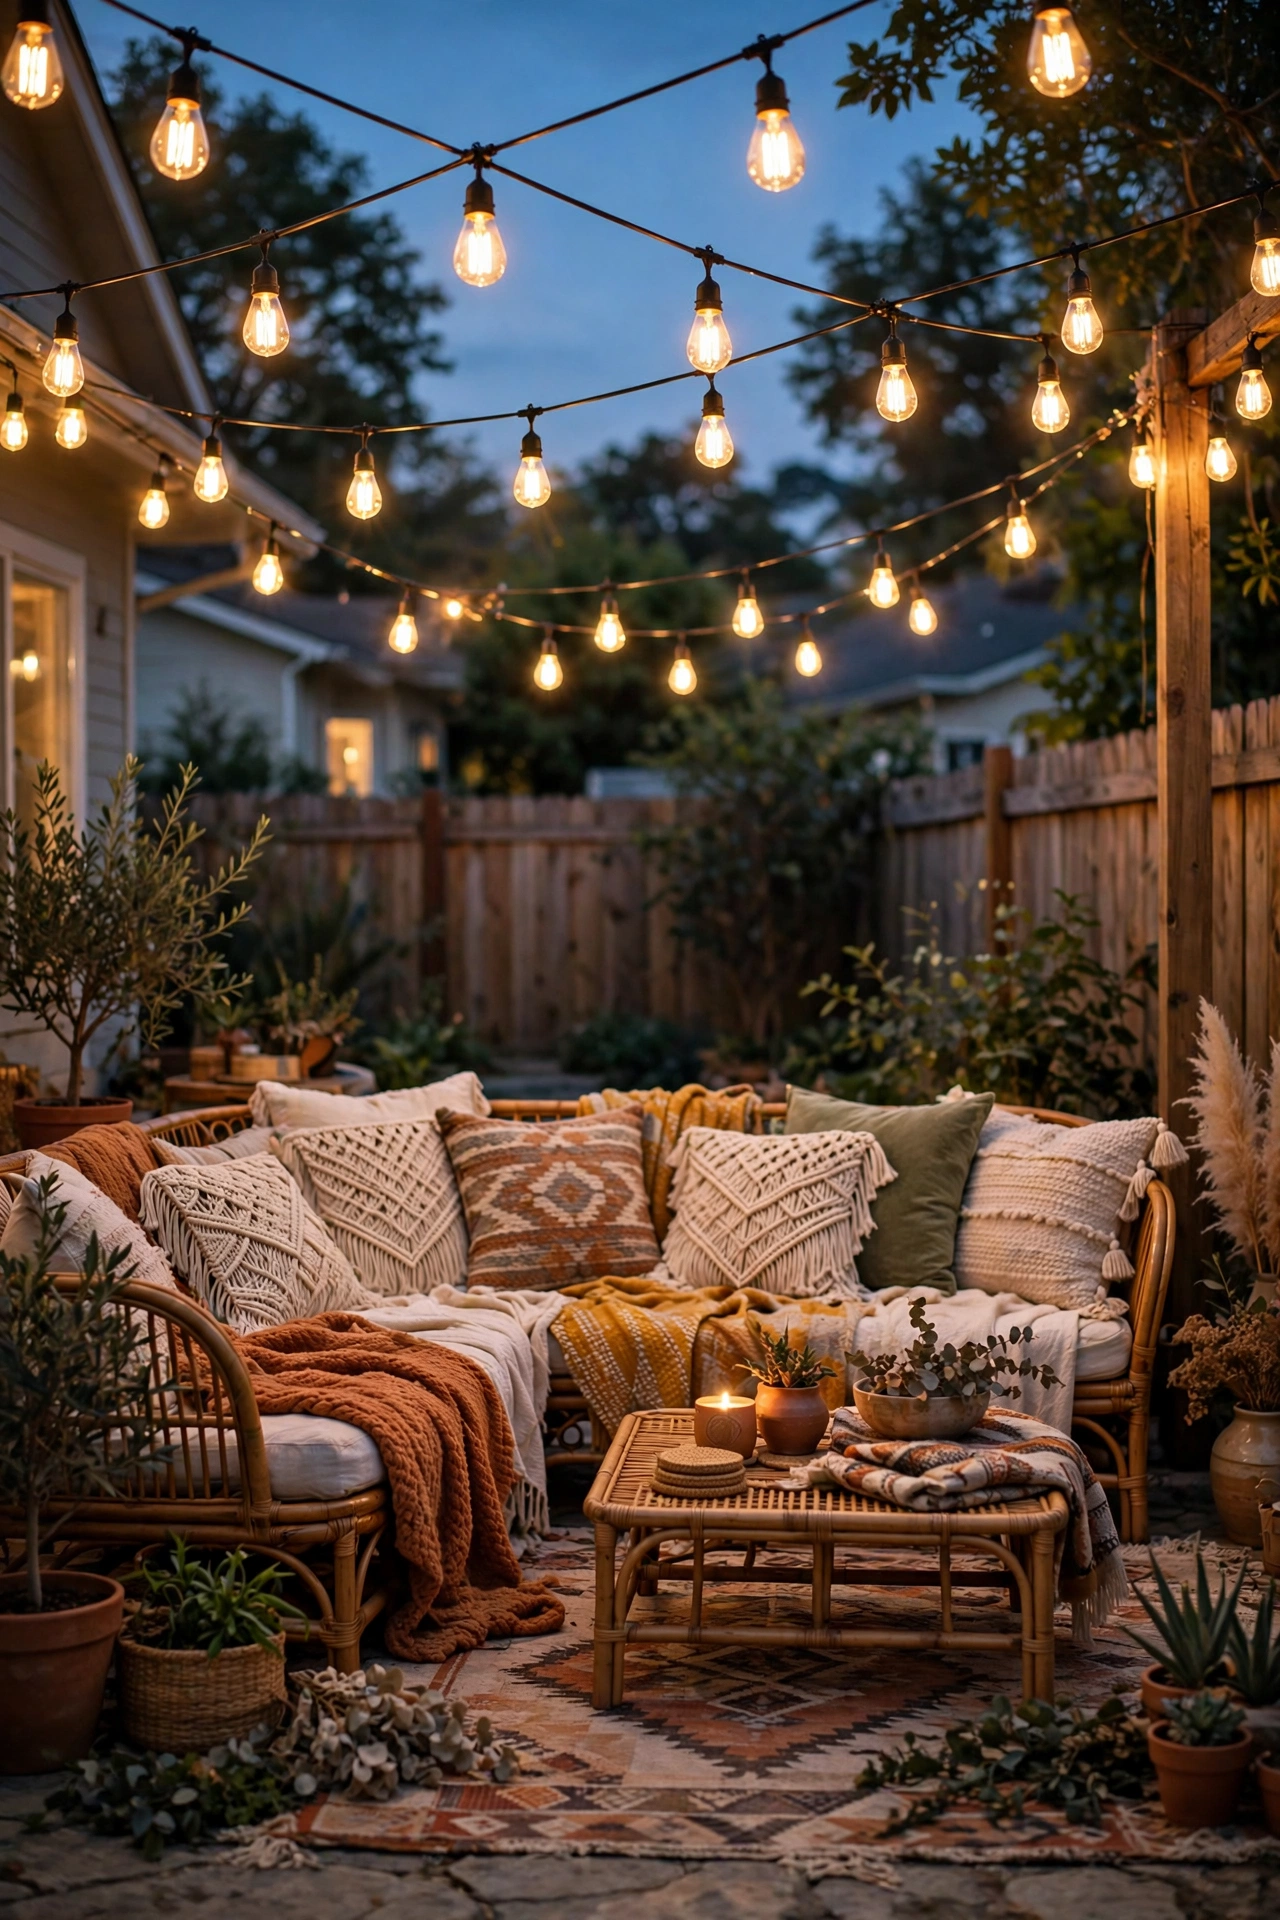
1. Zigzag Edison String Lights Overhead (A Boho Patio Lighting Classic)
Nothing says boho patio faster than a crisscross of warm Edison-bulb string lights overhead. I always recommend going with shatterproof plastic bulbs (they look identical to glass from more than a foot away) and a 2700K warm-white color temperature — anything cooler will kill the cozy vibe instantly. For a typical 12×12-foot patio, two 48-foot strands give you a nice zigzag with a little slack for draping.
Attach one end to your house eave or a pergola beam with screw-in hooks, and stretch the other end to a freestanding pole. I've had great luck with 9-foot metal poles set in weighted umbrella bases — no digging required, which renters love. Space the zigzags about 2 to 3 feet apart and let the strands sag 6 to 8 inches between anchor points for that relaxed, swagged look. Put them on an outdoor timer or smart plug set for dusk-to-11pm so you never have to think about it.
Safety note: use only lights rated for outdoor/wet locations, and keep strands at least 7 feet above walkways so tall guests don't catch them. Run cords along beams rather than across the floor.
Suggested budget range: $40 – $90.
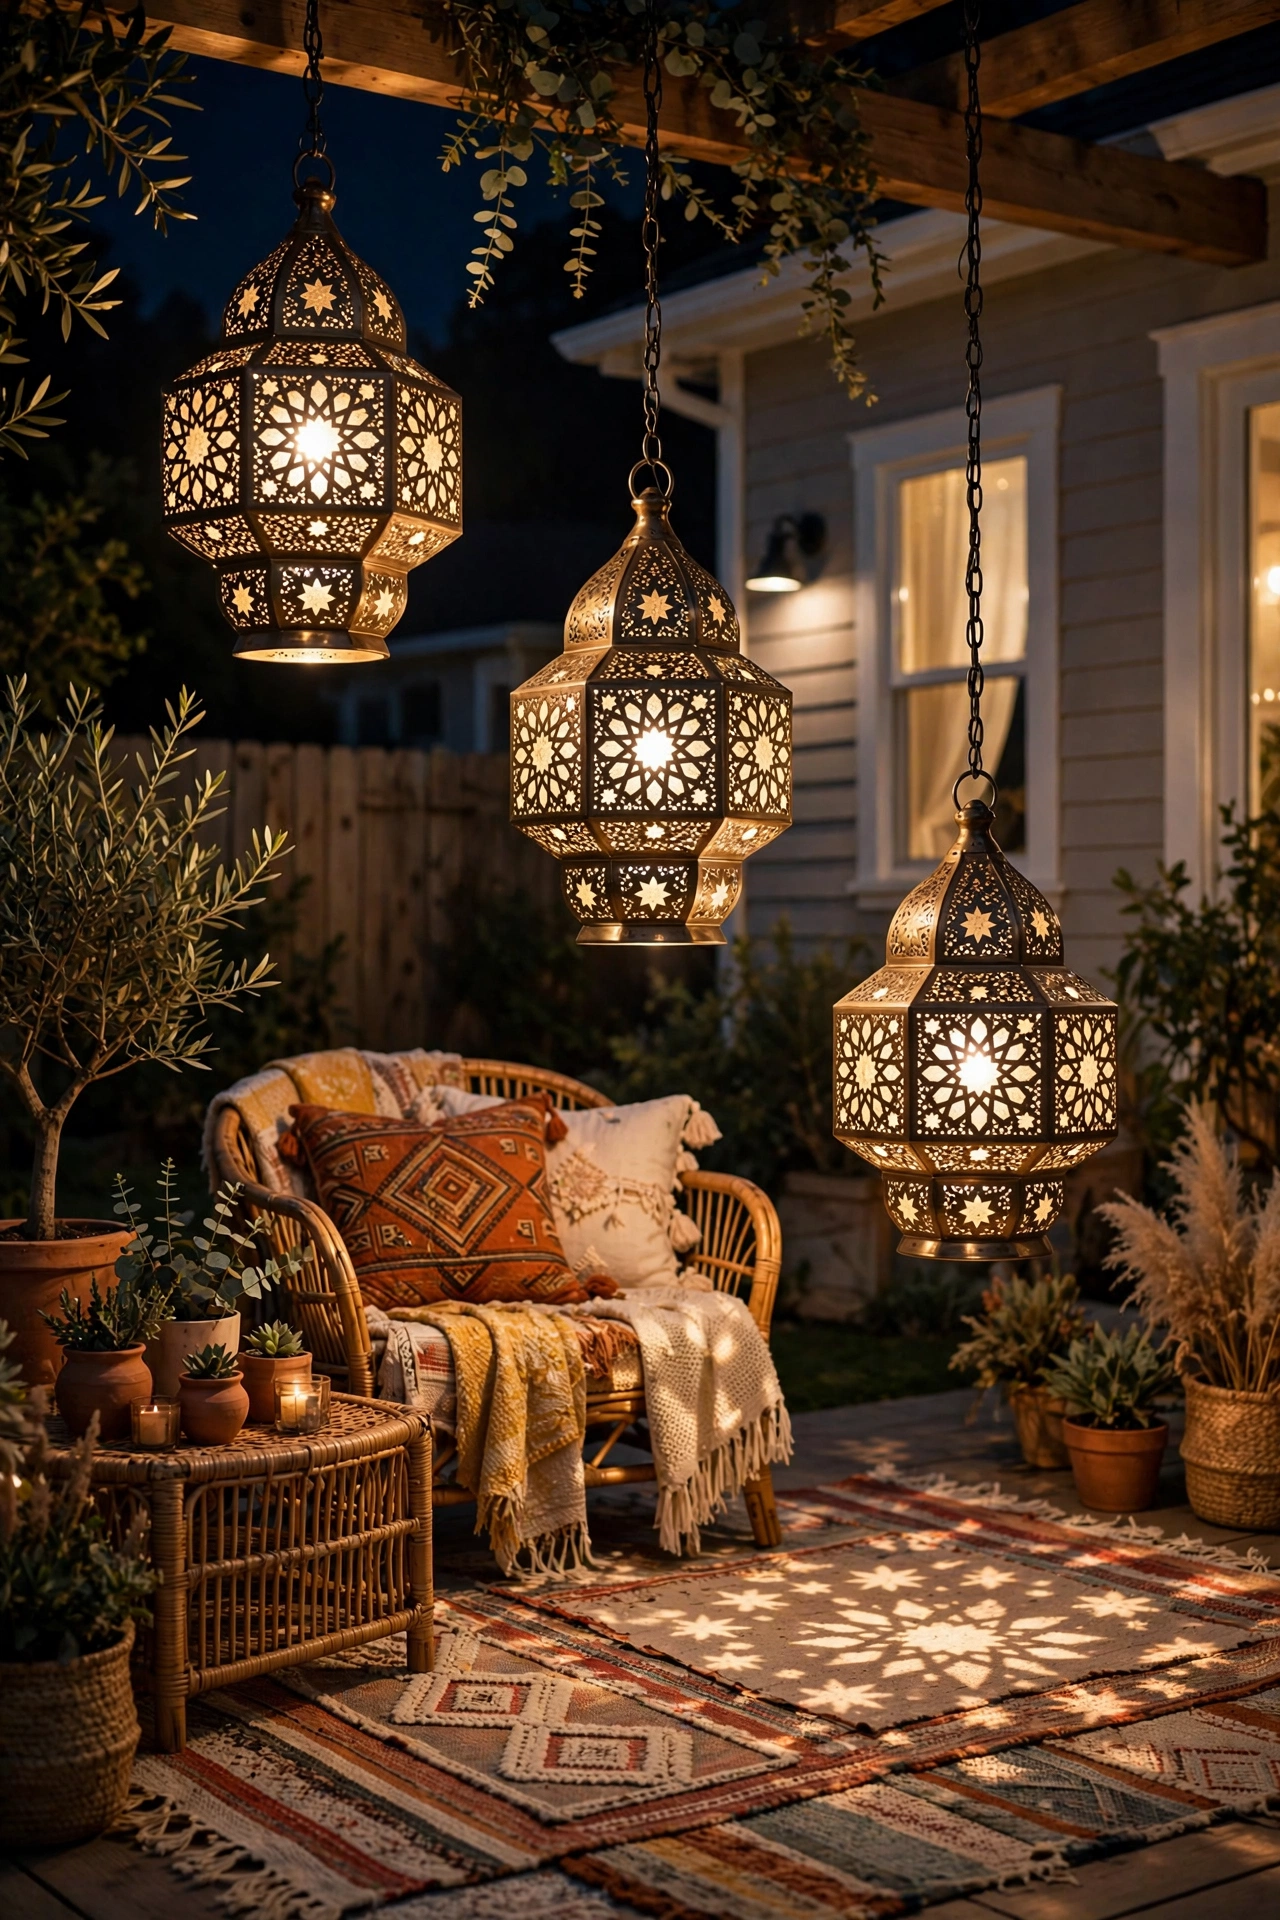
2. Moroccan Punched-Metal Lanterns
Moroccan lanterns are the boho workhorse — punched metal throws the most gorgeous star-patterned light across walls and floors. I like to hang two or three at staggered heights from a pergola beam or a sturdy tree branch using short lengths of chain, keeping the lowest one at least 6 feet off the ground so nobody bumps their head.
For the glow, skip real candles in hanging lanterns (wind plus a swinging flame equals stress) and use flickering flameless candles or a small LED puck light in warm white. Real tea lights are fine for lanterns sitting on tables where you can keep an eye on them. Group a large 14-inch lantern with a medium and small one — odd numbers always look more natural than pairs.
Look for powder-coated finishes if your patio gets rained on; raw iron will rust within a season. A light wipe-down with a dry cloth each fall keeps them pretty. When buying, check that the panels are actually pierced rather than just printed — hold one up to the light before you commit.
Suggested budget range: $25 – $70.
3. Solar Mason Jar Lights on Fence Posts
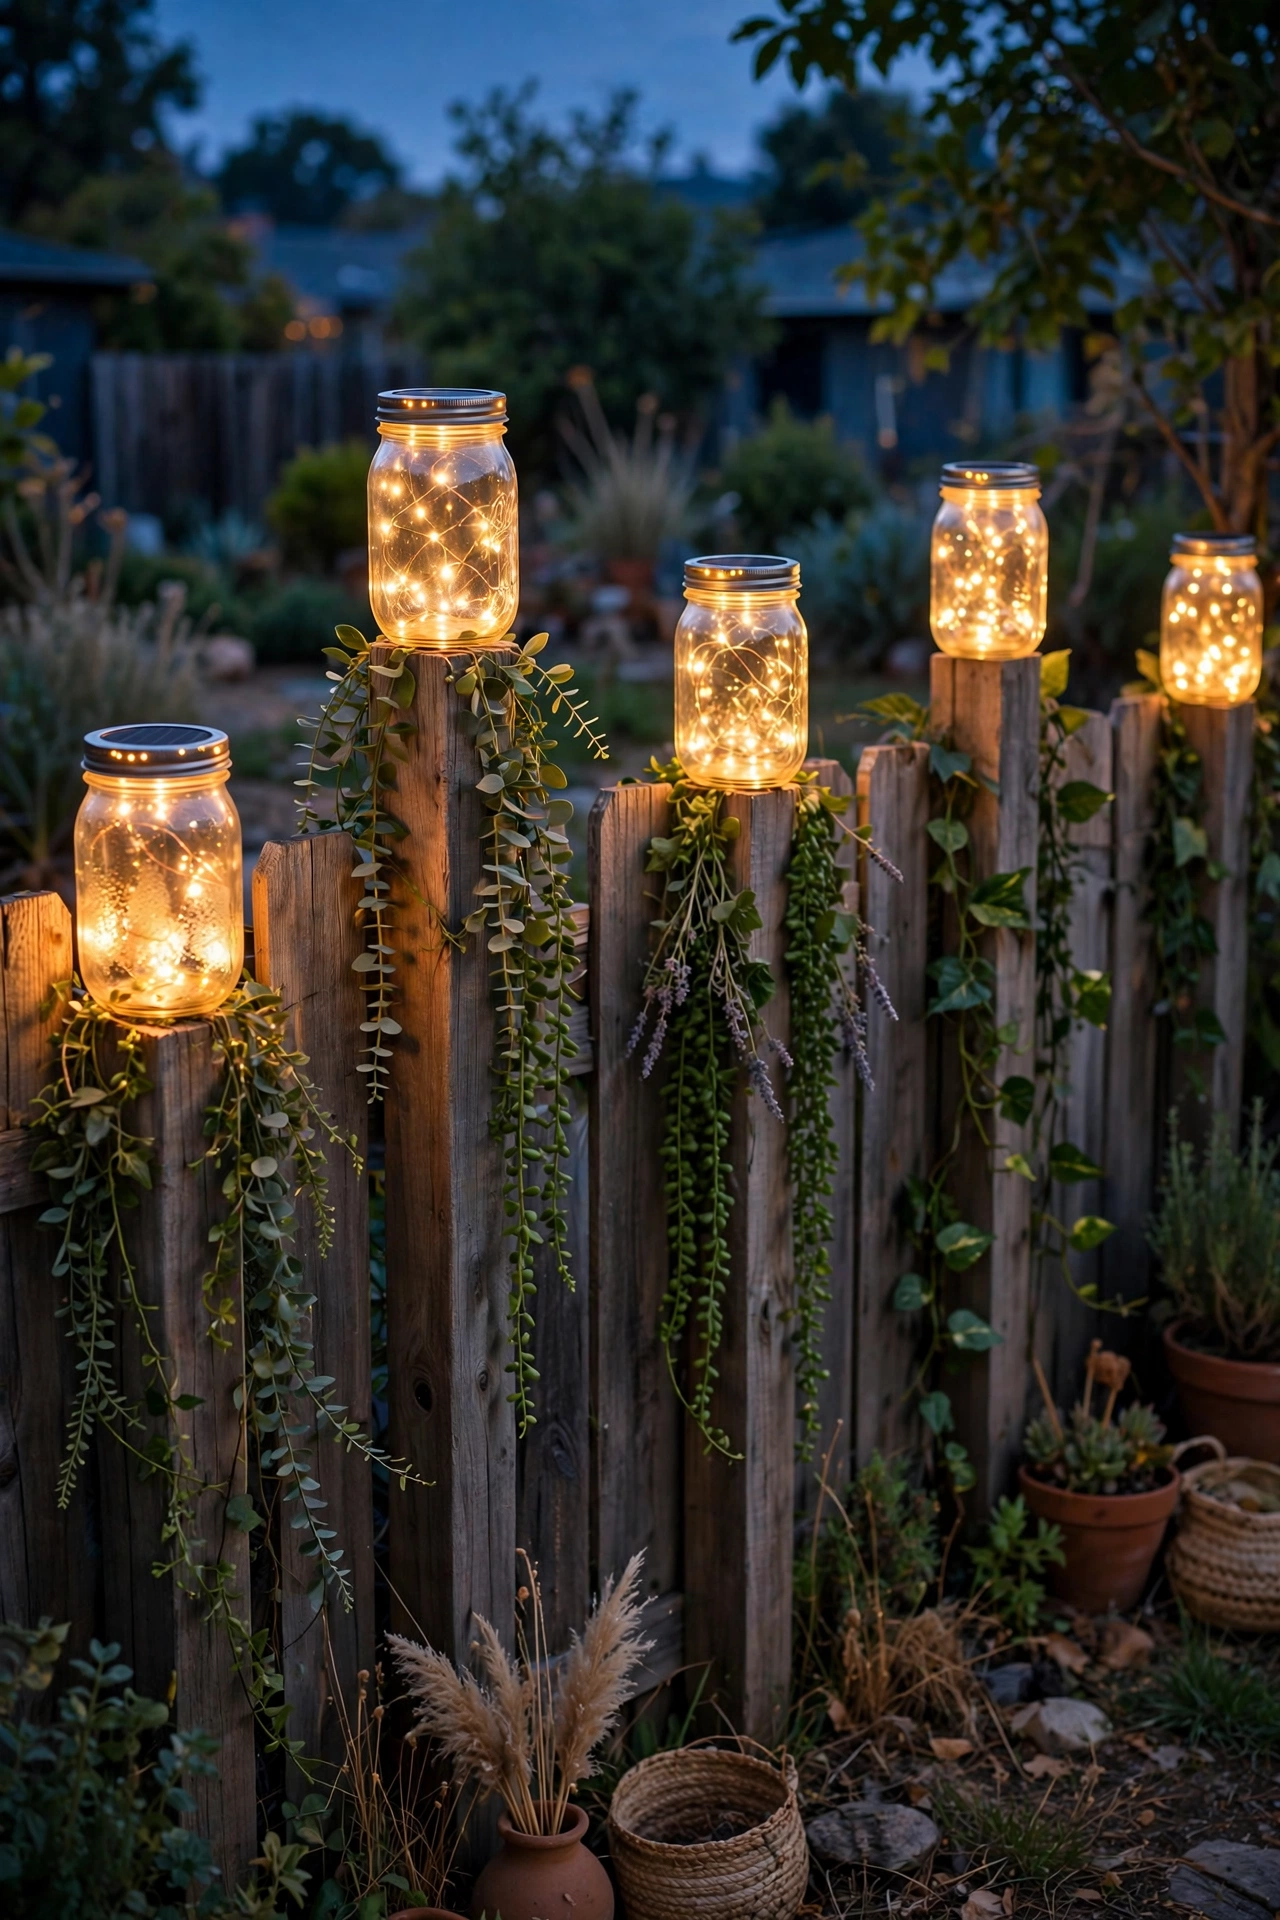
This is one of my favorite five-minute projects. Screw small solar lid lights (they come as replacement lids with a tiny panel and LED) onto standard mason jars and set one on each fence post cap or tuck them along a railing. By dusk they're glowing, and the glass gives off that soft, firefly feel boho patios do so well.
For best charging, make sure the little solar panels get at least 6 hours of direct sun — don't park them under a tree canopy or deep eave overhang and wonder why they're dim. A dab of silicone sealant around the lid threads keeps rain from pooling inside the jar. I like frosted or sea-glass-blue jars for extra diffusion, but clear jars with a strand of copper-wire fairy lights coiled inside look magical too.
Spacing is easy: one jar per post, or every 6 to 8 feet along a railing. They'll run 6 to 8 hours on a full charge in summer, less in winter — totally normal. Keep a couple of spare lids on hand since the rechargeable batteries wear out after a year or two.
Suggested budget range: $20 – $45.
4. Macramé Pendant Light Over the Table
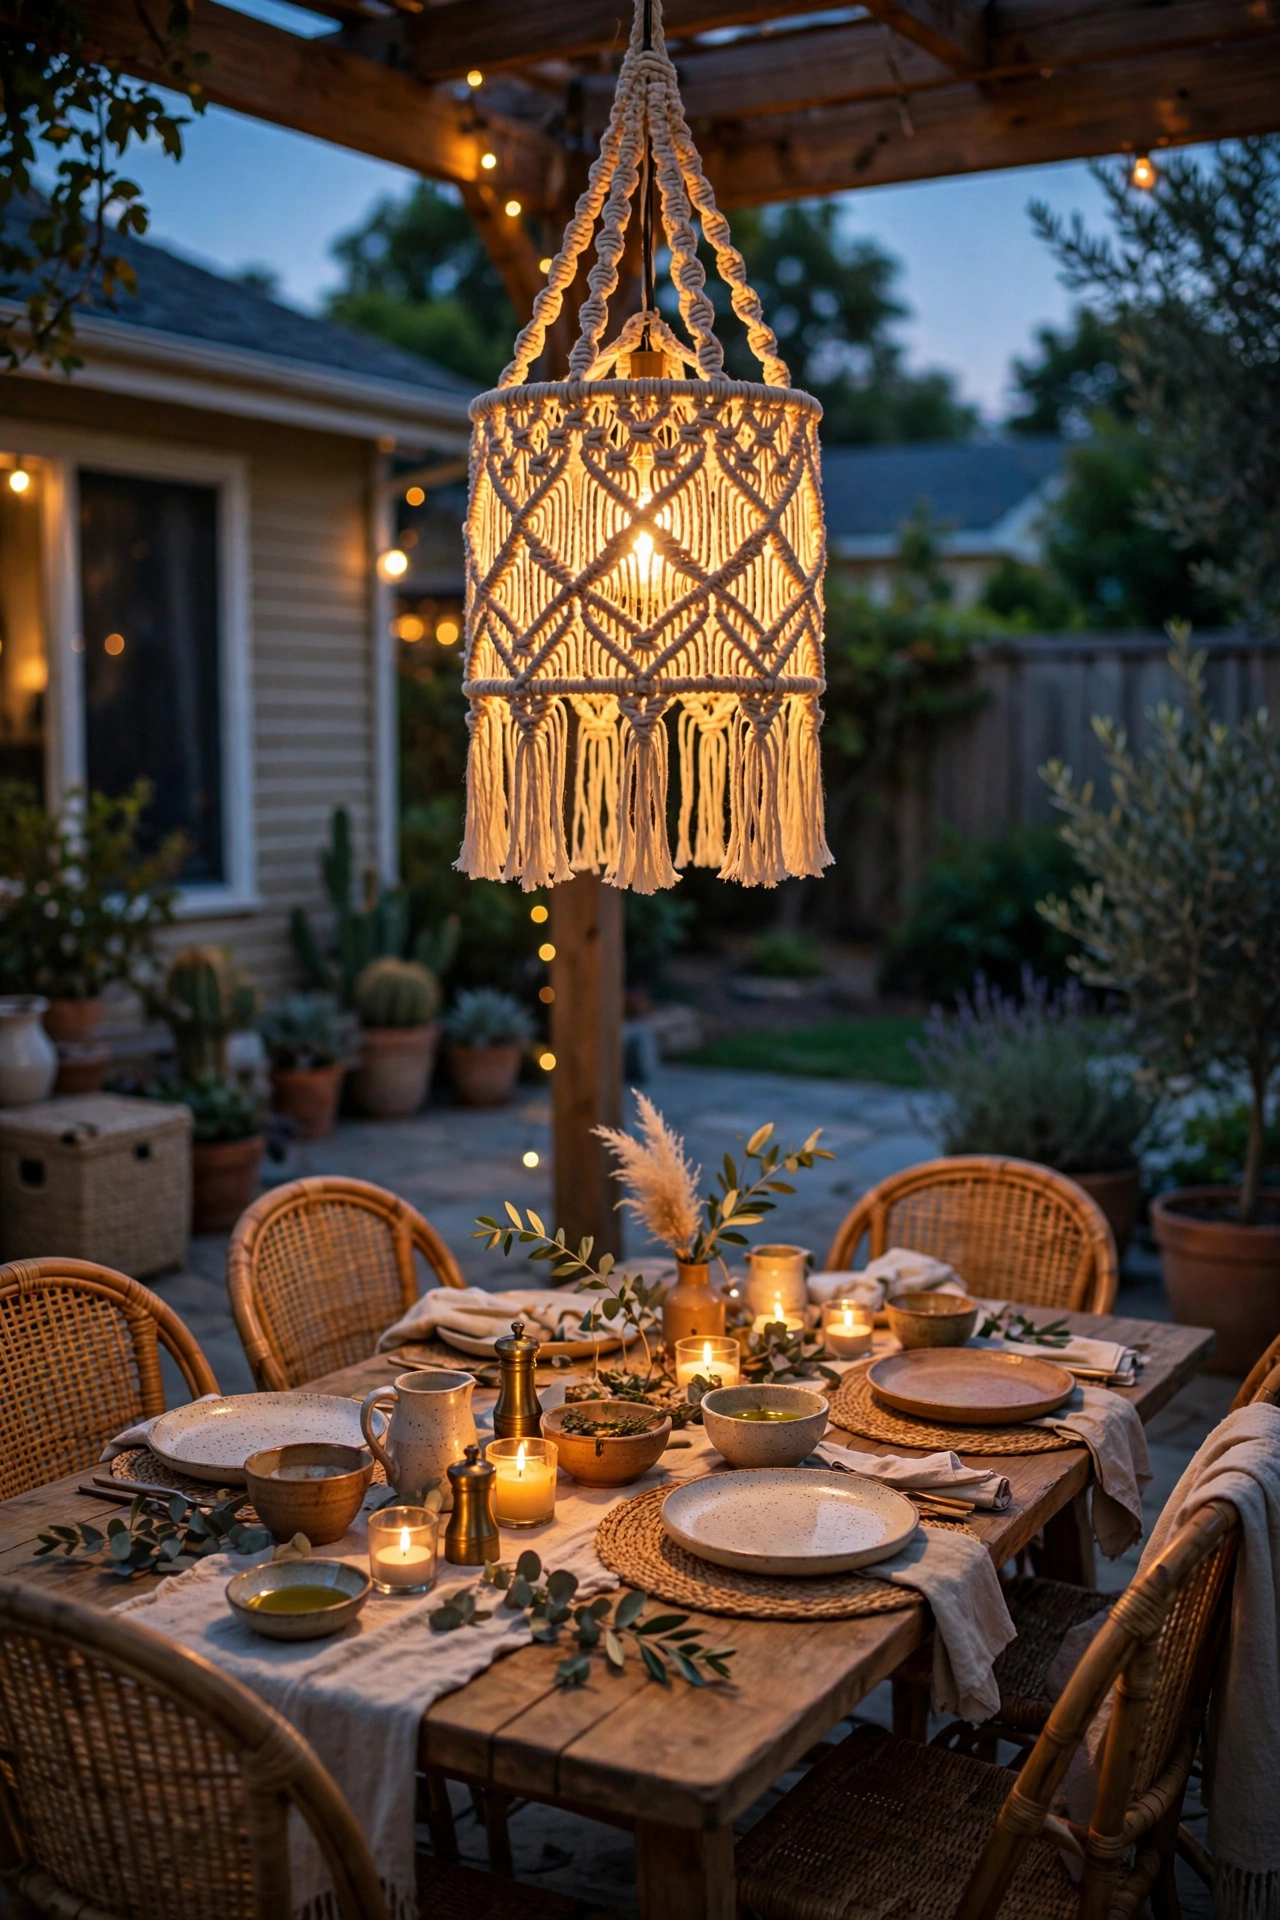
A macramé pendant shade over the dining table is peak boho — and it's an easy weekend DIY if you can tie a basic square knot. You'll need cotton macramé cord, a metal pendant frame or even an embroidery hoop, and a plug-in pendant cord kit with an E26 socket.
Hang the pendant 28 to 34 inches above the tabletop — low enough to pool light over dinner, high enough that nobody stares into a bare bulb. Use a dimmable LED bulb in 2200K–2700K; the amber end of that range flatters skin tones and food. If your cord kit has an inline switch, mount it where you can reach it from your seat, or plug it into a smart plug and control it from your phone.
Weatherproofing matters: macramé cord mildews if it stays damp, so either hang it under a covered patio or bring the shade inside during rainy stretches. I spray mine with a fabric water-repellent once a season. The whole shade weighs almost nothing, so a single sturdy ceiling hook is plenty.
Suggested budget range: $30 – $75.
5. Paper Lantern Cluster at Varied Heights
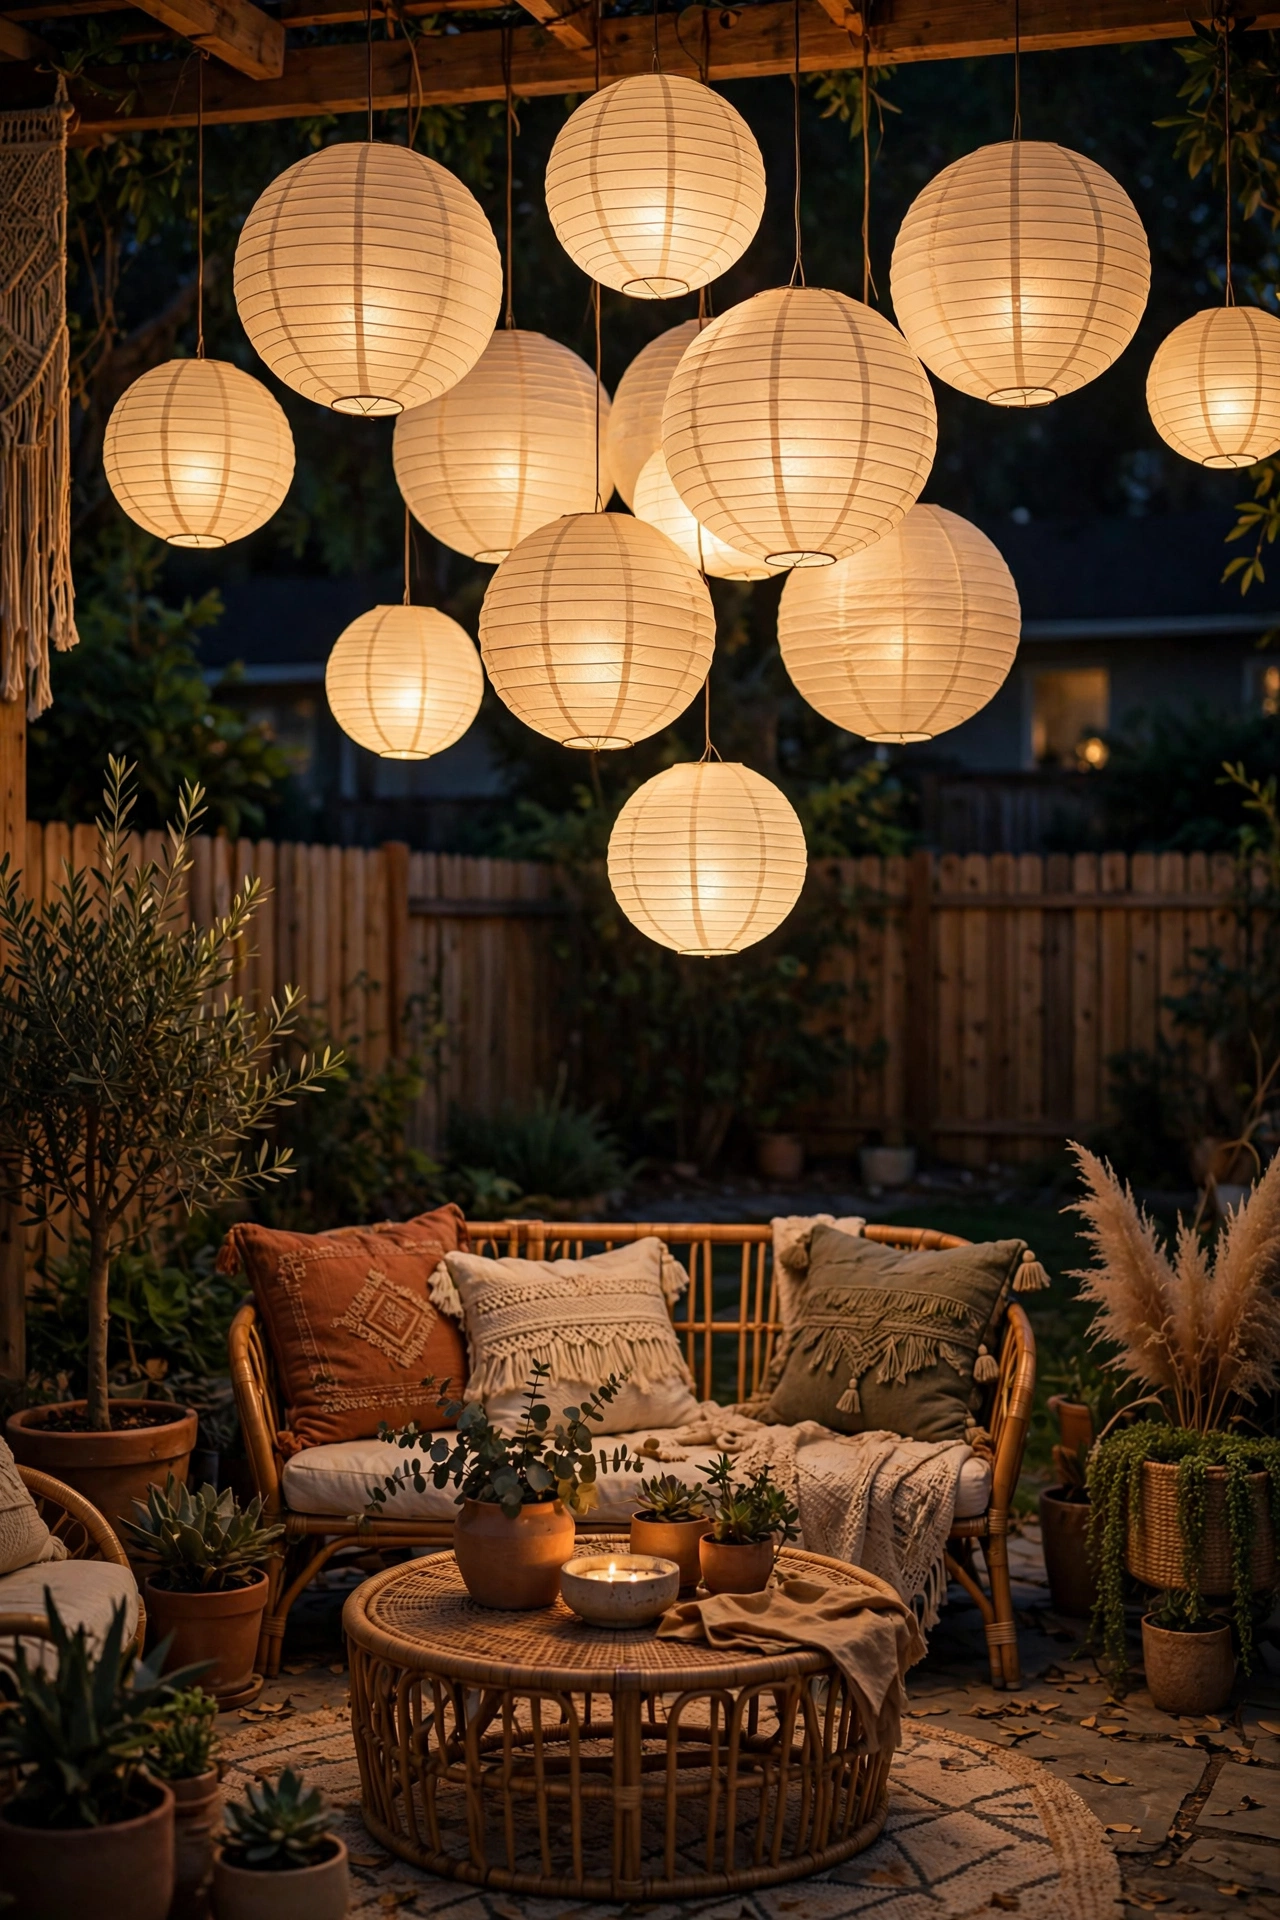
Round paper lanterns are the cheapest way to get big, sculptural glow. The trick is hanging them in a cluster of 5 to 7 at different heights — say 6, 7, and 8 feet off the ground — rather than in a straight row. Vary the sizes too: 12-inch, 16-inch, and 20-inch lanterns mixed together look effortlessly collected.
Use LED string lights threaded through the cluster (one 33-foot fairy light strand weaves through 5 lanterns easily) rather than individual bulb kits — it's cheaper and you get one plug. Hang them from a pergola, a tree branch, or a simple wire strung between two posts. For the wire method, use galvanized steel cable with turnbuckles so you can tension it properly; sag is fine for string lights but a lantern cluster needs a firm line.
Paper lanterns are strictly fair-weather friends. Bring them in before rain or heavy wind — a soaked paper lantern is a sad paper lantern. Stored flat in a dry spot, they last for years. In my experience, the slightly textured rice-paper ones diffuse light more beautifully than the shiny nylon kind.
Suggested budget range: $25 – $60.
6. Candle Clusters in Hurricane Glass
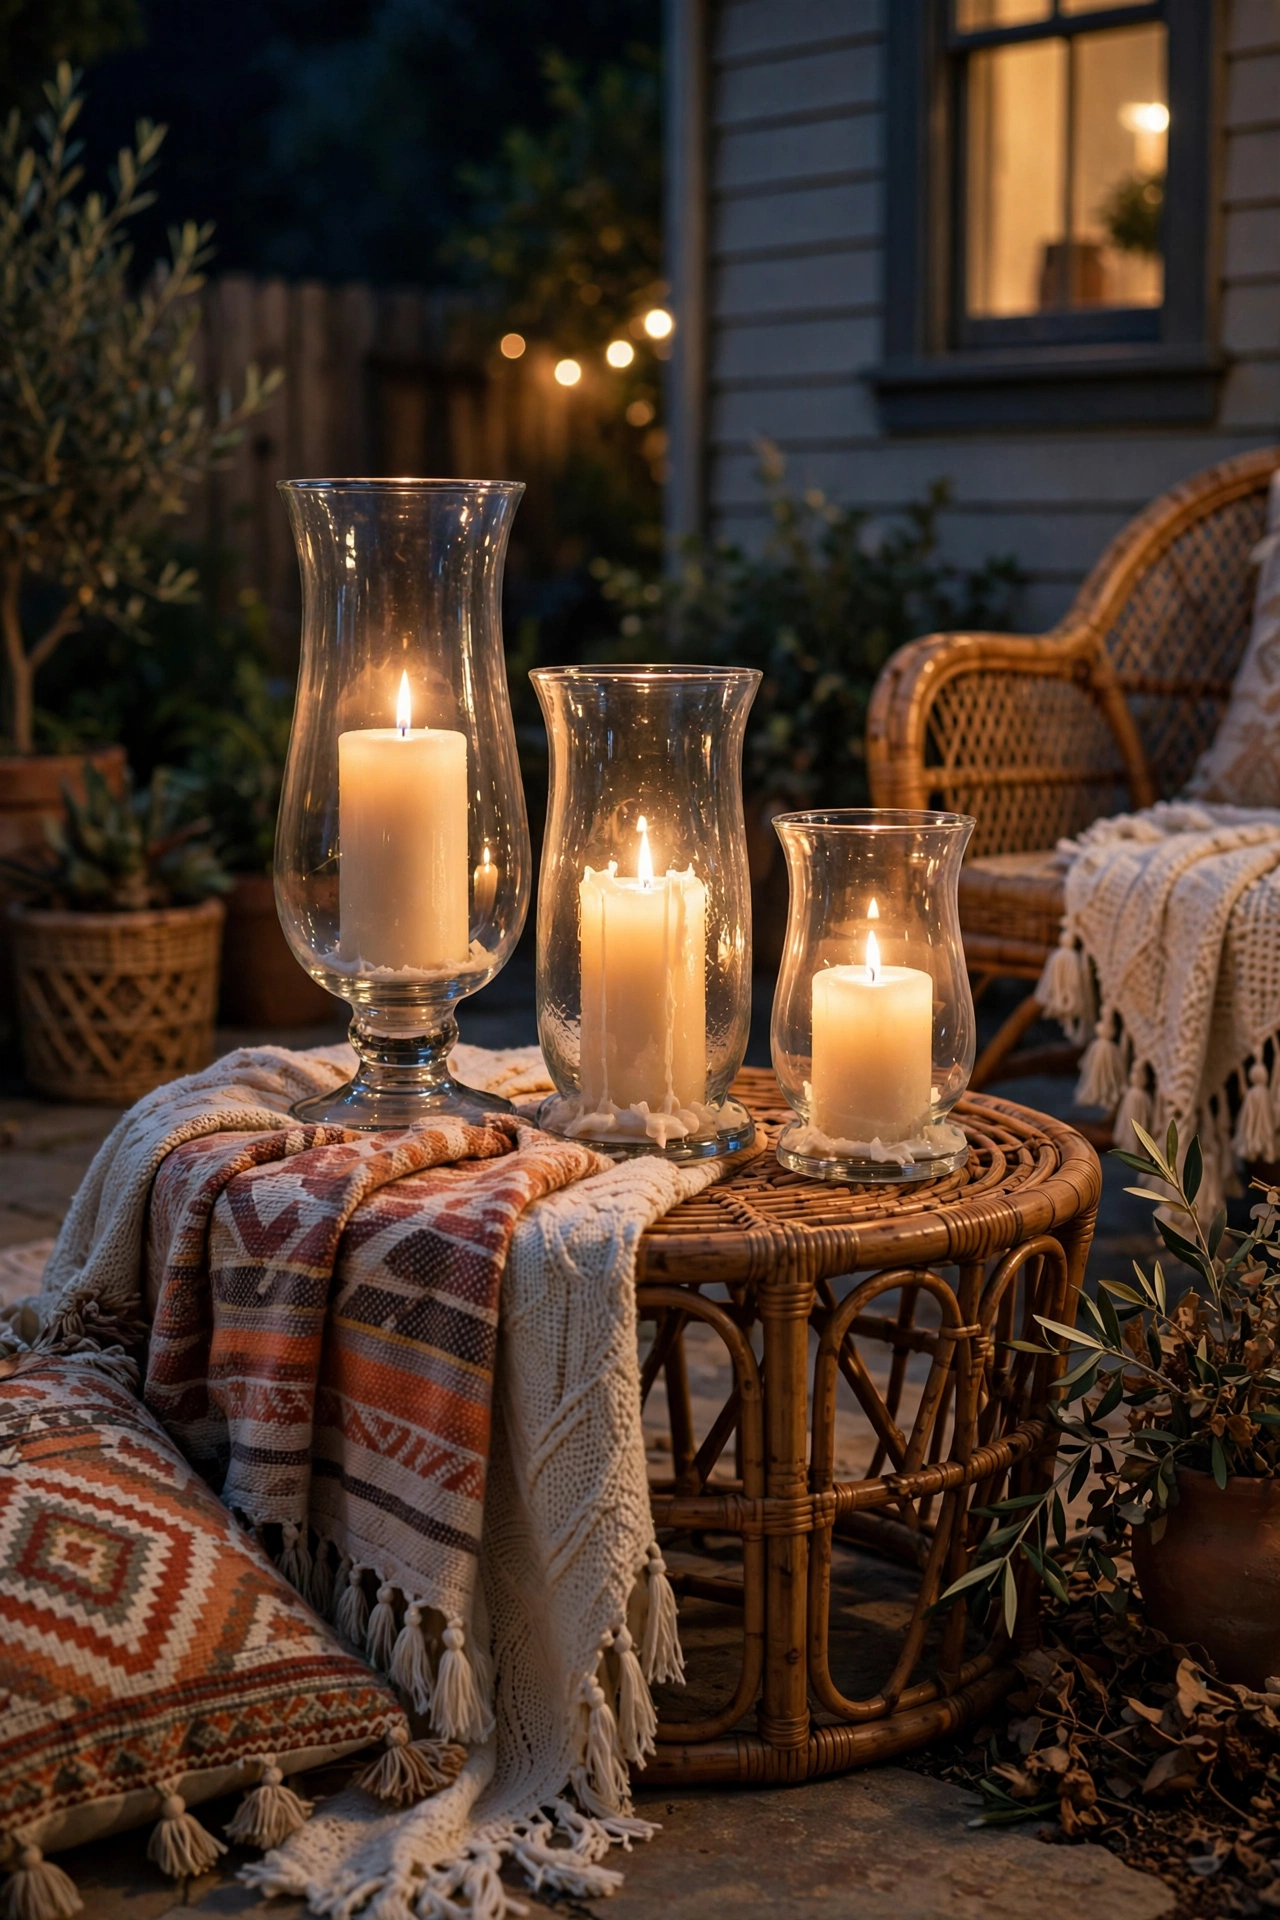
Tall hurricane glass shades turn ordinary pillar candles into wind-proof glow factories — essential for boho patios, where a breeze can snuff an open flame in seconds. Group three hurricanes of different heights (8, 10, and 12 inches) on a side table or along the edge of a deck, with 3-inch pillar candles inside.
Leave about an inch of air gap between the candle top and the rim of the glass for airflow, and set the whole arrangement on a metal or stone tray to catch wax drips and protect wood surfaces. Citronella pillars do double duty in mosquito season — just keep them a few feet from where food is served since the scent can be strong. Never leave real flames unattended, and keep clusters at least 3 feet from curtains, cushions, or anything flammable.
For zero-maintenance evenings, flameless pillars with a flicker effect in the same hurricanes look surprisingly convincing from across the patio. I keep both on hand: real candles for dinner parties, flameless for everyday.
Suggested budget range: $30 – $65.
7. Rattan Floor Lanterns Beside Seating
Oversized rattan or wicker floor lanterns are boho lighting and décor in one — they look beautiful by day and glow like honeycombs at night. Place a pair flanking your main seating, or tuck one 24-inch lantern beside a lounge chair as a side table that happens to emit light.
Pop a flameless LED candle or a short string of fairy lights inside each one. Real candles work too if the lantern has a glass insert, but rattan is flammable, so I stick with LED for floor lanterns that might get bumped. Look for lanterns with a hinged door or removable top — you'll thank yourself every time you change batteries.
Weatherproofing: natural rattan hates sitting in puddles. Set lanterns on small pot feet or a stone paver to lift them off wet ground, and bring them under cover during storms. Synthetic all-weather wicker costs a bit more but survives year-round outdoors in most climates. Either way, a quick dusting keeps the weave looking fresh.
Suggested budget range: $35 – $90.
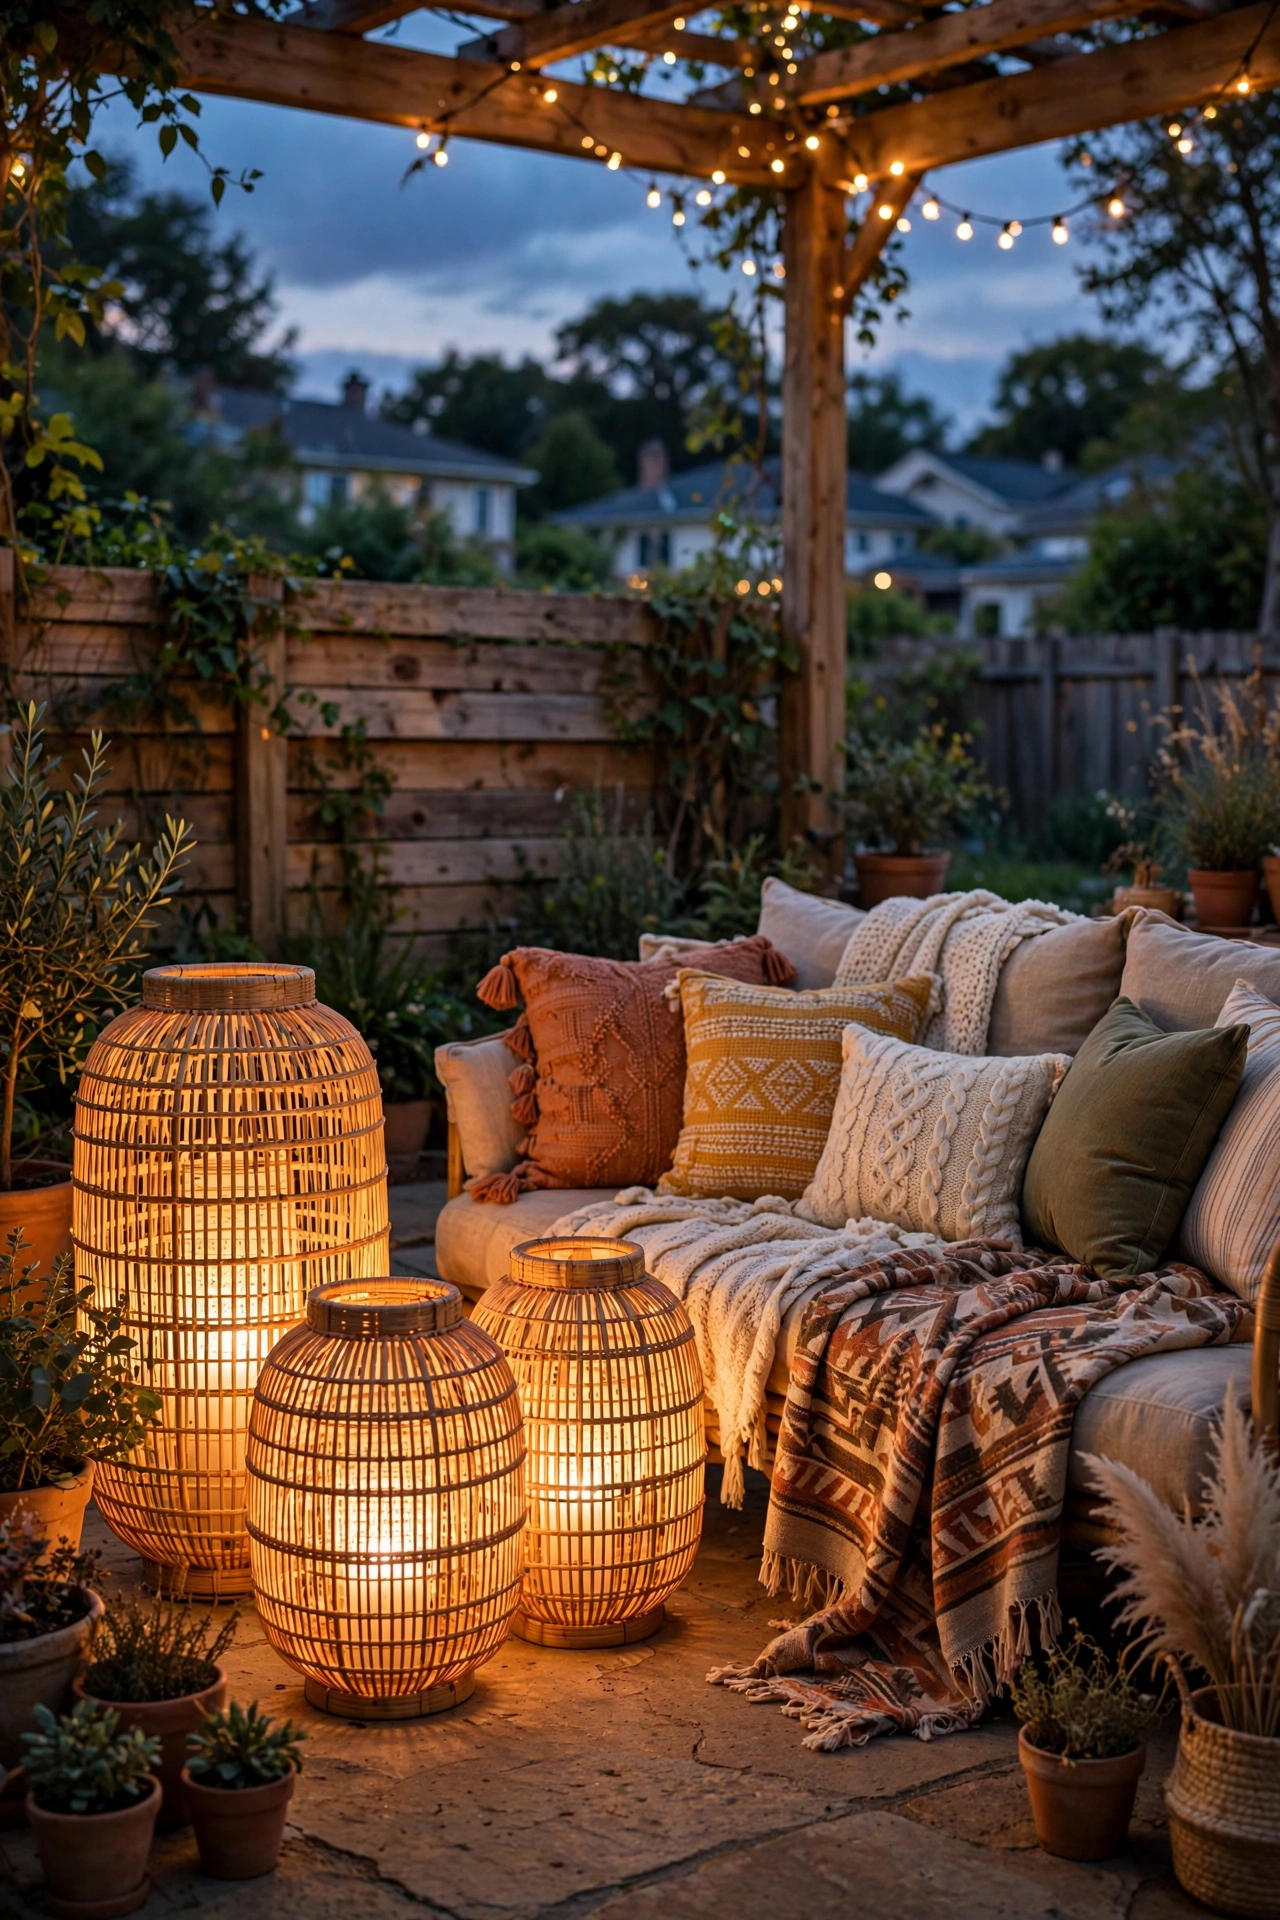
8. Fairy Lights Woven Through a Pergola
If you have a pergola, you have a lighting goldmine. Weave a long strand of warm-white fairy lights in and out of the rafters — I like the copper-wire kind on a 66-foot spool because the wire practically disappears in daylight. Wrap each beam two or three times, letting a few loops dangle 4 to 6 inches for that dripping-light effect.
For a standard 10×10-foot pergola, plan on 200 to 300 LEDs. Plug the spool into an outdoor smart plug so the whole canopy clicks on at sunset automatically. If you're also growing vines on the pergola, weave the lights loosely enough that you can unwind them for pruning season — learned that one the hard way.
Pair this with a couple of lanterns at ground level and you've nailed the boho layering formula: canopy glow above, pools of light below. For more tiny-light inspiration, my outdoor fairy light ideas collection has dozens of ways to use these little workhorses.
Suggested budget range: $20 – $55.
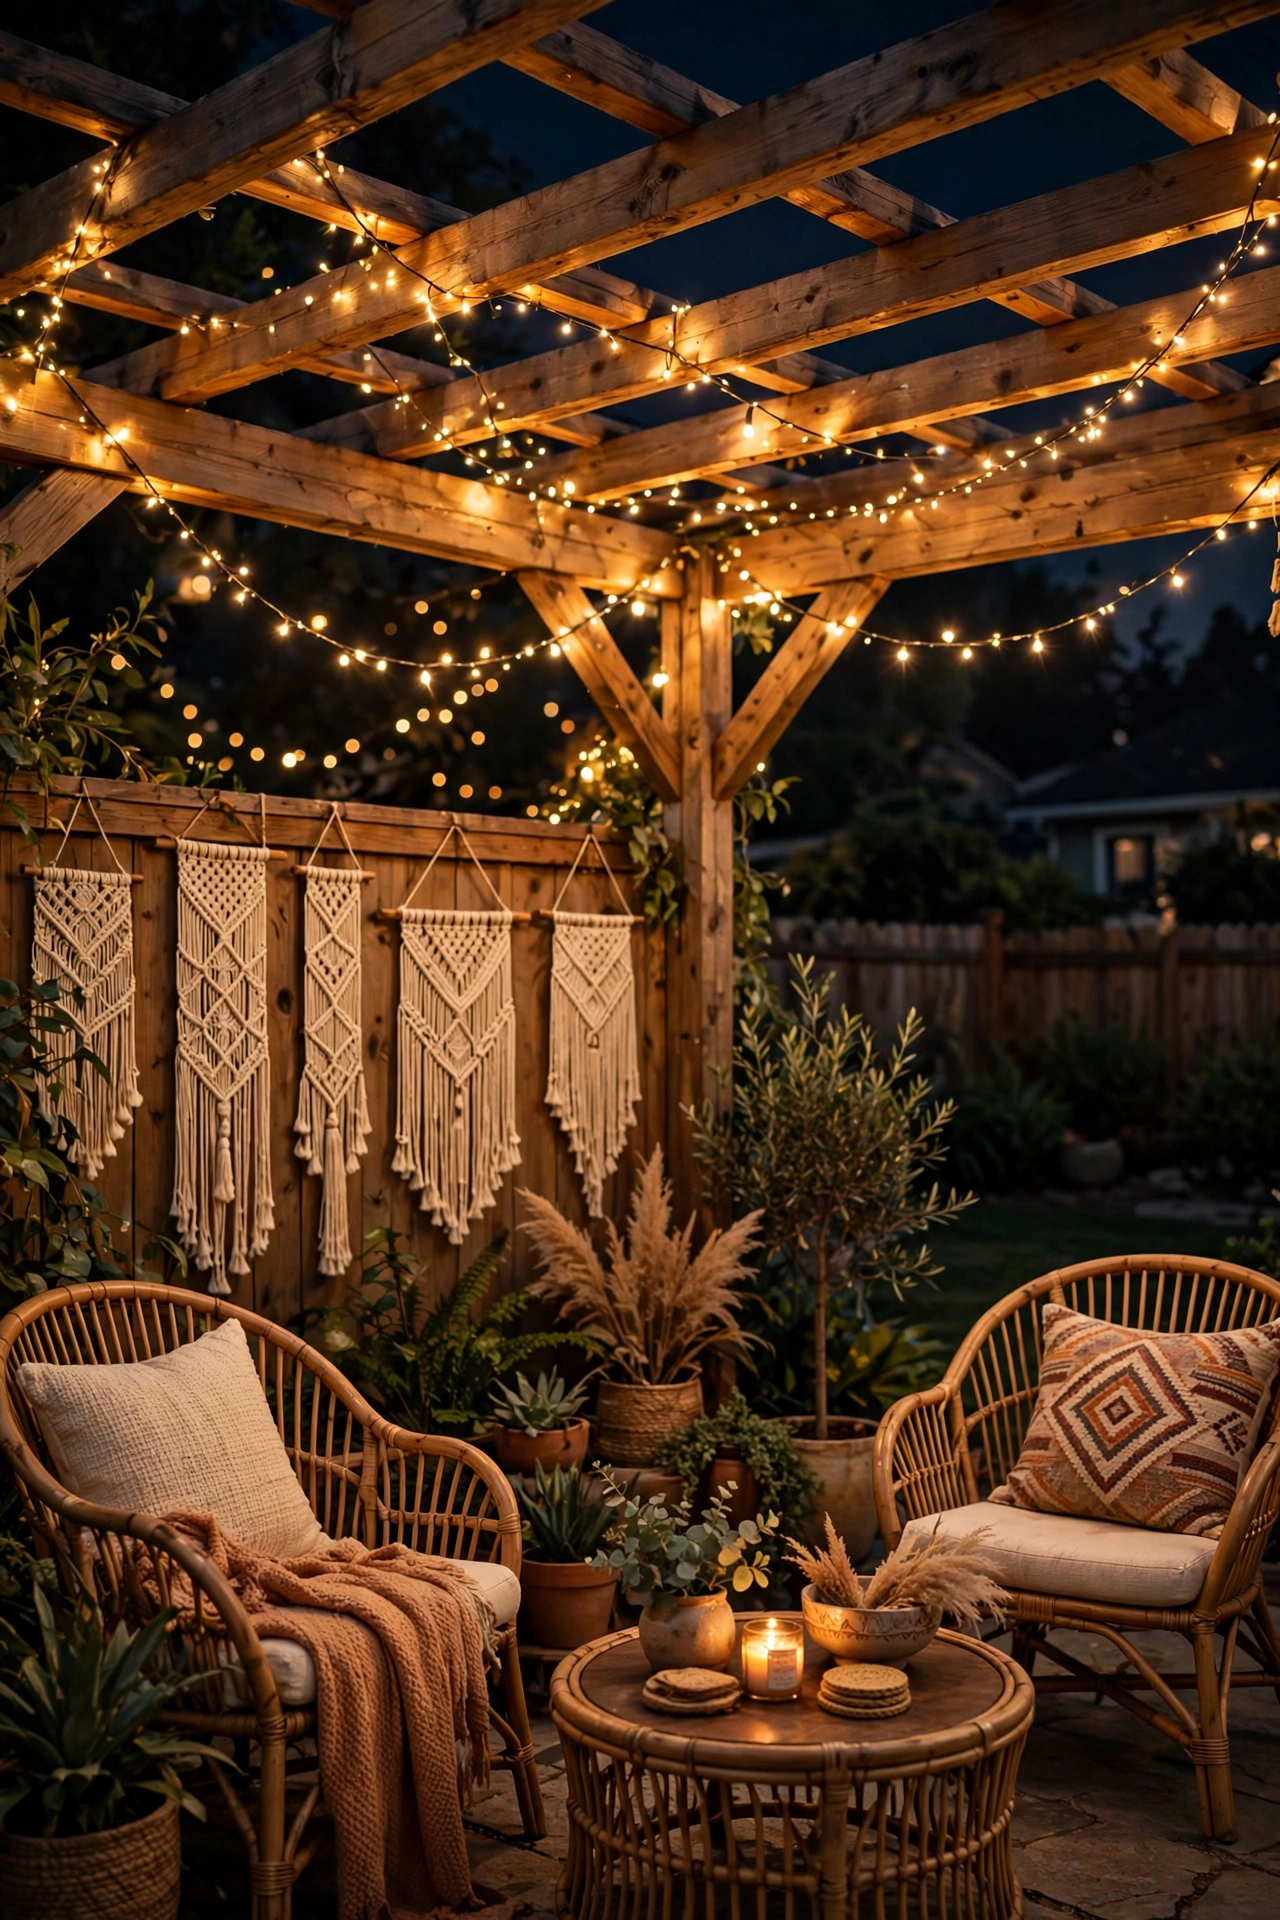
9. Tiki Torch Perimeter (Done Safely)
Tiki torches get a bad rap as luau kitsch, but a row of them in natural bamboo or matte black reads pure boho — especially with real flickering flames. Space torches 6 to 8 feet apart around the patio perimeter, and push the ground stake at least 8 inches into firm soil or a weighted planter so they can't tip.
Fill with citronella torch fuel for bug-fighting glow, and trim wicks to about 3/4 inch above the burner for a clean flame. Always snuff torches before bed — use the snuffer cap, never blow them out — and store fuel in its original container away from the house. Keep torches at least 6 feet from the house, fences, and overhanging branches, and never leave them burning unattended. If you have curious kids or dogs, flameless LED torches give the same silhouette with zero fire risk.
For a softer look, I alternate torch heights: full-height torches along the back fence, tabletop mini torches on side tables. The mixed heights feel collected, not catalog.
Suggested budget range: $40 – $100.
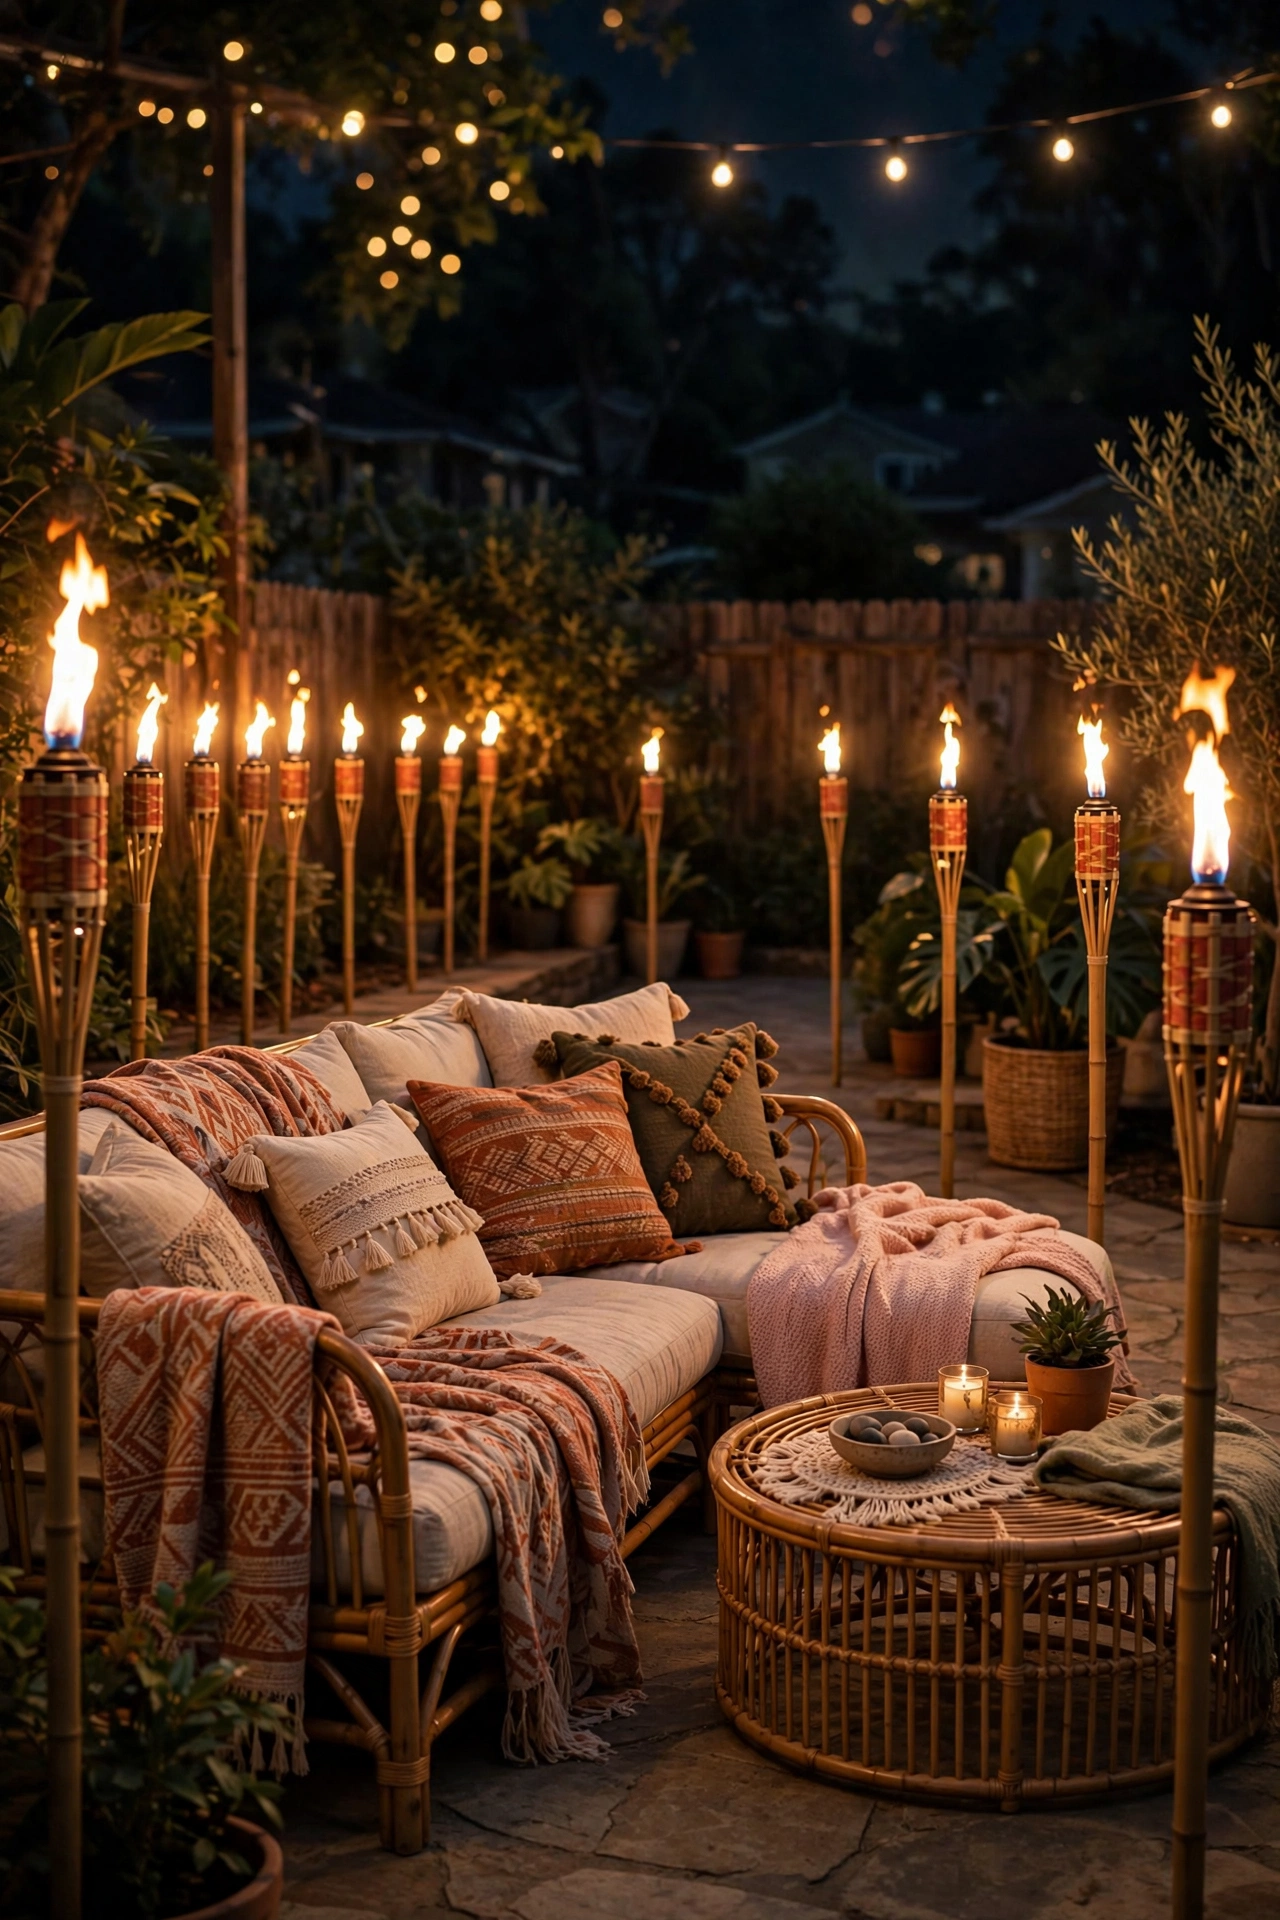
10. Hanging Glass Terrarium Candles
Those little glass geometric terrariums aren't just for succulents — hang three or four from shepherd's hooks or low branches with a tea light in each and they become floating jewels of light. Use 24 to 36 inches of jute twine or thin chain, and hang them at slightly different heights for a natural feel.
Keep the tea light in a small metal or glass cup inside the terrarium so wax never touches the glass seams. Real tea lights give the prettiest flicker; flameless ones win on windy nights. Hang them where they won't swing into foot traffic — above a side garden bed or beside (not over) the seating area is perfect.
This idea scales beautifully: a single terrarium on a hook by the door is charming, while a dozen hanging over an outdoor dining table is pure magic for a party. At just a couple of dollars per tea light refill, it's one of the cheapest ways to add a whole new layer of light.
Suggested budget range: $25 – $60.
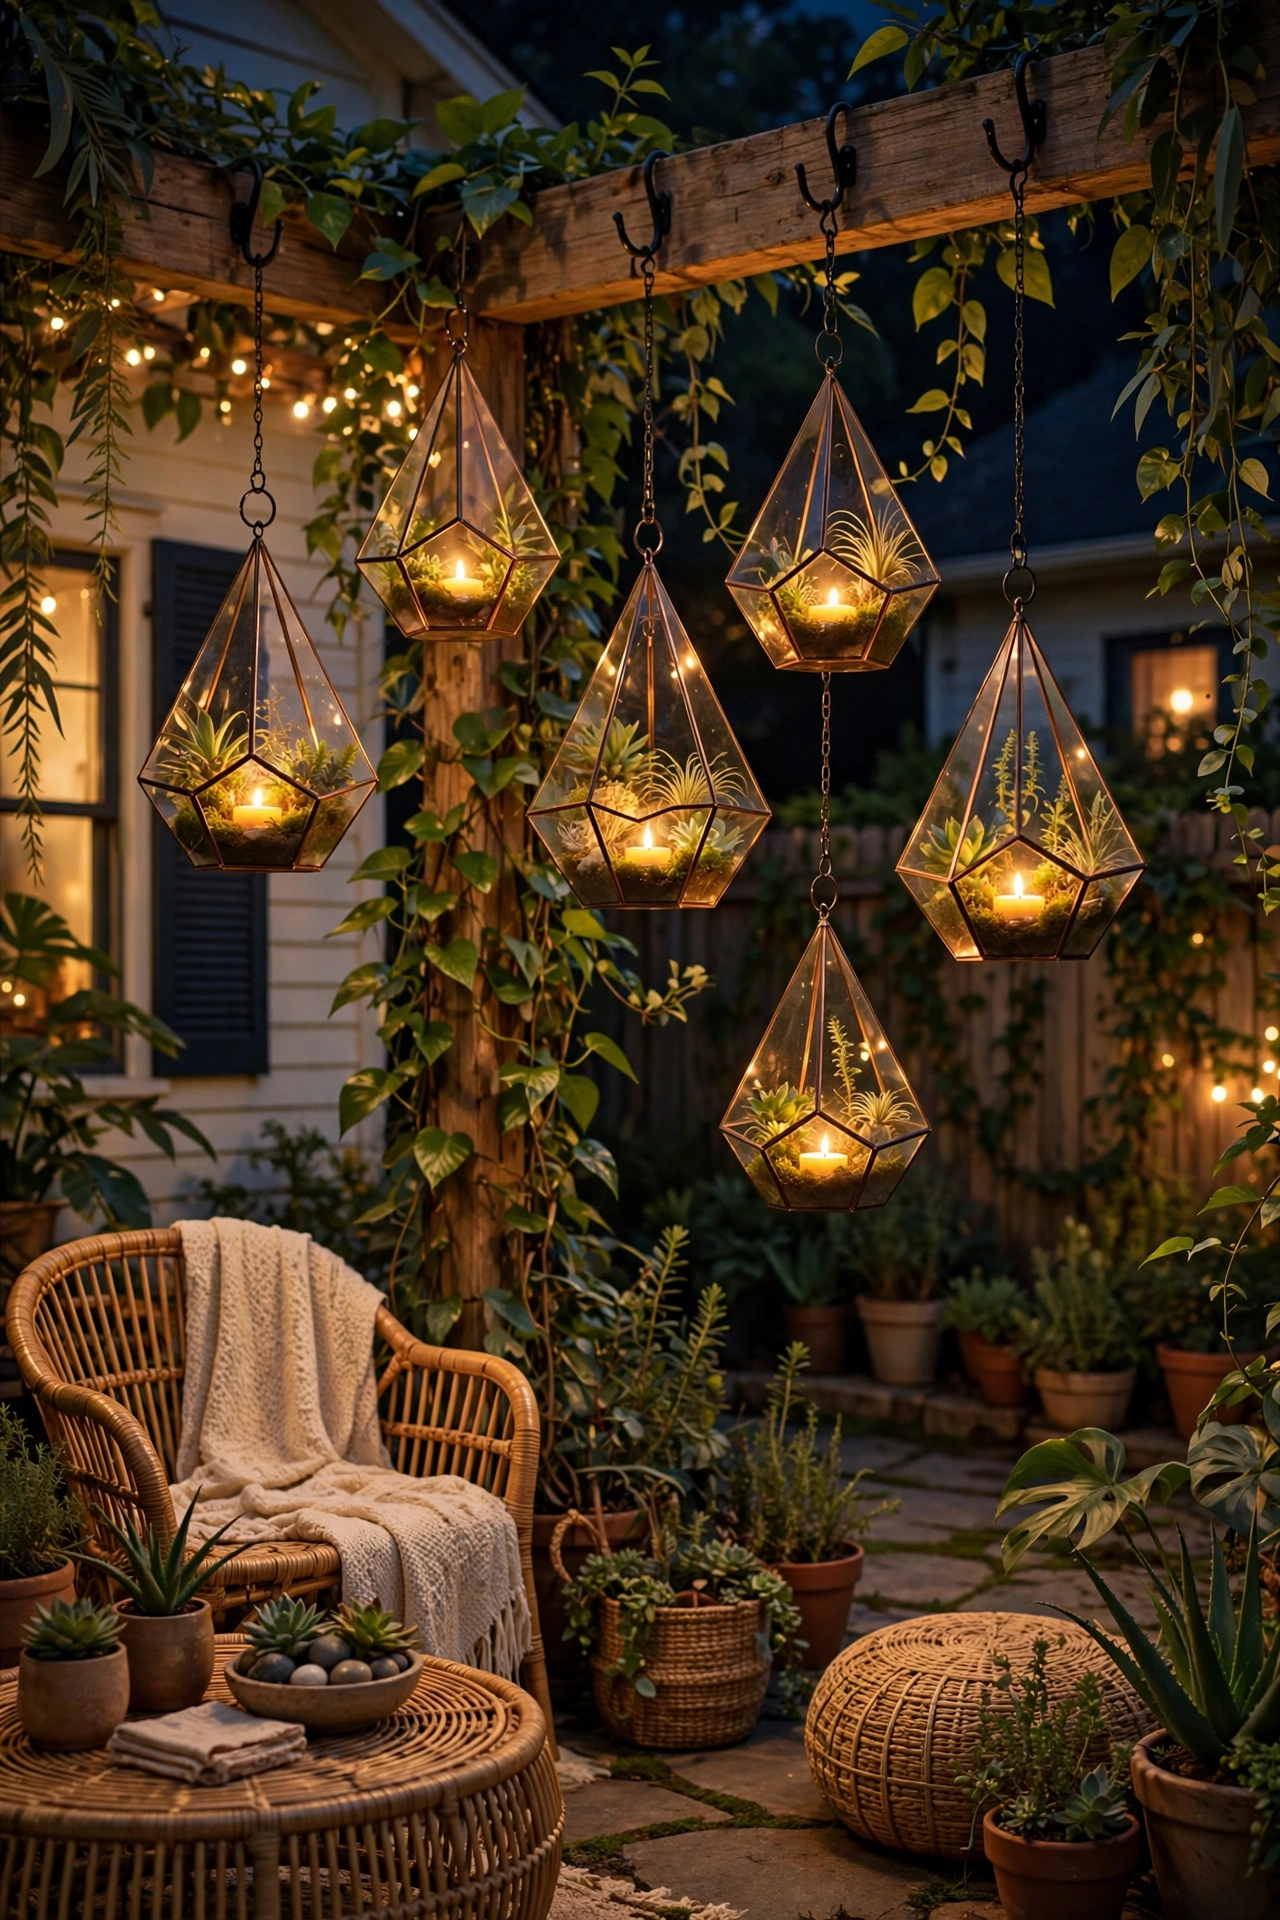
11. LED Tea Lights Lining the Steps
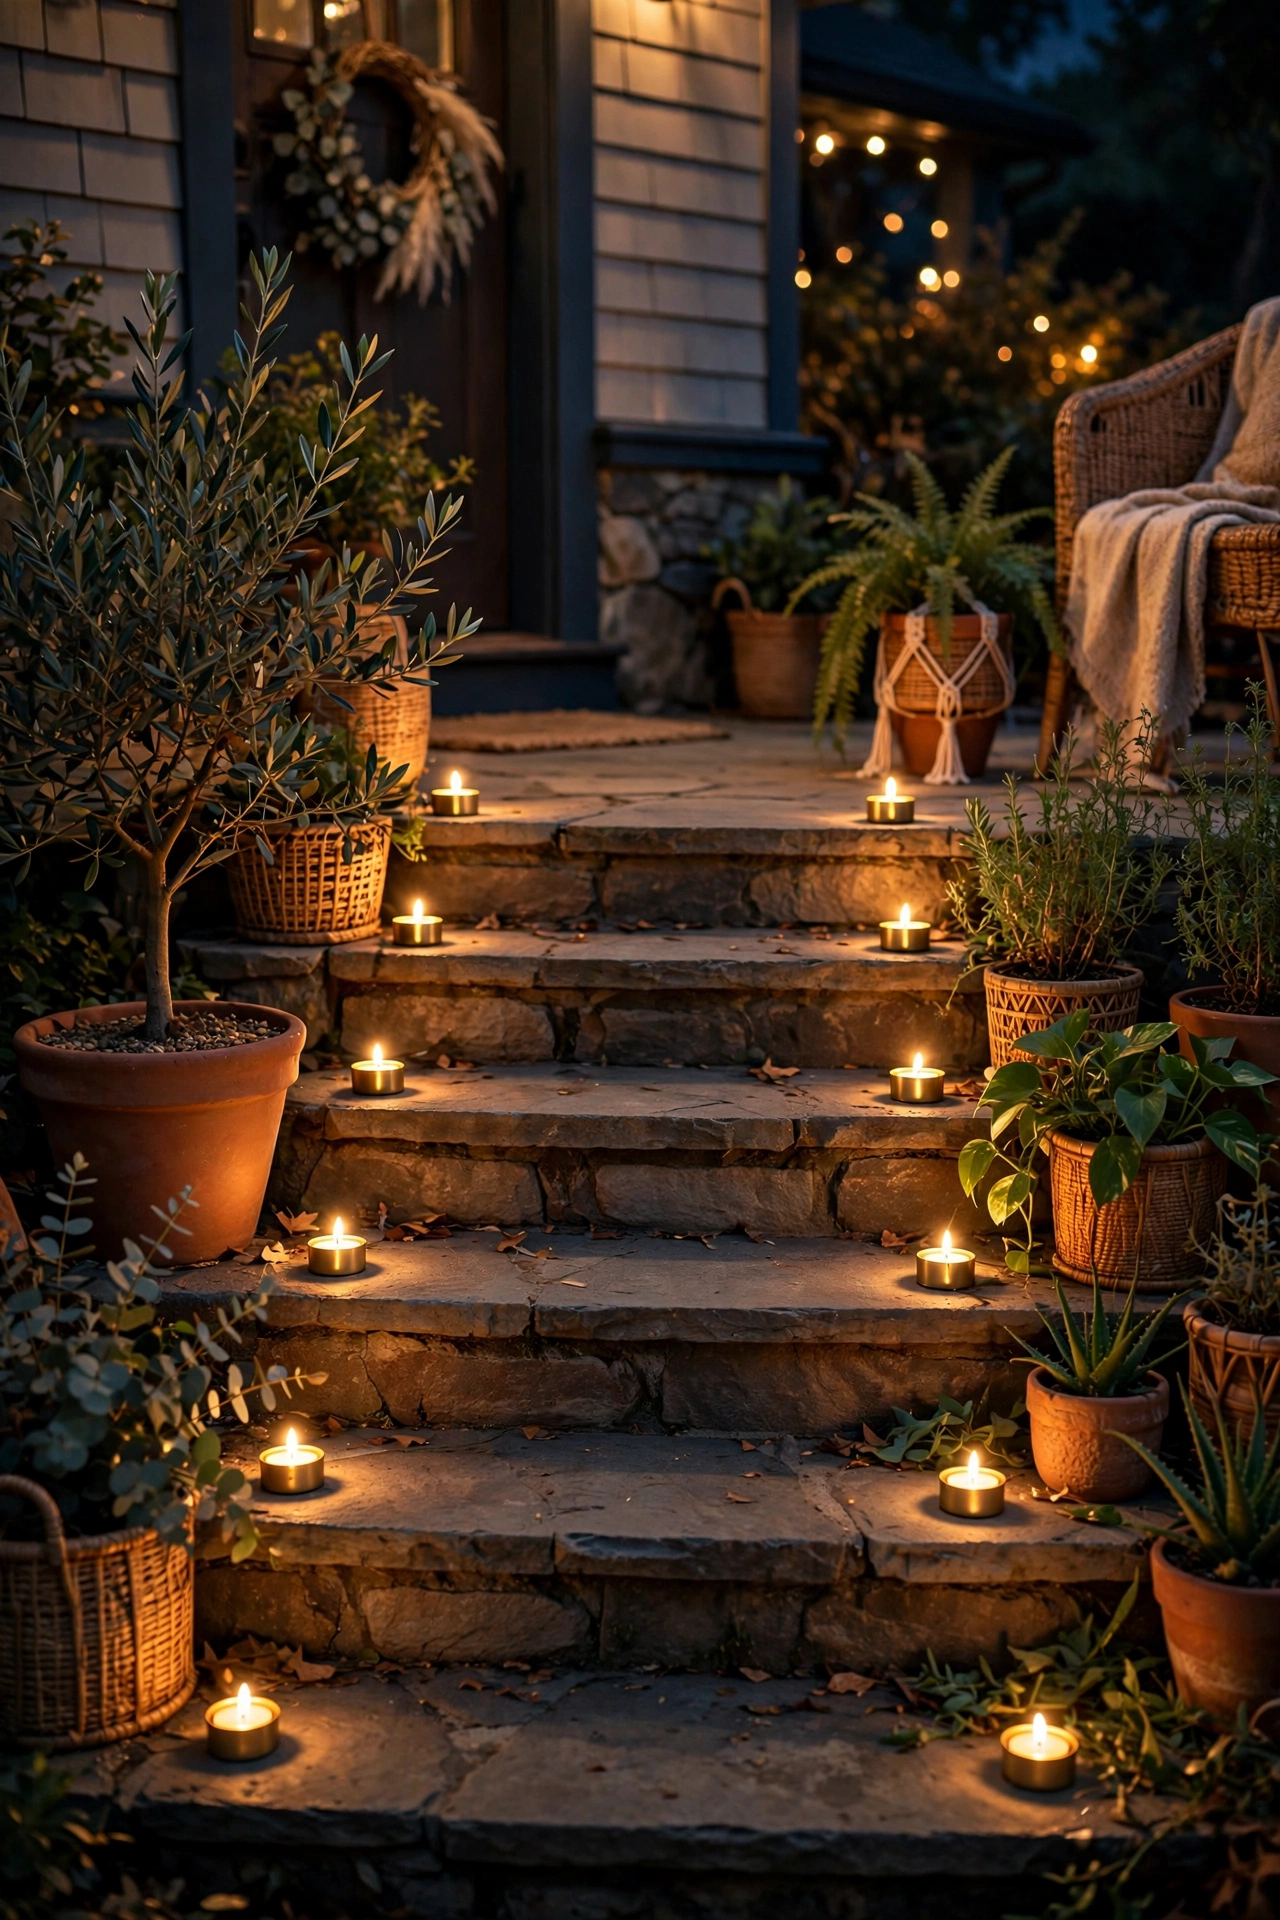
Steps are a trip hazard after dark, and boho style says: light them with something pretty. Line each step edge with flameless LED tea lights in small boho holders — think hammered brass cups, tiny terracotta pots, or cut-glass votives. Space them 12 to 18 inches apart along the front edge of each tread.
Flameless is the move here since these sit where feet land; look for tea lights with a built-in 6-hour timer so they switch themselves on every evening. The flicker-effect ones read as real candles from two feet away. A set of 24 usually covers a standard 4-step staircase with spares.
For weather protection, choose holders with some heft so wind doesn't send them tumbling, and bring the tea lights themselves inside during heavy rain — most are water-resistant, not waterproof. I wipe the battery contacts with a dry cloth once a month to prevent corrosion. Small effort, big payoff in both safety and atmosphere.
Suggested budget range: $20 – $50.
12. Candlelit Tablescape with a Woven Runner
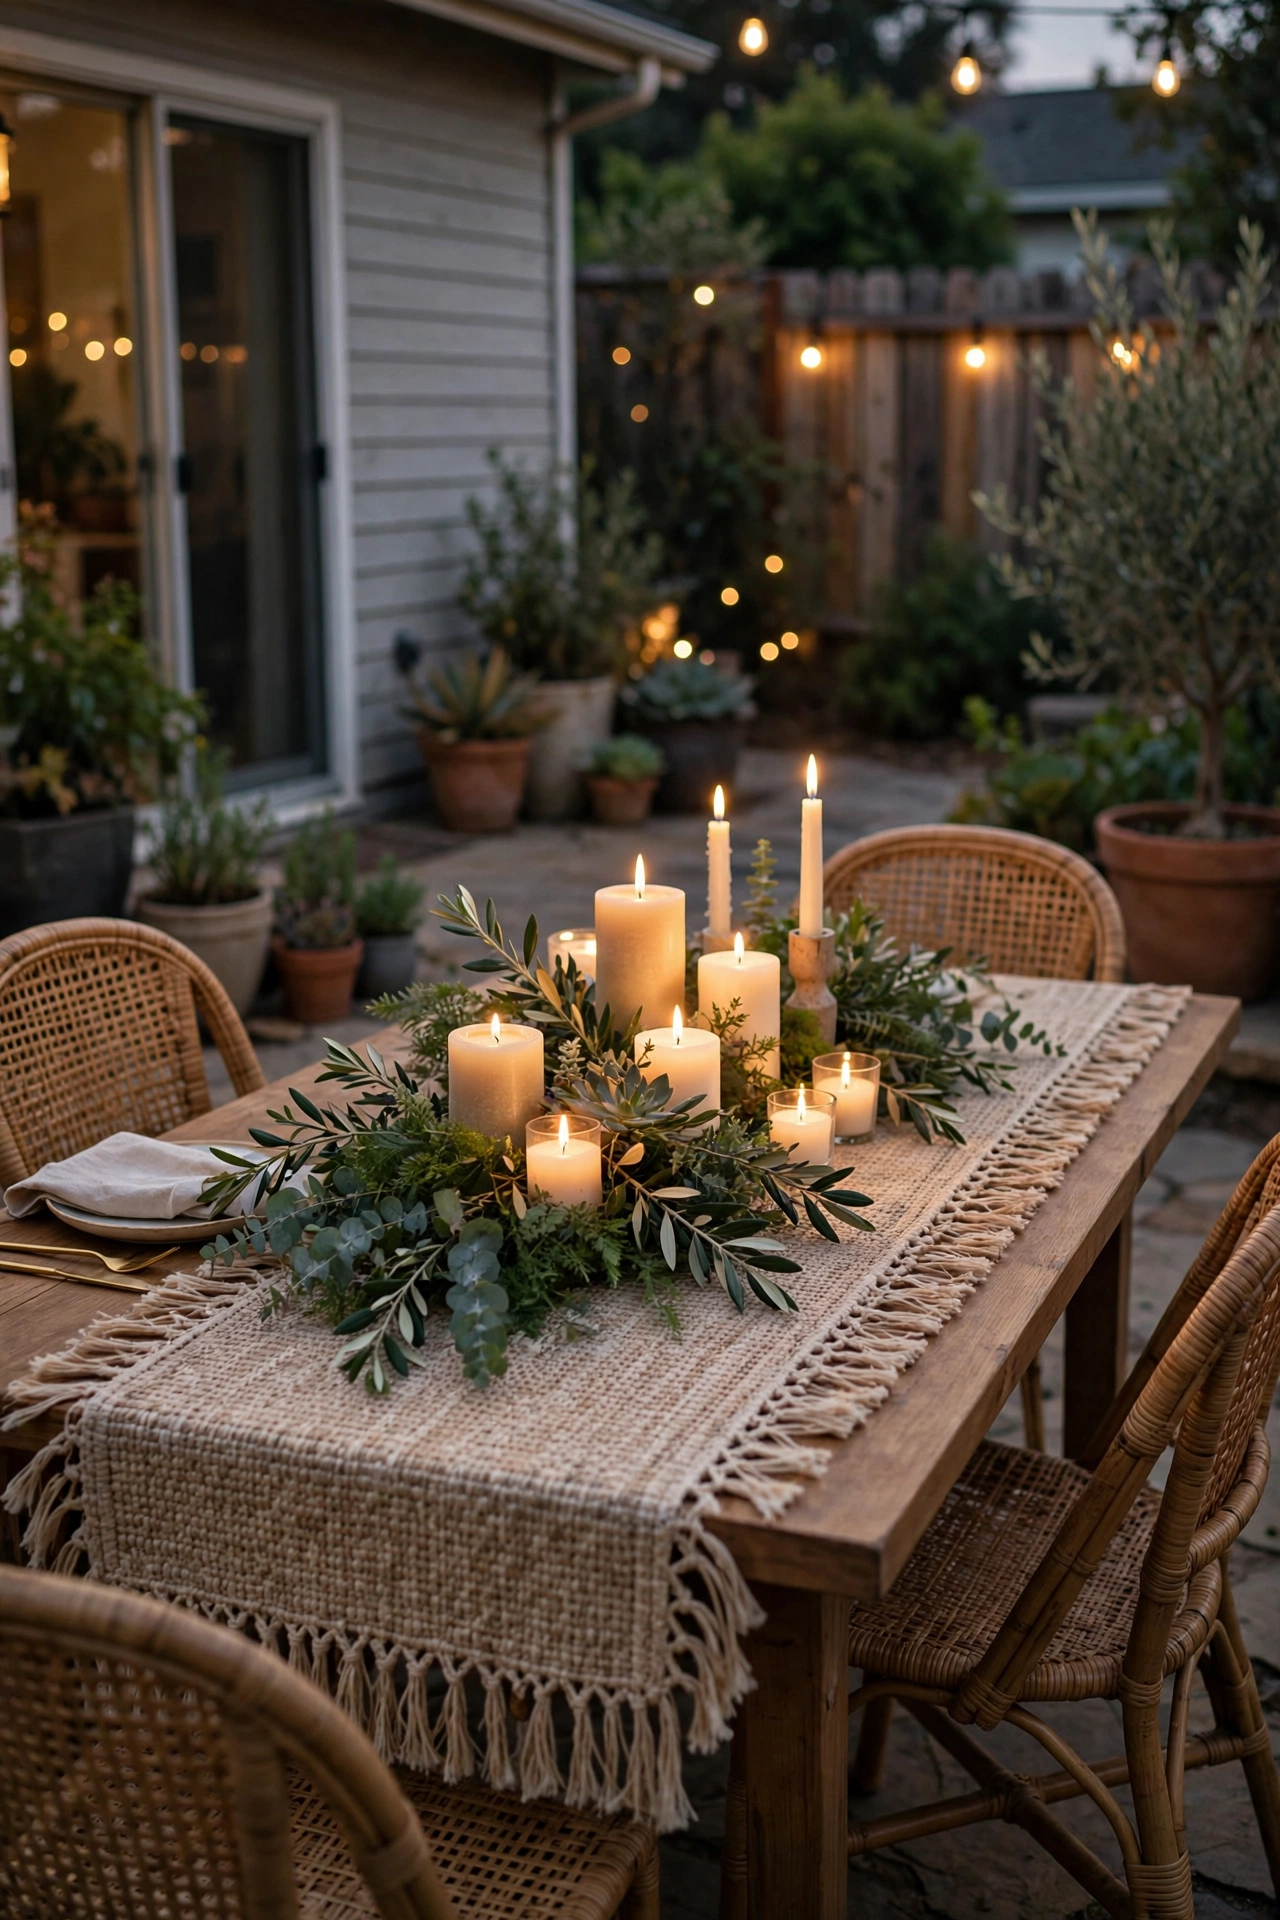
Boho dining is all about the table, so make the tablescape itself a light source. Lay a woven jute or macramé runner down the center of the table, then cluster candles along it: pillar candles in glass cylinders, tea lights in colored votives, and one statement lantern at the center. Vary heights from 2 inches to 12 inches so the light dances across faces.
Keep the flame zone in the middle third of the table, leaving place settings clear — nobody wants to reach over a candle for the salad. A good rule: if the table is 6 feet long, the candle cluster spans the middle 2 to 3 feet. Use unscented candles at the dinner table (scented ones fight with food aromas), and save the scented pillars for side tables.
Battery-operated fairy lights tangled loosely through a eucalyptus garland along the runner add sparkle without any fire risk near the greenery. When dinner's over, the whole runner lifts off in one piece for easy cleanup.
Suggested budget range: $25 – $60.
13. String Lights Spiraled Around a Patio Umbrella
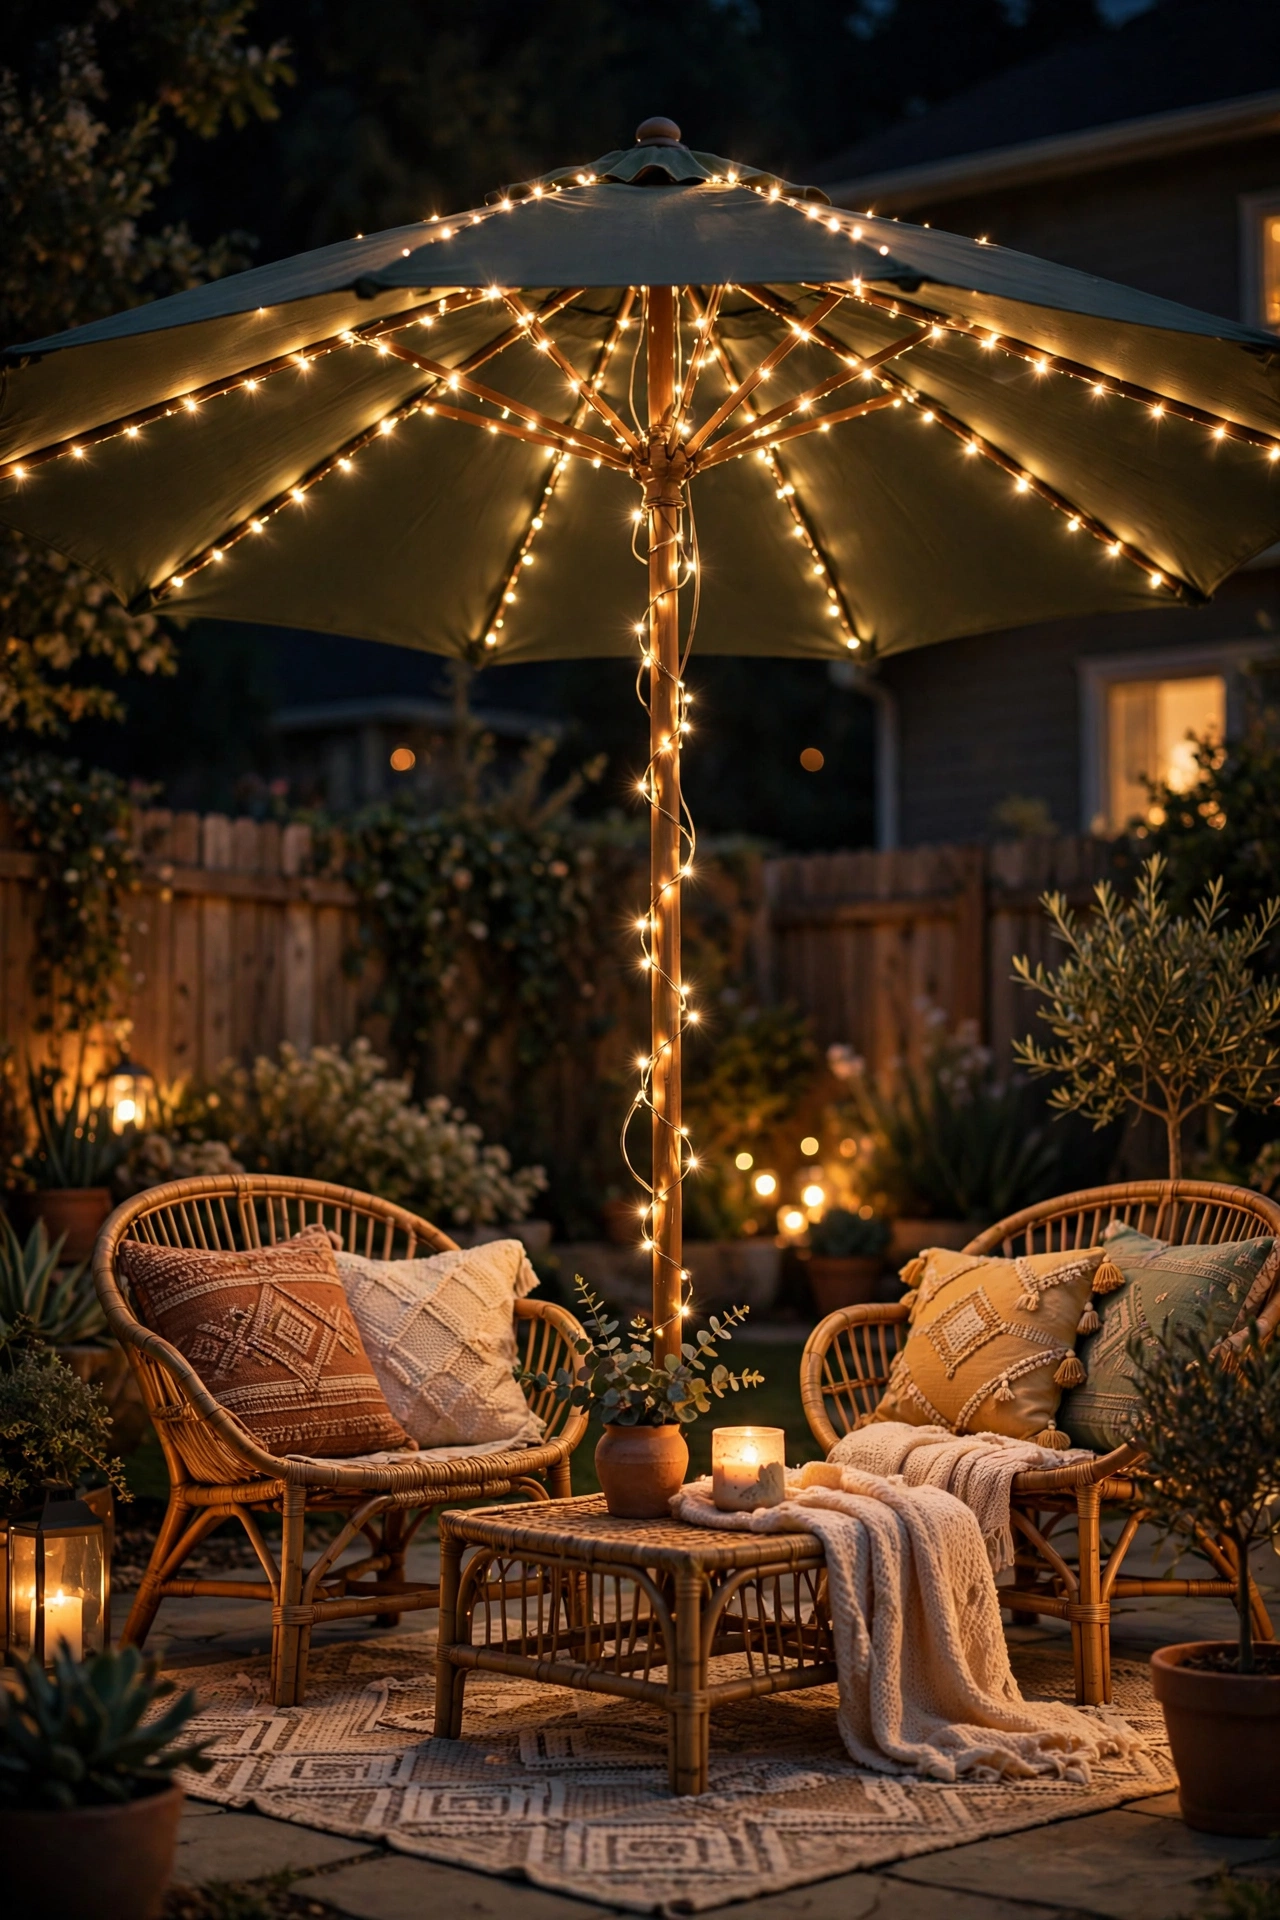
Got a patio umbrella? You've got a ready-made light fixture. Spiral a 33-foot strand of warm fairy lights around the umbrella pole from the crank handle up to the canopy, then let the strand radiate outward along 3 or 4 of the umbrella ribs. It takes about ten minutes and looks like you hired someone.
Use the thin copper-wire fairy lights — they wrap invisibly and weigh almost nothing, so they won't drag the umbrella fabric down. Secure the top of the spiral with a small zip tie or twist tie (trim the excess), and let the battery pack tuck into the umbrella's storage pocket or a small pouch tied to the pole. A strand with a built-in timer (6 hours on, 18 off) means it lights itself nightly.
Close the umbrella in high wind — lights and all, it all folds together fine. This trick also works beautifully on a market umbrella over a small bistro set, turning the tiniest patio corner into a glowing nook.
Suggested budget range: $12 – $30.
14. Solar Stake Path Lights with Warm Glow
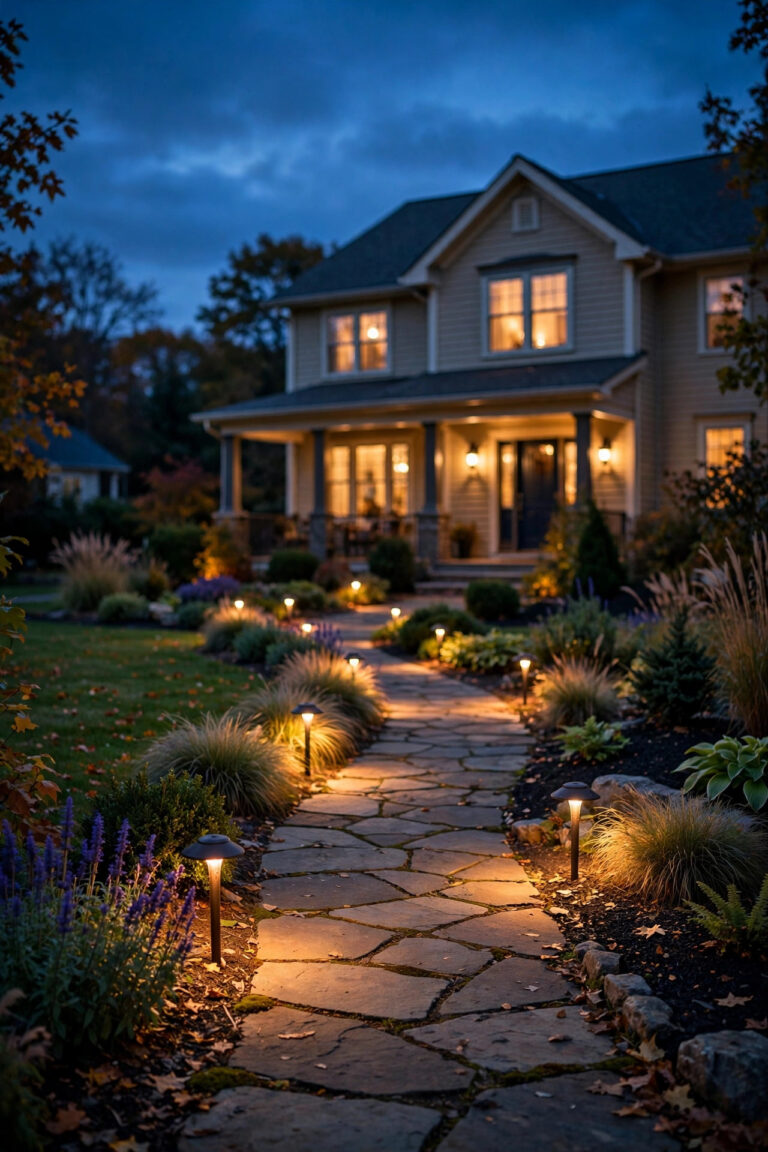
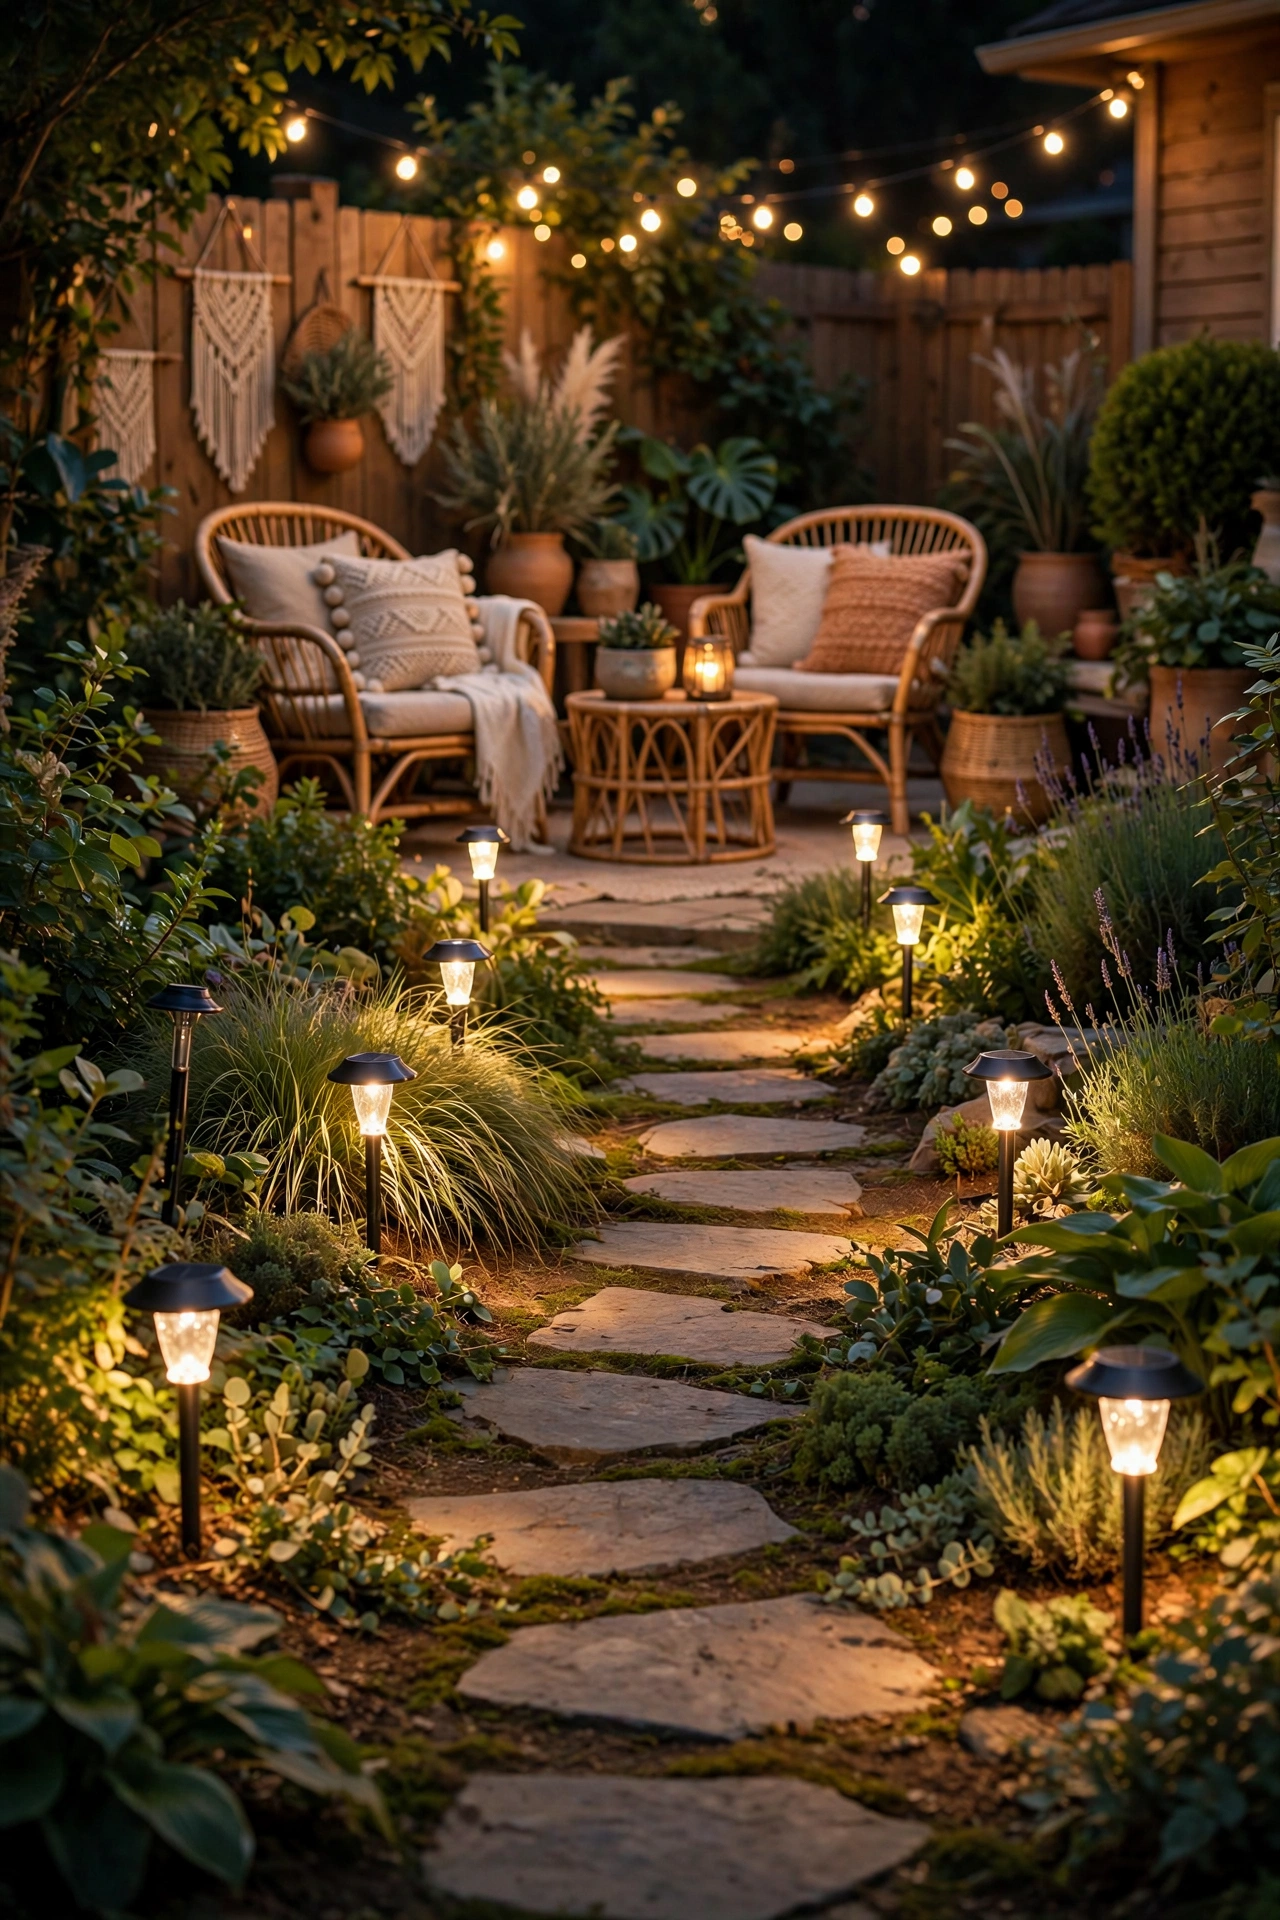
Boho doesn't mean abandoning the practical stuff — a softly lit path to the patio keeps guests safe and looks dreamy. The key is choosing solar stakes in warm white (2700K–3000K); the bluish-white ones scream "airport runway," not "bohemian retreat." Hammered-metal or rattan-look housings blend into boho landscaping far better than plain plastic.
Push stakes 4 to 6 inches into the ground along the path, spacing them 6 to 8 feet apart and alternating sides for a natural rhythm. Keep the solar panels wiped clean and positioned for maximum sun — even a thin film of dust cuts charging noticeably. Most run 8 to 10 hours in summer on a full charge.
One honest caveat: solar stakes are accent lighting, not task lighting. They'll guide feet, not illuminate a book. Pair them with one brighter layer (string lights or a lantern) at the patio itself, and the whole journey from gate to seat feels intentional.
Suggested budget range: $30 – $70.
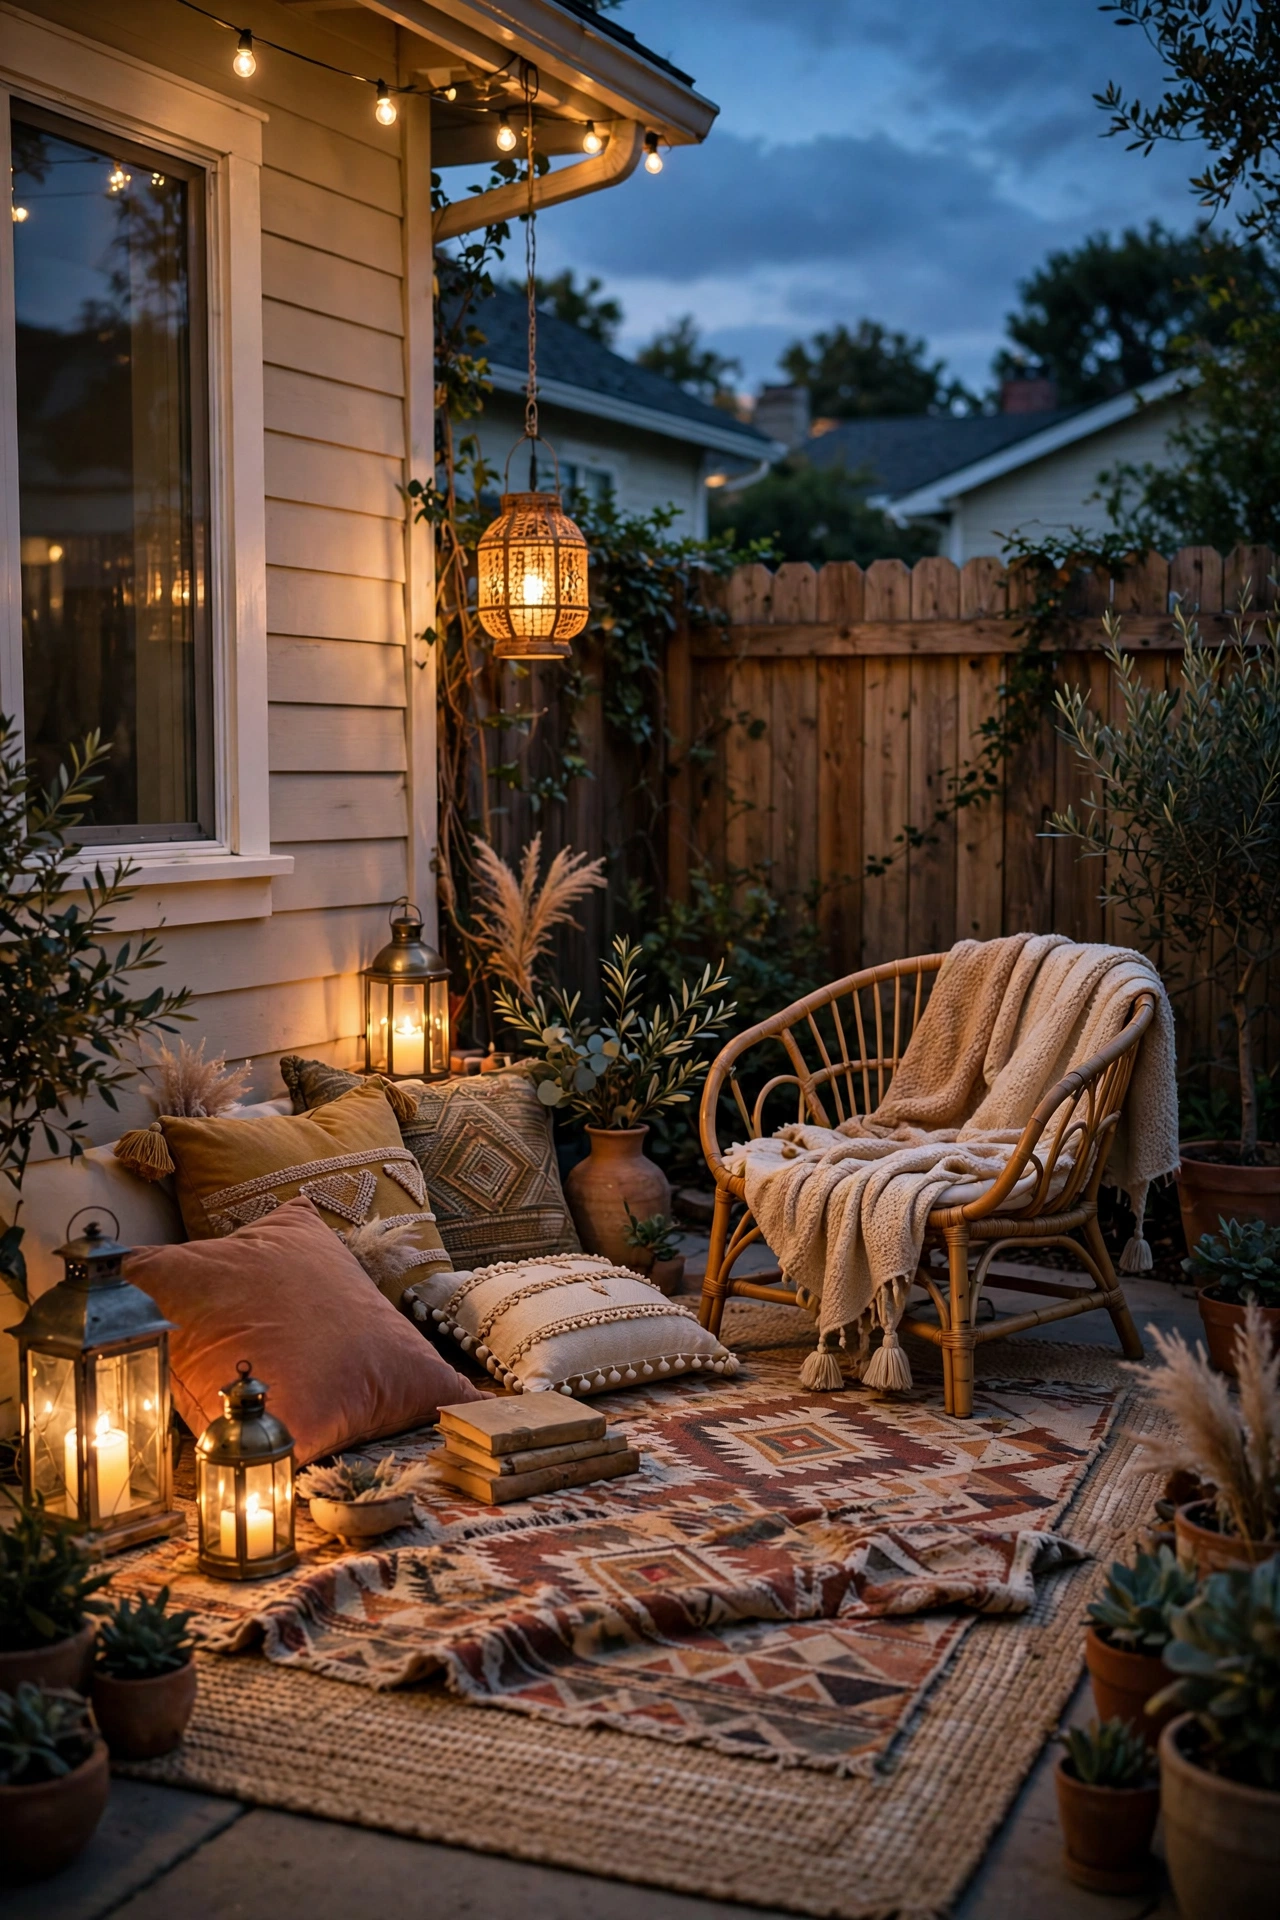
15. Lantern-Lit Reading Nook: My Favorite Boho Patio Lighting Corner
Every boho patio deserves a corner that whispers "stay a while." Layer an outdoor rug (5×7 feet is perfect for a chair and side table), add a low lounge chair or floor cushions, and light it like a jewel box: a rattan floor lantern on one side, a small table lantern on the other, and a strand of fairy lights draped over a nearby plant or trellis behind.
Keep the light low and close — reading nooks want pools of light at 2 to 4 feet off the ground, not overhead glare. A lantern with a dimmable LED or a 40-watt-equivalent warm bulb is plenty. If you actually read out there, add a small clip-on book light; ambient boho glow is romantic but murder on the eyes for fine print.
Choose a rug rated for outdoor use (polypropylene cleans with a hose) and bring cushions inside when rain threatens. This nook becomes the spot everyone fights over — in my experience, it's where the best conversations happen.
Suggested budget range: $60 – $140.
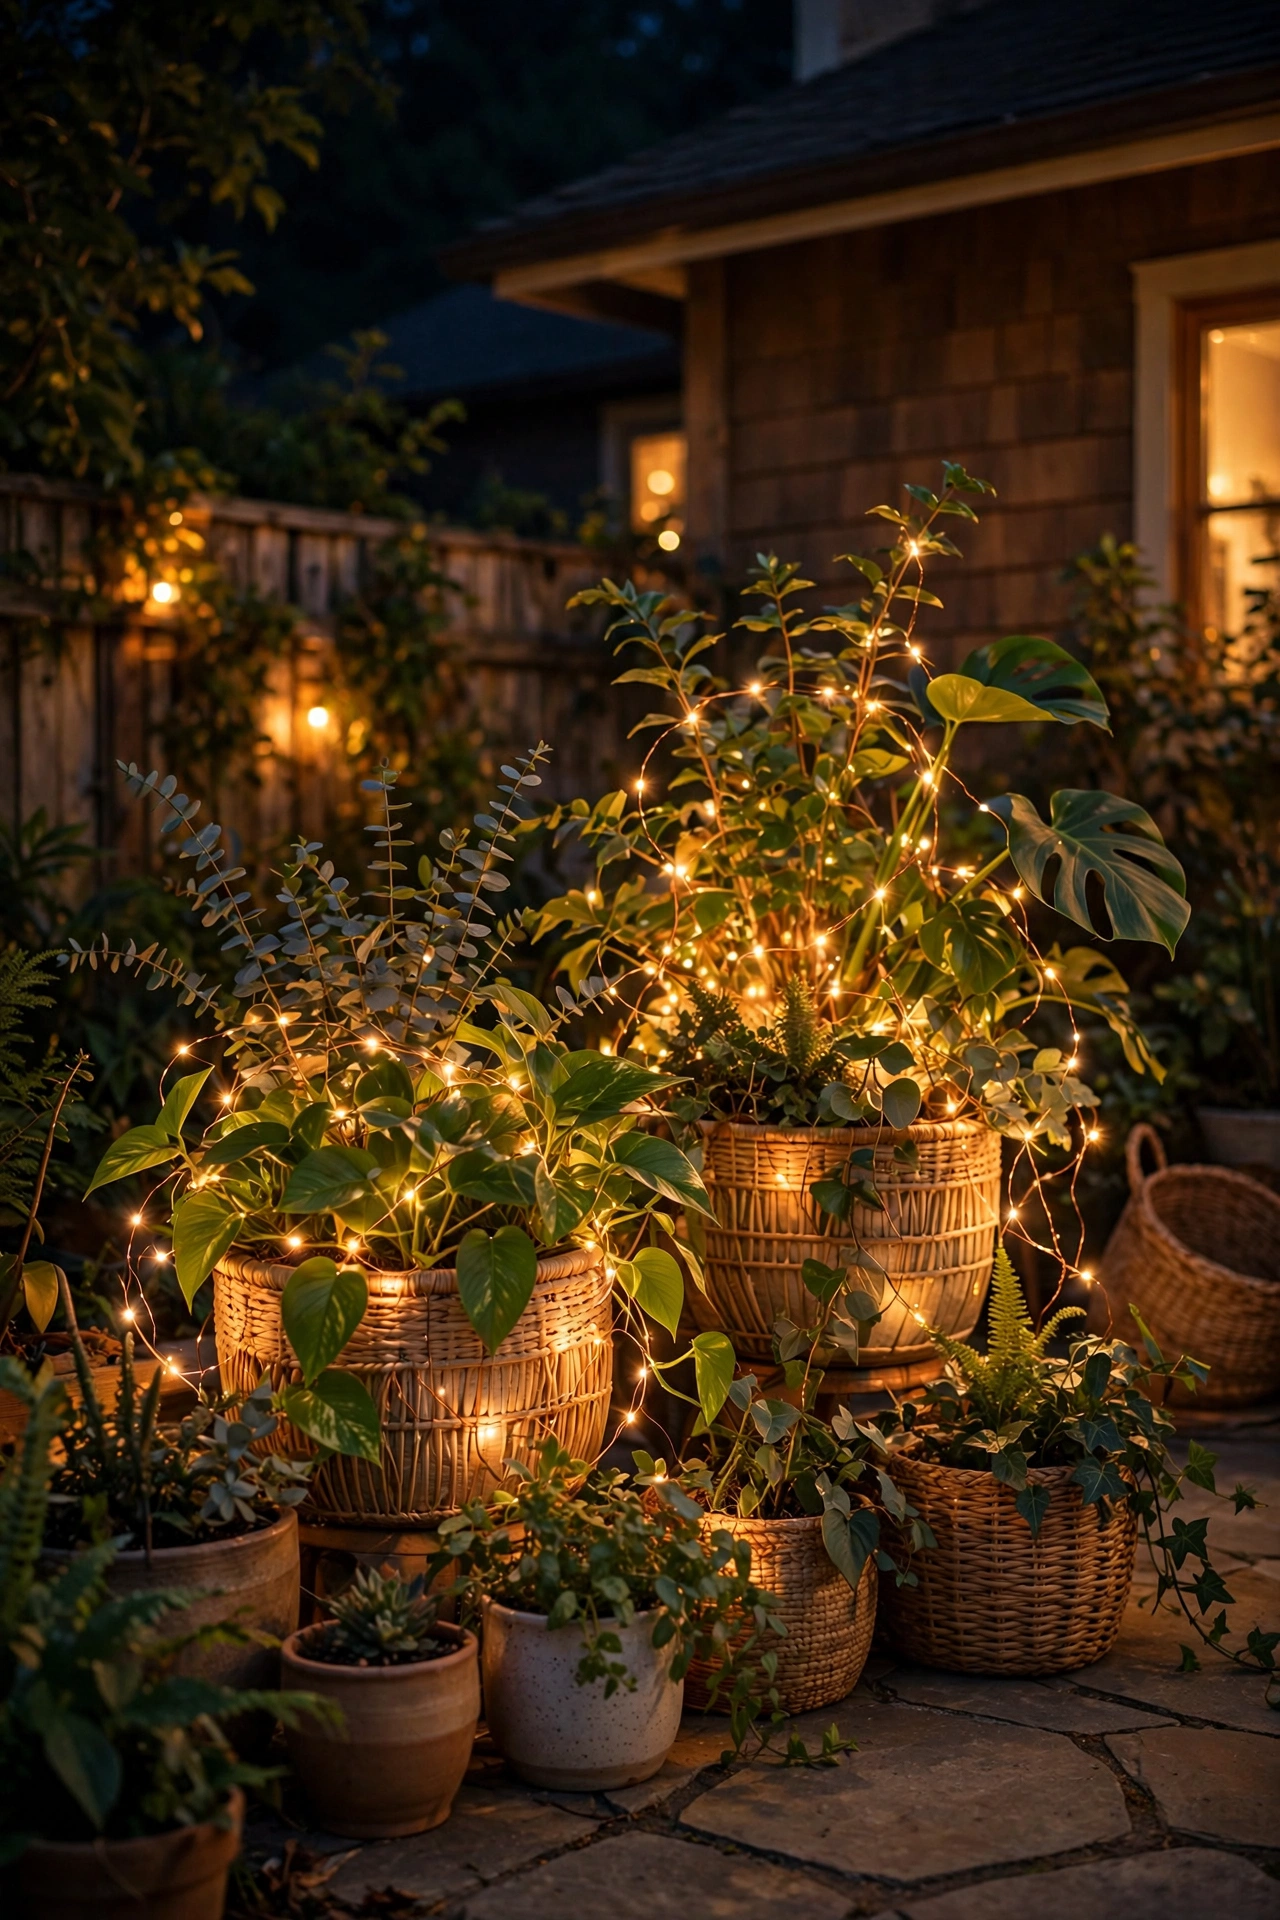
16. Copper Wire Fairy Lights in Planters
Here's a trick that makes your plants do double duty: coil copper-wire fairy lights through the foliage of your large planters. A 33-foot strand (100 LEDs) wraps beautifully around a 16-inch pot of trailing pothos or ferns. Tuck the battery pack behind the pot or bury it just under the soil surface in a small waterproof pouch.
Water carefully — aim the can at the soil, not the wire. Most copper-wire strands are water-resistant enough for splashes, but don't submerge the battery pack. Swap batteries monthly during heavy-use season, or upgrade to a solar version with the little panel staked in the same pot.
I love this on either side of a doorway or flanking the steps: two glowing planters framing an entrance is pure boho welcome. Mix it with a couple of the mason jar lights from idea #3 and your entry practically glows its way into the evening.
Suggested budget range: $15 – $40.
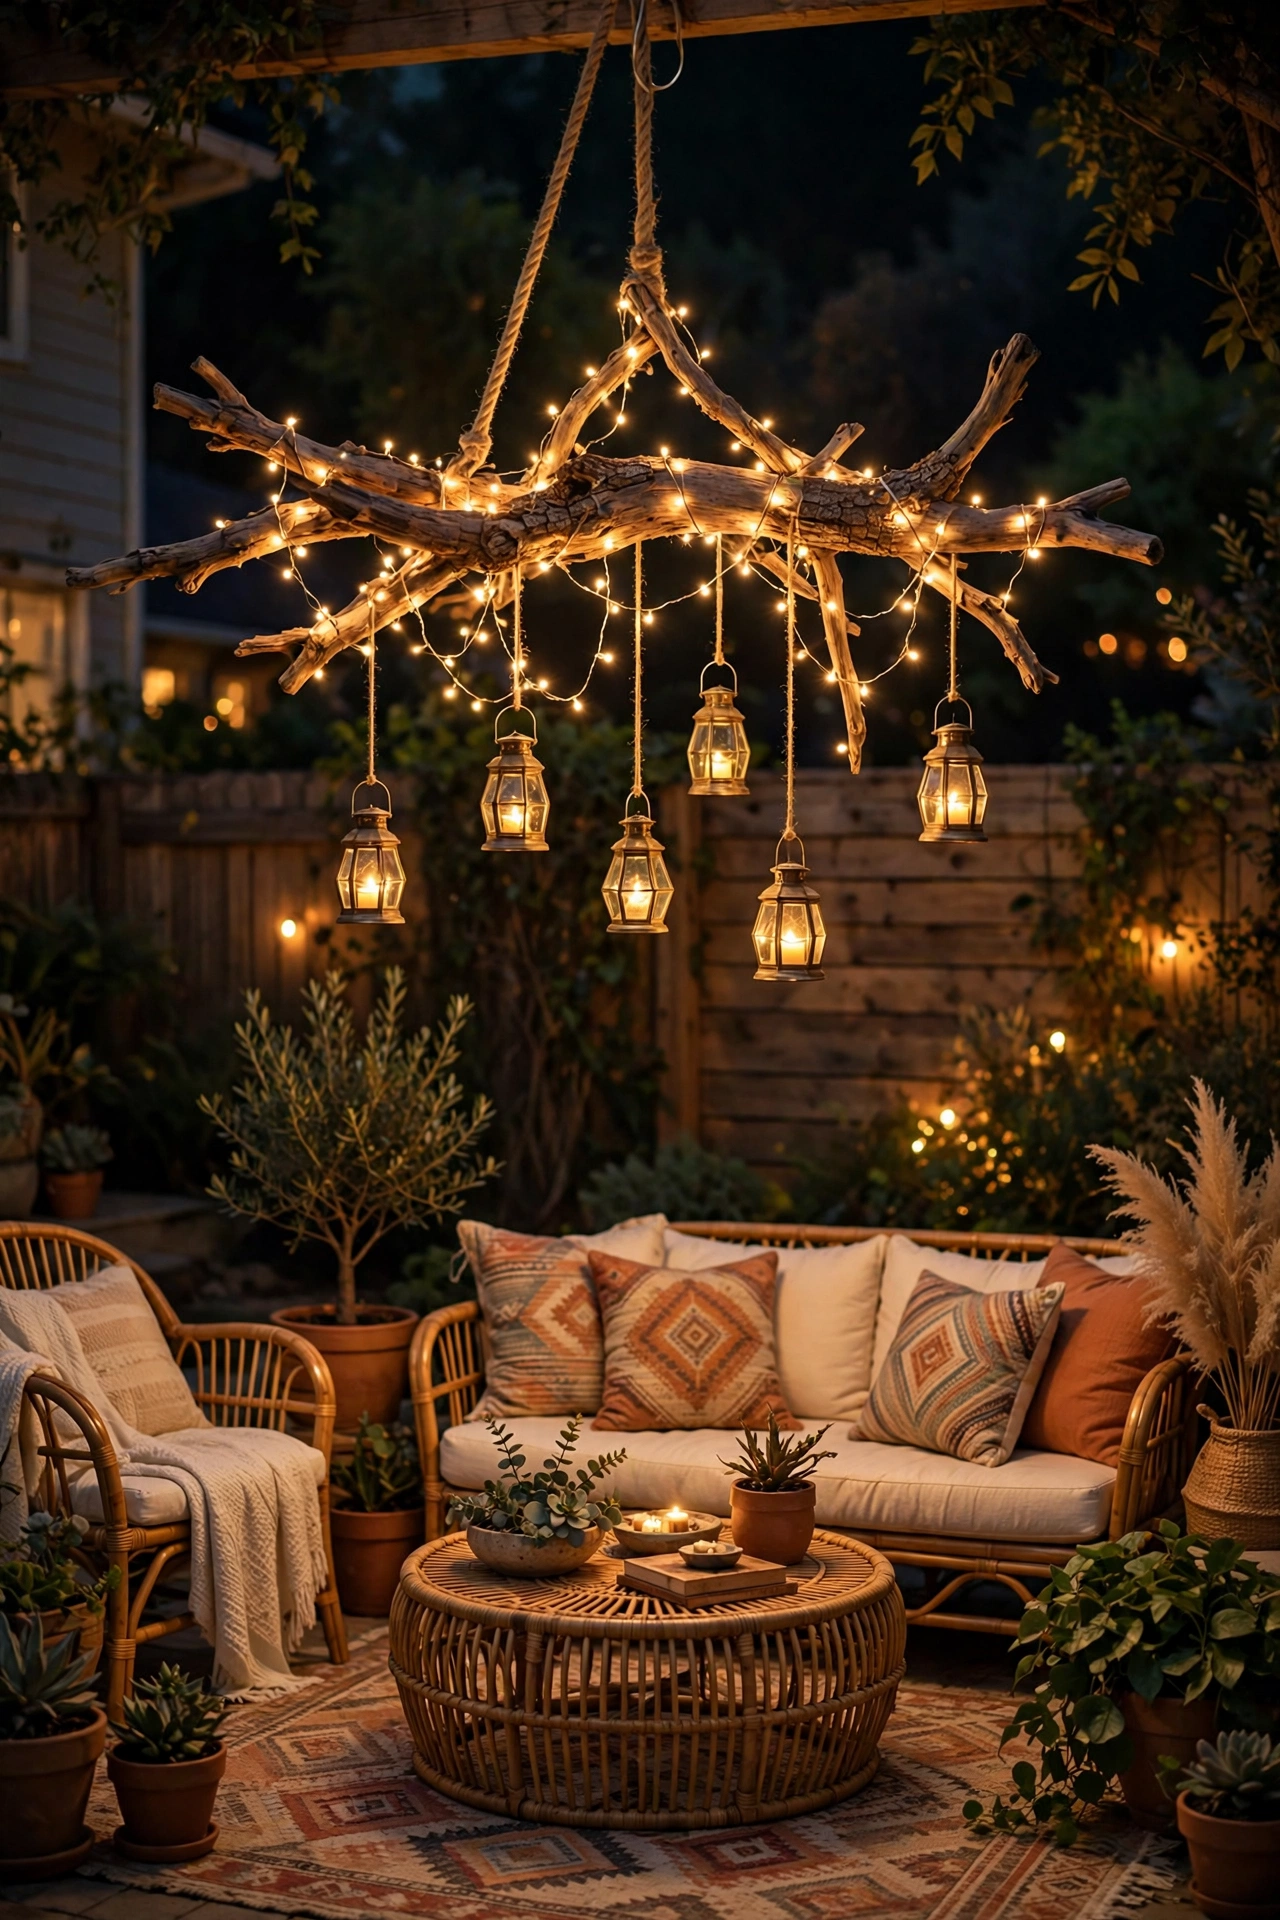
17. DIY Driftwood Boho Chandelier
For a true statement piece, build a chandelier from a found branch or driftwood. Find a sturdy branch about 3 to 4 feet long and 2 to 3 inches thick, sand it smooth, and seal it with outdoor polyurethane. Hang it horizontally from two chains attached to a pergola beam or sturdy hook, keeping the bottom of the fixture at least 7 feet off the ground.
Drape 2 to 3 strands of warm fairy lights along the branch, letting some dangle 6 to 10 inches, and hang a few small lanterns, crystals, or air plants from jute twine at varying lengths. The whole fixture should weigh under 10 pounds — if your branch is heavier, find a lighter one. Use a ceiling hook rated for at least 25 pounds for a comfortable safety margin.
This is the project guests photograph. Total build time is about two hours plus drying time for the sealant. Bring it under cover in winter if your climate gets harsh; the sealant protects against rain but freeze-thaw cycles are brutal on wood.
Suggested budget range: $30 – $70.
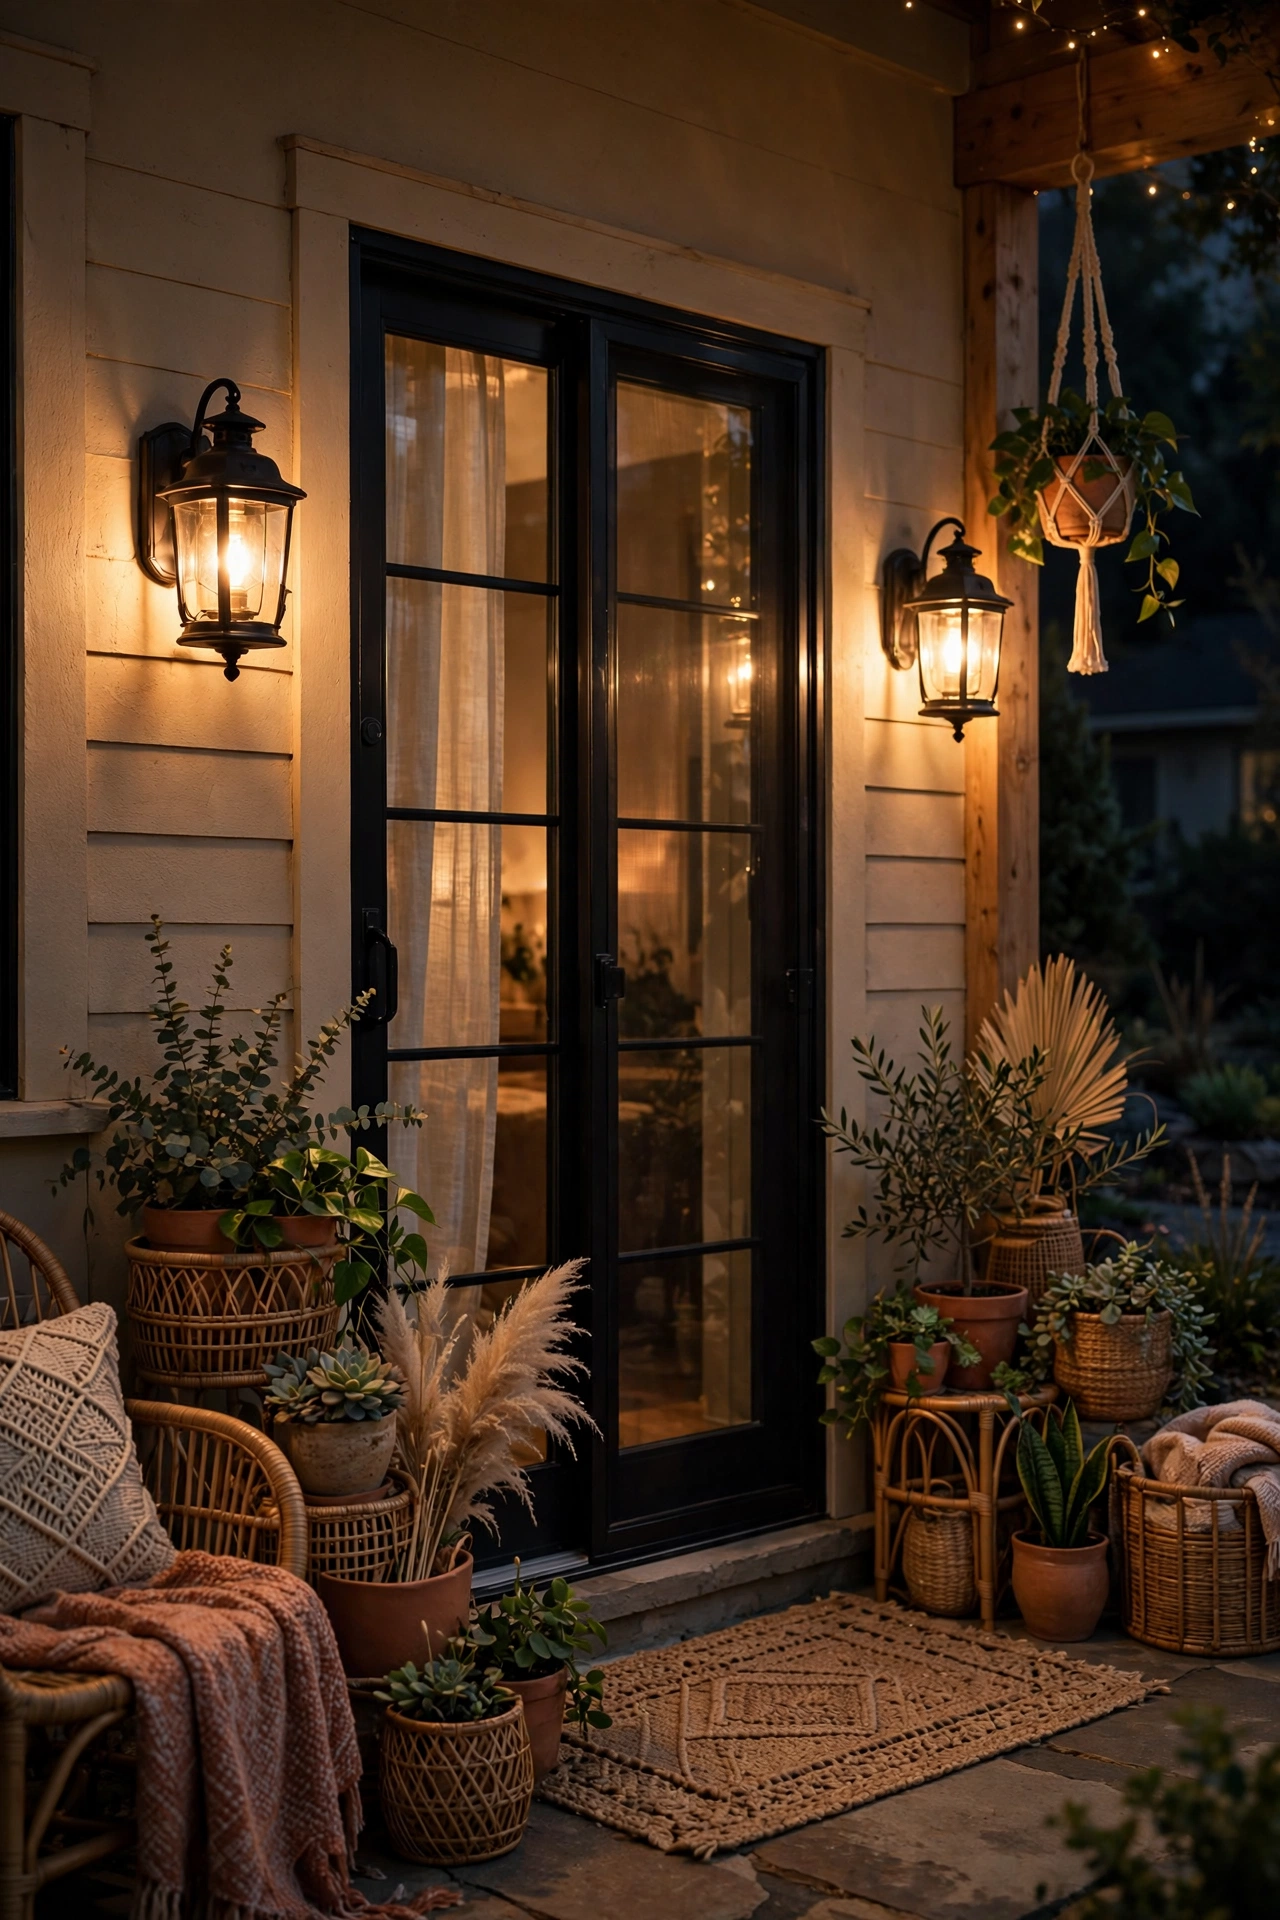
18. Wall-Mounted Lantern Sconces by the Door
Flank your patio door with a pair of wall-mounted lantern sconces for that warm "welcome home" glow every evening. Choose open-bottom designs so you can drop in a flameless pillar or LED bulb without disassembling anything. Mount them 60 to 66 inches off the ground (center of the fixture) and 6 to 12 inches from the door frame — classic, balanced placement.
If you're not up for hardwiring, battery-operated sconces with a timer function are a renter-friendly win; two screws into a wall anchor hold most designs. For hardwired versions, hire an electrician unless you're comfortable with outdoor-rated boxes and GFCI circuits — exterior wiring is not a learn-as-you-go project.
Go for matte black, aged bronze, or natural wood finishes to keep the boho feel; polished chrome belongs indoors. A 2700K bulb keeps the entry glow consistent with the rest of your patio layers. These also pull double duty as security lighting — a lit entry is far less inviting to opportunists.
Suggested budget range: $35 – $90.
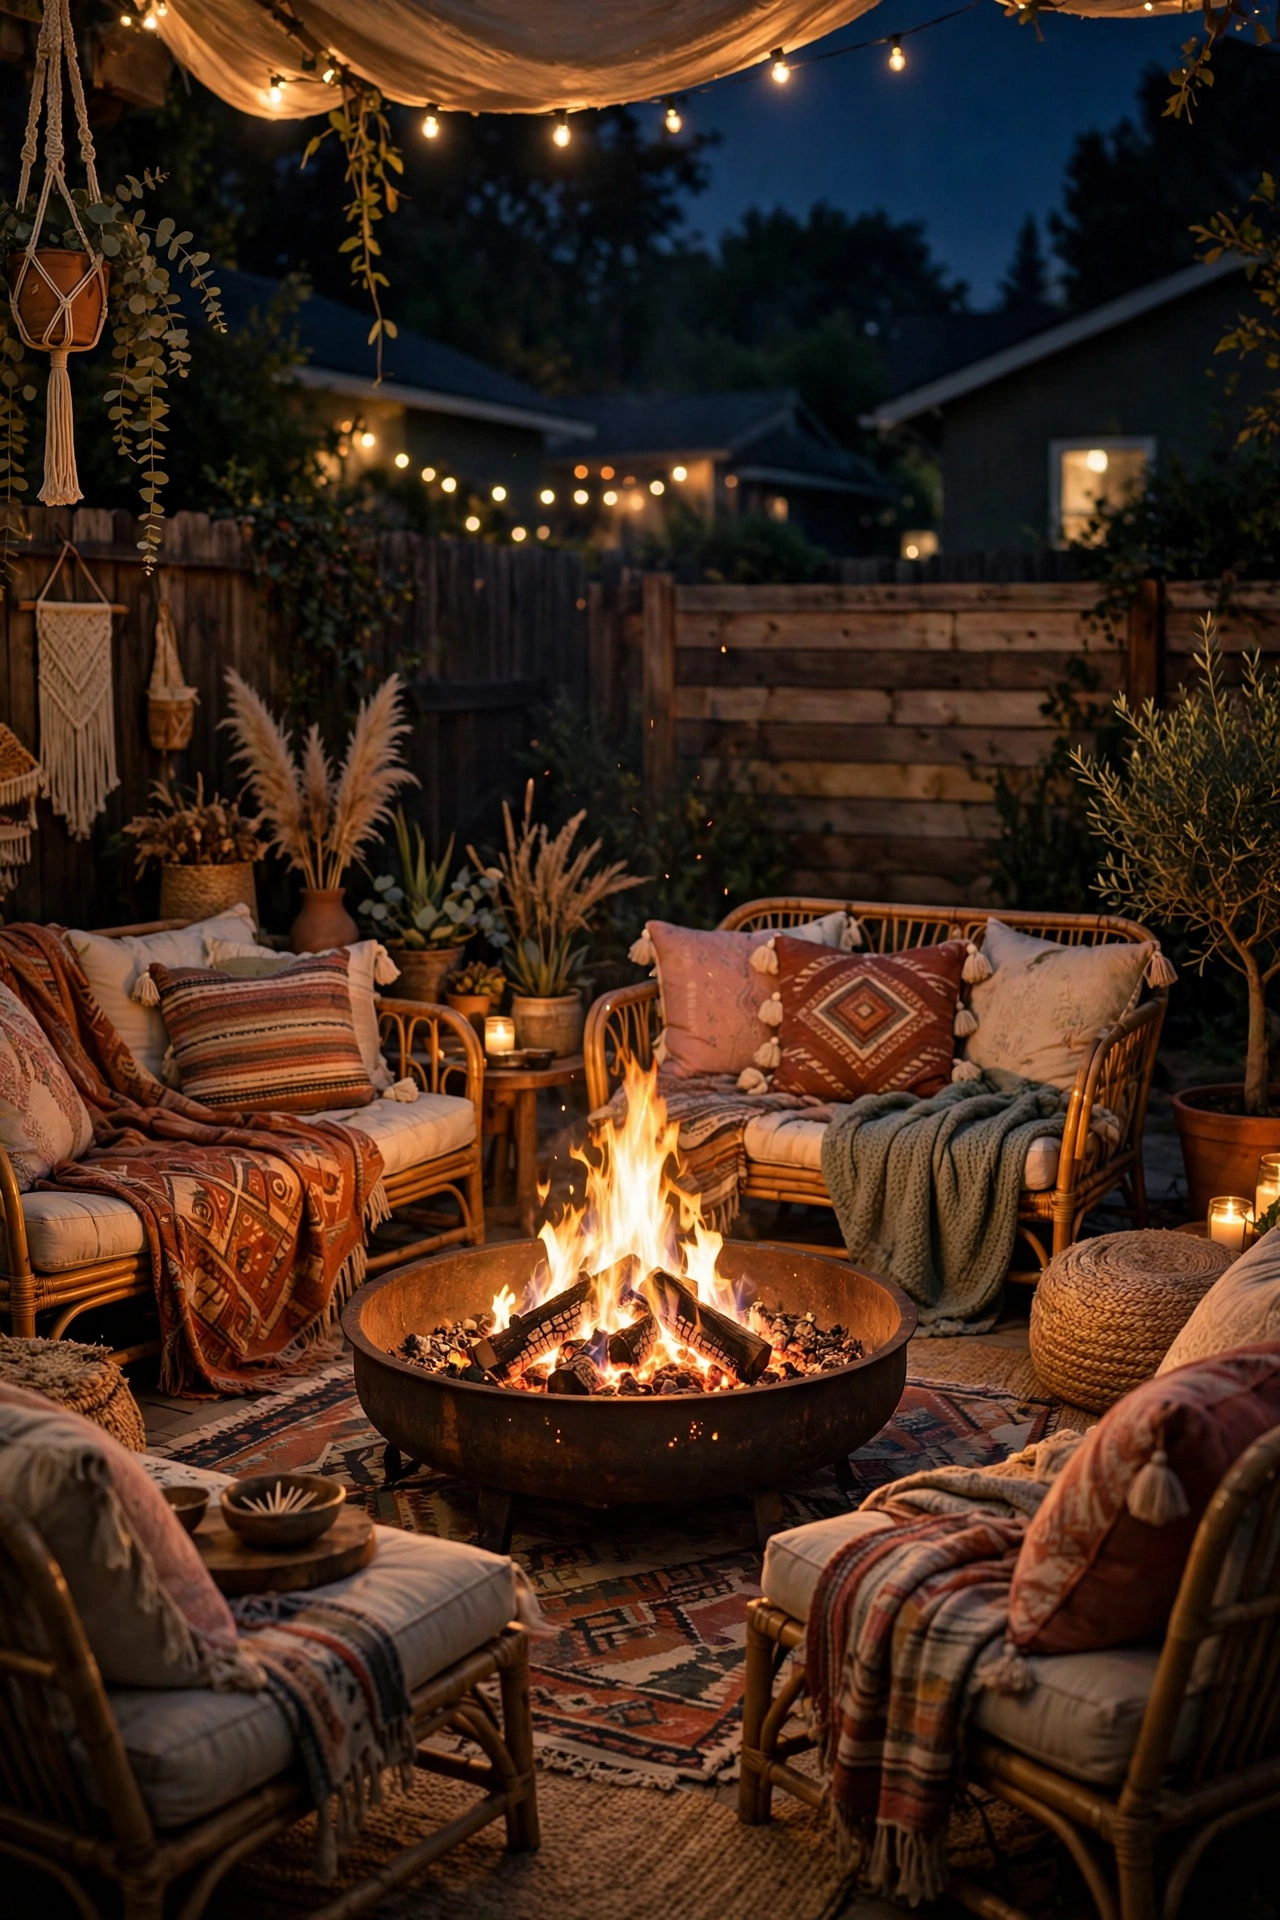
19. Fire Pit Glow as the Centerpiece
Nothing anchors a boho patio like a fire pit — it's light, heat, and a gathering magnet in one. Keep the pit itself at least 10 feet from the house, fences, and overhanging branches, and arrange seating 3 to 4 feet from the edge: close enough for warmth, far enough that sparks aren't a worry. A 30 to 36-inch round pit suits most patios without dominating them.
Surround it with low-profile seating — floor cushions, poufs, or Adirondack-style chairs — and let the fire be the main light source for that zone. Then add one supporting layer: a string of fairy lights in a nearby tree or lanterns on the surrounding side tables, so faces are lit when the flames dip. Keep a spark screen on hand for windy nights and a bucket of sand nearby; never use water on a hot metal pit (thermal shock can crack it).
On summer nights when it's too warm for a real fire, a cluster of large flameless candles inside the cold pit gives you the glow without the heat — one of my favorite tricks from my summer patio lighting ideas playbook.
Suggested budget range: $80 – $250.
20. Battery Pillar Candles in Hanging Baskets
Hanging baskets aren't just for ferns. Line a wire or rattan hanging basket with trailing faux greenery, nestle two or three flameless pillar candles of different heights inside, and hang it from a shepherd's hook or pergola beam. By day it's a planter; by night it's a floating lantern.
Use candles with a built-in timer so the basket lights itself at dusk — you'll never climb up to switch them on. Keep the basket at least 6 feet off the ground and away from walkways. Because everything here is LED, there's no heat to worry about near the greenery, real or faux.
Hang two flanking a doorway or three in a row along a pergola beam for maximum impact. In my experience, guests always ask where these came from — and they're always shocked at how simple the build is. A 14-inch basket holds the arrangement best; smaller ones look cramped.
Suggested budget range: $25 – $60.

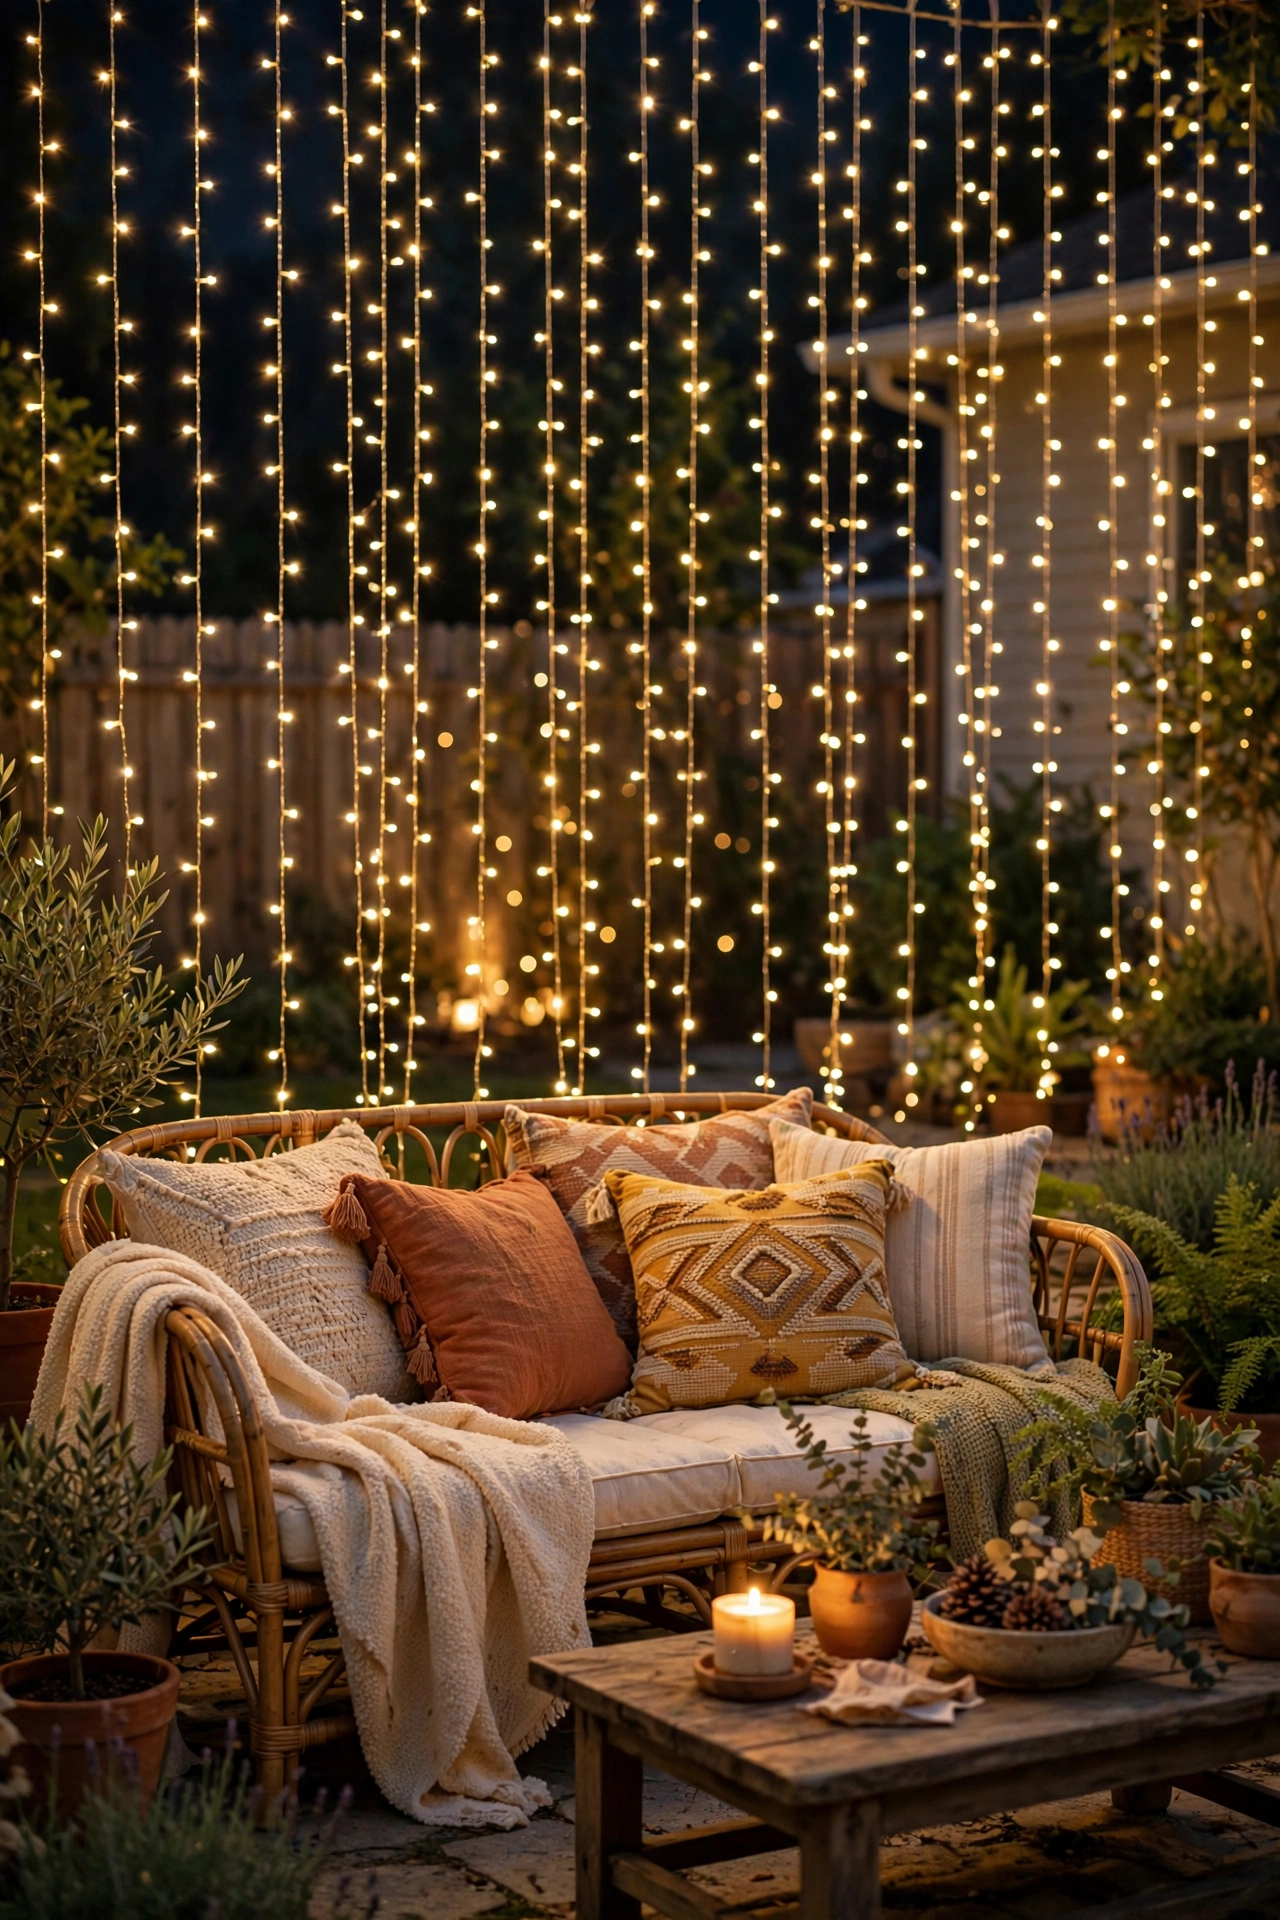
21. Starry Light-Curtain Backdrop for Boho Patio Lighting
End with the showstopper: a curtain of warm-white fairy lights hung as a glowing backdrop behind your main seating area. Mount a tension rod, curtain wire, or simple eye hooks along a fence, wall, or pergola beam about 7 feet high, then hang 3 to 5 vertical strands (each 10 feet long) 6 to 8 inches apart. The strands should just kiss the ground or hover an inch above it.
This creates the dreamiest photo backdrop — and it doubles as gentle ambient light for the whole seating zone. Use strands with 8 lighting modes and stick to steady warm white; the twinkle and chase modes read more "holiday" than "boho." Plug everything into one outdoor smart plug for single-switch control.
Secure the bottom of each strand with a tiny clear clip or let them hang free in calm spots; in windy areas, anchor the bottoms to a low wire. When the season ends, the whole curtain rolls up into a shoebox.
Suggested budget range: $25 – $55.
Frequently Asked Questions
What color temperature is best for boho patio lighting?
Stick to 2200K–2700K, firmly in the warm-white to amber range. This is the single biggest factor in nailing the boho glow — it's the color of candlelight and sunset, and it flatters skin tones, wood, and textiles. Anything at 3000K or above starts looking clinical, and 5000K daylight bulbs will murder the vibe entirely. When shopping, look for bulbs labeled "warm white" or "amber"; if a product doesn't list its Kelvin rating, I skip it.
How do I waterproof boho textiles like macramé shades and fabric lanterns?
You can't truly waterproof them, but you can buy yourself a lot of grace. Spray natural-fiber pieces with a fabric water-repellent once a season, hang them only under covered areas, and bring them inside during rainy stretches or storms. For cushions and rugs, choose solution-dyed acrylic or polypropylene — they hose clean and resist mildew. The honest rule I live by: if it's textile and it lives outdoors, it needs either a roof over it or a trip inside when weather turns.
Is solar or wired lighting better for renters?
For renters, solar and battery-operated lights win on every count: no wiring, no landlord negotiations, and everything moves with you. Modern solar string lights and stake lights perform well with 6+ hours of direct sun, and battery fairy lights with timers run for weeks on a set of AAs. Go wired (plug-in) only for the pieces you'll use daily — like the main overhead string lights — since plugs are brighter and more reliable. Everything in this post's solar and battery ideas leaves zero trace when you move out.
How much does it cost to light a boho patio?
A cozy boho patio makeover typically runs $150–$400 total, depending on how many layers you build. A starter setup — one strand of Edison string lights ($40–$90), a set of flameless candles ($20–$50), and two lanterns ($25–$70) — lands around $100–$200 and already looks fantastic. Statement pieces like a fire pit or driftwood chandelier push you toward the higher end. My advice: start with the overhead layer and one ground-level layer, live with it for a week, then add where it feels dark.
Conclusion
The secret behind every gorgeous boho patio lighting setup isn't a big budget or perfect matching — it's layering. Overhead glow, mid-level lanterns, low candlelight: stack those three, keep everything warm and flickering, and even the simplest patio starts to feel like a retreat. These 21 boho patio lighting ideas give you a full menu to mix and match, so start with the two or three that speak to you and build from there.
Want to keep the inspiration going? Browse more lighting ideas for every corner of your outdoor space — your dream patio is only a few layers of light away.