It always happens on the prettiest evening of the month. You step onto the porch, coffee in hand, ready to admire your work — and the front walk glows beautifully while the entire back section of the yard sits dark. Or worse, it's not fully dead, just sad: a row of path lights fading from bright to barely there, like tired fireflies. If you are staring at a landscape lighting section out of service while the rest of the system works fine, take a breath. In my experience, this is actually the most fixable problem a lighting system can have, because a failure that follows a boundary is telling you exactly where it lives. A whole section dimming or dying together is almost never six broken fixtures — it is one fault, in one spot, affecting everything downstream of it. In this guide I will show you how I track it down: how to read the pattern your lights are showing you, three simple tests that pinpoint the fault, how to tell a break from voltage drop, and the bisecting trick pros use to find the fault in minutes.

The Short Answer
When part of your yard goes dark but the rest shines on, the fault sits between the transformer and the last healthy light on that run. Everything dead past one point means an open circuit — almost always a failed splice or a cable nicked by an edger. Everything lit but fading toward the far end means voltage drop. Test the voltage at the transformer, then at the last bright fixture: the problem lives between your last good reading and your first bad one. Nine times out of ten it is a two-dollar connector, and the fix takes less than an hour.
Landscape Lighting Section Out as a Group? Blame the Way It Is Wired
To understand why sections fail together, it helps to picture how your system is actually built. Your transformer does not feed forty fixtures individually. It feeds a small number of cable runs — electricians call them home runs — and each run is a chain of fixtures tapped into one main cable, one after another, like houses along a single road. The front walk might be one run, the beds along the fence another, the trees a third. Every fixture downstream shares whatever happens upstream.
That one fact explains nearly every partial failure you will ever see. Cut the cable or kill a connection at any point in the chain, and everything past that point loses power at the same moment, while everything before it glows on, completely unbothered. It also explains the two classic shapes of the problem. A section that is dead from one fixture onward has an open circuit — a break in the road. A section that fades gradually has voltage drop — the road is intact, but it is too long or too thin for the load it carries. Once you see your yard as a handful of separate roads instead of one big system, a "landscape lighting section out" stops being a mystery and becomes a map: the fault is on one road, between two known points.

Step 1: Rule Out the Free Fixes at the Transformer
Before you dig anything up, walk to the transformer, because a surprising number of "dead sections" are born right there and cost nothing to fix. Many transformers have more than one output circuit, and some have separate timers or zones for each one. If the dark section is on its own zone, a timer dial bumped to "off," a photocell smothered under mulch, or a daylight-saving shift you never corrected can take that one run dark while the rest of the yard keeps its schedule.
Next, with the power on, look closely at the terminal block where the cables land. Each run connects under its own lug screw, and those screws loosen slowly over seasons of heating and cooling. A wire that has slipped half out of its lug, or a terminal furred with green corrosion, can starve or kill one whole run while its neighbor works perfectly. Wiggle each wire gently — it should not move at all. Some transformers also carry a small breaker or fuse per circuit, and one tripped breaker will take exactly one section out. Reset it once; if it trips again immediately, you have a short down that run, which is useful information, not a nuisance. Five quiet minutes at the transformer will save you an hour of digging in the wrong flower bed.

Step 2: Read the Pattern — Your Lights Are Showing You the Fault
Now wait for dusk and take a slow walk along the dark run, because the pattern the lights make is the single best diagnostic tool you own. Somewhere along that run is a boundary: the last fixture that looks completely normal, and the first one that does not. Everything you need to know hangs on what happens at that boundary.
If the lights are bright, bright, bright — then nothing, with the rest of the run stone dead — you are looking at an open circuit, and it lives between that last bright fixture and the first dark one, a span of usually just a few feet. If the lights fade gradually, each one a little weaker than the last until the final fixture barely glows, that is voltage drop, a supply problem rather than a break. If the entire section, including the very first fixture on the run, is equally dim, suspect the supply end: a loose transformer terminal, an overloaded tap, or a long run that was marginal from the day it was installed. And if just one fixture is dark while its neighbors shine, that is not a section problem at all — it is a single fixture, bulb, or socket, and you can skip straight to the fixture-level checks later in this guide. Mark the boundary fixture with a little landscape flag or a phone photo so you can find the exact spot in daylight.

Step 3: Put a Meter on It — Three Readings That Settle Everything
Guessing is how people end up replacing good fixtures. A basic digital multimeter costs less than one path light, and three readings will tell you exactly which stretch of cable to open up. Set the dial to AC volts and take your first reading right at the transformer, probes on the terminals of the problem run. A healthy 12-volt tap reads roughly 12 to 13.5 volts under load. If it reads zero, your problem is at the transformer itself — a tripped circuit, a dead tap, or a loose lug — and no digging is required.
Second reading: at the socket or connector of the last bright fixture. Anything at or above about 10.8 volts means that fixture is being fed properly. Third reading: at the first dim or dead fixture. If the voltage falls off a cliff — healthy at one fixture, zero at the next — you have confirmed an open circuit between the two, full stop. If instead you get a low but real number, say 6 or 7 volts where its neighbor gets 11, you are looking at resistance in a corroded connection or heavy voltage drop, not a clean break. If you have never used a meter on a lighting system, my full walkthrough on how to test landscape lighting with a multimeter covers the settings and the socket-by-socket method in plain English.

Landscape Lighting Section Out or Just Dim at the Far End? That Is Voltage Drop
Here is the distinction that saves the most money: a section that still glows, just weakly and weaker toward the end, is almost never broken. Electricity loses pressure as it travels, and the longer and thinner the cable, the more voltage arrives at the far fixtures as heat instead of light. A run that was perfectly fine with six fixtures gets sad when you add four more over the years, or when someone extends it with skinny 16-gauge wire because that is what was in the garage.
The meter confirms it in seconds — a steady slide from, say, 12.1 volts at the first fixture down to 9.3 at the last. Fixtures want at least 10.8 volts to shine at full brightness, so that last light is being starved, not failed. The fixes are all legitimate and permanent: move the run to a higher transformer tap if yours offers 13, 14, or 15 volts; split the run in two and feed the second half from the other direction; replace the skinniest stretch with 12-gauge cable; or convert any remaining halogen bulbs on the run to LED, which cuts the load dramatically. My dedicated guide to landscape lighting voltage drop walks through the math and the tap trick in detail. What never fixes it is swapping the dim fixtures for new ones — the new ones will glow exactly as dimly, because the wire, not the fixture, is the problem.

Dead Past One Fixture? Hunt the Break, the Nick, and the Two-Dollar Splice
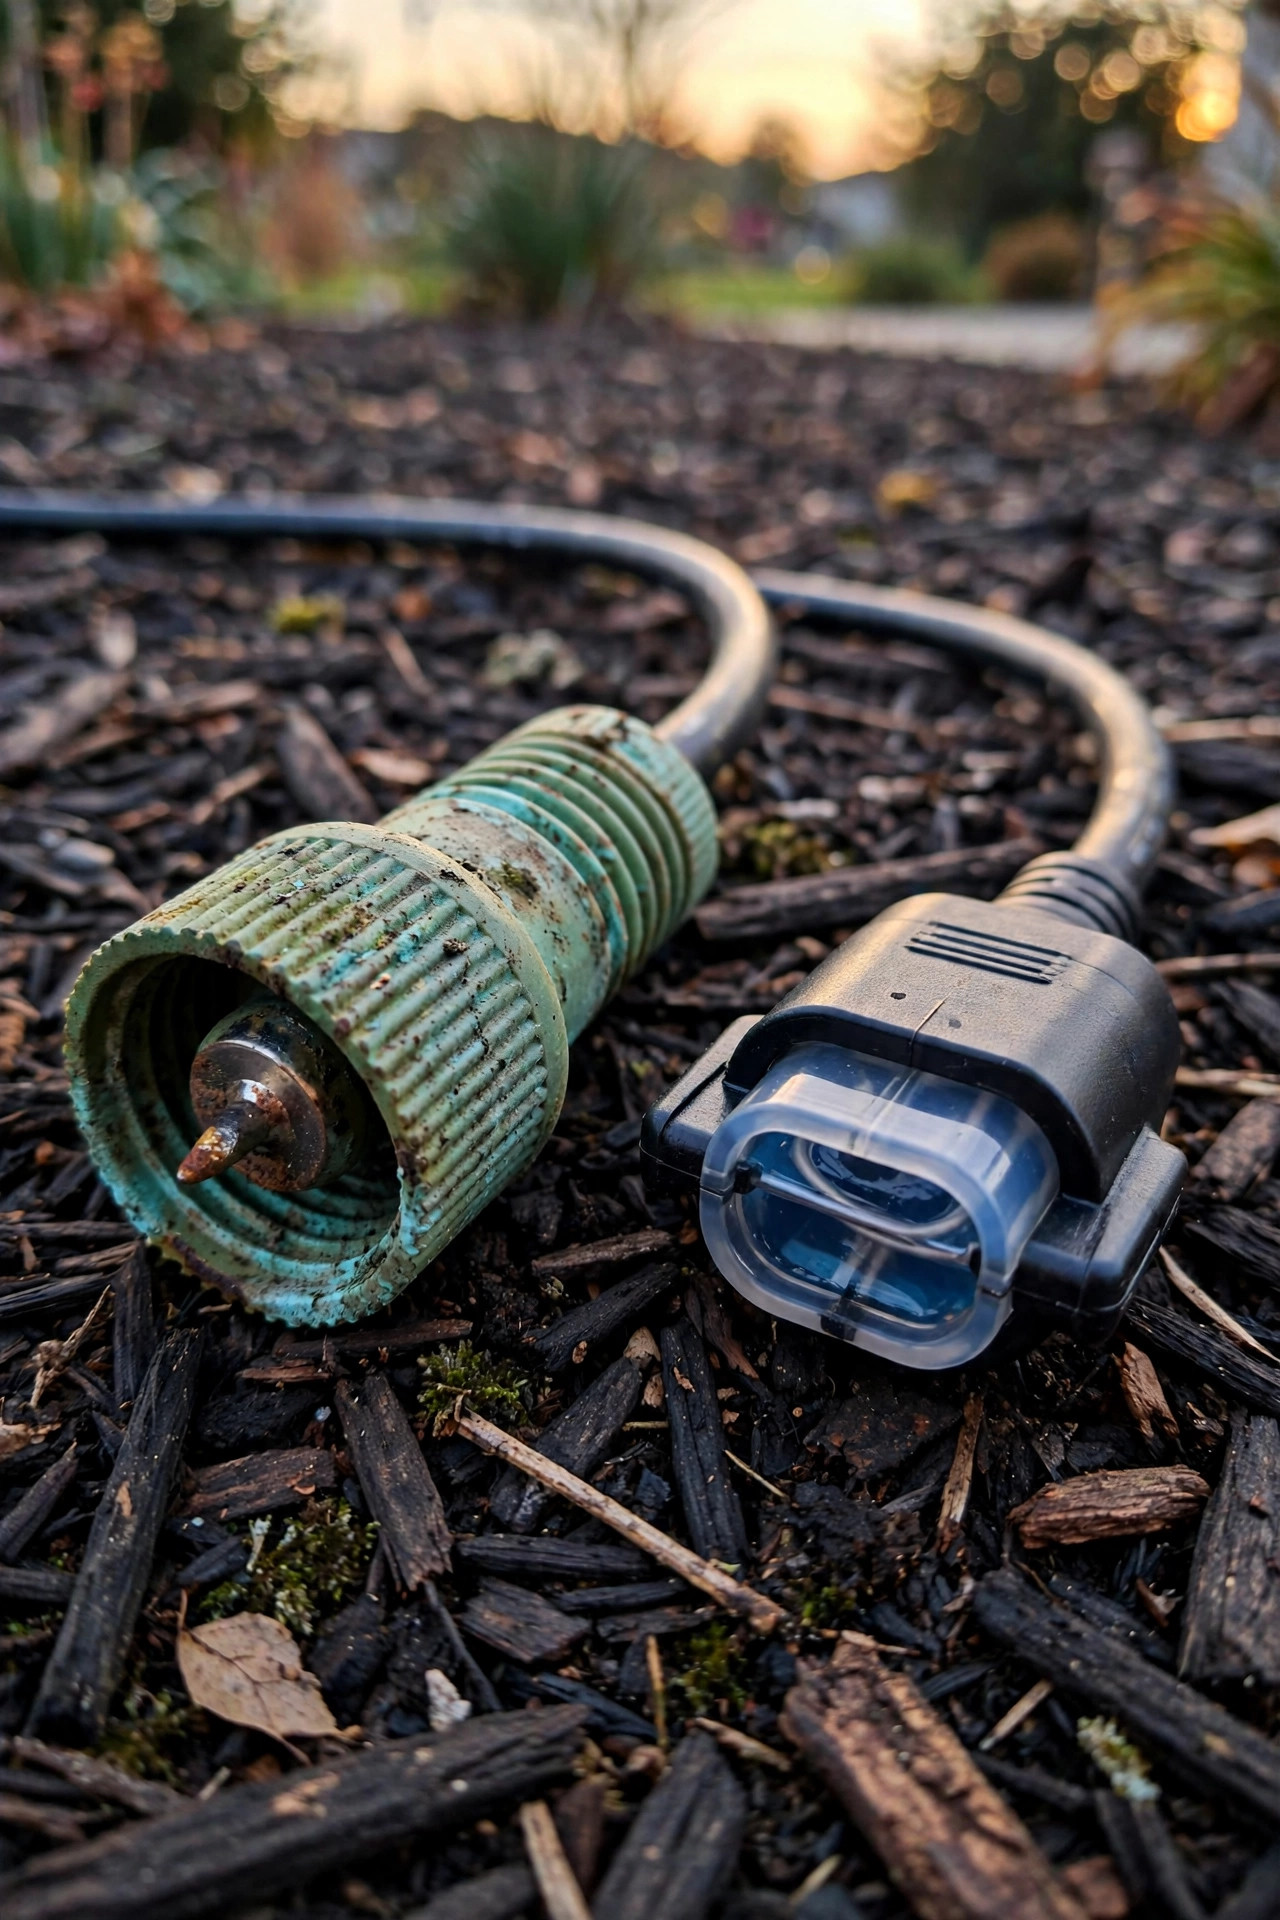
A clean open circuit — bright, bright, then nothing — has a short list of usual suspects, and the champion by a mile is the humble pierce-point connector. Those little clamp-on connectors that came free with your fixtures bite through the cable insulation with metal teeth, and outdoors, season after season, those teeth corrode and the connection quietly lets go. Start your hunt at the last bright fixture, because its outgoing connector is the first suspect in line. Dig gently around its base, find where its lead taps the main cable, and open the connector. Green fuzz, rust, or a wire that pulls free with a light tug means you have found your fault.
The second suspect is the cable itself, and you already know where to look: wherever a tool has been. Edgers along the walk, a shovel turning a bed, a lawn aerator, even a determined squirrel — cable buried only a few inches deep lives a dangerous life. Check the stretch between the boundary fixtures wherever the run crosses a bed edge or a path. When you repair, do it properly: cut out the damaged piece and rejoin with waterproof gel-filled connectors made for direct burial, never indoor twist-on caps, which will fail again by spring. My step-by-step on how to splice landscape lighting wire shows the exact method I use so a repair stays fixed for years.
The Pro Trick: Bisect the Run and Find the Fault in Minutes
When the break is not obvious — no chewed cable, no green connector waving at you — stop hunting fixture by fixture and steal the method electricians use on everything: cut the problem in half. Go to the connector nearest the middle of the dead stretch and take a voltage reading there, or temporarily disconnect the downstream half and see whether the upstream half comes back to life. Either way, one test tells you which half of the run holds the fault.
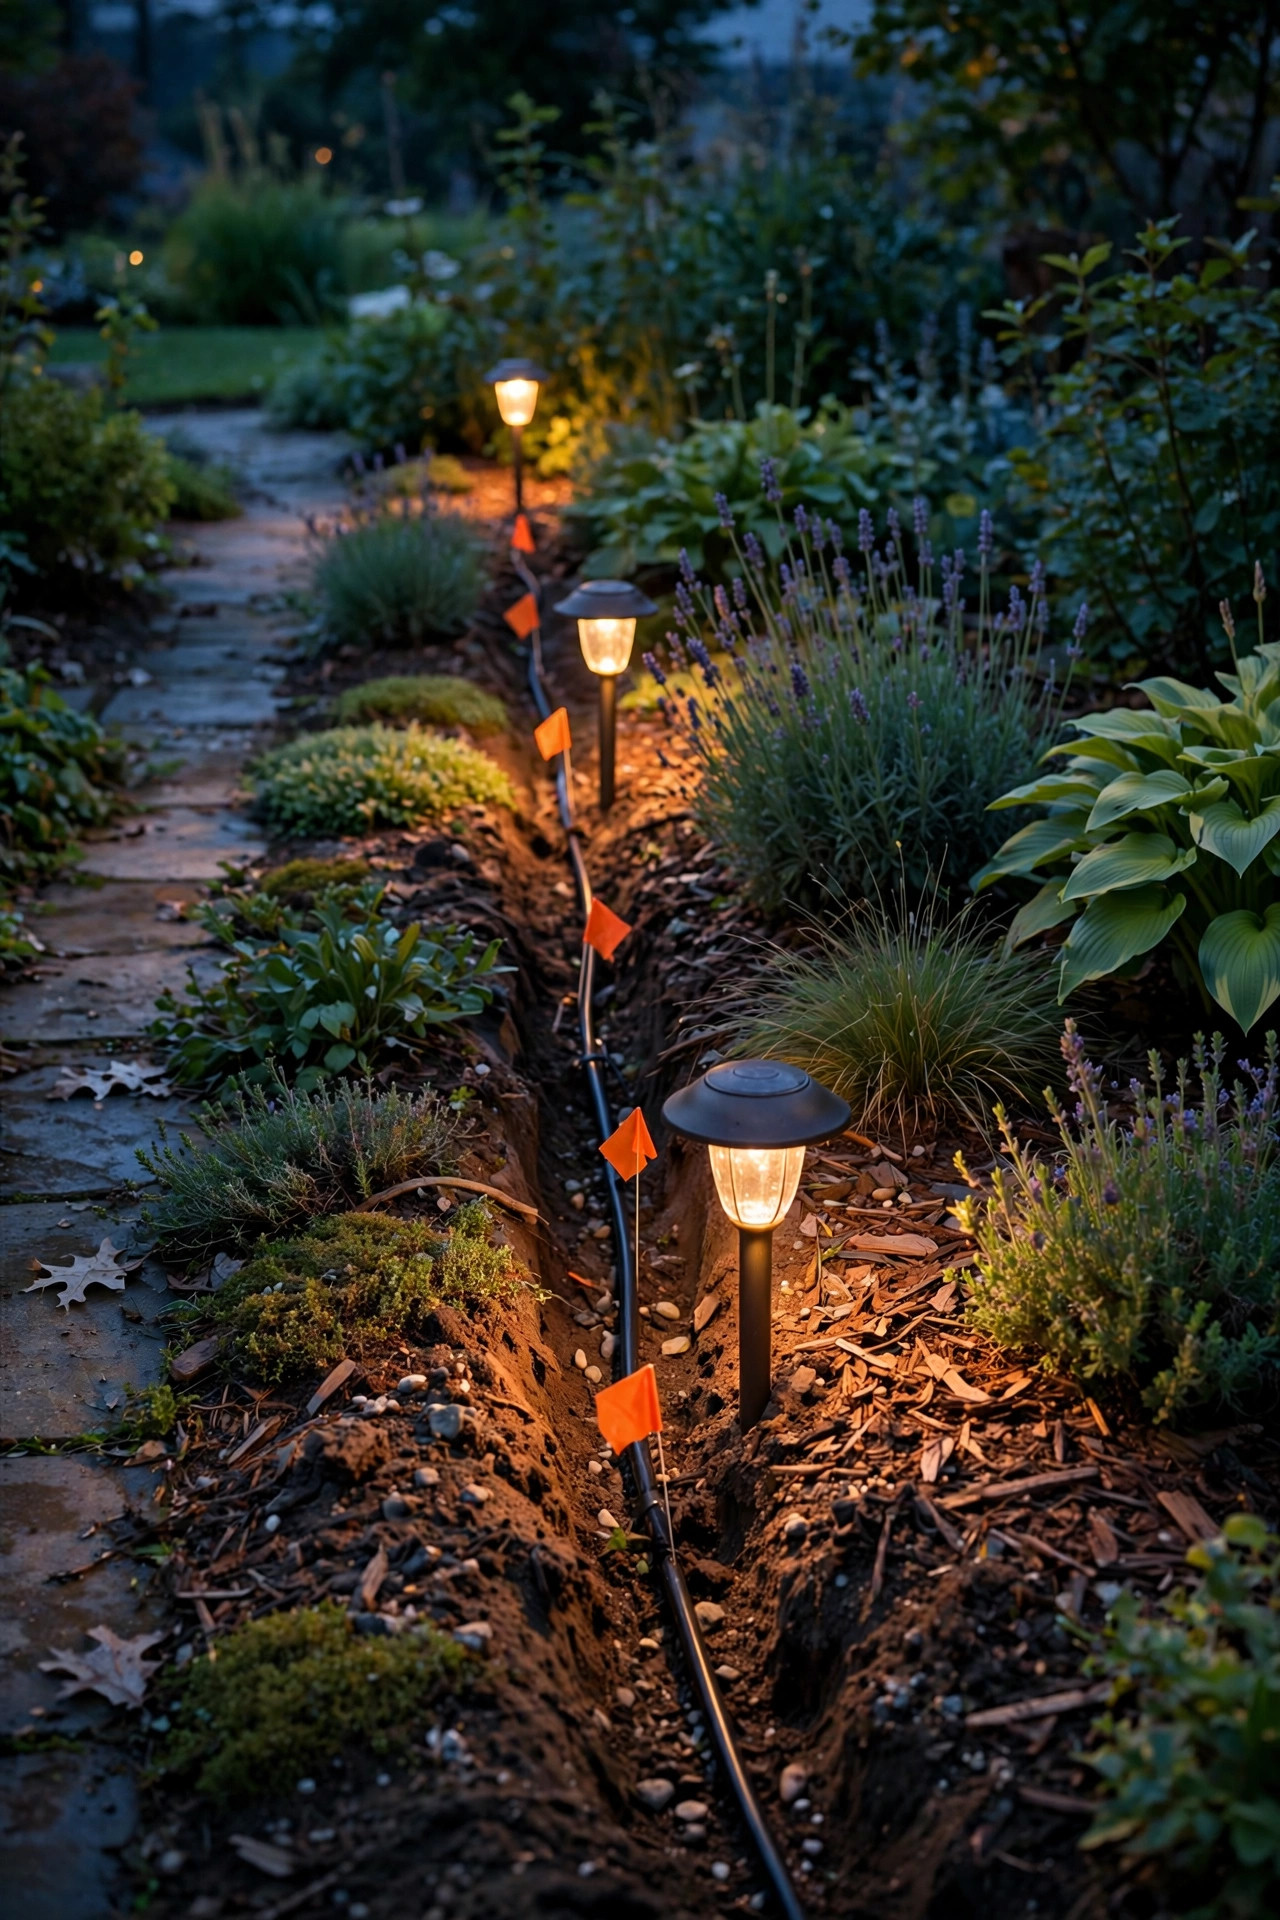
Then do it again. Half of a half, then half of that. A run of ten dark fixtures goes from ten suspects to five, to two or three, usually in about three checks, and you have dug exactly zero unnecessary holes. As you go, drop a little landscape flag at each point you have cleared; by the end you will have a dotted line of good cable and one small, guilty gap. One caution from hard experience: the cable on most residential runs sits only three to six inches down, and it is always shallower than you think near fixtures. Probe with a hand trowel, not a spade, and lift the soil in slices. More than one homeowner has "found" a perfectly good cable by cutting it themselves, turning one fault into two. Work gently and the bisect method will hand you the exact spot.
When It Is Not the Whole Section: Fixture-Level Dimming
Sometimes what looks like a dying section is really two or three fixtures that happen to sit together, each quietly failing on its own. This pattern has a different fingerprint: the dimness is uneven, with one light noticeably worse than its twin, and fixtures further down the run are somehow fine — something voltage drop and breaks never do, because both of those respect the order of the run.
Open up the worst offender and look for the usual trio. A lens gone cloudy or filmed with mineral deposits can steal half a fixture's brightness while the bulb behind it is perfect; a warm wash often restores it. Water sitting inside the fixture — you will see condensation beading under the lens — dims the light and corrodes everything it touches. And a socket or terminal freckled with green corrosion adds resistance that shows up as a dim, sometimes flickering light. The ten-second test I always run: swap the bulb from the dim fixture into a bright one. If the dimness follows the bulb, replace the bulb. If it stays with the fixture, clean the socket contacts, dry the housing, and reseat the lead connector before you spend a dime on parts.

What It Costs in 2026
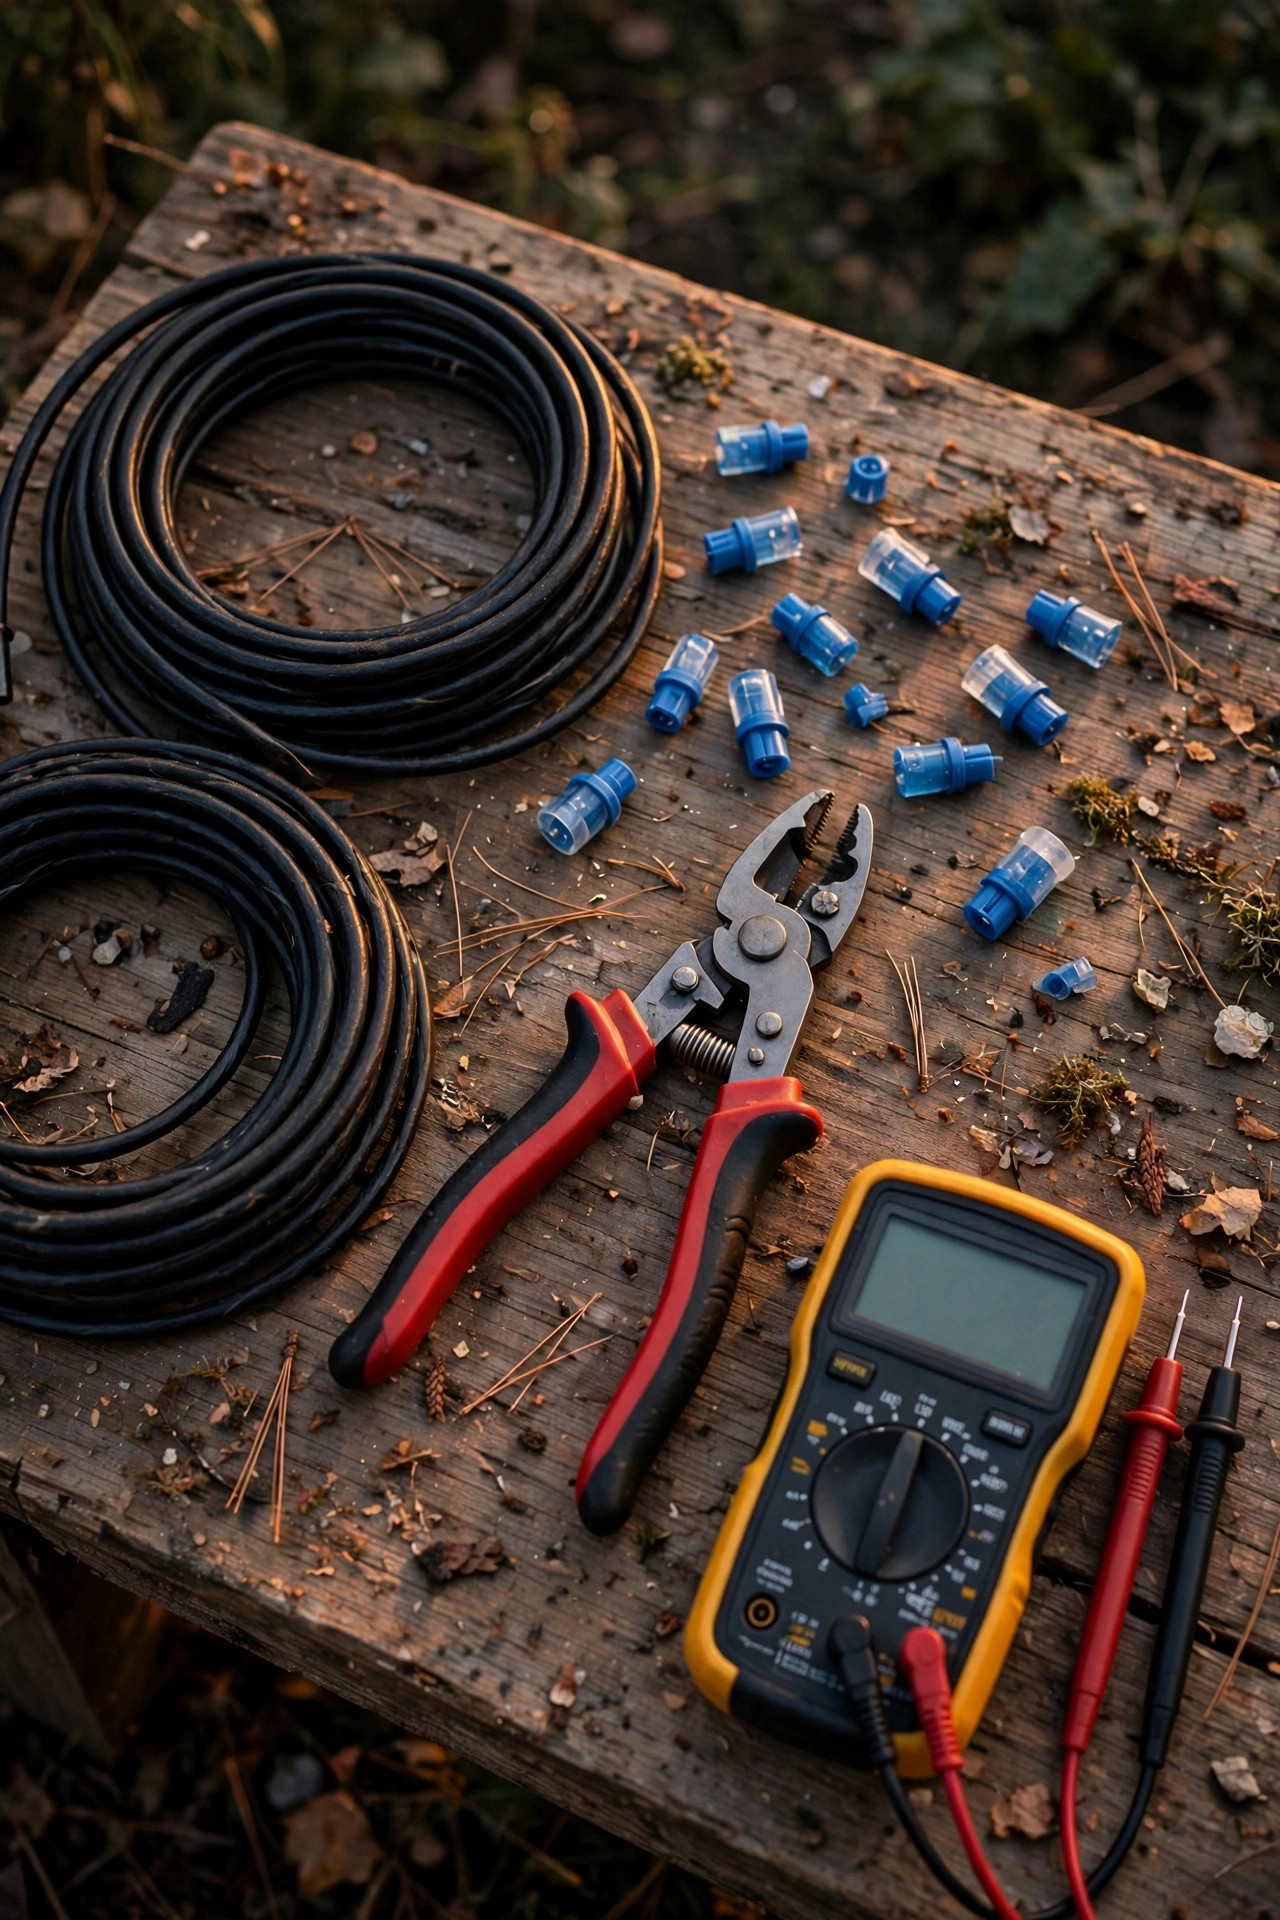
The happy truth about section faults is that the diagnosis is the hard part and the parts are cheap. A pack of waterproof gel-filled direct-burial connectors runs about $10 to $20, and most open-circuit repairs use exactly two. A basic digital multimeter is $20 to $40, bought once and used for years. If a stretch of cable is chewed or cut beyond saving, a 100-foot spool of 12/2 low-voltage cable costs roughly $60 to $90, and you will typically replace only a few feet of it. A replacement fixture, if one truly has died, is $25 to $60 for a solid mid-range model. All told, the classic dead-section repair — one bad splice, found with a meter — usually lands under $25 in parts and an hour of your Saturday.
Prefer to hand it off? A lighting contractor's diagnostic visit typically runs $125 to $250, and a straightforward splice or connector repair often totals $150 to $300 including the visit. Re-running a damaged cable section costs more, roughly $300 to $600 depending on length and how much landscaping it crosses. Either way, get the diagnosis in writing before authorizing parts — now that you know how sections fail, you will recognize a fair quote when you hear one.
5 Mistakes That Make a Dim or Dead Section Worse
1. Replacing fixtures before testing anything. New fixtures on a broken cable glow exactly as well as the old ones did — not at all. Ten minutes with a meter beats a shopping trip every single time.
2. Repairing a buried splice with indoor twist-on connectors. They are not sealed, they wick moisture straight into the copper, and the same section will be dead again by spring. Gel-filled direct-burial connectors or nothing.
3. Cranking the transformer to its highest tap to "fix" dimness. If the real problem is a failing connection, the extra voltage masks it for a while, overdrives the healthy fixtures near the transformer, and the fault keeps corroding underneath.
4. Digging blind with a full-size shovel. The cable is shallower than you think. I have seen one fault become three because the search itself sliced the run twice more.
5. Adding fixtures to a run that is already fading. Every added light deepens the voltage drop for everything past it. Fix the supply first, then expand.
Notice that all five share one root: treating a wiring problem like a fixture problem. Test first, dig second, buy parts last. In that order, a dead section stays a small problem. In any other order, it gets expensive fast.
A 15-Minute Seasonal Check That Catches Sections Before They Die
Sections almost never die without warning — they whisper first, and a twice-a-year walk is all it takes to hear it. In spring and again in fall, I stroll the yard at dusk with my phone and photograph each run from the same couple of spots. Comparing photos across seasons makes a quietly dimming fixture obvious long before it goes dark, while it is still a two-dollar connector instead of a dead stretch.
On the same walk, I tug-test the connector at any fixture living near a bed edge, where edgers and shovels pass close, and I wipe lenses clean and tip out any water sitting in a fixture before it starts corroding the socket. Back at the transformer, power off, I snug each terminal screw a quarter turn and brush away the spider-web insulation the bugs insist on building. While I am at the transformer, I also check the timer and photocell settings, because one section I "lost" a few Octobers ago turned out to be a timer that simply never got its daylight-saving hour back. Finally I stand at the curb and simply look: even rhythm, even brightness, no gaps. Fifteen minutes, twice a year, and a "sudden" dead section becomes a rare event instead of an annual ritual.

Frequently Asked Questions
Why is only half of my landscape lighting working?
Because your fixtures are fed by separate cable runs from the transformer, and a fault on one run — a failed splice, a cut cable, a loose terminal — kills everything downstream on that run only. Find the last fixture that still works on the dark run; the fault is between it and the first dead one.
Why are the lights at the end of the run so much dimmer than the rest?
That gradual fade is voltage drop: the cable loses pressure over distance, so far fixtures get less than the 10.8 volts they need. It is worst on long runs, thin 16-gauge wire, and runs that have gained fixtures over the years. Raising the transformer tap, splitting the run, or using heavier cable fixes it.
Can one bad light make a whole section go out?
A single dead bulb cannot — the fixtures are wired in parallel, so each fails alone. But the connector at one fixture can interrupt the main cable and take everything downstream dark, and a shorted fixture can trip the transformer's breaker and kill the whole run. That is why the connector at the last working fixture is always suspect number one.
Should I call an electrician for a dead section?
The low-voltage side of the system is safe, homeowner-friendly territory — testing, splicing, and connector swaps are all reasonable DIY. Call a licensed electrician if the problem turns out to be the 120-volt outlet or the transformer's supply side, and call a lighting contractor if the break hides under a driveway or patio you do not want to dig near.
Conclusion
A dark stretch of yard feels like a system failure, but it is really just a message: one fault, in one place, on one run. Read the pattern, take three meter readings, and the cable itself will tell you where to dig. The next time you find a landscape lighting section out, skip the parts-swapping and start at the boundary between the last bright light and the first dark one — the fix is almost always smaller, cheaper, and closer than you feared. And once that section is glowing again, browse our other landscape lighting guides for spacing, voltage, and design ideas to make the whole yard earn that evening admiration.