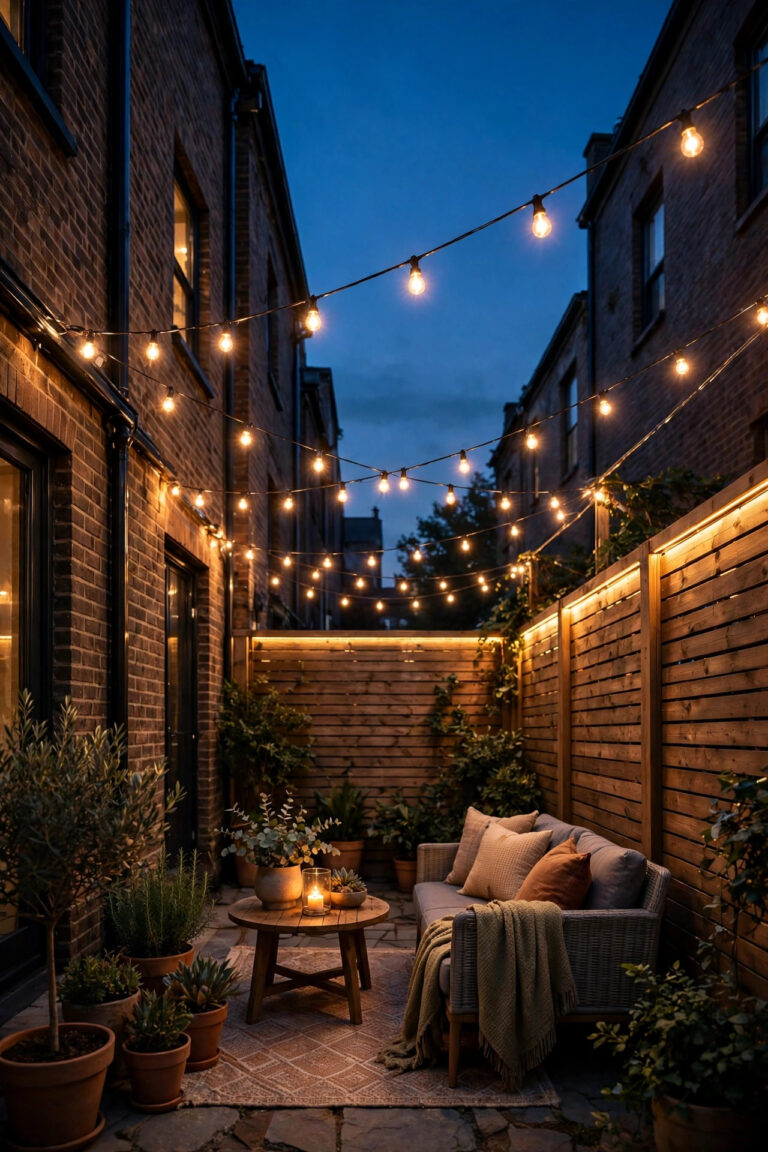
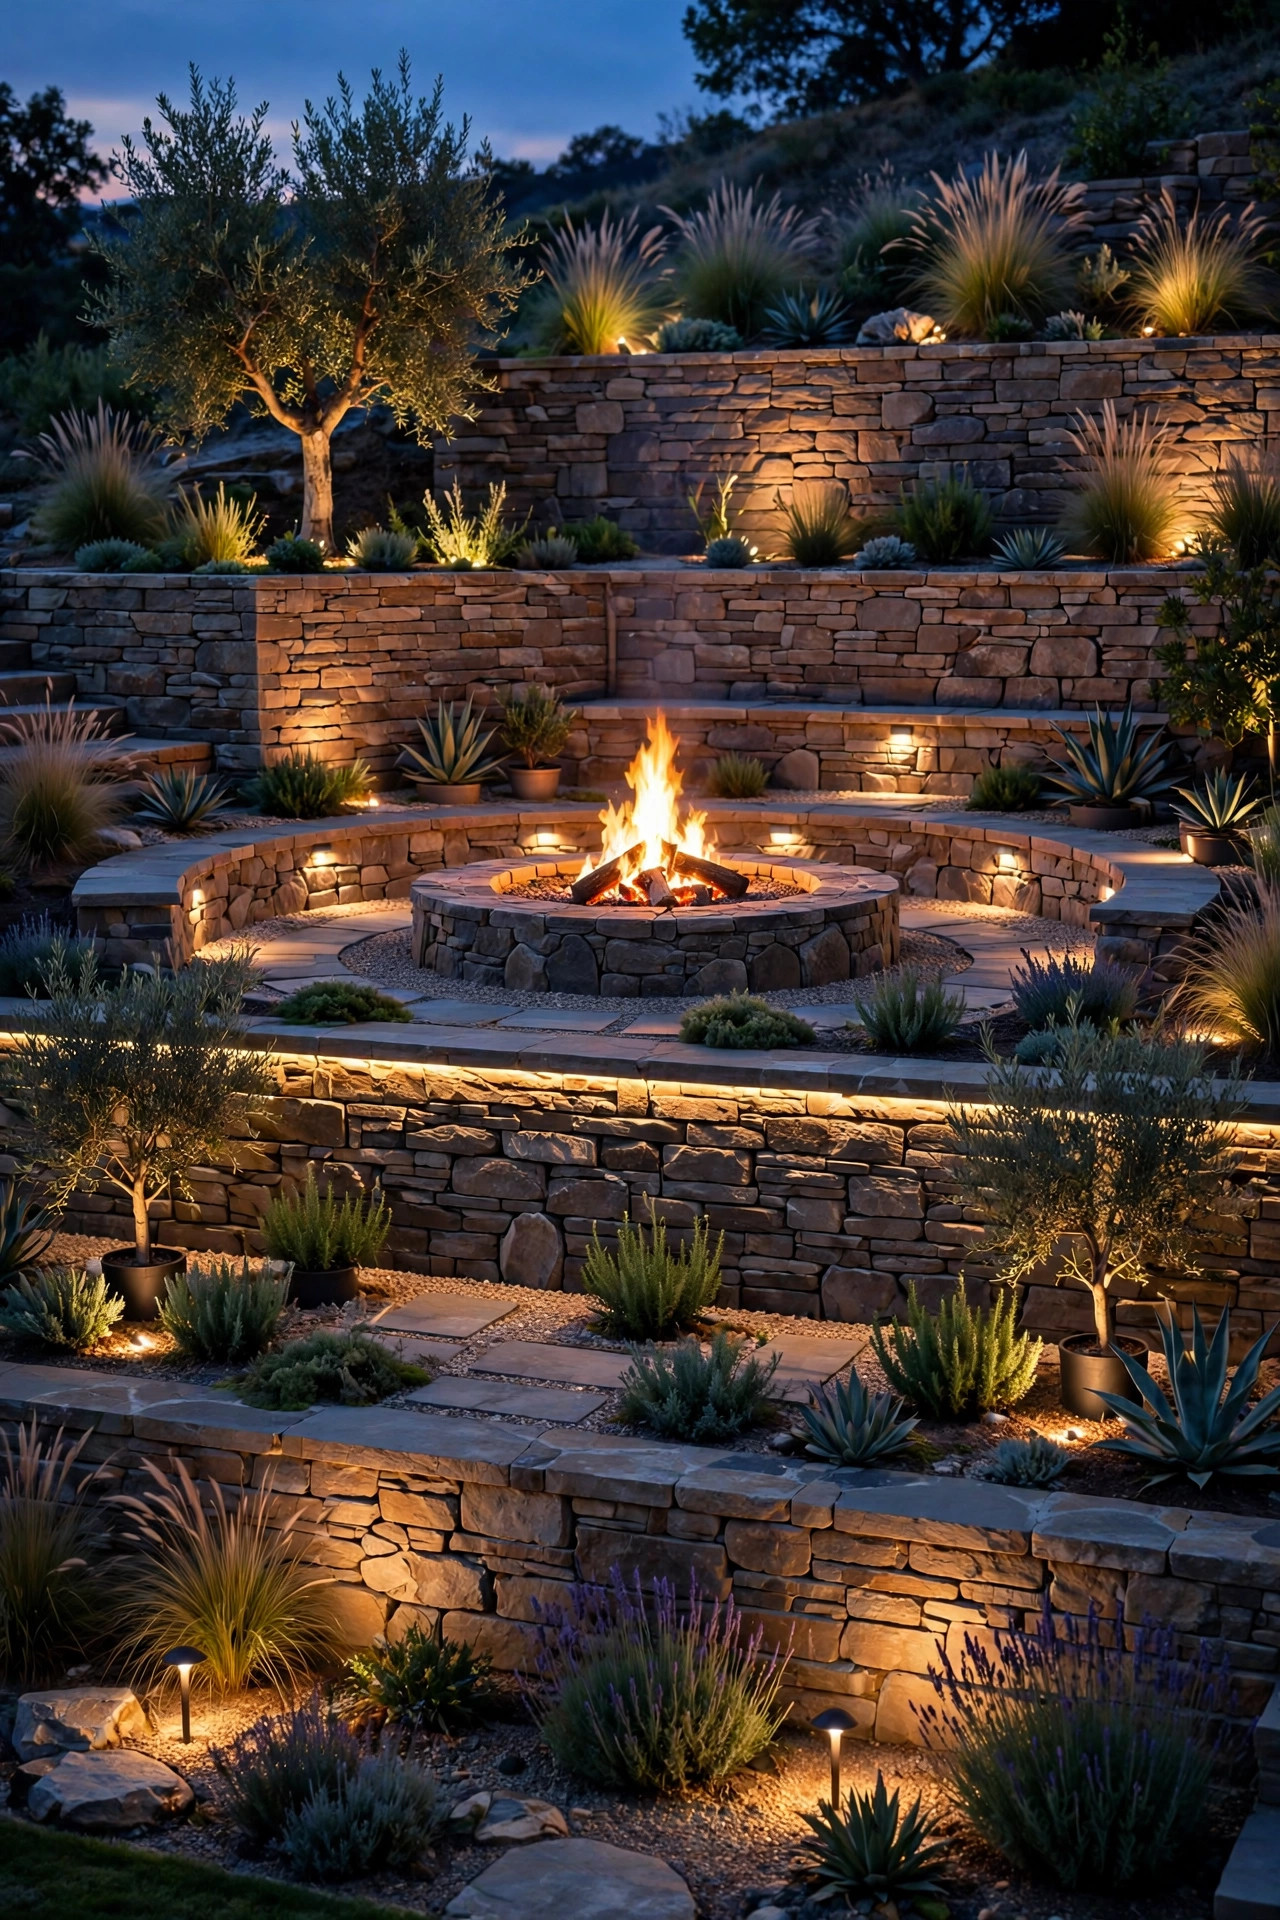
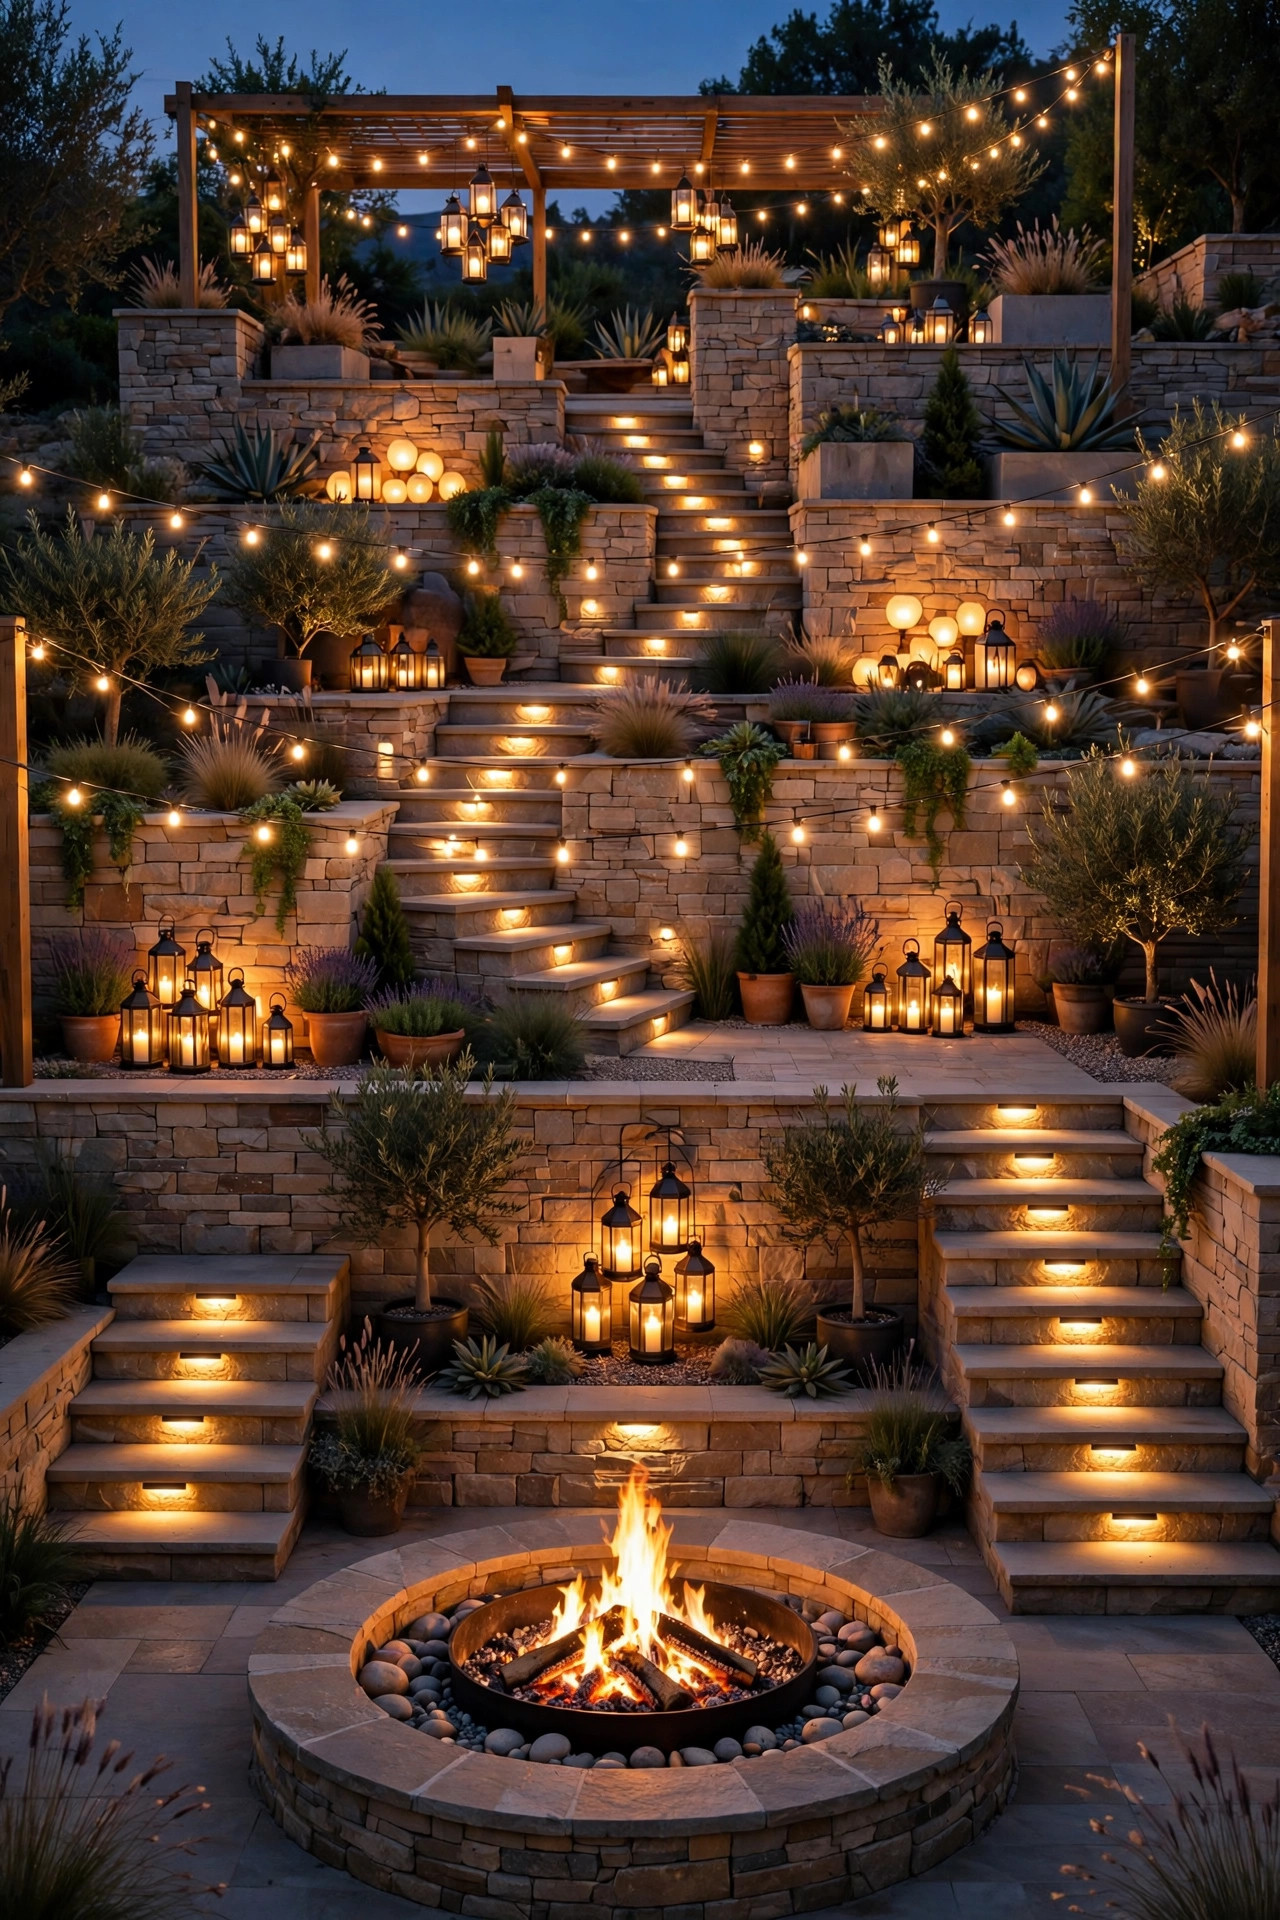
If your backyard drops away in stone walls and stacked levels, you already own the most dramatic fire pit setting on the street. What it usually lacks is light that respects the slope. The terraced fire pit lighting ideas in this post fix the three problems I see on every hillside yard: dark stairs between levels, one blinding fixture trying to do everything, and a fire pad that glows while the seating around it vanishes into shadow. My approach is the same layering I use on flat patios, just stacked vertically. A practical working layer makes every step and edge visible, a warm glow layer flatters faces around the fire, and a low accent layer traces the retaining walls so the whole yard reads as one connected outdoor room. Below are 15 ideas sized for real terraces, with honest budgets, spacing numbers, and the wiring shortcuts that make a sloped install far less painful than most people expect.
1. Map Your Terraced Fire Pit Lighting Ideas Level by Level
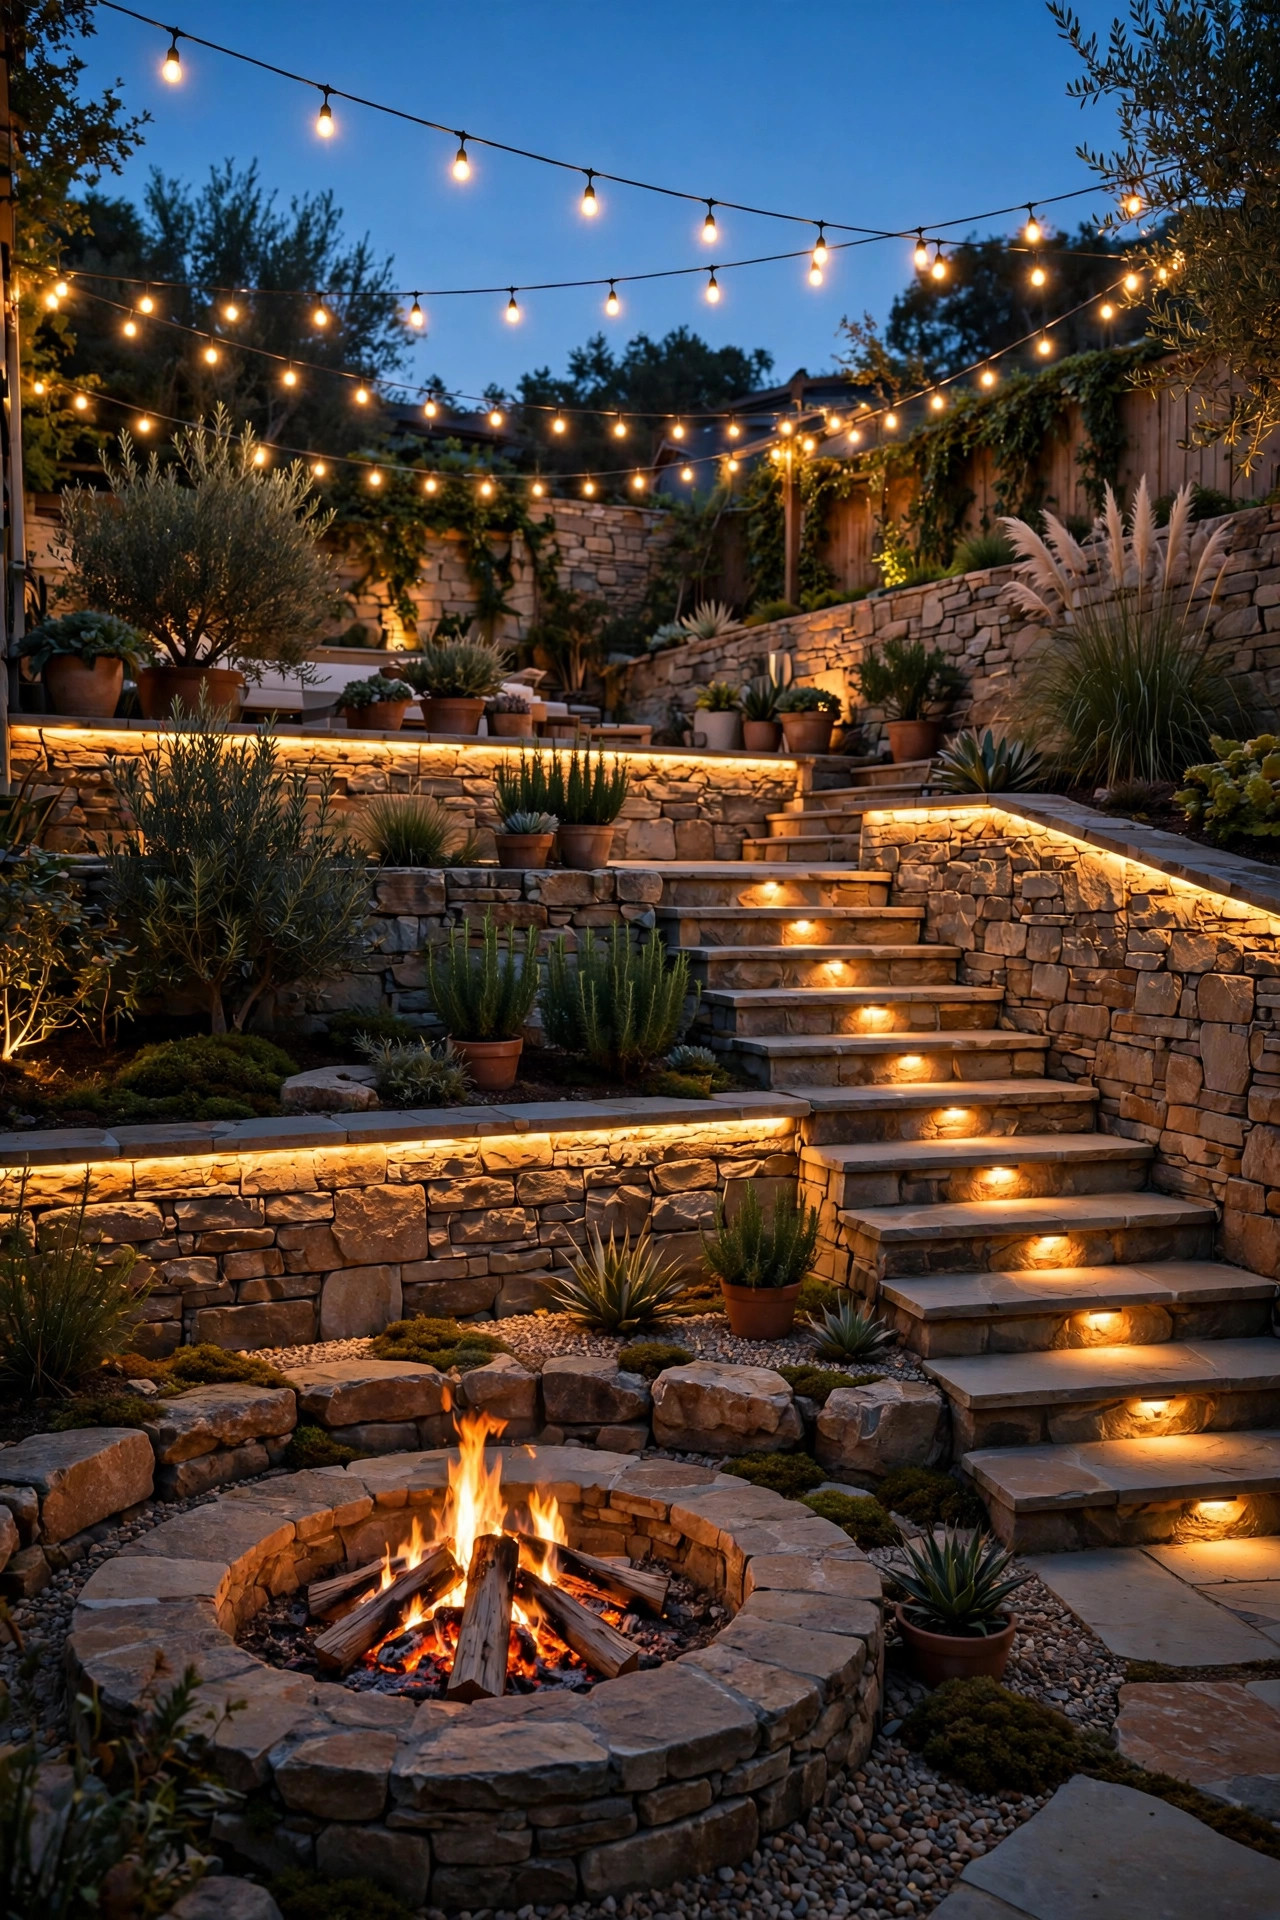
Before you buy a single fixture, sketch the yard from the side, the way an architect would draw a staircase. Give every terrace a job: entry level, fire level, seating level, garden level. Then assign each level just one fixture type from each layer — one wayfinding light, one glow light, one accent. This little drawing will save you real money, because hillside mistakes usually come from treating a three-level yard like one flat patio and overlighting the top while the bottom stays pitch black. Plan your cable runs on paper too. On a slope, run low-voltage cable horizontally along the back of each retaining wall rather than zigzagging down the hill, and mount the transformer at mid-slope so no single run stretches past about 100 feet. Long uphill runs are where voltage drop makes the far fixtures glow dim and orange, so two shorter home runs beat one heroic one every time. Honestly, an hour with a tape measure and a notepad is the highest-value step in this whole project.
Suggested budget range: $0 – $50.
2. Recess Step Lights Into Every Stair Riser
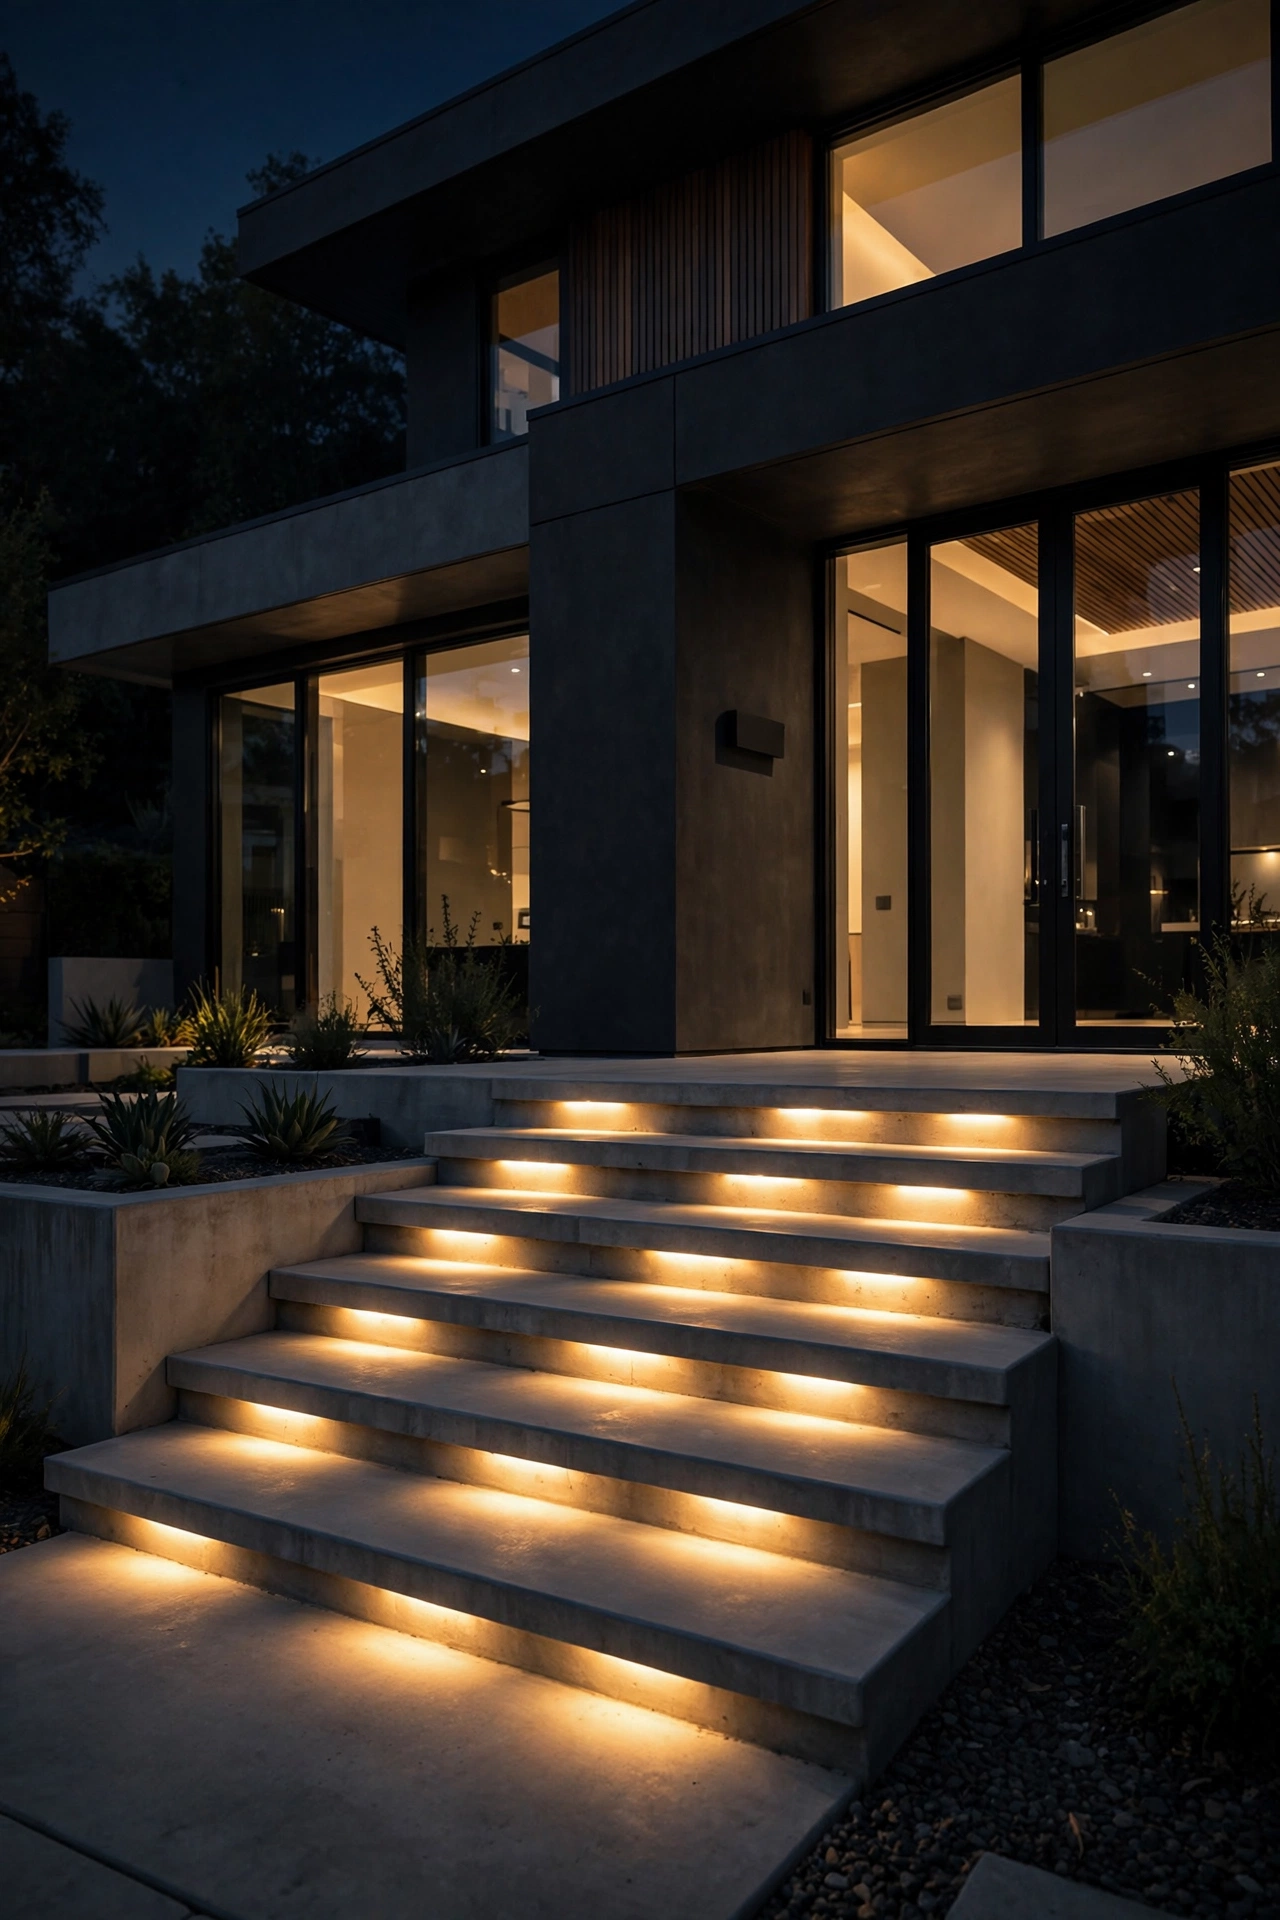
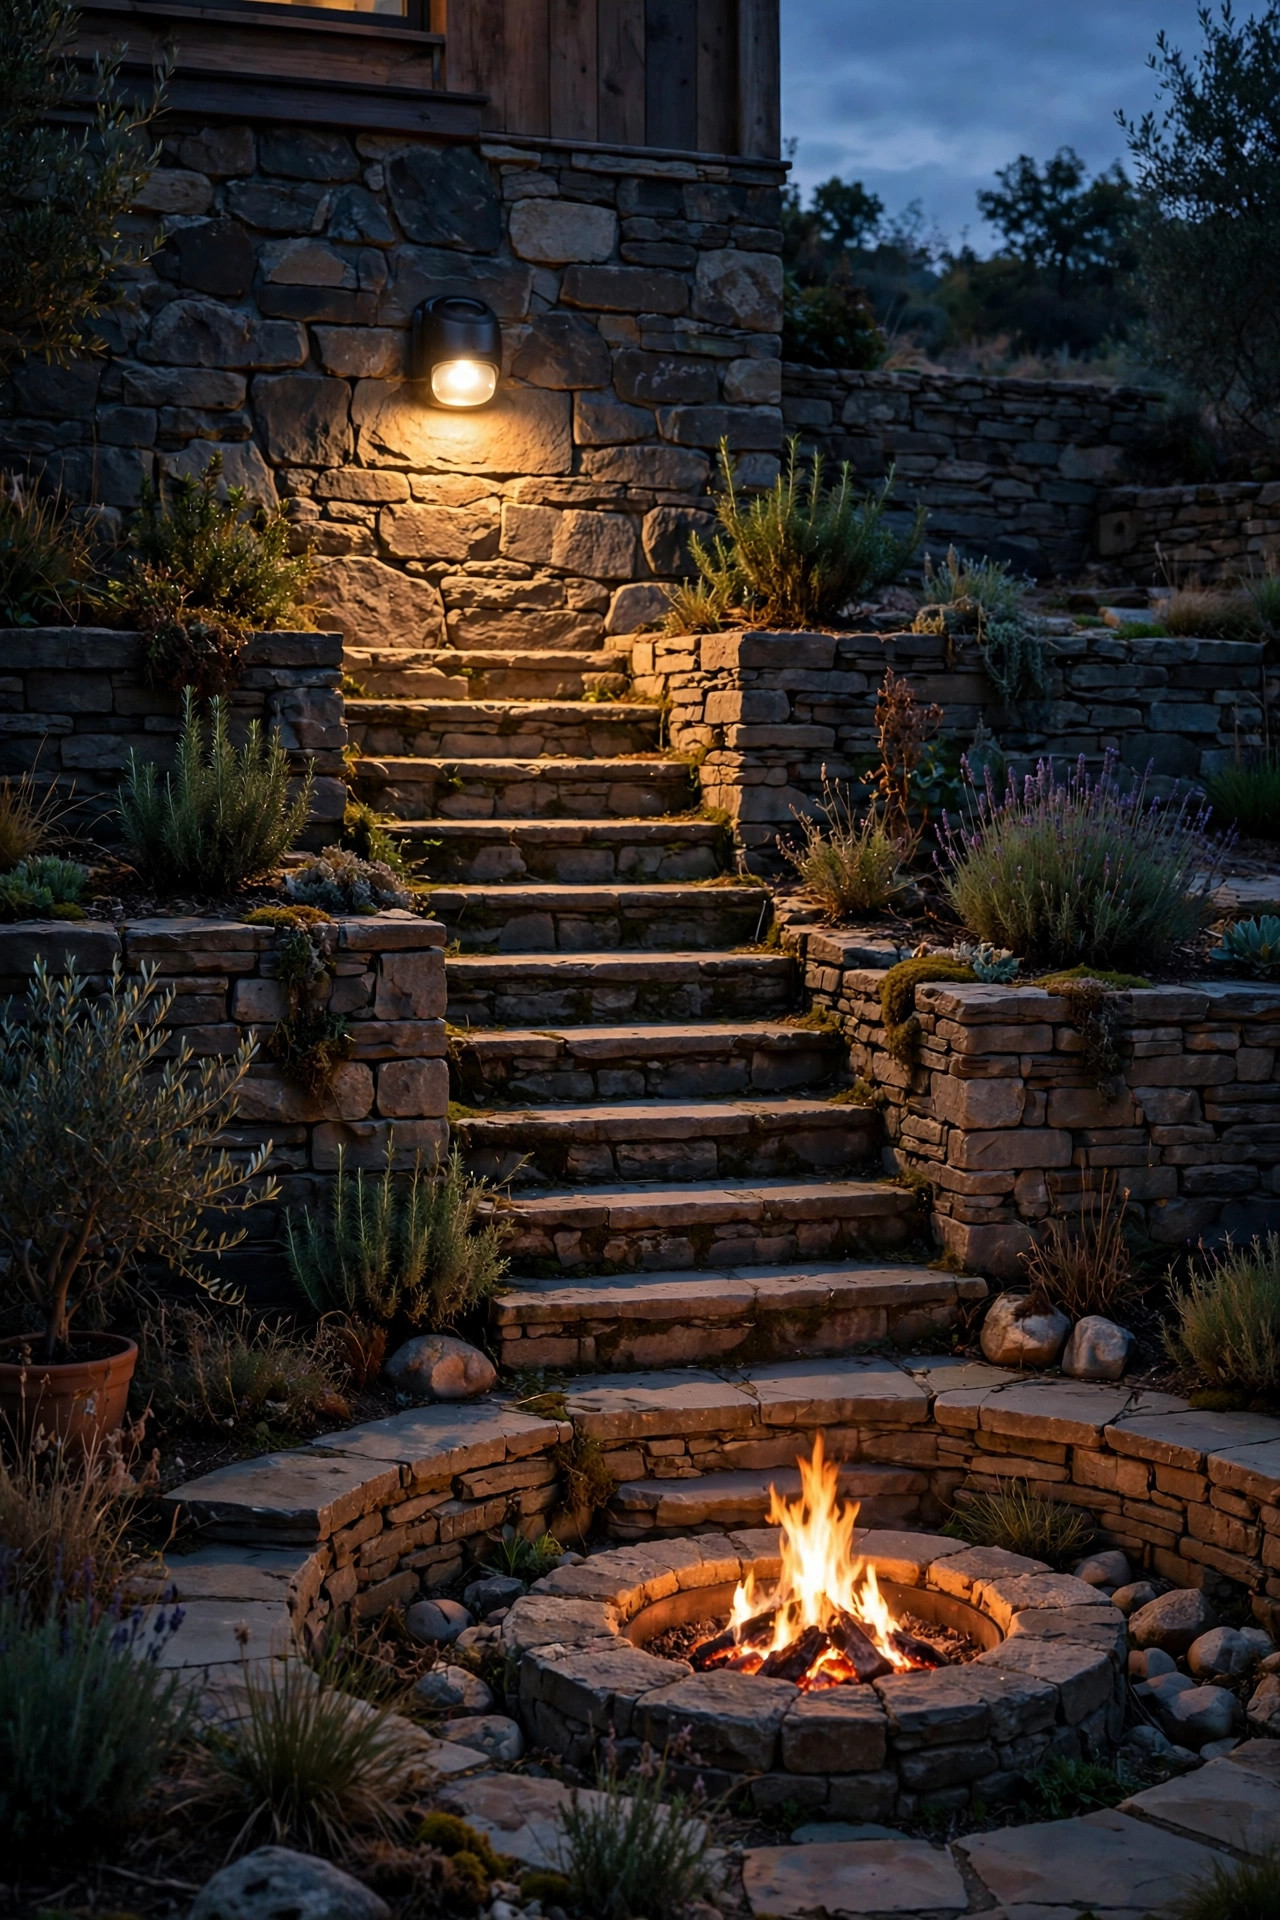
Stairs between terraces are where hillside yards earn their sprained ankles, so this is the one idea I never let anyone skip. Recessed step lights sit in the riser or the side wall of each tread and wash light downward across the step below, which means you see the edge of every tread without any glare in your eyes. On a terraced run, light every step if the staircase is long or turns a corner; on short straight runs of four steps or fewer, every other step plus the landing is plenty. Choose small LED fixtures in the 1 to 3 watt range at 2700K, with a louvered or hooded face so the beam stays on the stone where it belongs. If your stairs are already built, surface-mount versions screw onto the riser face and look nearly as clean. Wire them on the same circuit as your path lights so the whole route from the house to the fire lights up with one switch.
Suggested budget range: $120 – $300.
3. Hide LED Strips Under Retaining Wall Caps
That little overhang where the capstone juts past the wall face is the best free lighting shelf in a terraced yard. Tuck a waterproof LED strip into an aluminum channel under the cap, set back about an inch, and the entire wall below washes with a soft, even ribbon of light. You see no fixture, no hot spots — just the stone glowing. It marks the level change beautifully, which matters when guests are carrying drinks down at night. Use an IP65 or better strip rated for outdoor use, and always use the channel with a frosted diffuser; bare strip diodes reflect in puddles and look cheap. Run the strip at 2700K to match your other layers, and keep the driver tucked in a weatherproof box behind the wall where you can reach it. One honest warning from my own yard: buy the strip and channel from the same product line, because mismatched widths rattle loose in the first freeze-thaw cycle.
Suggested budget range: $90 – $240.

4. Downlight From the Terrace Above
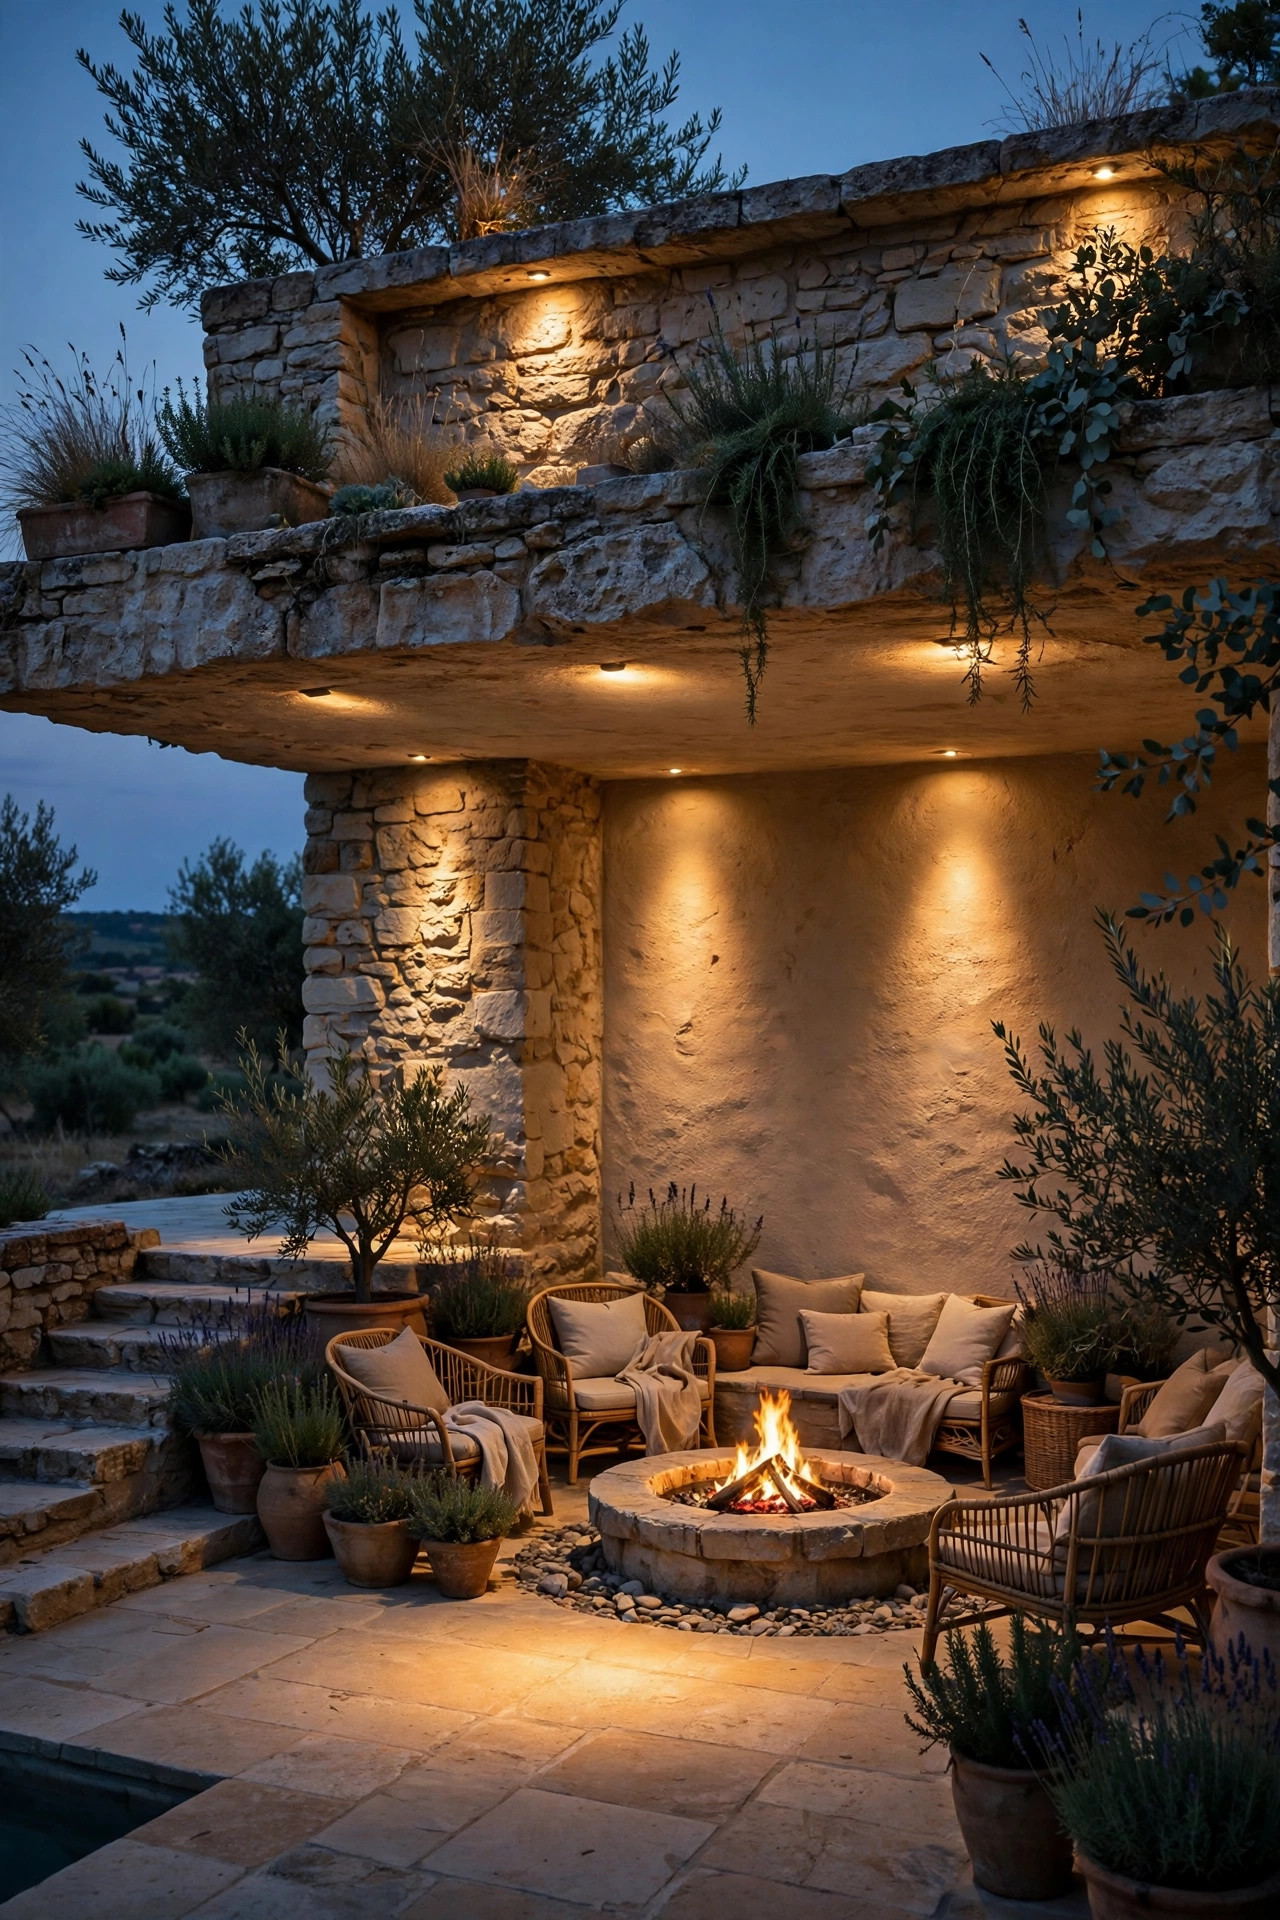
Here is the trick that makes a terraced fire pit feel like a resort instead of a construction site: light the lower level from the upper one. Mount small shielded fixtures under the cap or on the face of the terrace above, angled down at about 45 degrees, or hang them in a tree on the upper level for a moonlight effect. Because the light comes from roughly head height and above, it pools gently on the seating area and the fire pad instead of blasting sideways into faces. Wide 60-degree beams work best here, and you want the fixtures shielded enough that nobody sitting below can see the bulb itself. This is also the layer that flatters people — downward warm light is kind to faces in a way that uplighting from the ground never is. Aim carefully around the fire pit itself, since a beam crossing the smoke column will light up every wisp and make the whole area look hazy.
Suggested budget range: $140 – $350.
5. Line Switchback Paths With Low-Voltage Path Lights
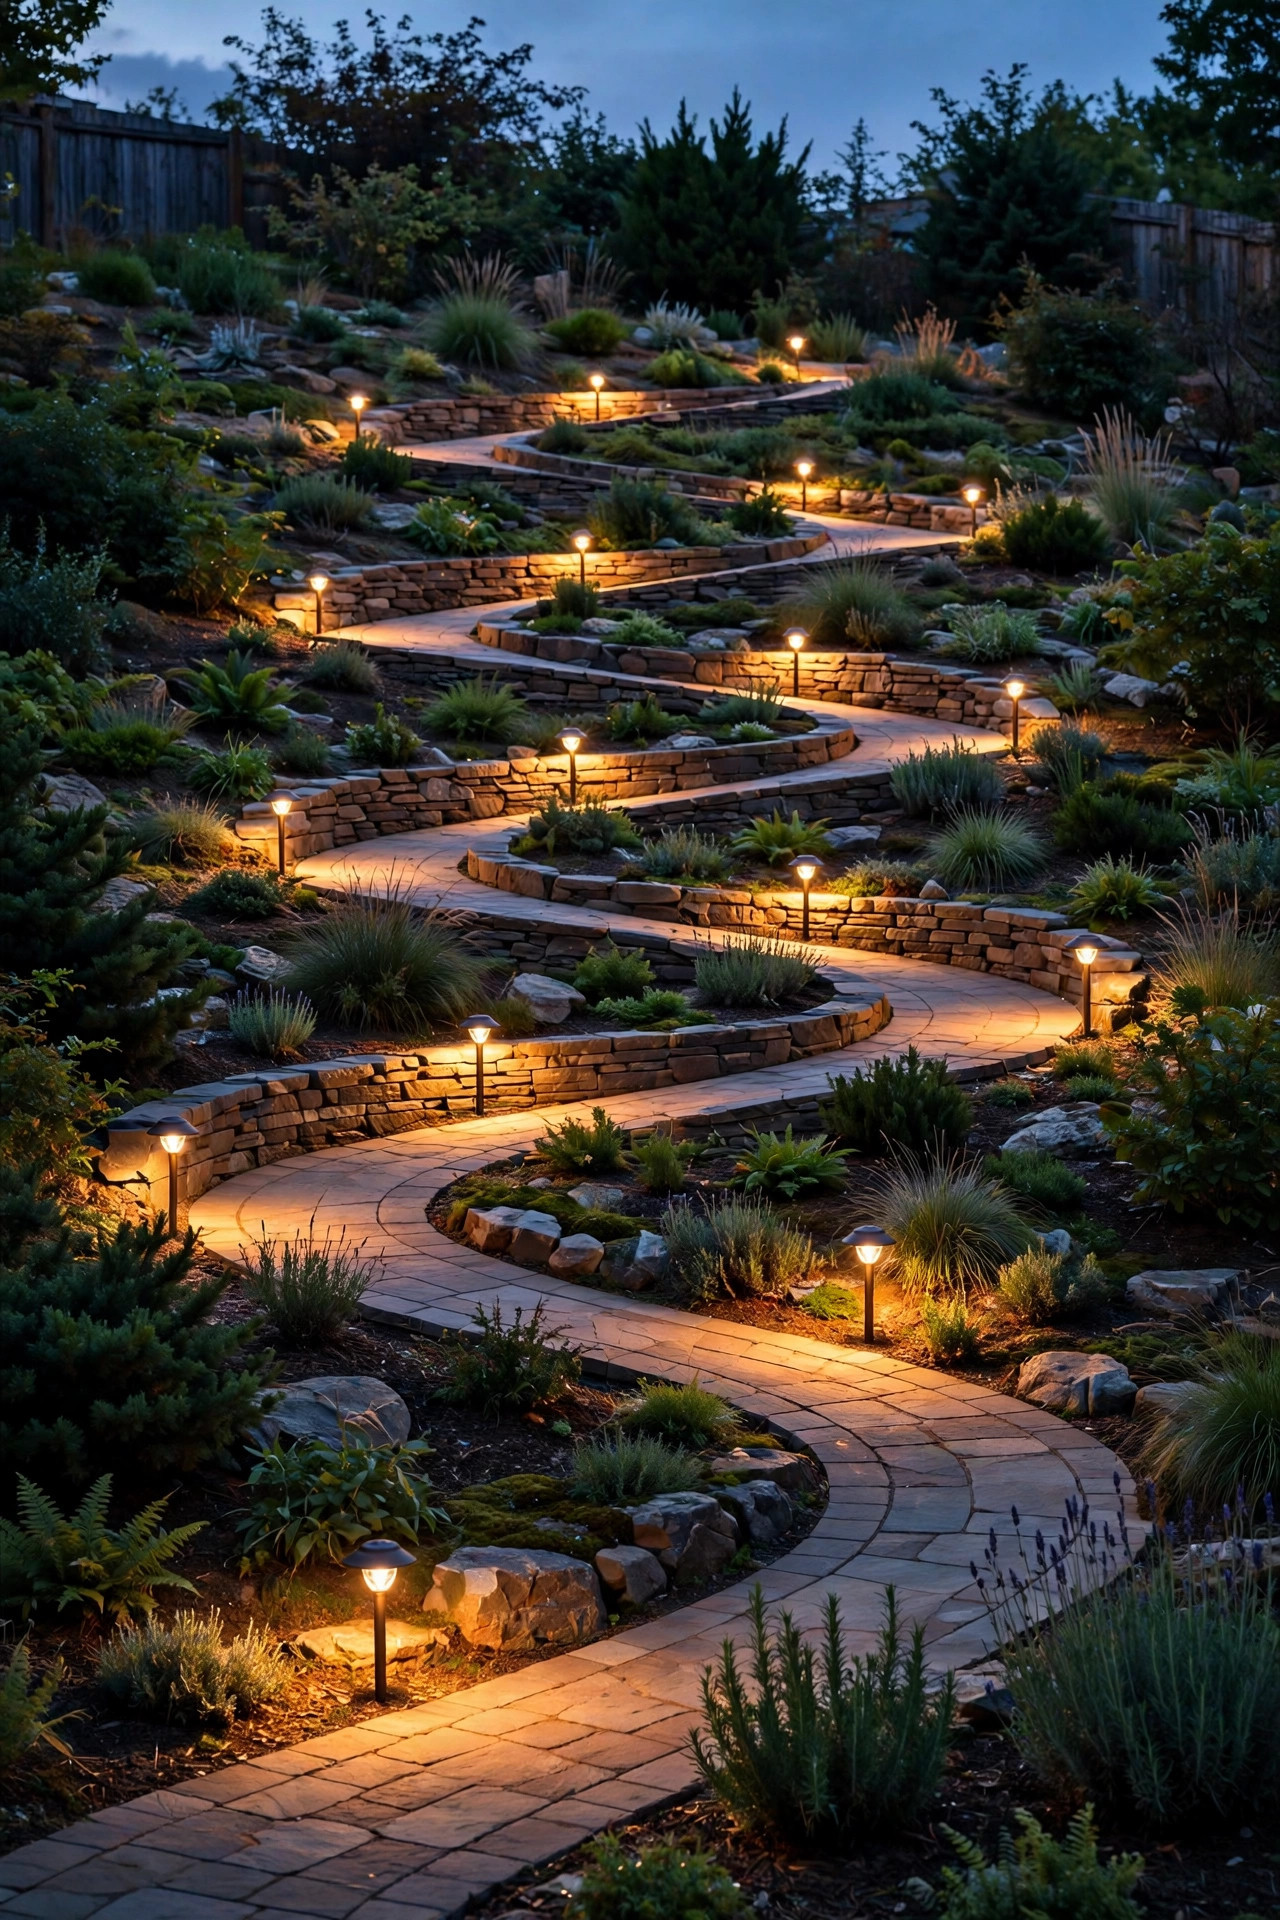
Sloped yards rarely give you a straight walk to the fire; they give you switchbacks, and those curves need a dotted line of light to read clearly at night. On flat ground I space path lights 8 to 10 feet apart, but on a slope I tighten that to 6 to 8 feet, because your downward sight line is shorter and the far side of each curve disappears faster. Stagger the fixtures on alternating sides of the path rather than placing them in formal pairs — pairs create a runway effect that looks especially odd on a hill. Use shorter stakes on the downhill edge so the fixtures sit at a consistent height above the walking surface, and push each stake a few inches back from the path edge so nobody clips it with a heel. For the full slope strategy, including transformer sizing for long runs, see my sloped backyard lighting ideas, which covers the wiring math in detail.
Suggested budget range: $150 – $400.
6. Use Solar Stakes Only Where the Slope Gets Real Sun
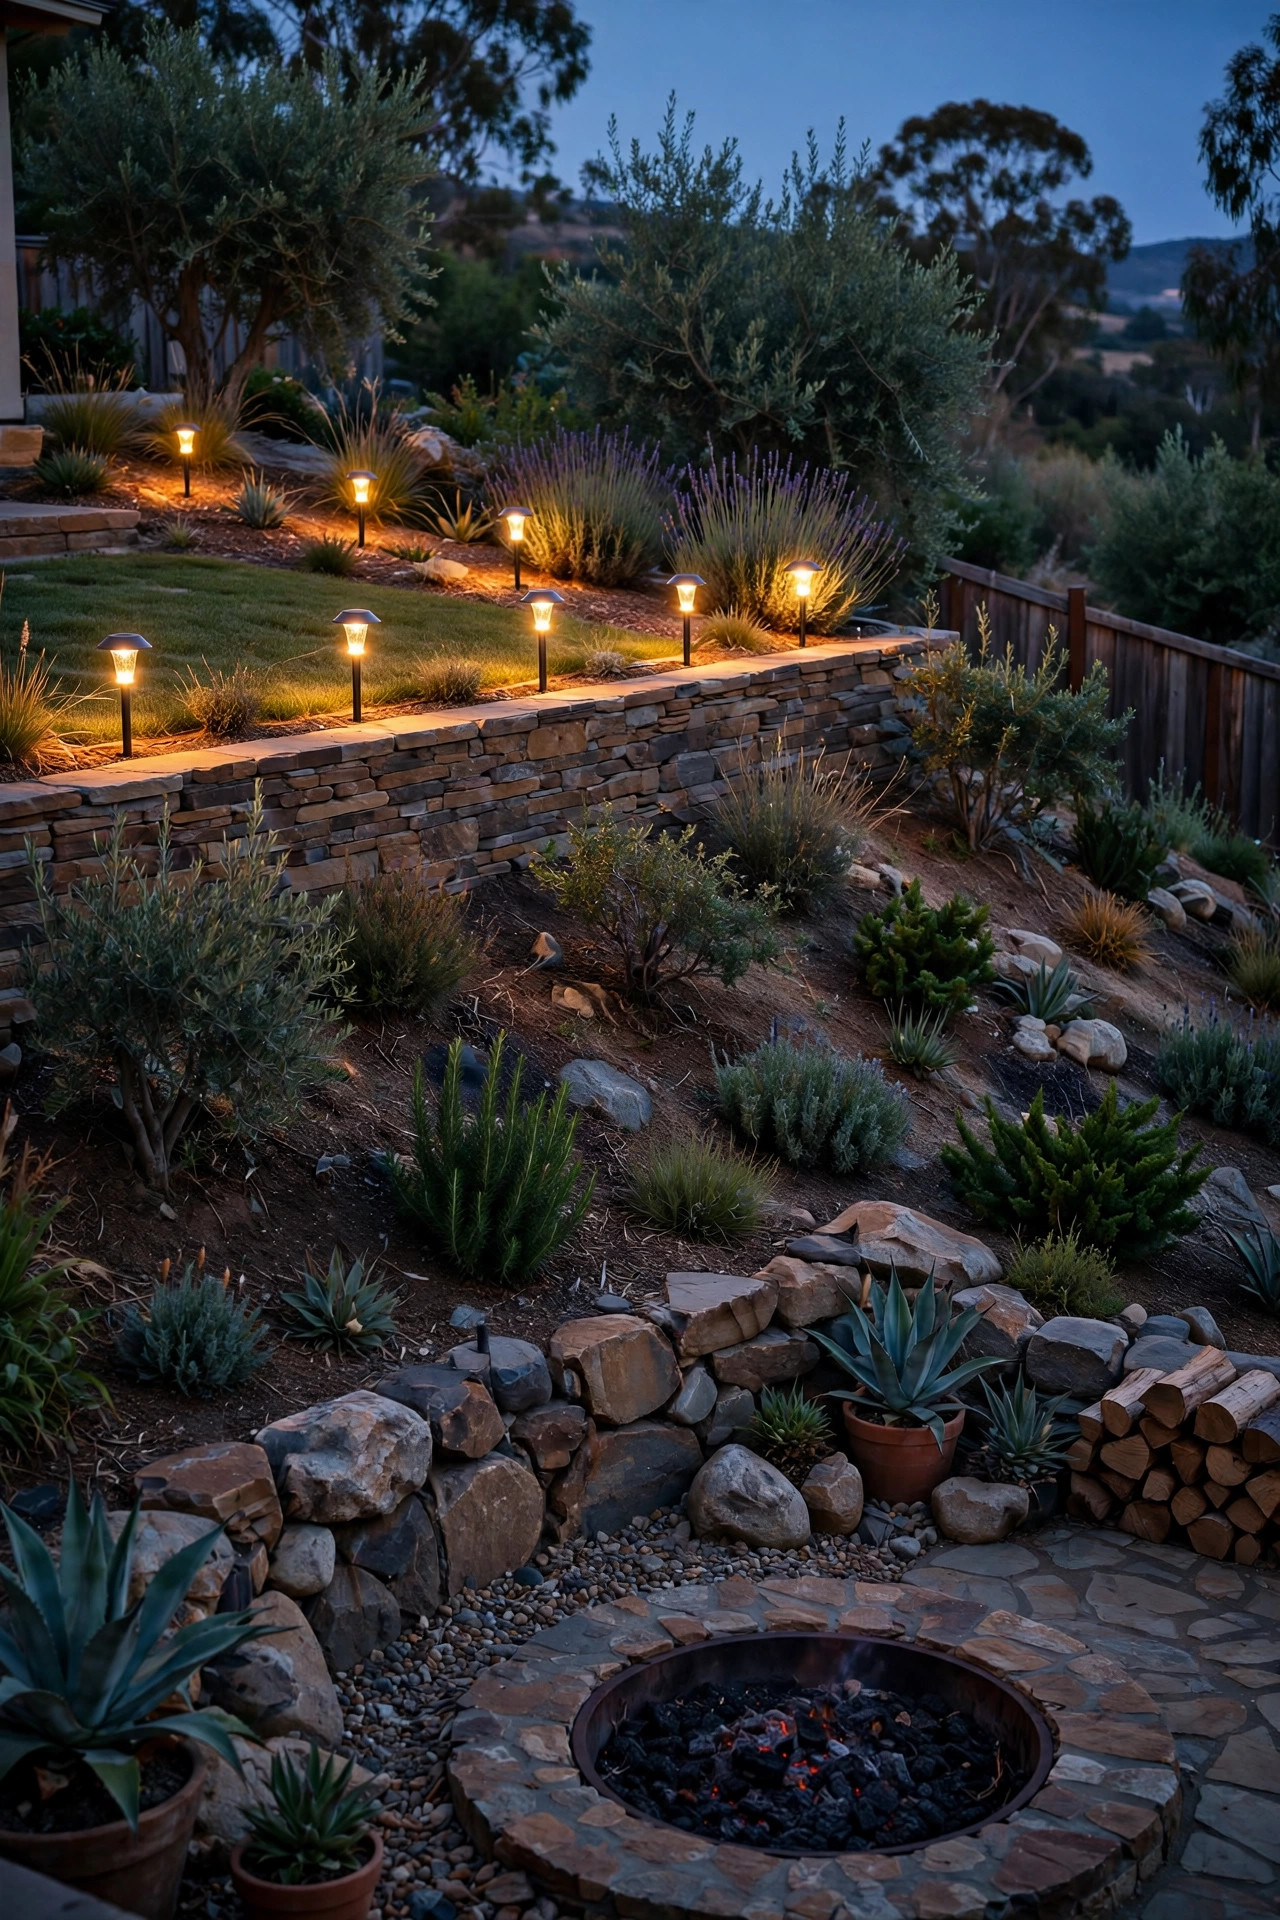
I love solar lights, but a terraced yard is where they lie to you. The sunny top terrace will charge them beautifully, while the shaded bottom level against a north-facing wall leaves them gasping by 9 p.m. So be strategic: solar stakes earn their place on the upper, sun-drenched levels and along any south-facing wall, where they save you from trenching cable uphill. Look for models with a separate solar panel on a short cable, so the panel can sit in a sunny pocket while the light itself marks a shadier step or corner. Expect a warm decorative glow, not real working light — solar stakes will show you where the path is, but they will not light your stairs well enough to skip idea number two. Set them in firm soil pockets or gravel, not loose mulch on the slope, because the first heavy rain will tilt every stake downhill like a row of tiny drunks.
Suggested budget range: $40 – $120.
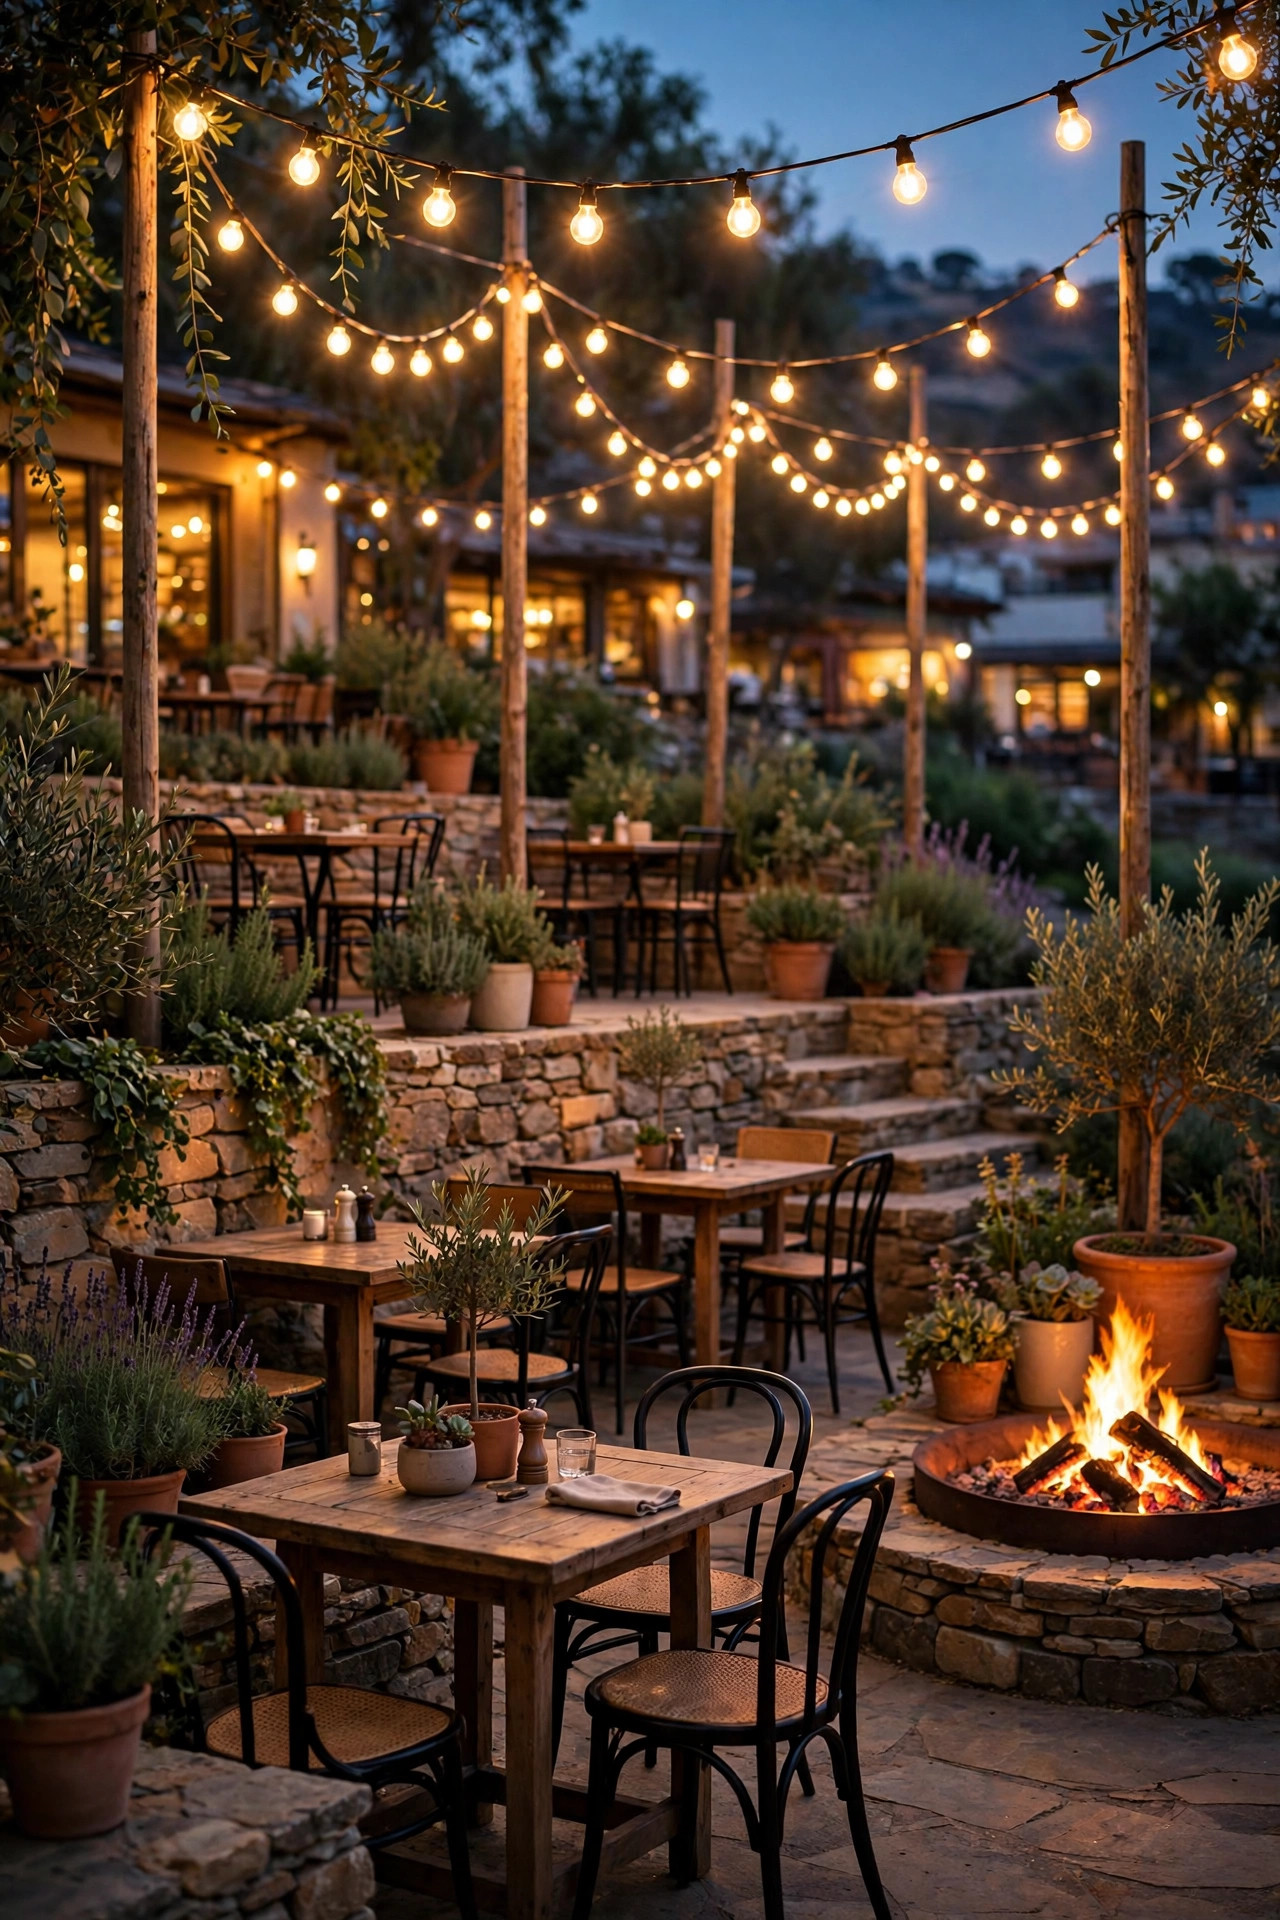
7. String Cafe Lights Across the Levels on Poles
String lights are the fastest way to make stacked terraces feel like one party instead of three separate patios. Anchor a galvanized pole or a sturdy wooden post on the upper level, run a steel guide wire to the house or a second pole, and swag commercial-grade string lights across the seating terrace — not directly over the fire pit. Heat and soot rising off a wood fire will yellow the bulbs and shorten their life, so offset the canopy to one side, where it still bounces warm light into the seating circle. Keep the lowest swag at least 7 feet above the ground so tall guests are not ducking, and put the strand on a dimmer; full brightness is for setting up, while 40 percent is where the magic lives. Shatterproof LED filament bulbs at 2700K are my default here, and they sip so little power that one outdoor outlet on a GFCI circuit handles the whole run comfortably.
Suggested budget range: $100 – $280.
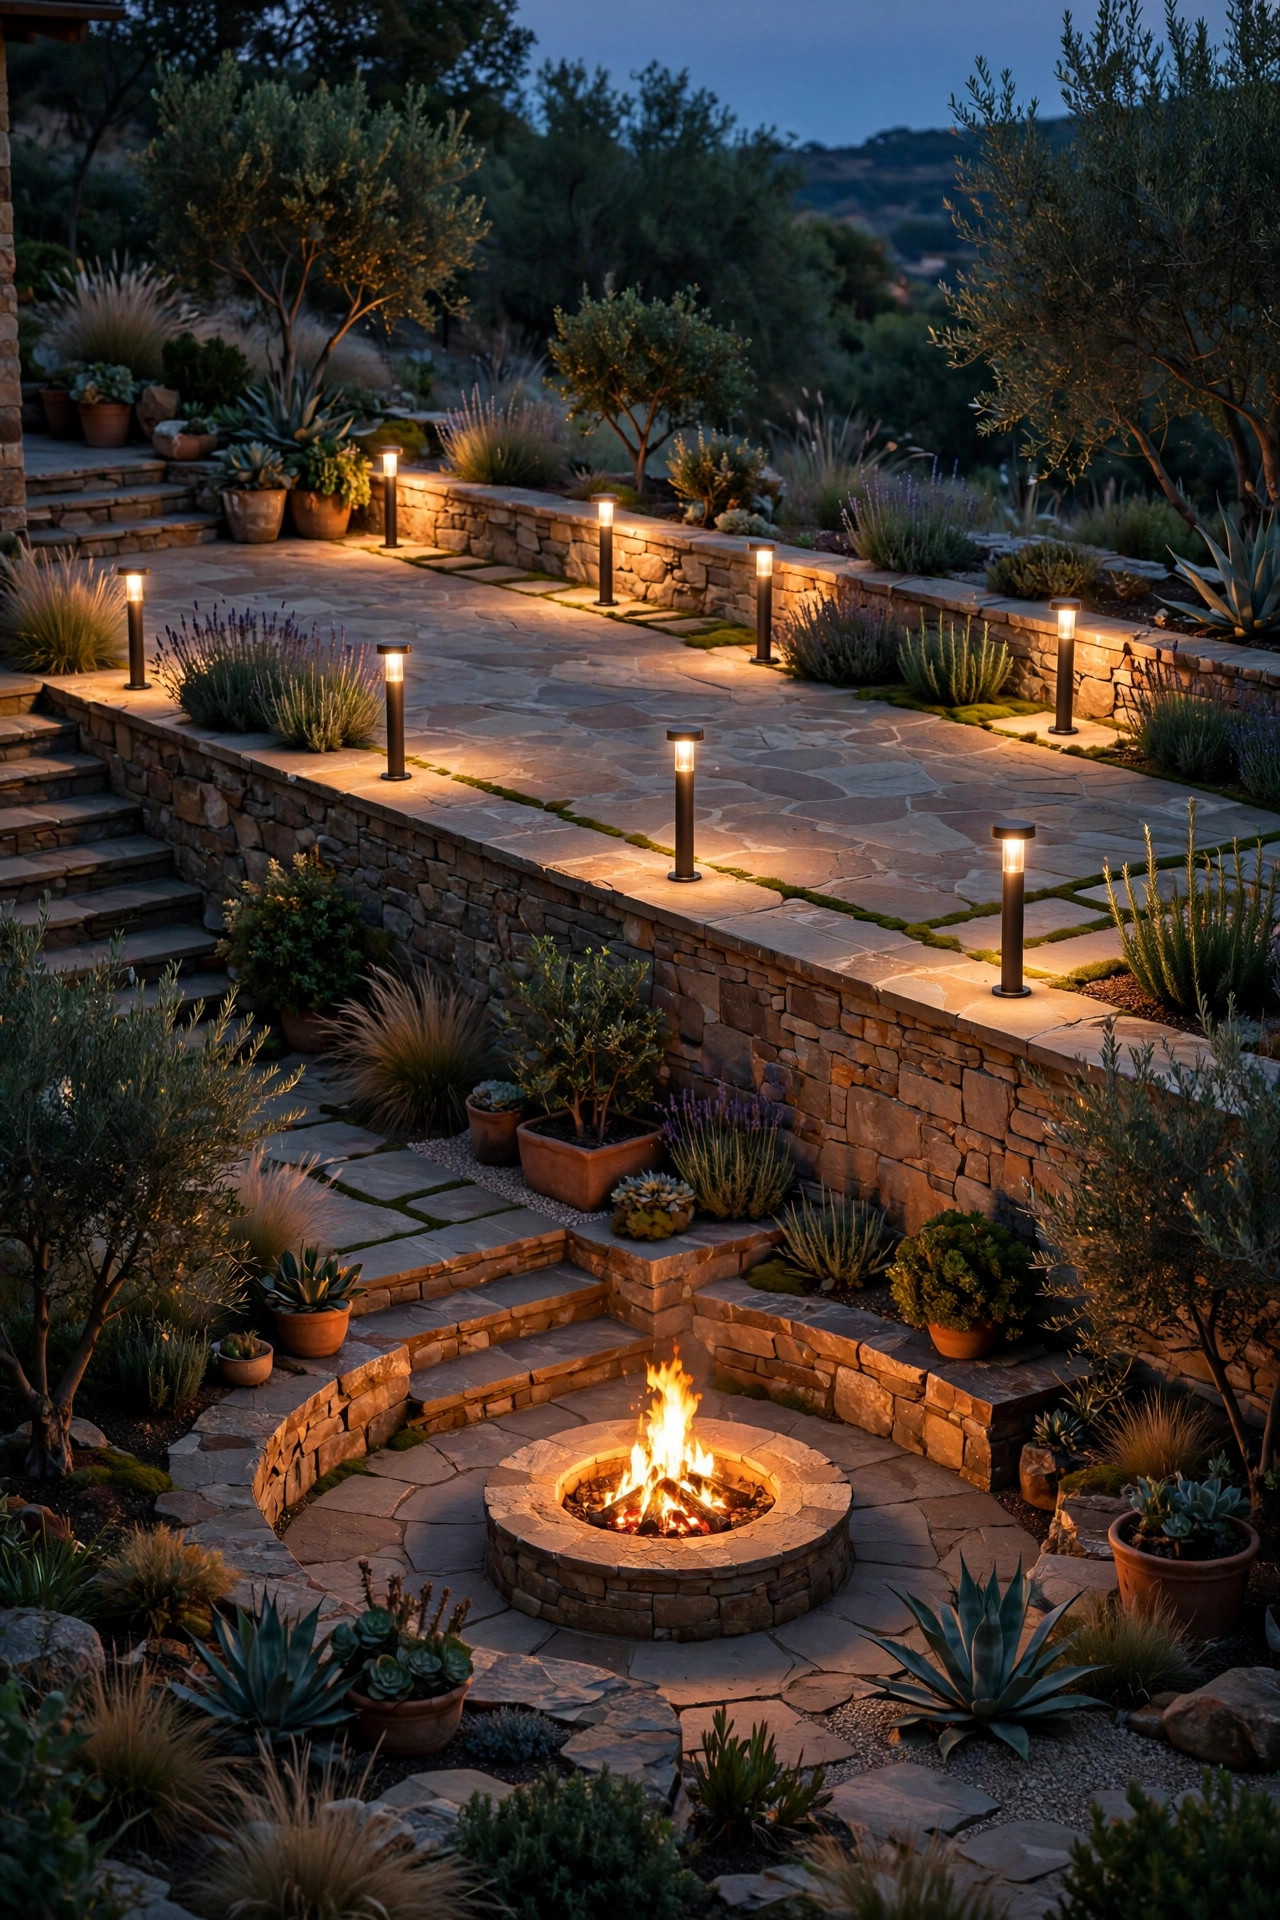
8. Mark Terrace Edges and Landings With Short Bollards
Every terrace has a moment where the level simply ends, and at night that drop-off is invisible until someone steps wrong. Short bollards, 12 to 18 inches tall, are the most elegant guard rail light I know. Place one at the inside corner of each landing and one where the path meets an unrailed edge, with the shielded side throwing light down and inward across the walking surface. Because the fixtures themselves read as little glowing posts, they also give the yard architecture — during the day they look intentional, not like safety equipment. Choose bollards with a downward, cut-off beam rather than 360-degree glow, since exposed bright sources at shin height are genuinely uncomfortable when you are sitting nearby. Space them by function, not by rhythm: if a stretch of edge has a planting bed in front of it, the bed itself is the barrier and needs no bollard. Save your money for the corners where people actually walk.
Suggested budget range: $160 – $420.
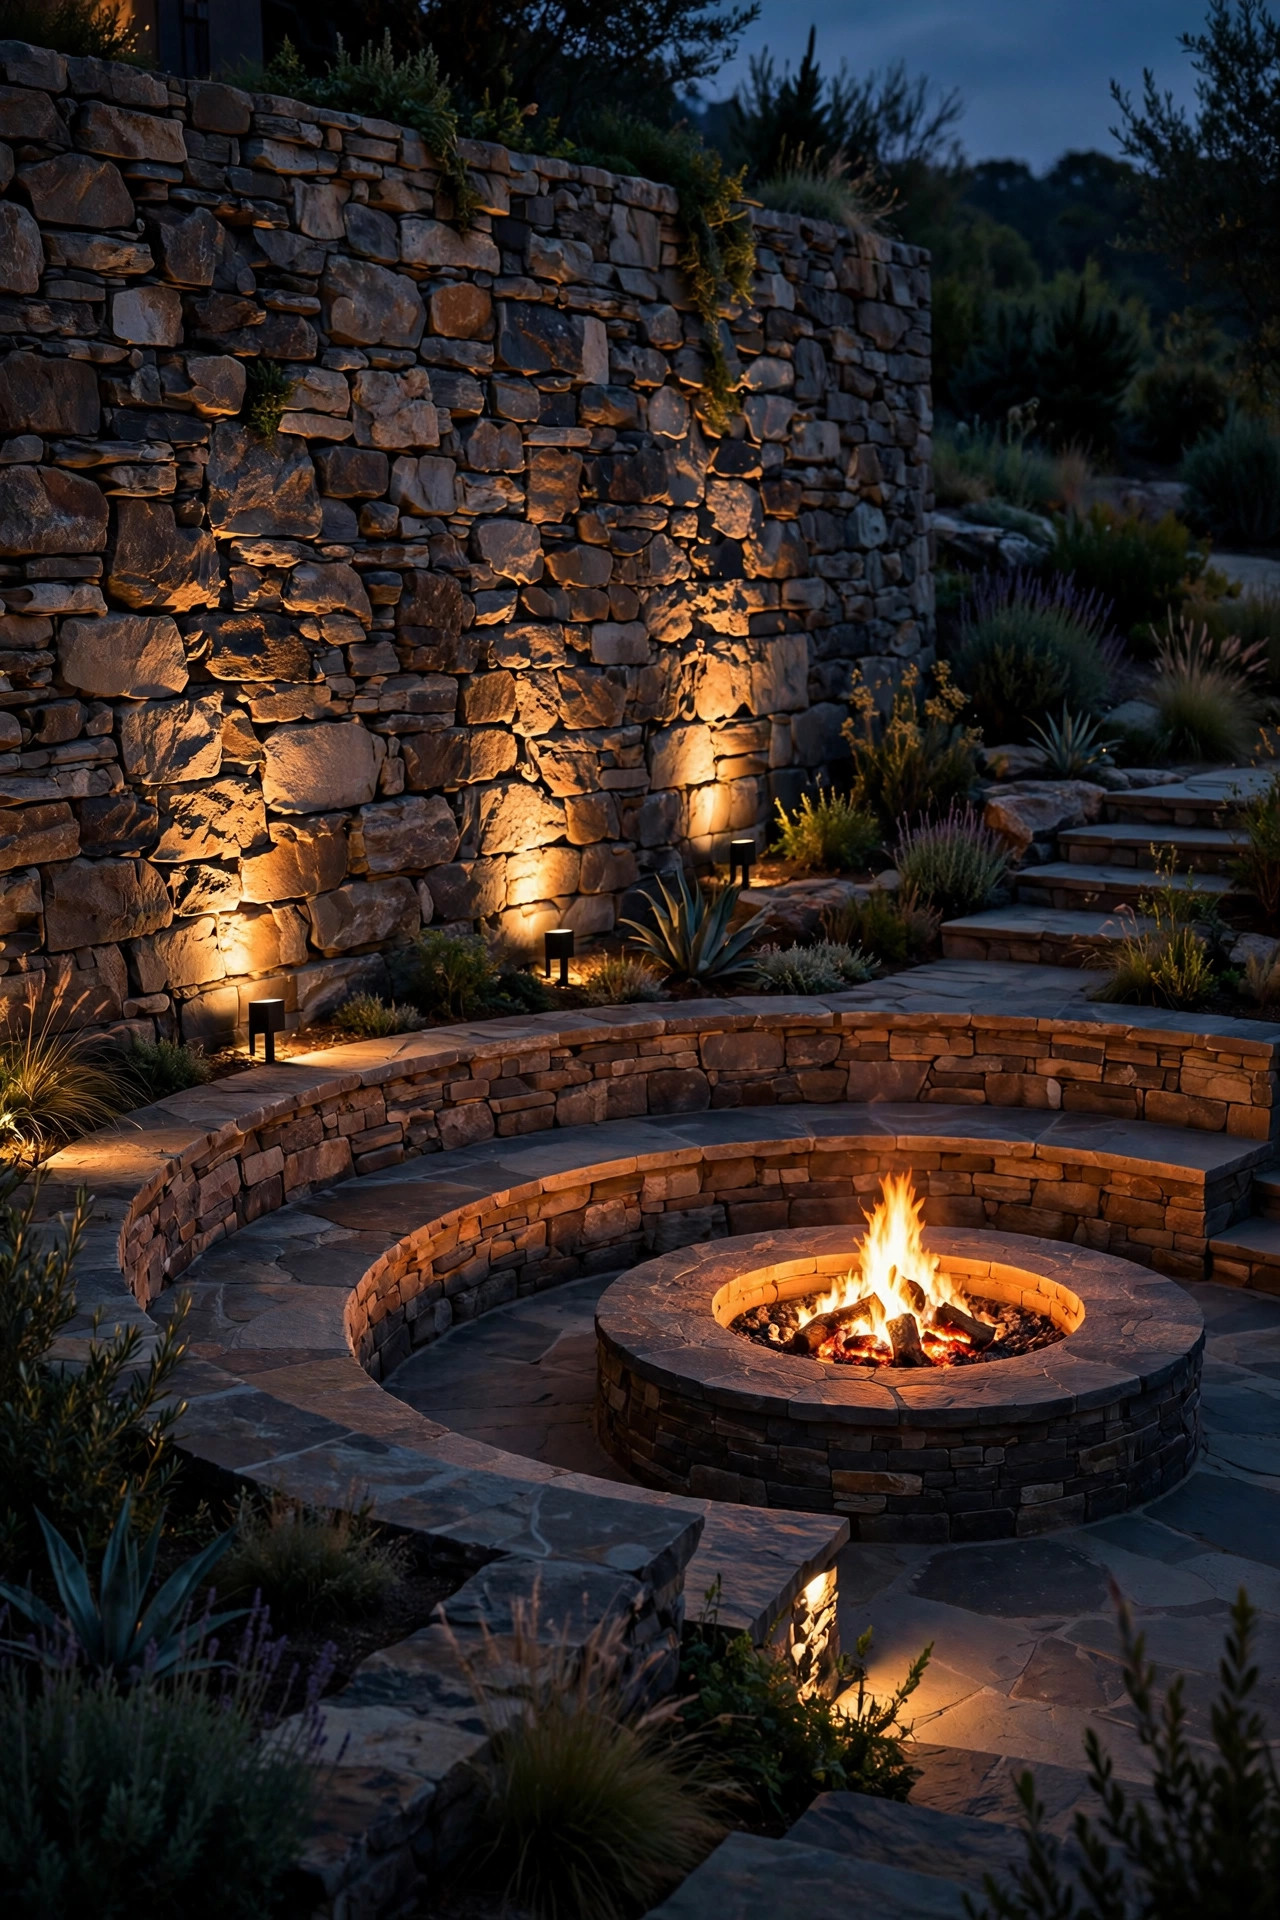
9. Graze the Retaining Walls With Uplights
If under-cap strips are the subtle option, grazing is the dramatic one. Set a compact uplight about 6 inches out from the base of a retaining wall, aim it straight up with a narrow beam, and every bump and shadow in the stonework doubles. Dry-stacked and rough-cut walls look spectacular lit this way; smooth poured concrete, honestly, does not — skip the graze there and use the cap strip instead. Grazing does double duty on a terraced yard, because a lit wall is a landmark: guests navigate by it, and the bounce off the stone softly lights the level above the fixture. I borrowed this exact technique from the front of my house, and you can see the same approach in my terraced front yard lighting ideas. One caution: if the fire pit sits close against a wall, keep uplights at least 3 feet from the pit edge, since heat shimmer through the beam looks like a mirage and fixtures themselves should never bake.
Suggested budget range: $130 – $360.
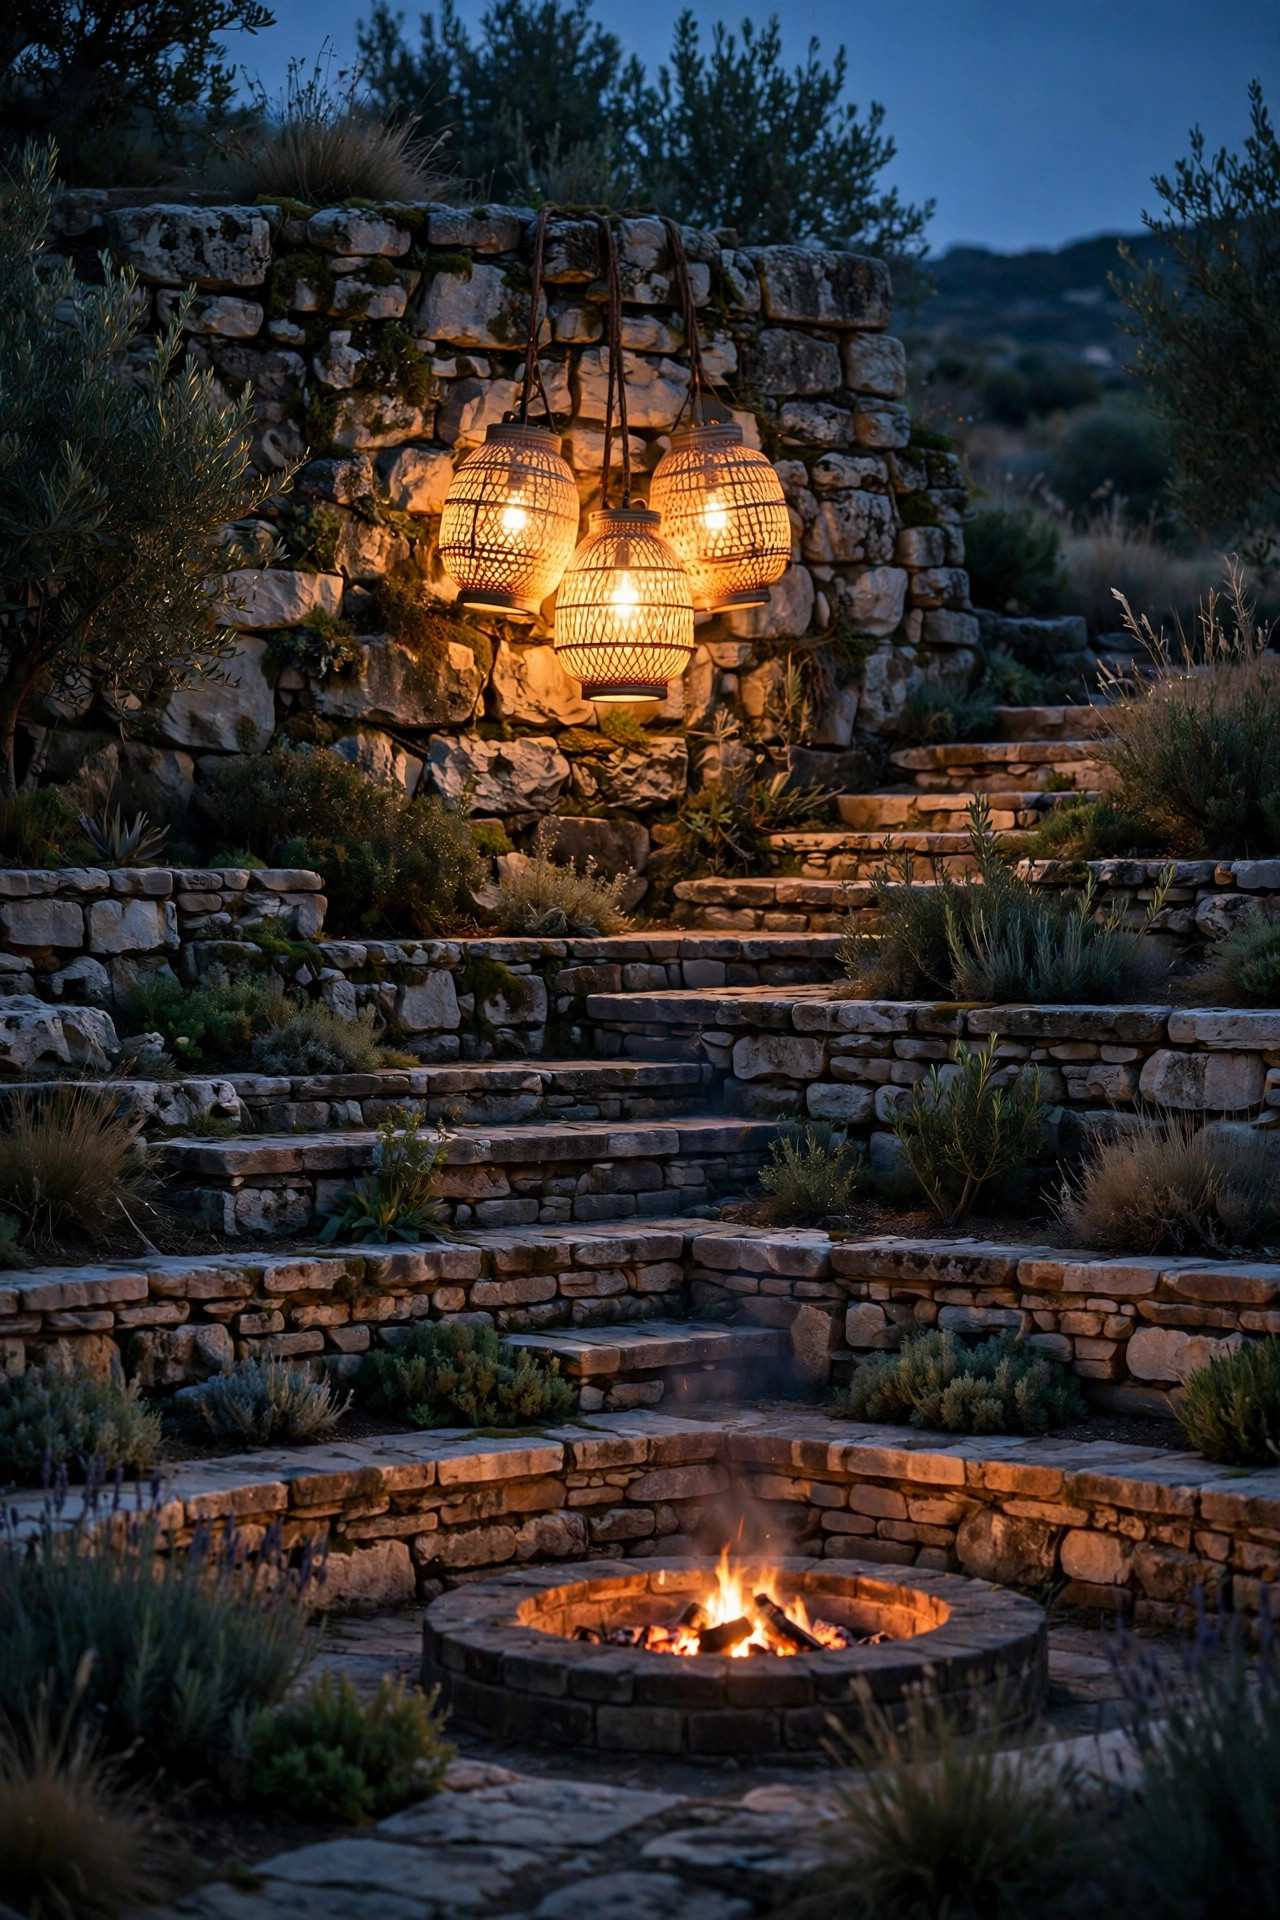
10. Cluster Lanterns at Each Seating Level
Wiring will only take you so far on a big terraced yard, and this is where portable lanterns quietly save the design. Group battery-powered LED lanterns in threes — one tall, two shorter — at the end of a bench, beside the steps, or on the low wall between levels. The cluster puts warm light exactly where faces and drinks are, which no fixed fixture can do when you rearrange the chairs. Look for lanterns with a 2700K or flame-effect setting and a dusk-to-dawn timer, so each level wakes up on its own every evening. Flameless candles inside glass hurricanes are the safest version near cushions and wooden seating; save real flame for the pit itself. Because they are portable, lanterns are also your party overflow plan — when the crowd spills onto a terrace you rarely use, two clusters carried down make it feel furnished instead of forgotten. In my experience, this is the layer guests compliment most.
Suggested budget range: $45 – $130.
11. Set In-Ground Well Lights Around the Fire Pit Pad
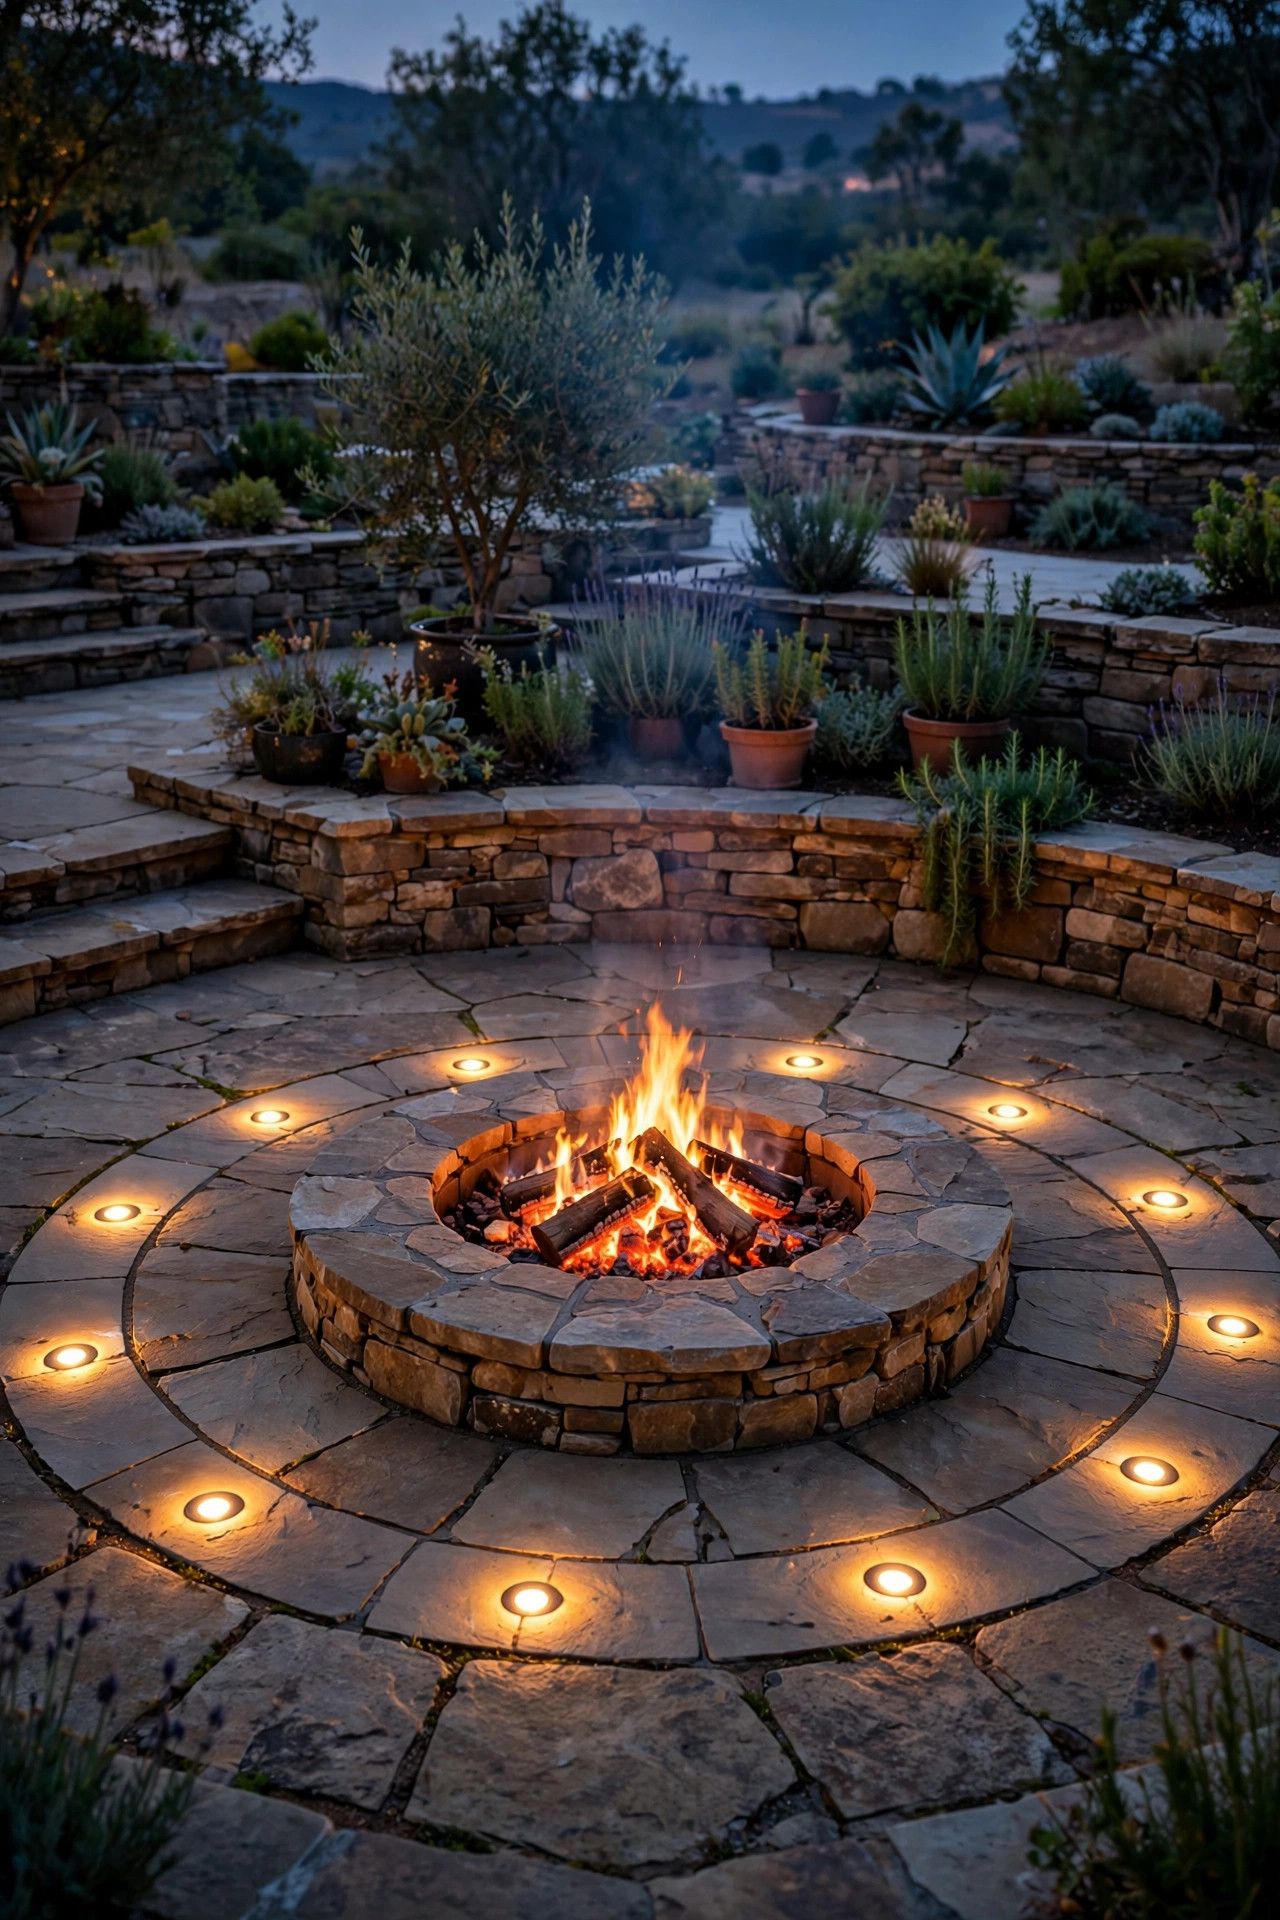
A ring of flush well lights around the fire pit pad gives you a defined circle of light with zero fixtures to trip over — a real virtue when the pad doubles as the landing between two stair runs. Set them 18 to 24 inches apart in a loose arc on the seating side rather than a full ring, aimed straight up with glare shields, so they rim-light chair legs and the pad edge instead of shining into eyes. Keep the nearest fixture at least 3 to 4 feet from the fire pit itself; well lights are tough, but sustained heat will fog lenses and shorten LED life. Choose fixtures rated for drive-over or at least foot traffic, with tempered glass, because a flush light on a busy terrace will get stepped on weekly. On a sloped pad, pay attention to drainage: well lights need a gravel bed beneath them, or the first storm turns each housing into a tiny aquarium.
Suggested budget range: $180 – $450.
12. Add a Motion Sensor for the Trip From the House
Somebody always makes the dark run back to the house for the marshmallow bag, and on a terraced yard that trip crosses every stair you own. A motion-sensor light at the stair head or the gate between the house level and the fire level solves it without burning a bulb all night. Mount it about 7 feet up, aimed along the route rather than at the seating, and set the timer short — two to five minutes is plenty. Warm 2700K output matters here more than anywhere, because a harsh white security light snapping on will wreck the fire mood for ten minutes while everyone's eyes readjust. If running wire to that spot is miserable, solar motion lights with remote panels have gotten genuinely good and install with two screws. Place the sensor so it catches you at the top of the stairs, before your foot is searching for the first step in the dark.
Suggested budget range: $35 – $110.
13. Run Rope Light Along the Handrail
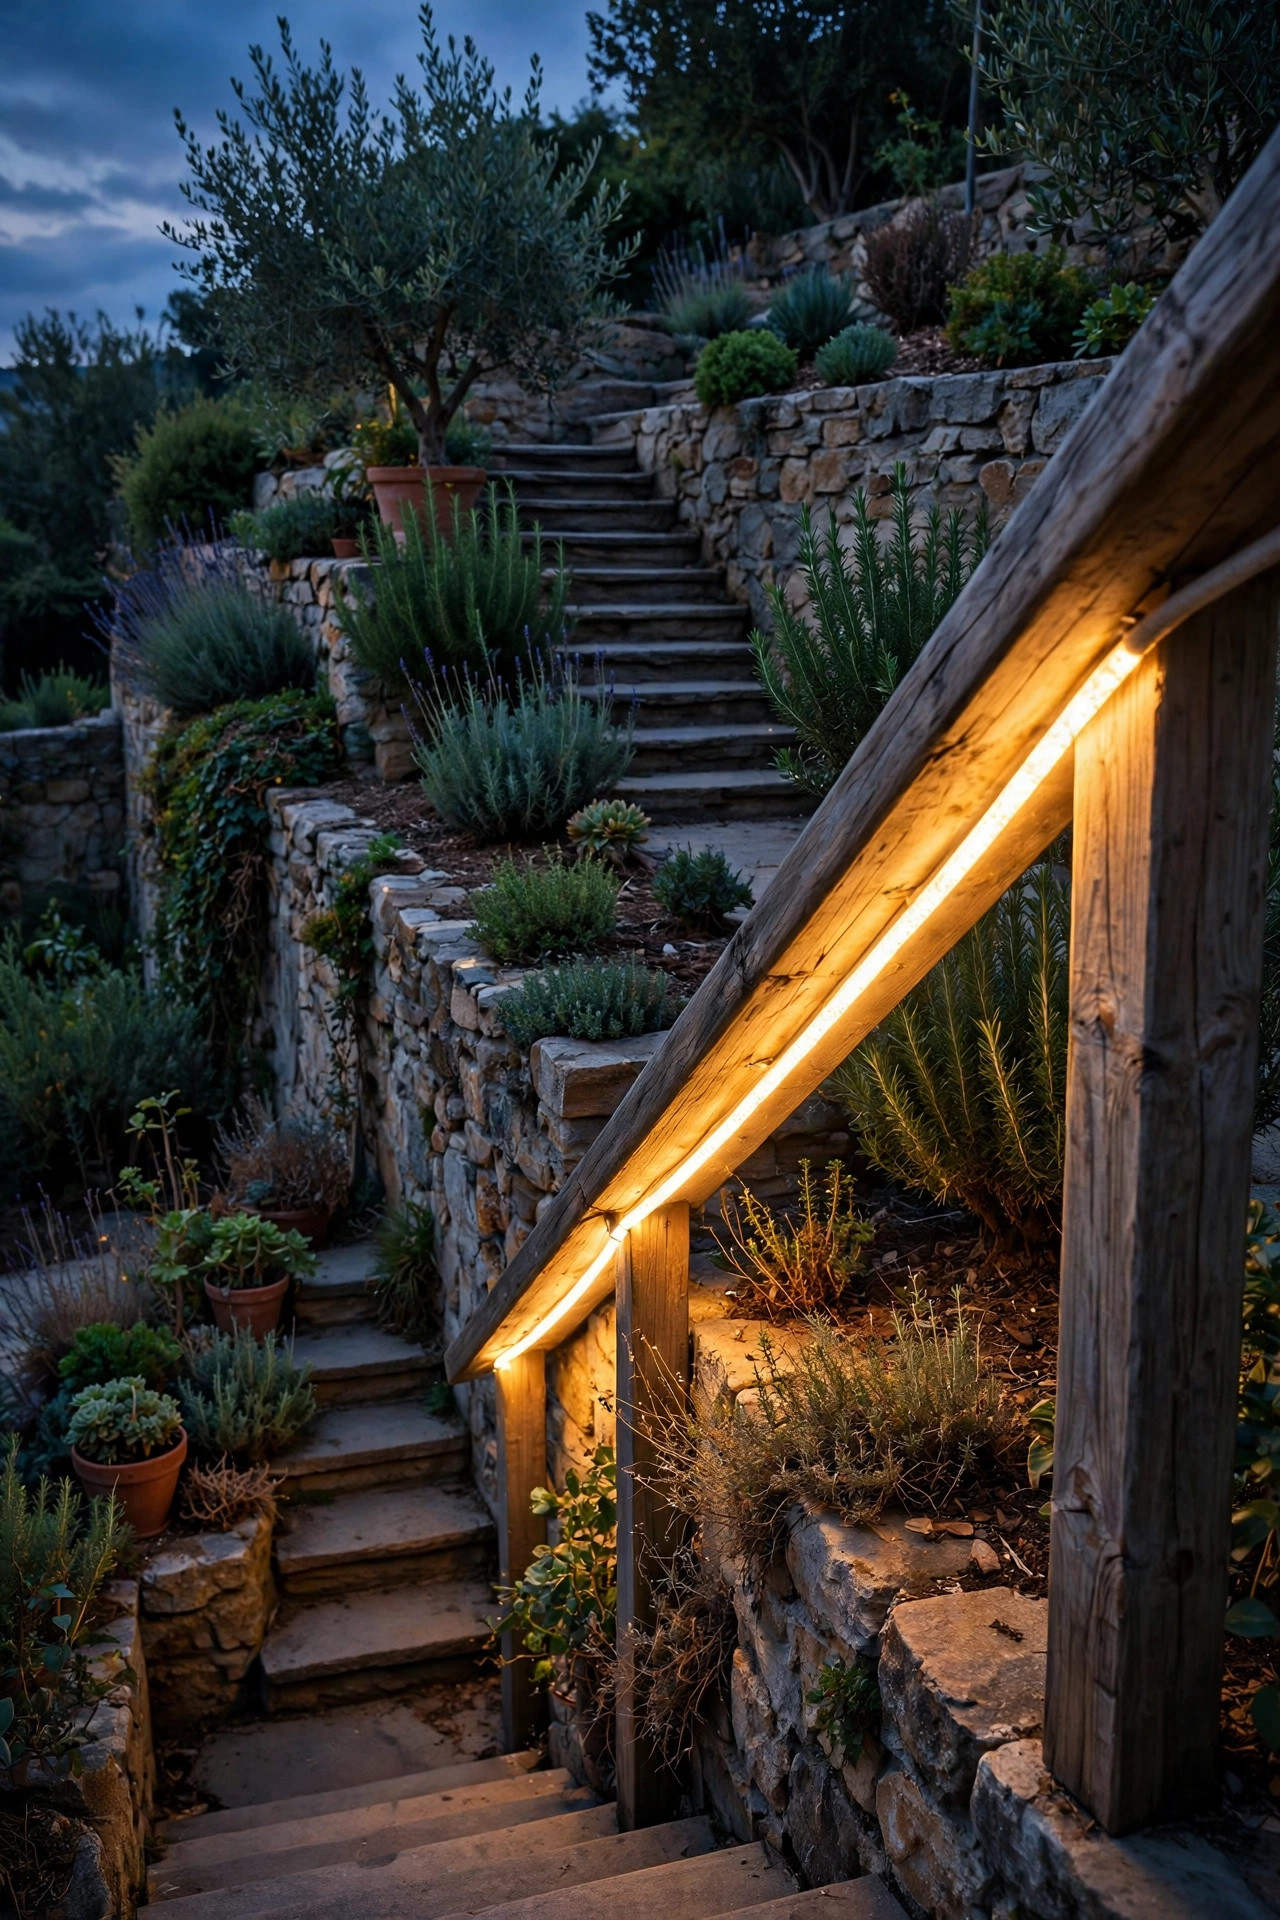
A handrail with light hidden underneath it might be the single best safety upgrade on a terraced yard, because it draws one continuous glowing line down the exact route your hand and feet already follow. LED rope light or a flexible strip clips under the rail every 12 inches, washes the treads below in soft light, and never gets kicked loose the way step fixtures sometimes do. It is also forgiving to install on old stairs, since you are not cutting into risers or stone — surface clips and a low-voltage run along the stringer are all it takes. Choose an IP65-rated product, keep the color at a consistent 2700K, and hide the connection points in a small weatherproof box at the bottom of the run. Guests read the glowing line instinctively and stop using their phone flashlights, which tells you everything about how well it works. In my experience this idea punches far above its price.
Suggested budget range: $50 – $140.
14. Put Each Level on Its Own Dimmer and Timer Zone
A terraced yard lit all-or-nothing feels like a parking lot. Zoning is what turns it into a scene: paths and stairs at full brightness for the first hour while people arrive and settle, the fire level dimmed low once the fire is lit, accent walls on their own schedule. The simplest route is a multi-zone low-voltage transformer with each terrace on its own circuit; the flexible route is smart outdoor plugs and dimmers on each run, controlled from your phone. Set everything to an astronomical timer so the system follows sunset through the seasons without you touching it. My favorite setting is staggered: wall accents on at dusk, path lights joining half an hour later, and the fire-level glow dimming to 30 percent once the flames are going, because firelight itself is a layer and electric light should support it, not compete with it. This control is what makes the whole yard feel designed.
Suggested budget range: $120 – $380.
15. Layer All Your Terraced Fire Pit Lighting Ideas Together
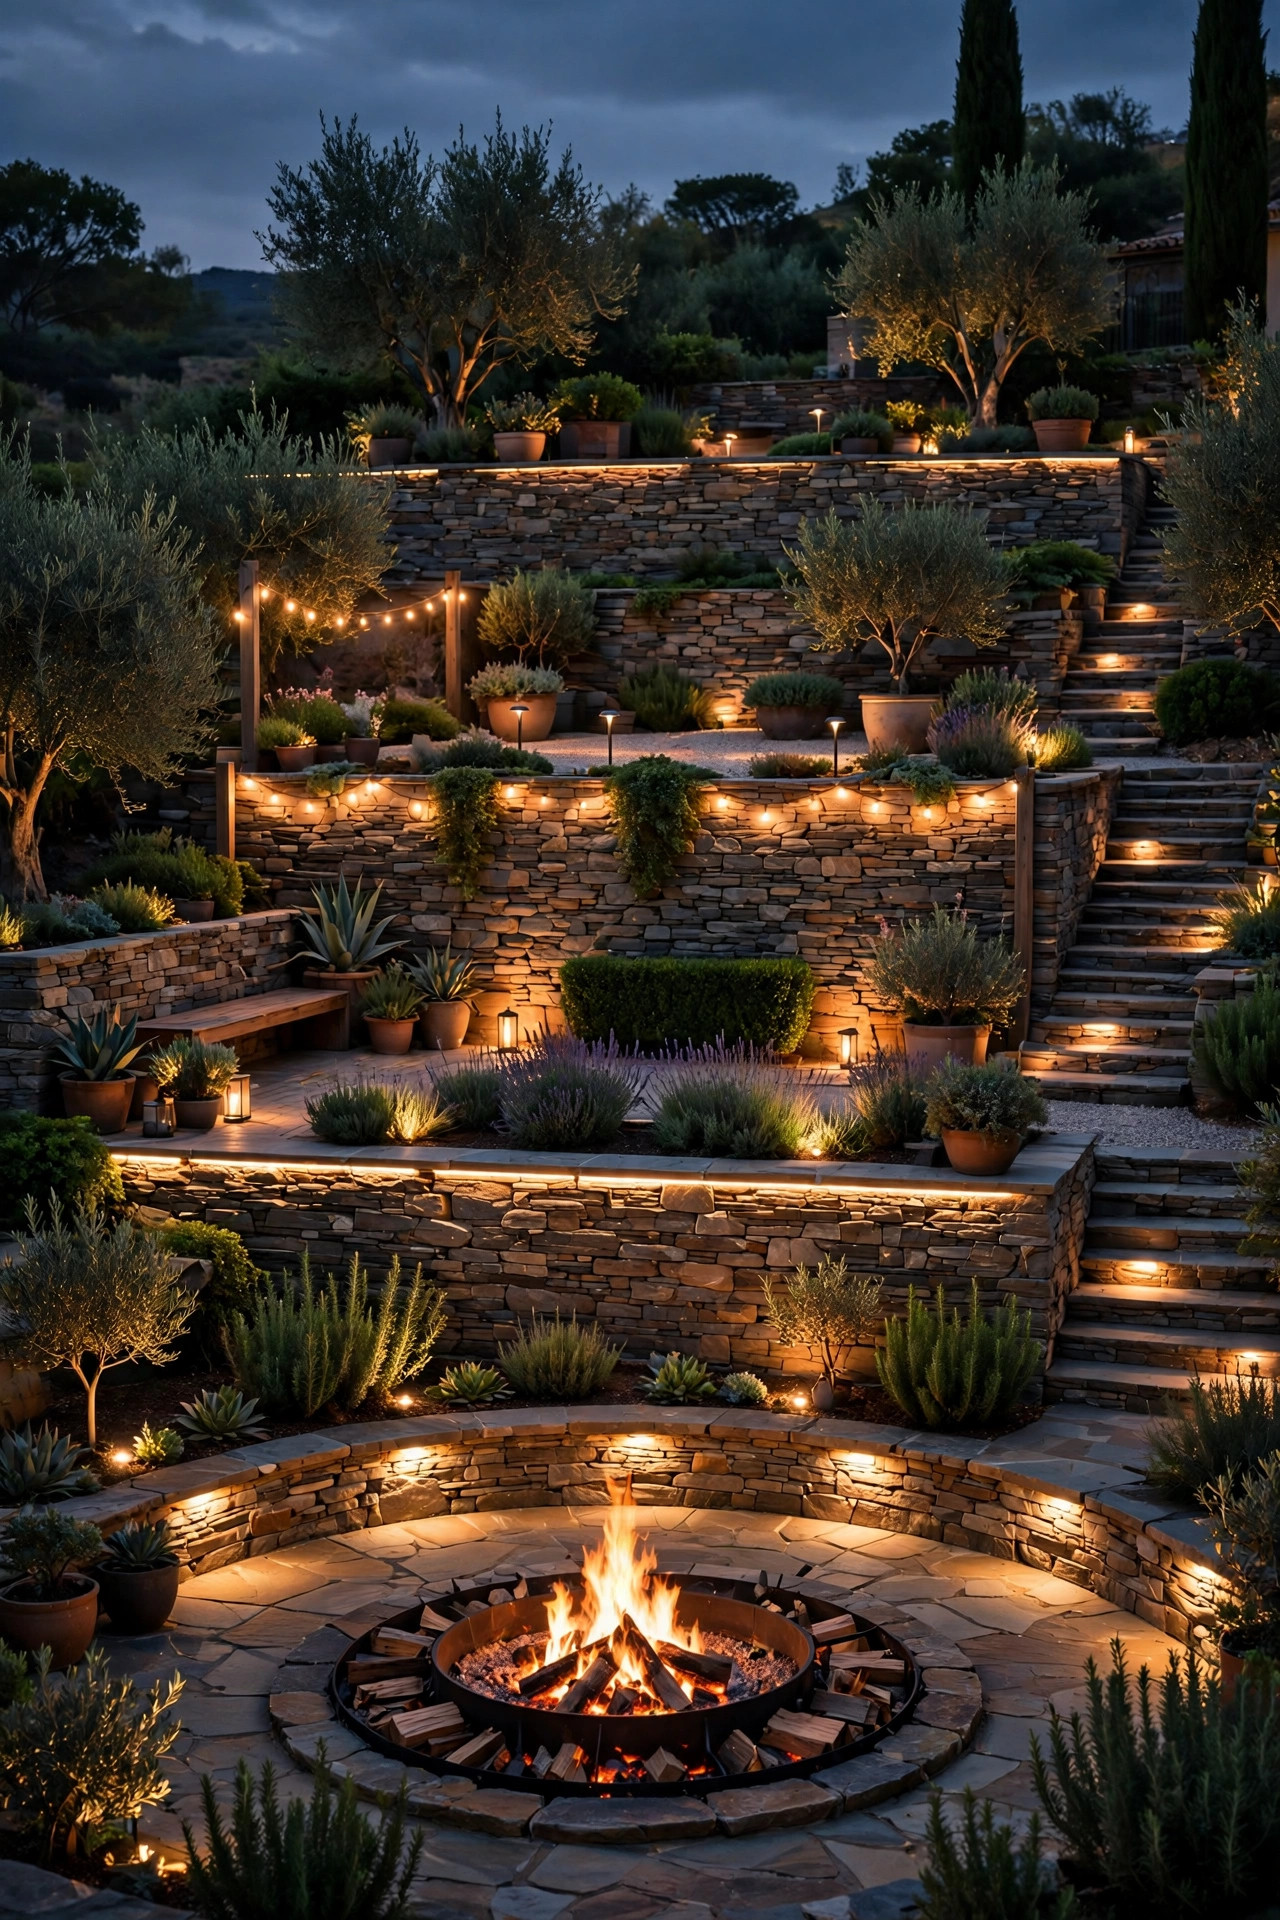
Here is the recipe I would install tomorrow on a typical three-level yard, and it pulls one idea from each layer so nothing works too hard. Stairs get recessed step lights plus a handrail rope light, because two gentle sources beat one bright one. The fire level gets well lights around the pad and lanterns on the seating wall, keeping fixtures low and faces lit by the fire itself. One retaining wall gets grazed uplights, the other gets the hidden cap strip, so the two levels read differently and the yard feels bigger. String lights canopy the top terrace where people eat, and everything runs on three timer zones that bring the yard up gradually at dusk. That combination is honestly all of the terraced fire pit lighting ideas in this post working as one system, and you can absolutely build it in stages over two seasons — start with the stairs and paths this fall, and add the glow and accent layers when the budget breathes again.
Suggested budget range: $600 – $1,800.
Frequently Asked Questions
What color temperature looks best around a fire pit?
Stay warm. A wood fire burns at roughly 1800K to 2000K, so fixtures at 2700K blend naturally, and 2200K vintage-style filament bulbs blend even better if you want the electric light to nearly disappear into the firelight. Anything at 4000K or above reads blue and clinical next to flames and will make a cozy terrace feel like an office parking lot. Whatever you choose, pick one temperature and use it across every layer so the yard feels unified.
Can solar lights work on a terraced or shaded slope?
Yes, with honest limits. Solar fixtures need roughly six to eight hours of direct sun on the panel, so they perform well on upper, open terraces and poorly against shaded or north-facing walls. Remote-panel models help, since the panel can sit in a sunny pocket while the light marks a shady step. Use solar for accents and gentle path marking, but put stairs and key routes on wired low-voltage light, which comes on at full brightness every single night regardless of the weather.
How far should light fixtures be from the fire pit?
Keep fixtures at least 3 feet from the edge of the pit, and further for anything with plastic housing or a battery inside. Heat rises in a column, so never mount string lights, strips, or fixtures directly above the flames — offset them to the side. Use LED only near seating, cushions, and wooden structures, since LED bulbs stay cool to the touch. Always check the clearances in the fixture instructions, and when in doubt, give the fire more room.
Is low-voltage lighting safe to install myself on a slope?
For most homeowners, yes. A 12-volt low-voltage system is DIY-friendly: the transformer plugs into a GFCI-protected outdoor outlet, and the cable only needs to be buried about 6 inches deep or tucked along wall bases, which is a blessing on rocky terraces. Plan runs under 100 feet where you can, and use 12-gauge cable on longer runs to limit voltage drop. Anything involving line voltage — new outlets, hardwired fixtures — belongs to a licensed electrician, and some towns require a permit for that work.
Conclusion
A sloped yard is not a lighting problem; it is a lighting opportunity with better bones than any flat patio. Work level by level, light the stairs first, keep every source warm and low, and let the fire do the dramatic part. Put these terraced fire pit lighting ideas together and the whole hillside becomes one glowing room instead of three dark ones. If you want to go deeper on the fire area itself, my fire pit area lighting guide walks through fixture placement around the flames in more detail — and you can browse the rest of the site for path, wall, and string light ideas to finish the picture.