There is a moment, right as the sun drops, when a fire table turns an ordinary patio dinner into the kind of evening nobody wants to end. The flames dance at exactly dining height, faces glow, and the food somehow tastes better. But here is what I learned after two summers of hosting around ours: the flame alone is not enough. The best fire table lighting ideas treat that flame as just the first layer of light, then build around it — something overhead, something at ground level, and something soft in between. Get the layers right and the table feels like a restaurant courtyard; skip them and your guests are squinting at their plates while tripping over the patio edge in the dark. In this post I am sharing the 21 setups I rotate through on my own patio, from five-minute fixes like flameless candles to weekend projects like under-table LED strips. Every idea includes honest budget ranges, the bulb temperatures that actually match firelight, and the safety notes that matter when real flames and electricity share a table. Let us light your dining spot properly.

1. Fire Table Lighting Ideas Start With the Flame Itself
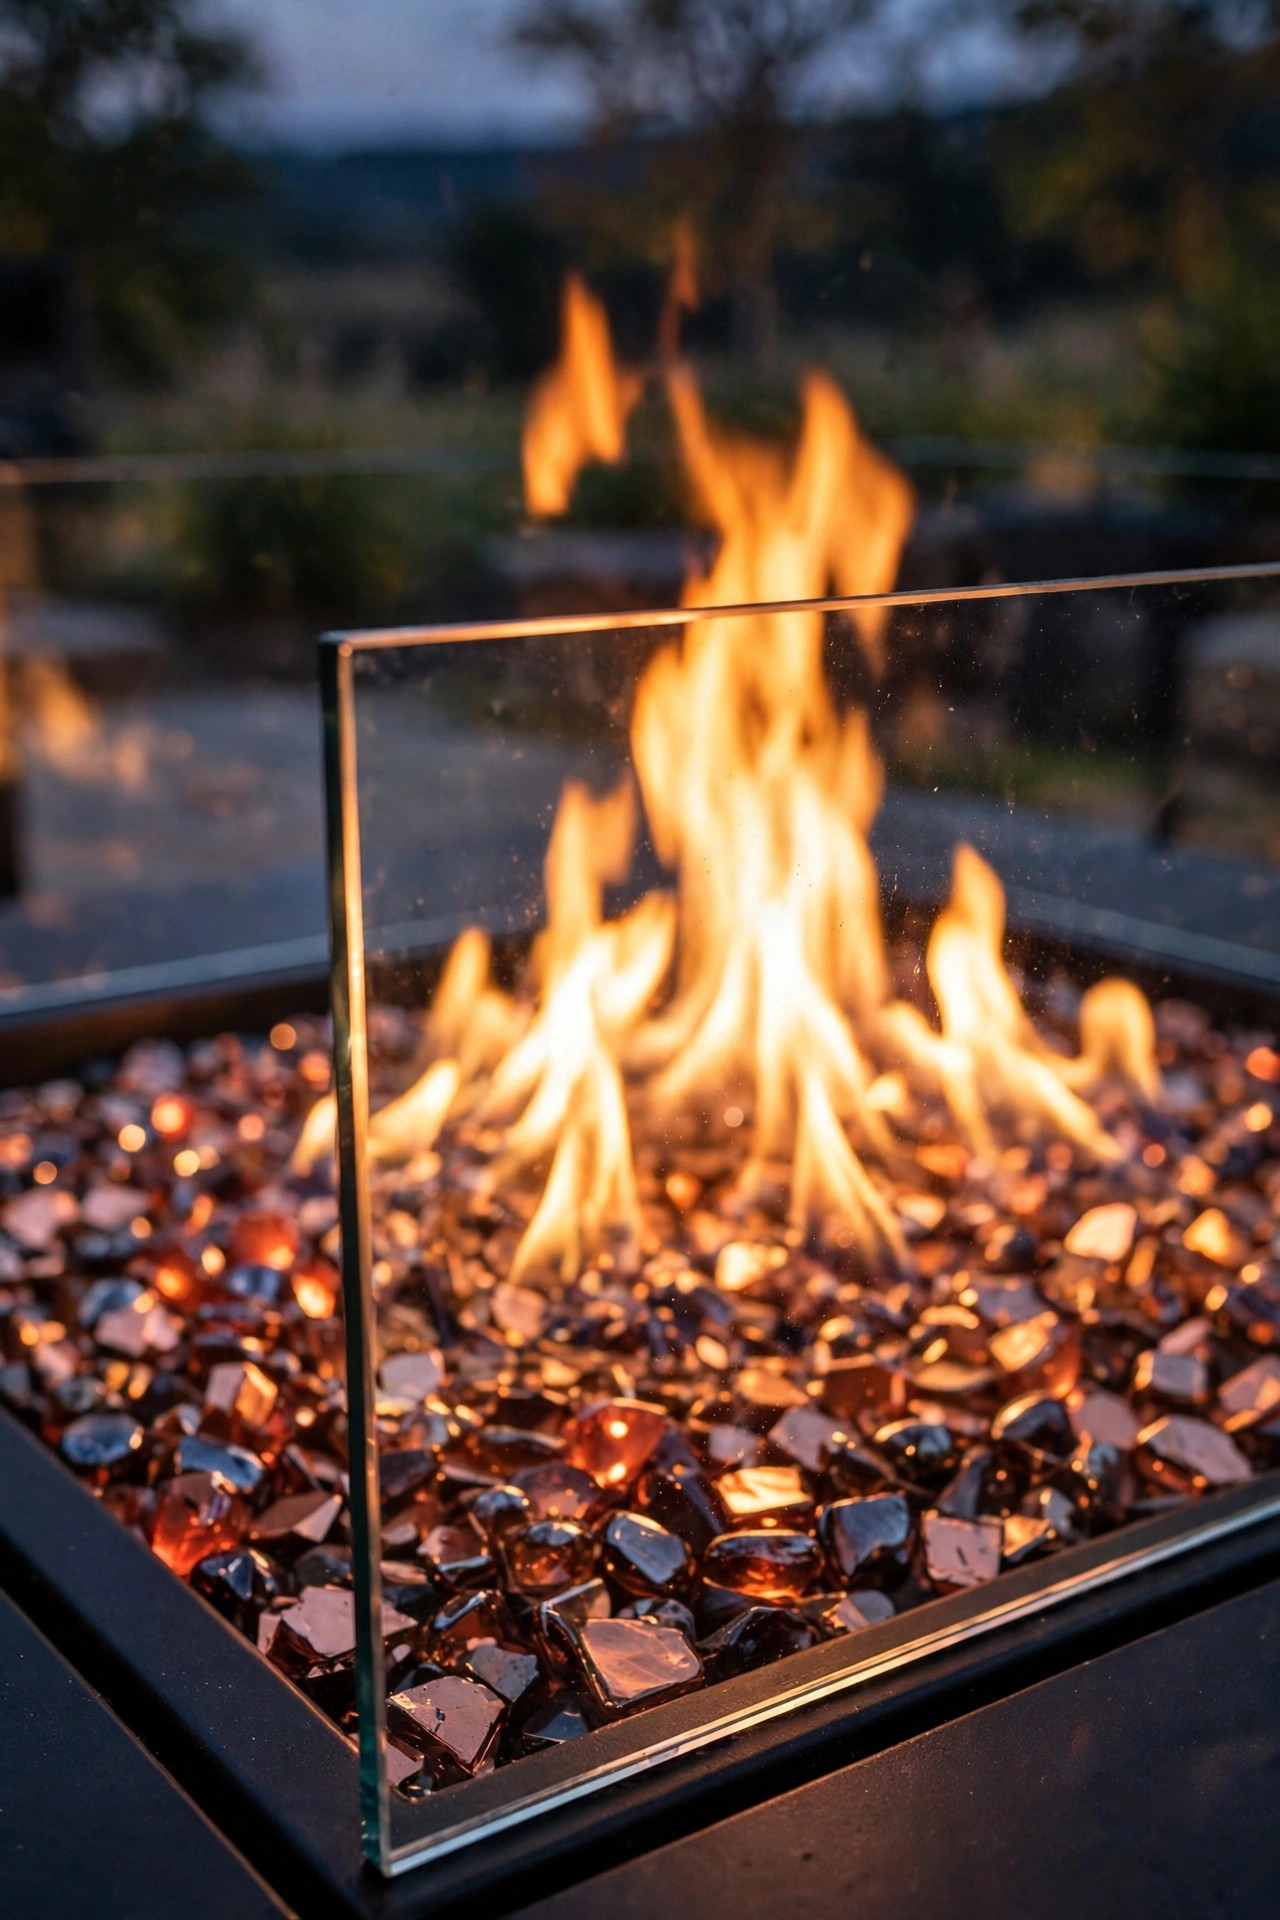
Before you buy a single bulb, stand back and look at what you already own: a beautiful, living light source. A dining-height fire table throws a warm, flickering glow roughly 4 to 6 feet in every direction, and honestly, it does the job of a centerpiece lamp better than anything I have ever plugged in. The trick is to help it. A tempered-glass wind guard is my first purchase for every fire table — it keeps the flame standing tall and steady instead of whipping sideways, and the glass panels catch and multiply the light like a lantern chimney. Swap dull lava rock for reflective fire glass in copper, bronze, or amber and the burner bed sparkles, bouncing noticeably more light up onto faces and plates. Keep the flame at a medium height while you eat; a roaring 12-inch flame is dramatic, but it blinds the person across from you and drowns every conversation. Medium flame, reflective glass, glass guard — that trio is the foundation every other idea in this list builds on, and it costs less than one nice dinner out.
Suggested budget range: $40 – $180.
2. Hang a String Light Canopy Overhead
If the flame is layer one, the canopy is layer two, and it changes everything. I run two or three strands of commercial-grade LED string lights in a gentle swag above our dining area, anchored to the house and a pair of sturdy poles set in weighted planters. Hang them 7 to 8 feet above the ground so the light pools down softly, and keep every strand offset to the sides of the table rather than directly over the burner — heat rises in a column, and even LED bulbs do not belong in it. Shatterproof plastic bulbs are non-negotiable outdoors; glass over a dining table is an accident waiting for a windy night. Space the swags so faces are lit from above and slightly in front, never straight overhead like an interrogation room. On a dimmer, the canopy drops to a mellow 40 percent during dinner and comes up when we clear plates and need to see. This is the single change guests comment on most, and it takes one Saturday afternoon.
Suggested budget range: $35 – $120.

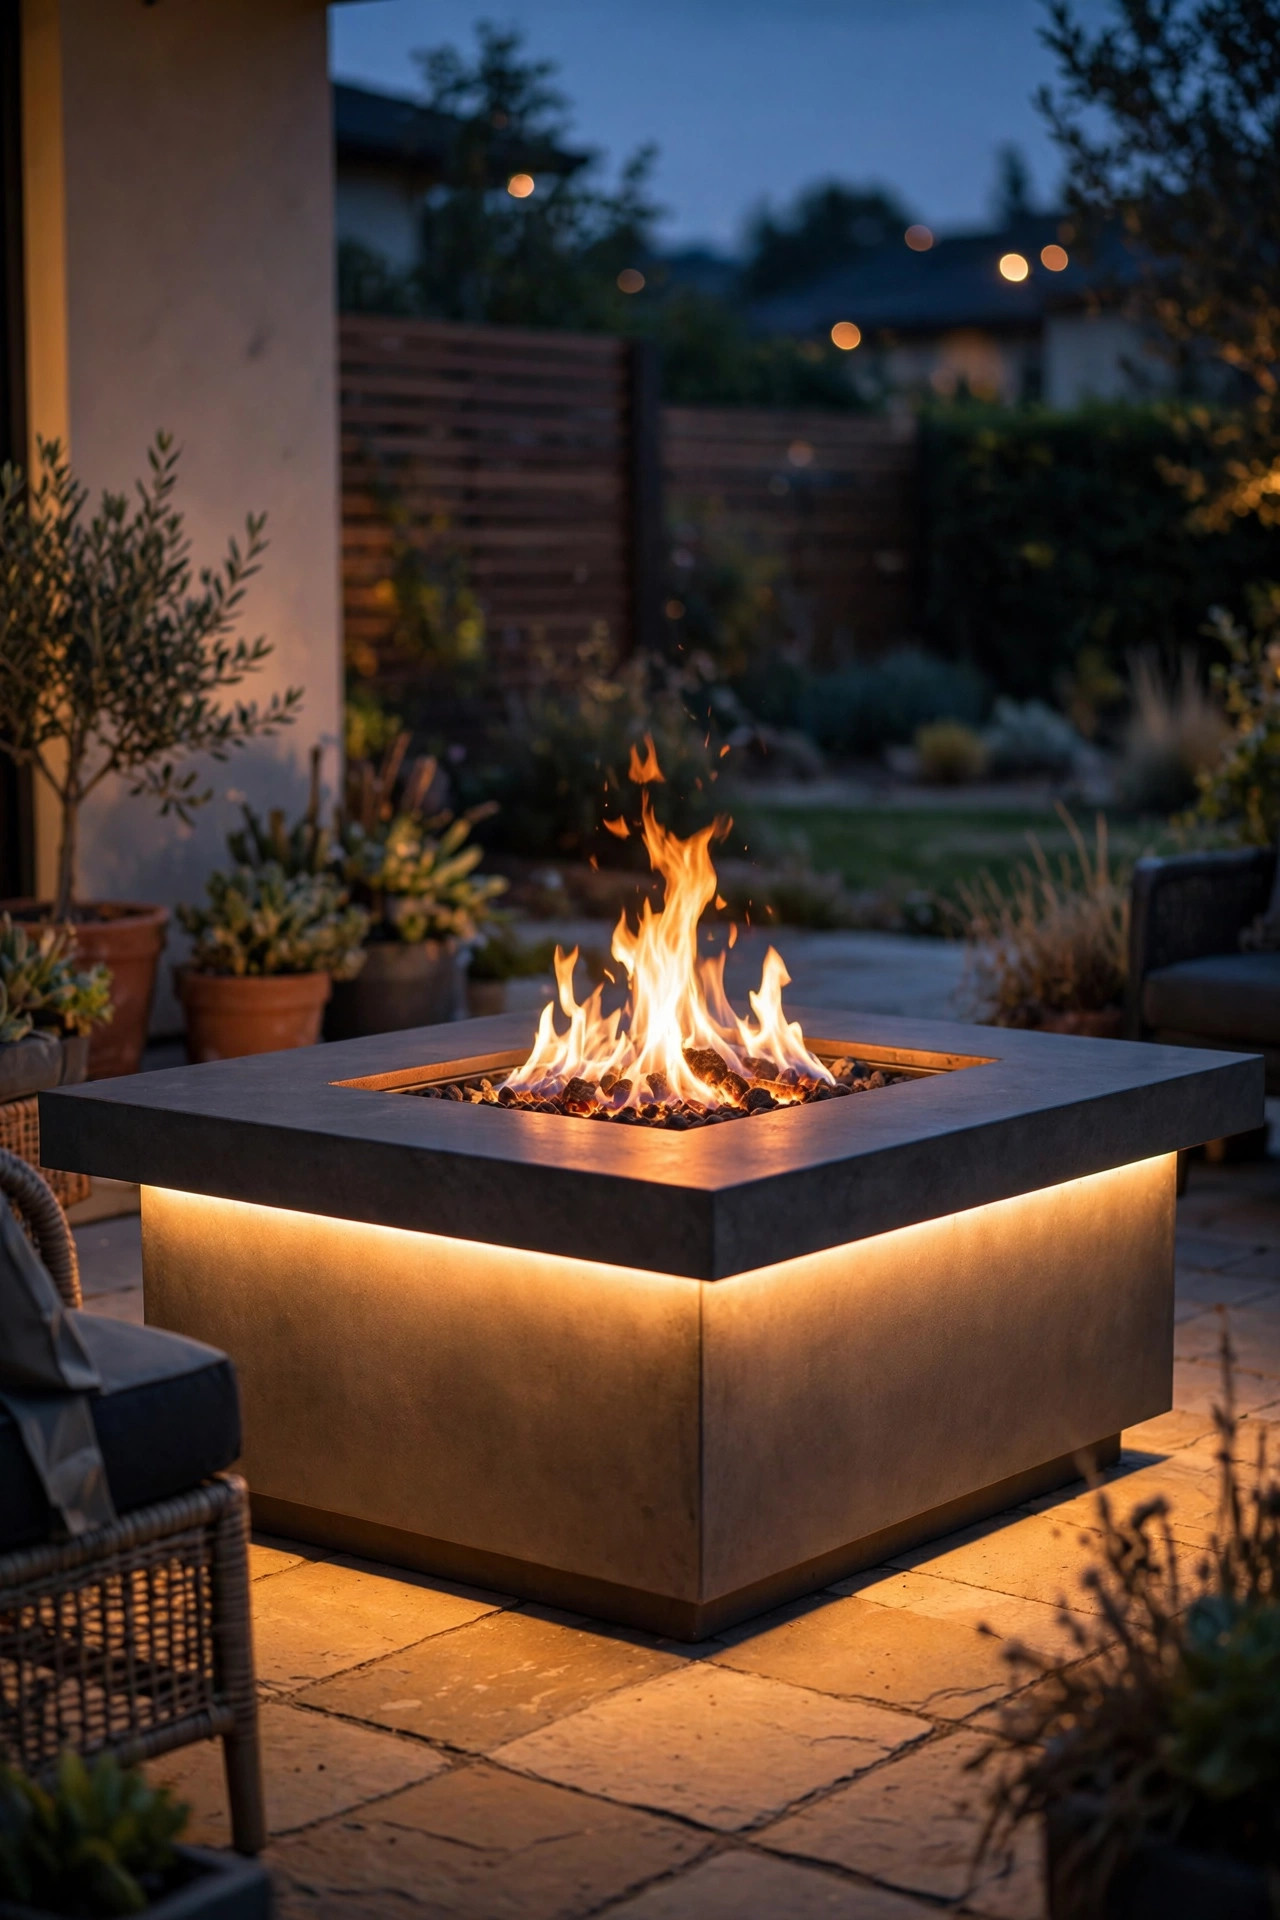
3. Add an Under-Table LED Strip Glow
This is the trick I stole from restaurant patios, and it makes a fire table look twice as expensive. Run a strip of outdoor-rated LED tape around the underside of the tabletop rim, facing down. The light washes the table base and the patio beneath it, so the whole table appears to float on a cushion of glow that echoes the flame above. Choose 2700K warm white, IP65 or better, and hide the strip itself completely — you should see the light, never the source. Battery-powered strips work for a season, but I prefer a plug-in set on a GFCI-protected outlet with the cord tucked along a table leg and taped flat so nobody catches a foot. A small inline dimmer lets you keep this layer subtle; it should read as a halo, not a nightclub. Because the strip sits low and shaded, it also lights the ground just enough that guests can find a dropped napkin or a chair leg without a phone flashlight ruining the mood.
Suggested budget range: $15 – $60.
4. Cluster Lanterns at the Table Corners
Lanterns are the mid-height layer a fire table craves, and I group them in threes the way decorators group anything: odd numbers just look right. Set one medium lantern at each end of the table, flanking the burner, and keep a third on a side stool or the step nearby. Use flameless LED candles inside — real candle flames compete with the fire, gutter in the breeze, and add one more open flame to supervise around sleeves and napkins. The timer function is the unsung hero here: set the candles to wake at dusk and sleep five hours later, and the table dresses itself every evening whether you remember or not. Keep lantern glass at least 12 inches from the burner edge so heat never stresses it, and pick metal frames with a matte black or bronze finish that disappears after dark, leaving only the glow visible. Mixed heights — say 9, 12, and 15 inches — give the cluster that collected-over-time look instead of a matched-set showroom feel.
Suggested budget range: $25 – $90.

5. Suspend Pendant Lights From a Pergola Beam
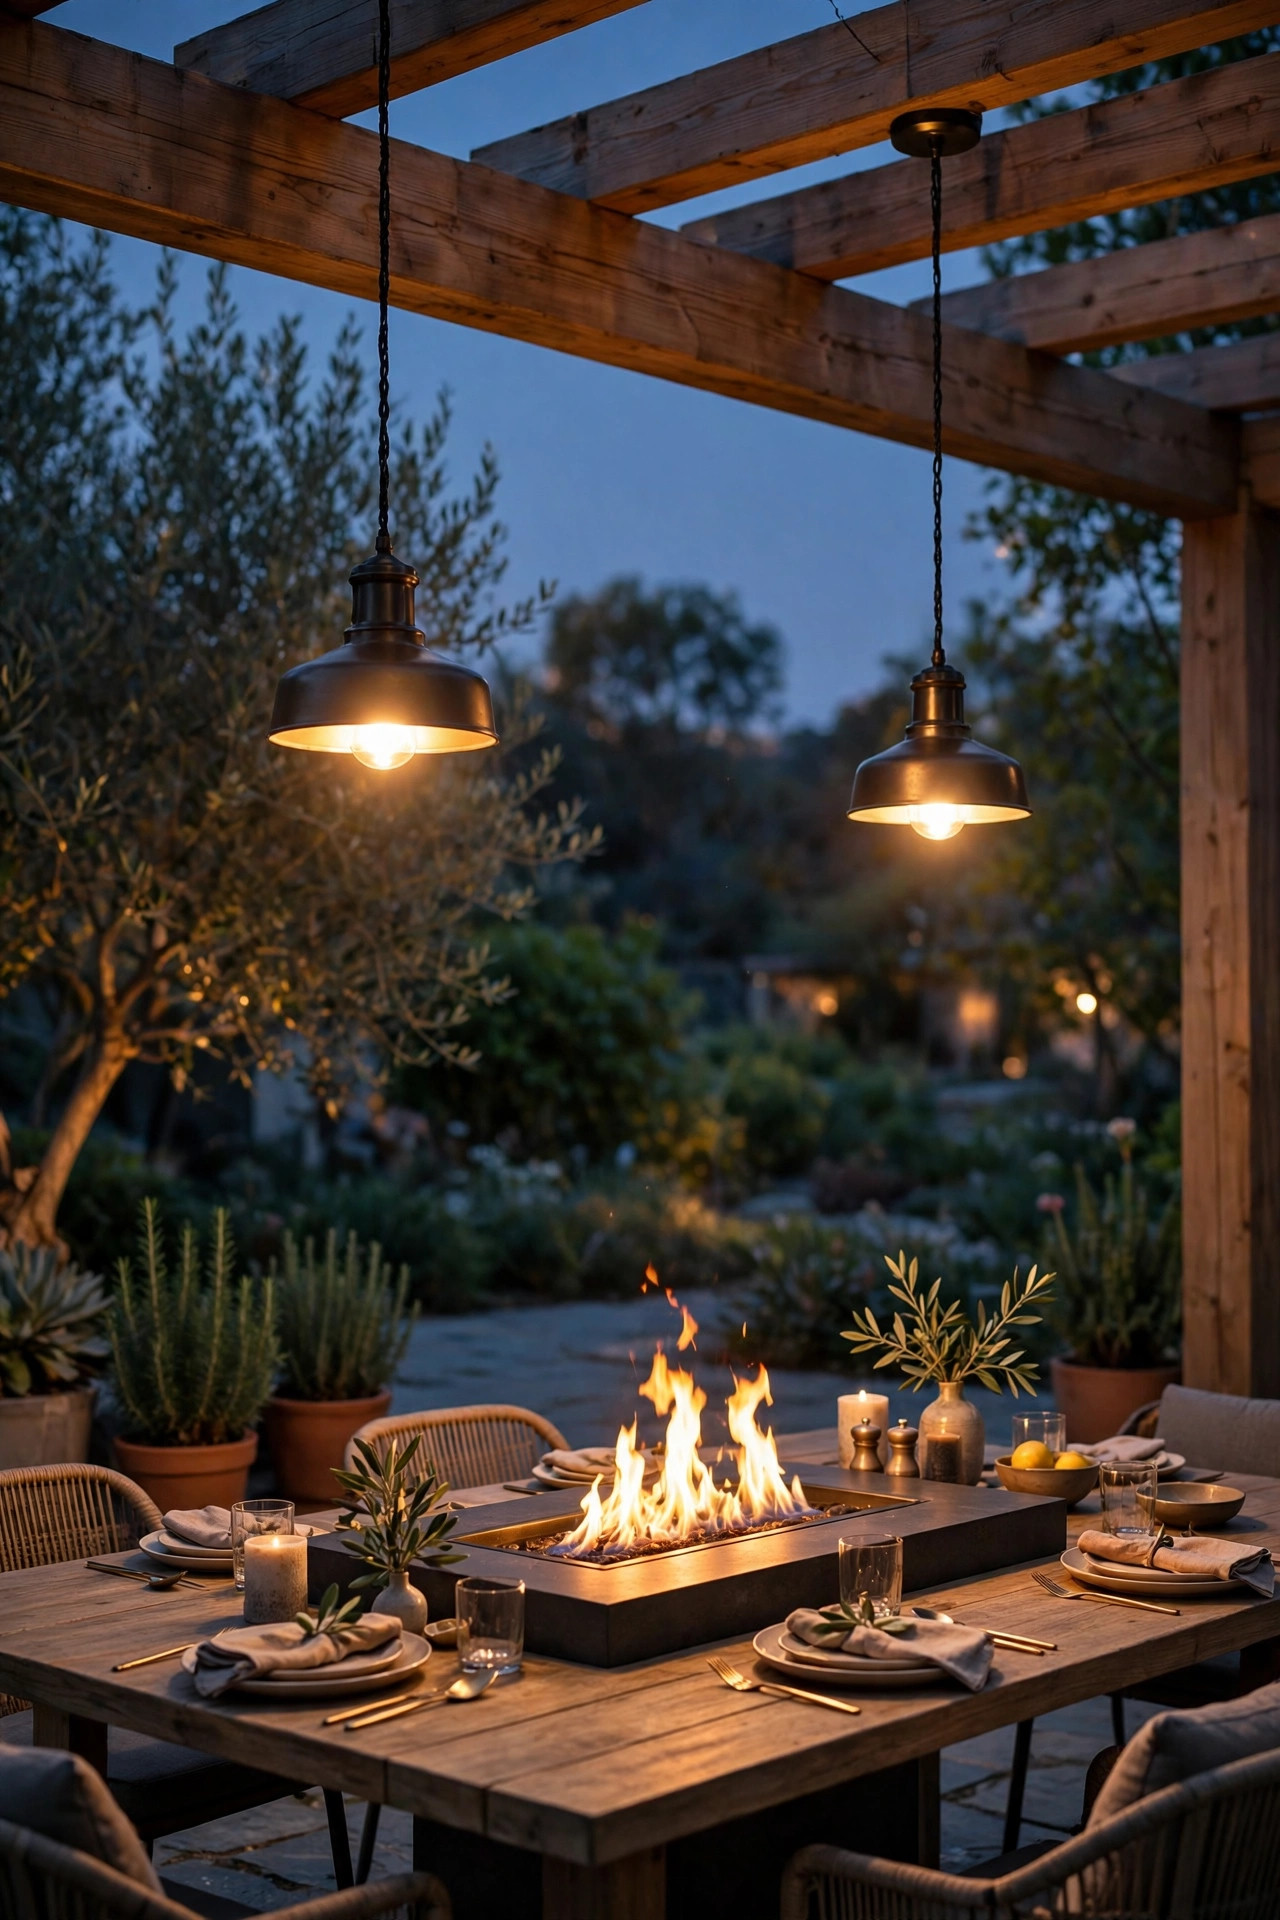
If your fire table lives under a pergola, you have the perfect ceiling for pendants, and this is the layer that makes the setup feel built-in rather than arranged. Two damp-rated pendants hung over the long axis of the table — not centered on the burner — give you real task light for serving and reading a menu of your own making. Hang them so the shades sit about 30 to 36 inches above the tabletop, and offset them at least 2 feet sideways from the flame column; rising heat will cook a shade or a socket over a season if it hangs in the plume. Use LED filament-style bulbs for that warm, restaurant glow, and put the pair on their own dimmer so they can sink to candlelight level once dinner is served. Wiring runs neatly along the beam with outdoor-rated cable staples, every connection in a weatherproof box. For placement and spacing ideas that pair beautifully with a flame centerpiece, I keep coming back to these pergola dining lighting ideas — the same math works over a fire table.
Suggested budget range: $60 – $250.
6. Line the Walkway With Path Lights
Nobody enjoys carrying a platter of grilled vegetables through the dark, tripping toward a glowing table like a moth. A short run of path lights from the back door to the dining area is the most practical money you will spend on this whole list. Space low-voltage or solar path lights 4 to 6 feet apart along the walking line, staggered rather than in a runway-straight row, and aim for pools of light that overlap slightly so there are no black gaps at ankle height. Warm white only — cool blue path lights make a warm fire table look like it belongs to a different yard. Keep fixtures low, 12 to 15 inches tall, so they light feet and edges without shining in seated eyes. Solar versions have genuinely improved, but along a shaded path I still trust wired low-voltage for consistent brightness by dessert time. My fire pit area lighting notes cover the same safety-first spacing, and the walkway run to a fire table deserves exactly that thinking.
Suggested budget range: $30 – $150.

7. Run Rope Light Under the Bench or Seat Wall
Many fire tables anchor a built-in bench or a low seat wall, and that long horizontal edge is begging for light. A rope light or LED strip tucked under the bench lip — or beneath the cap of a seat wall — throws a soft wash down the front face and across the floor, outlining the seating so guests can slide in and out without shin-versus-masonry incidents. It also gives the whole dining zone a finished, architectural feel, like the space was designed rather than assembled. Use a strip in an aluminum channel with a frosted cover if the run is visible from above; the cover diffuses the dots into one clean line. Keep the power supply and connections inside a weatherproof box, and route everything on the back side of the bench, away from the burner and its heat. I set this layer on the same timer as the under-table strip from idea 3, so the low glow around the seating and the halo under the table always arrive together at dusk.
Suggested budget range: $20 – $80.
8. Scatter Flameless Candle Hurricanes on Side Surfaces
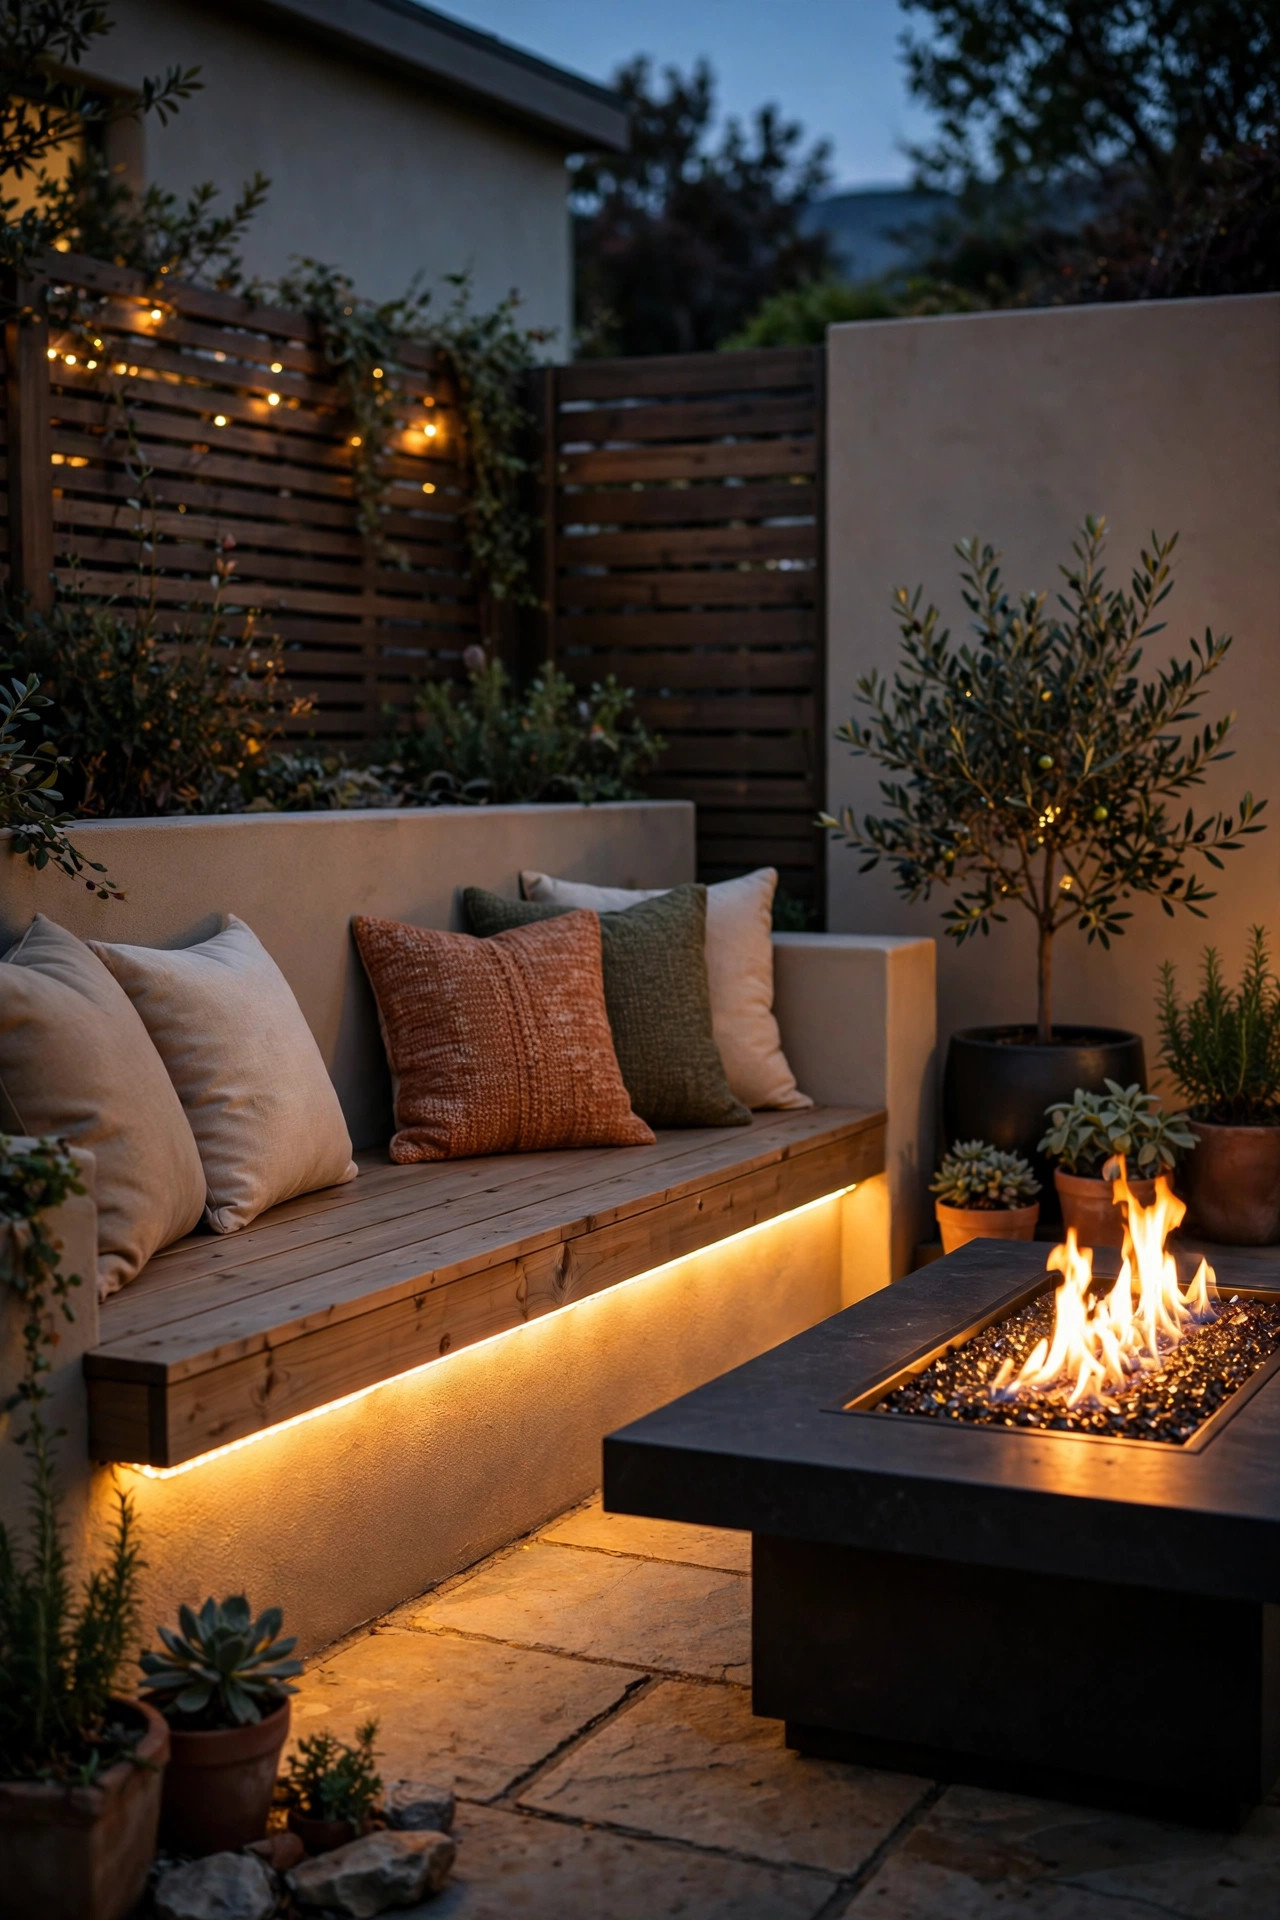
The table gets the flame; every other surface gets candles — the flameless kind, always. I keep a small army of glass hurricanes in rotation: two on the window ledge, three marching down the patio steps, a pair on the drink cart. Inside each one sits a battery LED candle with a realistic flicker and a five-hour timer, so the whole yard quietly lights itself around 7 p.m. The magic is in the scatter. These low, scattered points of candlelight fill the awkward dark corners that overhead lights never reach, and they make the fire table feel like the brightest room in an outdoor house rather than a lone island. Because they are LED, there is no dripping wax on the cushions, no relighting after every gust, and no worry about a curious kid or a paper napkin drifting too close. Glass hurricanes shield the candle glow and give it depth; on a budget, clean mason jars do the same job charmingly. Buy candles in warm white with matched flicker speeds so the yard pulses gently as one.
Suggested budget range: $20 – $70.

9. Uplight a Tree or Planting as the Backdrop
Every great dining room has a view, and at night you have to manufacture yours. One or two low-voltage spotlights aimed up into the canopy of a nearby tree — or washed across a tall hedge, a fence draped in vines, or a cluster of ornamental grasses — gives the fire table a glowing backdrop that makes the whole scene feel enclosed and intentional. Place the fixture 12 to 18 inches from the trunk, angled up at about 30 degrees, and let the light rake through leaves so you get dappled movement when the breeze picks up. A 2700K lamp keeps the foliage warm and golden instead of the eerie green that cool bulbs produce. This layer matters more than most people expect: without a lit backdrop, the black beyond the table swallows the edges of the evening, and the fire becomes a flashlight in a void. With it, your dining area gains walls. Keep the beam off the neighbors' windows, and shield the source so seated guests see lit leaves, never the fixture itself.
Suggested budget range: $35 – $140.
10. Build Safety Into the Steps and Edges
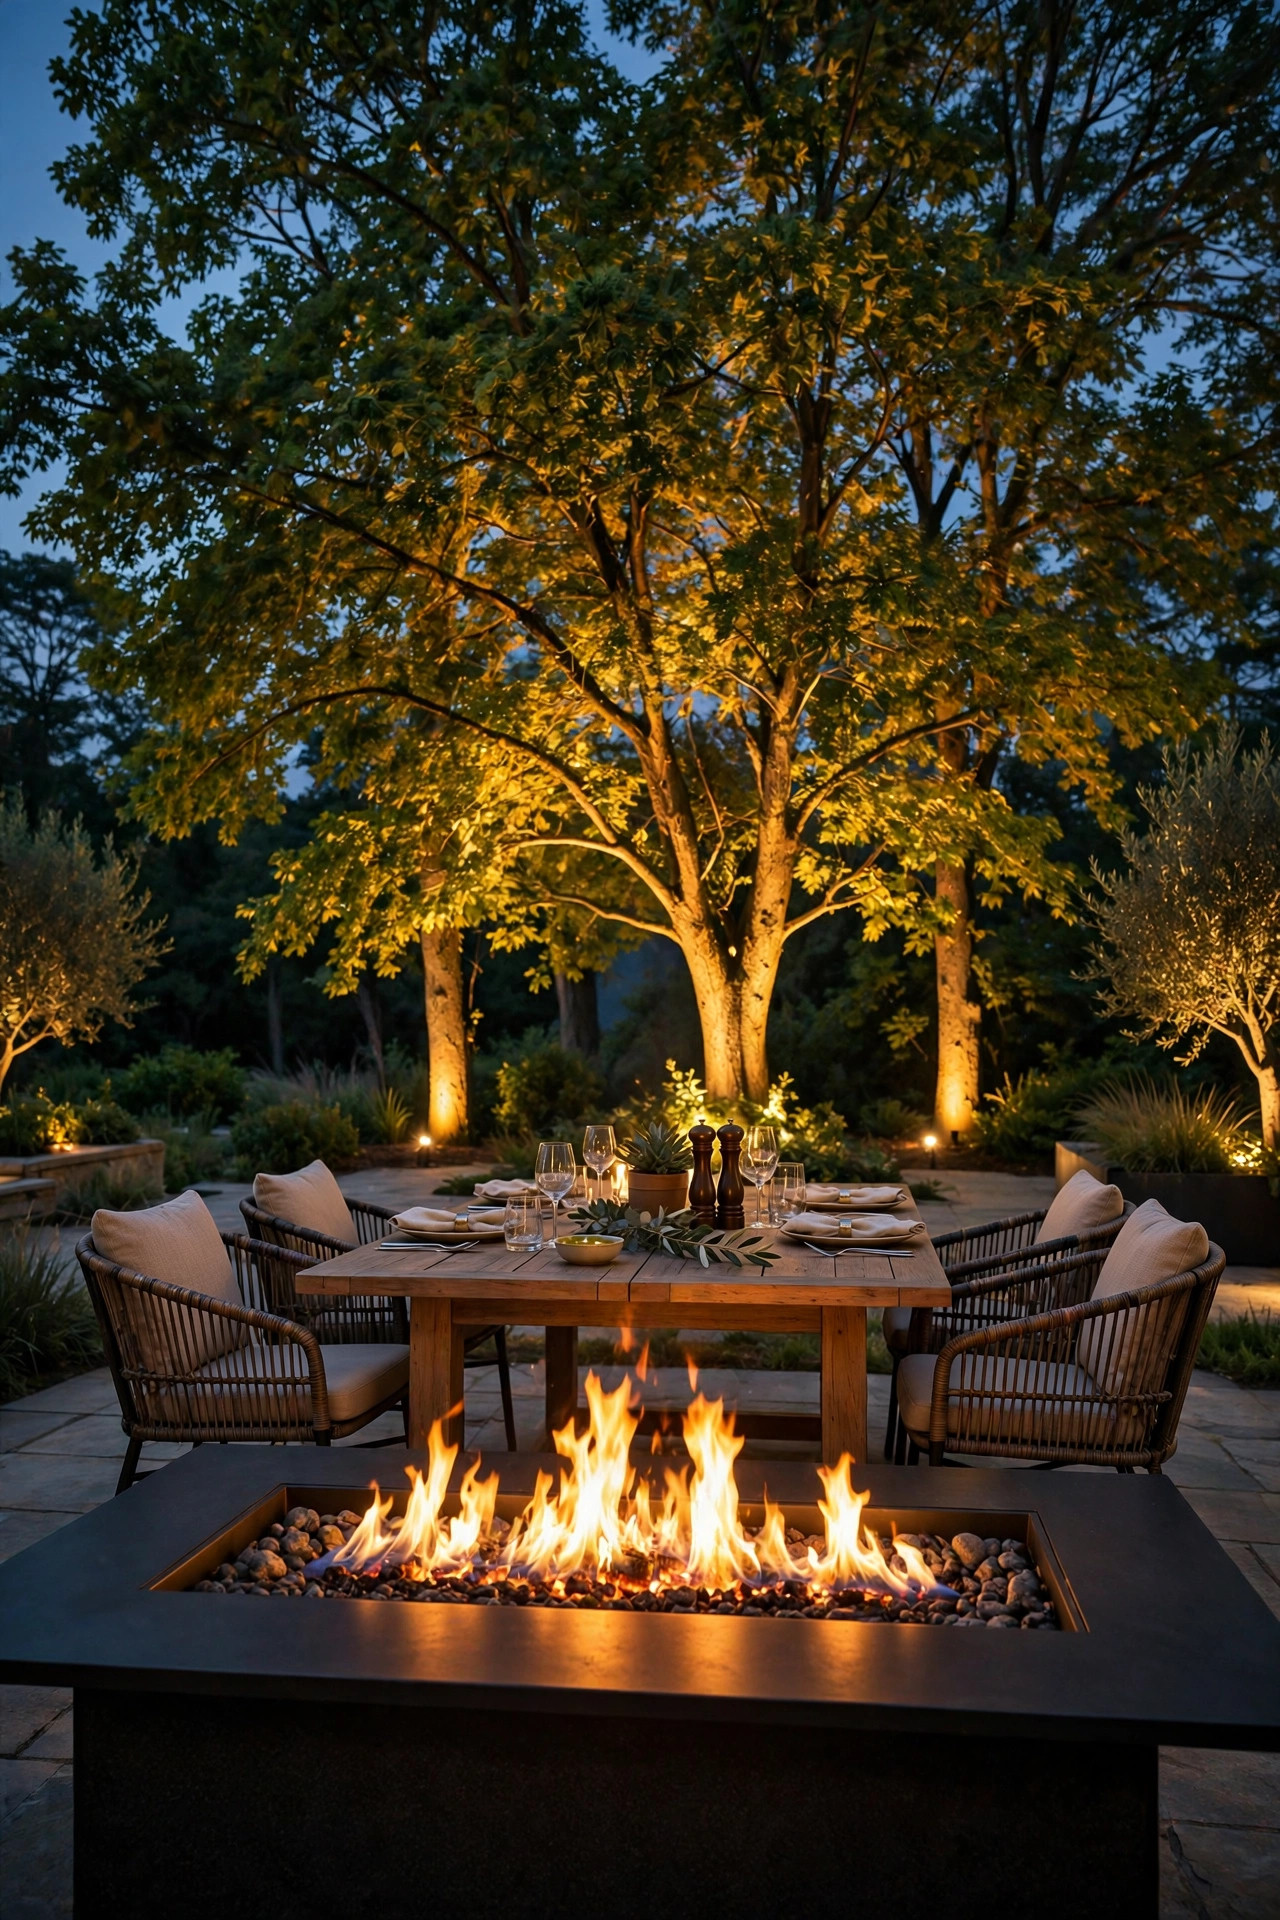
Romance is wonderful until somebody misses a step carrying the good wine glasses. Recessed step lights, a strip under each tread nosing, or small deck-edge fixtures turn the level changes around your dining area into a quiet design feature instead of a hazard. Around our patio there are two steps down from the house and one sneaky raised edge by the garden bed; all three now wear a warm wash of light that you register without noticing. That is the goal — guidance you feel in your feet, not glare you see with your eyes. Hardwired low-voltage step lights are the reliable choice and connect to the same transformer as your path lights; solar step lights work for a single sunny step but fade by midnight in winter. Keep every fixture shielded and aimed down, and match the 2700K family so the safety layer blends into the ambience instead of announcing itself in office-white. Honestly, this is the idea your guests will never thank you for — which is exactly how you know it is working.
Suggested budget range: $40 – $160.
11. Ring the Dining Zone With Solar Stakes
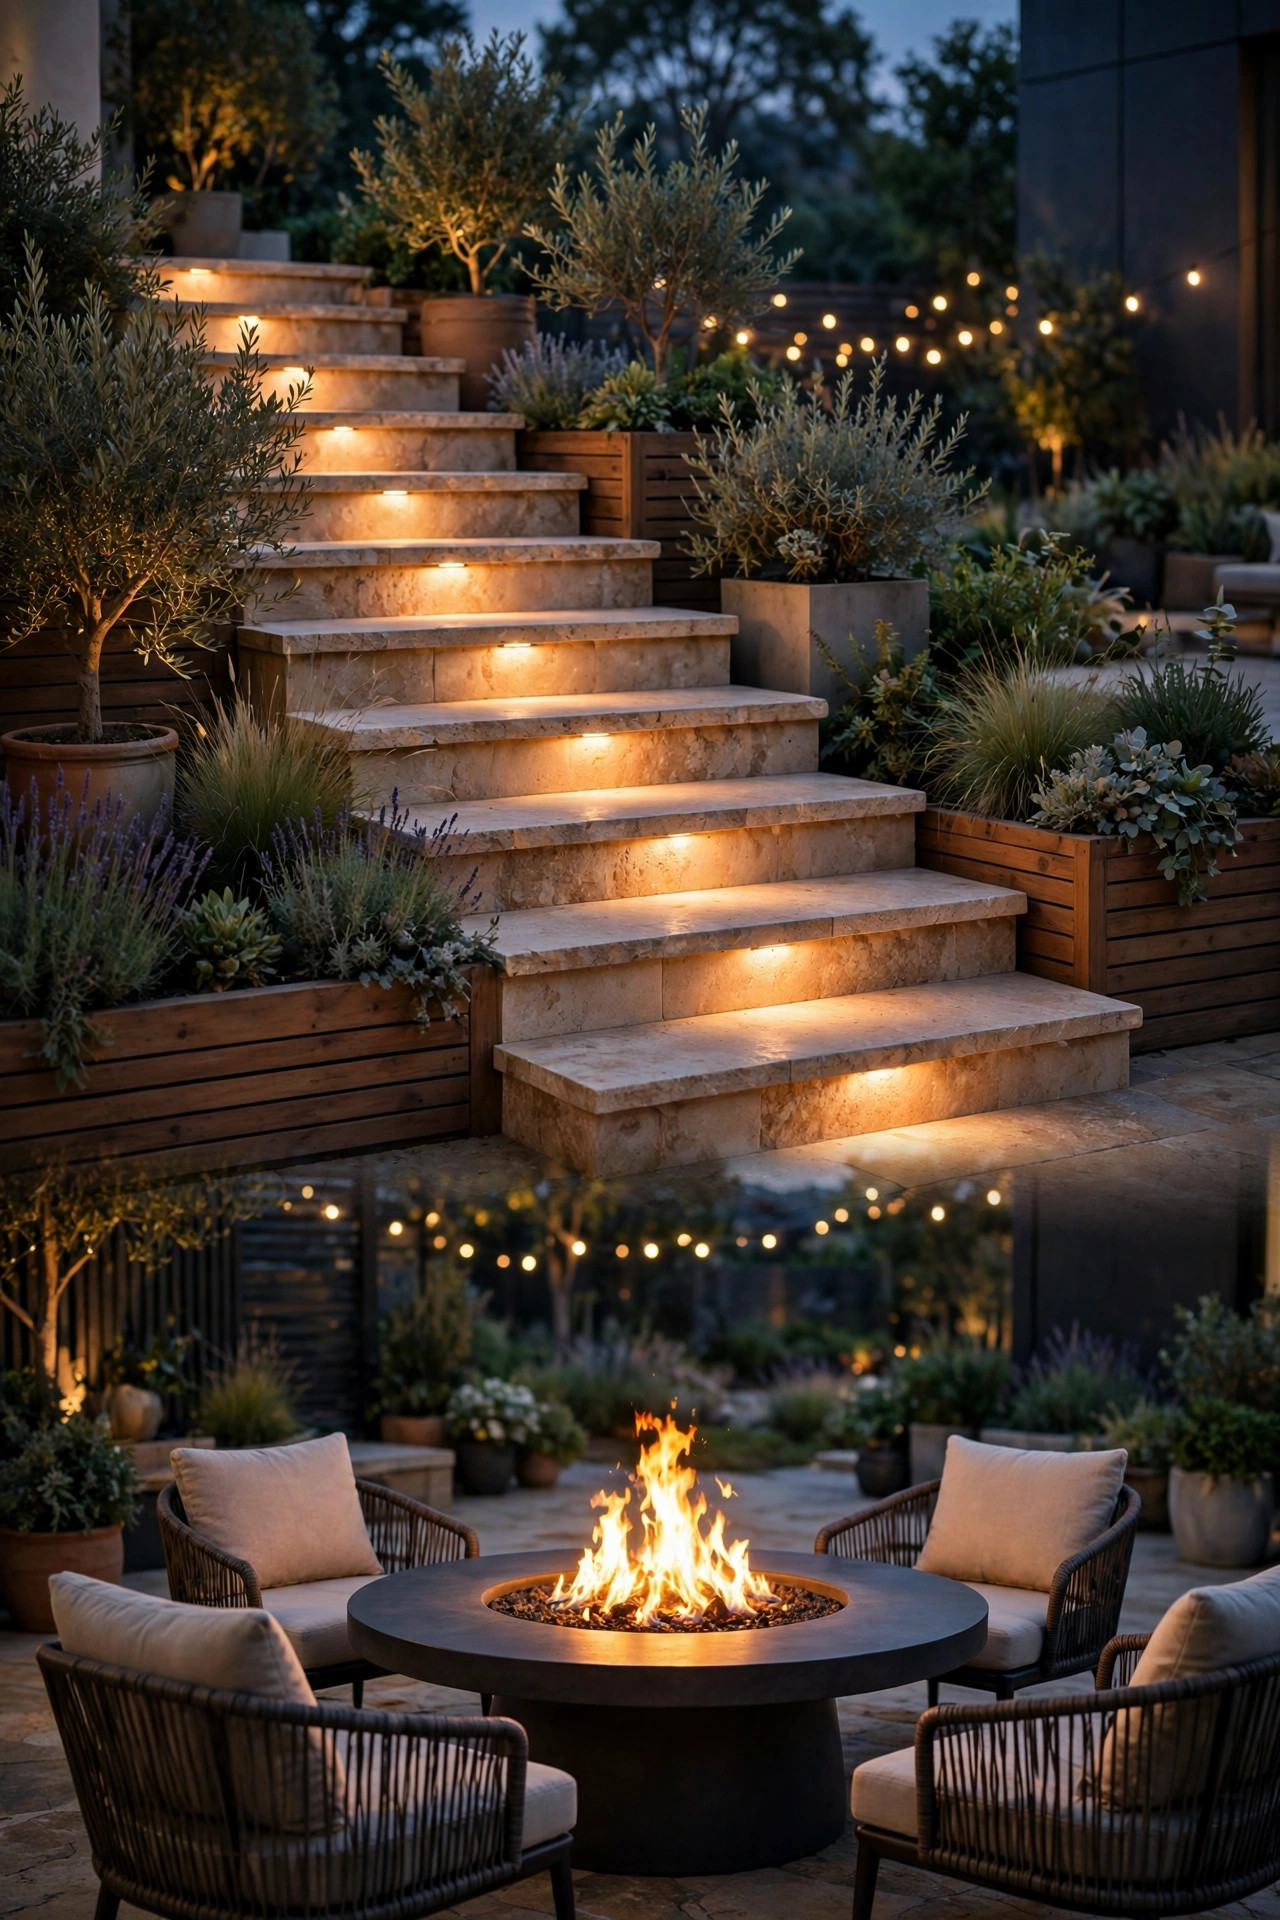
When the budget or the rental agreement says no wiring, solar stakes are how you still get a defined dining room. I ring our fire table zone with eight to ten warm-white solar stakes, set just outside the chair line, which reads after dark as the walls of the room. The trick is placement discipline: stakes need six honest hours of sun to charge, so ring the sunny side generously and lean on other layers where the shade lives. Choose stakes with the solar panel built into the top cap rather than a separate spike panel — cleaner lines, fewer wires to trip over. Modern warm-white solar has finally lost that cold blue cast; look for 2700K to 3000K on the box and replace any unit that drifts bluish with age. Expect two to three seasons from a set, and bring them in during harsh winters if you want the batteries to last. As a no-dig, no-electrician layer that costs less than the fire glass, solar stakes punch well above their price at defining where dinner happens.
Suggested budget range: $25 – $75.

12. Put Every Electric Layer on Dimmers and Zones
Here is a secret of spaces that feel professionally lit: nothing is ever at full brightness. The flame is the one light you cannot dim precisely, so everything electric must be able to sink down and meet it. I run our string lights, pendants, and strips on separate dimmers — zones, in effect — because each part of the evening wants a different recipe. Full light while I am setting the table and carrying dishes. Pendants low and canopy at half once we sit down. Strips and path lights steady all night for safety. Smart plugs and an outdoor-rated dimmer switch make this a two-tap routine on my phone, and I have saved scenes for "dinner," "dessert," and "cleanup," which is the only time anything goes to 100 percent. If you do nothing else from this list, add one plug-in dimmer to your string lights; it costs less than a pizza and fixes the number-one mistake I see, which is a lovely fire table competing with blazing overhead bulbs. Match the light to the flame, not the other way around.
Suggested budget range: $15 – $90.
13. One Rule for All Fire Table Lighting Ideas: Match the Flame at 2700K
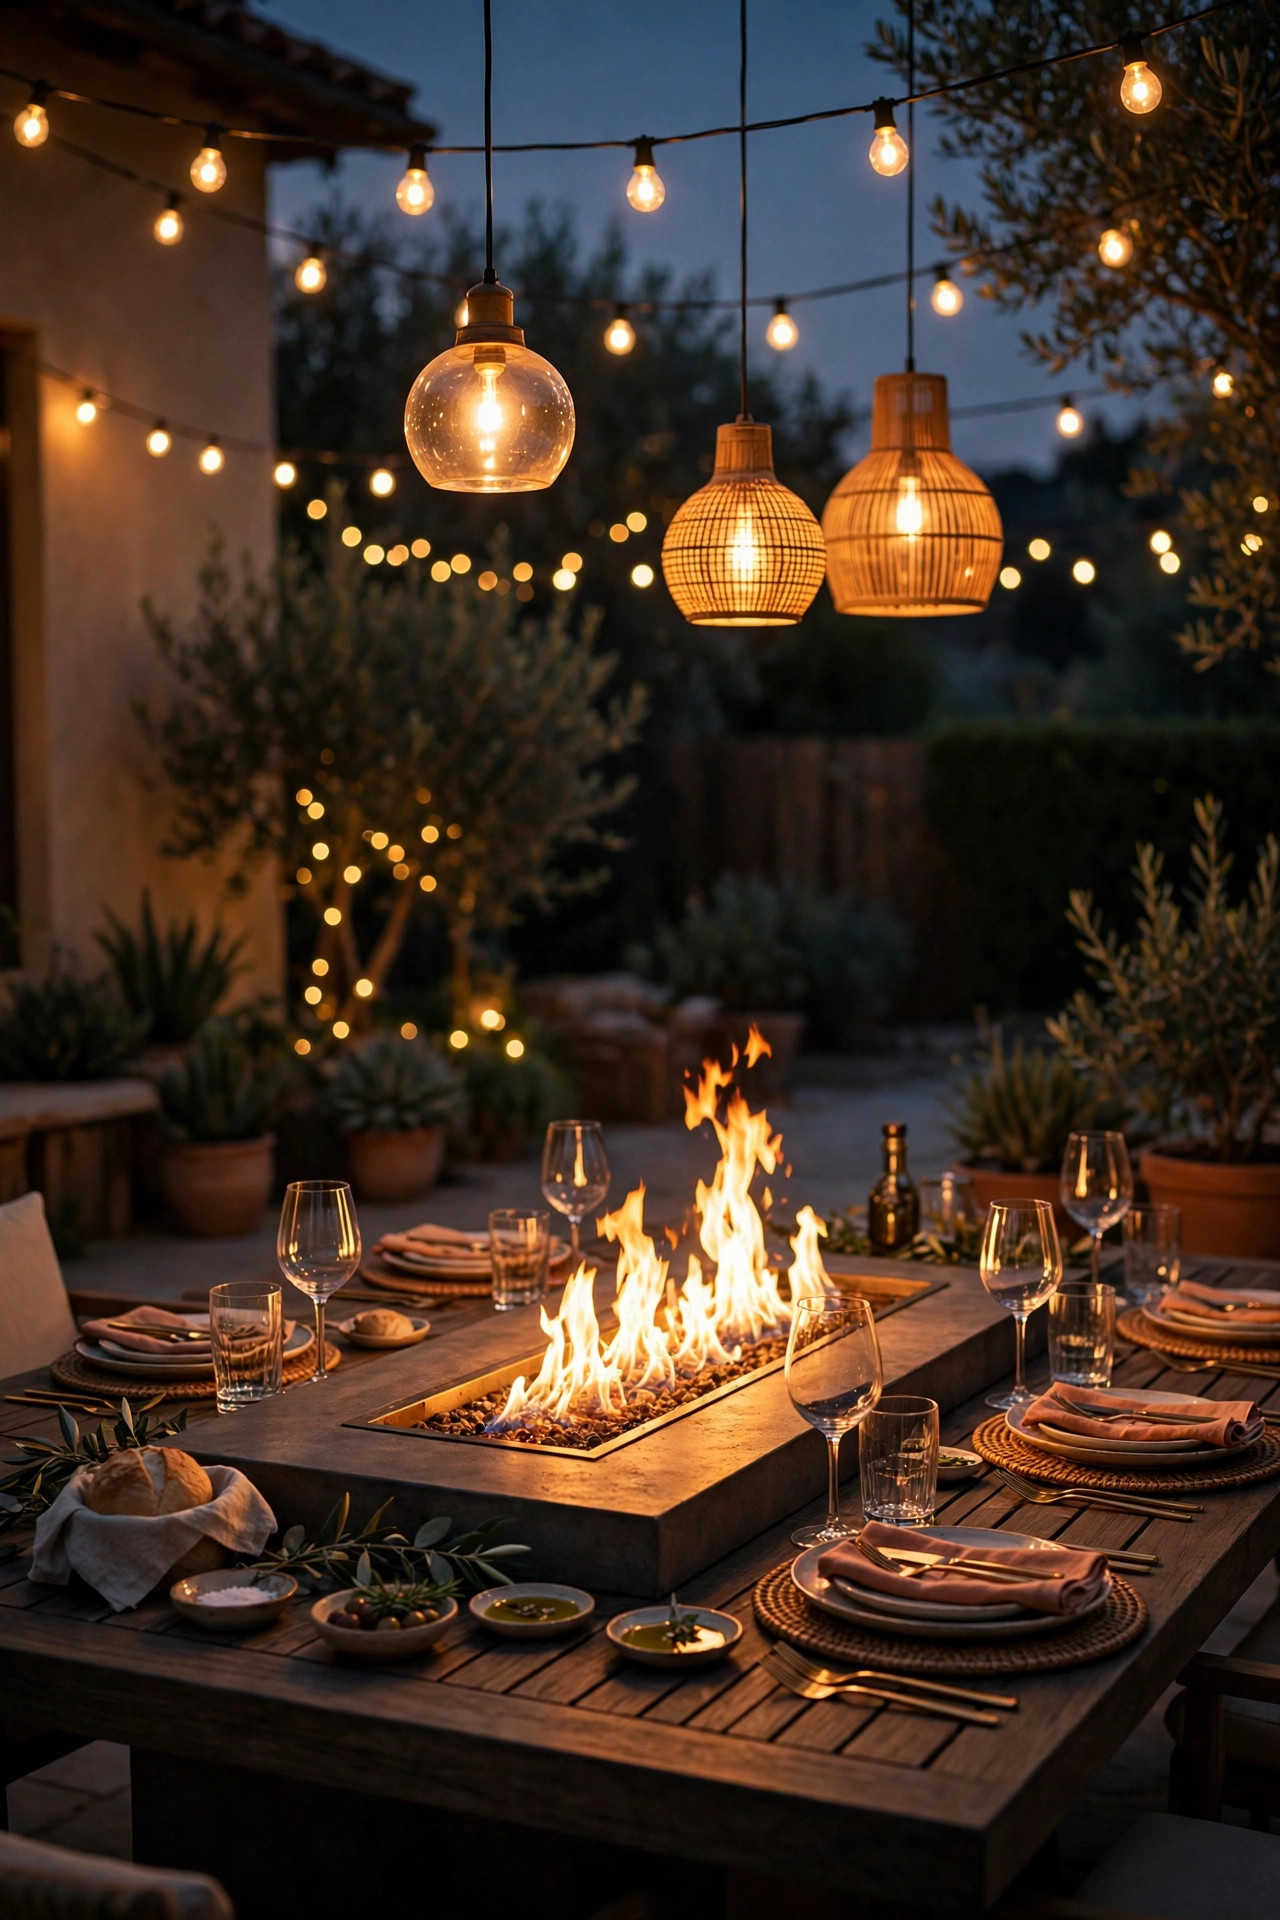
If I could tattoo one specification on every outdoor bulb box, it would be this: 2700K. A gas flame burns with a warm golden cast that sits somewhere around 1800K to 2000K in feel, and 2700K warm-white bulbs are the closest comfortable match your eyes will accept as "the same light." Go cooler — 4000K and above — and the bulbs turn blue-white and clinical, the firelight looks dirty orange by comparison, and the spell breaks instantly. This is why a string of daylight bulbs over a fire table feels like eating in a parking lot. When you shop, read the Kelvin number on every package, including the solar stakes and the flameless candles, because one cool-white oddball in the mix draws the eye like a cracked tooth. Filament-style LED bulbs give you the warm color plus a pretty visible glow through clear glass. And keep a small stash of matched spares; when a bulb dies mid-season, the replacement from the junk drawer is always, always the wrong temperature. Consistency is what makes seven light sources read as one evening.
Suggested budget range: $10 – $50.
14. Pick Fire Glass That Throws Light, Not Swallows It
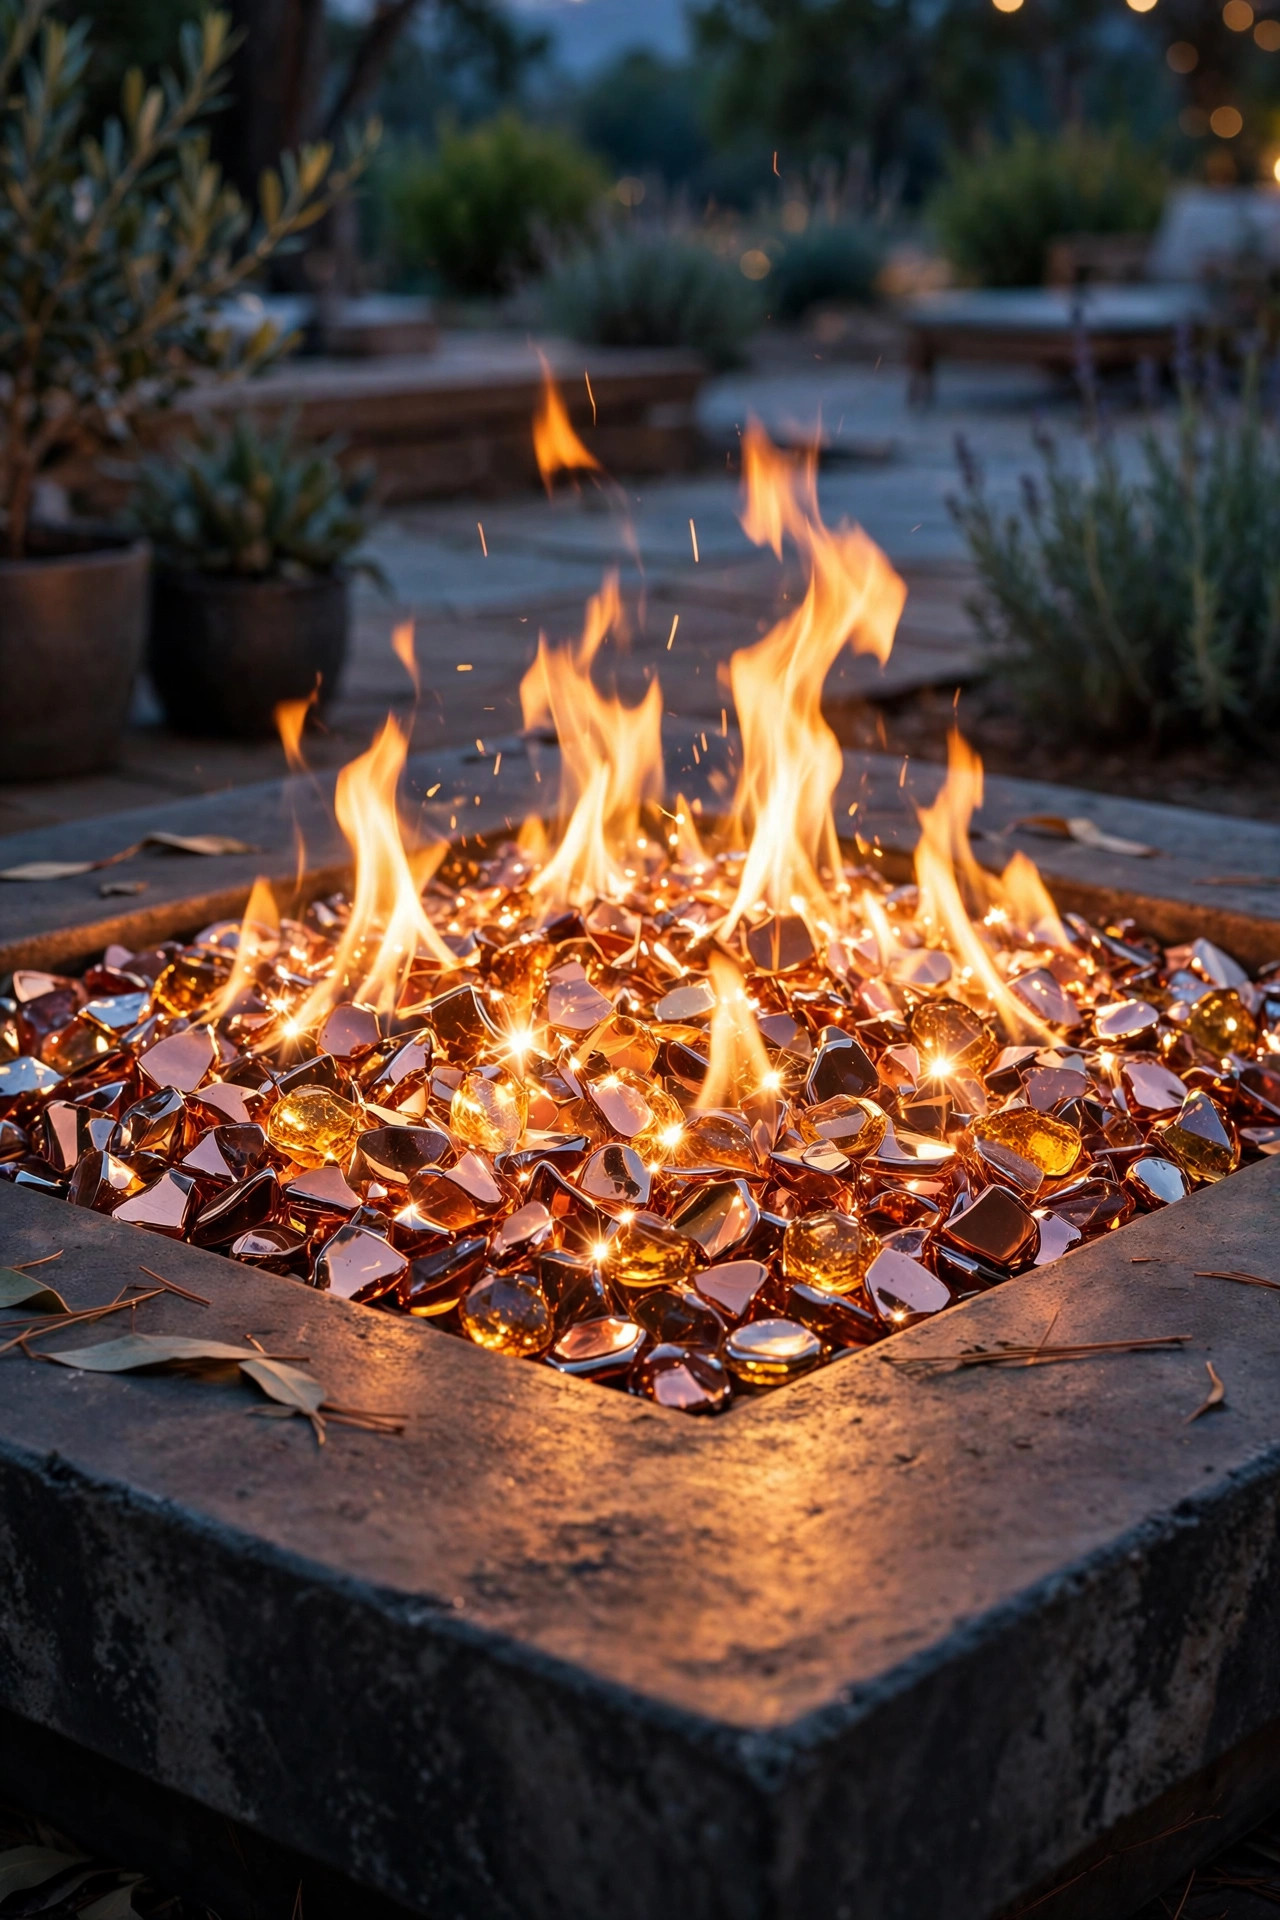
Not all fire glass is created equal, and the color you choose quietly decides how much light your table gives back. Reflective fire glass — the kind with a mirrored coating on one side — in copper, bronze, champagne, or amber catches the flame and throws it outward, noticeably brightening faces and the table surface. Dark colors and plain lava rock absorb light instead; a bed of black rock looks moody at noon and swallows the glow at night, forcing you to crank the flame higher than dining comfort allows. Size matters too: half-inch glass pieces expose more reflective faces than large chunks, so the bed sparkles like embers in a jewelry box. Most dining-height tables take 10 to 20 pounds to cover the burner properly — check your manual, because glass piled too deep smothers the flame pattern. Only ever use tempered fire glass made for burners; decorative craft glass can pop and crack with heat. It is the rare upgrade that costs under a hundred dollars, takes ten minutes to pour in, and makes the centerpiece itself a better light fixture.
Suggested budget range: $30 – $120.
15. Moonlight From Above With a Downlight
Moonlighting is the layer that makes guests ask what feels different tonight. Mount a shielded downlight high — on a tree branch 12 to 15 feet up, or under a pergola rafter — and aim it straight down so a soft column of light falls beside the table, not on it. The effect mimics moonlight filtering through leaves: gentle dapples on the patio, no glare in anyone's eyes, and just enough brightness to find your fork. Keep the fixture offset from the flame's heat column, and remember this layer is scenery, not task light, so a modest 200 to 300 lumens is plenty. A narrow-to-medium beam keeps the pool of light intimate; a wide flood washes the magic away. I angle ours to graze the edge of the dining zone and spill onto the planting bed beyond, which ties the table to the garden. Wired low-voltage is the dependable route, run up the back of the trunk where nobody sees the cable. Turn it on, step back, and watch the patio gain a ceiling of soft light.
Suggested budget range: $50 – $200.

16. Weave Fairy Lights Through a Low Centerpiece Runner
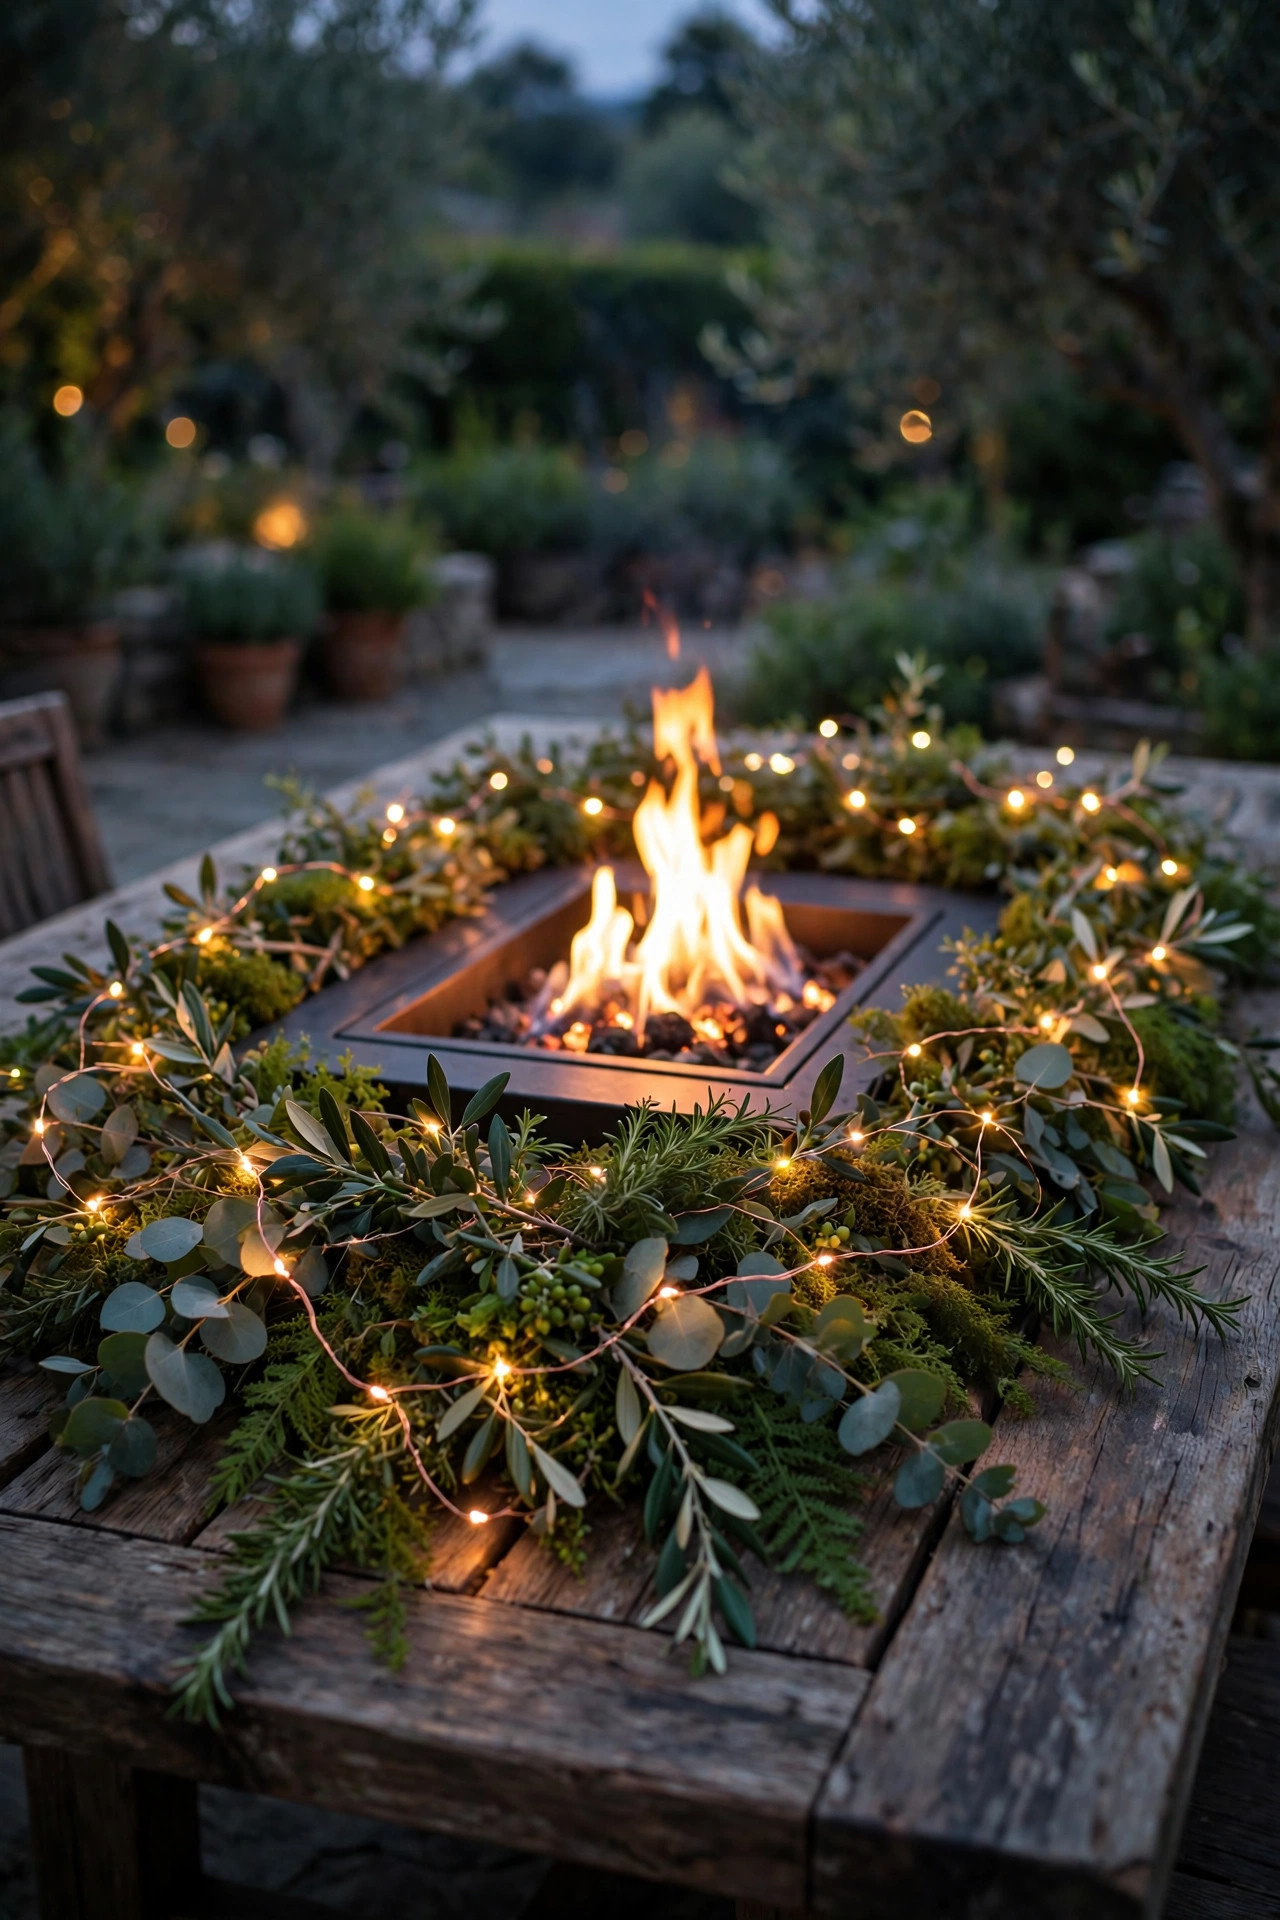
A dining table still wants a centerpiece even when the center is literally fire, so I dress the ring around the burner instead. A low runner of faux eucalyptus or a simple linen strip runs the length of the table on either side of the fire feature, and through it I weave a strand of battery-powered copper-wire fairy lights. The tiny warm points nestle between leaves and glasses, adding sparkle at plate level where the flame's light starts to fade. Because the wire is battery LED, it stays cool to the touch — the only kind of light I allow tangled in fabric and greenery on a table that also holds a real burner. Tuck the little battery pack under the runner near your seat and you can switch the sparkle off without a production. Keep the runner and wires a respectful distance from the burner opening itself, at least a foot, and never drape anything across the glass wind guard. It photographs beautifully, costs almost nothing, and makes even a Tuesday-night taco dinner feel planned.
Suggested budget range: $10 – $40.
17. Flank the Scene With Wall Sconces on the House
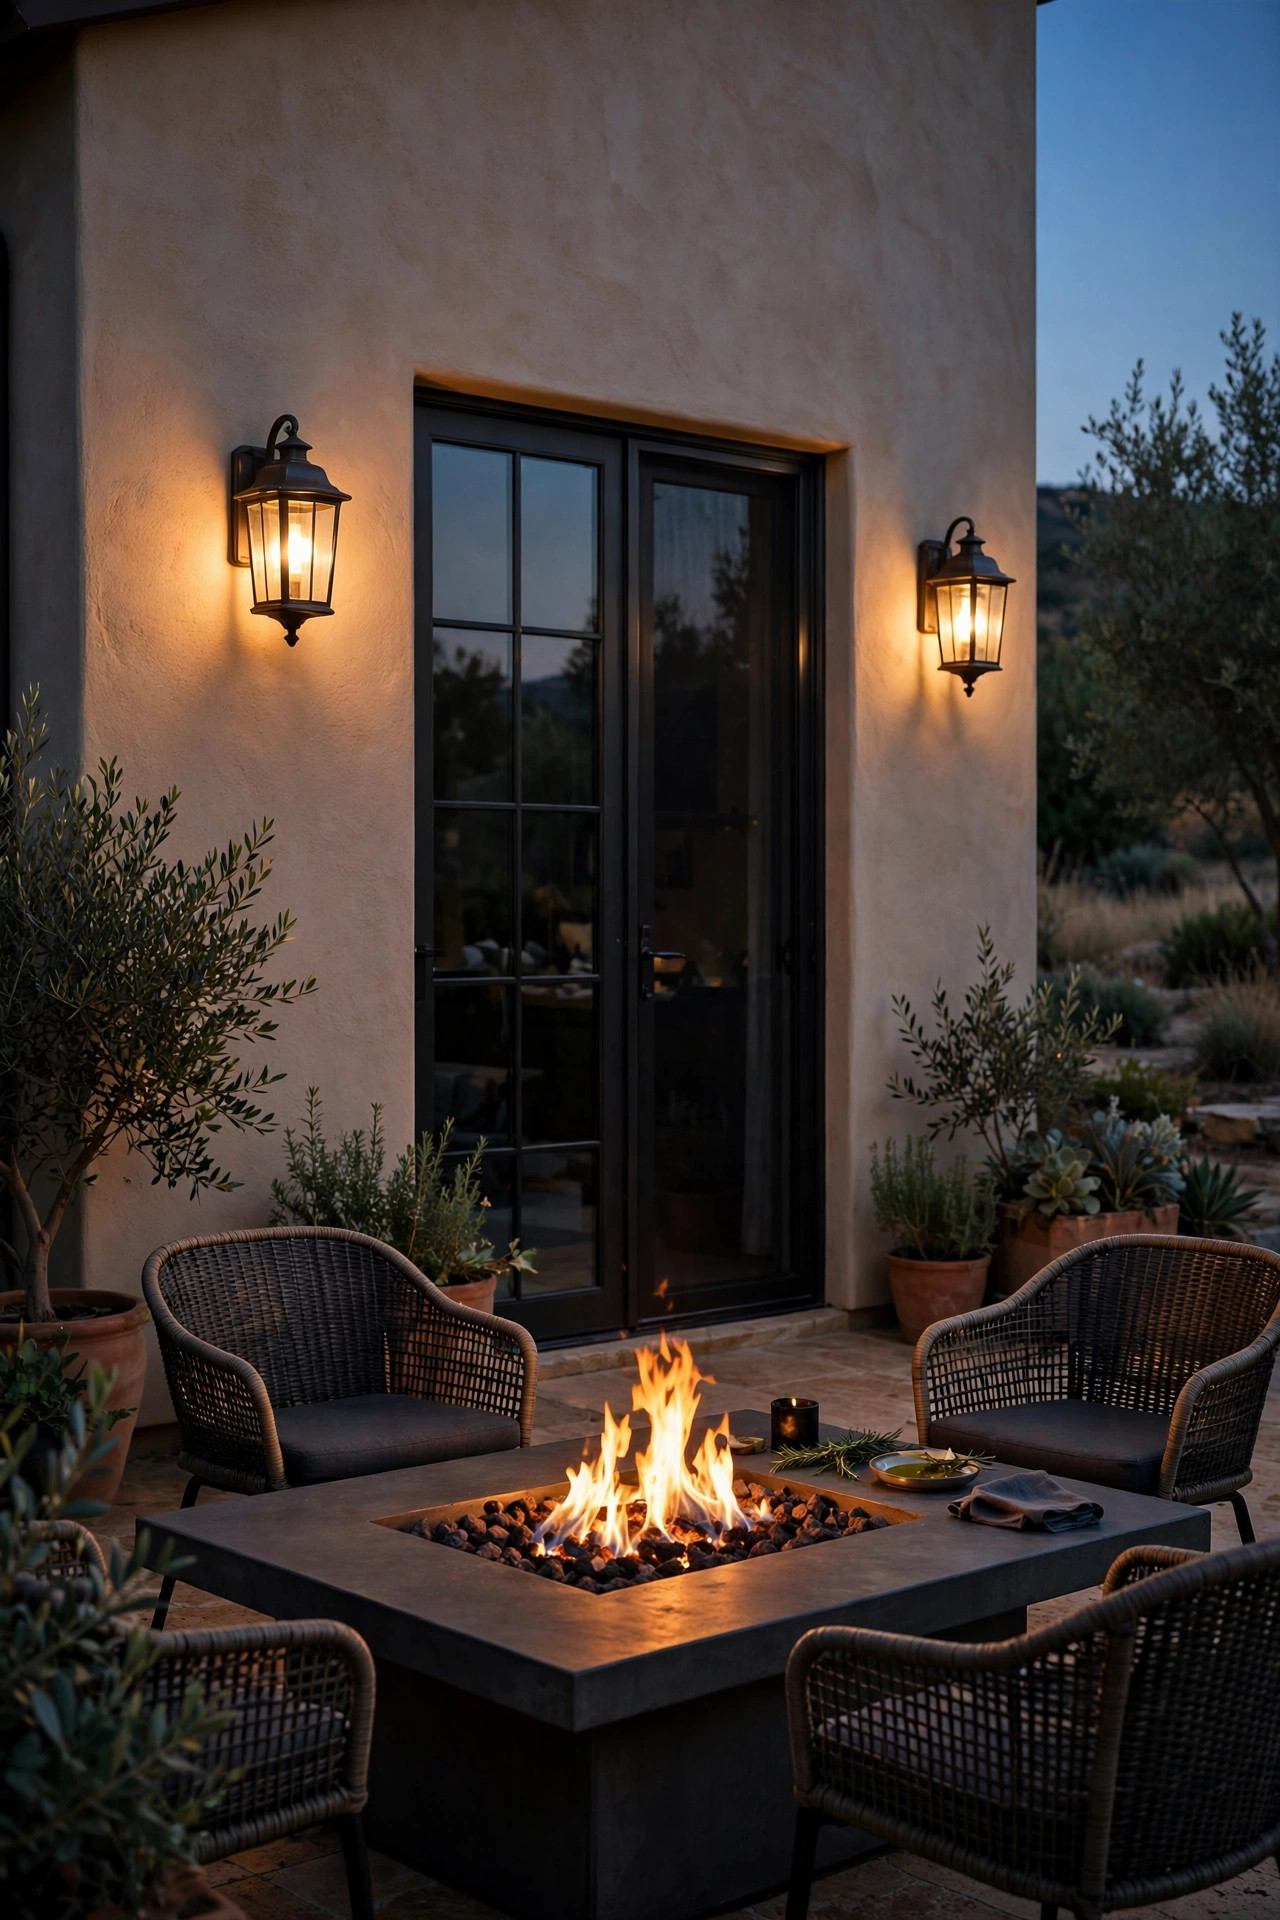
If your fire table sits anywhere near the house wall, you are ignoring free architecture. A pair of wet-rated sconces flanking a door or window behind the dining area gives the scene a lit "back wall," the same way the uplighted tree does on the garden side. Faces at the table get a soft fill from behind the camera, so to speak, and the walk back inside for seconds or dessert stops being a trip into darkness. Match the sconce style to your lanterns so the fixtures feel like family, and choose shielded designs that throw light up and down the wall rather than straight into seated eyes. Put them on their own dimmer or fit smart warm-white bulbs, because house sconces at full blast will overpower the flame from behind and flatten the whole scene. In my experience, about 40 percent brightness is the sweet spot. If your patio centers on a fireplace instead of a table, the layering logic is identical — my notes on patio fireplace lighting ideas walk through the same wall-wash approach.
Suggested budget range: $50 – $220.
18. Define the Dining Room With Bollard Lights
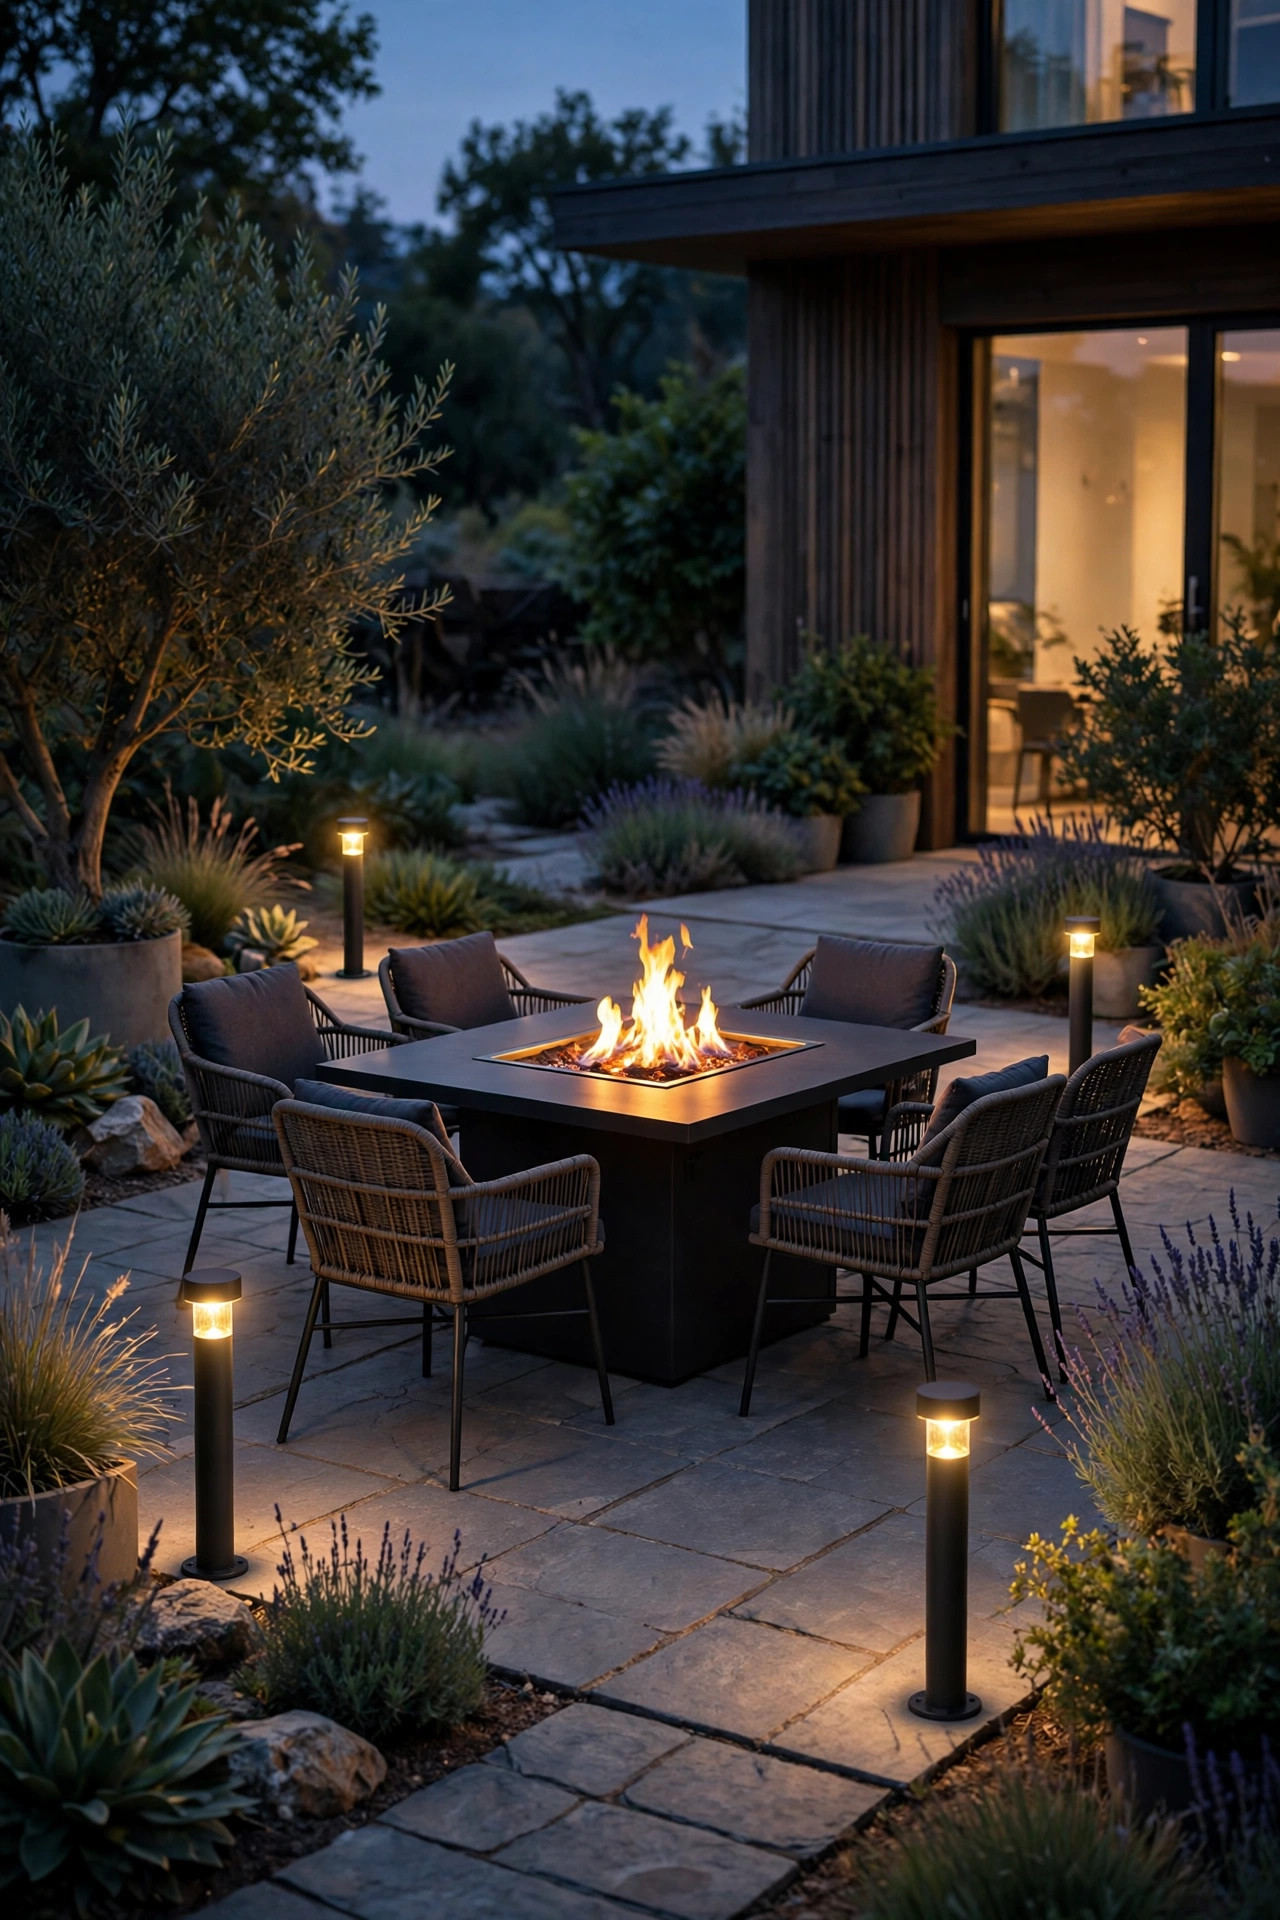
Bollards are the grown-up way to draw a border around your dining zone. Short, sturdy fixtures — 18 to 24 inches tall — placed at the four corners of the patio or along its open edge create a subtle fence of light that tells guests, without a word, "dinner happens inside this line." Unlike a row of little path lights, bollards read as intentional furniture, and their downward, shielded beams keep the glow at ground level where it defines space without competing with the fire. Space them 6 to 8 feet apart on the open sides of the zone; you are marking a perimeter, not building a runway. Low-voltage wired bollards tie into the same transformer as your path and step lights, which keeps the whole ground layer on one timer and one dimmer. Choose finishes that echo your table base or lantern frames. On our patio, the bollards also quietly protect the planting beds — nobody backs a chair into the hydrangeas anymore, because the border of light makes the edge of the room impossible to miss.
Suggested budget range: $60 – $240.
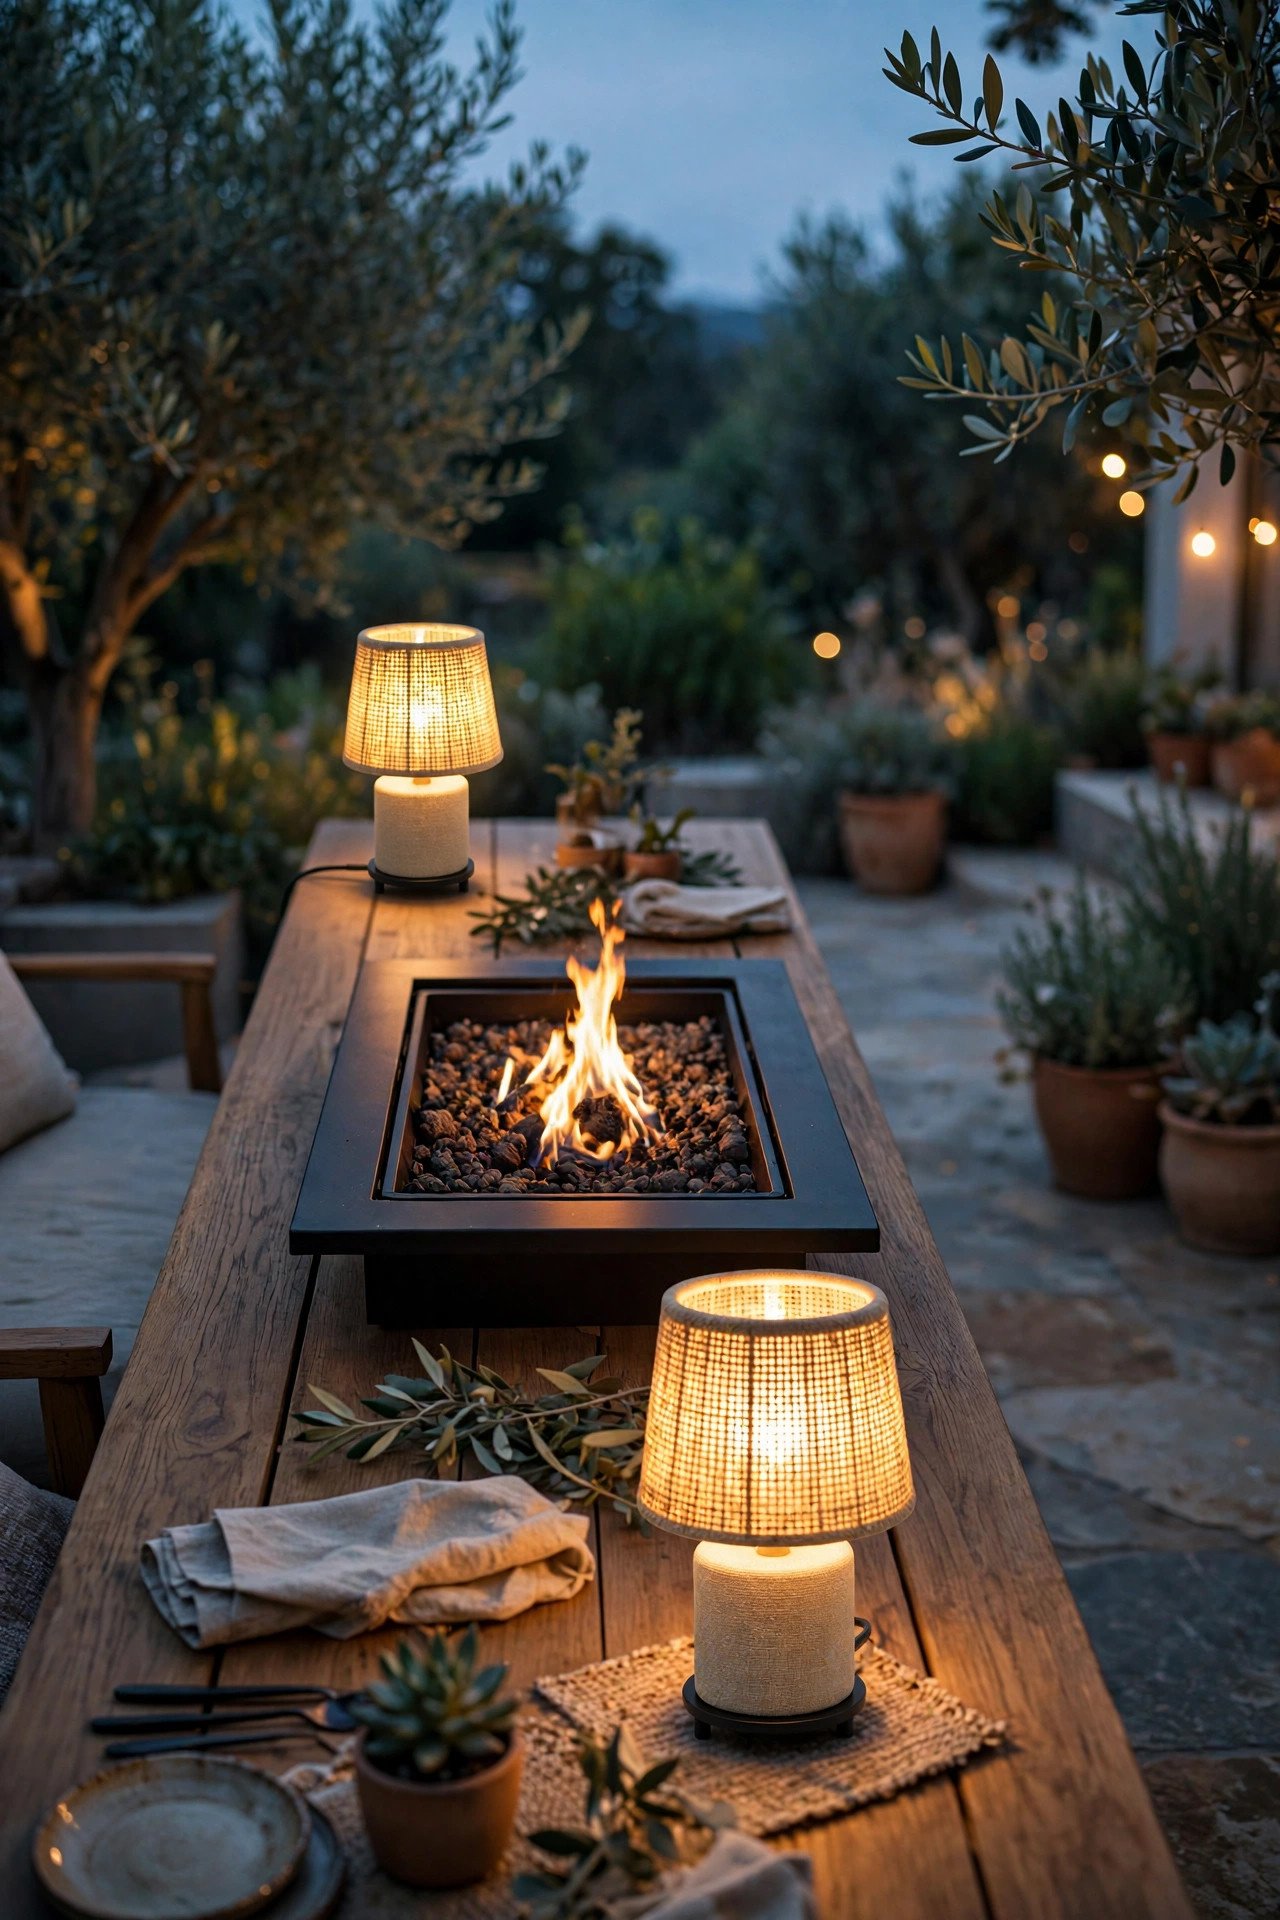
19. Set Rechargeable Table Lamps at Each End
Sometimes the prettiest solution is the one you can carry to the table. Small cordless rechargeable table lamps — the kind with a warm LED, a metal shade, and three brightness taps — have become my secret weapon at the ends of the table, where the flame's reach fades and the salad bowl sits in shadow. One lamp per end, or one per two place settings on a long table, gives each diner a personal pool of light for reading the menu of the evening: faces, plates, and the good bread basket. They charge indoors on a USB cable, shrug off a breezy evening, and move to the drink cart or the steps when the party migrates. Pick models with a true warm setting around 2700K and a low that is genuinely low; a lamp that only does "bright" will fight the flame. Because they are battery LED, they stay cool and safe among napkins and sleeves. When dinner ends, they line up on the kitchen counter like little soldiers awaiting tomorrow.
Suggested budget range: $30 – $110.
20. Automate the Whole Scene With Timers
The best lighting plan is the one that happens without you. I have every electric layer around our fire table on timers or smart plugs programmed to wake 20 minutes before sunset: canopy and sconces first, then strips, path lights, and bollards together, with flameless candles on their own built-in timers filling the gaps. Walking out to a patio that is already glowing changes the whole rhythm of the evening — guests arrive to a set stage instead of watching you fumble with switches and extension cords. Program an "all off" two hours after your typical bedtime so nothing burns electricity until dawn, and keep one manual override you can reach without a phone. Photocell plugs are the cheap, cheerful option; smart plugs add scenes and voice control if your dimmers from idea 12 are in place. A word of caution: keep the fire itself gloriously manual. The table's ignition should always be a deliberate act, never a schedule — automation is for the supporting cast, not the star.
Suggested budget range: $15 – $50.

21. My Full Layered Fire Table Lighting Ideas Recipe
When friends ask me to just tell them what to buy, this is the recipe I give, in order. Start at the center: a glass wind guard and reflective copper fire glass so the flame itself is a strong, steady light. Add the overhead layer — a string light canopy or two pergola pendants on a dimmer. Lay in the middle layer at table height: a lantern cluster on the table, flameless hurricanes on the steps and side surfaces, a fairy-light runner for sparkle. Then the ground layer, which is really the safety layer: path lights on the walking route, lit steps, and solar stakes or bollards marking the room's edge. Finish with the backdrop — one uplighted tree or a pair of wall sconces — so the darkness has a wall to stop at. Five layers, each dim or timer-controlled, every bulb 2700K. Bought all at once it is a real investment, but nobody does it at once: one layer a month and your table is glowing by heart of summer. This order — center out, top down — works on every patio I have tried it on.
Suggested budget range: $150 – $600.

Frequently Asked Questions
What color temperature matches a fire table flame?
Aim for 2700K warm white everywhere. A gas flame glows with a golden cast that feels like 1800K to 2000K, and 2700K bulbs blend with it seamlessly. Anything 4000K or cooler looks blue-white beside firelight and instantly cheapens the scene. Check the Kelvin rating on every bulb, strip, solar stake, and flameless candle you buy, and keep matched spares on hand so a mid-season replacement does not become the one cold light in the yard.
How close can string lights hang above a fire table?
Keep string lights offset to the sides of the table rather than directly above the burner, and maintain generous clearance from the heat column that rises off the flame — several feet above and to the side is the safe pattern, following your table manufacturer's guidance for overhead clearances. Heat rises in a surprisingly narrow, hot plume, so a canopy swagged over the seating area, not the burner, gives you the look without cooking sockets or sagging wire. LED shatterproof bulbs are the only kind I hang anywhere near a dining table.
Can I leave LED strip lights under a fire table outdoors all year?
Yes, if you choose the right gear and install it thoughtfully. Use strips rated IP65 or higher, mount them under the tabletop rim where they are shielded from direct rain and from the burner's heat, and power them from a GFCI-protected outlet with all connections inside weatherproof boxes. Check the adhesive or mounting clips each spring, since freeze-thaw cycles loosen them, and expect to refresh a strip every few seasons. Never run a strip where it can contact the burner housing or gas line.
How bright should the lighting around a dining fire table be?
Much dimmer than you think. The flame itself provides the central glow, so the electric layers are accents: roughly 100 to 300 lumens per fixture for path lights, uplights, and strips is plenty, with everything on dimmers so you can settle the whole scene just above candlelight. If guests are squinting or you can read a newspaper at the far end of the patio, the electric light is too strong and is fighting the fire. Faces should look warm and softly shadowed, not floodlit.
Conclusion
A dining-height fire table is already the best-looking light fixture on your patio — it just should not have to work alone. Build outward in layers: help the flame with reflective glass and a wind guard, add something warm overhead, something glowing at table height, something safe at ground level, and one lit backdrop to close the room. Keep every bulb at 2700K, put the electric layers on dimmers and timers, and your fire table lighting ideas will add up to evenings that run long past dessert. Start with whichever single layer your patio is missing most, live with it for a week, and then add the next. Browse the rest of my outdoor lighting ideas here on the site when you are ready for the next project — the garden deserves the same treatment.