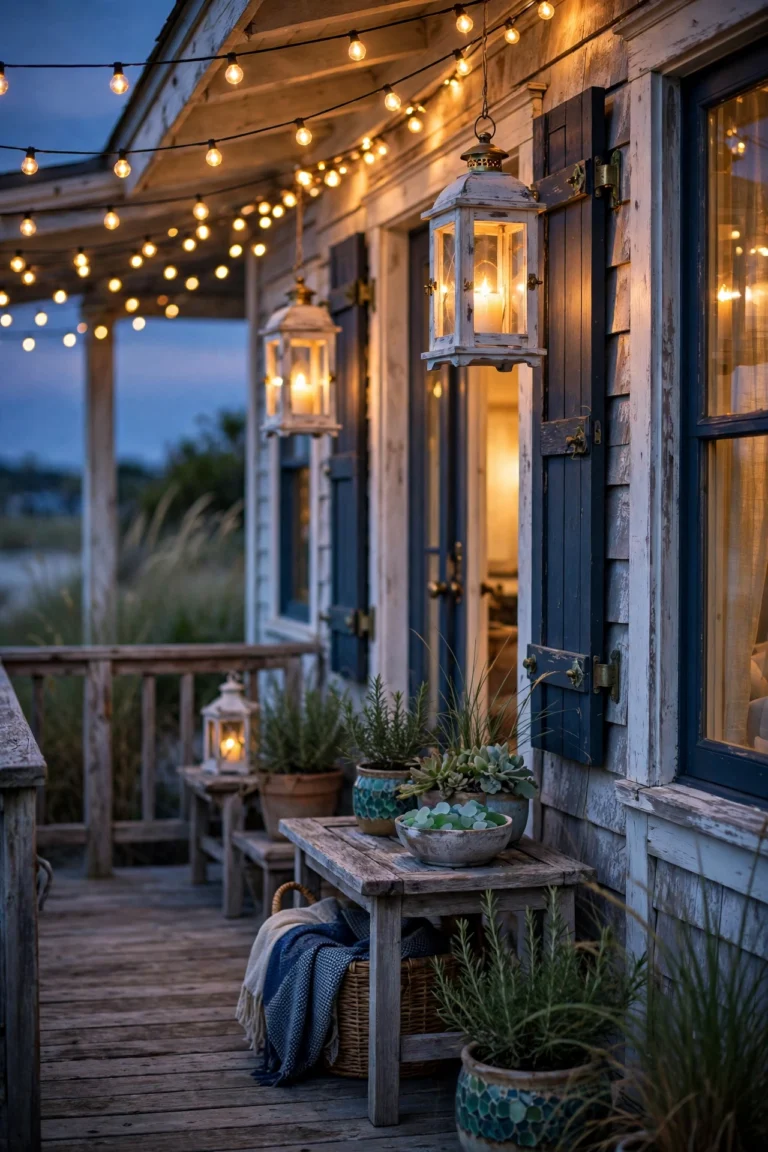
There is a moment on summer evenings, right after I finish watering, when the garden goes quiet and the light turns gold — and honestly, that is when I want to linger out there the longest. Good raised bed garden lighting ideas stretch that moment well past sunset, turning a working vegetable patch into the prettiest corner of the yard. My whole approach is layering: low path light so you can see where to step, a soft wash across the beds so the greens and tomatoes glow, and one or two accents that make you smile. None of it has to be expensive or wired by an electrician. Below are the 17 ideas I rotate through my own beds, from five-minute solar fixes to a full low-voltage plan, each with honest budget ranges. If you want the bigger-picture version first, my garden lighting ideas guide covers the whole yard, and this post zooms right in on the beds themselves.
1. Start With a Simple Plan for Your Raised Bed Garden Lighting Ideas
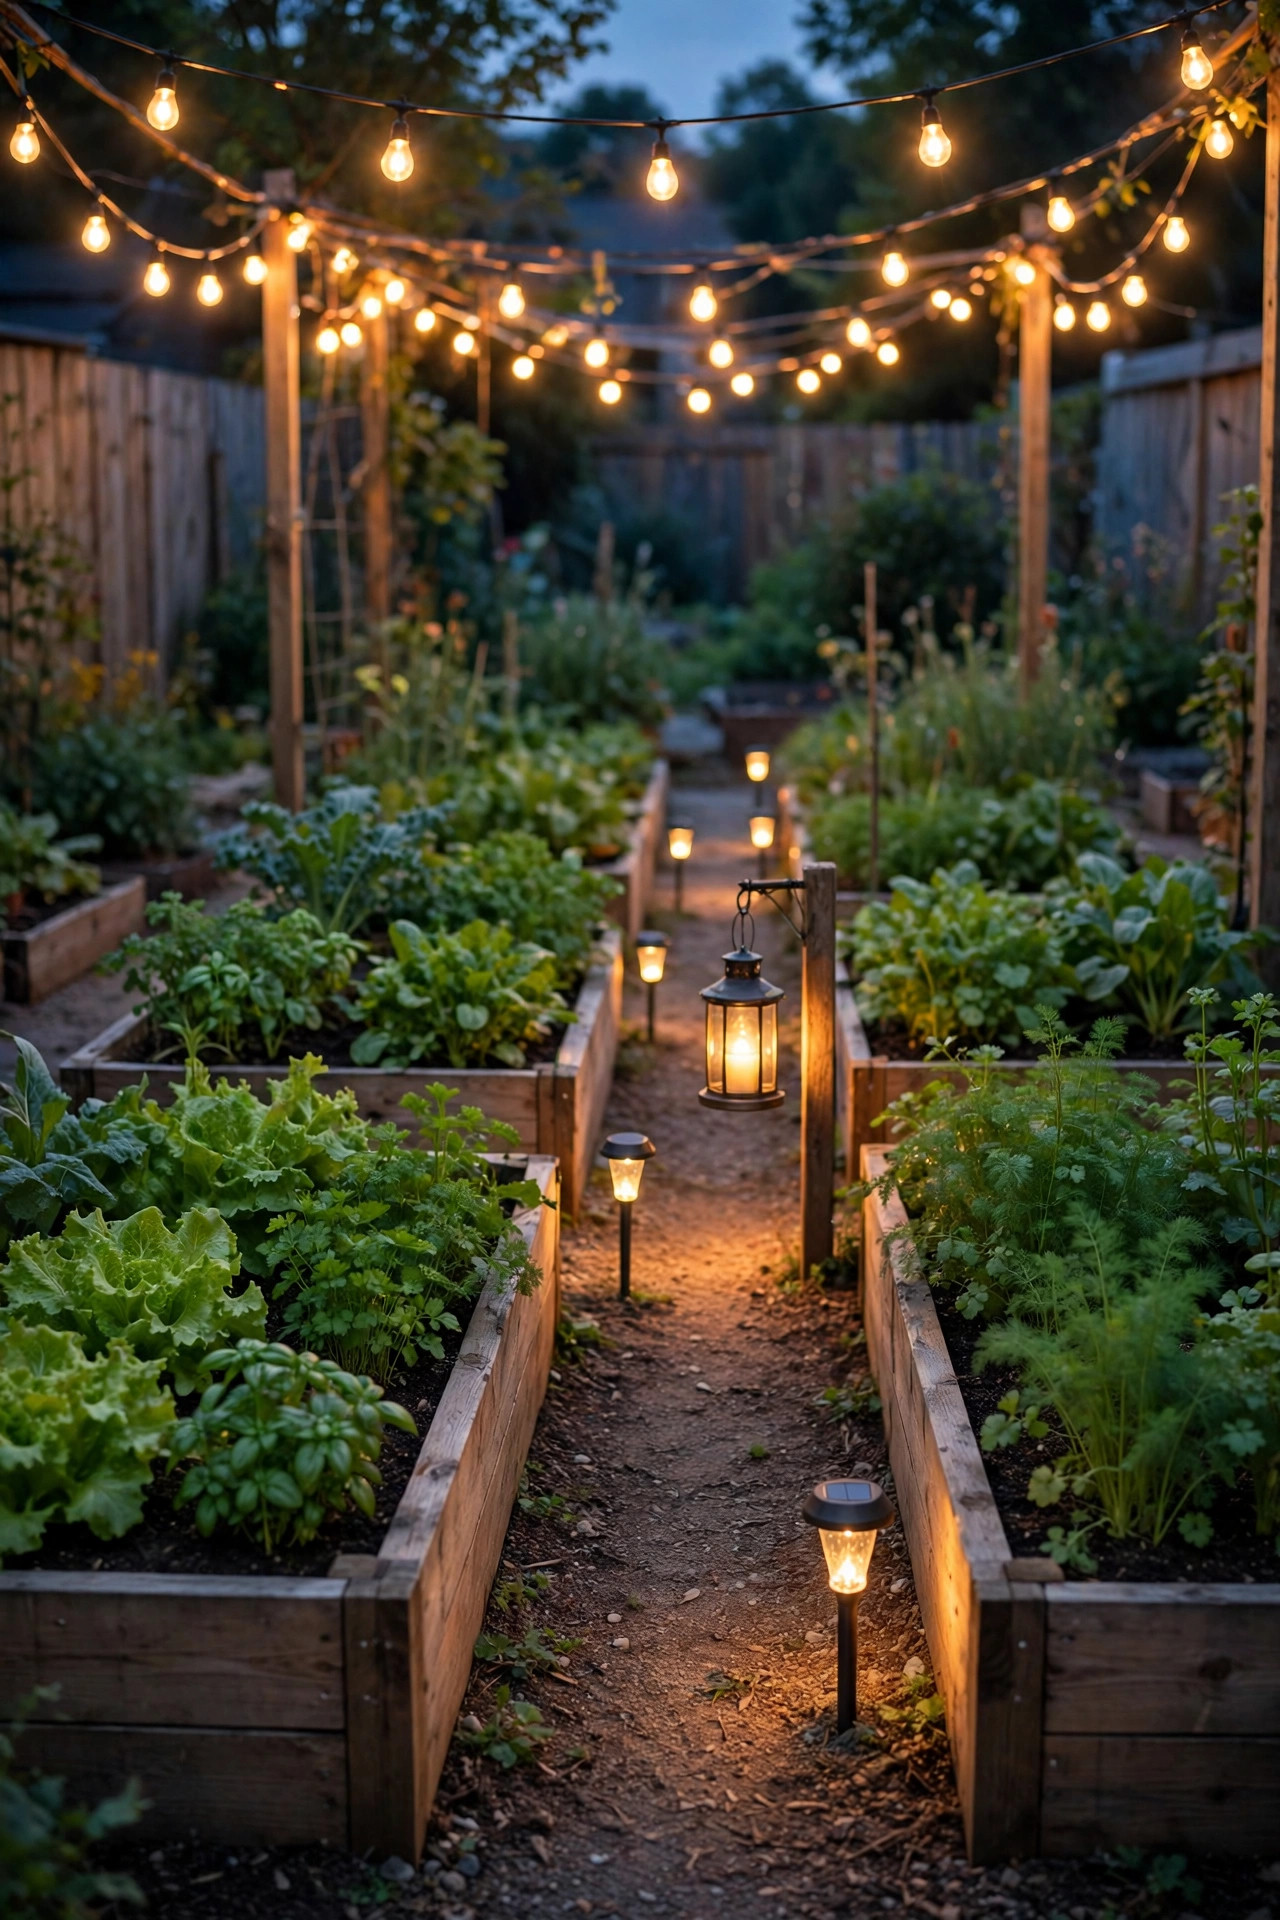
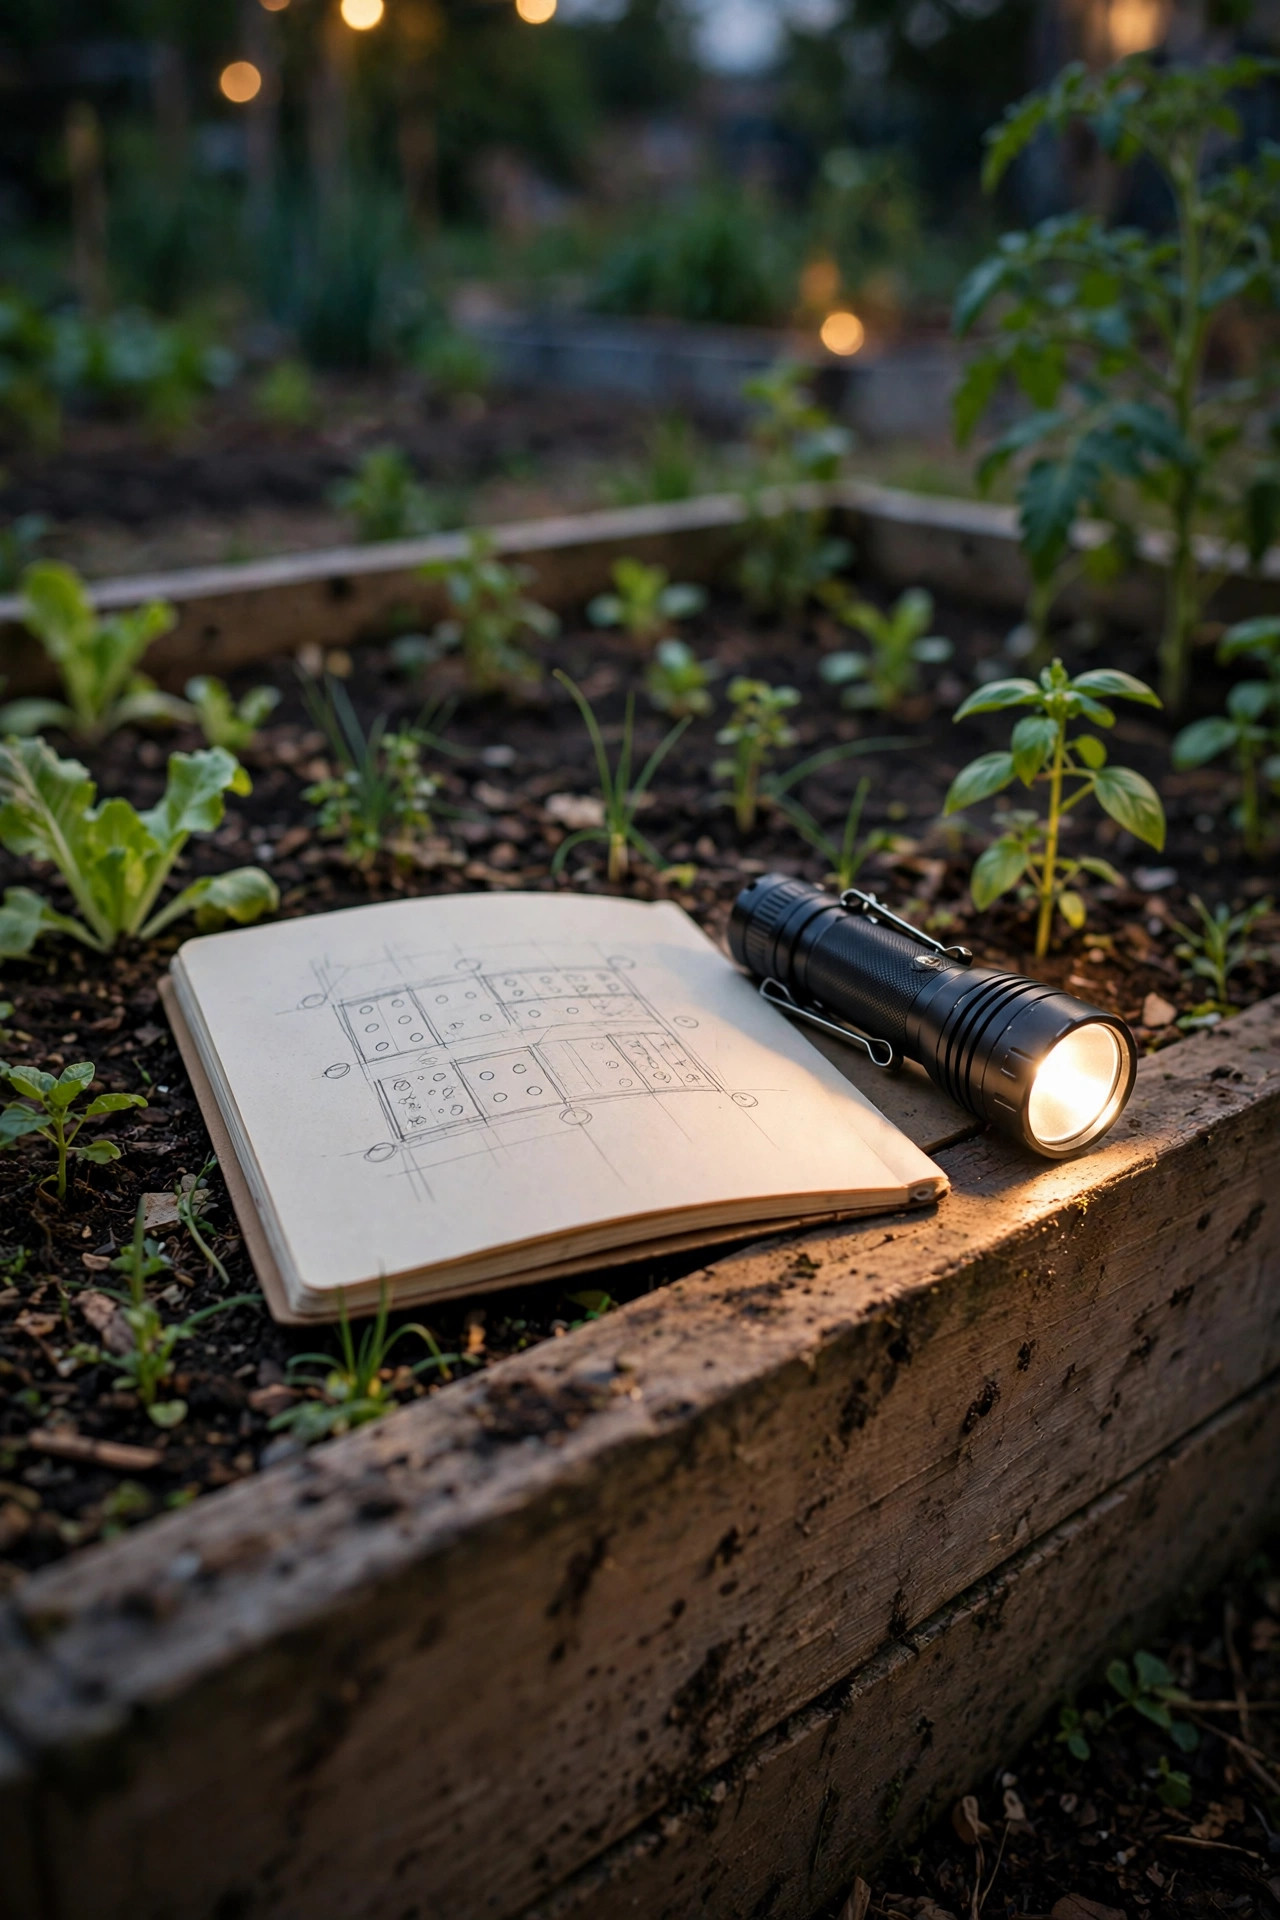
Before you buy a single light, walk your garden at dusk with a flashlight and a notebook — that ten-minute stroll has saved me more money than any sale. Sketch the beds, the paths between them, and where you actually stand to harvest, water, and weed. In my experience, every raised bed garden needs light at three heights: ground level for safe footing, bed level for the plants themselves, and one higher layer, like string lights or a lantern, to make the space feel finished. Mark your focal points too: the tomato trellis, the herb bed by the gate, the sunflower corner you are proudest of. Those get the accent lights. Everything else gets simple, even spacing so no bed feels left out. Note which corners catch full sun all day, because those spots are perfect for solar fixtures, and which sit in shade, where low-voltage wired lights will serve you better. This little map becomes your shopping list, and it stops the classic mistake of buying twelve of one thing and nothing for the paths. Plan first, and every dollar after that works twice as hard.
Suggested budget range: $0 – $15.
2. Line the Paths With Solar Stake Lights
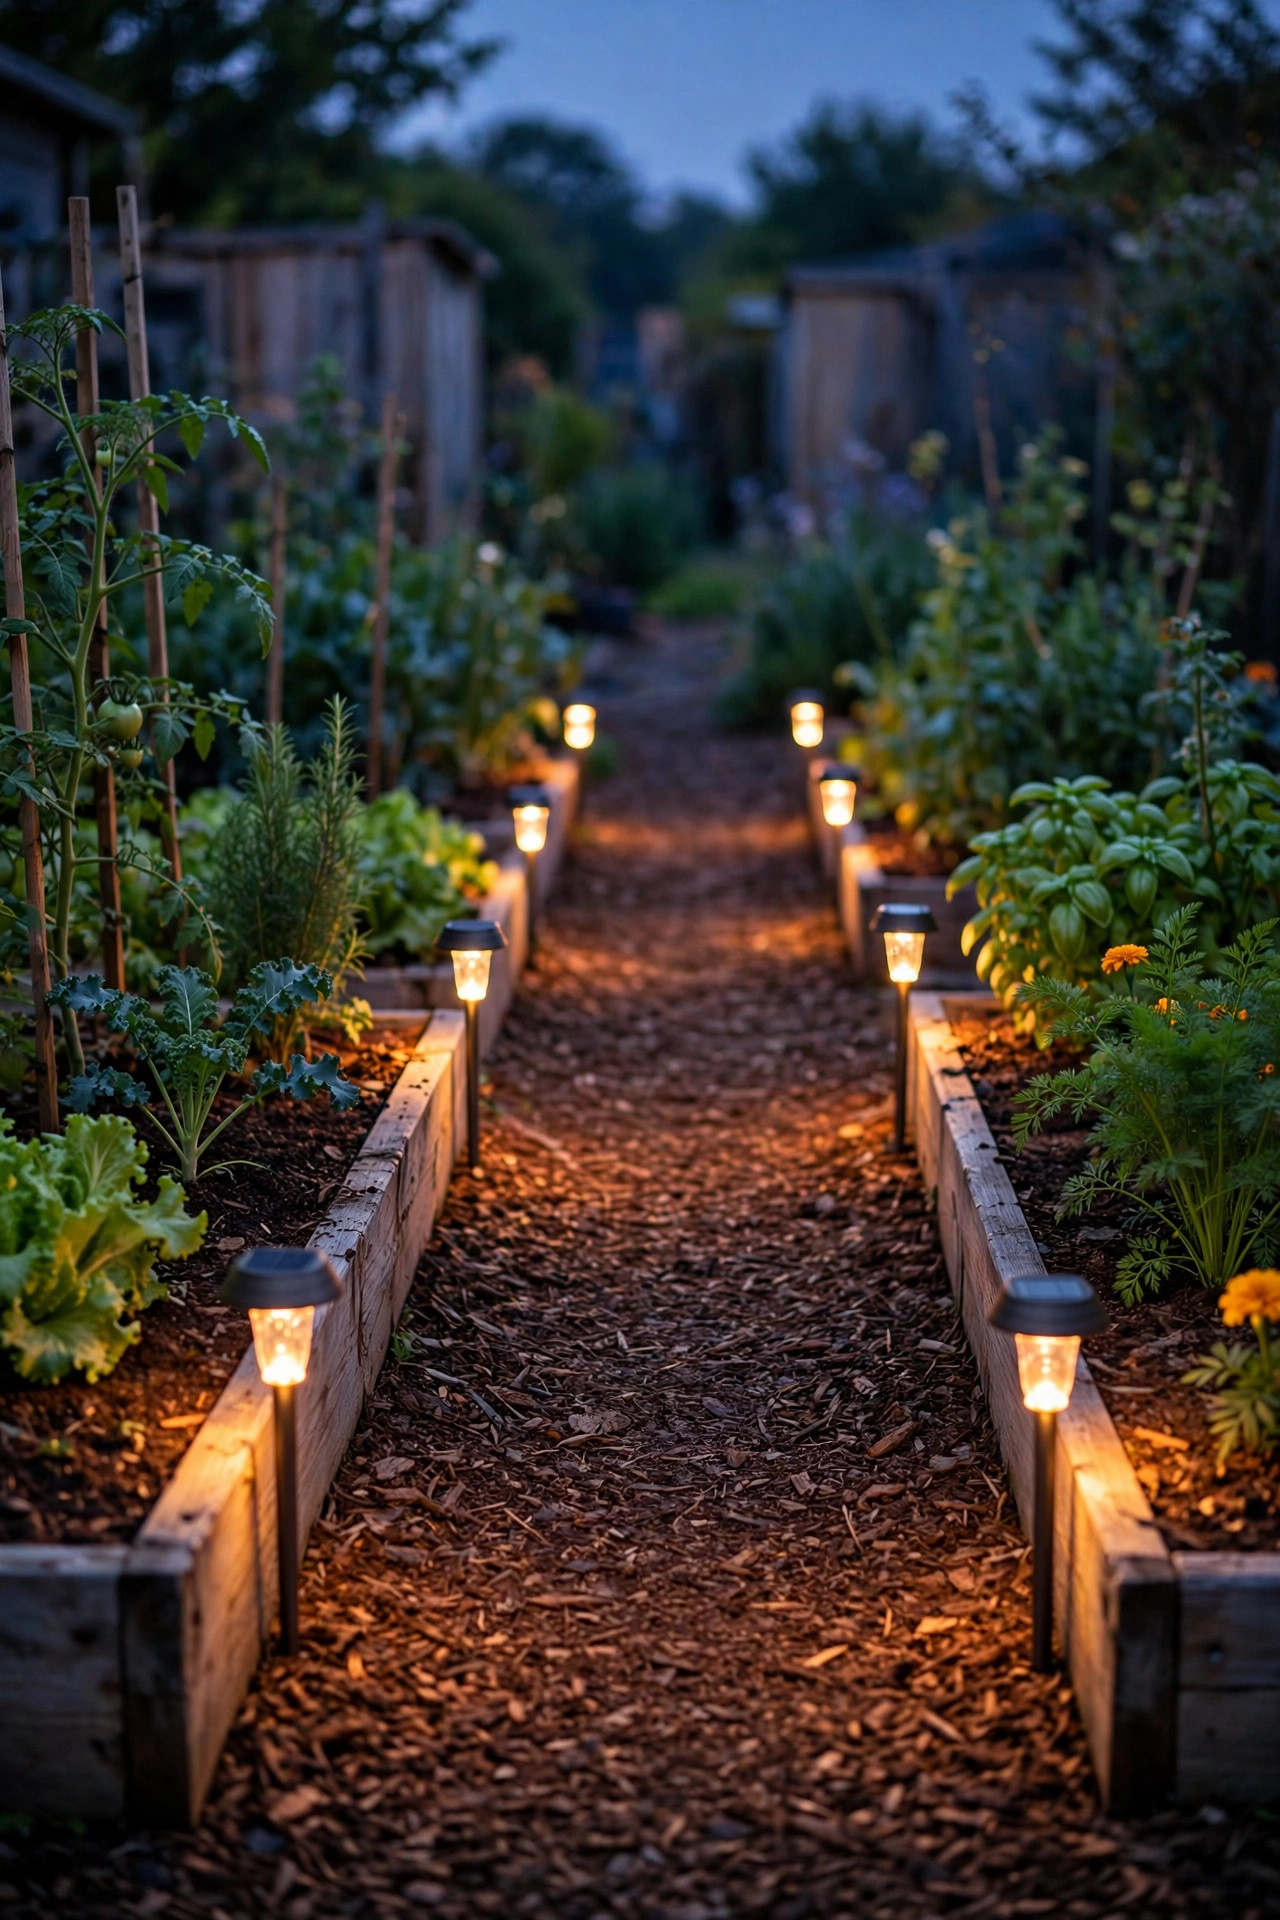
The paths between raised beds are where lighting earns its keep, and solar stakes are the friendliest way to light them. I push them into the soil along both sides of my main paths, spaced about 18 to 24 inches apart, staggered rather than in stiff pairs so the light feels natural instead of runway-like. Choose warm white, around 2700K to 3000K, so the lettuce and kale look rich green instead of blue and washed out. A small solar panel on top of each stake charges all day; look for models that promise 8 to 10 hours of runtime so they are still glowing when you wander out at 10 p.m. for a handful of basil. Keep the stakes low, 12 to 15 inches tall, so they light your footing without shining in your eyes while you kneel. In shady gardens, pull the panel-topped stakes to the sunniest ends of the paths or upgrade to stakes with a separate panel you can mount on the fence. My solar path lights guide walks through brightness and battery basics if you want to compare styles before buying a set.
Suggested budget range: $20 – $45.
3. Hide LED Strips Under the Bed Rails
This is the trick that makes visitors ask what my secret is. Most raised beds have a top rail or cap board, and the underside of that rail is the perfect hiding spot for a waterproof LED strip. The strip itself disappears, and at night each bed gets a soft floating outline of light that washes down the frame and pools gently on the path. Use an outdoor-rated strip, IP65 or better, in warm white, and stick it with the adhesive backing plus a few small clips, because summer heat can soften adhesive over time. Low-voltage strips that plug into a small transformer are the reliable route; solar strip kits exist but run shorter hours. Run the thin connecting wires down the inside corner of the bed where nobody sees them, and put the transformer in a weatherproof box near an outlet or on a timer. Keep brightness modest — this is a glow, not a landing strip — and dimmable strips let you soften it further for late evenings. It is a modern look that somehow still feels cozy, and it makes every bed edge visible so nobody clips a corner with the wheelbarrow.
Suggested budget range: $30 – $70.

4. Swag String Lights Over the Beds
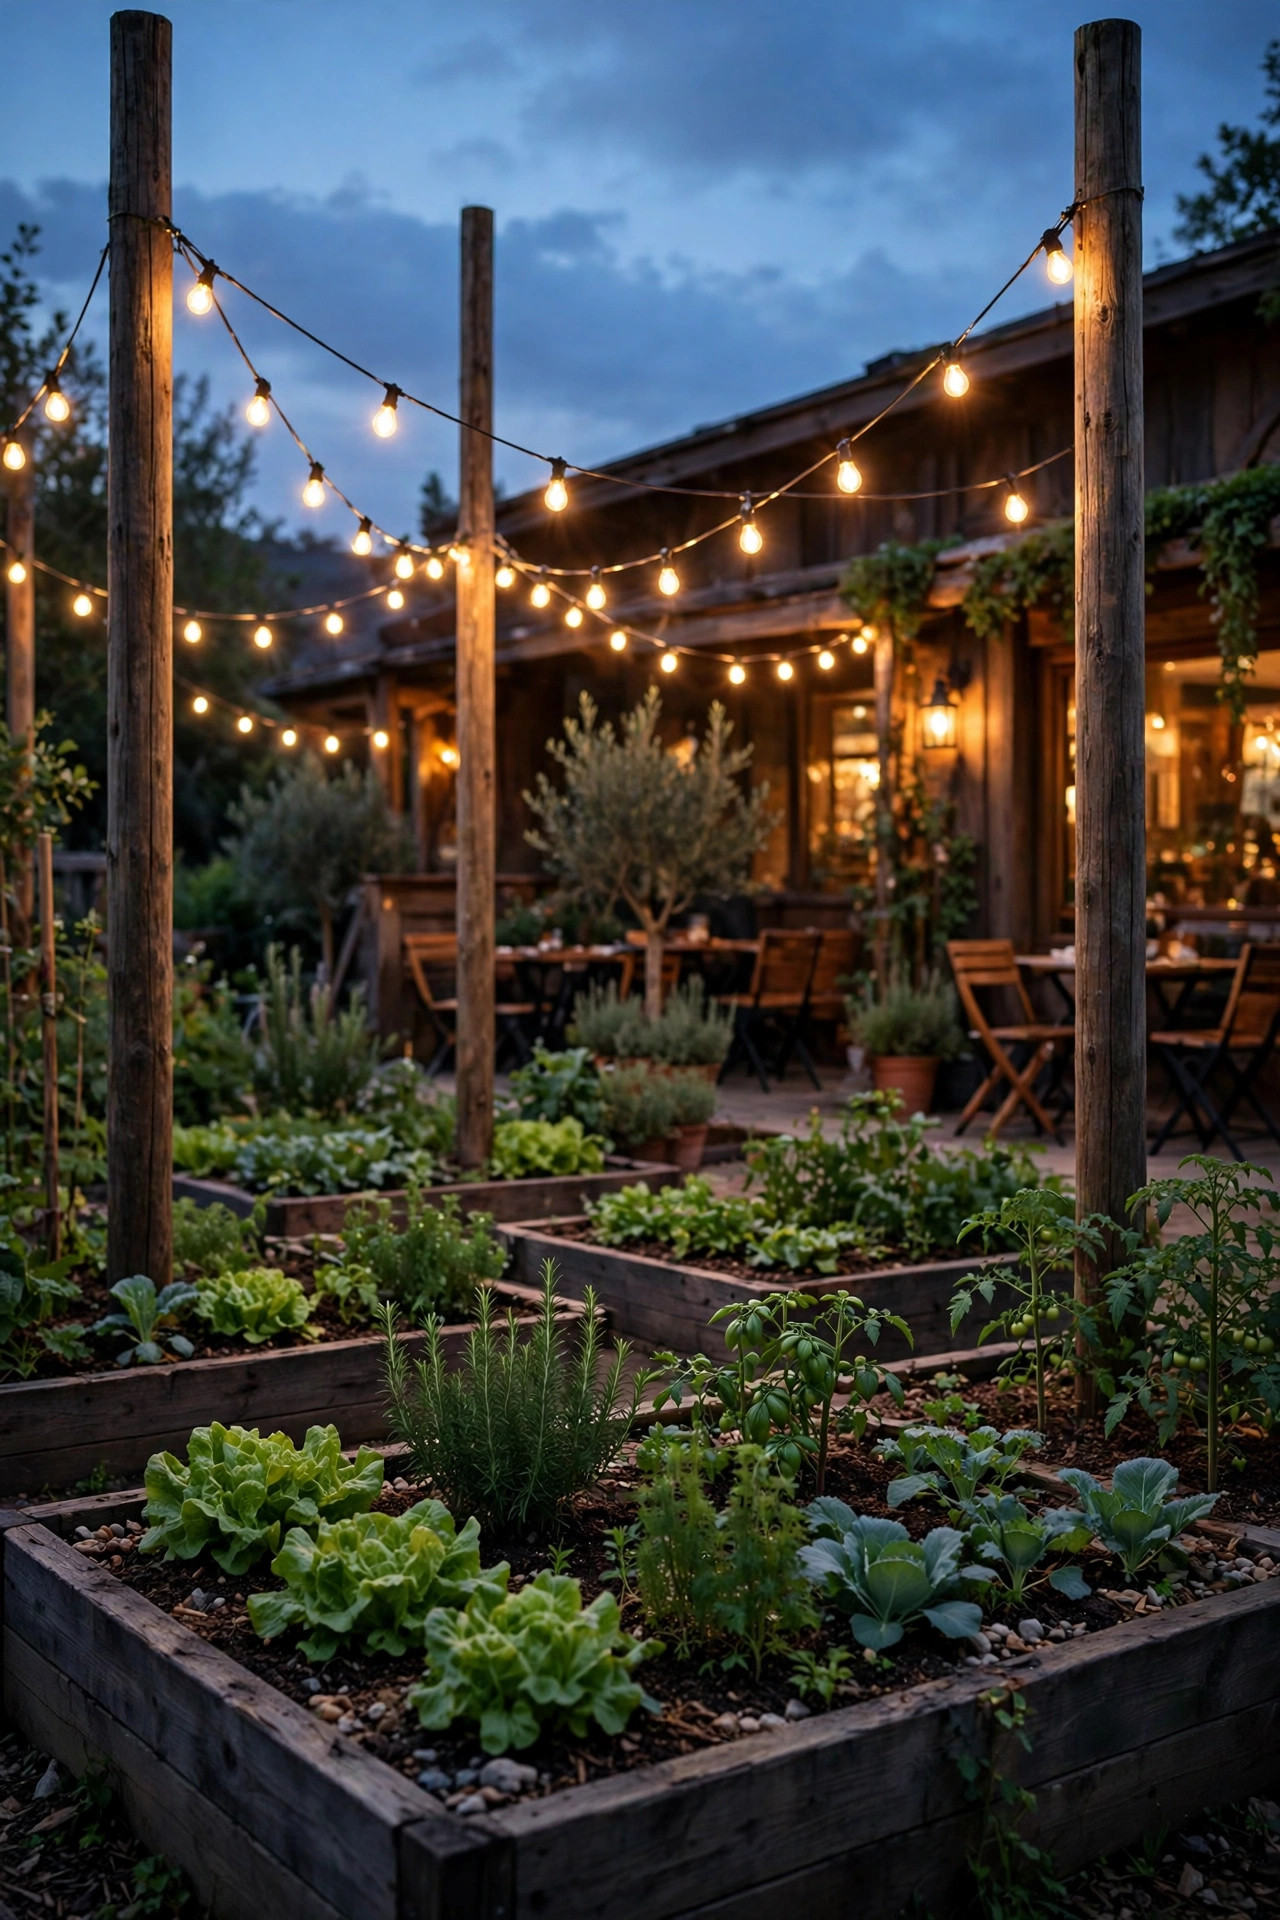
Nothing changes a vegetable garden faster than string lights overhead. I run two strands in gentle swags between 8-foot poles at the bed corners, high enough to walk under with a watering can but low enough to feel like a ceiling. Shatterproof LED café bulbs are non-negotiable near food beds — glass over soil you eat from is a worry you do not need. Warm white bulbs around 2700K flatter everything, and the light from above makes tomato foliage look almost theatrical. Secure the strands to the poles with zip ties or small hooks, and let the swag dip about 6 to 8 inches in the middle for that relaxed café feel. Plug into a GFCI outlet, always, and use an outdoor extension cord rated for the job, never an indoor one. If your beds sit far from an outlet, solar string lights have improved enormously, though they dim earlier on cloudy stretches. I leave mine up all season and only take them down before the first hard freeze. One strand over a seating corner plus one across the beds is usually plenty; resist the urge to crisscross the whole sky.
Suggested budget range: $35 – $80.
5. Cap the Bed Corners With Solar Post Lights
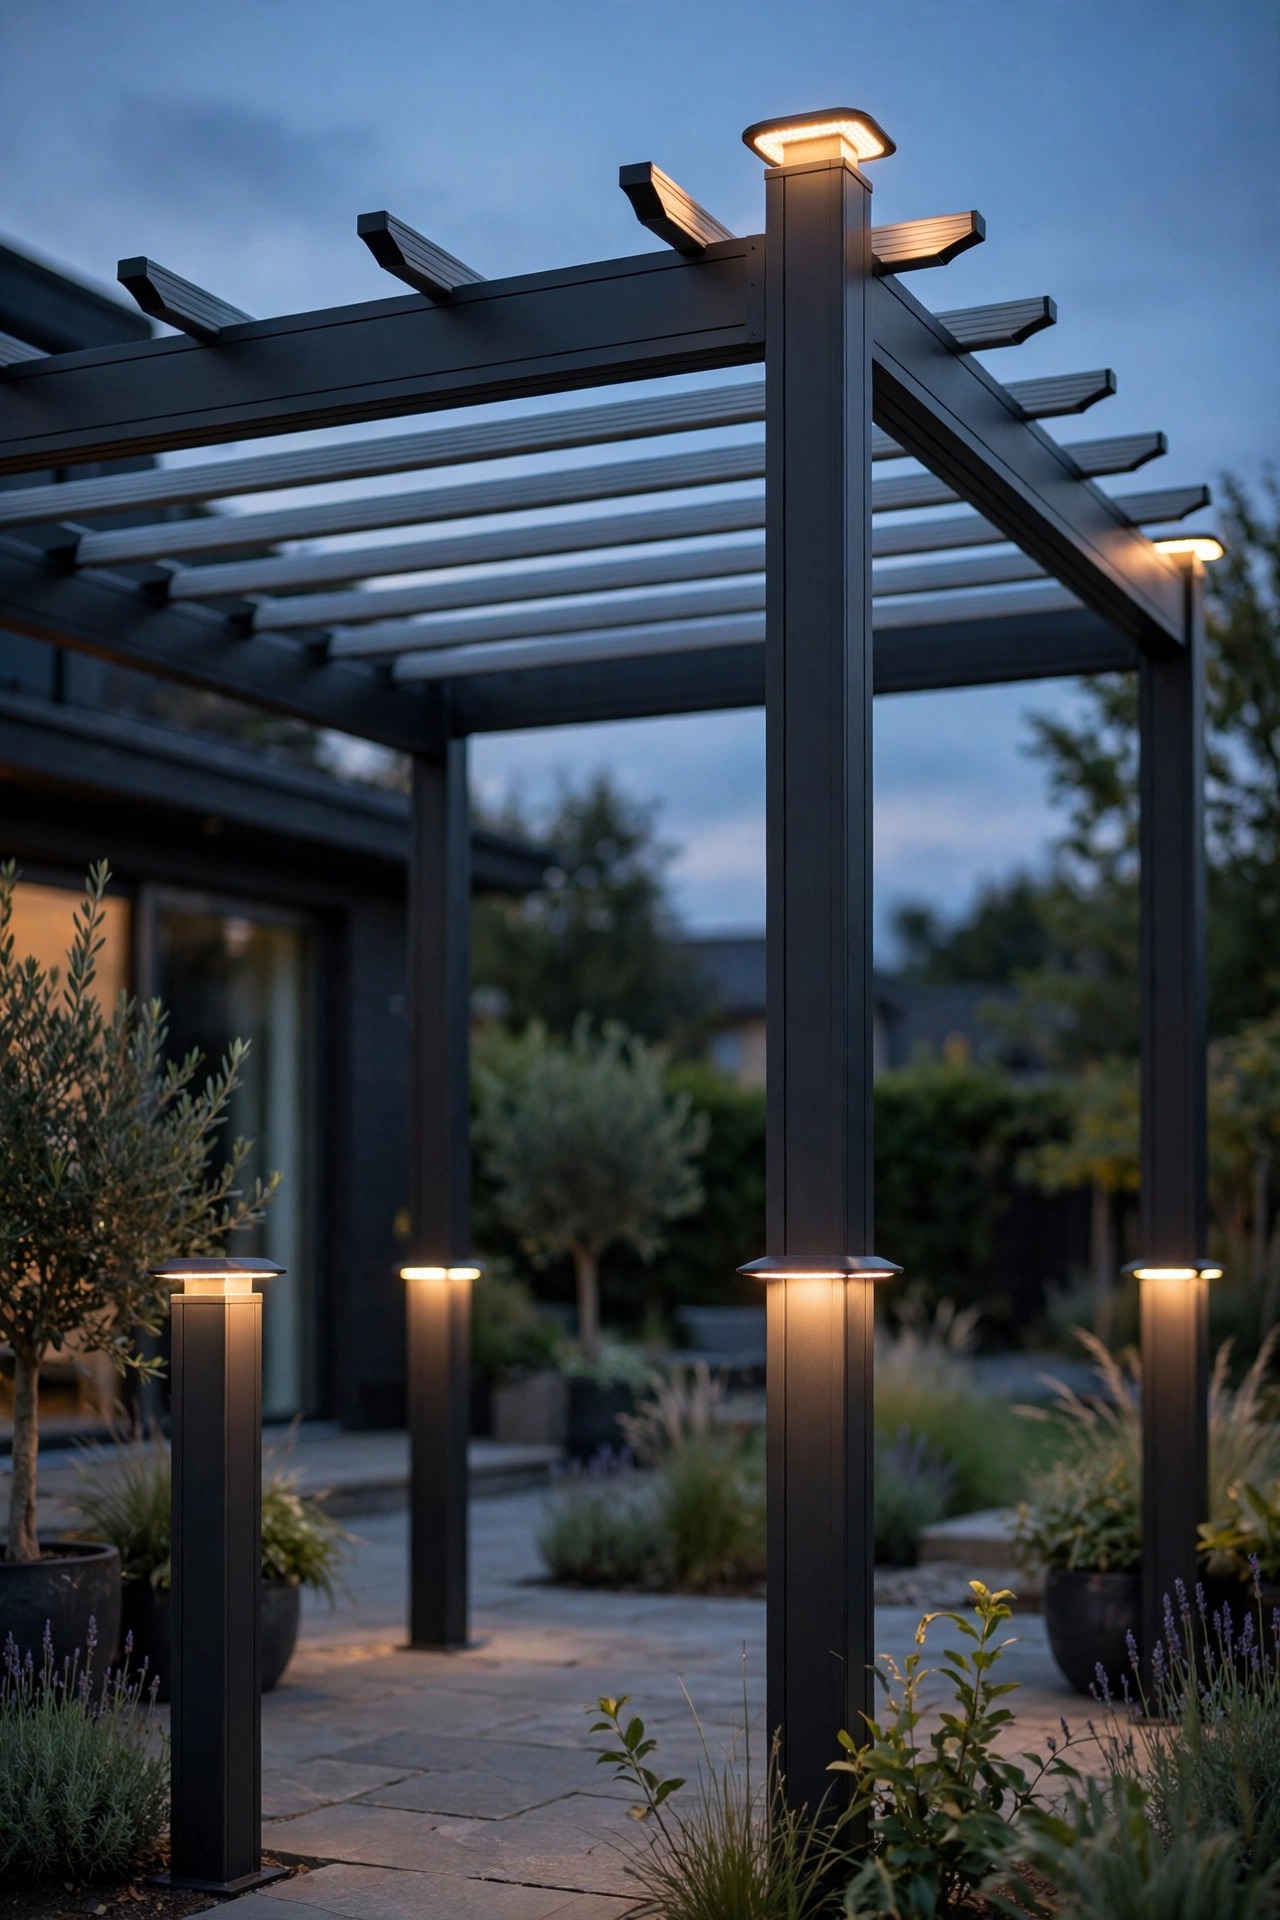
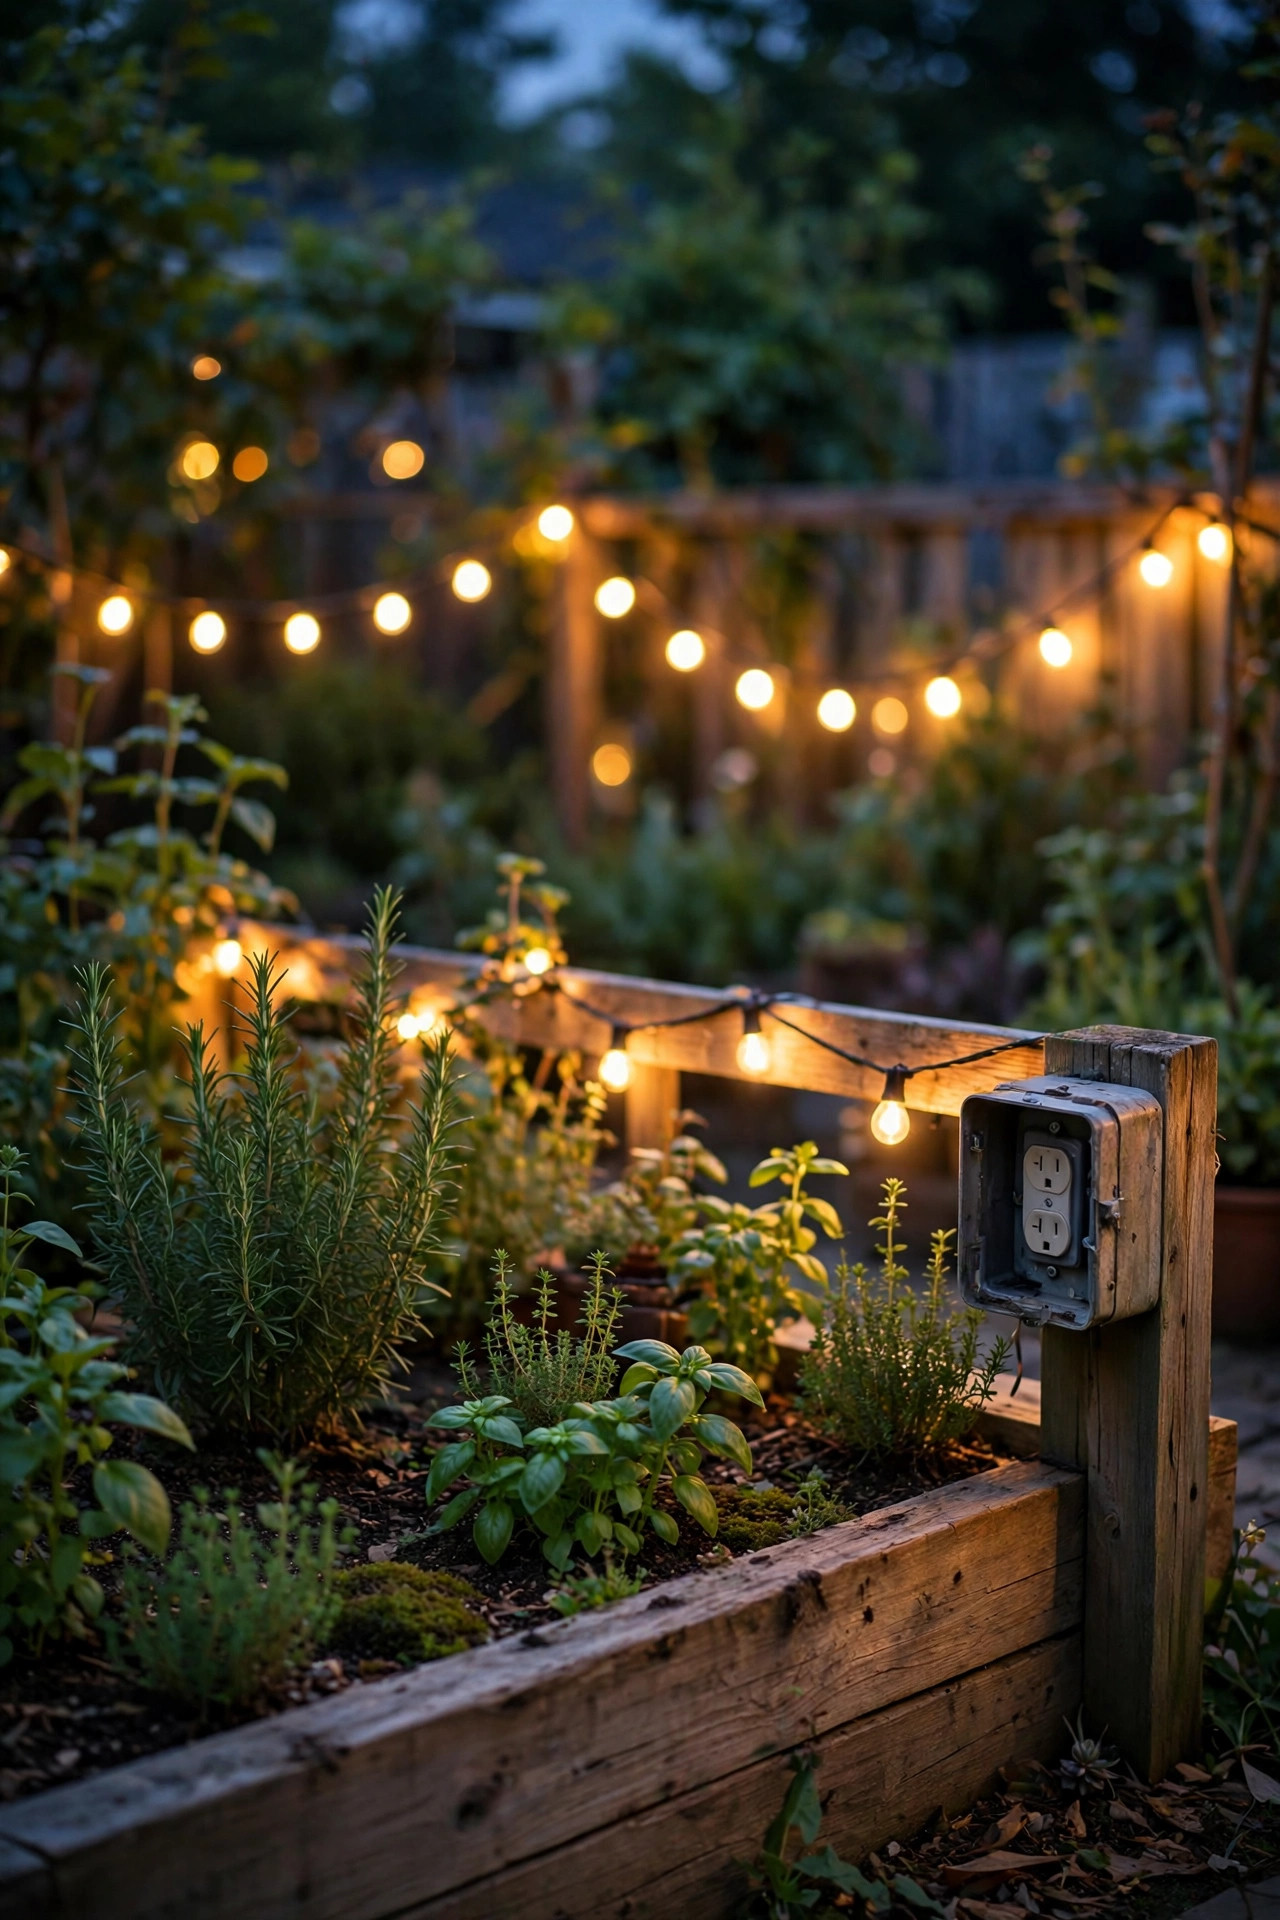
Raised bed corners are trip hazards after dark and, weirdly, the corners are exactly where I catch my shin during evening harvests. Solar post-cap lights solve it elegantly: they sit right on top of the corner posts of wooden beds and glow just enough to mark the outline of every bed. Most caps are sized for standard 4×4 or 6×6 posts, and if your beds were built with corner posts that rise an inch or two above the rails, installation is literally setting the cap on and adding two small screws. Pick caps with warm white LEDs and a dusk-to-dawn sensor so they switch themselves on as the garden darkens. The light is gentle — think marker, not floodlight — which is exactly what corners need. Metal beds without posts can borrow the idea with clamp-on solar caps or small stake lights tucked at each corner instead. Wipe the little solar panels every few weeks; a film of pollen and dust can cut charging noticeably by midsummer. Four caps, one per bed, and suddenly the whole garden reads as a tidy, intentional grid from the back door.
Suggested budget range: $25 – $60.
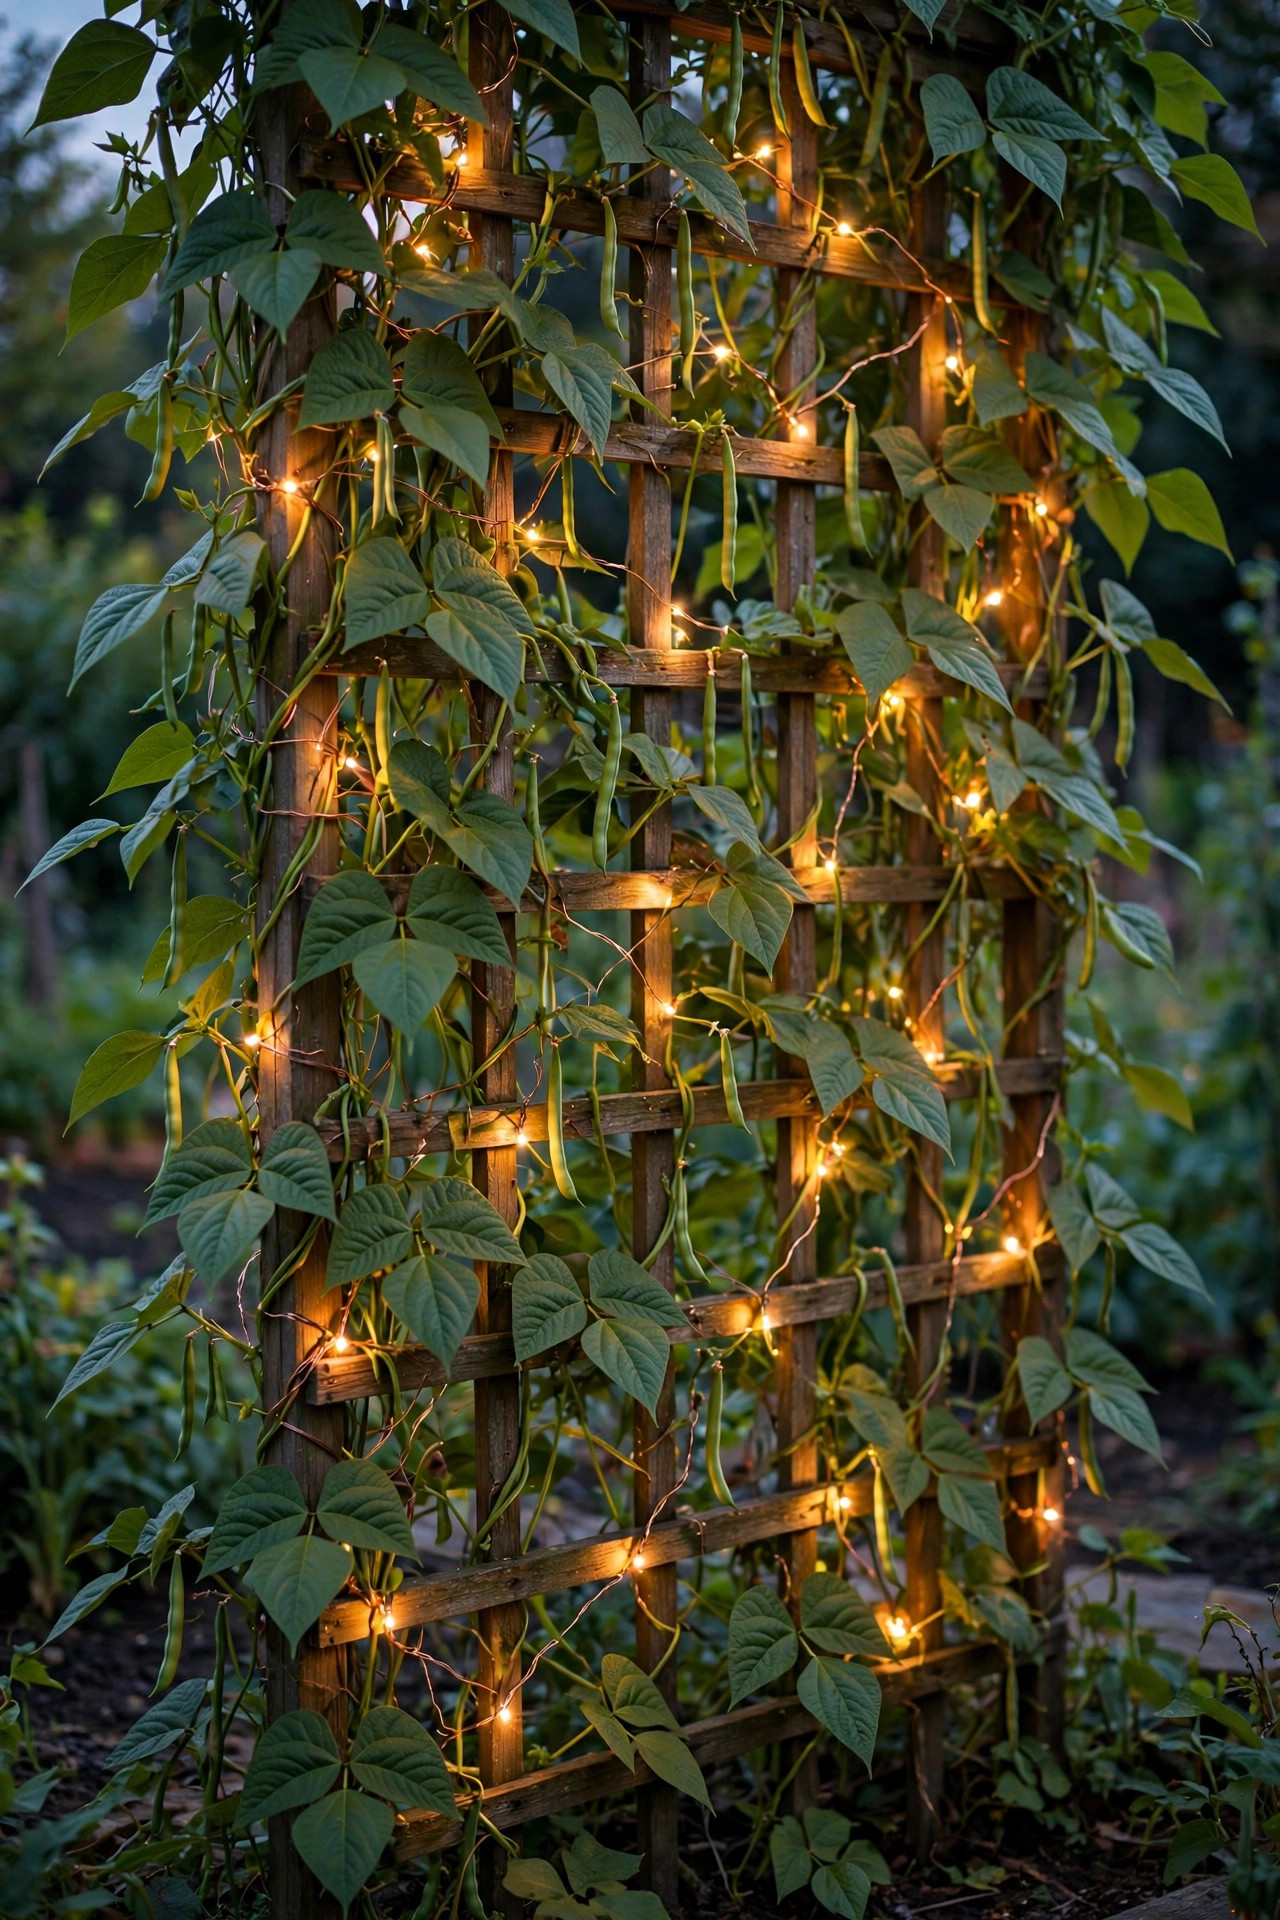
6. Weave Fairy Lights Through the Trellis
My pea and bean trellis is a plain grid of wire and twine for ten months of the year, but in summer I weave copper-wire fairy lights through it and it becomes the garden's lace curtain. The wire is so thin it vanishes among the vines, leaving just a scatter of tiny warm sparks floating in the leaves. Solar fairy strings are ideal here because the trellis is usually far from an outlet, and the little separate solar panel can sit in a sunny gap at the base. Weave loosely, in and out of every other square, and let a few strands trail down like vines themselves. Copper wire bends and holds its shape, so wind is not a problem, and the LEDs stay cool, which matters when they are touching dry twine and foliage — I only ever use LED fairy lights near plants, never anything that warms up. By August the beans have grown through the lights and the whole panel glows from inside the greenery. Take them down when you clear the trellis in fall, coil them around a piece of cardboard, and they will untangle politely next spring.
Suggested budget range: $12 – $30.
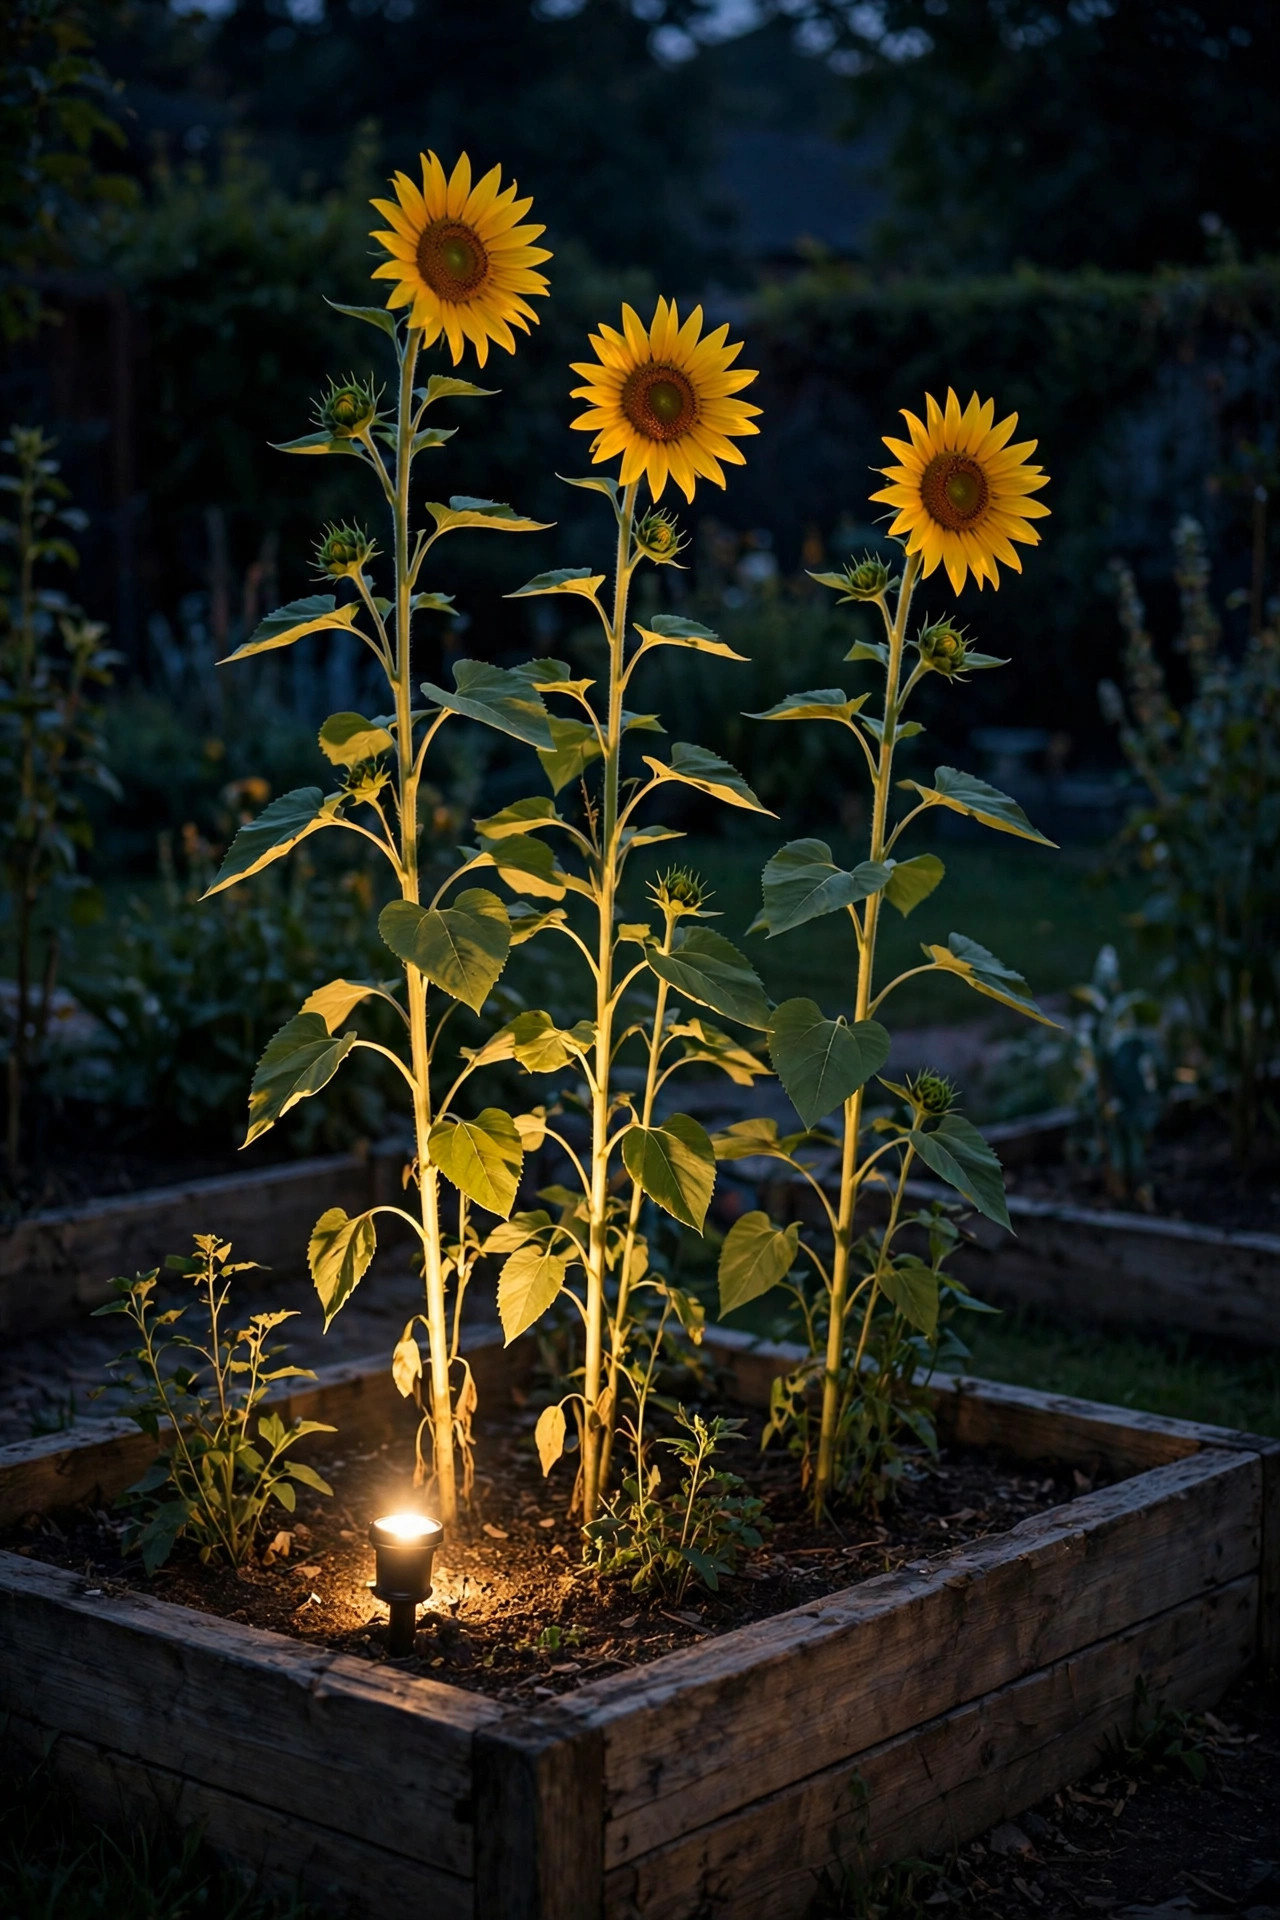
7. Spotlight the Hero Plants
Every garden has a plant it brags about — my grandmother-worthy sunflowers, a sculptural artichoke, the pepper bed in full color. A single low-voltage spotlight aimed up through that plant turns it into sculpture after dark. I use small adjustable stake spots, one per hero, positioned about 12 to 18 inches from the base and angled steeply so the beam rakes up the stems and leaves rather than blasting outward. Warm white again, and modest brightness: 100 to 200 lumens is plenty for drama without glare. Low-voltage spots on a simple transformer are the dependable choice, and solar spotlights work if the panel gets real sun. Keep the fixture tucked behind foliage so you see the effect, not the hardware. One warning from experience: do not spotlight everything. Two or three lit heroes in a whole garden read as art; ten read as a parking lot. Rotate the honor as the season changes — spring peas, summer tomatoes, fall pumpkins on the vine. It is the cheapest stage lighting you will ever buy, and it makes the whole bed around it look intentional.
Suggested budget range: $25 – $55.
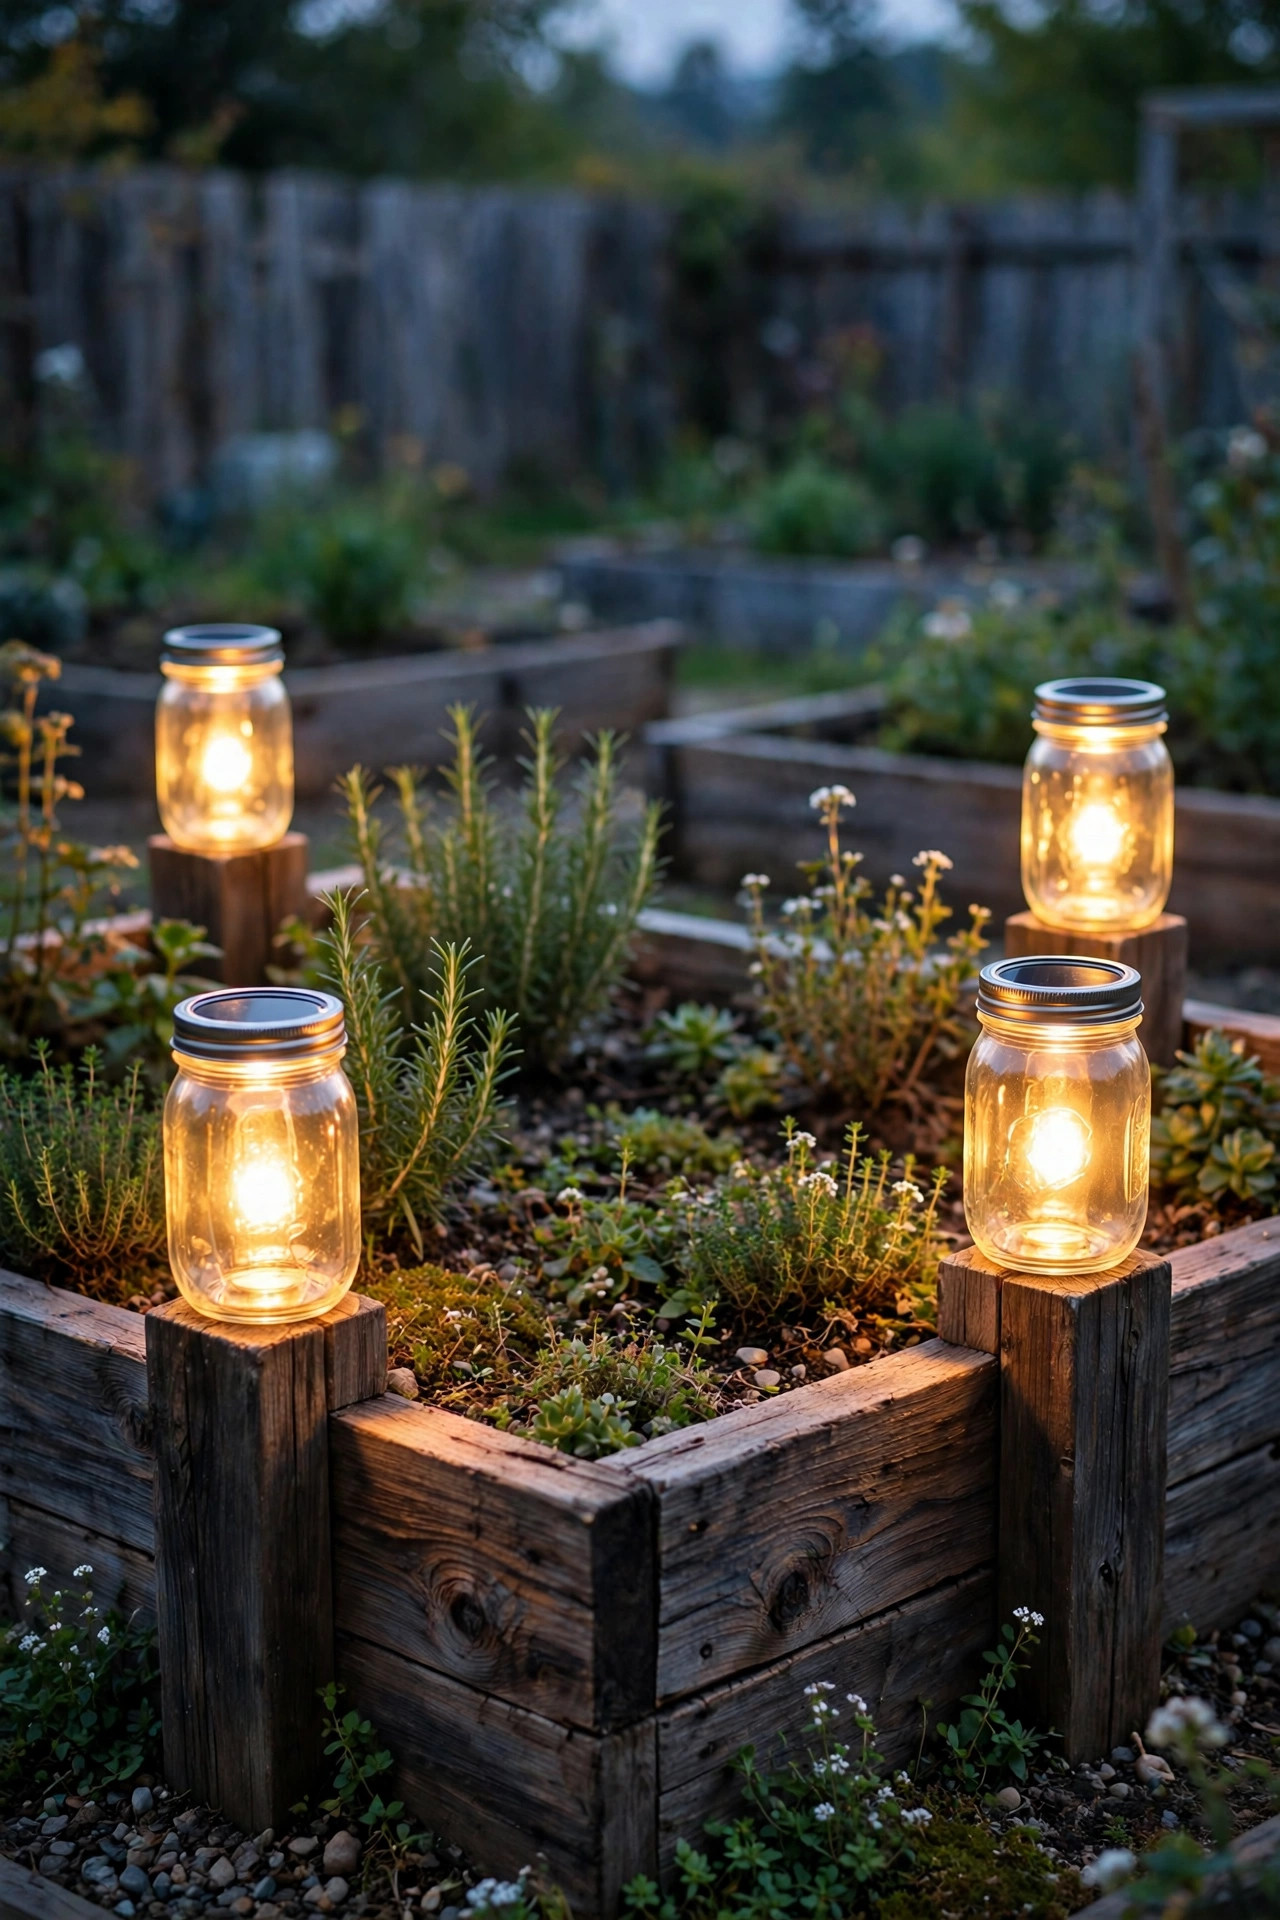
8. Set Mason Jar Lanterns Along the Bed Ends
For pure charm per dollar, nothing beats solar mason jar lanterns. The lids hold a small solar panel and LED, the jar glows like captured fireflies, and you can hang them from short hooks at the ends of the beds or simply set them on the corner rails. I group them in odd numbers — one jar looks lonely, three look styled. They are wonderful markers for bed ends along a path and give off the softest light of anything in this list, more glow than illumination, which is exactly right beside a bench or the garden gate. Frosted jars diffuse the light best; clear jars show the little LED string inside, which has its own fairy-tale appeal. Because they are self-contained, they move wherever the evening takes you: line a bed for a dinner in the garden, then carry two to the patio table. Rain does not bother them, and a quick rinse keeps the glass clear. Just bring them in before hard freezes so the batteries live longer. Mine are five years old and still glowing, which makes them the best fifteen dollars in the garden.
Suggested budget range: $15 – $35.
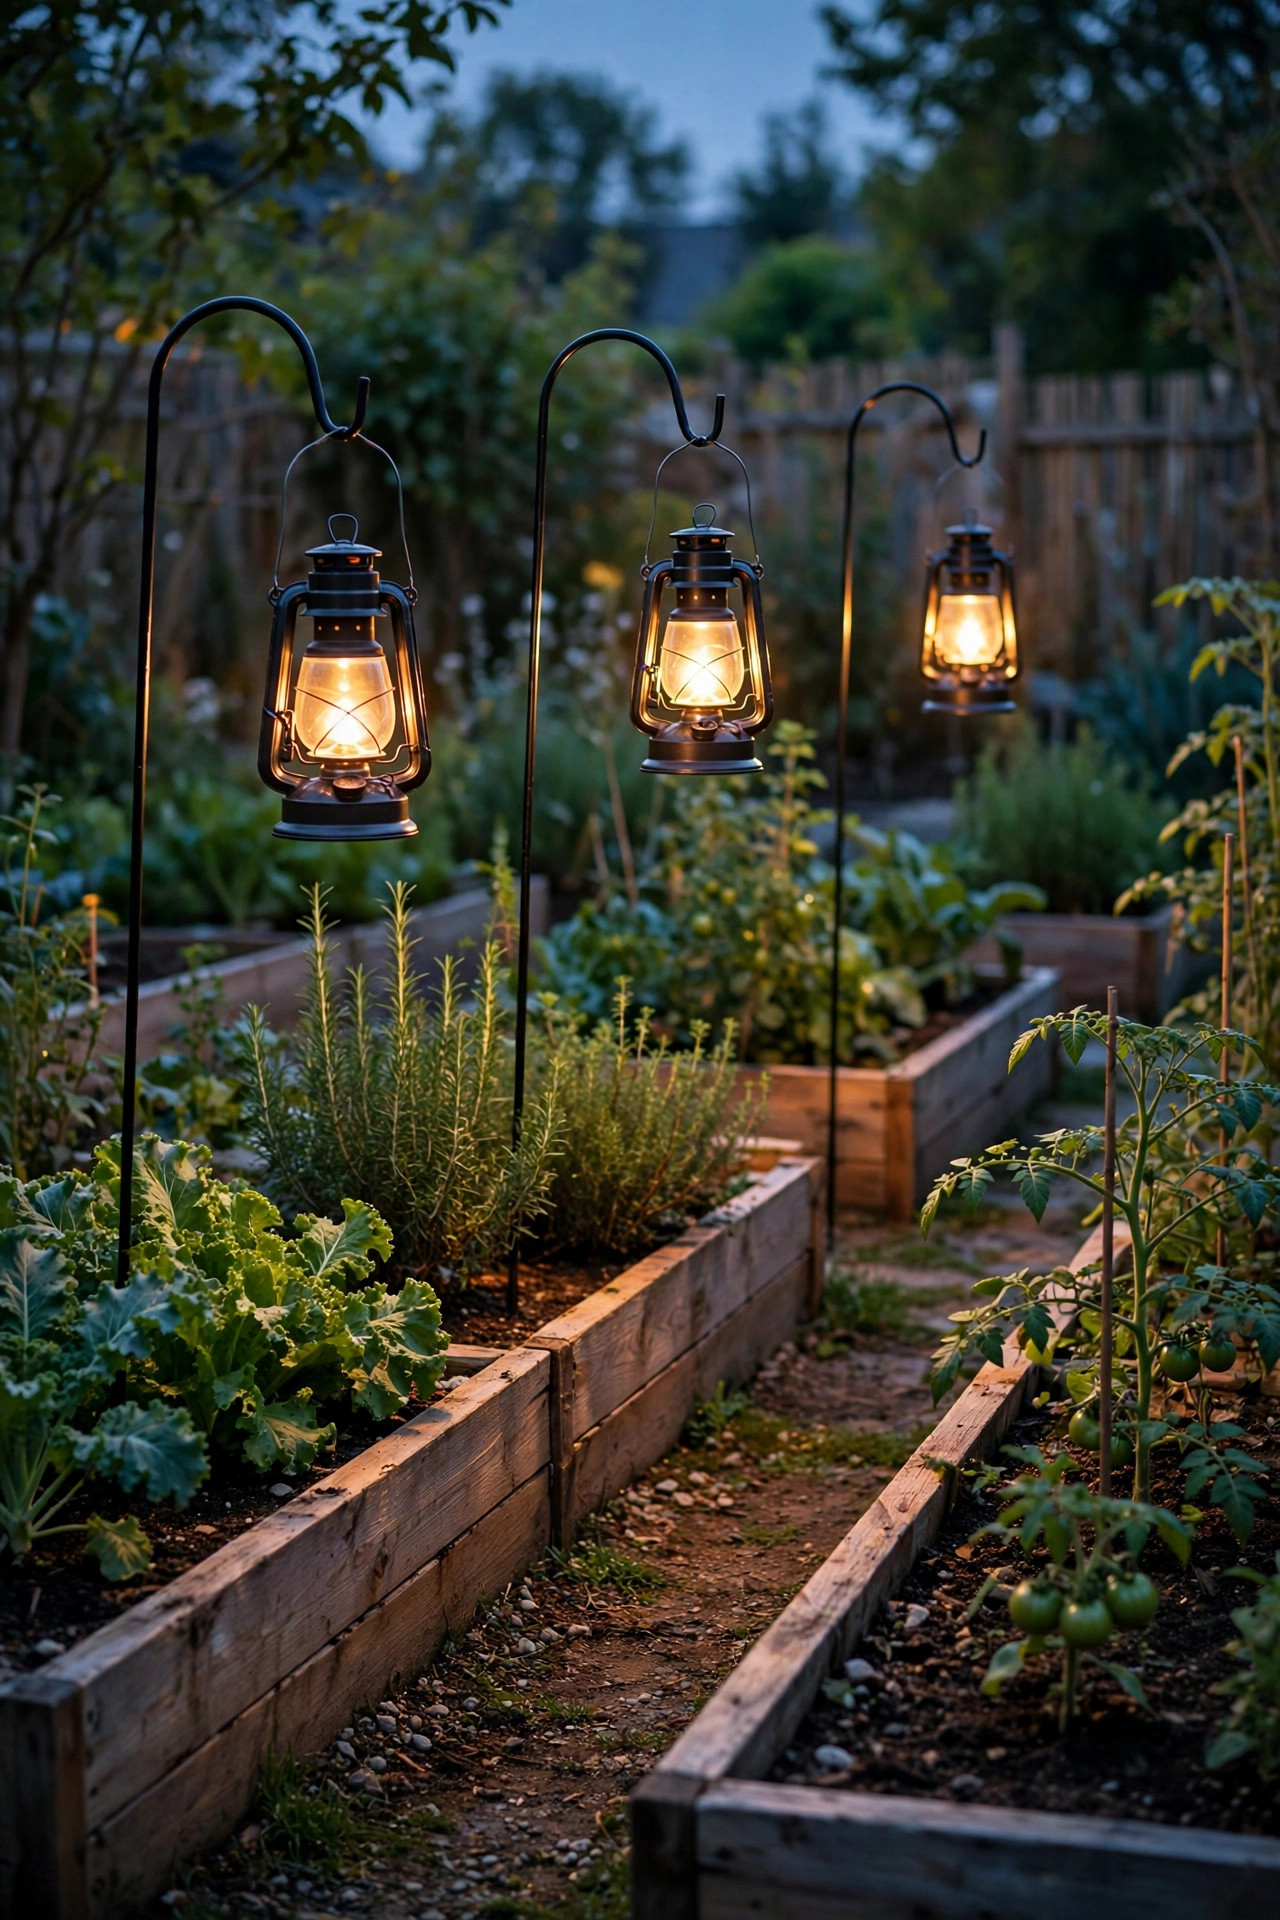
9. Hang Lanterns From Shepherd Hooks Between Beds
Shepherd hooks turn flat garden paths into a little lantern parade. I push 36 to 48 inch hooks into the soil at the ends of alternate beds and hang a weatherproof lantern from each — battery candles inside for zero fuss, or solar lanterns that charge where they hang. The raised height, right around eye level when you are kneeling and waist level when standing, fills the middle layer of light that stake lights cannot reach. Lanterns in matte black or aged copper suit a vegetable garden; keep the style consistent so it reads as one design rather than a yard sale. For safety, choose flameless candles or enclosed solar lanterns — open flames near dry mulch and tomato twine are a risk I never take. Battery lanterns on a six-hour timer are my personal favorite because they light at the same time nightly without me thinking about it. Space the hooks unevenly, every other bed or at path turns, and stagger heights slightly for a collected feel. When storms threaten, the lanterns lift off in seconds and shelter in the shed.
Suggested budget range: $30 – $65.
10. Edge the Beds With Rope Light
Rope light is the unsung outline artist of the garden. Run it along the ground at the base of the beds, or tucked under the bottom edge of the frame, and every bed gets a clean ribbon of light that defines the paths better than anything else I have tried. It is especially good in gardens where the beds sit on gravel or pavers, because the reflection doubles the effect. Choose LED rope in warm white with an outdoor rating, and secure it with the little mounting clips every 18 inches so it stays in a tidy line instead of wandering. Solar rope light exists and works on short runs, but for a whole garden of beds, a low-voltage or plug-in set on a timer is steadier. Keep the connections off the ground in small waterproof junction covers, and never run rope light where the mower or string trimmer travels. I also avoid it inside the beds themselves — soil, digging forks, and frequent watering are hard on it. Along the bases and the main path, though, it gives the structured, almost formal look that makes a kitchen garden feel like a designed room.
Suggested budget range: $20 – $50.
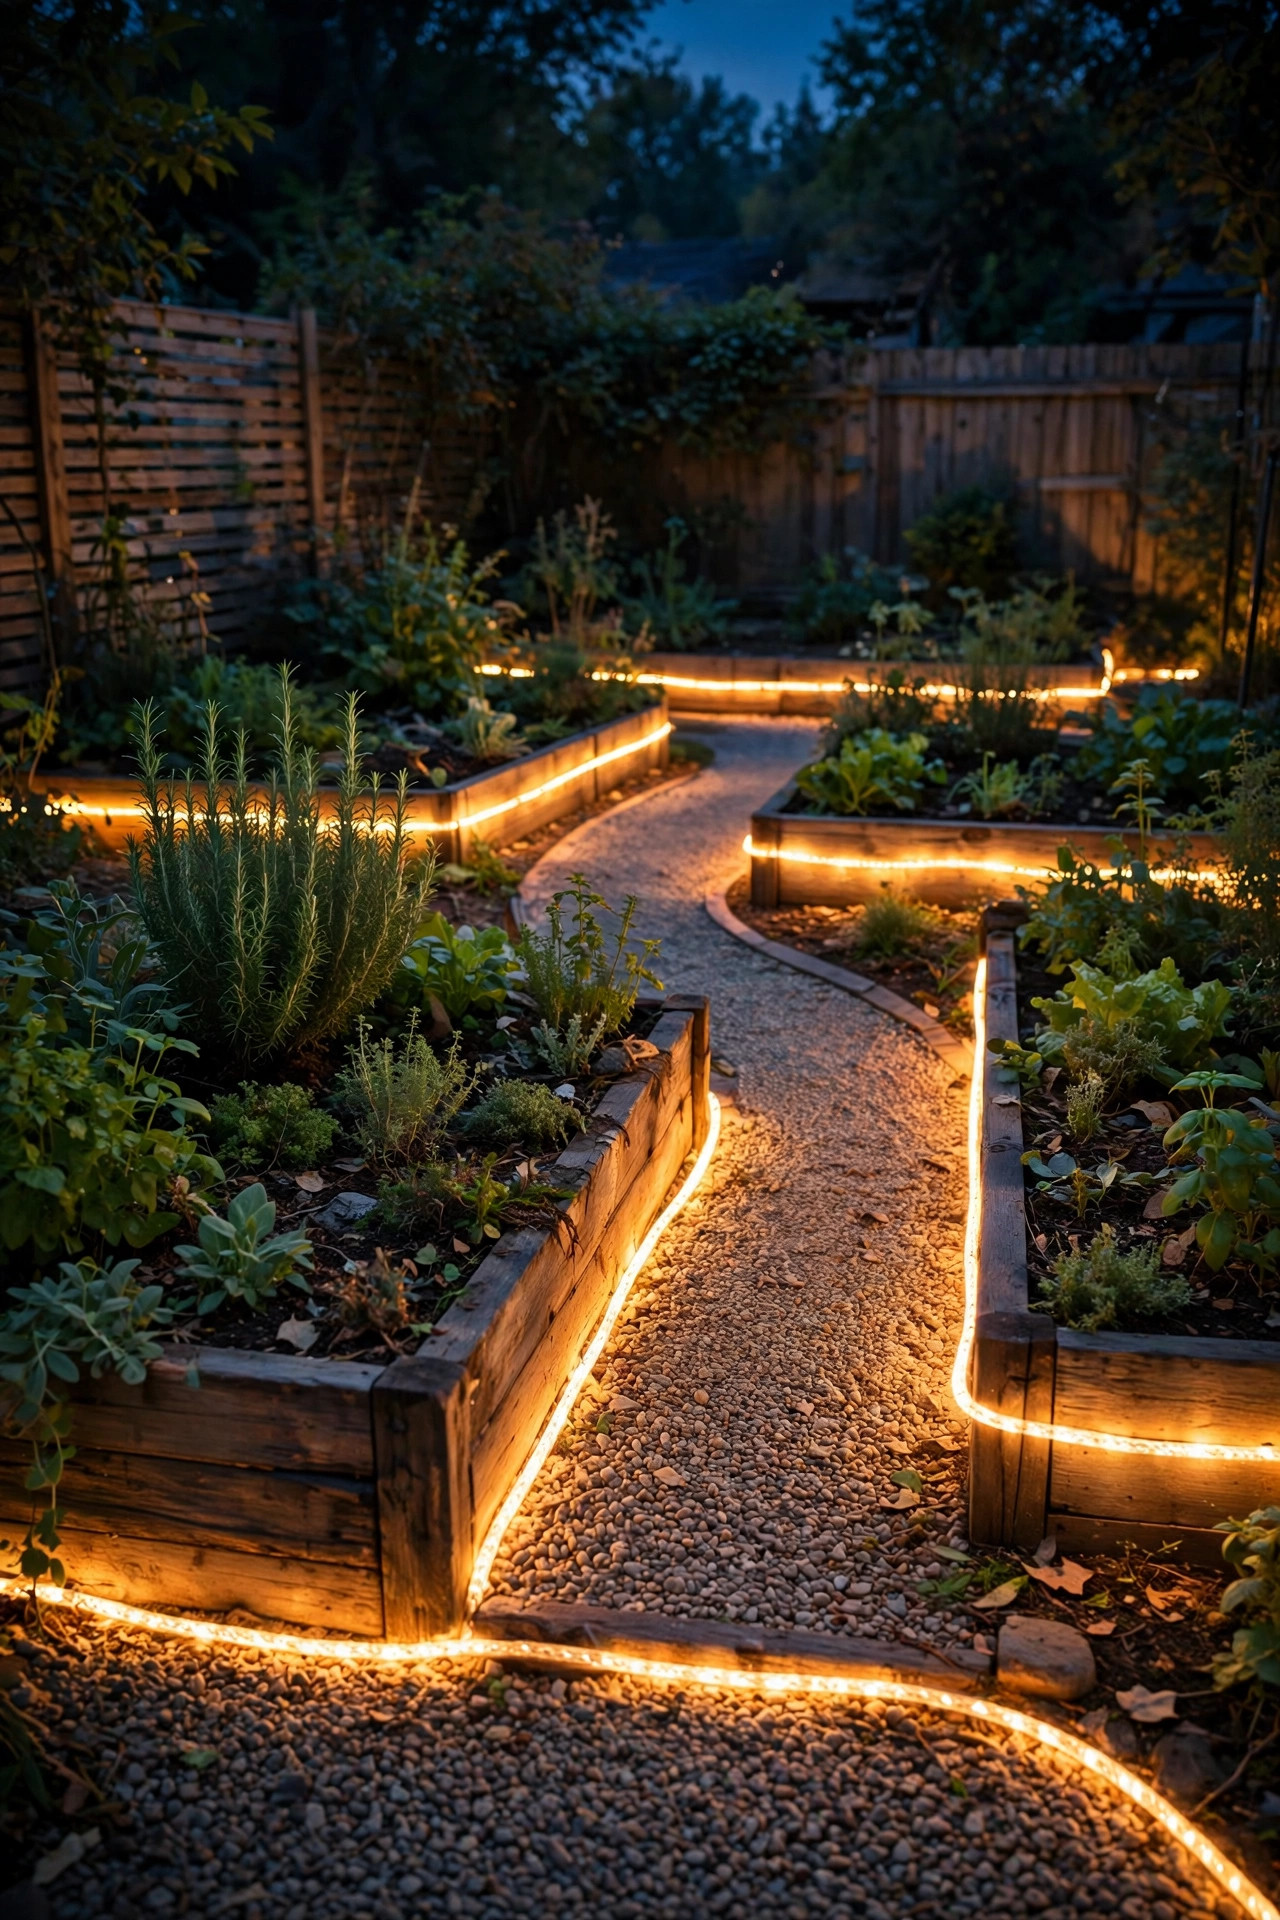
11. Keep a Battery Lantern Ready for Evening Harvests
Some garden light is for looks, and some is for finding the zucchini hiding under the leaves at 9 p.m. For the second kind, I keep a bright rechargeable lantern hanging on a hook by the gate, and honestly it is the hardest-working light in the garden. Look for 400 to 800 lumens with a dimmer, because full brightness finds ripe tomatoes and low brightness will not blind you or the neighbors. A lantern with a warm-to-neutral setting is kindest to produce colors: ripe reds and yellows read true, so you pick what is actually ready. Hang it on a shepherd hook or set it on the bed rail while you work, then move bed to bed as you fill the basket. USB rechargeable models last me a week of evening rounds per charge. This is also the light that handles the unglamorous jobs — reading the rain gauge, checking the drip lines, finding the dropped pruners. Beauty lighting gets the compliments, but one good work lantern makes all of it more usable. Buy one decent lantern before you buy a second decorative anything.
Suggested budget range: $18 – $40.

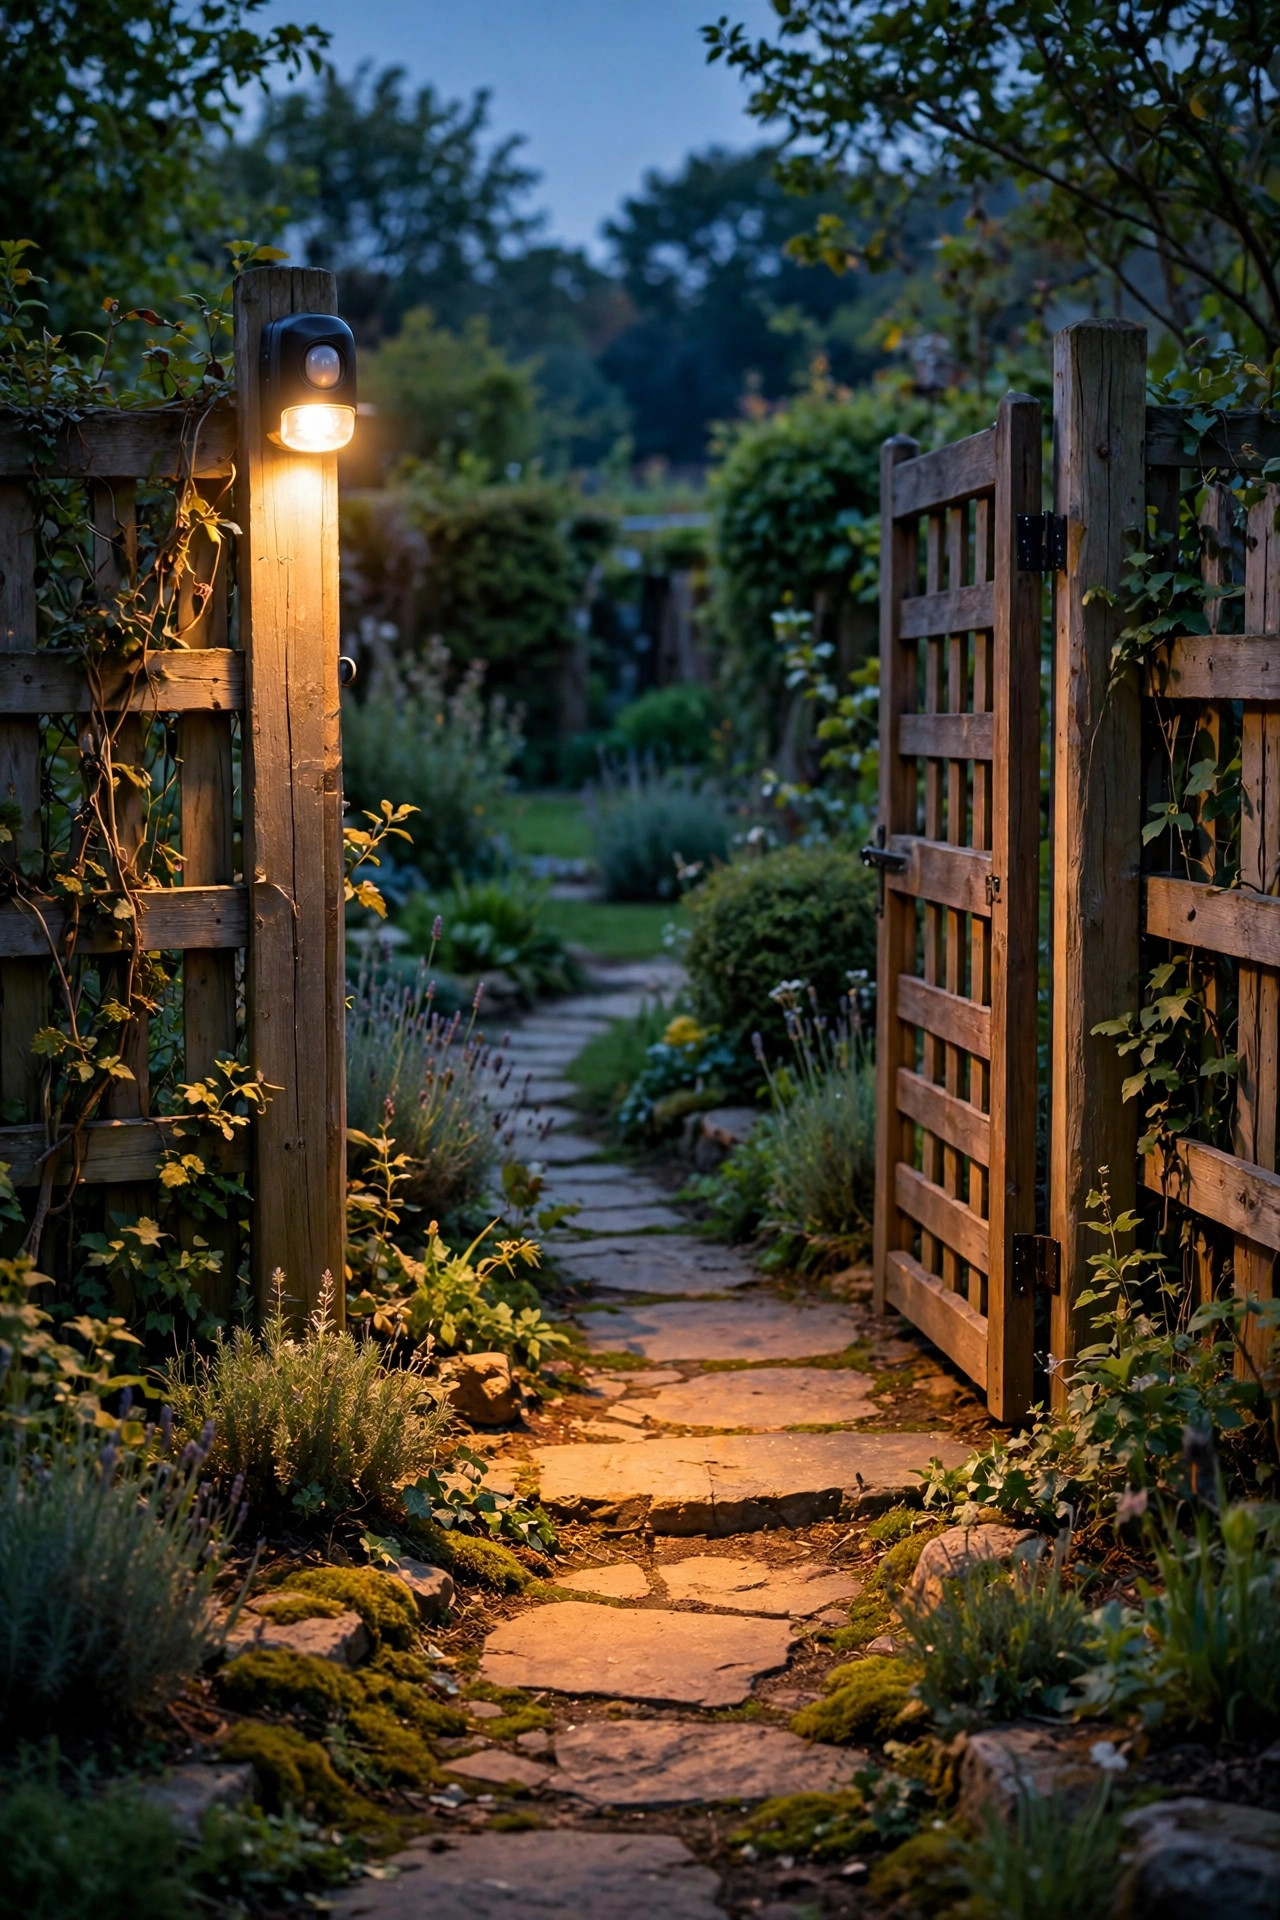
12. Add a Motion-Sensor Light at the Gate
The garden gate is where I arrive with full hands and leave with fuller ones, so it gets its own motion-sensor light. A solar motion light mounted on the gate post or the fence above it clicks on as I approach, floods the latch area and the first few feet of path, and politely switches off a minute later. Aim it downward so it lights the ground and the gate hardware, not the whole neighborhood, and set the sensitivity so the cat does not trigger it all night. These lights earn their place in winter too, when a quick dusk run for herbs happens in near dark. Choose one with a decent size solar panel and a replaceable battery, because the battery is what gives up first after a few seasons. In wired gardens, a hardwired motion fixture on a nearby shed works even better and never needs charging. Either way, the gate light is pure function — no ambience duties — and that is fine. Every layered garden needs one honest workhorse that turns on by itself. This is mine, and it has saved more dropped harvest baskets than I can count.
Suggested budget range: $15 – $35.
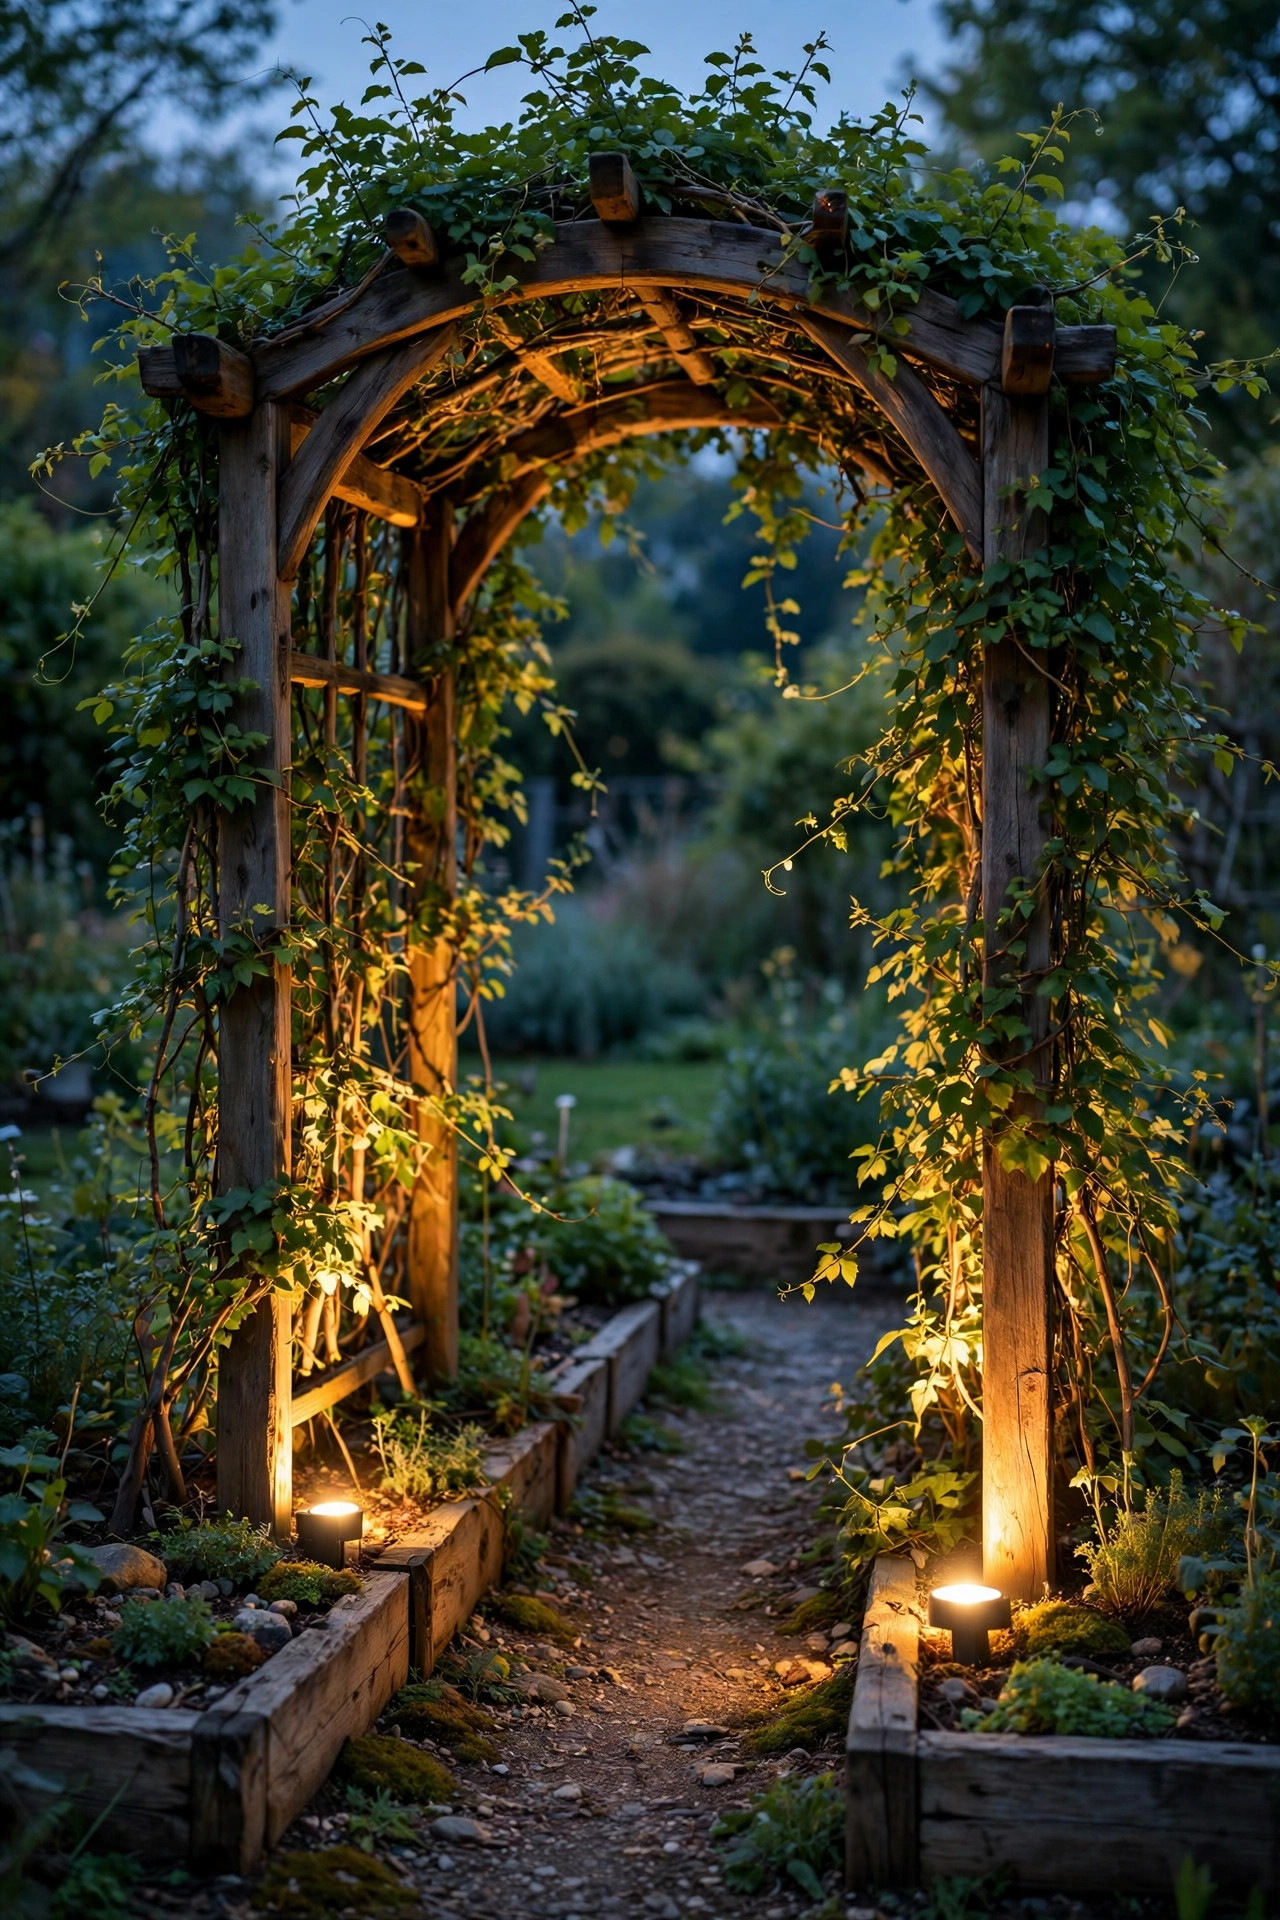
13. Uplight the Garden Arch or Arbor
If your beds include an arch, arbor, or even a simple teepee trellis, uplighting it gives the garden a doorway of light you can see from the house. I place two small low-voltage uplights at the base of my arch, one at each post, angled inward so the beams cross gently through the climbing roses and beans. The structure glows, the foliage dapples the light, and the path underneath gets a soft reflected wash. Keep fixtures at ground level and shield your eyes from the direct beam by tucking them behind the bed edge or a clump of herbs. The same trick works anywhere you want height — a sunflower row, a espaliered fruit tree on the fence, even the compost-corner bamboo screen you would rather feature than hide. It borrows directly from flower garden practice, and my notes on front yard flower bed lighting use the identical low uplights for borders, so one set of fixtures can serve both gardens across the seasons. Start with two lights and live with them a week. Height lighting is powerful, and a little goes a very long way in a small kitchen garden.
Suggested budget range: $30 – $60.
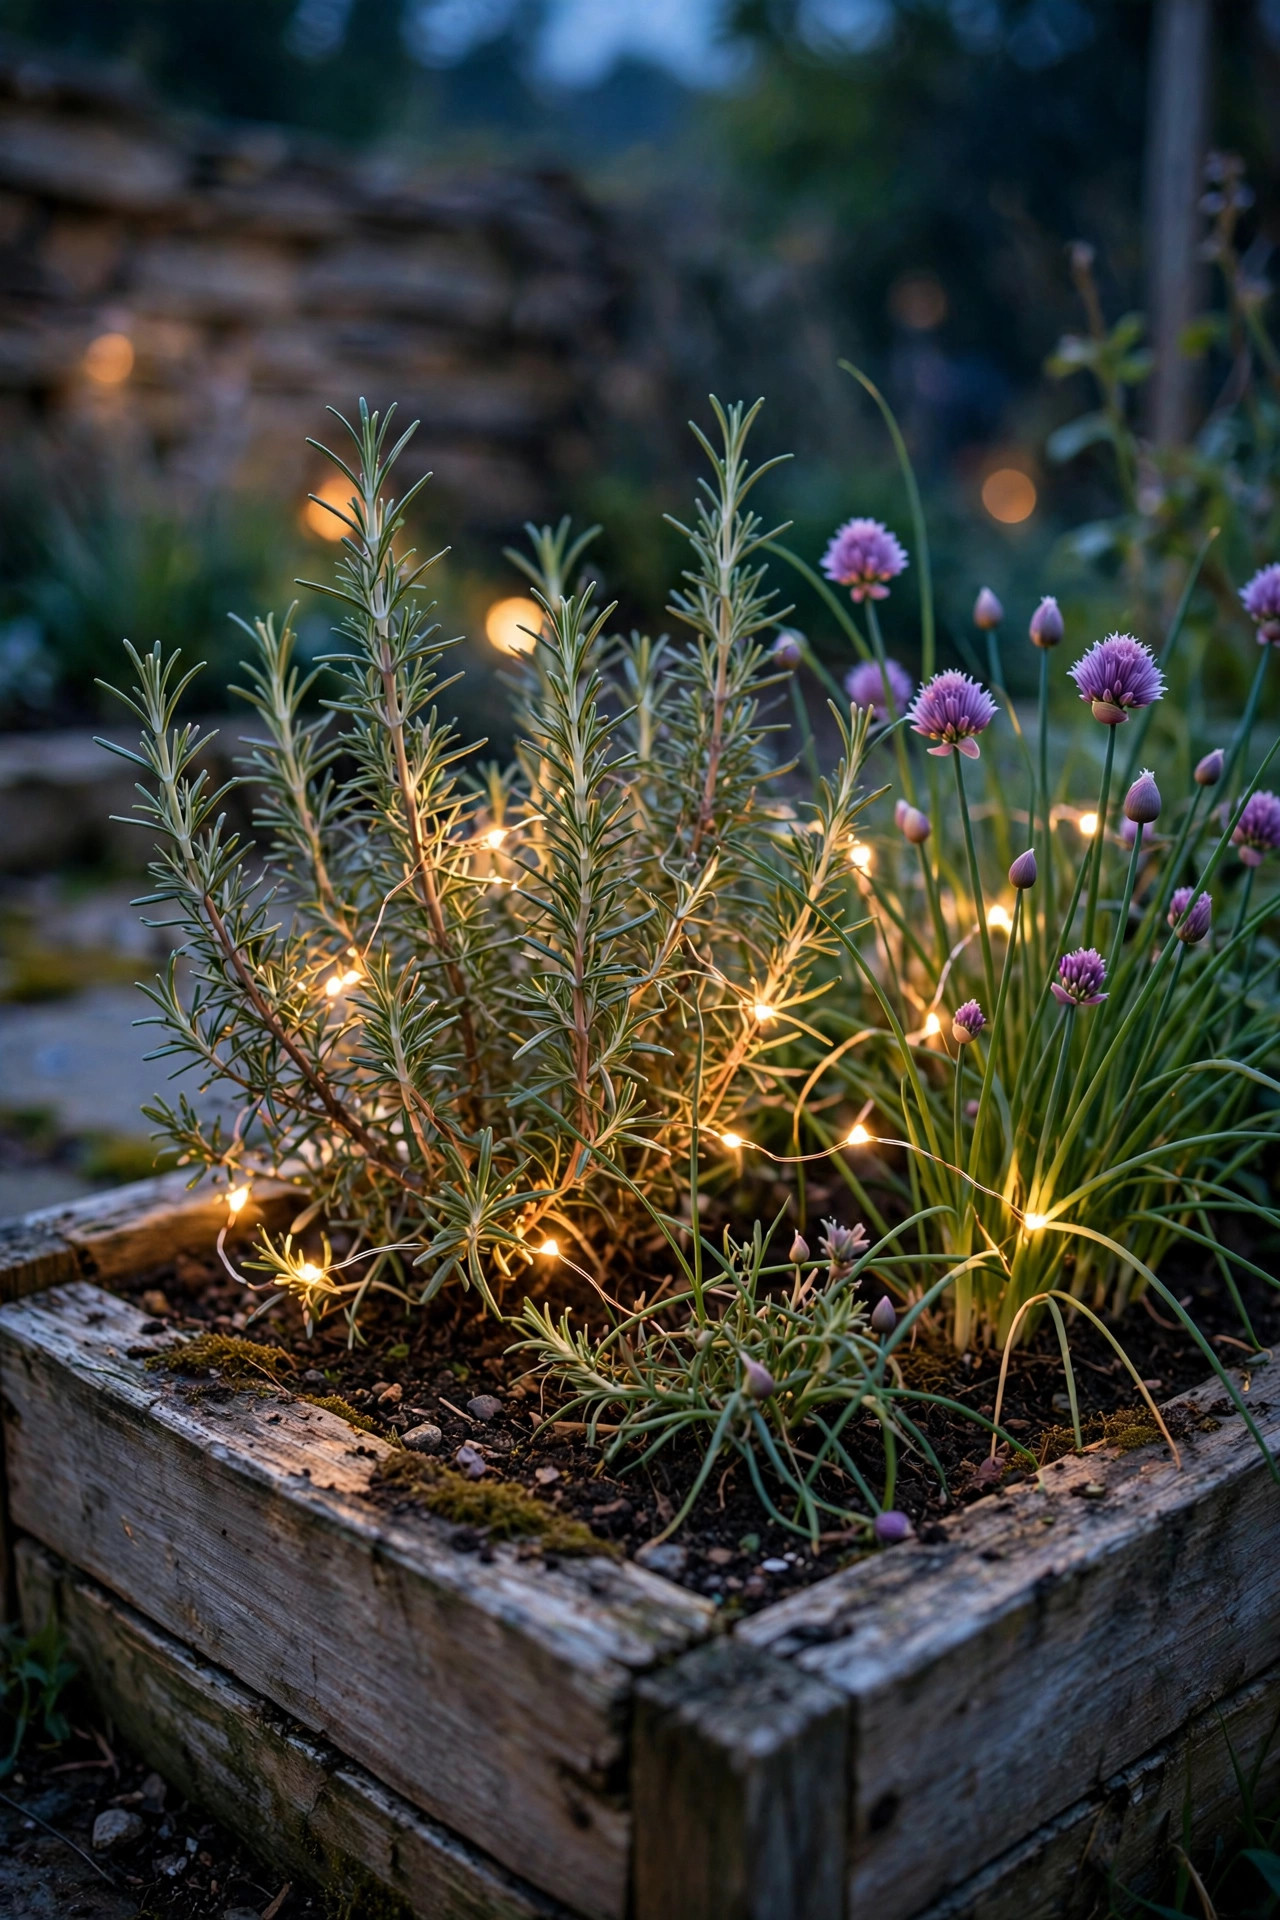
14. Tuck Fairy Lights Into the Herb Bed
The herb bed by the gate gets my favorite micro-treatment: a short strand of warm fairy lights woven low through the rosemary and around the chive clumps. Herbs are the plants I brush past most often in the evening, snipping something for dinner, and the tiny lights make that daily ritual feel a little ceremonial. Because the strand is short, a small solar or battery pack hides easily behind a pot at the bed corner. Battery packs with a built-in six-hour timer are especially tidy here — on at dusk, off before midnight, no reaching into damp foliage to find a switch. Keep the lights at the front third of the bed so they are not tangled in the plants you harvest from most, and never use anything but cool-running LED wire near dry woody herbs like rosemary and lavender. The glow is subtle, almost like fireflies settled in for the night, and it perfumes the air every time you brush the leaves walking past. Guests always ask about this one, and it costs less than the herb starts did. Small bed, small lights, outsized charm.
Suggested budget range: $10 – $25.
15. Save Color-Changing Lights for a Corner Accent
I will be honest: most nights my garden is strictly warm white, because vegetables look their best in it. But a single color-changing accent — one smart solar spotlight or a short strand behind the bench — is pure fun for garden parties and summer birthdays. Set it to a soft amber or gentle green rather than cycling rainbow, and it still reads tasteful while feeling festive. Keep color away from the beds you judge ripeness in, since blue or red light makes tomatoes lie about being ready. One accent is a wink; the whole garden in color is a carnival, and the plants deserve better. Smart bulbs and solar spots with a remote make it easy to return to warm white the next night, which is exactly how mine spends 350 evenings a year. If you have kids or grandkids who garden with you, let them pick the accent color on their visits — it becomes their corner of the garden. Discipline is the whole secret here: warm white everywhere, color in exactly one spot, and the restraint makes both look better.
Suggested budget range: $20 – $45.

16. Put Everything on a Timer
The difference between a garden you light and a garden that lights itself is one inexpensive timer. Solar pieces handle themselves, but my string lights, LED strips, and low-voltage spots all run through a simple outdoor timer or smart plug set to dusk-on and off at 11 p.m. In summer that means the garden glows when I am actually out in it and goes dark while we sleep, which the plants, the neighbors, and the electric bill all appreciate. Choose a timer with a photocell dusk sensor rather than fixed hours, so it adjusts itself as the evenings stretch and shrink across the season. Keep the timer and connections inside a weatherproof cover, off the soil, and check it once in spring when you set the garden up. Battery lanterns with built-in timers join the same schedule, so the whole garden wakes and sleeps together like it was designed that way — because it was. This is also the polite move for wildlife and night skies: full glow for the evening hours, real darkness after. Set it once in May and forget it until the first frost reminds you.
Suggested budget range: $12 – $30.
17. Layer Your Raised Bed Garden Lighting Ideas Into One Cozy Scene
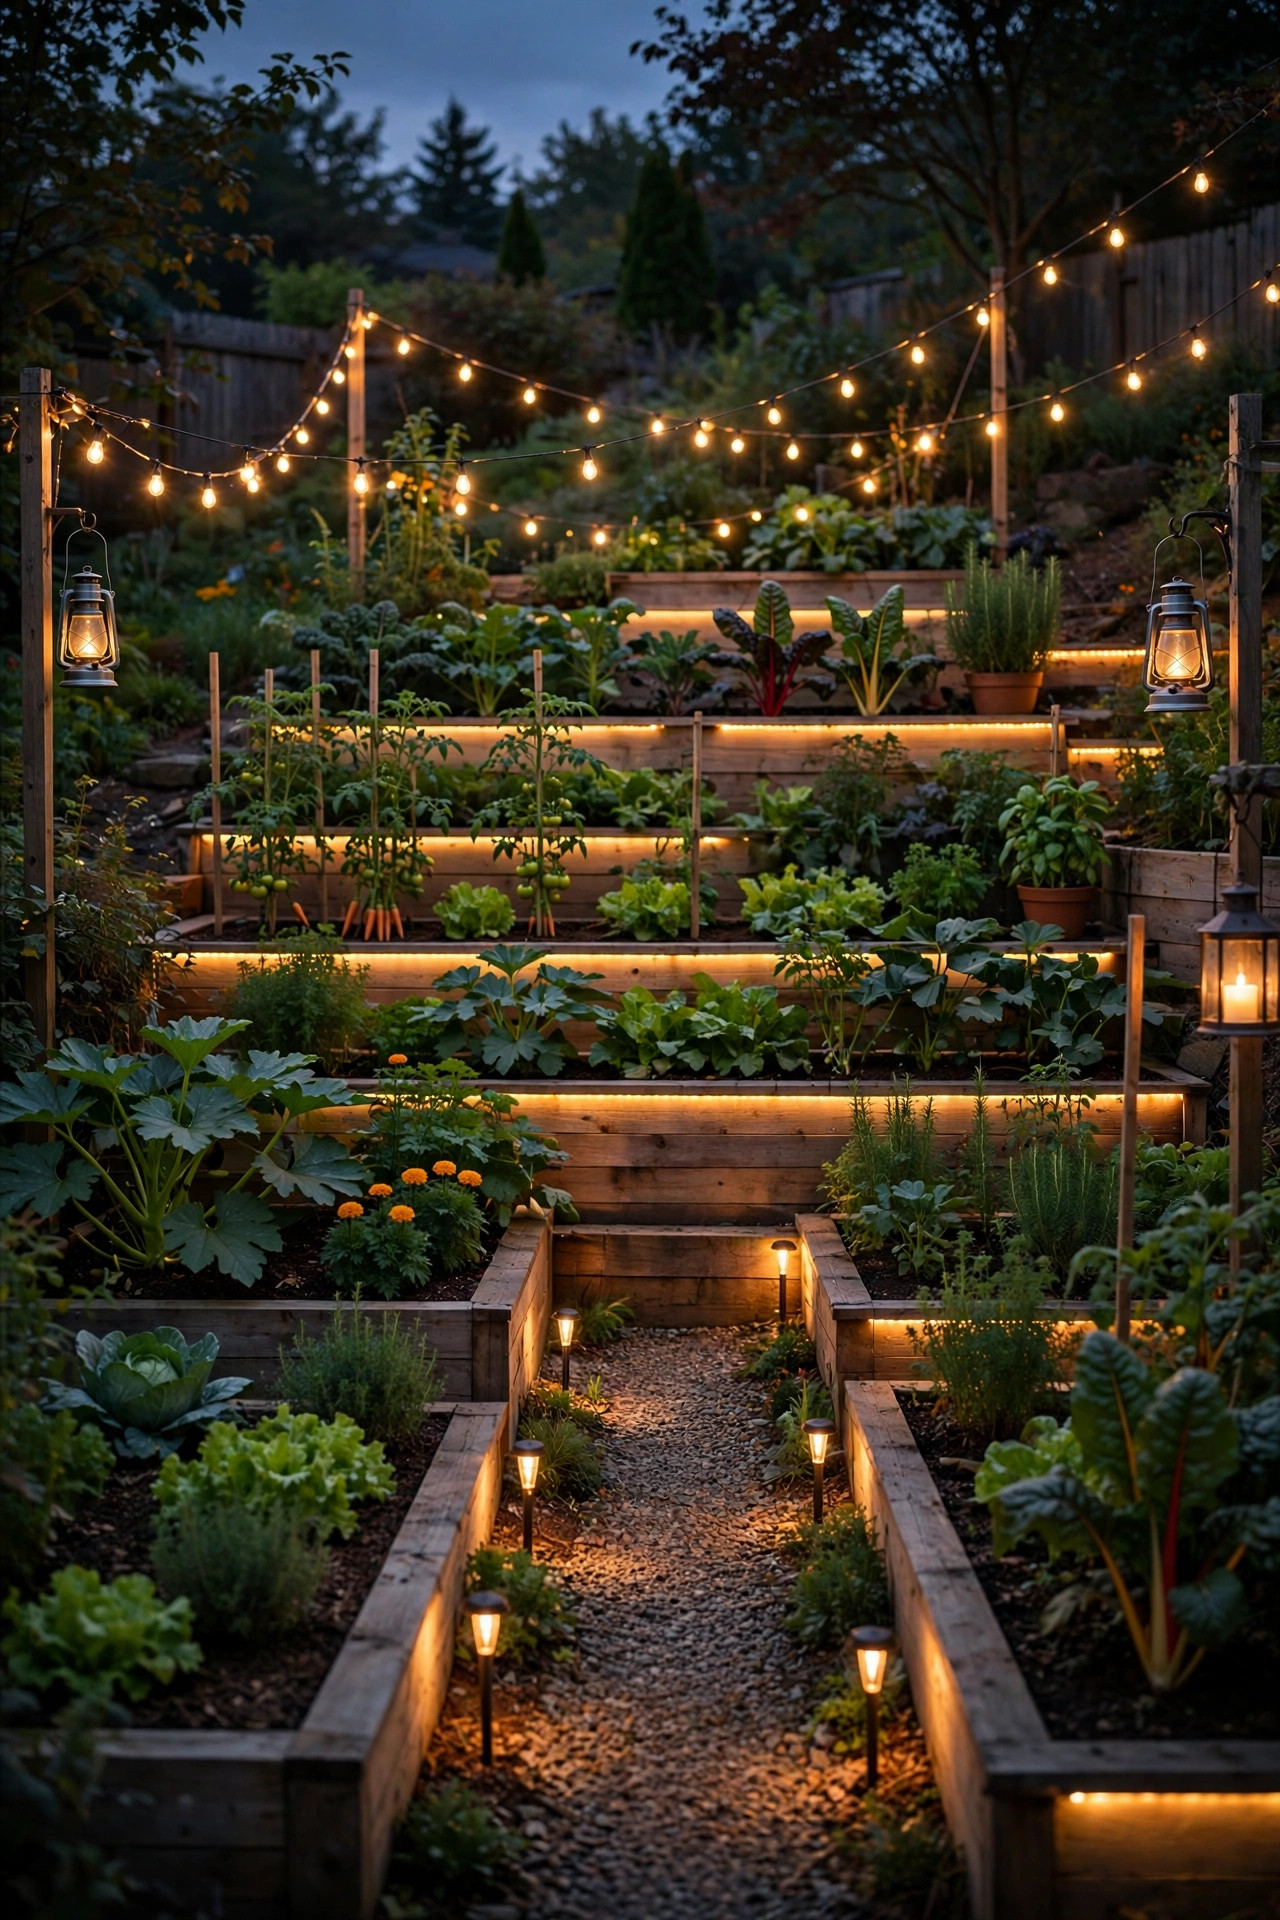
Here is how it all comes together in my garden, and the order I recommend building your own raised bed garden lighting ideas in. Start at the ground: solar stakes or rope light along the paths so every step is sure. Add the bed layer next — hidden LED strips under the rails, post caps on the corners, fairy lights in the trellis and herbs — so the plants themselves glow. Then the accents: a spotlight on the sunflowers, uplights on the arch, lanterns swinging from their hooks. Finish with the overhead string lights and the timer that runs the whole scene without you. Notice what is not there: no floodlights, nothing cool white, nothing brighter than the moment calls for. Walk it once at dusk and edit like a gardener — move one stake, dim one strip, pull one lantern that crowds the rest. Layering is really just editing with light, and your beds already taught you how to edit a space season by season. Build one layer per weekend and by midsummer your plain working garden will be the room everyone drifts toward after dinner.
Suggested budget range: $75 – $200.
Frequently Asked Questions
Do solar lights work well in a vegetable garden?
Yes, as long as their panels get roughly six hours of direct sun, which most vegetable gardens already have since the plants demand the same thing. Solar stakes, caps, and jar lanterns are the easiest entry point and need no wiring at all. In partly shaded gardens, choose models with a separate solar panel you can mount on a sunny fence, or mix solar on the sunny beds with a small low-voltage system in the shade.
What color temperature is best for garden lighting?
Warm white, between 2700K and 3000K, flatters green foliage and makes ripe vegetables read true to color, so you can judge a tomato honestly at dusk. Cooler light above 4000K tends to look blue and clinical outdoors and can make plants appear washed out. Whatever you choose, keep one temperature across the whole garden so the scene feels unified rather than pieced together.
Will lights on all evening bother my plants?
Modest, warm garden lighting on a timer is not a problem for vegetables in practice. Plants respond to day length mainly through strong, sustained light, and gentle decorative lighting for a few evening hours is far below that level, especially when it switches off by late evening. If you grow day-length-sensitive crops and want to be extra careful, keep lights low, warm, and on a timer rather than running them until dawn.
How much does it cost to light a raised bed garden?
A starter layer of solar stakes and jar lanterns runs about $35 to $80 and takes one afternoon. A mid-range setup with string lights, post caps, fairy lights, and a timer lands around $120 to $250. A full layered plan with low-voltage spots and LED strips can reach $300 to $500, though building it one layer per season spreads the cost painlessly and lets you adjust as you go.
Conclusion
The gardens I love most after dark are not the brightest ones — they are the ones where someone thought in layers: sure footing, glowing beds, one or two accents, and darkness where darkness belongs. These raised bed garden lighting ideas are simply that thinking applied to the hardest-working corner of the yard. Start with the paths this weekend, add one pretty layer next month, and let the timer do the rest. Then come back and browse more of my outdoor lighting ideas for the fence, the patio, and the front path, because a garden that glows deserves a whole yard that keeps it company.