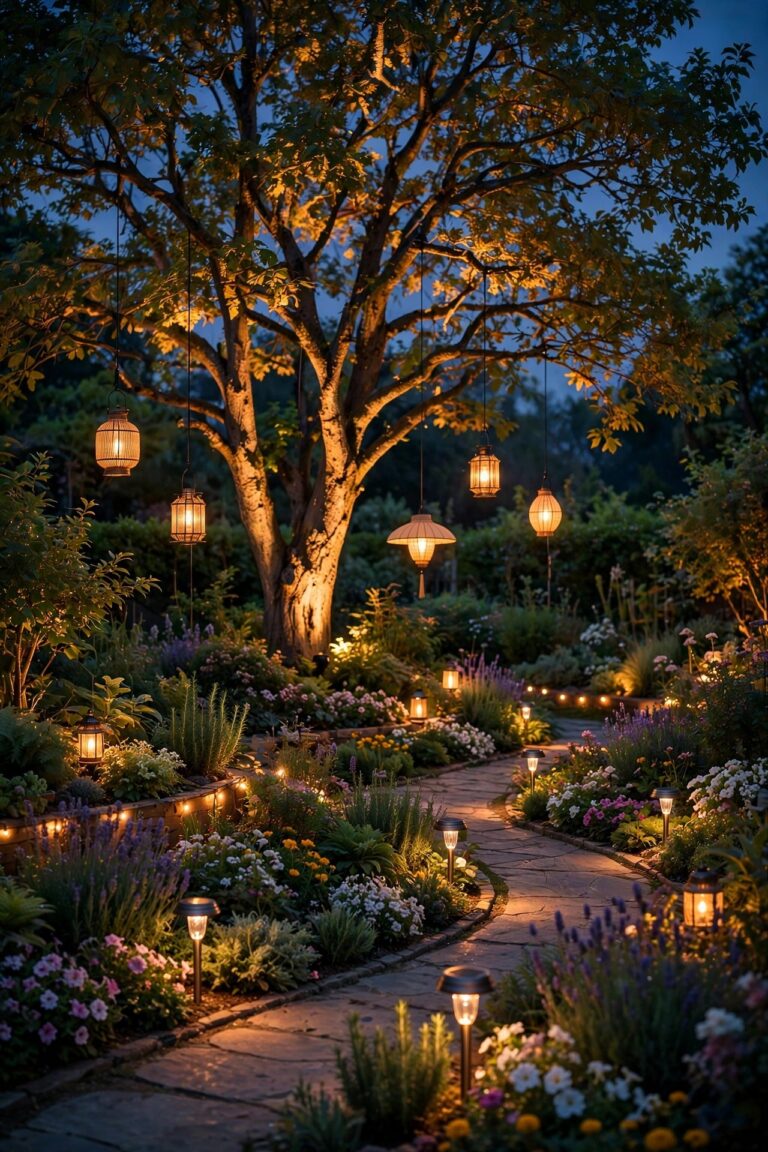
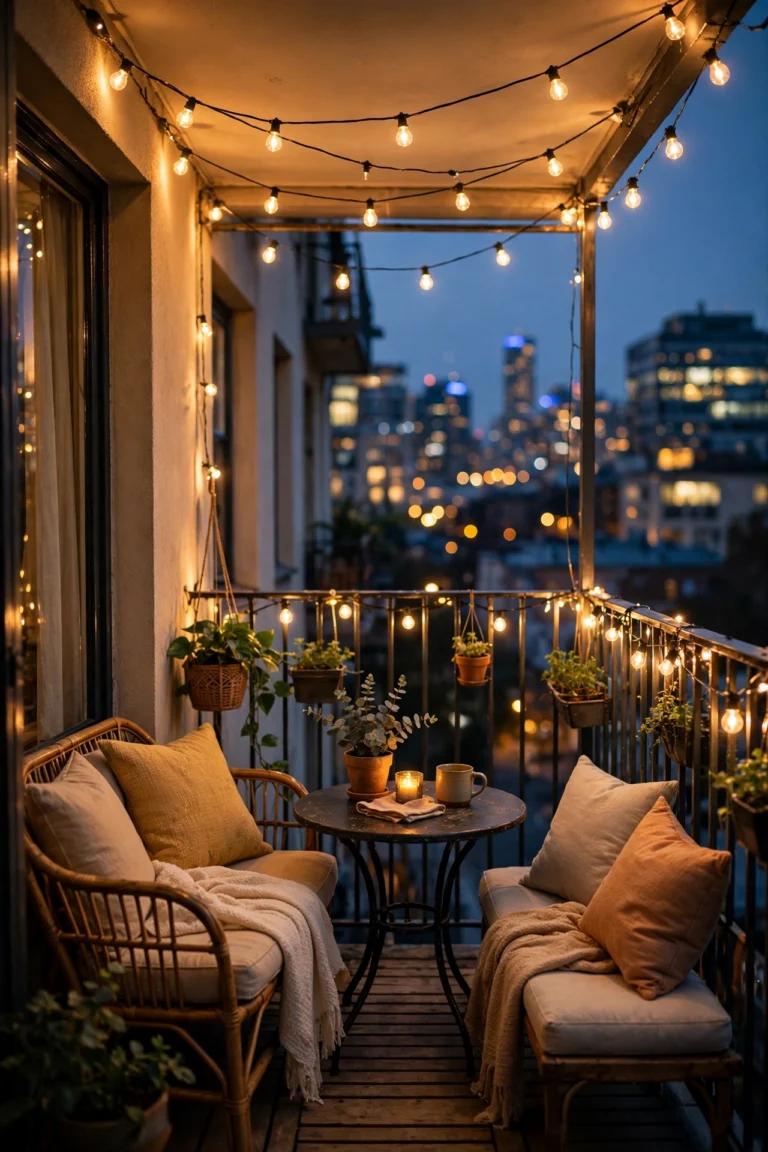
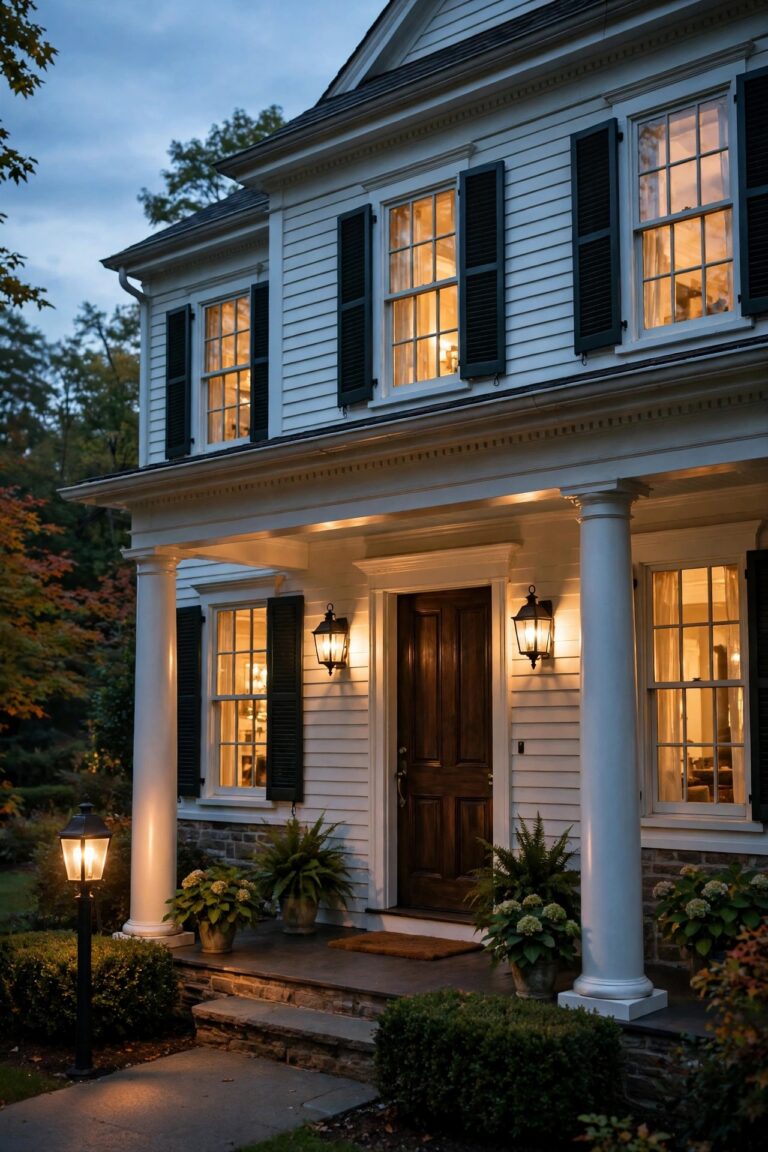
There is a lane in every neighborhood where the front gardens look like they wandered out of an English storybook — roses spilling over a picket fence, a crooked little path, and light so soft it seems to bloom right along with the flowers. I have spent years chasing that feeling in my own yard, and I can tell you the glow is never luck. The best cottage front yard lighting ideas borrow their tricks from English gardens: small fixtures, warm bulbs, and layers of light tucked into the planting instead of blasted across it. Think lantern lights along the path, fairy lights hiding in the climbing roses, and one old tree washed in gentle moonlight. In my experience, a cottage yard wants pools of light with shadow left between them — that breathing room is where the charm lives. Below are the 15 ideas I return to every season, from the layered plan I sketch first to the dusk walk-through I always do last, each with honest budgets, spacing numbers, and the placement lessons I learned the pretty-but-wrong way.

1. Start With a Three-Layer Plan for Your Cottage Front Yard Lighting Ideas
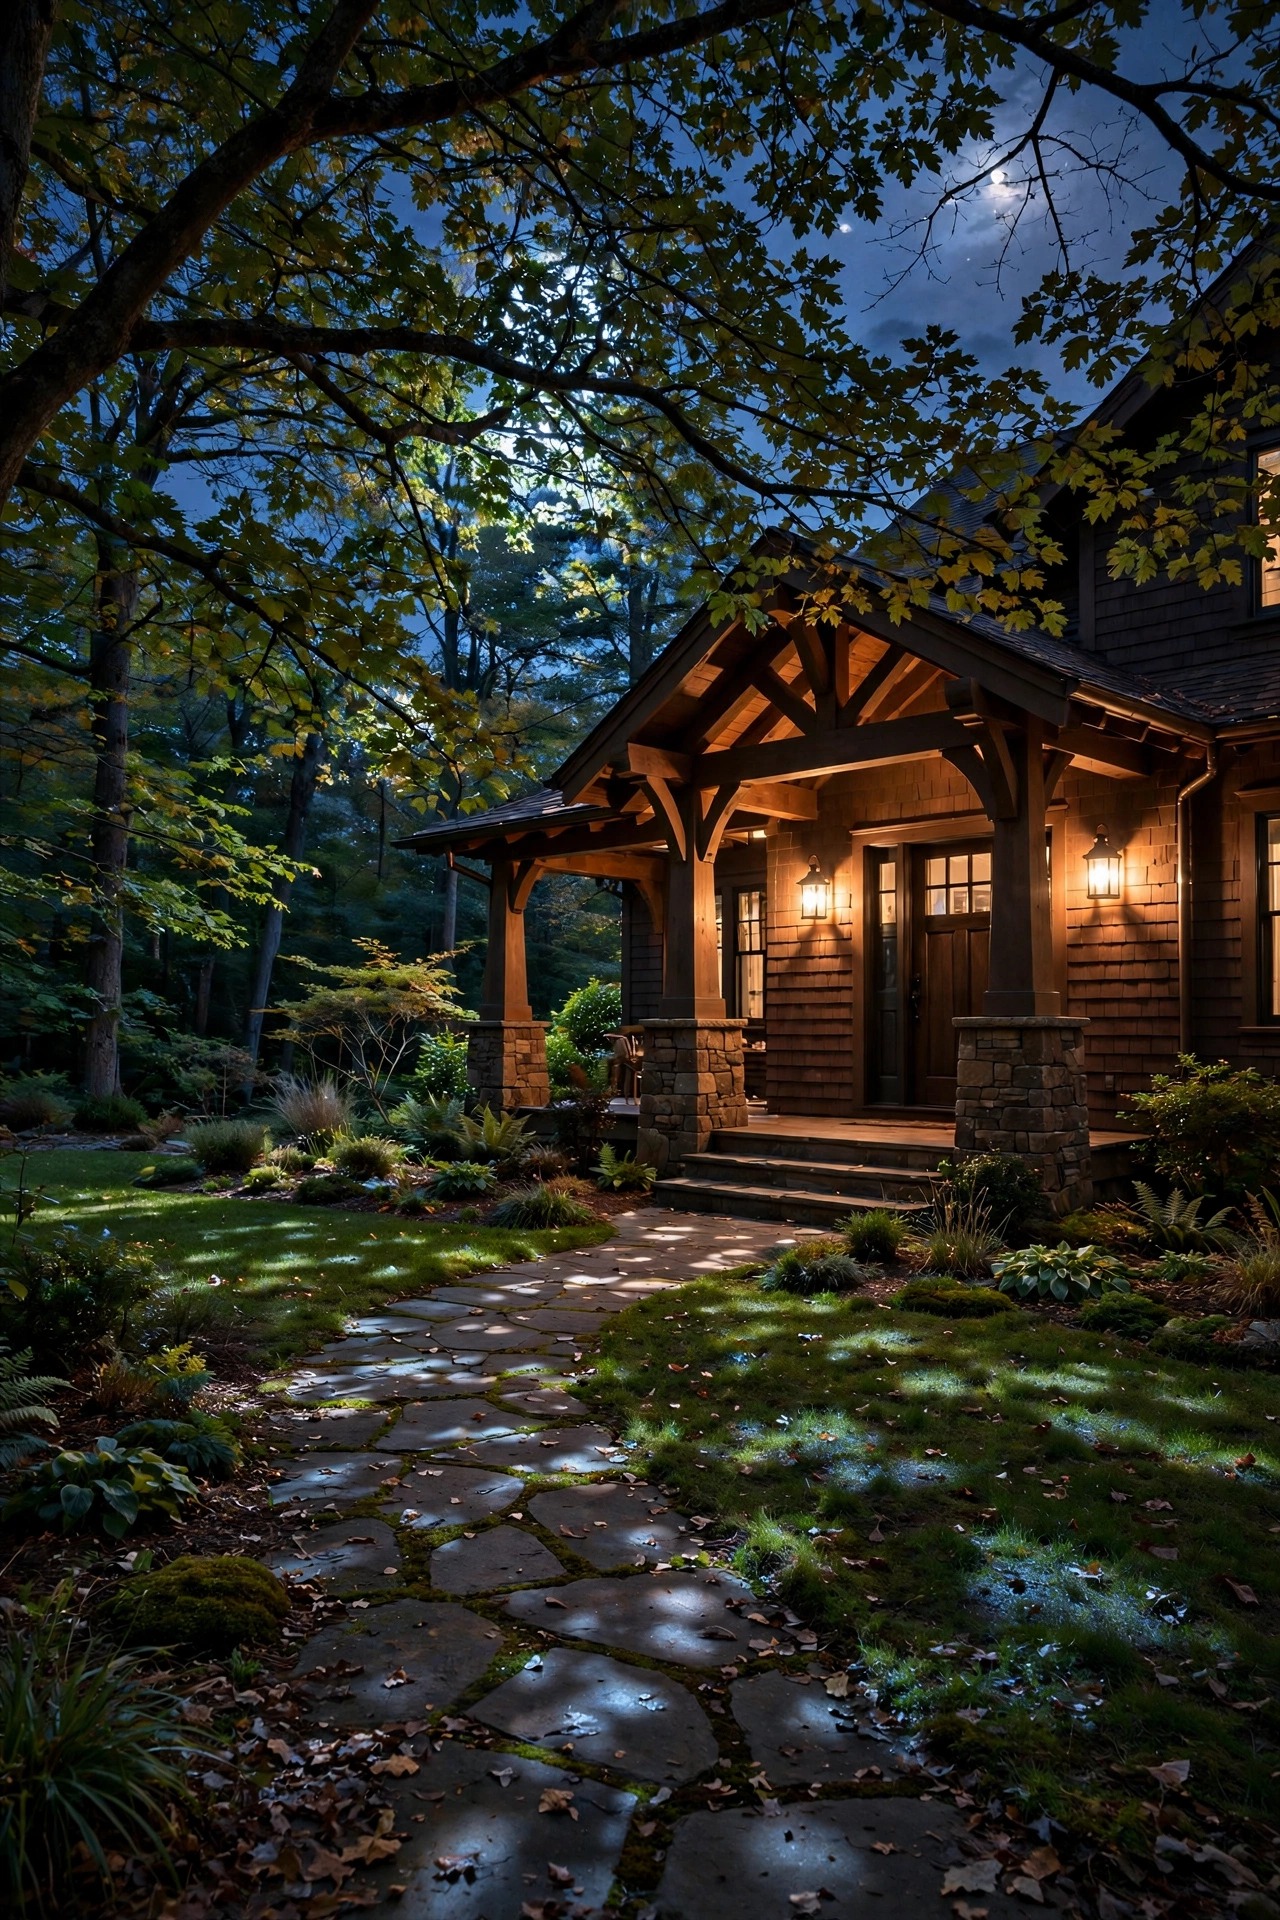
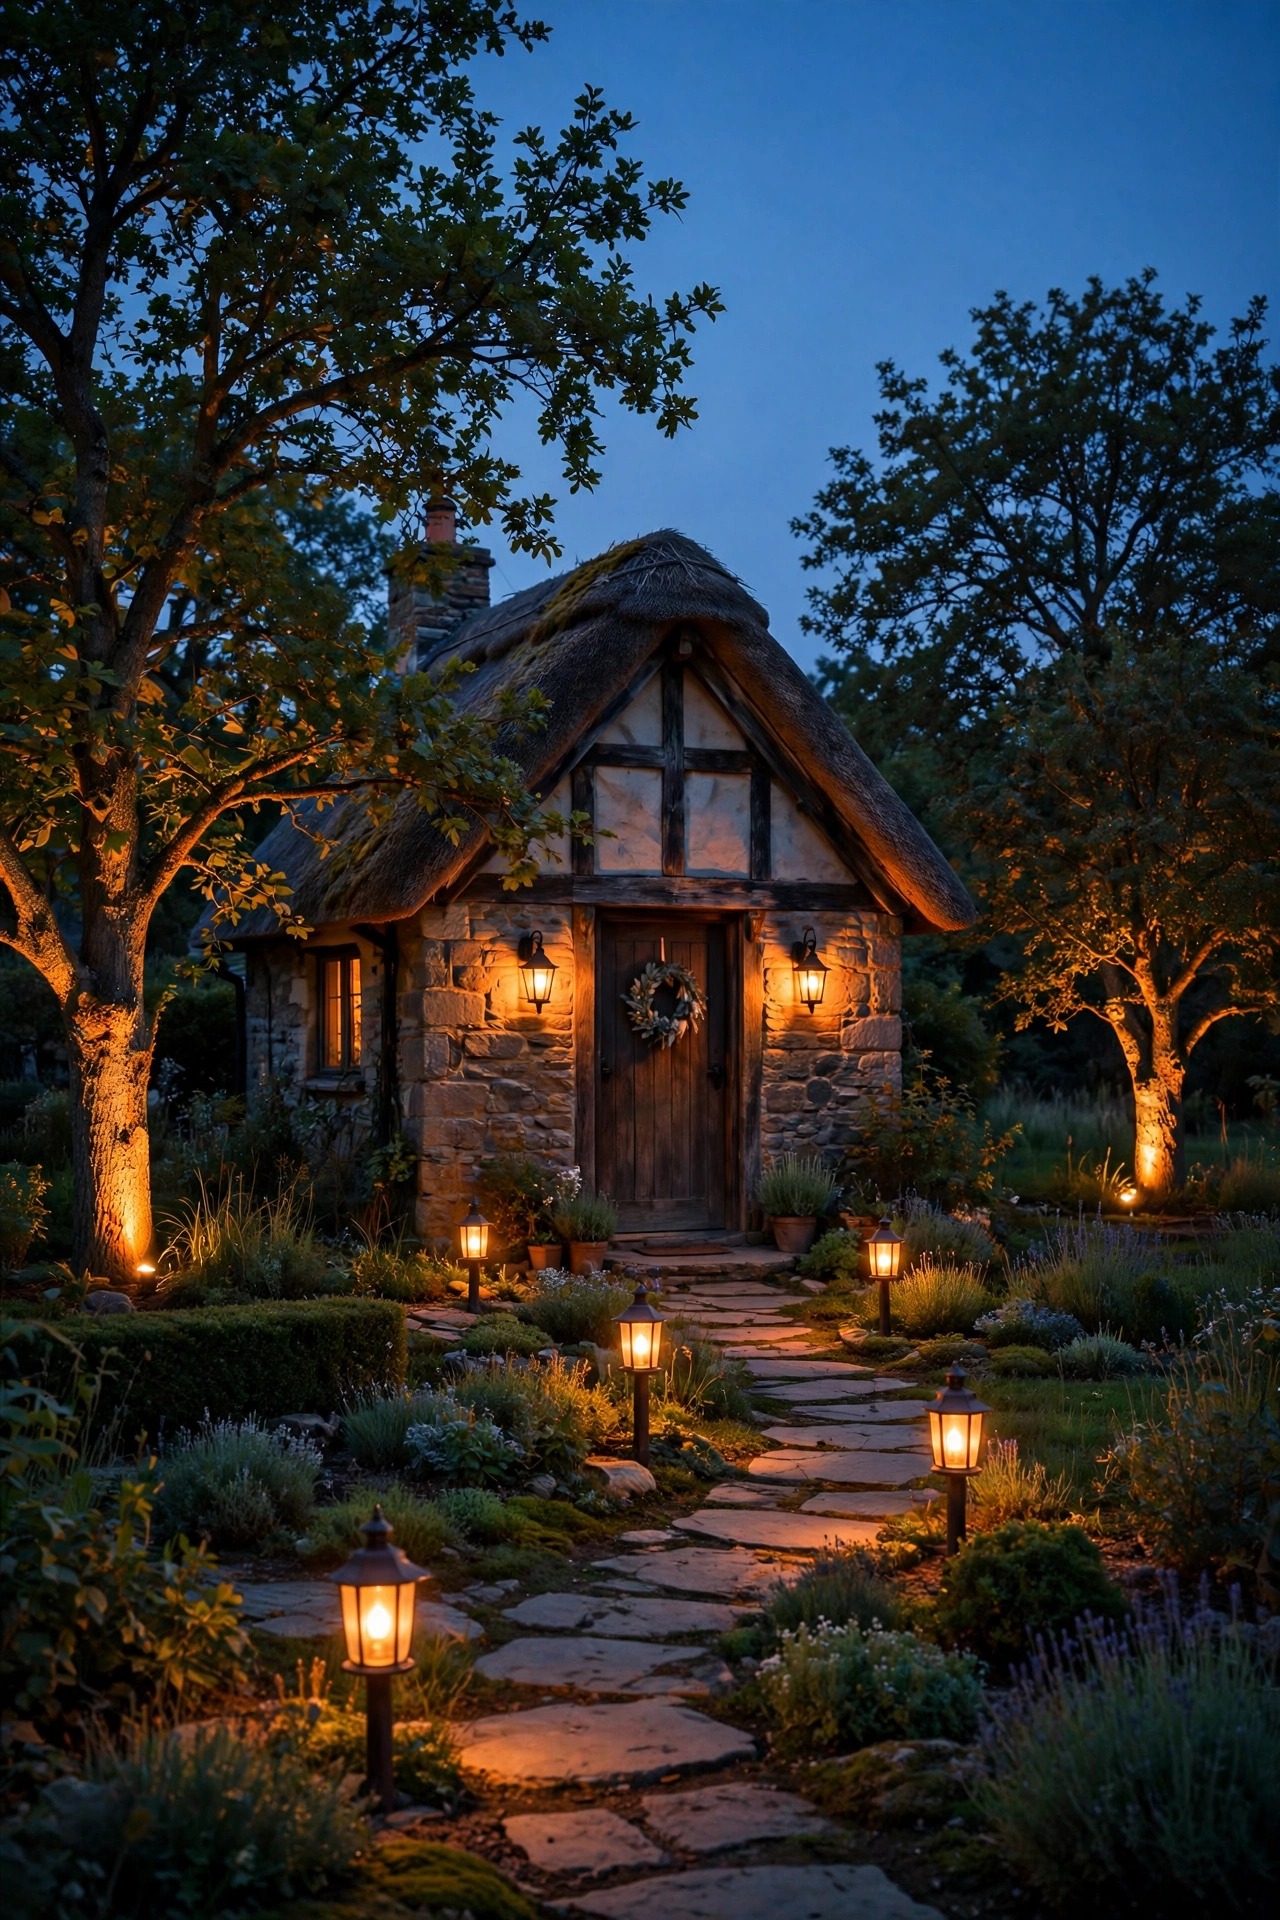
Every storybook front yard I have ever admired is built on the same quiet skeleton: light in three layers. The low layer lives along the path and bed edges — little lanterns and stakes 12 to 18 inches tall that pool light where feet and flowers are. The middle layer is the welcome layer: door sconces, a gate lantern, and glowing window boxes at roughly eye level, around 5 to 6 feet. The high layer is the whisper — one uplit tree or a moonlight fixture in the branches that gives the whole yard a ceiling. When those three burn together on warm bulbs, the yard does not look lit, it looks enchanted, and that is the entire cottage trick. Before you buy a single fixture, sketch your yard on paper and assign every idea to one layer. If a light fills no layer, skip it, however sweet it looks in the store. I borrowed this planning habit from classic front yard landscape lighting and then softened everything — smaller scale, warmer color, more shadow in between. Honestly, half the charm is what you leave dusky.
Suggested budget range: $150 – $400.
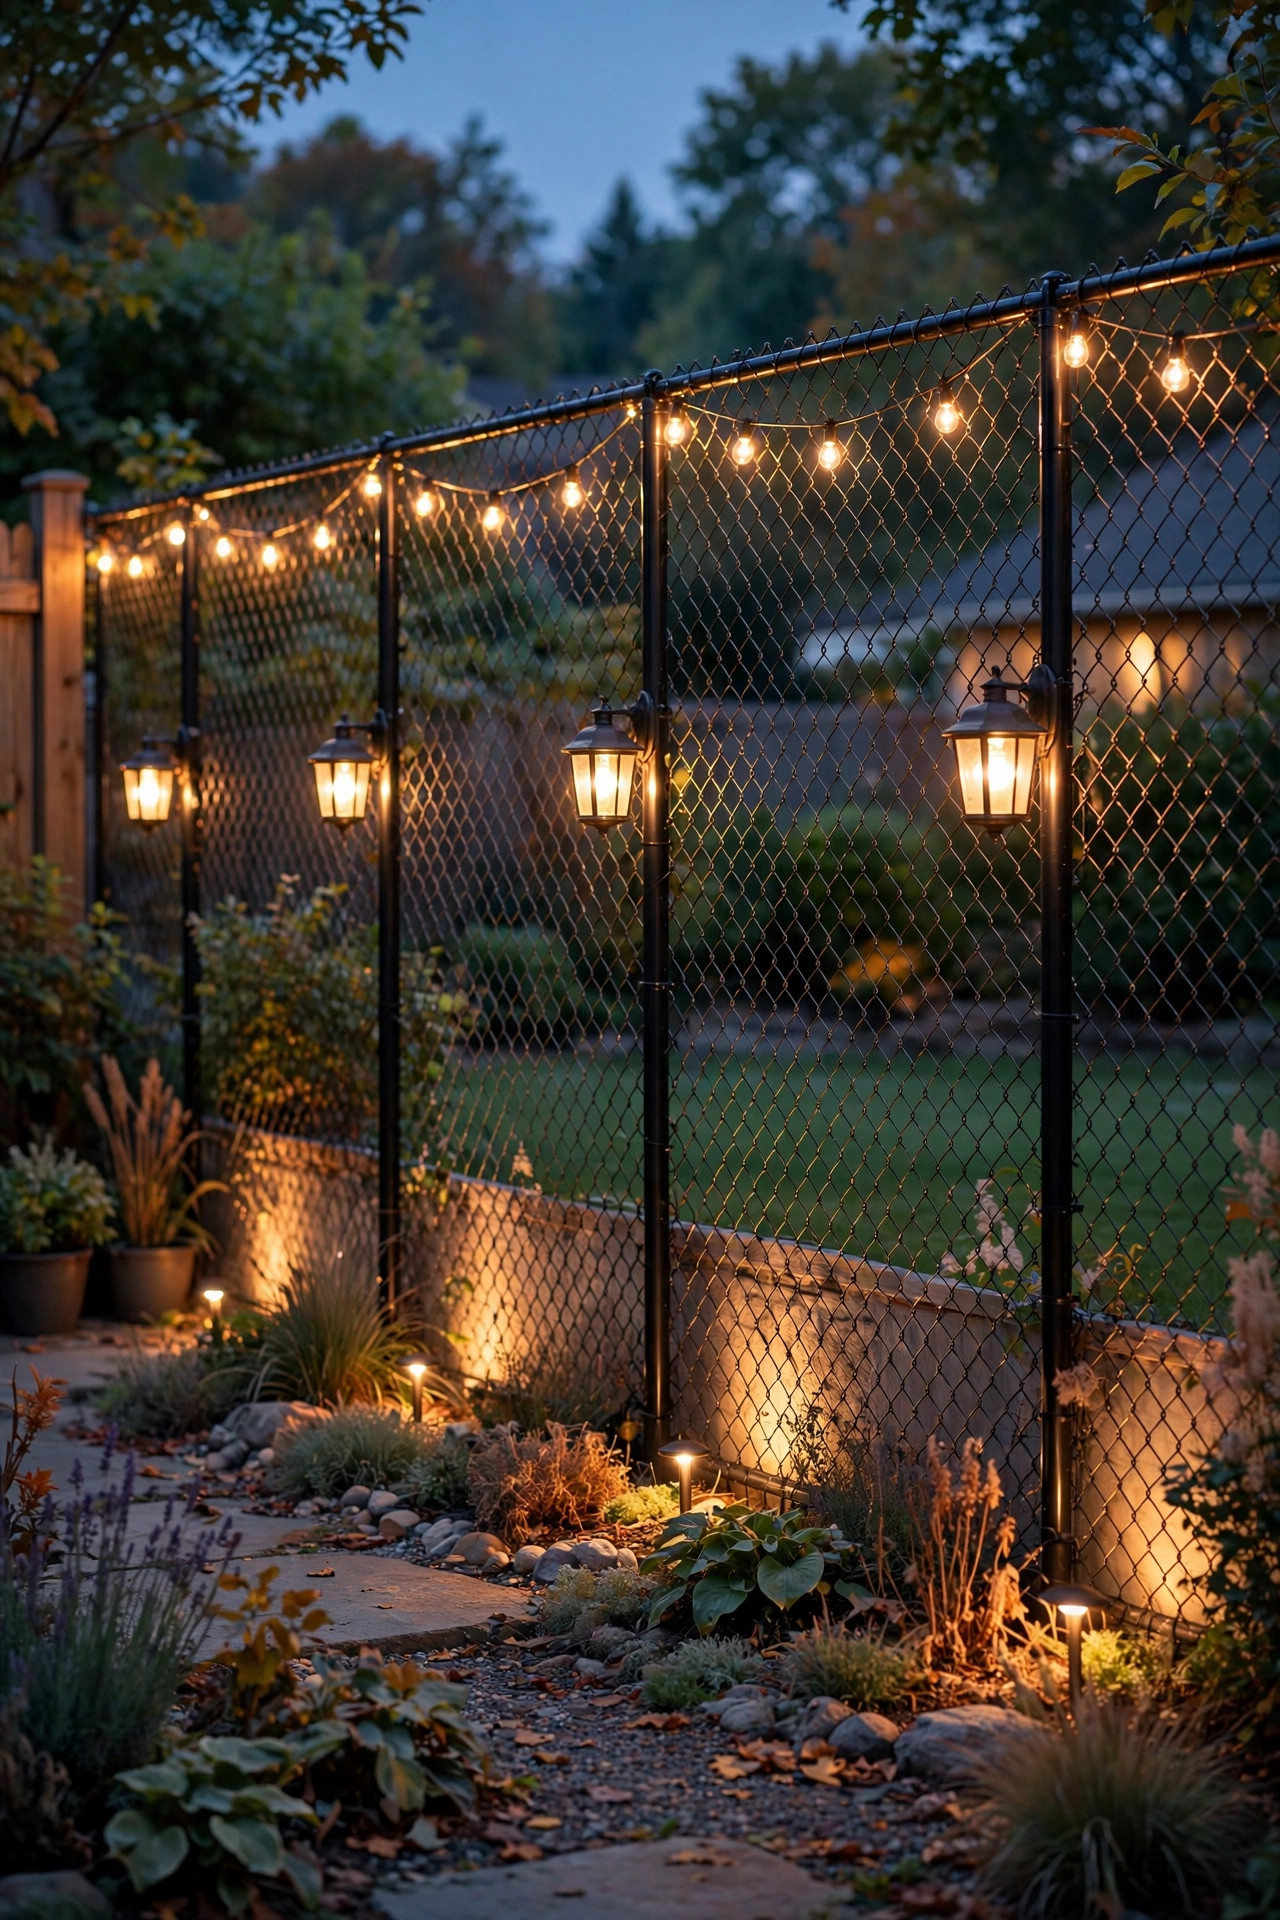
2. Line the Garden Path With Low Lantern Lights
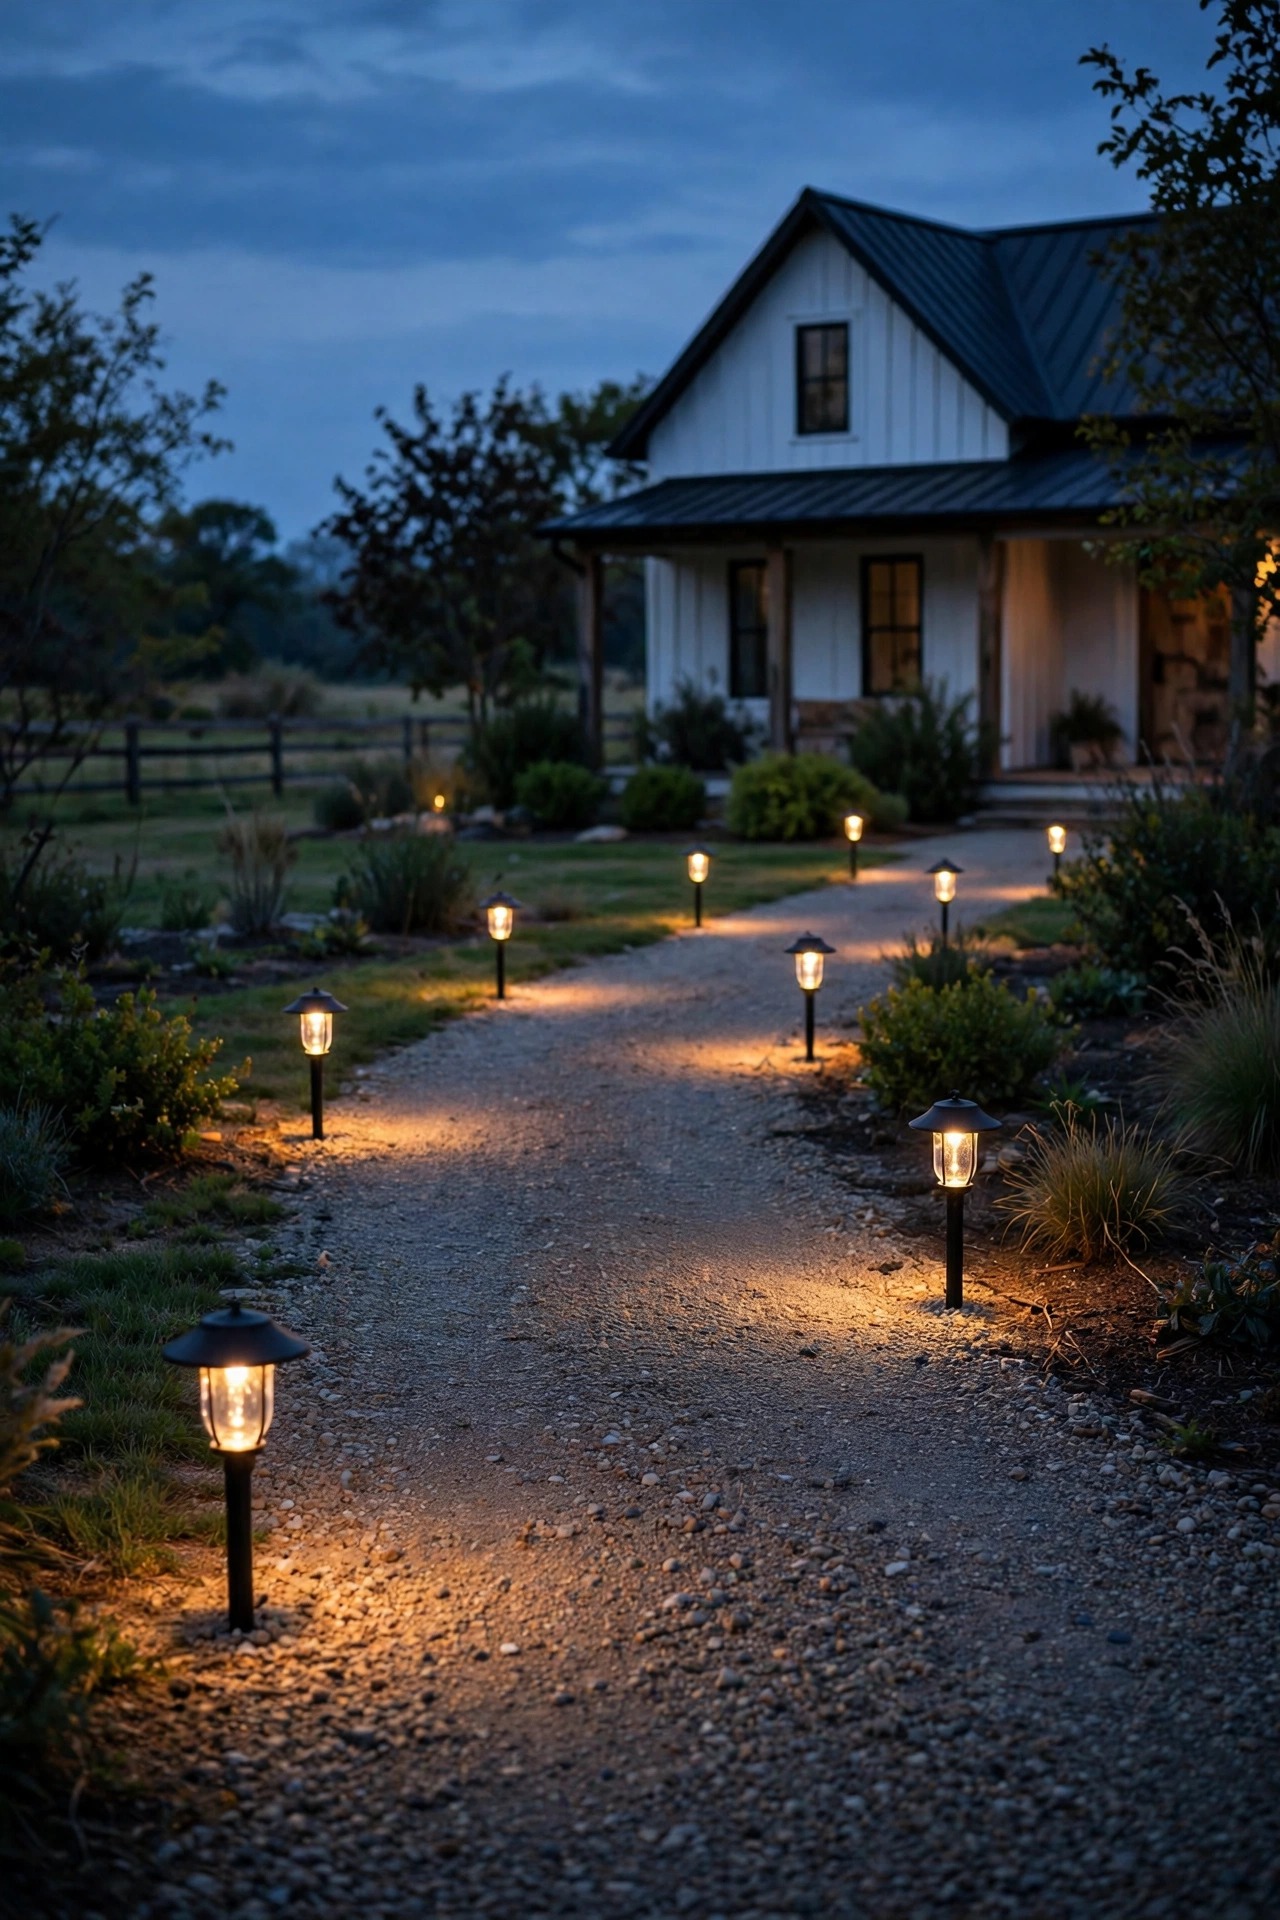
A winding cottage path deserves lanterns, not runway lights. I choose low lantern-style path fixtures, 12 to 18 inches tall, with seeded or frosted glass that blurs the bulb into a candle-like shimmer. Space them 6 to 8 feet apart along one side of the walk, or stagger them gently on curves, and set each one about 6 inches back from the path edge so the mower and the snow shovel pass without a fight. Staggering is the whole secret — a strict double row reads like an airport, while an easy zigzag reads like a garden. Keep individual fixtures modest in brightness, around 100 to 200 lumens each; you want overlapping pools of glow, not spotlights. Low-voltage wired lanterns give the steadiest light, but good solar versions work beautifully on a sunny south-facing walk. I keep a running list of my favorite shapes and heights in my lantern path light ideas notes, because scale makes or breaks this look. Choose wet-location rated metal — powder-coated steel or cast aluminum — and push the stakes in after a rain, when the soil is forgiving.
Suggested budget range: $80 – $250.
3. Flank the Front Door With Seeded-Glass Sconces
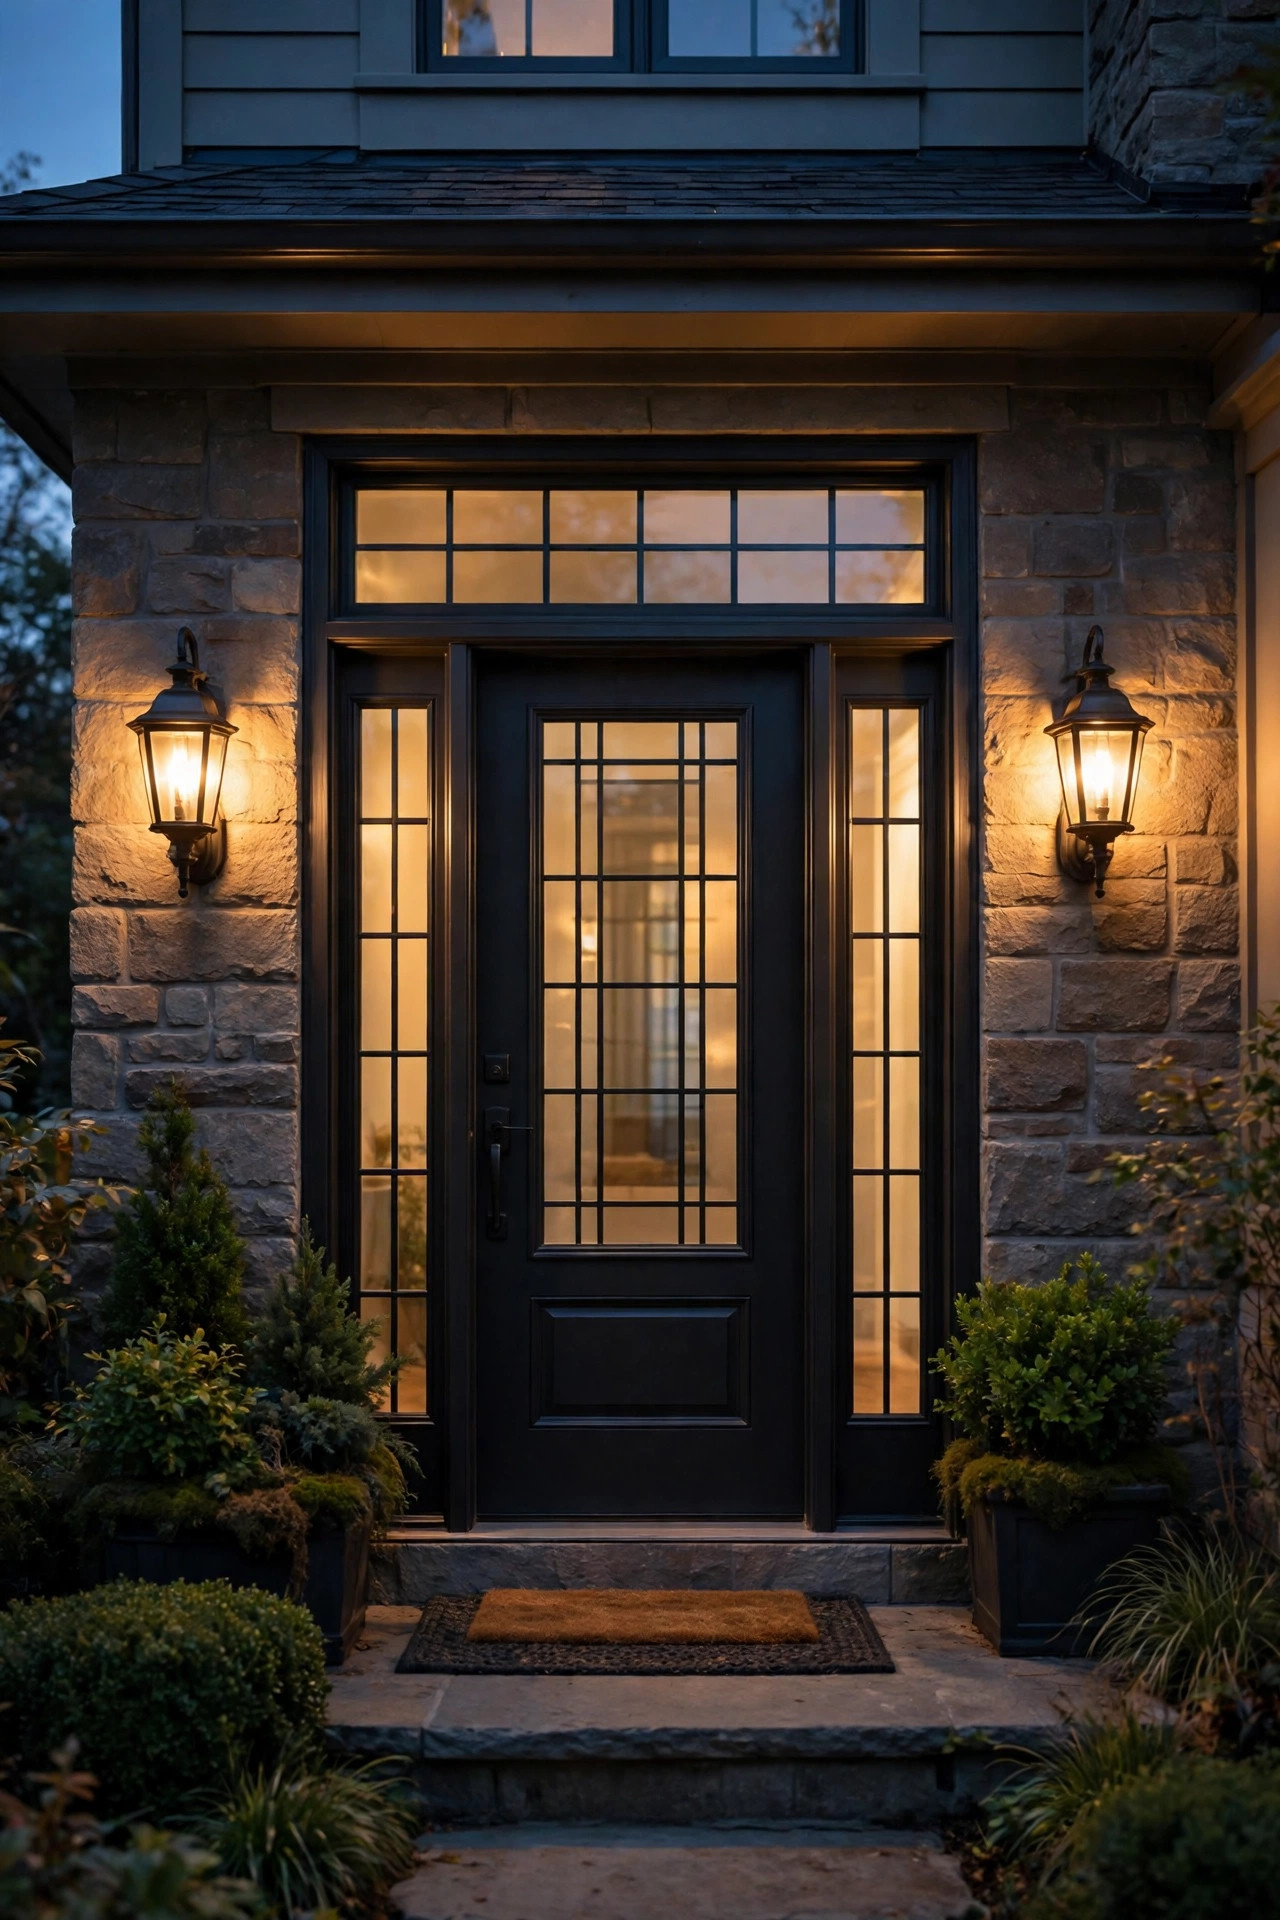
The door is the handshake of a cottage, and a matched pair of lantern sconces is how it says hello. Size matters more than ornament here: each fixture should stand about one-quarter to one-third the height of your door, so for a standard 80-inch door, look for sconces 12 to 16 inches tall. Mount them with the bulb center around 66 inches above the step, a few inches out from the trim. Seeded glass is the cottage glass — it scatters the light into a soft sparkle and hides dust and bug visitors far better than clear panes. Inside, use warm 2700K LED filament bulbs, 40- to 60-watt equivalent, and put the pair on a dimmer if you can. Full brightness is for finding keys; low and golden is for everything else. If your door sits off-center or the porch is tiny, one generous sconce on the latch side still looks intentional and sweet. Choose wet-location rated fixtures, and run a thin bead of caulk along the top of the backplate so rain stays out of the electrical box behind it.
Suggested budget range: $120 – $300.
4. Weave Copper-Wire Fairy Lights Through the Roses
This is the idea neighbors ask about most, and it is the cheapest magic I know. Copper-wire fairy lights — the kind on a wire so fine it disappears — can be woven loosely through climbing roses, a clematis trellis, or the branches of a small shrub until the whole plant seems to sparkle from inside. Use warm white, never multicolor, and keep the density gentle: one 33-foot strand per medium shrub is plenty. LED fairy lights stay cool to the touch, so they are safe nestled against leaves and petals, which is exactly why I insist on LED here and never old incandescent strings. Solar versions with a small panel staked into a sunny gap are the easiest of all, and battery packs with a built-in 6-hour timer save you the nightly walk. Tuck the wire in spring before the growth fills in, and the plant will hide your work by June. I collect more of these plant-first tricks in my rose and cottage garden lighting ideas — the theme is always the same: the flowers are the fixture, the light just helps them glow.
Suggested budget range: $15 – $50.

5. Hang a Lantern From the Garden Gate or Arbor
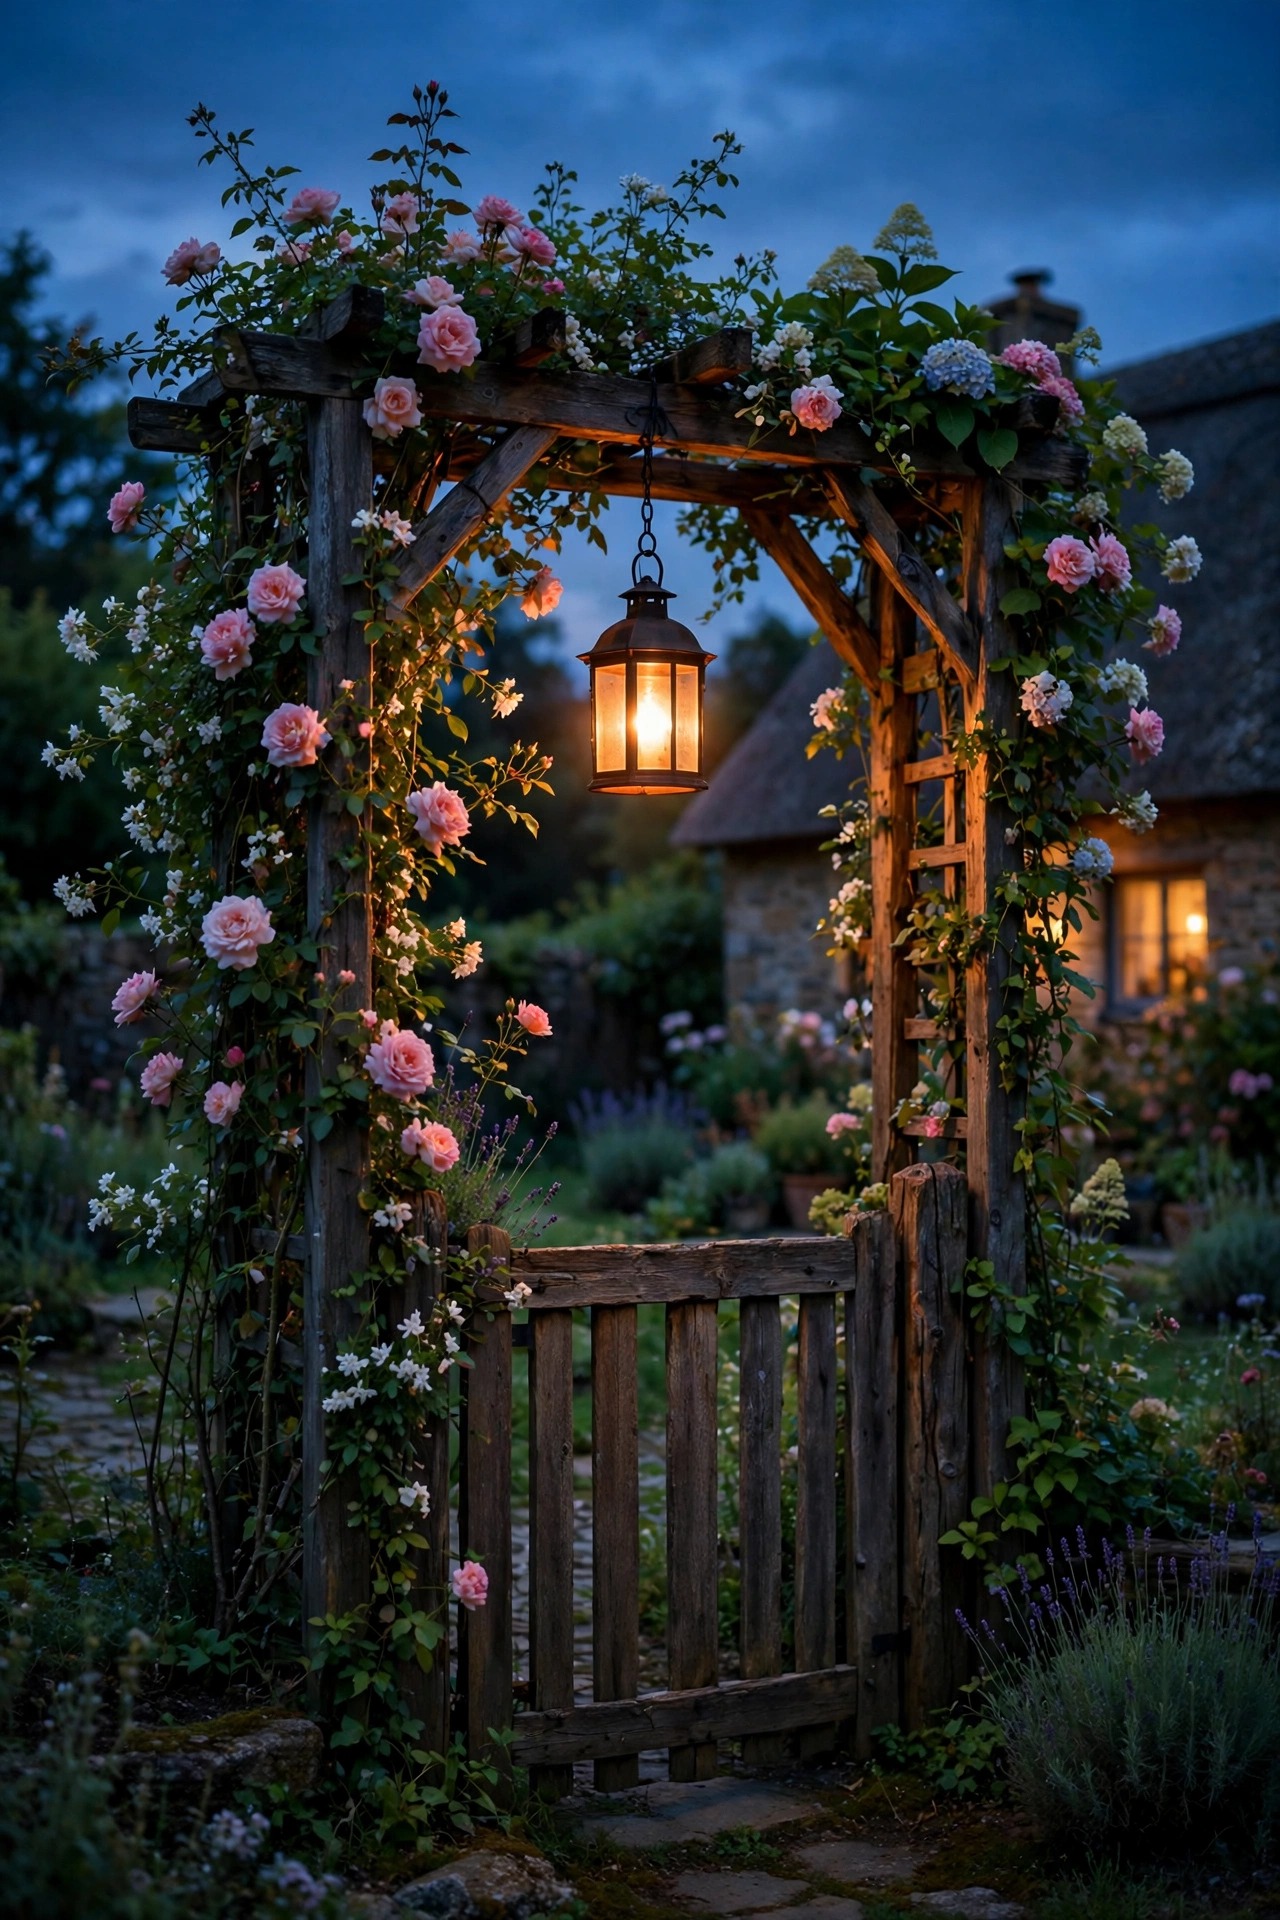
If your front yard has a gate, an arbor, or even a sturdy shepherd hook near the entrance, hang one beautiful lantern there and let it be the period at the end of the path. Height is everything: the bottom of the lantern should clear heads at about 6½ to 7 feet, high enough to walk under, low enough to feel intimate. A blackened-metal or aged-bronze lantern with seeded glass suits the English look, and inside it a warm 2700K filament bulb or a big flameless candle does the glowing. Hardwired is lovely if the gate is near the house, but a quality solar lantern with a dusk sensor handles most gates without a single trench of wire. Hang it from a short length of chain so it can sway a little in the evening breeze — that tiny movement makes the light feel alive, like an old oil lamp carried down the lane. Keep the bulb modest, around 40-watt equivalent; a gate lantern is a welcome, not a warning. Check the hook or bracket each spring, because a swinging lantern works its hardware loose over a windy winter.
Suggested budget range: $40 – $150.
6. Tuck Solar Stakes Into the Flower Beds
Flower beds are where a cottage yard hides its glow. I push short solar stake lights down among the foxgloves, lavender, and catmint so the fixtures vanish by day and the beds seem to shimmer from inside by night. Cluster them in odd numbers — threes and fives — near the front of the bed where the foliage is low, and keep them 18 to 24 inches apart so the pools of light kiss but do not merge into a strip. Amber or warm-white stakes suit the cottage palette; avoid the color-changing kind, which belongs at a fairground. Solar has one honest rule: the little panel needs 6 to 8 hours of real sun, so place stakes at the sunny front edge of the bed and let the taller back plants stay deliciously dark. Wipe the panels with a damp cloth every month or so — pollen film quietly steals a third of the charge. In my experience the cheapest stakes last one season and the mid-priced ones last four, so buy once, buy decent. Replaceable-battery models are worth the small premium.
Suggested budget range: $30 – $120.
7. Uplight One Beloved Tree
Every cottage yard has one tree that holds the whole place together — a dogwood, a crabapple, a gnarled old lilac grown to tree size. Give that one tree a light and let the rest of the yard stay soft. A single well light or stake spotlight set 12 to 24 inches from the trunk, aimed up into the canopy at about a 30-degree angle, turns bark texture and branching into sculpture after dark. Use a warm 2700K to 3000K bulb with a narrow-to-medium beam, roughly 200 to 400 lumens; you are washing, not interrogating. If the tree is wide, two smaller fixtures crossed from opposite sides beat one strong one, because they model the shape instead of flattening it. Keep the fixture low and shielded so no bare bulb glares into the street or a neighbor window. This is a wired job worth doing properly — low-voltage cable buried a few inches down, connections in waterproof gel caps. Honestly, one lit tree plus a dark sky does more for the storybook feeling than a dozen gadgets scattered around the beds.
Suggested budget range: $60 – $200.

8. Add Moonlighting From a High Branch
Moonlighting is the most romantic trick in the whole lighting toolbox: a shielded fixture mounted 15 to 25 feet up in a mature tree, shining down through the branches so the ground below is dappled like a lane under a full moon. It suits a cottage front yard beautifully because nothing about it looks installed — visitors just sense that the garden glows. Use a soft 3000K source kept dim, around 100 to 200 lumens, with a glare shield and a honeycomb louver if you can find one. The fixture should be invisible from the ground; if you can see the bulb, the spell is broken. This is the one job where I recommend hiring a pro or at least a confident tree climber — mounting hardware must strap, never screw deep into a healthy tree, and cable runs down the back of the trunk, hidden from the street view. Have the mount checked every couple of years as the tree grows, and loosen straps before they bite. Pair moonlighting with very little else nearby; its whole charm is restraint.
Suggested budget range: $150 – $400.
9. Make Window Boxes and Planters Glow
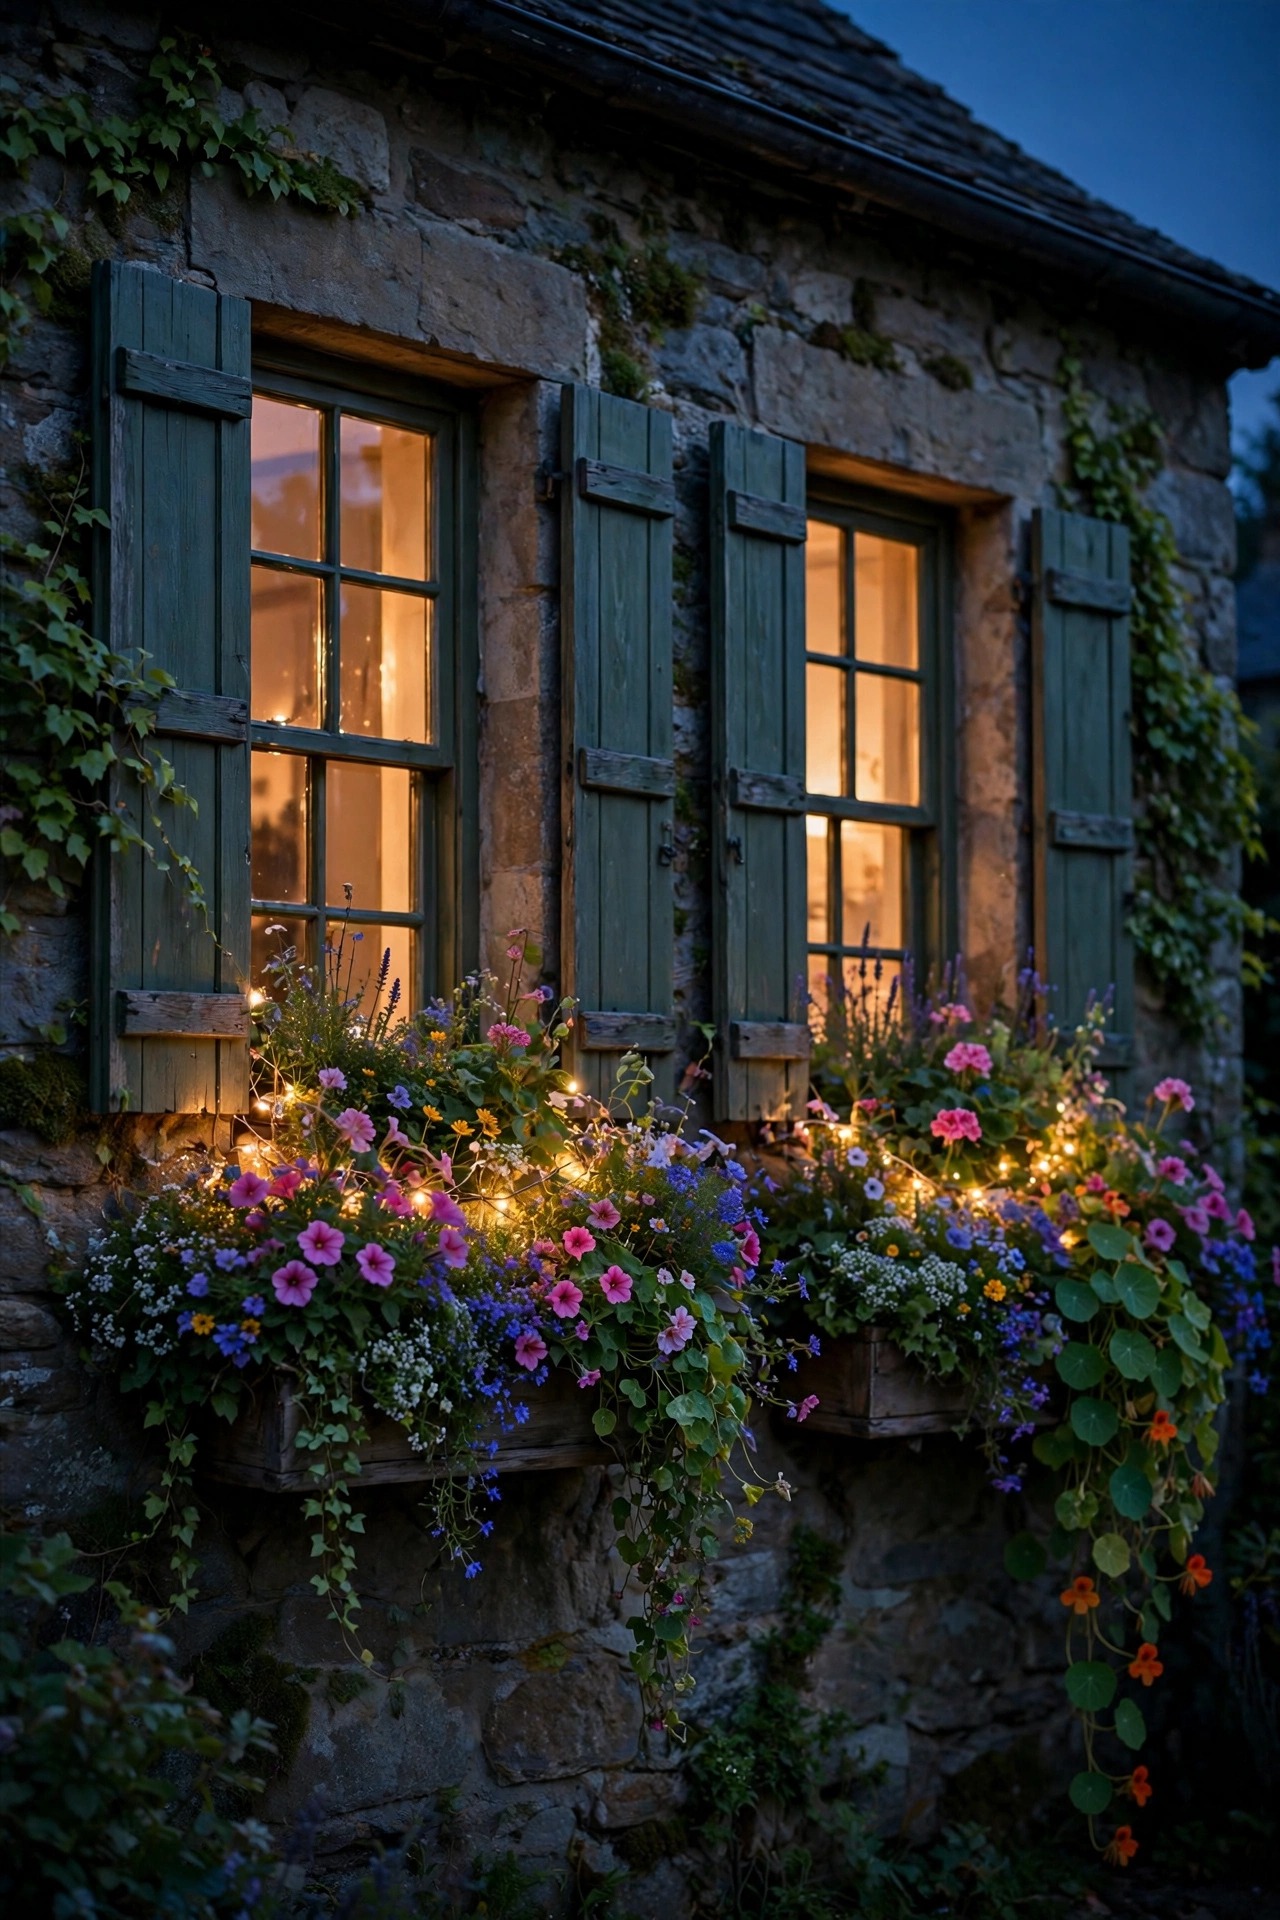
Window boxes spilling with geraniums and trailing ivy are pure cottage by day, and a whisper of light makes them pure theater by night. The simplest method is a strand of copper-wire fairy lights threaded loosely through the box plantings, run from a small solar panel tucked at the sunny end of the box. A second option I love on the porch steps: set a small solar puck or a flameless candle in a hurricane jar inside a big planter, nestled between the flowers, so the pot glows like a lantern. Keep everything low-voltage, solar, or flameless near soil and foliage — never a real flame in a wooden window box, and never a hot bulb against dry trailing plants. Watering needs one extra moment of care: lift the fairy wire gently rather than blasting it with the hose, and choose solar stakes rated for wet locations. In my experience, two glowing window boxes flanking the door can replace sconces entirely on a small cottage, and the look is softer and more personal. Replace tired solar batteries each spring and the boxes will light themselves all season.
Suggested budget range: $20 – $80.
10. Edge the Walk With Glare-Free Mushroom Lights
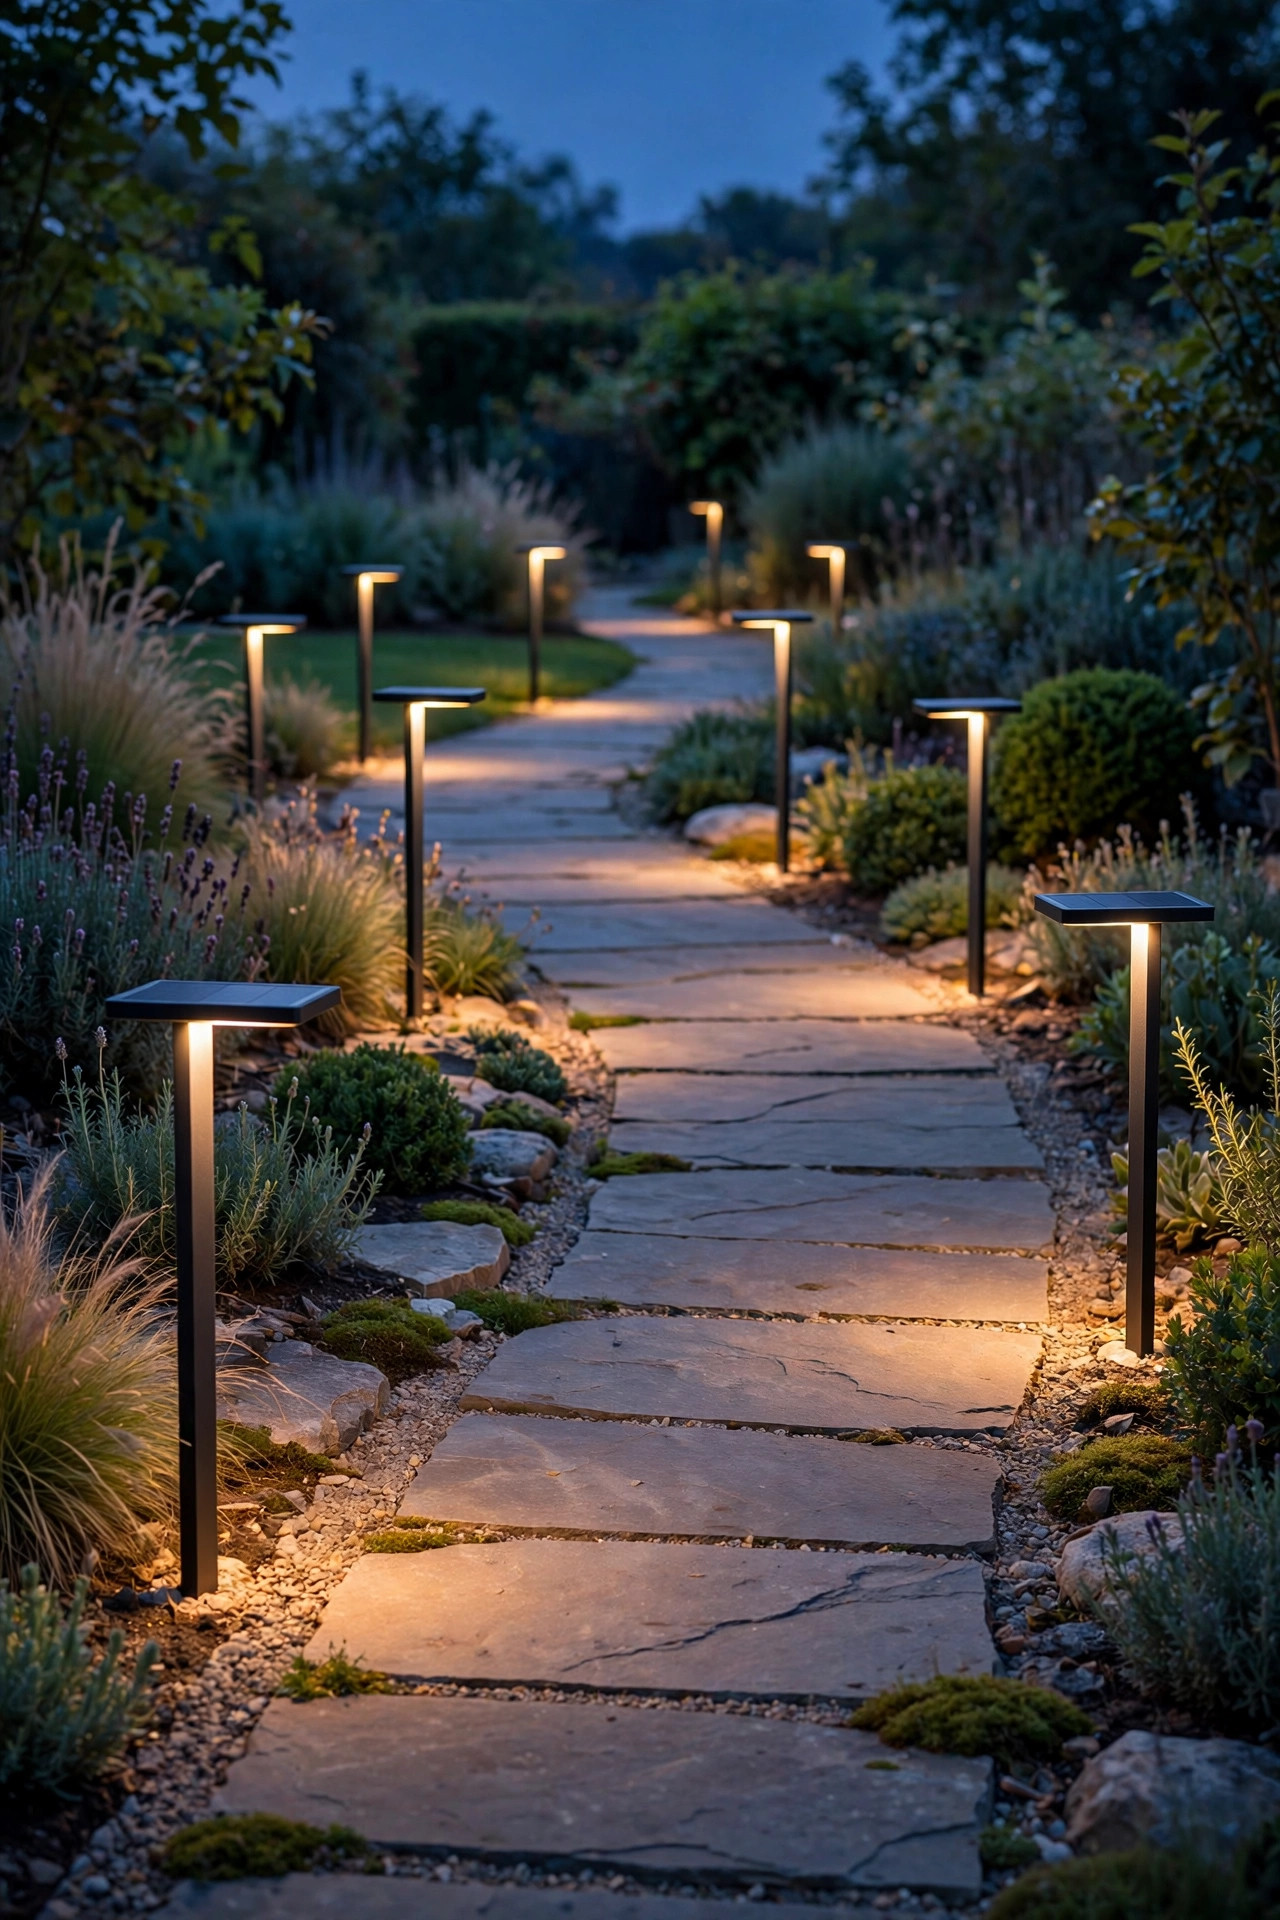
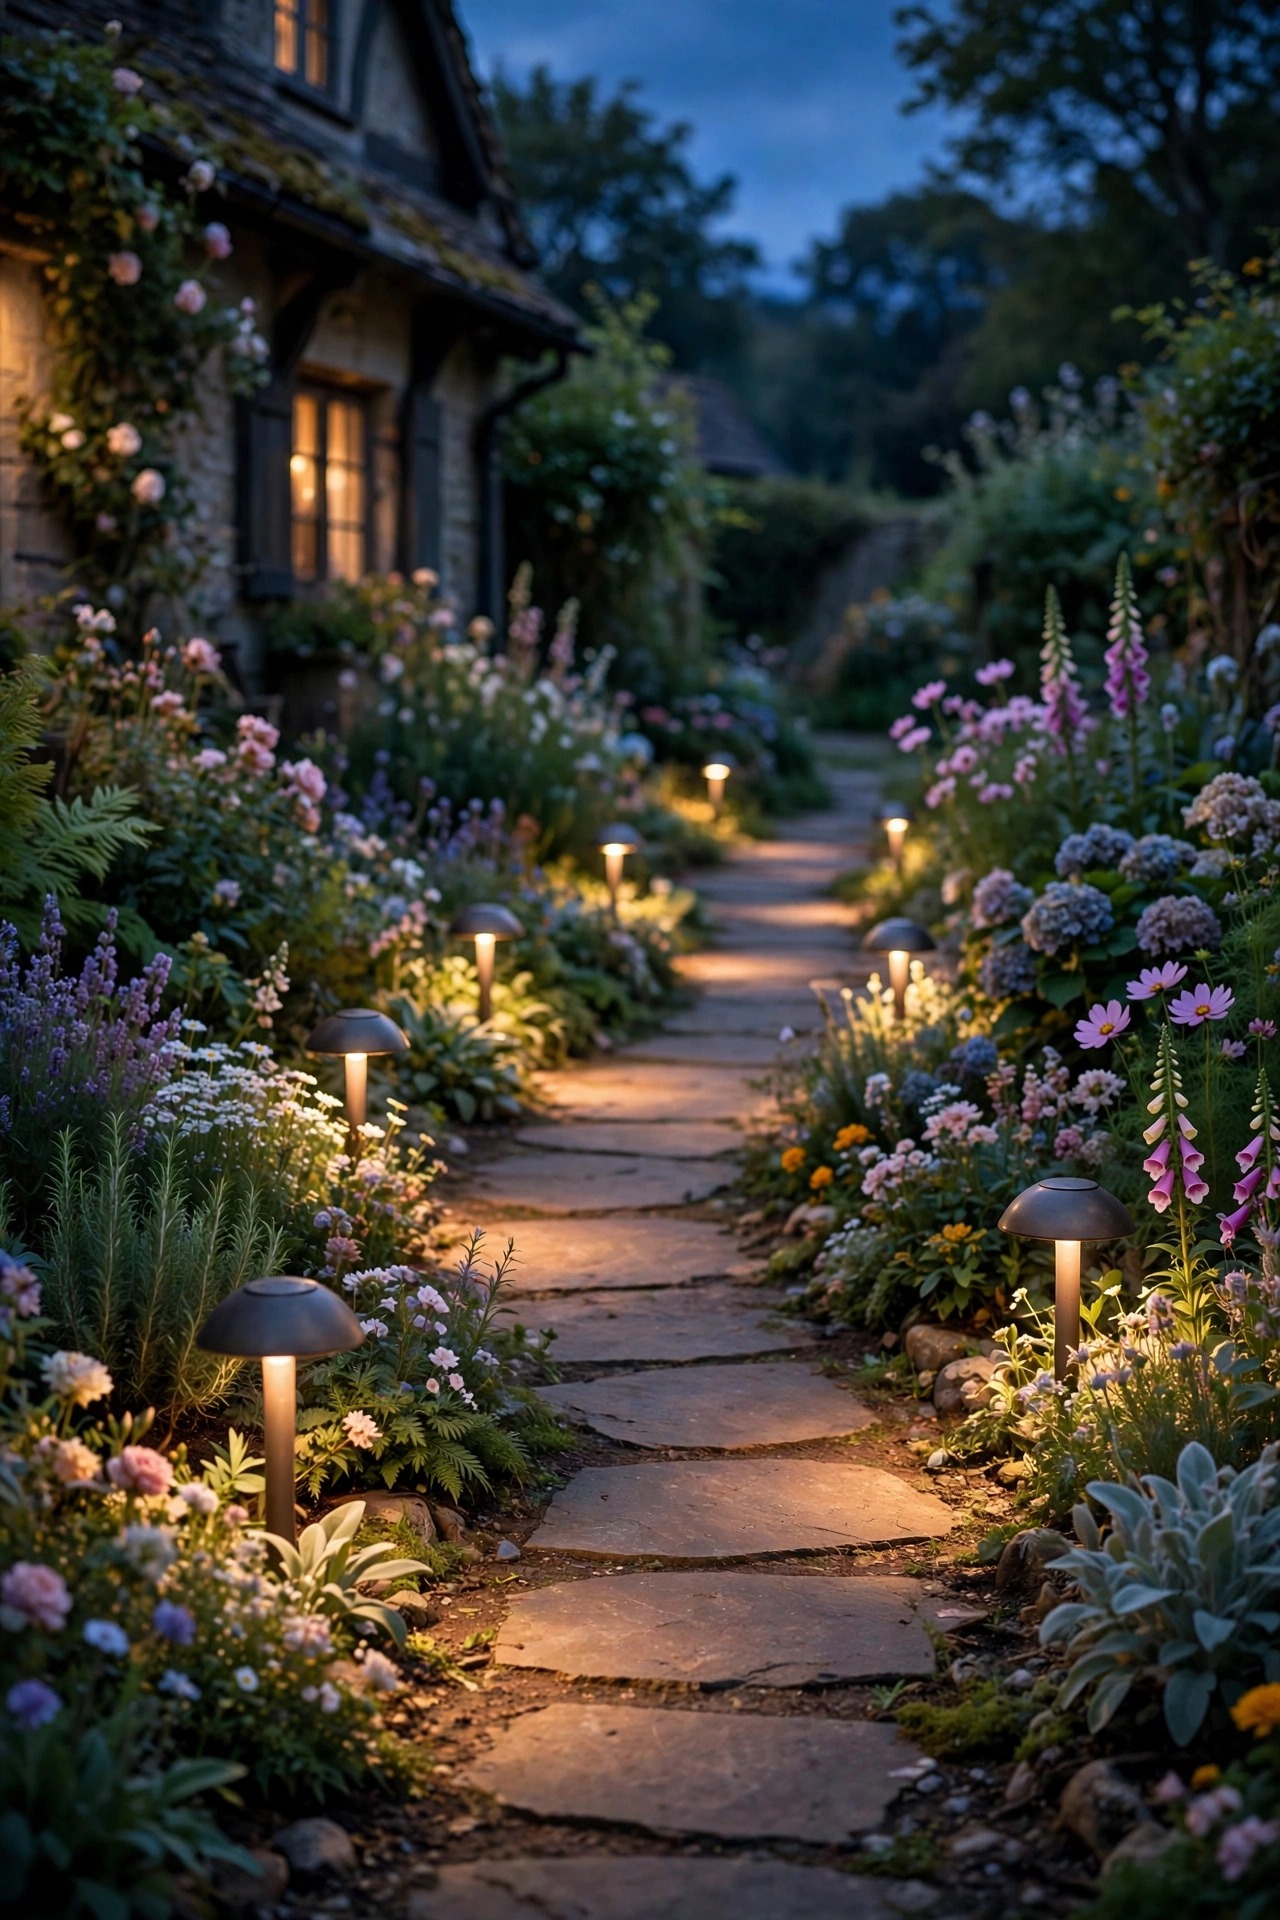
Mushroom or dome path lights are the introverts of the lighting world: a little cap shades the bulb and throws all the light downward onto the path, where it belongs. That downward throw is exactly what an English-style garden wants, because it lights the walk without shining in anyone's eyes or washing out the flowers beside it. Choose fixtures 12 to 15 inches tall in aged bronze, verdigris, or matte black, spaced 6 to 8 feet apart, and set them back about 6 inches from the path edge. The pools of light will overlap in soft ellipses, and the gravel or stone between stays gently shadowed — very lane-in-the-country. Mushroom lights are also the kindest choice for fireflies and night pollinators, since so little light escapes upward. I often mix these with the lantern path lights from idea two: lanterns near the door where you want sparkle, mushrooms along the darker far stretch where you want calm. Keep the caps wiped clean; a season of pollen dust under the dome dims the throw more than you would expect.
Suggested budget range: $90 – $260.
11. Set Hurricane Lanterns With Flameless Candles on the Steps
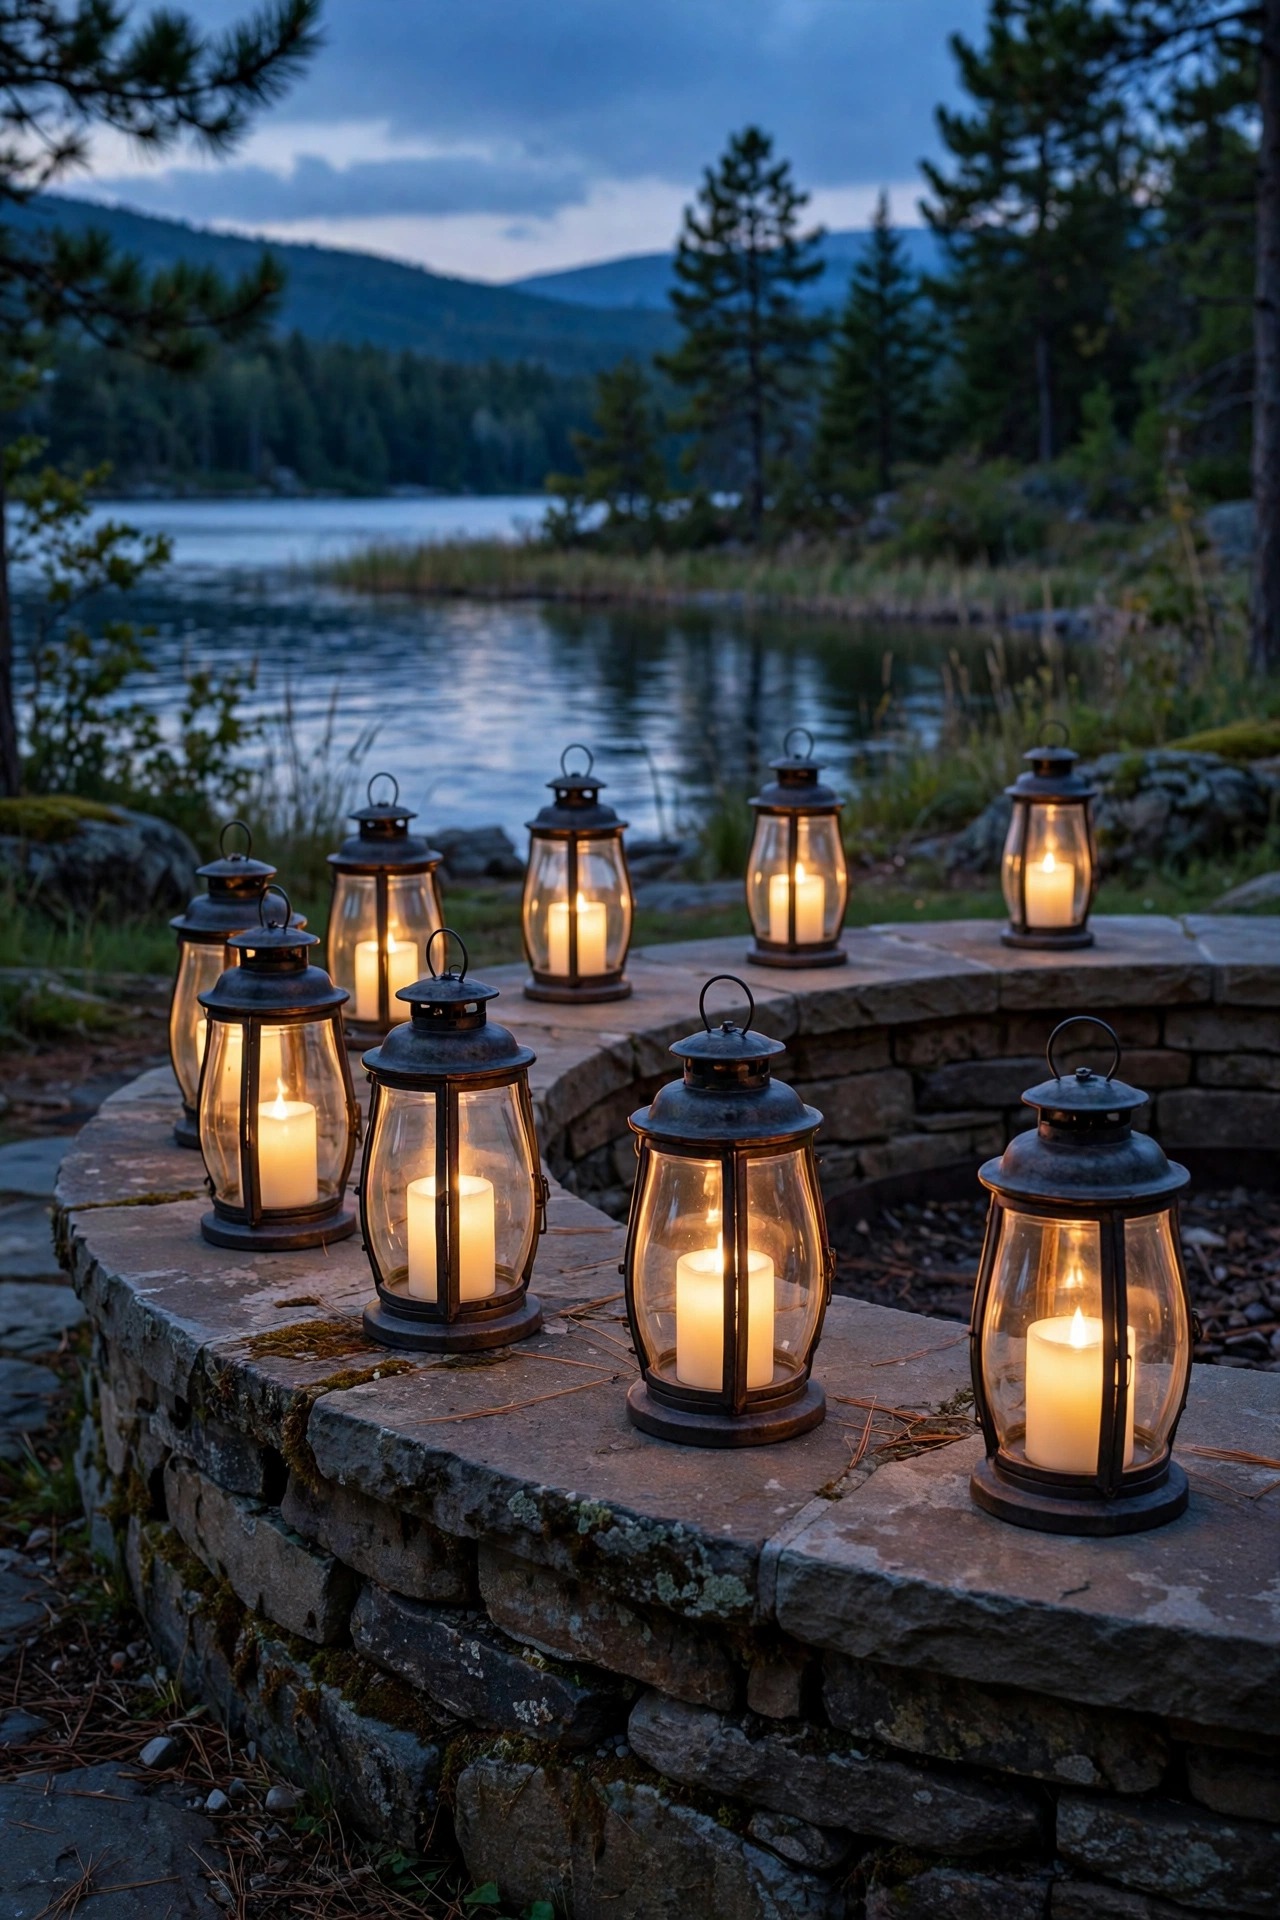
Nothing says cottage welcome like candlelight on the steps, and nothing says fire hazard like real candles beside a wooden door — so I use hurricane lanterns with good flameless candles and get every bit of the romance with none of the worry. Group two or three lanterns of different heights on the porch steps or beside the door, and choose flameless candles with a realistic flicker and a built-in 5-hour timer, so they sigh on at dusk and off at bedtime without your help. Glass hurricanes shield the glow from breezes and give it that deep, golden depth; aged metal frames keep the look English rather than nautical. Keep lanterns to the side of the step treads, never in the walking lane, and bring them under cover in the worst winter storms. The timer trick matters more than it sounds — a welcome that lights itself every single evening is the difference between a styled photo and a lived-in cottage. Buy candles in one warm tone so the group matches, and replace batteries at the spring and fall clock changes.
Suggested budget range: $35 – $110.
12. Frame the Picket Fence With Soft Post-Cap Lights
A picket fence is the frame of the cottage picture, and a few gentle post-cap lights trace that frame after dark like stitching on a sampler. Solar caps made for 4×4 posts are the easy route — they sit on top, charge by day, and glow at dusk with no wiring at all. Restraint is the rule: light every second or third post, not every one, and skip the corner nearest the road if it would glare at drivers. Warm white only, and modest brightness — you want a dotted line of glow that echoes the fence rhythm, not a landing strip. On a painted white fence the effect is especially pretty, since each cap washes a little light down the pickets below it. Check the fit before you buy a set, because nominal 4×4 posts vary; a dab of exterior adhesive keeps snug caps from rattling off in a storm. In my experience these are the lights guests mention when they leave: the yard felt held, somehow, all evening. Clean the little solar panels when you clean the solar stakes, same damp cloth, same day.
Suggested budget range: $40 – $130.

13. Put Everything on Timers and Photocells
The most charming front yard is the one that lights itself, because charm that depends on you remembering a switch lasts about a week. My rule: every light in the yard answers to a photocell, a timer, or a dusk sensor — no exceptions. Low-voltage systems make this easy with a transformer that has a built-in photocell and timer; set it to dusk-on, off at 11 p.m., and the yard keeps village hours. Solar stakes and fairy strands mostly handle themselves, but check that their sensors are not shaded by a porch roof or fooled by a streetlamp, which can convince a photocell it is still daytime. For hardwired sconces, a smart bulb or an astronomical timer switch adjusts itself with the seasons, so the door glows at 5 p.m. in December and 8:30 in June with no fiddling. This is also the neighborly choice: lights that retire at a civilized hour keep the night dark for everyone, including the fireflies. Once a season, walk out at the set hour and confirm everything fired — sensors drift, batteries fade, and one dark fixture quietly breaks the whole pattern.
Suggested budget range: $25 – $120.

14. Keep Every Bulb at One Warm Color Temperature
Here is the discipline that separates a storybook yard from a jumble sale: every bulb, stake, and strand in the front yard burns at the same warm color temperature, 2700K. Mixing is what breaks the spell — one blue-white daylight bulb in a sea of warm gold reads as a mistake from half a block away, and the eye goes straight to it. When you shop, read the Kelvin number on every box, including the solar stakes, whose cheaper versions sneak in at a chilly 4000K or worse. If a fixture comes with a bulb you cannot change, test it at the store or buy one to try at home before committing to a set. Warm 2700K flatters everything a cottage yard contains: brick, painted wood, skin tones on the porch, and every flower color except maybe the bluest delphiniums, which simply go mysterious. This rule costs nothing extra — it is a shopping habit, not a purchase — and in my experience it is the single highest-impact fix for yards that feel almost right. Label spare bulbs with a marker so a 4000K interloper never sneaks in during a midnight replacement.
Suggested budget range: $10 – $60.
15. Finish Your Cottage Front Yard Lighting Ideas With a Dusk Walk-Through
The last idea is the one that makes all the others true: when your cottage front yard lighting ideas are in place, wait for a clear evening, stand at the street, and look at your yard the way a passerby would. Then walk the path slowly, all the way to the door, and edit like a gardener prunes — bravely. A stake that glares gets pushed deeper into the foliage. A lantern that hogs the scene gets a smaller bulb. A dark gap between the gate and the first rose bush might want one fairy strand, or it might want to stay dark, and honestly the shadow is often the better choice. Check the view from inside, too; the yard should glow for the people on the porch, not perform for the road. I do this walk twice a year, in spring when the planting fills in and in fall when it thins, and I move at least one thing every single time. That is the real English-garden secret: the lighting is never finished, it is gardened. Tend it a little each season and the charm compounds.
Suggested budget range: $0 – $50.
Frequently Asked Questions
What color temperature looks best for a cottage front yard?
Warm 2700K, everywhere, with no exceptions sneaking in. It matches candlelight and old filament bulbs, flatters brick and painted wood, and keeps flowers looking like themselves after dark. Cooler 4000K and daylight bulbs read as security lighting, which is the opposite of the storybook feeling a cottage yard is going for.
Are solar lights bright enough for a front walk?
For a cottage walk, yes — modern solar path lights in the 50 to 150 lumen range give gentle overlapping pools that suit a garden path perfectly, as long as the panels get 6 to 8 hours of direct sun. Shady north-facing walks are the exception; there, low-voltage wired fixtures earn their keep with steadier, stronger light.
How do I keep cottage lighting from looking cluttered?
Work in layers and edit at dusk. Assign every fixture to the low, middle, or high layer, hide fixtures inside planting whenever you can, and keep one warm color temperature across the whole yard. If two lights compete from the street view, remove the weaker one — a cottage yard always looks better slightly under-lit than over-lit.
How much does a cottage front yard lighting setup cost?
A sweet starter setup — path lanterns, fairy lights in the roses, solar bed stakes, and a gate lantern — runs about $200 to $500 if you install it yourself. Adding a wired tree uplight, moonlighting, and a timer transformer brings a full layered scheme to roughly $800 to $1,800, and you can build it in stages over several seasons.
Conclusion
If you remember one thing from all 15 of these cottage front yard lighting ideas, let it be this: charm is layers plus restraint. Low lanterns on the path, a warm welcome at the gate and door, one tree holding the sky — and every bulb burning the same candle-warm 2700K. Start with the plan, add the pieces a season at a time, and keep editing at dusk like the gardener you are. When you are ready for the next corner of the yard, browse more lighting ideas here on the site and keep the glow growing, one small pool of light at a time.