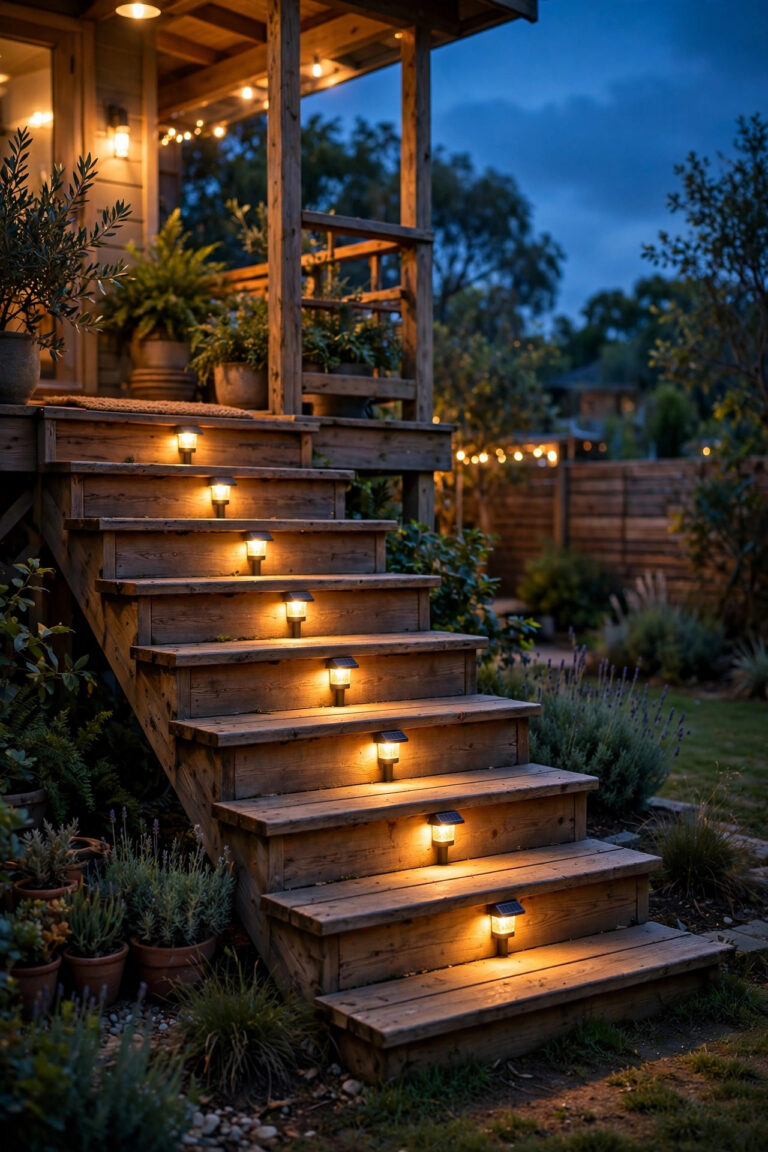
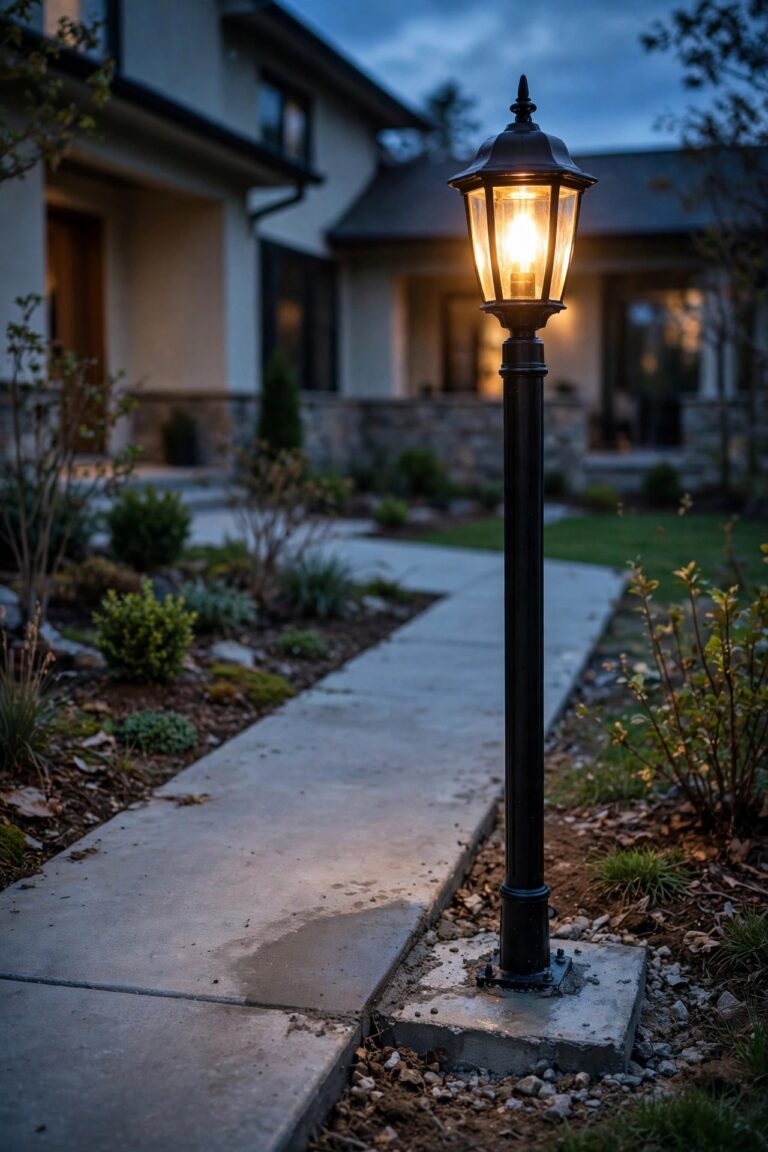
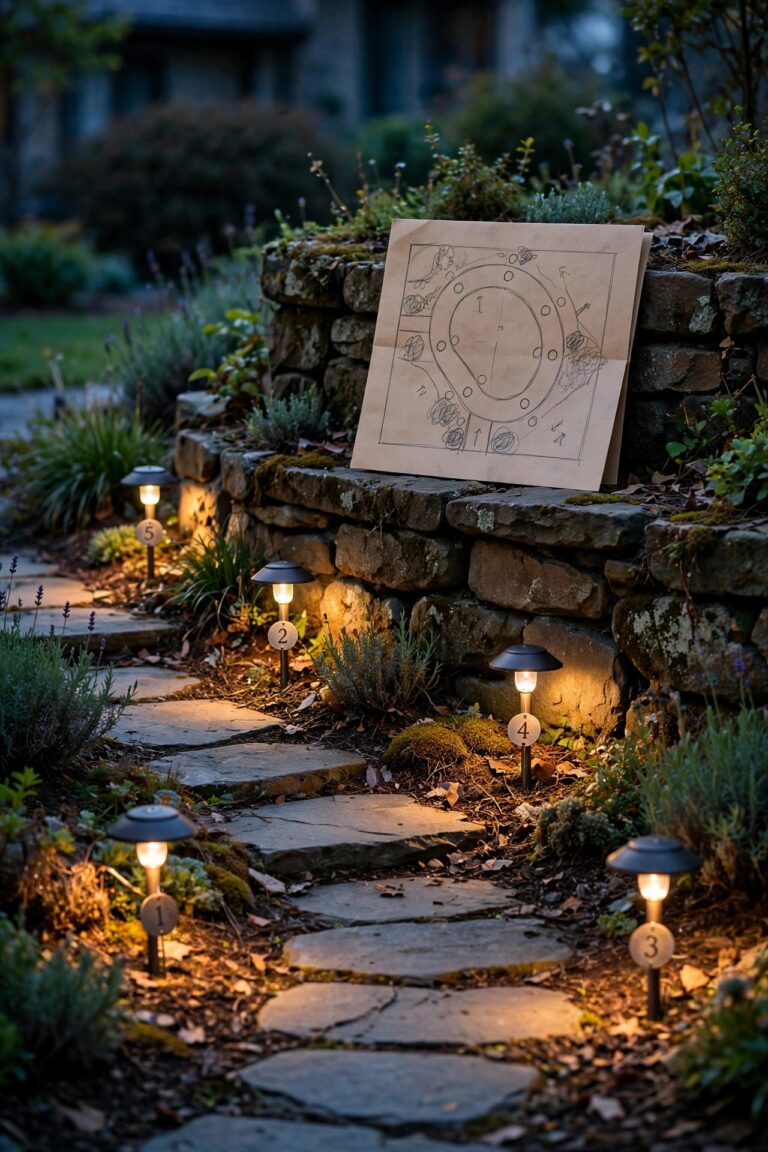
There is a moment, right at dusk, when every yard on my street goes a little bit magical — and honestly? The houses that get that glow almost always have one thing in common: lantern style path lights lining the walkway. There's just something about that enclosed, flickering-warm light that reads "storybook cottage" instead of "airport runway." After years of testing stakes, posts, and solar lanterns along my own front path, I've learned that the lantern shape is the most forgiving style you can buy. It hides the bulb, softens glare, and layers beautifully with porch lights and landscape spots. In this post I'm sharing my 21 favorite ways to use them, from budget solar stakes to tall coach-style posts, with honest budgets, spacing tips, and the little placement tricks that make a path feel enchanted instead of evenly lit. Whether your walk is three short steps or winds halfway around the house, there's a lantern on this list with your name on it.
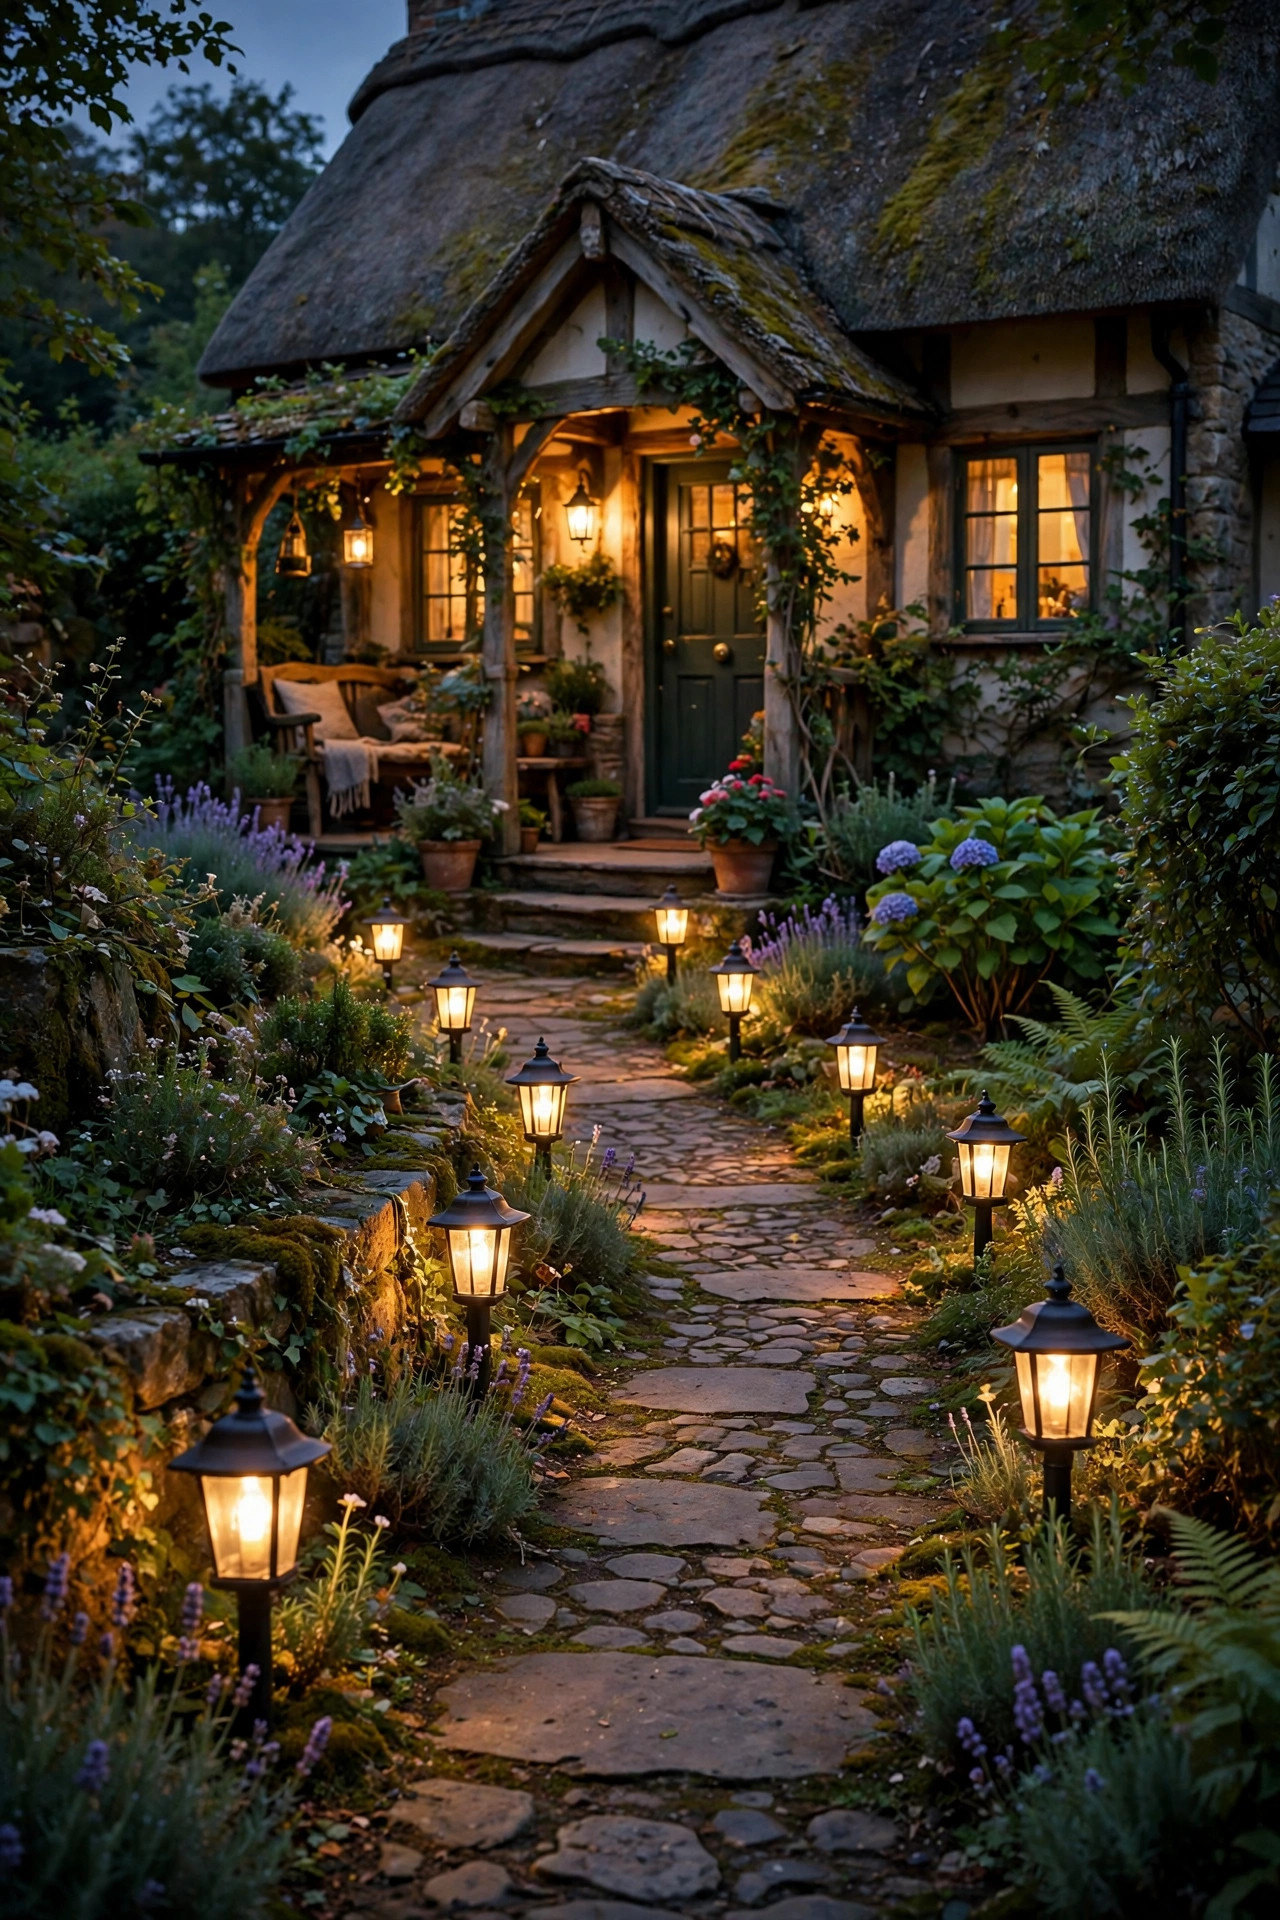
1. Classic Black Metal Lantern Style Path Lights on Solar Stakes
If you're starting from zero, this is the set I recommend first. Classic black metal lanterns on solar stakes give you that timeless carriage-house silhouette, and because they're solar, installation is literally pushing a stake into the soil. I space mine 6 to 8 feet apart along the walk, staggered slightly rather than in a perfect soldier line — that tiny irregularity is what sells the storybook feel. Look for models with a real glass or thick acrylic panel and a warm-white LED around 2700K; the cheapest sets often glow a blue-white that ruins the mood. These are perfect beginner solar path lights because there's no wiring, no transformer, and you can rearrange them in ten minutes when you change your plantings. One honest note: solar output follows the sun, so in December mine run about 6 hours after dusk instead of 10. I actually like that — they fade as the house goes to sleep.
Suggested budget range: $35 – $80.

2. Antique Bronze Hanging Lanterns on Short Posts
For a front walk with a little formality, hanging lanterns on short shepherd-style posts are my weakness. The lantern hangs inside a curved arm, so the light sways almost imperceptibly in the breeze and the shadows move — it feels alive in a way fixed fixtures never do. Antique bronze finishes pair beautifully with brick, stone, and any home with oil-rubbed hardware on the front door. I mount these about 18 to 24 inches tall at the edge of the path where guests actually step off the driveway, roughly every 8 feet. Low-voltage wired versions are worth the small extra effort here, because hanging lanterns look best with a steady, brighter output than most solar cells deliver in shade. Keep the bulb warm and modest — 40 to 60 lumens is plenty; these are punctuation marks, not streetlights. In my experience, two at the gate and two at the porch steps frame the whole walk without buying a full run.
Suggested budget range: $120 – $260.

3. Frosted Glass Cottage Lanterns for a Soft, Diffused Glow
Some paths need light you can actually walk by, not just admire. Frosted glass cottage lanterns are my answer for steps, slopes, and any stretch where someone in your house comes home after dark with arms full of groceries. The frosted panel spreads the light into a soft pool instead of a bright point, so your eyes aren't bouncing between glare and darkness. I use these on the shadier side of my yard, spacing them closer — about 5 to 6 feet — because diffused light reads dimmer than clear glass at the same wattage. Choose sealed fixtures rated for wet locations, since frosted glass loves to collect condensation and, eventually, an ambitious spider. A quick wipe with a microfiber cloth every month or so keeps them bright. They layer especially well under a low tree canopy, where the diffused glow catches the undersides of the leaves and the whole corner of the yard feels like a lit garden room.
Suggested budget range: $60 – $140.
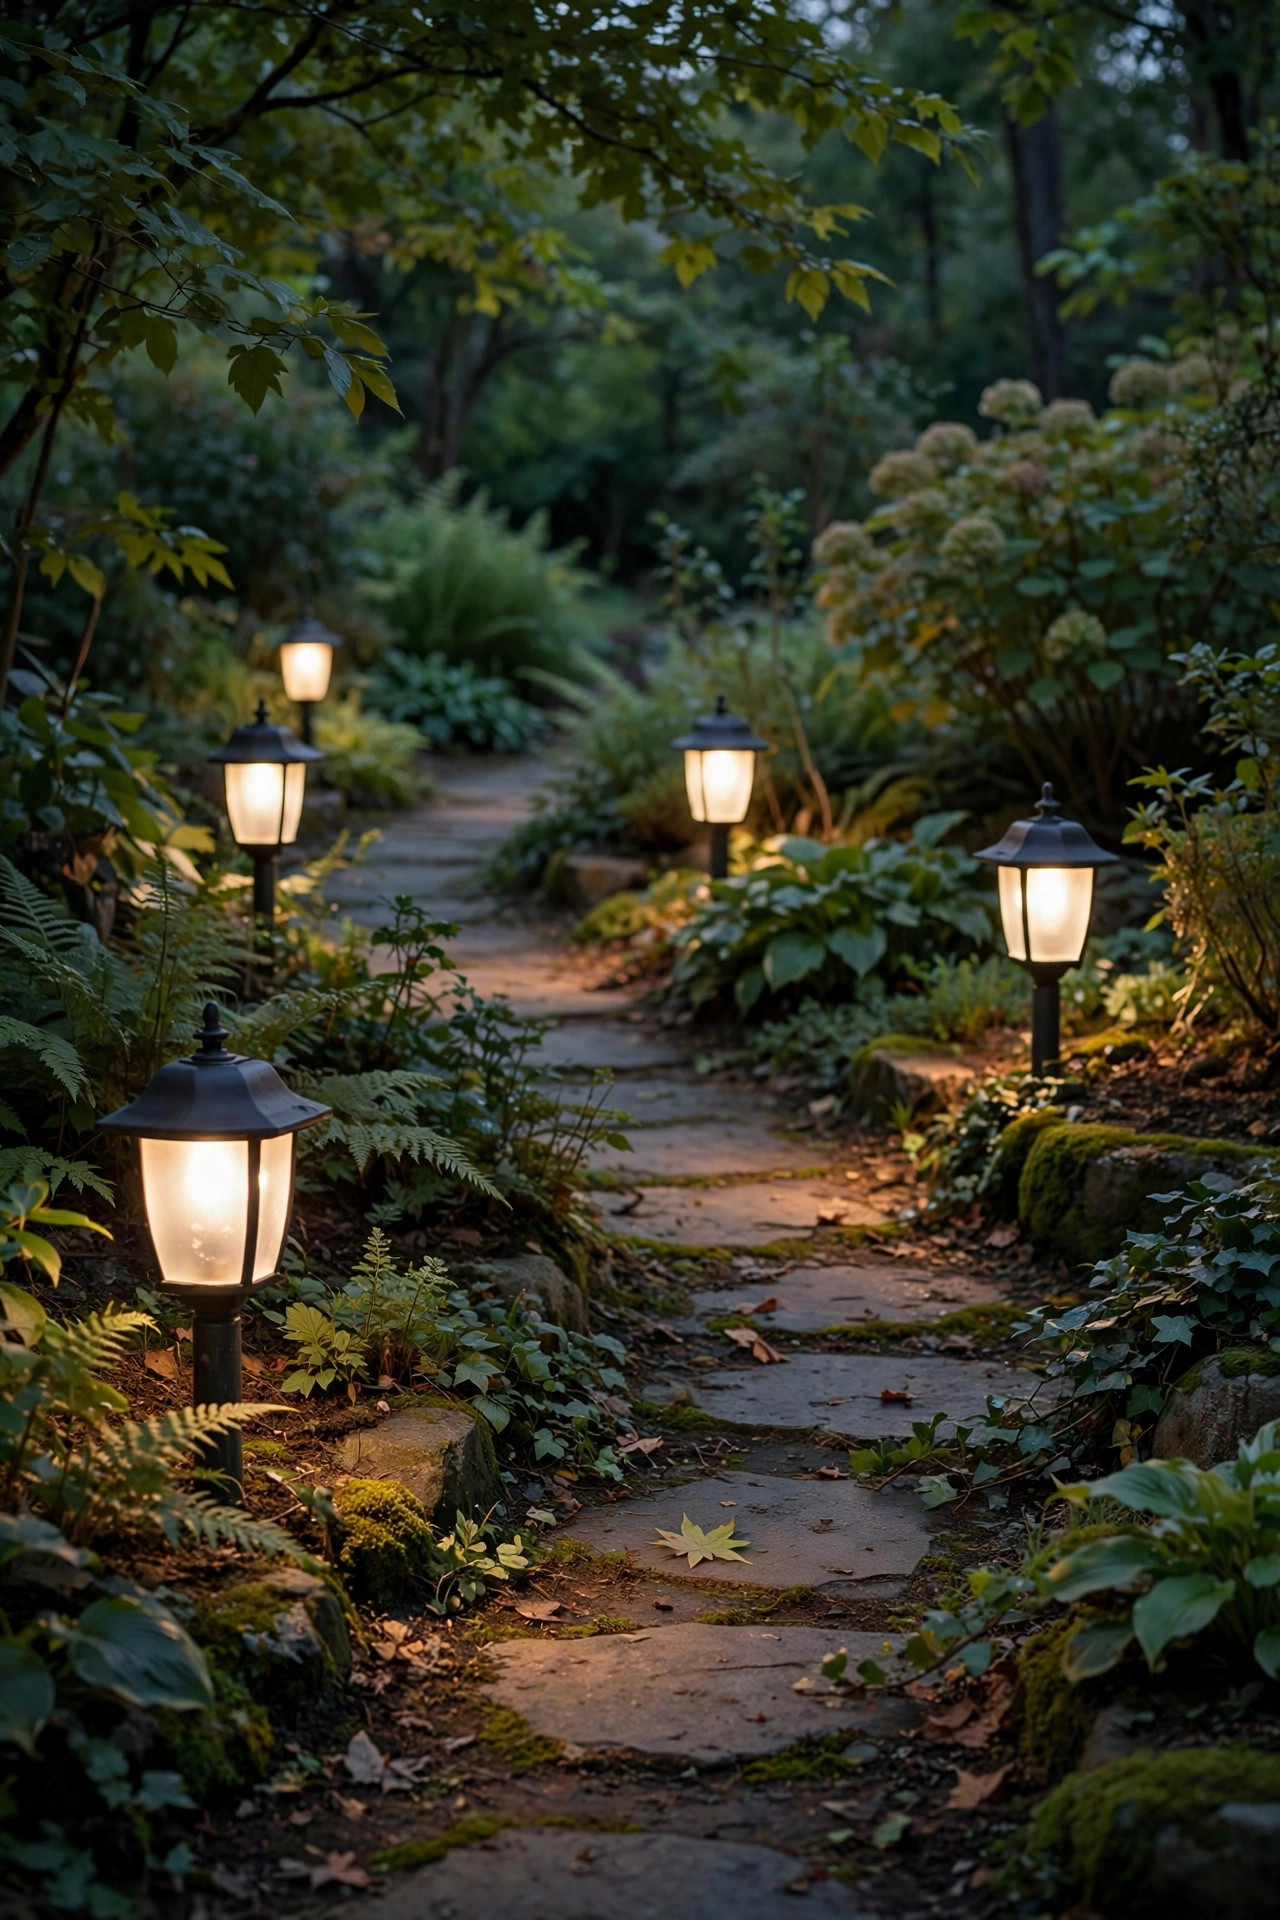
4. Miniature House-Shaped Lanterns for Pure Storybook Charm
I resisted these for a full year because I thought they'd look kitschy. Then my neighbor lined her stepping-stone path with little house-shaped lanterns — tiny peaked roofs, tiny glowing windows — and I stood on the sidewalk at dusk like a kid outside a bakery window. The trick is restraint: use them on a short, informal path, like the stepping stones from the driveway to a side gate, not as the main lighting for a long formal walk. They work best in a cluster rhythm, maybe five to seven of them with low plantings tucked between so they peek out of the foliage. Solar versions dominate this style, and quality varies wildly, so buy one, test it for a week, then commit. Keep the finish consistent — all black, or all white for a cottage-garden look. Honestly, these are the lights my grandkids ask about, and the ones delivery drivers compliment. Whimsy, placed deliberately, reads as confidence.
Suggested budget range: $30 – $75.
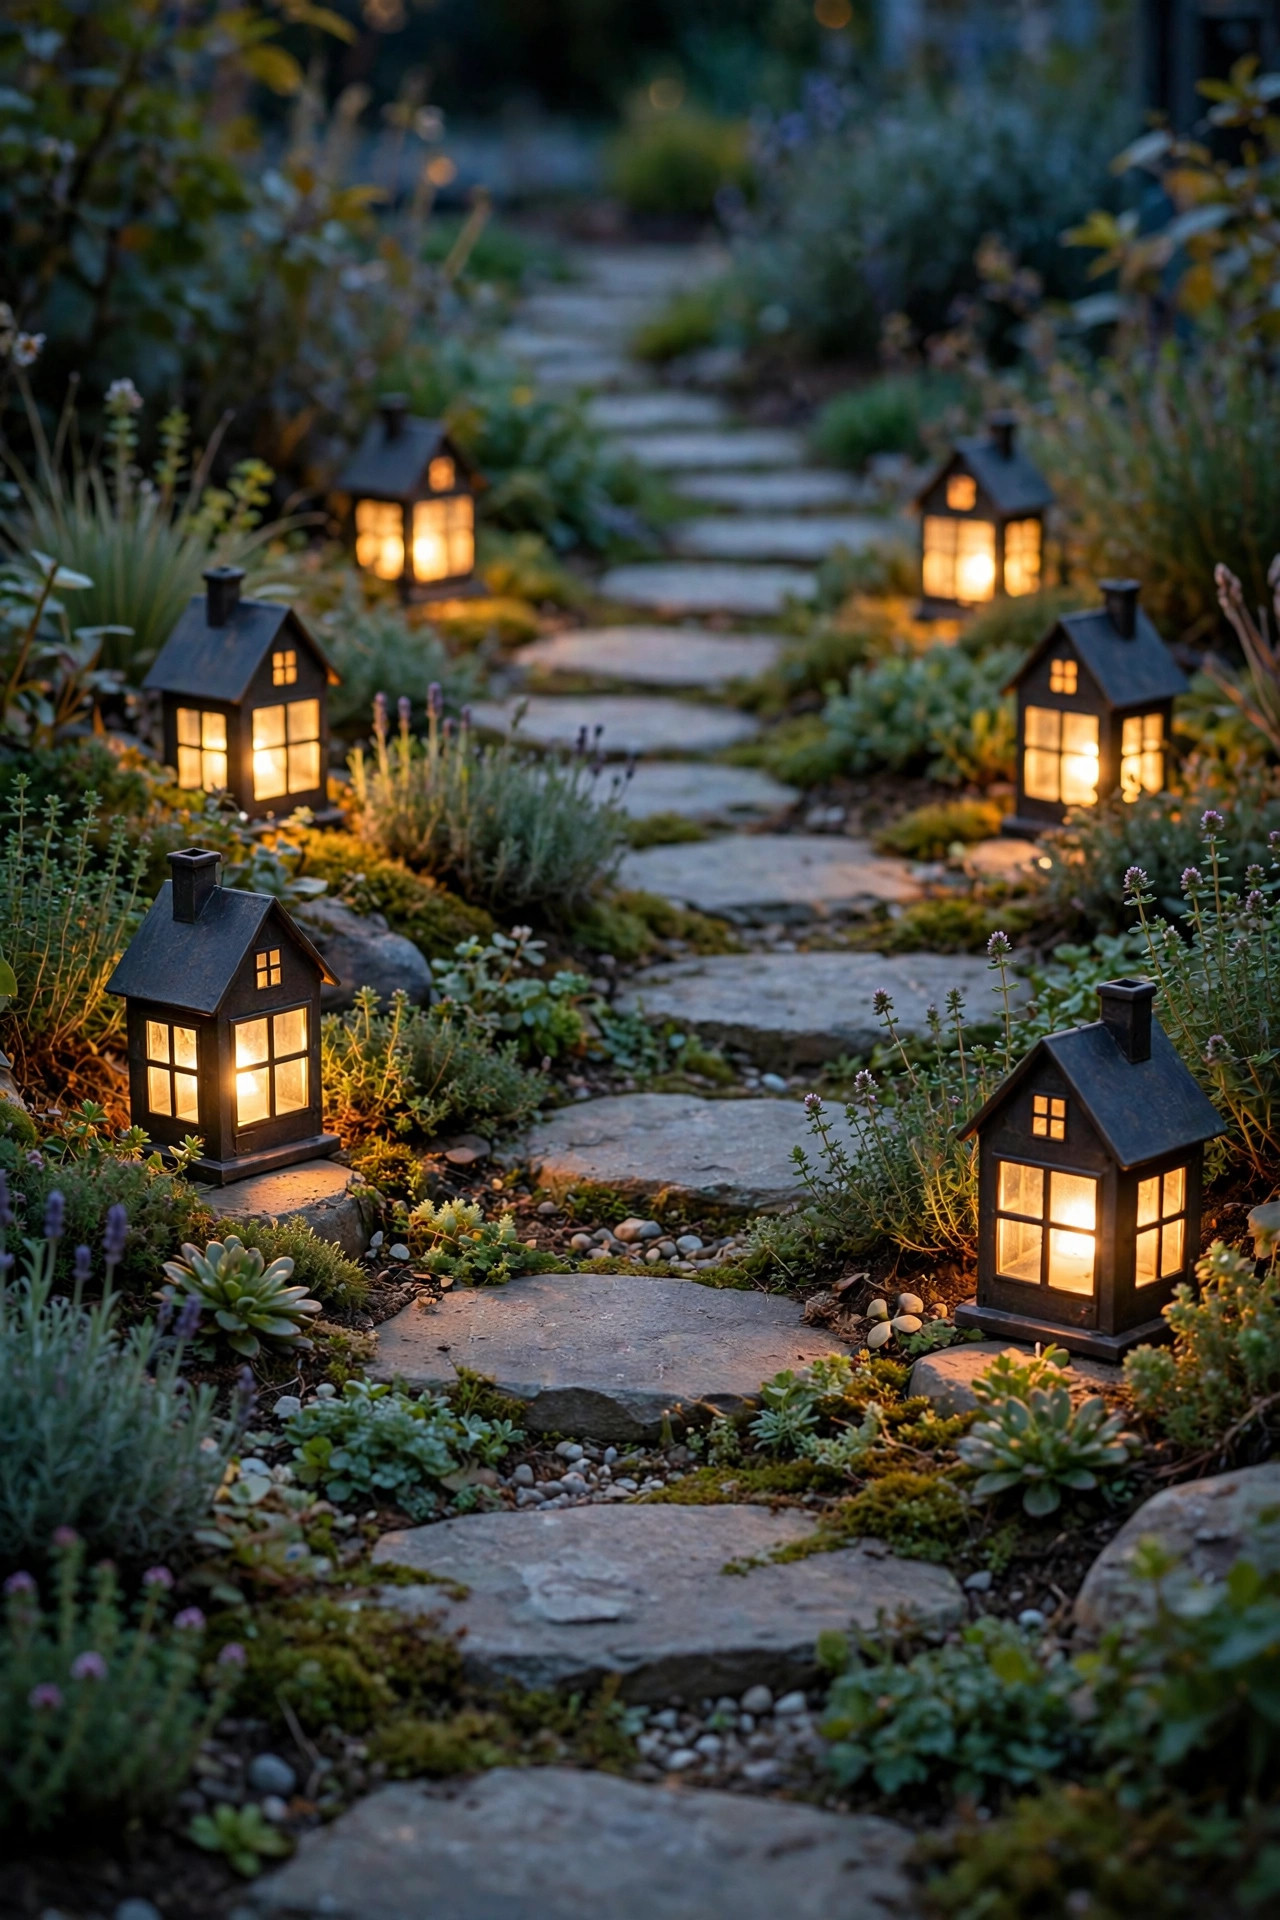
5. Shepherd's Hook Lantern Lights Along a Curved Walk
A curved path is a gift — it lets you hide the destination and make the walk feel twice as long and twice as enchanted. Shepherd's hooks are my favorite tool for curves because the lantern hangs out over the path edge, dropping light exactly where feet land while the hook itself disappears into the planting bed. I use hooks 30 to 36 inches tall on curves, placing one at the start of the bend and one at the apex, then filling in every 6 feet or so. Push the hook at least 10 inches into the soil and angle the lantern so it hangs plumb — a tilted lantern looks tired, not charming. Solar hanging lanterns made for hooks are widely available, but check the weight; a hook that bows under a heavy lantern will lean more every season. This is also the easiest style to make seasonal: a tiny wreath on the hook at Christmas, a ribbon in spring, and the lantern does the rest.
Suggested budget range: $45 – $110.
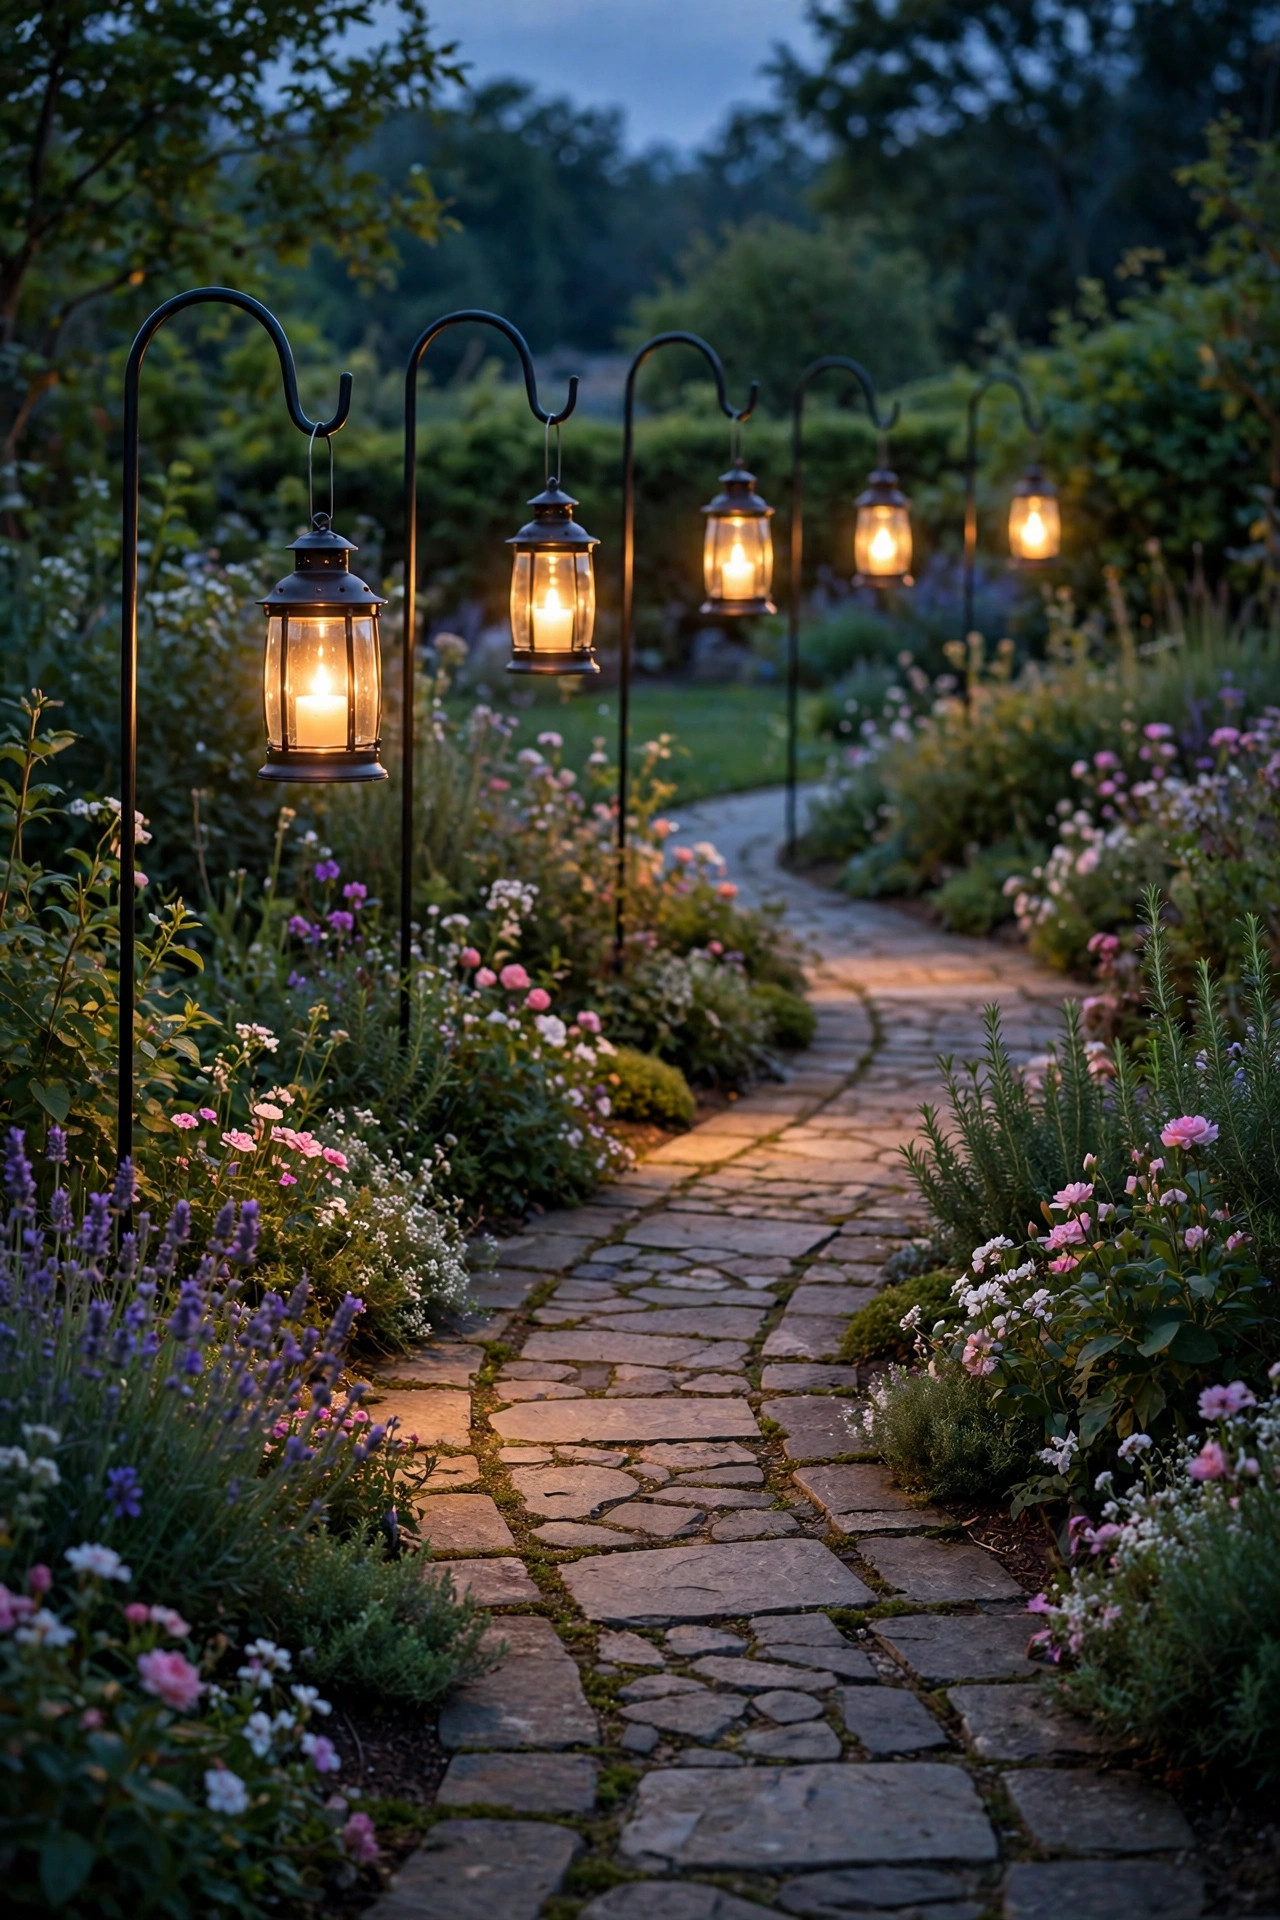
6. Crackle-Glass Globe Lanterns That Sparkle After Dark
Crackle glass is the extrovert of the lantern family. The textured globe breaks the light into hundreds of tiny sparkles, and from the street your path looks dusted with fireflies. I use crackle-glass lanterns where the path passes a feature I want noticed — beside a birdbath, at the corner of a flower bed, flanking a garden bench. Because the sparkle draws the eye, a little goes a long way: every 8 to 10 feet is enough, and mixing them with plain lanterns on the same run looks indecisive. Stick to one style per path. Most crackle globes are solar, and the better ones have an actual on/off switch so you can save the charge for the weekend. A heads-up from my own mistake file: crackle texture hides dust beautifully but shows hard-water spots, so if your sprinklers hit the path, wipe the globes when you clean the porch furniture. The sparkle is worth the small upkeep, I promise.
Suggested budget range: $40 – $95.

7. Copper-Finish Lanterns With a Flickering Flame Effect
If a storybook walkway had a signature light, the flickering flame lantern would be it. The LED flame effect has gotten genuinely good — from ten feet away, my copper-finish set reads as real candlelight, and real candlelight is the warmest welcome a house can offer. Copper finishes patina gracefully outdoors, mellowing from bright penny to a rich brown that suits craftsman and farmhouse styles especially well. I place flame lanterns at decision points: where the path forks, at the bottom of porch steps, beside the gate. The flicker draws you forward, which is exactly what you want a path light to do. Choose a model with both flame and steady modes if you can find one — flame for ambiance nights, steady for icy evenings when you need true task light. Solar flame lanterns need a genuinely sunny charging spot, so in shaded yards, run these in low-voltage wired form or move the panel to a sunnier stake nearby.
Suggested budget range: $50 – $120.
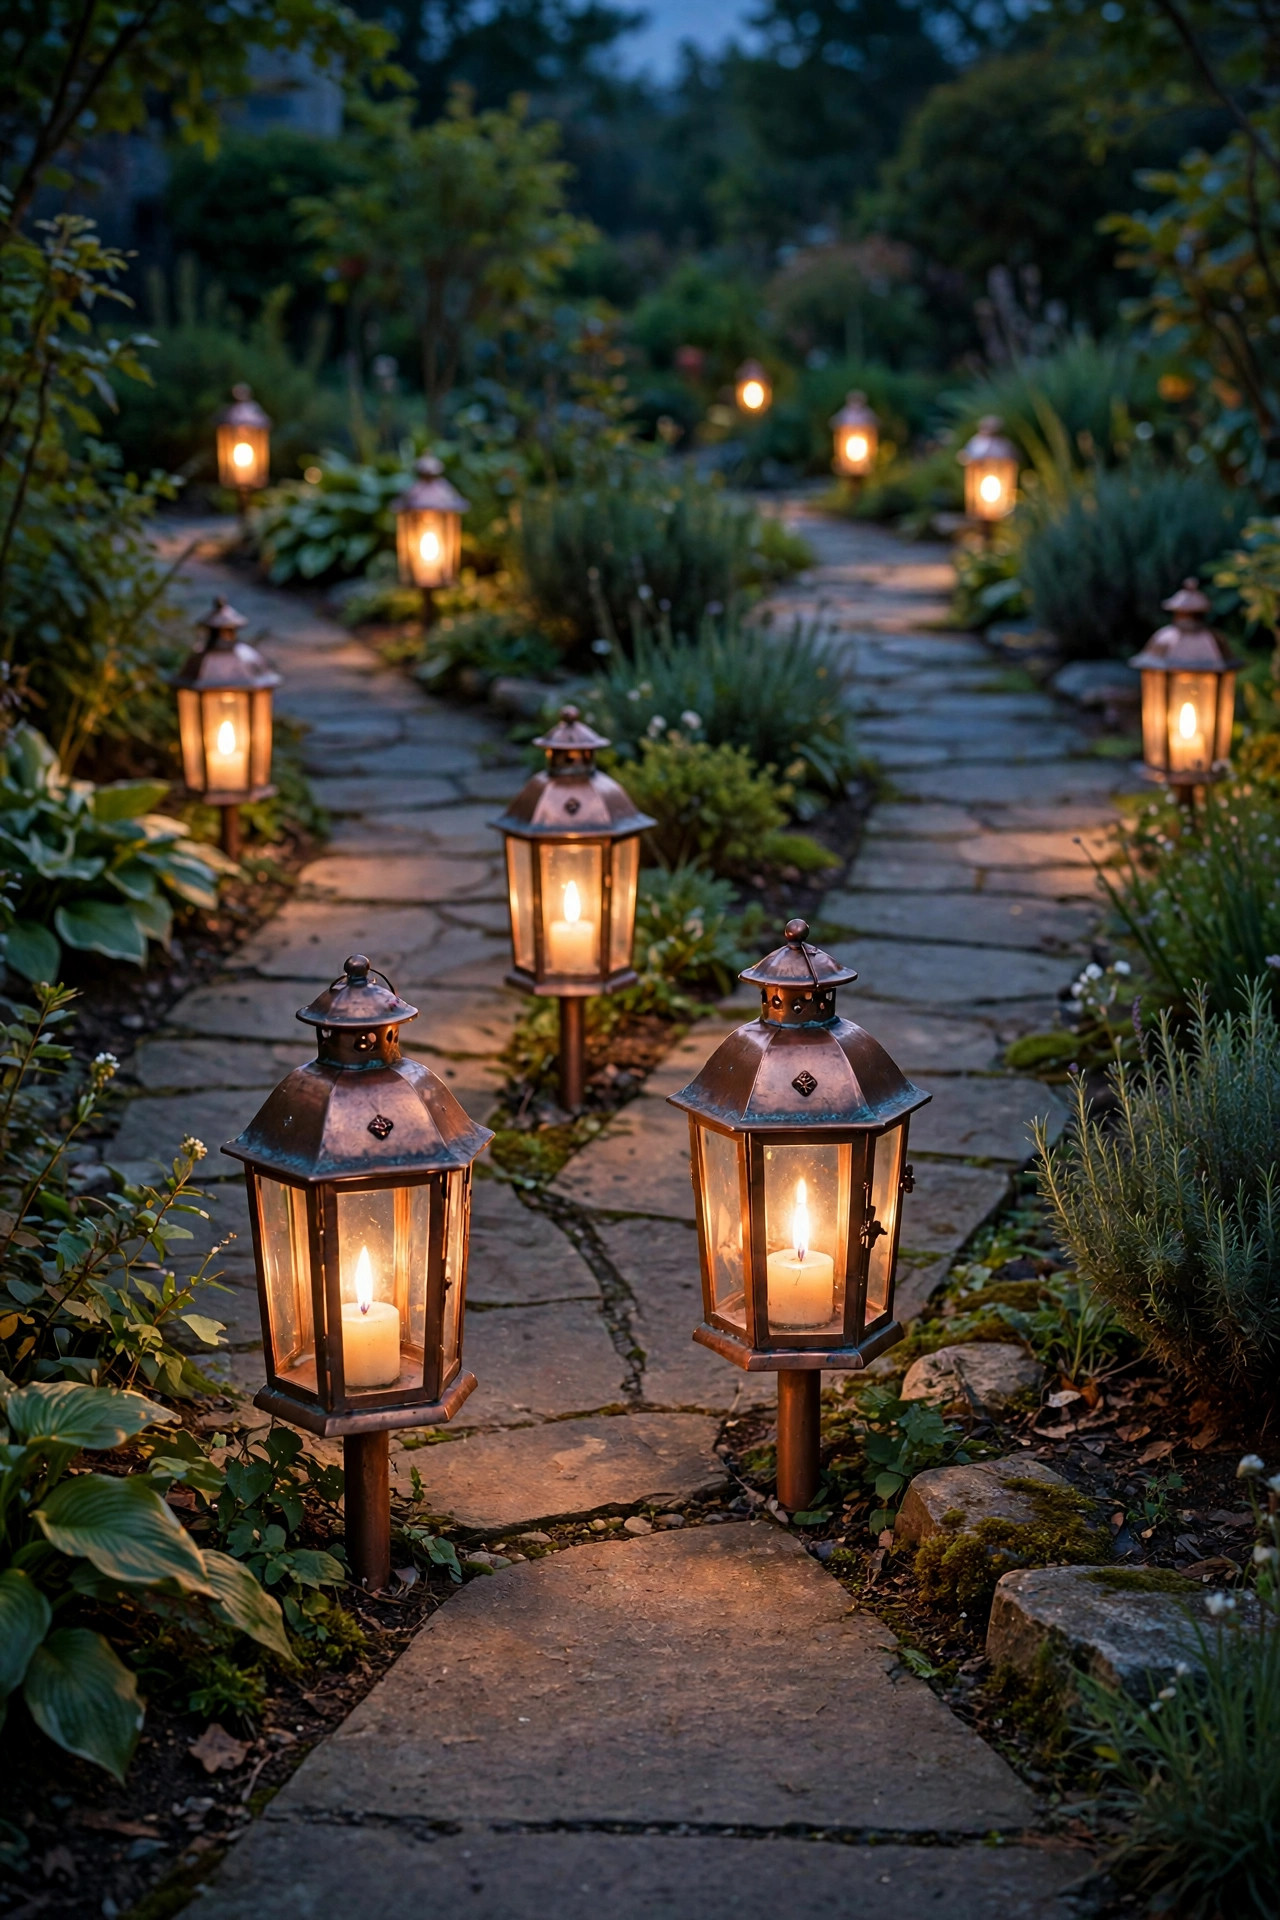
8. Vintage Edison-Bulb Lantern Posts for Farmhouse Walks
Edison-style filament bulbs inside clear glass lanterns give a farmhouse walkway that golden, early-electricity warmth. This is the one style where I insist on wired low-voltage fixtures with replaceable LED filament bulbs — when a bulb eventually dims, you swap it in two minutes instead of replacing a whole sealed solar unit. Understanding how low-voltage path lights work makes this project much less intimidating than it sounds: a plug-in transformer, a cable run along the bed edge, and connectors that snap on by hand. Keep filament bulbs at 2700K or warmer and modest wattage; the visible filament is the decoration, so you don't need brightness to compete with it. I space Edison lanterns a touch wider, 8 to 10 feet, because the clear glass throws light farther than frosted styles. Along a straight front walk with a fence or hedge behind them, the repeated filament glow is pure Americana — think summer evenings and screen doors.
Suggested budget range: $140 – $300.

9. Pierced-Metal Lanterns That Throw Patterned Light
Pierced-metal lanterns — the Moroccan-inspired ones with tiny cutwork patterns — turn light into lace. After dark, the path gets dappled with stars and crescents, and the effect on pale concrete or gravel is genuinely theatrical. I use these on the garden-side path where people stroll slowly, because the pattern deserves an audience; on a busy front walk they'd be a lovely but wasted gesture. The cutwork shades the bulb from direct view, so they're comfortable to walk past, but the total light output is lower than clear-glass styles — pair them with one brighter lantern at any step or grade change for safety. Solar versions are charming by day in antique white or aged bronze, and the metal bodies hold up well if the finish is powder-coated. In winter I bring one pair onto the porch as table lanterns with flameless candles inside. Dual-purpose decor is how I justify owning as many lanterns as I do.
Suggested budget range: $45 – $105.

10. Rustic Wood-and-Metal Lanterns for a Cabin-Garden Feel
For homes with cedar, stone, or a serious vegetable garden, wood-and-metal lanterns ground the whole design. The wood softens the fixture so it feels grown rather than installed, and paired with black metal cages the look lands somewhere between cabin porch and English kitchen garden. Real teak or cedar weathers to silver-gray outdoors, which I love, but if you want the warm tone to last, choose a composite or plan on an annual coat of outdoor oil — ten minutes per lantern, honestly meditative work. These lanterns tend to be larger, so give them room: pair them with chunky plantings like hostas, ornamental grasses, or lavender rather than delicate annuals. Sturdy low-voltage versions exist and are my pick for permanent runs, while battery versions with timers are sweet for a rented home's garden path. Set them on gravel pads or flat stones, never directly on mulch, so the wood base stays dry and the lantern sits level season after season.
Suggested budget range: $70 – $160.

11. Weatherproof Lantern Style Path Lights With Faux Candle Pillars
Here's my secret for the most realistic candlelight look without a single real flame: lanterns built around a faux candle pillar, the kind with a gently moving wick tip. They read as expensive from the sidewalk and they're completely safe around dry leaves, mulch, and curious toddlers — an LED-only rule I never break near plantings. The weatherproof versions are sealed resin or coated metal with the pillar protected behind glass, and many run on timers, glowing for five hours from dusk and resting all night. I line my side path with these because that path sits under a maple where actual candles would be a fire department story. Group them in the classic lantern rhythm — taller at corners, shorter mid-run — and keep the pillar color consistent, ivory or warm white, never mixed. Battery life on the good sets runs a full season on one set of batteries, which makes this the lowest-maintenance charm on my whole list.
Suggested budget range: $55 – $130.
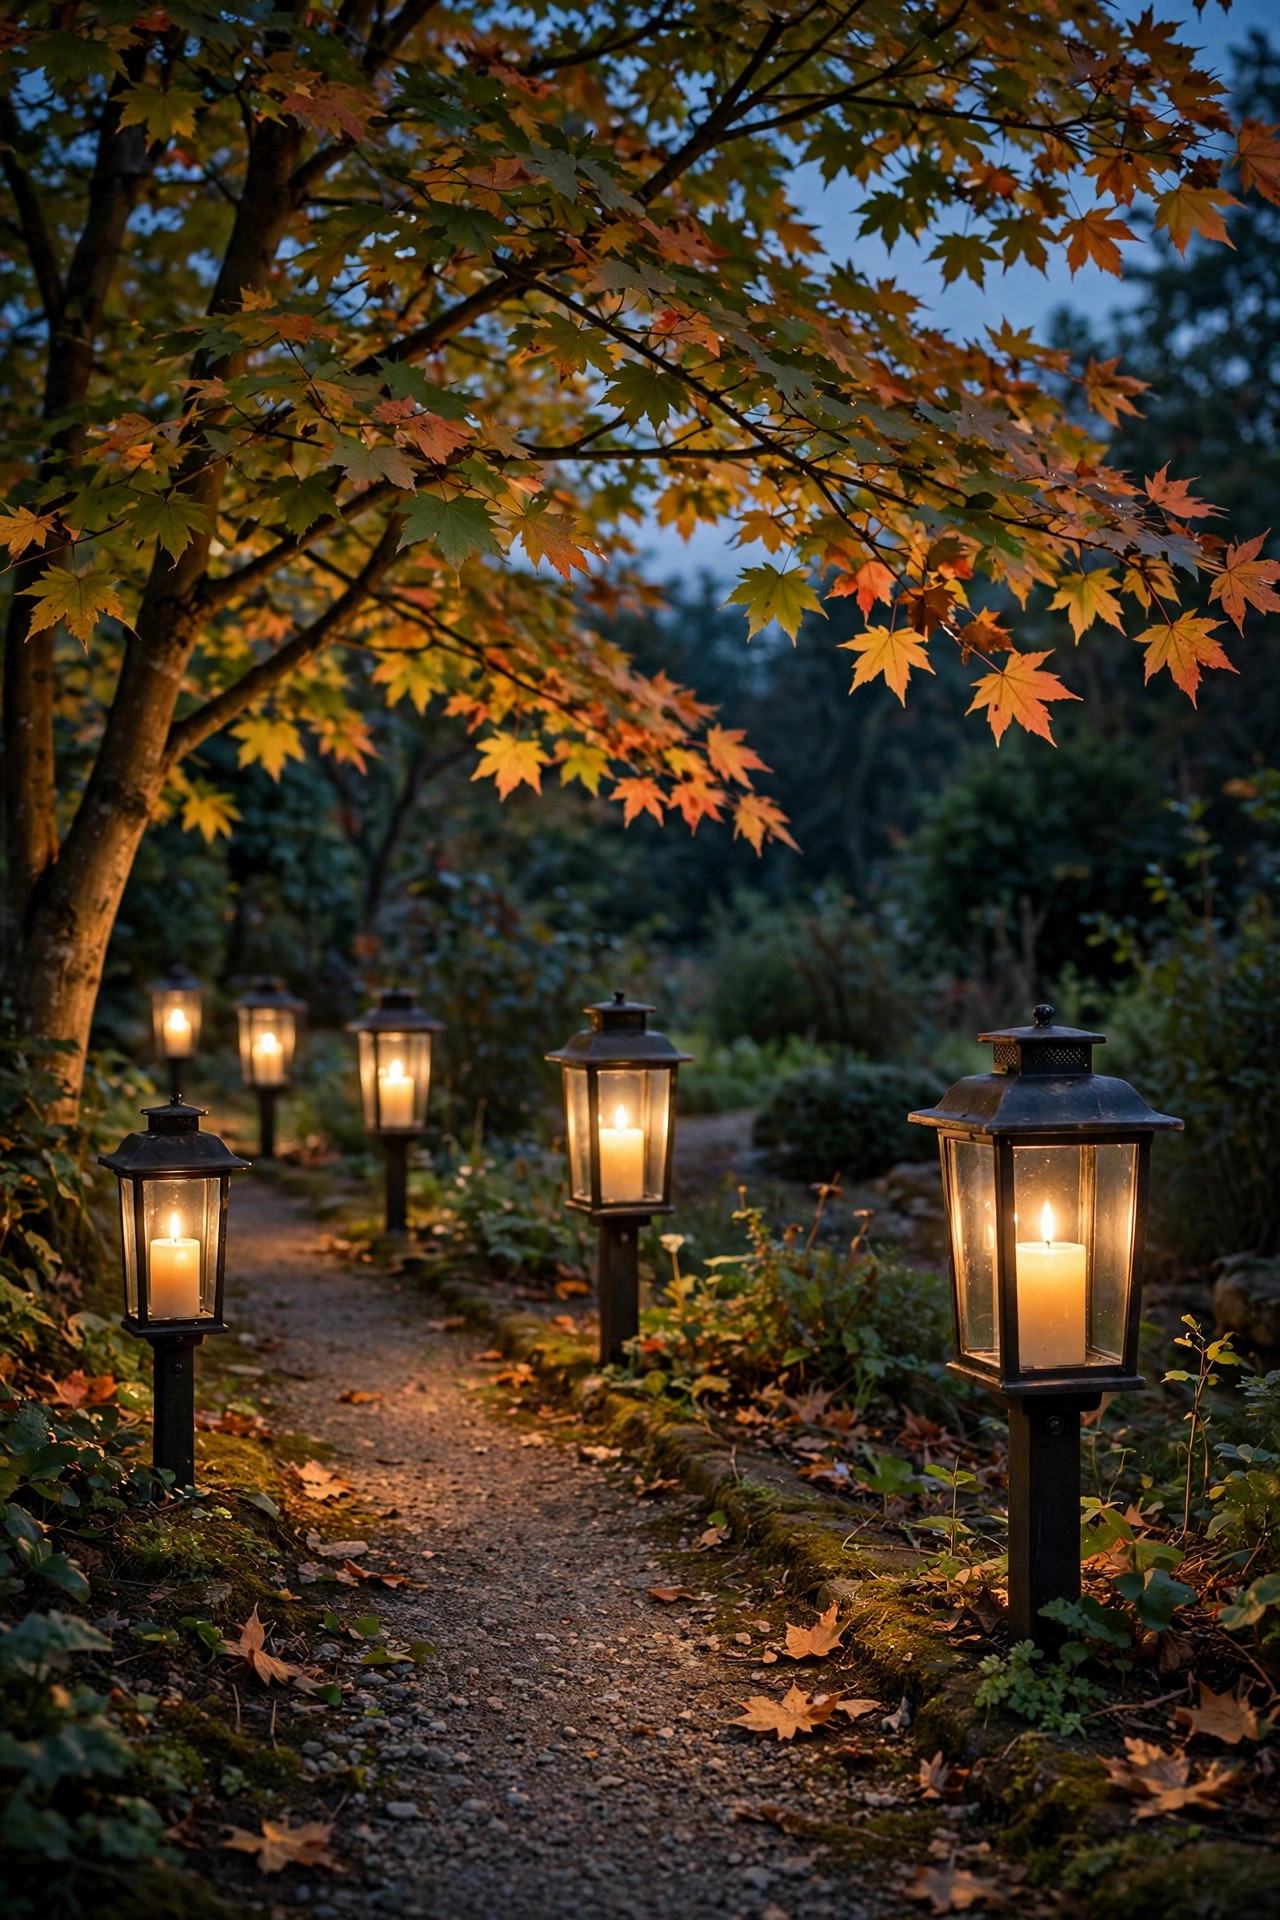
12. Double-Head Coach Lantern Posts at the Garden Gate
Every storybook needs a gate, and every gate deserves a proper welcome. A double-head coach lantern post — two lanterns on one post, flanking a gate or standing paired at the path entrance — is the formal chapter of this story. At 24 to 30 inches tall, a pair of these reads from the street like the entrance to somewhere worth going. I wire mine in low-voltage so both heads burn evenly all evening, and I put them on their own timer zone so the gate glow can stay on an hour later than the rest of the path when guests are expected. Symmetry is the whole point here, so measure twice: both posts at identical height, identical distance from the gate posts, lanterns plumb. If your gate is off-center on the path — and older homes always are — shift both posts to center on the gate, not the walkway. The wallet feels this one more than most, but per compliments received, it's the best-value project I've done.
Suggested budget range: $180 – $380.

13. Mason Jar Solar Lanterns on Short Stakes
Mason jar lanterns are the craft-fair darling of path lighting, and done well — real glass jars, warm fairy-light strings or a proper solar lid insert — they're irresistible on a cottage path. I stake mine low, around 10 to 12 inches, through the herb garden section of the walk where their homemade charm matches the plantings. The light is gentle, more glow than illumination, so treat jars as the accent layer and keep a few brighter lanterns at steps and turns. Frosted or amber-tinted jars soften the fairy lights beautifully and age better in the sun than clear plastic imitations. One practical note from experience: drill nothing, seal nothing — the solar lid needs to breathe and be removable for cleaning, because garden jars collect pollen film fast. A rinse every few weeks keeps the sparkle. These also make the sweetest housewarming gift in the history of housewarming gifts: two jars, a card, done. Charm, delivered in a jam jar.
Suggested budget range: $25 – $60.

14. Stained-Glass Style Lantern Panels for Daytime Color
Most path lights earn their keep only after dark. Stained-glass style lanterns — resin or glass panels in amber, sage, and dusty blue set into a dark frame — are garden art all day and lanterns all night. On my own walk I use just two, at the corners of the front bed where the path turns toward the porch, and they anchor the whole planting scheme; I picked my perennial colors to echo them. Solar versions with the panel on all four sides give the most even effect, and the colored light they cast is softer than you might fear — a warm tint, not a disco. Keep the palette restful: ambers and greens melt into a garden, while bright primary sets fight with flowers and win, which nobody wants. Because the panels are the personality, choose plain black frames so the colors carry the design. On gray winter days, when the garden is all sticks and mulch, these two lanterns still give the front walk a finished, cared-for look.
Suggested budget range: $40 – $100.
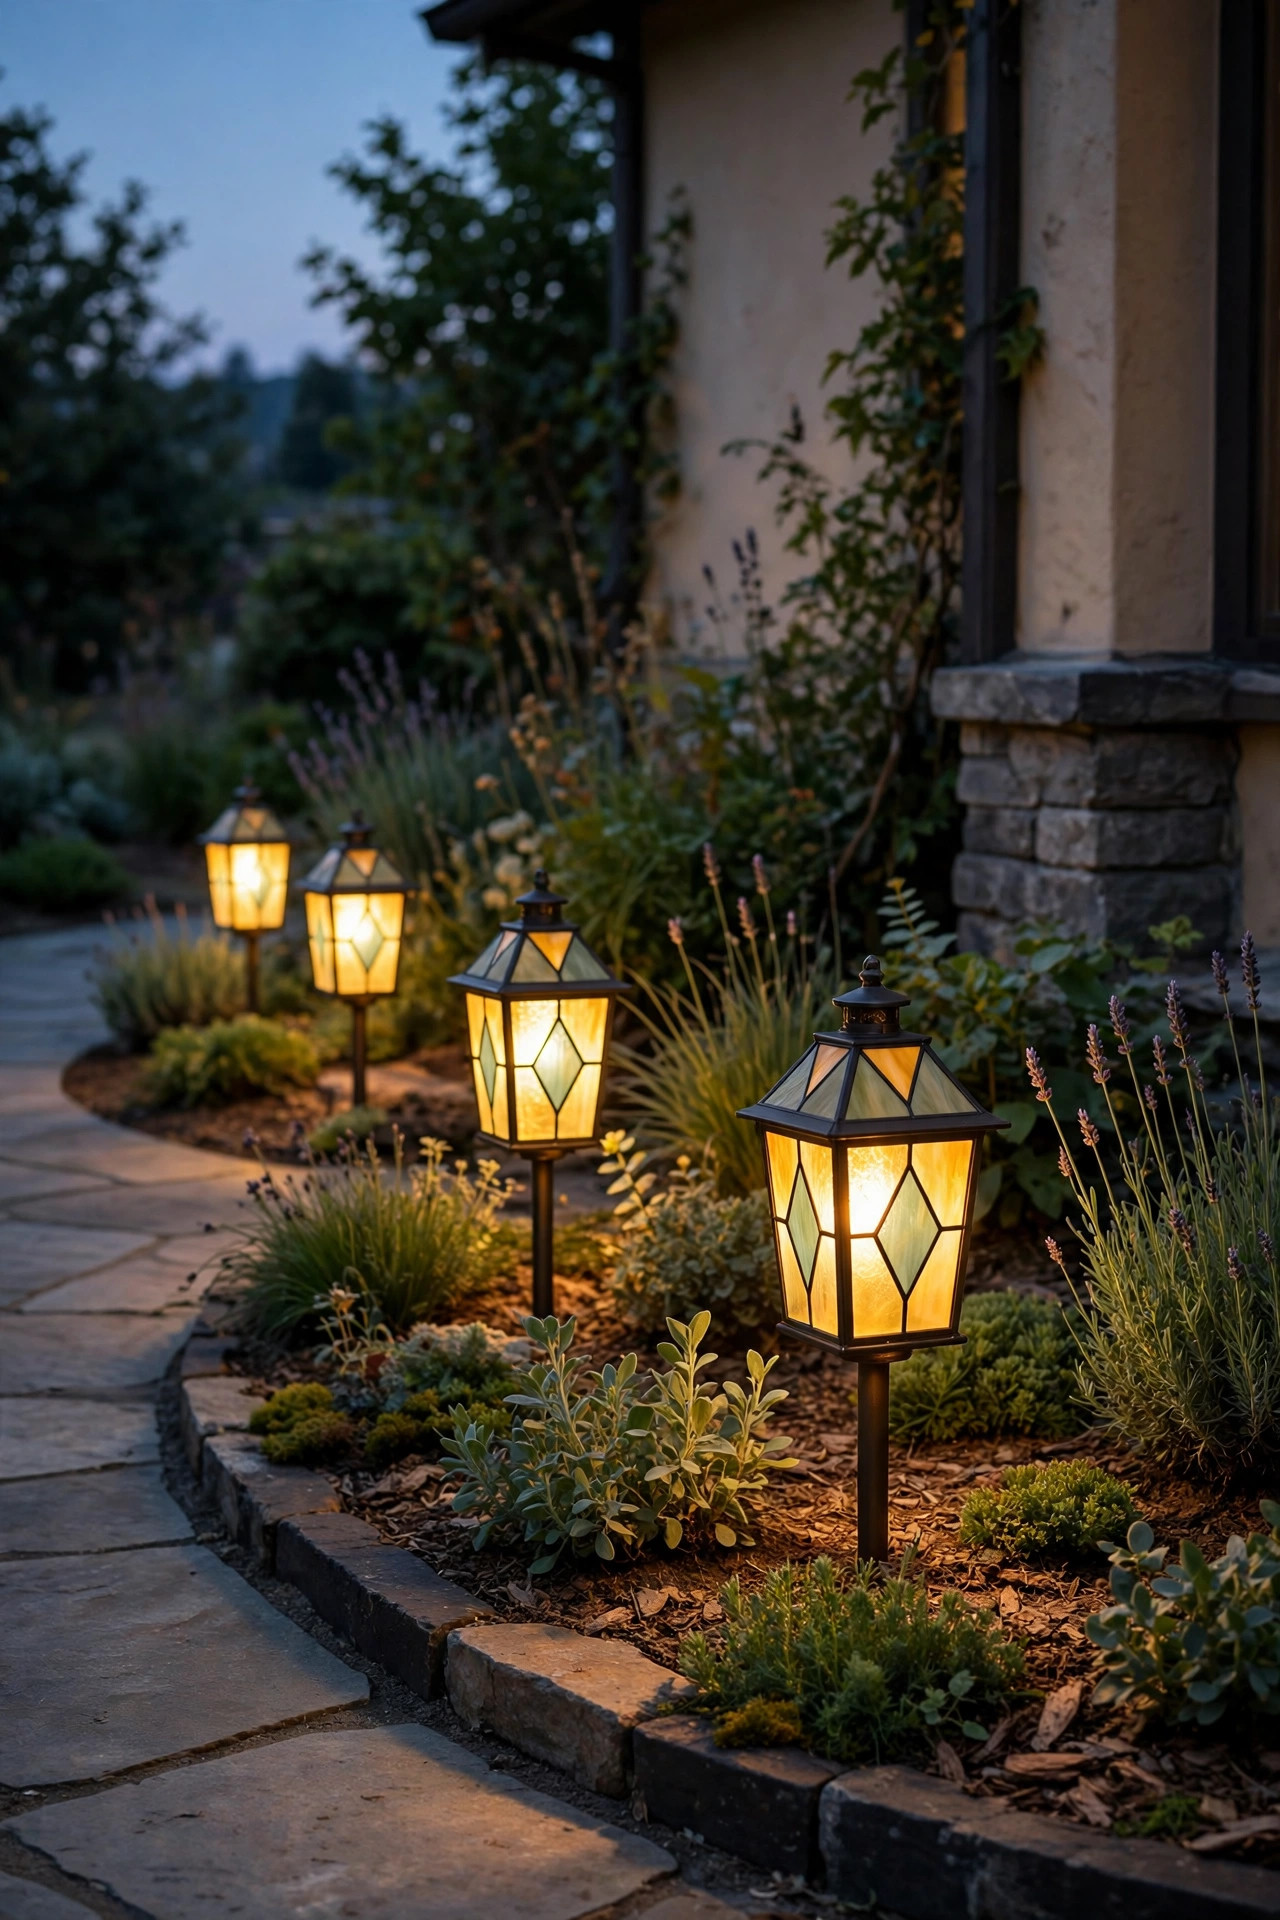
15. Oversized Statement Lanterns at Path Turns and Landings
Every long path has a moment — a turn, a landing, three steps down — where a little punctuation belongs. That's where I spend my drama budget: one oversized lantern, 18 to 24 inches tall, set on a flat stone or a low pedestal of stacked pavers. The scale shift tells walkers "something changes here," which is both beautiful and genuinely useful on a dark step. Oversized lanterns look best with presence around them — a boulder, a big pot, a clump of grasses — never floating alone in open lawn. Flameless pillar candles on timers are my fill of choice inside these giants; the big glass shows off the candle beautifully and there's no wiring to trench for one fixture. Limit yourself to one, maybe two, per path. In design as in storytelling, if everything is a climax, nothing is. The neighbors will ask where you found it. They always do.
Suggested budget range: $60 – $150.

16. Low Lantern Bollards for a Modern Storybook Twist
Storybook doesn't have to mean fussy. Low lantern bollards — clean rectangular or cylindrical housings with the lantern glow recessed inside — give contemporary homes the same warm narrative in a tailored suit. The light washes downward in a tidy pool, the fixture looks intentional in daylight, and the whole run feels like boutique-hotel landscaping. I recommend these on straight paths with crisp edges: poured concrete, steel-edged gravel, large-format pavers. Space bollards evenly here, 6 to 8 feet, because modern style forgives many things but not irregular spacing. Most are low-voltage with integrated LEDs and long rated lifespans, so think of them as a ten-year decision and choose the finish to match your door hardware. A row of warm bollards leading to a modern front door, with one flowering tree uplit behind them, is the version of this look that stops my evening walk every single time. Clean, warm, and quietly dramatic.
Suggested budget range: $150 – $320.
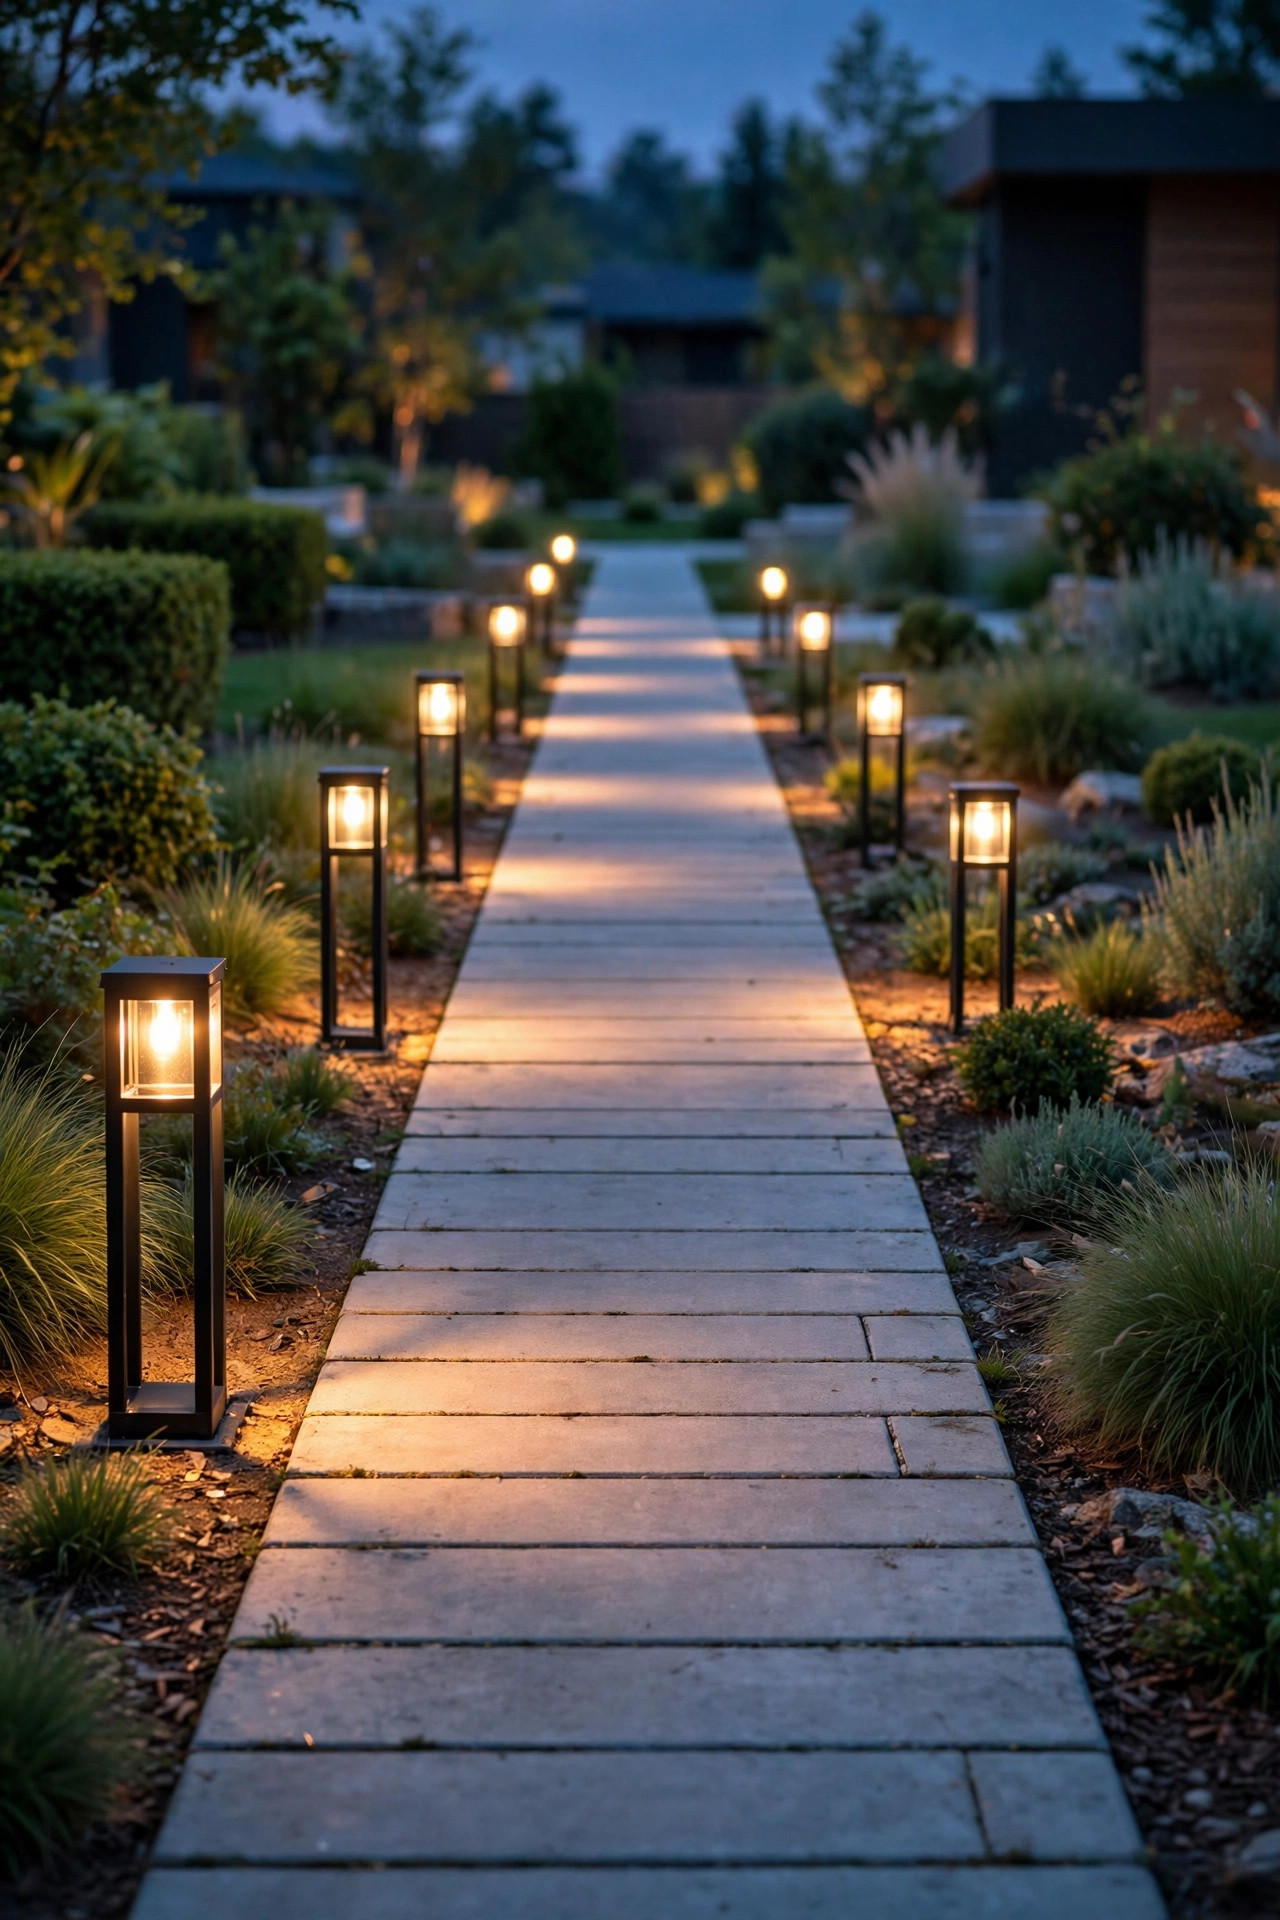
17. Lanterns Paired With Wall Sconces for a Layered Entry
Here's the layering lesson that changed my whole front yard: a path lit only at ground level looks unfinished, no matter how pretty the lanterns are. Add one or two wall sconces in the same lantern family at the porch or garage, and suddenly the path lights have parents — the eye travels from sconce to lantern to lantern like a sentence. Match finish and glass style across the set, keep every light source at 2700K to 3000K so the whites agree, and resist the urge to make the sconces brighter than the path; even brightness, gently diminishing down the walk, is what reads as designed. Many manufacturers sell matched lantern families across stakes, posts, and sconces, which makes this easier than it used to be. This pairing is also the smartest budget move on my list: if you can only afford one upgrade this season, buy the sconce. It lifts every path light you already own.
Suggested budget range: $130 – $290.

18. Smart Timer Lanterns You Set and Forget
The most charming path in the world loses its magic the third night you forget to turn it on. Smart lanterns — timer-based battery sets, solar models with real scheduling, and low-voltage runs on a smart plug — are how my walkway glows reliably at dusk whether I'm home, traveling, or asleep on the couch by eight. My current setup wakes the lanterns at sunset, runs them bright until ten, then dims to a soft ember until midnight. That two-stage evening feels like the house itself is winding down, and it doubles battery and bulb life. If you go the smart-plug route, choose an outdoor-rated plug and a transformer with no manual switch to complicate things. Dusk-to-dawn photocell lanterns are the no-app alternative and honestly suit most people just fine. The storybook effect depends on consistency: a path that's lit every single night becomes part of the neighborhood's evening scenery. Set it, forget it, enjoy it.
Suggested budget range: $70 – $170.
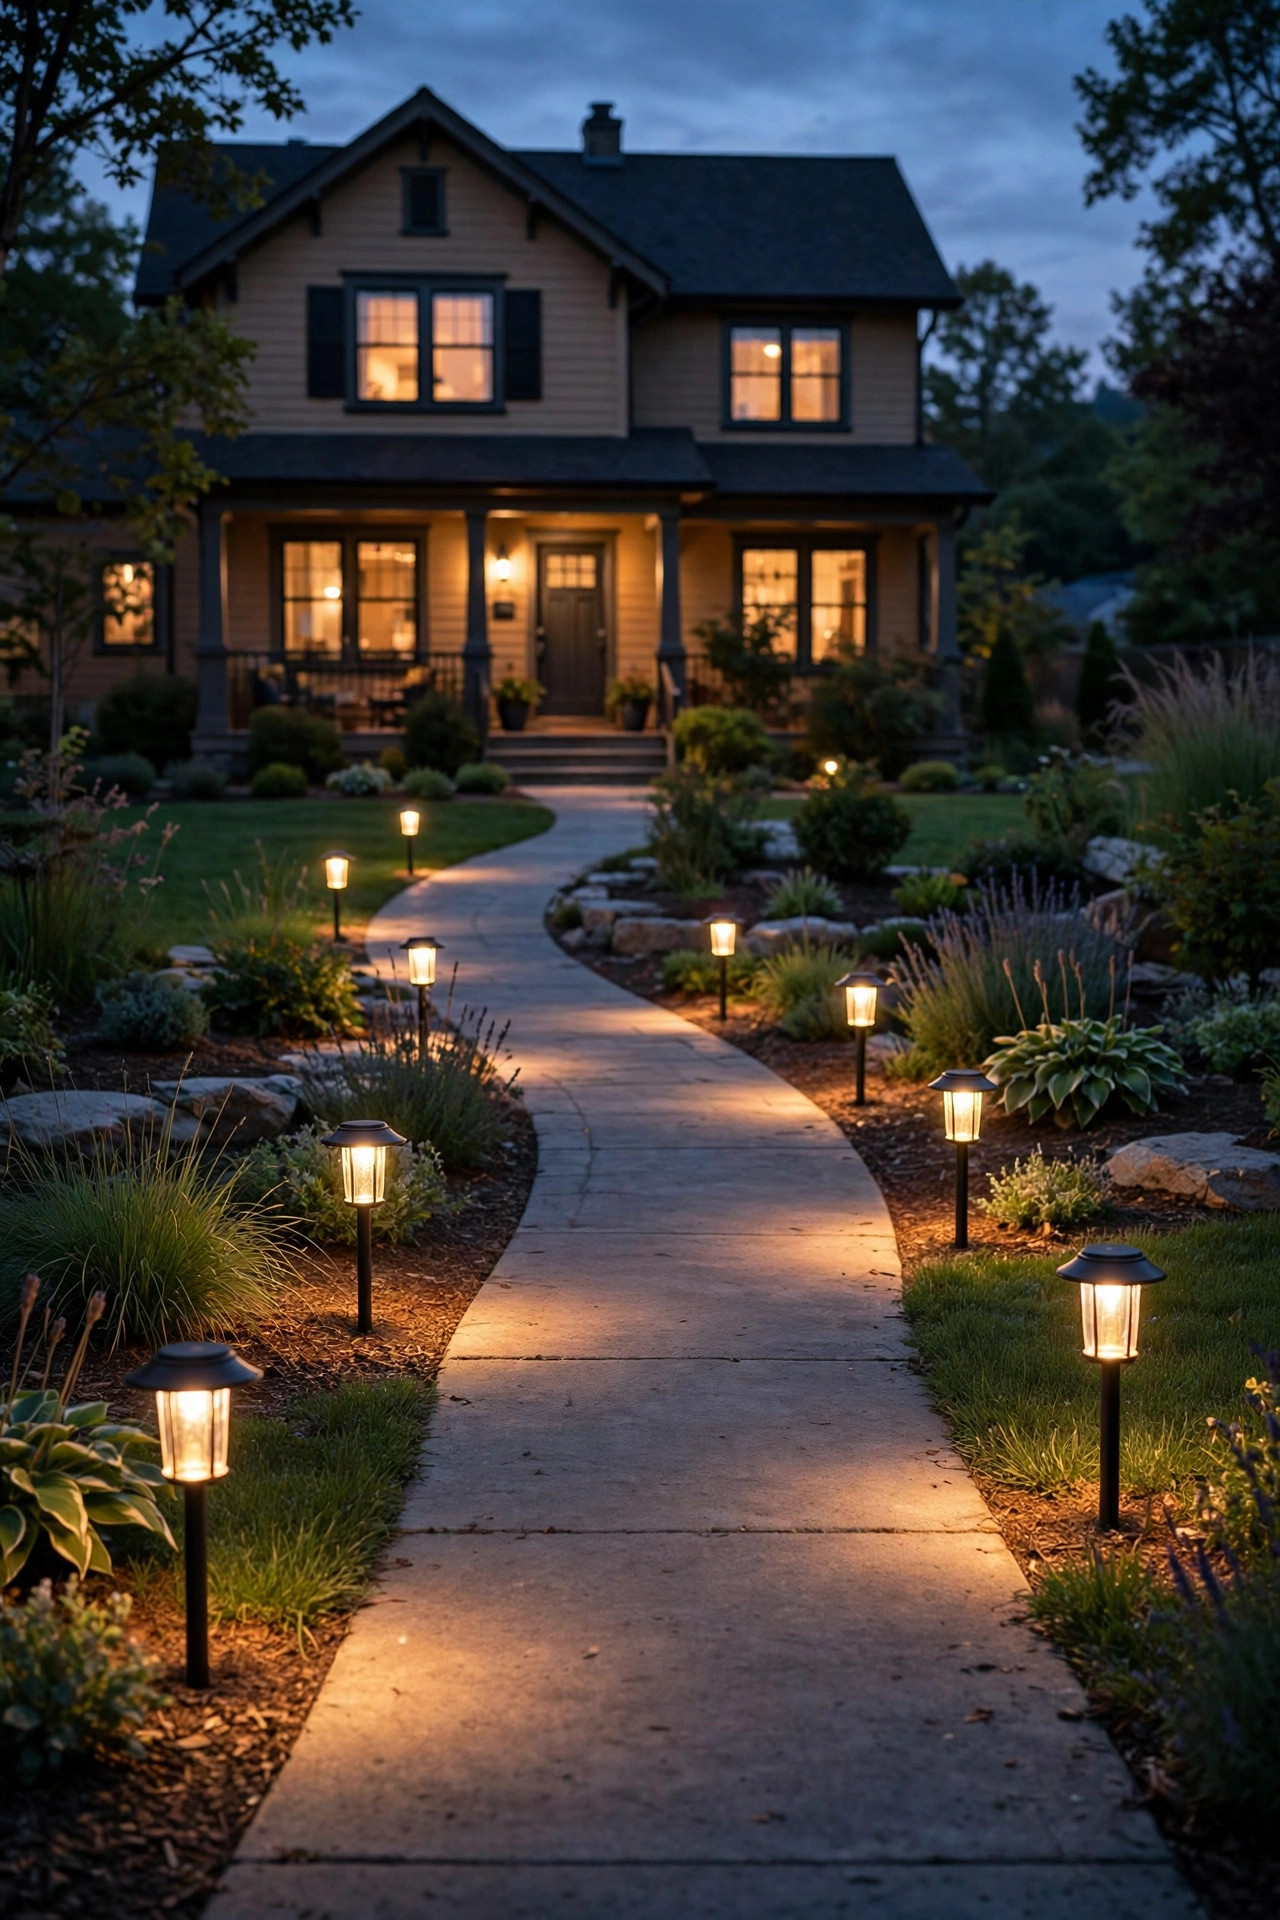
19. Winter-Ready Lanterns That Glow Through Snow
In snowy climates, path lights spend four months doing double duty as tiny lighthouses in a white sea — and lanterns, with their height and enclosed glass, are the best winter performers I own. Choose fixtures at least 14 to 18 inches tall so a normal snowfall doesn't bury the light, and brush the solar panels after storms, because a snow-capped panel charges nothing. The glow reflecting off fresh snow is doubled in beauty; my December walk looks like a Christmas card without a single holiday-specific decoration on it. Wired low-voltage lanterns are the reliable winter backbone, since cold batteries sulk, while solar sets make a fine second layer from March through November. Avoid placing lanterns where the snowblower throws or the plow piles — mark their positions with the same driveway markers you use for the curb. Come spring, rinse the salt film off the glass and they look new again. A path that stays lit all winter is a kindness everyone on your street notices.
Suggested budget range: $80 – $180.

20. Mixed-Height Lantern Clusters Instead of a Straight Line
If the soldier-row of identical lights is what you're trying to escape, cluster. Grouping two or three lanterns of different heights — a tall post lantern, a mid stake, one low lantern nestled at the base — at intervals along the path creates little scenes instead of a runway. I cluster at the base of shrubs and beside boulders, where the group feels gathered rather than placed, then leave honest dark gaps of 8 to 12 feet between scenes. The darkness is doing work: it makes each cluster glow warmer by contrast, the way candles pool light on a dinner table. Keep each cluster to one finish family, and vary heights by at least 4 inches so the steps read clearly. This layout forgives uneven ground, odd path lengths, and budgets that arrive in stages — add a cluster each season and nobody will ever know it wasn't the plan all along. It was, now. That's the beauty of it.
Suggested budget range: $90 – $200.

21. The Full Storybook Layout: Mixing Lantern Style Path Lights Like a Pro
Now let's put it together the way I'd design your walk from scratch. Start with anchors: statement lanterns or coach posts at the gate and porch steps. Fill the safe middle with classic lantern style path lights — stakes or bollards — spaced for even footing light. Then spend your charm budget on accents: flame lanterns at the fork, mason jars through the garden stretch, one pierced-metal pair where guests linger. Keep every source warm, 2700K to 3000K, every finish in one family, and put the whole run on a timer so the show starts itself. That's genuinely the whole formula: anchors, safe light, charm, consistency. If you're planning the walkway itself alongside the lighting, my favorite walkway lighting ideas roundup covers layouts for every path shape. Walk your own path at dusk with a cup of tea before you buy a thing. The path will tell you where the lanterns want to live — it always does.
Suggested budget range: $200 – $500.

Frequently Asked Questions
How many lantern style path lights do I need for a typical front walk?
For an average 20- to 30-foot front walk, plan on 6 to 10 lanterns spaced 5 to 8 feet apart, staggered on alternating sides. Wider spacing works with taller, brighter fixtures; low glow-style lanterns like mason jars need to sit closer or serve as accents alongside brighter lights at steps and turns.
Are solar lantern path lights bright enough, or should I go wired?
Solar lanterns are plenty bright for ambiance and gentle guidance in sunny yards, and they're unbeatable for easy installation. If your path is shaded, used heavily after dark, or includes steps where reliable light matters for safety, low-voltage wired lanterns deliver steadier, brighter output. Many beautiful walks, mine included, use wired lights as the backbone and solar lanterns as the charm layer.
What color temperature looks best for a storybook feel?
Warm white, 2700K to 3000K, every time. That range mimics candlelight and early-evening sun, flatters brick, wood, and plantings, and keeps the storybook mood. Avoid anything labeled daylight or 4000K and above — the blue-white cast reads clinical and will fight with every warm light on your porch.
How do I keep outdoor lanterns clean and working season after season?
Wipe glass panels monthly with a microfiber cloth, clear leaves and mulch away from bases so moisture doesn't wick into fixtures, and check solar panels for pollen film or snow. Bring delicate finishes like stained glass and pierced metal under cover in harsh winters. Most quality lanterns last 3 to 5 years outdoors with nothing more than this light care.
Conclusion
A storybook walkway isn't about buying the most expensive fixtures — it's about warm light, enclosed and softened by lantern glass, placed with a little intention. Choose lantern style path lights in one finish family, layer a couple of heights, anchor the ends, and let the timers handle the rest. Start with whichever idea made you smile — the flame lanterns, the tiny houses, the coach posts at the gate — and build your path one glowing chapter at a time. Then browse the rest of my outdoor lighting ideas here on the site whenever you're ready for the next layer. I'll put the kettle on.