Two springs ago I stood in my backyard with a test probe in one hand and a very dead section of path lights in front of me, trying to remember which of the three cables under the mulch fed them. I had installed every light myself — and I still couldn't tell you where half the splices were buried. That afternoon cost me three hours, muddy knees, and one accidentally severed cable I didn't even know existed. It also taught me the lesson this guide is built on: take the ten minutes to map and label lighting system runs while everything is fresh in your mind, and you will save yourself entire weekends later. Your yard lighting is a small underground network — a transformer, several cable runs, dozens of fixtures, splices you'll swear you'd never forget. You will forget. We all do. So here I'll show you exactly what a useful map records, which labeling methods actually survive outdoors, a step-by-step mapping walkthrough you can finish in one evening, and how to keep it all updated as your yard grows.

The Short Answer
A lighting map is simply an overhead sketch of your yard showing each zone, cable run, fixture and splice, with every fixture numbered to match a weatherproof tag on the fixture itself. You can map and label lighting system wiring in about an hour: walk the yard at dusk, sketch the runs from the transformer outward, number every fixture, tag each cable where it leaves the transformer, and photograph anything that's buried. Keep one copy in the house and the photos on your phone. It costs almost nothing — and the first time you find a fault in ten minutes instead of digging for three hours, it has paid for itself forever.
Why a Lighting System Without a Map Costs You Hours
Here is the uncomfortable truth about landscape lighting: the moment you bury the cable, the system becomes invisible. Above ground you see pretty fixtures. Below ground there is a web of runs, tees, splices and crossings that exists only in your memory — and memory is a terrible storage medium. Within a year, most of us can't say with confidence which run feeds the oak tree uplights, where the splice behind the hydrangeas lives, or how deep the cable crossing the side path actually sits.
That forgetfulness gets expensive in three predictable ways. First, troubleshooting slows to a crawl: a dead section means digging exploratory holes instead of walking straight to the two or three likely culprits. Second, every upgrade gets riskier — add fixtures to the wrong run and you overload it, or slice through a forgotten cable with an edger and create the very fault you were avoiding. Third, anyone else who touches the system starts from zero: a spouse, a landscaper, an electrician billing by the hour, even a future buyer of your home. A simple map converts all of that guesswork into a five-minute look-up, and honestly? It's the cheapest "upgrade" you will ever make to a lighting system.
What a Good Lighting Map Actually Records
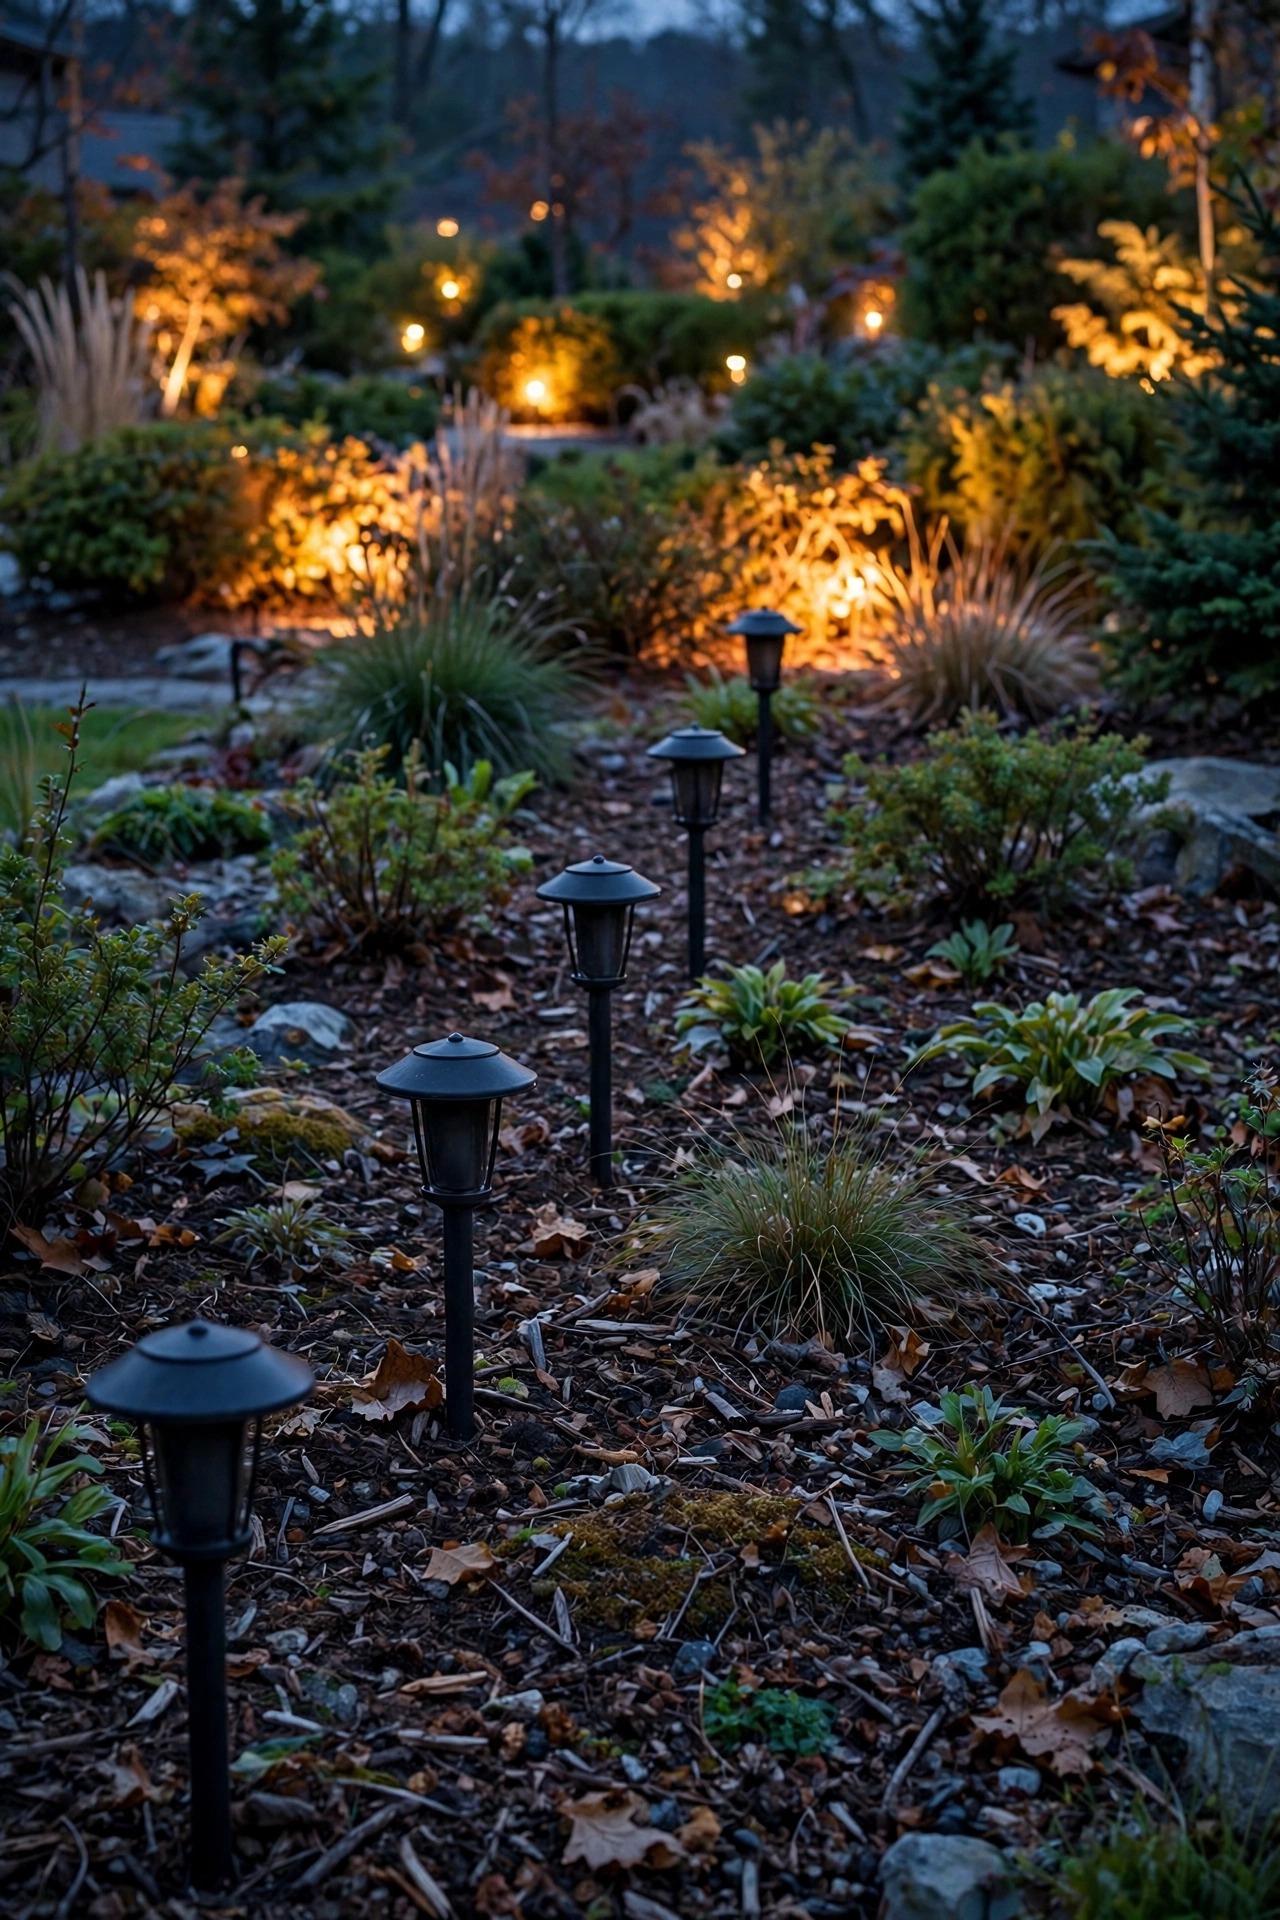
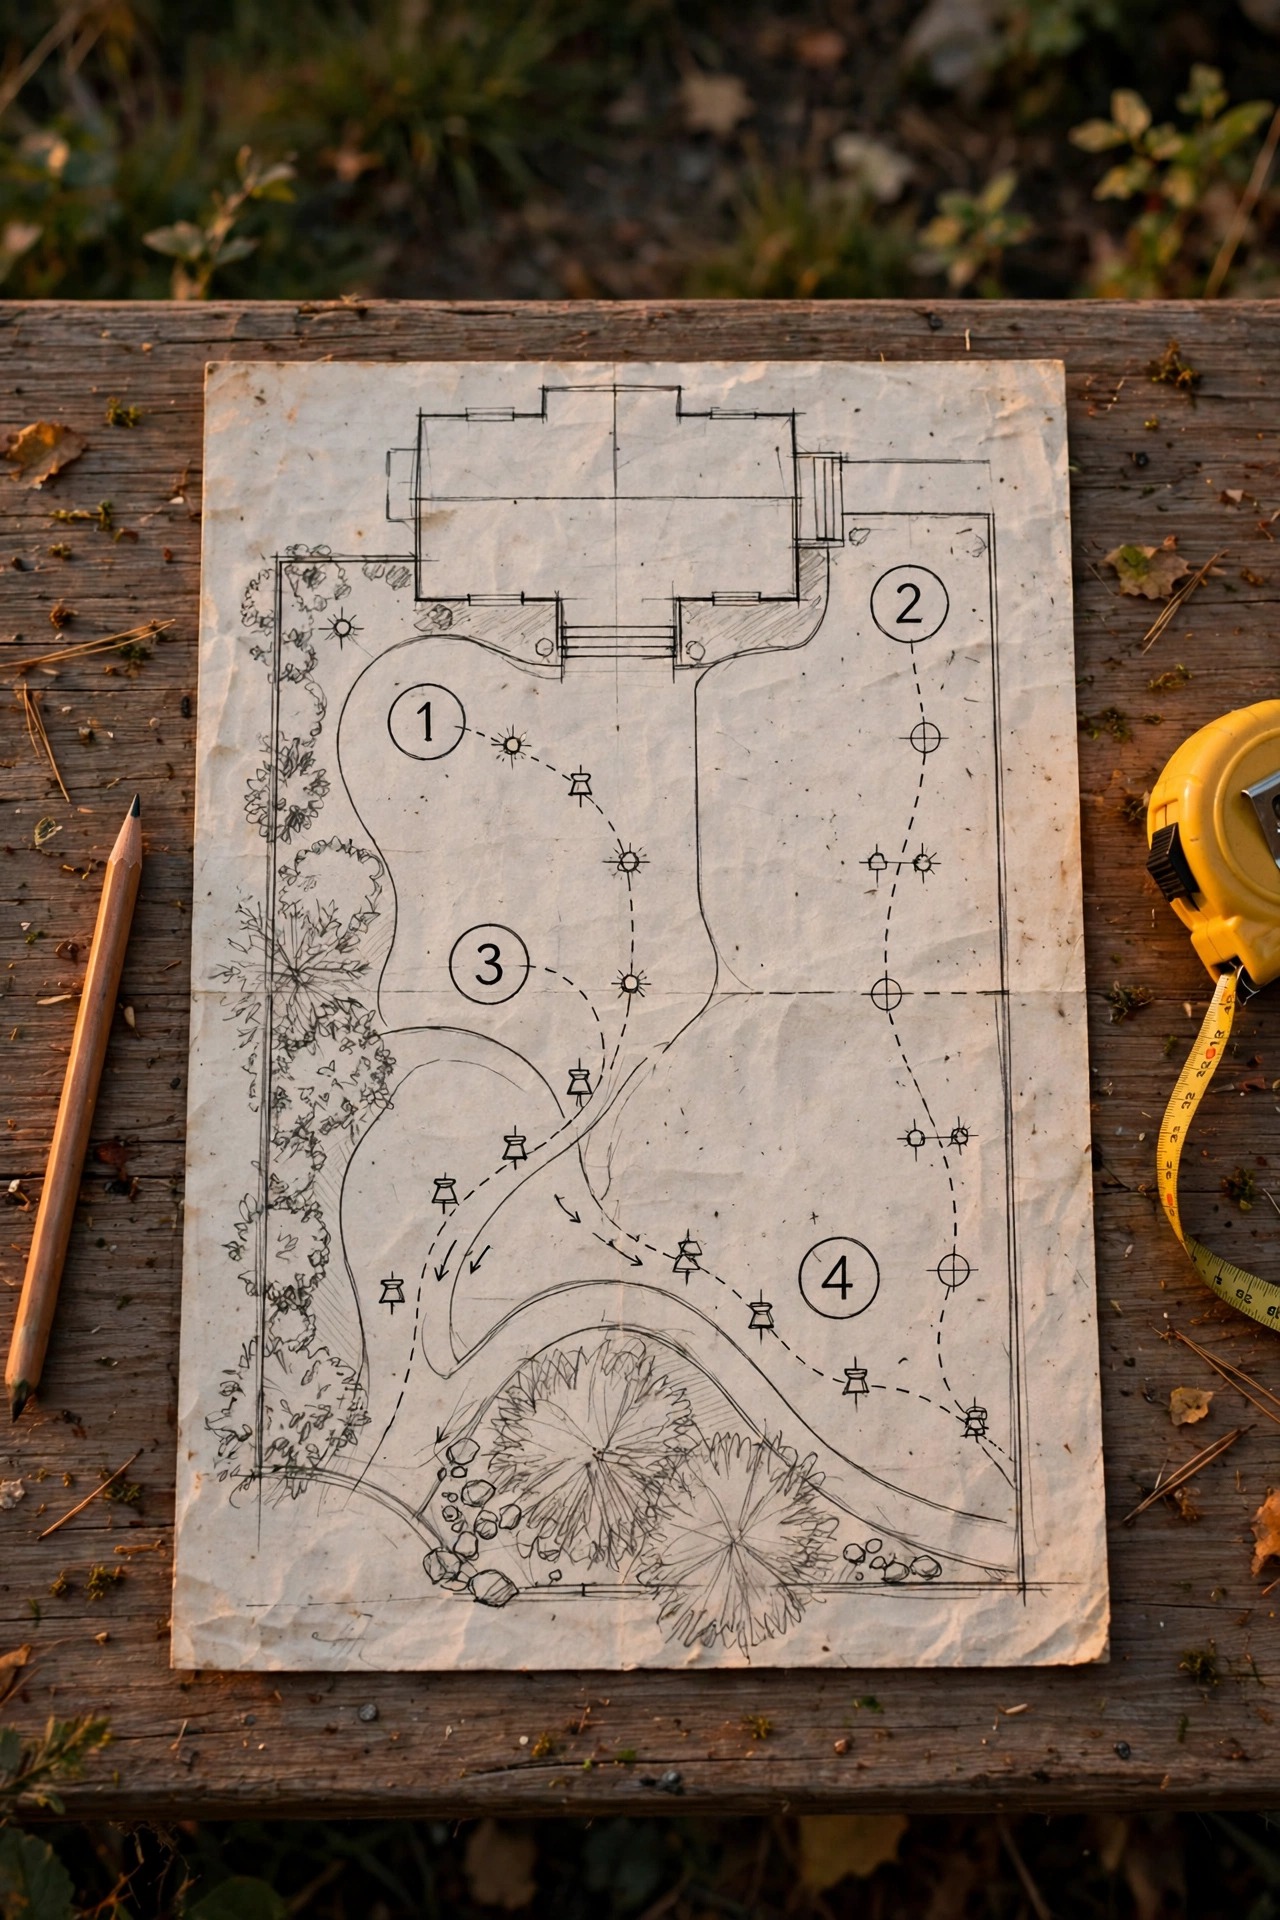
A useful map doesn't need to be pretty — it needs to answer questions at 9 PM in November when something has gone dark. Mine is a hand-drawn overhead sketch of the lot, roughly to scale, and it records six things. First, the transformer: its location, its wattage, which terminal or tap each run uses, and the timer or photocell settings. Second, every cable run, drawn as a line from the transformer through each fixture it feeds, with the cable gauge noted (12-gauge and 14-gauge behave very differently on long runs). Third, every fixture, numbered, with its type and bulb — "Run 2, fixture 4: path light, 3W LED, 2700K" — so replacements match. Fourth, every splice, hub and connection point, because those are where faults actually happen. Fifth, anything unusual underground: where cable crosses under a walkway, where it runs shallow, where a spare capped lead waits for a future fixture. Sixth, dates — when the system went in and when each change happened.
That sounds like a lot, but it's one sheet of paper, front and back. The test I use: could a competent stranger stand in my yard with this sheet and find any fixture, splice or run in under two minutes? If yes, the map is done.
Paper, Phone or App: Three Ways to Keep the Map
People ask me which format is best, and my honest answer is: the one you'll actually update. Each has real trade-offs:
| Method | Cost | Effort | Best for |
|---|---|---|---|
| Paper sketch in a binder | Under $5 | One careful drawing, then pencil updates | Most homeowners; works in the rain, never runs out of battery |
| Phone photos + notes app | Free | Fast to capture, easy to let get disorganized | Photo records of buried cable before you fill the trench |
| Mapping/design app | Free–$30 | Learning curve, precise measurements | Large properties and multi-transformer systems |
In my experience the winning combination is paper plus phone. The paper sketch is the master document — one page, always current, stored in a clear sleeve in the house binder where the appliance manuals live. The phone holds the evidence: dated photos of every open trench, splice and transformer terminal before anything got buried. Apps are lovely for planning a brand-new layout, but for an existing system they tend to become one more thing to maintain, and an unmaintained digital map is worse than a penciled one because you'll trust it. Whatever you choose, pick one master copy. Two half-updated maps are the same as none. One honest exception: if your system grows to two transformers or a genuinely big lot, go digital — at that scale, being able to search beats flipping pages, and a tablet survives the yard just fine in a zip bag.

Step-by-Step: Map and Label Lighting System Runs in One Evening
You don't need to dig anything up. Do this on a dry evening, starting about 30 minutes before dusk, and you'll finish in about an hour:
1. Gather your kit. Clipboard, graph paper, pencil, a 25-foot tape measure, a handful of numbered tags or a paint pen, and your phone.
2. Sketch the bones first. Draw the house outline, driveway, walks, beds and big trees. North arrow in the corner — future-you will thank present-you.
3. Stand at the transformer. Note its location, wattage, and how many runs leave it. This is ground zero; every run on your map starts here.
4. Trace one run at a time. Follow the cable (most runs sit just under the mulch) from fixture to fixture until the run ends. Draw it, and mark every tee and splice you know about.
5. Number fixtures as you go. Zone letter plus number — F1, F2 for the front run; B1, B2 out back. Tag each fixture with its number as you reach it (next sections cover tag materials).
6. Measure the odd spots. Any splice or crossing gets two measurements from fixed landmarks — "4 feet from the oak, 7 feet from the walk corner" — so it can be found with a tape, not a shovel.
7. Wait for dark and walk it again. With the lights on, check the map against reality, photograph the whole system, and note bulb types while you can see them glowing.
8. Make the clean copy tonight. Redraw neatly while it's fresh, or at least ink over the pencil. Photograph the finished map as a backup.
That's the whole ritual. When people ask me how to map and label lighting system runs without losing their minds, this one-evening walk is the entire answer.
Number Your Zones and Fixtures So the Map Reads Like a Story
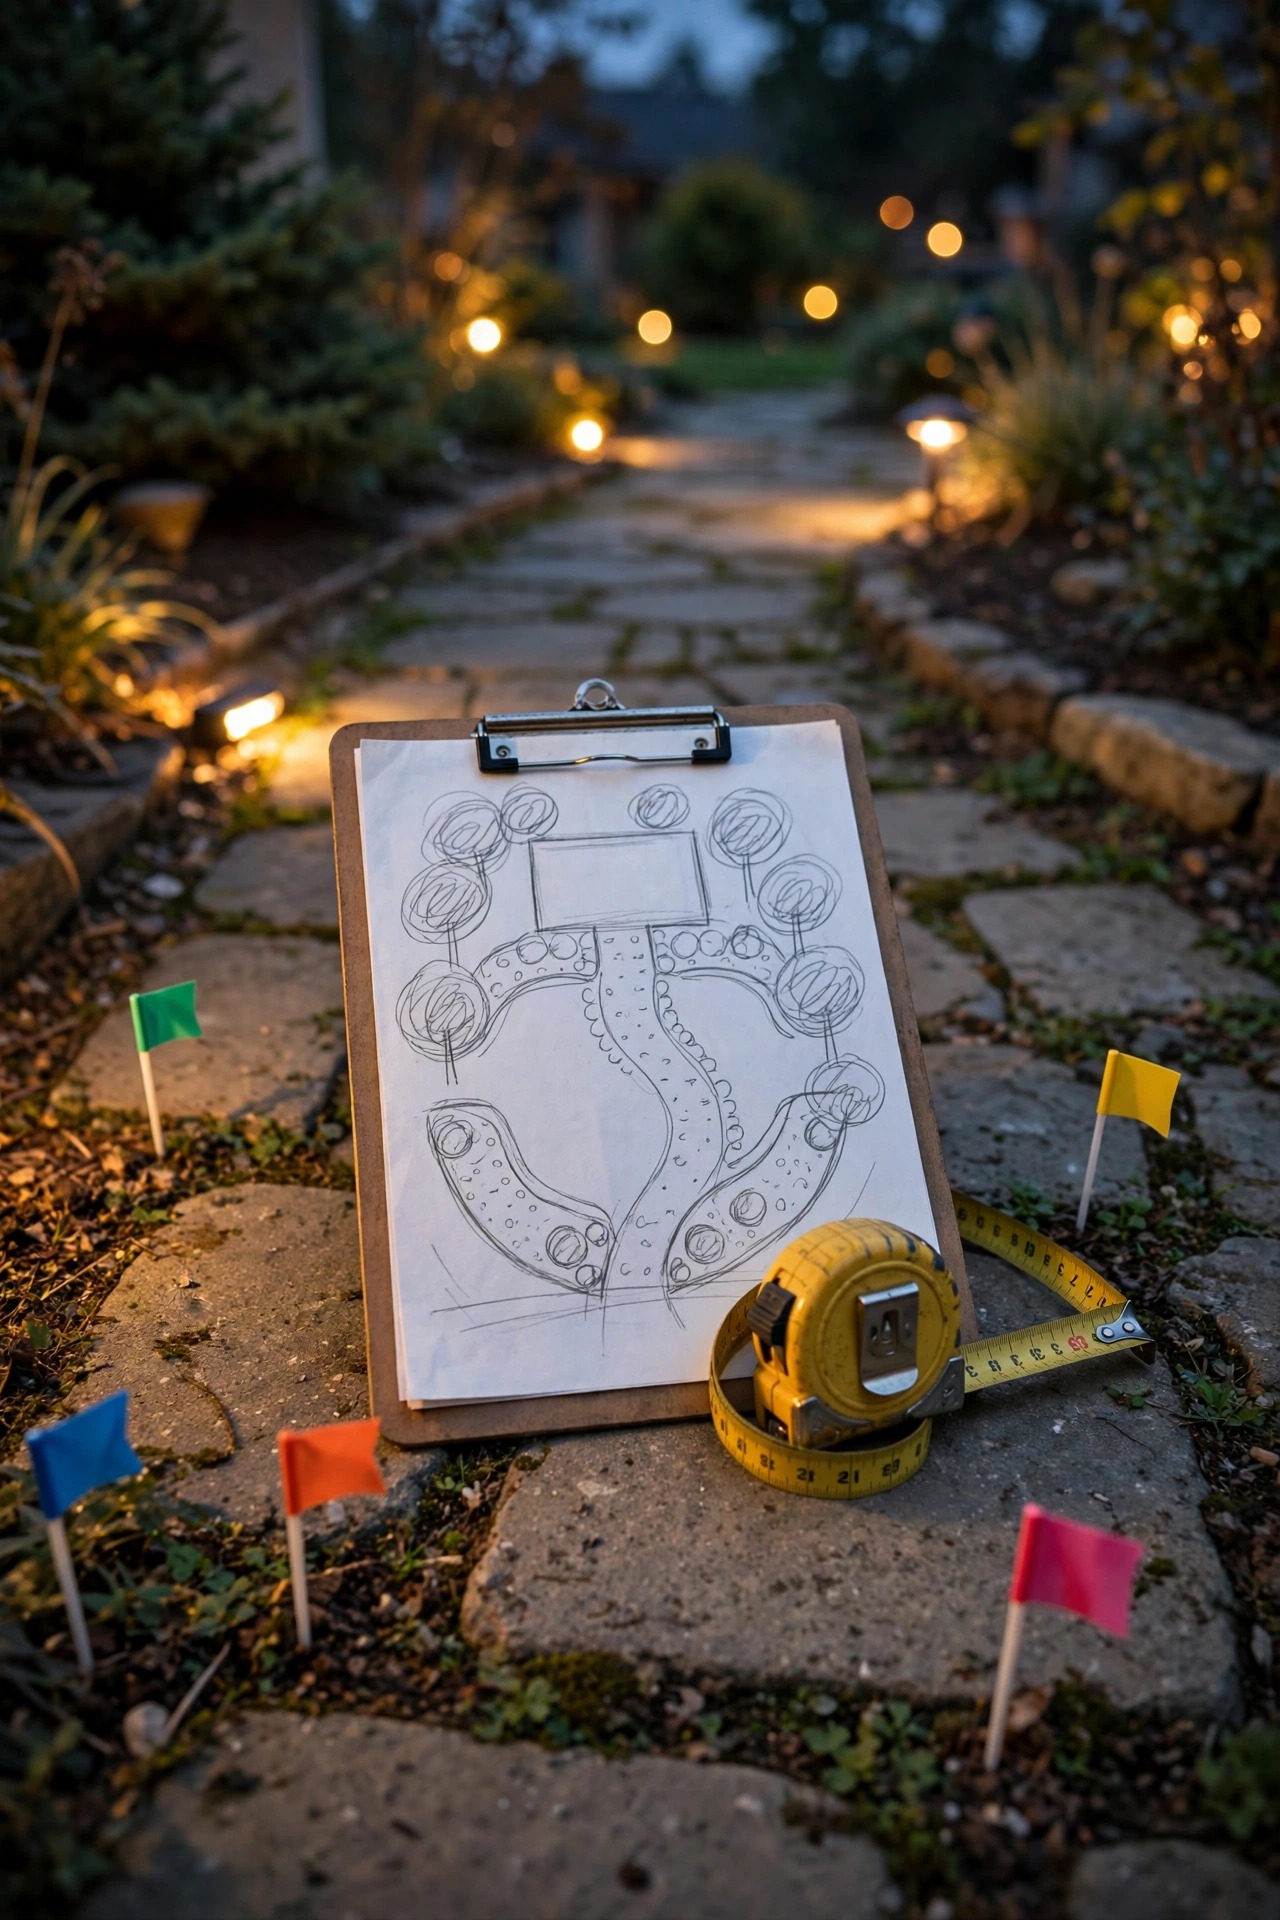
Numbering sounds trivial until you're standing in the dark saying "the third light from the… other third light." A simple, consistent scheme makes the map self-explanatory. I number by run, in the order power flows: the transformer is T, and each run gets a letter matching its area — F for front, S for side, B for back, P for patio. Fixtures are numbered along the run from the transformer outward, so F3 is always the third fixture fed on the front run. Splices get an S and their own number on the run — FS2 is the second splice on the front run, and it goes on the map with its two landmark measurements.
Why bother with the order? Because faults are located by elimination. If F1 through F4 glow and F5 onward are dark, the break sits between F4 and F5 — your numbering just told you where to dig first. Keep names human, too: I'll write "oak uplight" beside B2 because that's how I think about it on a Tuesday night. If you're still grouping fixtures into runs and areas for the first time, my guide to landscape lighting zones walks through the logic — the map simply writes that logic down where you can't lose it.
Labels That Actually Survive Outdoors
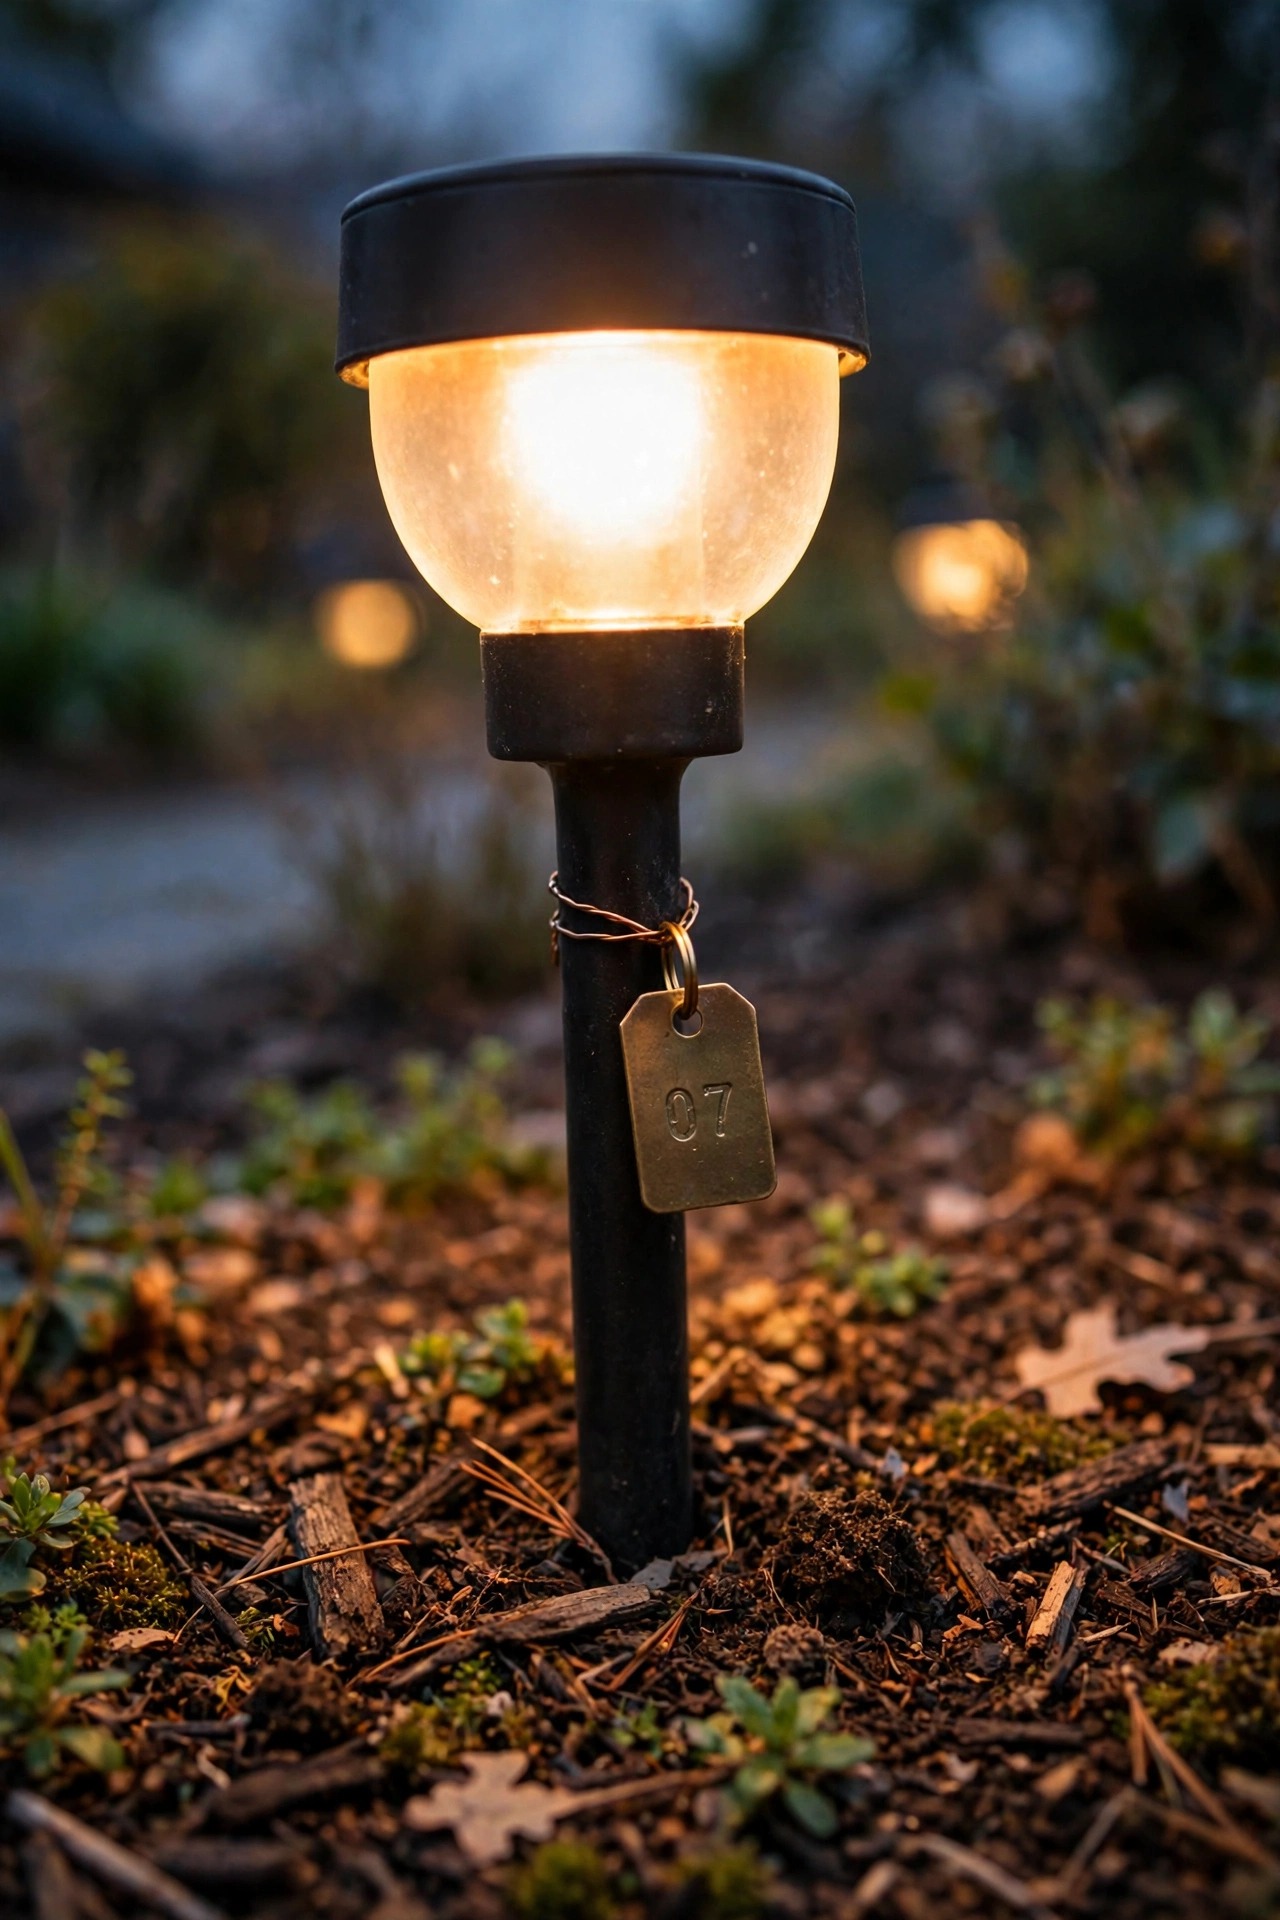
The label graveyard is real: I have tried sticky notes in bags, tape flags, and a certain permanent marker that turned out to be permanent for about six weeks of sun. Outdoors is brutal — UV, irrigation water, fertilizer, freeze-thaw. What actually survives, in my experience: numbered plastic cable tags on a small zip tie or split ring (the kind sold for wiring work), embossed metal tags for in-ground locations, and paint-pen numbers on the inside of fixture housings or on the stake, where sun and sprinklers can't reach. Write the number twice — once on the tag, once hidden on the fixture itself — because tags do occasionally walk away with mulch.
What to avoid: paper or card tags (one wet season), standard permanent marker on smooth plastic (UV erases it), and adhesive labels on stakes (the glue gives up by midsummer). Buried locations deserve extra armor: slip the tag into a small sealed bag or use a metal tag, and add a washer or colored flag at the surface directly above the splice, keyed to the map. Whichever material you choose, use the same one everywhere. A system labeled three different ways across three different springs is how confusion sneaks back in.

Tag the Transformer First: It's Your Map's Front Door
If you label nothing else, label at the transformer. Every question about a lighting system starts there — which run is dead, which tap it's on, what the timer is set to — and a transformer with three identical black cables leaving it is a riddle. My setup: each run gets a numbered tag on its cable within six inches of the terminal, matching the map (F, S, B, P). Inside the transformer door I tape a small laminated card listing each run, its tap voltage, its total wattage, and its fixture count. That one card has saved me more time than any other single habit in this guide.
Also photograph the transformer with the door open, timer dial and all, and write the timer program on the map itself — on/off times, photocell or astronomical mode, any seasonal changes you make. Transformers get replaced, settings get bumped by curious fingers and power outages, and the map is your record of how things are supposed to be. When the new transformer goes in five years from now, you'll wire it in twenty minutes by following your own labels instead of re-tracing every run from scratch. I explain the wiring layouts these labels describe in my overview of landscape lighting wiring methods, if you want the vocabulary to match.

Don't Forget What's Underground: Splices, Crossings and Depth
Above-ground fixtures can be re-found by looking. Underground details exist only on your map, so this is where precision pays. For every splice, hub or connector, record three things: the two-measurement location described earlier, the connector type (gel-filled wire nuts behave differently from crimp-and-shrink after a few wet seasons), and roughly how deep it sits. Crossings deserve their own note — anywhere cable passes under a walkway, driveway edge or stepping stones, mark both entry and exit points, because that's exactly where a future edging project or fence post will aim.
One trick from my own yard: when a trench is open for any reason — a repair, an addition, even unrelated planting — I photograph the exposed cable with a tape measure laid beside it and drop a spare metal tag at each splice before closing up. Thirty seconds, and the map stays honest. Depths matter more than people think: cable you laid at a lazy 2 inches under mulch migrates and gets shallower as mulch is refreshed, and the map note "front run is shallow along the fence — hand-dig only" has genuinely saved that run twice. Write the warnings down; your future self, aerator in hand, cannot read your mind. It takes an extra minute per splice to record it properly, and in my experience it is consistently the minute that matters most.

The Photo Method: Shoot It Before You Bury It
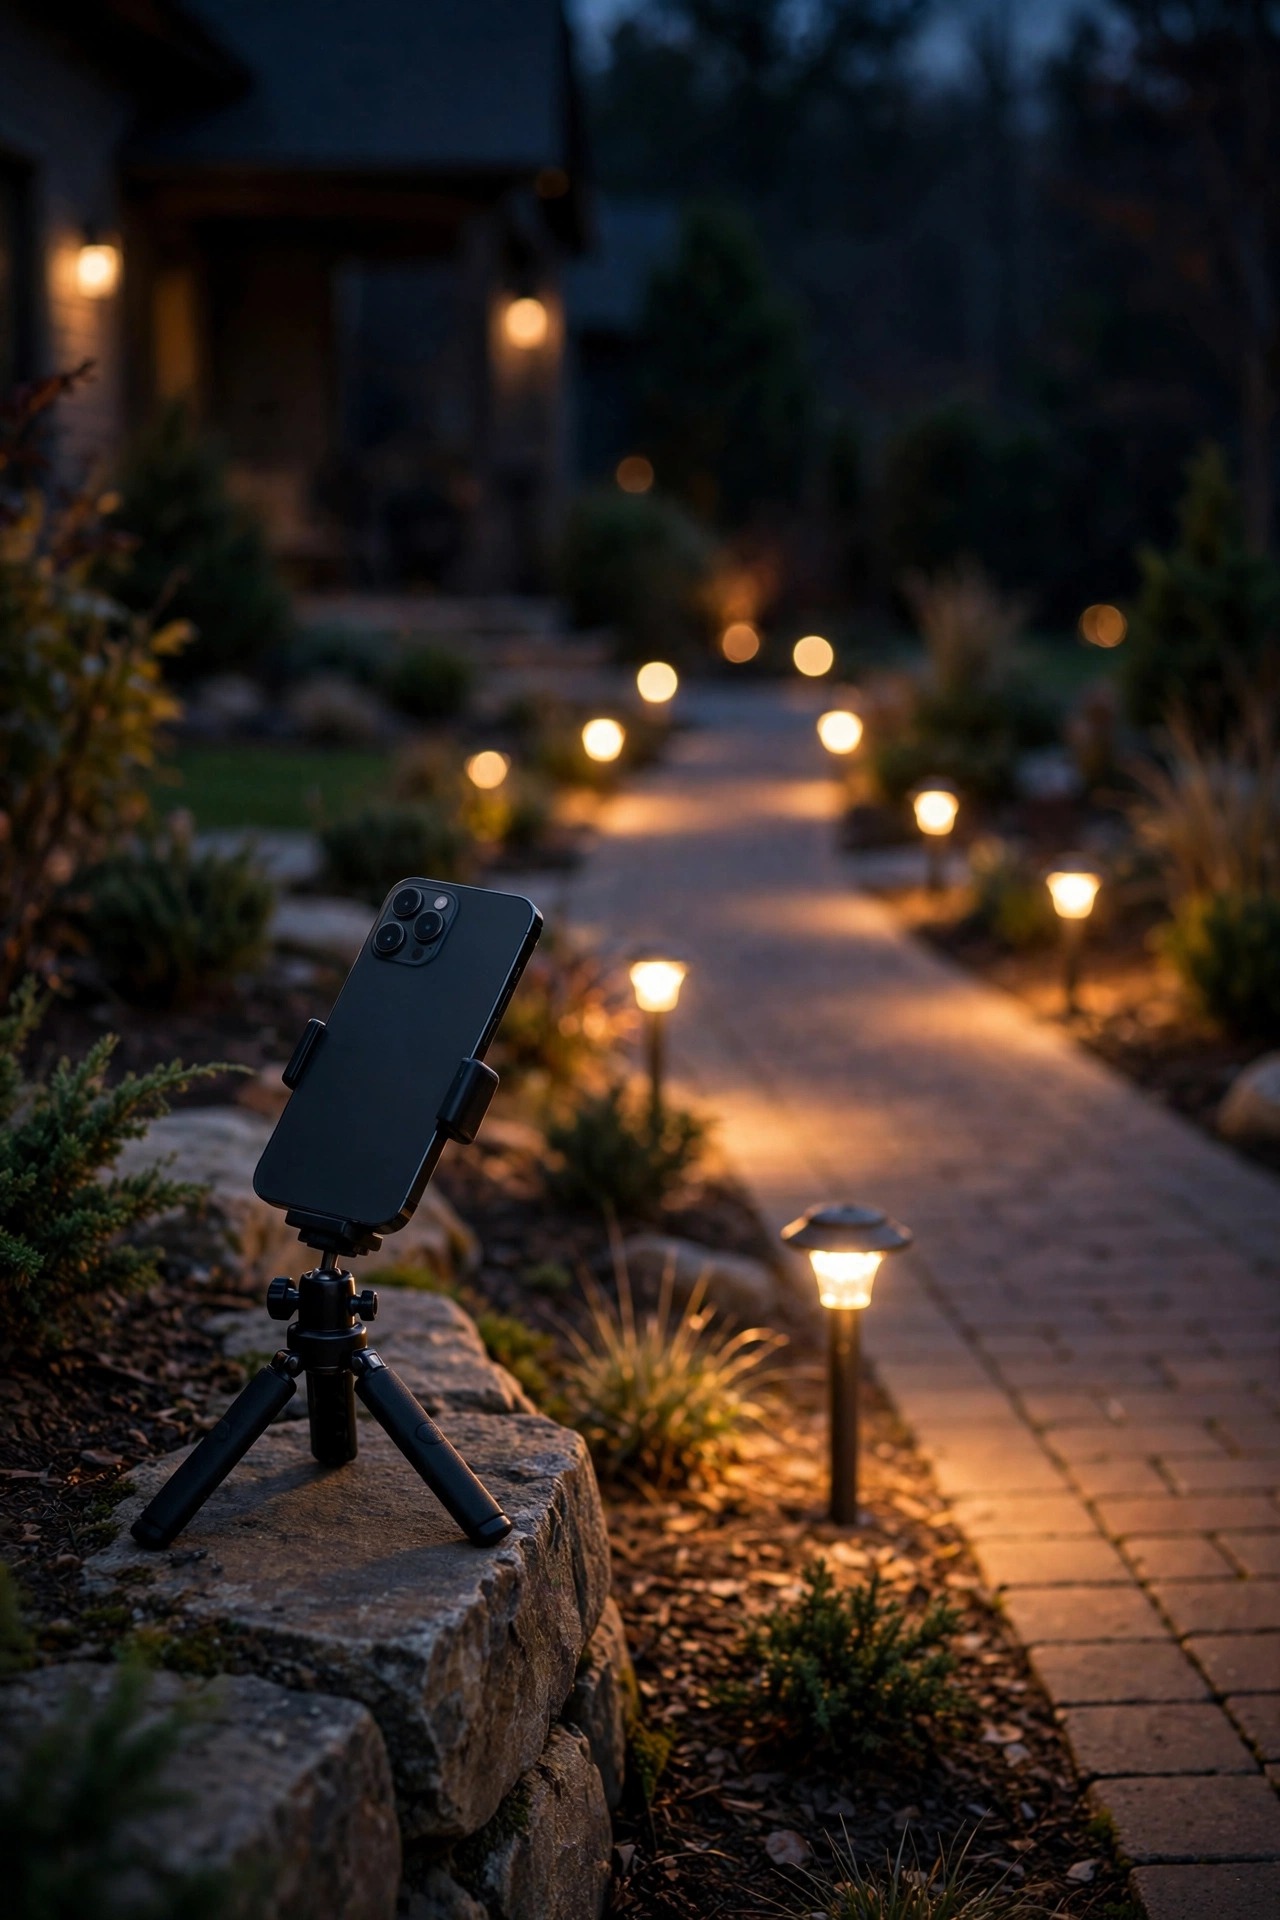
If sketching isn't your love language, photographs are the next best thing — and for buried work, honestly, they may be better. A photo of an open trench shows the cable's exact path relative to the walkway, the oak's root flare and the irrigation line in a way my pencil never could. The discipline is simple: every time cable or a connection is exposed, shoot it before it gets covered. Wide shot first to show where in the yard you are, then a close shot of the connection itself, with a tape measure or your shoe in frame for scale.
Build the habit into the work: phone in pocket, photos before backfill, every single time, no "I'll remember this one." Then keep the photos findable — one album called "Yard Lighting" beats 4,000 camera-roll images, and I rename the important ones with their map numbers ("F-splice-2-before-burial"). Night photos pull double duty: a dusk walk-around set shows every fixture lit, its aim and its beam spread, which is the fastest way to spot a shifted or dying fixture next season. When I add a light, the before-and-after pair goes into the album the same evening. Your map tells you where things are; your photos prove it.
Update Your Map and Label Lighting System After Every Change
A map is a living document, and its only real enemy is the phrase "I'll add that later." You won't — or rather, you'll add three fixtures, move a splice, and swap the transformer tap in one busy Saturday, and by the next Saturday the details will already be fuzzy. So the rule in my house is five minutes, same day: any change to the system gets drawn onto the map and photographed before the tools go away. New fixture? It gets the next number on its run and a tag before dark. Moved a splice during a repair? Its map position and measurements get updated while the hole is still open.
Seasonally, fold a two-minute map check into the routine you already do — when I work through my outdoor lighting maintenance checklist each spring and fall, I carry the map, confirm every fixture still matches its number, and pencil in anything the yard changed on its own (a shrub that now swallows F6 is a lighting fact worth recording). Selling the house someday? Hand the buyer the map and the photo album. A documented, labeled system reads as a cared-for home — and it quietly saves the next owner the three-hour muddy afternoon that started this whole guide.

What It Costs in 2026
Mapping and labeling is gloriously cheap — this is a pizza-money project, not a renovation. A pack of numbered cable tags or write-on cable labels runs about $8–$12 and covers most yards; embossed metal tags for buried splices are roughly $10–$15 for a multi-pack. Small zip ties and split rings: $5. A paint pen that survives outdoors is $4–$6, and if you already own a label maker, weatherproof laminated tape cartridges are around $12–$15 each. Bright survey flags for marking underground points cost about $6 a bundle, and a decent 25-foot tape measure — if you somehow don't own one — is $10–$15. Graph paper and a binder sleeve are pocket change.
All-in, most homeowners spend $15–$45 once, and an hour or two of easy evening work. Even the premium route — metal tags at every splice, a label maker with laminated tape, a proper measuring wheel — rarely breaks $75, and every piece of it is reusable for decades. There is no running cost beyond a replacement tag now and then. Set that against the alternative: one hour of an electrician's diagnostic time typically runs $100–$150, and a pro troubleshooting an unlabeled system will spend most of that hour just figuring out your layout. Your map pays for itself the first time anything goes dark — everything after that is pure profit in saved Saturdays.
5 Mistakes That Make a Map Useless
1. Mapping from memory weeks later. A map drawn at the kitchen table a month after installation is fiction with good intentions. Walk the system, pencil in hand, and let the yard correct you.
2. Labeling fixtures but not the transformer. Fixture tags alone don't tell you which run you're holding. The transformer is where diagnosis starts; if the runs aren't tagged there, the system is still anonymous where it matters most.
3. Locations without measurements. "Splice near the big hydrangea" is not a location — hydrangeas get moved, and "near" covers a lot of mulch. Two tape measurements from fixed landmarks, every time.
4. Labels that fade by August. Ordinary marker and paper tags are the classic false economy here. UV-stable tags, embossed metal, or paint pen in a sheltered spot — anything less is a note to nobody.
5. One copy, never updated. A perfect 2024 map of a system you've changed three times since is worse than no map, because it lies with confidence. Keep the master copy current, same day, every change — that's the whole discipline in one sentence. And keep a phone photo of the current map as your backup copy; if the binder and the yard ever disagree, the yard is right and the map gets redrawn that day.
Frequently Asked Questions
How long does it take to map a typical home lighting system?
For most homes — one transformer and 15 to 25 fixtures — about an hour, start to finish, using the dusk walkthrough in this guide. Larger systems with two transformers or long driveway runs might take ninety minutes. The drawing doesn't need to be neat on the first pass; you can ink a clean copy in fifteen minutes afterward. What matters is that the walk happens while you can still trace every run, not the artistic quality of the sketch.
What should I label outdoor light fixtures and cables with so it lasts?
Numbered plastic cable tags on zip ties last for years and are my default for fixtures and transformer runs. For anything buried, step up to embossed metal tags, which can't fade. A paint pen on the inside of a fixture housing or low on its stake is a great backup because it's sheltered from UV and sprinklers. Avoid paper tags and ordinary permanent marker — both typically fail within a single season outdoors.
My system was buried years ago and I have no records. Is it too late to map it?
Not at all — most of my neighbors' maps started exactly this way. Trace what you can at dusk by following cables through the mulch, test which fixtures die together when you disconnect one run at the transformer, and map everything visible. Mark genuinely unknown splice locations as "unknown — likely along this line" rather than guessing; an honest gap on the map is useful, a confident wrong mark is not. Every future repair will fill in more of the picture.
Should I give the lighting map to the next owner when I sell my home?
Yes, absolutely — hand over the map, the transformer run card, and the photo album. A labeled, documented lighting system is a genuine selling point: it tells the buyer the system was installed thoughtfully and can be maintained cheaply, and it saves them the exploratory digging you'd otherwise be wishing on a stranger. I keep a copy with the house paperwork for exactly this reason.
Conclusion
None of this is hard, and that's rather the point. One evening's walk, a sheet of graph paper, a handful of tags — and the invisible half of your yard lighting becomes something you can actually see, fix and build on. Take the small effort to map and label lighting system runs, splices and fixtures now, while the layout is still fresh, and every future repair becomes a ten-minute errand instead of an archaeological dig. Future-you, kneeling in the mulch with a dead fixture and a map that walks straight to the problem, says thanks. If you're planning your next addition, browse the lighting ideas here on the site — then grab a tag and give that new fixture its number before dark.