Every yard has that one spot everyone drifts toward after dinner, and in my garden it is the gazebo — but only since I lit it properly. For years it sat dark and a little forgotten once the sun went down, pretty in daylight and invisible by nine o'clock. The gazebo garden lighting ideas that changed everything follow the one rule I use everywhere outdoors: layering. One soft glow overhead, one warm light at eye level, and one gentle wash around the base, and suddenly the whole structure pulls the garden toward it like a lantern set down in the grass. In my experience, a gazebo asks for a slightly bolder hand than a patio, because it stands alone in the yard and reads as architecture, not just seating. Below are the seventeen setups I have rotated through on my own gazebo over the seasons. Most are solar or battery powered, none of them need an electrician to get started, and together they will show you how to turn any gazebo into the true focal point of your garden after dark.

1. Swag Bistro String Lights Into a Canopy
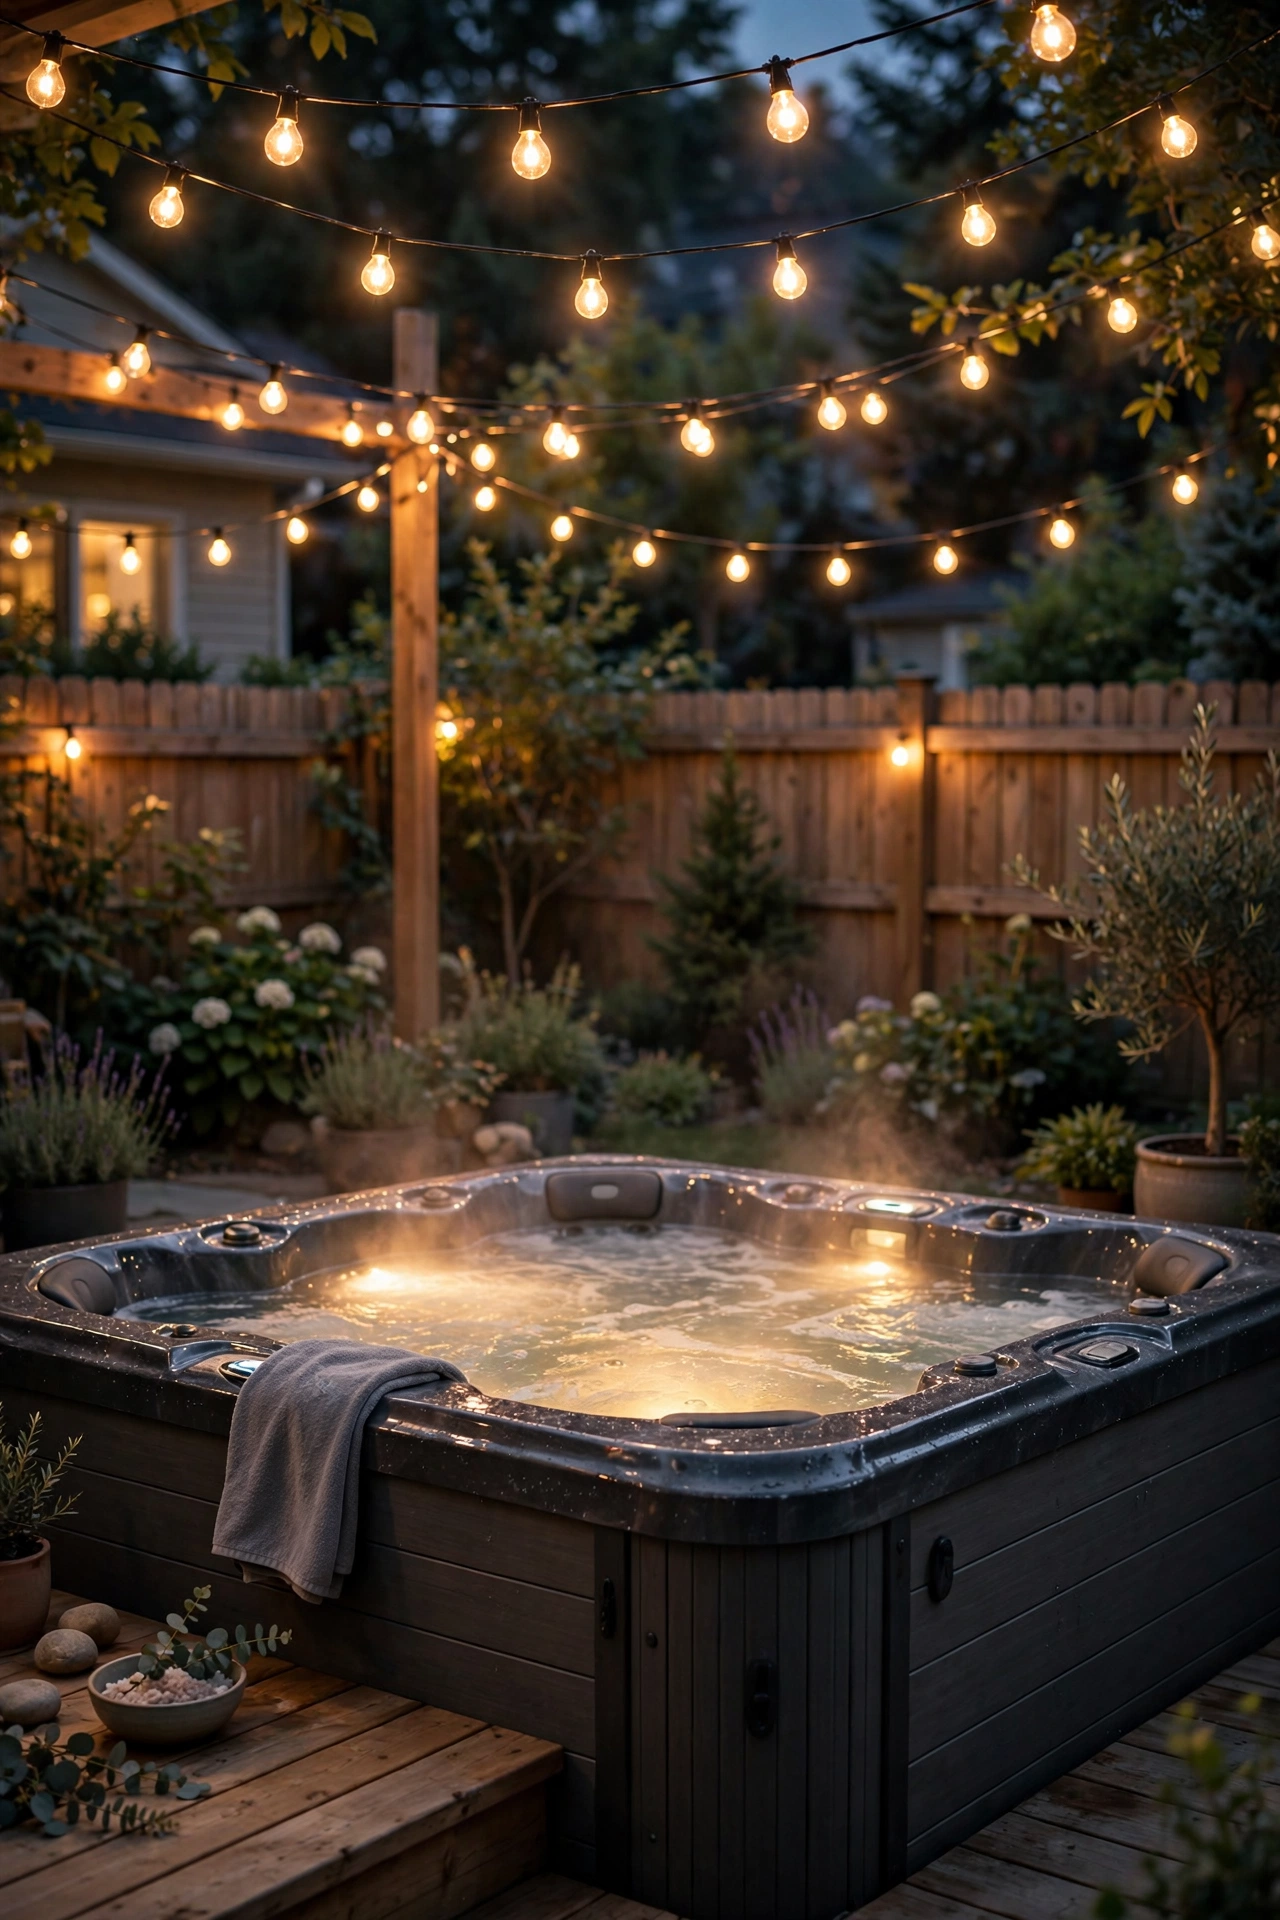
If your gazebo gets only one upgrade, make it this one. I run commercial-grade string lights from a hook at the center peak out to each post, so the strands radiate like the spokes of a wheel and the whole roofline glows. Two 48-foot strands handle a standard 10-foot gazebo; add a third if yours is larger. Clip the strands to a thin steel guide wire rather than the bare cord, because a summer storm will stretch and sag an unsupported run within one season. I always recommend shatterproof LED filament bulbs in 2700K — they read as warm candlelight in photos and in person, and they sip power compared with old glass bulbs. Keep the swag gentle, about 6 inches of dip between attachment points, and put the whole canopy on one outdoor dimmer so you can ease it down once everyone has settled in with a drink. The lowest bulb should stay at least 7 feet above the floor so tall guests never duck. Honestly, the first night I switched mine on, the neighbors slowed down on their evening walk just to look.
Suggested budget range: $60 – $180.
2. Hang a Statement Chandelier at the Peak
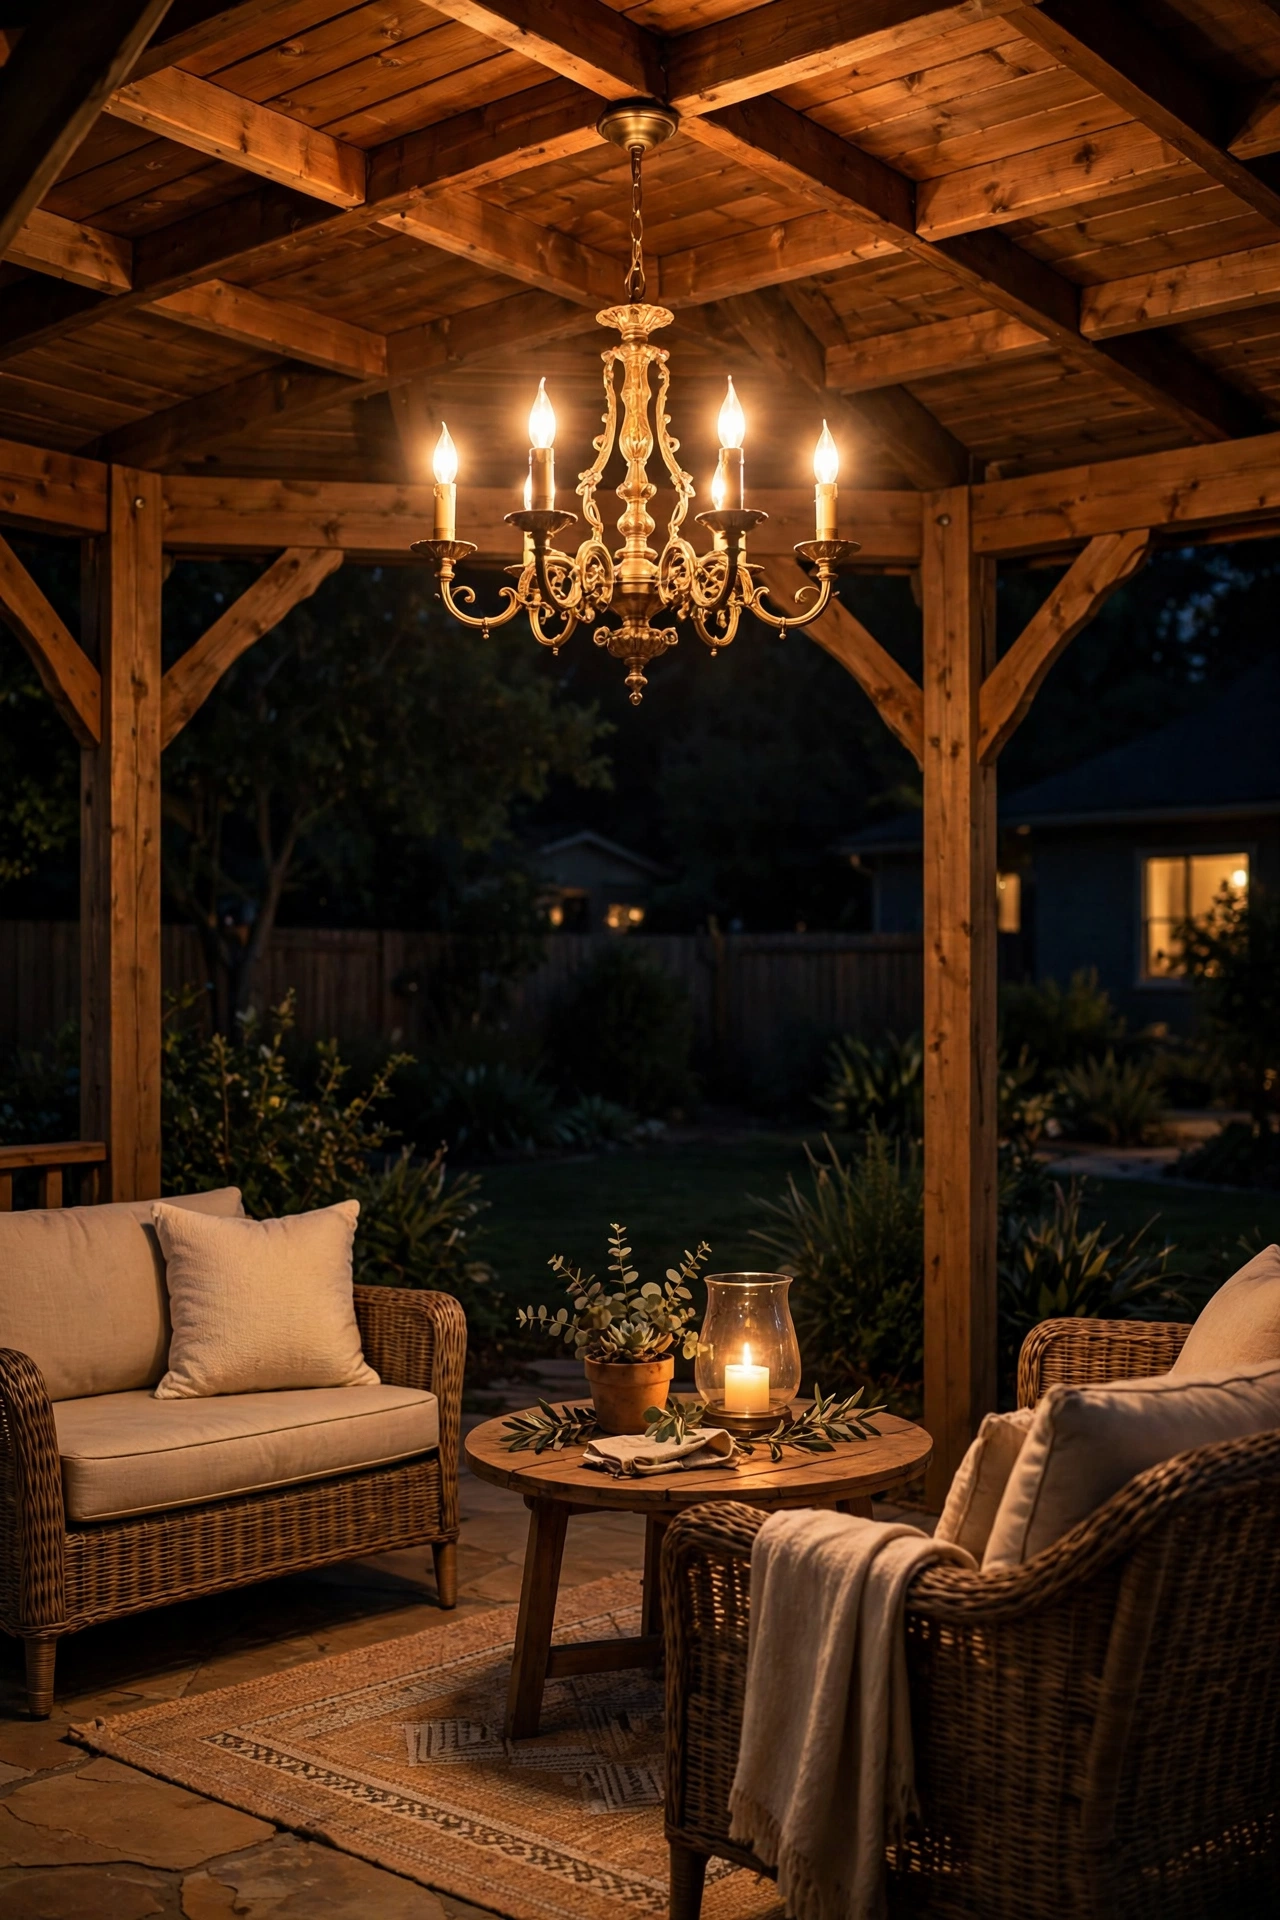
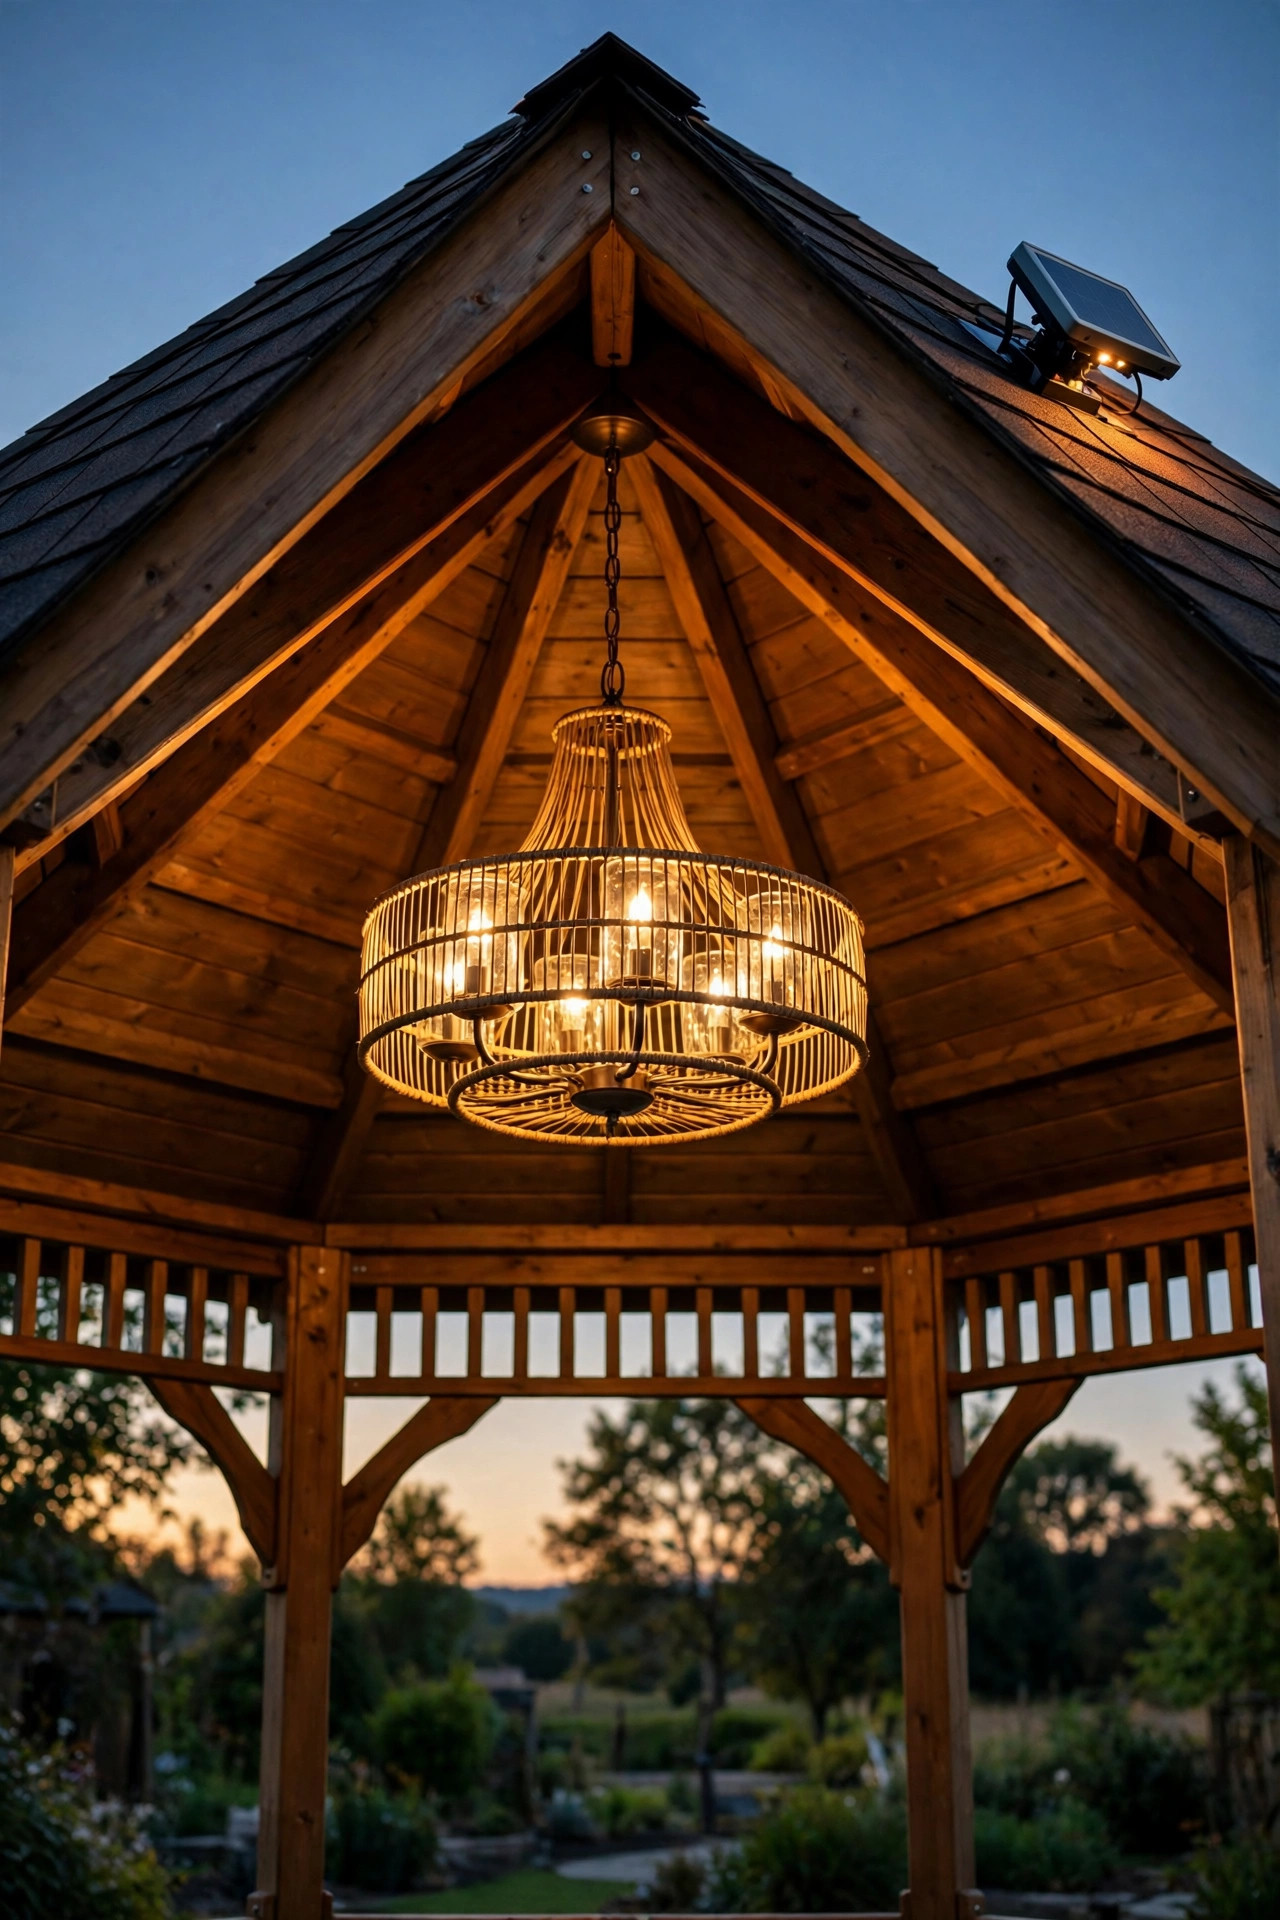
Every gazebo has a natural centerpiece point — that hook or beam right at the peak — and it deserves better than a bare bulb. A chandelier turns the gazebo from a lit structure into a room, and it anchors everything else you layer around it. Mine is a battery-powered candle-style fixture on a chain, which means zero wiring and a ten-minute install with a ladder and a sturdy hook rated for the weight. Solar versions with a small remote panel work beautifully too, and hardwired models are worth the electrician if your gazebo already has power. Size matters here: for a 10-to-12-foot gazebo, a fixture 20 to 26 inches across looks generous without crowding the space, and the bottom of it should hang at least 6 feet 6 inches above the floor. Choose flameless candle bulbs or LEDs only, keep the style in step with your other gazebo lighting ideas elsewhere in the yard, and the chandelier becomes the thing guests photograph. I dim mine low and let the string lights do the ambient work around it.
Suggested budget range: $80 – $300.
3. Add Solar Post Cap Lights to Every Post
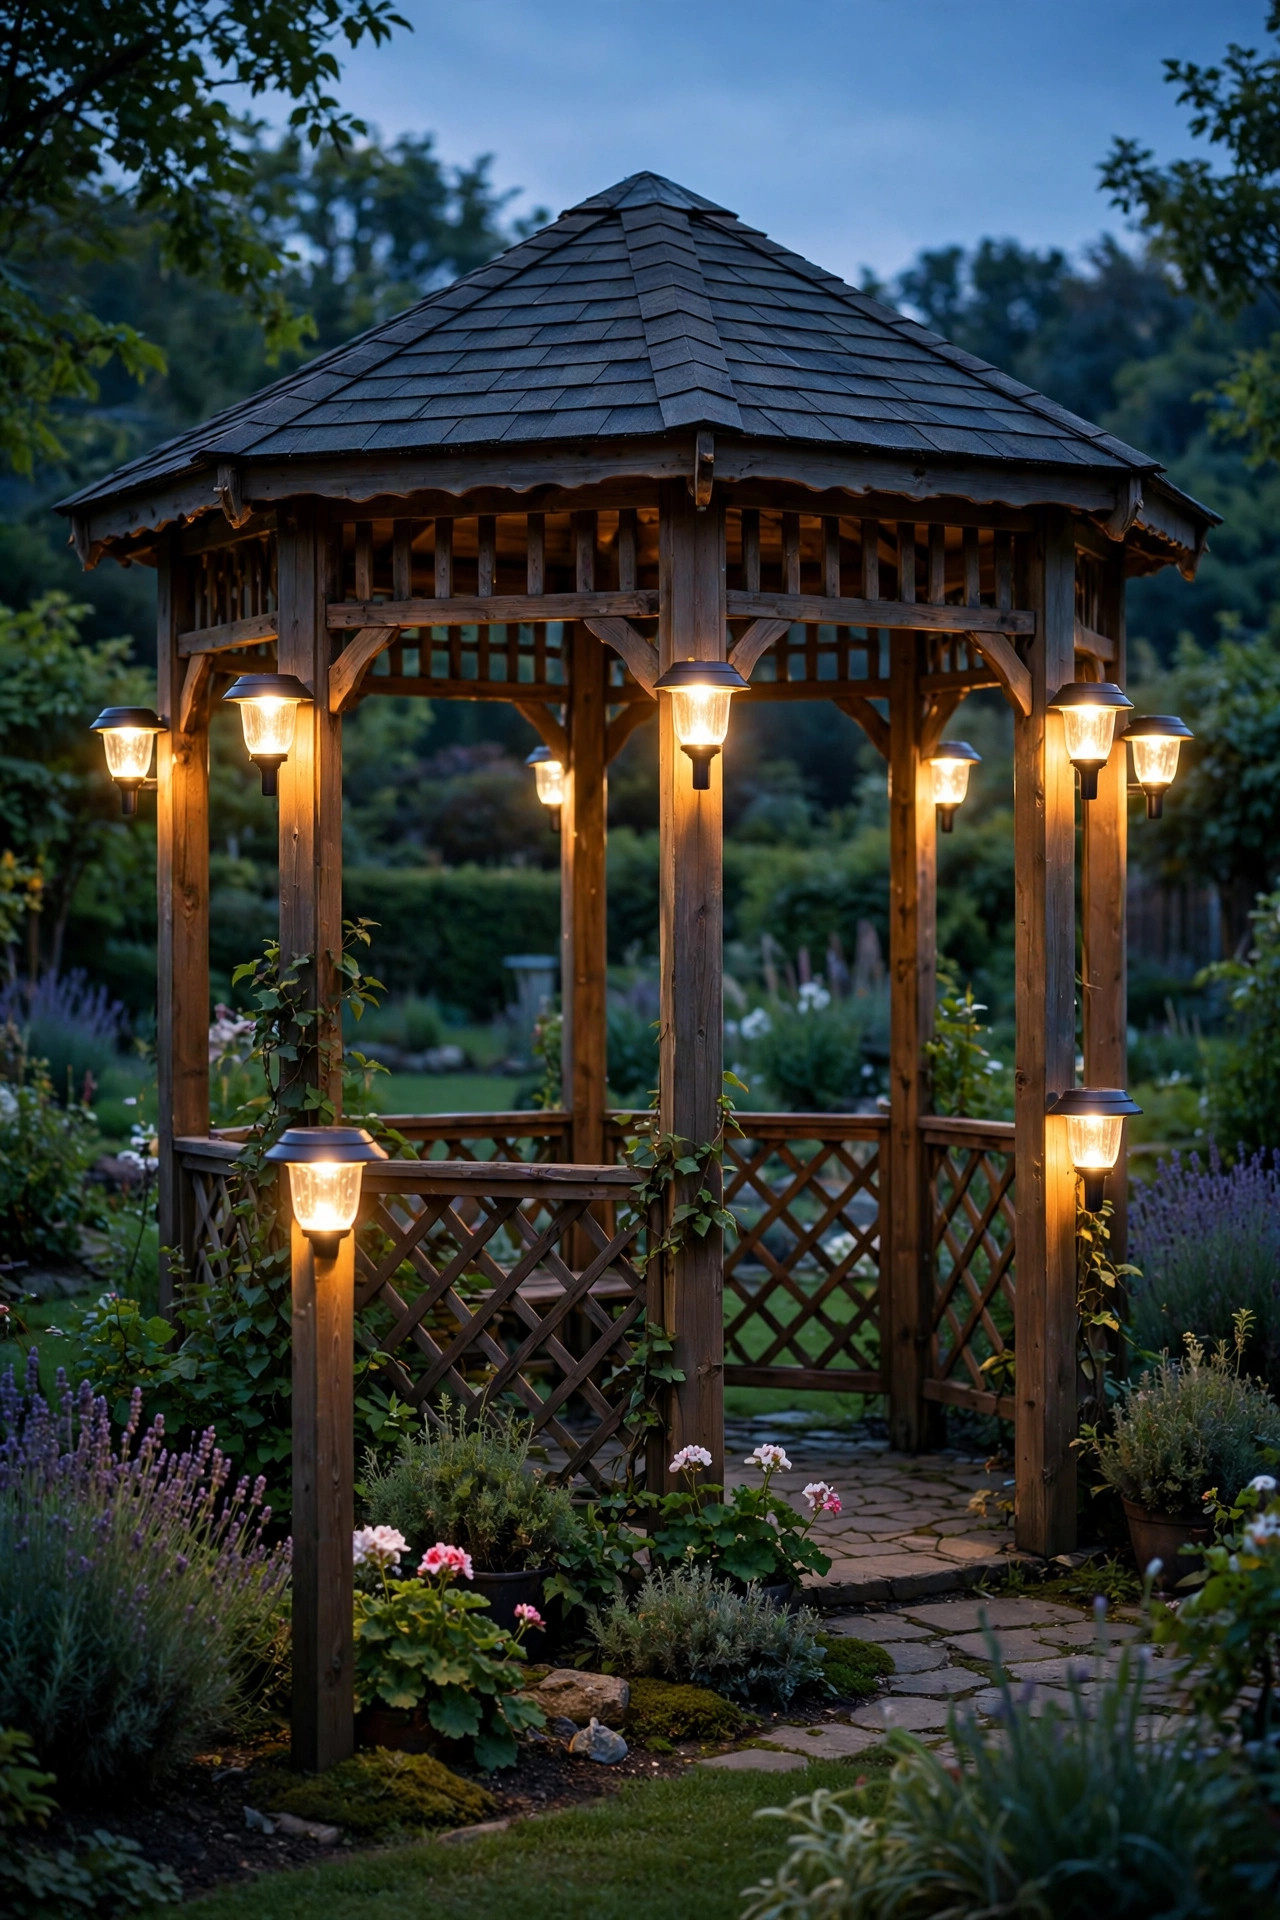
Post caps are the quiet overachievers of gazebo lighting. They slip over the top of each post, charge all day, and switch on at dusk with no wire, no switch, and no thought from you. Because a gazebo has four, six, or eight posts, the caps create an even, architectural outline that reads beautifully from across the yard — it is the layer that makes the structure look finished rather than decorated. Measure your posts before ordering: true 4×4 posts are 3.5 inches square, and 6×6 posts are 5.5 inches, and caps are sold to fit one or the other. I look for caps rated at least IP44 with warm white LEDs around 2700K to 3000K, since cool blue-white caps will fight with every other warm layer you add. Expect a soft 5 to 15 lumens each — this is accent light, not task light — and plan on fresh rechargeable batteries every couple of years to keep them bright. On my six-post gazebo, the caps alone carry the look on weeknights when I do not bother with anything else.
Suggested budget range: $40 – $120.
4. Uplight the Posts From the Garden Beds
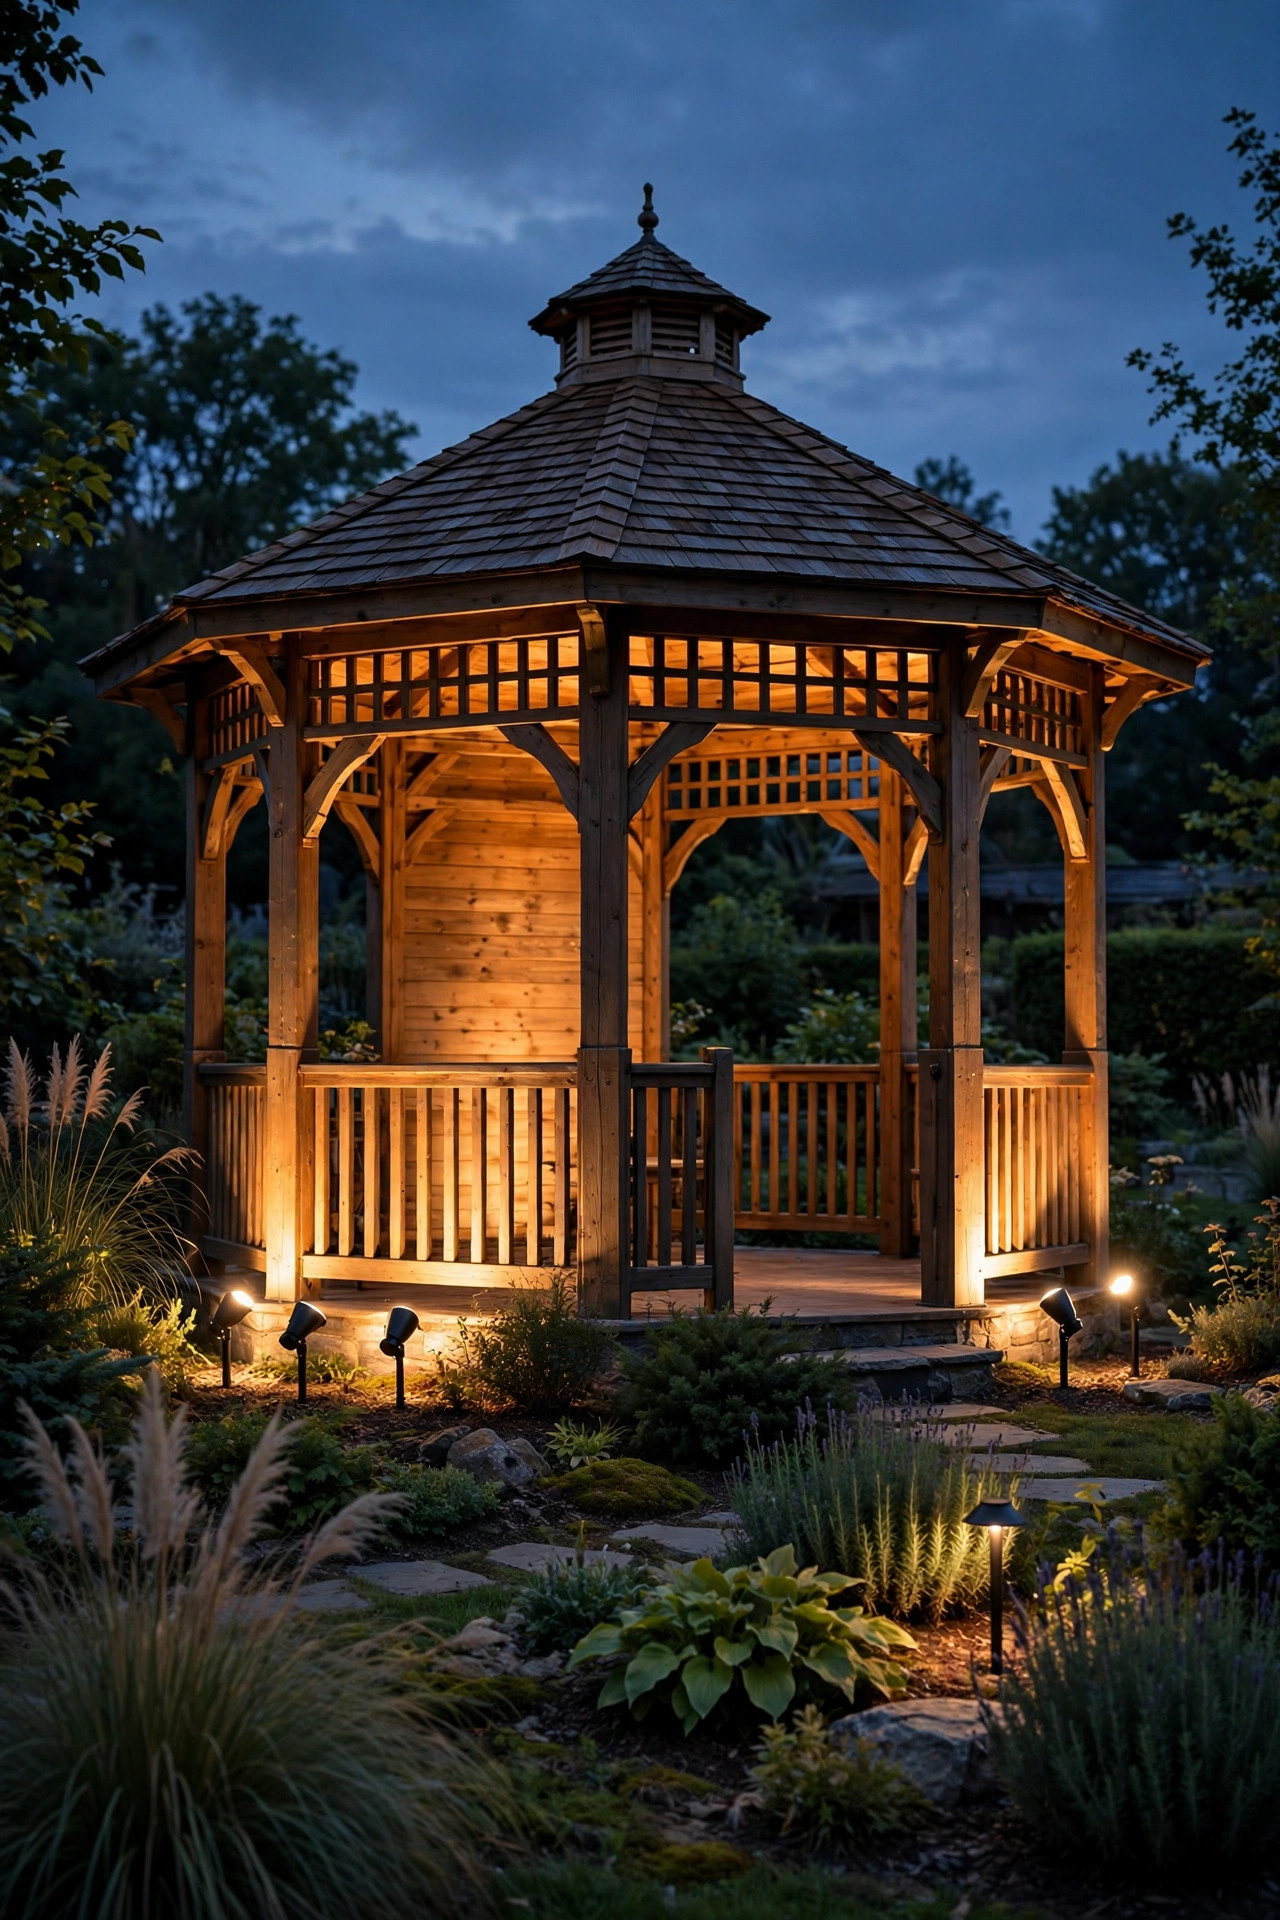
This is the layer that makes a gazebo look expensive. A low-voltage spotlight tucked into the planting bed at the base of each post, aimed straight up, grazes the wood or vinyl with light and throws long, dramatic shadows into the roof. The texture you never notice at noon becomes the whole show at night. I use fixtures in the 200 to 400 lumen range with a narrow 30-to-45-degree beam, set 6 to 12 inches out from the post so the light washes rather than hotspots. A single 100-watt transformer easily runs six of them, and the cable buries in a shallow slit trench through the mulch — an afternoon project, start to finish. If your gazebo sits on a lawn instead of beds, solar spotlights get you eighty percent of the effect with zero wiring, though they fade a little on cloudy weeks. Either way, keep the fixtures' lenses angled slightly away from seating so nobody stares into a bare beam, and wipe the lenses once a season; pollen film steals more brightness than people realize.
Suggested budget range: $50 – $150.

5. Weave Fairy Lights Through the Rafters and Vines
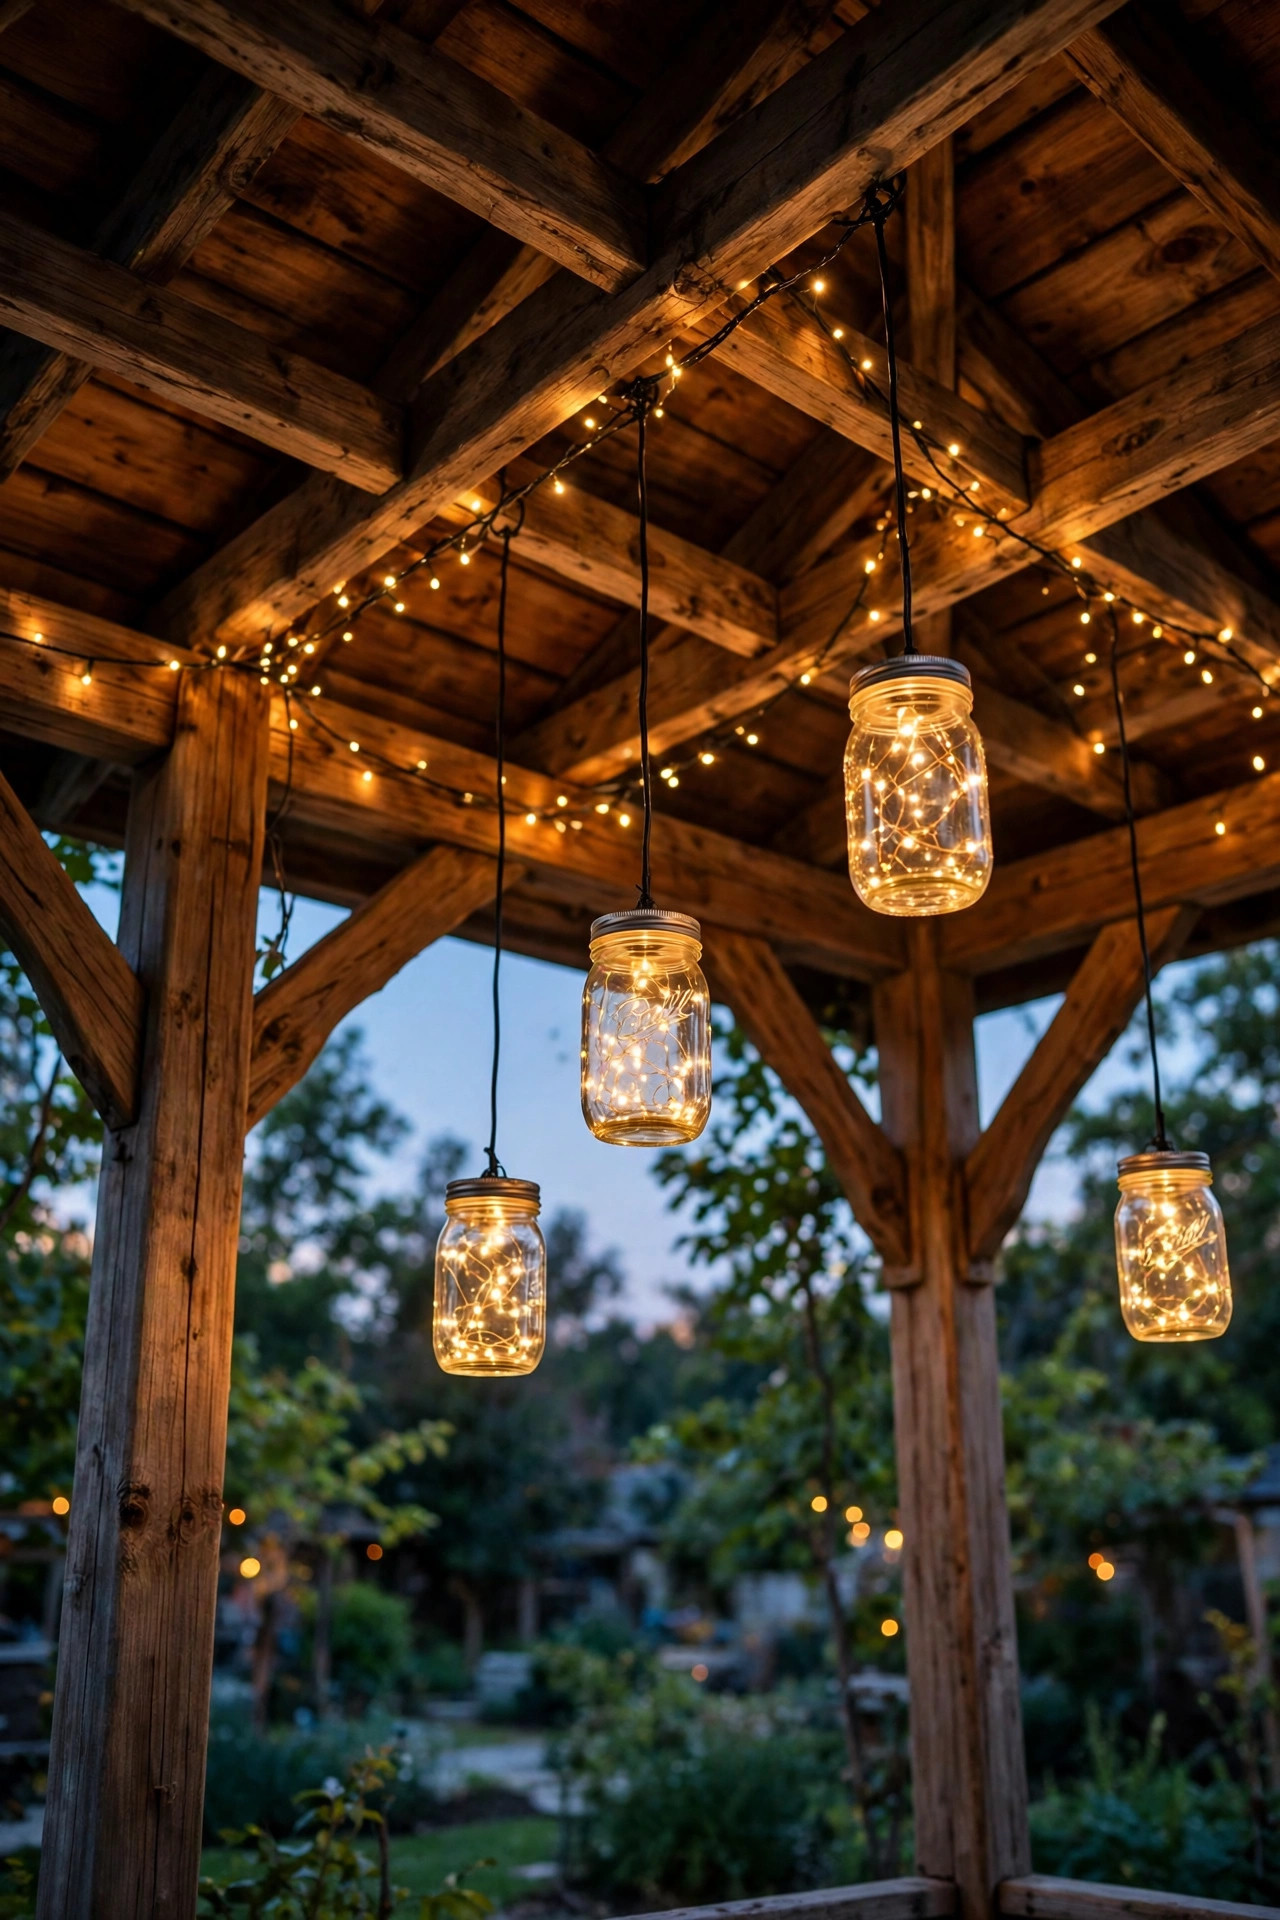
Copper-wire fairy lights are my secret weapon for softness. The wire nearly disappears in daylight, and at night the gazebo fills with hundreds of tiny pinpoints that feel like fireflies decided to move in. I weave two or three 33-foot battery strands through the rafters, then trail the ends down any climbing vines or lattice panels so the light seems to grow out of the garden itself. Battery packs hide neatly in a small weatherproof box screwed under a beam, and the built-in timers on most sets — six hours on, eighteen off — mean I set them once in spring and forget them until fall. Stick with warm white; the multicolor sets read as holiday decor no matter the season. One caution from experience: keep fairy lights as the ambience, never the only light, because at 1 to 3 lumens per bulb they glow rather than illuminate. Paired under a string light canopy, though, they add the depth that separates a nice gazebo from a magical one, and the whole layer costs less than a pizza night.
Suggested budget range: $15 – $60.

6. Cluster Flameless Lanterns on the Steps and Corners
Every gazebo has dead corners — the step edges, the floor beside a bench, the spot where two railings meet — and a cluster of lanterns turns each one into a little pool of welcome. I group flameless candle lanterns in threes, mixing heights around 8, 12, and 16 inches, because odd numbers and varied heights always look styled rather than stored. Flameless is non-negotiable for me near wooden floors and dry summer mulch; the modern LED candles flicker convincingly, run on timers, and shrug off the gust of wind that would end a real candle's evening in seconds. Set the timers to click on at dusk and the gazebo lights itself before you even step outside. Black metal lanterns suit a classic gazebo, while woven rattan or weathered wood styles lean cottage — either way, keep the finish consistent across the cluster. I also tuck one small lantern on the top step itself, which quietly does double duty as a safety light for anyone carrying drinks up in the dark. Guests always assume these took effort. They took four minutes.
Suggested budget range: $30 – $90.

7. Back Sheer Curtains With a Curtain of Light
If your gazebo has curtains for shade or privacy, you already own the prettiest light diffuser in the garden — you just need light behind it. I hang a net-style curtain light panel on the inside face of the gazebo, then close the sheer outdoor curtains over it, and the whole wall glows like a lantern shade. The fabric hides every wire and softens every diode, so instead of visible bulbs you get an even, dreamy wash that flatters everyone sitting inside. Most curtain panels run 10 by 10 feet with drops of 3 to 6 feet, which fits one full side of a typical gazebo; I do the side facing the house so the view from my kitchen window is pure glow. Two safety rules I never bend: LED only, because the diodes stay cool against fabric, and keep the curtain hem and the light panel from tangling in the wind by clipping them together at the corners. On breezy nights I tie the sheers back and let the panel sparkle on its own, which honestly looks just as good.
Suggested budget range: $45 – $130.

8. Borrow Moonlight From a Nearby Tree
Moonlighting is the technique landscape designers charge the most for, and a gazebo near a mature tree is the perfect place to steal it. Mount one shielded downlight 15 to 20 feet up in the branches, aimed down through the leaves toward the gazebo roof and the path beside it. The light filters through the canopy and lands in soft, dappled pools that shift gently when the breeze moves — it is the single most natural-looking light in my whole yard. Use a fixture with a long glare shield and a warm 3000K bulb in the 300 to 500 lumen range, and have an arborist or a confident ladder-and-harness afternoon handle the mounting; this is the one idea on the list where I say hire help if heights are not your thing. The effect works because the source is invisible: guests feel the glow without seeing a fixture, and the gazebo looks discovered rather than decorated. It also lights the ground softly enough that you may not need pathway lights on that side at all.
Suggested budget range: $60 – $200.

9. Layer Three Heights, the Rule Behind Great Gazebo Garden Lighting Ideas
Here is the formula every designer I know uses, and the one behind all the gazebo garden lighting ideas in this list: light at three heights, never just one. Something overhead — the canopy or chandelier — so the space feels roofed in glow. Something at eye level — sconce-style lanterns, post caps, curtain light — so faces look warm and the structure reads as a room. And something low — uplights, step lanterns, pathway markers — so the base looks planted and nobody trips. When a gazebo looks flat or harsh, it is almost always because one height is doing all the work, usually a single bright fixture overhead glaring down. I audit mine from the street twice a year: if I can name all three layers from the curb, the balance is right. The layers do not need to be bright — in fact, three dim layers beat one bright one every time, because your eye reads the combination as depth. Start with whichever layer you are missing; for most gazebos it is the low one, and a pair of bed uplights fixes it in an hour.
Suggested budget range: $75 – $250.

10. Pick a Solar Chandelier With a Remote Panel
A hanging fixture in a gazebo usually means trenching power across the lawn, which is exactly why most gazebos never get one. Solar chandeliers with a separate remote panel solve it elegantly: the fixture hangs at the peak like any chandelier, while a small panel on a 10-to-15-foot cord mounts on the sunny side of the roof where it can actually charge. That separation is the whole trick — the panel gets six hours of sun while the fixture stays shaded under the roof where you want it. Look for a model with replaceable batteries, a dusk-to-dawn sensor, and warm white bulbs around 2700K; some include a remote with dimming, which I use far more than I expected. Expect a gentle 100 to 200 lumens — mood light, not reading light — and pair it with string lights if you host dinners. Installation is a hook, a ladder, and about twenty minutes. Mine has survived three summers of thunderstorms hanging in the open, and on the rare cloudy stretch, a day of weak light simply means a slightly earlier fade at night.
Suggested budget range: $50 – $160.
11. Trace the Roofline With Rope Light
Rope light is the outlining tool: run it along the rim where the roof meets the posts, and the gazebo's whole silhouette draws itself against the night sky. From the street, this is the layer that makes people say the yard looks like a postcard. I use warm white LED rope in a channel track, clipped every 12 inches so the line stays crisp instead of wavy, and I hide the cord drop behind the least-seen post. LED rope matters here — the old incandescent kind runs hot and yellows within a couple of seasons, while LED versions stay cool, flexible, and cheap to run at roughly half a watt per foot. Cut only at the marked cut points, seal every end cap with the included connector kit, and choose a set rated for outdoor wet locations, since the roofline catches real weather. The effect is architectural rather than cozy, so I treat it as the frame and let the softer layers inside do the welcoming. On a timer set for dusk to midnight, it costs pennies a month and never gets forgotten on.
Suggested budget range: $25 – $80.

12. Lead the Way In With Pathway Lights
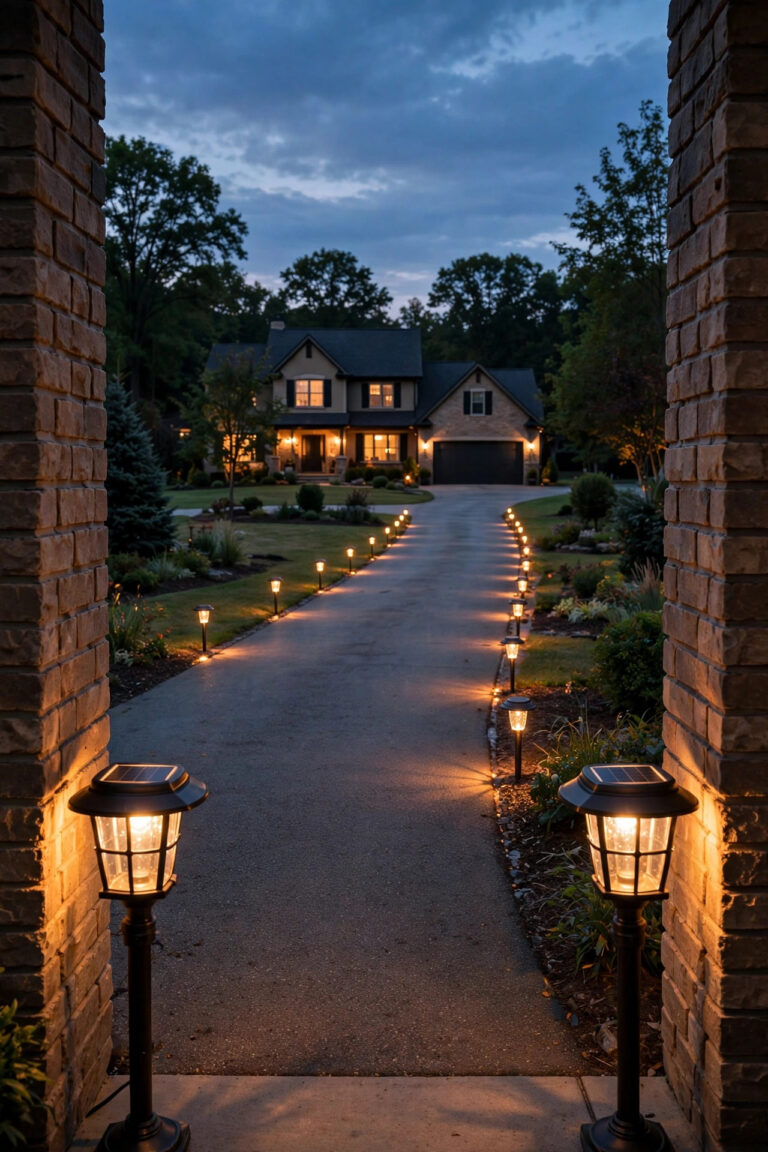
A glowing gazebo at the end of a dark path is only half the invitation — light the walk, and guests will actually come. I run low pathway lights from the patio edge to the gazebo steps, spaced 6 to 8 feet apart and staggered rather than lined up like a runway. That spacing gives overlapping pools of light without the airport effect, and staggering keeps it looking like a garden instead of a sidewalk. Solar stakes are the easy route and plenty bright for wayfinding at 10 to 30 lumens each; if you already have a low-voltage transformer for bed uplights, wired path lights on the same run will match brightness and color perfectly. Keep every fixture the same warm temperature as the gazebo itself — 2700K to 3000K — so the path and the destination feel like one design. One placement lesson I learned the hard way: keep lights at least a mower's width from the lawn edge, or you will be straightening knocked-over stakes every single week of summer. A lit path also makes the gazebo read as a destination from the house, which is the whole focal-point idea.
Suggested budget range: $35 – $110.

13. Hang Mason Jar Pendants From the Rafters
For a cottage-garden gazebo, nothing beats a row of mason jar pendants swinging gently overhead. Solar jar lids with a single warm LED are the simplest version — charge the lids on a sunny railing all day, screw them on at dusk — but I prefer threading fairy light strands into clear jars and hanging three or five of them at slightly different heights from hooks along the center beam. The glass softens the diodes into little captured fireflies, and the staggered heights keep it playful instead of uniform. Use real hanging hardware, not twine alone: a small S-hook or carabiner at each jar means a storm gust will swing the jar instead of dropping it, and tempered jars survive the occasional knock against a post. Keep jars at least 6 feet 6 inches above the floor over walkways, lower only above seating where nobody walks through. Frosted or amber-tinted jars warm the light further and hide the strand wiring completely. This is the cheapest idea on the list per unit of charm, and it is the one children in my family request by name every summer.
Suggested budget range: $20 – $70.
14. Wash the Whole Structure With Garden Spotlights
Everything so far lights the gazebo from inside; this idea lights it from the garden, the way you would light a statue or a specimen tree. Two adjustable spotlights placed 8 to 12 feet out in the beds, angled up at the front posts and roof edge, turn the gazebo into a glowing sculpture that anchors the entire yard. It is the same thinking behind the best garden focal point spotlight ideas: pick the one thing you want every eye to land on, and give it more light than anything around it. I use 400 to 700 lumen fixtures with a warm 3000K color and a medium flood beam, then dim the interior layers slightly on nights I want the exterior wash to star. Solar versions work in open, sunny beds; wired low-voltage is more reliable under tree cover. Aim carefully from ground level after dark — a few degrees changes the shadows completely — and keep beams off the seating so guests are lit softly, never spotlit. From the street, this is the view that stops walkers.
Suggested budget range: $45 – $140.
15. Build a String Light Curtain Wall on the Open Side
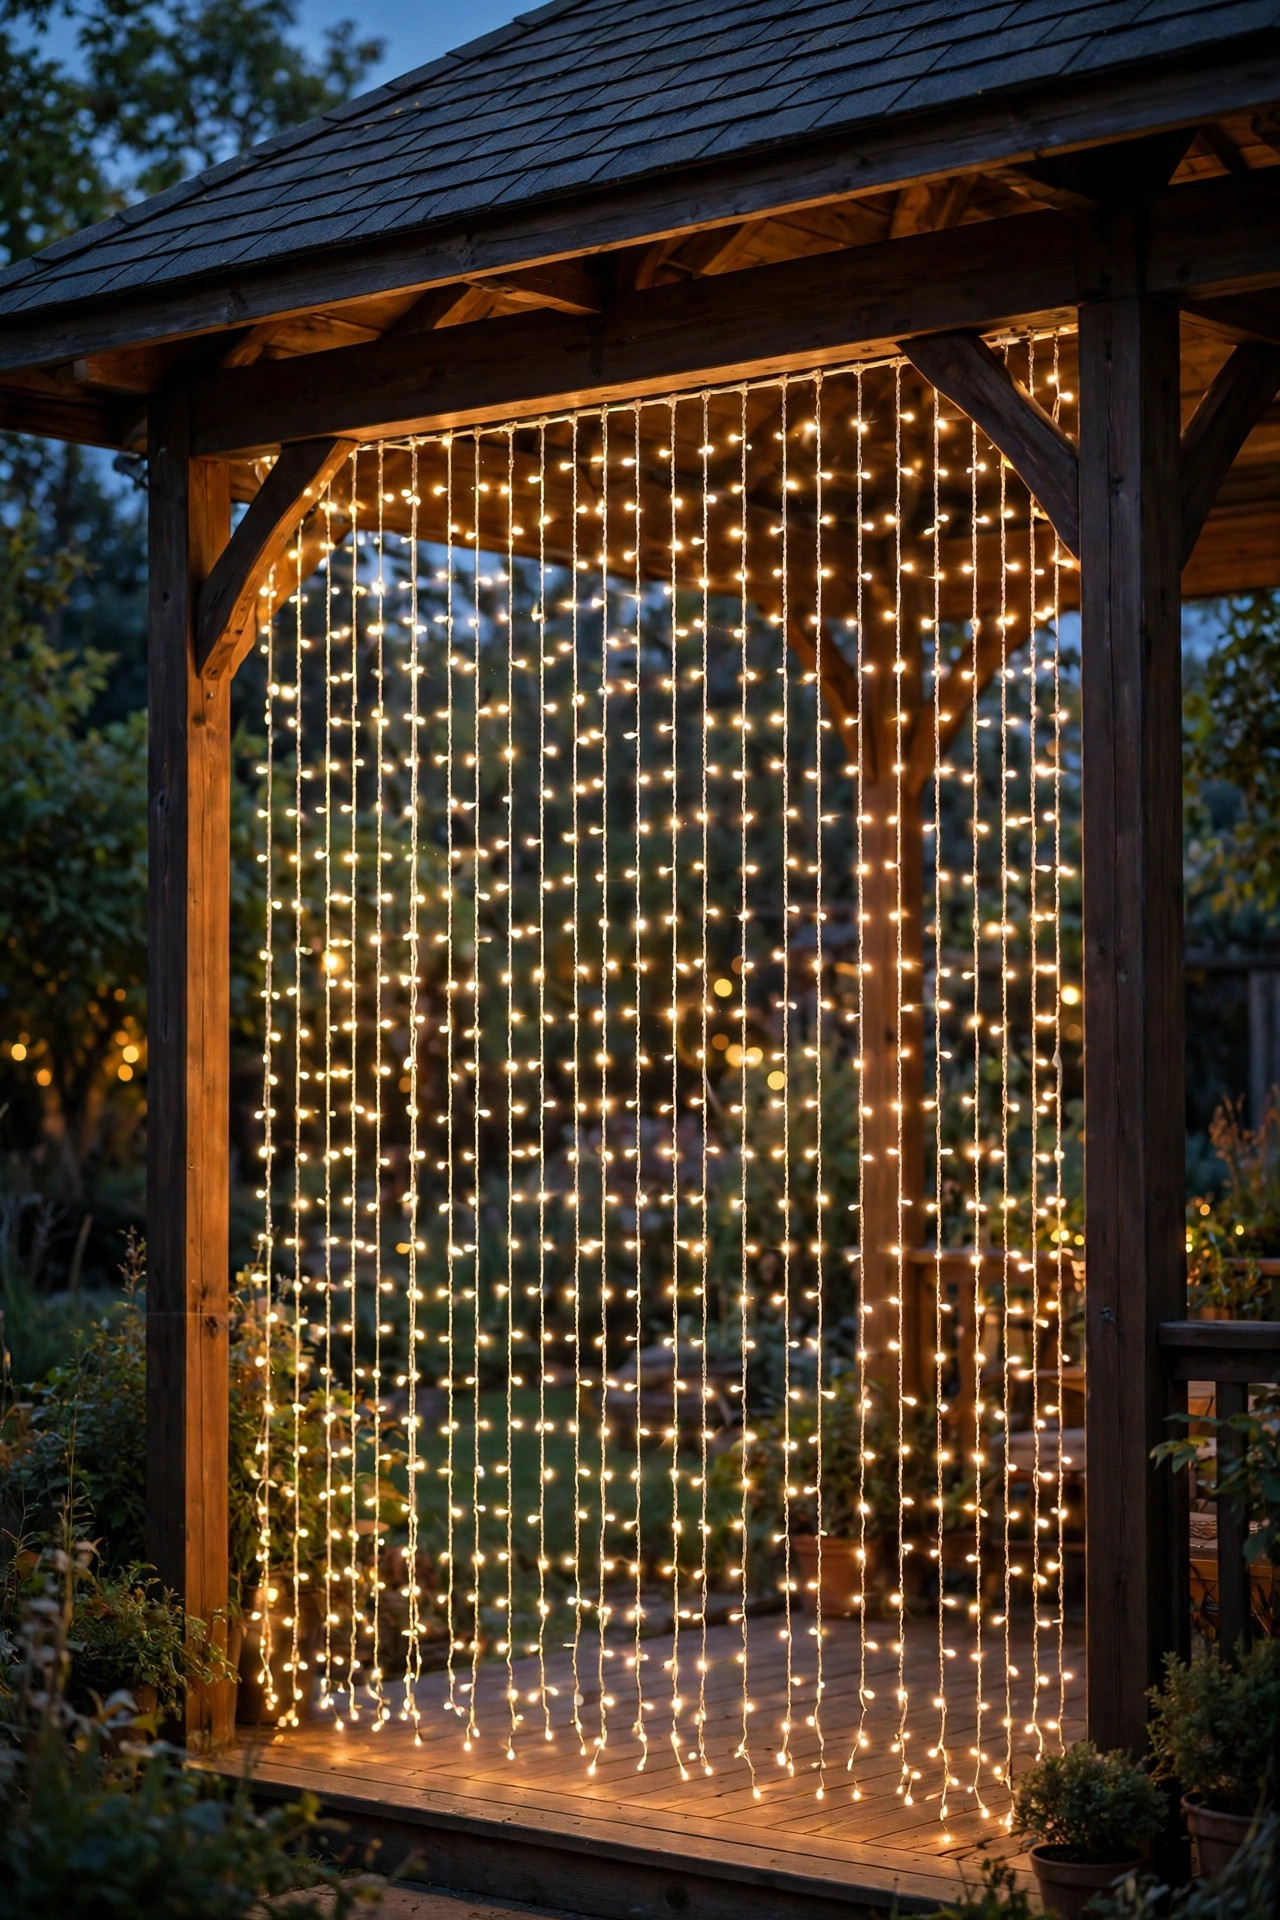
Most gazebos have one open side that faces the view — and at night that view is a wall of black. Hanging vertical string light strands across that opening gives you a sparkling backdrop that still lets the breeze through and frames the garden beyond. I clip strands to a removable tension rod or a wire run between the two corner posts, spacing them 8 to 12 inches apart so the effect reads as a curtain rather than a net. Curtain-style sets sold as one unit with a single top wire are easiest, and the icicle variation — strands of alternating lengths — looks especially pretty against dark trees. Keep the bottom of the strands at least a foot above the railing or floor edge so they sway without tangling in cushions or guests' hair. Because this wall sits between you and the dark yard, it also solves the black-mirror problem: instead of staring into darkness, your eye rests on a field of soft lights. It photographs beautifully, too, which my family has confirmed at every birthday hosted out there since I hung it.
Suggested budget range: $40 – $120.
16. Swap In Color-Changing Bulbs for Occasions
Ninety percent of the year, my gazebo runs warm white and classic. But two or three sockets fitted with color-changing bulbs turn it into party infrastructure on demand. I keep them in the chandelier and one pair of post lanterns: soft amber for autumn dinners, gentle red and green at the edges of the holidays, a dreamy blue-green for summer pool nights. The trick is restraint — color as an accent inside a mostly warm scene reads as festive, while color everywhere reads as a carnival. Choose bulbs with a remote or app control and a proper outdoor rating if the fixture is exposed, and always confirm the bulb remembers its last setting, so your dusk timer does not reset it to a disco strobe. Most smart bulbs let you save scenes, so "dinner" stays one tap away from "party." On ordinary Tuesday nights they simply live at 2700K like every other bulb in the yard, and nobody would guess the gazebo has a party mode until the moment it appears.
Suggested budget range: $30 – $100.
17. Put It All Together: Gazebo Garden Lighting Ideas That Steal the Show
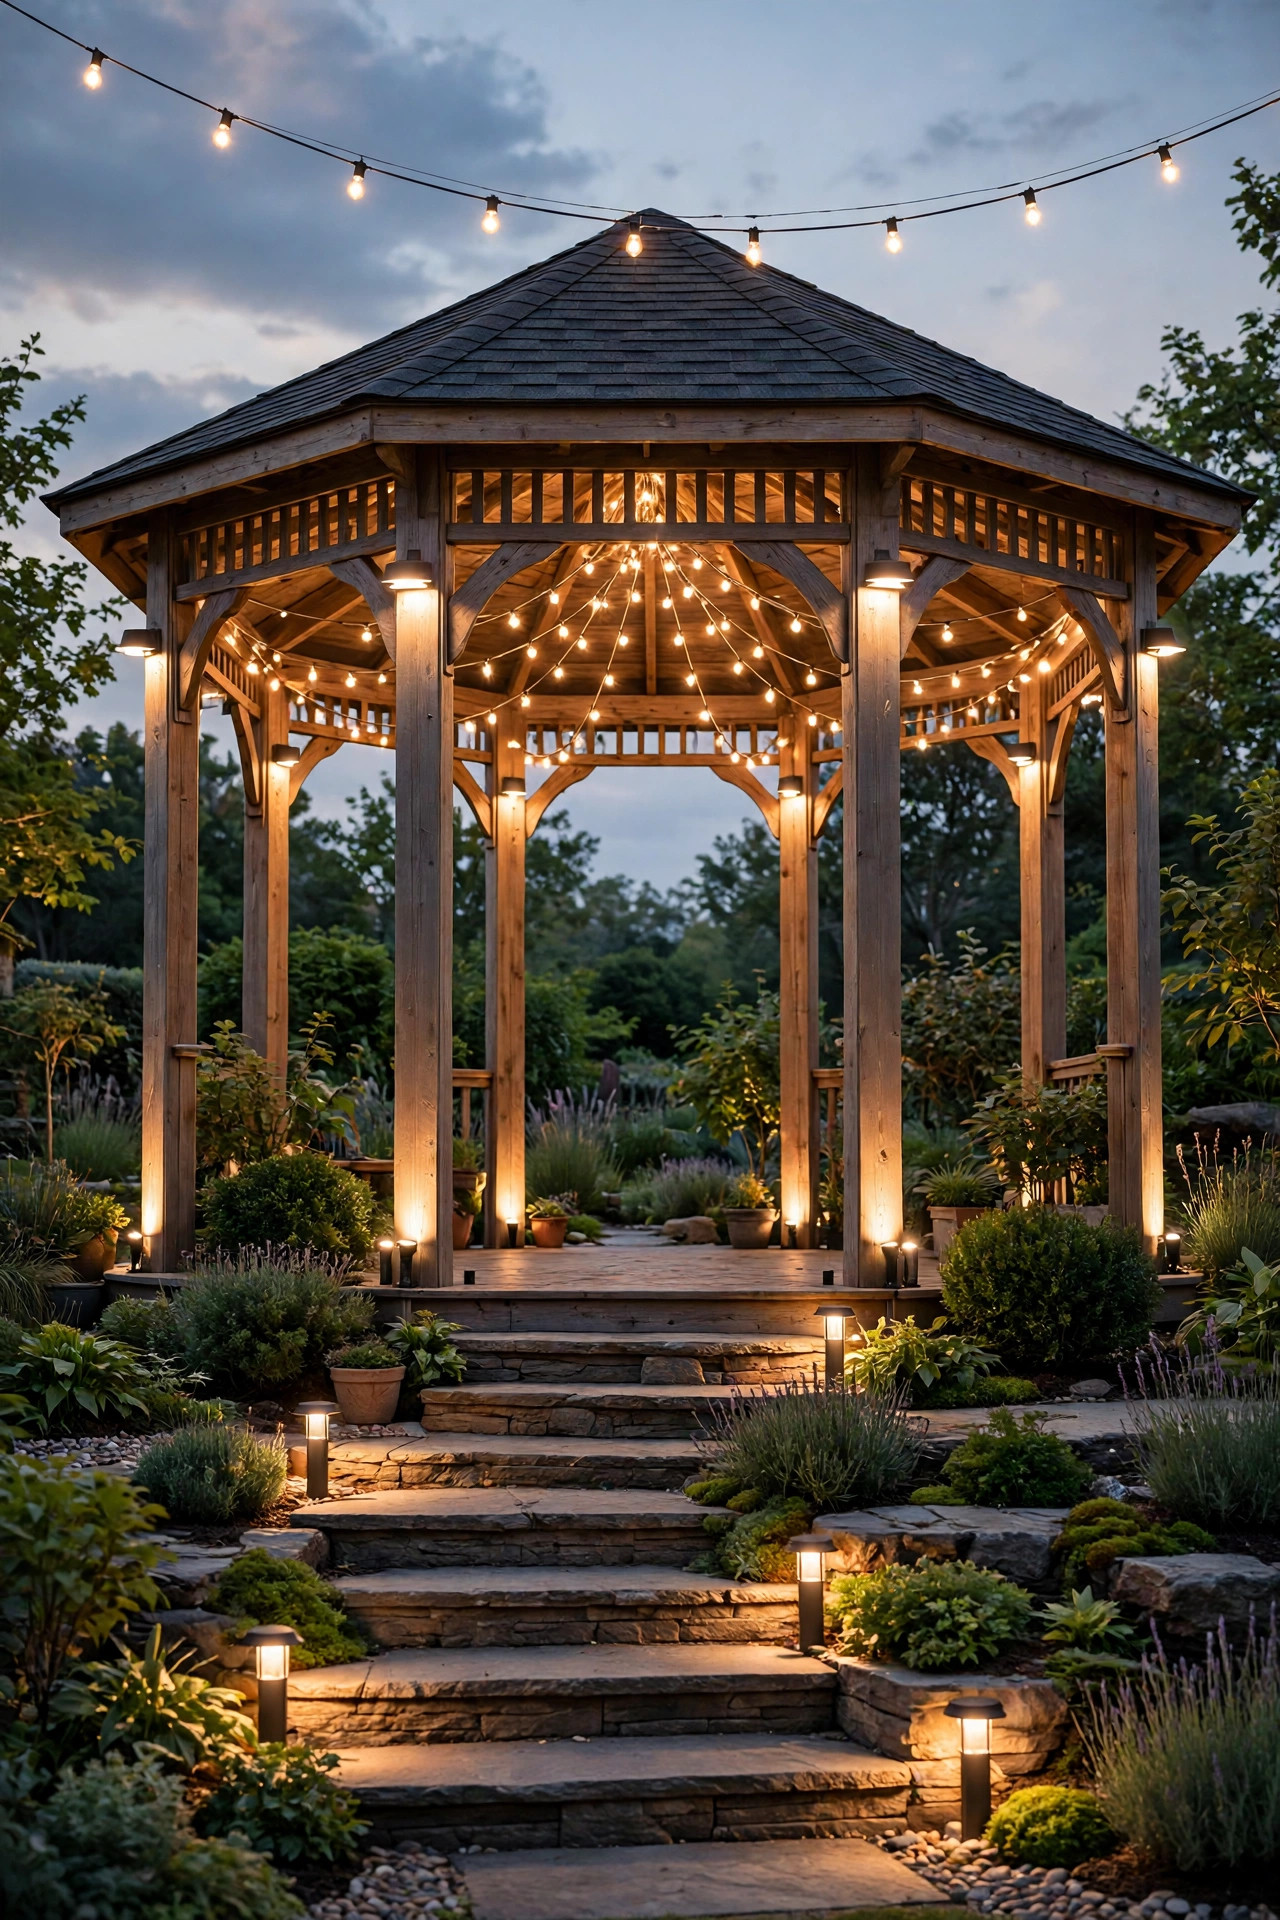
Here is my exact recipe, the combination I would rebuild tomorrow if I started over. A string light canopy overhead for the ceiling of glow, post caps for the architectural outline, bed uplights at every post for drama, and a cluster of lanterns on the steps to welcome people in. Four layers, three heights, one warm color temperature — 2700K everywhere, no exceptions, because mixed temperatures are what make layered lighting look accidental instead of designed. Everything runs on timers or dusk sensors, so the whole scene assembles itself while I am still in the kitchen. The total lands well under what one electrician visit for hardwired fixtures would cost, and every piece went up with a ladder, a screwdriver, and one free Saturday. My honest advice: do not buy it all at once. Add the canopy this month, the uplights next, and live with each layer a while — a gazebo that grows its glow over a season always ends up better balanced than one decorated in a single afternoon.
Suggested budget range: $150 – $400.
Frequently Asked Questions
What color temperature looks best for gazebo lighting?
Warm white, every time — 2700K to 3000K. In my experience that range flatters wood, skin tones, and garden greens all at once, and it matches the golden look of candlelight. Anything at 4000K or above reads as blue-white security lighting and will fight with the cozy feeling a gazebo is supposed to create. Whatever you choose, use the same temperature in every layer so the scene blends.
Can I light a gazebo with solar power alone?
Yes, with realistic expectations. Solar post caps, a solar chandelier with a remote panel, solar spotlights in sunny beds, and battery fairy lights can carry a whole gazebo beautifully for ambient evenings. What solar cannot do well is bright task light for reading or grilling, and output dips after cloudy days and in winter. If you host long dinners often, run one low-voltage wired layer — usually the uplights — and let solar handle the rest.
How do I light a gazebo that has no outlet nearby?
Start with the zero-wiring stack: solar fixtures where the sun reaches, battery-powered strands and lanterns where it does not, and timers so everything runs itself. If you want one wired layer, a low-voltage transformer can plug into any existing outdoor outlet — even at the house — and the thin cable runs up to a few hundred feet buried just under the mulch. That single run powers uplights and path lights without an electrician in most cases.
Are string lights safe to leave up on a gazebo all year?
Commercial-grade LED string lights rated for wet locations, yes — that is exactly what they are built for. Inspect the cords each spring for cracked insulation or corroded sockets, keep connections off the ground and under the roof edge where you can, and always use LED bulbs rather than incandescent near wood, fabric, or dry leaves. Budget residential sets are the ones that fail outdoors; the heavier commercial cords are the leave-up kind.
Conclusion
A gazebo is already the most charming structure in most gardens — it just needs light to prove it after dark. Layer something overhead, something at eye level, and something low, keep every bulb in the same warm family, and your favorite gazebo garden lighting ideas will do the rest, turning a quiet corner of the yard into the place every evening ends. Start with one layer this weekend, stand back at dusk, and enjoy the view. Then come browse the rest of my garden lighting ideas for the beds, paths, and trees around it — the gazebo was only the beginning.