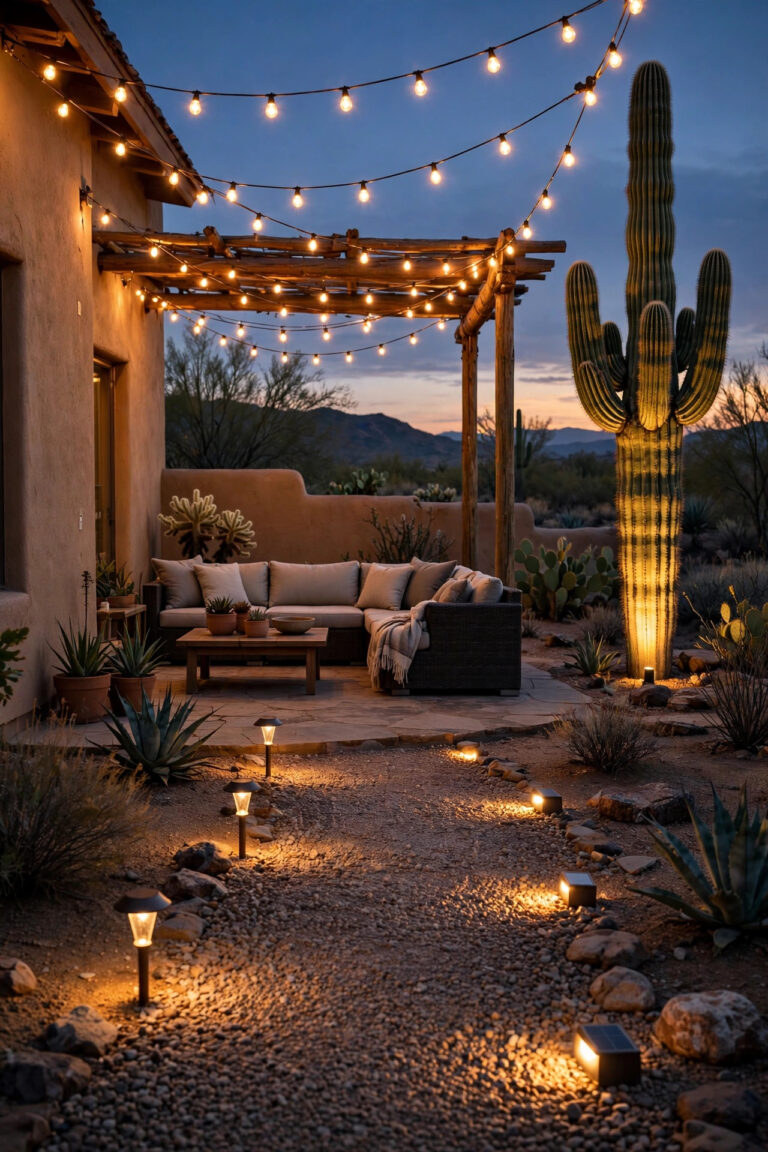
There is a particular kind of heartbreak that comes with a beautiful pergola you can only use four months a year. Ours sat there looking lovely through the patio doors all winter, and in July it turned into a very pretty oven by two in the afternoon. The fix, honestly, was not one big purchase. It was layering. When friends ask me where to start with pergola fan light ideas that genuinely work in every season, I tell them to think in three layers: a fan to stir the air, lighting that flatters instead of glares, and a heat source sized for the nights you want to steal back. Moving air for the hot months, real heat for the cold ones, and warm light over everything so the space still feels inviting after dark. Below are the fifteen combinations I recommend most, from a simple damp-rated ceiling fan to infrared heaters and smart controls, each with an honest budget range. Mix two or three, and your pergola stops being a fair-weather room.
1. The Centerpiece Fan: Pergola Fan Light Ideas Start With Moving Air
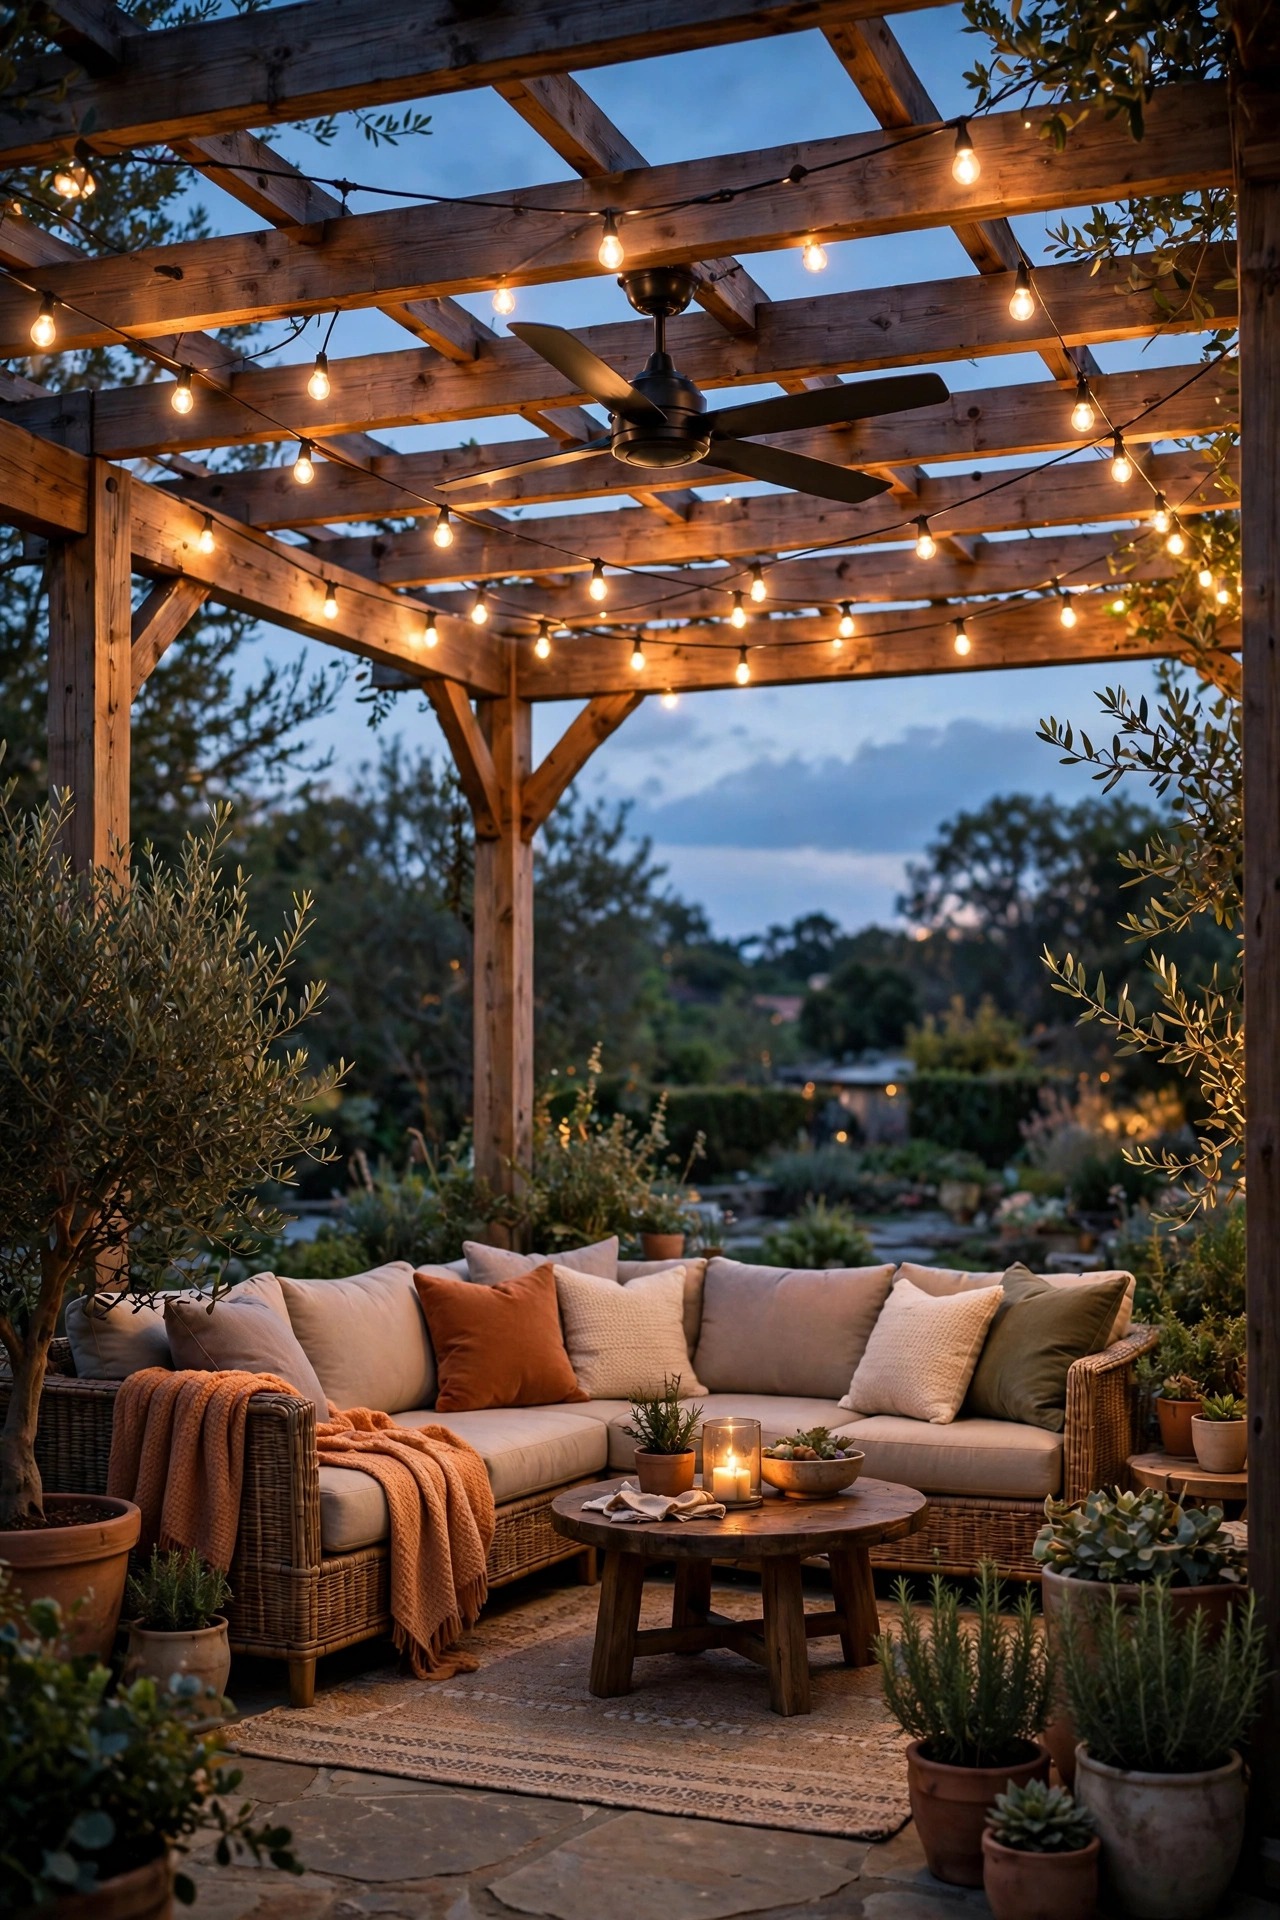
If your pergola gets one upgrade, make it a ceiling fan with an integrated light kit, mounted dead center over the seating area. For a covered pergola, a damp-rated fan is the minimum; if your roof is open slats, go wet-rated so rain blowing through cannot hurt it. Size matters more than style: a 52-inch fan suits a 12 by 12 foot pergola, and larger spaces do better with 60 inches or a pair of smaller fans. Hang it so the blades sit 8 to 9 feet above the floor, with at least 7 feet of clearance, and mount it to a fan-rated box braced between the beams, never to a plain junction box. In my experience, the light kit is what makes this the hardest-working fixture you own, so choose one with a dimmable LED in the 2700 to 3000K range putting out roughly 1,000 to 1,600 lumens. On summer evenings I run the fan on medium and dim the light to half, and the whole pergola feels ten degrees kinder. A remote with a reverse button earns its keep in winter, which I will get to shortly.
Suggested budget range: $180 – $450.

2. Swag Bistro String Lights Between the Rafters
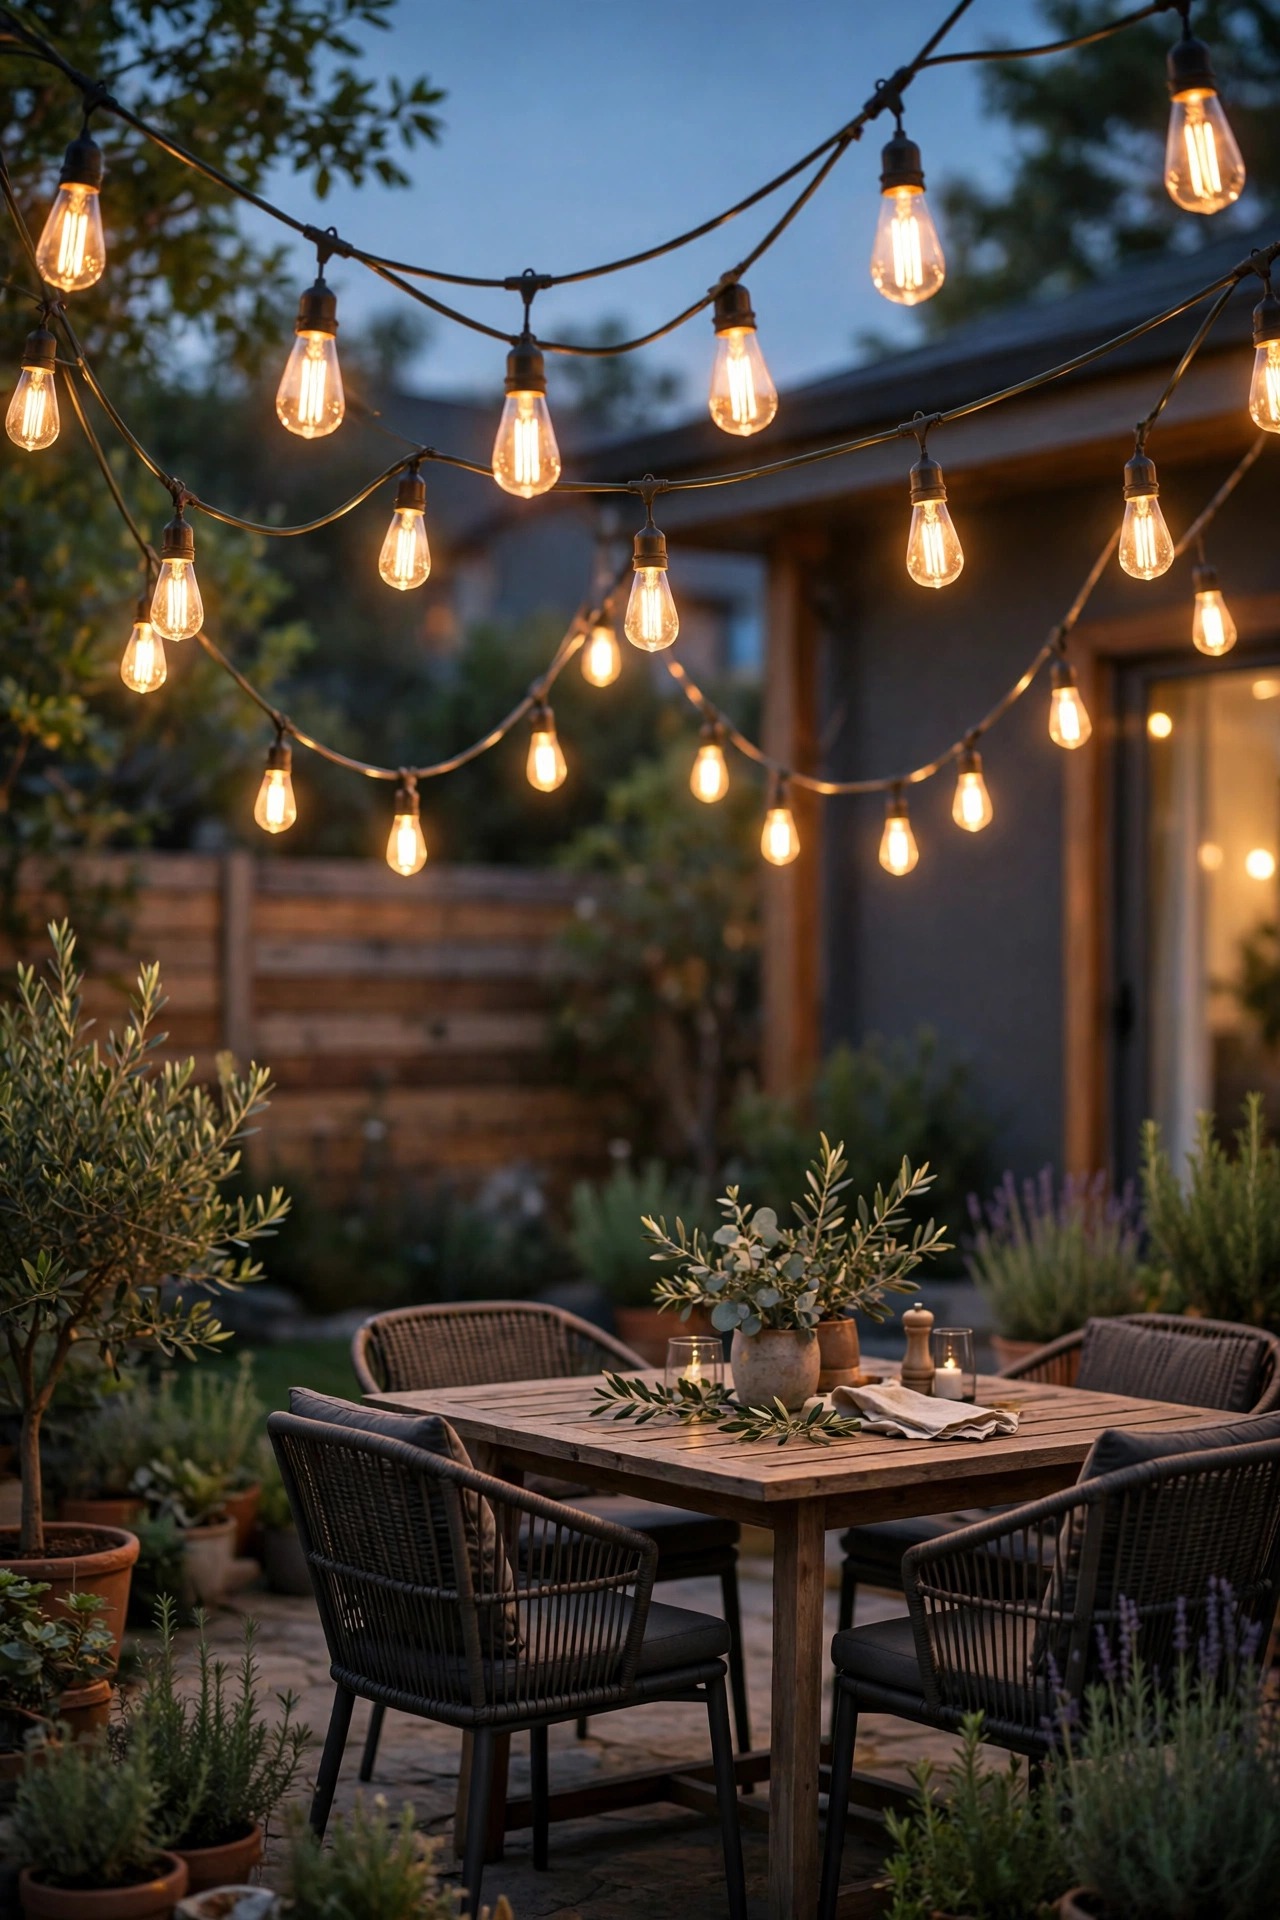
String lights are the layer that makes a pergola feel like a destination instead of a structure, and they play beautifully with a center fan as long as you respect the blade path. Run commercial-grade strands along the outer beams and across the corners rather than through the middle, keeping every bulb well outside the fan's diameter, with a gentle swag of 6 to 12 inches between attachment points. For spans over about 15 feet, thread the strand onto a steel guide wire so the weight never pulls on the sockets. I always recommend shatterproof LED filament bulbs in a warm 2700K; they sip power, shrug off bumps, and stay cool enough to sit near fabric curtains. My full guide to bistro string light ideas covers strand layouts in more detail if you want layout math. Put the strings on their own dimmer if you can, because strings at full brightness compete with faces across the table. Dimmed to about sixty percent while the fan light carries the task lighting, they give that soft cafe halo everyone photographs. In winter they double as your holiday layer with zero extra effort.
Suggested budget range: $60 – $180.
3. Mount an Infrared Heater on a Post for Shoulder-Season Warmth
Electric infrared heaters are the secret to March and November dinners outside, because they warm people and furniture directly instead of heating air that drifts away. Mount a 1,500-watt unit on a post or beam about 7 to 8 feet up, angled down at the seating at roughly 30 to 45 degrees, and keep at least 2 to 3 feet of clearance from curtains, cushions, and anything flammable, following the manual for your model. Because a heater this size pulls real current, plug it into a GFCI-protected outlet and consider a dedicated circuit; my GFCI outdoor lighting guide explains the protection side in plain English. Pair the heater with a warm sconce or a small downlight on the same post so the heat source is not glowing alone in the dark, which can feel a little interrogation-room. I like running the heater on medium with the fan off and the string lights dimmed, which gives a fireside feeling without any smoke. Two heaters on opposite posts suit a long dining pergola, switched separately so you only heat the end in use.
Suggested budget range: $220 – $600.

4. Recess Puck Lights Into the Beams for a Built-In Glow
For a clean, architectural look, recess small low-voltage LED puck lights directly into the underside of your beams, spaced every 3 to 4 feet. Each puck throws a soft pool of light straight down, so a row of them reads like candlelight from a very organized host. Choose wet-location-rated pucks in 2700K and seal each cutout with a bead of exterior silicone so wind-driven rain cannot wick into the wood. The puck system runs off a plug-in transformer, and I always recommend one with a built-in photocell and timer so the beams glow automatically at dusk and shut off at midnight without you thinking about it. Wiring hides neatly in a shallow channel routed along the top of the beam where nobody sees it. This is the layer I point to when someone says their pergola feels flat at night: overhead pools of light give faces and food definition that string lights alone cannot. Keep the pucks on a dimmer if your transformer allows it, because full brightness from directly overhead can be harsh on a dining table. A row over the seating and a row over the serving counter is my favorite split.
Suggested budget range: $120 – $350.
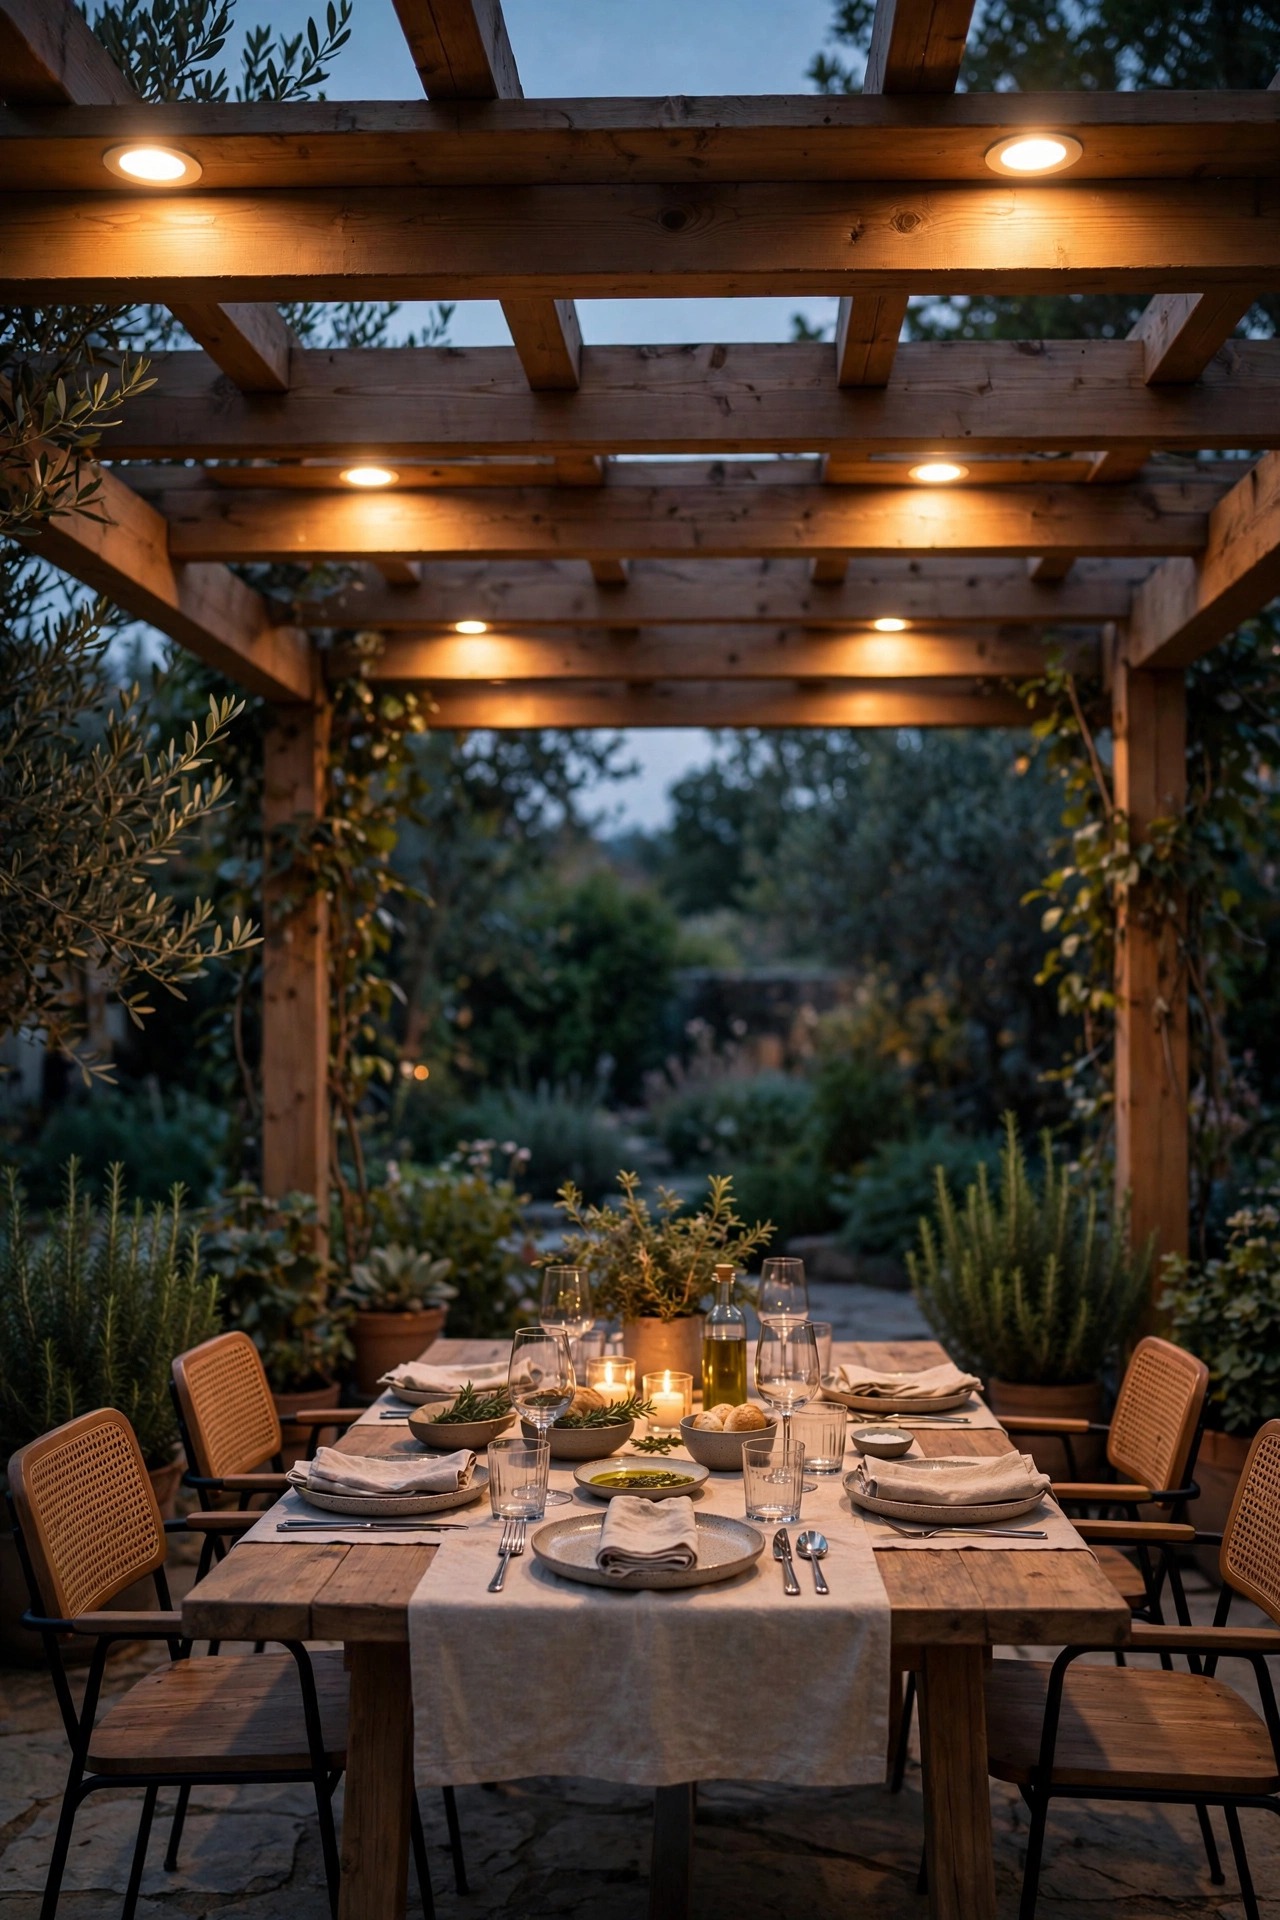
5. Try a Chandelier-Style Fan With Retractable Blades
Some pergolas are dining rooms first, and a plain utility fan can feel like a compromise over a pretty table. A chandelier-style fan, sometimes sold as a fan and light combination fixture, hides retractable blades inside what looks like an ordinary pendant chandelier. When the fan is off, the blades tuck away and you see only a circle of warm bulbs or a crystal-look shade; switch it on and the blades glide out and start moving air. In my experience these suit covered pergolas best, so confirm the damp rating before falling in love with one. Output is gentler than a big paddle fan, roughly enough for a 10 by 12 foot dining zone, which is honestly all a dinner party needs. Look for dimmable LEDs in the 2700 to 3000K range and a remote that controls fan speed and light independently, because you will constantly want breeze without brightness or brightness without breeze. Mount it over the table at about 7 feet, centered on the table rather than the room, since the table is what actually gets used. It is the prettiest answer I know for a formal outdoor dining setup.
Suggested budget range: $260 – $650.

6. Roll In a Propane Patio Heater and Lanterns for Deep Winter
When the temperature drops below what an electric heater can rescue, a freestanding propane patio heater is the heavy artillery. A standard mushroom-top model puts out serious radiant heat across a radius of about 10 to 15 feet, enough for a whole seating circle. Park it at the open edge of the pergola rather than under the center, keep 3 feet of clearance on all sides, and check that your model has a tip-over shutoff, which any decent one does. A standard 20-pound tank gives you roughly 8 to 10 hours on high, so keep a spare in the shed and winter stops interrupting your evenings. The lighting trick here is to go low and warm around it: battery lanterns on side tables, flameless candles in glass hurricanes, and the string lights dimmed, so the heater's blue-ish pilot glow is not the brightest thing in the space. I also keep a couple of wool throws in a deck box nearby, because heat plus a blanket is what actually convinces guests to stay for one more drink in January.
Suggested budget range: $180 – $420.

7. Go Off-Grid With Solar Strings, Caps, and a Solar Fan
No outlet near the pergola is not a dead end. Solar string lights have gotten genuinely good, with panels that charge in about 6 hours of sun and filament-style LED bulbs that read warm rather than blue. Add solar post caps to the pergola's corner posts for a low frame of light, and consider a solar-powered fan for the ceiling: honesty requires me to say it is a gentle breeze-maker, not a cooler, but on a still evening a little moving air still changes how a space feels. The rules for success are placement and expectations. Put the panels where they get unobstructed sun, ideally on the south-facing edge of the roof, and run the thin wires neatly along the beams. Choose bulbs rated 2700K when you can find them, and replace tired rechargeable batteries every couple of years rather than blaming the lights. For heaters, solar cannot help you, so off-grid winter use means pairing this setup with the propane option above or a fire bowl. As a summer-only layer, though, it costs nothing to run and installs in an afternoon with a ladder and a staple gun.
Suggested budget range: $90 – $280.

8. Mount an Oscillating Fan on a Post When the Roof Cannot Hold One
Louvered roofs, retractable canopies, and delicate vintage pergolas sometimes cannot take a ceiling fan, and that is fine. A wet-rated oscillating fan mounted on a post at about 7 feet, aimed across the seating, moves a surprising amount of air, and the sweep means everyone gets the breeze in turns instead of one lucky person getting all of it. Choose a model with a sealed motor and a remote, because you will not want to climb up to change speeds. Mount it on the post that also carries a sconce or a small downlight, and that corner becomes your comfort station: air and light from the same spot, one outlet, tidy wiring in a cord cover run down the post. Keep the fan's arc clear of hanging plants and wind chimes, which oscillate into each other with great enthusiasm. In winter, take the fan head down and store it in the garage, which protects the motor and makes room on the post for a holiday wreath and a clip-on spotlight for it. Two post fans on diagonal corners, set to the same speed, can serve a big pergola almost as well as a ceiling fan.
Suggested budget range: $110 – $300.
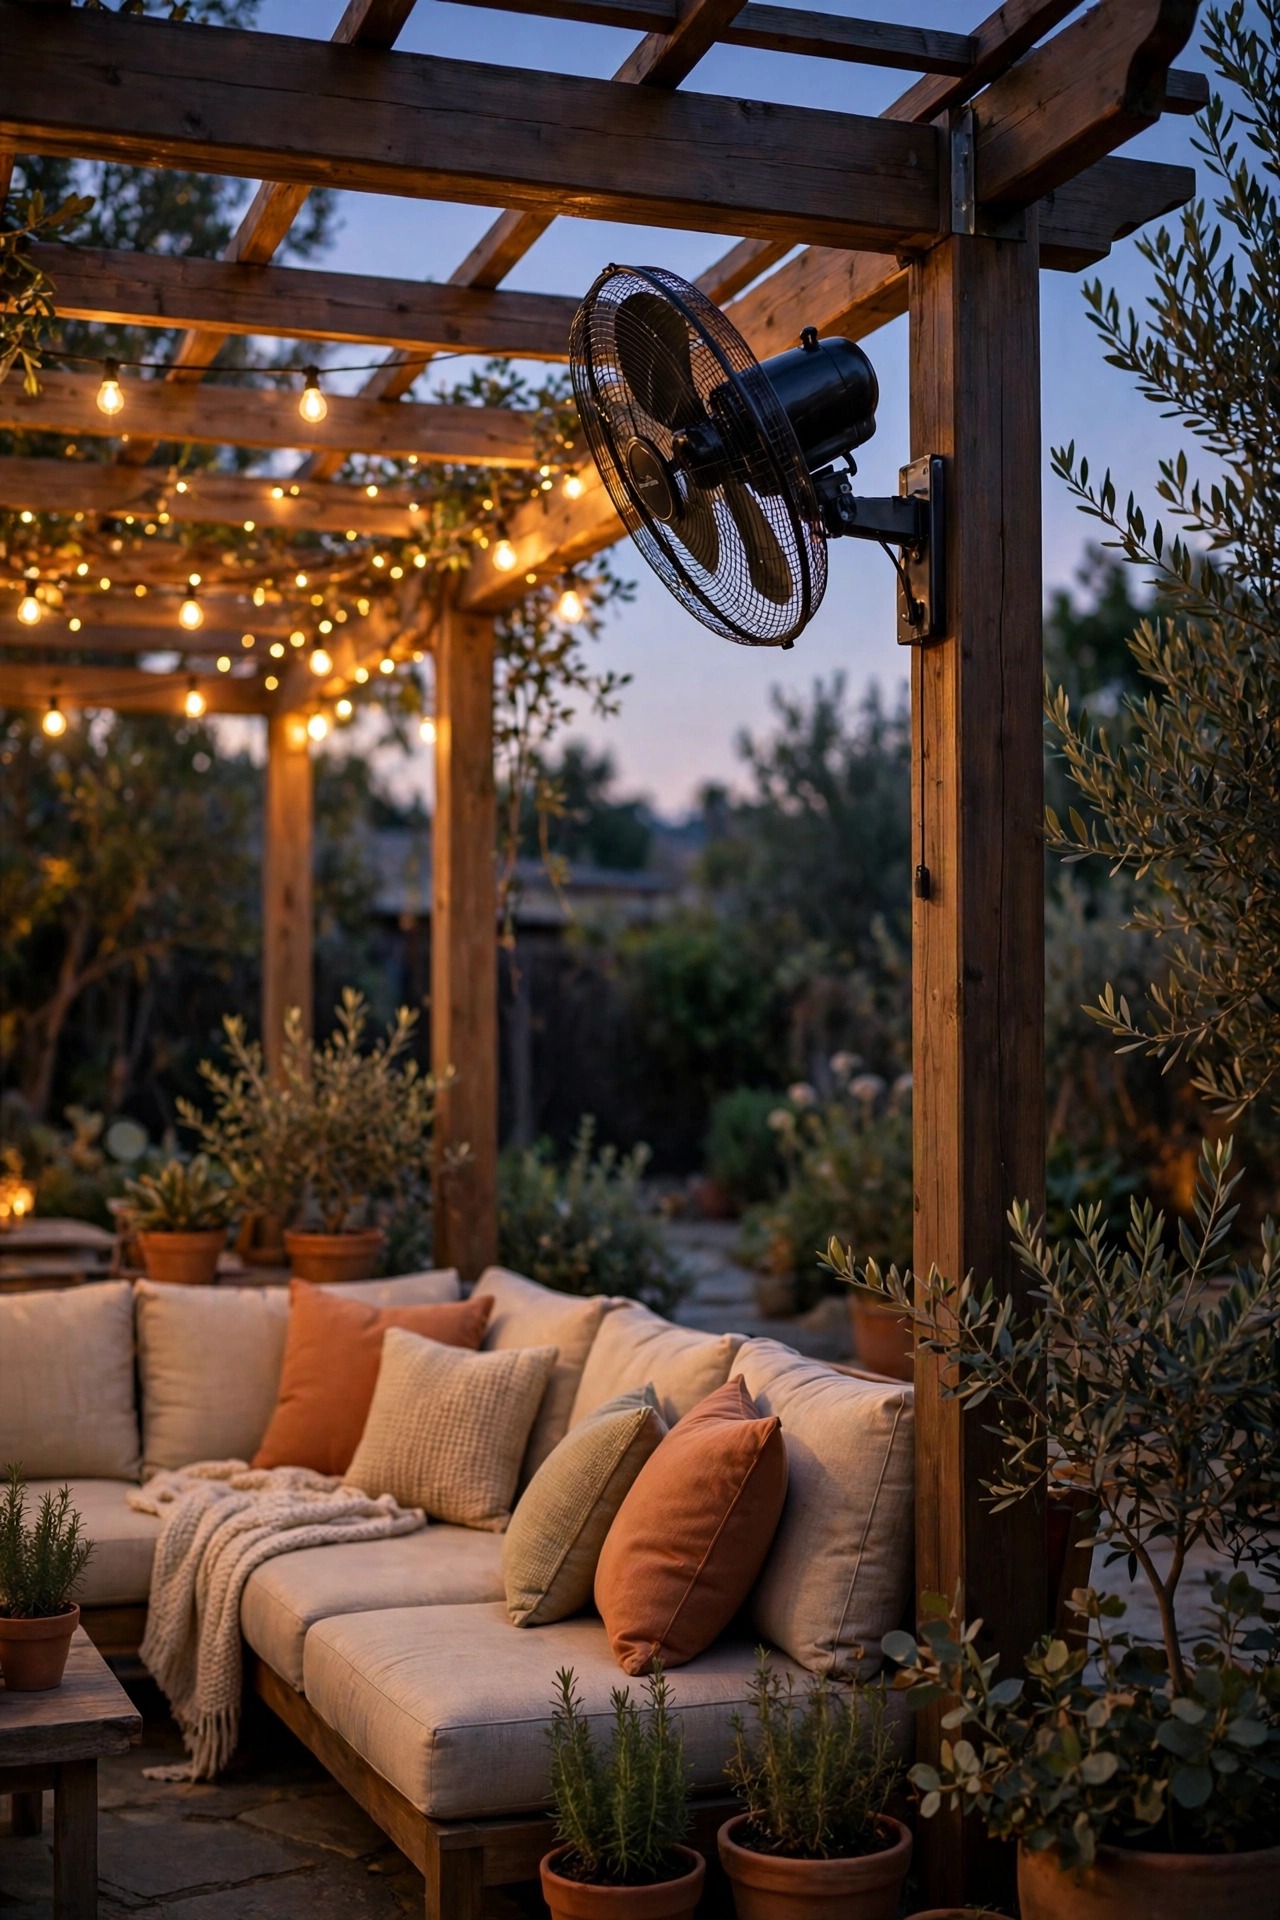
9. Hide LED Strips Under the Beams for Indirect Light
The most flattering light in any pergola is the kind you cannot see the source of. Run waterproof LED strip in an aluminum channel with a frosted diffuser along the underside or inner face of the beams, and the whole structure glows like it is lit from within. Insist on 2700K and an IP65 or better rating, and put the power supply and controller in a weatherproof box tucked on top of a beam. The channel matters more than people think: it protects the strip, spreads the light so you do not see individual dots, and gives you a clean line that reads as architecture rather than decoration. Aim the strips to wash down the posts or across the ceiling boards rather than into anyone's eyes. On a dimmer, this becomes your everyday evening layer, the one that goes on with the photocell timer while strings and pendants come out for company. It also happens to be the best light I have found for video calls and reading outside, soft and shadowless. Leave a few extra inches of strip and a spare connector in the box, because repairs are painless when you planned for them.
Suggested budget range: $70 – $220.

10. Set a Fire Pit Table or Tabletop Heater at the Center
A fire pit table earns its place twice: it is a table all summer and a heat source with real flame the rest of the year. The coffee-table height models suit lounge seating, and the flame sits low enough that conversation over it feels natural. A smaller tabletop propane heater does the same job on a dining table for far less money, warming the people within about 4 feet. Lighting around a flame should stay deliberately low, because the fire is the brightest light in the room and anything competing with it looks harsh. I surround ours with flameless candles in hurricanes on the side tables and let the string lights run at their dimmest setting. Keep the clearances honest: a foot or more between the burner and anything fabric, no paper napkins stored underneath, and the tank valve closed when you go inside, every single time. Also check that your table surface around the burner is rated for the heat, and use a wind guard on breezy nights to keep the flame steady and the light from guttering.
Suggested budget range: $150 – $500.
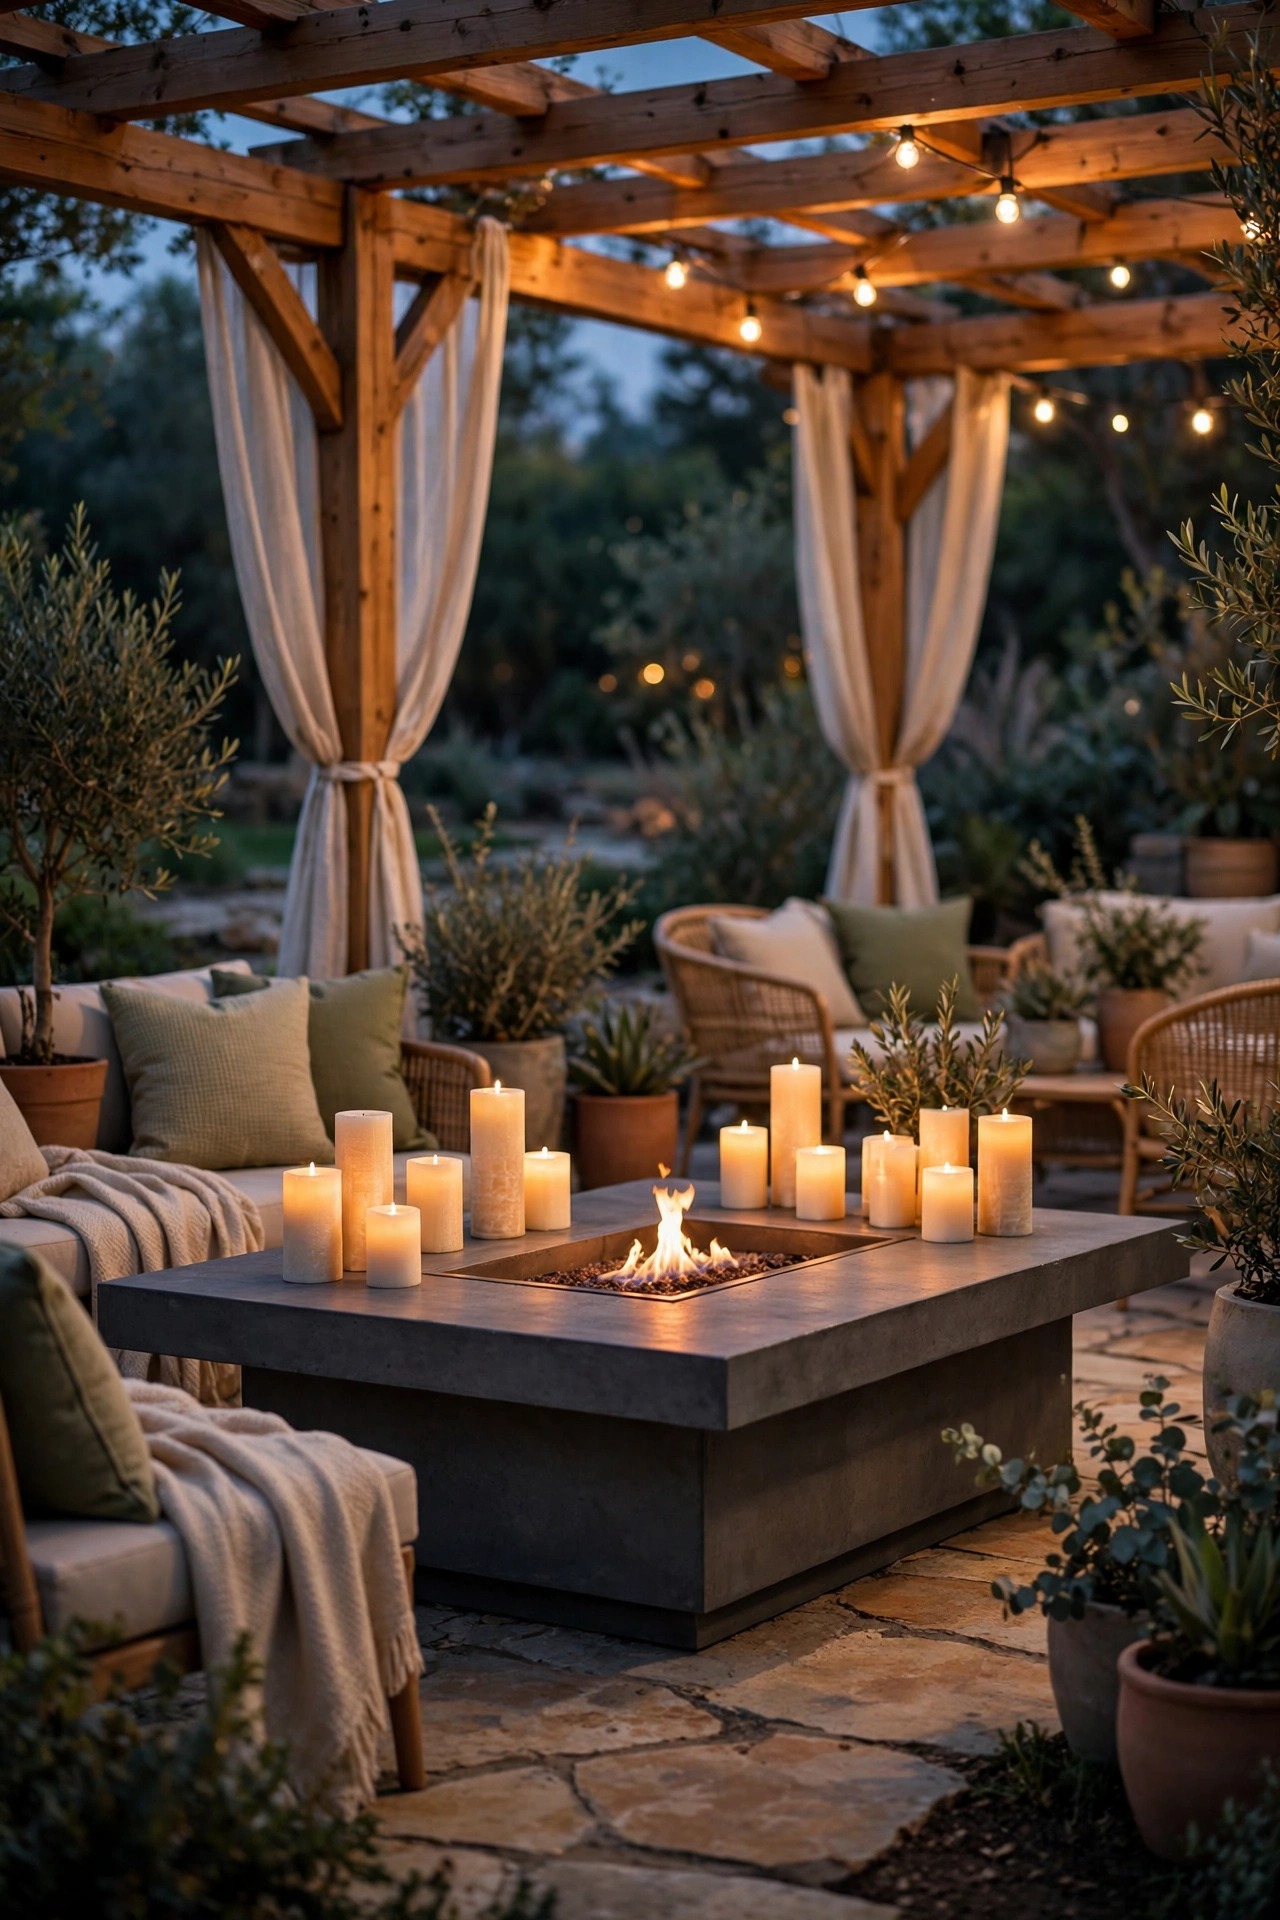
11. Add a Misting Fan for Hot, Dry Summer Afternoons
In Phoenix-style heat, moving air alone stops being enough around mid-afternoon, and a misting fan is the upgrade that buys back those hours. Fine nozzles on the fan cage release a mist that evaporates in the moving air, and the seating area can feel dramatically cooler without anyone actually getting wet when it is set up right. It suits dry climates best; in humid regions the benefit shrinks and the dampness lingers. The lighting rules get stricter here, because everything near the fan lives in a damp zone. Use only fixtures rated IP65 or higher within a few feet of the mist plume, keep bulbs and connections out of the direct spray line, and put the whole circuit on GFCI protection without exception. I run our misting fan on its own, with the string lights off until dusk, partly for safety and partly because wet bulb glass and mist make odd rainbows nobody asked for. Clean or replace the nozzles each spring, since mineral buildup is the one thing that reliably kills these fans. On the worst weekends, this plus shade is the difference between using the pergola and admiring it from the kitchen.
Suggested budget range: $160 – $380.
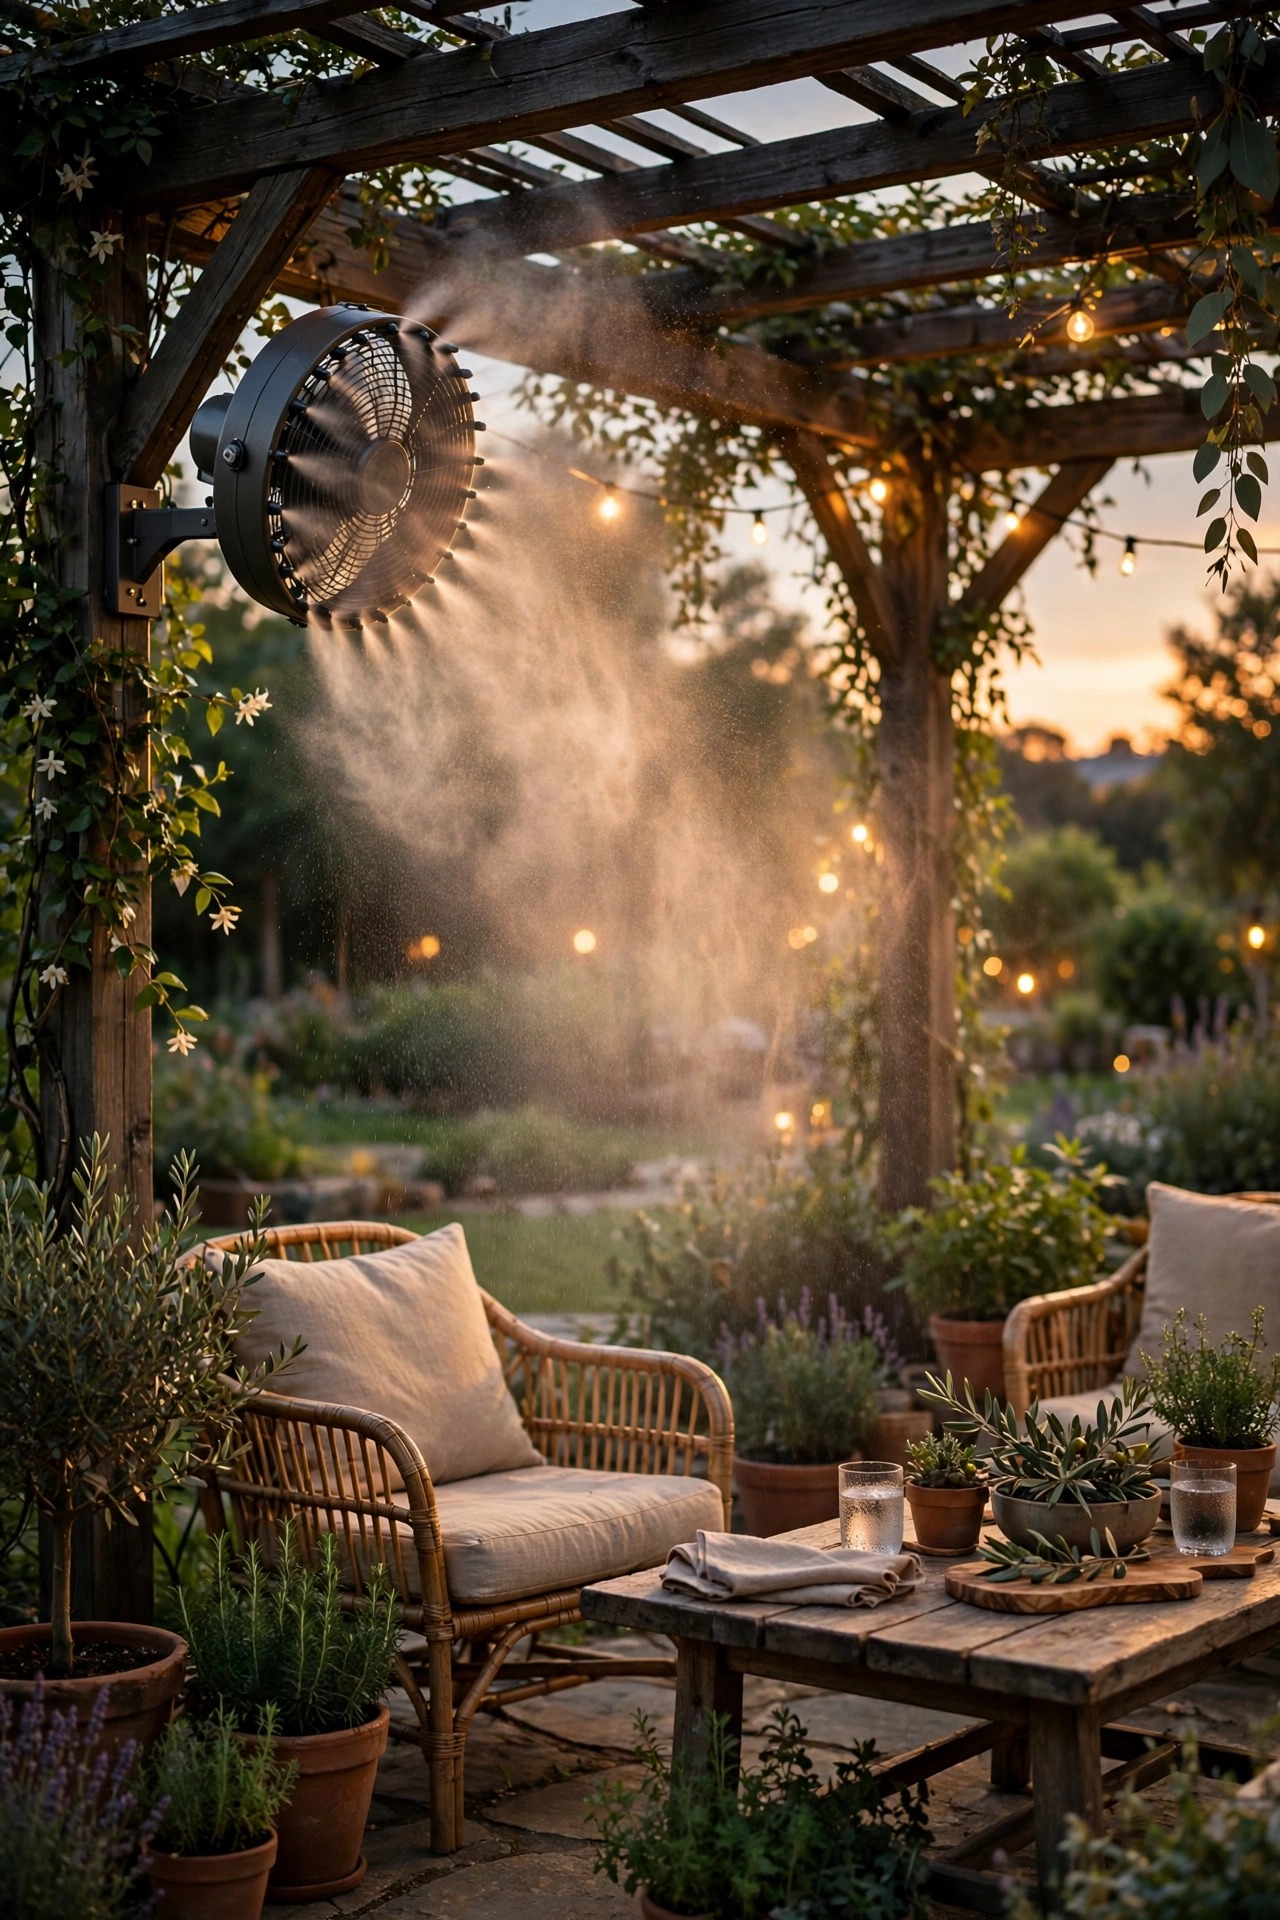
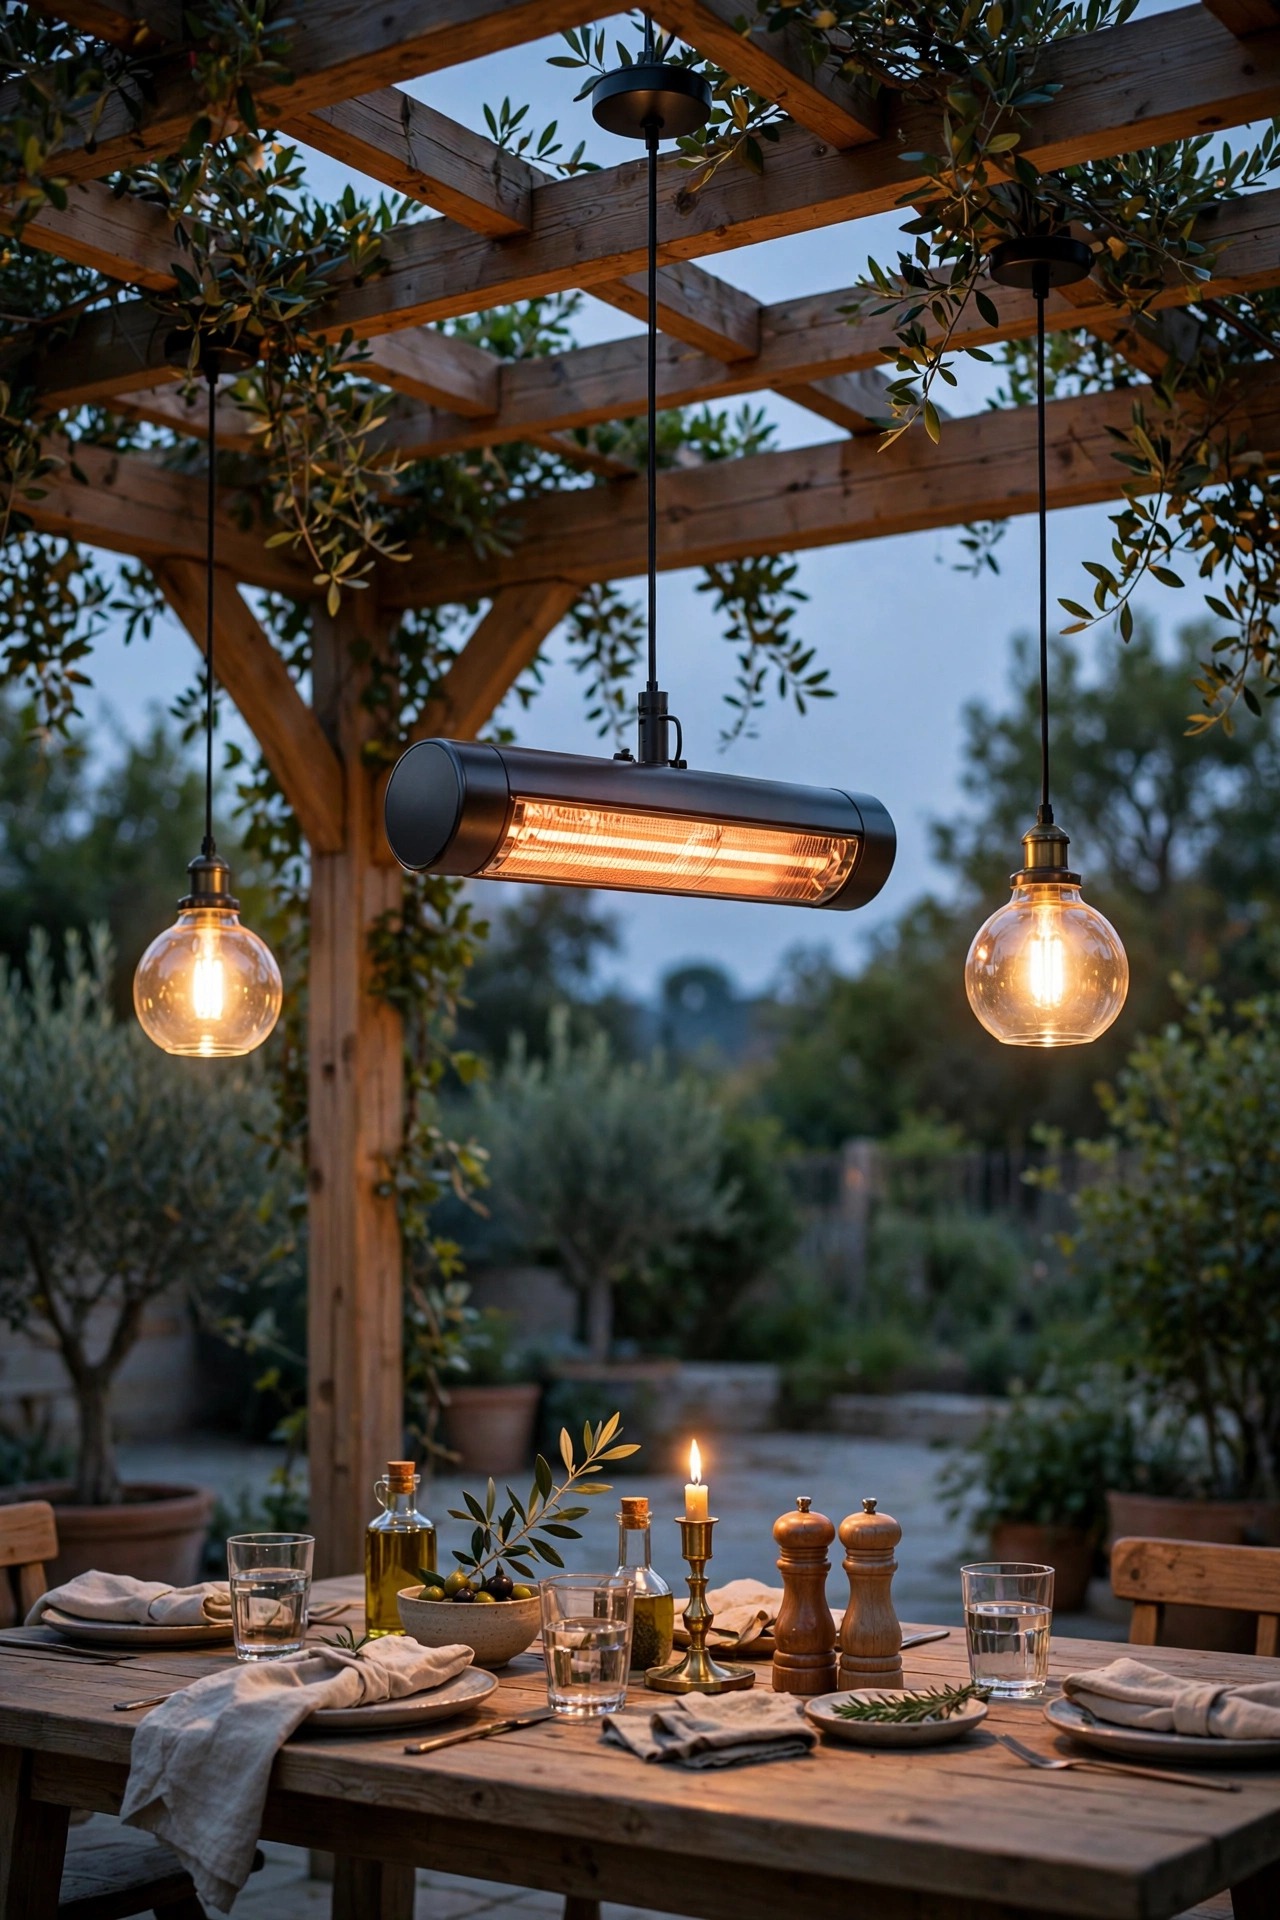
12. Hang a Pendant Heater Over the Table, Pendants at the Edges
Electric pendant heaters hang from a chain or rod at the center beam and pour radiant heat straight down onto the table, which is exactly where a dinner party needs it. Because the heat lands in a focused cone, a single unit can carry a 6 to 8 foot dining table through a chilly evening. Hang it 6 to 7 feet above the floor, wire it on its own circuit if you can, and give it a wall switch with a timer so it can never be left running all night by accident. Then solve the obvious puzzle: the center of the ceiling is taken, so the light has to move. I flank the heater with two smaller pendant lights hung toward the ends of the table, about 30 inches above the tabletop, which keeps faces lit from both sides and leaves the heat cone unobstructed. The symmetry looks intentional, like a chandelier that got split in two. Choose pendants with enclosed, damp-rated sockets and warm 2700K bulbs. This arrangement is the one guests ask about most at our house, because eating warm under a cool night sky feels quietly luxurious.
Suggested budget range: $240 – $580.
13. Put It All on Smart Controls: Pergola Fan Light Ideas on Autopilot
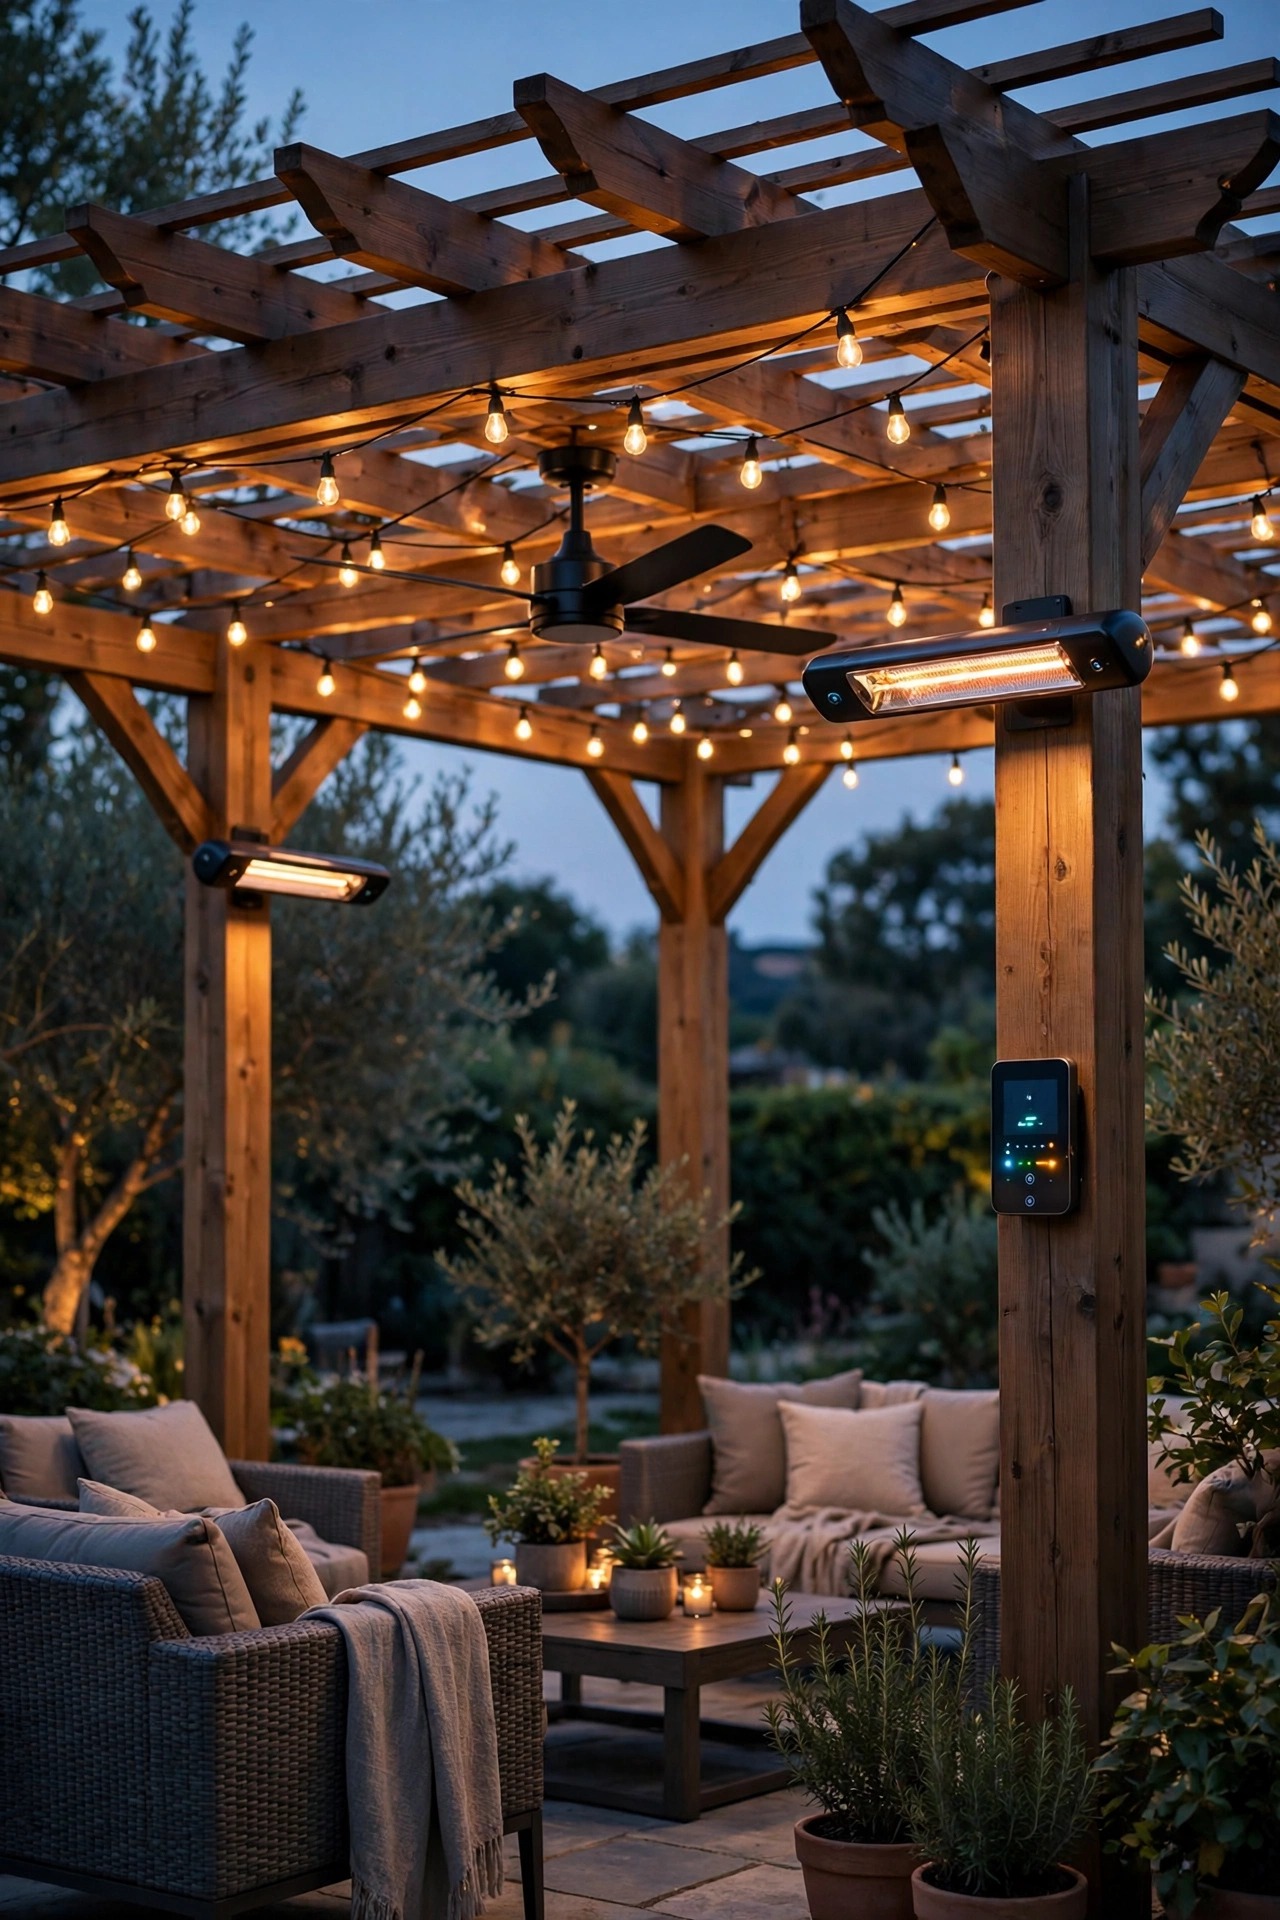
The difference between a pergola you use nightly and one you use on occasions is friction, and controls remove friction. A smart switch or a fan-rated smart controller lets you set the scene from the kitchen: fan to medium, strings at sixty percent, pucks on, ready before you carry the first plate out. Look for controls rated for fan motor loads, not just lighting loads, because a fan will quietly kill a cheap dimmer. My favorite routine is an astronomical timer that turns the strip and puck lights on at sunset year-round, so the pergola is already glowing when we think of it. Heaters deserve extra caution: run them on their own switch with an automatic shutoff timer, 60 to 120 minutes, so a forgotten heater can never run until morning. Voice control is a genuine pleasure with your hands full of dishes, and a simple remote left in the deck box covers the nights when the wifi is moody. Label the switches inside the door, summer scene and winter scene, and guests can run the whole pergola without a tutorial. Comfort that takes one tap gets used; comfort that takes four switches does not.
Suggested budget range: $60 – $250.
14. Do the Twice-a-Year Seasonal Swap
A four-season pergola stays comfortable because of two short maintenance rituals, one in spring and one in fall. In spring, flip the fan to its summer setting so it pushes air down, wipe the blades (you will be appalled), clean the light covers so the warm glow is not dimmed by a winter of dust, and test the misting nozzles or solar panels if you have them. In fall, reverse the fan to its low winter setting, which gently pushes the warm air your heater makes back down from the roof instead of letting it pool up high; this trick alone makes the same heater feel a size bigger. Check the seals on outdoor fixtures, snug any string light clips loosened by storms, and swap in fresh batteries where lanterns use them. I also use the fall round to inspect bulbs and replace any that have drifted bluish, so the whole space keeps one consistent warm color temperature. Store the cushions, keep the throws, and note anything to upgrade next year while you still remember what annoyed you. Thirty minutes, twice a year, and the system runs itself.
Suggested budget range: $25 – $90.

15. The Full Four-Season Layer: Fan, Light, and Heat Working Together
Here is the combination I would build from scratch today, in the order I would buy it. Start with the center fan and light kit for summer, add the hidden LED strips on a timer for everyday glow, then hang the string lights for company. When fall arrives, mount one infrared heater on the post nearest the seating, and let the propane heater or fire table wait for the truly cold nights. Each layer covers a weakness in the others: the fan makes summer, the heater makes winter, and the three kinds of light (overhead, perimeter, and low lantern light) mean the space never looks flat or feels staged. Buy it in phases across a year if the budget needs you to, because every layer earns its keep alone. And if your pergola is still in the planning stage, my roundup of pergola lighting ideas covers layouts for every size and roof style. The real payoff is not any single fixture. It is a Tuesday in February, dinner outside, nobody checking the temperature, because the room just works.
Suggested budget range: $450 – $1,200.

Frequently Asked Questions
Can I use a regular indoor ceiling fan under a pergola?
Please do not. Indoor fans have unsealed motors and finishes that rust, swell, and fail outdoors, sometimes within a single wet season. For a roofed pergola you need at least a damp-rated fan, and for open-slat roofs or exposed edges, choose wet-rated. The rating costs very little extra and it is also what keeps your warranty valid.
What color temperature is best for pergola lights?
Warm white, in the 2700 to 3000K range, flatters skin, food, and wood, and it matches the glow of candlelight and fire features. The bigger rule is consistency: pick one temperature and hold it across the fan kit, strings, strips, and lanterns, because a single cool-white bulb in a warm scheme reads as a mistake every time you look at it.
Are infrared heaters safe near string lights and curtains?
Yes, with clearances respected. Keep the heater's hot face at least 2 to 3 feet from fabrics and never let string light strands cross directly through the heat plume above it; LED bulbs only, since they run cool. Mount the heater at the height the manual specifies, keep curtains tied back on the heater side, and put it on a timer switch so it cannot run unattended all night.
How much does it cost to run electricity to a pergola?
If you need a new circuit trenched from the house, most homeowners I talk to land somewhere between $500 and $1,500 depending on distance, digging conditions, and local electrician rates, with a GFCI-protected circuit and permit included. A plug-in transformer system for low-voltage lights, installed yourself from an existing outdoor outlet, can cost under $150. Solar and battery pieces avoid the question entirely for light-duty setups.
Conclusion
Every pergola I know that gets used twelve months a year got there the same way: not with one miracle fixture, but with layers. Air movement for the heat, a real heat source for the cold, and warm light in more than one place so the space feels finished at night. Pick the one layer your pergola is missing most, start there, and let each season tell you what to add next. With the right pergola fan light ideas in place, the room outside your back door stops having a season at all, and honestly, that changes how a whole house feels. Browse the rest of the lighting ideas here whenever you are ready for the next layer.