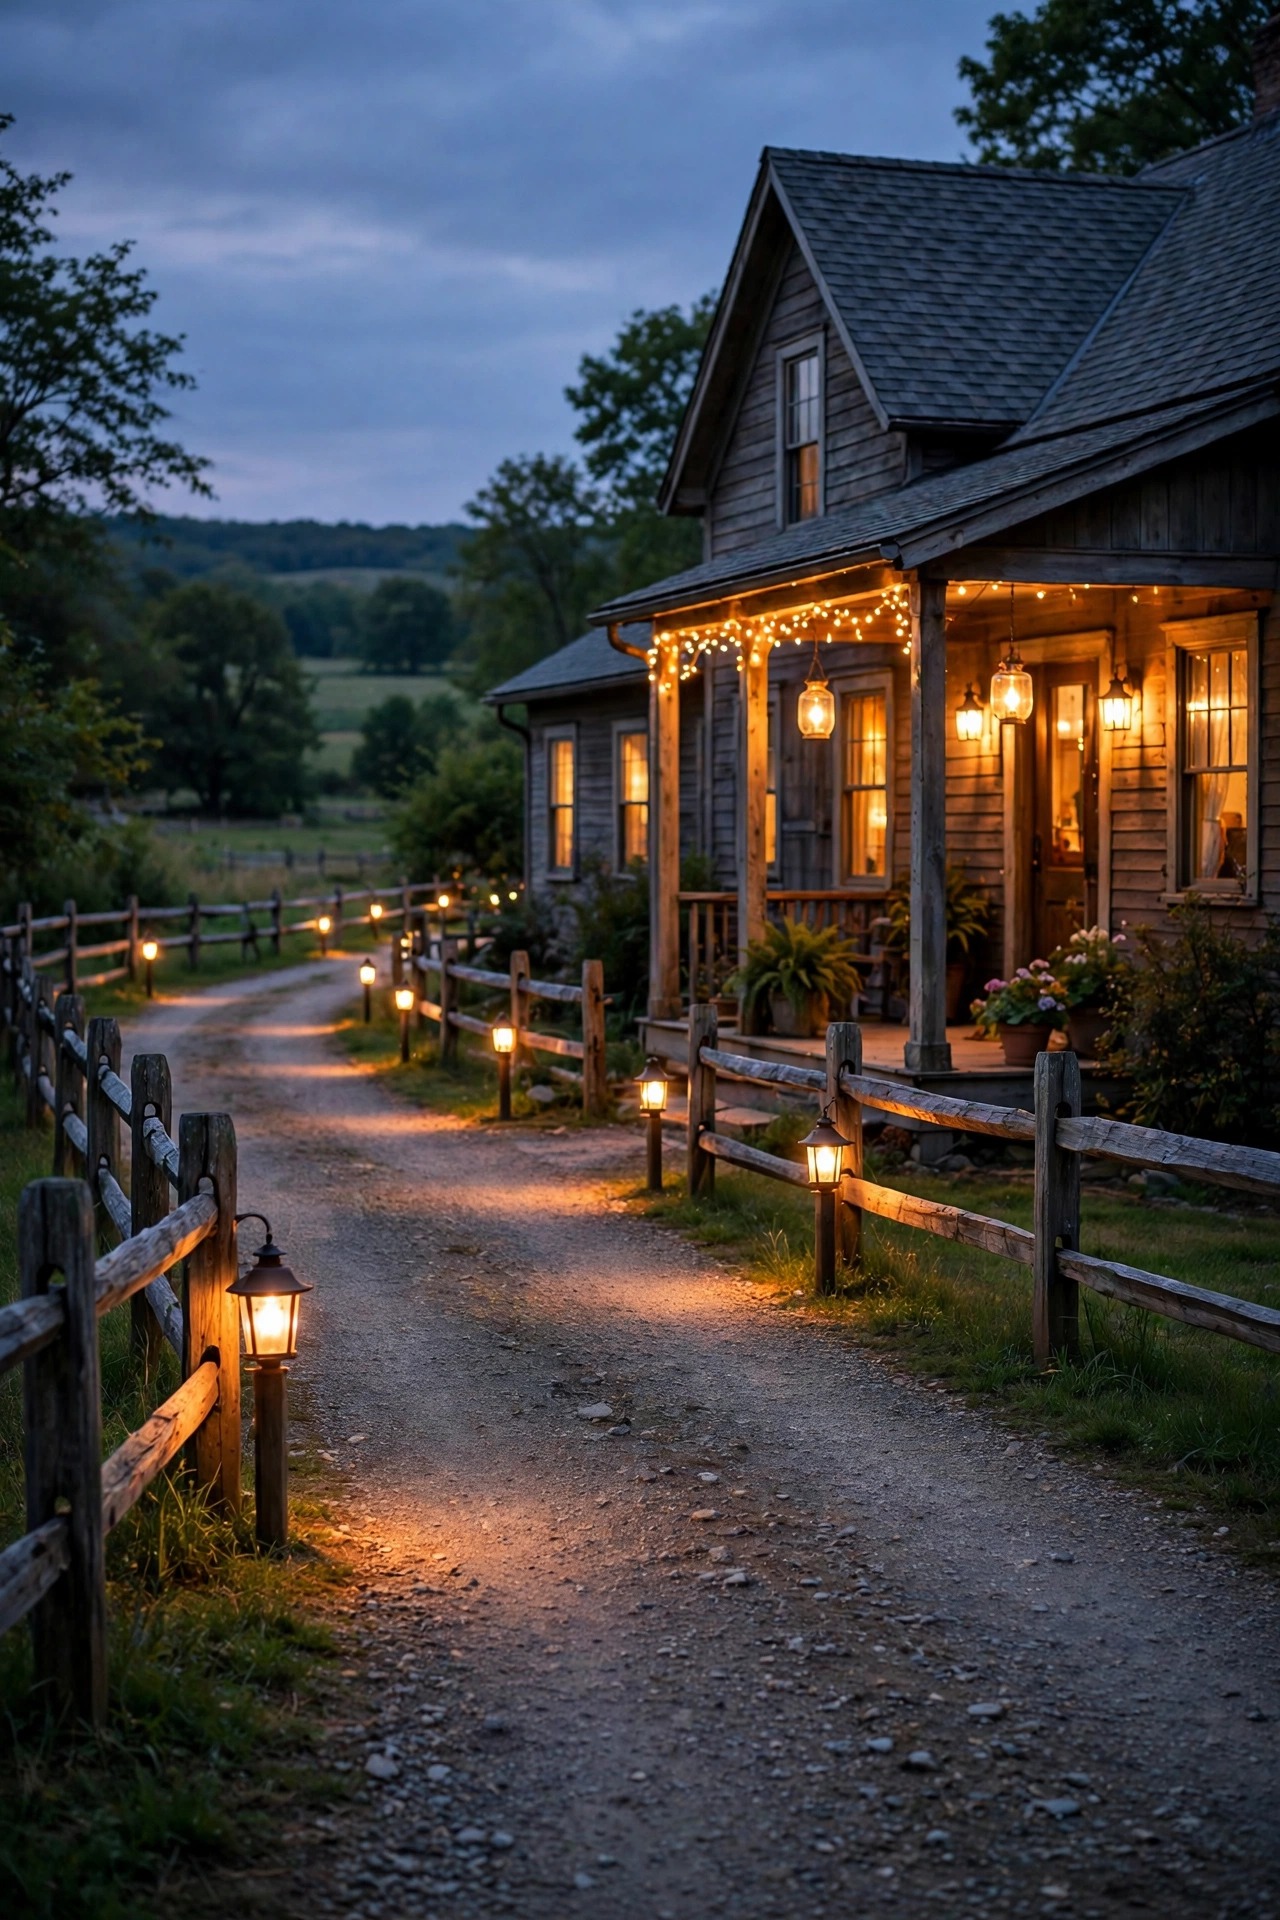
There is a moment I chase every evening: turning onto our gravel drive just as the sky goes dusky blue and seeing the house glow back at me like it has been waiting all day. That feeling is never an accident, and it is never about one big floodlight. The farmhouse driveway lighting ideas that actually work do it in layers, the same way I light a porch or a garden path. First, a soft line of guidance light so tires and feet find the edges. Second, a warm pool of welcome light at the garage and front door. Third, a few charming accents that show off the split-rail fence, the big oak, and all that honest farmhouse texture. In this post I am sharing the 15 setups I recommend most, from low-voltage lanterns and gooseneck barn lights to solar stakes you can push into the ground this weekend. Every one leans warm, rustic, and practical for real country driveways: long, gravel, and pitch dark by six in winter. Let us build your welcome home.
1. Layer Your Farmhouse Driveway Lighting Ideas Like a Pro
Before you buy a single fixture, walk your driveway at dusk and sort every light you want into one of three jobs. Guidance lights mark the edges so nobody clips the flower bed or the ditch: path lanterns, bollards, and solar stakes live here. Welcome lights gather people at the destination: the garage, the parking pad, the front steps. Accent lights are pure charm, washing a tree canopy, a fence line, or a stone pillar with a soft glow. When I plan farmhouse driveway lighting ideas for friends, I sketch those three layers on paper first, because mixing them up is how driveways end up looking like runways. Keep guidance lights low and close to the ground, welcome lights at eye level or above, and accents aimed at something worth looking at. Stick to one bulb temperature across all three layers, 2700K warm white, and the whole property reads as one intentional design instead of a yard-sale collection. This layered plan also lets you build in stages as budget allows: edges first, welcome second, accents whenever you find a lantern you love.
Suggested budget range: $150 – $600.

2. Line the Drive With Lantern-Style Path Lights
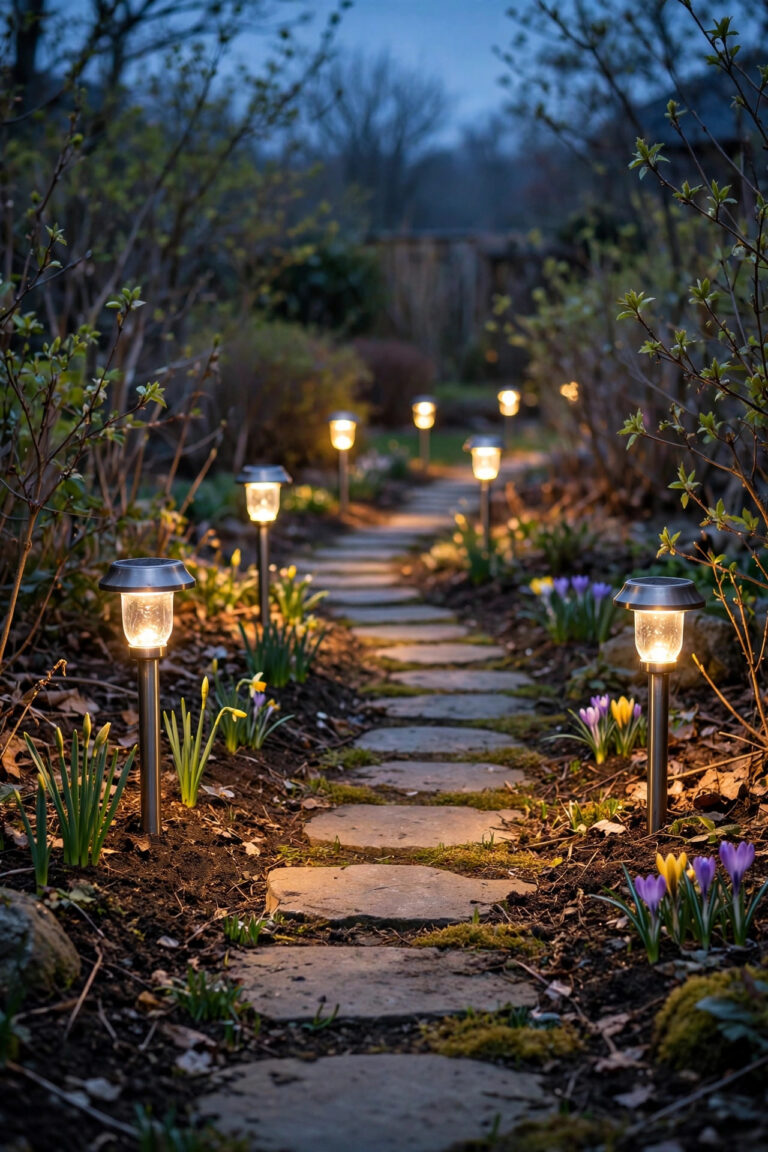
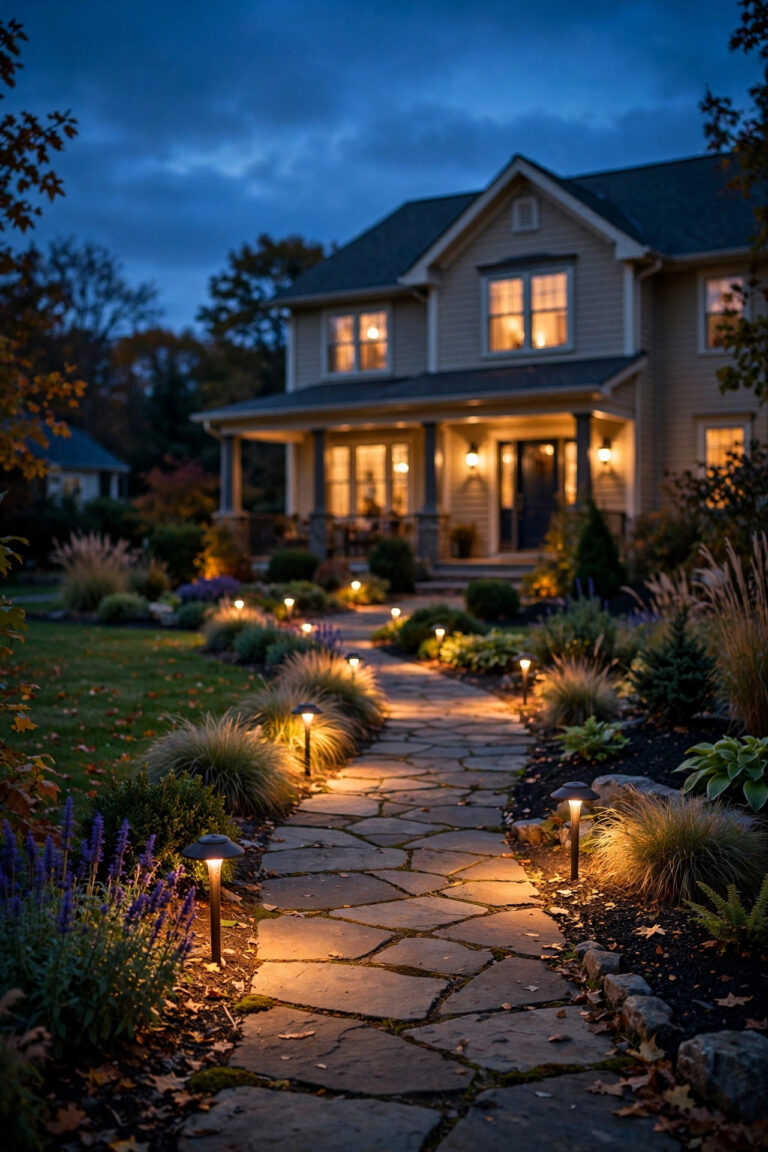
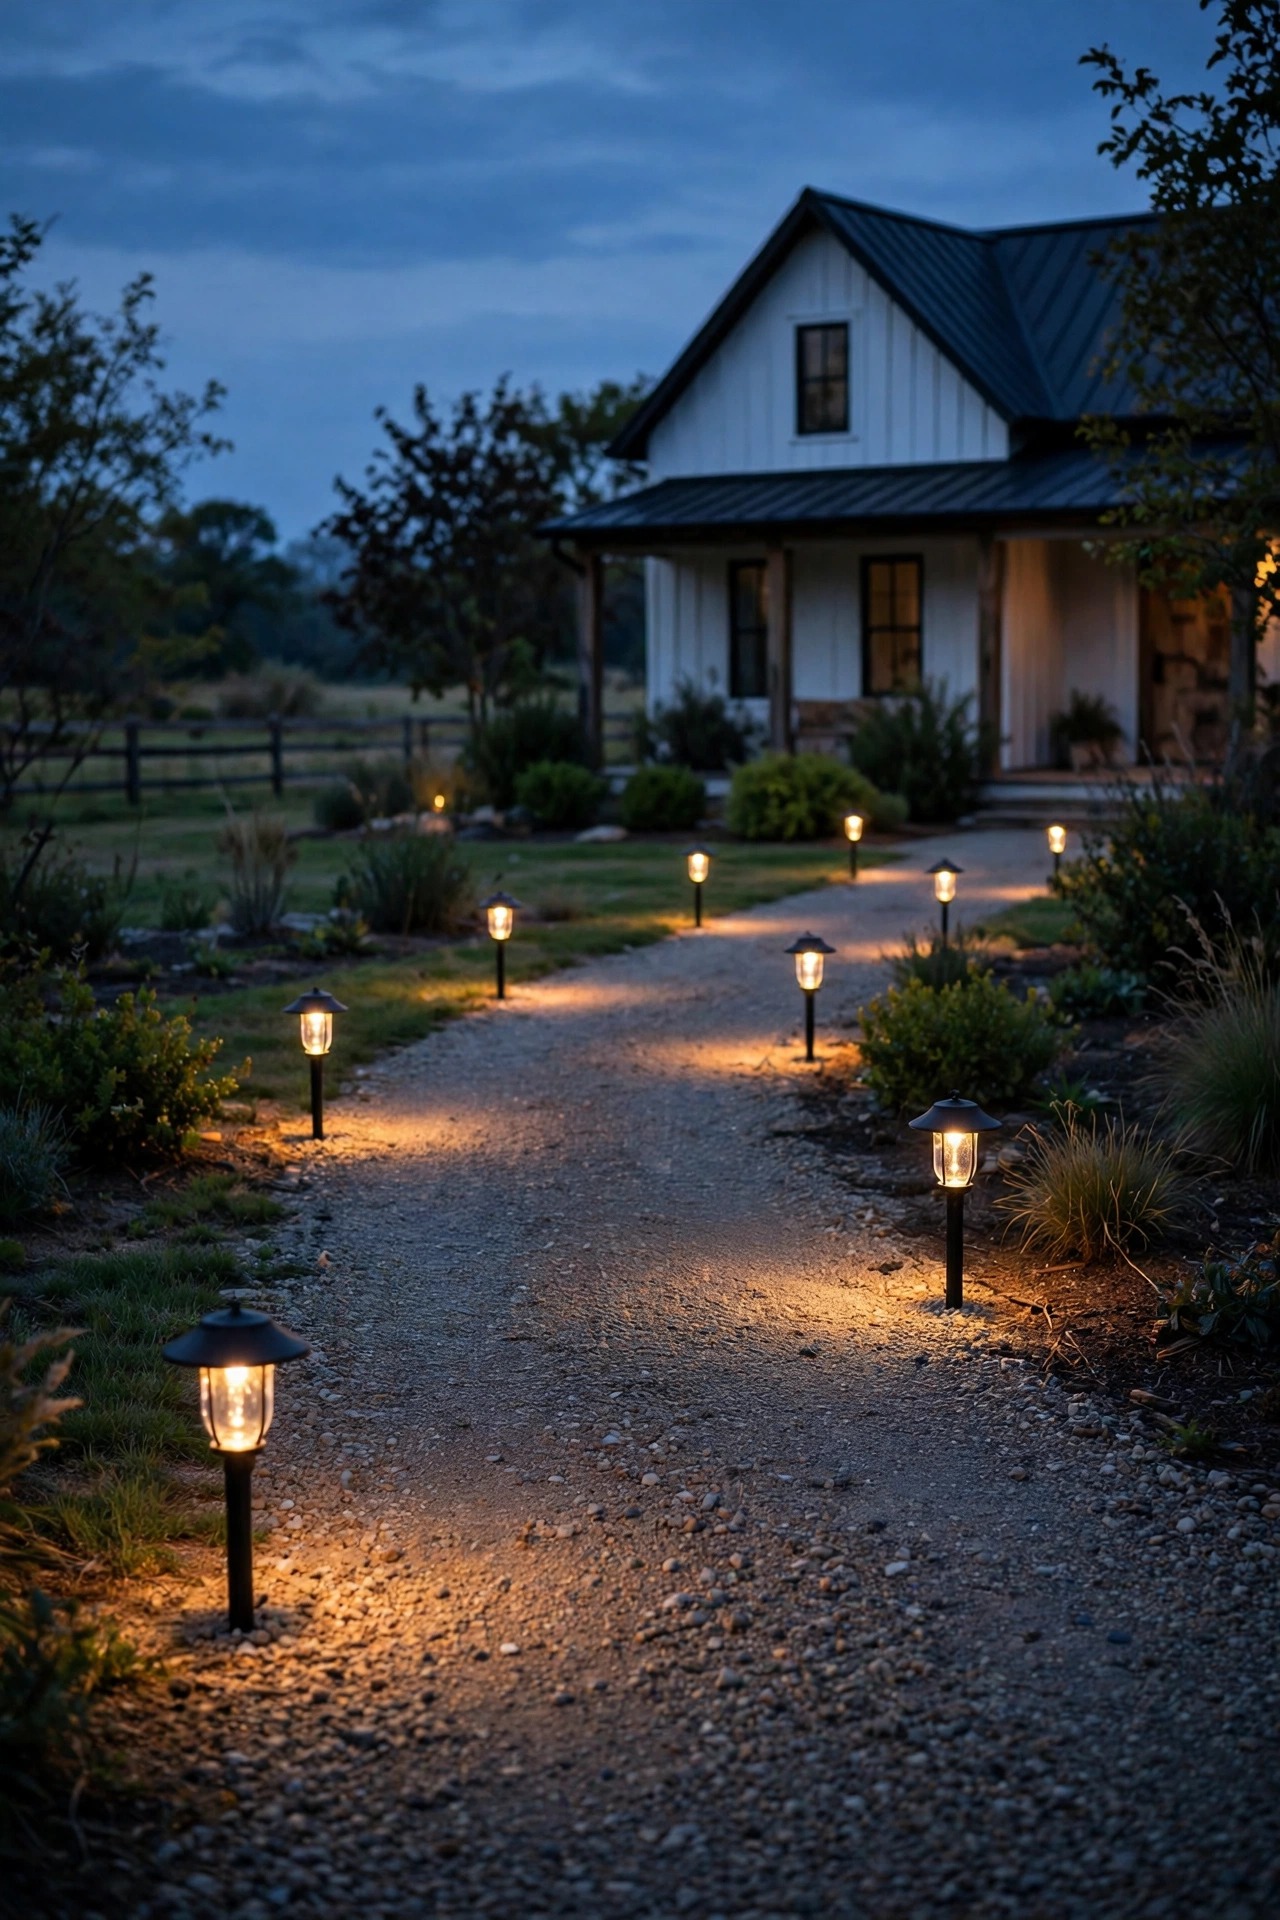
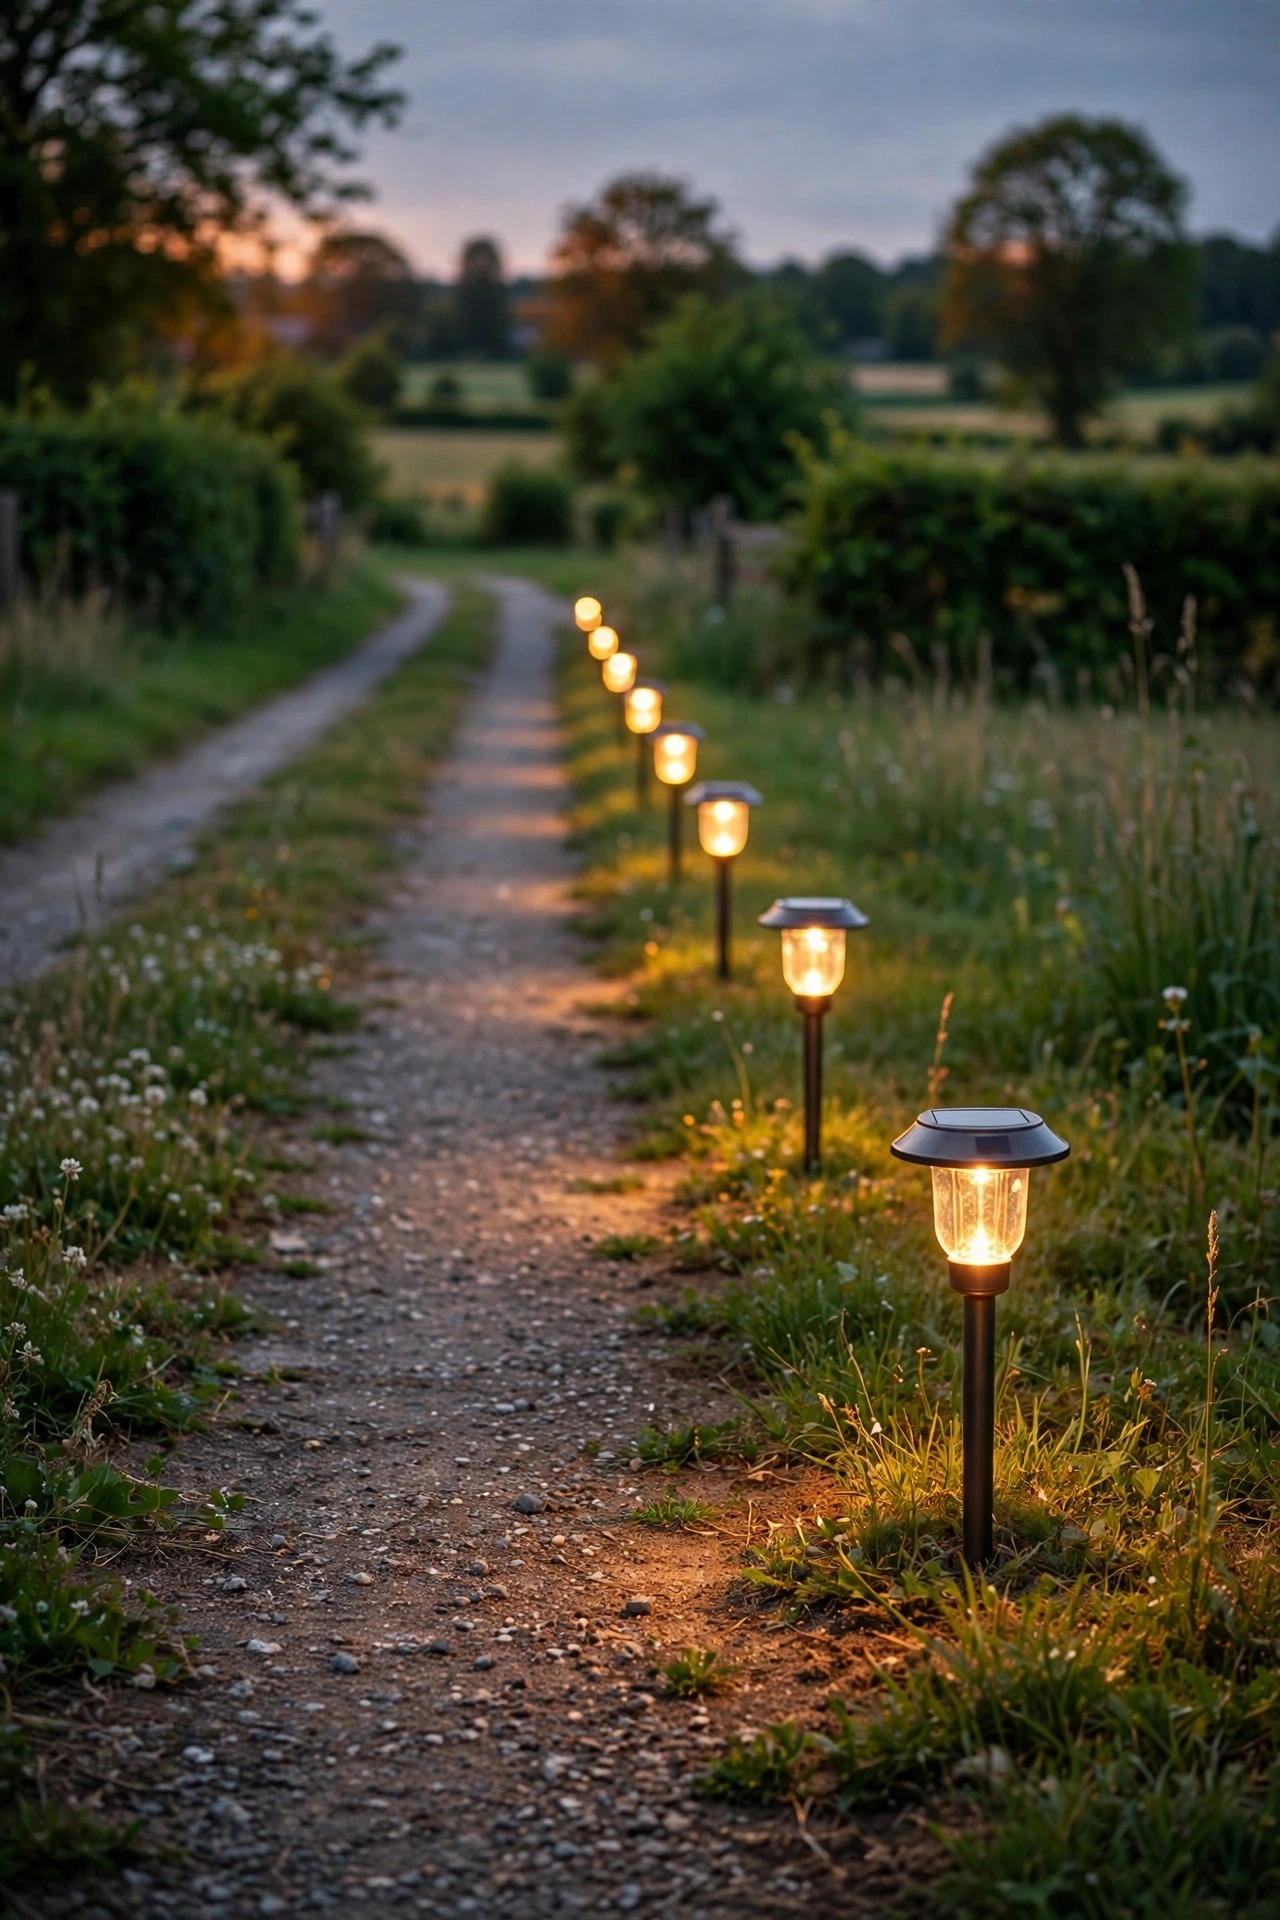
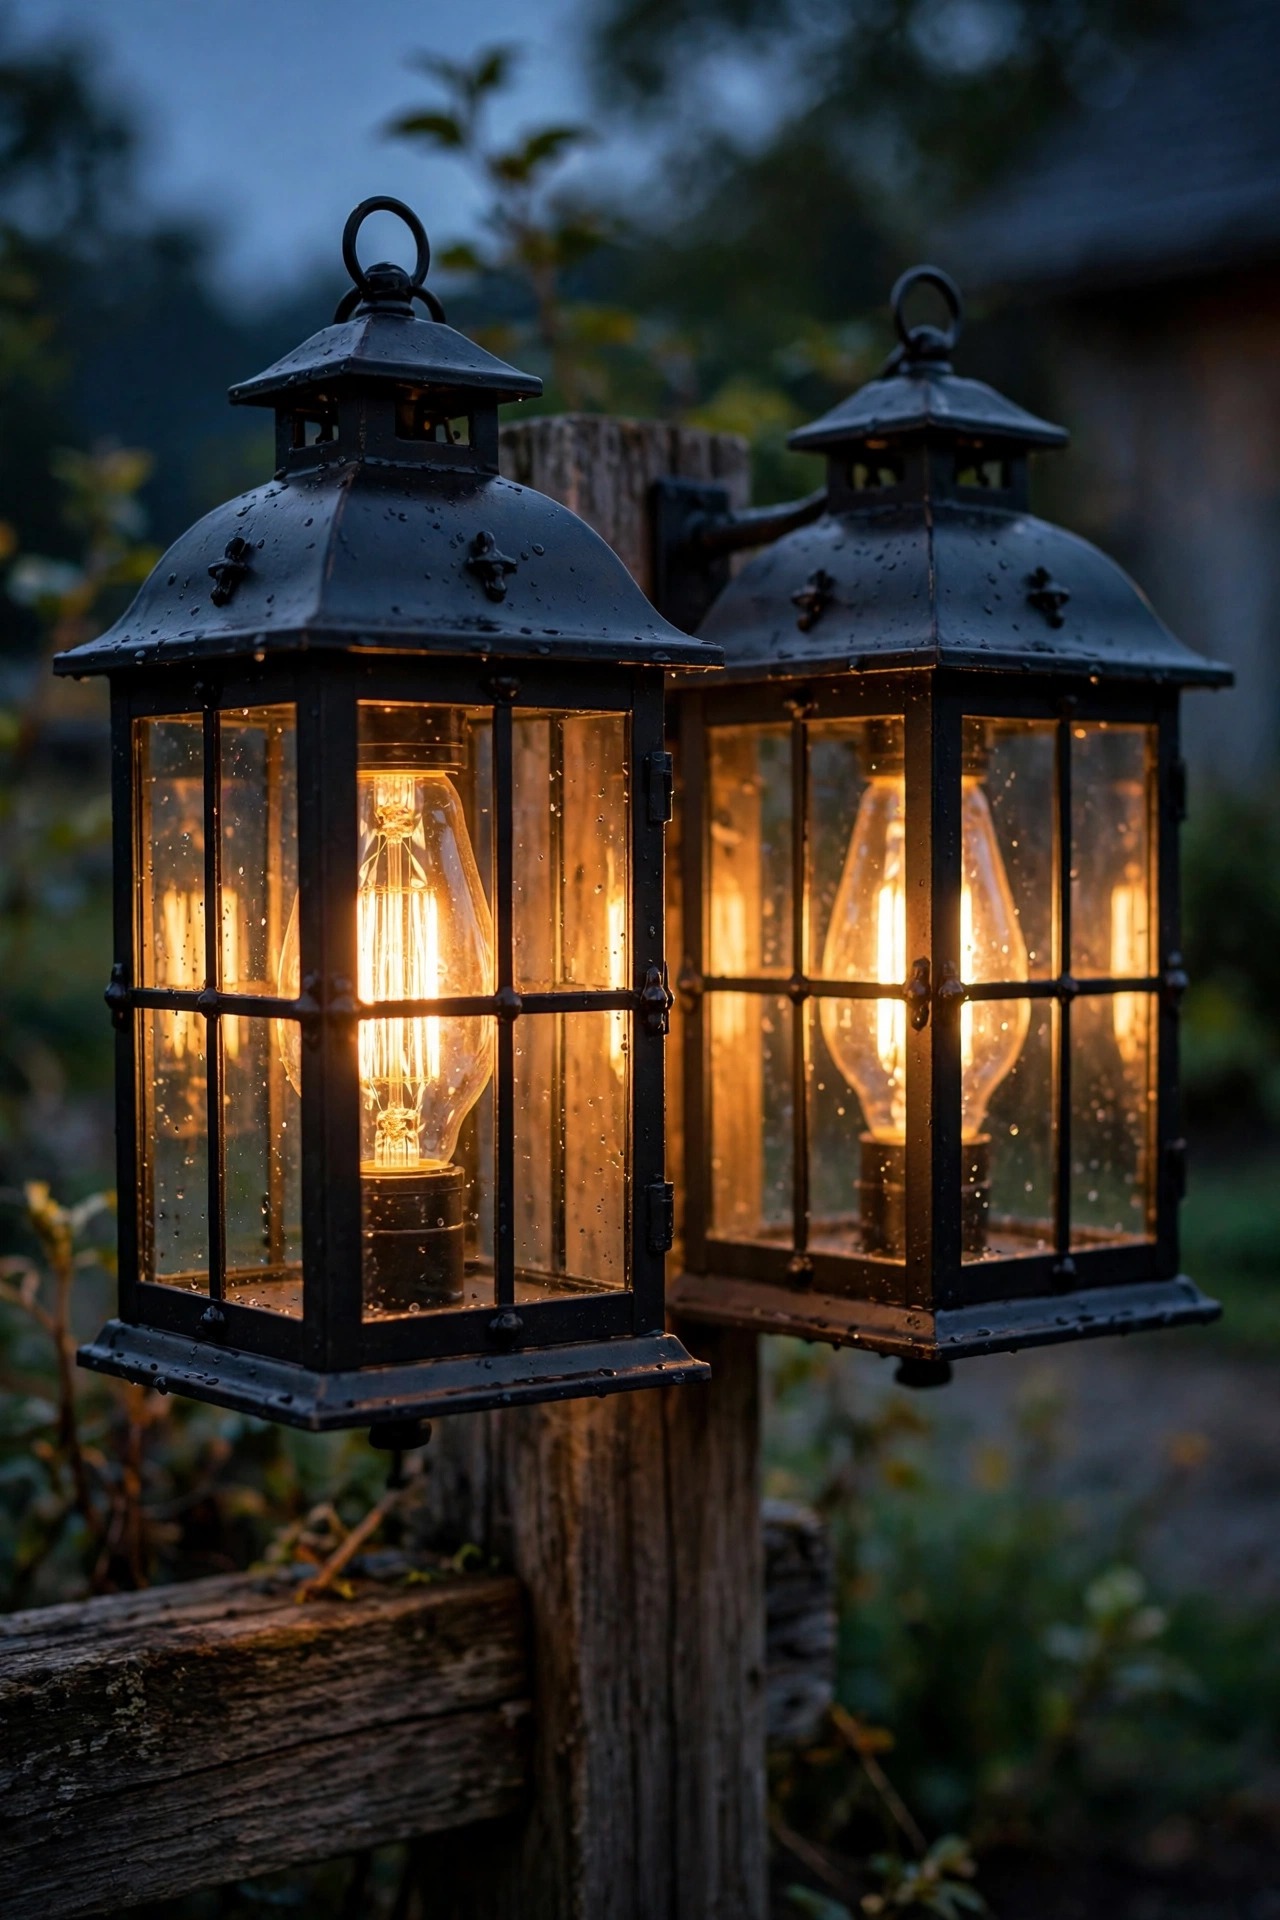
Nothing says farmhouse like a row of little lanterns standing guard along the drive, and low-voltage path lights in a black or oil-rubbed bronze lantern housing are my number one recommendation for the guidance layer. Space them 6 to 8 feet apart and stagger them on alternating sides rather than marching them in perfect pairs, which keeps the look relaxed and country instead of formal. I set mine about 12 to 18 inches back from the gravel edge so the mower and the snow shovel never clip them, and I choose fixtures 14 to 18 inches tall so the light pools on the ground instead of glaring into windshields. A 12-volt low-voltage system is the sweet spot here: the cable buries in a shallow 3-inch trench, the transformer plugs into any outdoor GFCI outlet, and the LED bulbs sip electricity at 2 to 4 watts each. Choose sealed, wet-location-rated fixtures with replaceable bulbs so one failure never darkens the whole run. Honestly? This single project does 70 percent of the work of making a farmhouse driveway feel finished.
Suggested budget range: $180 – $450.
3. Hang Gooseneck Barn Lights Over the Garage
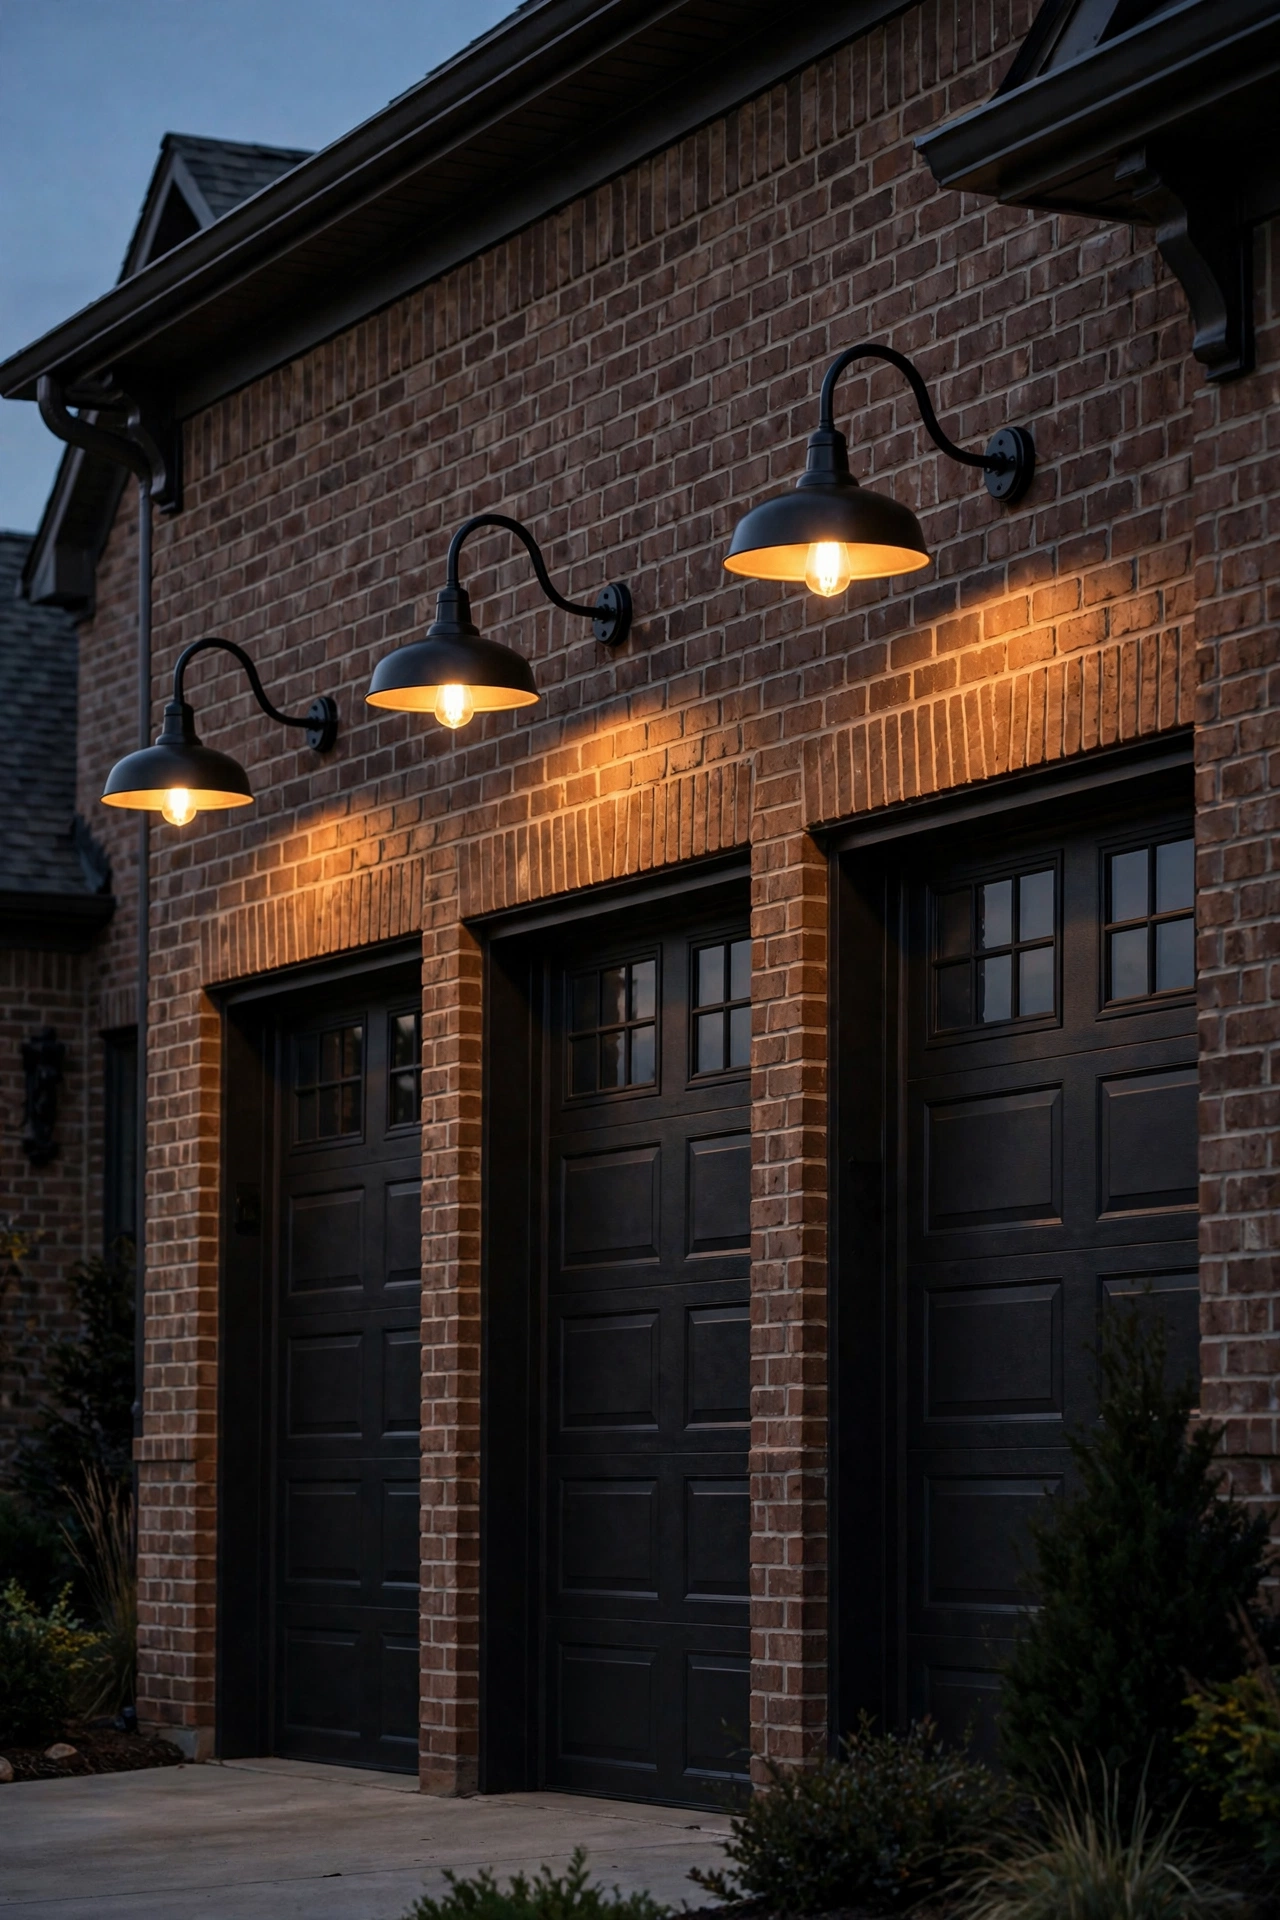
If your garage or carriage house faces the drive, a pair of gooseneck barn lights is the hardest-working welcome light you can buy. That classic curved arm throws a wide, downward cone of warm light exactly where you unload groceries, find the house key, and greet guests, without blasting light into the road or the neighbors' windows. I mount them centered above each garage door, or one on each side of a single wide door, at about 8 to 9 feet high. Look for powder-coated steel shades in matte black, galvanized, or classic barn red, always with a wet-location rating and a dusk-to-dawn photocell so they handle themselves. LED filament-style bulbs inside give you that old-bulb glow with modern efficiency. My full breakdown of sizes, finishes, and mounting heights is in my guide to gooseneck barn lights for outdoor use, and it is worth a read before you order, because shade diameter changes the whole light spread. Pair them with the path lanterns from idea 2 and your arrival home suddenly feels like a scene from a movie.
Suggested budget range: $120 – $350.
4. Add Solar Stakes for a Budget-Friendly Glow
Not every driveway needs wire. For renters, brand-new builds, or anyone whose drive is simply too long to trench, quality solar stakes are the fastest glow-up I know, and I have tested enough cheap ones to be picky on your behalf. Look for stakes with a separate or oversized solar panel, a replaceable battery, and a real lumen rating: you want at least 30 to 50 lumens per stake for driveway edges, not the 5-lumen fairy dust sold in bargain bins. Lantern-style solar stakes with a warm 2700K LED and a metal (never all-plastic) housing fit the farmhouse look best. Push them 5 to 6 feet apart along the sunniest edge first, since solar needs 6 hours of direct sun to run all night in winter. My tested favorites and placement tricks live in my roundup of solar driveway lighting ideas if you want the deeper dive. Expect to rinse the panels every month or so; a dusty panel is the number one reason solar lights "die" early.
Suggested budget range: $40 – $120.
5. Frame the Entrance With Split-Rail Fence Lanterns
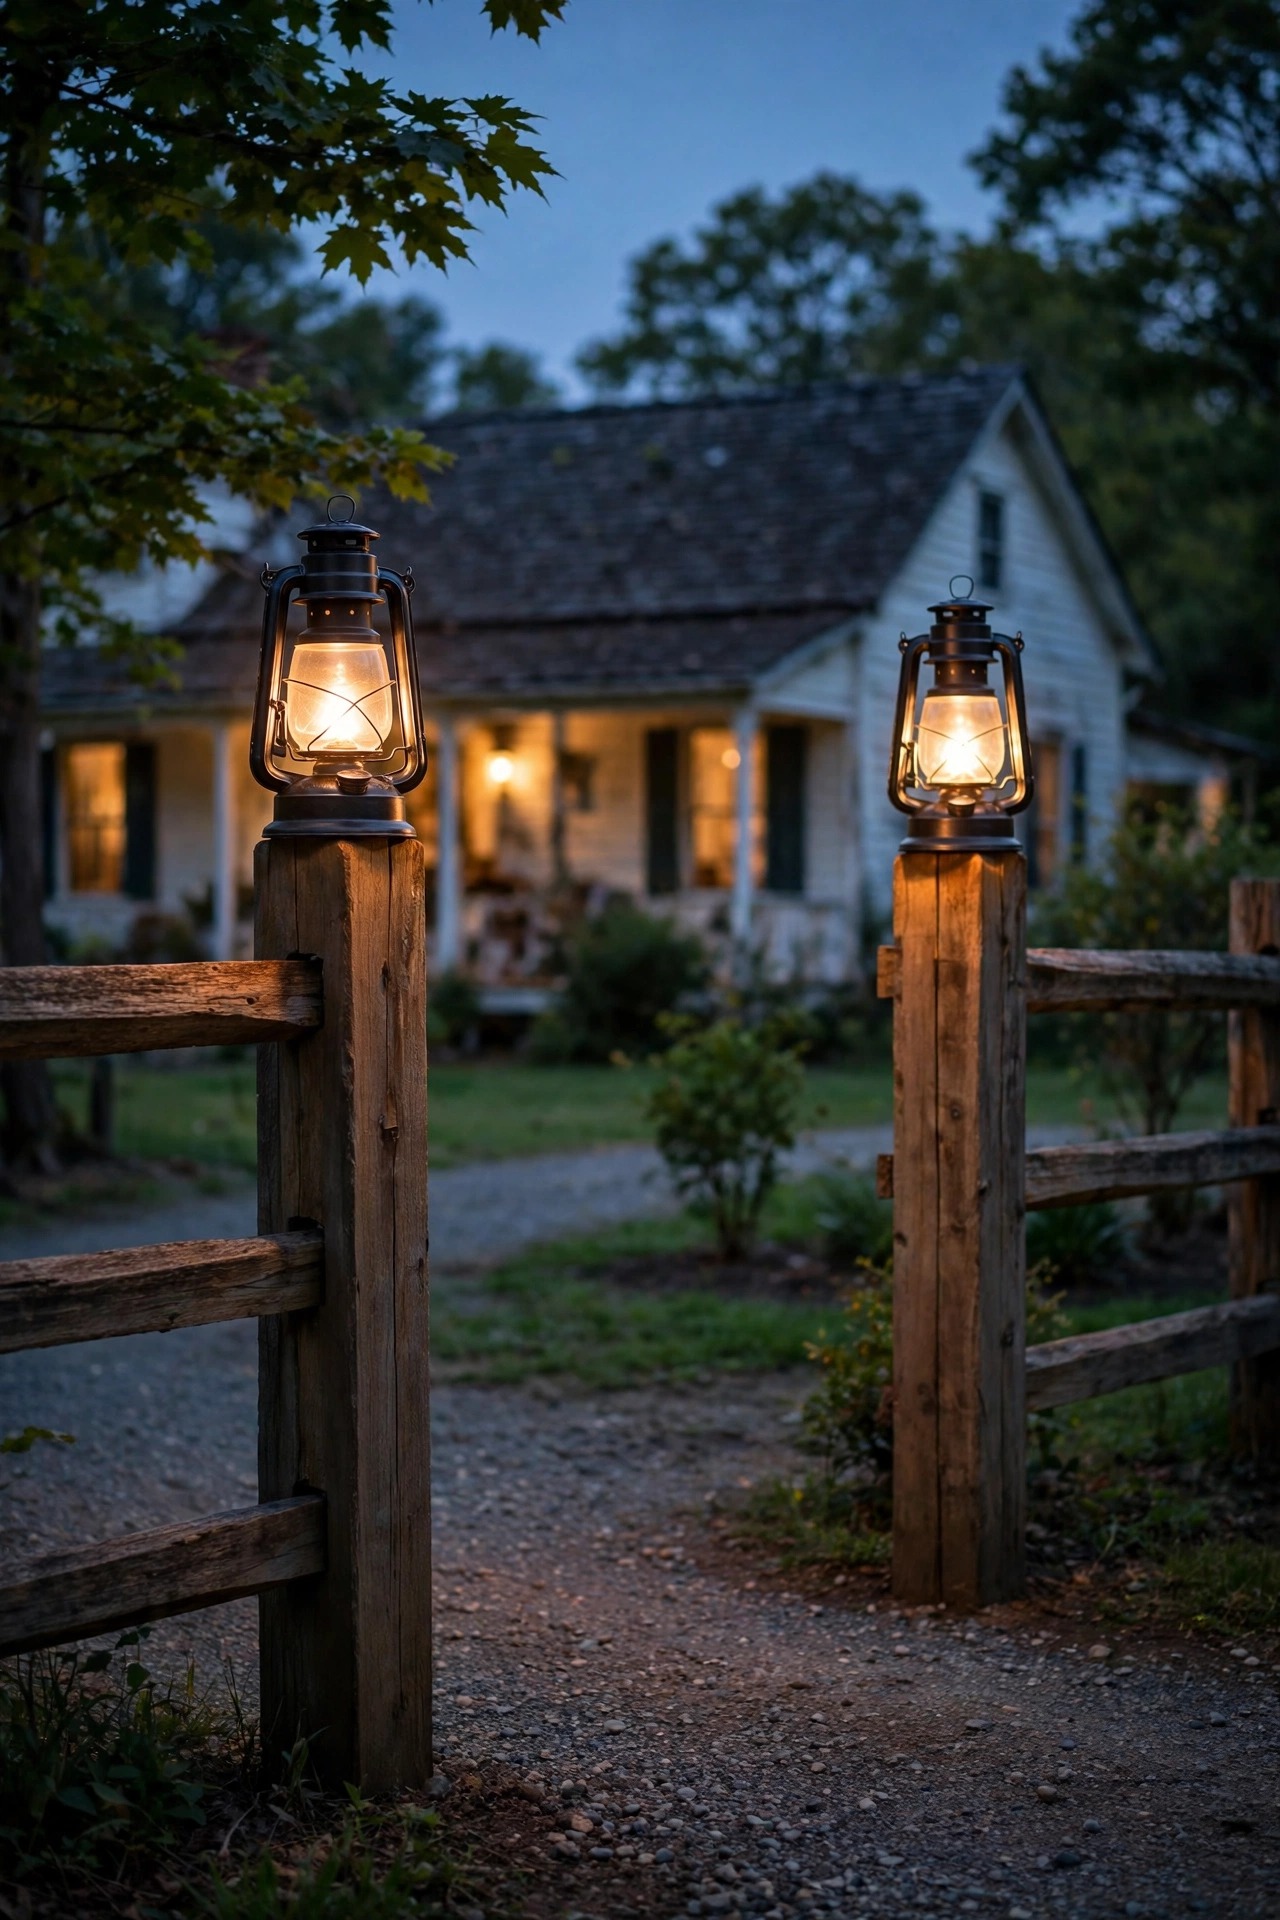
The first 10 feet of your driveway are your handshake, and if you are lucky enough to have a split-rail or post fence near the road, that is where a pair of lanterns earns its keep. I mount one lantern on each entrance post, either a wired low-voltage post light or a sturdy solar lantern with a real metal cap, and I keep them modest: a soft 100 to 200 lumens is plenty to say "turn here" without lighting up the whole county road. If your posts are plain pressure-treated wood, a simple black lantern with seeded glass looks like it has always been there. Add a reflective house number plaque beneath one lantern and delivery drivers will bless your name on dark December evenings. Keep the two entrance lanterns on the same photocell or timer as the rest of the system so the whole property wakes up together at dusk. This is also the one spot where a slightly taller fixture, mounted 4 to 5 feet up the post, works better than ground-level lights, because drivers spot it from the road while they are still deciding where to turn.
Suggested budget range: $90 – $300.
6. Wash the Gravel With Low Bollard Lights
For a slightly more finished take on the guidance layer, short bollard lights are my pick on wide gravel drives where little path lanterns get lost visually. A bollard 12 to 18 inches tall with a louvered or shielded top throws light down and out in a soft oval, which is exactly what gravel needs: no glare, no hot spots, just a readable edge. The farmhouse-friendly versions come in matte black or weathered bronze with a simple slatted or cage design rather than anything sleek and corporate. I space bollards a touch wider than path lights, every 8 to 10 feet, because their throw is broader, and I set them on the outside of curves and at the parking pad corners first, since those are the spots guests misjudge in the dark. Low-voltage wired bollards stay consistent all night and all winter, which matters when the drive is also your snowplow route. One practical note from experience: choose bollards with a sturdy ground stake or a surface-mount base, because a wobbly bollard on gravel will lean by spring, and straighten them during your fall cleanup before the ground freezes.
Suggested budget range: $200 – $500.

7. Uplight a Statement Tree at the Turnaround
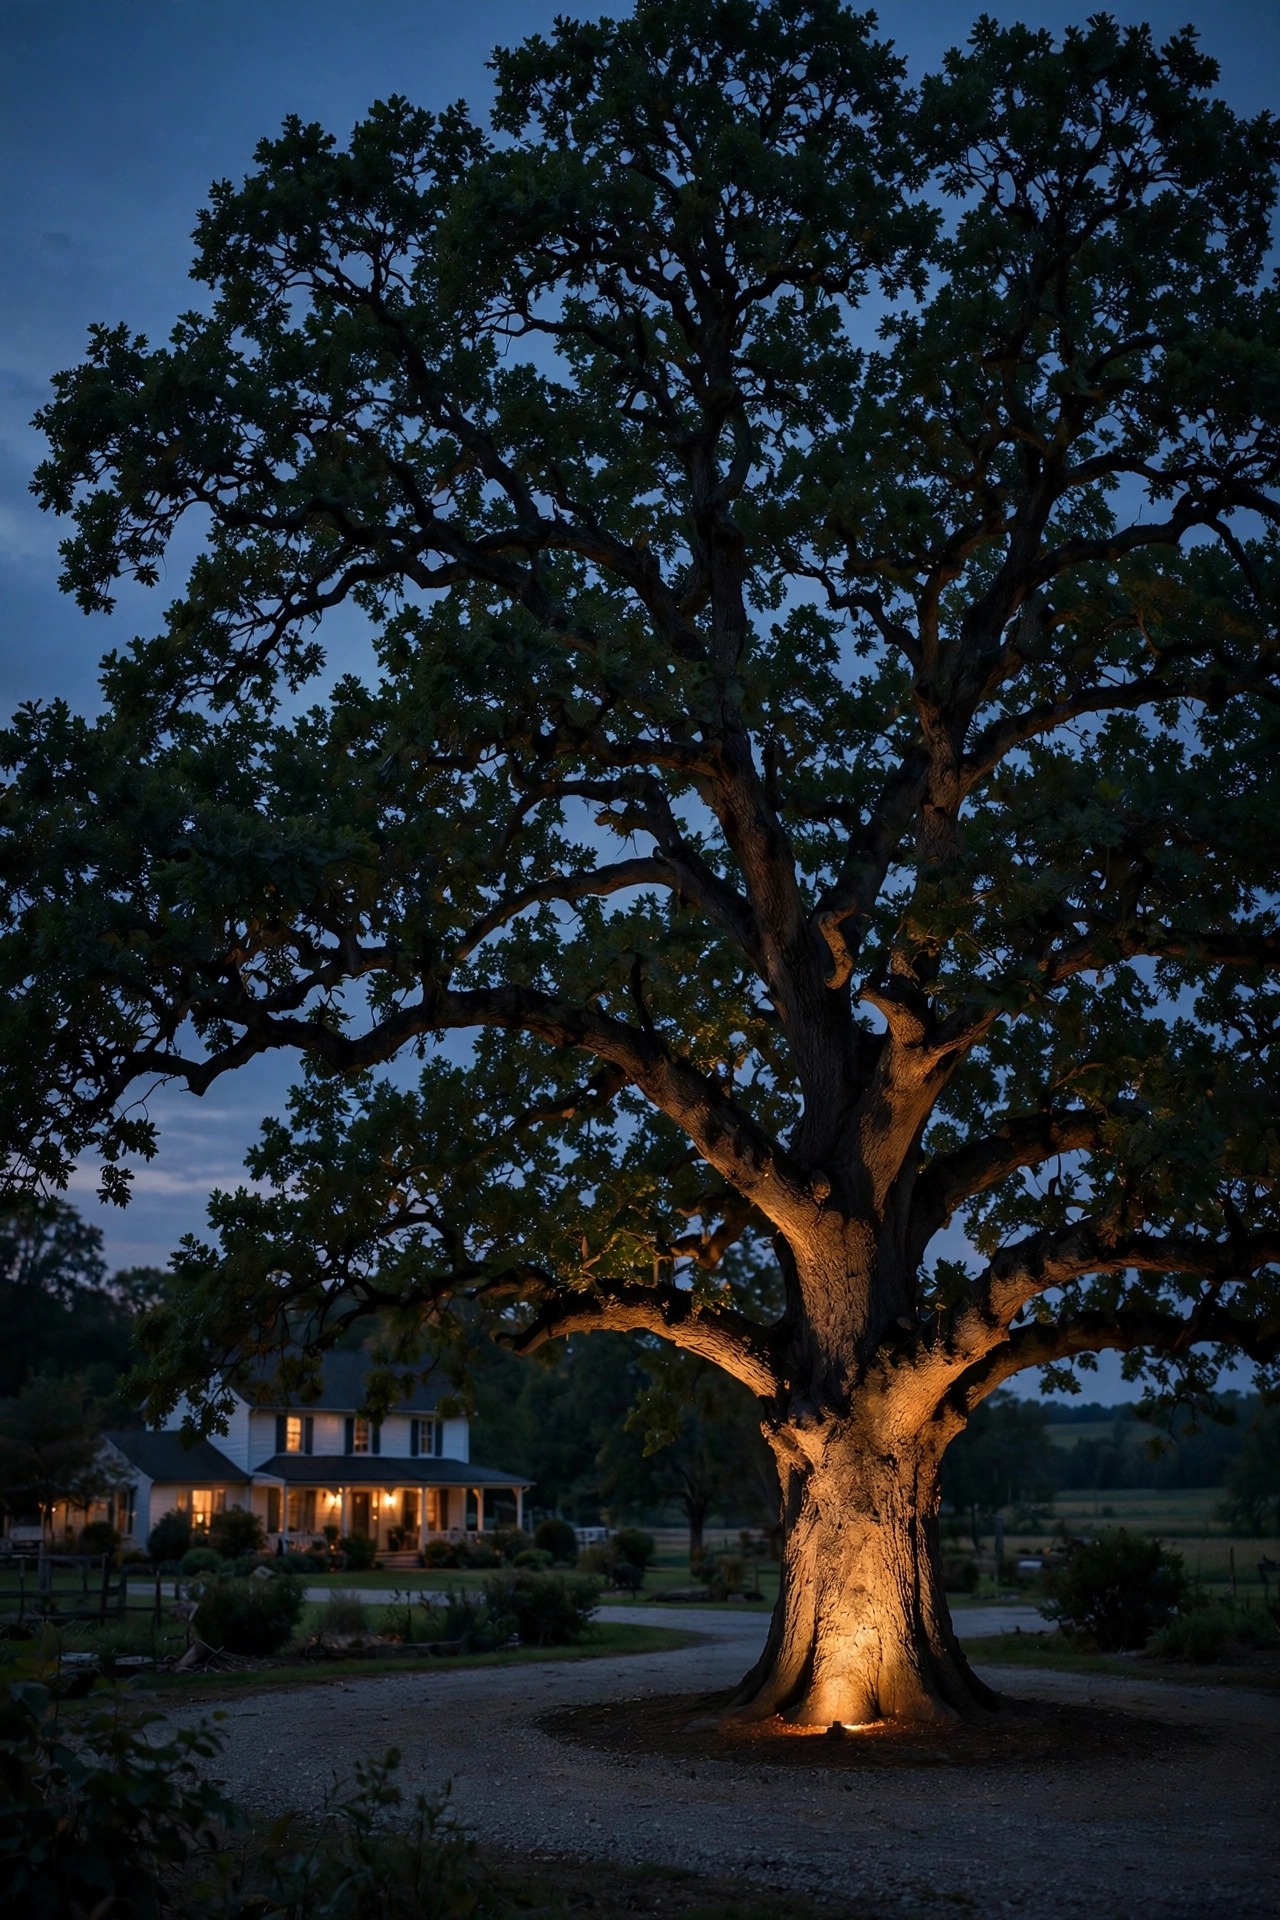
Every farmhouse property has one great tree, and lighting it is the cheapest drama you will ever buy. A single well light or spike spotlight at the base of the trunk, aimed up into the canopy, turns the turnaround or the corner of the drive into a glowing landmark that orients everyone arriving after dark. For a medium oak or maple, one 5 to 8 watt LED fixture with a 36 to 45 degree beam does beautifully; for a truly big canopy, use two fixtures crossed at slight angles so the light feels dimensional instead of flat. Keep the fixture 12 to 24 inches from the trunk, tilted to graze the bark texture, and choose a honeycomb louver or glare shield so drivers see the lit tree, never the bulb. In my experience this one accent does more for "wow, we are home" than any other single light, and it doubles as a gentle security wash over the parking area. Use an LED, never halogen, this close to bark and dry leaves, and re-aim it each spring as the canopy fills in.
Suggested budget range: $60 – $180.
8. String Café Lights From Porch to Barn
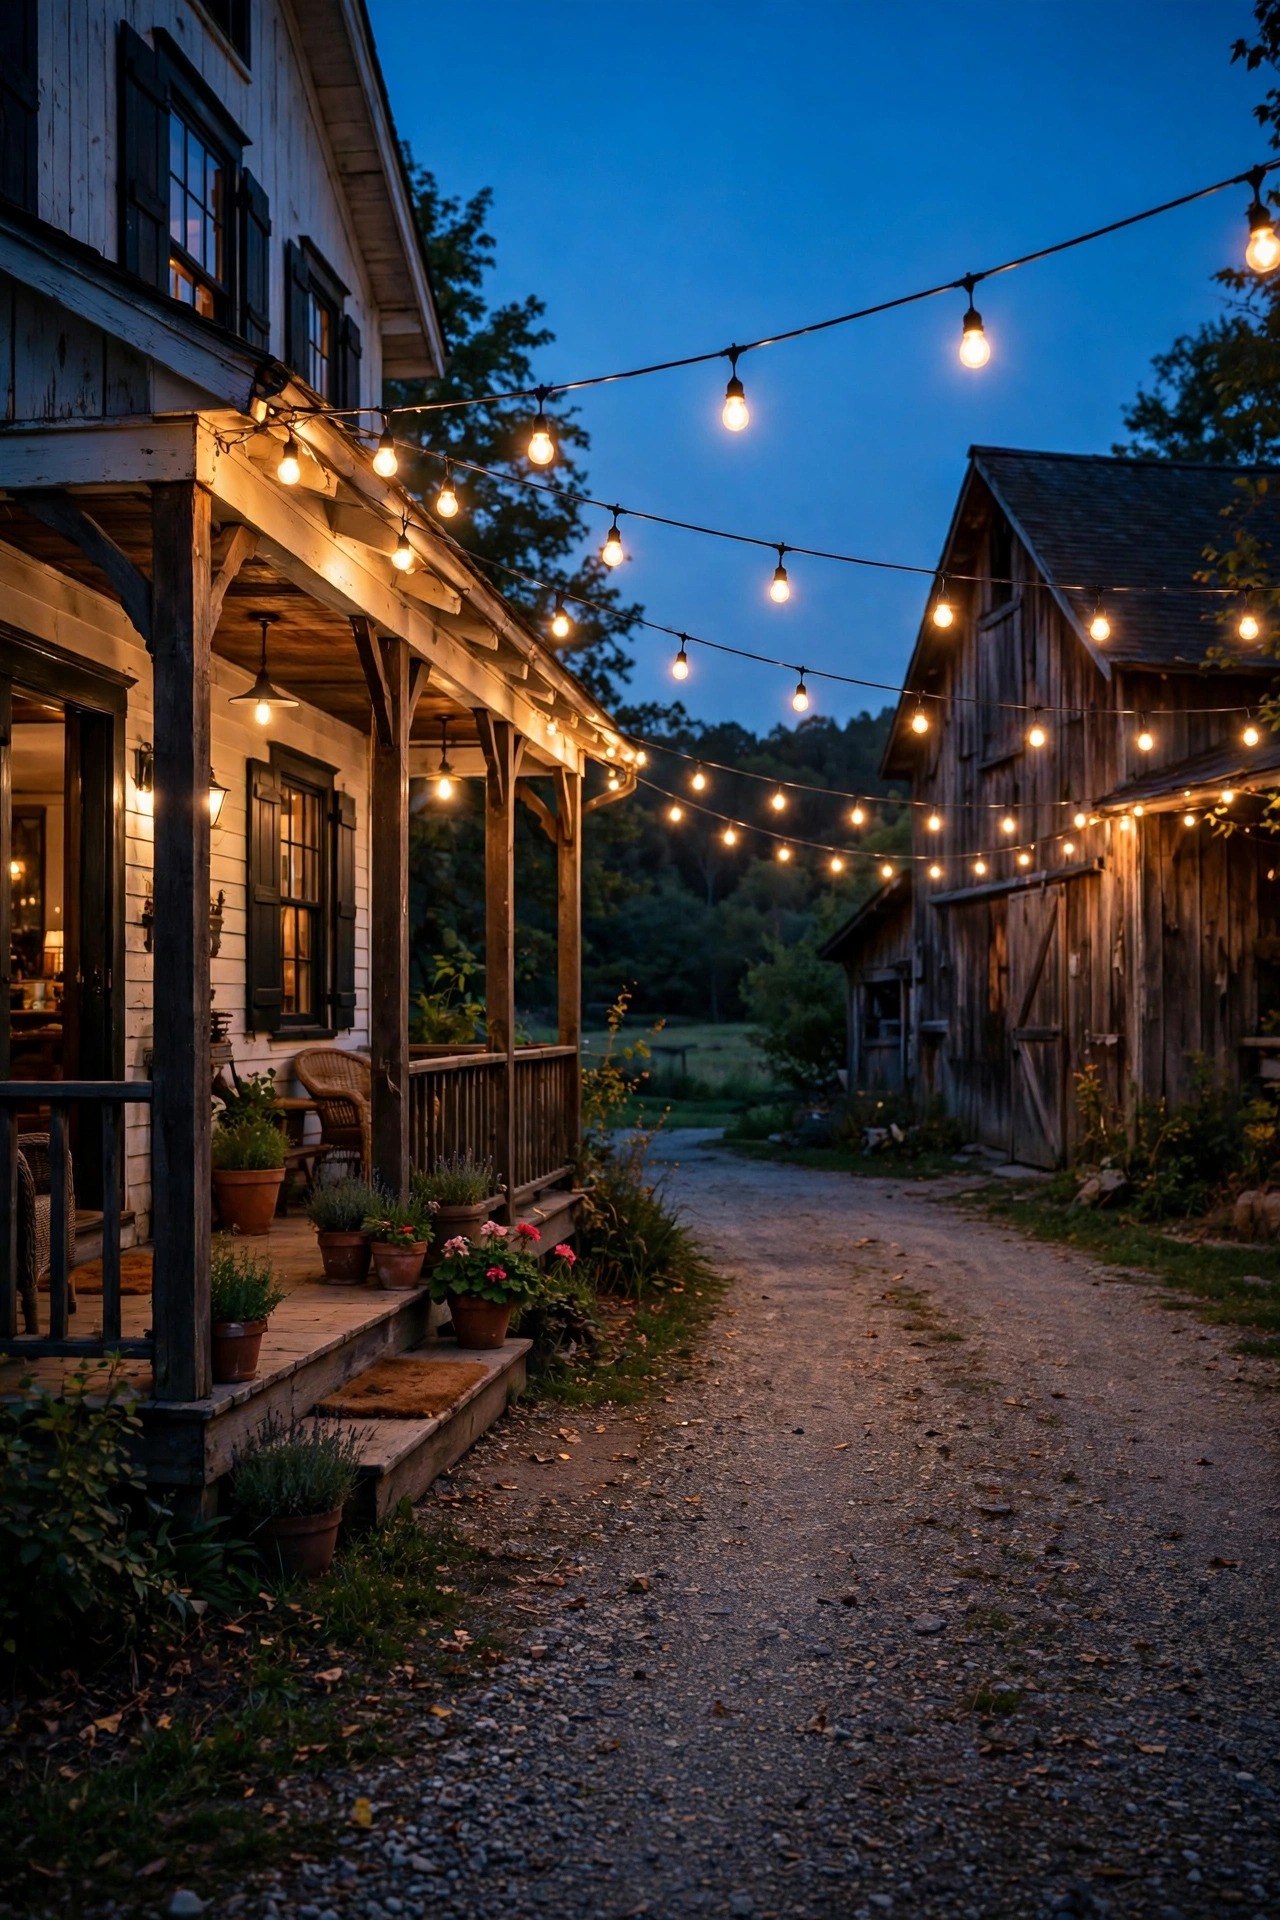
Where the driveway passes close to the house, a barn, or a carport, a single swag of café string lights overhead ties the whole arrival together and makes even a Tuesday feel like a gathering. The trick is restraint: one or two gentle catenary swags, hung 8 to 10 feet up, with shatterproof LED filament bulbs in warm white. Use a proper guide wire or cable between structures so the strand never sags onto a roof or a tree branch, and choose commercial-grade, wet-location string lights with suspended sockets that shed rain. I clip the porch end to the same strand run I use over our seating area, and my setup notes for that side of the house are in my farmhouse porch lighting ideas if you want the matching look. Never drape string lights where a delivery truck or tractor needs clearance, and keep them off the main drive path if your winters bring heavy wet snow. On a plug-in timer set for dusk to 11 p.m., they cost pennies a night and guests will remember them long after they forget dinner.
Suggested budget range: $50 – $150.
9. Light the Mailbox and House Numbers
Farmhouse driveways are long, and the most welcome light on the whole property might be the tiny one that tells a guest, a babysitter, or an ambulance that this is the right turn. I light our mailbox with a small solar lantern mounted on the post and a reflective number plaque below it, and it has ended the "did I pass your house?" phone call for good. At the house end, an illuminated house number or a small sconce washing the numbers beside the door finishes the job. Keep these lights warm and modest, 2700K and under 100 lumens, so they read as helpful rather than harsh. Solar is perfect here because the mailbox usually sits far from any outlet, and a south-facing panel on the post charges even in winter. If your mailbox post is shared or roadside-clustered, check with your mail carrier before mounting anything that changes how the box opens. Refresh faded numbers every couple of years; a lit plaque nobody can read is just garden decor. Small detail, huge hospitality.
Suggested budget range: $30 – $90.
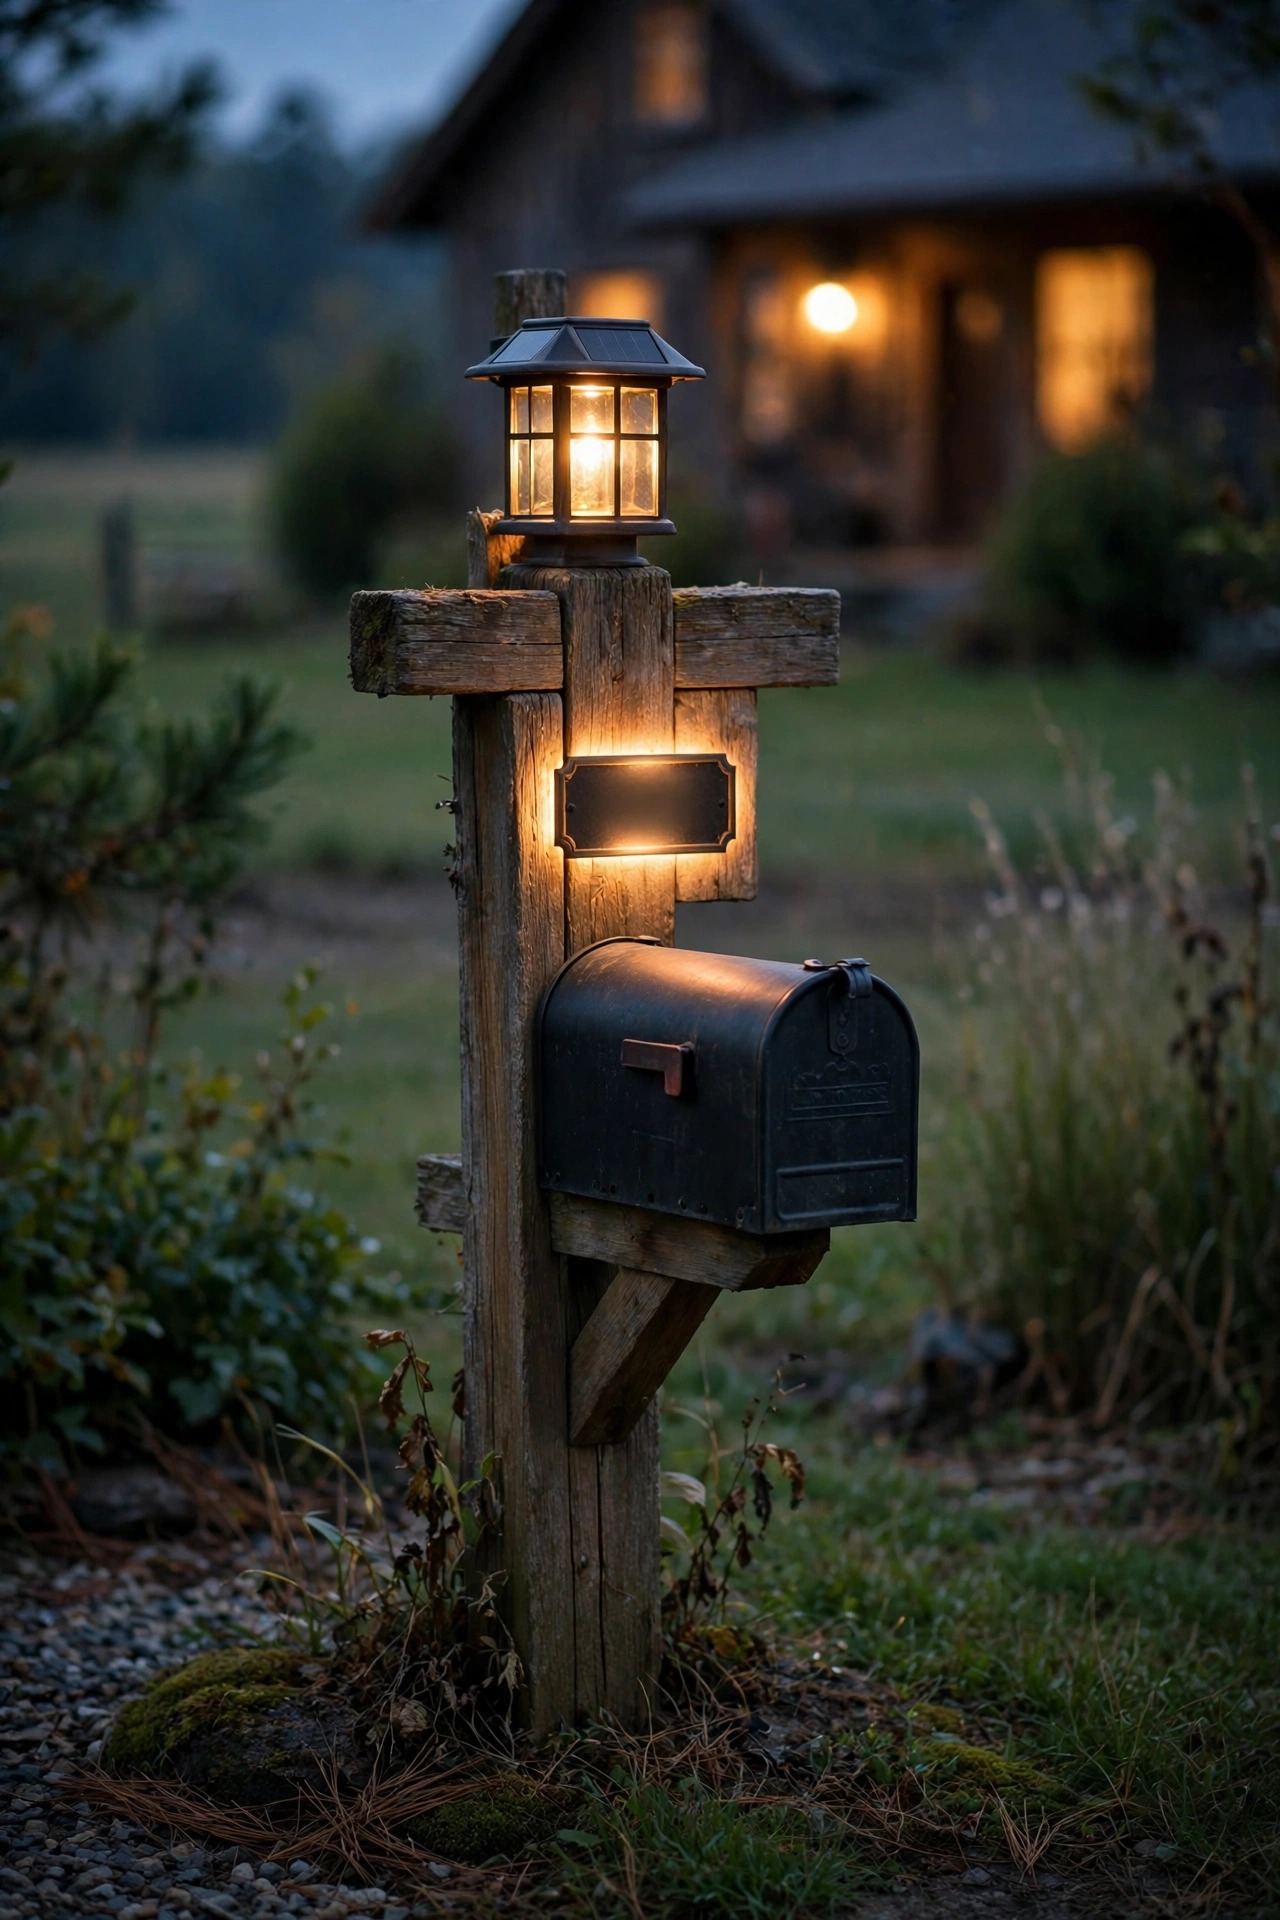
10. Add Motion-Sensor Lanterns Near the Garage
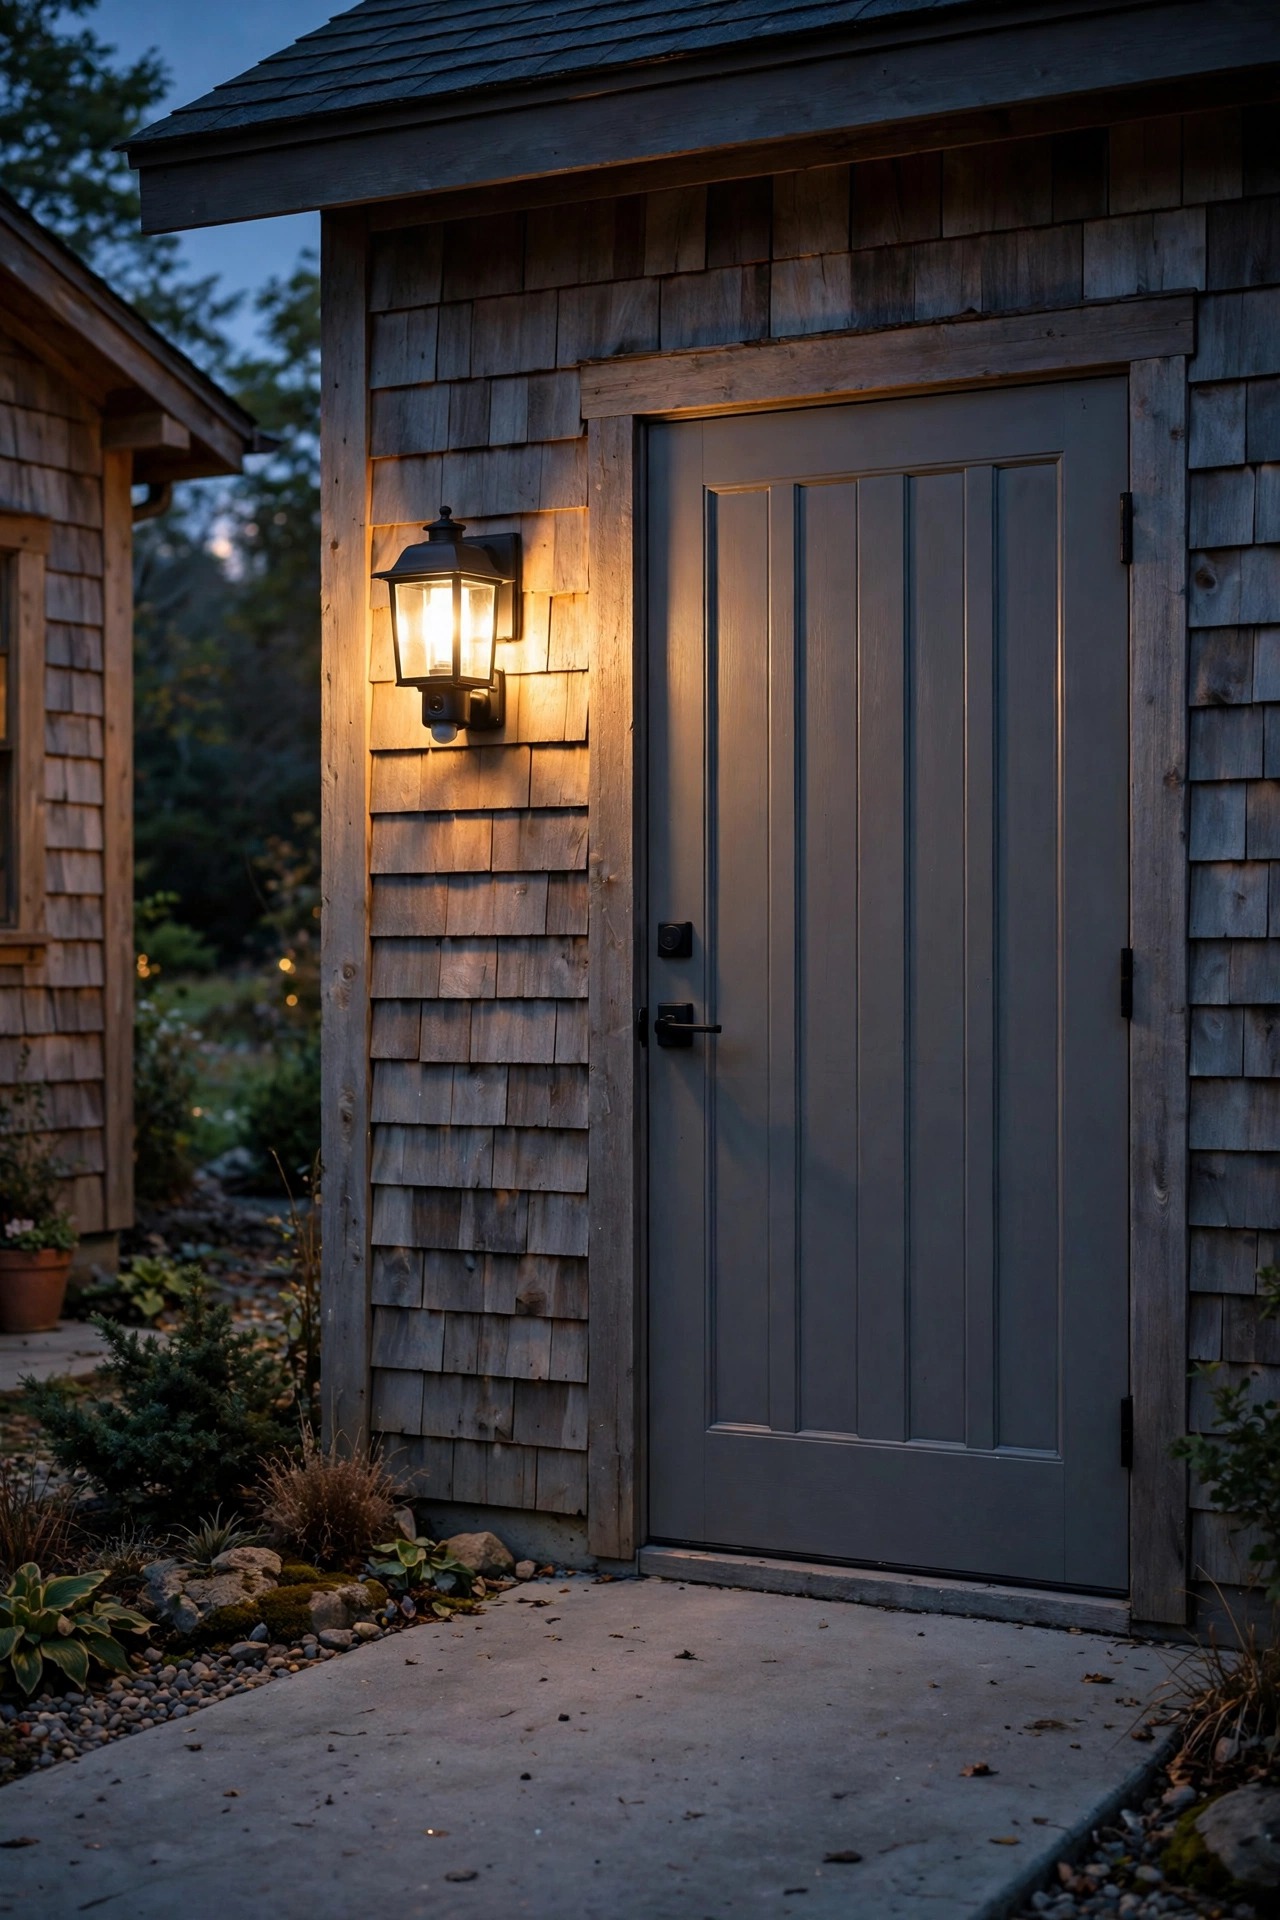
A farmhouse driveway should wake up when you do, and a lantern-style motion-sensor light near the garage or side door is the polite way to do it. Unlike a harsh security flood, a farmhouse motion lantern looks like any other fixture by day, then brightens when the sensor catches a car or a person within 20 to 30 feet. I set ours to a gentle low-glow mode at dusk that blooms to full brightness on motion, which feels welcoming instead of alarming, and keeps the light trespass down for the neighbors and the night sky. Mount it 7 to 8 feet high, angle the sensor toward the parking pad rather than the road, and test the sensitivity on a windy night so the fence-line branches do not trigger it all evening. Choose a wet-location fixture with an adjustable timer so it fades after 1 to 5 minutes. Pair it with idea 3's goosenecks on separate circuits: the goosenecks handle the evening welcome, the motion lantern handles the 2 a.m. dog trip. Practical magic.
Suggested budget range: $45 – $140.
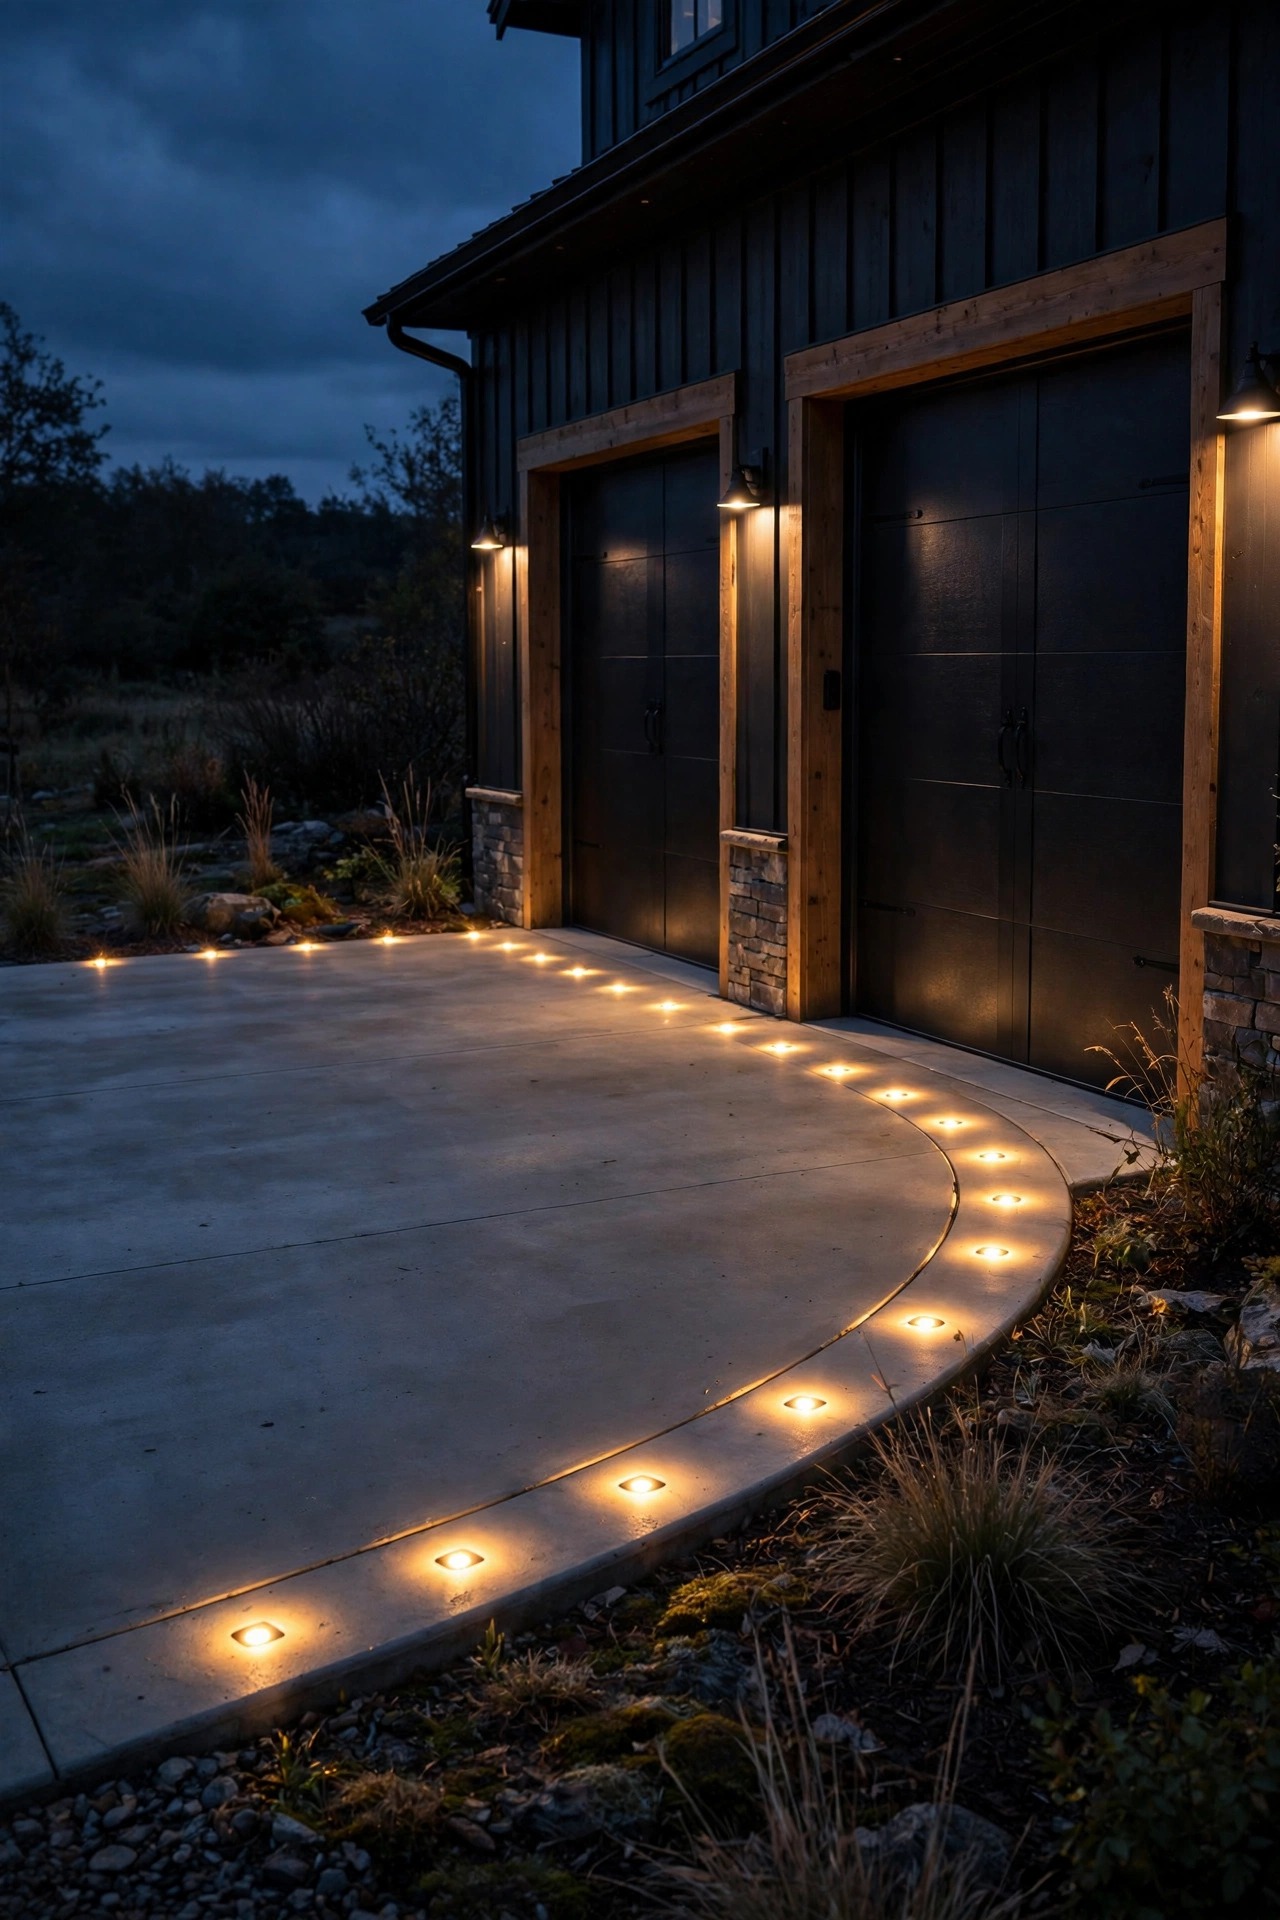
11. Edge the Apron With Flush-Mount Driveway Markers
The concrete or gravel apron where the drive meets the garage is where guests back up, turn around, and occasionally find the flower bed the hard way. Flush-mount marker lights solve it without adding a single obstacle: these small round pucks sit level with the surface, so tires, plows, and shovels pass right over them. I run a short row along the apron's curved edge and a pair flanking the garage door opening, and suddenly night maneuvering feels easy instead of hopeful. Solar in-ground markers are the simplest install on gravel aprons, just dig a shallow pocket and set them firm, while wired low-voltage versions suit concrete if you are pouring fresh. Choose amber-warm or soft white output and avoid the flashing or color-changing novelty versions; you want guidance, not a landing strip. Because they sit at ground level, give the lenses a quick wipe when you rinse the drive, since a film of dust and road grit can halve their brightness in a month. In snowy states, the slight warmth of the LED even helps keep the lens clear a little longer after a storm.
Suggested budget range: $80 – $220.
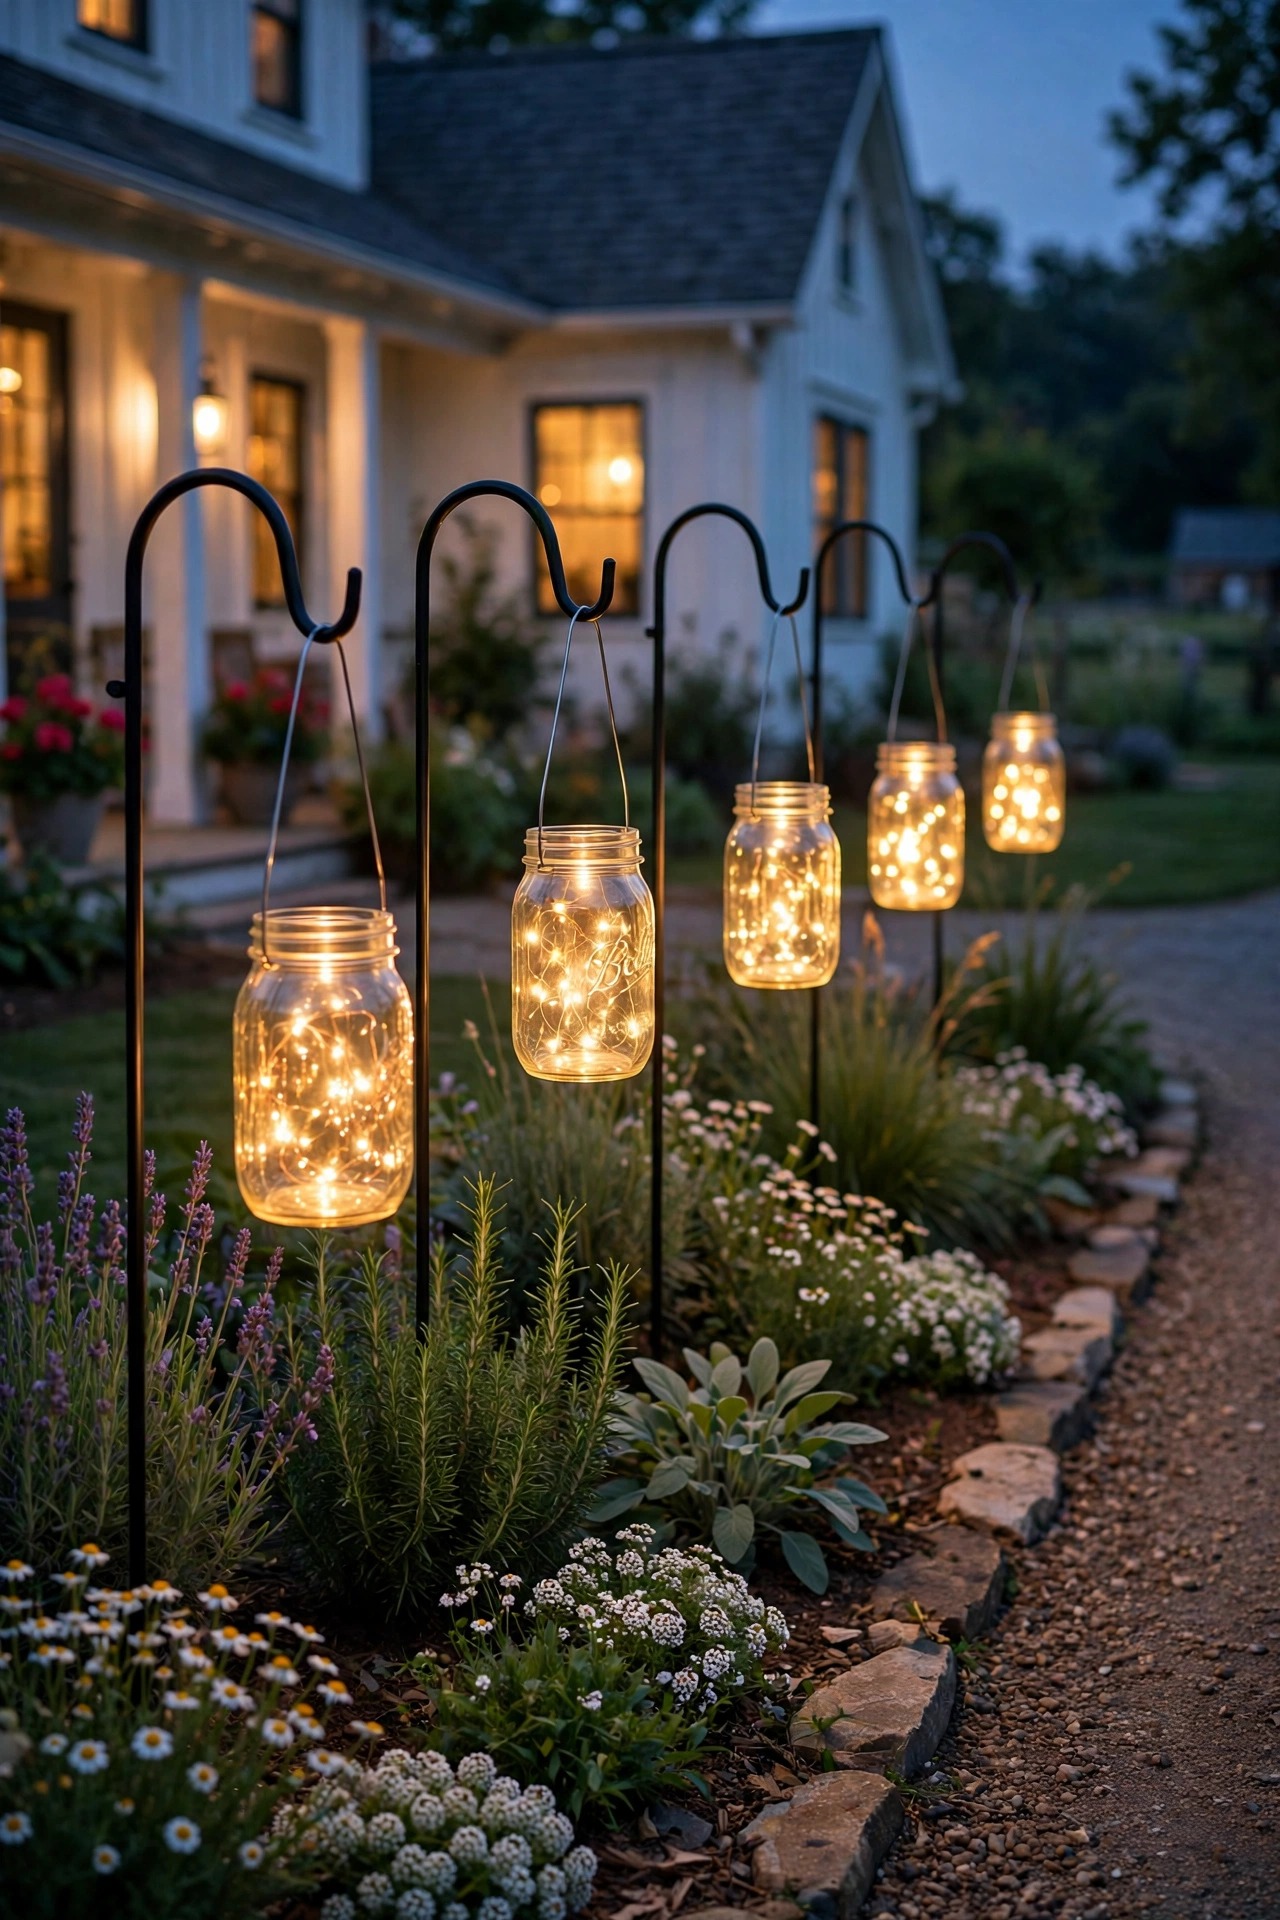
12. Hang Mason Jar Solar Lanterns on Shepherd Hooks
This is the idea my readers ask about most, because it is pure farmhouse charm for the price of a pizza. Solar mason jar lanterns, the kind with a little panel in the lid and a warm fairy string or frosted LED inside, hang beautifully from shepherd hooks pressed into the planting beds that border the drive. I cluster them where the driveway passes the garden or the front walk rather than spacing them down the whole length, so they read as a styled moment instead of a runway. Three to five jars at slightly varied heights, 24 to 36 inches, glow like captured fireflies after a sunny day. They will not light your tire path on a December night, and I will not pretend otherwise, but layered over the path lights from idea 2 they add exactly the handmade softness that makes a farmhouse feel loved. Bring the jars in during hail season, wipe the lid panels monthly, and swap the rechargeable batteries every year or two. Hang one by the door, too, so the theme greets you twice.
Suggested budget range: $35 – $100.
13. Put Everything on Timers and Dusk-to-Dawn Sensors
The most beautiful driveway lighting in the world is worthless if it is dark when you roll in at 9 p.m., and this humble idea is the one I nag every friend about. A photocell on the transformer or smart plug timers on your circuits mean the whole layered system wakes at dusk, every dusk, without you touching a switch. I run our guidance and welcome lights from dusk to about 11 p.m., then let the motion lantern and one entrance lantern carry the late hours, which keeps the electric bill tiny and the farm darker for sleeping and stargazing. Astronomical timers are worth the small upgrade because they adjust themselves as sunset shifts across the seasons. If you mix solar and wired like I do, a single smart plug on the transformer plus photocell bulbs in the goosenecks keeps everything roughly in sync. Set it once in October when the clocks change, check it again in spring, and forget it. Honestly, automation is what turns a pretty lighting setup into a home that welcomes you every single night.
Suggested budget range: $25 – $80.

14. Keep It One Warm Temperature: 2700K Everywhere
Here is the quiet rule that separates a charming farmhouse drive from a confusing one: every bulb, stake, and lantern should glow the same warm color. I use 2700K warm white across the entire property, because it flatters wood, stone, brick, and gravel, and it matches the candlelight feel a farmhouse deserves. The trouble starts when a bluish 5000K daylight bulb sneaks into one fixture, or a solar stake rated "warm" actually glows amber-orange next to your soft white lanterns; your eye goes straight to the mismatch. When you shop, check the Kelvin number on every box, keep a spare bulb list in your phone with the exact temperatures you own, and replace in matched groups along a run. LED filament-style bulbs are my favorite inside lantern glass because they mimic an old flame-tinted bulb while using almost no power. If a fixture comes with a non-replaceable cool-white LED, it does not come home with me, no matter how cute it is. Consistency is invisible when you have it and glaring when you do not, and it costs nothing but attention.
Suggested budget range: $10 – $60.
15. Do a Dusk Walk-Through to Finish Your Farmhouse Driveway Lighting Ideas
Every spring and fall, I pour a mug of something warm and walk our whole driveway at dusk, phone in hand, pretending to be a guest arriving for the first time. This final pass is where good farmhouse driveway lighting ideas become great ones, because you catch what no daytime install ever shows you: the one lantern glaring straight into a driver's eyes, the dark gap at the curve where a stake died in February, the tree uplight now aimed at a bare branch. Adjust angles by hand, straighten the leaners, wipe every lens and solar panel, and snip back the plants swallowing your path lights. Then drive it, slowly, in both directions, and note where you still feel unsure about the edges. It takes twenty minutes and it is honestly my favorite chore of the season, because at the end the whole property glows like a held breath let out slowly. Keep a short list of replacements in your garage, a bulb, a battery, one spare stake, and small fixes never become dark driveways. A farmhouse should say welcome home before you ever reach the door, and now yours will.
Suggested budget range: $0 – $50.
Frequently Asked Questions
What color temperature is best for farmhouse driveway lighting?
Warm white at 2700K is my recommendation for every fixture, from path lanterns to garage goosenecks. It flatters wood, stone, and gravel, mimics the glow of an old filament bulb, and feels welcoming instead of clinical. The most important rule is consistency: one temperature across the whole property, because a single cool 5000K daylight bulb will stand out and cheapen the whole look.
Are solar lights bright enough for a long driveway?
For edge definition and charm, yes, as long as you buy quality stakes rated at least 30 to 50 lumens with replaceable batteries and place them where they get 6 hours of direct sun. For the main guidance line on a long or shaded drive, I honestly recommend wired low-voltage lights, which stay bright all night and all winter. Most farmhouses I help end up with a hybrid: wired near the house, solar down the sunny stretches.
How far apart should driveway path lights be spaced?
For lantern-style path lights, 6 to 8 feet apart in a staggered pattern on alternating sides gives even pools of light without a runway effect. Wider-throw bollards can go 8 to 10 feet apart. Stand at the road at dusk after installing the first few and check for dark gaps, because spacing that looks right at noon can leave holes at night, especially on curves.
How much does farmhouse driveway lighting cost overall?
A solar-only starter setup can glow for $100 to $250. A full layered low-voltage system with path lanterns, garage goosenecks, an uplighted tree, and timers typically lands between $600 and $1,500 in fixtures if you install it yourself, which most homeowners comfortably can. Running costs are minimal: a whole LED system often draws less power than one old porch bulb.
Conclusion
If you take one thing from this list, let it be the layers: guide the edges, welcome at the door, and accent the things that make your place yours. Start with the run of lanterns and a timer this weekend, add the barn lights and the big tree when you can, and let the mason jars and café lights bring the charm. Farmhouse driveway lighting ideas do not need a contractor or a huge budget, just warm 2700K light placed with intention. Browse my other driveway and porch lighting ideas here on the site for the next project, and I will see you out on the porch at dusk.