There is a moment on a summer evening, right after the sun drops behind the barn roof, when a farmhouse garden turns into the best room on the property. The tomatoes are still warm from the day, the gravel path crunches under your feet, and all the garden needs is the right glow to keep you out there a little longer. That is exactly what these farmhouse garden lighting ideas are about: honest, hardworking light with plenty of down-home charm, nothing fussy or showy. In my experience, the secret is layering. A soft ambient wash so you can see the whole space, task light where you actually work and walk, and a few warm accents that make the fence line, the old shade tree, and the flower beds sparkle. Below I will walk you through 19 ideas I have used and loved, from mason jar lanterns on shepherd hooks to galvanized sconces on the shed wall, with real spacing numbers, bulb advice, and budget ranges for every single one. Pick three or four to start, and build from there.
1. Start With a Layered Plan for Farmhouse Garden Lighting Ideas That Work After Dark
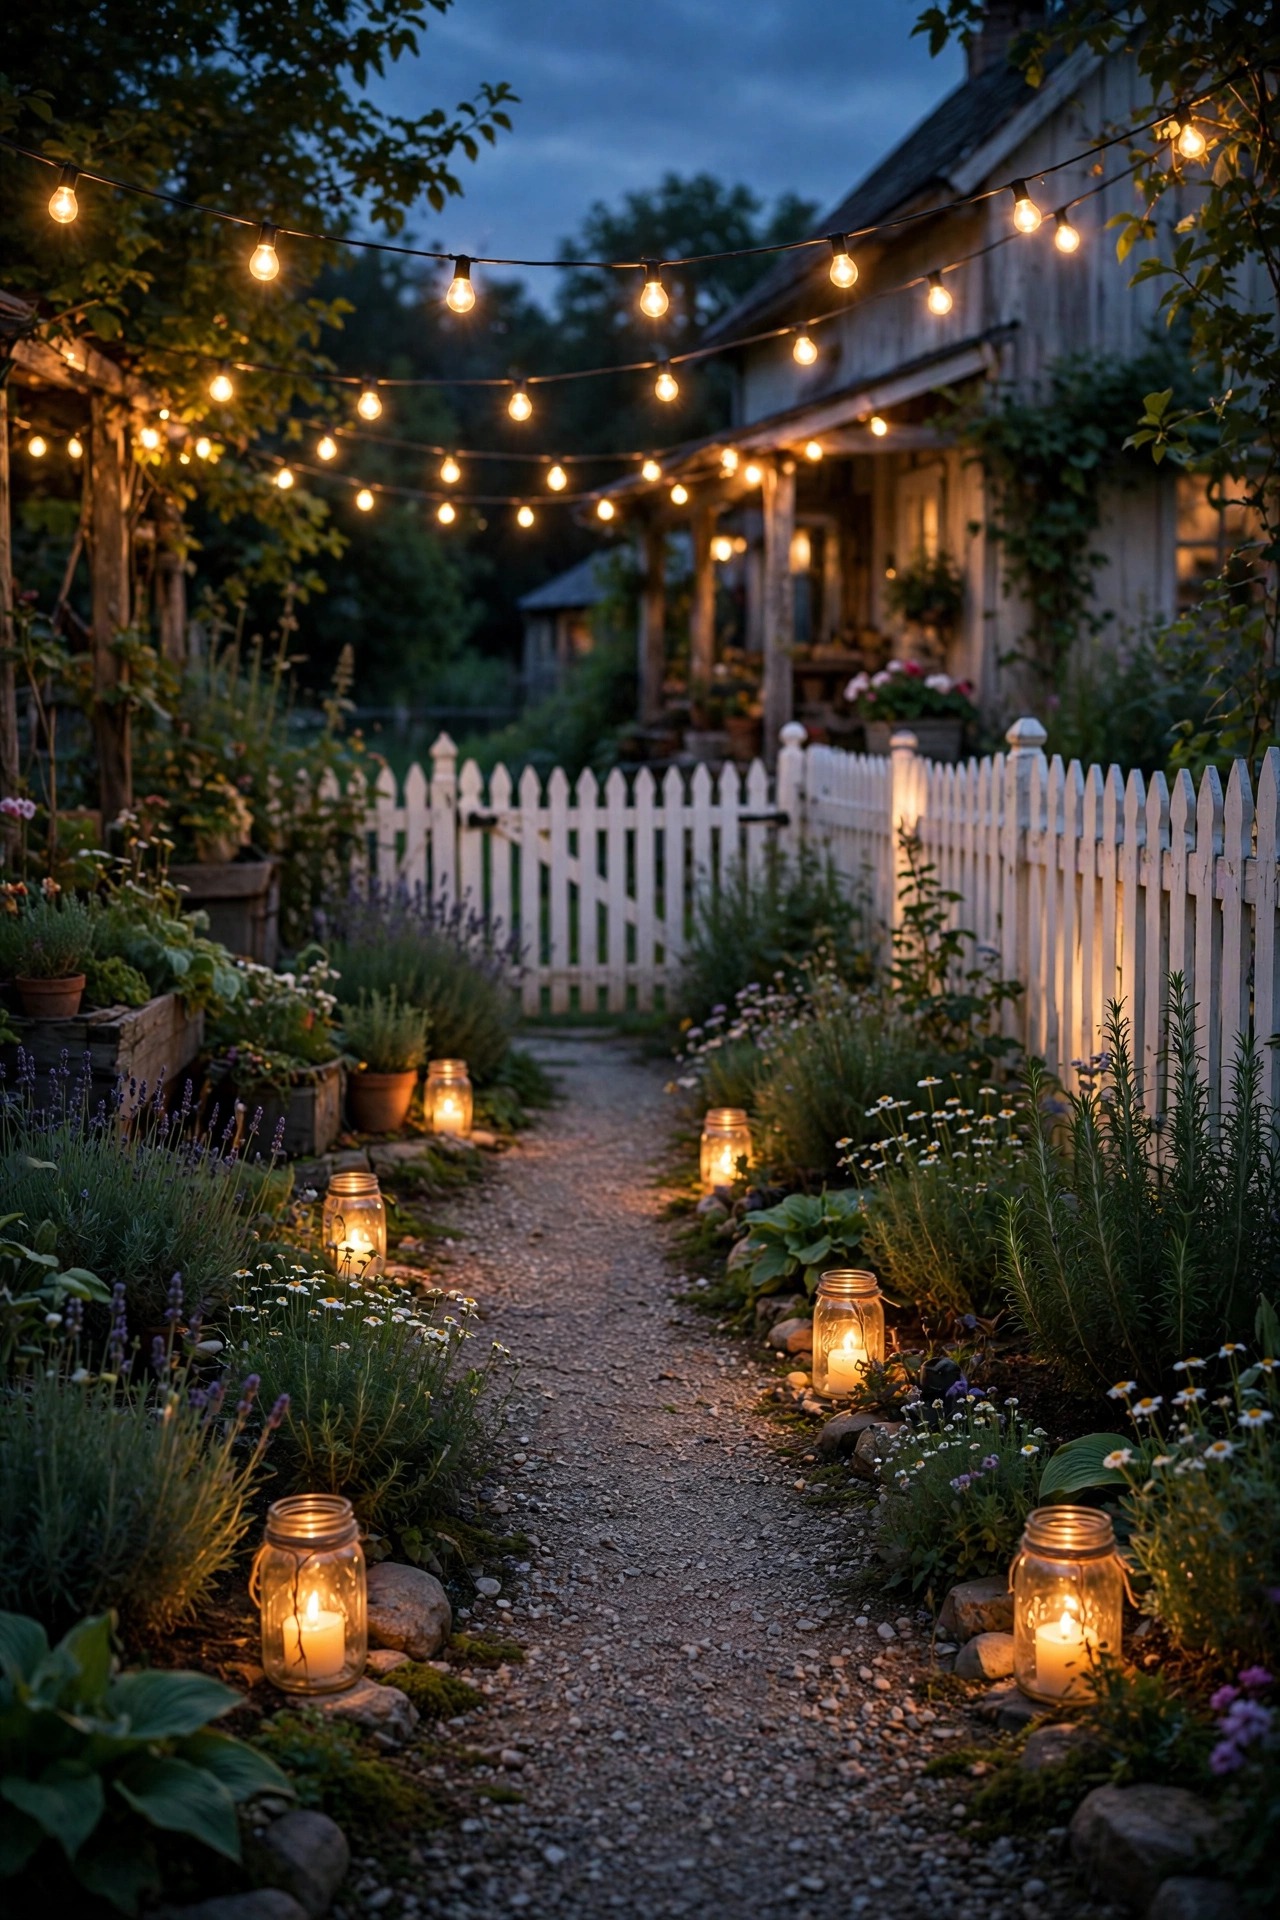
Every good garden lighting scheme I have ever installed started with a pencil sketch and a slow walk at dusk. Stand at the back door and note what needs light in three layers. First, ambient light: a gentle overall glow from string lights or a couple of well-placed fixtures so the whole garden reads as one inviting space. Second, task light: the gravel path, the gate latch, the steps off the porch, the potting bench. Third, accent light: one uplight in the old shade tree, a wash across the picket fence, a lantern cluster by the bench. Sketch those three layers on paper before you buy a single bulb, and mark where your outdoor outlet and any low-voltage transformer will live. I always recommend a low-voltage backbone for the permanent fixtures because it is safe to bury shallow, easy to extend, and sips electricity. Keep every bulb in the plan at 2700K warm white so the layers blend into one cozy glow instead of competing. This ten-minute plan saves real money, because you stop buying fixtures the garden never needed.
Suggested budget range: $20 – $60.
2. Hang Mason Jar Solar Lanterns From Shepherd Hooks Along the Beds
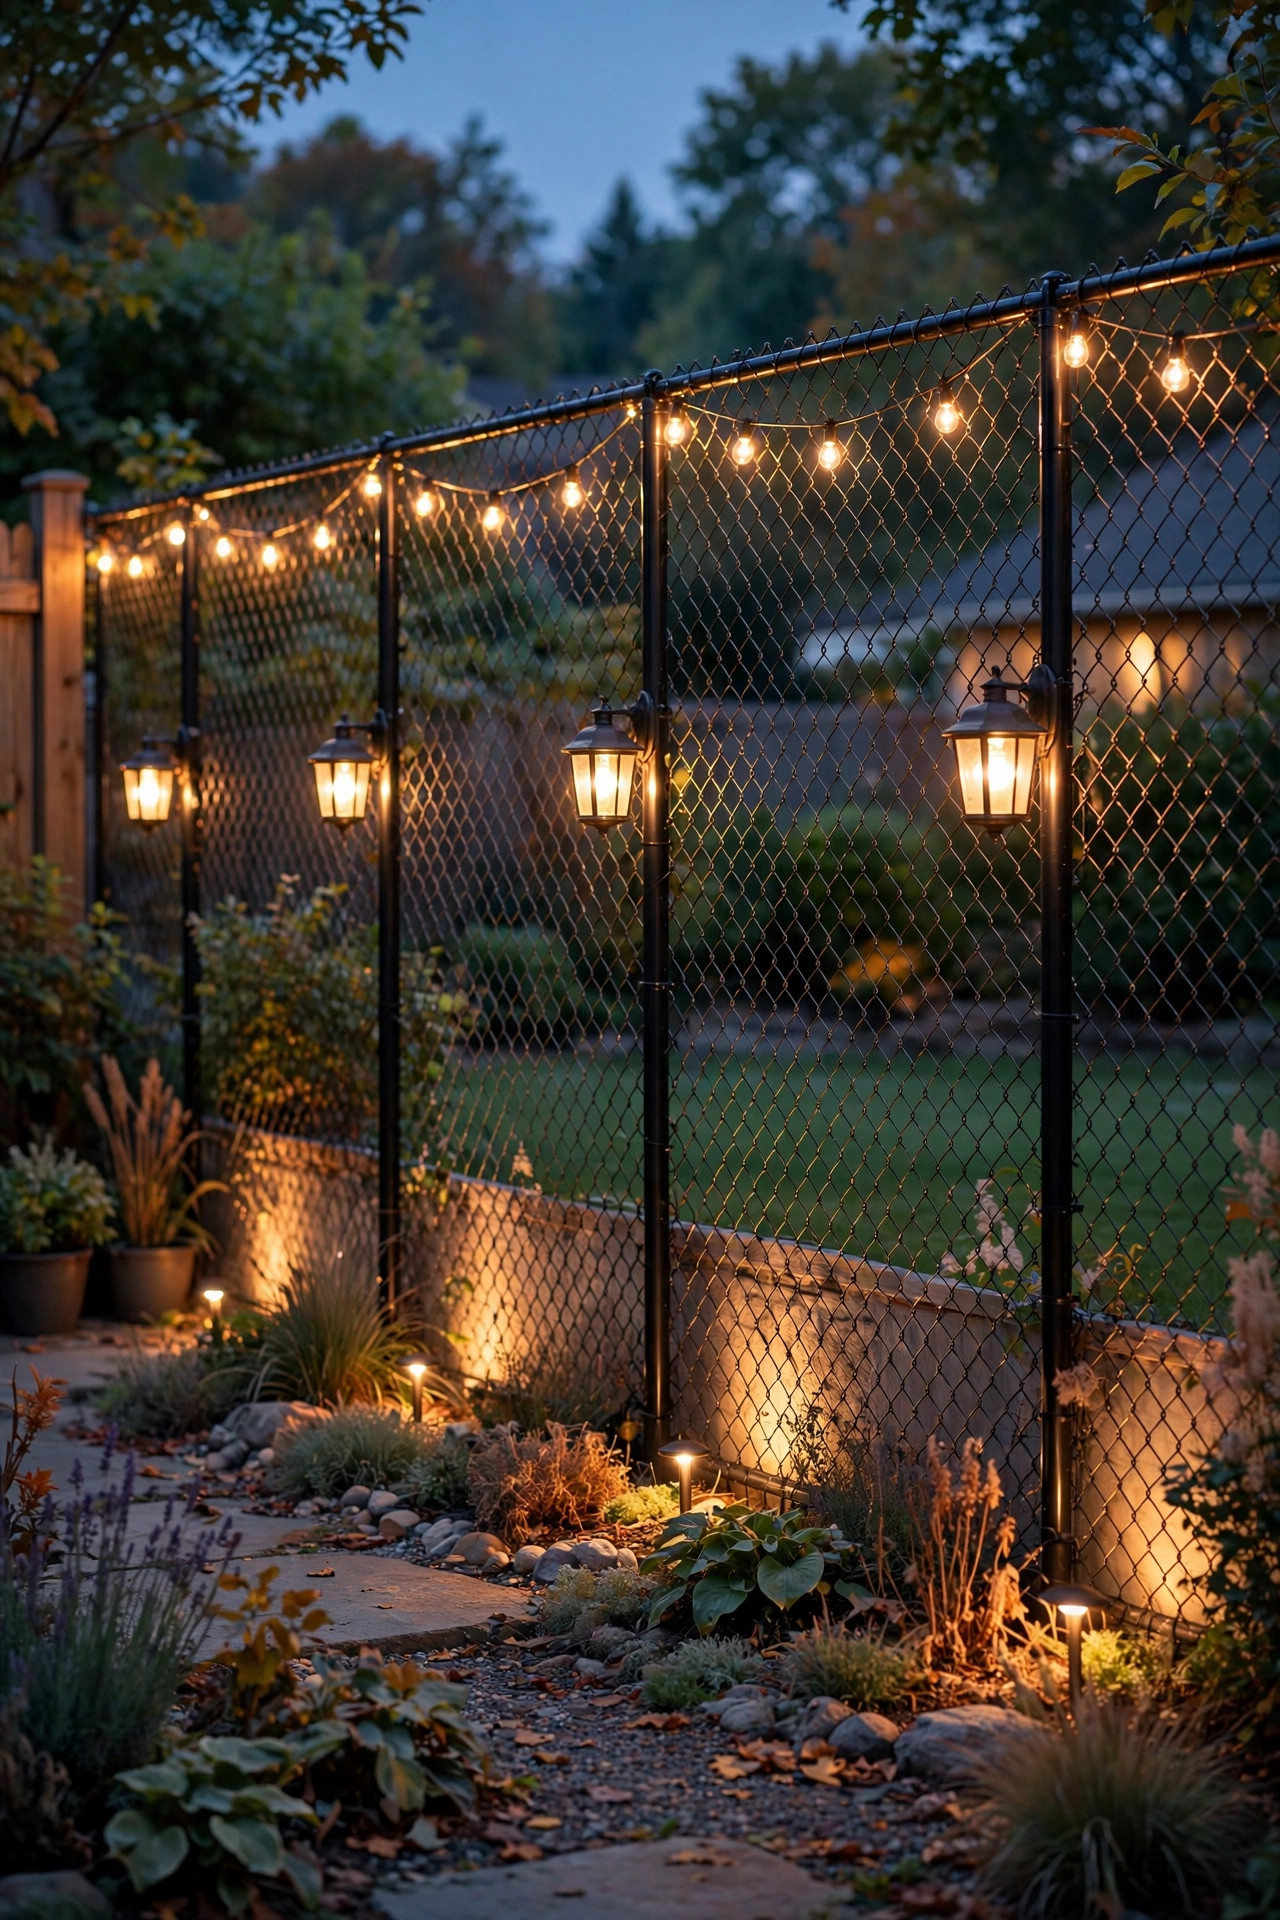
If one fixture says farmhouse garden to me, it is a mason jar lantern swinging gently from a shepherd hook. The solar versions are wonderfully simple: a jar with a solar lid, a warm LED filament-style bulb inside, and a hook you push into the soil. Line them along the flower beds every 6 to 8 feet, alternating heights if your hooks allow it, and the whole border twinkles by suppertime. The solar panel sits in the lid, so each jar needs a good six hours of direct sun to charge fully; tuck them at the sunny edge of the bed rather than under dense foliage. In my experience, the warm-white versions around 2700K look far more like real candlelight than the bluish ones. Bring the jars in during hard winter freezes if your winters drop below zero, since the batteries last longer stored indoors. For a finishing touch, drop a handful of small pebbles in the bottom of each jar to keep it steady in the wind and add a little country weight.
Suggested budget range: $25 – $70.

3. Mount Galvanized Barn Sconces on the Garden Shed and Potting Bench
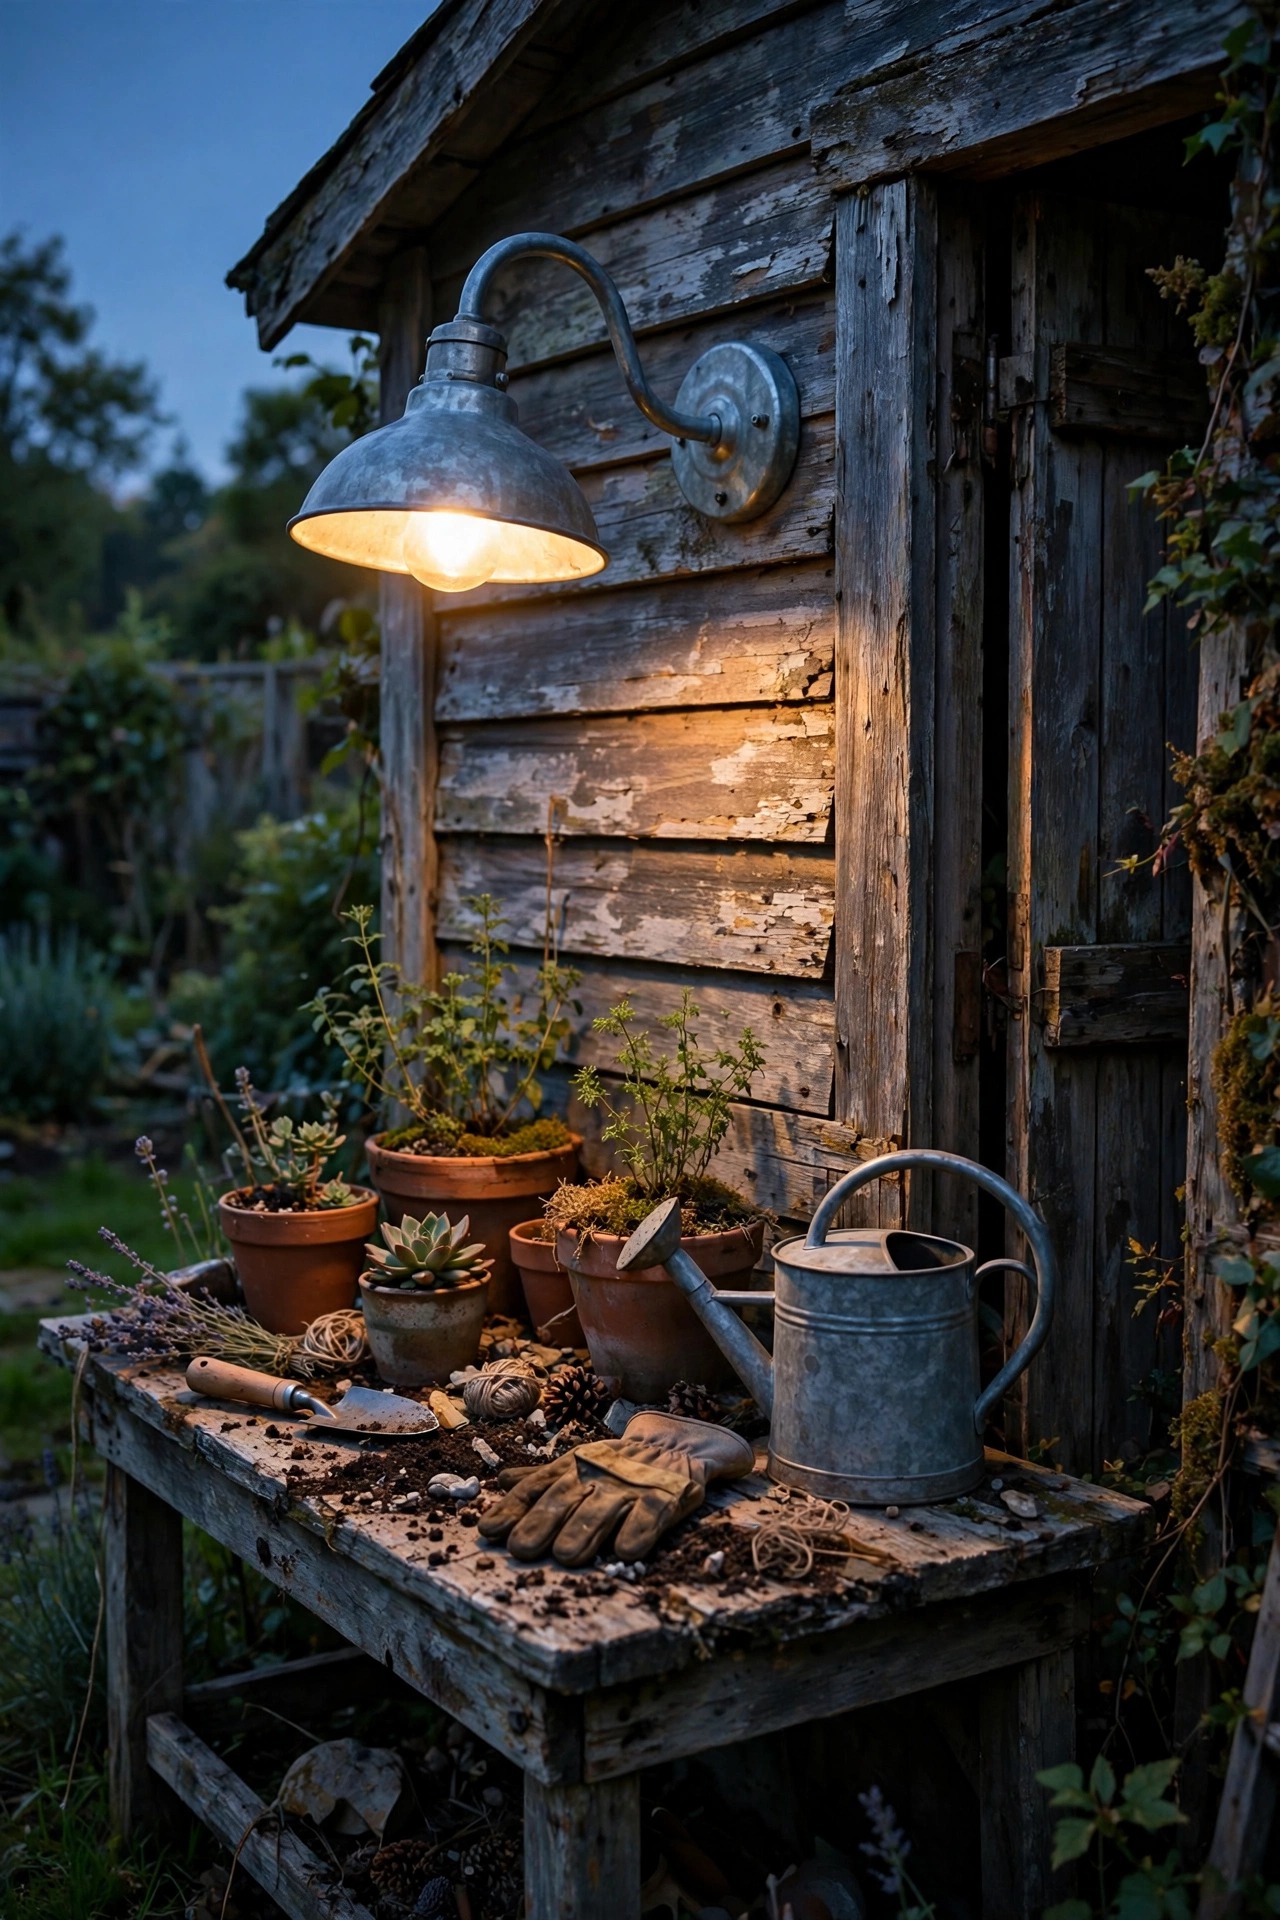
A galvanized gooseneck sconce is the hardest-working light in a farmhouse garden. Mount one beside the shed door and another over the potting bench, about 6 to 7 feet up, and you get honest task light exactly where you pot seedlings, sharpen tools, and sort the harvest. The galvanized finish shrugs off rain and matches everything from weathered barn wood to white clapboard. Choose fixtures rated for wet locations, and run them on a GFCI-protected circuit; if wiring is not in the cards, solar gooseneck versions with a remote panel do a respectable job. Fit them with LED filament-style bulbs at 2700K, around 800 lumens each, so the light feels like an old farm bulb without the heat or the energy bill. Angle the shade so the light pools downward onto the work surface instead of glaring into your eyes from across the yard. I leave mine on a simple timer, on at dusk and off at 11 p.m., so the shed corner never sits dark when I am putting tools away after supper.
Suggested budget range: $45 – $140.
4. Swag Edison-Style String Lights Over the Garden Path and Seating Corner
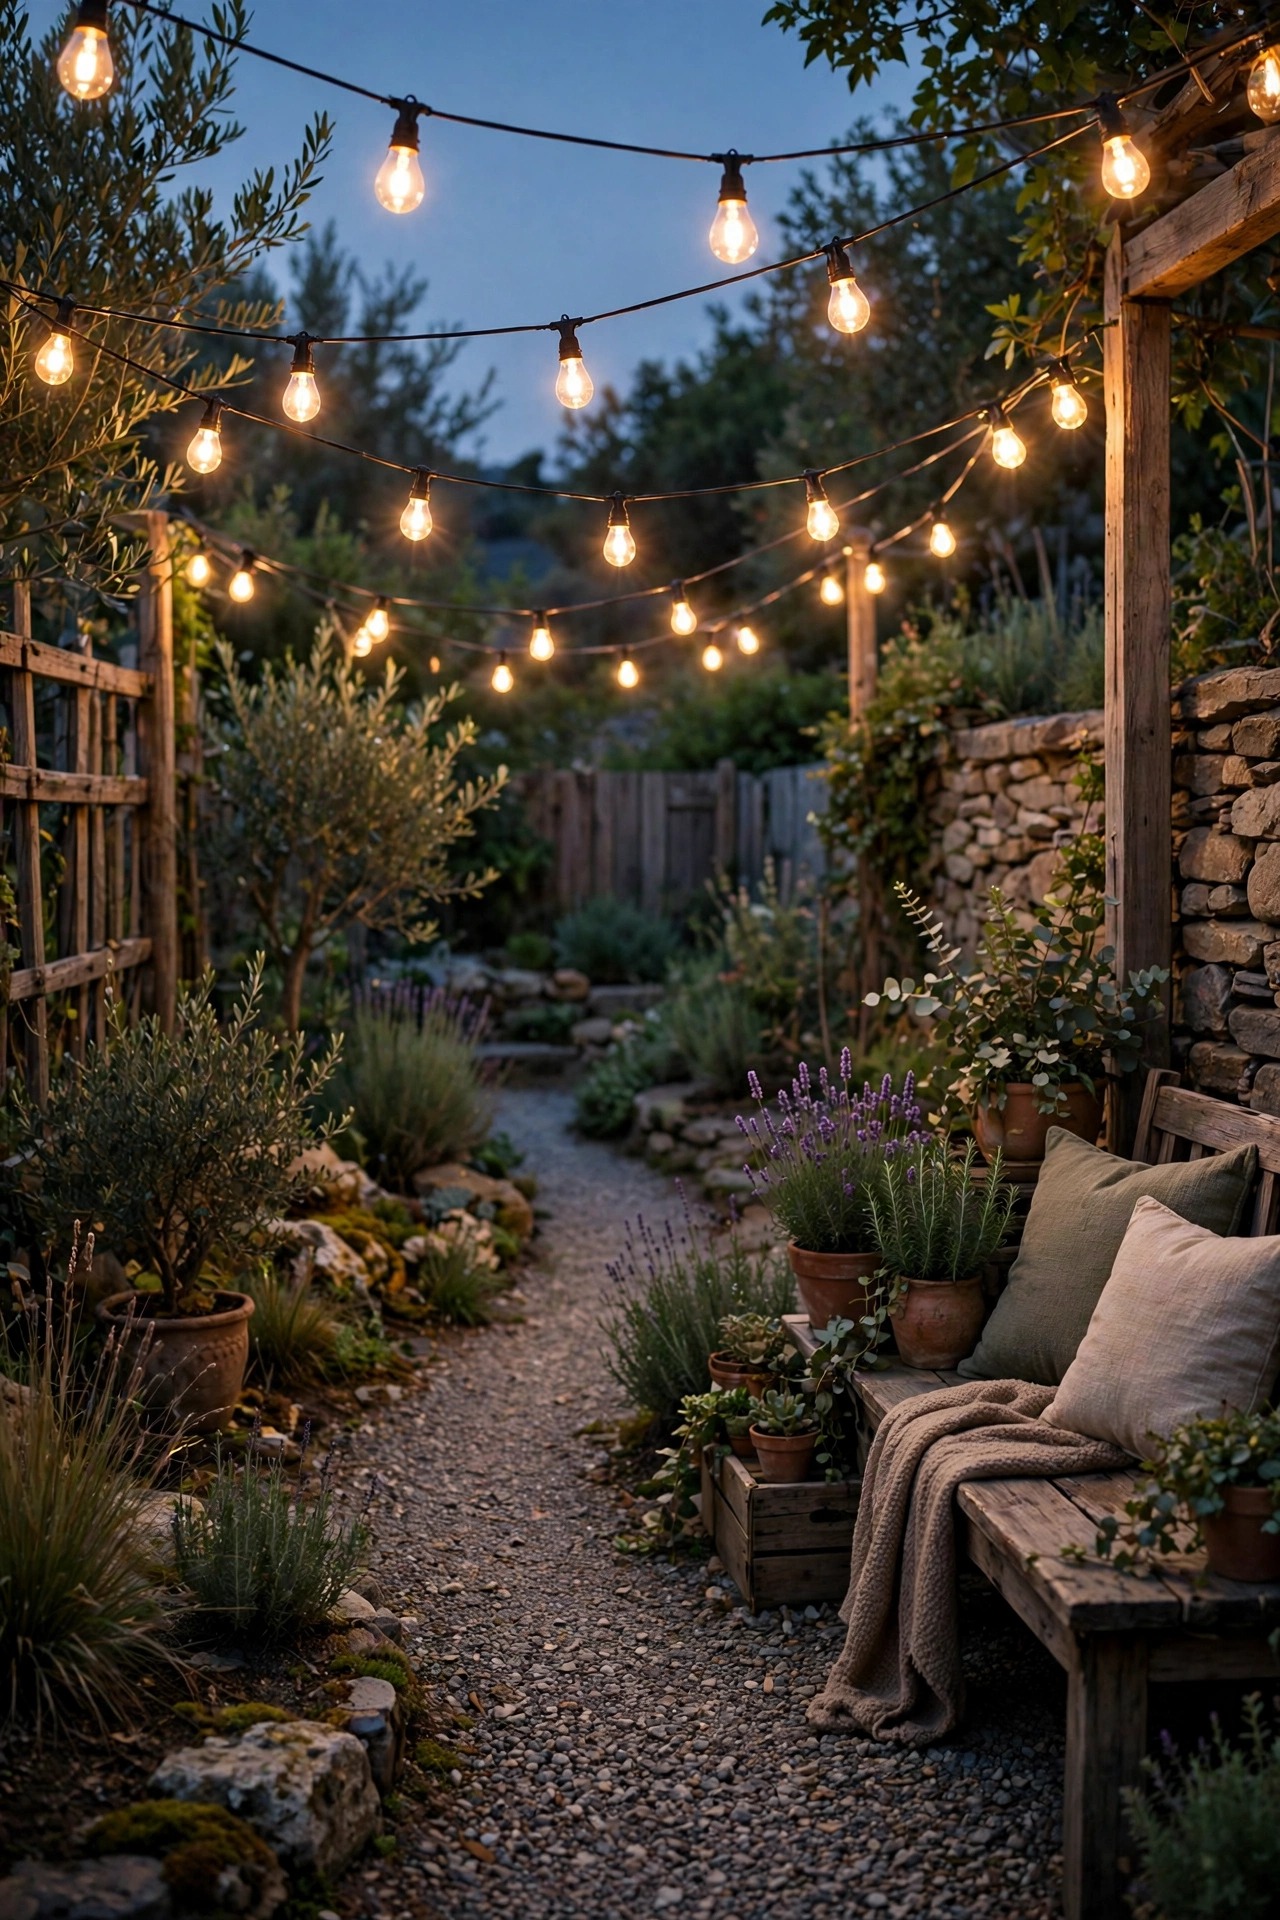
Nothing earns its keep like a couple of strands of Edison-style string lights swagged over the garden. Run them from the porch corner to a sturdy post at the seating corner, or zigzag them above the main path so the whole walk glows. I like commercial-grade strands with shatterproof LED filament bulbs spaced about 12 inches apart; they survive hail, dropped ladders, and curious raccoons far better than glass. Keep each swag gentle, with roughly a foot of dip for every 10 feet of span, and support runs longer than 25 feet with a guide wire so the cord is not carrying the weight. Plug the strand into a GFCI outlet and let a timer or smart plug handle the schedule. One honest caution: keep real flame far away from the strands, and choose LED bulbs only, since they stay cool against leaves and fabric cushions. Two 48-foot strands will cover most farmhouse gardens, and the effect at dusk, honestly, looks like a country wedding every single night.
Suggested budget range: $35 – $110.
5. Weave Copper-Wire Fairy Lights Through the Flower Beds
Copper-wire fairy lights are my secret weapon for flower beds that look lovely by day and flat by night. The wire is thin enough to disappear, so all you see after dark are dozens of tiny warm points of light drifting through the coneflowers and black-eyed Susans. Weave one 33-foot strand loosely through the stems of each bed, keeping the solar panel or battery pack at the sunny front edge. Space the lights informally rather than in rows; scattered and slightly uneven reads as fireflies, while perfect lines read as decoration. Because these strands are low-voltage or solar and the LEDs stay cool, they are safe tucked right against foliage, though I still keep battery packs off damp soil on a small stone. If you are building out your beds this season, my notes on flower bed lighting ideas pair beautifully with this trick. Expect the copper wire to weather to a soft patina over a season or two, which only improves the farmhouse look.
Suggested budget range: $15 – $45.

6. Line the Gravel Walk With Lantern-Style Path Lights
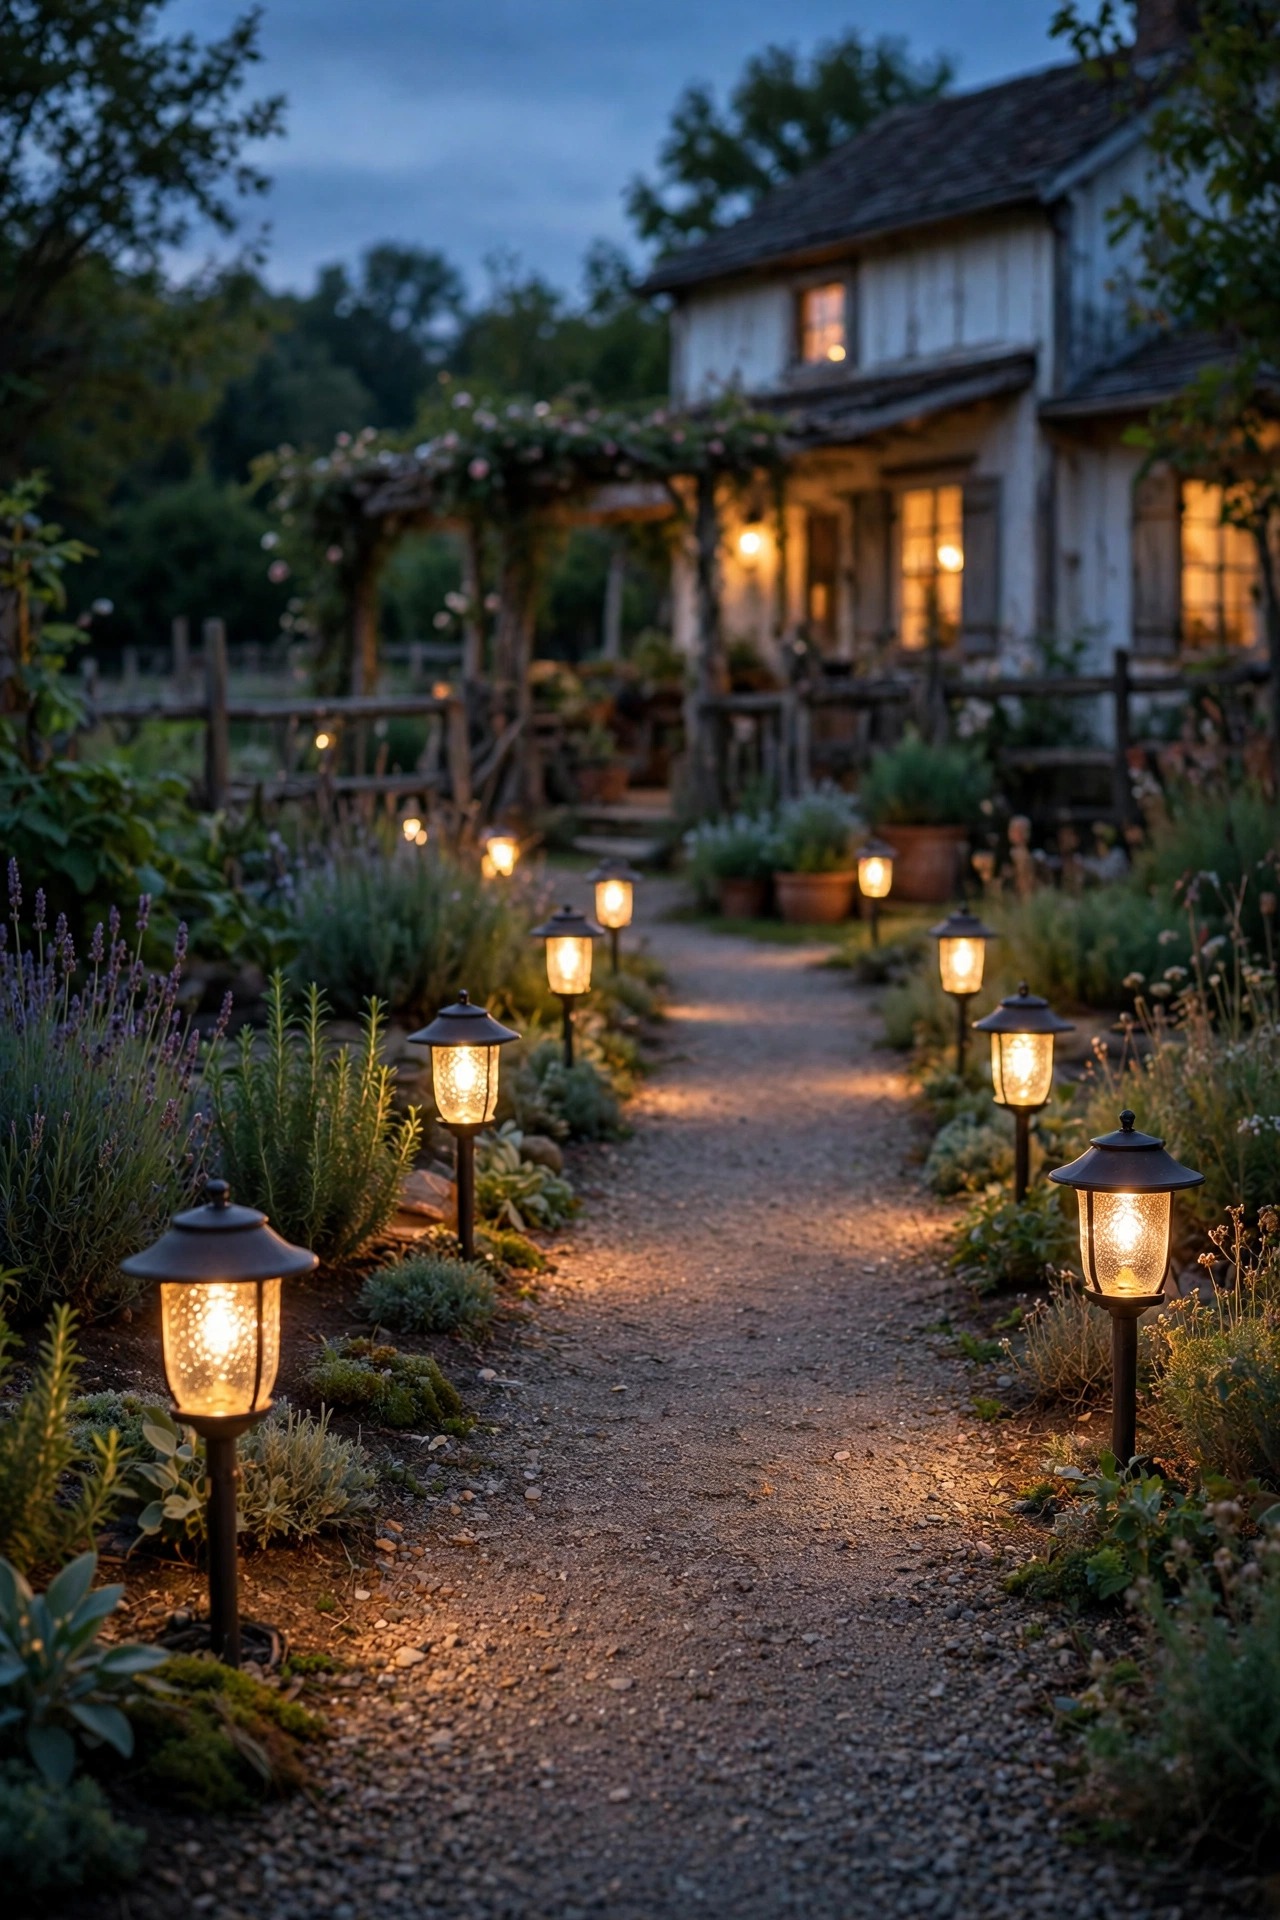
A gravel path is pure farmhouse, and it deserves path lights that match: black or oil-rubbed bronze lantern-style fixtures with seeded glass and a warm bulb inside. Space them 6 to 8 feet apart along one side of the walk, staggered rather than in a rigid runway line, and keep them 12 to 18 inches tall so the light pools on the gravel without blinding you. Low-voltage wired fixtures are my first choice here because they stay consistent all night, every night, unlike solar stakes that fade by midnight in December. Bury the cable about 6 inches deep along the path edge and leave a little slack at each fixture for future adjustments. Aim for roughly 100 to 200 lumens per fixture; you want to see the path edges and the occasional wandering toad, not land airplanes. Hooded tops and seeded glass hold up best outdoors, since they shed rain and soften the bulb glare. These are the lights your guests will quietly thank you for on the walk back to their cars.
Suggested budget range: $60 – $220.
7. Uplight the Old Shade Tree for a Natural Garden Focal Point
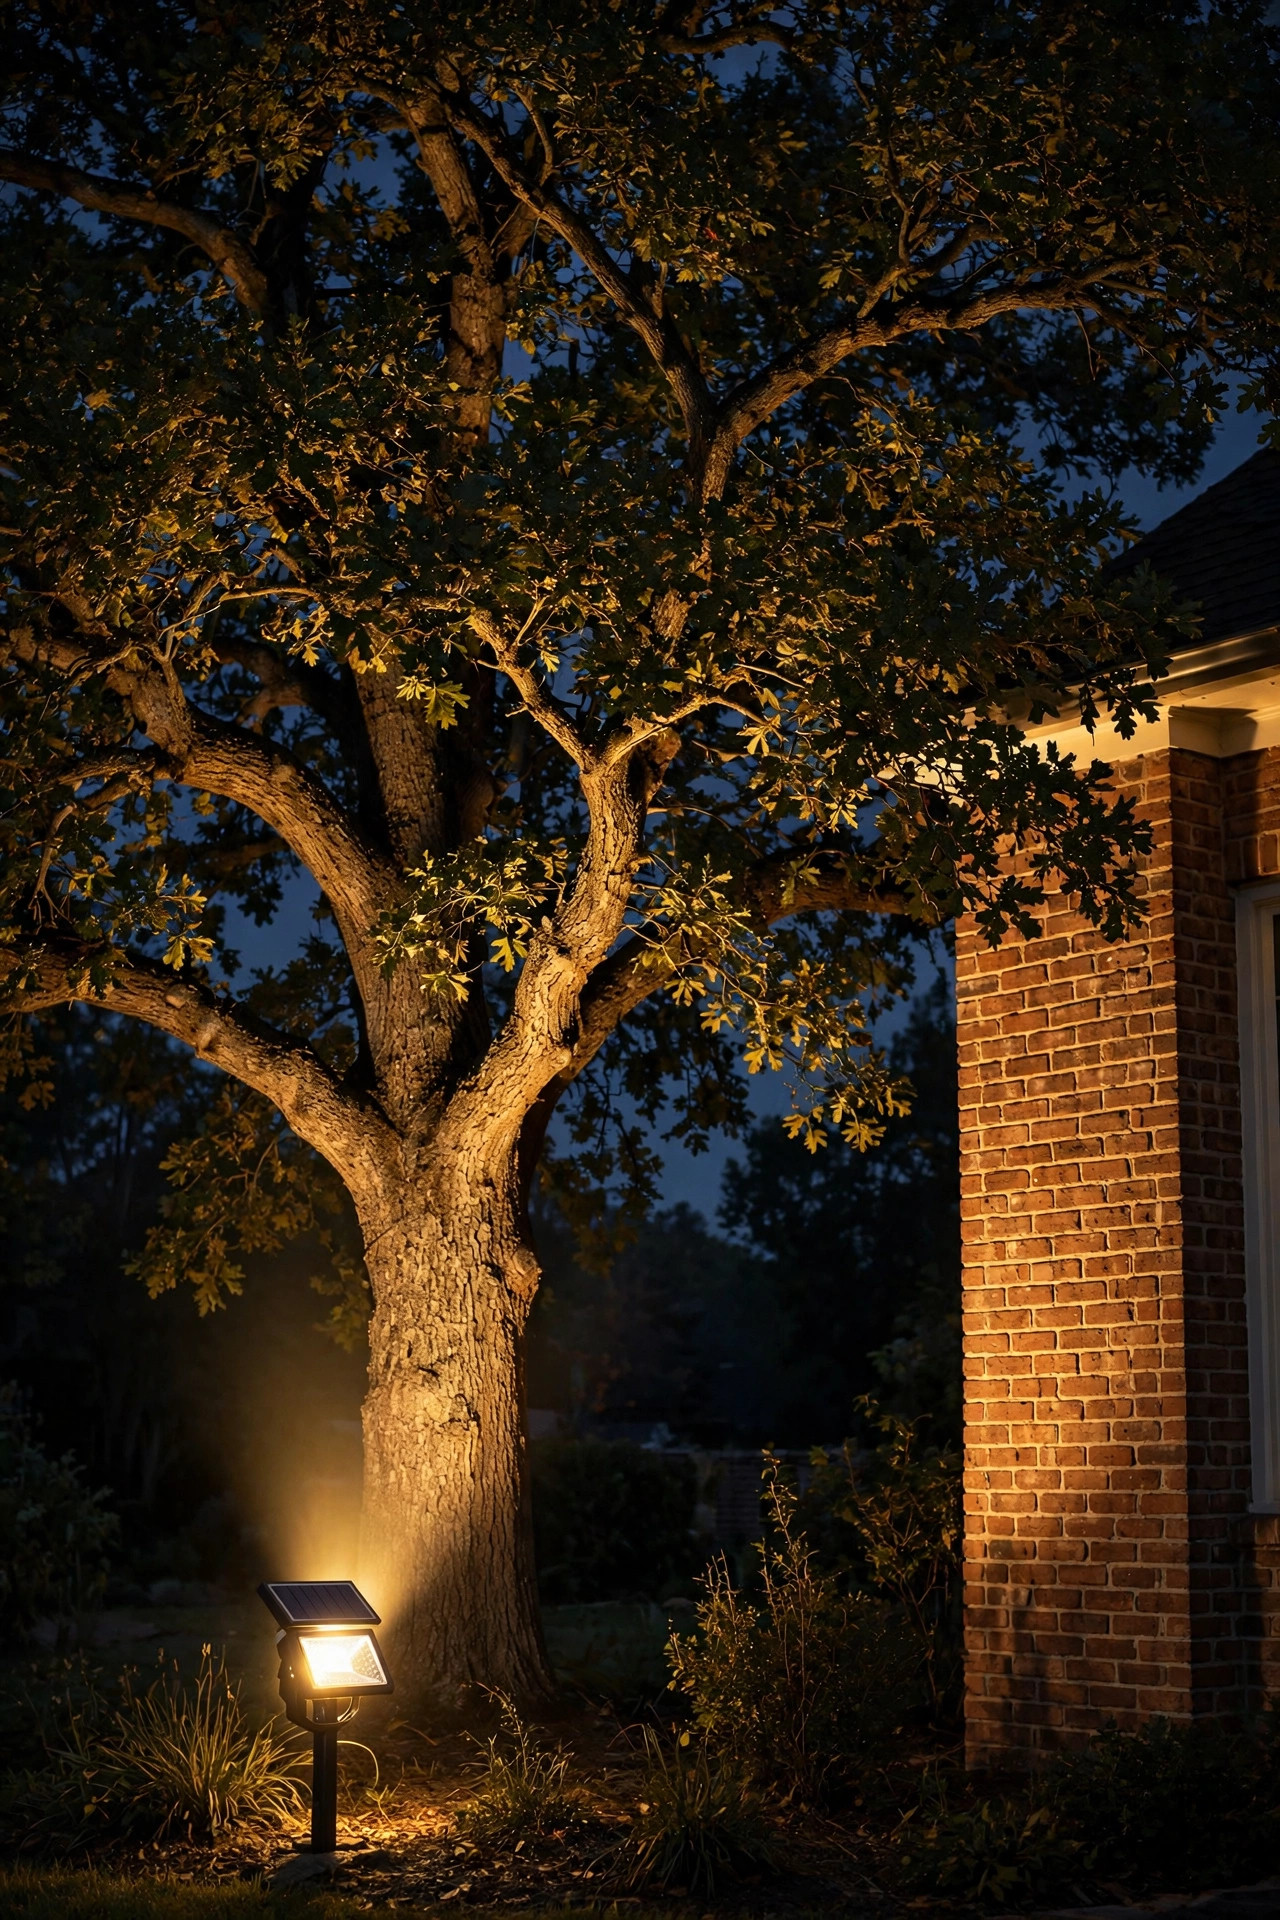
Every farmhouse garden has one tree that holds the whole place together, and a single uplight turns it into the evening focal point. Set one or two low-voltage well lights or bullet spotlights at the base, angled up into the canopy at about 30 degrees, and stand back to admire. A narrow 30 to 45 degree beam works best for tall oaks and maples; wider beams suit spreading fruit trees. Keep the fixtures a foot or two out from the trunk so the light grazes the bark texture on its way up, which is where the drama lives. Use 2700K bulbs in the 400 to 700 lumen range, and bury the fixture tops flush with the mulch so the mower passes cleanly. In my experience, one lit tree is plenty; light two and they compete, light three and the garden starts to look like a parking lot. This is accent light at its best: cheap to run, quick to install, and the first thing neighbors ask about at the fence.
Suggested budget range: $40 – $130.
8. Choose Solar Stakes That Look Like Antique Lanterns, Not Hardware
Solar path stakes have come a long way, and the farmhouse-friendly ones now mimic antique lanterns with black metal frames, seeded glass, and flickering warm LEDs. They are the fastest upgrade in this whole list: push them into the soil along the beds and paths, 5 to 7 feet apart, and you are done before lunch. The honest trade-off is brightness and stamina. Expect a gentle glow rather than true task light, and expect shorter run times in winter when the days are brief. To get the best from them, place each stake where its panel sees direct sun most of the day, wipe the panels clean once a month, and swap the rechargeable batteries every year or two. I use these where wiring would mean trenching under roots or across the driveway, and I treat them as atmosphere rather than infrastructure. Mixed with a few wired fixtures doing the heavy lifting, nobody will ever guess which lights were the ten-minute job.
Suggested budget range: $30 – $90.

9. Run String Lights Along the Split-Rail Fence Line
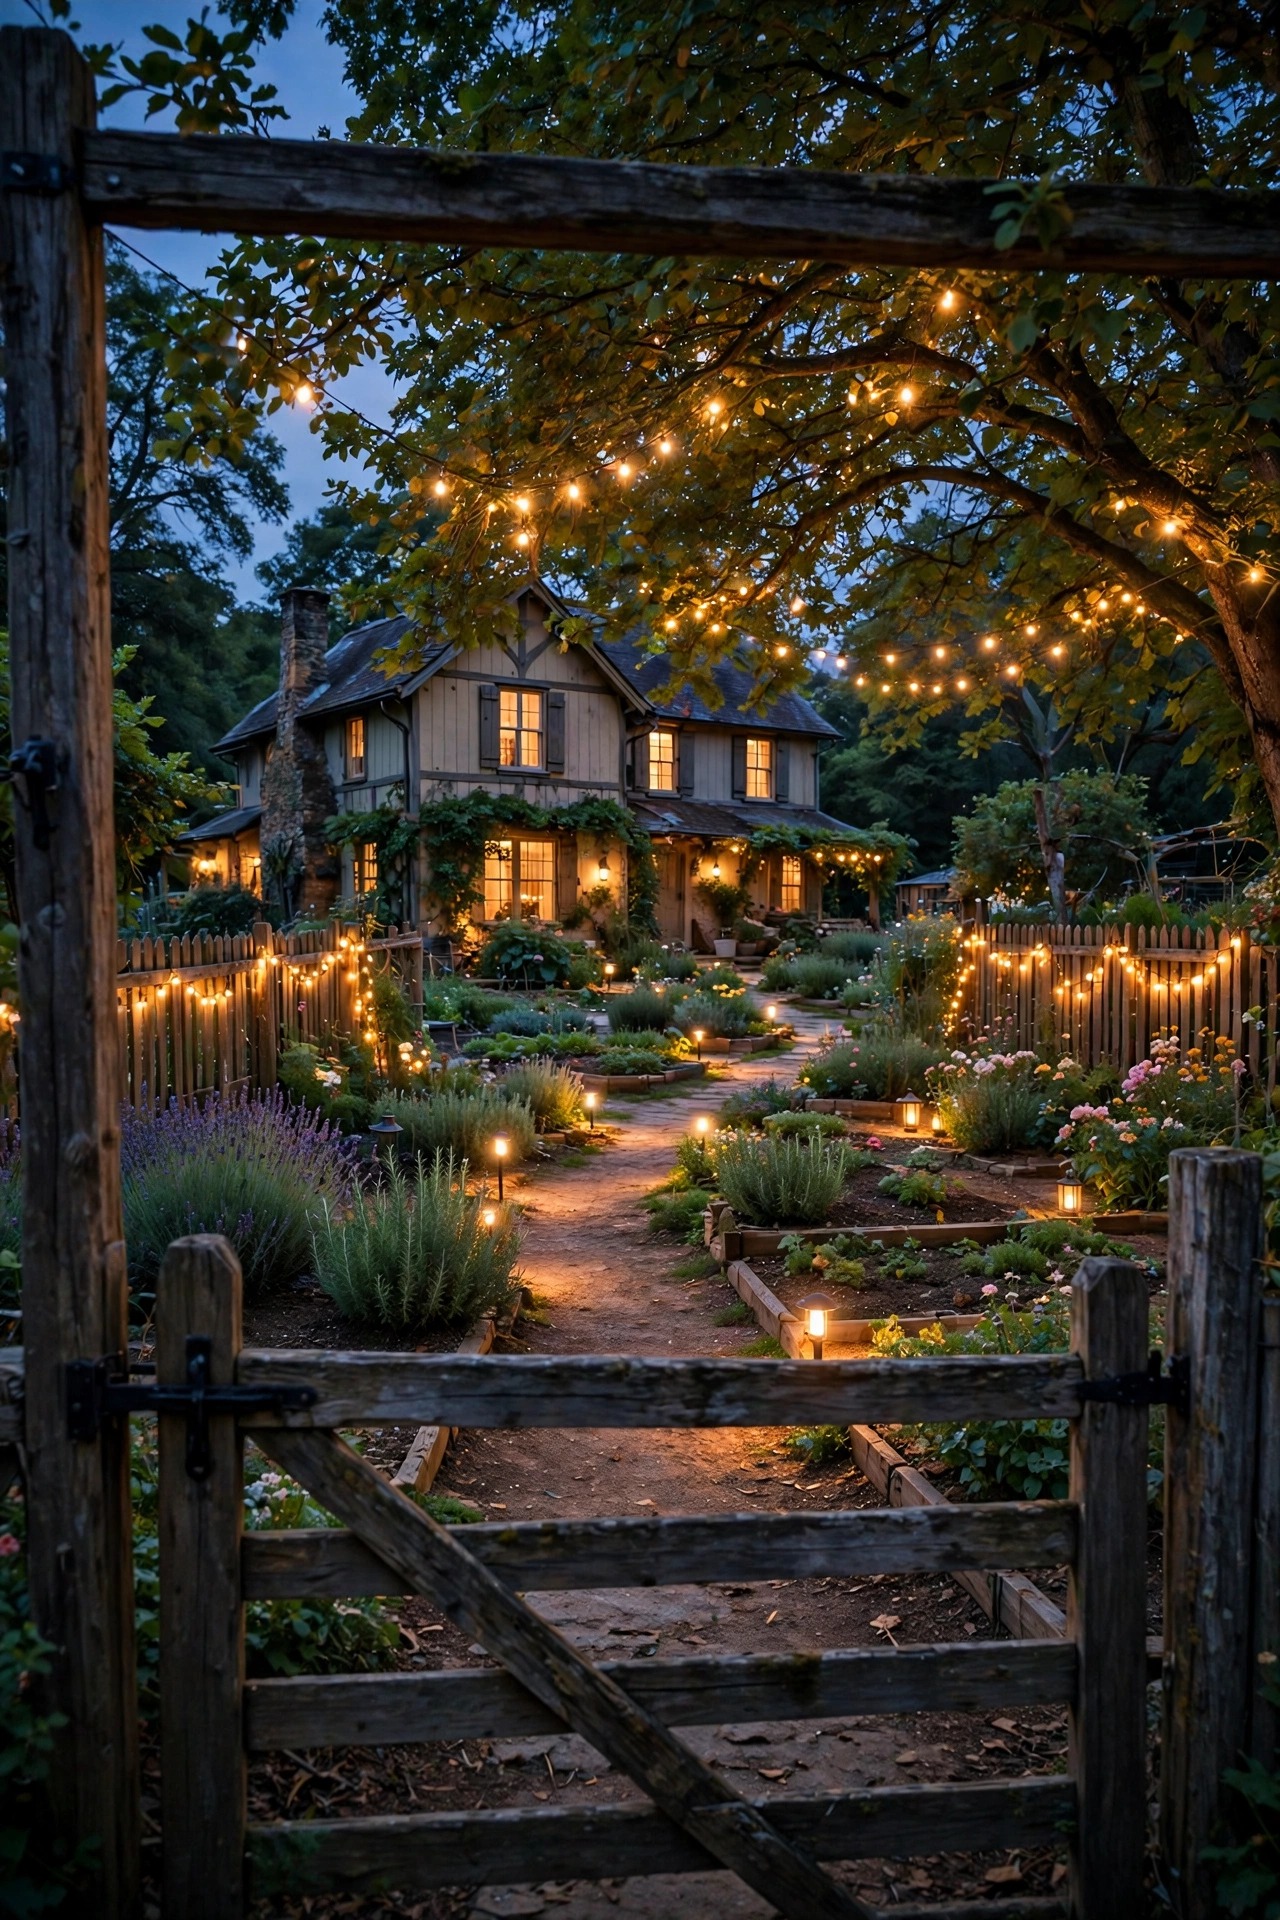
A split-rail or post-and-rail fence begs for a line of light along its length. I run a single strand of warm string lights along the top rail, clipping it loosely every couple of feet so it drapes in soft, shallow swags between posts. The effect from the porch is pure storybook: the whole boundary of the garden glows, and the space instantly feels finished and enclosed. Use outdoor-rated clips rather than nails or staples, which can nick the cord insulation, and keep the strand on the garden side of the fence so livestock, deer, or the neighbor's mower never reach it. Solar strands work here if the fence line gets good sun; otherwise run a low-voltage or plug-in strand from the nearest outlet and bury any crossing cable in a shallow slit trench so nobody trips. On long fence runs, add a second strand halfway through the season rather than overloading one circuit. When the fireflies come out in June, the fence line and the real thing blend together, and honestly, it never gets old.
Suggested budget range: $30 – $100.

10. Spotlight a Vintage Water Pump, Wagon Wheel, or Garden Antique
Farmhouse gardens collect wonderful things: a cast-iron water pump, a wagon wheel leaning on the fence, Grandpa's old plow. One small spotlight gives that treasure its moment after dark. A solar or low-voltage bullet light staked 2 to 3 feet in front, aimed slightly upward, is all it takes. Keep the beam narrow and the brightness modest, around 200 to 400 lumens, so the piece glows rather than glares. Angle the light from the side instead of straight on; side light rakes across rust, chipped paint, and worn wood grain and shows every bit of character. If the antique sits in a bed, tuck the fixture behind a clump of ornamental grass so the source stays hidden. This is also a kind way to light a memorial stone or a beloved pet's corner of the garden. In my experience, visitors always drift toward the lit antique, and it becomes the spot where evening conversations gather.
Suggested budget range: $20 – $75.

11. Add Gentle Light to Raised Beds for Evening Harvests and Watering
Anyone who gardens after a day job knows the scene: harvesting green beans by phone flashlight. A little planned light along the raised beds fixes that for good. I mount short, hooded fixtures on the bed corners or run a low strand of rope light along the inside edge of the frame, aimed down at the soil line. The goal is soft, shadow-free light at hand height, roughly 100 lumens per bed, so you can tell a ripe tomato from a green one and spot the hose before you trip on it. Solar corner caps made for 4×4 posts are a ten-minute option if your beds have corner posts. Keep every fixture LED and cool-running near dry mulch and straw, and put the set on the same timer as the path lights. If you are planning the beds themselves, my guide to raised bed garden lighting ideas goes deeper on layouts. Harvesting at dusk in a warm pool of light, basket on your arm, is one of the true pleasures of the farmhouse life.
Suggested budget range: $25 – $85.
12. Cluster Hurricane Lanterns on the Garden Bench and Potting Table
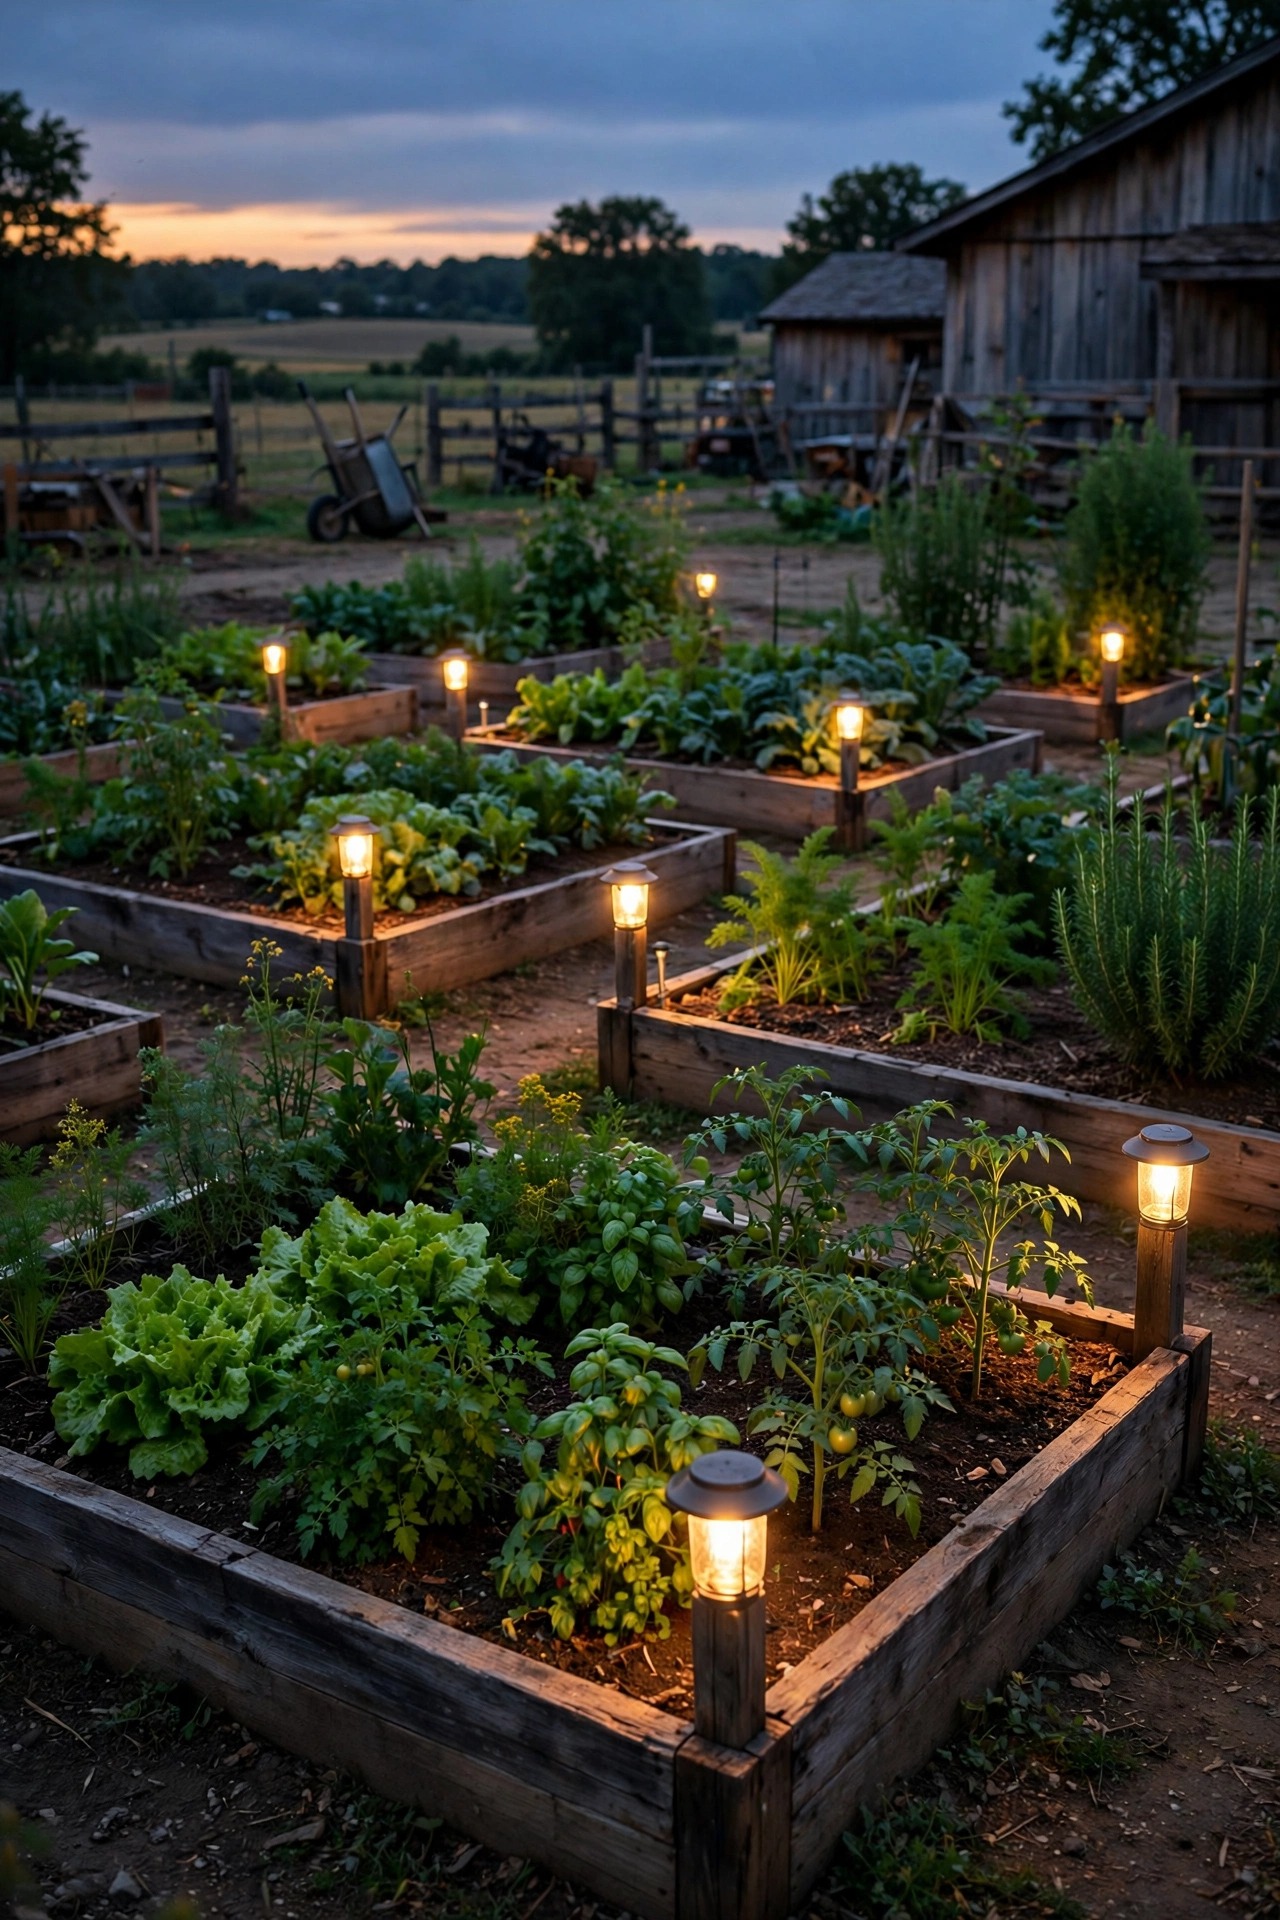
Hurricane lanterns are the farmhouse garden's jewelry: grouped in twos and threes on the bench, the potting table, and the porch steps, they make any corner feel gathered-in and welcoming. I use flameless LED candles inside mine, with a realistic flicker and a timer that brings them on at the same hour every evening. The glass chimney protects the glow from breezes and gives that lovely magnified shimmer real lanterns are known for, without a drop of kerosene or a single open flame near dry plantings. Mix heights, a tall lantern flanked by two shorter ones, and set the clusters where people naturally pause: the bench, the gate, beside the garden door. Real galvanized or black metal lanterns weather gracefully; if yours are decorative indoor pieces, bring them in when storms roll through. On the table, a lantern cluster plus the string lights overhead is honestly all the light a long supper needs.
Suggested budget range: $20 – $80.
13. Wash the White Picket Fence With Soft Ground-Level Light
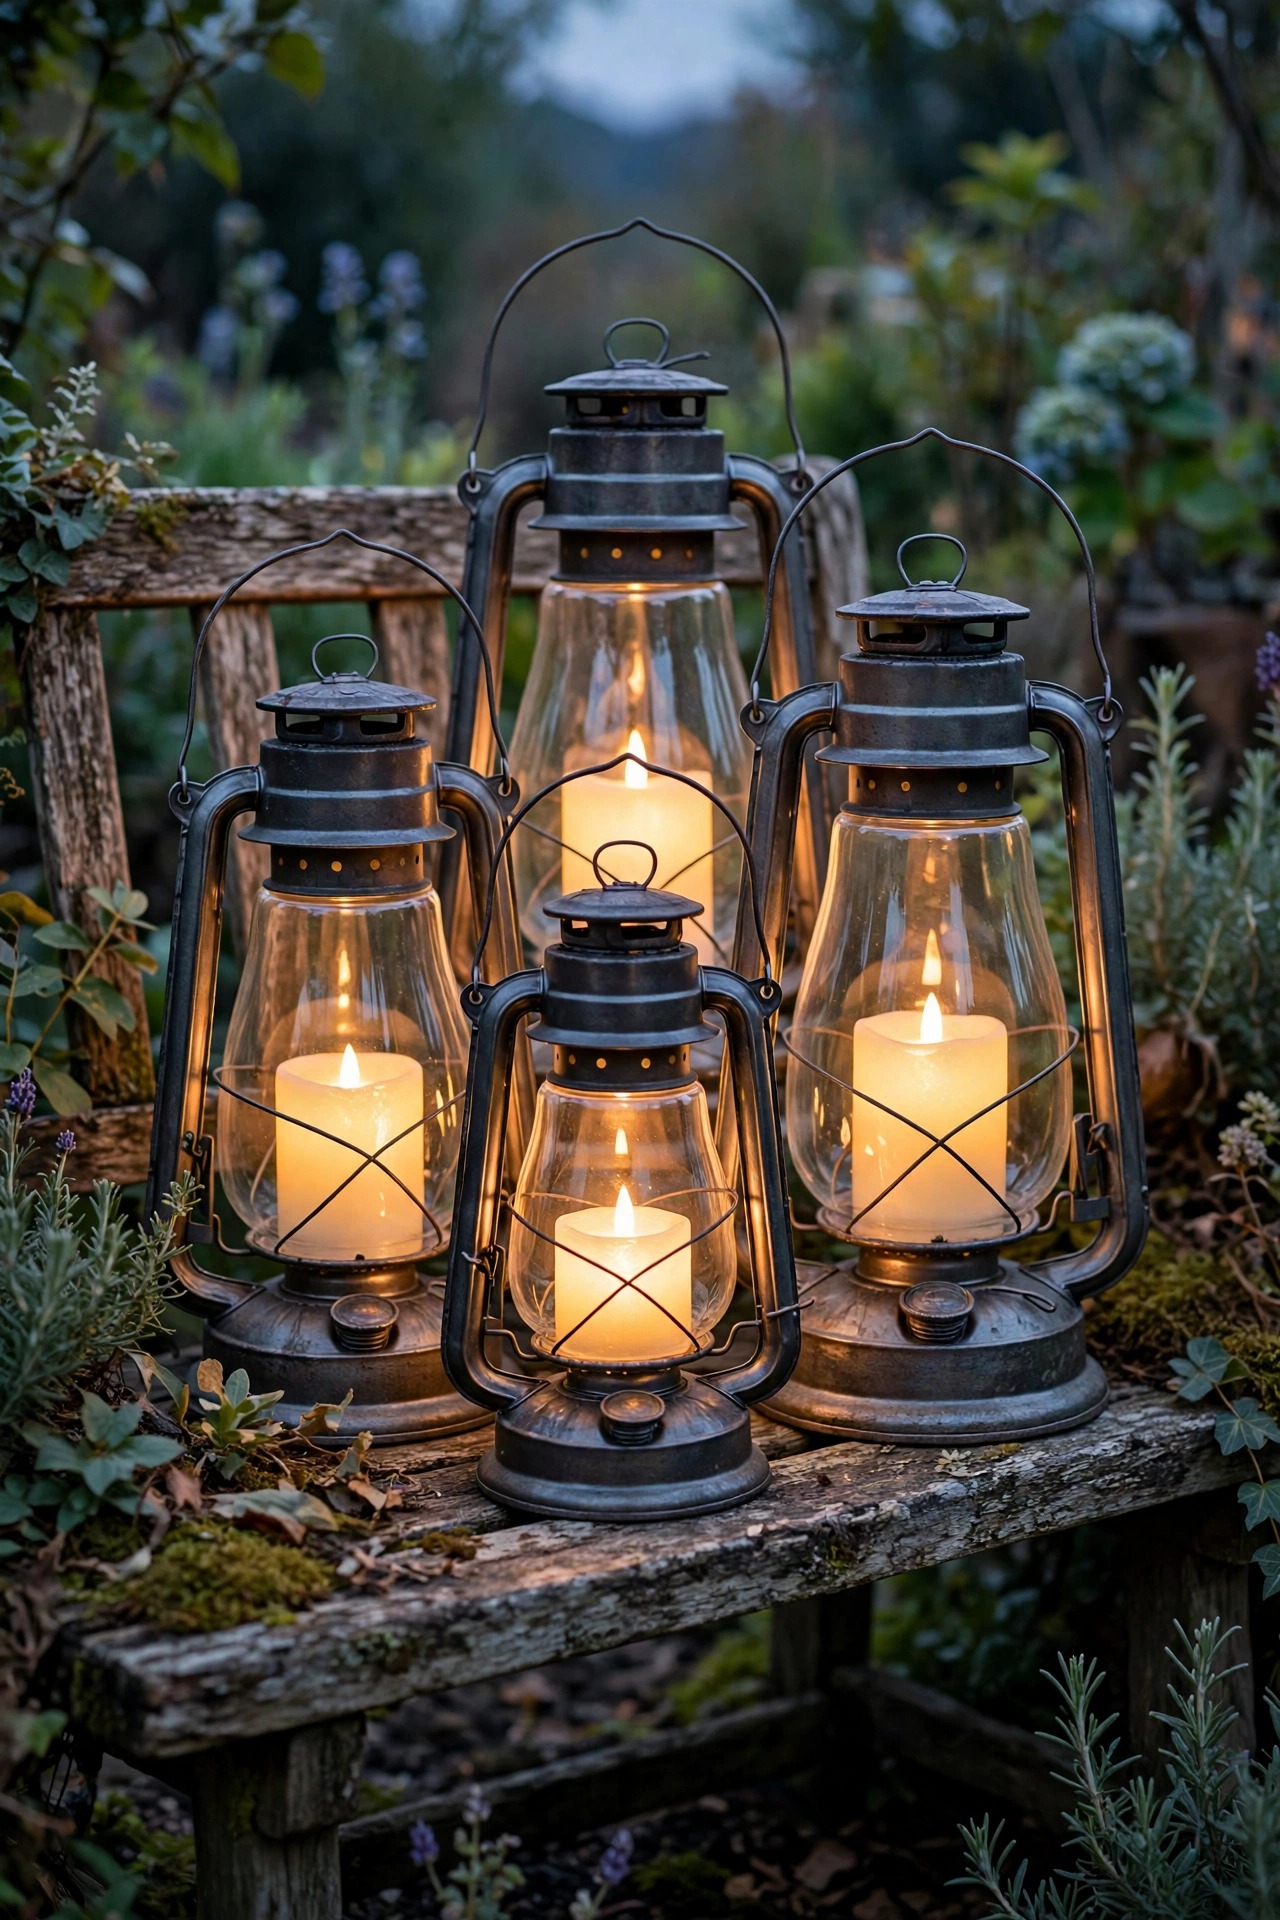
A white picket fence is a gift to a lighting plan, because it reflects warm light beautifully. A row of low, hooded fixtures set in the bed along the fence, aimed gently upward and inward, washes the pickets in a soft glow that doubles as ambient light for the whole front bed. Space small well lights or short bollards about 8 feet apart, tucked 6 to 10 inches out from the fence base, and use modest 150 to 250 lumen bulbs; white paint amplifies light, and it is easy to overdo. The grazing angle shows off the fence's shadow lines and makes plantings in front stand out in silhouette. This trick also buys real safety, since the fence line usually borders the path from the driveway or the road. Keep fixtures shielded so passing drivers and neighbors see the glow, not the bulb. When the fence gets its spring coat of paint, the wash looks brighter every year, a happy bonus I did not expect when I first tried it.
Suggested budget range: $55 – $180.
14. Moonlight From High Branches for the Softest Light of All
Moonlighting is the technique professionals charge the most for, and it is the one that makes guests say the garden feels like a forest clearing. A fixture mounted 15 to 25 feet up in a sturdy tree, aimed down through the branches, casts dappled light and leaf shadows across the path or lawn below, exactly like a full moon. Use a low-voltage bullet fixture with a soft 2700K bulb and a wide beam, secured with stainless hardware and a growth-friendly strap rather than screws driven deep into the trunk. Because the light comes from above, it lights a wide area gently with no visible glare at eye level. This is one job where I happily recommend hiring a pro with a ladder and climbing gear if heights are not your friend; the install is a one-time cost and the fixture runs for years. Pair moonlighting with very low path lights and the garden feels lit by the sky itself.
Suggested budget range: $120 – $350.

15. Match the Garden Glow to Your Porch Lights for One Cohesive Look
The garden reads as part of the house when the light matches, so I treat the porch and garden as one system. If your porch wears black lantern sconces with warm filament bulbs, echo that same black metal and 2700K warmth in the garden fixtures, even if the shapes differ. Check that every bulb across both spaces shares the same color temperature; one cool-white bulb in a sea of warm light sticks out like a sore thumb and quietly ruins the mood. Carry one repeated element across the yard, like the same lantern style at the porch door, the gate, and the shed, and the whole property feels planned rather than accumulated. My farmhouse porch lighting notes cover the porch side of this pairing in detail. Stand at the road at dusk and look at the whole scene: house, porch, garden, fence. When the temperature and finishes agree, the place looks like it has been loved for generations, even if you installed it all last month.
Suggested budget range: $40 – $150.

16. Put Everything on Timers and Dusk-to-Dawn Sensors
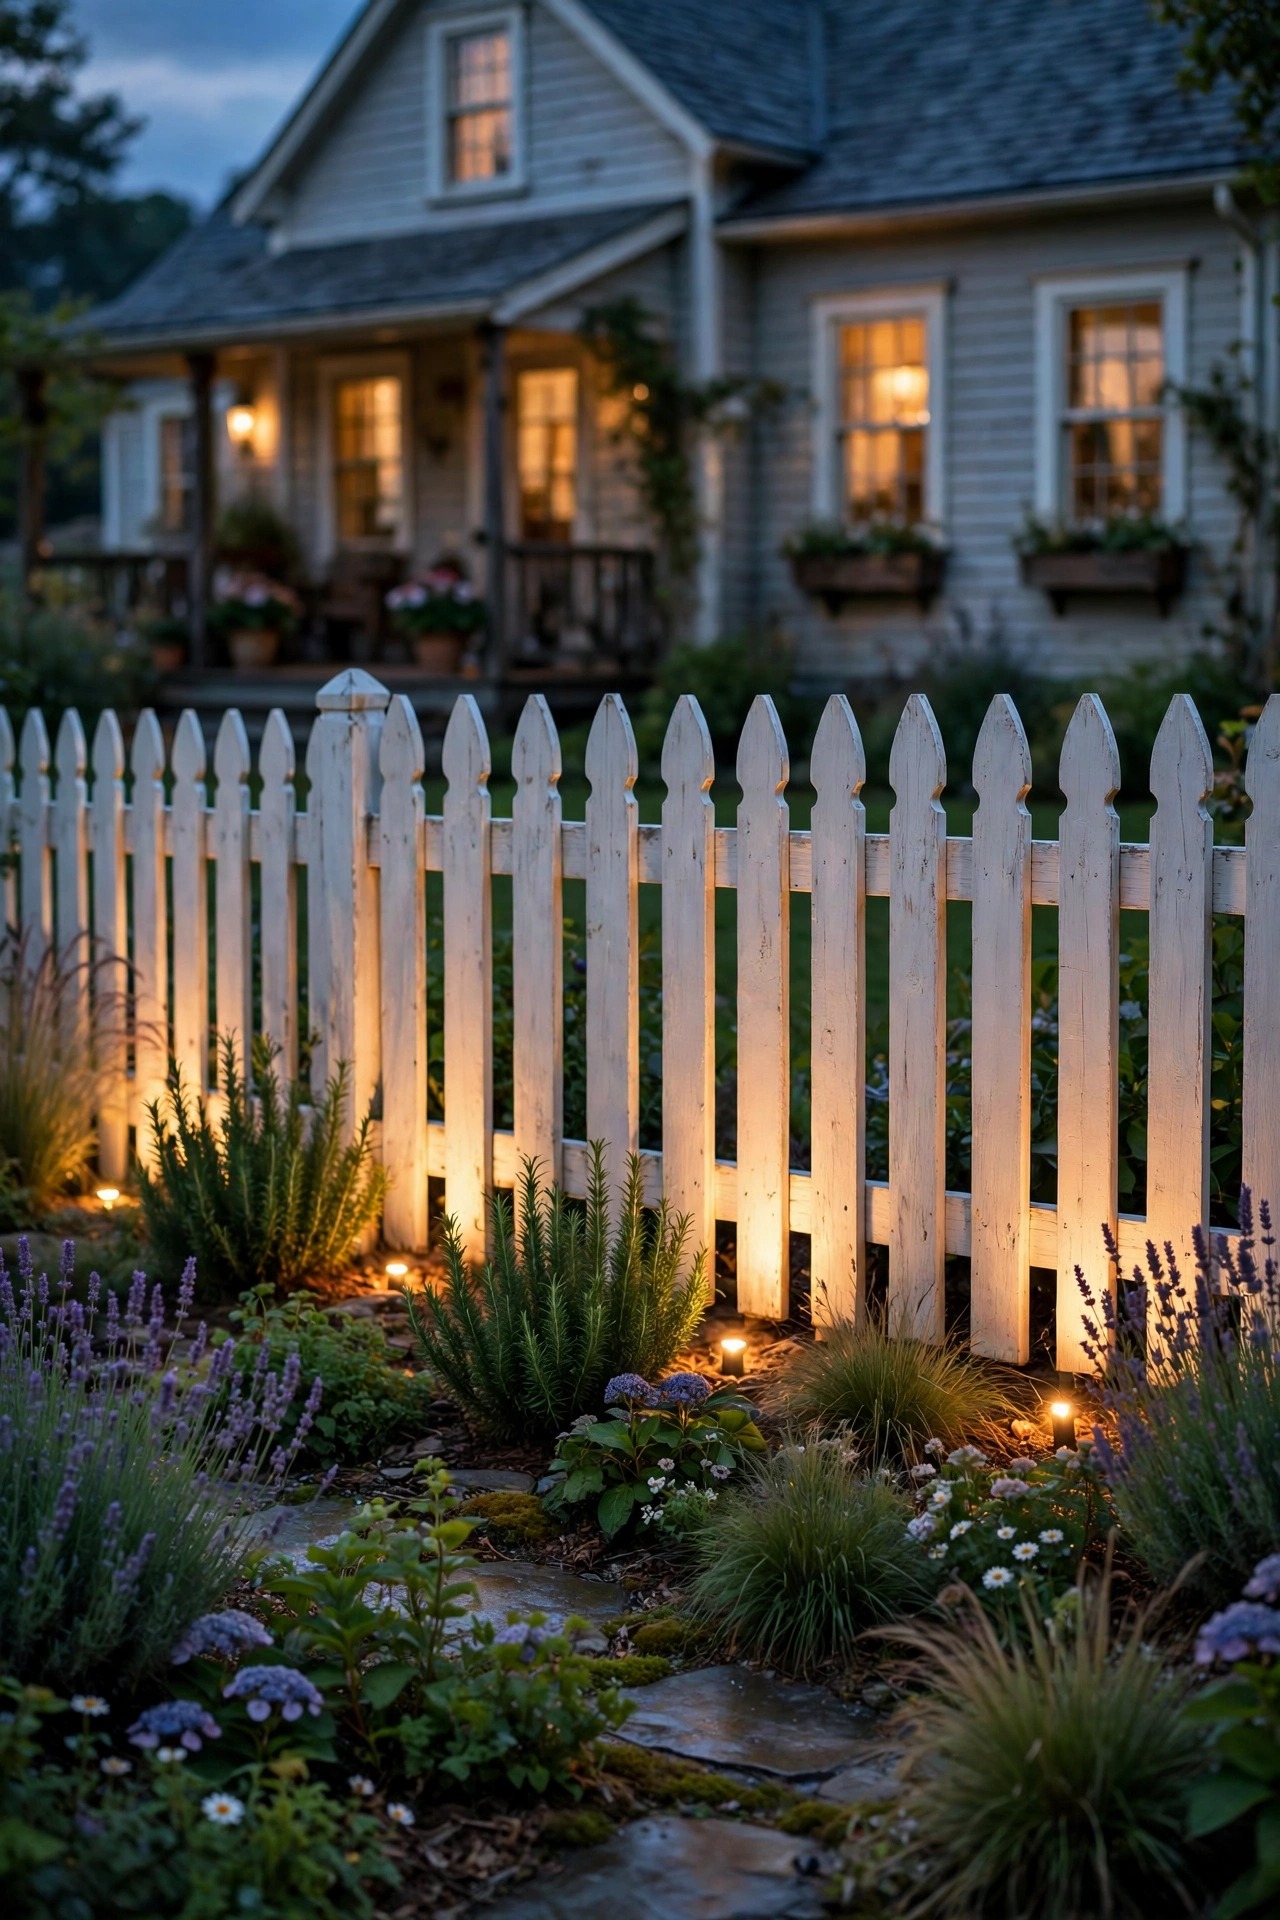
The best farmhouse garden lighting is the kind you never think about. A transformer with a built-in photocell and timer runs the whole low-voltage system: on at dusk, off at 11 p.m. or midnight, every night, in every season, without you touching a switch. Solar fixtures handle themselves, and plug-in strands behave beautifully on a smart plug or an outdoor timer set to astronomic dusk, which adjusts itself as the evenings lengthen and shorten. I set accent lights, like the tree uplight and fence wash, to the same schedule as the paths so the garden turns on as one scene. A lights-out hour is good manners for neighbors and for the garden itself; moths, bats, and sleeping birds all do better with a dark second half of the night, and your electric bill will thank you too. Total draw for a typical low-voltage garden system is less than a single old porch bulb, so the timer pays for itself in convenience alone within the first month.
Suggested budget range: $25 – $90.
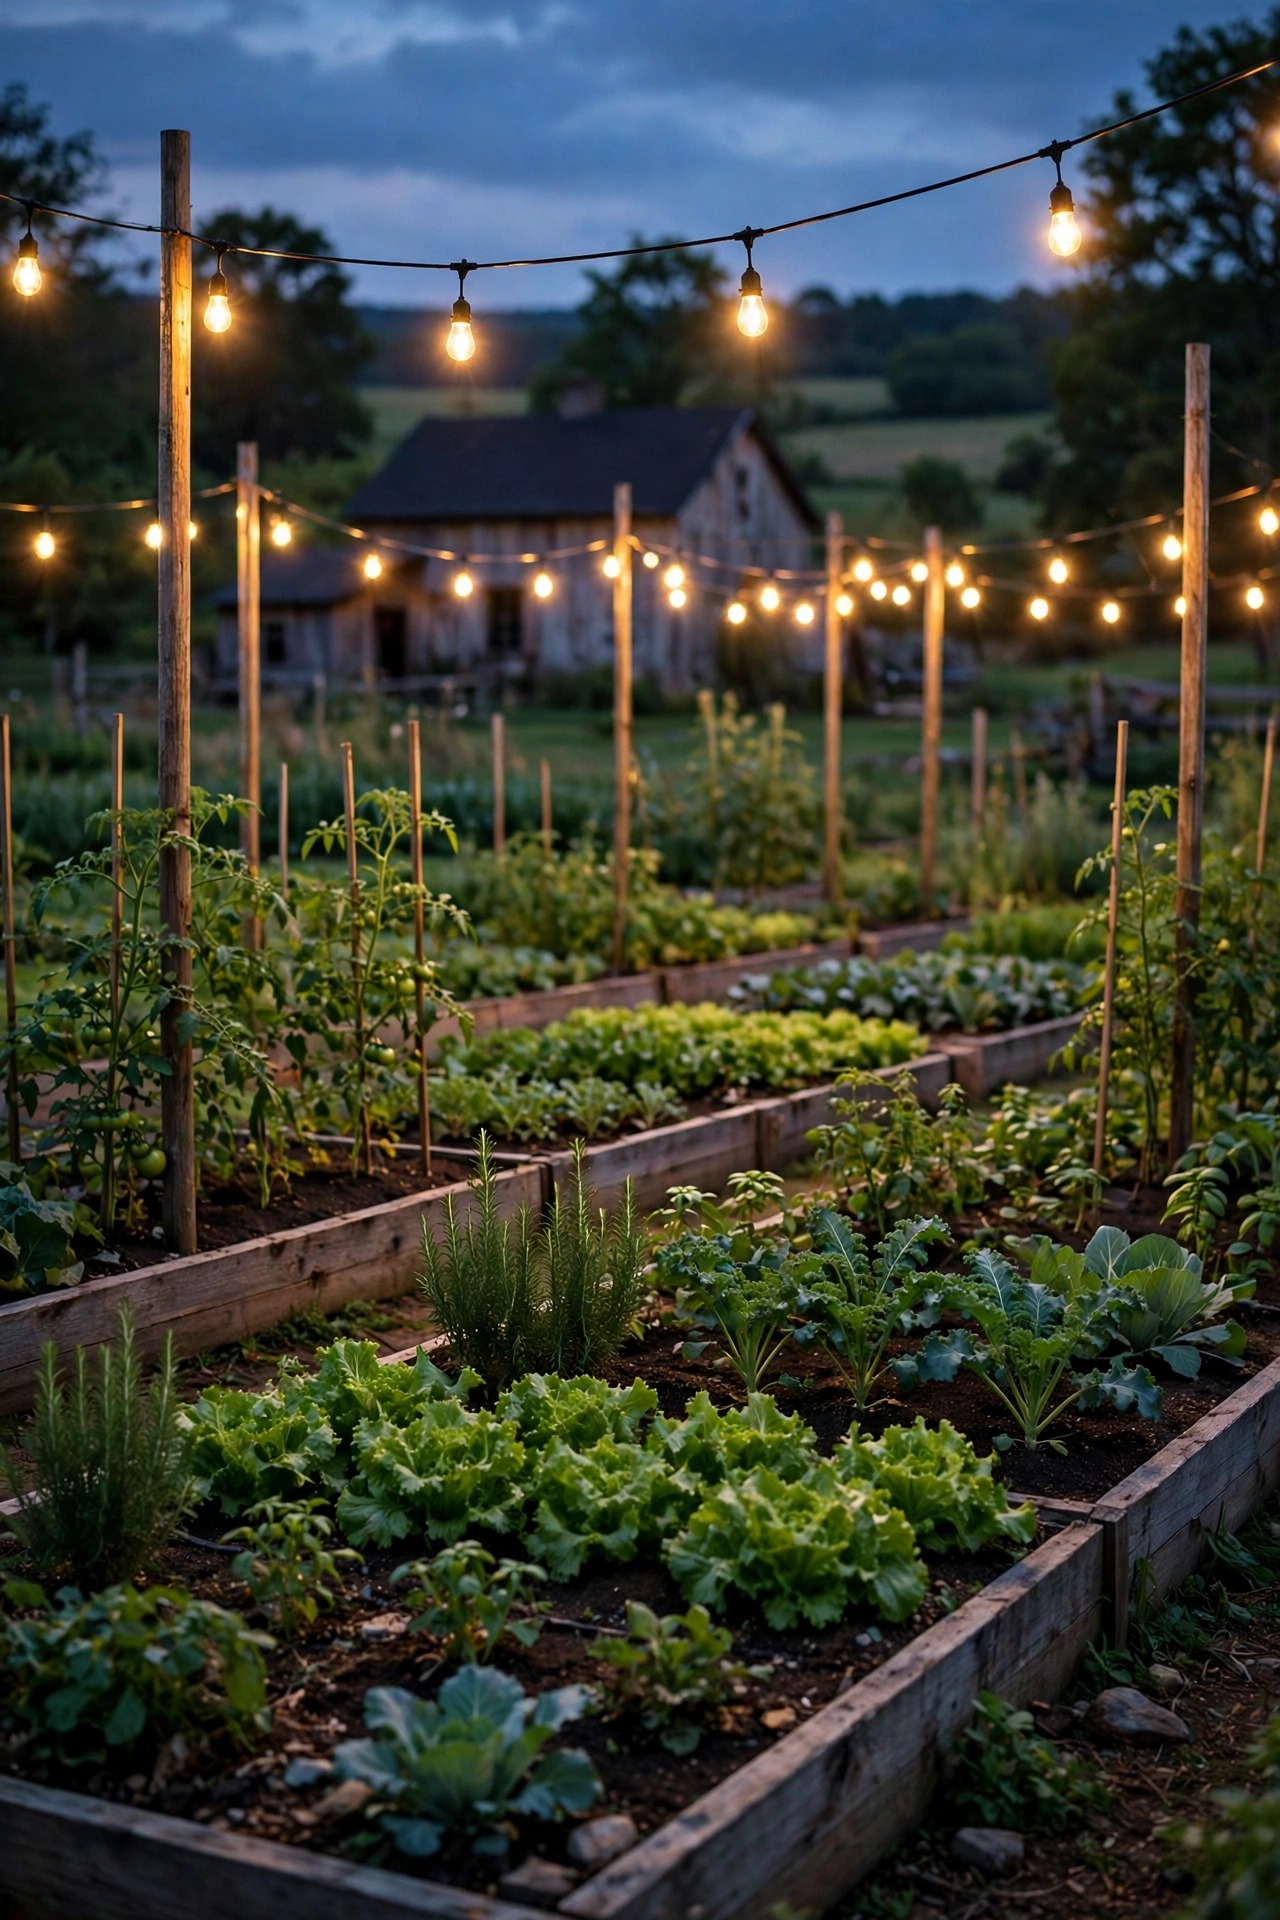
17. Thread Low String Lights Over the Vegetable Garden Rows
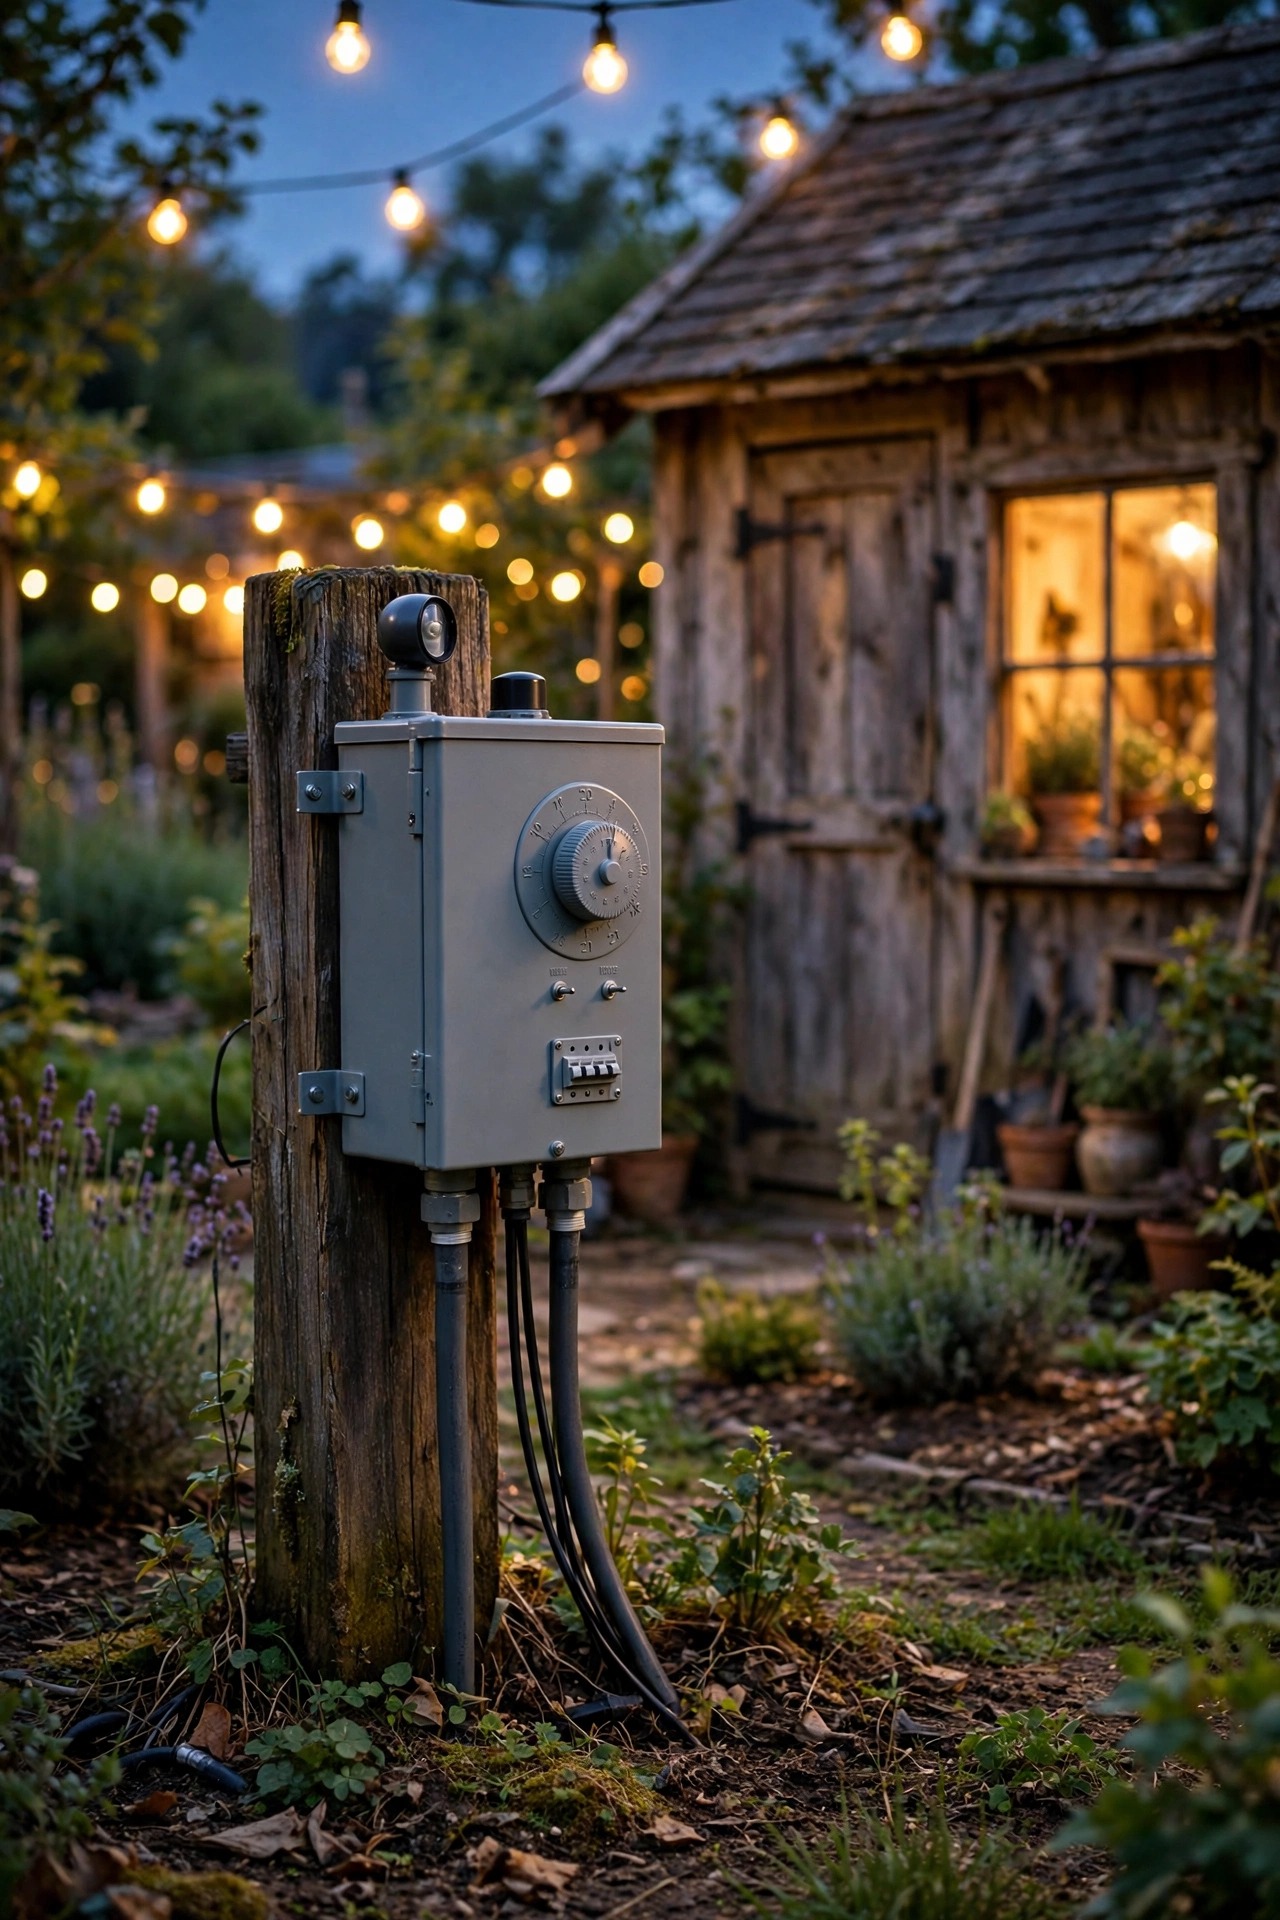
The vegetable garden deserves its own strand of light. I run low poles at the ends of the rows, about 5 to 6 feet tall, and string a single line of warm bulbs down the middle of the patch, high enough to walk under with a basket but low enough to feel intimate. It turns evening watering and late harvests into the calmest part of the day, and it keeps you from stepping on the cucumbers. Use shatterproof LED bulbs only, keep the strand at least a few feet from any dry straw mulch piles, and plug into a GFCI outlet with the connection raised off the ground on a stake. Solar strands work if the patch sits in full sun, which vegetable gardens usually do. In late summer, this is where we shell peas and snap beans after supper, under our own little canopy of light. When the first frost takes the garden, coil the strand in the shed and the poles become next spring's pea trellis.
Suggested budget range: $30 – $95.
18. Keep One Warm Color Temperature From Gate to Garden Door
If I could give one piece of farmhouse garden advice, it is this: buy every bulb at 2700K and never mix. Warm white at 2700K is the color of candlelight, kerosene lamps, and late sun on barn wood, and it flatters everything a farmhouse garden contains, from white pickets to red tomatoes. Bulbs at 4000K and above read as blue and clinical outdoors, and they flatten all that lovely texture into something that looks like a store parking lot. When you shop, check the Kelvin number on every box, including the solar fixtures, whose cheapest versions often run cool. Replace any cool bulb you inherit with a warm one before you judge the fixture; half the "ugly" lights I am asked about are just the wrong temperature in a perfectly good lantern. Consistent warmth is also what makes a budget setup look expensive, because the eye reads one unified glow instead of a patchwork. Keep a spare box of 2700K bulbs in the potting bench and every replacement stays on-palette automatically.
Suggested budget range: $15 – $50.

19. Finish With a Slow Dusk Walk-Through of Your Farmhouse Garden Lighting Ideas
The last step of any install at my place is a slow walk at full dusk, lemonade in hand, looking at the garden the way a guest would. Start at the gate. Is the path readable but not runway-bright? Squint toward each fixture; if you can see a bare bulb glaring back, tilt it down, add a shield, or dim it a step. Check the tree uplight from the road, the fence wash from the porch, and the lantern clusters from the bench where you will actually sit. Carry a small notebook and mark every fix in pencil; ninety percent of a great result is these small adjustments made in the first week. Seeing all your farmhouse garden lighting ideas working together, layered and warm and calm, is the moment the project turns into a place. Then sit down on that bench, watch the fireflies argue with the fairy lights, and enjoy the garden you built. You earned the evening.
Suggested budget range: $10 – $40.
Frequently Asked Questions
What color temperature looks best in a farmhouse garden?
Warm white at 2700K, every time. It matches the glow of the lanterns and filament bulbs the farmhouse style is built on, flatters wood, white paint, and foliage, and feels like candlelight rather than a security light. Use it consistently across wired, solar, and string lights so the whole garden reads as one scene.
Are solar lights bright enough for a country garden?
For atmosphere and gentle path marking, yes, especially the newer lantern-style stakes with larger panels. For true task light at the potting bench, gate latch, or steps, wired low-voltage fixtures are brighter and far more consistent, particularly in winter. Most gardens I plan use both: solar for sparkle in the beds, wired for the paths and work spots.
How do I keep garden lights safe around plants, mulch, and wood?
Choose LED fixtures only, since they run cool against dry mulch, straw, and timber. Keep any fixture rated for outdoor or wet-location use, plug into GFCI-protected outlets, bury low-voltage cable about 6 inches deep, and never use real-flame lanterns unattended near dry plantings. A timer that turns everything off by 11 p.m. or midnight adds another layer of safety.
How much does it cost to light a whole farmhouse garden?
A starter setup with string lights, a few solar lantern stakes, and fairy lights in the beds runs $100 to $250. A fuller plan with a low-voltage path system, sconces, and a tree uplight typically lands between $400 and $900 in fixtures, and most of it installs in a weekend with no electrician.
Conclusion
A farmhouse garden after dark should feel like the day never quite ended, just softened. Start with a layered plan, anchor the working corners with honest fixtures like barn sconces and path lanterns, then add the charm: mason jars, fairy lights in the beds, a strand along the split-rail fence, and one old tree glowing over it all. Keep every bulb warm, put the whole scene on a timer, and adjust it slowly over a week of evenings. These farmhouse garden lighting ideas are meant to be built a few at a time, as the seasons and the budget allow, and each one makes the next evening outside a little harder to resist. If you are ready to keep going, browse the rest of my lighting ideas here on the site for the porch, the paths, and every corner of the yard still waiting for its glow.