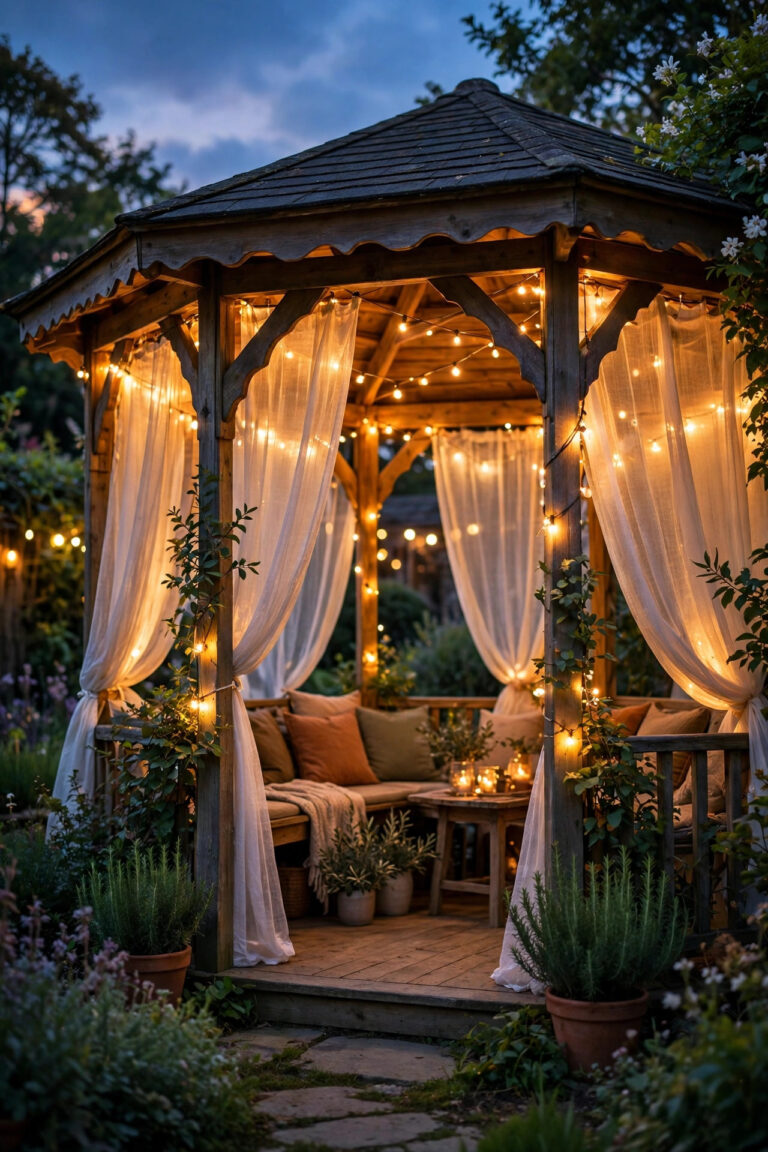
There is a moment just after sunset when a farmhouse front yard either disappears into the dark or starts to glow like a welcome sign, and the difference is almost never how much money was spent. The best farmhouse front yard lighting ideas I have ever installed share one secret: they are layered, the way a good room is layered, instead of dumped in all at once. A soft wash low along the walk, a warm pool of light at the door, and one or two gentle accents up high will beat a single blazing porch bulb every single time. In my experience, three layers at 2700K warm white is the whole formula. Below are 23 ideas that mix wired, low-voltage, and solar pieces, so you can start with two or three this weekend and keep building toward that full, storybook glow all season long. Start with the darkest corner of your yard and build from there.

1. Layer Your Farmhouse Front Yard Lighting Ideas Like a Pro
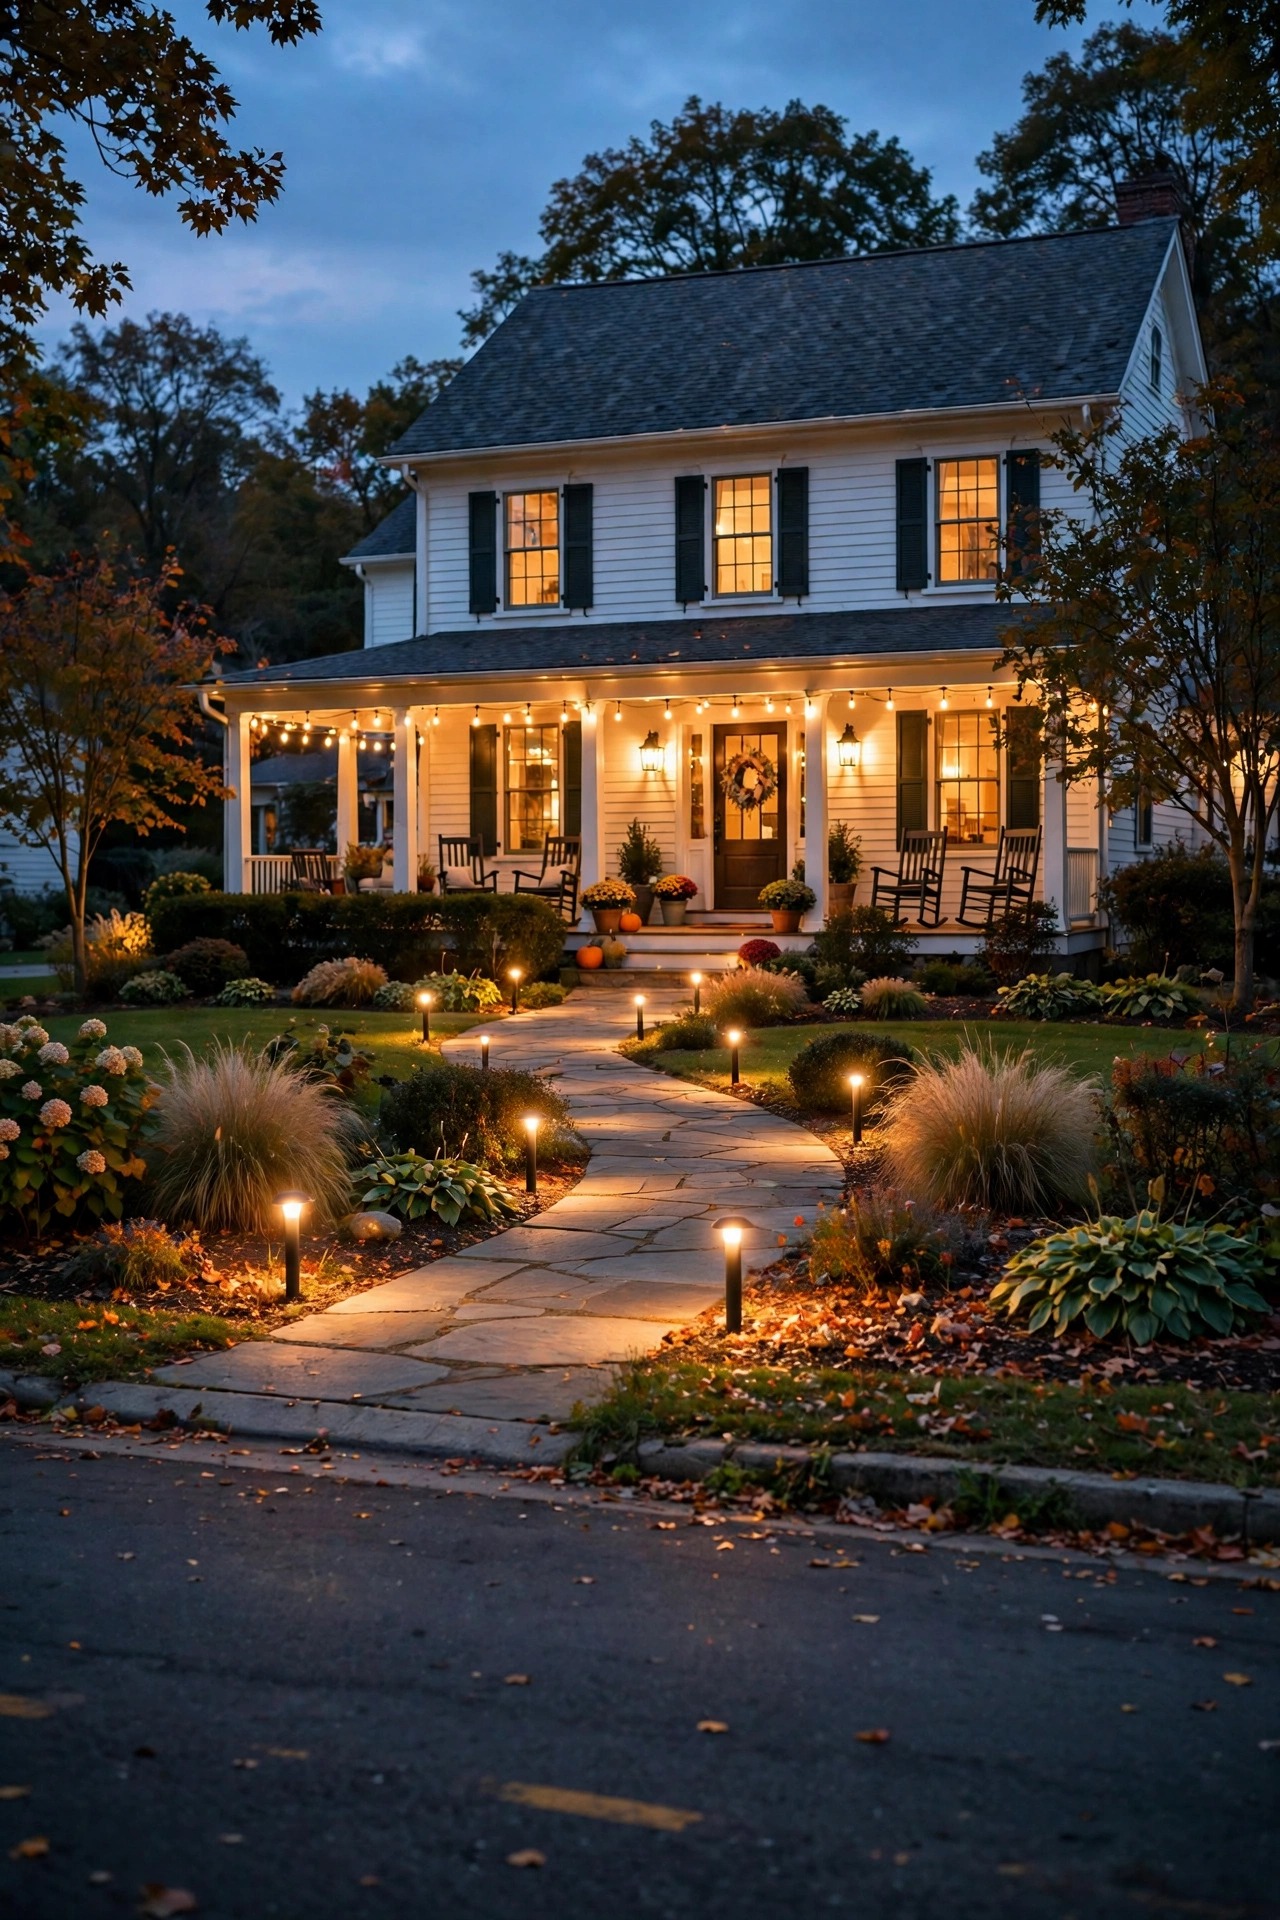
Before you buy a single fixture, stand at the curb at dusk and plan three layers. Layer one is guidance: low light along the walk and drive at ankle height, 100 to 200 lumens per fixture, so guests can see every step. Layer two is welcome: the porch and door zone, brighter at 400 to 800 lumens, where faces get lit and the house number reads clearly. Layer three is accent: gentle uplights on a tree, the gable, or a pretty stretch of fence, kept dimmer than the door so the eye travels. I sketch these on a phone photo with my finger, honestly, because it stops the classic mistake of buying twelve matching stakes and nothing else. Keep every bulb at 2700K so the layers blend into one warm story instead of a patchwork of temperatures. This plan also tells you where wire needs to run before you dig a single trench.
Suggested budget range: $0 – $25.
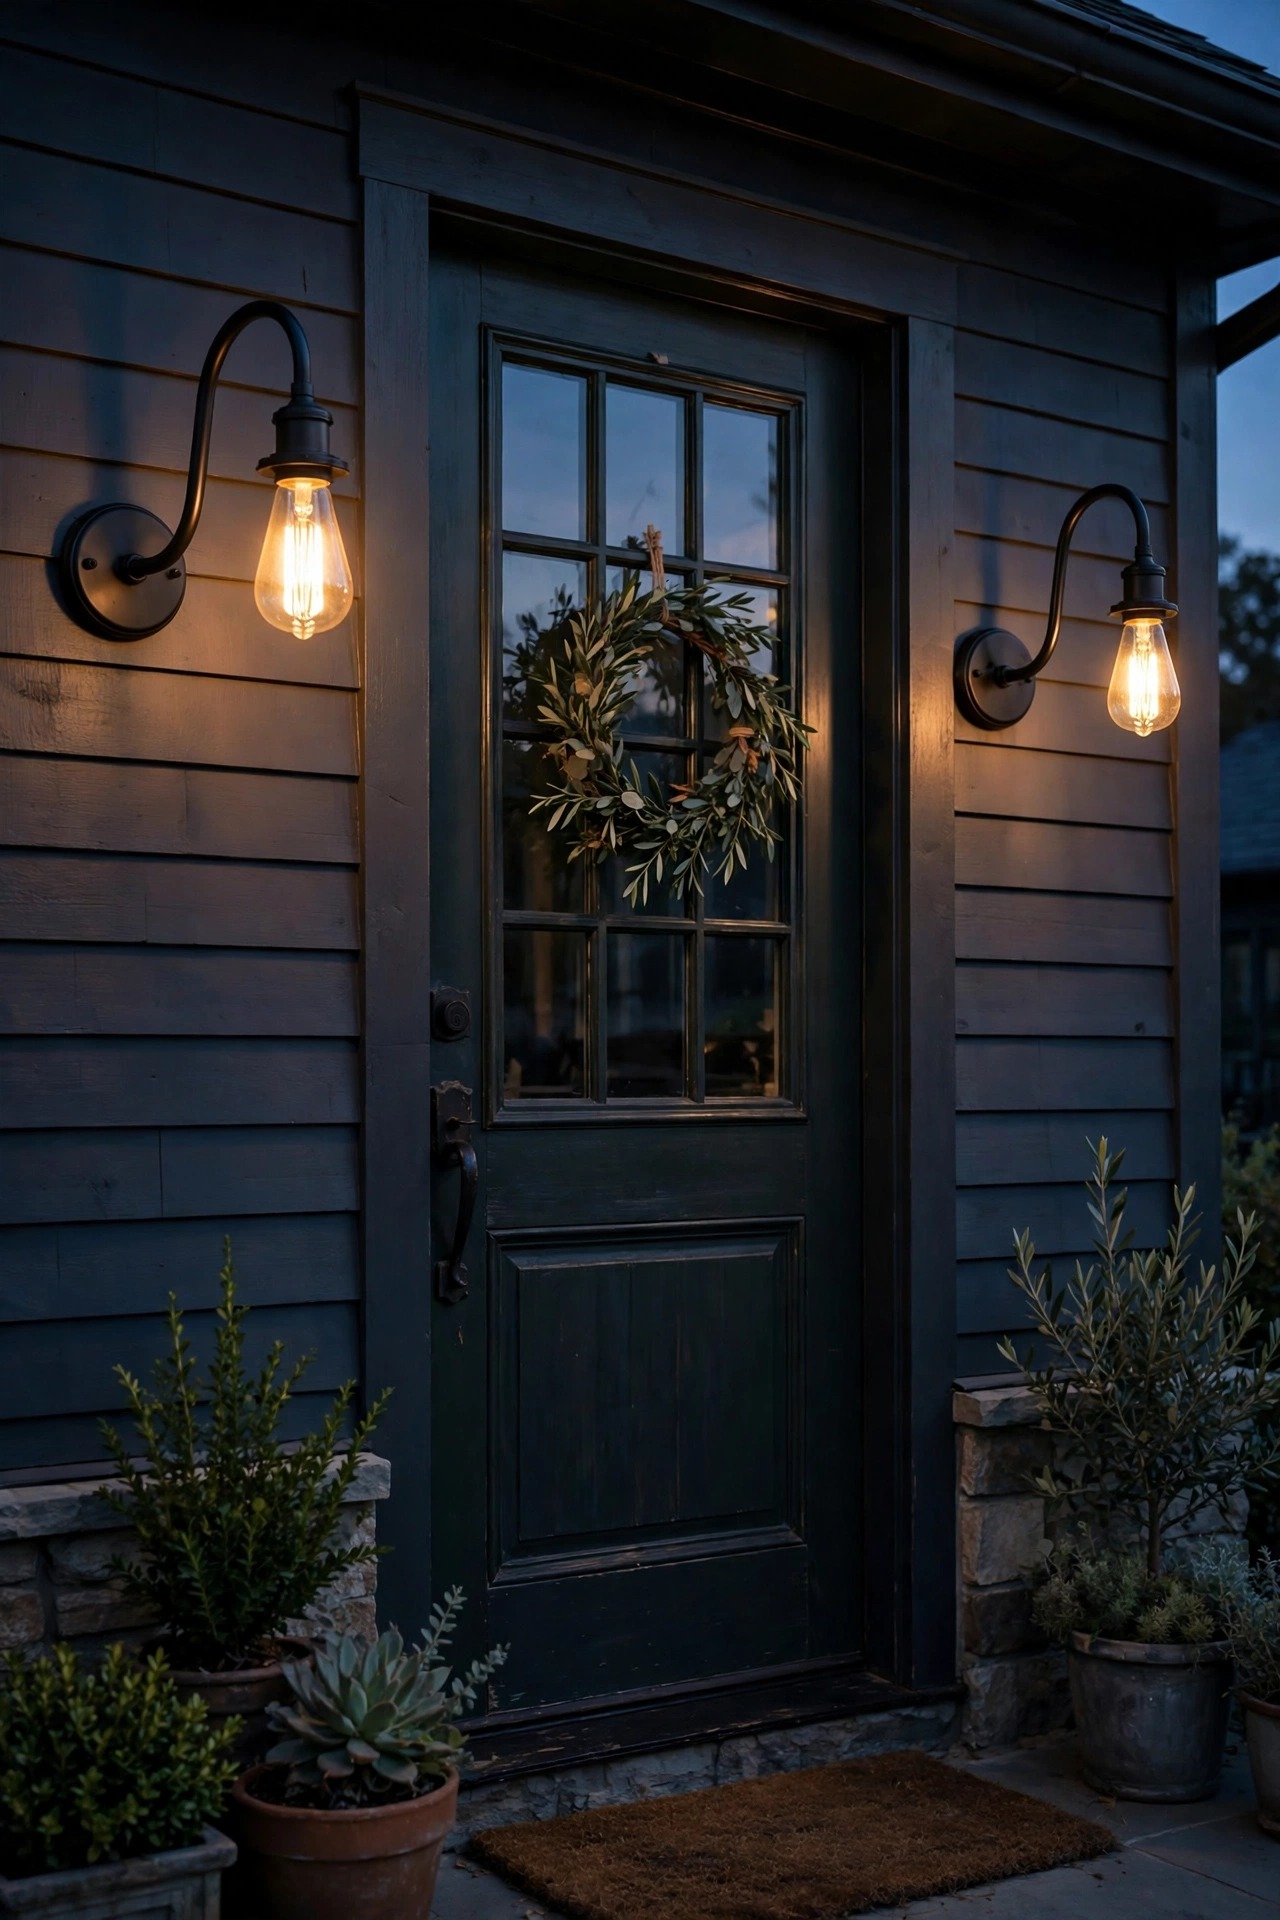
2. Hang Gooseneck Barn Sconces by the Front Door
Nothing says farmhouse faster than a pair of gooseneck barn lights flanking the front door. That curved arm and wide metal shade were designed to throw light down and out over a work yard, and on a house they wash the entry in the friendliest pool of warm light. Mount them 66 to 72 inches above the porch floor, one on each side of the door, and choose a matte black or galvanized finish to match your hardware. I always recommend a 2700K LED filament-style bulb inside, around 800 lumens, because the shade hides the bulb from the street and kills glare. On a dimmer or a dusk-to-dawn photocell socket they practically run themselves. My full roundup of sizes, finishes, and mounting tips lives in my guide to gooseneck barn lights for outdoors, and it is the single fixture swap I suggest first to anyone starting from a bare builder bulb.
Suggested budget range: $60 – $180.
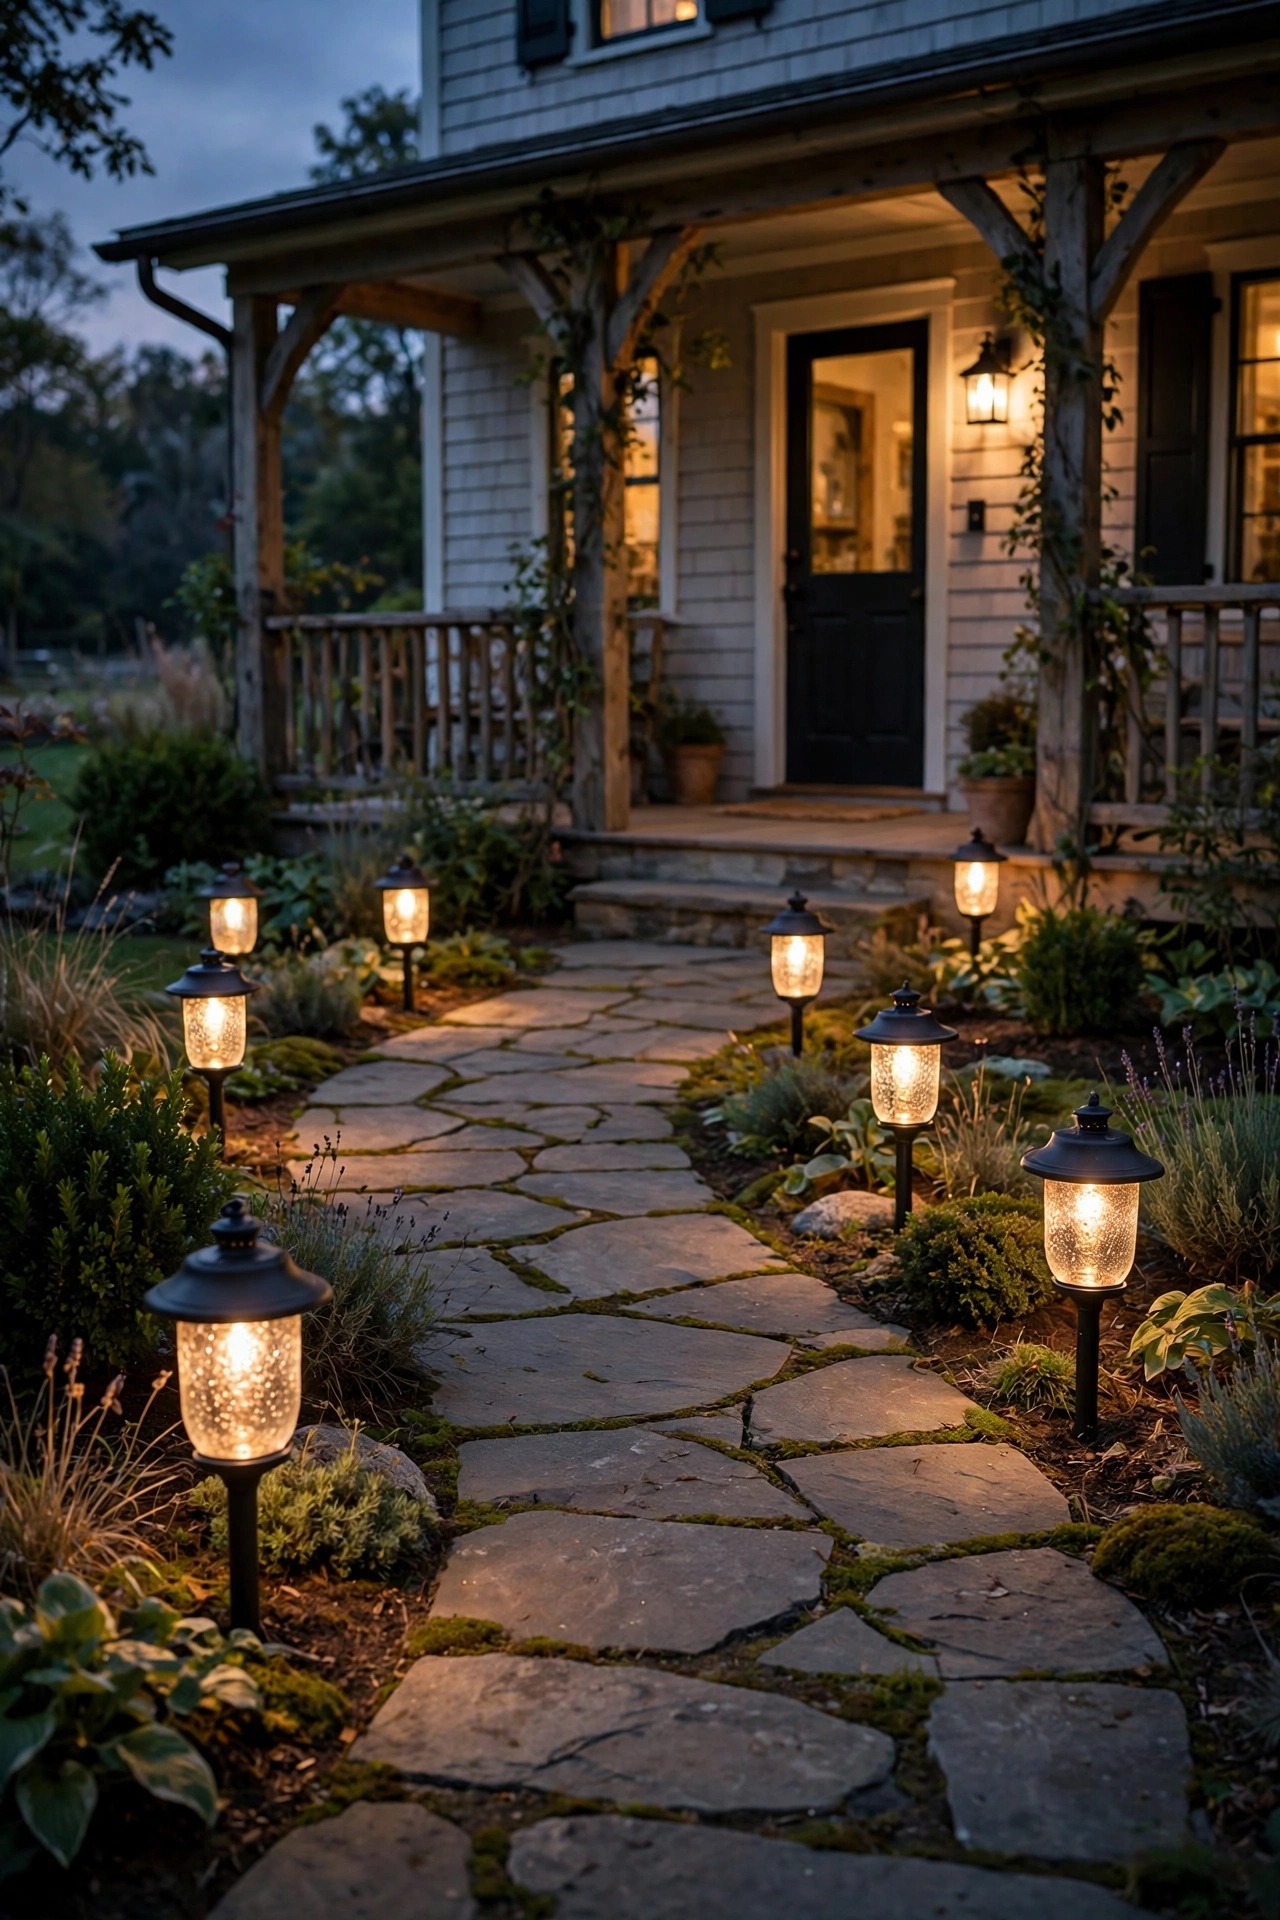
3. Line the Walk With Lantern-Style Path Lights
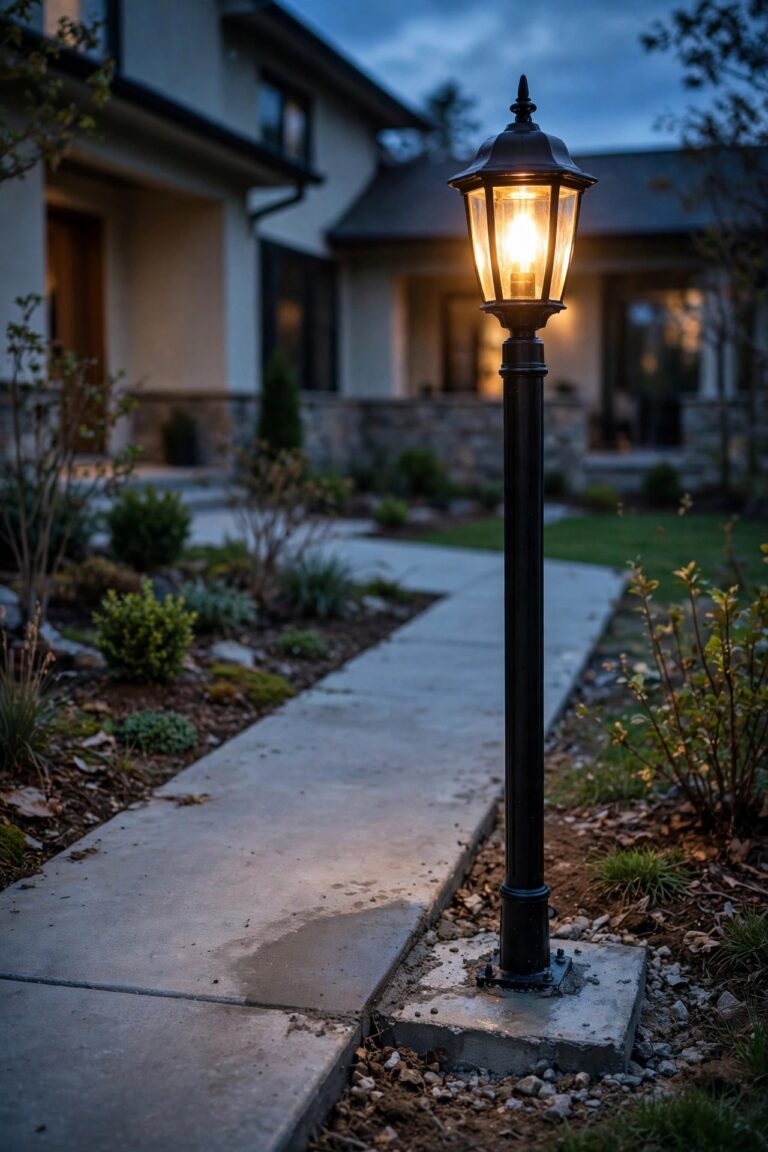
A front walk lit by lantern-style path lights feels like being escorted to the door, and it is the layer guests notice most. Choose fixtures with a little cage or seeded-glass detail so they read as lanterns by day and glow like them by night. Space them 6 to 8 feet apart, staggered on alternating sides of the walk rather than in two stiff rows, which keeps the look relaxed and farmhouse instead of runway. Keep the tops about 18 to 22 inches above the ground and aim for 100 to 200 lumens each — enough to pool light on the pavers without spilling into the beds. Low-voltage wired sets stay brightest and most consistent, but good solar lanterns with replaceable batteries have honestly surprised me in sunny yards. Whatever you choose, pull them back 6 inches from the walk edge so mower wheels and snow shovels pass clean.
Suggested budget range: $50 – $220.
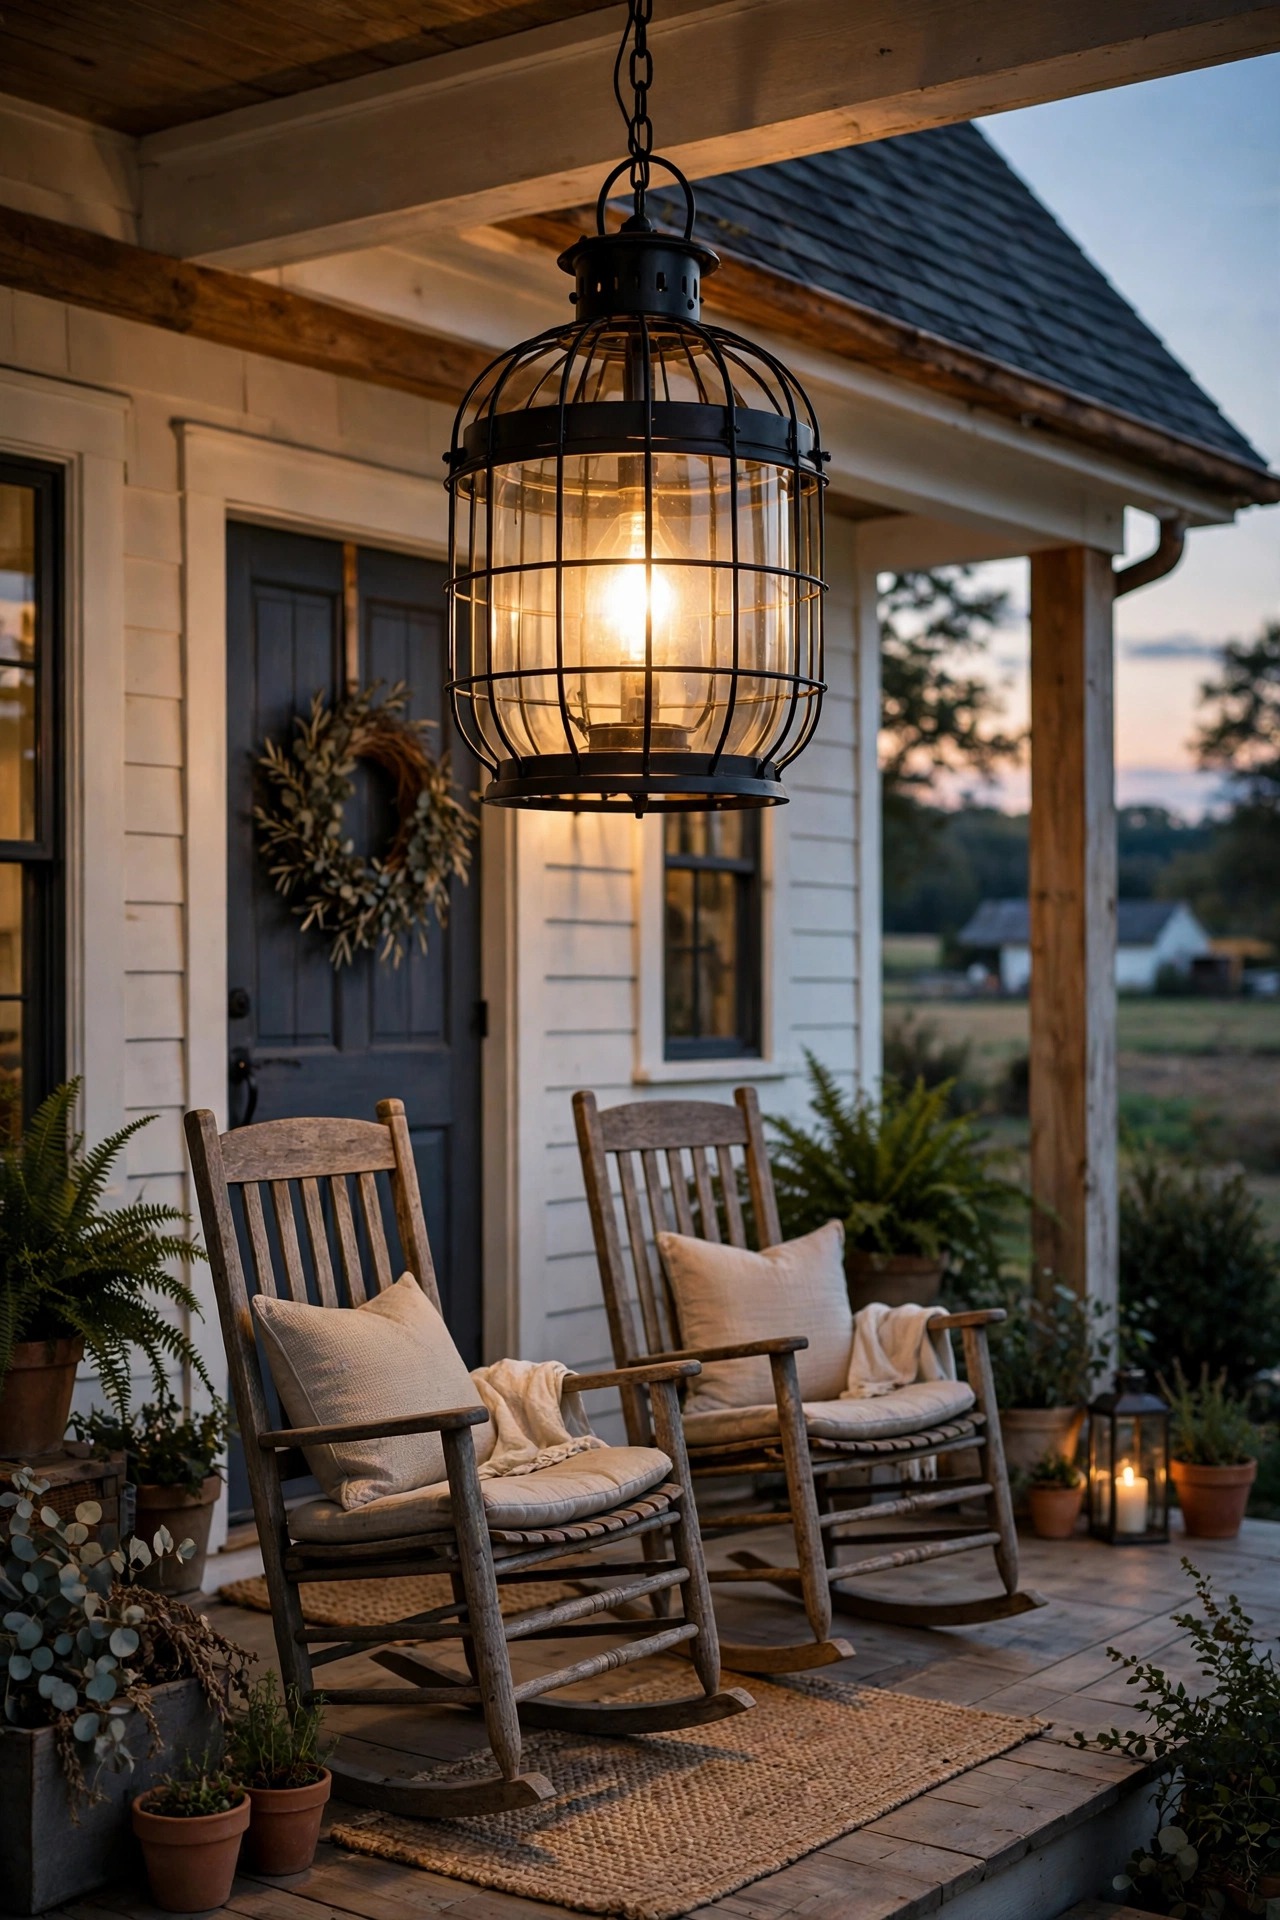
4. Add a Big Pendant Lantern Over the Porch
If your porch has a ceiling, one oversized lantern pendant centered over the door does the work of three small fixtures. The farmhouse sweet spot is a black metal cage lantern, 14 to 20 inches tall, hung so the bottom sits about 7 feet above the porch floor — high enough to clear tall guests, low enough to feel intimate. Inside, a 2700K filament-style LED at 800 to 1,100 lumens gives that candlelit warmth, and a dimmer lets you drop it to a murmur for late evenings on the swing. Pair it with black chain rather than a rod for the relaxed, collected look. If your porch roof is too low for a pendant, a flush-mount lantern in the same finish keeps the family resemblance. I gathered more porch-specific combinations in my post on farmhouse porch lighting, including the screened-porch setups we use all summer.
Suggested budget range: $70 – $200.
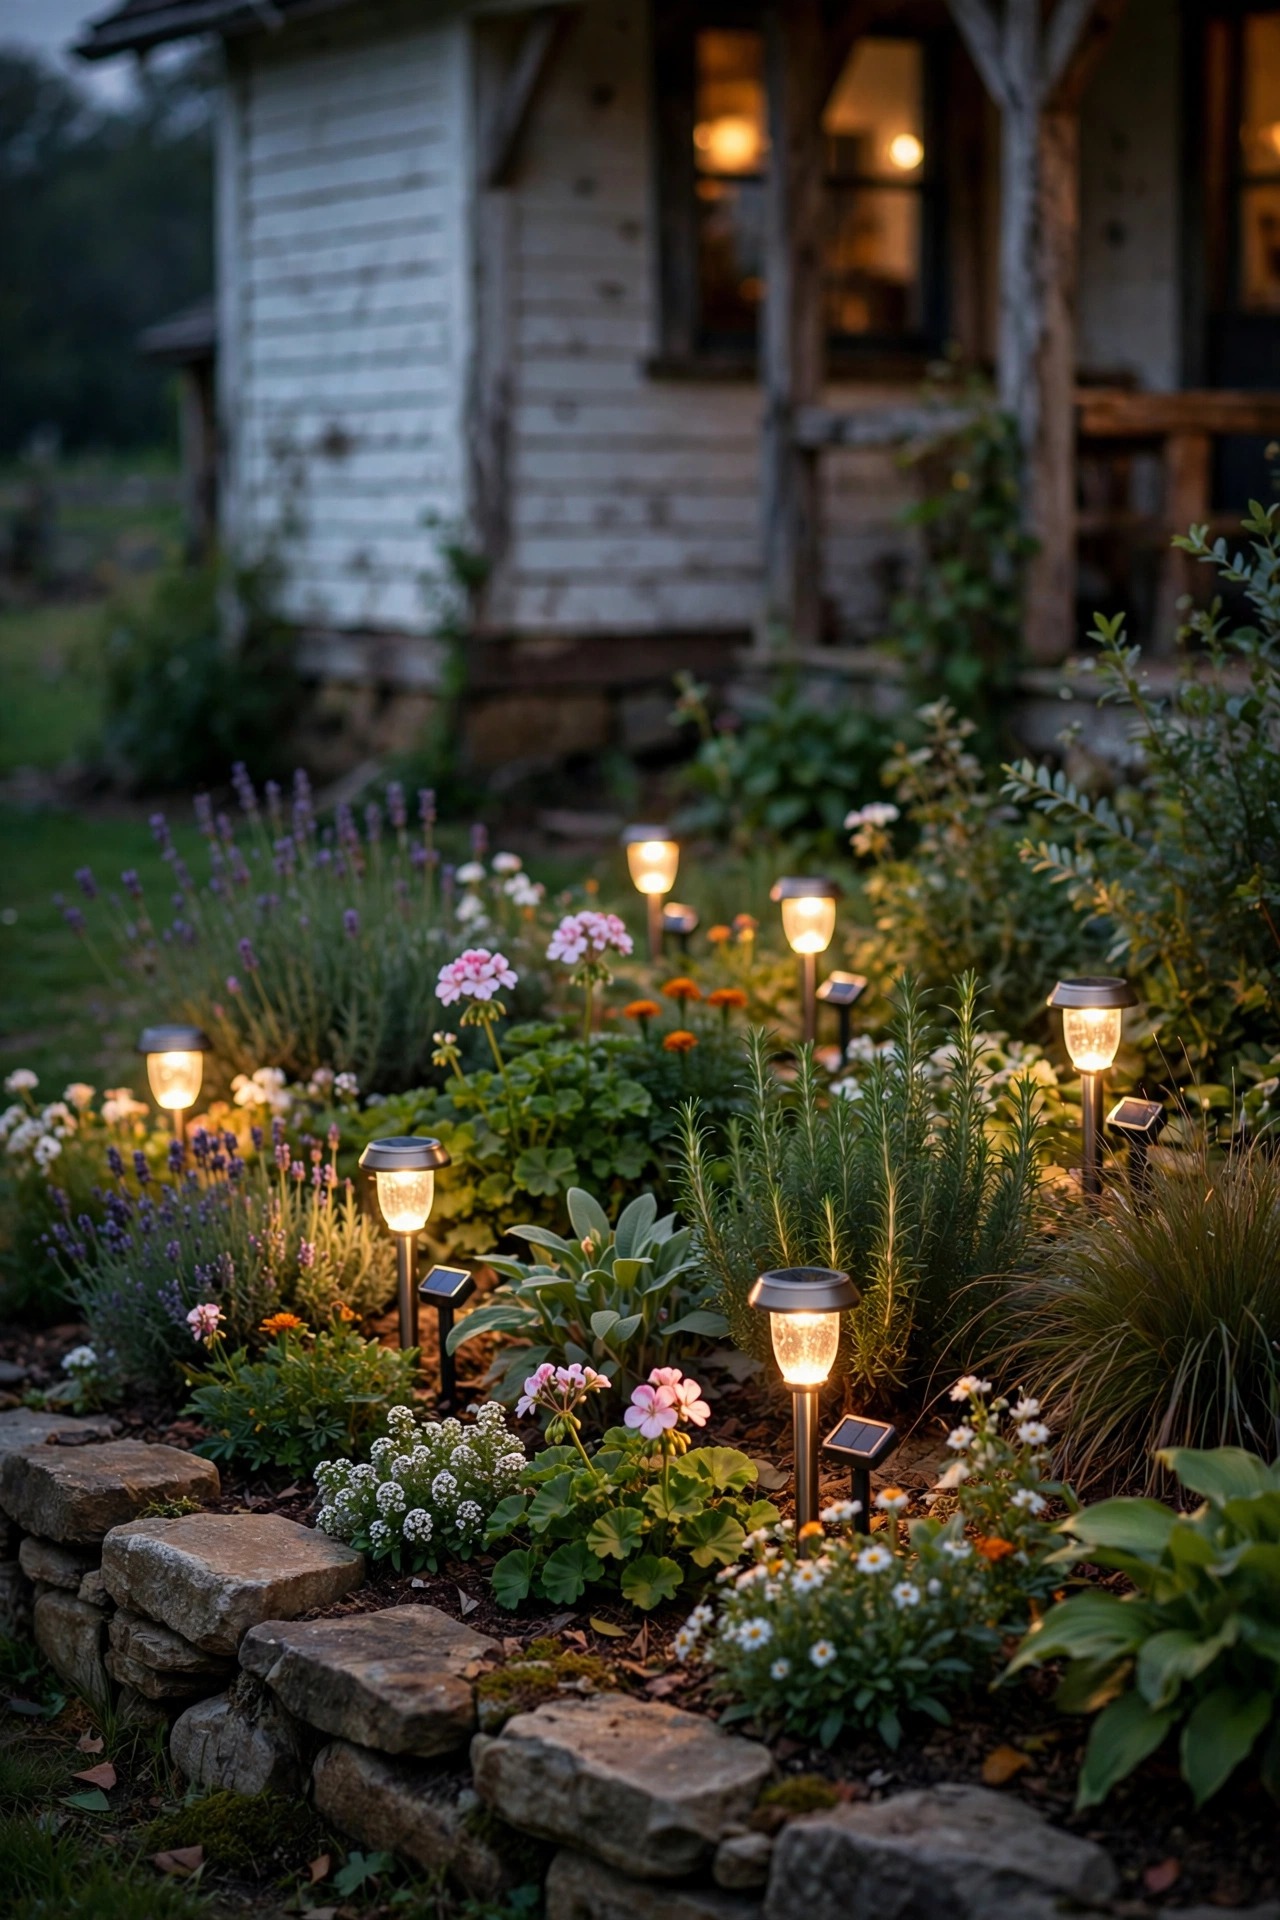
5. Tuck Solar Stakes Into the Garden Beds
Solar stake lights are the easiest farmhouse layer of all: push them into the soil of your front beds and let the sun do the wiring. The trick is choosing the right ones. Look for stakes with a separate, larger solar panel, warm 2700K output, and replaceable rechargeable batteries, and skip the dim plastic sets that fade by July. I tuck them between plantings 4 to 6 feet apart, angled so the glow catches leaves and blooms rather than pointing at the street. They will never outshine wired lights — expect a soft 20 to 50 lumens of ambience — but along a bed edge they give that firefly sparkle that makes a yard feel tended. Give the panels a rinse every few weeks, because pollen film can cut charging by a third. In shadier yards, plant them where midday sun lands, even if that is not exactly where you would put a wired light.
Suggested budget range: $25 – $80.
6. Uplight Your Best Tree, Not Every Tree
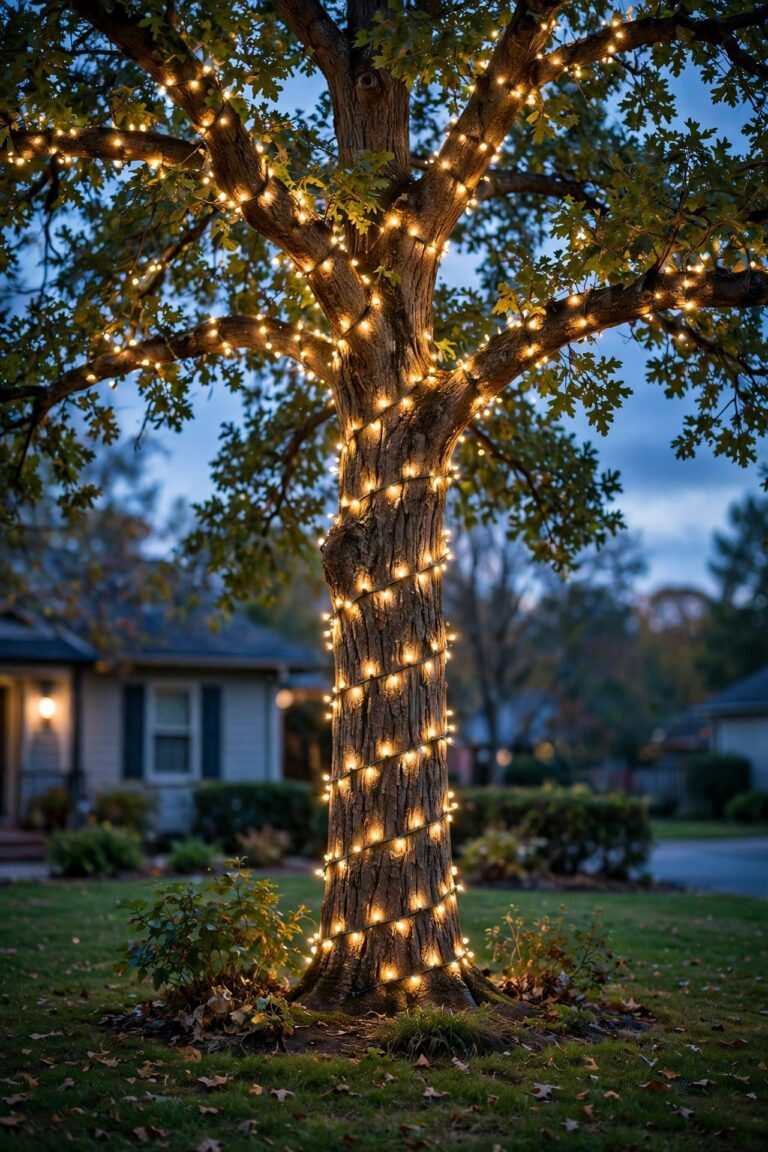
One beautifully uplighted tree is worth six mediocre ones, so pick your front yard hero — an oak, a magnolia, a gnarled old apple — and light just that one. Place a single well light or spotlight 12 to 18 inches from the trunk, aimed up into the canopy at roughly a 30-degree angle so the light rakes across bark and dies out in the leaves. A 300 to 500 lumen fixture with a 36-degree beam is plenty; more power just blows out the trunk. In-ground well lights sit flush, so you can mow right over them, and a honeycomb glare guard keeps the source hidden from the street. Honestly, this is the accent that makes drivers slow down. Keep it on the same timer as the rest of the system so the whole yard wakes and sleeps together, and resist adding a second tree until you have lived with the first for a month.
Suggested budget range: $35 – $120.

7. Wash the Front Wall With a Soft Grazing Light
Board-and-batten and clapboard siding have texture worth showing off, and a soft wall graze is how you do it. Set low spotlights or linear washers 12 to 24 inches out from the foundation, aimed steeply up, so the light skims across the boards and every seam casts a tiny shadow. The result is depth you can see from the road, especially on white or cream siding, which practically glows at 2700K. Keep this layer gentle — 200 to 400 lumens per fixture, spaced 6 to 10 feet apart under windows rather than a continuous strip — because farmhouse charm dies fast under a commercial-looking flood. On brick or stone, pull the fixtures a touch farther out and soften the angle. I always test one section with a work light first before committing, since grazing light also reveals every siding flaw, and it is better to know that on a Tuesday than after the trench is dug.
Suggested budget range: $60 – $200.

8. Swag Cafe String Lights Across the Porch Front
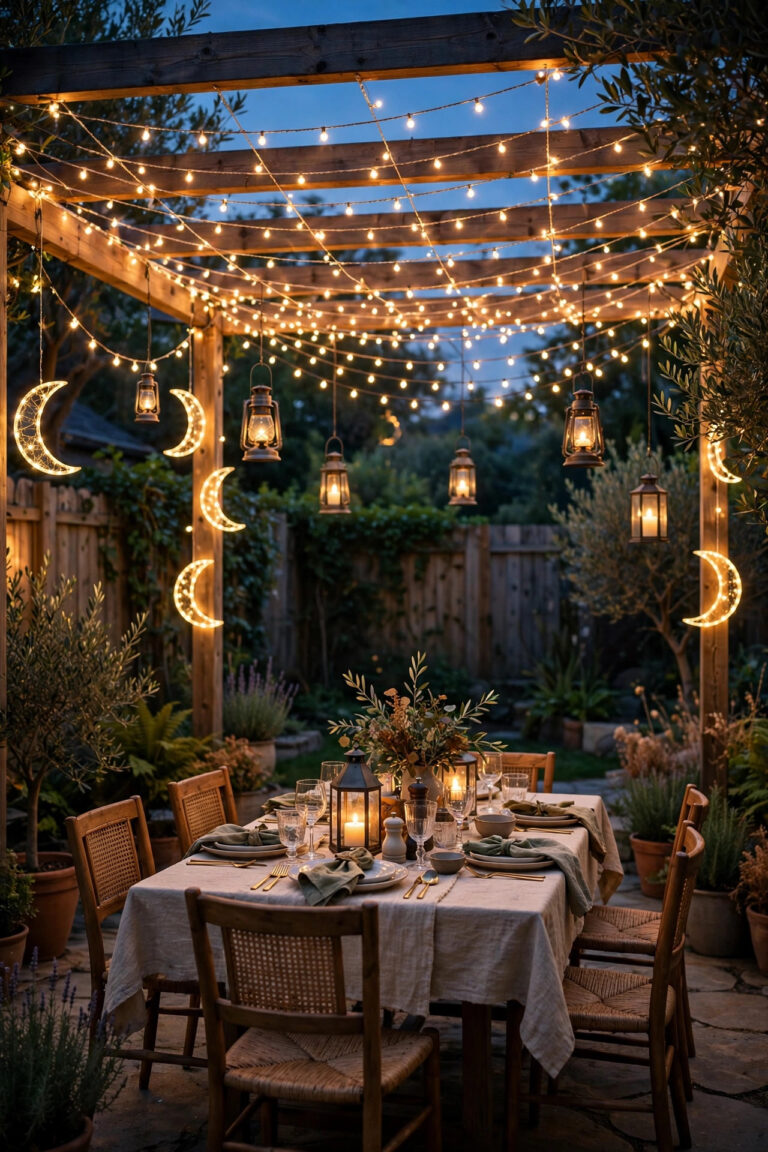
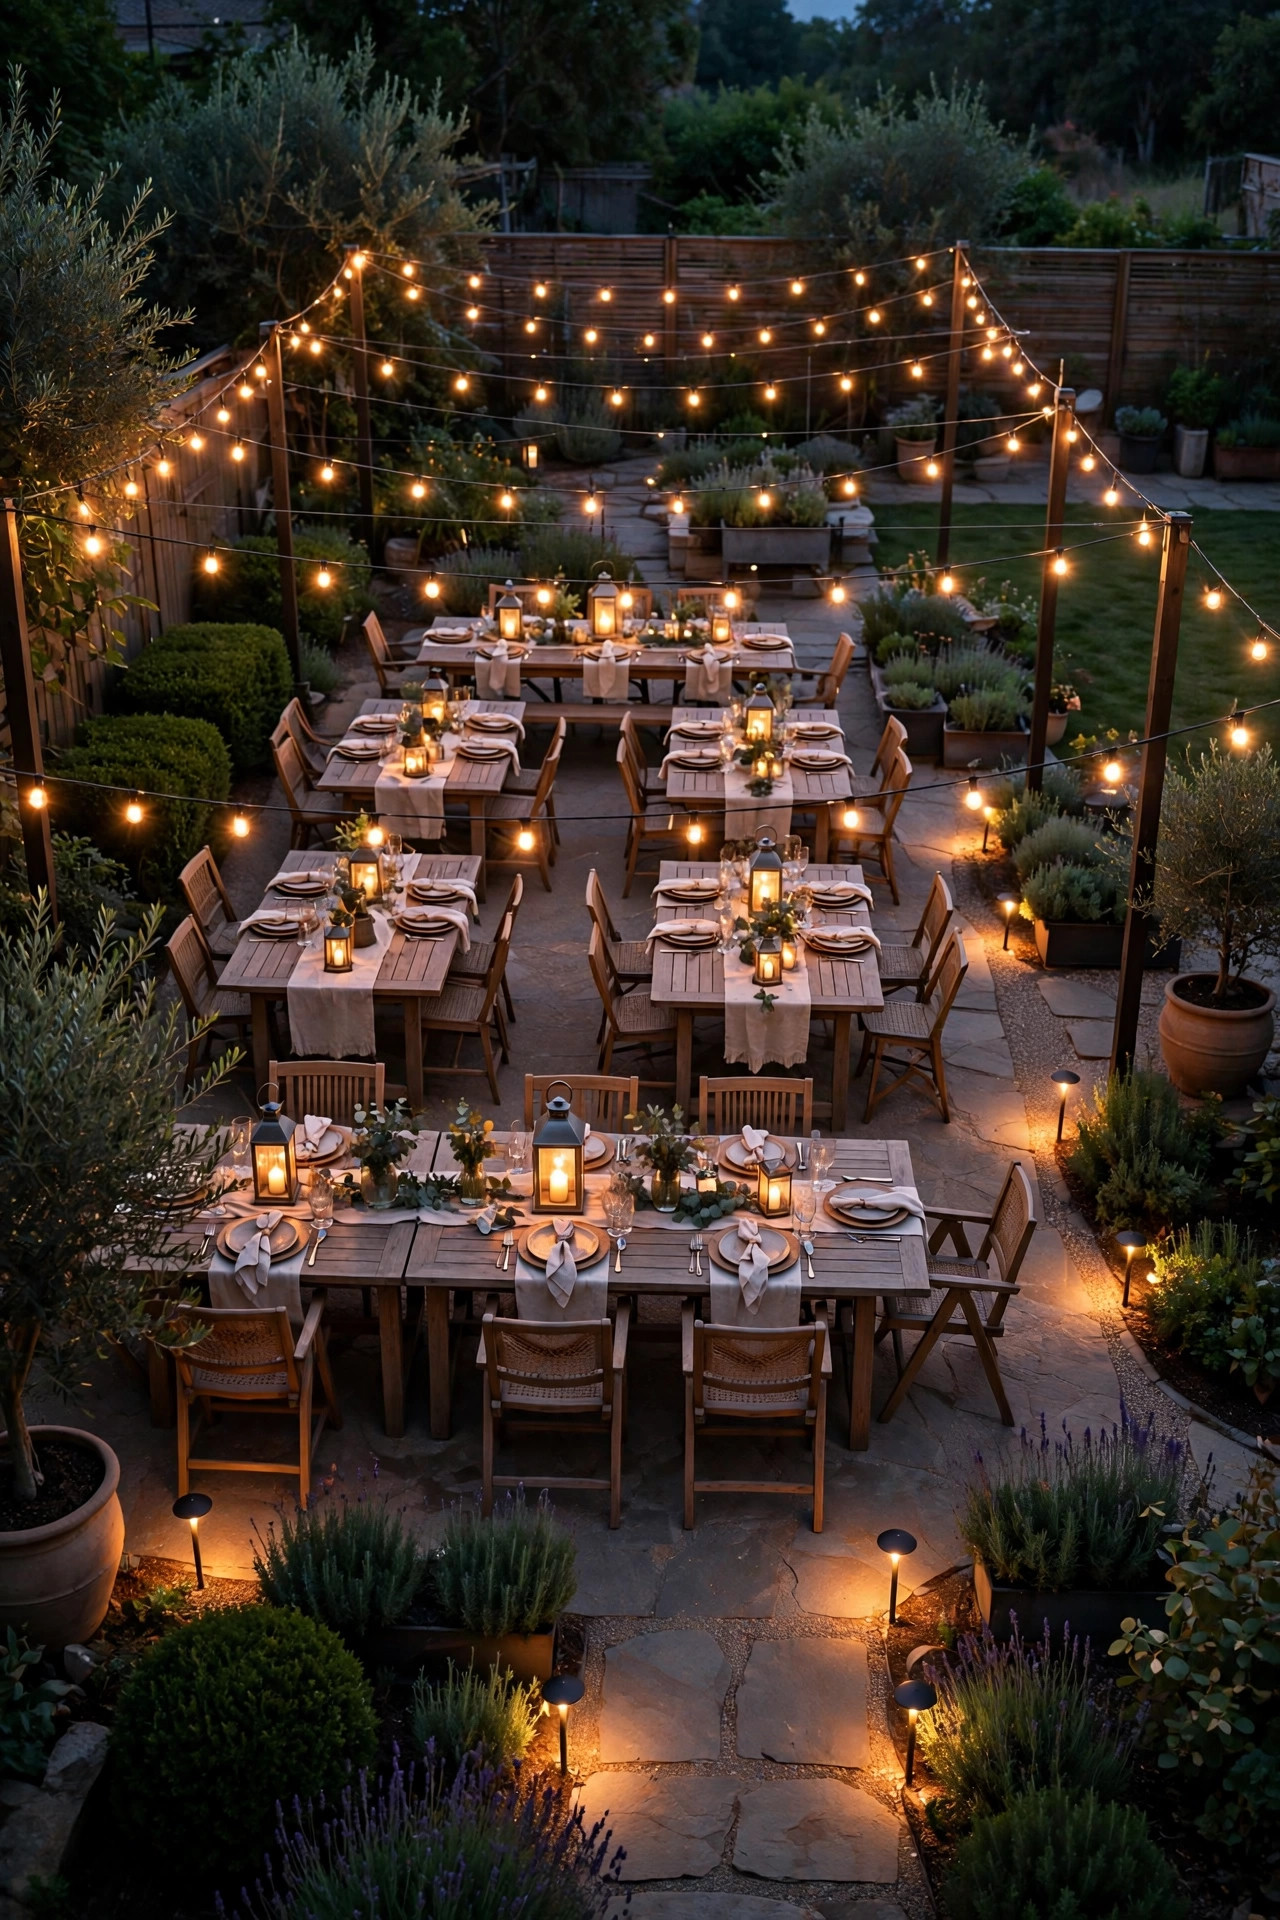
A single swag of cafe string lights across the front of the porch adds instant celebration to a farmhouse, and it photographs like a postcard. Use commercial-grade strands with suspended sockets and shatterproof LED bulbs, hung from the porch corners with a gentle 6 to 10 inch droop per span, and never pull them drum-tight. Warm 2700K filament-style bulbs at about 1 watt each give the glow without the glare, and one 48-foot strand usually covers a porch front in two swags. Anchor to eye hooks screwed into real framing, not the gutter, and keep strands at least 10 feet from any grill or fire pit. On a smart plug timer they come on at dusk and nobody has to remember a thing. Honestly, of everything in this list, this is the one my neighbors ask about most — it reads as hospitality from half a block away.
Suggested budget range: $30 – $110.

9. Build DIY Mason Jar Sconces for the Garage Wall
Mason jar sconces are the farmhouse craft that actually earns its keep. A quart jar, a simple black pipe or barn-wood mount, and a warm LED filament bulb make a fixture that looks a hundred years old and sips electricity. Build them for the wall beside the garage door or flanking a side entry where a matched pair of anything would feel too formal. The honest safety notes matter here: use only low-heat LED bulbs, never incandescent, keep the jar open or vented at the top, and mount on exterior-rated boxes with a GFCI-protected circuit. Seeded or lightly frosted reproduction jars soften the bulb nicely. Two jars cost less than one big-box sconce, and on a dimmer they throw the prettiest speckled light through the glass threads. If DIY is not your weekend plan, ready-made jar sconces in weathered finishes get you the same look off the shelf.
Suggested budget range: $20 – $70.

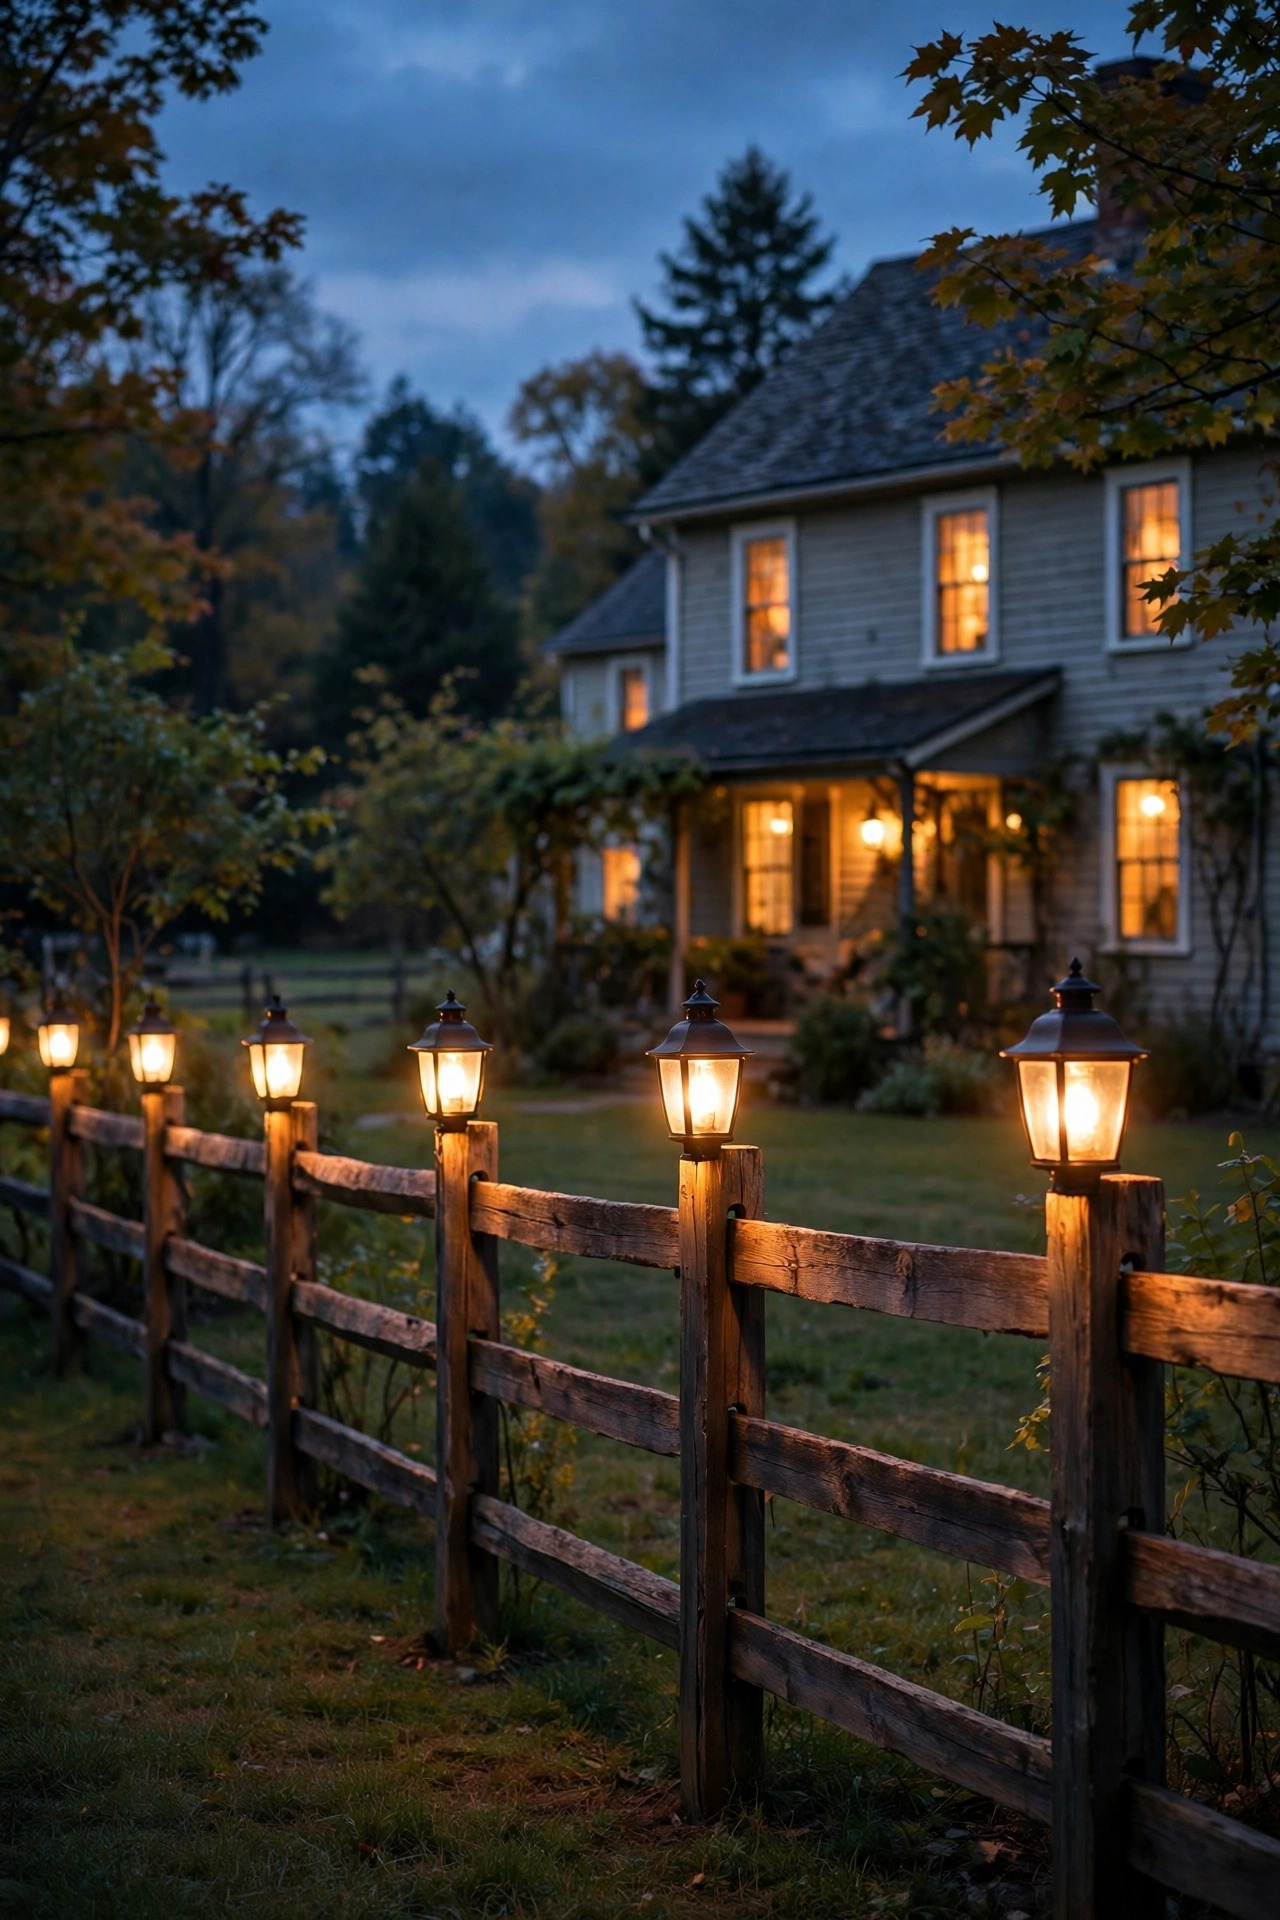
10. Set Lantern Posts Along the Split-Rail Fence
If you are lucky enough to have a split-rail or post-and-board fence out front, it is a lighting structure waiting to happen. Mount small lantern fixtures on every third or fourth post along the road frontage, about 4 feet above the ground, and you get a dotted line of warm light that defines the whole property. Solar lantern caps made for fence posts are the zero-wiring route — look for versions with replaceable batteries and a true 2700K glow rather than blue-white. Wired low-voltage lanterns on the posts are brighter and more even if you can run cable along the back of the rails. Space them 12 to 20 feet apart; closer starts to look like a landing strip. I love this layer because it works even when the house lights are off, giving the yard a gentle boundary glow that says someone who cares lives here.
Suggested budget range: $80 – $300.
11. Frame the Driveway Entrance With Two Lantern Pillars
The driveway entrance is where curb appeal starts, and two short pillars or chunky posts topped with lanterns frame it like a gateway. Keep the fixtures at 3 to 4 feet high so the light lands on the drive apron instead of in drivers eyes, and match the lantern style to your porch fixtures so the yard reads as one design. Solar pillar caps are the easy install; hardwired or low-voltage versions earn their keep on long drives where guests arrive after dark. Set the posts back at least 2 feet from the drive edge so mirrors and snowplows pass safely, and check local rules — some towns restrict structures near the road easement. A pair of planters at the base softens the masonry. This is a bigger project than most on this list, but honestly, nothing else changes the first impression from the street quite as much.
Suggested budget range: $150 – $600.

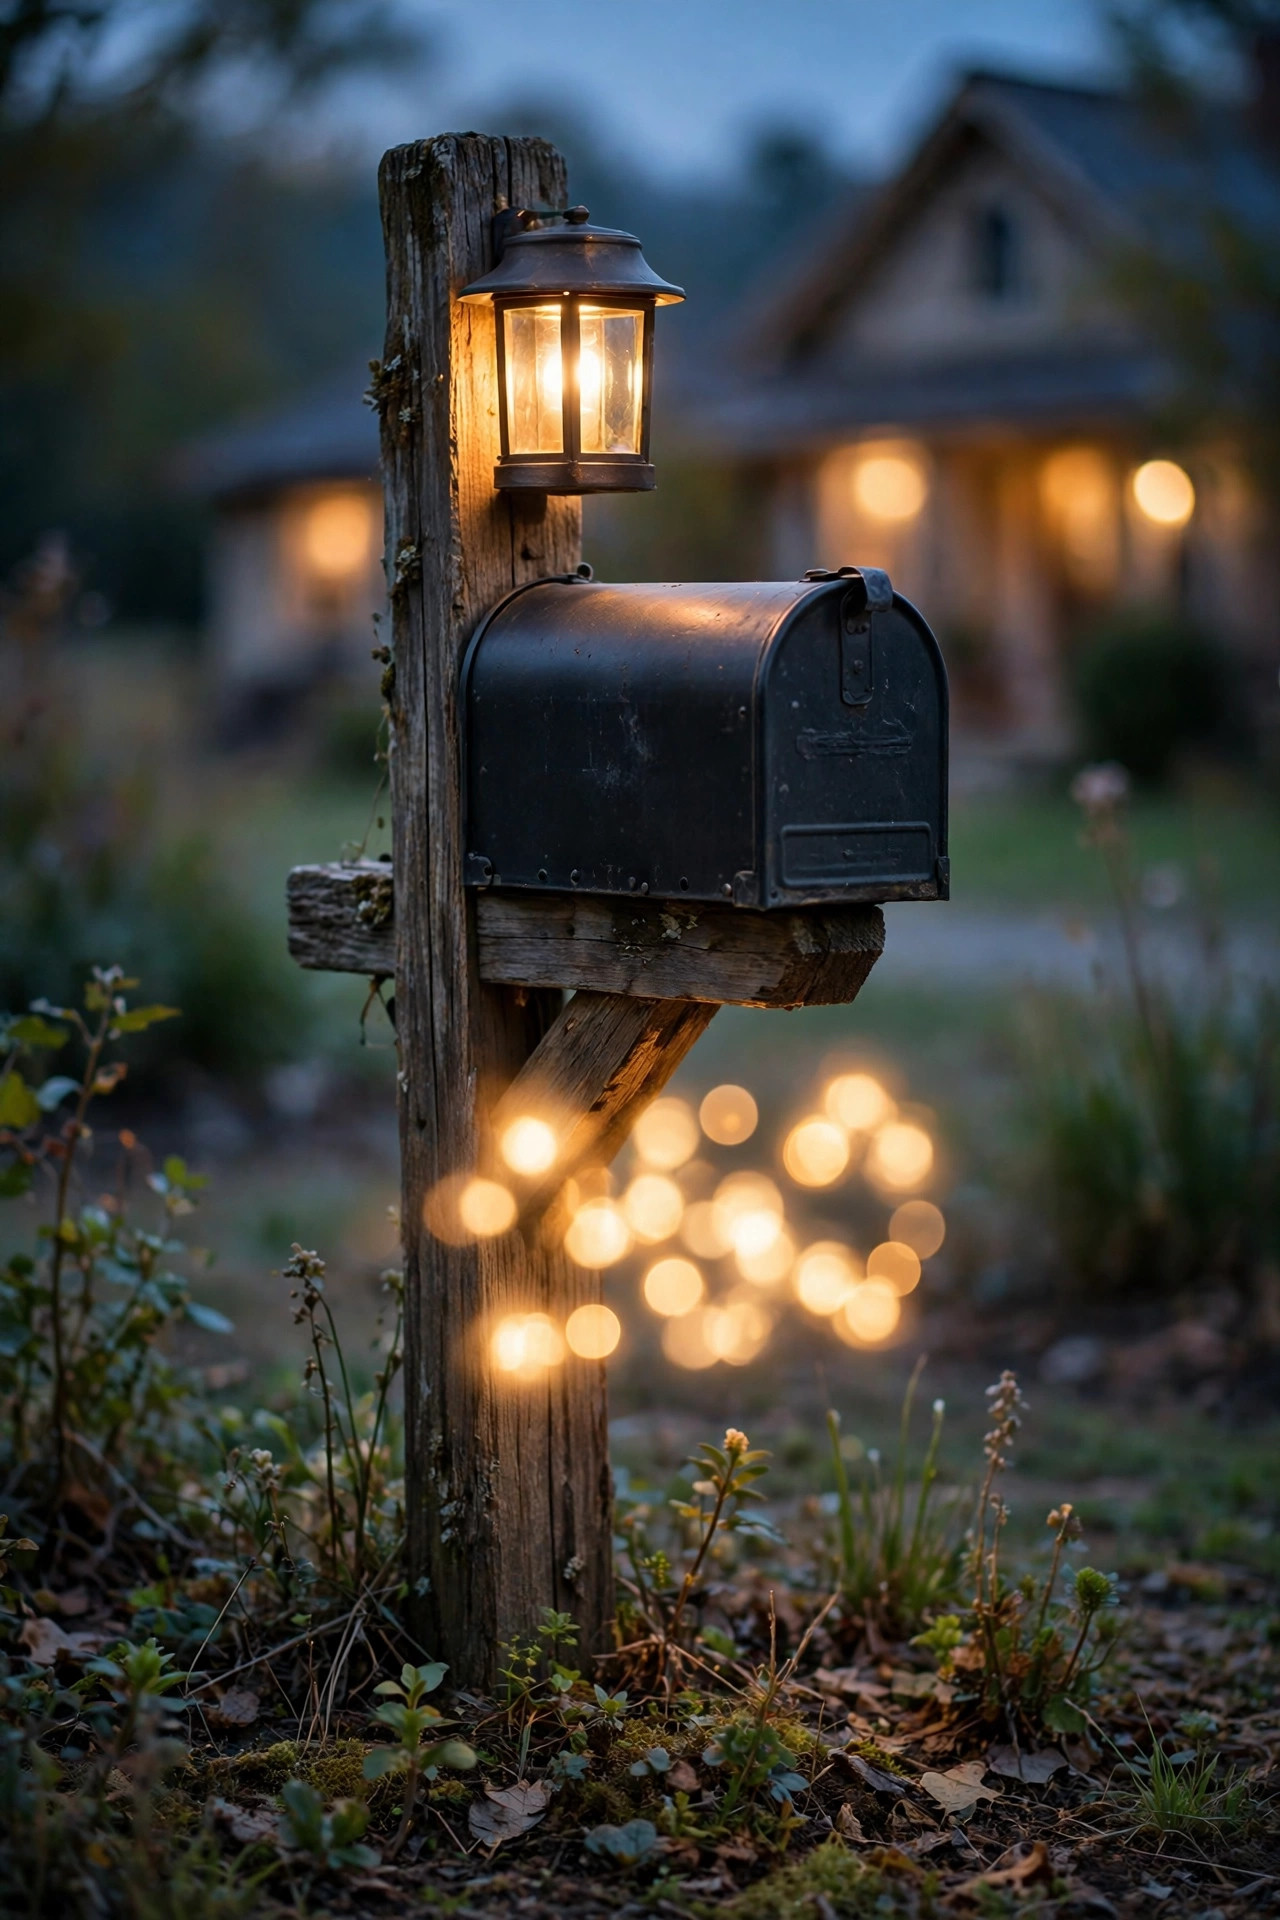
12. Give the Mailbox Its Own Little Glow
A lit mailbox is a tiny detail that punches way above its weight — it helps the delivery driver, welcomes guests hunting for your address after dark, and looks plain charming. The simplest version is a solar lantern or cap light on the mailbox post, throwing a soft pool over the box and the numbers. If your mailbox sits on a post with a little roof or bracket, a small downward solar fixture underneath lights the whole cluster without glare. Keep the brightness modest, 30 to 80 lumens, so it reads as a lantern and not a security light, and pick a finish that matches your door hardware. I rounded up more post, box, and address-number setups in my mailbox lighting ideas post if yours needs a full refresh. While you are out there, wipe the numbers clean — half of mailbox visibility is just soap and water.
Suggested budget range: $15 – $60.
13. Aim Spotlights Into the Beds for Soft Farmhouse Front Yard Lighting Ideas That Work All Season
Garden beds go black at night unless you give them a little attention, and two or three small spotlights per bed fix it. Tuck 150 to 300 lumen fixtures low among the plantings, aimed into shrubs, ornamental grasses, and hydrangeas so the light blooms inside the foliage instead of bouncing off the mulch. Cross the beams — one from the left front, one from the right rear — and the bed gets depth instead of a flat spotlight circle. Stake-mount spots you can re-aim as plants grow are the practical choice, and a 2700K bulb keeps greens looking rich rather than neon. Lilacs, boxwood, and limelight hydrangeas are born for this treatment near the house. Keep fixtures out of the direct line of the lawnmower and pop the lenses clean every spring. In my experience this bed layer is what separates a yard that is merely lit from one that looks designed.
Suggested budget range: $40 – $150.

14. Light the Porch Steps Before Someone Misses One
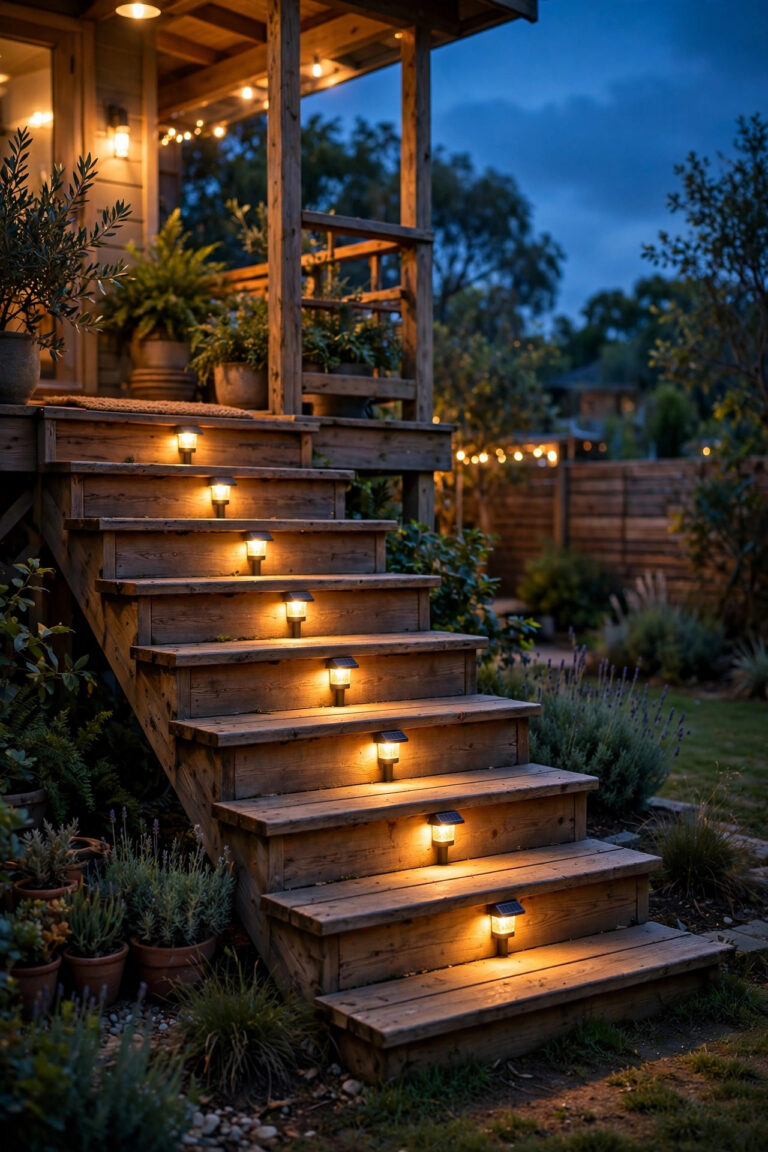
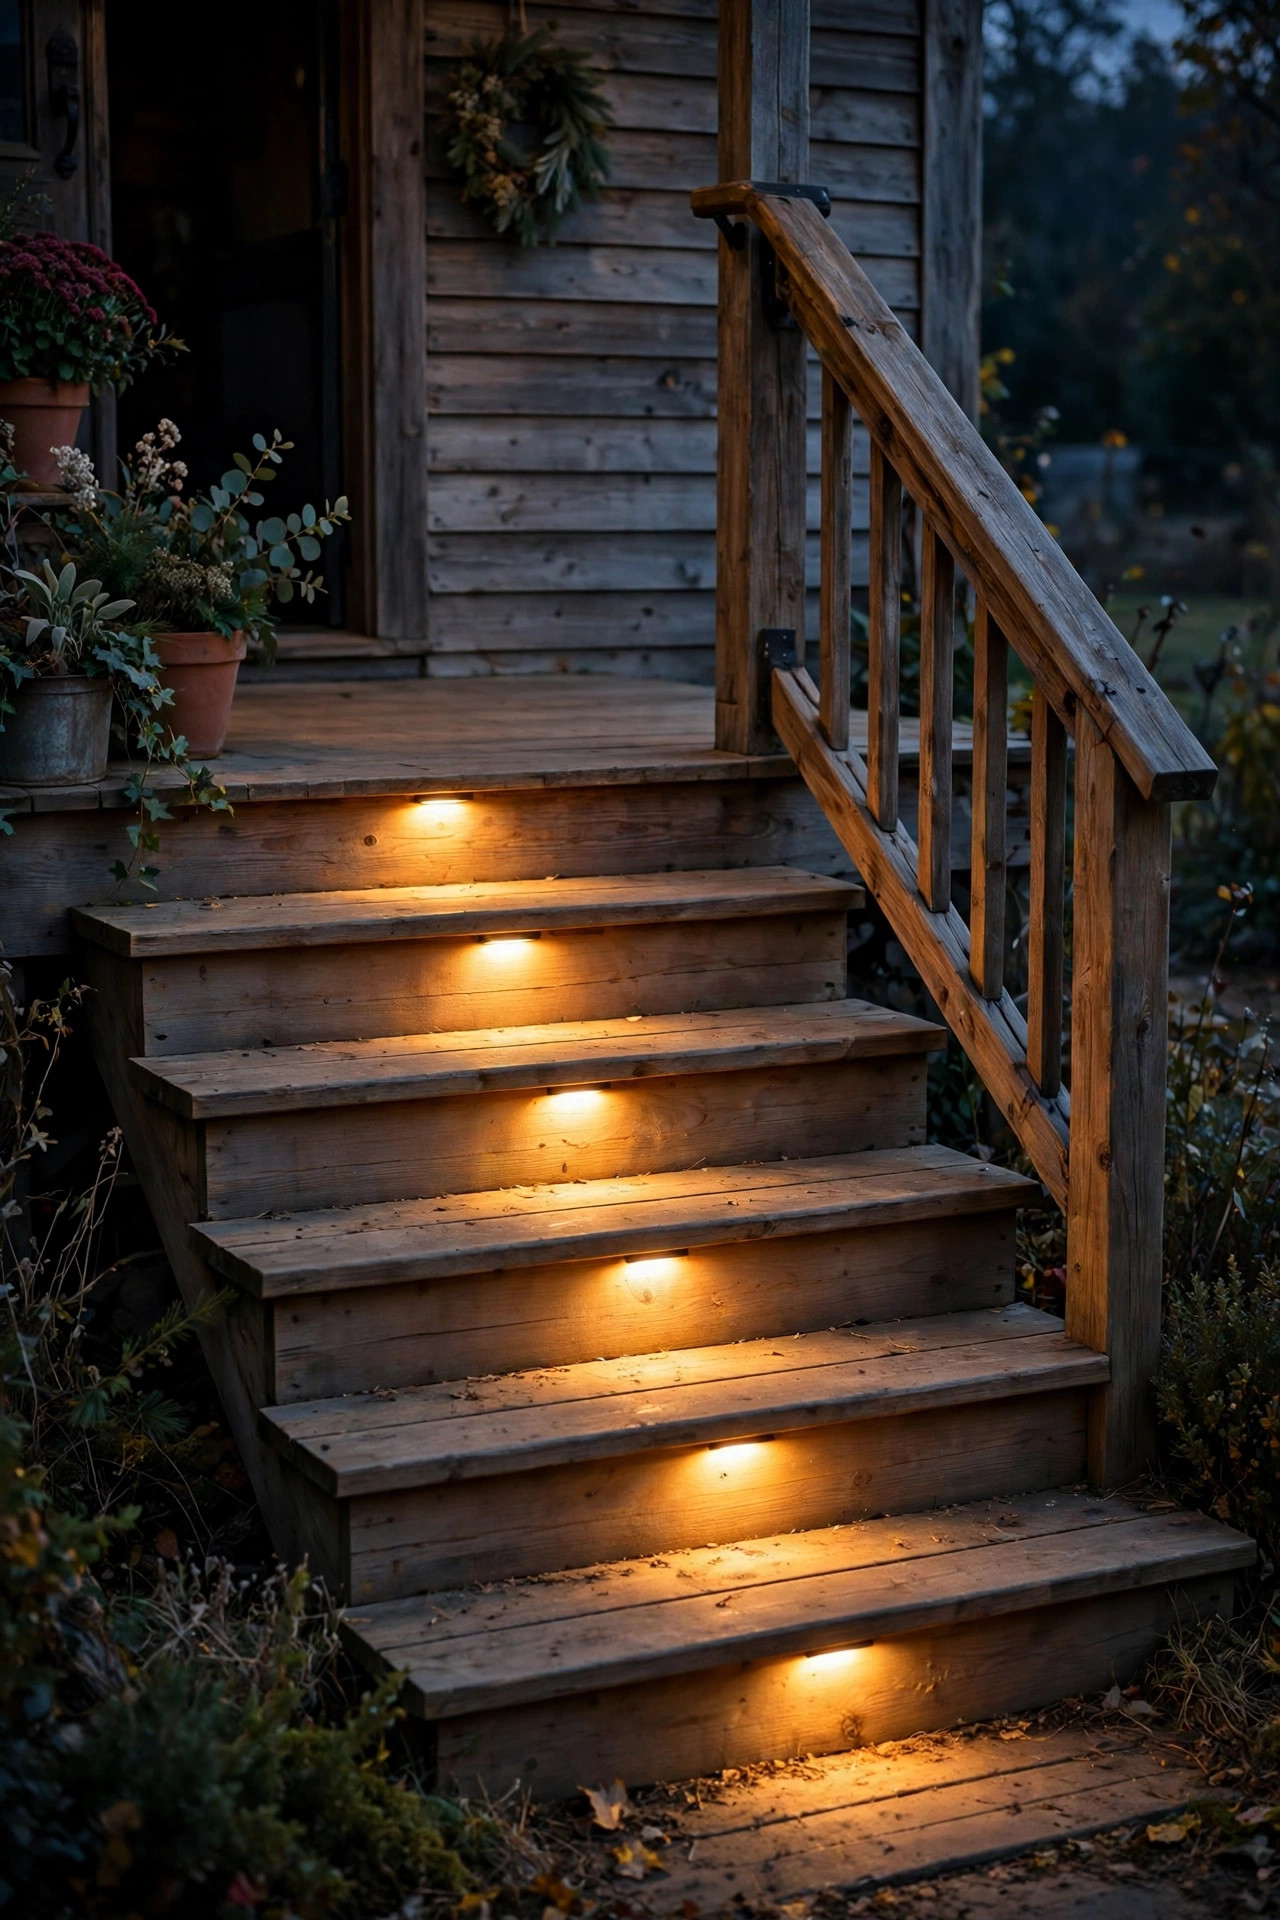
Curb appeal means nothing if a guest stumbles on your steps, so treat step lighting as both the prettiest safety upgrade and the easiest. Recessed step lights set into the risers throw a clean wash down each tread; surface-mount versions under the handrail or on the stringer are the no-demo alternative. Solar step lights have gotten genuinely good — pick metal housings with replaceable batteries and mount one per step on alternating sides for a relaxed farmhouse rhythm. Aim for even, glare-free pools: you want to see the edge of every tread, not the bulb itself. Two to three steps usually need just two fixtures, and a full staircase does beautifully with four. Wire wired versions to the same photocell as the porch so they never get forgotten. I always test this one in person after dark with a grocery bag in each arm, because that is how your guests will actually use those steps.
Suggested budget range: $25 – $130.
15. Match the Garage With Carriage-Style Lanterns
The garage face is often the biggest blank wall a farmhouse shows the street, and a pair of carriage-style lanterns gives it manners. Choose lanterns with a black frame, clear or seeded glass, and a visible filament-style bulb, sized boldly — most people buy garage lanterns too small, so measure your door and go one size up from your instinct. Mount them on either side of the door at about 66 inches, or centered above the door if the trim only allows one. At 800 lumens each on a dusk-to-dawn photocell, the drive apron stays welcoming and package thieves stay nervous. Match the finish and glass to your porch pendant so the whole front elevation speaks the same language. If the garage sits forward of the house, as many farm conversions do, this pair may honestly be the most-seen lights on your whole property.
Suggested budget range: $80 – $260.

16. Put a Gentle Light on the House Numbers
Guests and delivery drivers should never have to guess, and a softly lit house number is equal parts courtesy and curb appeal. The farmhouse-friendly options are a small gooseneck or barn shade aimed down at a plaque by the door, a backlit number panel in a weathered finish, or a simple solar number light staked in the bed below the numbers. Keep it whisper-bright — the numbers should read from a slow car at 30 feet, not glow like a diner sign. Mount the light above the plaque shining down so shadows do not swallow the digits, and choose numbers at least 4 inches tall in a finish that contrasts with the siding. If your numbers live on the mailbox instead, the idea above covers that base. This is a 30-minute project, and in my experience it is the one visitors compliment because it made their arrival easy.
Suggested budget range: $20 – $90.

17. Moonlight From a High Branch for a Natural Glow
Moonlighting is the most natural effect in landscape lighting: a downlight mounted 20 to 30 feet up in a mature tree, filtered through its own branches, so the yard below gets dappled light like a full moon. Use a shielded fixture with a 2700K bulb around 300 to 500 lumens and a wide beam, and let the branch shadows do the decorating. It covers a broad area with zero glare from the street, which is why designers reach for it on big farmhouse lots. The honest caveats: this is the one job on the list where I hire out, because it means climbing, proper tree-safe mounting hardware that will not girdle the limb, and an electrician-grade cable run down the trunk. Budget accordingly and it rewards you for decades. If no tree qualifies, a tall gable-mounted downlight aimed into the yard borrows some of the same magic.
Suggested budget range: $250 – $700.

18. Set Well Lights Flush Along the Foundation
In-ground well lights are the invisible workhorses of the front yard. Buried flush along the foundation, they wash light straight up through foundation plantings and across the first few feet of siding, and because the fixture disappears, you can mow and edge right over them. Space them 5 to 8 feet apart, tucked just in front of shrubs so the foliage catches the light and throws soft shadows on the wall behind. Choose fixtures with tempered glass rated for foot traffic, a drainable gravel sump underneath so they do not sit in water, and 200 to 400 lumen LED modules. The recessed style keeps the look clean and modern-farmhouse, and nobody trips on a stake in the dark. Twice a year, pop the grates and clear the leaves and mulch that migrate in — that is the entire maintenance contract, and it is why I recommend wells over cheap up-stakes for the foundation run.
Suggested budget range: $90 – $320.

19. Glow the Windows From Inside With Candle Lanterns
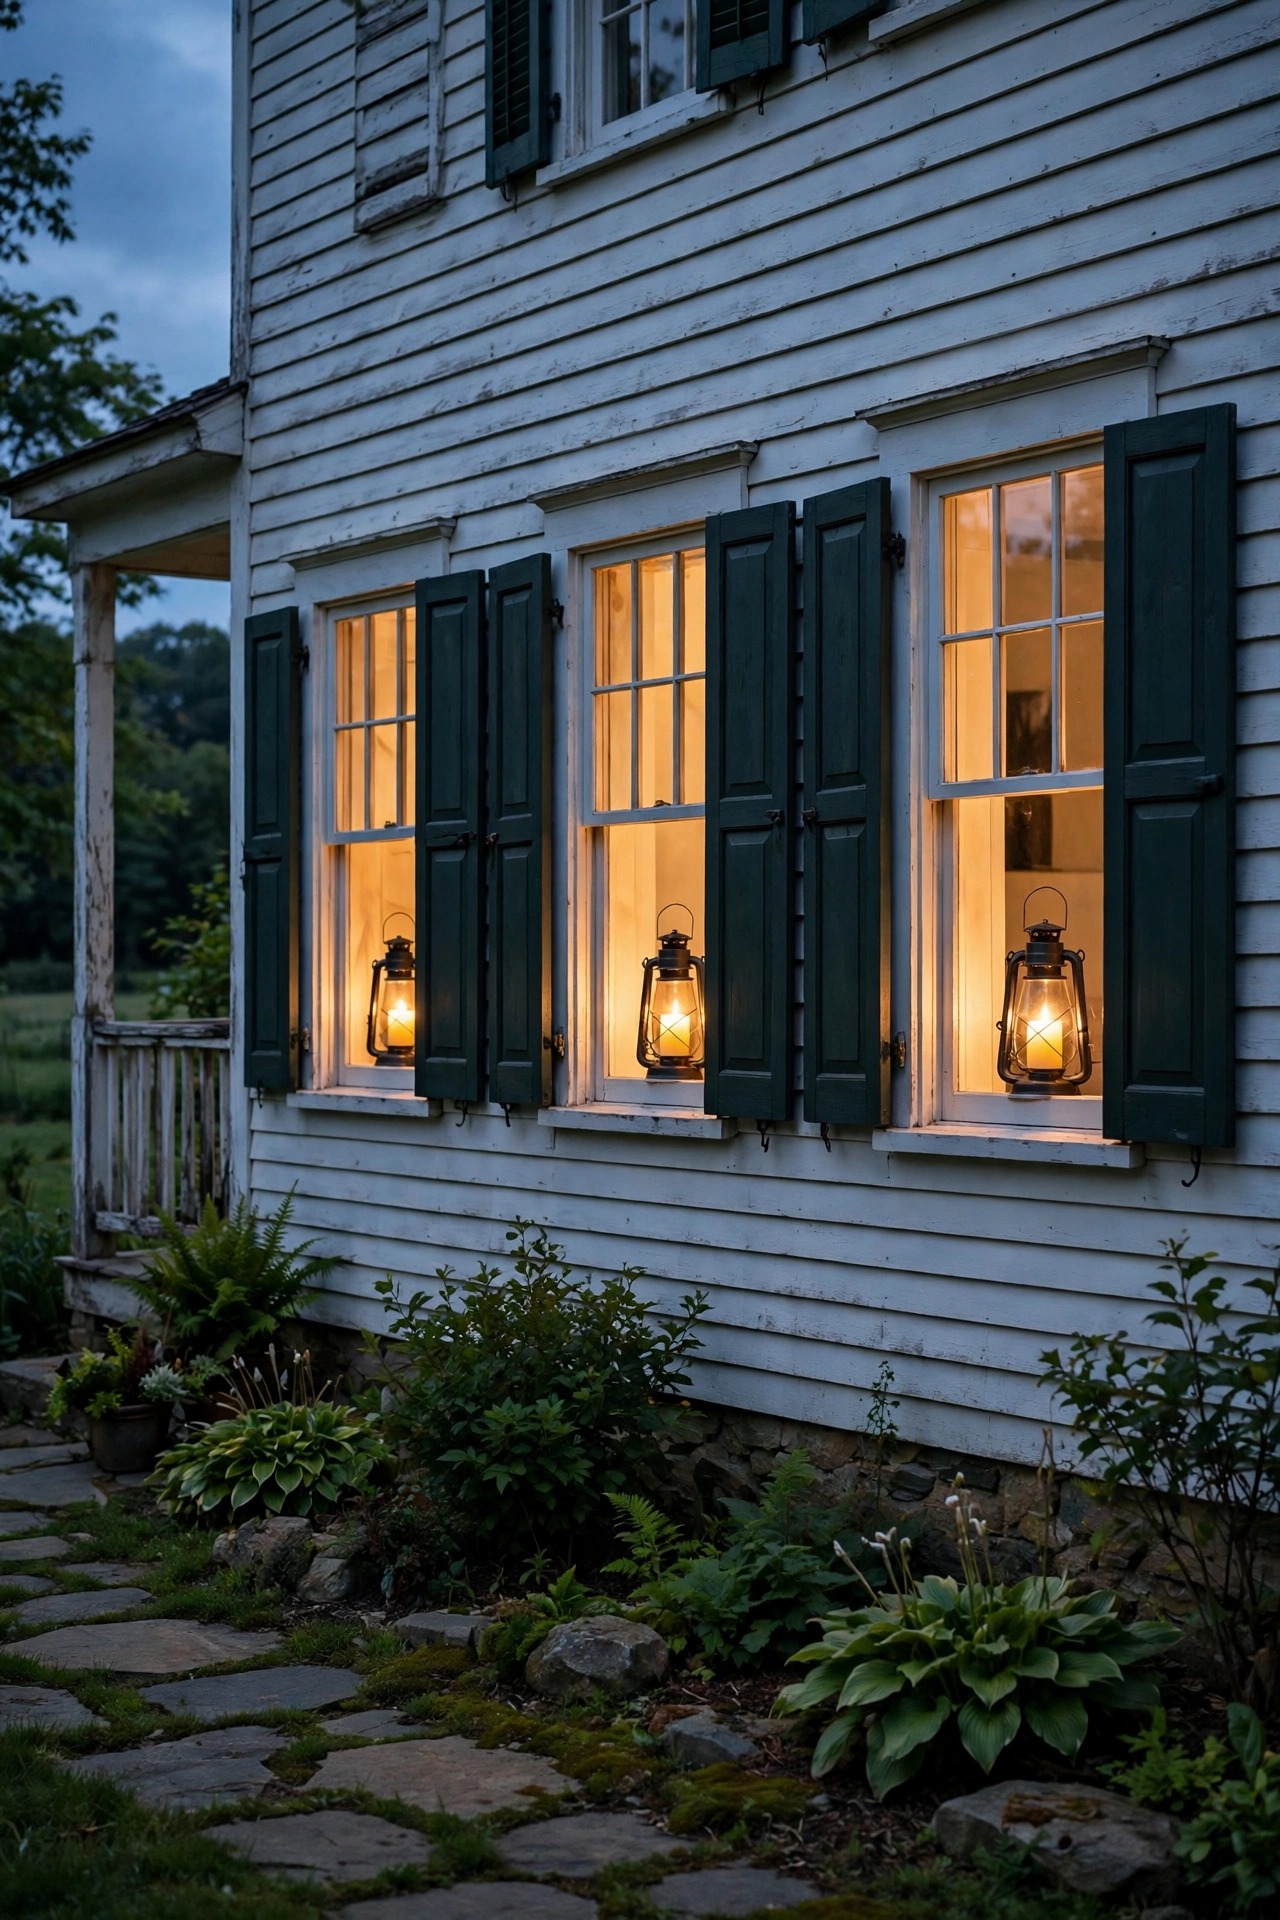
Some of the prettiest farmhouse light at night comes from inside the house, and candle-style lanterns or flameless tapers in the front windows give you that pioneer-window warmth for pennies. Set a battery-operated flameless candle lantern on each front window sill, all on the same timer, and the house reads as lived-in and welcoming from the street. Choose warm ivory pillars or lanterns with a black frame, 4 to 6 inches tall, so the silhouettes match across the facade. Because they are flameless, there is no fire risk near curtains and no wax on the sills — that rule is non-negotiable in my house, and real flames never belong next to drapes. This layer runs on batteries for months and costs almost nothing to operate. During the holidays, a tiny wreath around each lantern stretches the same setup straight into December without buying a single new fixture.
Suggested budget range: $15 – $50.
20. Add One Motion-Sensor Lantern on the Side Path
The side path is where the trash bins, the gate, and most after-dark stumbles live, and one motion-sensor lantern handles all of it without burning light all night. Mount a farmhouse-style caged lantern with a built-in sensor beside the gate or on the corner of the house, about 7 feet up, aimed down the path. Look for an adjustable range of 10 to 30 feet and a timer that holds light for 1 to 5 minutes — enough to get the bins out and back. A dual-brightness model idles at a low 20 percent glow and steps up when it senses you, which keeps the farmhouse mood while staying useful. Wire it to a GFCI-protected circuit or choose a battery or solar model with a remote panel for shaded sides. Keep the sensor out of the street sightline so passing cars do not trigger it all night.
Suggested budget range: $35 – $110.

21. Put Everything on Timers and Photocells
The best-lit farmhouse on the road is the one whose lights actually come on, and automation is how that happens in February when nobody feels like flipping switches. Put the low-voltage transformer on its built-in photocell-plus-timer so the landscape layers run dusk to 11 p.m., and let the porch and door fixtures ride their own dusk-to-dawn photocell sockets so the entry stays lit for late arrivals. Smart plugs rated for outdoor use handle the string lights and seasonal pieces, and a simple astronomical timer adjusts itself as sunset drifts across the year. My honest setup: accents off at 11, door lights on till dawn, motion lights always armed. That schedule keeps the electric bill to a few dollars a month with LEDs, respects the neighbors and the night sky, and means the yard looks exactly as designed every single evening without me thinking about it once.
Suggested budget range: $15 – $80.

22. Swap Accents With the Seasons, Keep the Bones
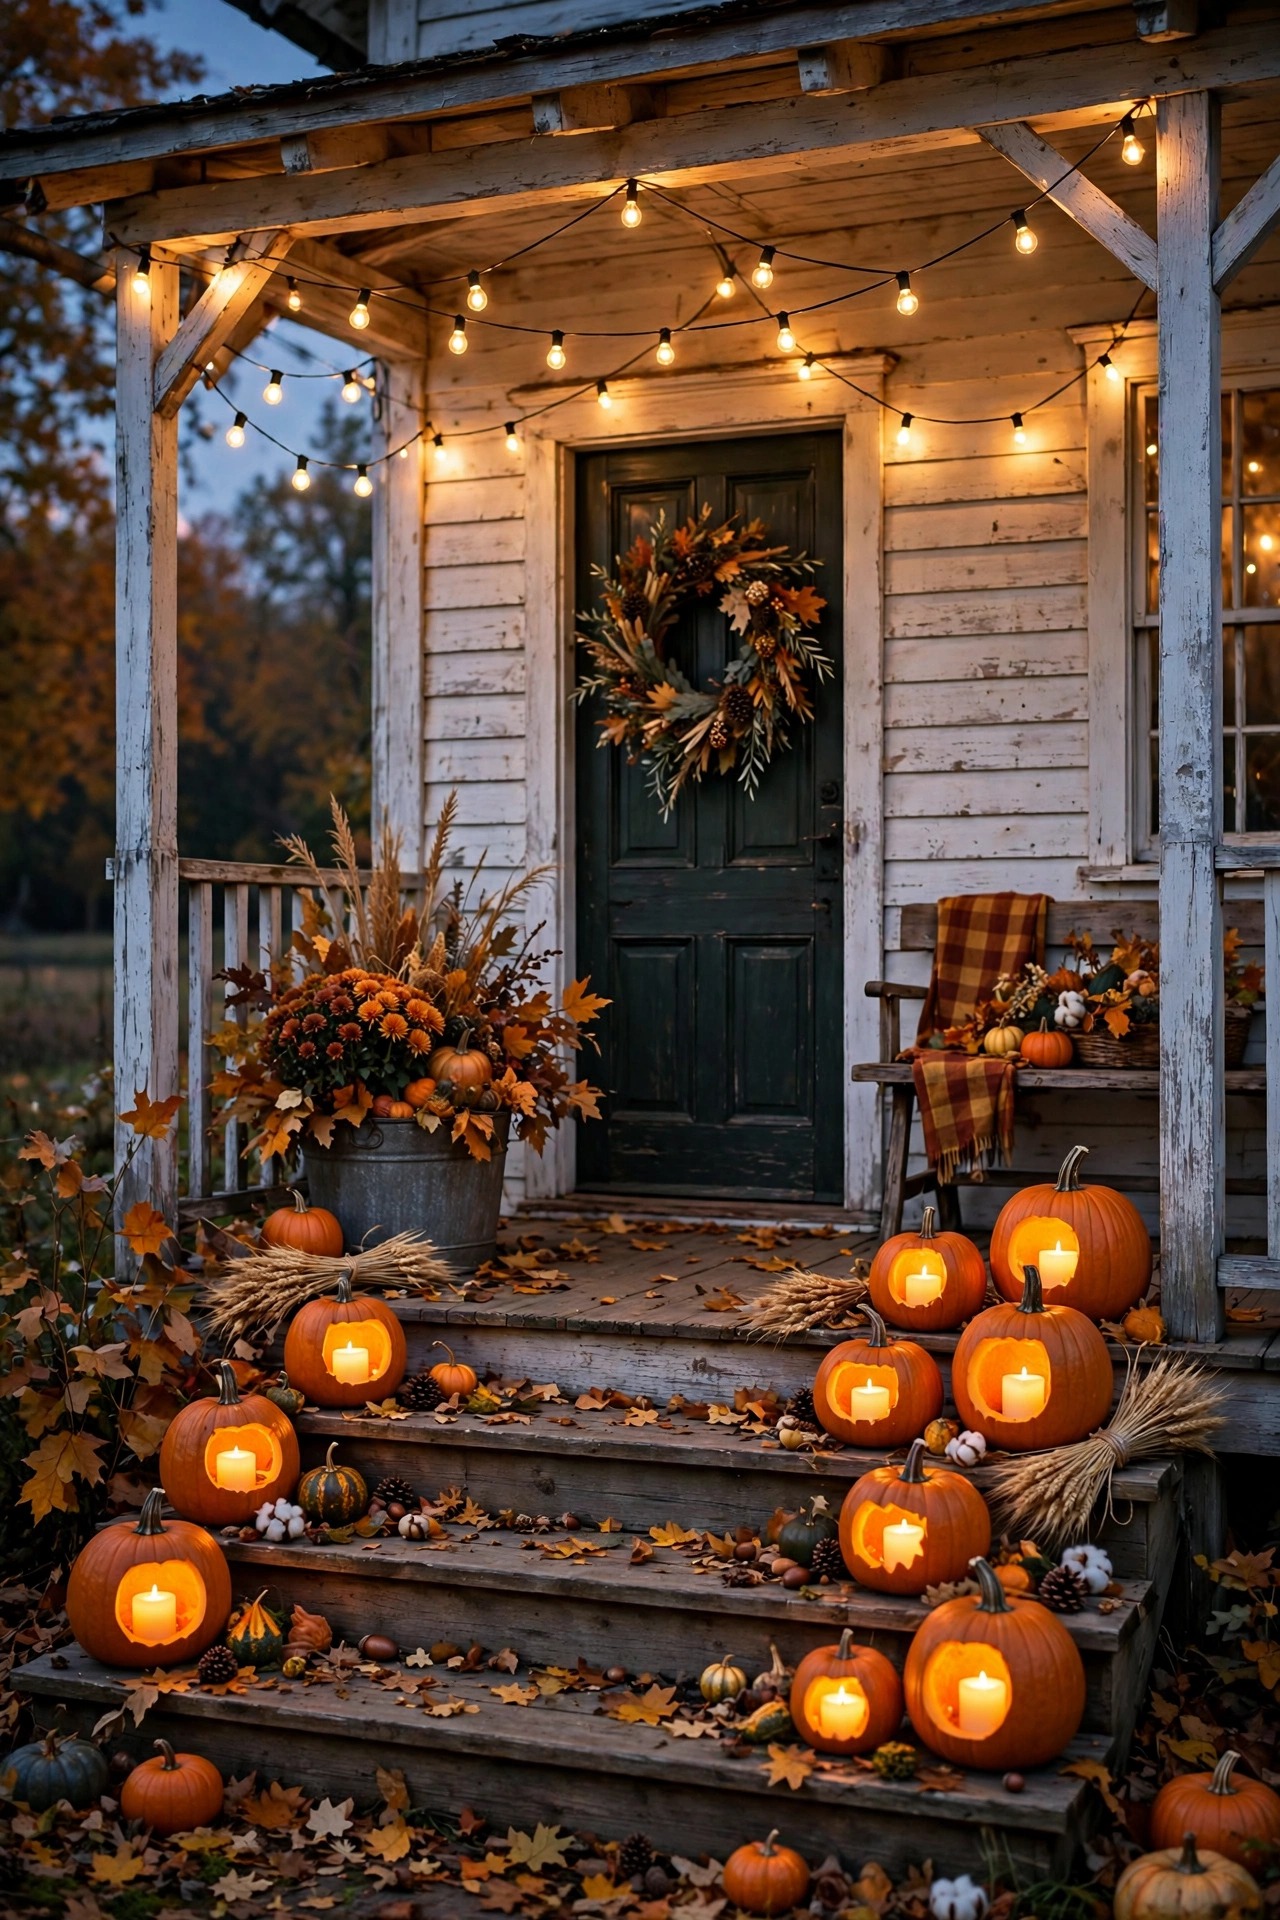
Once your layers are in place, the farmhouse fun is swapping the accents while the bones stay put. In spring, fairy lights wound through a front-yard trellis or the porch rail echo the garden waking up. Summer calls for the full string-light swag and lanterns on the fence posts. Come fall, I thread amber-toned bulbs into the string lights and set flameless candles inside hollowed pumpkins on the steps — LED only, never real flame near dry leaves and porch wood. Winter gets the window lanterns plus a single uplight on a wreath-worthy evergreen. None of these swaps touch the wiring; they ride on the same timers and fixtures from the ideas above, which is the whole point of building layers first. Keep a labeled bin in the garage and each seasonal changeover takes under an hour, most of it spent admiring your own work.
Suggested budget range: $20 – $90.
23. Finish With a Dusk Walk-Through of Your Farmhouse Front Yard Lighting Ideas
The last step is the one nobody does and everybody should: a slow walk at dusk with fresh eyes. Start at the street where your guests start, and look for dark gaps on the walk, bulbs glaring straight at eye level, and any fixture aimed into a neighbor window. Then walk the route to the door with your hands full, checking every step edge and the house number from a slow drive-by distance. Bring a notepad, because you will spot three fixes — a stake to straighten, a beam to narrow, a timer to nudge — and you will forget two of them by morning. I repeat this walk every season change, and it takes fifteen minutes. This is how your farmhouse front yard lighting ideas stop being a collection of fixtures and become a feeling: warm, safe, and unmistakably yours, every night of the year.
Suggested budget range: $0 – $20.
Frequently Asked Questions
What color temperature looks best for farmhouse front yard lighting?
Warm white at 2700K is the farmhouse standard, and it is what I use everywhere out front. It flatters white siding, brick, wood tones, and skin, and it reads as lantern light rather than office light. If a fixture runs slightly warmer at 2200K, like many filament-style bulbs, that is fine for pendants and sconces. What you want to avoid is mixing temperatures — a 4000K bulb in one lantern will make its warm neighbors look broken. Buy all your bulbs in the same temperature, ideally in the same shopping trip, and keep a spare or two in a labeled drawer.
Is solar or low-voltage wired lighting better for a front yard?
Honestly, both earn a place. Low-voltage wired lighting is brighter, more consistent, and lasts for decades, so I use it for the workhorse layers: path lights, well lights, and tree uplights. Solar wins where trenching is miserable — fence posts, the mailbox, bed accents — as long as the spot gets six or more hours of sun and you choose models with replaceable batteries. The mistake is expecting solar to do a wired job. If your yard is heavily shaded, run wire for the main layers and use solar only for the sparkle, and your curb appeal will never depend on a cloudy week.
How much does it cost to light a farmhouse front yard?
A starter layer of solar stakes, a porch pendant, and step lights can land between $100 and $300 and already changes the house completely. A full layered system with low-voltage path lights, well lights, sconces, and a transformer typically runs $600 to $1,500 in fixtures if you install it yourself, and roughly double that with professional installation. The ideas in this post are priced individually so you can build in stages — most of my favorite yards were assembled over two or three seasons, not one big weekend.
How far apart should front path lights be spaced?
For most farmhouse walks, 6 to 8 feet apart on alternating sides is the sweet spot. That spacing makes the pools of light just kiss each other, so guests see a continuous ribbon instead of zebra stripes. On a straight, formal walk you can stretch to 10 feet with brighter 200 lumen fixtures; on a curving garden path, tighten to 5 or 6 feet so the curve stays readable. The real test is walking it at night: if you are watching your feet instead of the house, add a fixture or nudge the spacing in, never turn the brightness up first.
Conclusion
If you take one thing from these farmhouse front yard lighting ideas, let it be the layers: guide the feet, welcome at the door, and accent only what deserves it, all in the same warm 2700K glow. Start with whichever idea fixes your darkest problem, live with it for a few weeks, and add the next layer when you are ready. That is how real farmhouses were always lit — a lantern here, a sconce there, each one earned. When you are ready for more, browse the rest of my outdoor lighting ideas here on the site and keep building your glow, one warm layer at a time.