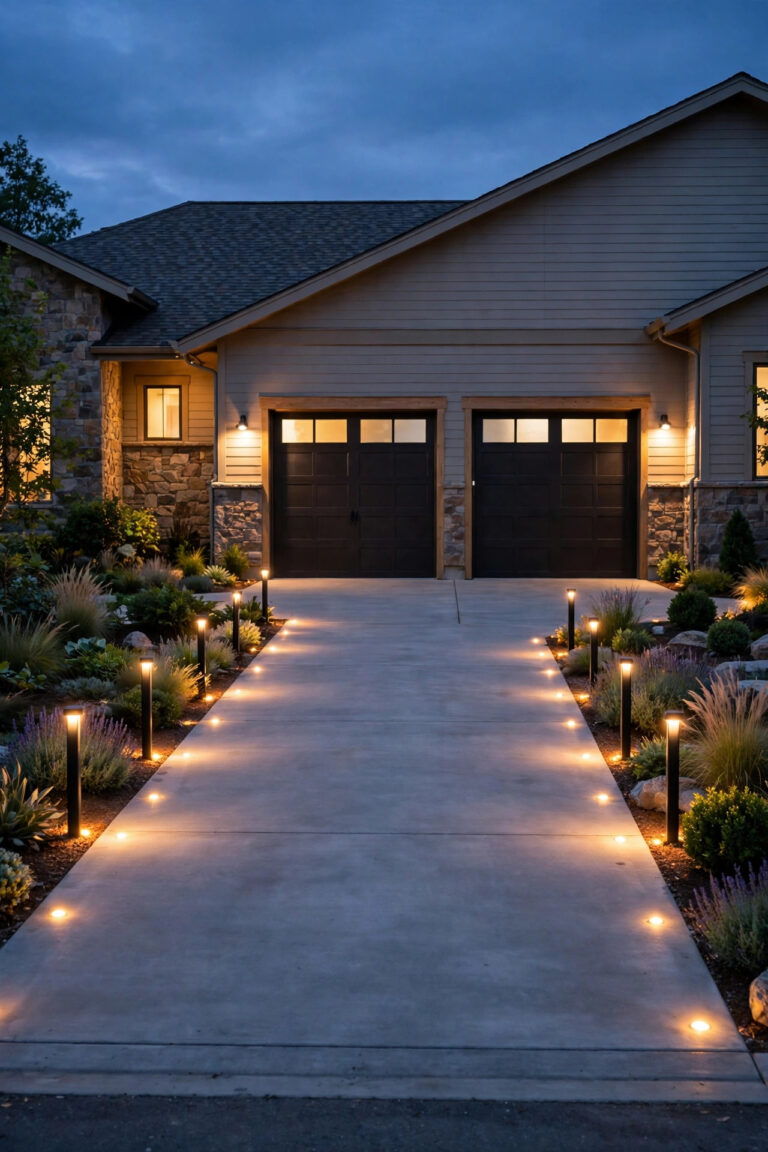
Our first lamp post leaned a little more every spring. It came with the house, and by the third winter it had developed a tilt so pronounced that guests would glance at it, then at me, then back at it — like it might tip onto the walkway mid-sentence. When I finally pulled it up, I found the problem in about four seconds: the post sat in a shallow scoop of dirt and gravel, barely a foot deep, with nothing underneath it but hope. Frost had been heaving it around for years. If you're asking how to install a lamp post so it stands dead straight for decades, the honest answer is that the post itself is the easy part. The real work is the concrete base below it. In this guide I'll walk you through the whole job — picking the post, planning the spot, digging and forming the hole, running the wire safely, pouring the base, and setting everything plumb. It's a satisfying weekend project, and done right, you'll only ever do it once.

The Short Answer
To install a lamp post on a new concrete base: call 811, dig a hole 24 to 36 inches deep (below your frost line) and 12 to 18 inches wide, add 4 to 6 inches of gravel, set a tube form and a PVC conduit sweep up the center, and run your wire through it. Pour concrete, set anchor bolts with a template while it's wet, and let it cure at least 48 hours. Then mount the post on leveling nuts, wire the head to the GFCI-protected circuit, and check for plumb on two sides. Budget a full weekend and roughly $250 to $650 in materials.
Why the Concrete Base Does All the Real Work
A lamp post is basically a tall lever standing in the weather. Wind pushes on the head, kids lean on the shaft, lawn mowers bump the bottom, and every winter the freeze-thaw cycle tries to lift whatever is buried too shallow. A proper concrete base defeats all of that at once: it gives the post a heavy, deep anchor that frost can't heave, spreads the load so the post can't slowly sink or tilt, and keeps the buried end of the wiring dry and protected inside conduit.
Depth is the whole secret. The bottom of your hole needs to sit below your local frost line — 24 inches is enough in mild climates, 30 to 36 inches is common across the Midwest and Northeast. Concrete poured above the frost line will ride the soil up and down every winter, and your post will lean a degree or two more each year, exactly like my sad original did.
The one honest exception: if you're mounting onto an existing masonry pier or column instead of soil, you don't need a poured base at all — a surface-mount adapter does the job. I covered those options in my roundup of pier mount post light ideas. But for a freestanding post in a lawn or garden bed, poured concrete is non-negotiable in my book.

Picking Your Post: Height, Material, and Mounting Style
Most residential lamp posts stand 6 to 8 feet tall once installed, which puts the light itself around head height or a little above — high enough to throw a generous pool of light, low enough to feel welcoming instead of institutional. For a spot beside a driveway entrance, I'll go up to 9 feet; for a garden path, 6 feet feels cozier and more in scale.
Material matters more than style. Cast aluminum is my default recommendation: it never rusts, it's light enough for one person to handle, and modern powder-coat finishes hold up beautifully for 15 years or more. Steel is stronger but will rust the moment the finish chips, and it is genuinely heavy. Fiberglass and resin posts are budget-friendly and fine in sheltered spots, but they can flex in strong wind and look a little plasticky up close.
Then there are two mounting styles, and your choice changes the whole install. A flange-base post bolts down onto anchor bolts set in your concrete — this is the style this guide uses, and it's the easiest to level and to replace later. A direct-burial post is longer and gets buried in the hole itself, concrete poured around it. It looks clean, but if it ever corrodes at ground level — and they do — you're digging the whole thing out. I'd only choose direct burial in a dry climate with a powder-coated aluminum post.
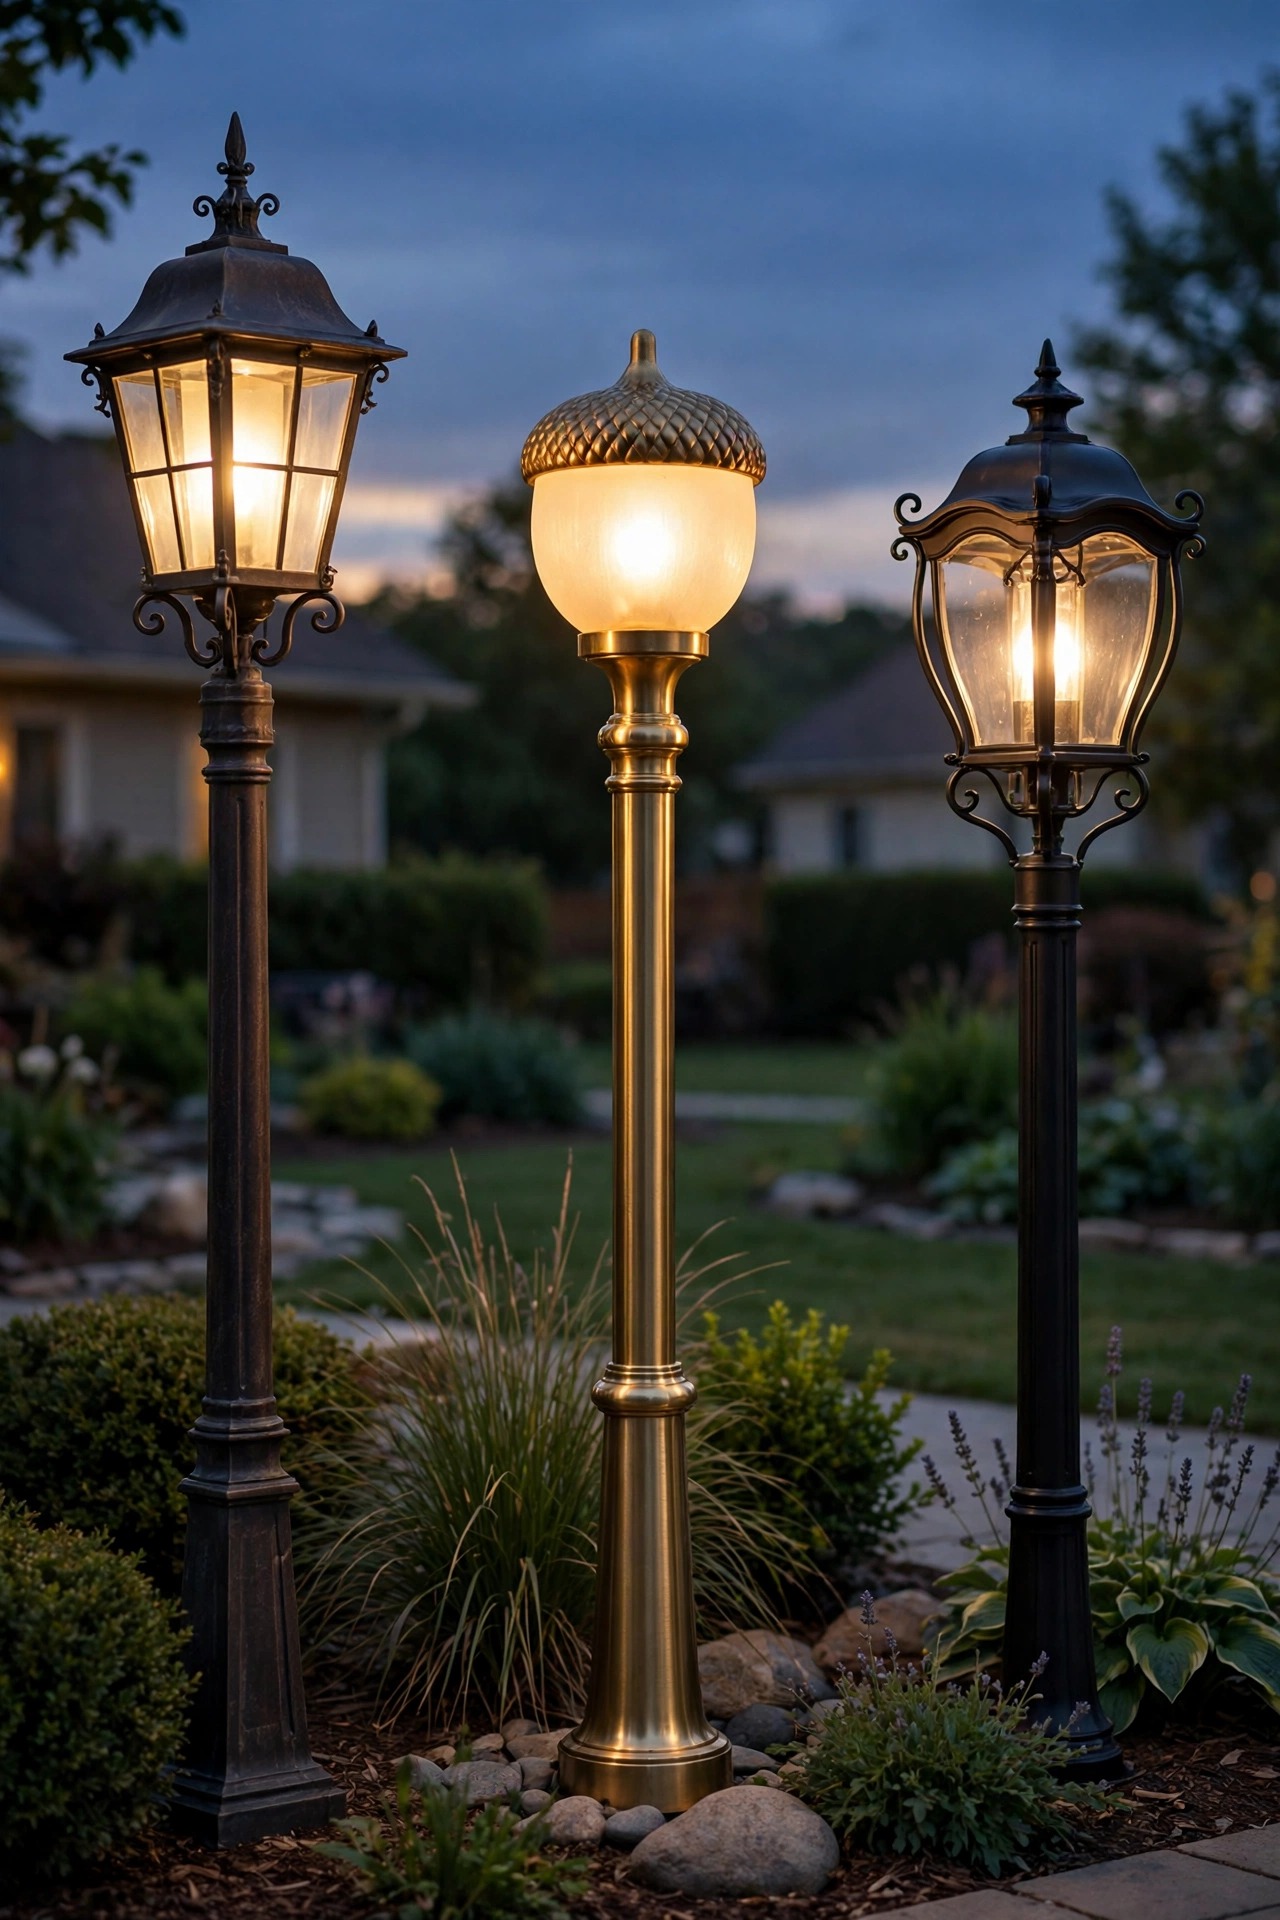
Still deciding on a look? Browse my favorite lamp post lighting ideas for head styles — lantern, acorn globe, and carriage styles all mount the same way underneath.
Planning: How to Install a Lamp Post in the Right Spot the First Time
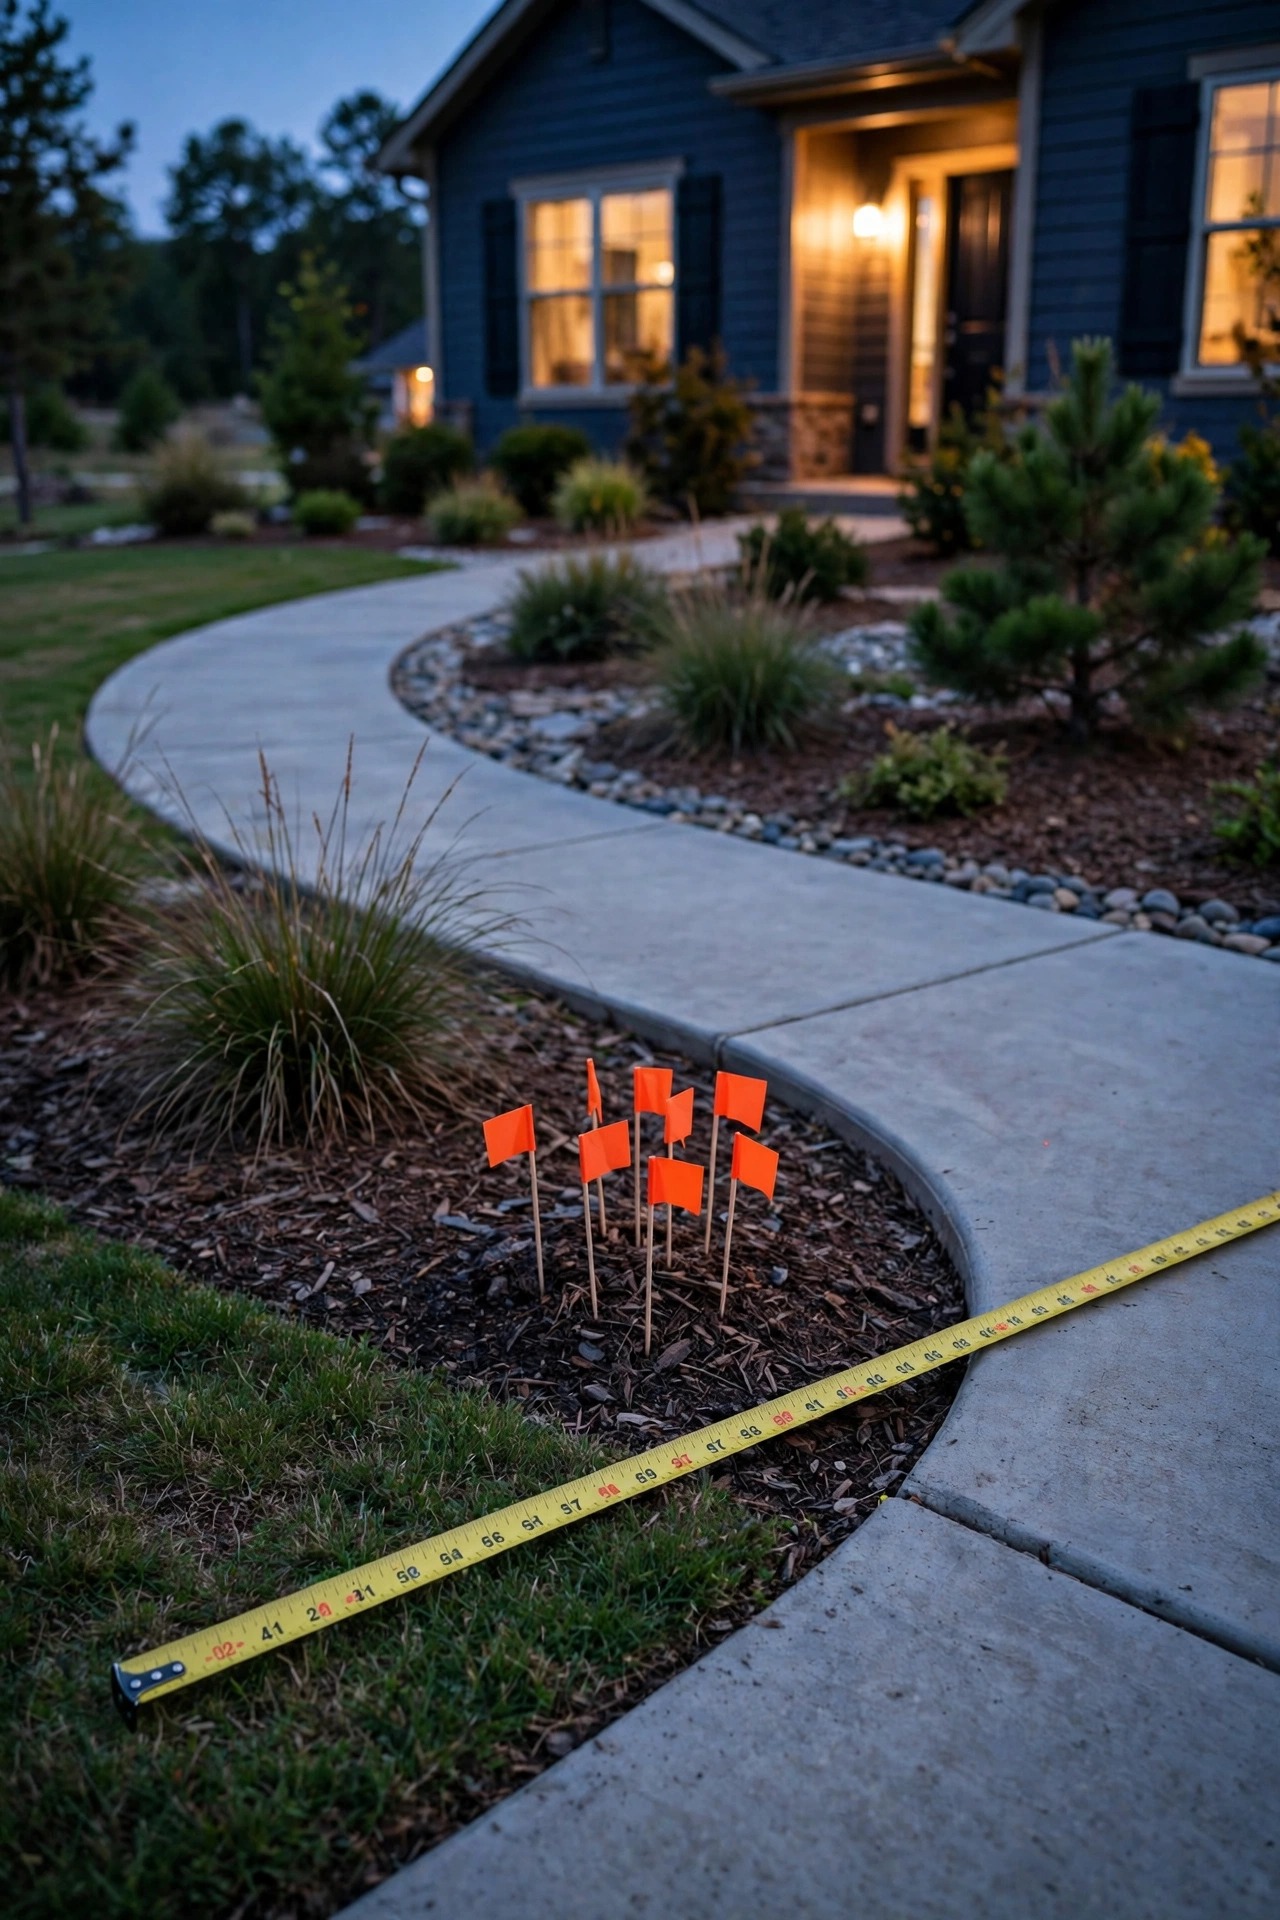
Concrete is forever, so spend real time on placement before you dig. The classic spots are beside a driveway entrance, at the bend of a front walkway, or anchoring the corner of a garden bed — places where light genuinely helps people arrive safely. Stand at the street at dusk and look at your house the way a guest does; the right spot usually announces itself.
Keep the post about 2 feet back from the edge of a driveway or walkway. Closer and it will get clipped by car mirrors and snow shovels; farther and the light lands on grass instead of the path where you need it. Check your sight lines from inside, too — a lamp head at window height outside a bedroom can be surprisingly bright at night, and a photocell light burns until dawn.
Next, decide where the power comes from. Most lamp posts tap an existing outdoor circuit: a GFCI outlet on the house, a junction box in the garage, or an existing landscape run. Measure that distance honestly, because it decides your trench length, your wire cost, and whether voltage drop is a concern. On long runs over 100 feet, step up one wire gauge. Finally, check local rules: many towns require a permit for a new 120-volt circuit, and your HOA may have opinions about fixture style. A five-minute call now beats a citation later.
Tools and Materials Checklist
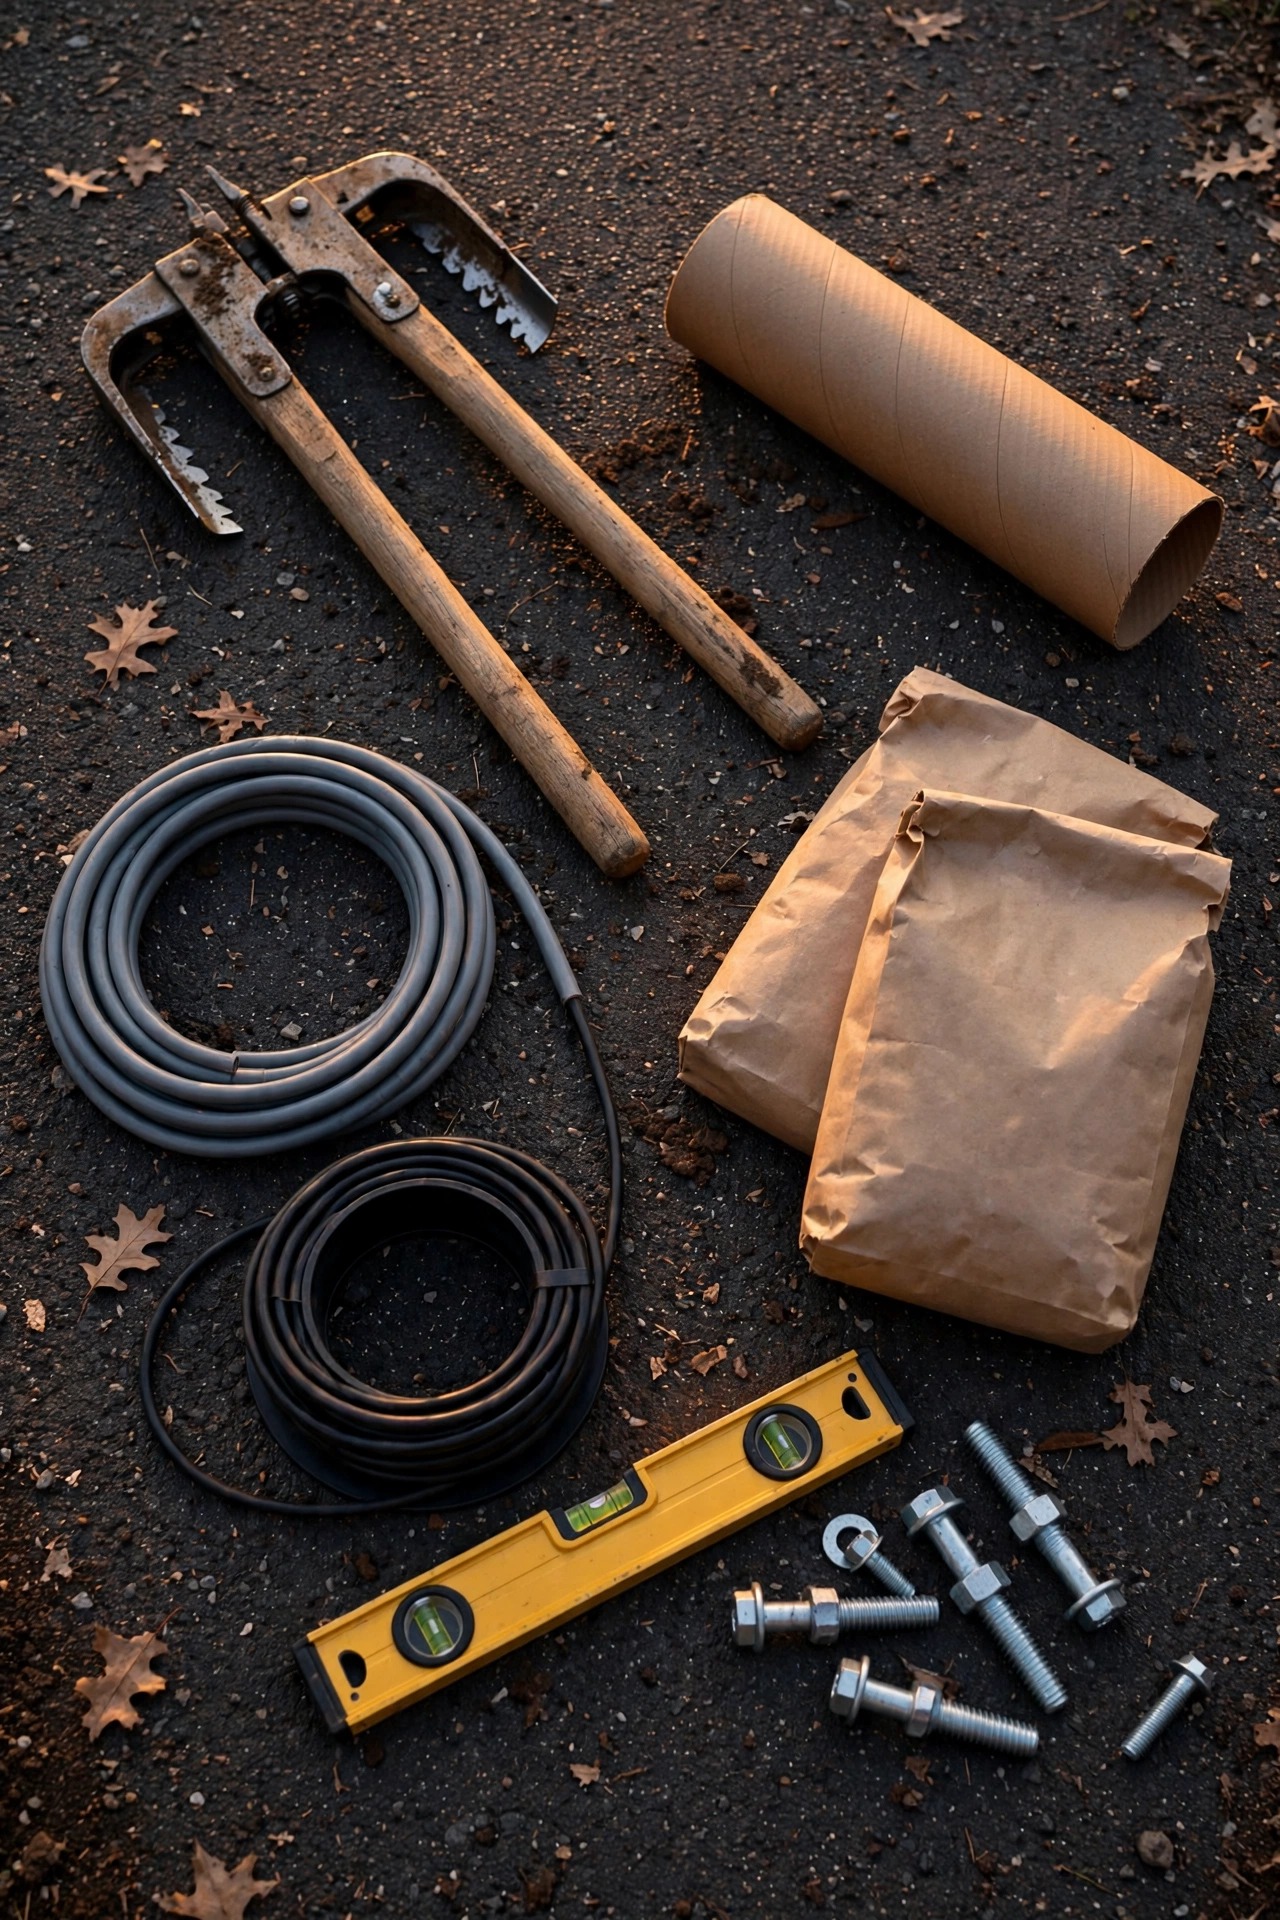
Nothing on this list is exotic, and you may own half of it already. For digging and concrete: a post-hole digger or spade, a hand tamper, a tube form (12-inch diameter is typical), 4 to 6 inches' worth of drainage gravel, bagged concrete mix — plan on three to four 80-pound bags for a standard hole — a mixing tub or wheelbarrow, a hoe, and a 4-foot level.
For the electrical side: a PVC conduit sweep elbow and straight conduit for the riser, direct-burial UF cable or individual wires in conduit, waterproof wire connectors, a GFCI outlet or breaker to feed the circuit, electrical tape, and a non-contact voltage tester. Never skip the tester; it costs about fifteen dollars and it is the cheapest safety device you will ever buy.
For mounting: anchor bolts (J-bolts) matched to your post's flange pattern — most posts include a paper bolt template in the box, guard it with your life — plus leveling nuts and washers, a wrench set, and a drill/driver. For the post itself: the post, the head or fixture, an LED bulb around 800 to 1,100 lumens in 2700K to 3000K, and a photocell if your head doesn't have one built in. Add work gloves, safety glasses, and a garden hose for mixing and cleanup, and you're fully stocked.
Step by Step: How to Install a Lamp Post From First Shovel to Final Test
Here is the whole job in one pass; the sections after this one dig into the tricky parts in detail.
1. Call 811 at least three business days ahead and get your underground utilities marked.
2. Mark your spot, then dig the hole 24 to 36 inches deep and 12 to 18 inches wide, slightly wider at the bottom.
3. Shovel in 4 to 6 inches of gravel and tamp it firm and level.
4. Set the tube form so it sticks up 2 to 3 inches above grade, and stand the conduit sweep in the center, curving out toward your power source.
5. Trench from the power source to the hole at the proper burial depth, and lay your cable or conduit run.
6. Pull the wire up through the conduit sweep, leaving about 18 inches of slack sticking out of the top.
7. Mix and pour the concrete into the form, working it around the conduit to eliminate air pockets.
8. Immediately set the anchor bolts using the post's template, with 2.5 to 3 inches of thread showing above the concrete, and dome the top slightly so water sheds off.
9. Let the concrete cure at least 48 hours — a week is better — before mounting anything.
10. Set leveling nuts on the bolts, lower the post's flange over them, level it on two faces, and snug down the top nuts.
11. Wire the head: black to black, white to white, ground to ground, with waterproof connectors, then fit the bulb and photocell.
12. Restore power, test the GFCI, and come back at dusk to admire your work and fine-tune.
Digging the Hole and Setting the Form
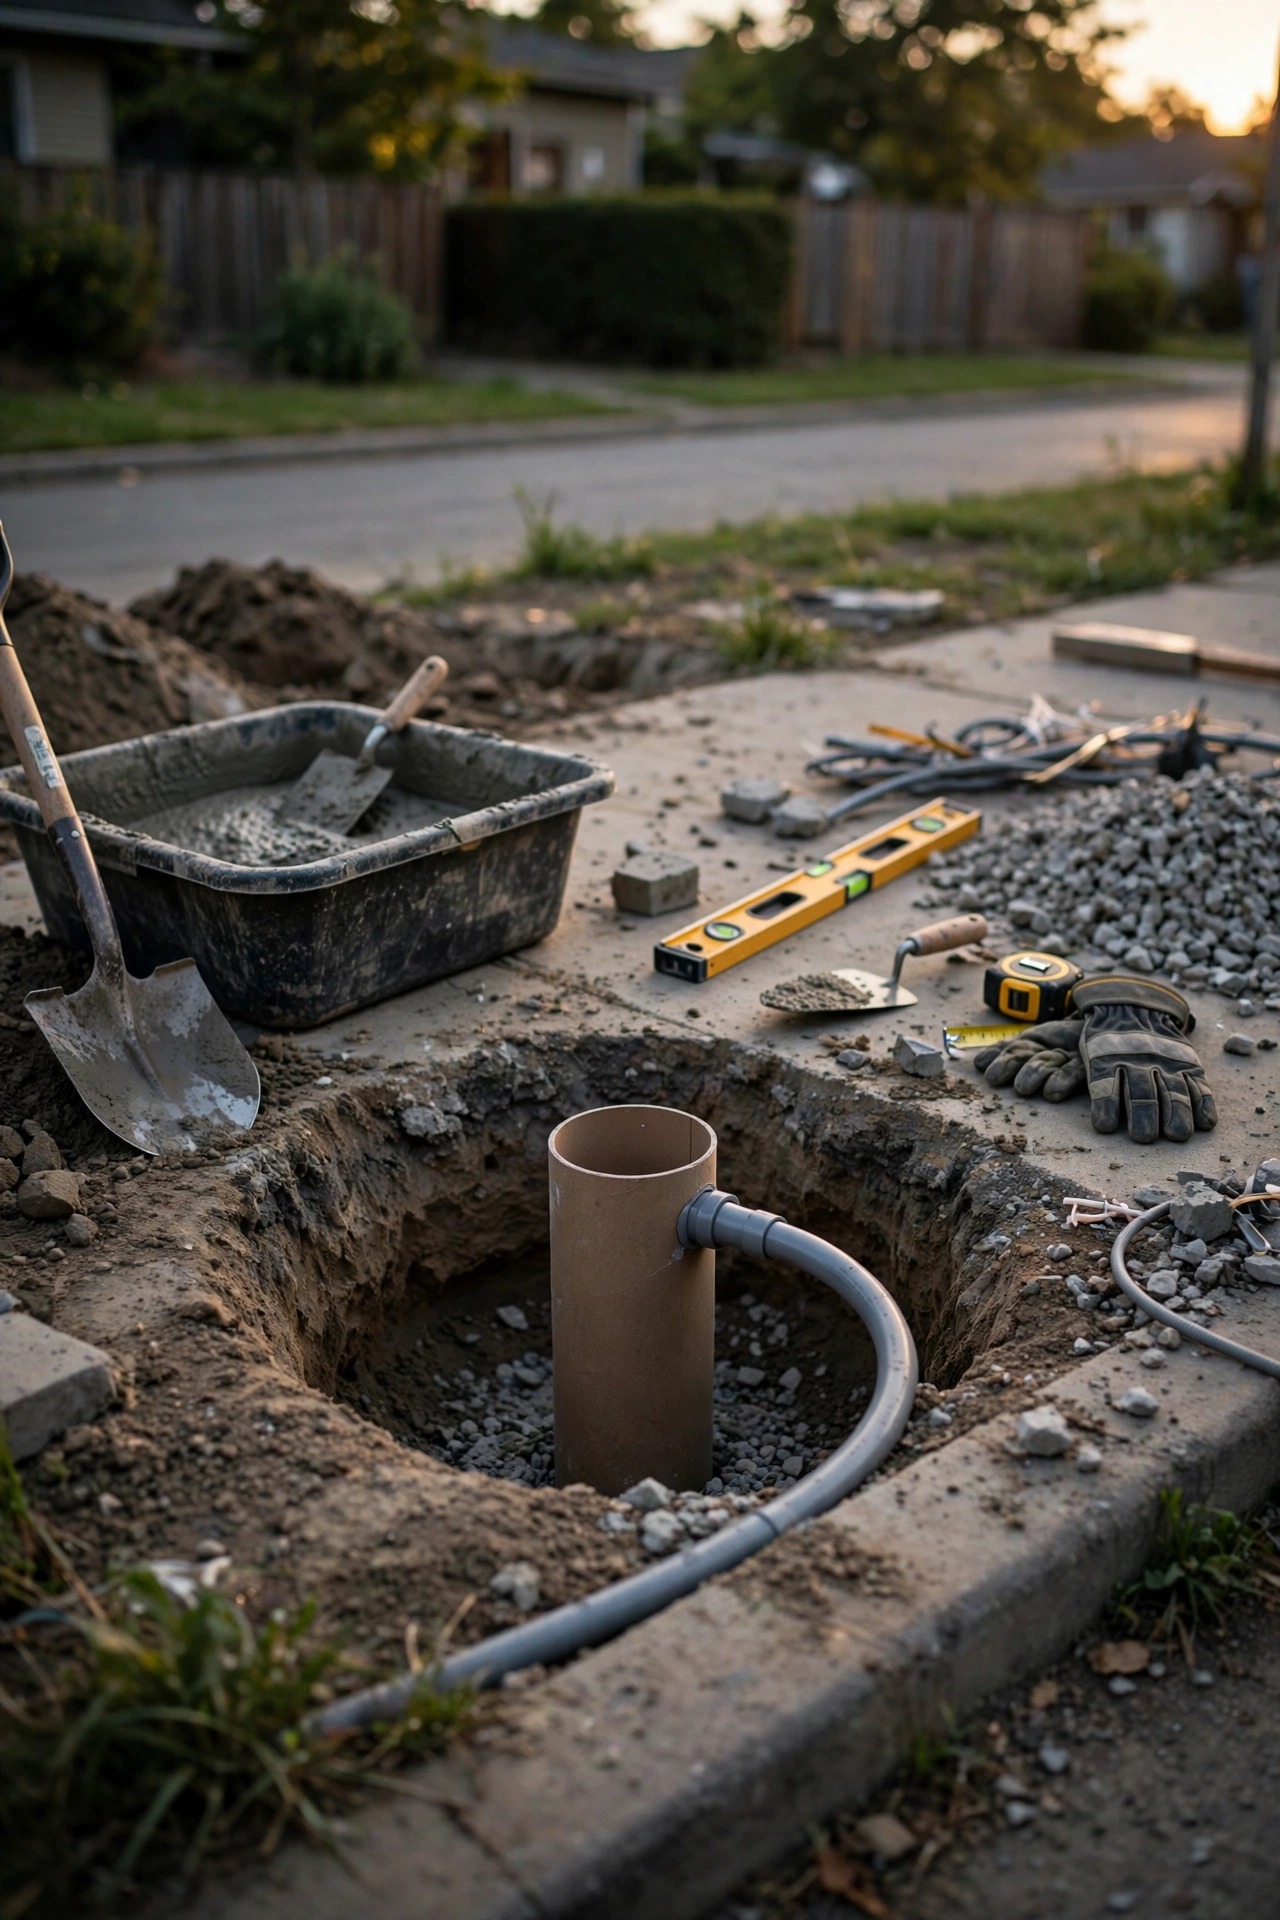
Start by marking a circle a few inches wider than your form and stripping the sod off neatly — you can lay it back around the finished base later for a tidy edge. Dig straight down, keeping the walls vertical. A post-hole digger does the neatest work in most soils; in rocky ground, a digging bar is worth its weight in gold. Slightly bell the bottom of the hole wider than the top — that mushroom shape is what locks the base against frost heave, because lifting forces have to push against the flare.
Depth check as you go: your tape measure should read at least your frost-line depth plus the gravel layer. When you hit depth, shovel in 4 to 6 inches of gravel and tamp it until it barely gives underfoot. That gravel bed does two jobs: it gives you a flat, stable floor to set the form on, and it lets water drain away from the bottom of your concrete instead of pooling and freezing there.
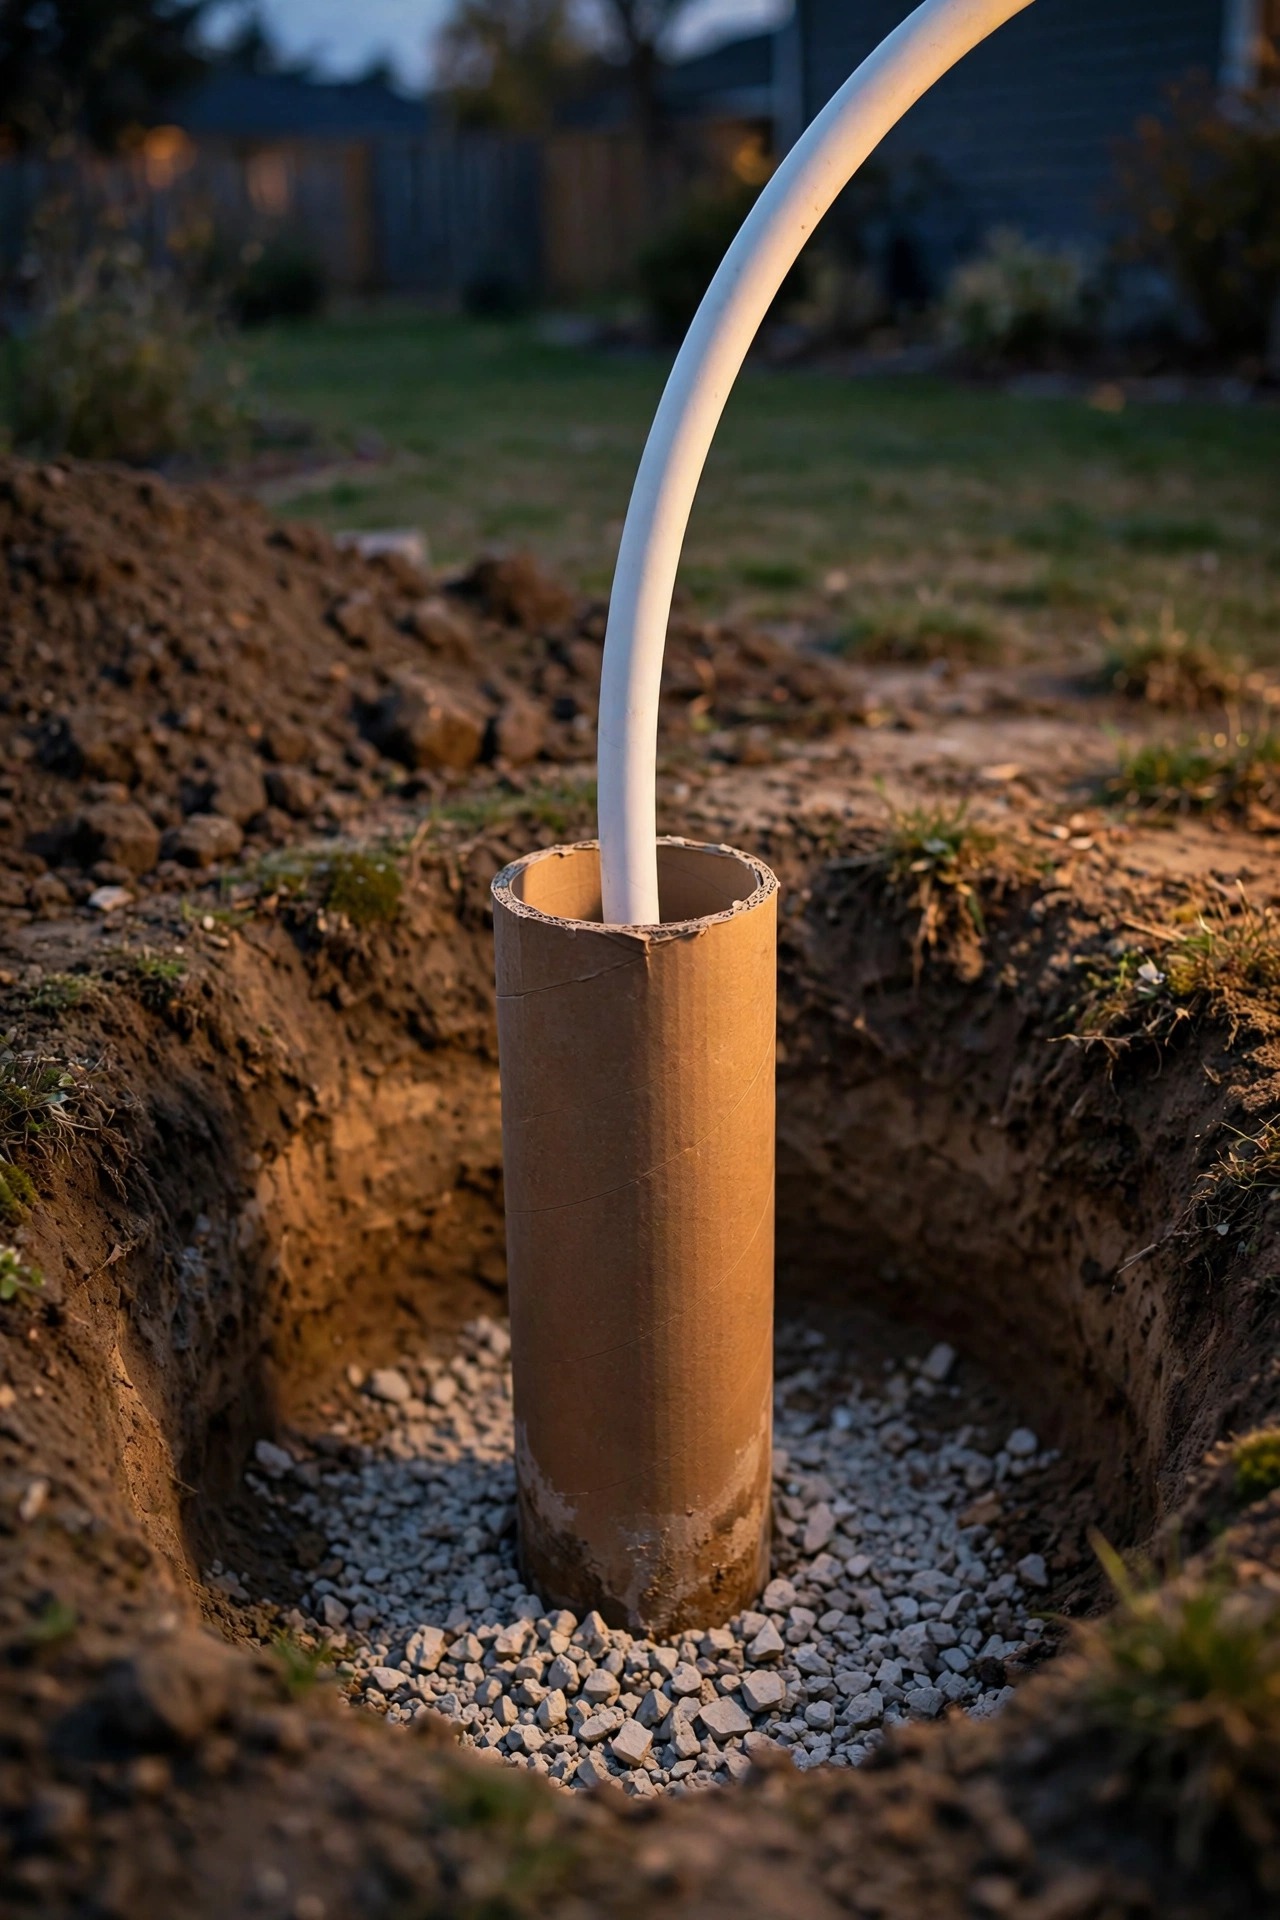
Now set the tube form. I like it standing 2 to 3 inches proud of the surrounding soil, which lifts the post's flange above splash-back, mulch, and standing puddles — all of which corrode bases over time. Check the form for level across the top in two directions and backfill a little soil around its outside to hold it still. Drop the conduit sweep down the center now, its curved elbow pointing toward your trench, the top of the riser a few inches below the form's top edge.
Running the Wire: Burial Depth, Conduit, and GFCI Protection
While your concrete is still in bags, sort out the electrical run. The standard approach: direct-burial UF cable buried 24 inches deep, or 18 inches deep if it's inside PVC conduit, or 12 inches deep if the circuit is GFCI-protected at the source. When in doubt, go deeper and use conduit — the trench is open anyway, and conduit means a future repair is a pull-through job instead of a re-dig.
Dig the trench from your power source to the post hole in a straight, logical line, and take a photo of it open with the cable in place before you backfill. Future you, planting a shrub in three years, will be deeply grateful. I go deeper on burial rules and cable types in my guide to burying landscape lighting cable, and it's worth a read before the shovel comes out.
Thread the wire up through the conduit sweep in the form, leaving roughly 18 inches of slack above where the concrete top will be — enough to make connections comfortably inside the post, with a little spare for a future repair. The circuit feeding the post must be GFCI-protected, either by a GFCI outlet upstream or a GFCI breaker; this is not optional for outdoor 120-volt work. If your post sits more than about 100 feet from the source, ask an electrician about voltage drop or simply use the next heavier wire gauge.

Mixing and Pouring the Concrete
Mix concrete in a wheelbarrow or tub, one bag at a time, adding water gradually until it has the consistency of thick oatmeal — it should hold a shape when you drag the hoe through it, not slosh. Too much water is the classic beginner error: it makes pouring easy and concrete weak, shrinking and cracking as it cures. Follow the bag's water guidance and resist adding extra "for luck."
Pour in lifts, filling a third of the form at a time, and rod the mix with a scrap of rebar or a stick to work out air pockets, especially around the conduit. Keep the wire's slack end held clear and roughly centered so it doesn't get buried against the form's edge. Work reasonably quickly — you have about 30 to 45 minutes of comfortable working time per batch on a warm day, less in summer heat.
When the form is full, screed the top level with a board, then dome it very slightly — a quarter-inch crown at the center — so rain sheds away from the post instead of pooling against the flange. Now, before anything sets, press your anchor bolts in using the manufacturer's template, wiggling them to settle the concrete around the threads. Leave 2.5 to 3 inches of clean thread above the surface, and wipe wet concrete off the threads immediately. Cover the top with plastic if rain threatens, then walk away. Concrete reaches handling strength in about 48 hours and keeps curing for weeks; I'll mount a post at two days, gently, but a week is kinder.

Setting the Post and Wiring the Head
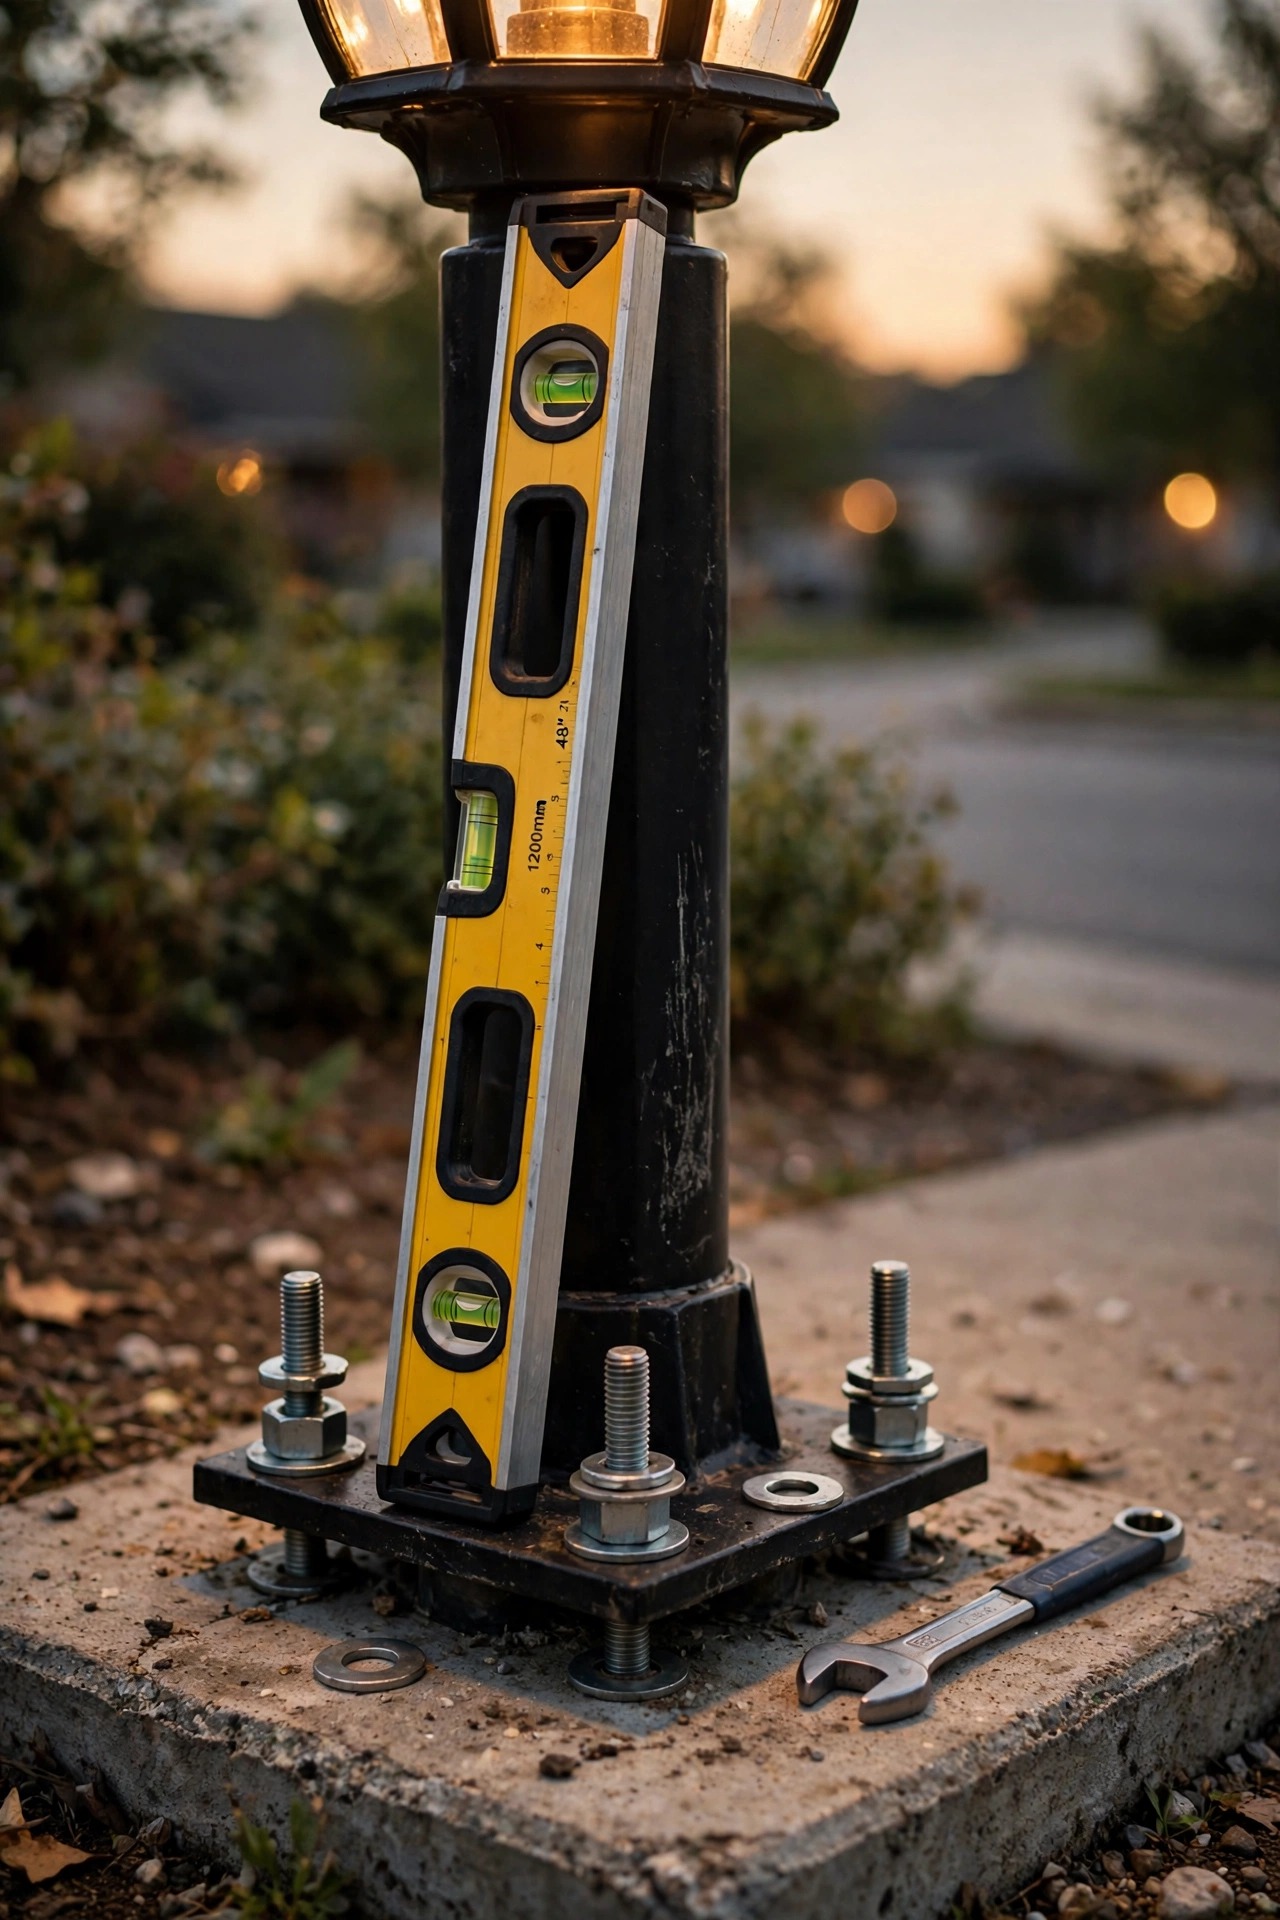
Mounting day is the satisfying part. Thread a nut onto each anchor bolt and run them down to about an inch above the concrete — these are your leveling nuts. Set a washer on each, then lower the post's flange over the bolts with a helper if the post is tall; an 8-footer is awkward and top-heavy even in aluminum. Spin a second washer and nut onto each bolt, finger-tight only.
Now level it. Put your 4-foot level vertically against the post on two adjacent faces. Adjust the leveling nuts under the flange — raise the low side a quarter-turn at a time — until the bubble sits centered on both faces, then snug the top nuts down in a cross pattern. A post that starts plumb on two faces stays plumb; one that's "close enough" on one face leans visibly from the street. This nut-sandwich system is also your future maintenance gift: if the base ever shifts a hair, you can re-level in ten minutes without touching concrete.
For wiring, kill the breaker and verify with your tester. Feed the supply wires up into the post and make connections inside the head or the post's access panel: black to black (hot), white to white (neutral), green or bare copper to the ground screw. Use waterproof connectors even inside the fixture — condensation gets everywhere outdoors. Slip the photocell into its socket if it's a twist-lock style, or wire it in line per its diagram, then install the LED bulb and the head's glass. Restore power, press the GFCI's test and reset buttons to confirm protection, and wait for dusk.
What It Costs in 2026
Doing it yourself, the post itself is the biggest line item: $120 to $450 covers most good cast-aluminum posts with a head, from simple lantern styles to decorative fluted shafts. Beyond that, the base and wiring are surprisingly cheap. Concrete runs $25 to $45 for three or four bags, a tube form about $12, and gravel a few dollars if you don't have a pile already. Conduit, fittings, and 50 feet of UF cable come to $40 to $90 depending on your run length. Anchor bolts are usually in the post's box; a GFCI outlet, if you need one, is $20 to $30, and waterproof connectors and sundries add maybe $15.
Add it up and a typical DIY install lands between $250 and $650 all-in. Hiring it out instead — concrete, trenching, and a licensed electrician for the circuit — usually totals $900 to $2,200, with the electrician's new-circuit work being most of that. One small rental worth knowing about: if your soil is rocky, a one-person power auger rents for about $60 a day and turns the worst hour of this job into ten minutes. The running cost afterward is nearly a rounding error: a 12-watt LED on a photocell burning dusk to dawn uses about 52 kilowatt-hours a year, roughly $8 annually at average electricity prices. Honestly, the concrete will outlast three generations of bulbs.
Safety and Electrical Basics
Three rules before any shovel or wire gets touched. First, call 811 — the free national dig-safe line — at least three business days before you dig. Buried gas, water, and electrical lines are far shallower than people expect, and hitting one turns a weekend project into an emergency. The utility locators mark everything for free; there is no excuse to skip it.
Second, respect the 120 volts. Turn the breaker off before making any connection, verify it's dead with your non-contact tester, and keep every connection in a rated box or inside the post — no buried splices outside of listed, sealed kits. The entire circuit must be GFCI-protected, and all fixtures and the post head must be rated for wet locations, not merely damp. If your plan involves adding a brand-new circuit at the panel and that sentence made you nervous, that's the part to hand to a licensed electrician; digging and concrete remain happily DIY.
Third, mind the permit question. Rules vary, but many jurisdictions require a permit and sometimes an inspection for new outdoor circuits, while simple fixture swaps on an existing circuit usually don't. One quick call to your building department settles it. And a physical note: wet concrete is caustic, so wear gloves and rinse skin promptly, and lift those 80-pound bags with your legs — or buy the 60-pounders and make an extra trip.
6 Mistakes That Leave You With a Leaning, Flickering Post
1. Digging above the frost line. The number-one cause of tilted posts. Shallow bases ride the freeze-thaw cycle and lean a little more every year. Go below the frost line, every time.
2. Pouring the concrete top dead flat, or dished. Water pools against the flange, creeps into the bolt holes, and corrosion starts where you can't see it. Crown the top slightly so water sheds off.
3. Setting anchor bolts freehand. Eyeballing bolt spacing guarantees the flange won't fit, and you'll discover it with wet concrete on your gloves. Always use the manufacturer's template, and check it twice before the pour.
4. Burying the wire too shallow. Cable at 6 inches will meet a garden spade within two years — I promise you this from personal experience. Hit the proper depth for your method and photograph the open trench.
5. Skipping the slack. Wire pulled drum-tight into the post leaves nothing to work with when a connector fails in year six. Leave 18 inches of slack coiled gently at the base.
6. Using an indoor-rated bulb or a glaring cool-white one. Outdoor fixtures need wet-location-rated components, and a harsh 5000K bulb makes a beautiful post look like a parking lot. Choose 2700K to 3000K, 800 to 1,100 lumens, and the light will feel like it belongs to the house.
Maintenance and Seasonal Care
A well-built base needs almost nothing, which is the whole point — but a ten-minute check each spring keeps it that way. After the ground thaws, sight down the post from the street and confirm it still stands plumb; if a brutal winter shifted things a fraction, re-level on the anchor nuts while the ground is soft. Test the GFCI with its built-in button monthly during the season, and replace the photocell when the light starts burning all day or not at all — they typically last five to eight years and swap out in minutes.
Clean the head's glass or acrylic panels twice a year with a soft cloth and mild soap; a film of pollen and road dust can quietly steal a third of your light output. Wipe the photocell's little eye while you're up there, since a dirty sensor makes the light trigger late and shut off late. Touch up any chips in the powder coat with matching exterior paint before rust or corrosion gets a foothold, especially at the base where string trimmers nick the finish.
Seasonally, a lamp post is a decorating gift: a wreath in December, a hanging basket hook in summer, a flag bracket for July. Just keep decorations clear of the bulb and the photocell eye. And if the light ever flickers, check the bulb first, then the photocell, then the connections — in that order, because nine times out of ten it's the bulb.

Frequently Asked Questions
How deep should a concrete base for a lamp post be?
The bottom of the base should sit below your local frost line: about 24 inches deep in mild climates, 30 to 36 inches across much of the Midwest and Northeast. Make the hole 12 to 18 inches wide, add 4 to 6 inches of tamped gravel at the bottom, and let the form stand 2 to 3 inches above grade.
Can I install a lamp post myself, or do I need an electrician?
Most handy homeowners can handle the digging, concrete, and mounting. The electrical part depends on scope and local rules: tapping an existing GFCI-protected outdoor circuit is common DIY territory in many areas, while a brand-new circuit usually calls for a permit and often a licensed electrician. Check with your building department first.
How long should the concrete cure before I mount the post?
Wait at least 48 hours before setting the post, and be gentle with it for the first week. Bagged concrete reaches most of its working strength in about 7 days and full strength around 28 days. If you poured in cold weather, add a few extra days — low temperatures slow curing significantly.
What if I don't want to run wire to the post at all?
Solar lamp posts are the wire-free option: no trench, no circuit, and you can set them on a smaller base or even a ground stake. The trade-offs are brightness and reliability — most solar heads are dimmer than a wired LED and fade on cloudy stretches. For a main entry light, I still recommend wired; for a garden accent, solar is perfectly charming.
Conclusion
A lamp post done right is one of those rare projects you finish once and then enjoy every single evening for decades. The glamorous part — the glowing lantern by the walkway — is really just the reward for an unglamorous morning of digging, gravel, and concrete. If you've been wondering how to install a lamp post and have it still stand straight when your grandkids visit, it comes down to this: dig below the frost line, pour a real base, set your bolts with a template, and level on the nuts. Everything else is decoration. Take your time on the base, and the post will take care of itself.