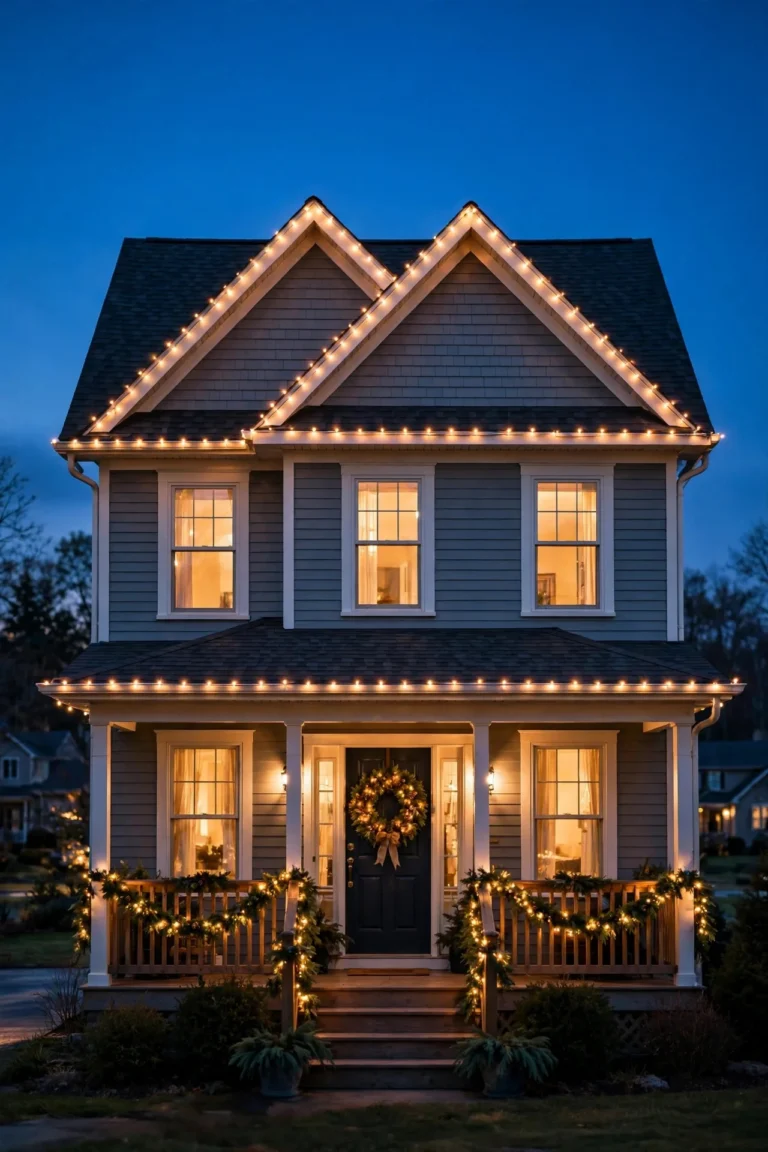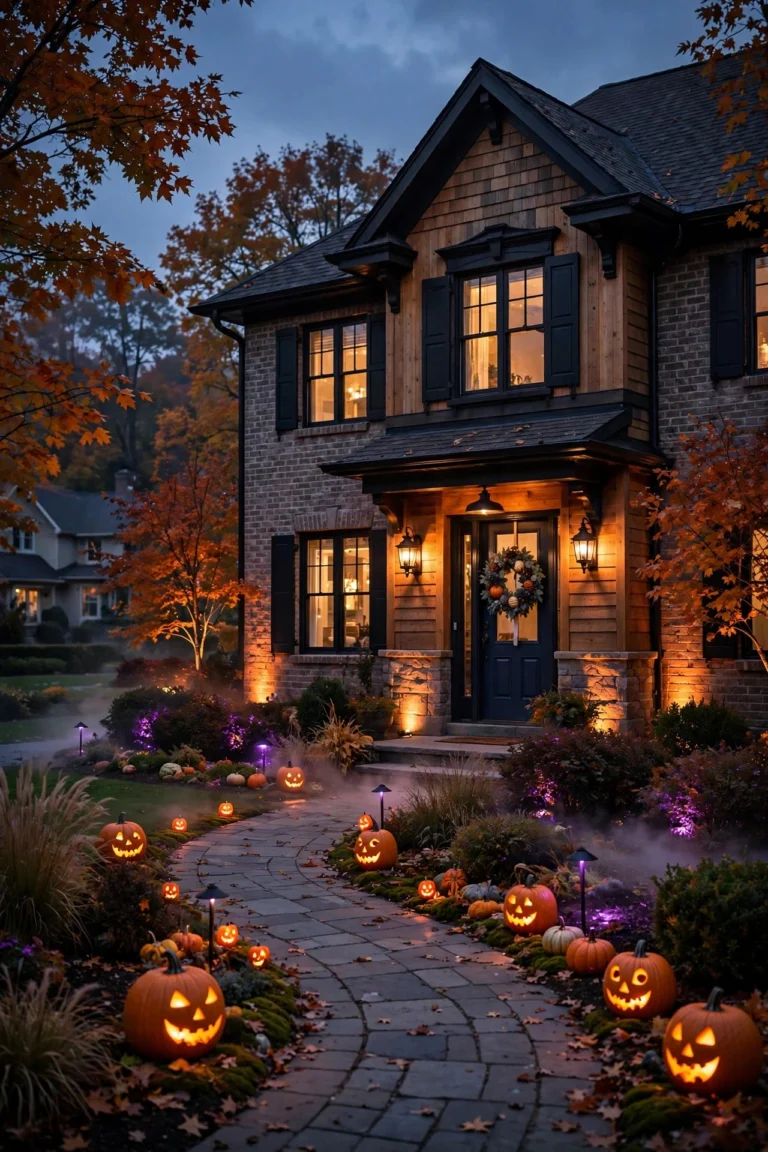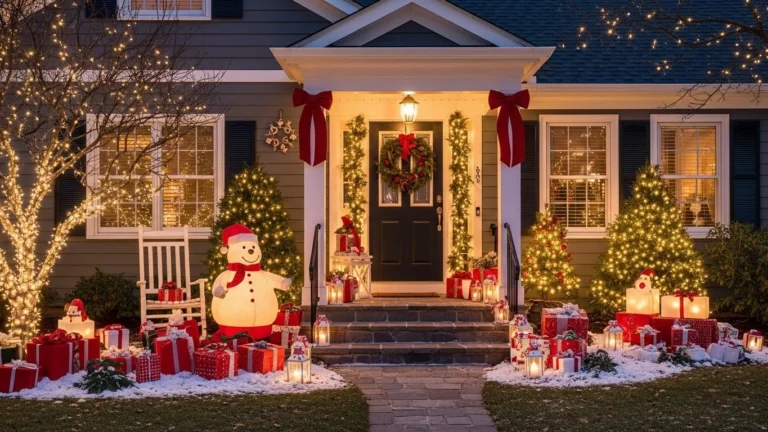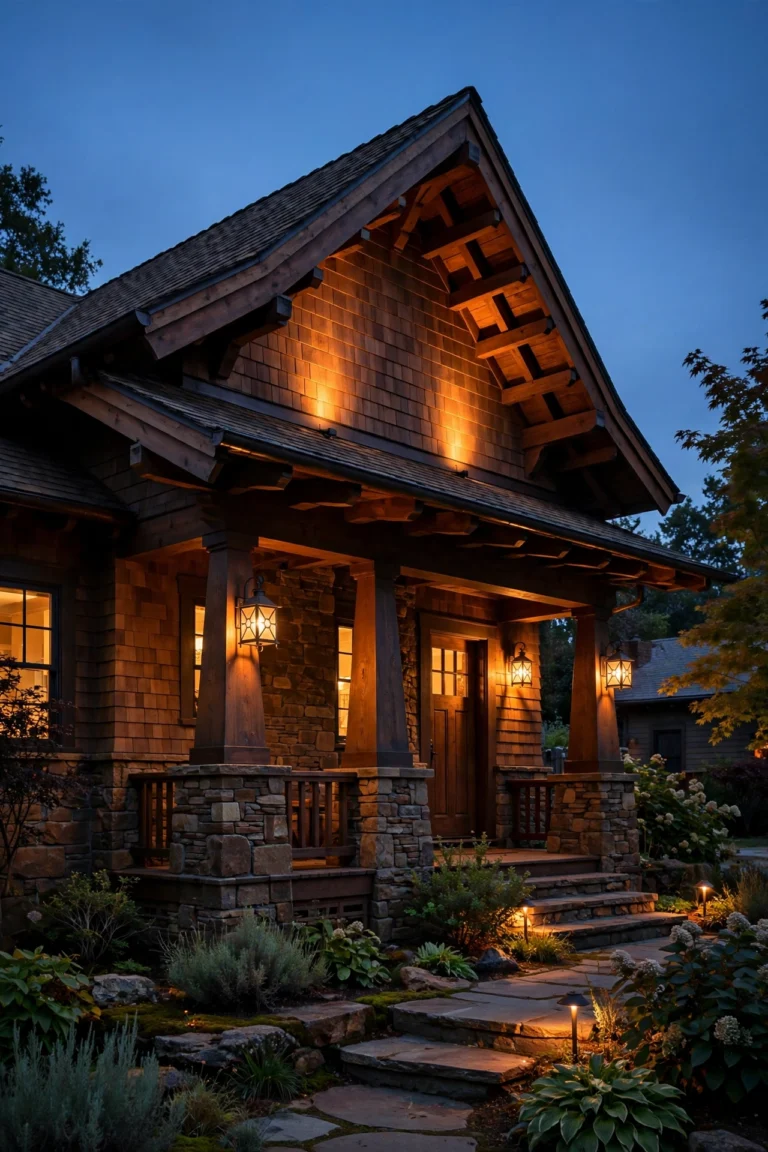
The apron is the hardest-working patch of concrete on your property — it's where you turn in, back out, unload groceries in the dark, and where guests aim their cars on winter evenings. And honestly? It's the spot most of us leave completely unlit. The right driveway apron lighting ideas change that in a weekend: suddenly the edges are visible, the parking pad feels intentional instead of accidental, and pulling in after dark stops being a guessing game. In my experience, aprons respond beautifully to layering — low markers to outline the edges, a soft wash so you can actually see the surface, and one warm accent layer so it looks designed, not just functional. Below are the 15 approaches I recommend most, from flush in-ground markers a snowplow can pass over to bollards that frame the apron like an entrance. If you want the bigger picture first, my full roundup of driveway lighting ideas covers the whole drive from street to garage door.
1. Frame the Corners With Low Bollard Lights
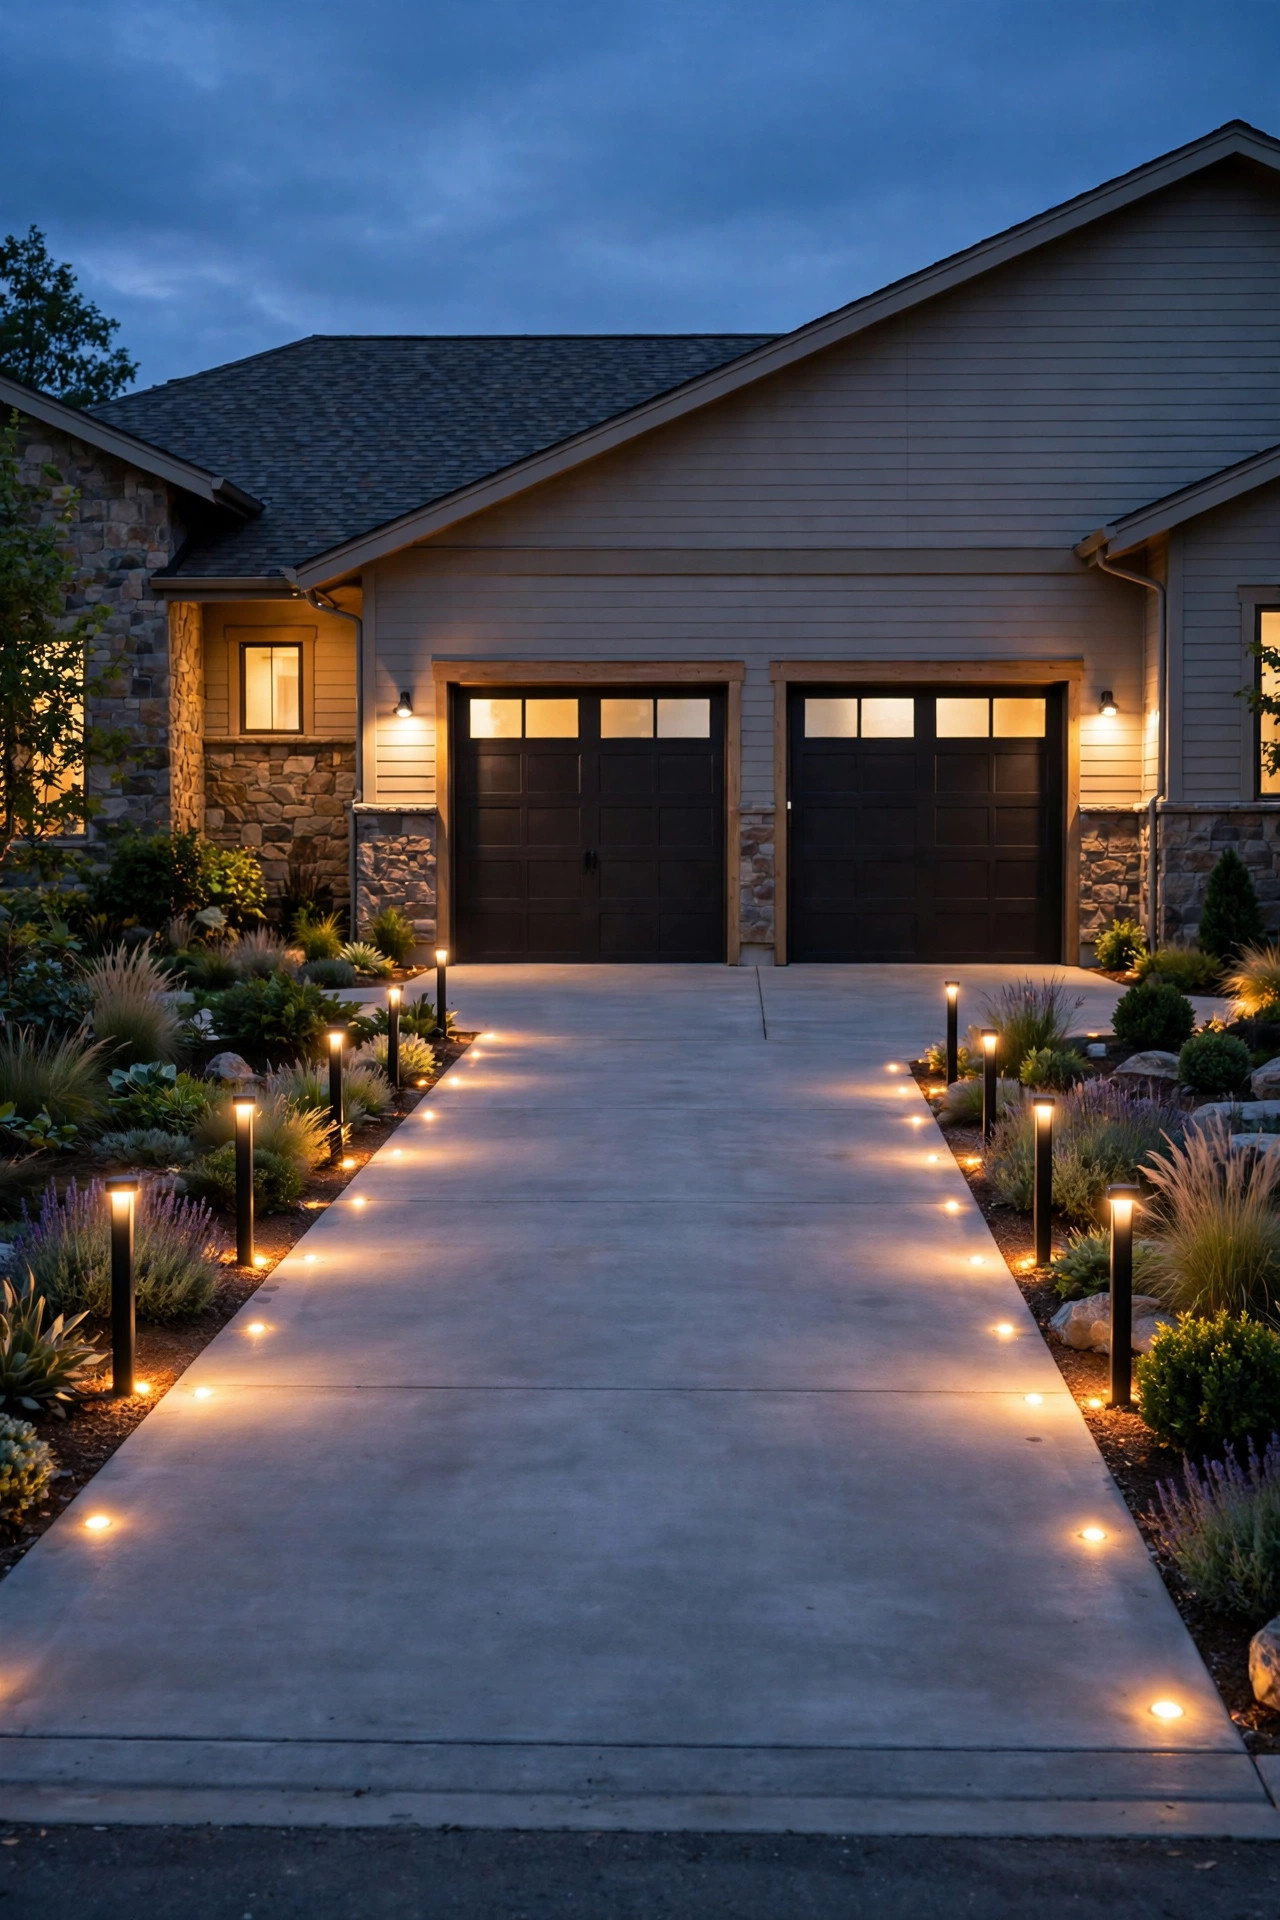
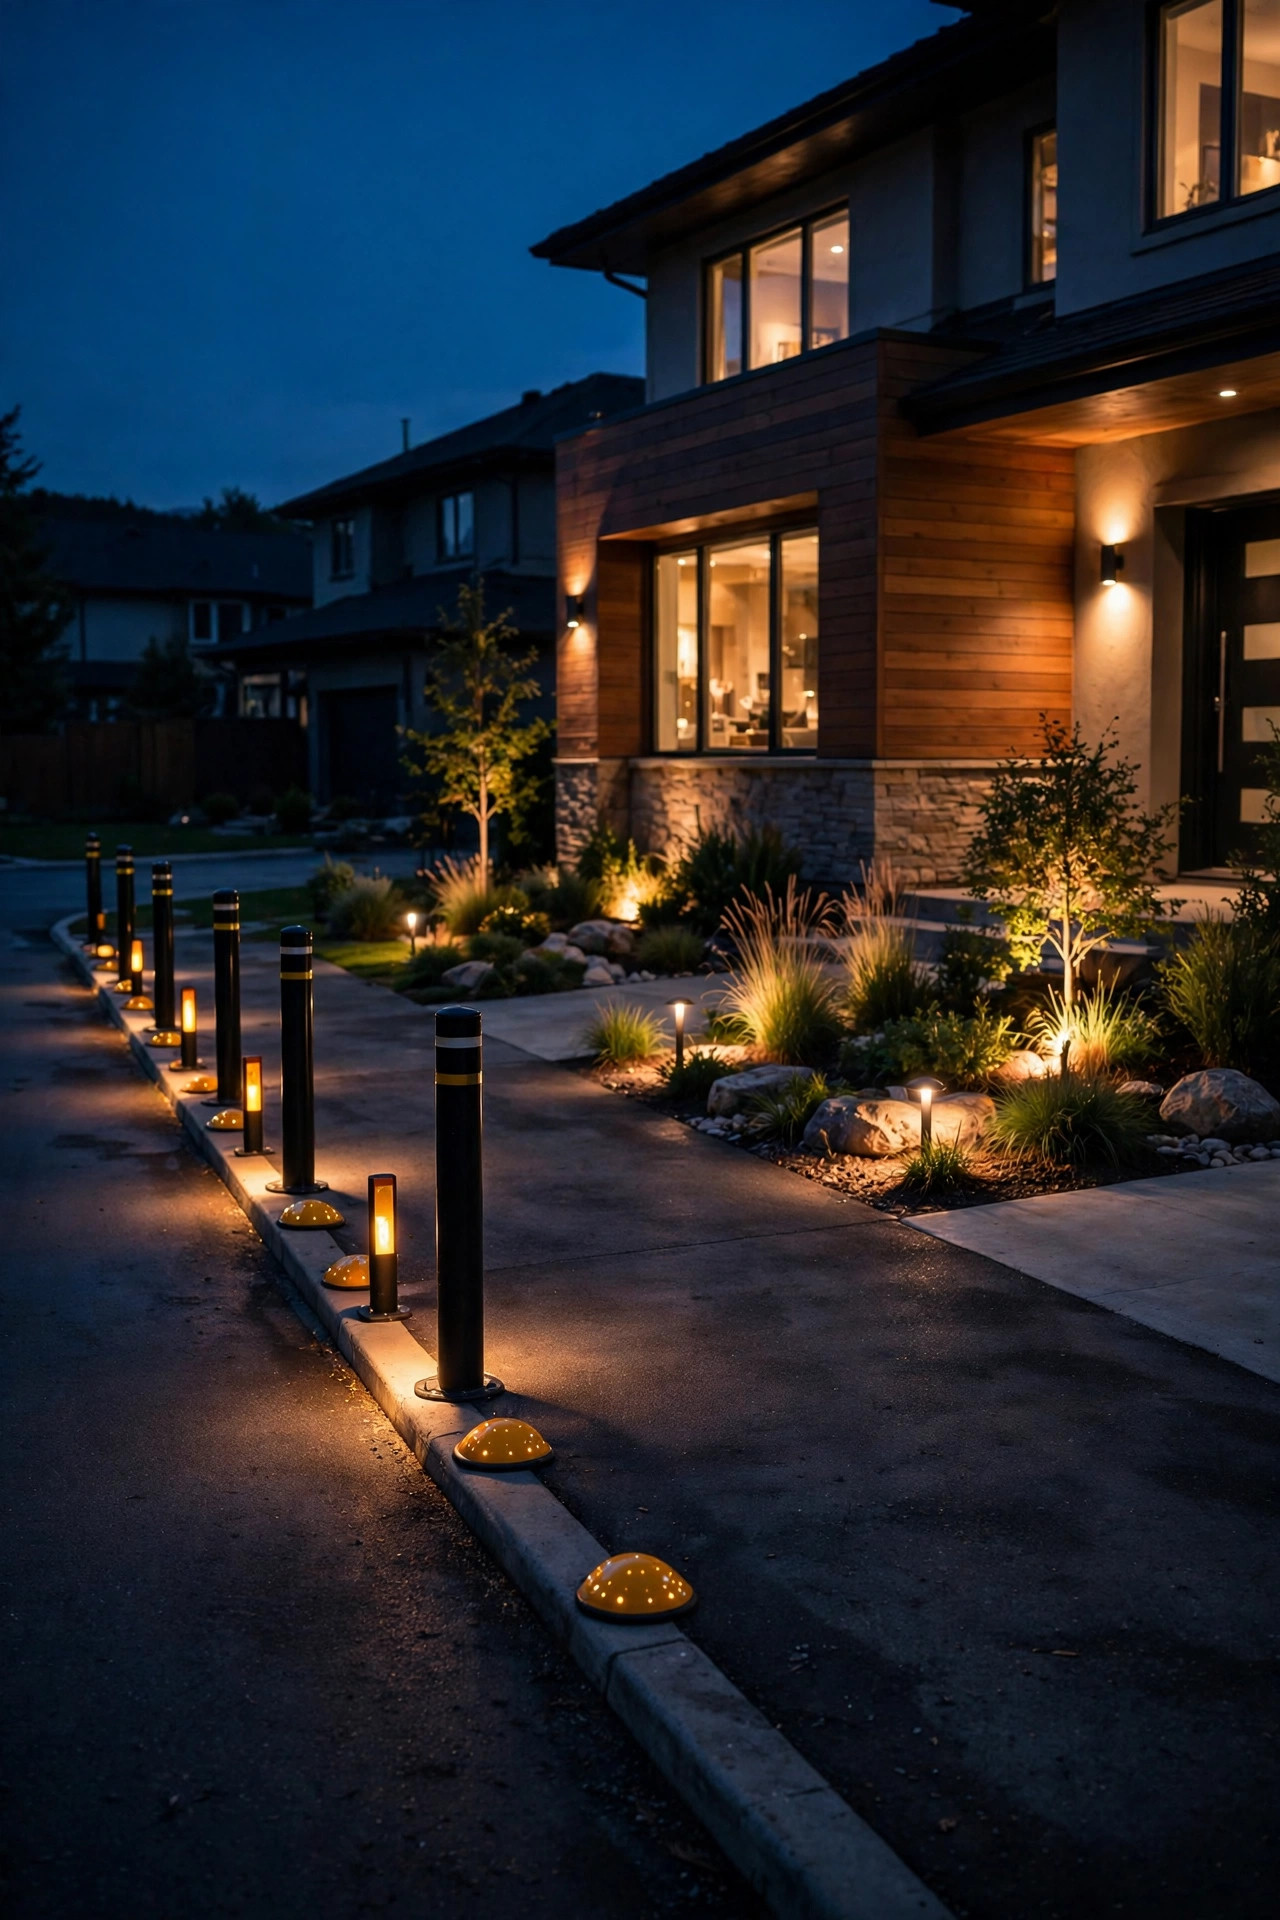
If you only add one thing, make it bollards at the two front corners of the apron. They read like goalposts for your tires — you instantly know where the concrete ends and the lawn begins, which is exactly the moment people clip a sprinkler head or drop a wheel off the edge. I like short bollards, 14 to 20 inches tall, because they clear most car doors and don't blast light into drivers' eyes. Space a pair at each corner, set back about 12 inches from the edge so bumpers and plow blades miss them. Look for shielded or louvered heads that throw light downward in a warm 2700K to 3000K; you want a pool of light on the pavement, not a beacon. Low-voltage wired bollards are the most reliable, and my guide to driveway bollard lights walks through heights and spacing in detail. Solar bollards work on sunny lots, but buy ones with replaceable batteries — in my experience the panel outlasts the battery by years. Four bollards usually cover a standard two-car apron.
Suggested budget range: $120 – $400.

2. Outline the Edges With Flush In-Ground Markers
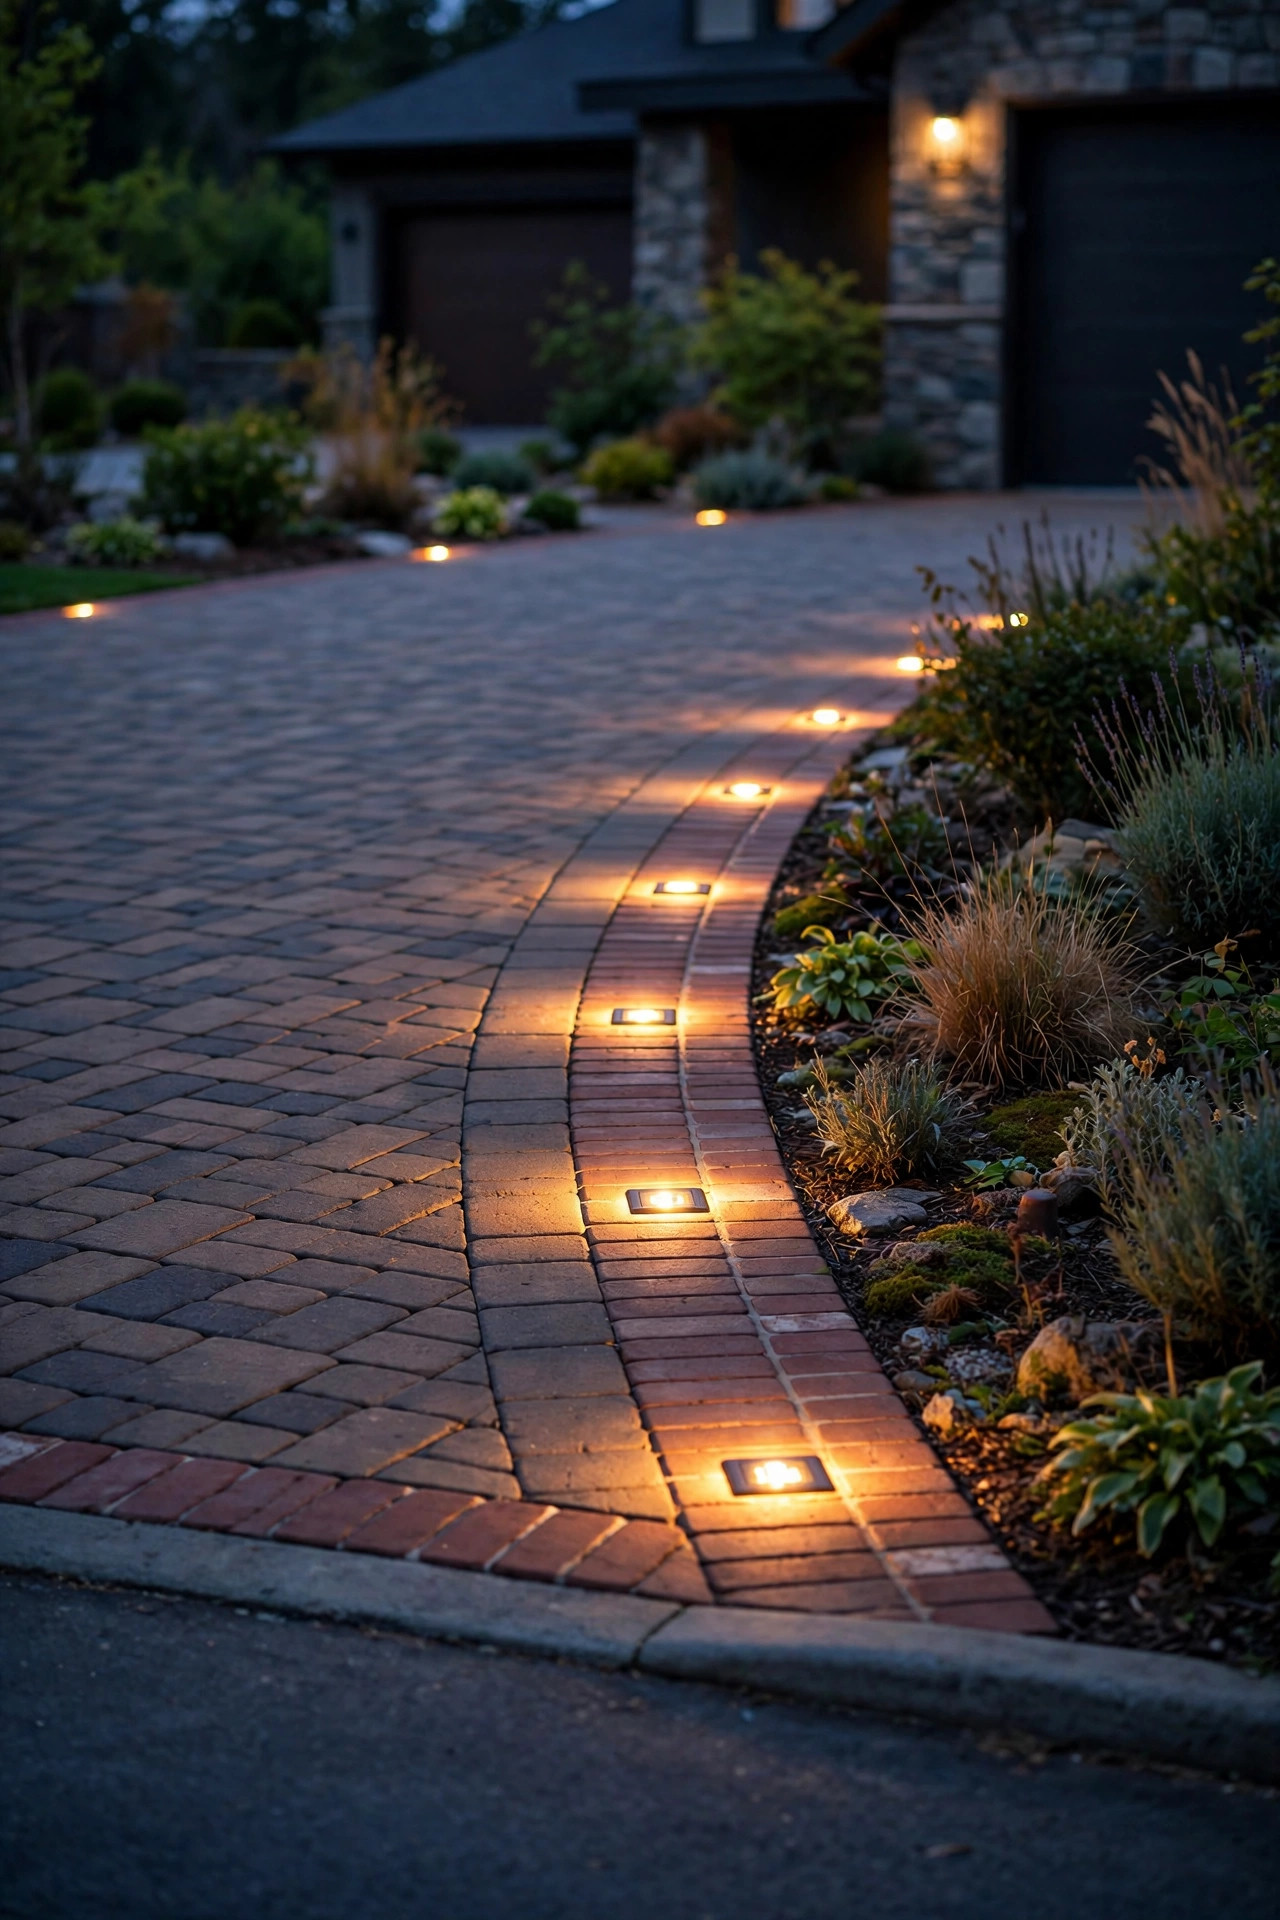
For a clean, architectural look, flush in-ground marker lights are hard to beat. These small round or rectangular fixtures sit level with the pavement or the soil strip right beside it, so nothing sticks up to catch a tire, a shovel, or a snowplow blade. Run them down both sides of the apron every 4 to 6 feet and the whole parking pad gets a soft dotted outline that looks like a boutique hotel entrance. Choose fixtures rated for drive-over load if any part sits where a tire might roll — look for a stated vehicle-load rating and an IP67 or IP68 seal so meltwater and pressure washing don't creep in. Warm white around 2700K keeps the effect elegant; cool blue-white reads like a runway, which is rarely the goal in front of a home. Wiring is the fiddly part: a shallow trench along the apron edge, conduit where the run crosses under the pad, and a low-voltage transformer sized with about 20 percent headroom. I always recommend dry-fitting the spacing at night with flashlights first — markers look best when their pools of light just touch.
Suggested budget range: $150 – $450.

3. Drop Solar Lights Into the Paver Edge
If your apron is finished with pavers or brick edging, solar paver lights are the easiest upgrade on this whole list — no trenching, no transformer, no electrician. These brick-sized or disc-shaped lights replace a paver or sit in the border course, charge all day, and glow from dusk for 6 to 10 hours. The trick is managing expectations: a single solar paver is a marker, not a floodlight, so use them to define the edge rather than illuminate the whole pad. Space them every second or third paver along both sides for a continuous dotted line guests can follow in. Brightness varies wildly between products, so look for at least 10 to 15 lumens per unit and lithium batteries you can replace. My breakdown of paver and hardscape lights explains the sizing and fit. In shaded or north-facing aprons, solar pavers fade by midnight in winter — honest truth — so mix them with a couple of wired fixtures if the pad gets heavy evening use. For sunny suburban aprons, though, they're nearly free ambience.
Suggested budget range: $60 – $220.
4. Install Drive-Over Puck Lights in the Pad Itself
Puck lights set directly into the parking surface feel wonderfully high-end, and they're more practical than they look. These are small, heavy-duty in-ground fixtures — typically 2 to 4 inches across — built with tempered glass or polycarbonate lenses rated to be driven over slowly. A row of three or four across the top of the apron, near the garage, gives drivers a target line for centering the car, and a pair near the street edge marks the turn-in point. Because they're recessed, snowplows and shovels glide right over them, which is why I recommend them over anything raised in snow country. Installation is the investment here: cores are drilled or the fixtures are set during a repour, drainage sleeves go beneath each unit, and the low-voltage run needs conduit. This is not a casual Saturday project on an existing slab, but if you're pouring a new apron or parking pad, adding pucks during the pour is surprisingly affordable. Choose warm 3000K or lower and a frosted lens to cut glare — bare LED points reflecting off a hood get annoying fast.
Suggested budget range: $250 – $700.

5. Line the Side Edge With Low-Voltage Path Lights
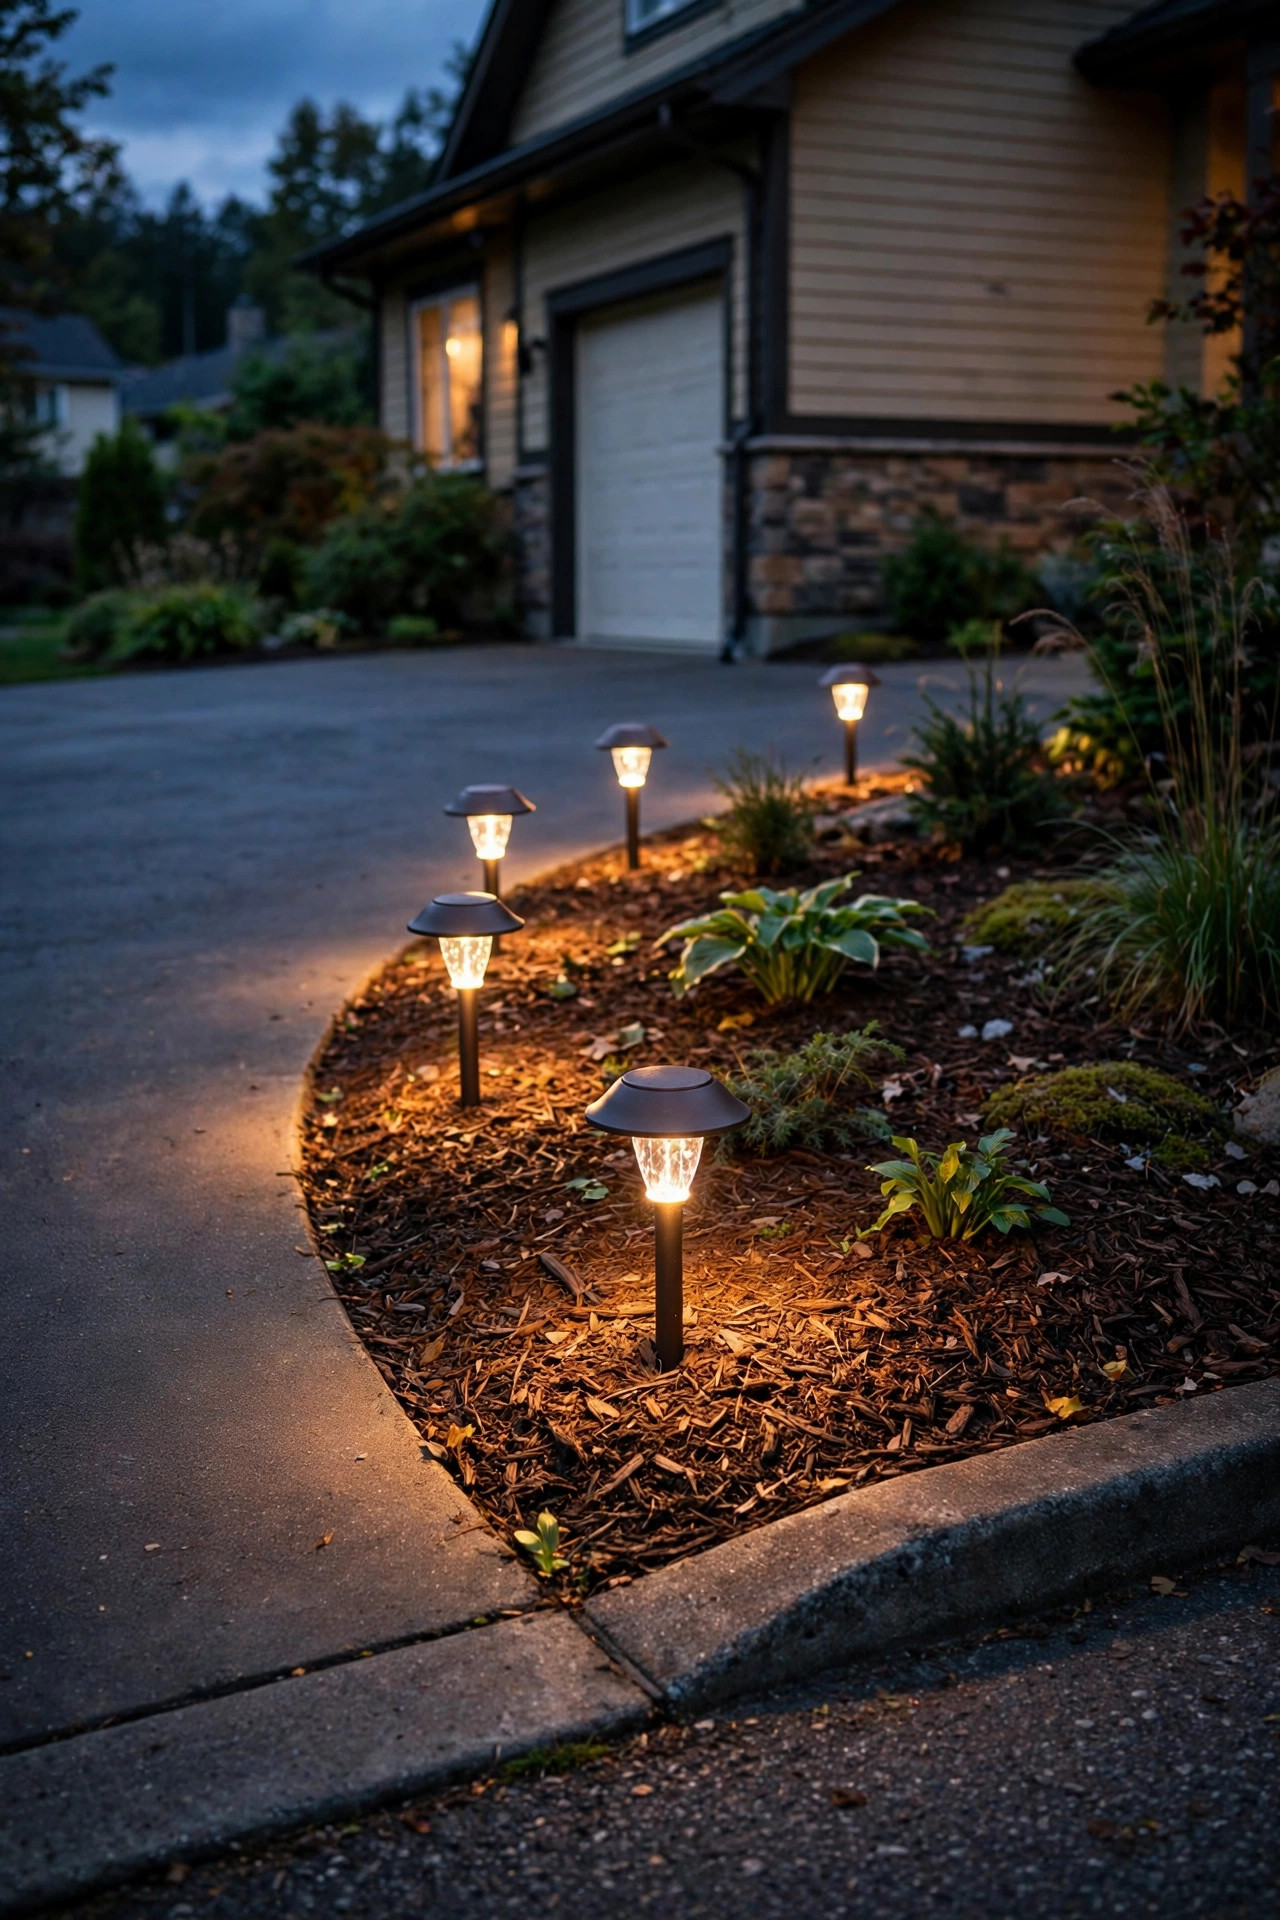
Sometimes the simplest answer is the one we already know: a neat row of low-voltage path lights along one or both edges of the apron. They won't survive being backed into, so placement is everything — set them 12 to 18 inches back from the concrete in a mulched bed or gravel strip, never in the strip of lawn tires overhang. Space them 5 to 6 feet apart and stagger rather than mirror them if the run continues into a walkway, so the whole front yard reads as one design. Mushroom or pagoda-style heads throw a wide, soft circle that overlaps gently at that spacing. I always recommend wiring both sides of the apron on the same circuit so the light is balanced — a one-sided row makes the dark side look darker. A 12-volt system with LED lamps around 100 to 200 lumens each is plenty; the apron needs guidance light, not stadium light. If the apron edge is a planting bed, this is also the easiest system to extend later when you're ready to light the front walk too.
Suggested budget range: $100 – $350.
6. Hide Lights in the Retaining Wall or Curb Edge
Aprons that sit above or below grade usually have a retaining wall, a timber edge, or a raised curb somewhere — and that vertical face is prime lighting real estate. Small hardscape lights tuck under the capstone or into the wall's top course and wash a soft sheet of light down the face and onto the pavement below, with the fixture itself nearly invisible. It's the most "designed" look on this list, and it doubles as a safety light for anyone walking the edge in the dark. Most hardscape fixtures are low-voltage LED bars or pucks spaced 3 to 4 feet apart; run the wire behind the wall or through the drainage gravel before the caps are set, because retrofitting a finished wall is miserable. If your wall is already built, surface-mount versions that sit under a small overhang still work well. Stick to warm white and moderate brightness — a glowing wall plus bright bollards plus a floodlight is how aprons end up looking like parking lots. One gentle layer, done well, is the whole secret.
Suggested budget range: $140 – $420.

7. Wash the Garage Wall With a Pair of Sconces
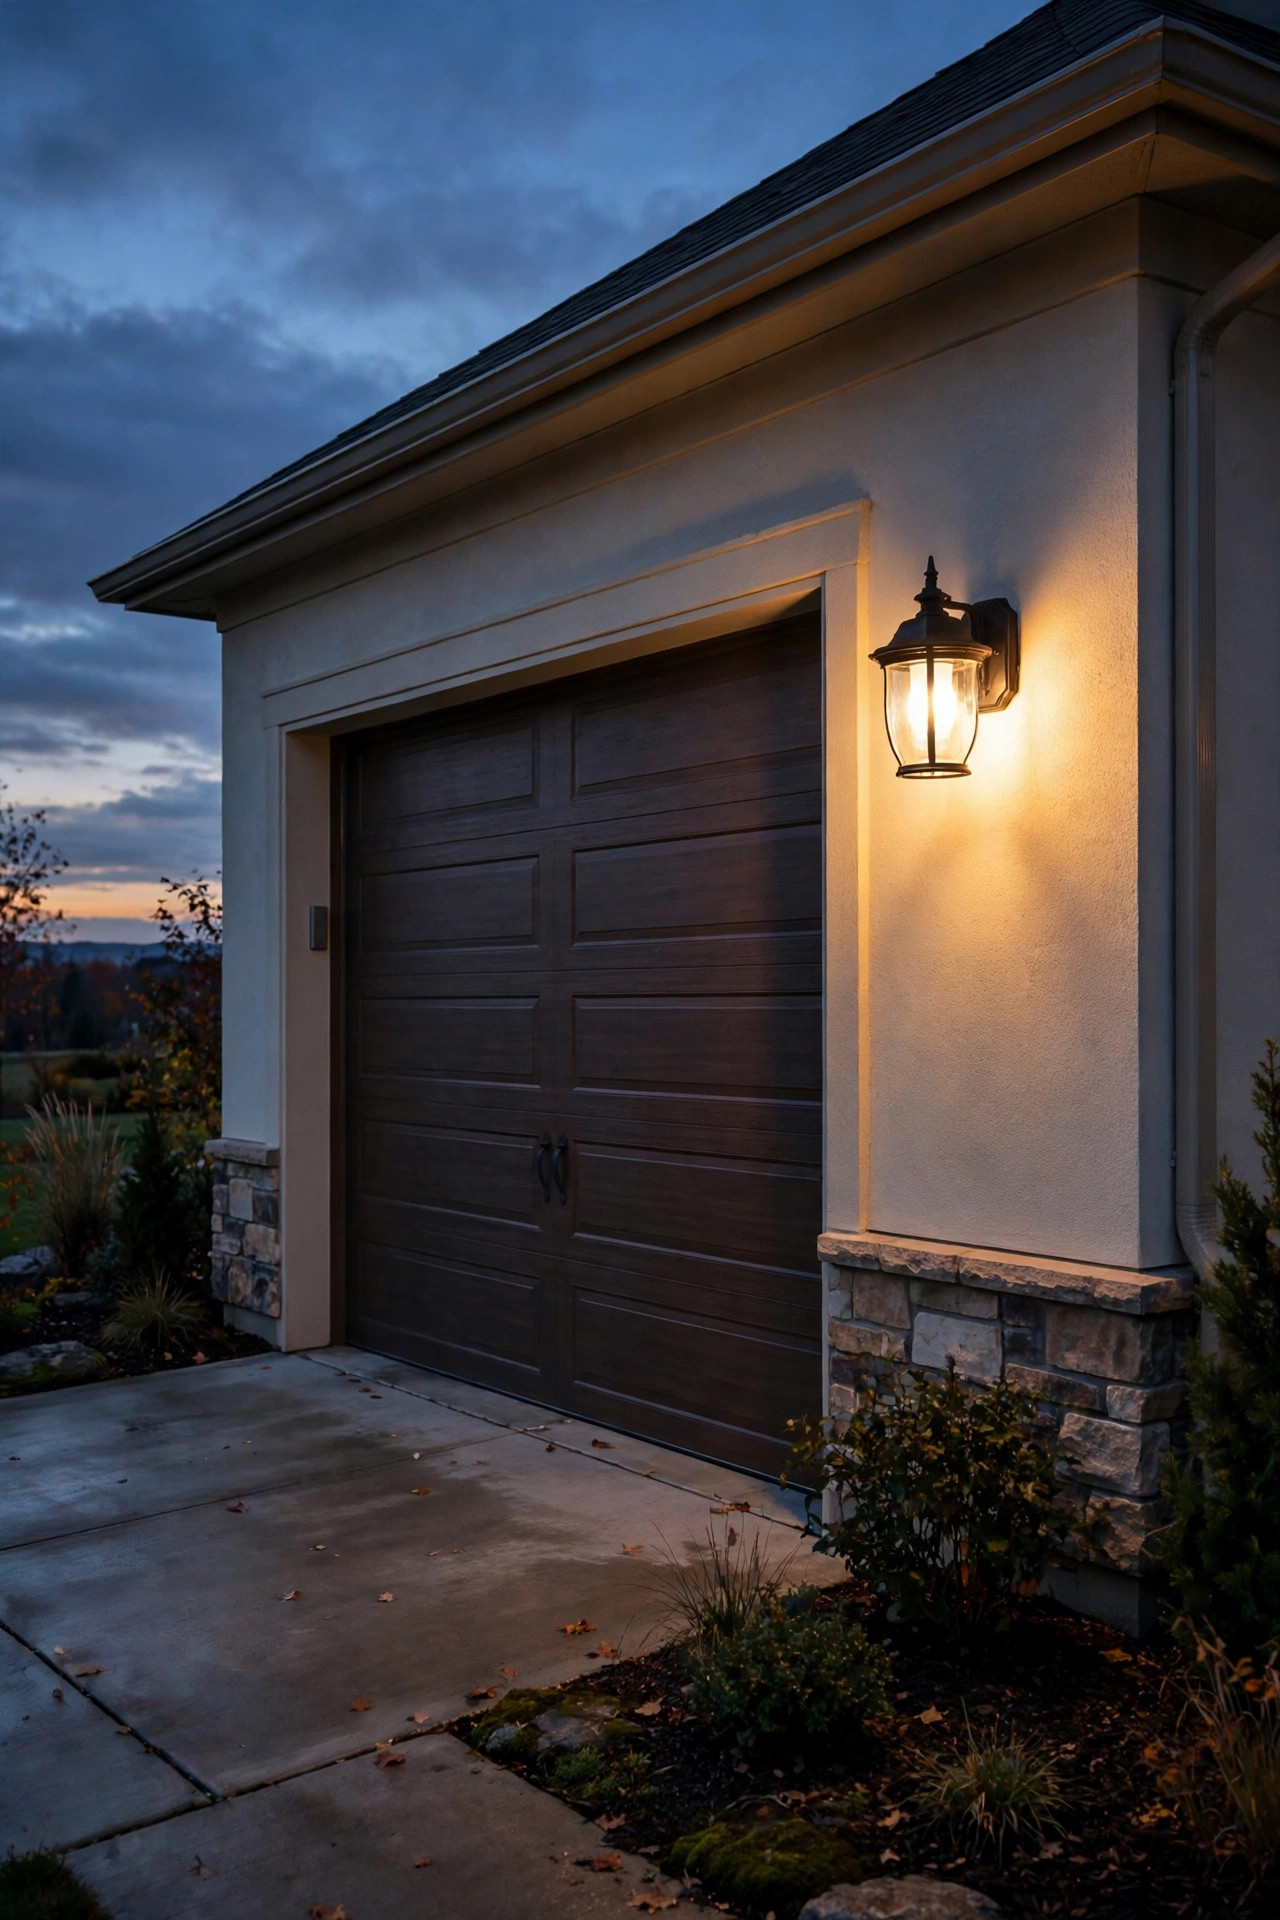
The wall above and beside the garage door is the apron's backdrop, and lighting it changes the whole feel of arriving home. A pair of wall sconces flanking the garage door — or a single wide wash fixture centered above a double door — throws soft light down across the apron exactly where you unload the car. I prefer downlight or shielded lantern styles mounted 7 to 8 feet high so the light lands on the pavement instead of in your eyes as you back in. Put them on the same warm color temperature as the rest of your front lighting, 2700K to 3000K, or the mismatch will bother you every single night. This is usually a hardwired, line-voltage project, so if there's no existing junction box, budget for an electrician and a GFCI-protected circuit. On the plus side, sconces pull double duty: they make the garage wall look finished by day and give the apron its main working light by night. Add a dimmer or a smart switch and the same fixtures go from task light to gentle glow when guests arrive.
Suggested budget range: $180 – $550.

8. Add a Motion-Sensor Flood for Real-World Arrivals
Every apron needs one honest workhorse, and a motion-sensor floodlight is it. Mounted under the eave or high on the garage wall, it stays dark until a car turns in or someone crosses the pad, then gives you real visibility for unloading, finding the house key, or checking what the dog is barking at. The details matter: aim the heads down at about 45 degrees so the beam covers the apron without spilling into the street or a neighbor's window, and set the sensitivity so passing cars don't trigger it all night. A range of 20 to 30 feet and a 2 to 5 minute on-time suits most aprons. I always recommend dual-head LED floods around 1,600 to 2,400 lumens in warm-to-neutral white, on a photocell so they only arm after dark. Honestly, the motion flood plus a soft always-on layer is the combination I suggest most often — you get the welcome glow every evening and the bright light only when something actually moves.
Suggested budget range: $60 – $200.

9. Mark the Entrance With Lantern Post Lights
Where the apron meets the street or the main drive, a pair of lantern-style post lights acts like a front gate without the gate. They tell guests "turn here," give the mail carrier a landmark, and frame the whole front of the property. Keep them modest — 3 to 4 foot posts read residential and friendly, while tall lamp posts can feel commercial. Set them back at least 2 feet from the pavement edge and outside the swing of opening car doors; I learned that spacing the visible way, so now I measure twice. Low-voltage and line-voltage versions both exist, and solar post lanterns have gotten genuinely decent if the spot gets six-plus hours of sun. Choose a style that echoes your porch fixture so the property reads as one story from the street. Warm LED filament-style bulbs inside clear or seeded glass give that classic lantern flicker of warmth without any actual flame — and no relighting pilots in the rain.
Suggested budget range: $160 – $480.

10. Run an LED Strip Under a Raised Pad Lip
Many parking pads and widened aprons have a raised edge — a step up to a patio, a bullnose curb, or a timber border — and that little lip is a trip hazard at night and a lighting opportunity in disguise. An outdoor LED strip tucked under the lip throws a continuous ribbon of light along the base of the step, defining the level change beautifully without any visible fixture. Use a strip rated IP65 or better in a silicone sleeve or aluminum channel, warm white around 2700K, and power it from a low-voltage driver hidden in the garage or a weatherproof box. The channel matters more than people expect: it protects the strip, diffuses the dots into a smooth line, and keeps the installation looking intentional. This is a subtle, modern effect that pairs especially well with flush markers on a contemporary apron. Just keep strips out of any spot that takes direct tire traffic or standing water, and seal every cut end — moisture at the cut end is where outdoor strips go to die.
Suggested budget range: $70 – $240.

11. Stake Solar Lights Around a Gravel Parking Pad
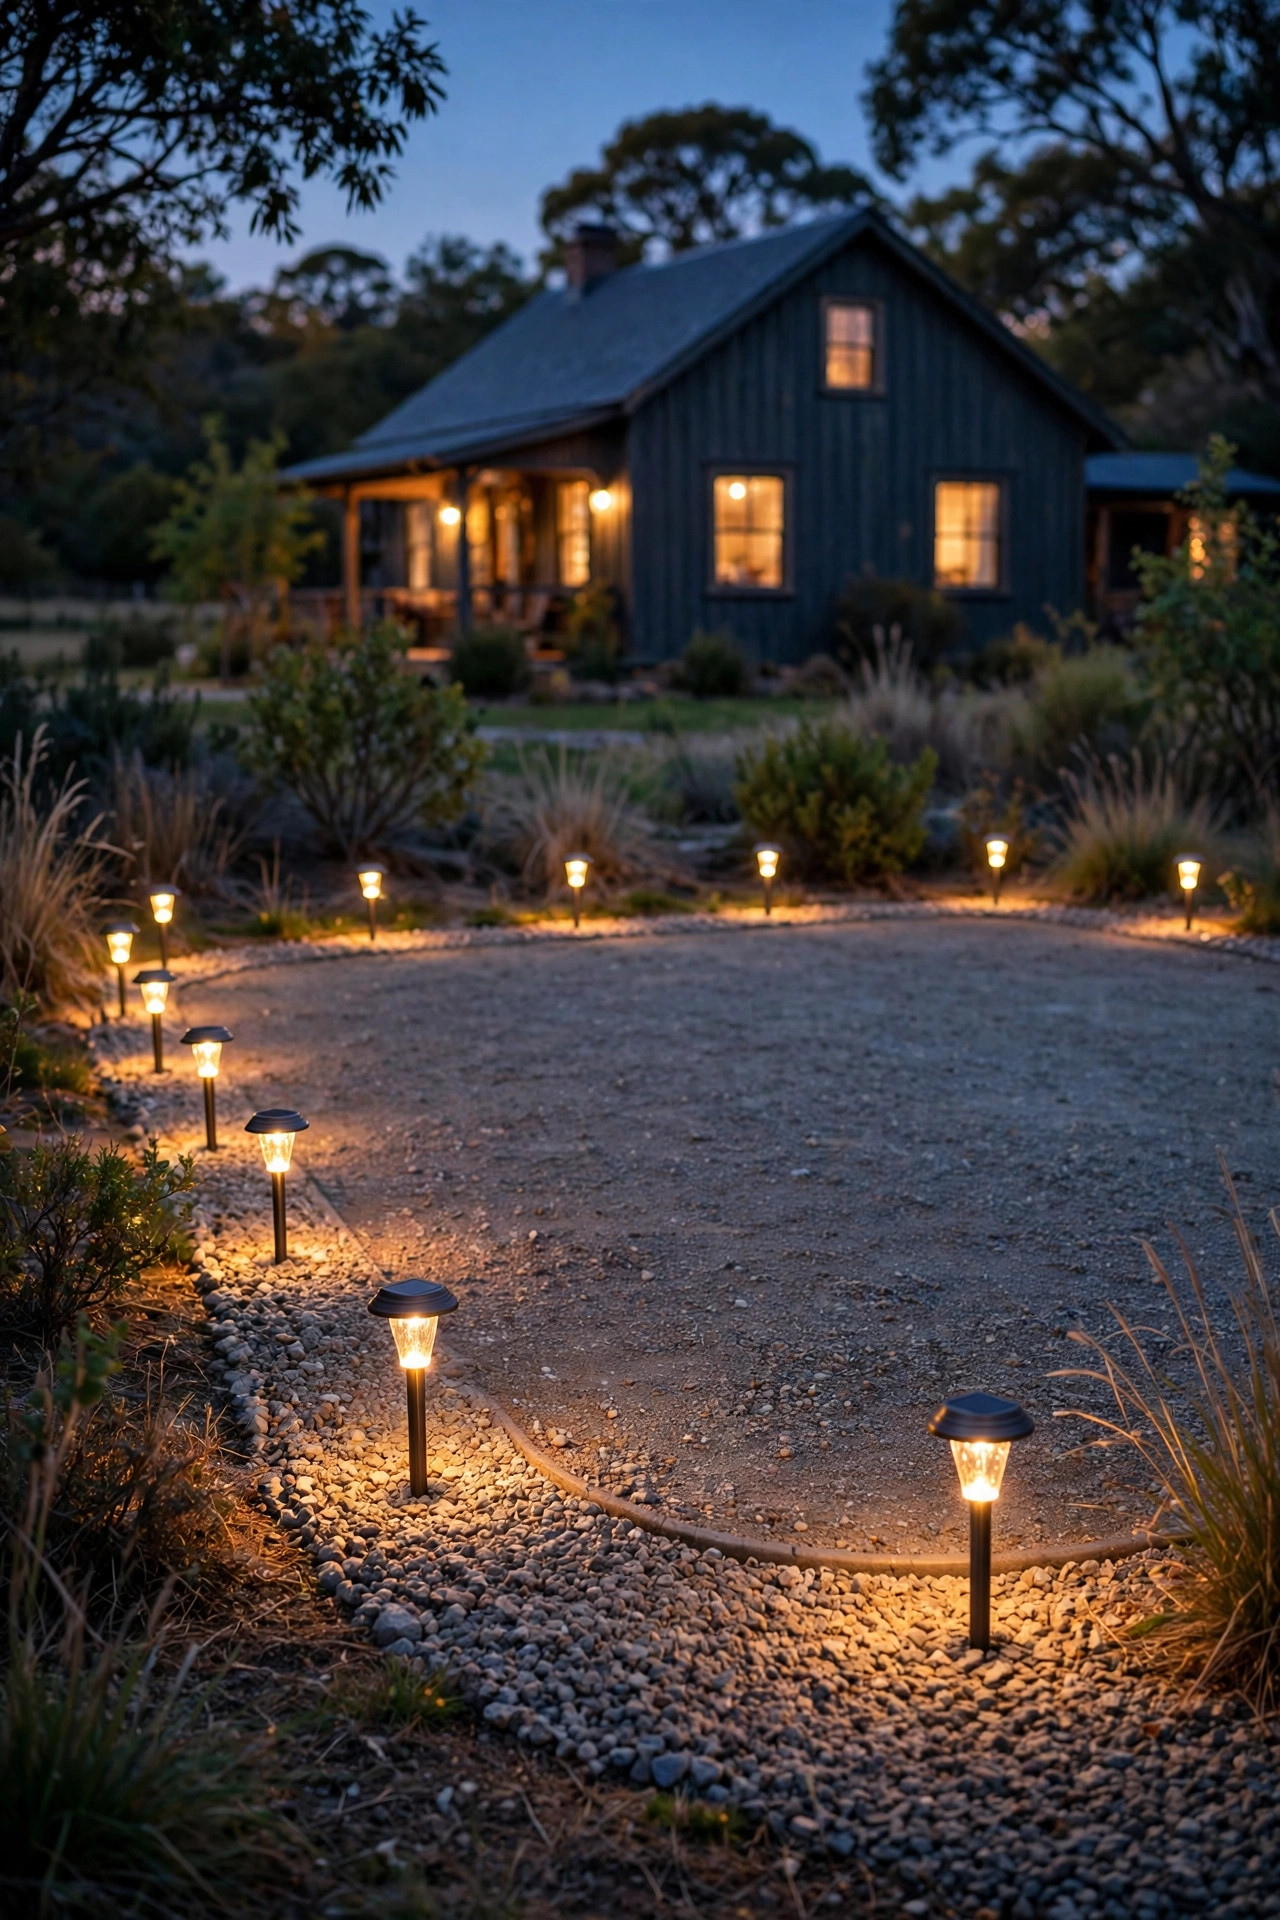
Gravel and crushed-stone parking pads are common on country and side-yard aprons, and they rule out anything that needs a solid mounting surface. Sturdy solar stake lights are the answer — push them into the gravel border or the soil strip around the pad and they outline the parking area in one afternoon with zero wiring. The keyword is sturdy: gravel shifts under tires and gets raked and re-graded, so choose metal stakes over thin plastic spikes and lights bright enough to matter, ideally 20 lumens or more with a warm tint rather than the bluish cast cheap solar is known for. Space them about 4 feet apart along the two long edges and across the back of the pad so drivers can judge depth when backing in. Expect to re-seat a few after spring grading — that's just gravel life. In my experience, a gravel pad with a warm dotted outline looks surprisingly charming, like a farmhouse courtyard, and the whole project costs less than one wired fixture. Buy two spares; you'll thank yourself later.
Suggested budget range: $40 – $130.
12. Borrow Ambient Light From an Uplighted Tree or Feature
Not every light on the apron has to point at the apron. One of my favorite tricks is to uplight a nearby tree, a stone pillar, or a piece of garden sculpture just off the pad and let the reflected, dappled light do quiet ambience work. A single well light or spotlight at the base of a small ornamental tree near the apron throws patterned light across the pavement and makes the parking area feel like part of the garden instead of a utility zone. It won't help you see a dark step or a skateboard left on the concrete — this is the beauty layer, not the safety layer — so pair it with at least one functional idea from this list. Keep the beam narrow, around 15 to 30 degrees, aimed up into the canopy or across the feature's textured face, and shield it so drivers never see the bare source. This is also a lovely way to justify lighting that one pretty tree you've always meant to show off. One fixture, two jobs.
Suggested budget range: $50 – $180.

13. Choose Dusk-to-Dawn Fixtures That Run Themselves
The best apron lighting is the lighting that's simply on when you need it, and photocell fixtures remove the remembering from the equation. Dusk-to-dawn bulbs and fixtures with built-in light sensors switch on at sunset and off at sunrise automatically, which means the apron is lit on the short December evenings when you get home in full dark and nobody had to think about a timer. Swapping photocell bulbs into existing garage sconces or post lanterns is the cheapest automation there is. Standalone dusk-to-dawn fixtures — a compact wall pack by the garage or a photocell bollard — suit aprons with no existing wiring points. I do recommend keeping color and brightness modest for anything that burns all night: warm 2700K, shielded, and angled down is good-neighbor lighting, and it keeps the sky darker for everyone. In my experience, pairing photocell fixtures with a timer on the decorative layer is the sweet spot — the essentials run themselves, and the pretty stuff doesn't need to glow at 3 a.m.
Suggested budget range: $45 – $190.
14. Put Zones on a Smart Timer for Layered Control
Once an apron has more than one light type, zoning is what makes it feel orchestrated instead of accidental. Put the functional layer — edge markers, bollards, sconces — on a low-voltage transformer with a built-in timer or a smart plug, and the accent layer, like the uplighted tree, on a second zone. Then the apron can be fully lit from dusk to 11 p.m., drop to just the corner bollards overnight, and click everything off at dawn. Astronomical timers are my favorite because they track sunset through the seasons without reprogramming — set them once in October and they're still right in June. Smart transformers and outdoor smart plugs add phone control, which is genuinely useful when a guest texts "we're outside" and you want the apron welcoming before you open the door. Keep the wiring runs logical when you install — one zone per cable run from the transformer — and label the zones inside the garage. Future you, troubleshooting one dark fixture in February, will be so grateful.
Suggested budget range: $90 – $320.
15. Pull It Together With a Layered Driveway Apron Lighting Plan
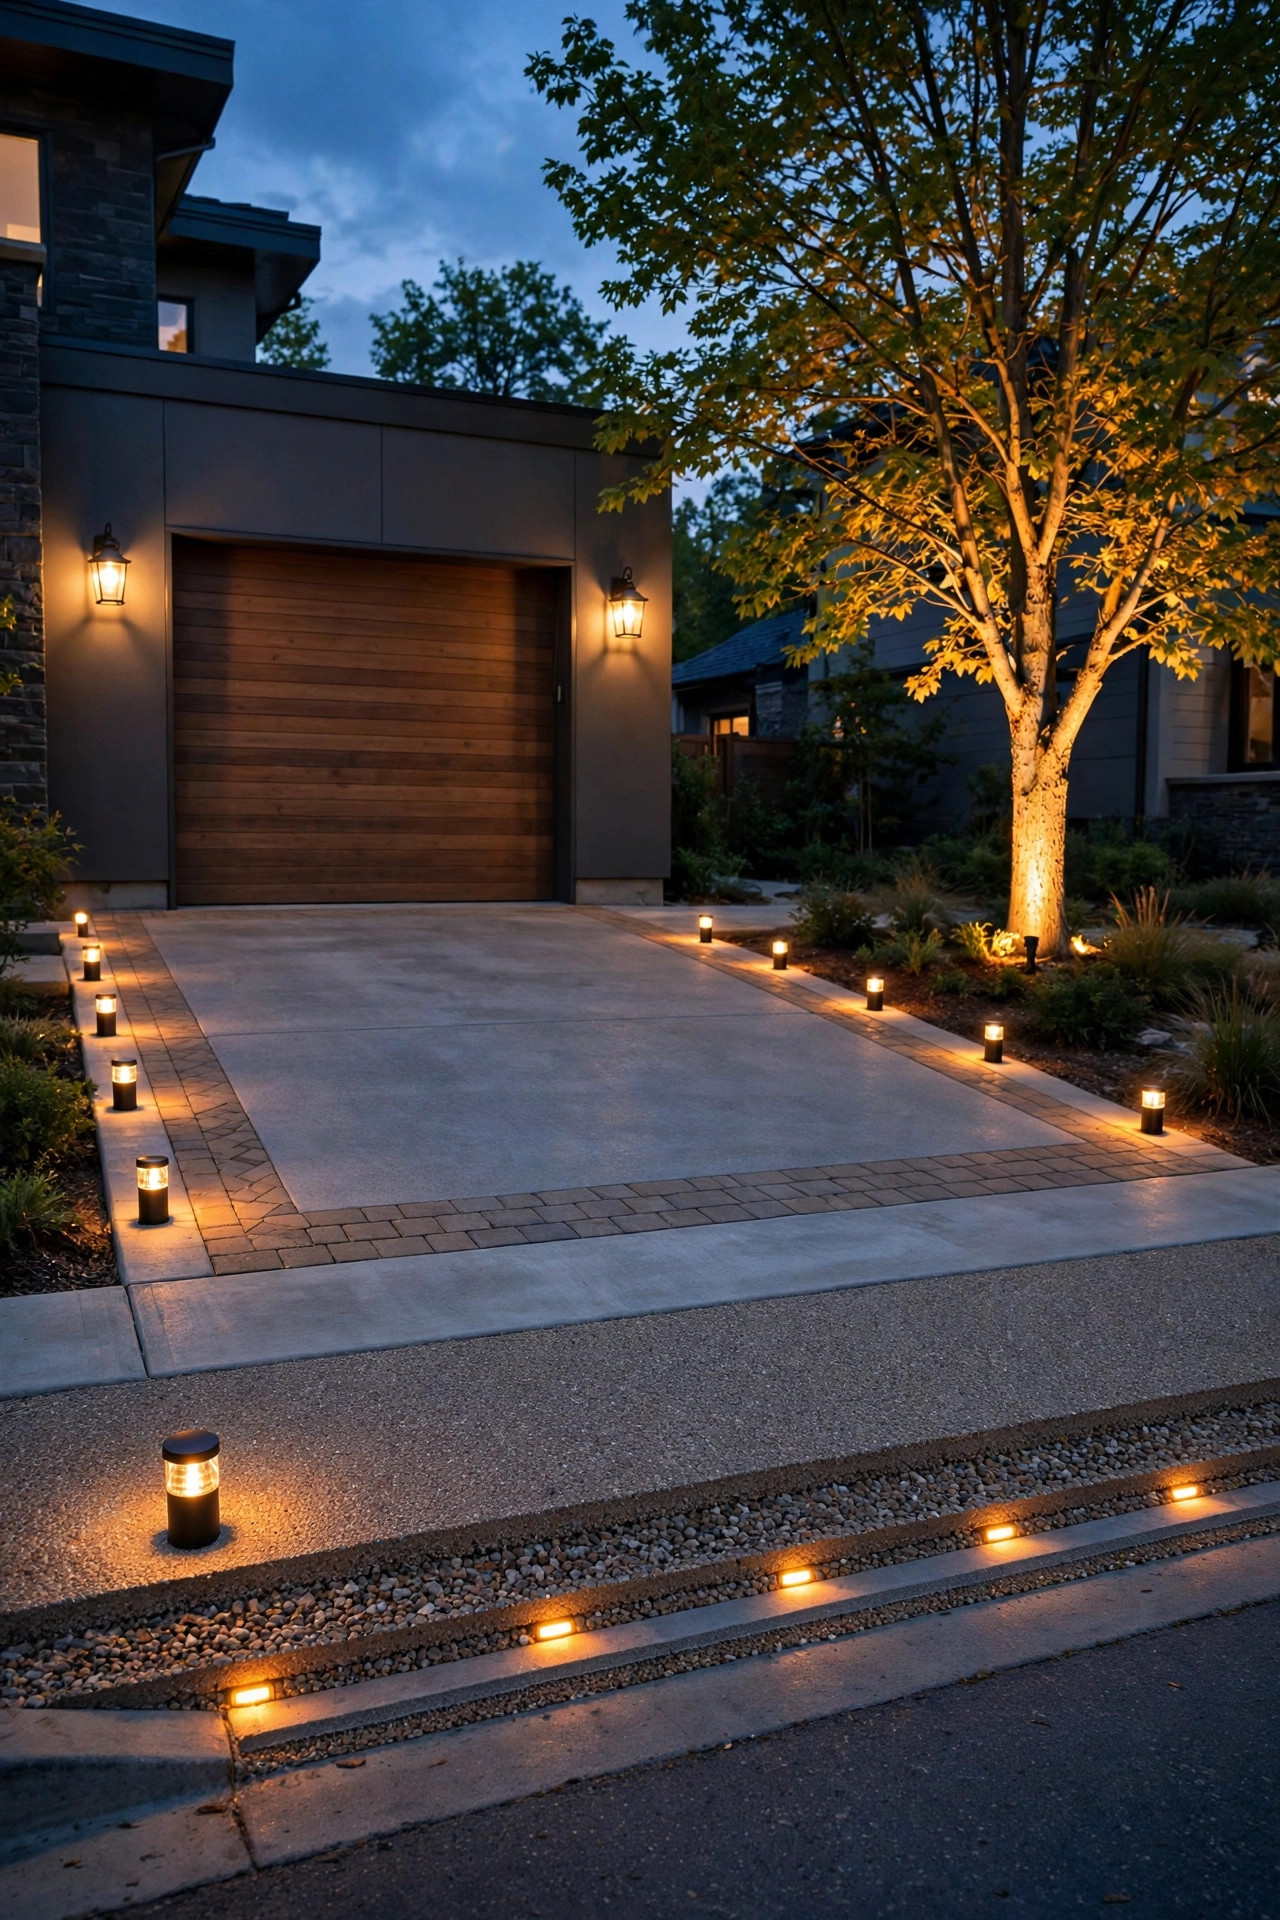
Here's how I'd combine these driveway apron lighting ideas on a typical two-car suburban apron, because the magic is in the mix, not in any single fixture. Layer one, guidance: flush markers or low path lights down both edges so the boundaries are unmistakable. Layer two, task: garage sconces or a motion flood washing the surface where people actually walk and unload. Layer three, accent: one uplighted tree or a lit entrance lantern for warmth and address-finding. All three layers in the same warm family, 2700K to 3000K, nothing glaring, nothing cool-toned. Sketch it on paper first with real measurements — apron width, door swing, plow path — then buy layer one and live with it for a week before adding more. Most aprons need less light than people buy; it's far easier to add a fixture than to un-see an overlit slab. Done this way, the apron stops being leftover concrete and becomes the front porch's hardworking partner: safe, welcoming, and quietly beautiful every single night.
Suggested budget range: $300 – $900.
Frequently Asked Questions
How many lights do I need for a standard driveway apron?
For a typical two-car apron, start with 6 to 10 light points: four corner or edge fixtures, a pair of garage sconces, and a few markers between. Spacing matters more than count — edge lights every 4 to 6 feet and bollards at the corners usually cover it. Add light only where a dark gap remains after a week of living with the first layer.
Are solar lights bright enough for a parking pad?
For outlining edges, yes — good solar stakes, pavers, and bollards make the boundaries of a pad perfectly visible. For real task light to unload a car or find a dropped key, solar alone is usually too dim and too weather-dependent. I recommend a hybrid: solar for the outline, wired or hardwired fixtures for the working light.
What color temperature looks best on a concrete apron?
Warm white, 2700K to 3000K, flatters concrete and brick, matches most porch lighting, and feels welcoming instead of institutional. Higher temperatures like 4000K and 5000K make an apron look like a service station and can bother neighbors. Whatever you choose, keep every fixture on the apron in the same range so the light looks unified.
Can in-ground apron lights handle cars and snowplows?
Yes, if you buy the right spec. Look for fixtures with a stated drive-over load rating, a metal or heavy polycarbonate housing, and an IP67 or IP68 seal. Flush-mounted fixtures sit level with the surface, so plow blades and shovels pass over them. Avoid raised fixtures anywhere in the plow path or tire track — flush is the whole point.
Conclusion
A well-lit apron is one of those upgrades you feel every single day, in the small moment of turning in at night and just knowing where everything is. Start with the edges, add one honest working light by the garage, finish with a warm accent, and keep it all in the same golden family of color. These driveway apron lighting ideas scale from a $40 set of solar stakes on a gravel pad to a full layered plan, so pick the one that matches your apron this weekend and build from there. And if this sparks a bigger project, browse the rest of the lighting ideas here on the site — the front walk and porch deserve the same layered treatment.