Intro
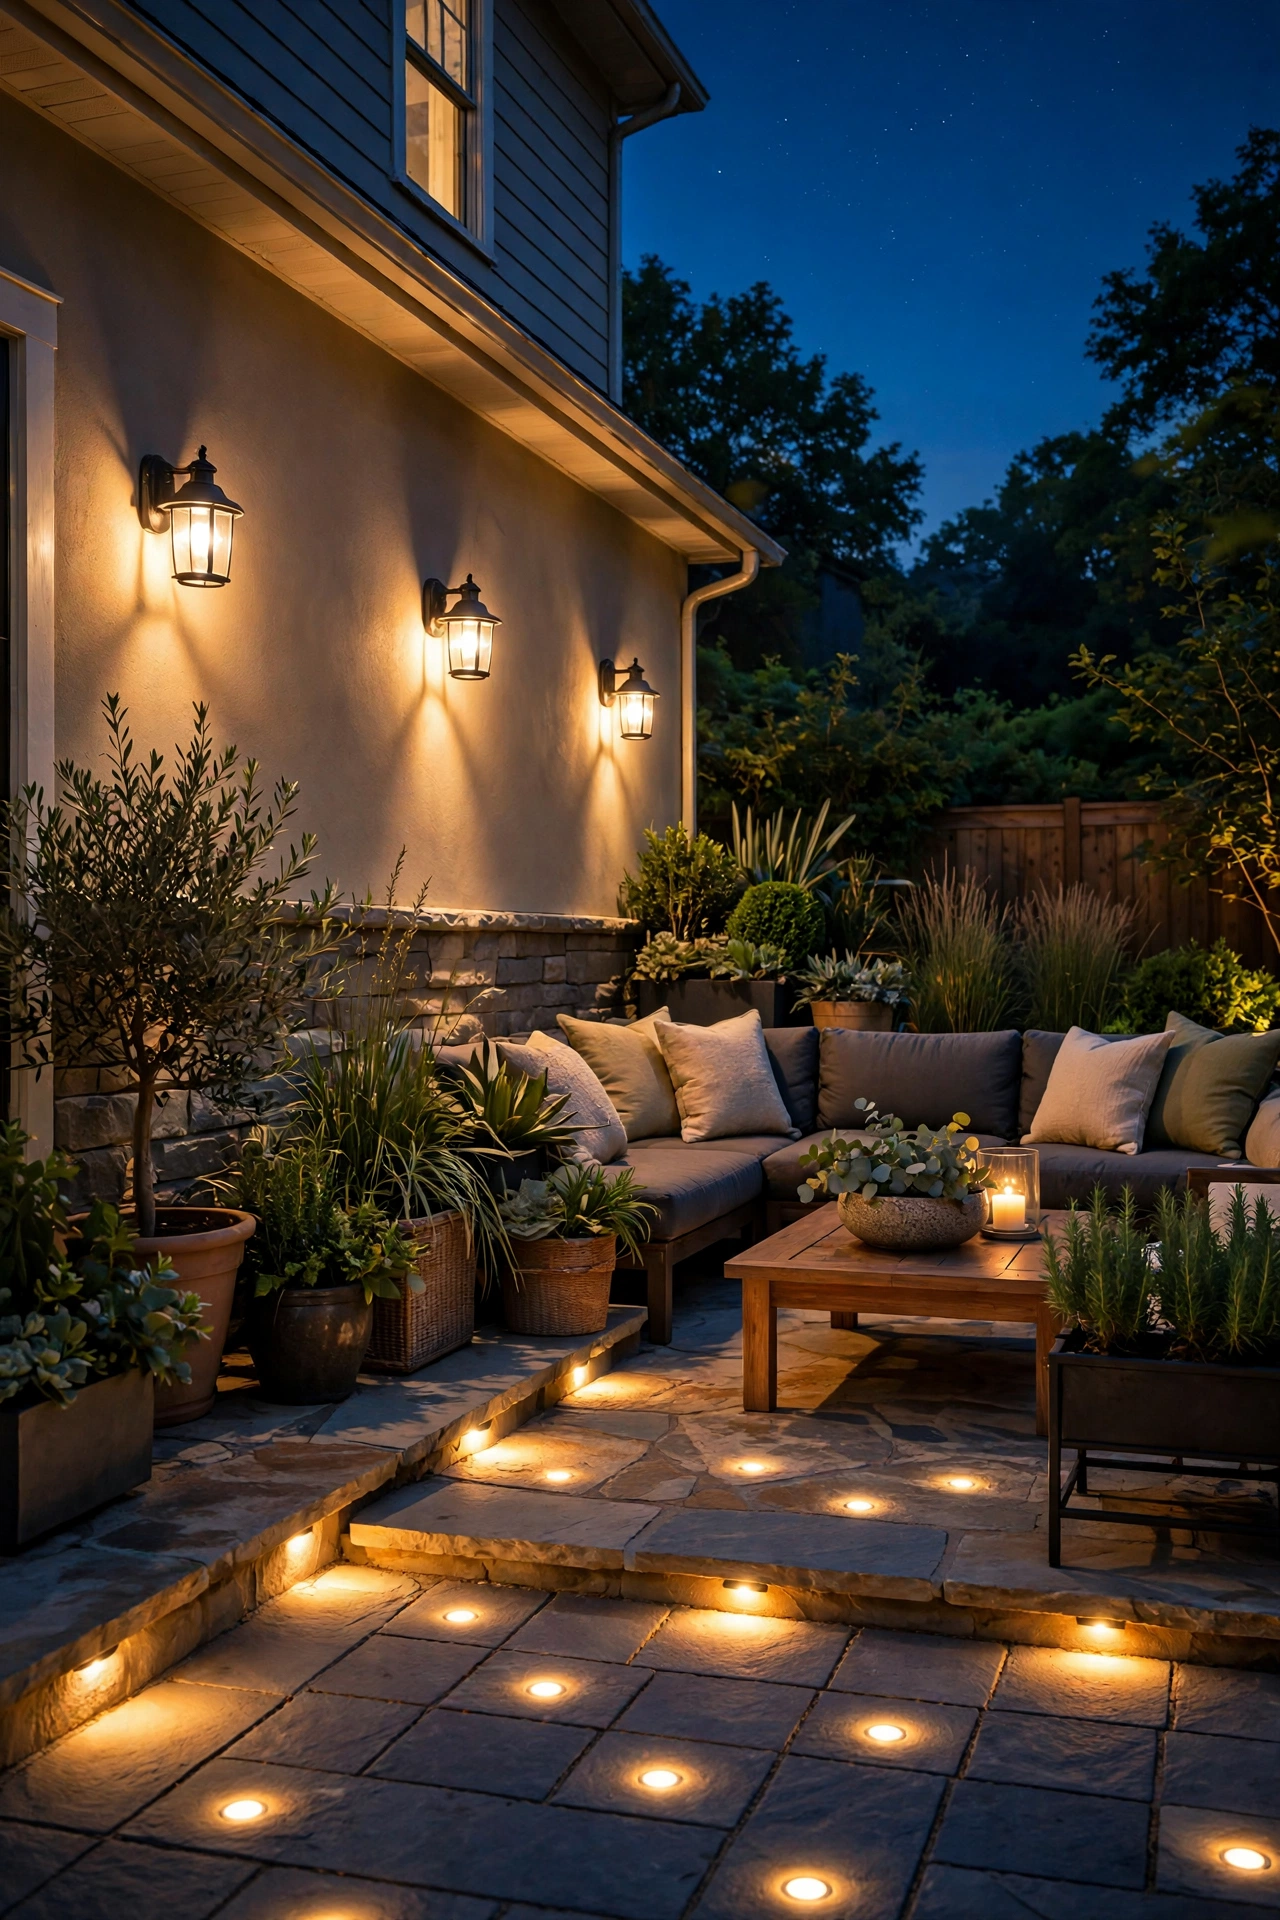
I'll never forget the first summer evening after we added lights to our patio — it honestly felt like the house gained a whole new room. If you're exploring paver lights outdoor options for your own space, you're about to discover the same magic: fixtures set flush into the stone itself, casting soft pools of light that make walkways safe, patios inviting, and every summer dinner stretch a little longer.
In my experience, ground-level lighting is the secret layer most people skip. We obsess over string lights and lanterns (and I love those, don't get me wrong), but the homes that look truly finished at night are the ones where the hardscape glows from below. I always recommend thinking in three layers: the path itself (paver lights marking the way), the vertical surfaces (walls, steps, planters), and something overhead. This post is all about that first layer — the ground up.
Below are 15 of my favorite ideas for patios, walkways, driveways, and steps, each with real installation know-how — retrofit versus built-in, wiring runs, transformers, spacing, and sealing — so you can pick the right approach for your yard and budget.
1. Built-In Flush-Mount Paver Lights for New Patios
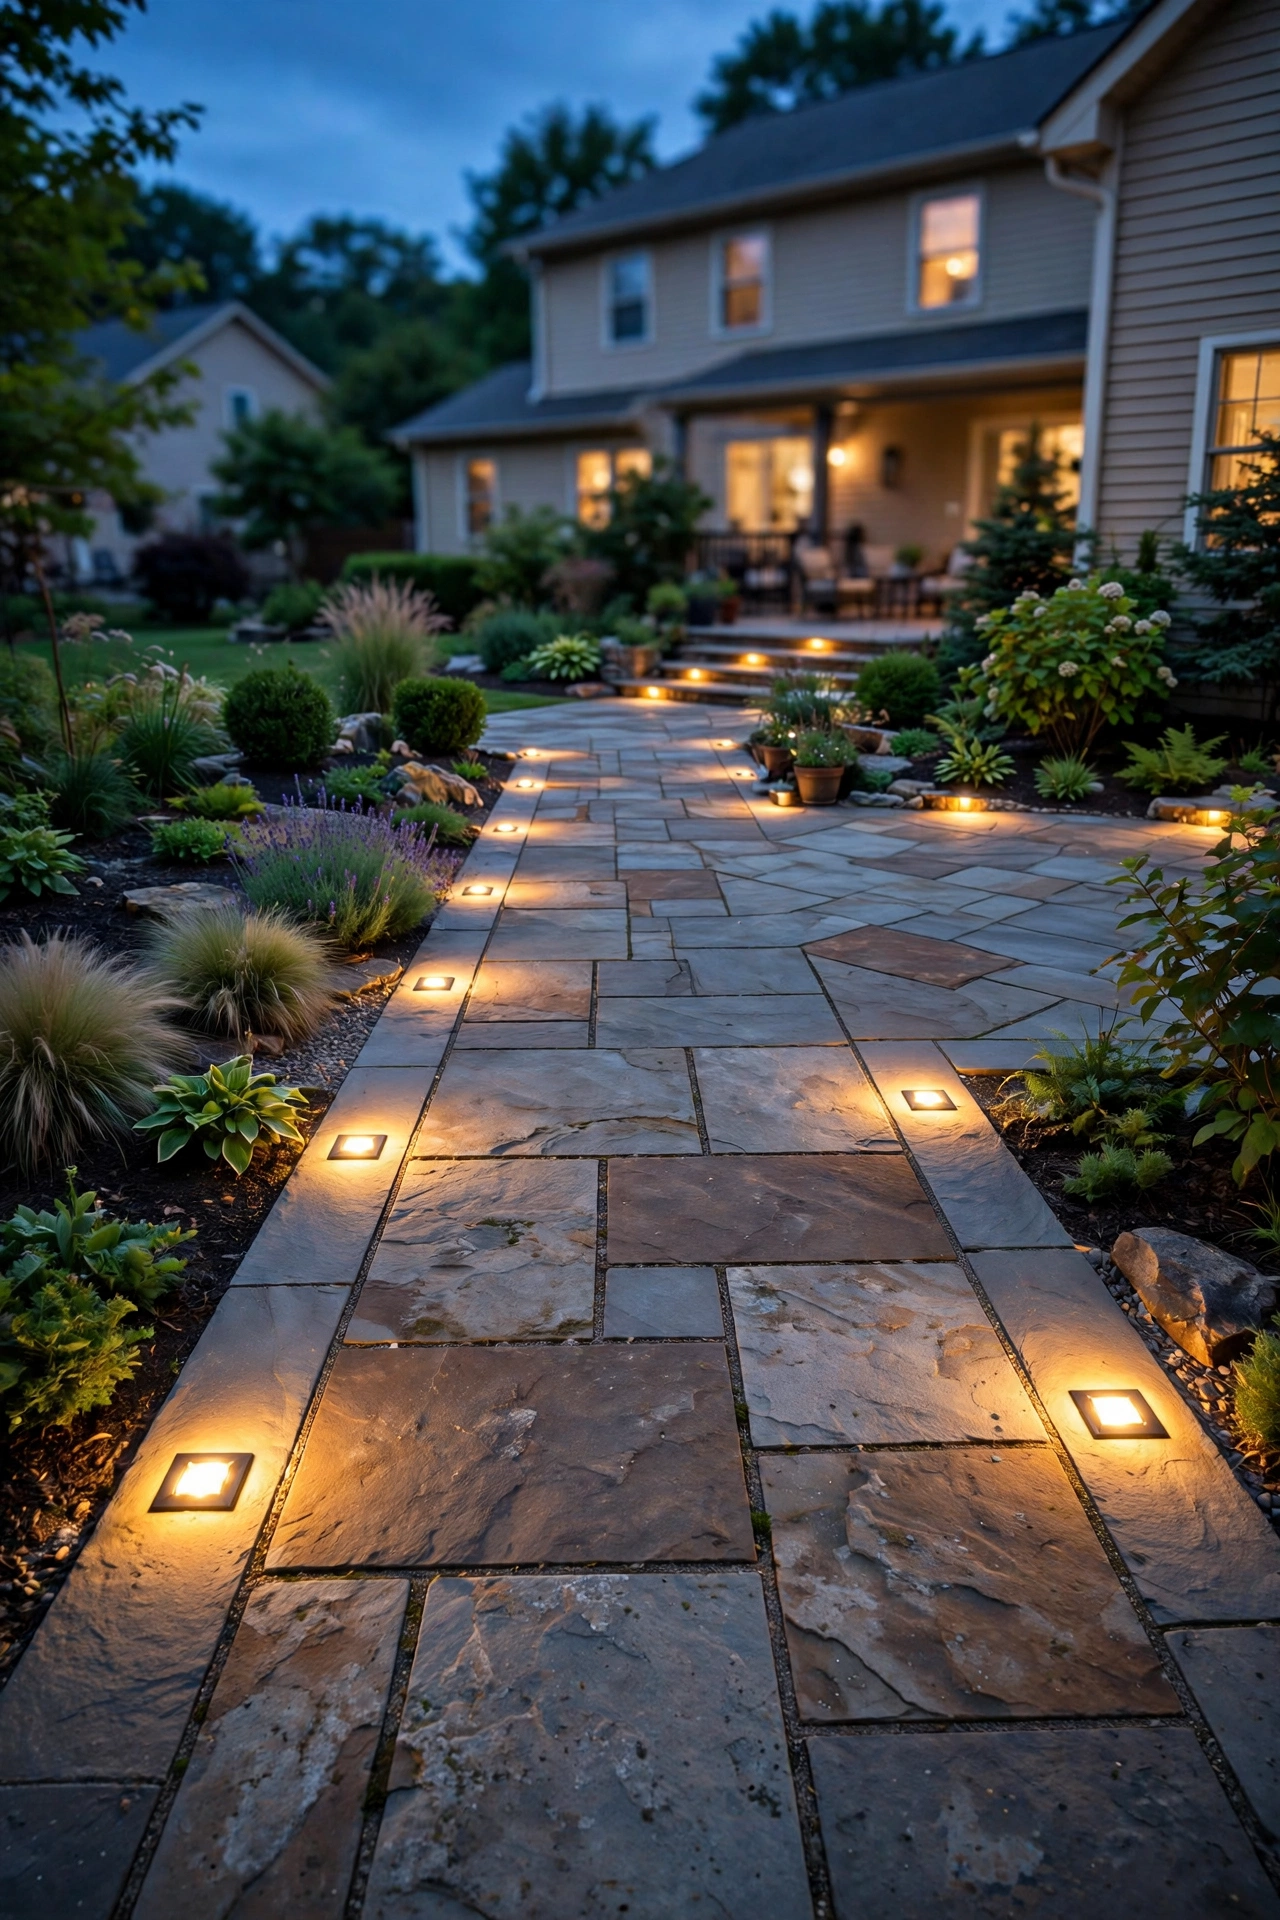
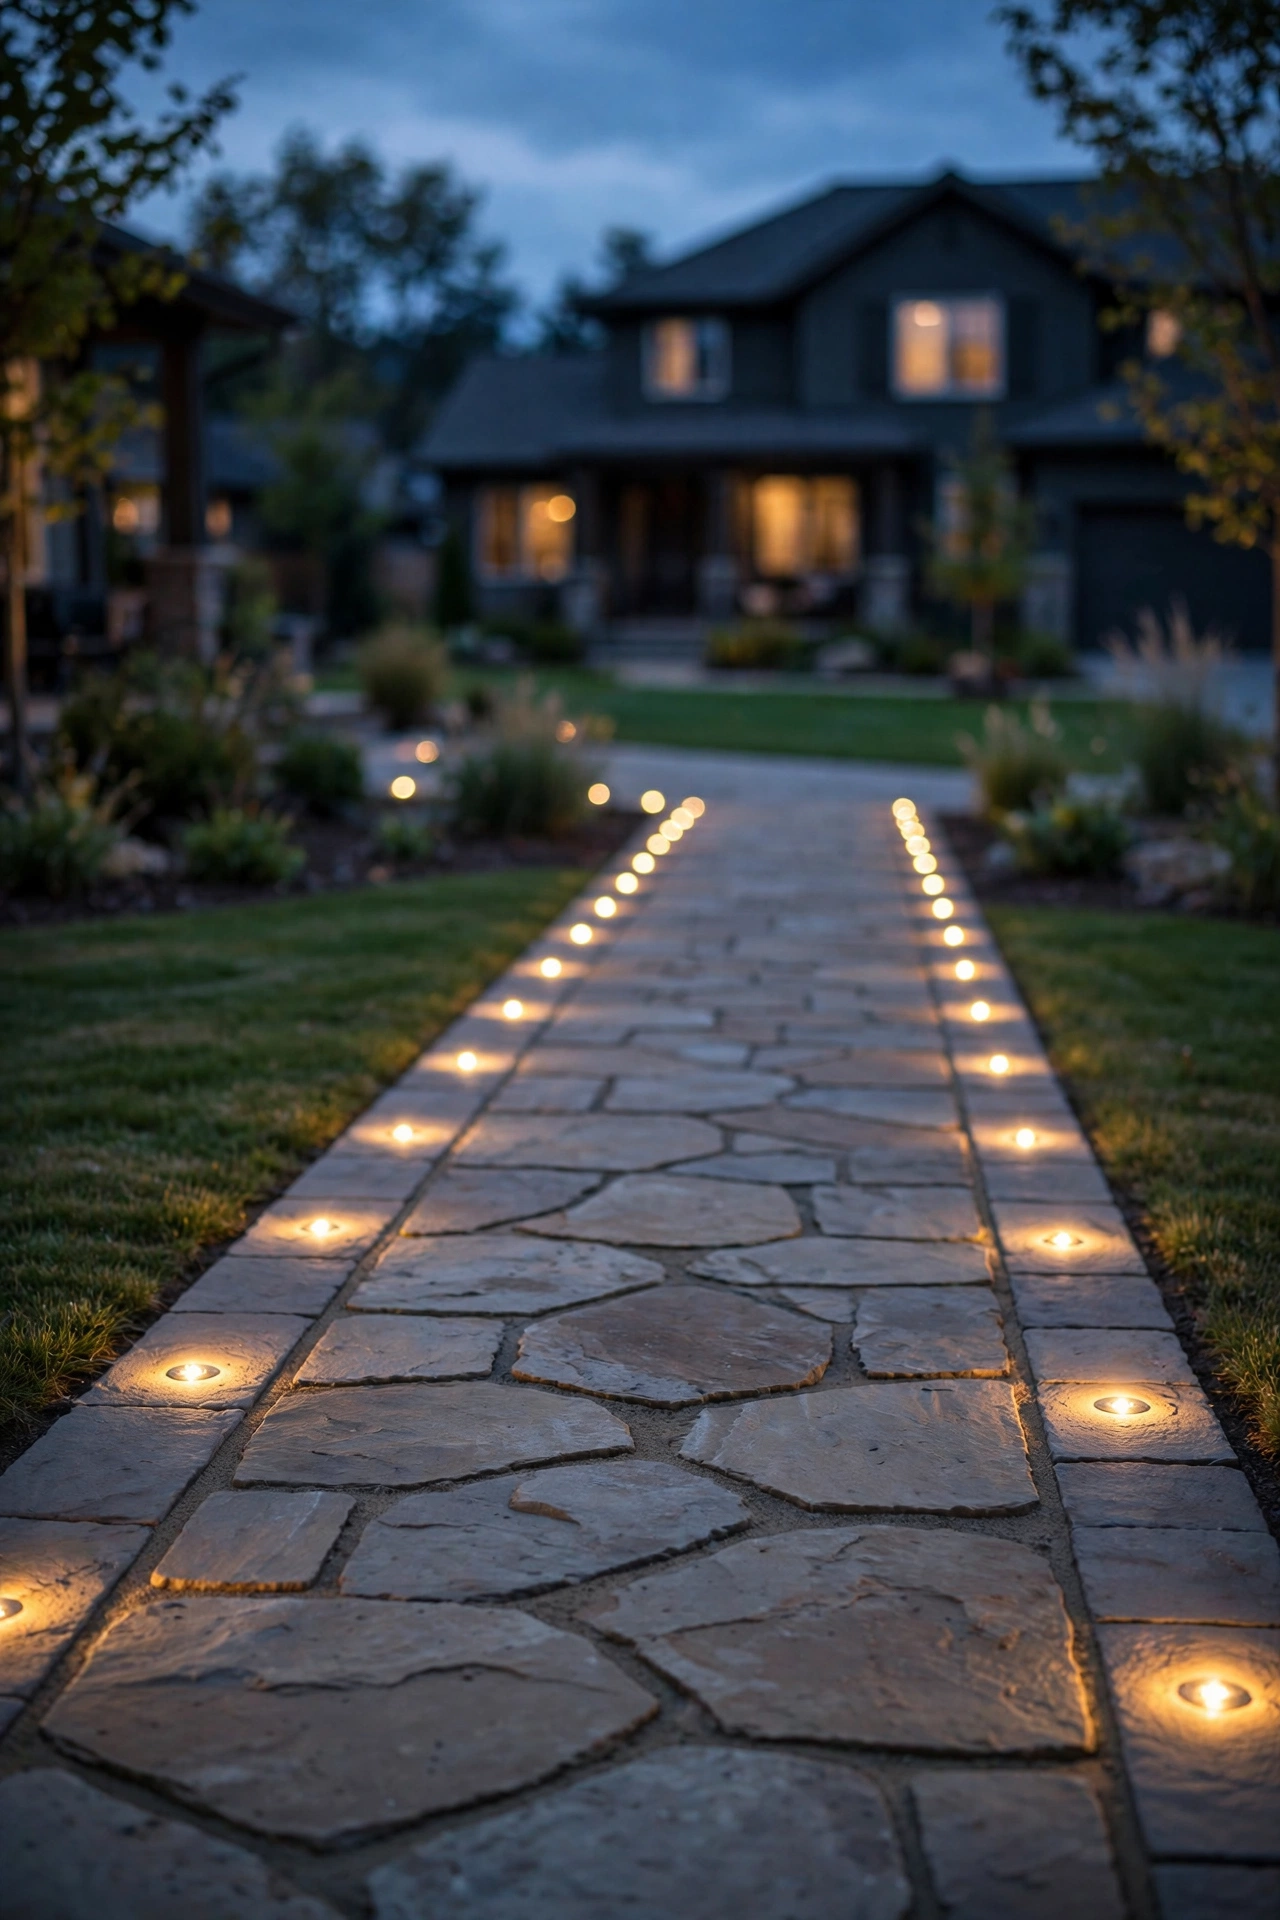
If you're laying pavers fresh, this is the gold standard — and honestly the cheapest time to do it, because the conduit is going in anyway. Flush-mount fixtures are low-voltage LED units shaped like an actual paver (typically 4×8 or 6×6 inches) that sit level with the surface. You run conduit or direct-burial low-voltage cable in the compacted base layer before the sand bed goes down, leaving a stub-up at each planned fixture location.
The magic here is invisibility: by day, you see nothing but stone; by night, crisp dots of light outline your walkway. I always recommend spacing them every 6 to 8 feet along a path edge, or outlining just one side of a patio rather than the whole perimeter — a full ring looks like an airport runway. Choose warm white (2700K–3000K) and fixtures rated IP67, with a tempered glass or polycarbonate lens rated for foot traffic and occasional vehicle weight on driveways. On patios, press the fixture into the sand bed and level it with the surrounding pavers using a rubber mallet and a small level.
Suggested budget range: $25 – $45.
2. Retrofit Paver Lights Outdoor: Adding Lights to an Existing Patio
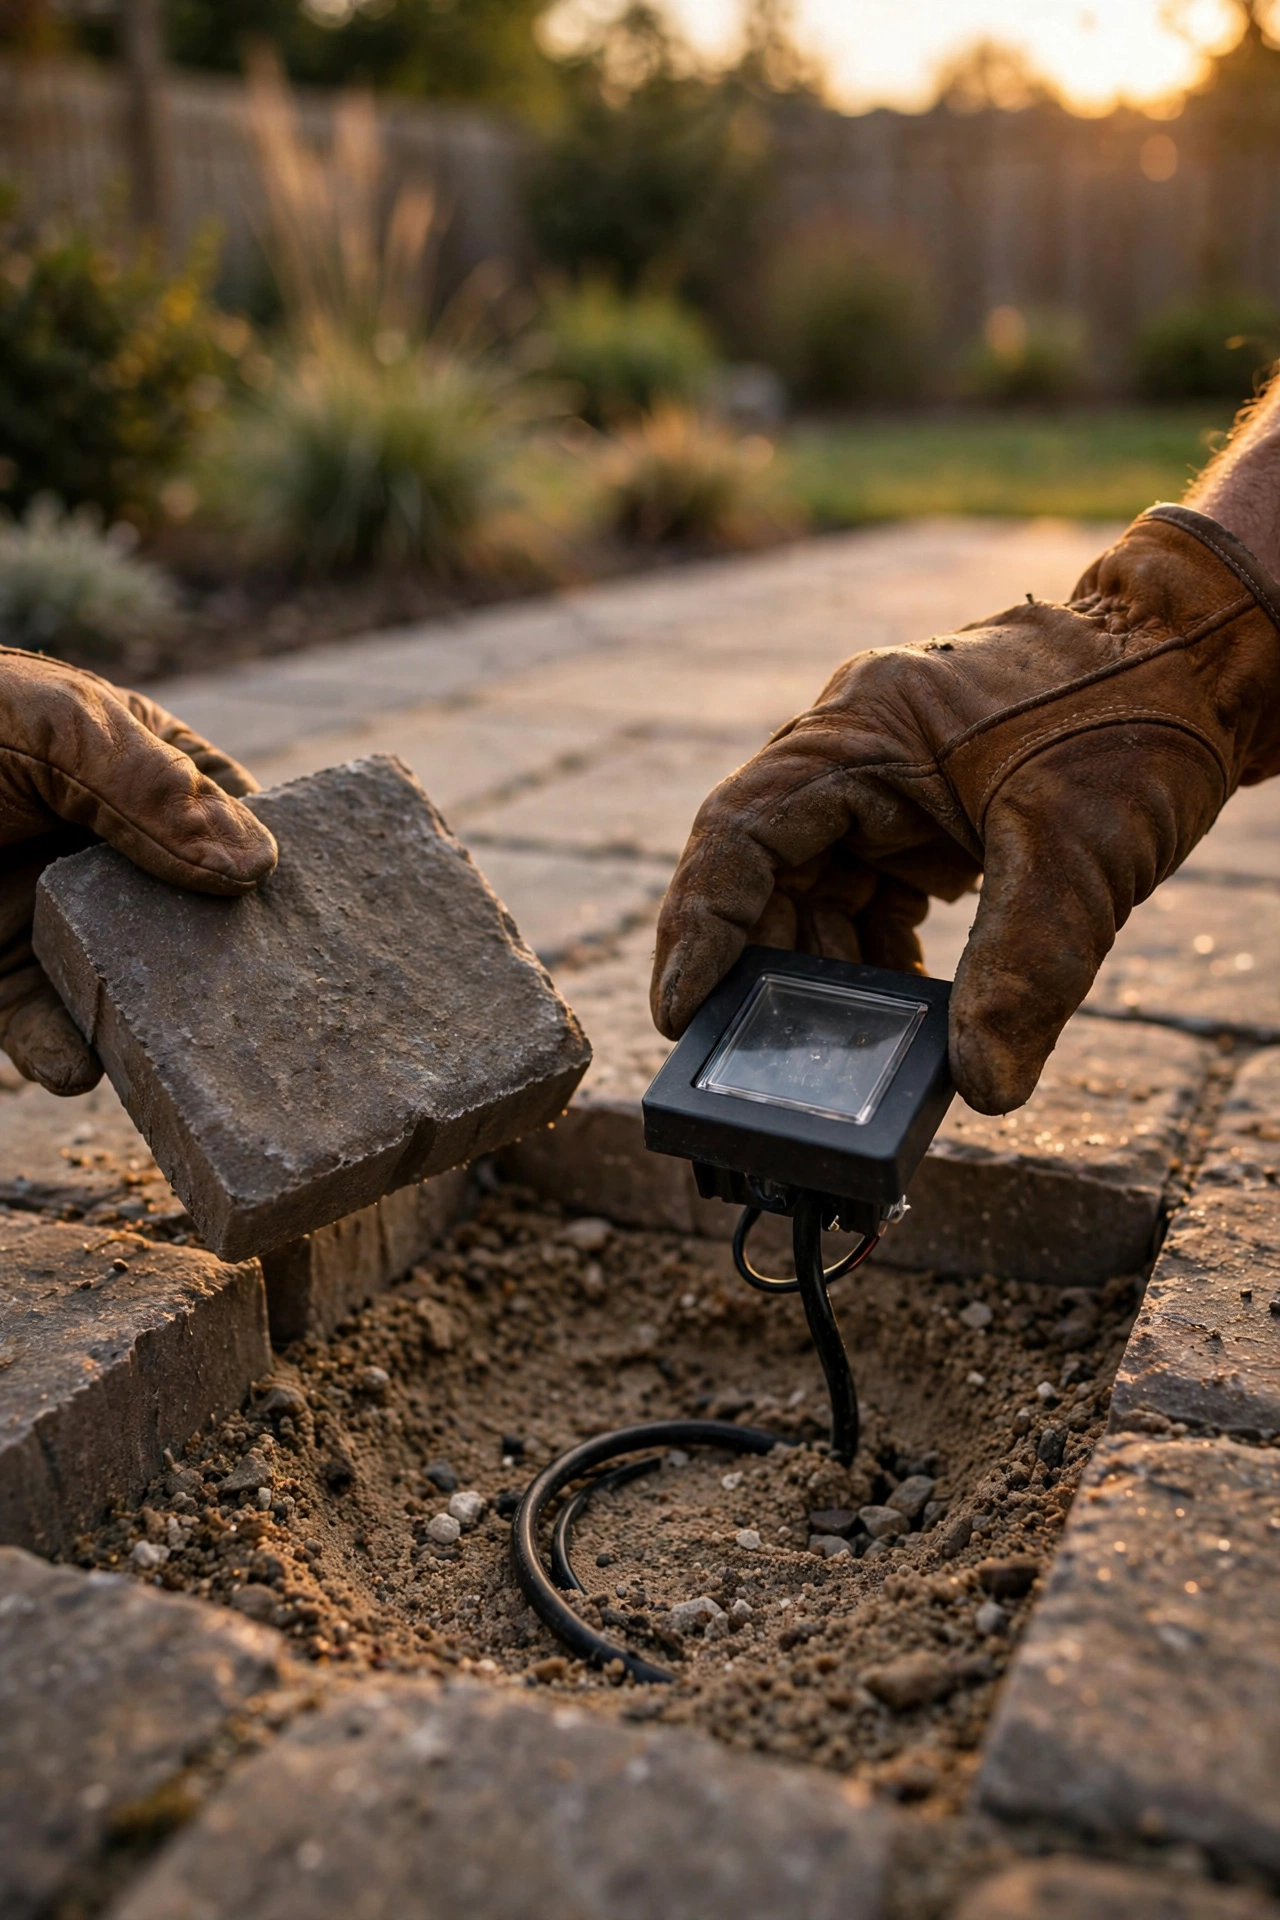
Already have a finished patio? You can still join the fun — retrofit is the most common way people add paver lights, and I've helped friends do it in a single weekend. The trick is pulling up individual pavers along the path edge, cutting a shallow channel in the compacted base with a flat shovel or masonry saw, and laying low-voltage cable in the groove. Refill with sand, tamp, and reset the pavers.
For the fixture openings themselves, you have two choices. The simplest is a surface-mount retrofit puck: a low-profile LED housing that replaces one paver and sits about half an inch proud. The cleaner look is a core-drilled fixture — rent a diamond core bit sized to your fixture, drill the opening from the top, set the fixture in a mortar or silicone bed, and run the cable underneath. Honestly? The core-drilled route looks twice as good and only adds about an hour per light. Work one paver at a time and photograph your layout before you start pulling stone, so every piece goes home.
Suggested budget range: $35 – $60.
3. Solar Paver Marker Lights for a No-Wiring Patio
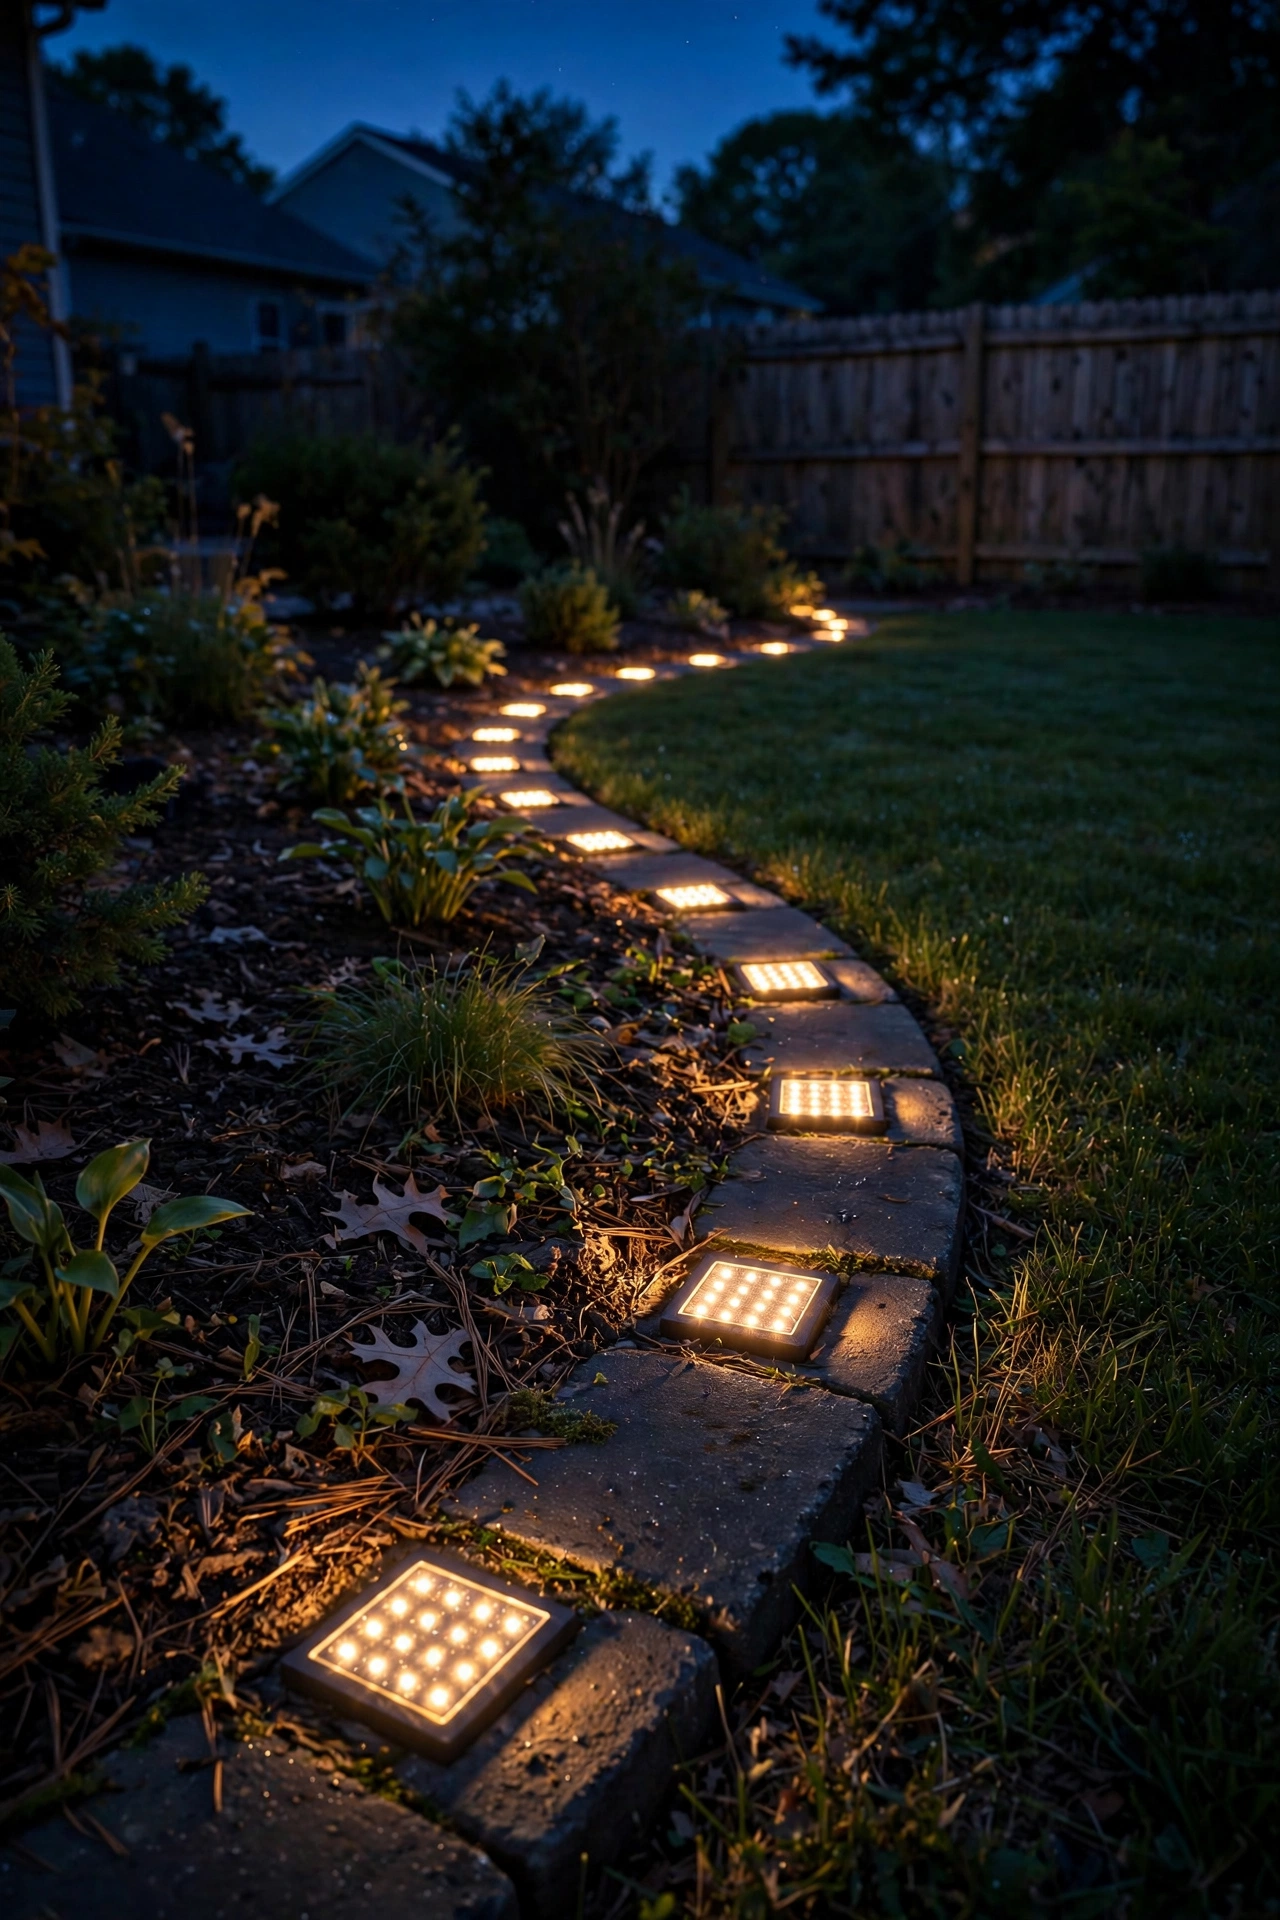
No outdoor outlet, no transformer, no digging? Solar paver lights are your answer, and they've gotten shockingly good in the last few years. These are self-contained LED units — usually 3.5×3.5-inch squares that replace a single paver or sit in a shallow recess — with a tiny solar panel on top that charges during the day and switches on automatically at dusk.
Here's my honest take: solar markers are perfect for ambiance and gentle path guidance, but they're not task lighting. Expect 6 to 8 hours of glow on a full summer charge, less in winter or deep shade. Placement matters enormously — each unit needs at least 6 hours of direct sun, so skip them under pergolas or heavy tree canopy. I love them for edging a garden bed along a walkway, where expectations are low and the scattered sparkle is pure charm. Pop them out in spring and wipe the solar panel with a damp cloth; dust and pollen can cut charging efficiency in half. Look for models with replaceable rechargeable batteries so you're not tossing the whole unit in two years.
Suggested budget range: $8 – $20.
4. Upward-Glow Well Lights at Patio Edges
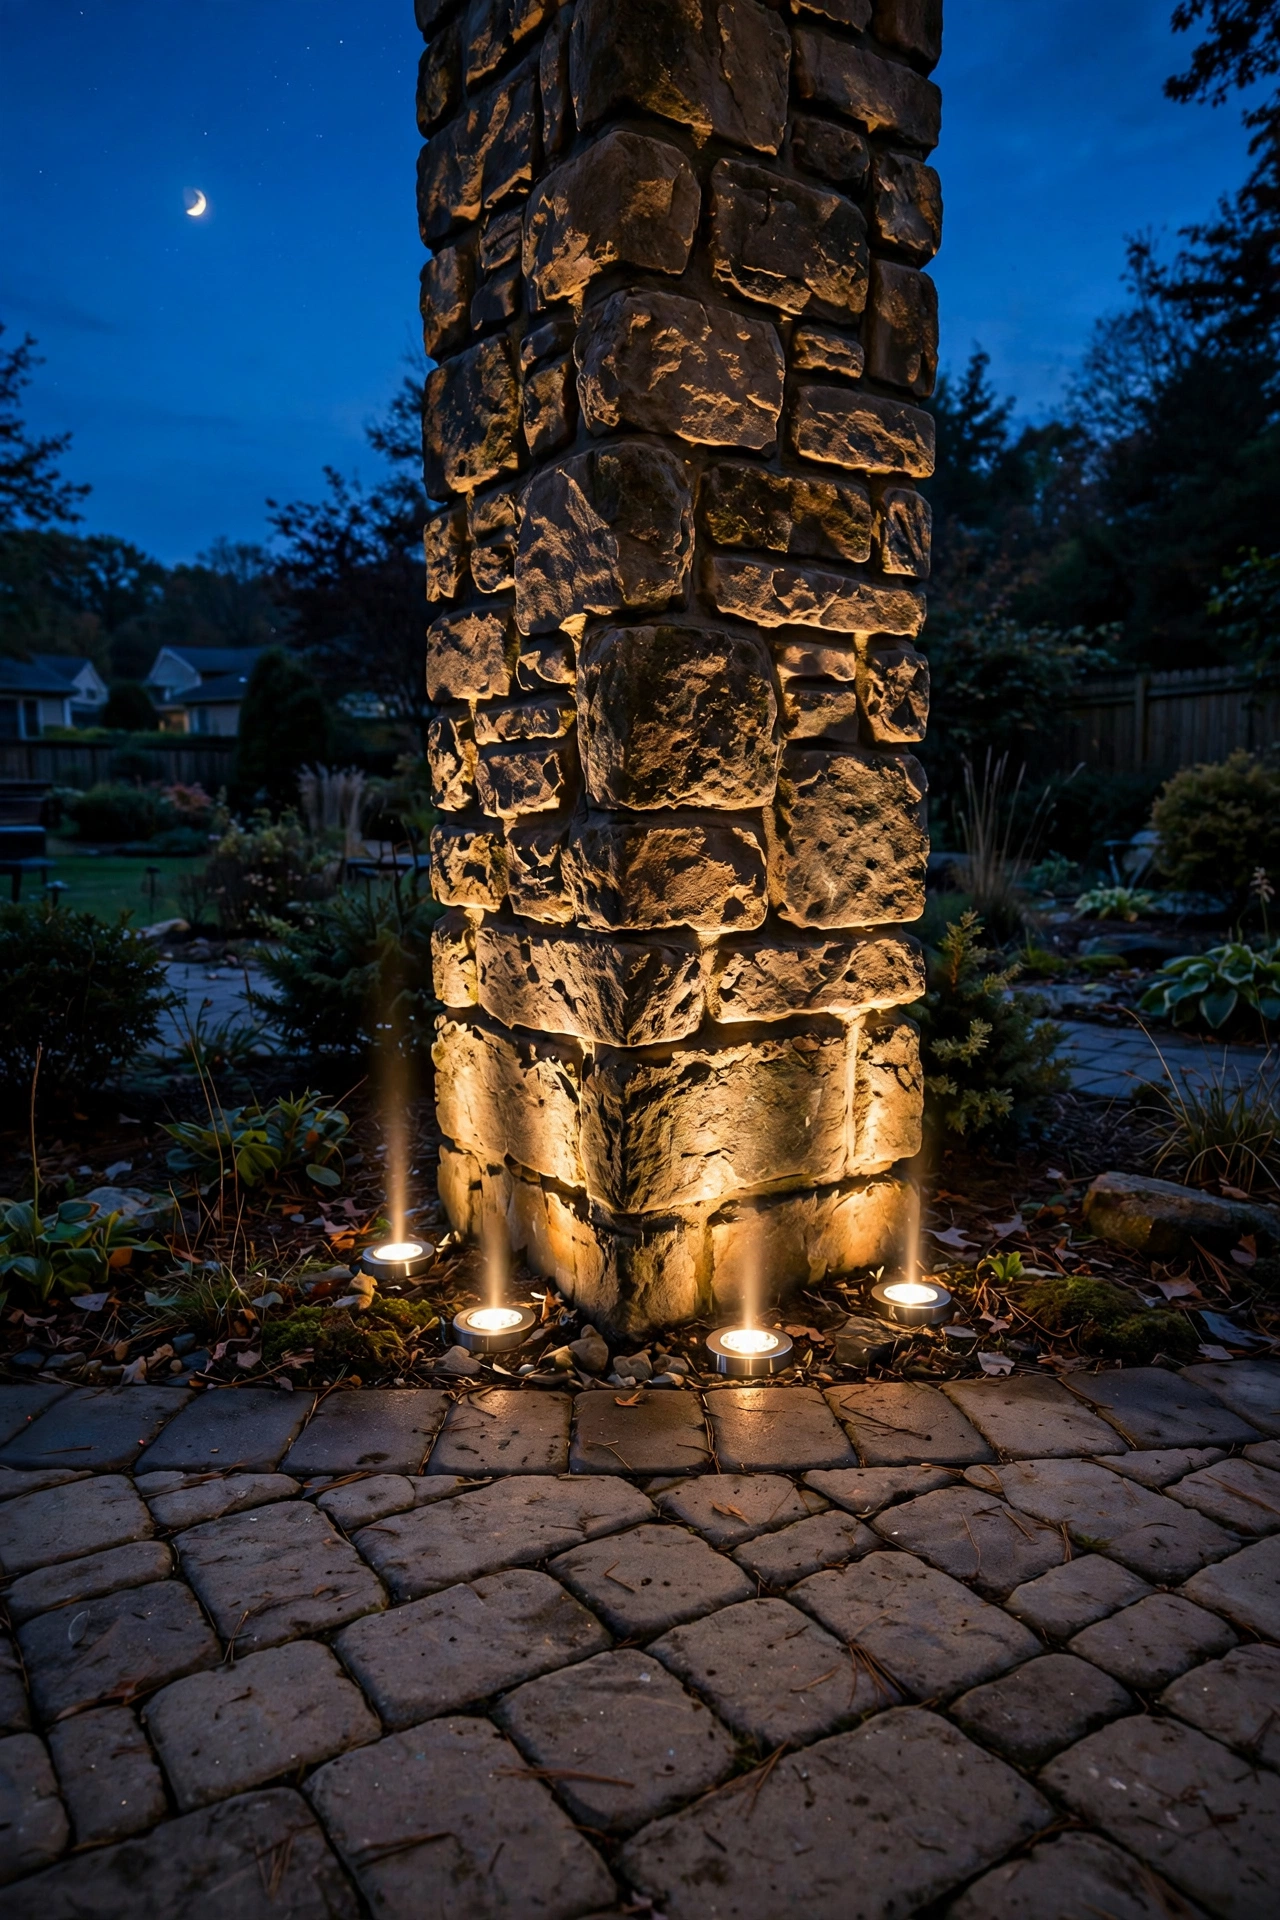
Well lights are the hardscape world's best-kept secret. These are cylindrical fixtures that drop into a hole in the ground (or in a planting bed right against the patio edge) and throw a tight beam of light straight up. Point them at a stone pillar, the trunk of an ornamental tree, or a textured retaining wall, and suddenly your patio has depth and drama after dark.
Installation is straightforward: dig an 8-to-10-inch-deep hole, set the well housing in a gravel bed for drainage, and run your 12-volt cable to it. The fixture face should sit just below grade so mowers and feet pass over it — that's the whole point of the "well" design. For the most flattering effect, position the light 12 to 18 inches away from whatever you're illuminating and aim slightly off-center so you get grazing highlights and soft shadows rather than a flat blast. I always recommend adjustable-beam models (15 to 60 degrees) because a narrow beam on a tree trunk and a wide wash on a wall need different spreads. Cap the beam at 2700K warm white for that moonlit-garden feel.
Suggested budget range: $30 – $70.
5. Step Nose Lights for Patio Steps and Landings
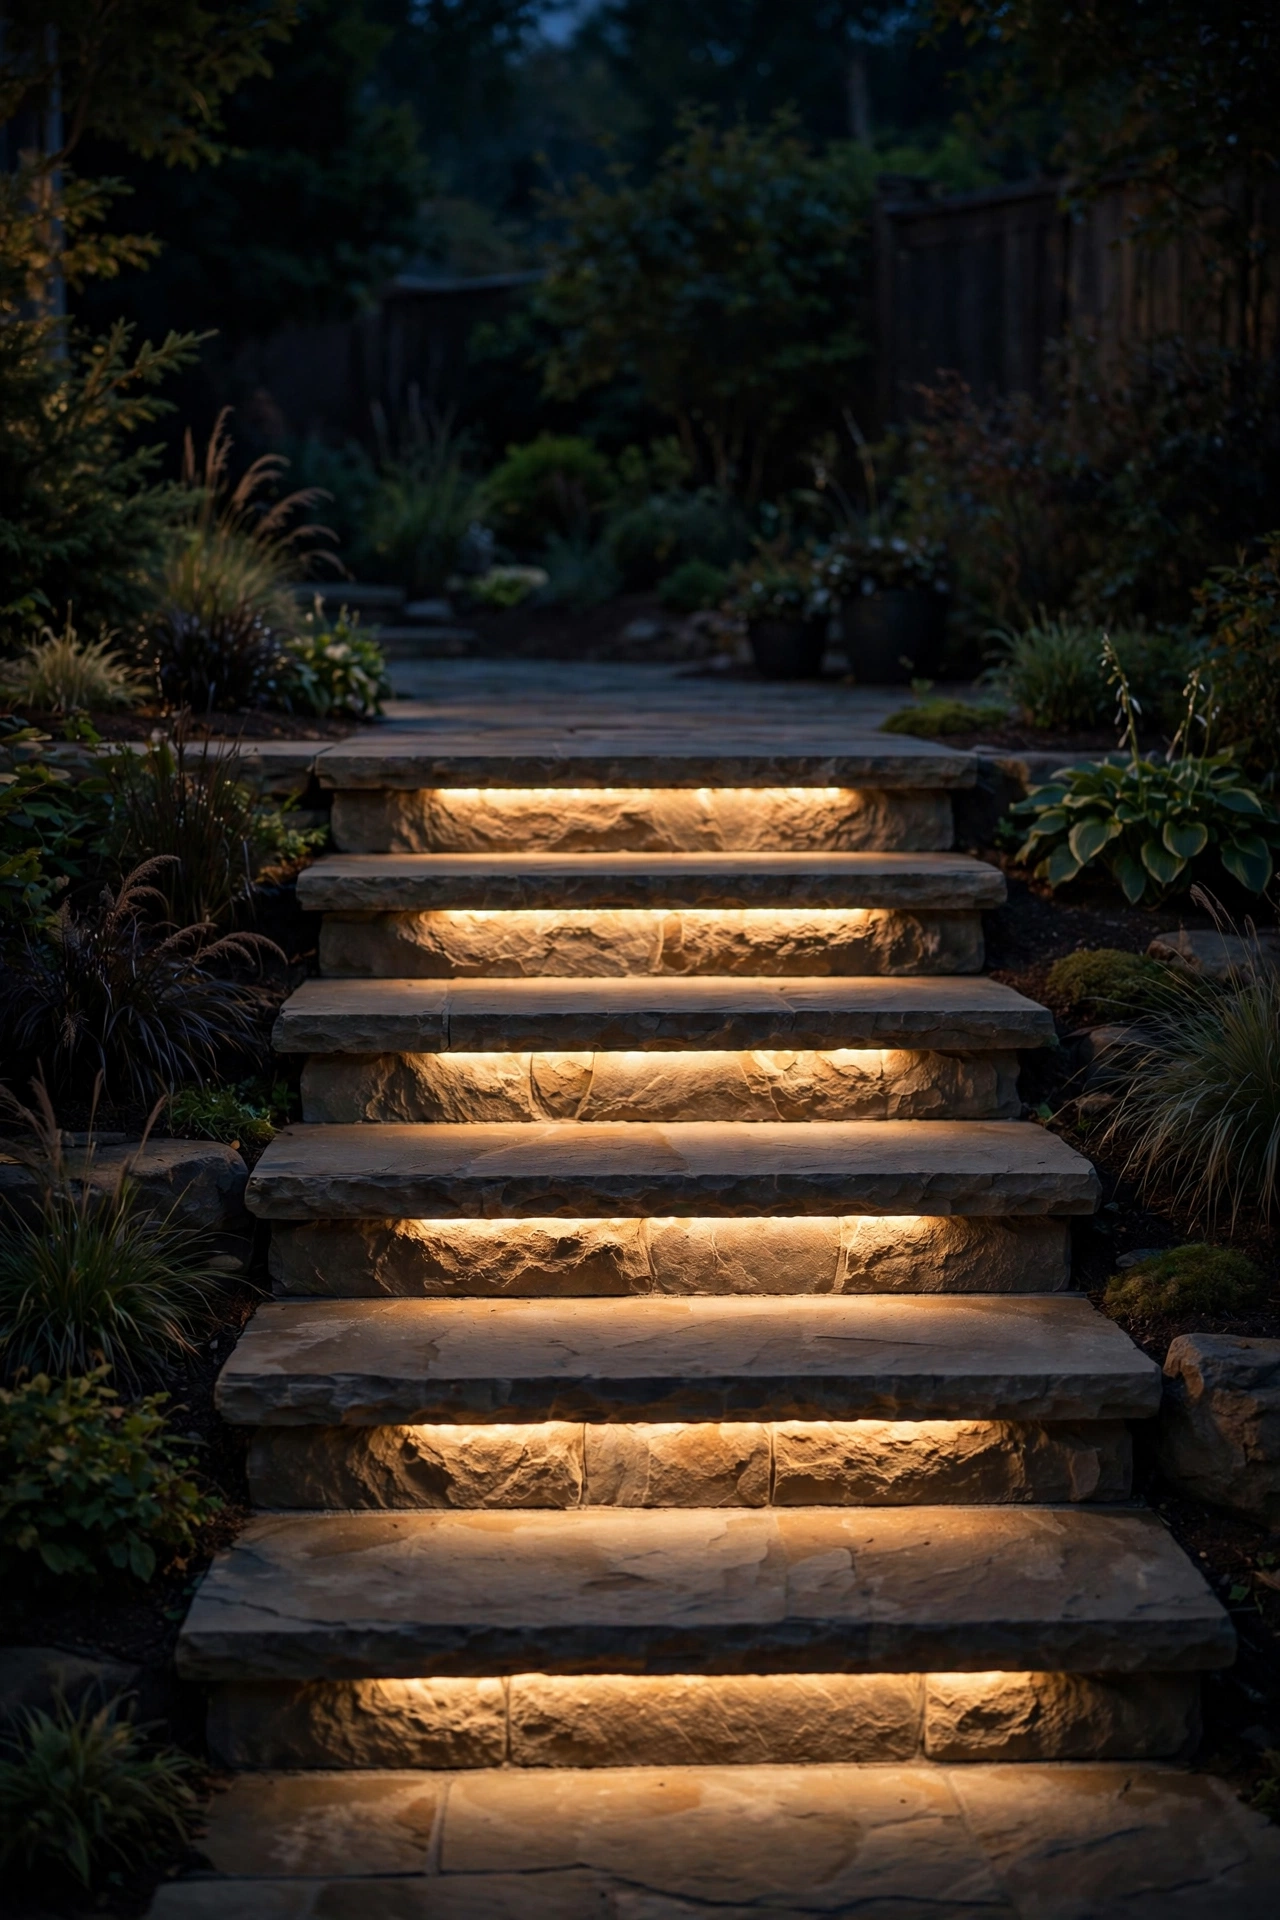
Steps are where paver lighting stops being decorative and starts being genuinely useful — one misjudged riser after dark and someone's twisting an ankle. Step nose lights are slim LED strips or small recessed fixtures installed right under the lip (the nosing) of each step, washing light down across the tread below.
For new construction, have your mason leave a half-inch recess under each nosing, or core a small channel for a low-voltage strip. For existing steps, a surface-mount aluminum LED channel glued with exterior construction adhesive works beautifully and disappears into the shadow line — nobody sees the fixture, just the light. Wire all the strips on one run back to the transformer, and keep the color temperature consistent with the rest of your paver lights so nothing looks mismatched. Space them to light every tread; skipping a step creates a confusing dark gap. I always recommend a photocell or timer on this circuit so the steps come on automatically at dusk — this is safety lighting, and it should never depend on someone remembering a switch.
Suggested budget range: $20 – $50.
6. Smart Paver Lights Outdoor: Color-Changing Fixtures for Party-Ready Patios
Sometimes you want warm white for Tuesday night dinners and a little color for the Fourth of July or a birthday party — and honestly, smart color-changing paver lights deliver both without swapping a single fixture. These are low-voltage RGBW fixtures (that W matters — it means they have a dedicated warm-white diode alongside the color ones, so "normal mode" still looks elegant, not like a nightclub).
They wire exactly like standard paver lights: 12-volt cable home-run or daisy-chained back to the transformer, then a smart controller sits between the transformer and the fixtures or speaks to them over your Wi-Fi or a low-voltage control line. Set schedules so the patio defaults to warm white at dusk, and save color scenes for holidays. One practical note: color modes draw a bit more power than warm white, so size your transformer with 20 percent headroom above your calculated wattage. And keep the party colors tasteful outside — deep amber and soft blue read "celebration"; full rainbow strobe reads "arcade." Your neighbors will thank you.
Suggested budget range: $40 – $90.

7. In-Paver Downlights for the Dining Zone
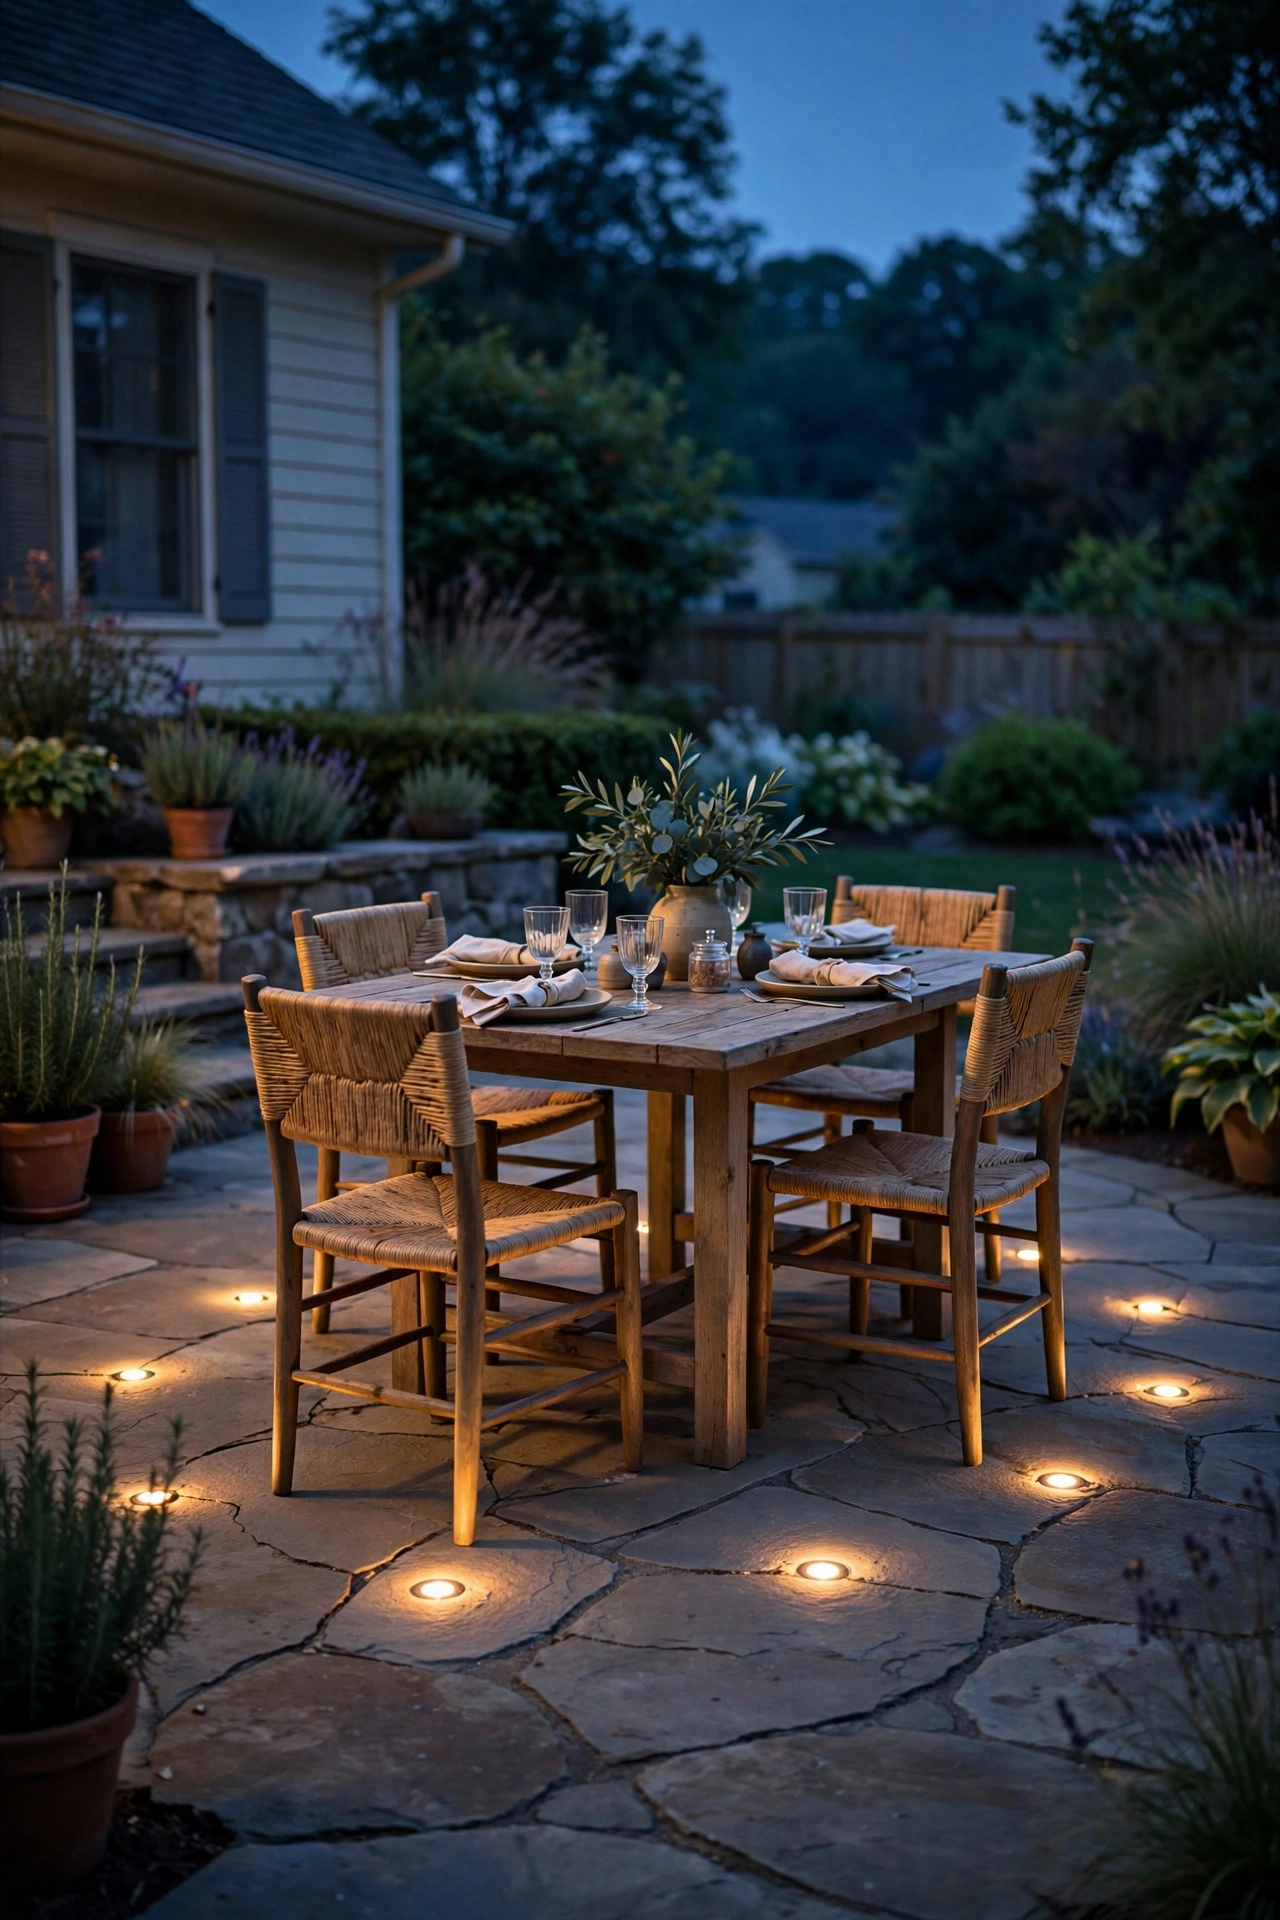
Here's an idea that flips the usual script: instead of outlining a path, use paver lights inside the patio itself to create a soft zone of light right where you eat. Install 4 to 6 flush fixtures in a loose grid or gentle arc around your dining table area, and the light spills upward just enough to catch chair legs, table edges, and the underside of a centerpiece — it reads like candlelight with far better coverage.
The key is restraint on brightness. Choose fixtures in the 1-to-2-watt range with frosted lenses; anything brighter creates hot spots that feel like a parking lot. If your patio is new construction, plan these into the conduit layout at the same time as your perimeter lights — a separate zone on the transformer lets you dim or switch them independently. For retrofits, core-drill is your friend here since precision matters: lay out the pattern with chalk first, stand back, and sight it from the kitchen window before you drill anything. I always recommend dimmable drivers on this zone — full brightness for setup and cleanup, dialed down for the actual dinner.
Suggested budget range: $30 – $75.
8. Driveway Entrance Marker Pavers
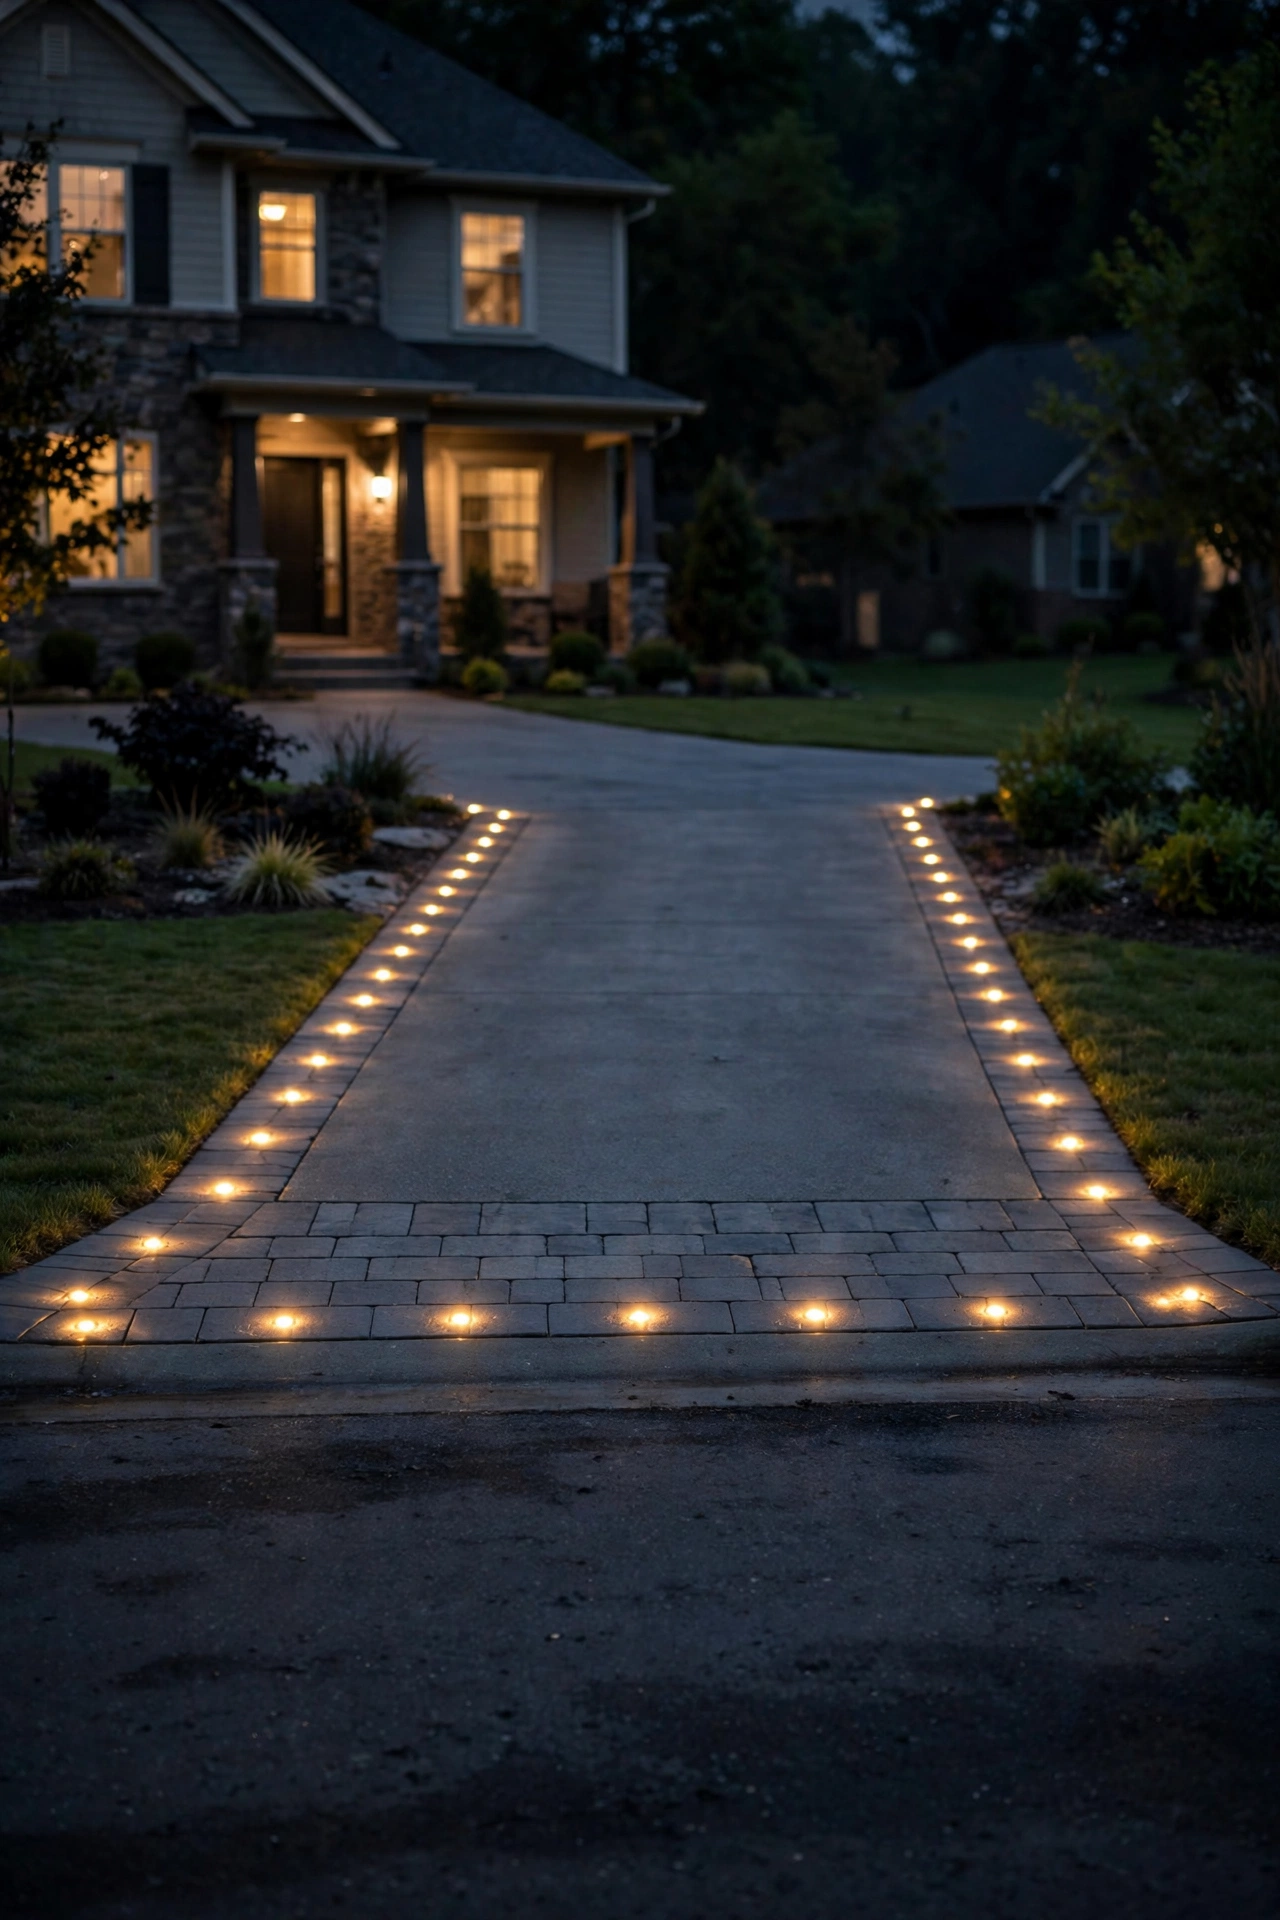
Your driveway is the first thing guests see and the last thing you navigate at night — yet most driveways are lit by nothing but hope and headlights. Marker pavers at the driveway entrance solve this beautifully: two to four flush LED pavers set into the apron where the driveway meets the street, or flanking the garage approach.
Because these see vehicle weight, this is one place where fixture quality is non-negotiable. Look for drive-over rated housings (many are tested to several tons), tempered glass lenses, and IP68 sealing — tires, road salt, and snowplows are unforgiving. Install them at the edges of the driving lane, never in the tire path itself, so they mark the boundary without taking direct hits every day. Space pairs about 8 to 10 feet apart, aligned with where a driver's eyes naturally fall when turning in. Wire them to the same transformer as your other hardscape lighting so everything switches on together at dusk. The result is a driveway that announces "you've arrived" in the most understated, luxurious way.
Suggested budget range: $50 – $120.
9. Pool Coping Recessed LED Pavers
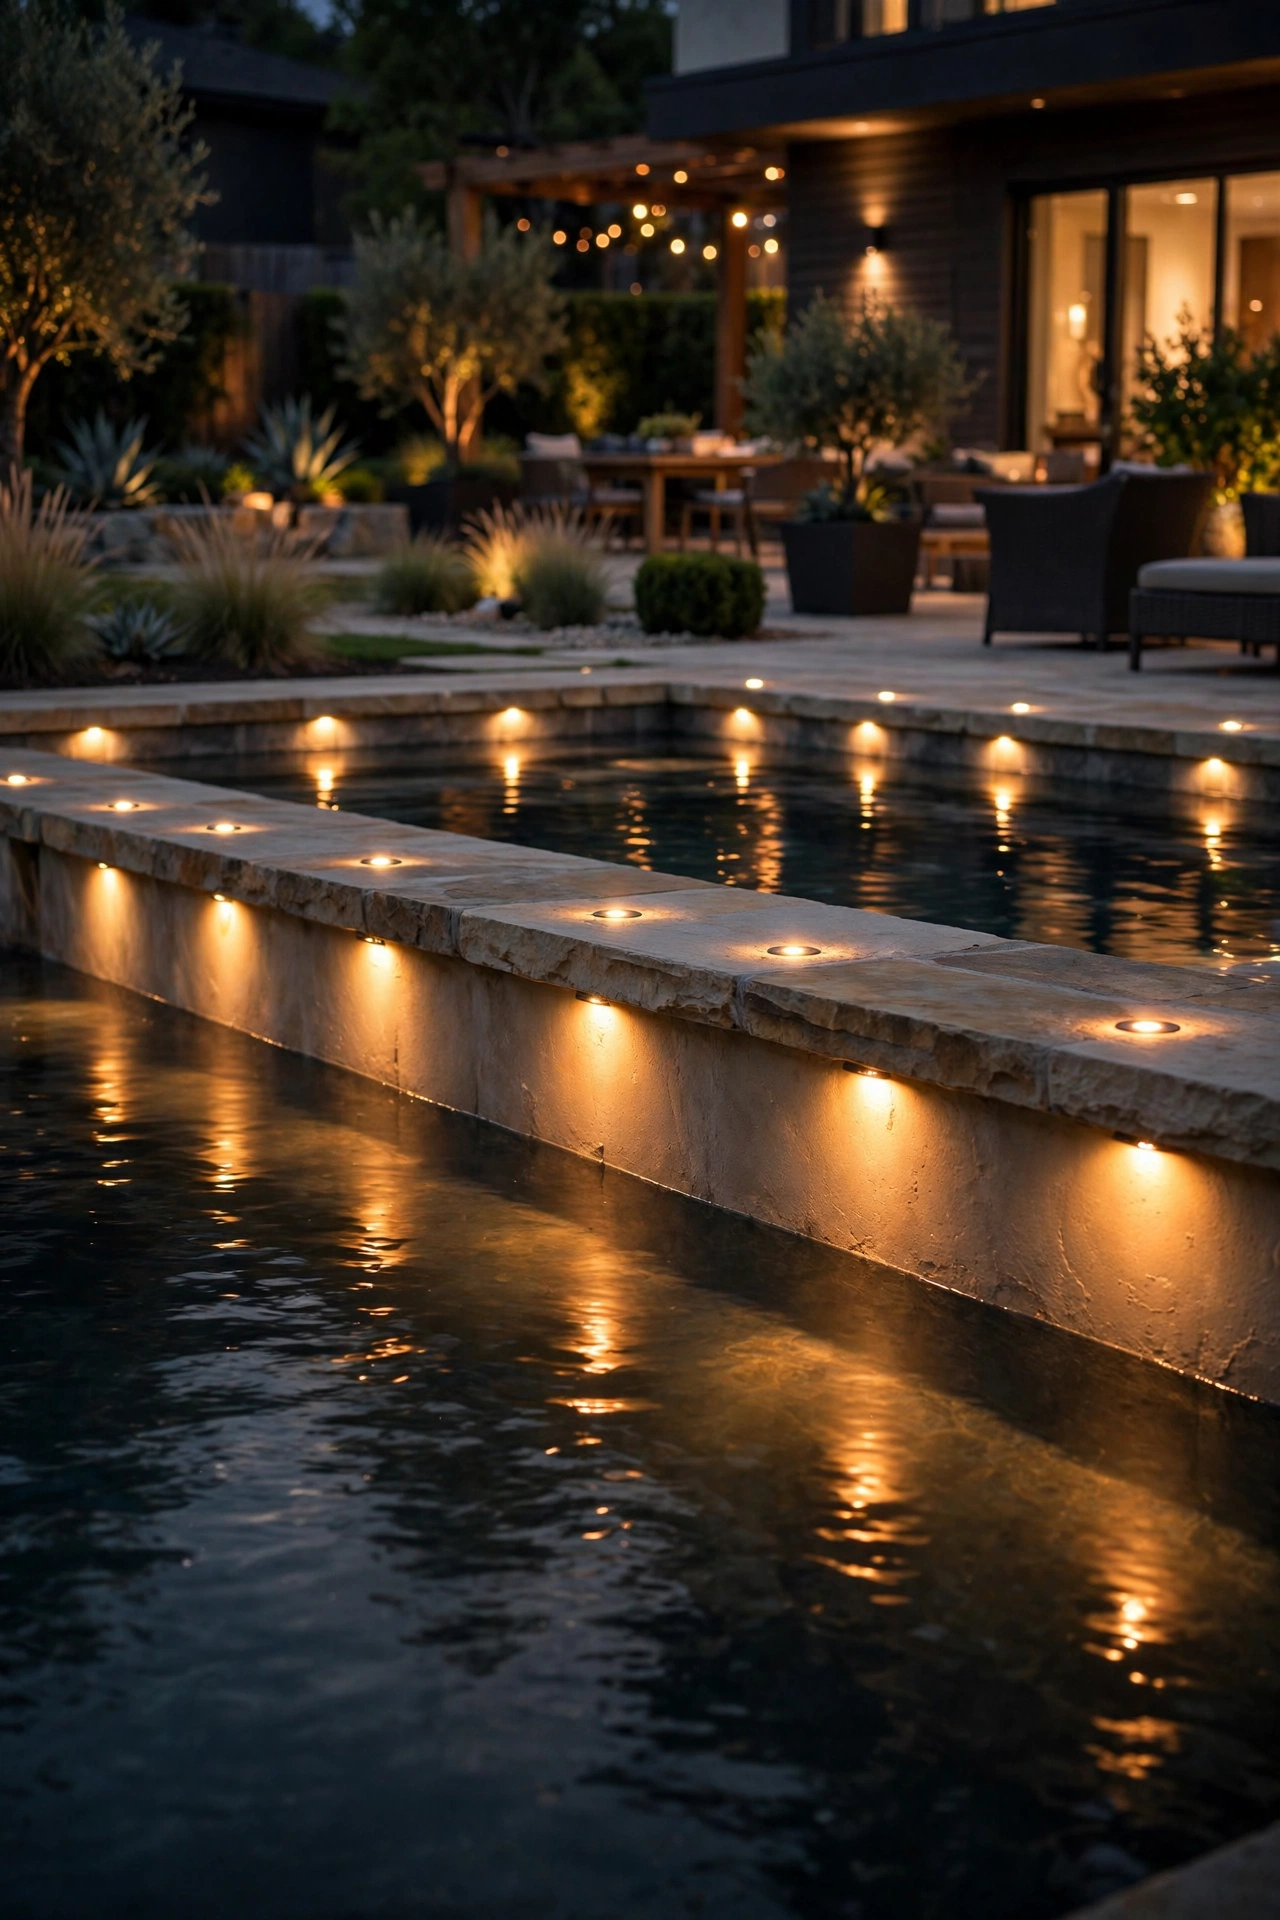
Nothing says resort like a pool edge that glows after dark. Recessed LED fixtures set into the pool coping (the cap stones around the pool edge) cast a soft wash down the pool wall and across the water, turning an ordinary evening swim into something that feels straight out of a boutique hotel.
This is a job with real constraints, so listen up: pool-area fixtures must be low-voltage (12V), and any electrical work within 10 feet of the water needs to respect local code — most areas require a GFCI-protected circuit and, honestly, a licensed electrician for the hookup even if you do the fixture placement yourself. Choose fully sealed, submersible-rated (IP68) fixtures designed for pool environments, because splashing and chemical exposure will destroy standard landscape lights within a season. Warm white (2700K–3000K) flatters skin tones and water alike; cool blue is tempting but makes everyone look like they're in a hospital. Space fixtures every 6 to 8 feet along the coping, and never aim them at the house windows.
Suggested budget range: $60 – $150.
10. Retaining Wall Recessed Pavers That Wash Stone
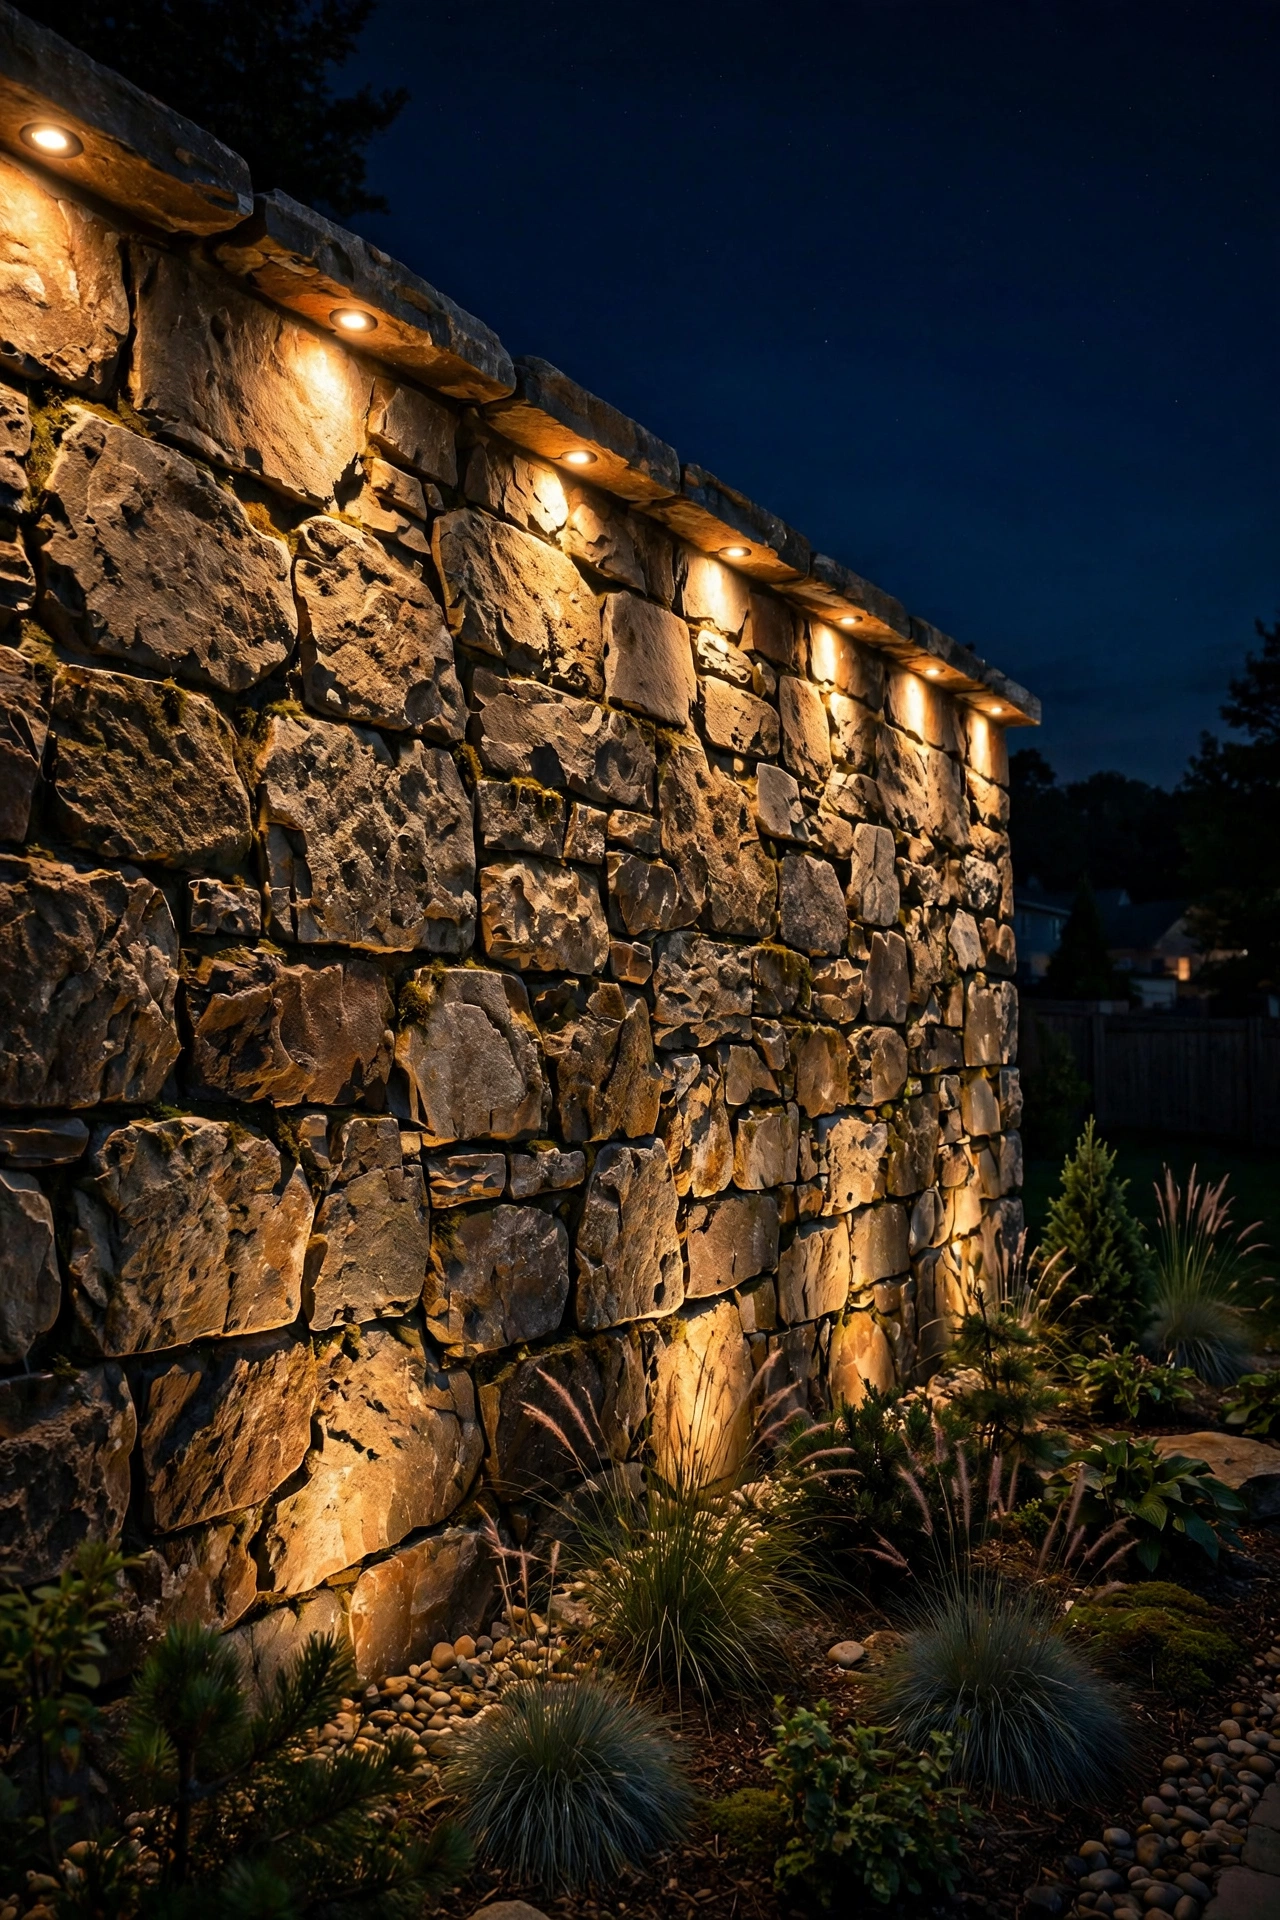
Retaining walls are massive visual assets that vanish completely after dark — unless you light them. Recessed paver lights set into the wall face or tucked under the cap stones throw a grazing wash down the stone texture, and the effect is honestly breathtaking: every chisel mark and color variation in the stone comes alive.
The classic technique is under-cap lighting: a low-voltage LED strip or small puck fixtures mounted beneath the wall's cap stones, angled to wash downward. For segmental block walls, leave a half-inch gap behind the cap during construction (or shim it on retrofits) to hide the strip. For natural stone, core-drill small fixtures directly into the face at one-third intervals — the irregular stone hides the fixtures completely. Space lights every 4 to 6 feet for an even wash; wider spacing creates a scalloped effect that some people love and others hate, so test one section at night before committing. This pairs beautifully with my fall porch lighting ideas, where I talk about layering wall washes with entry lighting for that deep, finished look.
Suggested budget range: $35 – $80.
11. Spacing Tricks for Curved Walkways
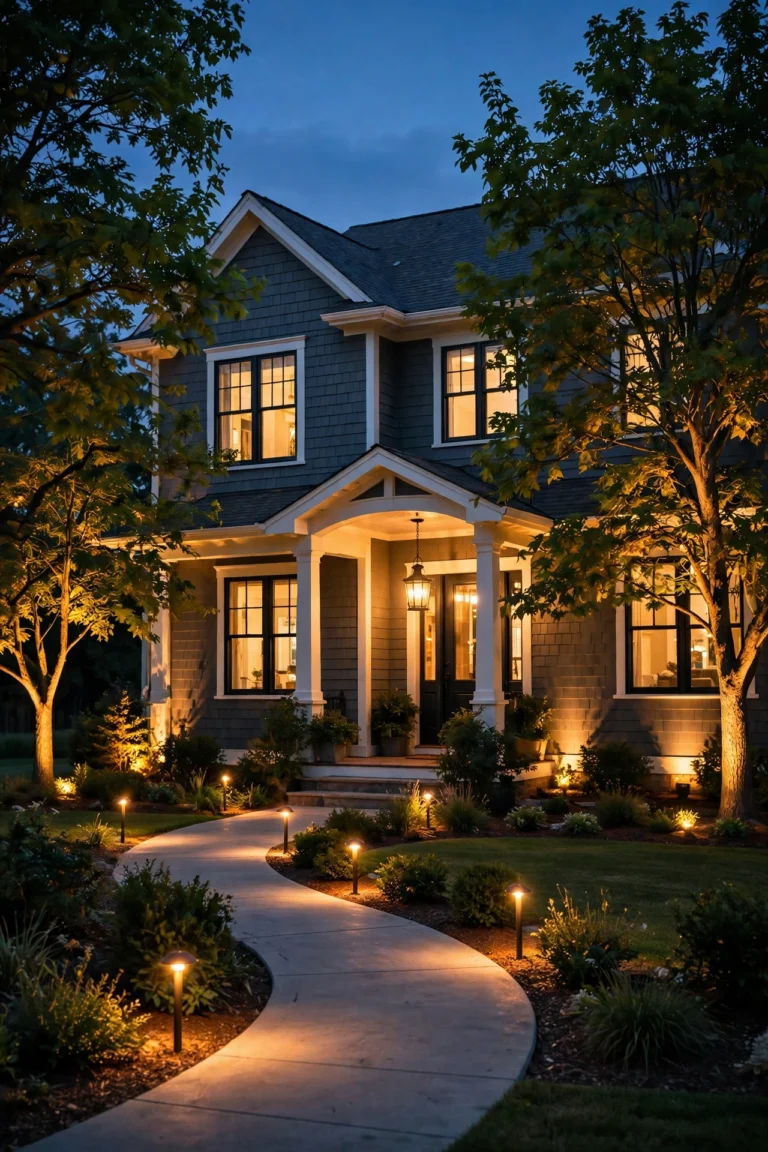
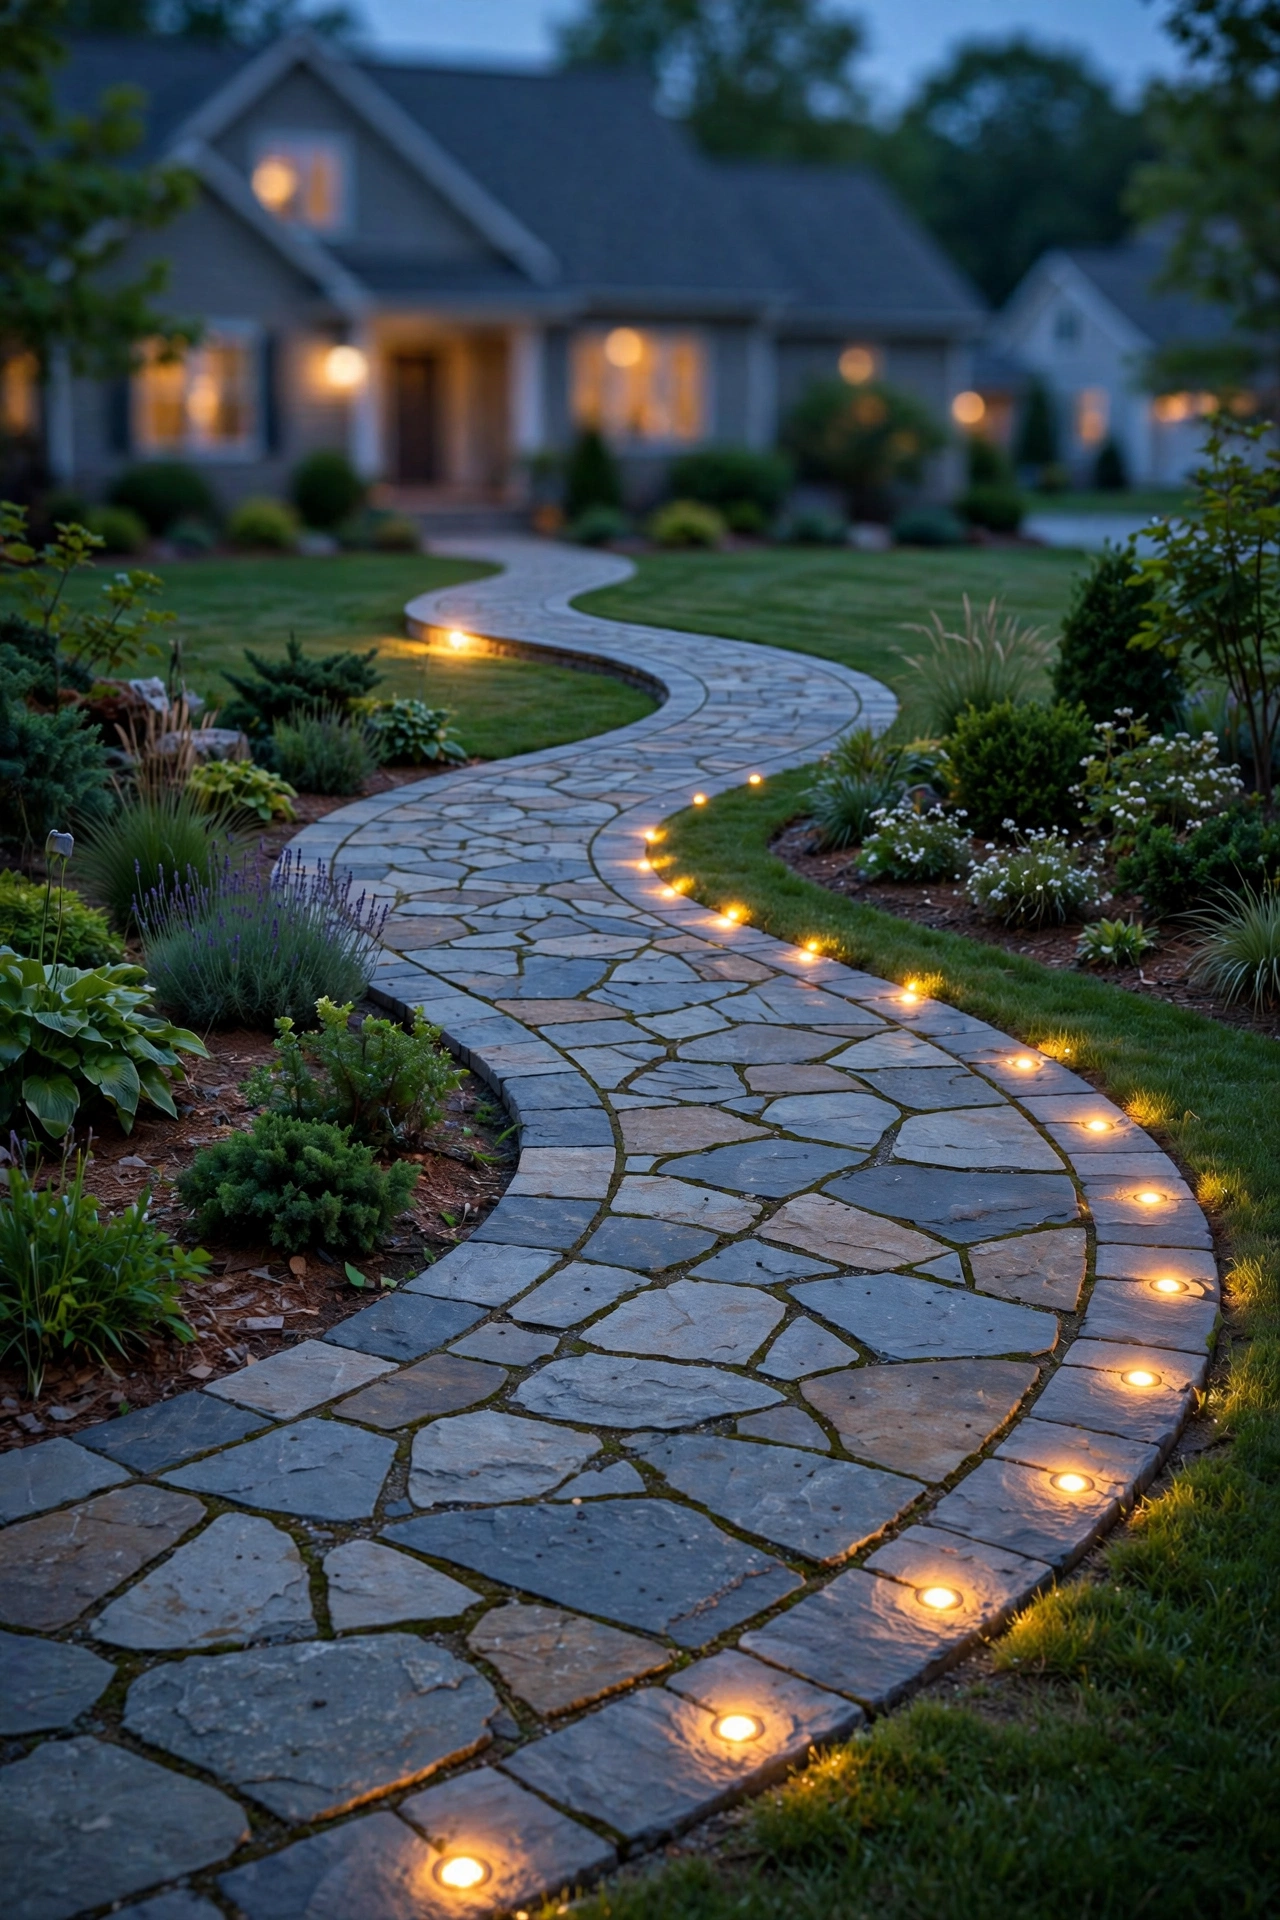
Straight paths are easy — measure, mark, repeat. Curved walkways are where spacing gets tricky, and getting it wrong makes the light line look drunk. Here's my rule of thumb: space paver lights every 6 to 8 feet on straight runs, but tighten to every 4 to 5 feet on curves, and always place a fixture exactly at the apex of each curve — that's the point where the eye needs guidance most.
On curves, light the OUTSIDE edge of the bend, not the inside. The outside edge is the longer arc and it's where walkers' eyes naturally track; lighting the inside edge leaves the outer half of the path falling off into darkness. For S-curves, stagger fixtures — outside edge on the first bend, outside edge on the second — which is a different edge each time and creates a lovely weaving rhythm. If your curve is very tight (under a 6-foot radius), drop spacing to 3 to 4 feet and consider smaller fixtures so the line stays continuous. And chalk the whole layout at dusk, then walk it with the lights temporarily powered, before you drill or dig a single hole. Five minutes of previewing saves hours of regret.
Suggested budget range: $25 – $60.
12. Transformers and Wiring Runs, Explained Simply
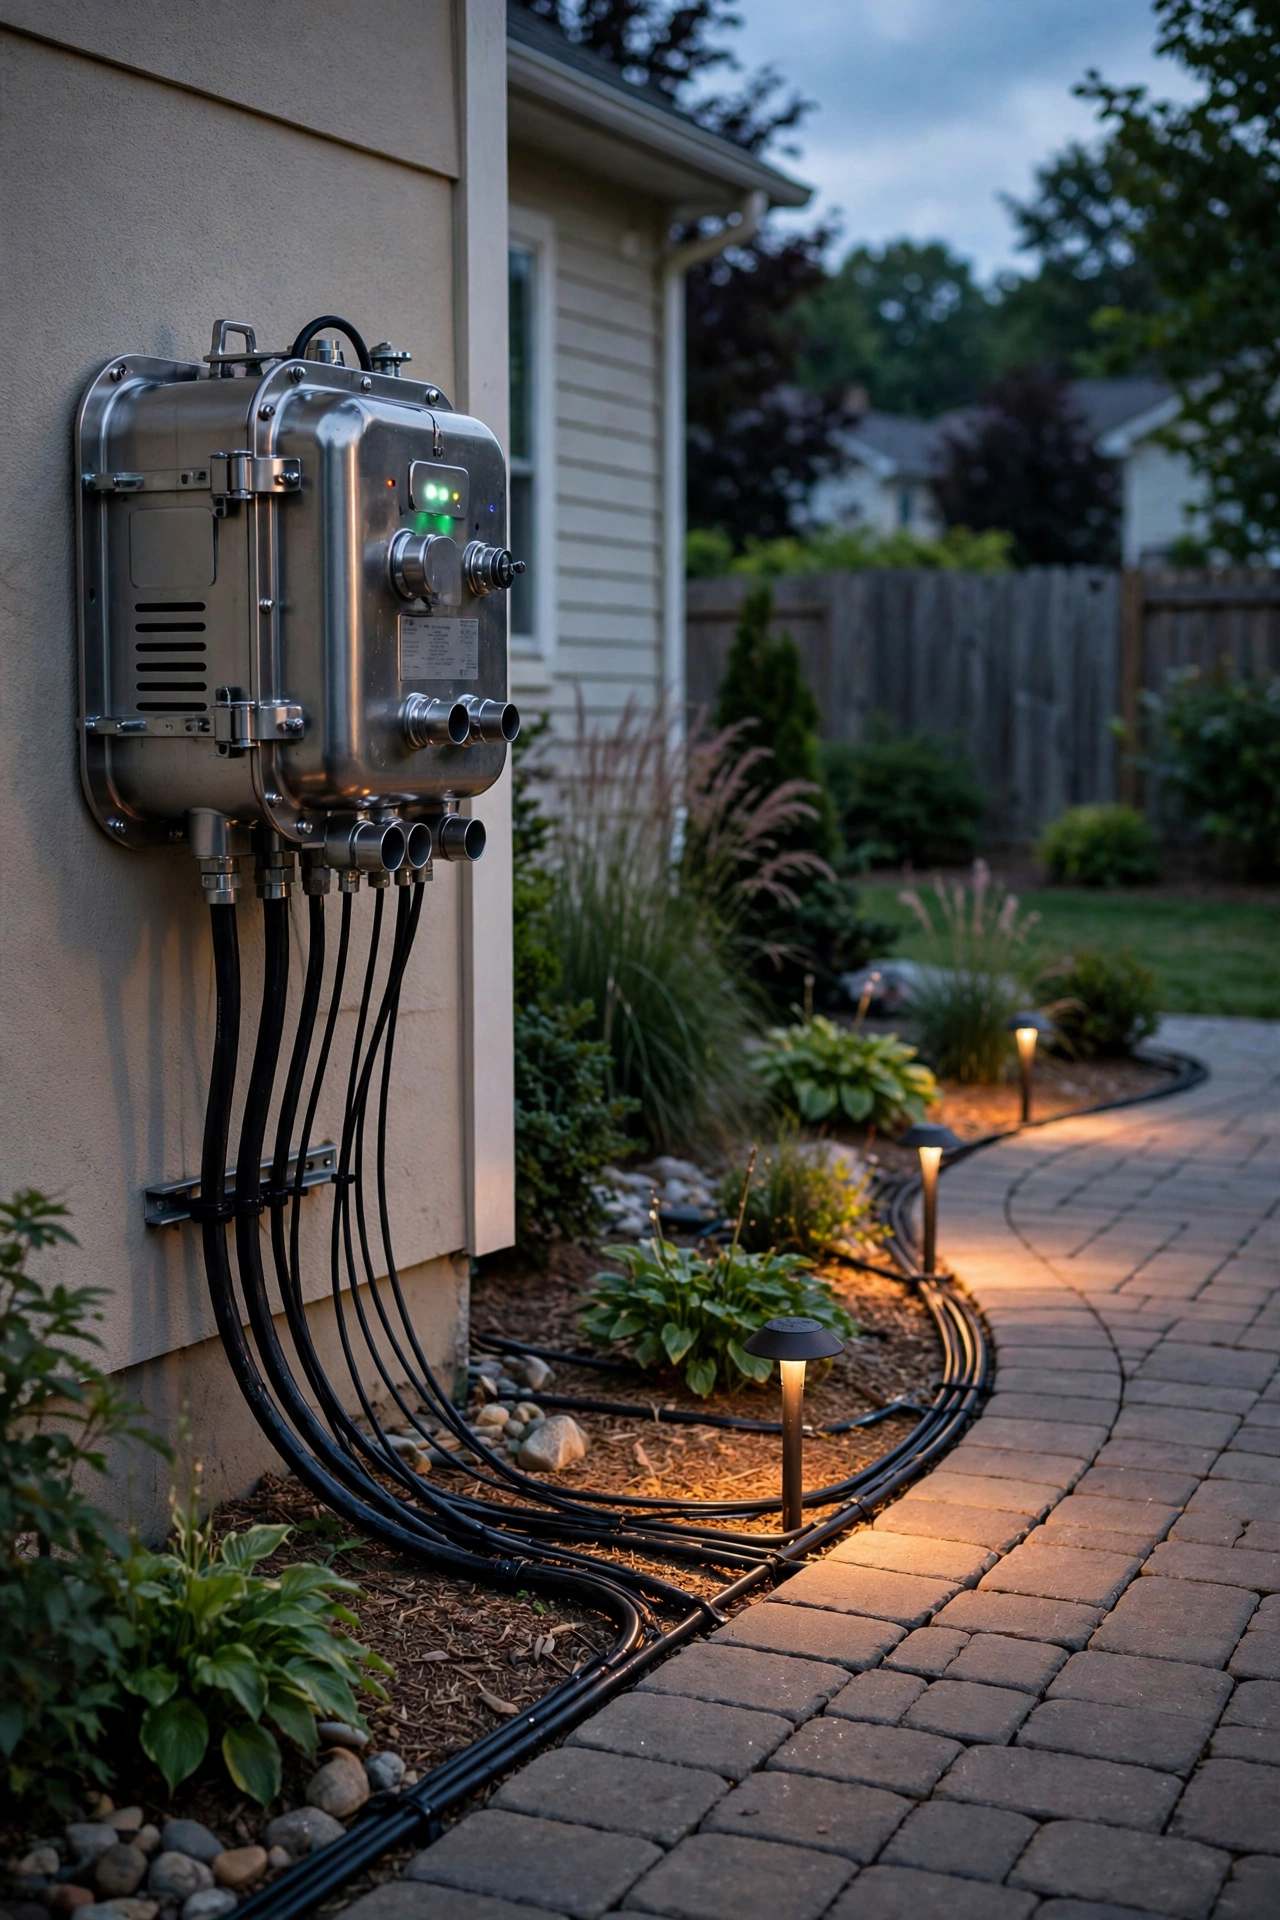
Okay, deep breath — this is the part people overthink. Low-voltage landscape lighting runs on 12 volts, which means it's safe to DIY in most areas (no permit, no electrician) as long as you're working on the low-voltage side of the transformer. The transformer plugs into a standard outdoor outlet and steps 120V down to 12V for your fixtures.
Sizing is simple math: add up the wattage of every fixture on the run, then buy a transformer rated at least 20 percent higher. Twelve 3-watt paver lights = 36 watts, so a 60-watt transformer gives you comfortable headroom (and room to add fixtures later). For wiring layout, I always recommend the "hub" method for paver projects: run one heavier cable (12-gauge) from the transformer to a central junction point, then shorter 14-gauge leads to each fixture. Voltage drop is the enemy — beyond about 50 feet on 14-gauge, fixtures at the far end visibly dim. Bury cable 6 inches deep in planting beds, or run it in conduit under hardscape. Label every wire at the hub; future-you, troubleshooting in the dark, will be grateful.
Suggested budget range: $80 – $250.
13. Sealing Paver Lights Outdoor: Weatherproofing That Survives Winter
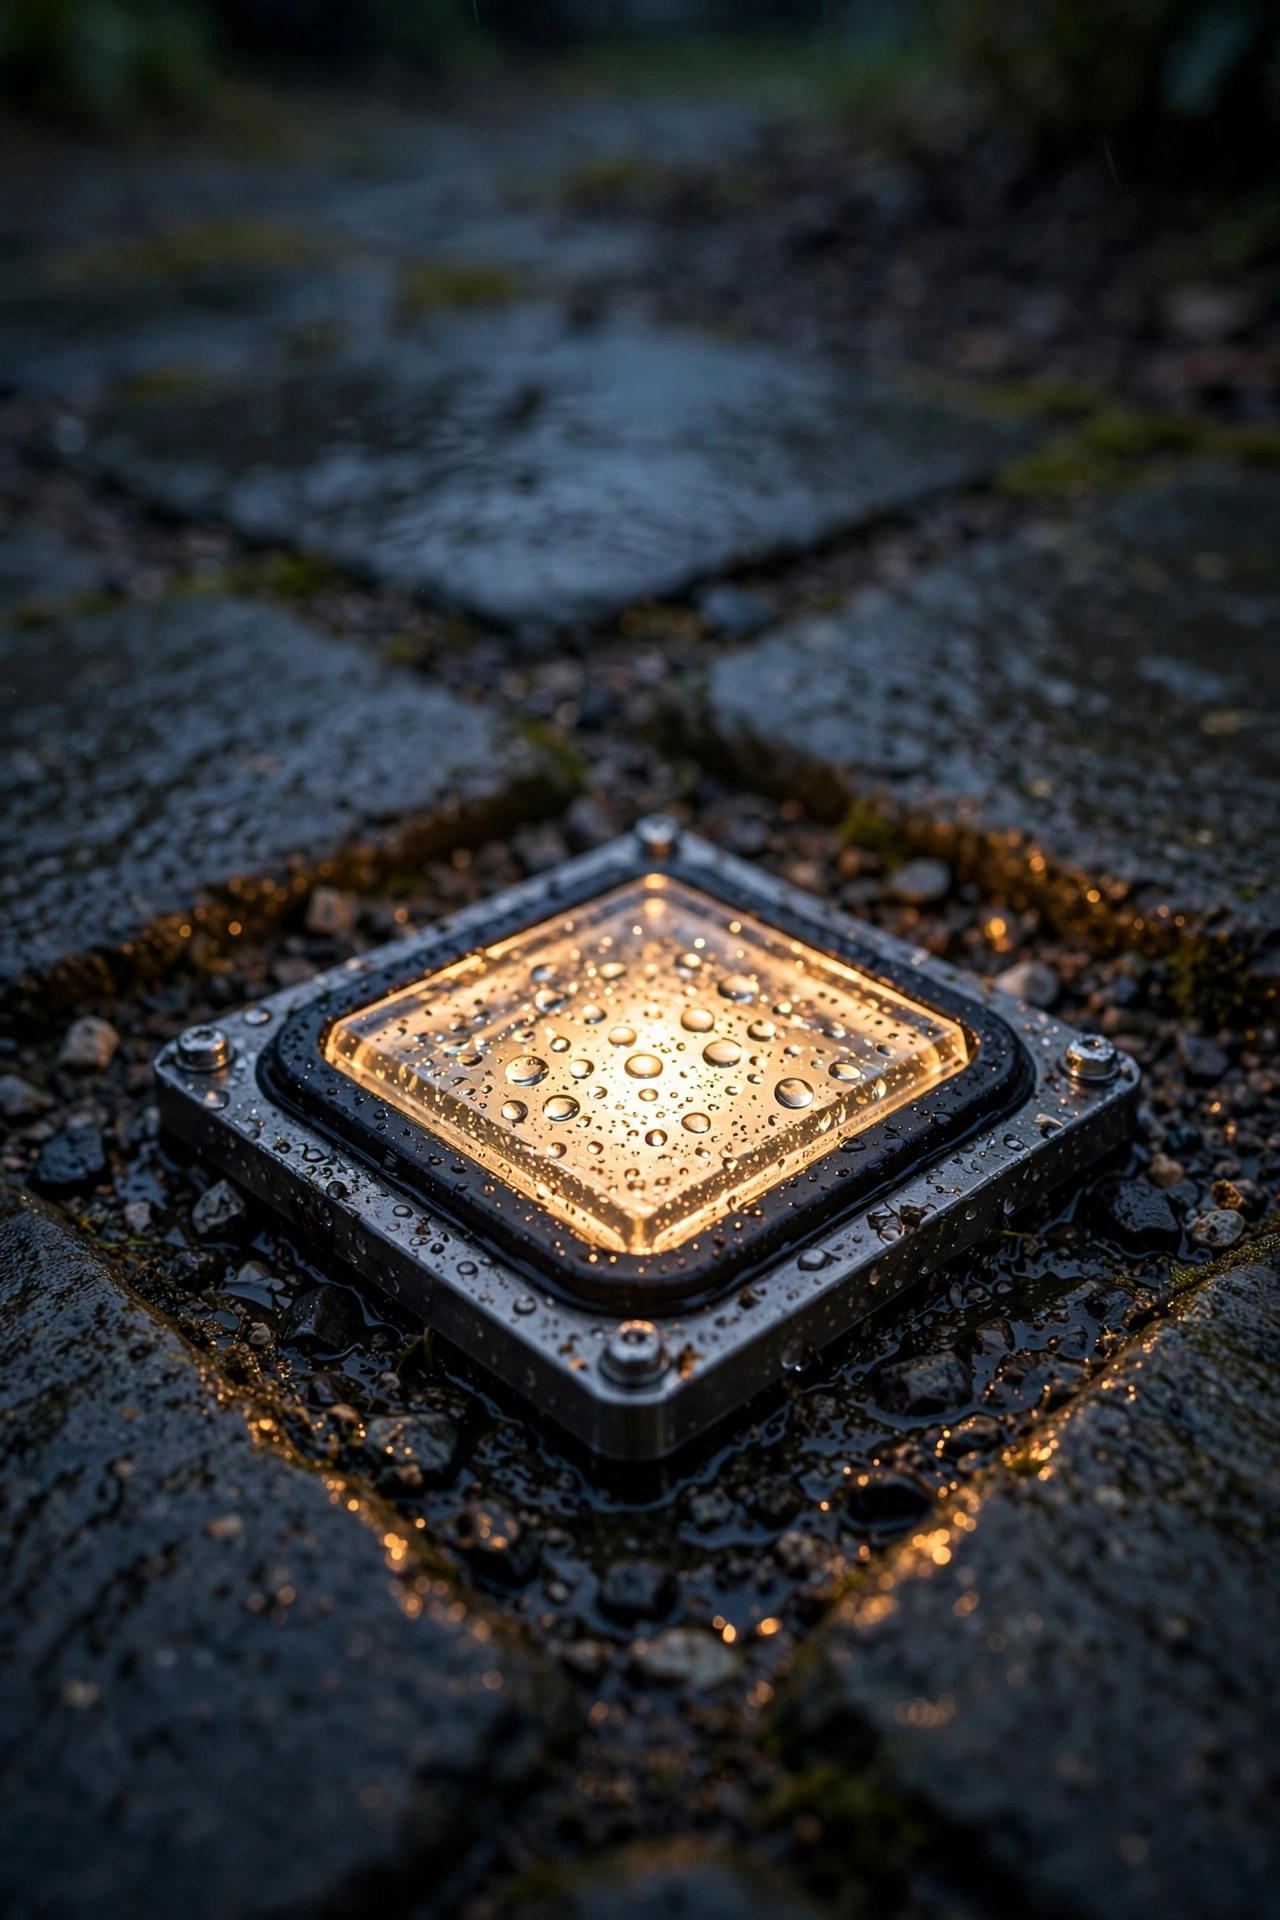
Paver lights live in the harshest spot in your landscape — flush with the ground, taking foot traffic, standing water, freeze-thaw cycles, and leaf-blower blasts. So let's talk sealing, because this is where cheap installations die. Look for fixtures rated IP67 (dust-tight, survives 30 minutes under 3 feet of water) as a minimum; IP68 is better for low spots that puddle.
The weak points are never the lens — they're the wire connections. Every splice should live inside a waterproof wire nut filled with silicone, or better yet, a gel-filled direct-burial connector. Never bury a standard wire nut and hope for the best; that's a failure waiting for the first heavy rain. Around each fixture, bed it in coarse sand or fine gravel rather than soil — drainage is weatherproofing. In freeze climates, avoid fixtures with hollow cavities that trap water; expanding ice cracks housings from the inside. And once a year, pull a fixture or two, check the connections for corrosion, and re-seat anything loose. Ten minutes of maintenance beats replacing a whole run.
Suggested budget range: $15 – $40.
14. Layering Paver Lights With Wall Sconces
Here's the design principle I come back to in every post: ground-level light is only half the story. Paver lights mark the path and define the edges, but without something at eye level and above, a patio can feel like a lit runway floating in blackness. The fix is layering — pair your paver lights with wall sconces, lanterns, or an overhead pendant so the light wraps the space in three dimensions.
The practical side matters as much as the pretty: put the paver lights and the wall fixtures on separate transformer zones or smart circuits. That way you can run the path lights all evening for safety while dimming the sconces for mood, or switch everything to full for a party. Match color temperatures across layers — all 2700K, for instance — because mixed temperatures (warm pavers, cool sconces) make a space feel disjointed even if nobody can name why. I wrote a whole guide on pairing fixtures at the front door, and the same logic applies out back: the ground layer guides, the wall layer welcomes, and together they make a patio feel like a room. For holiday seasons, these layers also combine beautifully with projector lighting ideas for a full-yard display without a single tangled extension cord.
Suggested budget range: $40 – $120.
15. Winter Prep and Timers for Year-Round Paver Lights
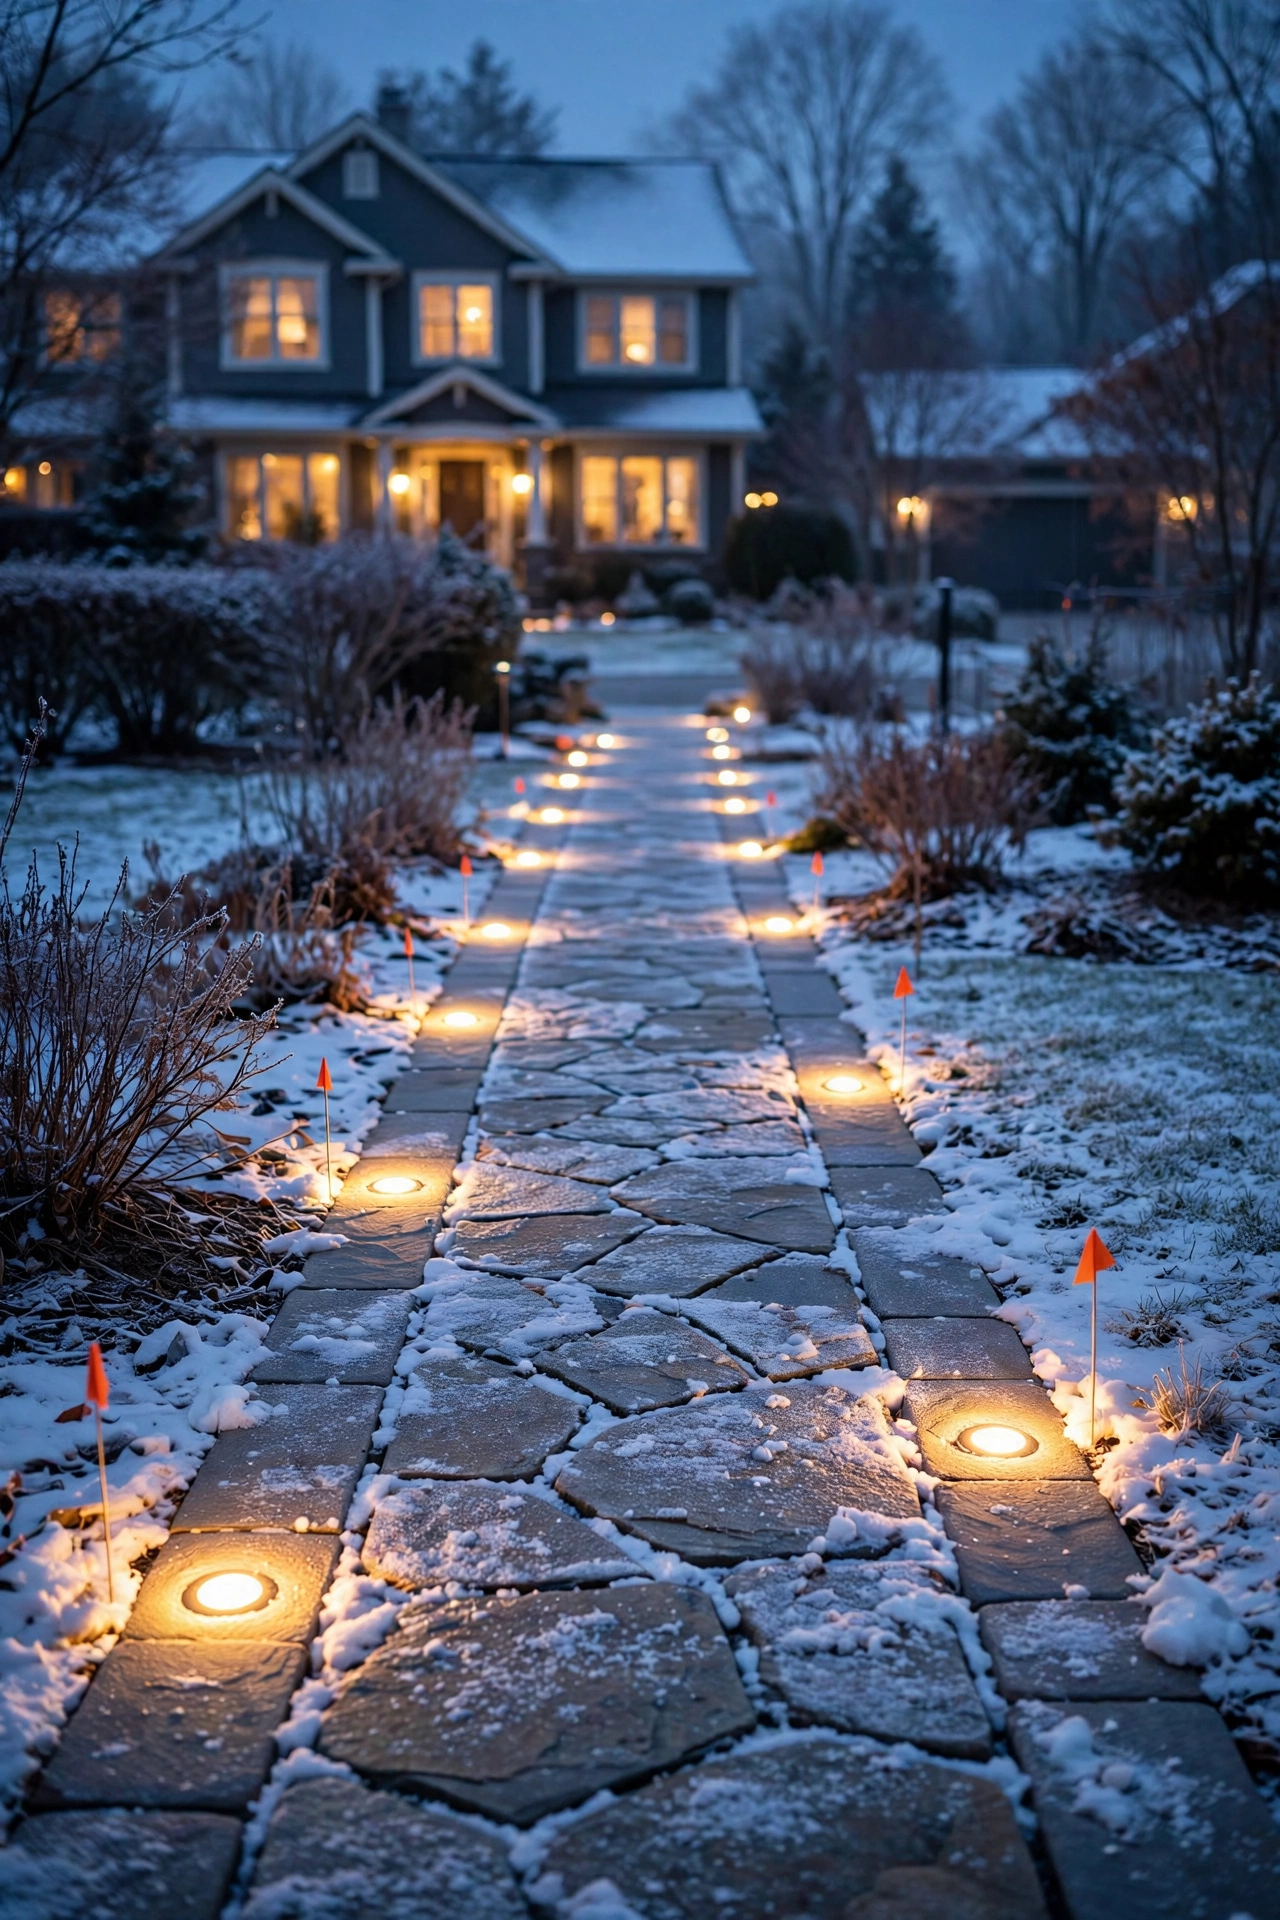
The final idea isn't a fixture at all — it's the care routine that keeps all fourteen ideas above glowing for years instead of seasons. Before the first hard freeze, walk your runs and clear leaves and debris off every fixture face; trapped wet leaves against a lens cause cold spots and, in freezing weather, ice jacking that can crack housings. If you're in a snow zone, mark fixture locations with small flags before the first snowfall so shovels and snowblowers don't shear them off.
Now the fun part: automation. A simple plug-in timer or photocell on your transformer means the lights come on at dusk and off at a set time every night, no remembering required. I always recommend photocell-plus-timer combos: the photocell handles the on (adjusting automatically as sunset shifts through the seasons), and the timer handles the off (say, 11 p.m. on weeknights). Smart controllers add vacation modes and holiday schedules — handy if you dress the yard up for December, when your walkway lighting layers perfectly under the ideas in my outdoor Christmas light ideas roundup. LEDs sip power, so running a full paver system typically costs just a few dollars a month.
Suggested budget range: $25 – $60.
Frequently Asked Questions
Are solar or wired paver lights better?
It depends on what you need them to do. Wired low-voltage paver lights are brighter, more reliable, and last 10 to 15 years — they're the right choice for safety-critical spots like steps, driveways, and main walkways. Solar paver lights are easier (no wiring, no transformer) and great for decorative edging and garden beds, but they dim in winter, underperform in shade, and their batteries typically need replacing every 2 to 3 years. My rule: wire anything you depend on, solarize anything that's just for charm.
How many paver lights do I need, and how far apart should they be?
For walkways, space fixtures 6 to 8 feet apart on straight runs and 4 to 5 feet apart on curves — that spacing gives you overlapping pools of light without gaps or a runway effect. A 40-foot straight path needs about 6 fixtures on one side. For patio perimeters, light one or two edges rather than the whole ring; for dining zones, 4 to 6 fixtures in a loose cluster. Always chalk the layout and preview it at dusk before installing.
Will paver lights survive freezing winters and snow?
Quality ones will, if you buy and install for your climate. Choose fixtures rated IP67 or IP68 with no water-trapping cavities, bed them in gravel for drainage, and use gel-filled waterproof wire connectors. Before snow season, clear debris off the lenses and flag fixture locations so shovels and blowers don't hit them. In my experience, freeze damage almost always comes from trapped water expanding inside a poorly sealed housing — not from the cold itself.
Can I install paver lights myself, or do I need an electrician?
Most low-voltage (12V) paver light projects are very DIY-friendly — no permit or electrician needed in most areas for the low-voltage side, just a transformer plugged into an outdoor outlet. Retrofit installs (pulling up pavers, laying cable, core-drilling) are a solid weekend project. Call an electrician if you're adding a new outdoor outlet, working within 10 feet of a pool, or dealing with anything on the 120V side of the transformer.
The Takeaway: Light the Ground, and the Whole Yard Follows
Paver lights outdoor projects have one of the highest wow-per-dollar ratios in all of landscape lighting, in my experience. You don't need the most fixtures or the fanciest system — you need the right fixtures in the right places: a warm line guiding the walkway, a soft zone where you gather, steps that switch themselves on at dusk, and everything sealed properly so it lasts. Start with one path or one patio edge, get the spacing and color temperature right, and expand from there.
If this got you thinking about the layers above the ground too, browse my other outdoor lighting ideas — there's a whole library of porch, patio, and holiday looks waiting. And when your first evening comes and the stone starts to glow, pour something cold, step outside, and enjoy the room you just built. You've earned it.