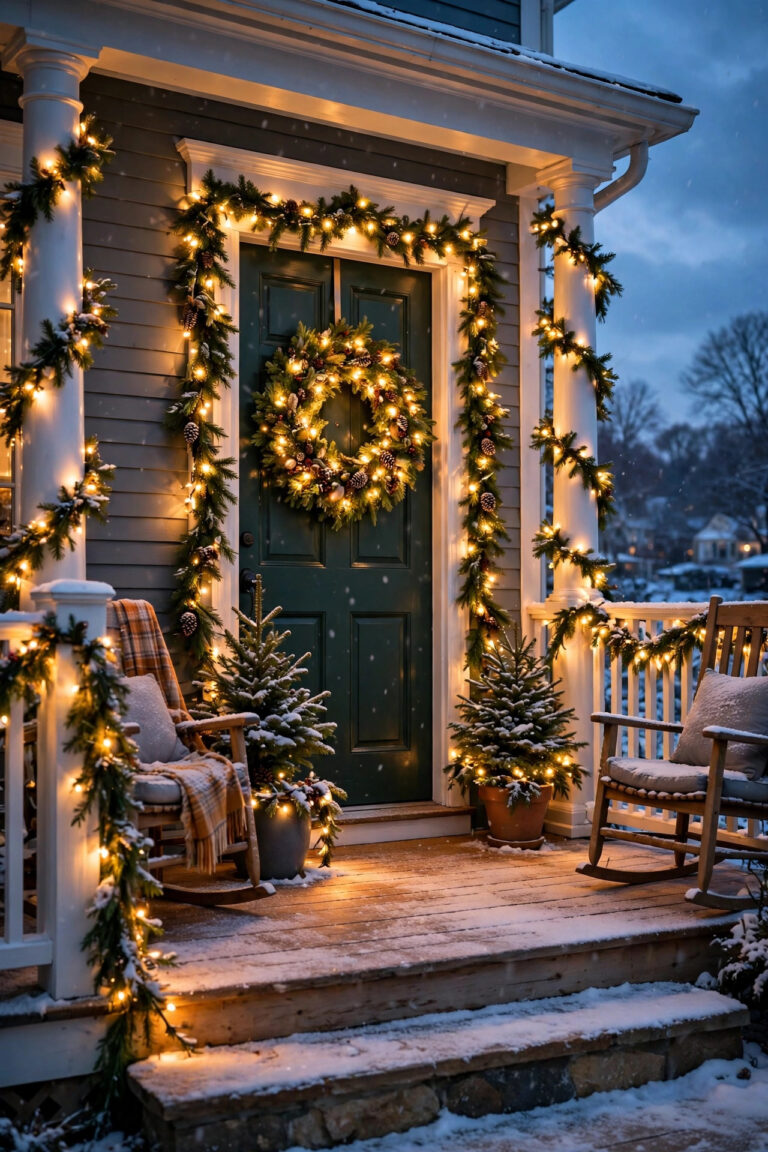
There's a moment every fall when I come home after dark, step onto my front walk, and realize I'm basically navigating by memory. If that sounds familiar, learning how to install landscape path lights is one of the most satisfying weekend projects you can take on — no electrician, no permits in most areas, and no digging deeper than a few inches. Path lights run on a gentle 12 volts, so the cable is safe to handle, connections come together by hand, and if a fixture lands in the wrong spot you simply pick it up and move it. In this guide I'll walk you through the whole job the way I do it in my own yard: planning the layout, spacing fixtures so the pools of light overlap just right, sizing the transformer, running and connecting cable, and the after-dark test that makes the difference between "nice" and "wow." By the last light, you'll have a walk that feels welcoming instead of treacherous — and honestly? The curb appeal is half the fun.

The Short Answer
Yes — most homeowners can install a full run of wired path lights in a single day. The short version: mount a plug-in transformer near an outdoor GFCI outlet, lay your cable along the walk on top of the ground, space fixtures 6–8 feet apart in a staggered pattern, connect each light, then test everything after dark before burying the cable in a shallow 3–6 inch slit trench. A typical 8-to-12-light front walk costs $250–$600 in materials, uses fixtures of 3–5 watts each, and needs no permit in most areas because the whole system runs on a safe 12 volts.
How a Path Light System Works
A wired path light system has just three parts: a transformer, a cable, and the fixtures themselves. The transformer plugs into an outdoor outlet and steps your household 120 volts down to 12 volts. That gentle current travels through a flexible two-strand cable — it looks like a heavy-duty lamp cord — and each path light taps into the cable wherever you place it along the walk. Because the voltage is so low, you can handle the cable safely, shift fixtures around while you experiment, and bury everything in a slit trench you cut with a flat spade. No conduit, no junction boxes, no fear.
Here's the honest comparison I give every neighbor who asks: solar path lights are fine for tucking into a flower bed, but on a main walk they dim by midnight, fade through winter, and rarely match each other in brightness. A wired system comes on at full brightness every single night, all fixtures glow evenly, and a timer or photocell in the transformer runs the whole show automatically. The fixtures themselves come in two flavors — integrated LED, where the light source is built in, and socketed designs that take a small replaceable LED bulb. I lean toward socketed fixtures on a front walk, because when one bulb eventually fades in ten years, I swap a $6 bulb instead of replacing the whole fixture.

Plan the Layout: Where Path Lights Actually Belong
Grab a notepad and walk your route at dusk, phone flashlight off, the way a guest would experience it. Where do your feet hesitate? In my yard the honest list was: the step down off the porch, the uneven paver halfway along the walk, the dark stretch where the walk curves, and the spot where the garden bed swallows the path's edge. Those hazard points get lights first. Decorative extras come second. That order matters, because a path lighting plan built around safety almost always ends up looking better, too.
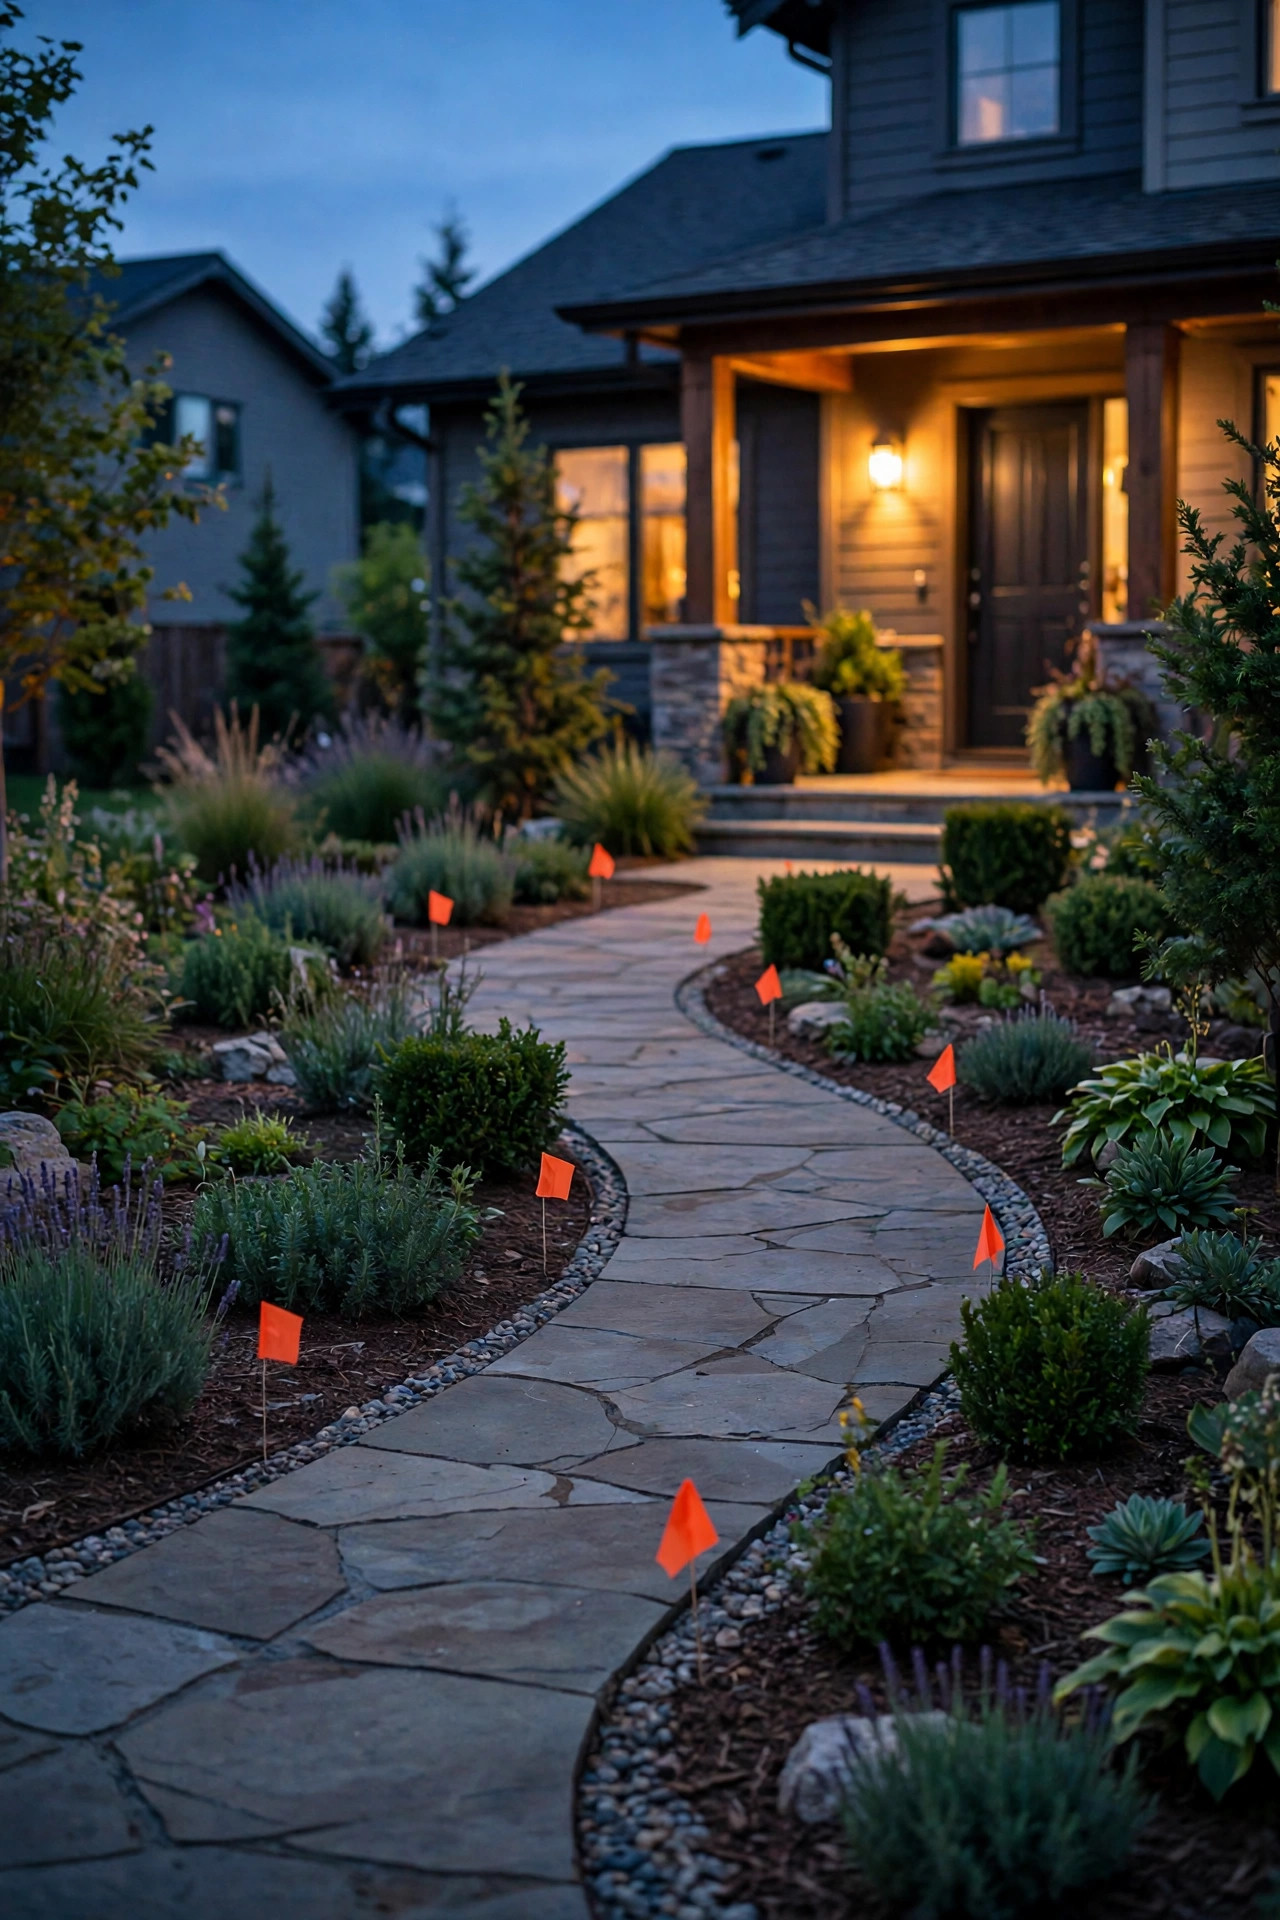
Once hazards are marked, think about the journey rather than the fixtures. A path light's real job is to lead the eye toward the door, so fixtures should form a gentle rhythm the foot can follow without thinking. I mark candidate spots with little landscape flags, then stand at the street and squint: the flags should read as a loose, relaxed line, not a rigid parade. Keep fixtures at least 12 inches back from the pavement edge so mower wheels and snow shovels pass without clipping them, and out of planting pockets where a shrub will swallow the light by July. Take a photo of your flagged layout on your phone — you'll thank yourself later when you're deciding what to bury where, and again in spring when you're digging in those same beds.
Spacing Rules: How Far Apart, How High, How Bright
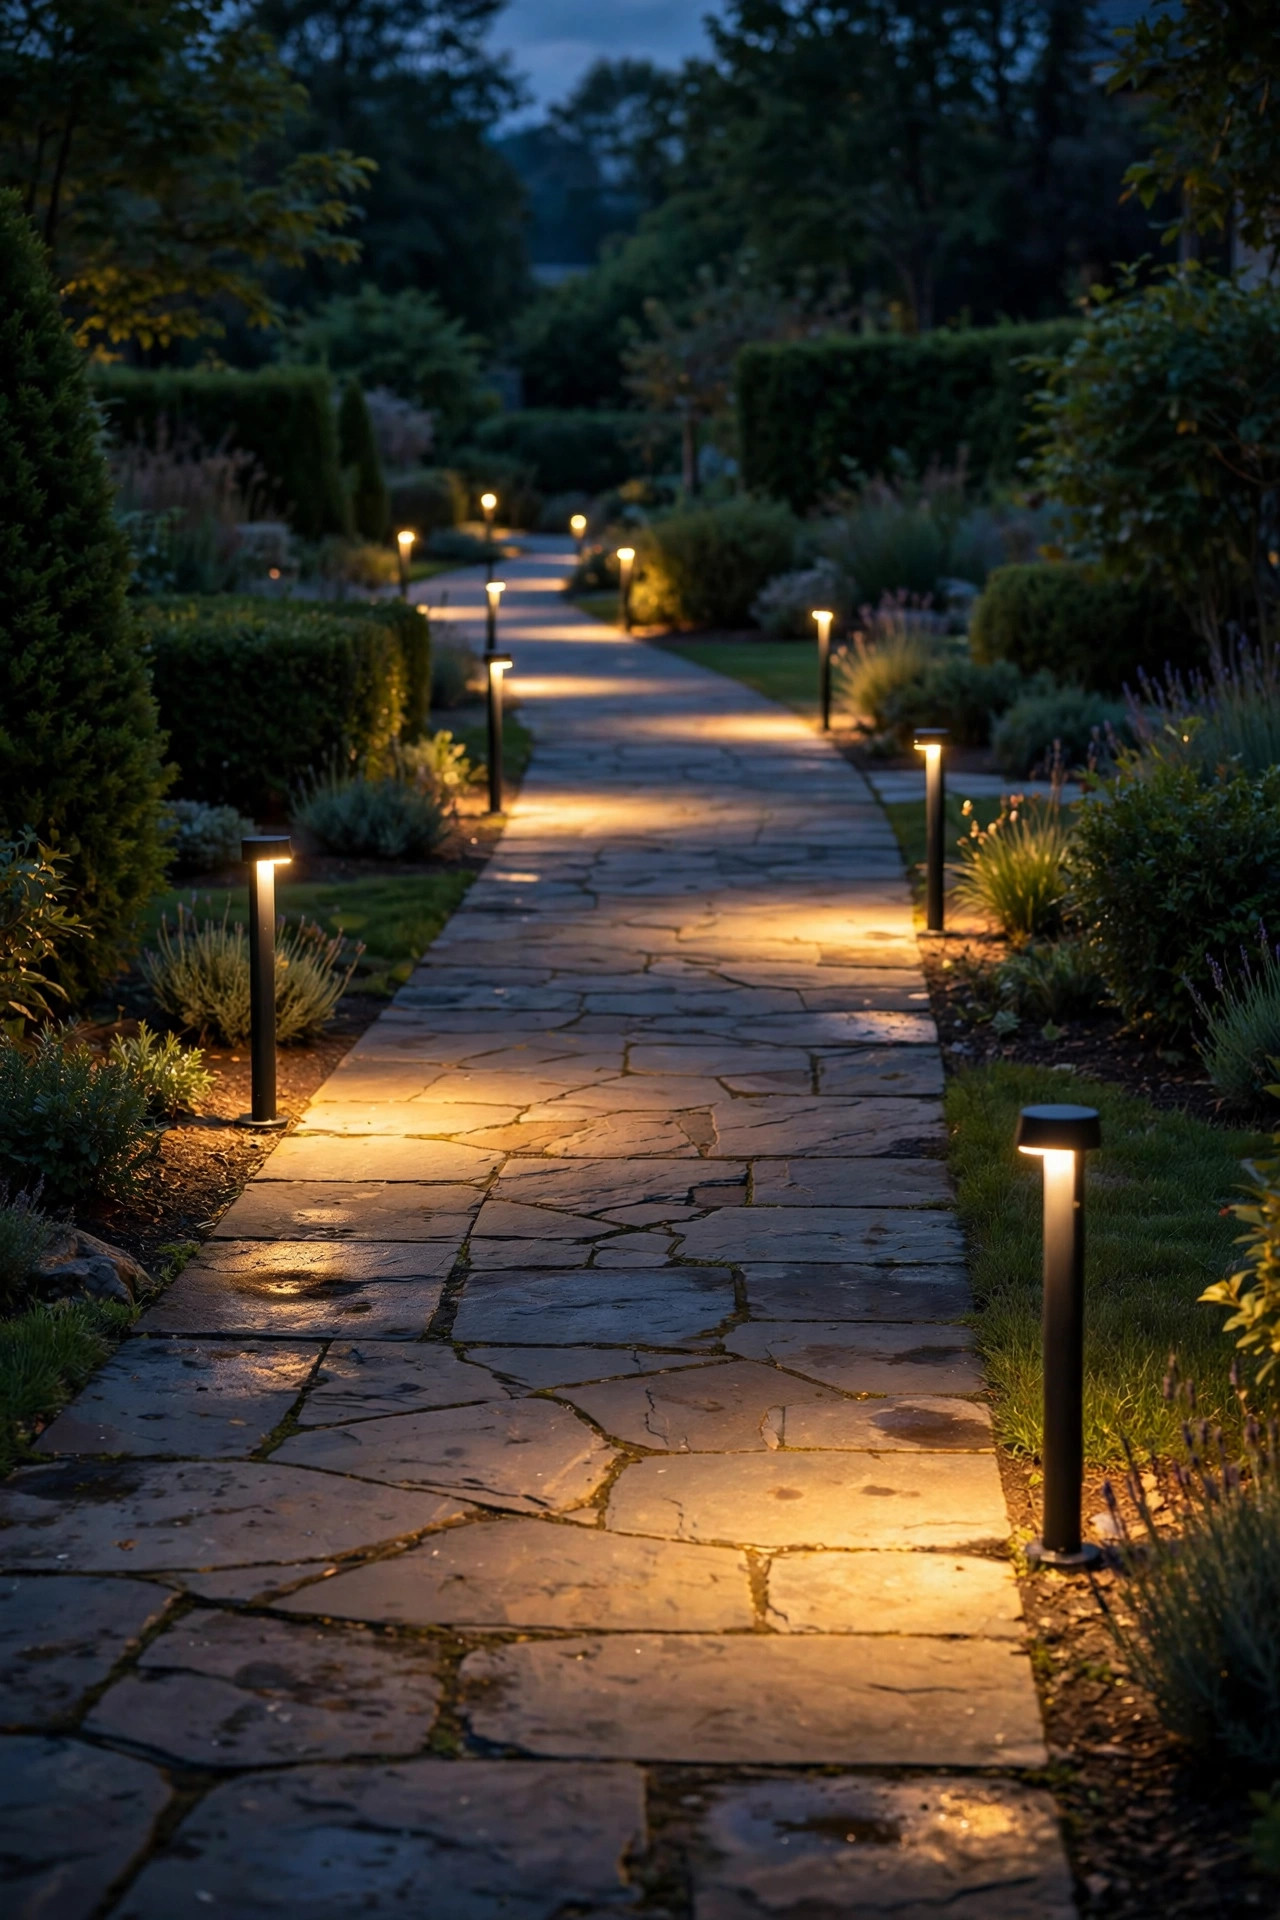
Spacing is where most DIY path lighting goes wrong, so here's the rule I actually use: place wired LED path lights 6–8 feet apart, staggered on alternating sides of the walk rather than paired in two straight rows. What you're really spacing is pools of light, not fixtures. Each pool should just kiss the next one, so the walk reads as a continuous ribbon of light with soft shadow between — never a dotted line of bright polka dots, and never that airport-runway look of two rigid rows marching to the door.
Height matters just as much. Most path fixtures stand 14–22 inches tall, and the right height depends on what's beside the walk — I've laid out the measurements in my guide to path light heights, but the short version is: taller fixtures beside taller plantings, shorter ones along open lawn. For brightness, aim for 100–200 lumens per fixture. That sounds modest, but at ankle height it's plenty to read the pavement clearly, and it keeps glare out of walkers' eyes. Choose warm 2700K color temperature so the light feels like candlelight rather than a parking lot. On a curve, tighten the spacing to 5–6 feet — the inside of a curve needs more guidance than a straight run. And every step or grade change gets its own light, no exceptions, even if it breaks your rhythm.
Choosing Your Path Lights: Styles, Materials and Honest Trade-Offs
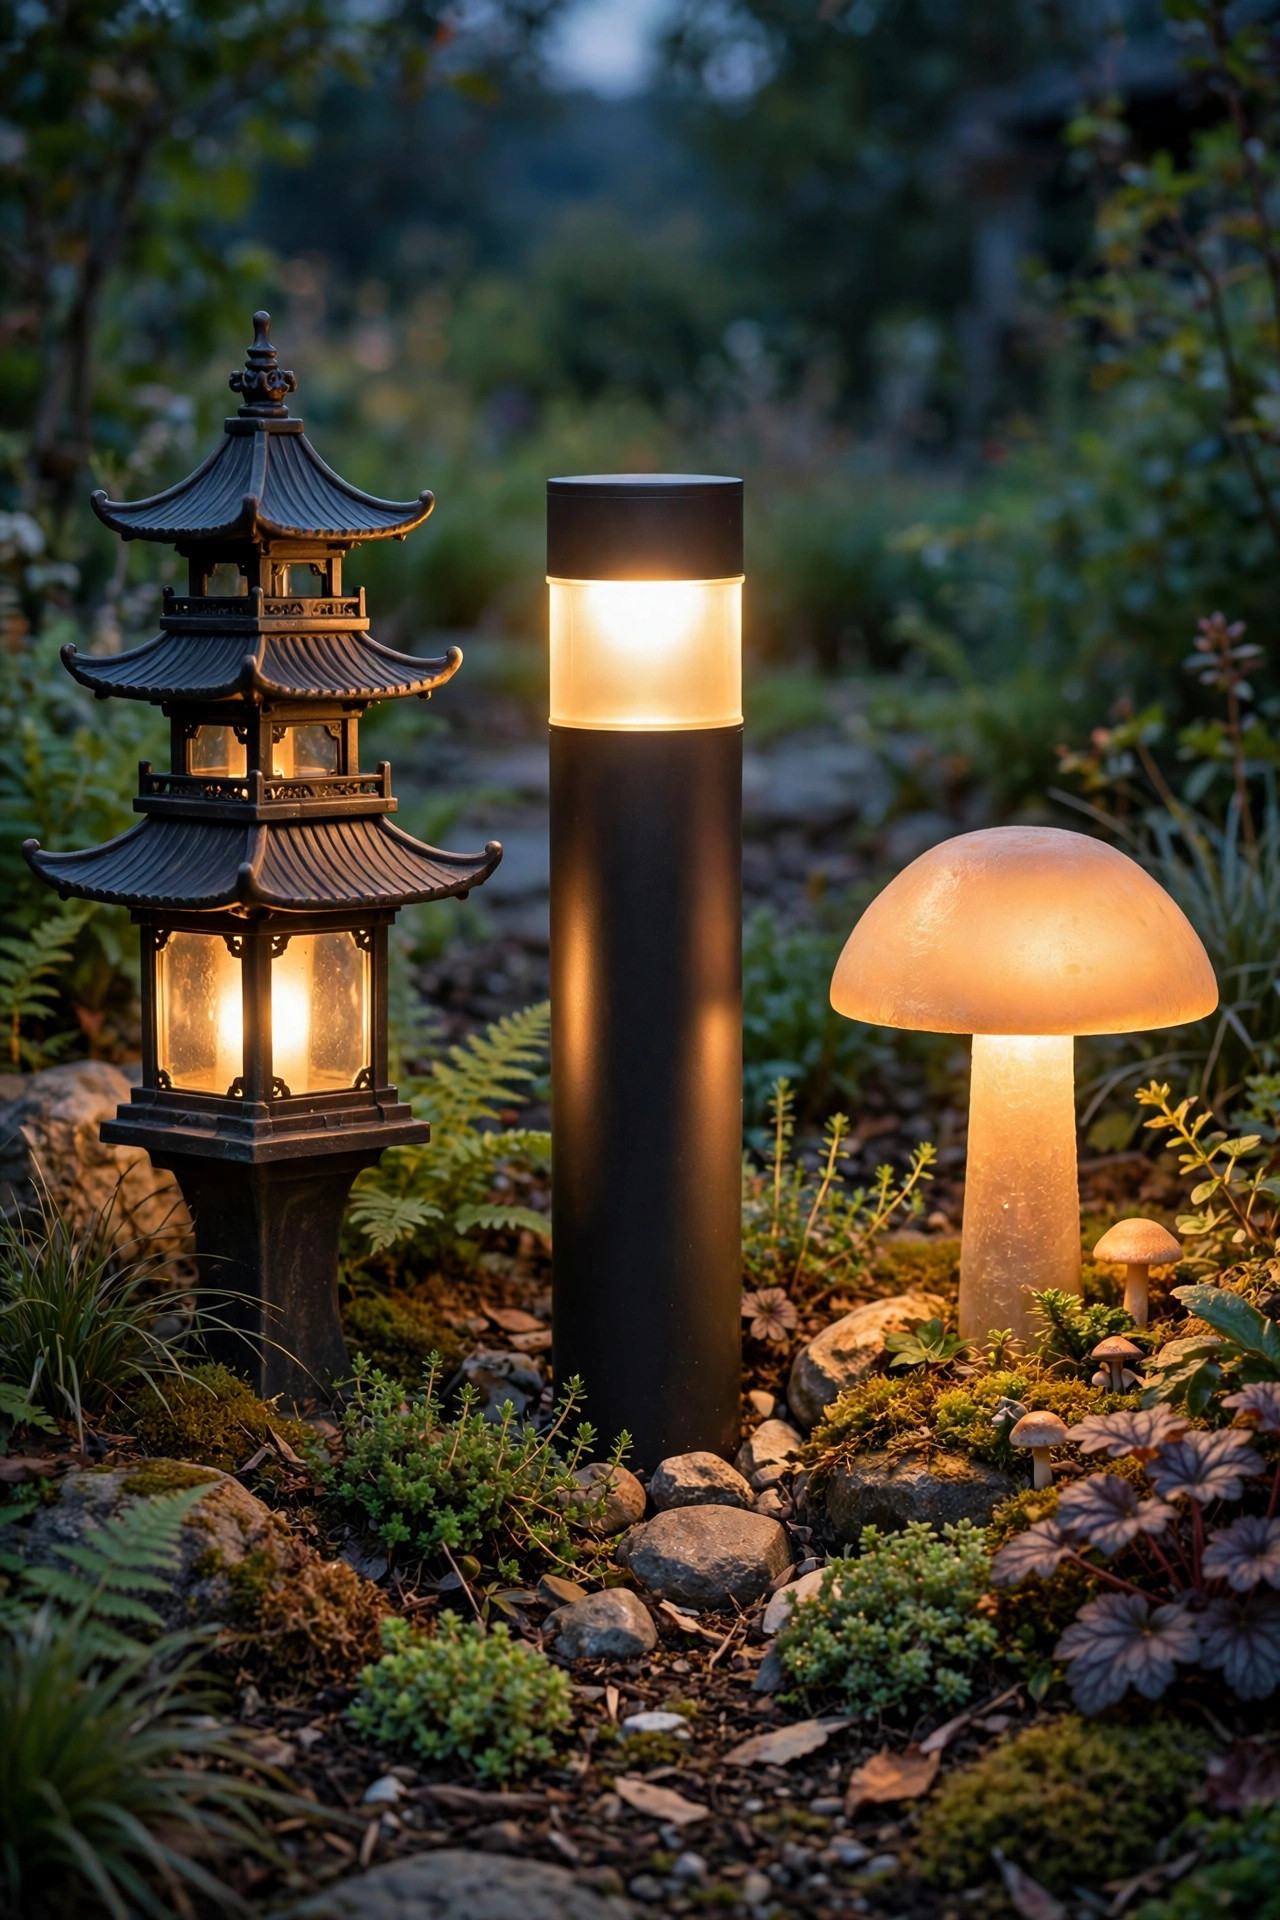
Walk into any home center and you'll face a wall of path lights, so let me narrow it down. The classic shapes are tiered "pagoda" styles that throw light downward in a soft circle, bollards that glow through slots or frosted panels, and low mushroom styles that hide the bulb under a cap. For a front walk, I favor designs with a shielded or downward-facing source — if you can see the bare bulb from standing height, that fixture will glare at every guest who walks up. Bollards suit modern homes; pagodas and mushroom caps flatter traditional and cottage styles.
Materials decide how the job ages. Powder-coated cast aluminum is the sweet spot for most of us: sturdy, corrosion-resistant, and mid-priced. Brass and copper cost two to three times more but genuinely last decades and develop a patina many people love. Thin stamped steel and plastic solar-grade housings dent, fade, and tilt within a couple of seasons — false economy on a front walk. Check two specs before you buy: the fixture should be rated for outdoor wet locations, and the stem should feel rigid when you wiggle it in the store, because a wobbly stem becomes a crooked light after the first freeze-thaw cycle. Whatever style you choose, buy one or two spares of the exact same model. Lines get discontinued, and a matching spare in the garage beats a mismatched replacement in the middle of your run.
Size the Transformer and Pick Your Cable
Transformer sizing is simple math. Add up the wattage of every fixture on your run — most LED path lights draw 3–5 watts, so ten lights might total only 40 watts — then choose a transformer rated for at least 25 percent more than that total, and ideally double if you ever plan to add a spotlight or two for a tree. A 150-watt transformer covers most front walks with room to grow, and it buys you multiple voltage taps, which help with the next point. If you're planning a bigger whole-yard system down the road, my full walkthrough of installing a complete low-voltage landscape lighting system covers multi-zone layouts in depth.
Cable gauge is the other half of the equation. The lower the gauge number, the thicker the wire and the less brightness you lose over distance. For a path run under 75 feet with a modest load, 14-gauge cable is fine; for runs of 75–150 feet, step up to 12-gauge so the last light glows as brightly as the first. Roll the cable out along your route and measure rather than guessing — then add 10 percent for slack loops at each fixture. Buy a transformer with a built-in timer or photocell, too. Dusk-to-dawn photocell control means the walk lights itself every night without you touching a thing, and that's the feature that makes visitors ask who your lighting designer was.

Your Toolkit and Materials Checklist
The good news: this project needs no specialty tools. Gather a flat spade or half-moon edger for the slit trench, wire strippers, a screwdriver, a cordless drill for mounting the transformer, a rubber mallet for setting stakes, a tape measure, and a handful of landscape flags. A kneeling pad sounds silly until you're connecting your ninth fixture in a mulch bed — trust me on this one.
For materials, you need the fixtures with their ground stakes, the transformer, enough cable for your measured route plus slack, and connectors. On connectors, I have one strong opinion: skip the pierce-point quick connectors that come free in many kits. They clamp onto the cable with little metal teeth, and in my experience they corrode and loosen within a couple of seasons, leaving you with a flickering light and a frustrating treasure hunt. Instead, spend a few dollars on gel-filled wire connectors or brass lug-style connectors that you tighten by hand. They take an extra minute per fixture and seal out the moisture that kills connections. Add a tube of dielectric grease if you like, a few spare connectors for mistakes, and cable that's rated for direct burial — it will say so on the jacket. Everything on this list fits in one shopping cart, and most of it you probably already own.

Step-by-Step: How to Install Landscape Path Lights, Part 1 — Mount, Lay Out, Connect
Here's the installation itself, first half. Work with the transformer unplugged until I say otherwise.
1. Mount the transformer. Screw it to the wall or a sturdy post near an outdoor GFCI outlet, at least 12 inches above the ground so splash-back and mulch stay off it. Leave the cover easy to open — you'll be back for the timer settings.
2. Roll out the cable. Run it along your planned route on top of the ground, following the side of the walk where most fixtures sit. Leave a loose loop of about a foot of extra cable at each fixture position so you can shift things during the night test.
3. Set the fixtures loosely. Push each ground stake in by hand or with a mallet on the stake's shoulder — never hammer the fixture itself. Stand them upright but don't fuss over perfection yet.
4. Make the connections. At each fixture, strip about half an inch of insulation from both cable strands and from the fixture's lead wires, twist matching strands together, and cap each joint with a gel-filled connector. Tug gently to confirm it's snug.
5. Plug in and do a daylight check. Power up and walk the line. Every fixture should light. If one is dark, that connection gets redone now, while everything is still above ground and easy to reach.
That's it for the mechanical work. Resist the urge to bury anything — the next step happens after dark, and it's the one that separates a good job from a great one.

Step-by-Step, Part 2: How to Install Landscape Path Lights That Pass the Night Test
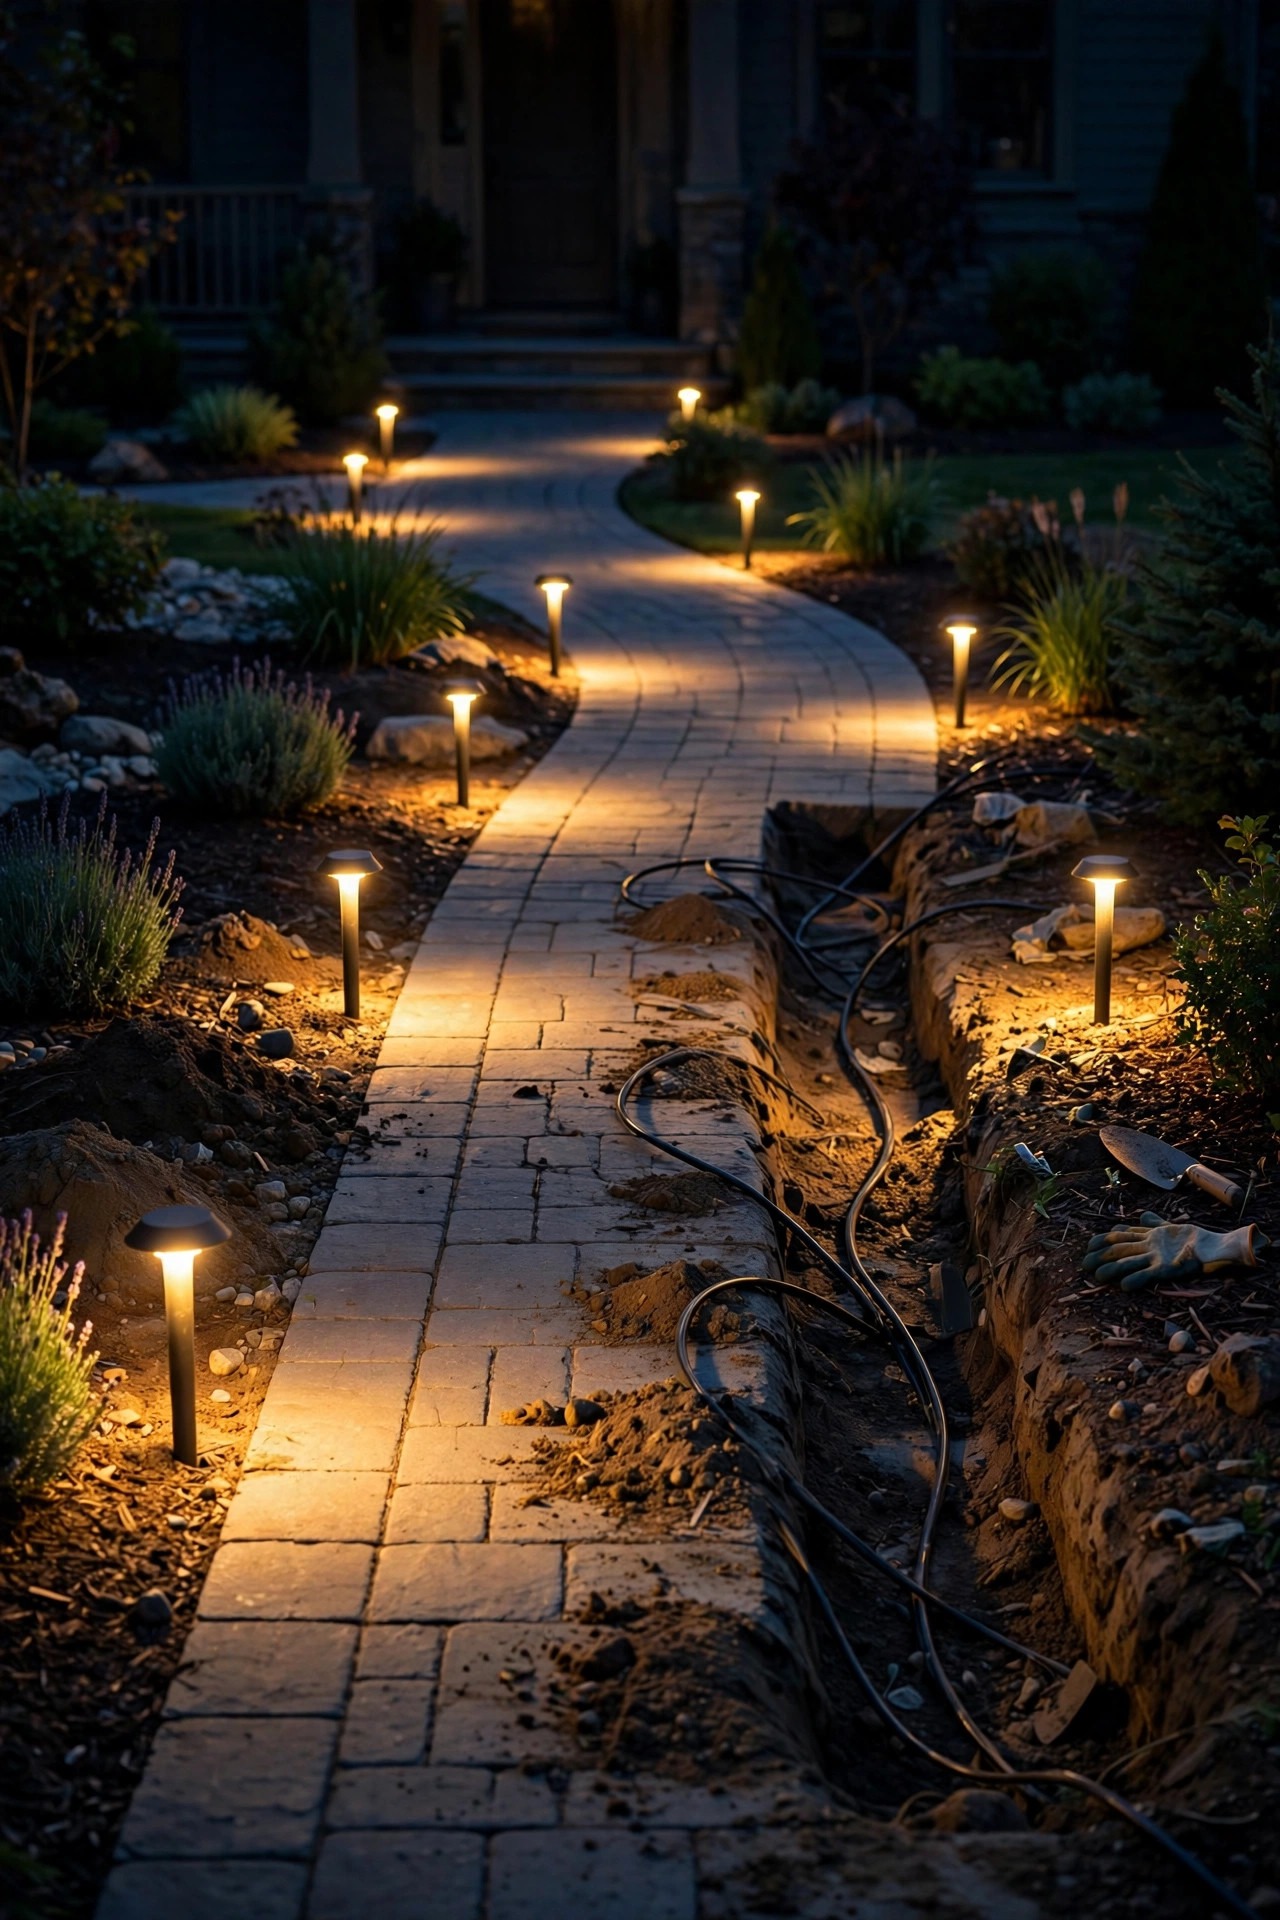
Wait for full dark, pour something warm to drink, and walk your route slowly — as a guest, not as the installer. Look for three things. First, evenness: the last light on the run should glow as brightly as the first. If the far fixtures look dim or noticeably warmer in color, that's voltage drop — cure it by moving that run's wire to a higher voltage tap on the transformer, or by splitting a long run into two shorter ones. Second, glare: crouch to a child's eye level and check that no bare bulb shines straight at you; tilt shields or swap a fixture's position a few inches to fix it. Third, rhythm: adjust any spacing that bunches up or leaves a dark gap at a curve or step.
Also look at the walk from the street. You're aiming for a welcoming ribbon of light that ends at a lit front door, not a string of bright dots floating in blackness. If a fixture glares into the street, angle it or tuck it deeper into the bed. Make your moves now, while the cable still lies on the surface and every fixture pops out of the ground with a wiggle. I usually spend a full evening on this step, lights twinkling, neighbors slowing down to look — and it is, honestly, the most enjoyable part of the whole project. Only when the night test passes do you get the spade out.
Burying the Cable and Finishing Touches
Burial is wonderfully low-tech. Push a flat spade straight down along your cable route to open a narrow slit about 3–6 inches deep, rock it slightly, then tuck the cable to the bottom of the slit with a paint stirrer or your fingers and step the turf closed over it. In mulch beds, simply bury the cable under 2–3 inches of soil beneath the mulch. Along lawn edges, follow the bed line so future edging doesn't slice your cable — an edger blade is the number one cable killer, so keep the run a few inches inside the bed, never right at the border.
Where the cable must cross under the walk itself, you have two easy options: thread it through a short length of PVC pipe slid under the walk from the side (most walks have a gap at the expansion joints you can work through), or simply route the cable around the end of the walk through the bed. At each fixture, bury that slack loop you left coiled beside the stake — it gives you room to reposition the light later without splicing. Finish by taking a photo of the route and noting it on your phone or a sketch in the garage; the day you aerate the lawn or dig a new bed, that map is gold. Set the transformer's timer or photocell, stand back at the street, and admire: layout to last light, done in a day.

What It Costs in 2026
Let's talk real numbers for a typical front walk of ten path lights. Quality mid-range fixtures run $25–$60 each; solid brass models are $60–$120. A 150-watt transformer with a timer costs $60–$150. Figure $40–$80 for 100 feet of 12-gauge direct-burial cable, and about $15 for a bag of gel-filled connectors. Add it up and a complete DIY installation lands between $400 and $900, depending mostly on how fancy your fixtures are. All-in-one kits look cheaper at $120–$250, but they usually bundle thinner 16-gauge cable and pierce connectors — fine for a short garden path, limiting for a long front walk.
Hiring it out instead? A professional installation of the same ten-light walk typically runs $1,500–$3,000 with design, labor and warranty included, and most of that is labor you'll save in a single Saturday. Running costs are almost comically small: ten 4-watt LED fixtures total 40 watts, and at five hours a night that's about 6 kilowatt-hours a month — roughly a dollar on most electric bills. Solar stakes cost less upfront, but replacing faded batteries and dim units every couple of years quietly closes the gap. For a main walk you'll use daily for a decade, wired is the frugal choice as well as the prettier one.
Safety and Electrical Basics Worth Knowing
Twelve volts is genuinely forgiving — you can touch the cable, move fixtures while they're lit, and experiment without risk. But three habits keep the project safely boring. First, always plug the transformer into a GFCI-protected outdoor outlet, the kind with the test and reset buttons, ideally under an in-use weatherproof cover so the plug stays dry while it's plugged in. Second, call 811 before you dig, even for a shallow slit trench. It's free, it takes a couple of days, and it marks the buried utilities you definitely don't want to nick with a spade.
Third, buy fixtures rated for wet locations and cable rated for direct burial — those markings mean the insulation and housings are built for rain, sprinklers and soil contact, not just a dry porch. Keep connections out of spots where water puddles after storms; a connector sitting in a puddle all winter is a connector you'll replace in spring. A few more basics: never exceed your transformer's wattage rating (remember the 80 percent comfort rule from sizing), don't run the low-voltage cable through the same trench as any household-voltage wiring, and keep the transformer itself out from behind dense shrubs so air can circulate. Do those things and the system will quietly take care of itself for years — which is exactly what good lighting should do.
5 Mistakes That Ruin a Path Lighting Job
I've made most of these myself, so learn from my yard instead of yours. One: the runway. Two straight rows of identical lights at identical spacing reads as an airport, not a garden. Stagger them and vary the rhythm slightly. Two: burying before testing. The night test exists because daylight lies — a layout that looks perfect at noon can glare, gap and disappoint at nine p.m. Bury last, always. Three: trusting pierce-point connectors. Their little teeth corrode, loosen, and hand you a flickering fixture and an afternoon of digging to find the bad joint. Gel-filled connectors cost pennies more.
Four: spacing by count instead of by light. Buying "one light every four feet because the box said so" gives you overlapping glare pools and a walk that looks spotty from the street. Space the pools, not the fixtures. Five: mixing color temperatures. One 4000K cool-white fixture among warm 2700K lights sticks out like a sore thumb and makes the whole run look like a mistake, even if every other detail is right. Order all your fixtures — and your spares — in the same color temperature, and check the box before the receipt fades. Avoid these five and your first installation will look like your fifth.
Keeping It Beautiful: Maintenance and Seasonal Tweaks
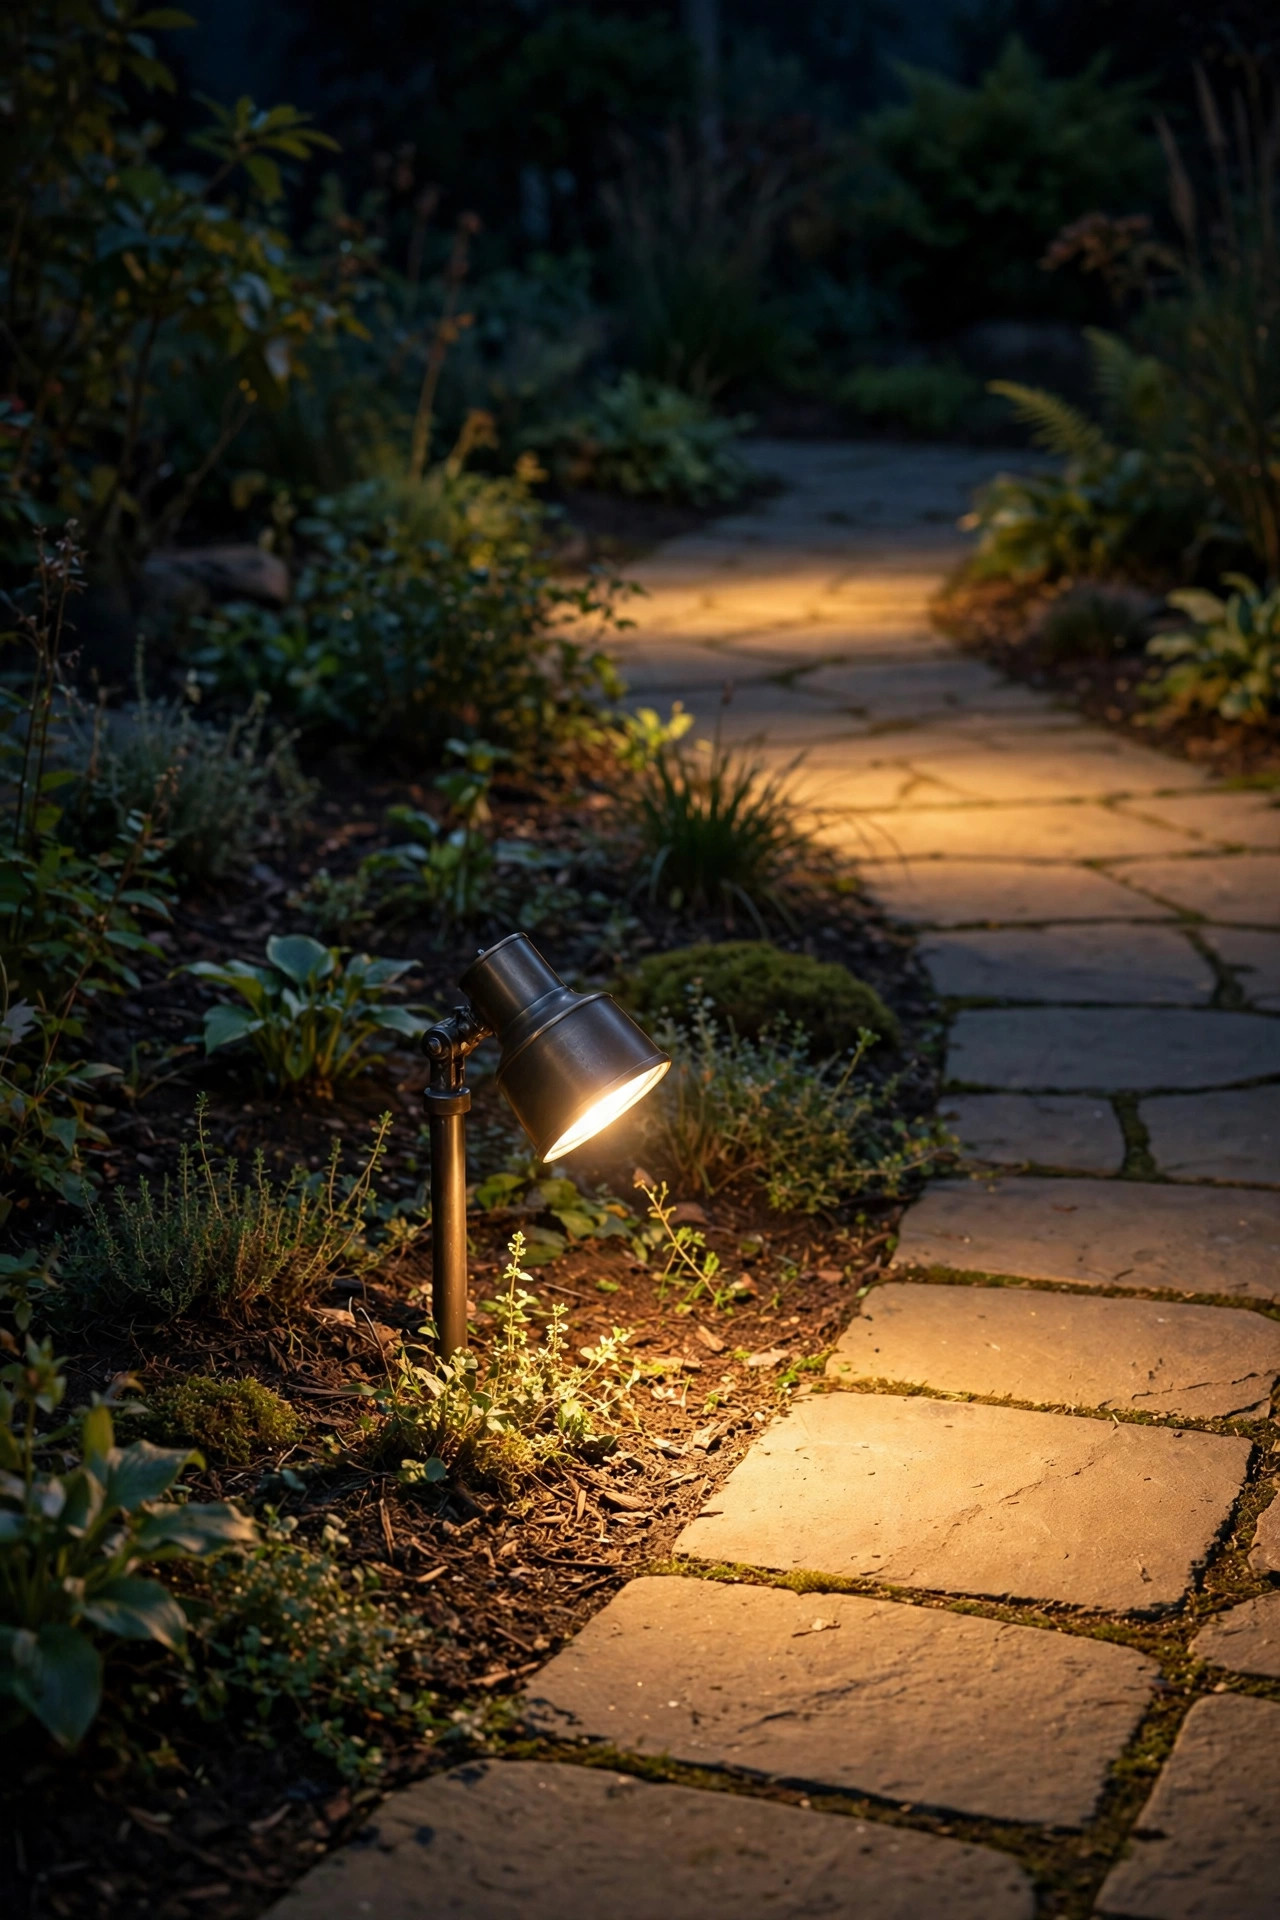
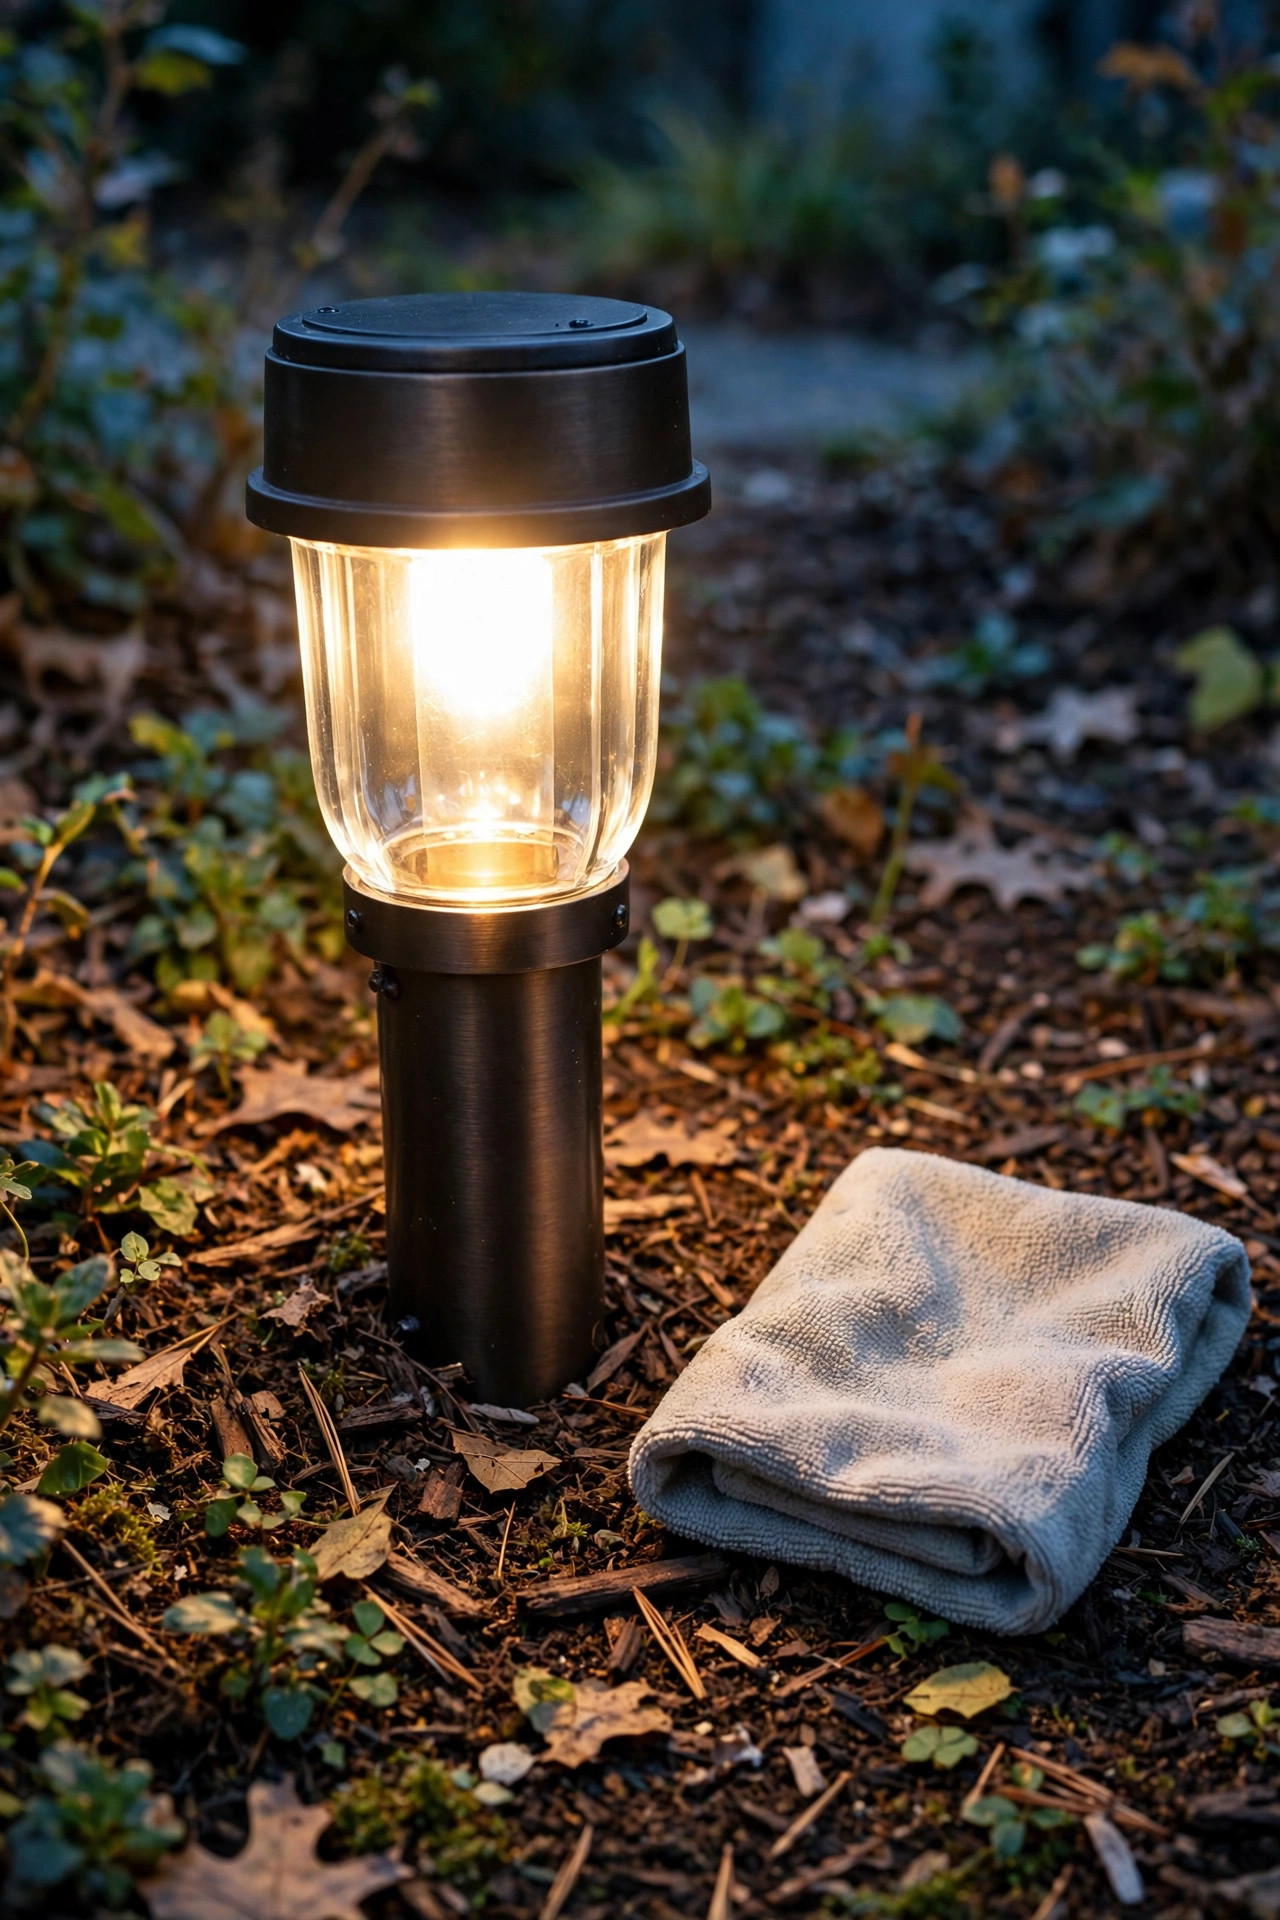
Path lights ask for very little, but a small seasonal routine keeps them looking newly installed. Every few months, wipe the lenses with a damp cloth — pollen, sprinkler minerals and mulch dust can quietly steal a third of a fixture's brightness. After freeze-thaw cycles and any mower bump, walk the line and straighten stakes; two crooked lights make the whole run look neglected. In summer, trim back the perennials that creep over fixtures, because a swallowed light lights the inside of a hosta and nothing else.
Once a year, pop open a couple of connectors to check for corrosion, and re-gel any that look cloudy. Reset the timer after power outages and adjust it as sunset drifts with the seasons — a photocell transformer saves you even that chore. LED fixtures rated for 30,000–50,000 hours will run a decade or more at nightly use, so replacements are rare; when one finally fades, swap in one of the matching spares you bought on day one. And every spring, do one more dusk walk with fresh eyes. Yards change — a new shrub, a settled paver, a tree that's grown — and a five-minute nudge of two fixtures keeps the whole composition in tune. That's the secret I wish someone had told me: great path lighting isn't installed once, it's gently maintained.
Frequently Asked Questions
How deep do I bury the cable for path lights?
About 3–6 inches in a slit trench is standard for low-voltage cable — no deep digging required. I aim for a full 6 inches under lawn, where aerators and edgers roam, and 3–4 inches is plenty inside mulched beds. The cable just needs to sit below the reach of everyday tools and stay put when you step the turf closed.
How many path lights do I need for a 40-foot walkway?
At 6–8 foot staggered spacing, a 40-foot walk needs about six or seven fixtures. Place them on alternating sides rather than in pairs, add one dedicated light for any step or grade change, and remember you're covering the walk with overlapping pools of light — six well-spaced lights look better than ten crowded ones.
Can I add path lights to an existing landscape lighting system?
Usually, yes. Check your transformer's rating against your current total wattage; if you have at least 25 percent headroom, you can tap new fixtures into an existing cable run or add a fresh run from a spare tap. Just match the new fixtures' color temperature to the ones already out there so the walk glows evenly.
Are solar path lights easier to install than wired ones?
Easier to place, absolutely — you just push the stake in. But they charge inconsistently, dim through winter evenings, and rarely match each other in brightness or color. For a decorative garden bed they're charming. For a front walk you rely on every night, a wired system is the one that still looks intentional five years later.
Conclusion
Learning how to install landscape path lights really comes down to four moves: plan around the hazards, space the pools of light instead of the fixtures, test everything after dark, and only then bury the cable. Do it in that order and a single day of work buys you a decade of welcoming, sure-footed walks home. If your front path is still dark tonight, start with the flags and the dusk walk — the rest follows naturally. And when you're ready to take the glow further, browse our other landscape lighting guides for uplighting, accents and whole-yard designs you'll love just as much.