Here's the mistake I see on almost every walkway in my neighborhood, and honestly? I made it myself for years. We buy a matching set of path lights, line them up like little soldiers, and then watch half of them disappear into the hostas by July. The problem is almost never the lights — it's the height. Getting your path light heights right means matching each fixture to the mature height of the plants beside it, so the light lands on the path instead of glowing uselessly into a shrub. My whole approach to outdoor lighting is layering: low pools of light near the ground, a little more height where the plantings get taller, and never a fixture fighting the greenery for attention. In this guide I'm walking you through 15 height-and-planting pairings, from six-inch stakes tucked into creeping groundcover to tall bollards that can hold their own beside hydrangeas. You'll get the exact measurements I use, spacing notes, and what each option should cost. Measure your beds before you buy, think about how tall things grow by midsummer, and your path will glow the way you pictured it.
1. Six-Inch Stakes for Creeping Groundcover
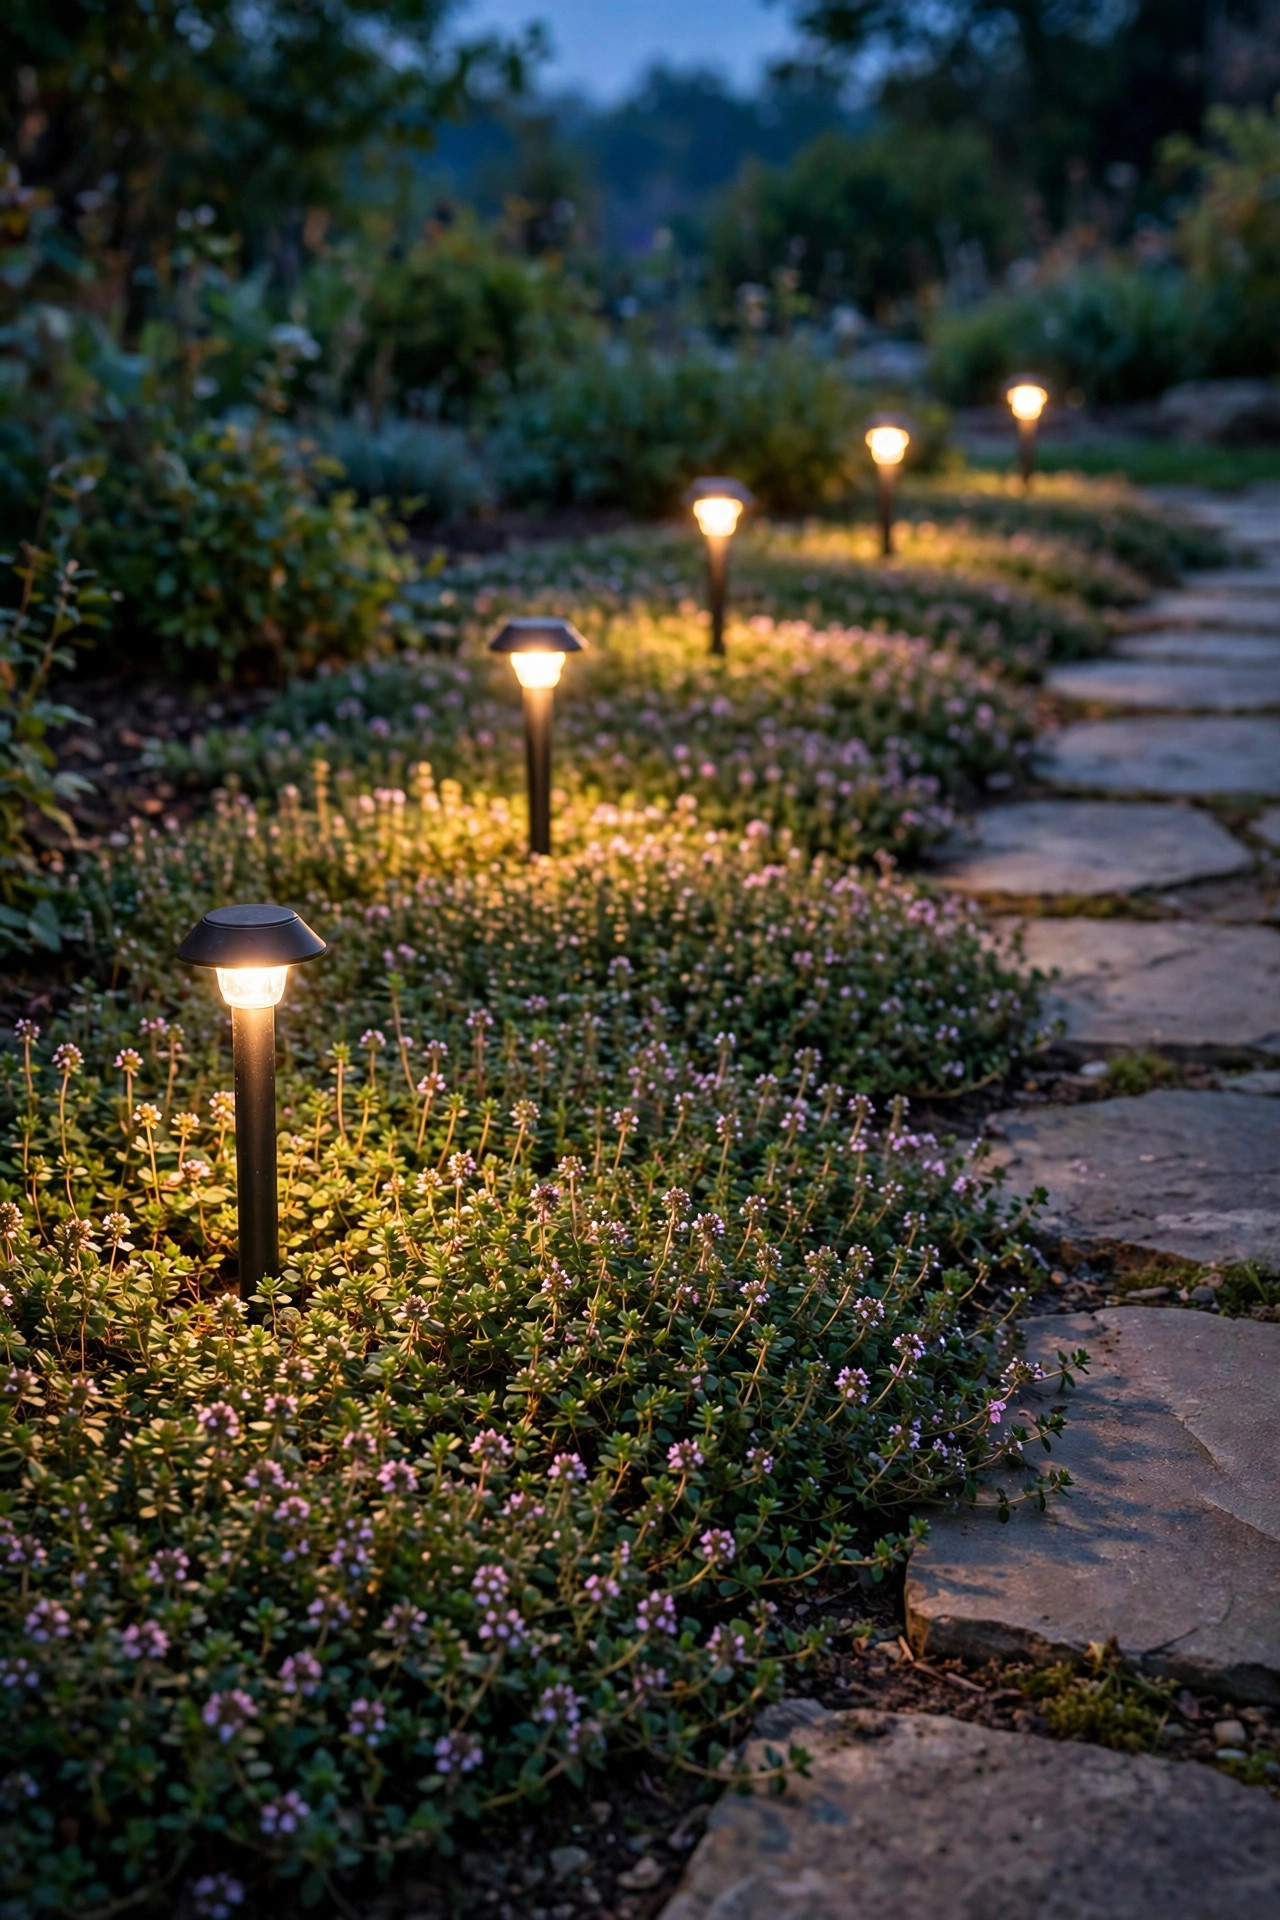
Creeping thyme, creeping jenny, and low sedums top out around 3 to 4 inches, which makes them the perfect partners for the shortest path light heights on the market — little 6-inch stakes and puck-style fixtures. At that height the lamp sits just above the foliage, so the beam spreads across the stones instead of getting swallowed by leaves. I push the stake in so the head clears the mature mat by about 2 inches; if your groundcover is still filling in, resist the urge to buy taller lights "for later," because these plants simply never get tall. Space these minis closer than standard lights, about every 3 to 4 feet, since each one throws a small, gentle pool roughly 2 feet wide. They read as little fireflies along the edge, which is exactly the charm. One caution: in northern climates, frost heave and snow shoveling can nudge tiny stakes crooked over winter, so I give mine a quick straighten-and-reseat every spring. Choose LED versions with a sealed, weatherproof rating so sprinkler overspray isn't an issue, and keep mulch pulled an inch back from the stake so the fixture doesn't sink as the mulch settles.
Suggested budget range: $8 – $20.
2. Ten-Inch Lights Along Low Edging Annuals
If you edge your walk with begonias, impatiens, alyssum, or dwarf marigolds, you're working with plants that finish the season around 8 to 12 inches tall — and a 10-inch path light is their sweet spot. The fixture head should sit right at or just above the bloom line, so flowers catch a little warm light from the side while the path itself stays clearly lit. I learned the hard way that 18-inch stakes in an annual bed look like periscopes; the proportions are all wrong once the flowers fill in. Ten-inch fixtures in a finish that echoes your planting palette — I love soft bronze with coral begonias, matte black with white alyssum — disappear beautifully by day and perform at night. Because annual beds get re-dug every spring and fall, pick lights with sturdy ground stakes you can pull and reset without bending, and run the cable in a shallow trench at the back of the bed where your trowel won't find it. In my experience, spacing every 4 to 5 feet keeps the pools overlapping just enough that nobody trips on a dark gap between plantings.
Suggested budget range: $10 – $25.

3. Twelve-Inch Stakes for Hosta Beds
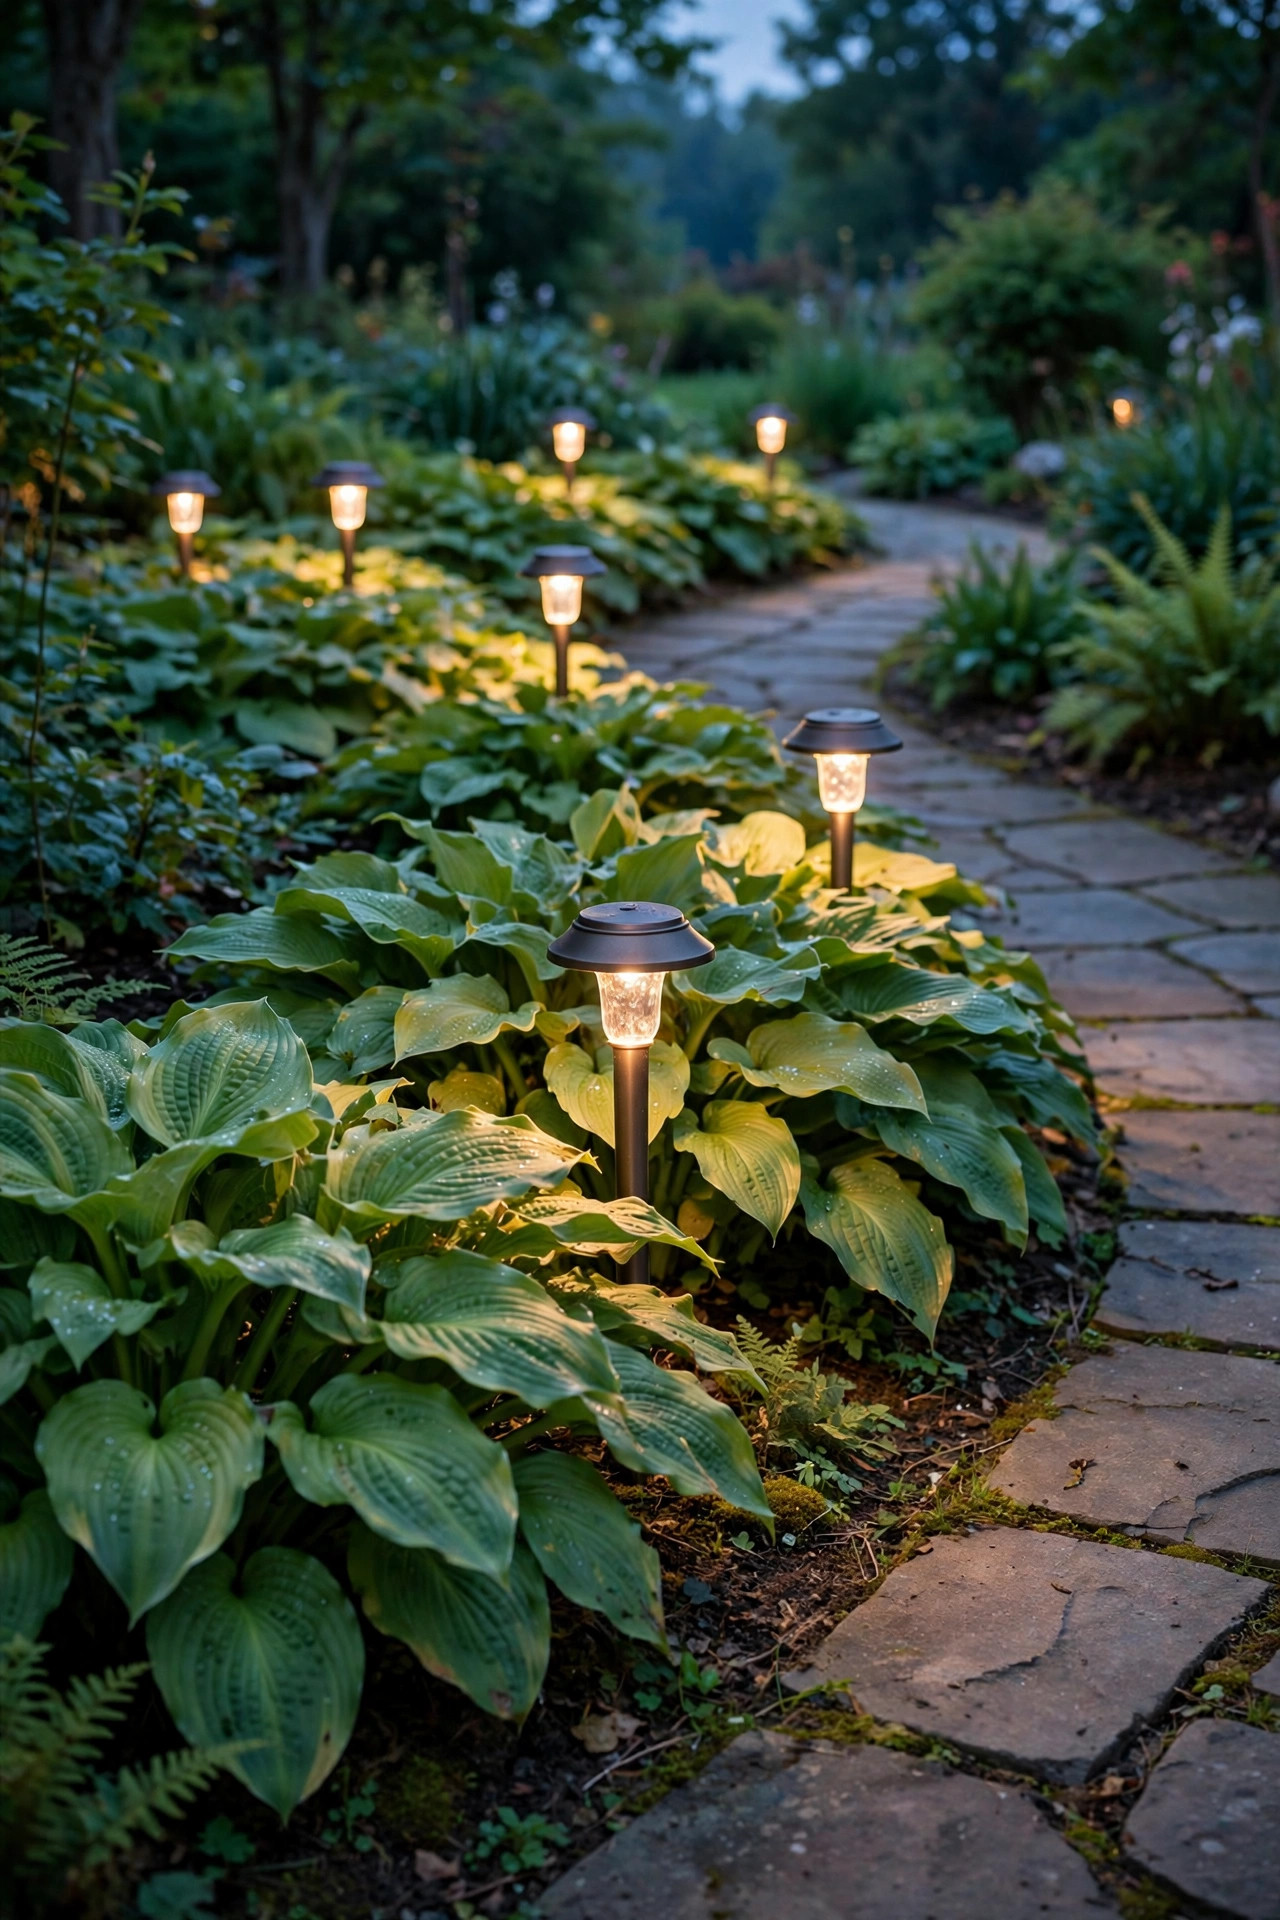
Hostas are the path light heartbreakers of the garden world. You plant your cute little divisions in April, set your lights, and by June a mature 'Patriot' or 'Francee' is wearing your fixture like a hat. A 12-inch stake paired with medium hostas (the ones that mature around 12 to 18 inches of leaf height) threads the needle — tall enough to peek over the foliage mound, short enough to still throw its pool onto the path instead of the sky. Placement matters as much as height here. Set the light at the front edge of the clump, slightly toward the path, never in the center of the plant where expanding leaves will engulf it. I also angle my thinking seasonally: hostas emerge late, so in early spring your 12-inch lights will look a touch bare and prominent, which is fine — they're lighting the path during the darkest weeks of the gardening year. Choose a shade-style fixture with a hat or dome top that throws light downward; exposed bulbs shining sideways into big leaves create harsh hot spots. By midsummer, when the hostas are at full glory, the effect is a soft glow washing out from under the leaf canopy, and it's honestly magical.
Suggested budget range: $12 – $30.
4. Fourteen-Inch Lights Among Daylilies
Daylilies present a fun puzzle: the foliage arch tops out around 14 to 18 inches, but the flower scapes shoot up to 24 inches or more in bloom season. I pair them with 14-inch path lights, which sit right at the foliage line — the light grazes the strappy leaves beautifully all season, and when the scapes rise above the fixture, the blooms catch a gentle rim of light from below that makes the whole clump look lit from within. Don't try to out-height the flower stalks; you'll end up with airport-runway vibes. These lights work best placed between clumps rather than behind them, about 5 to 6 feet apart, and slightly closer to the path edge than the plant crown so the beam favors the walking surface. Daylily foliage dies back in winter in cold climates, which means your 14-inch lights will stand exposed for a few months — pick a finish and silhouette you actually enjoy looking at, because they'll be a visible part of the winter garden. I also divide my daylilies every few years, and when I do, I pull the lights first and reset them after, checking that the cable hasn't crept up into the root zone.
Suggested budget range: $12 – $32.

5. Sixteen-Inch Stakes for Ornamental Grass Clumps
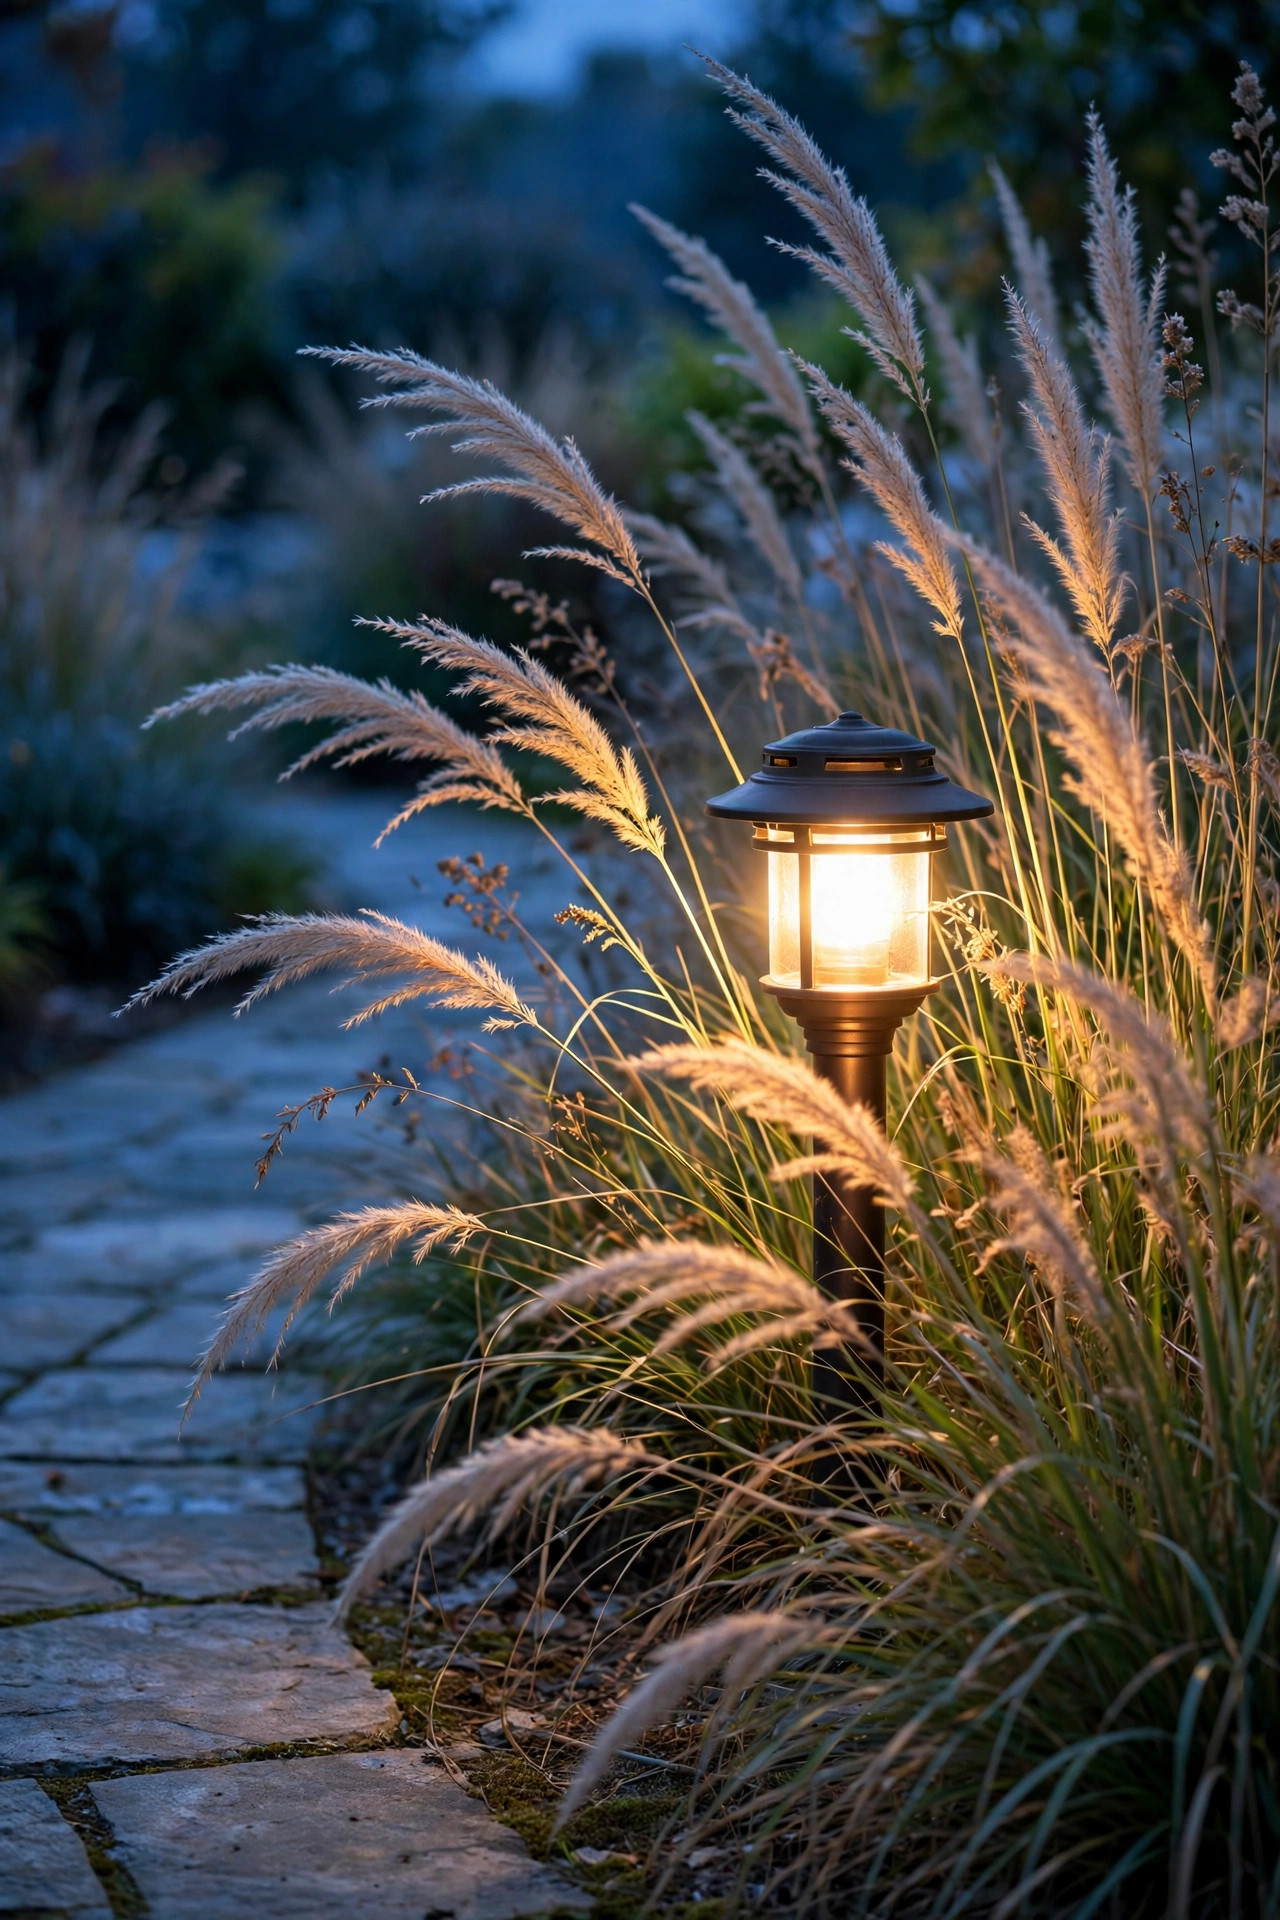
Ornamental grasses are all movement and texture, and backlighting them at dusk is one of my favorite tricks in the whole yard. For compact grasses like fountain grass, blue fescue, and dwarf maiden grass — mature height 18 to 30 inches — a 16-inch path light tucked at the front base of the clump is the pairing that works. The fixture hides in the foliage by day, and at night the light filters up through the blades and plumes, turning the grass into a glowing fountain. Position is everything: place the light on the path side, 4 to 6 inches from the crown, aimed so the beam rakes upward through the grass rather than straight out across the walk. Most stake lights throw light downward and outward, which still works — the inner blades catch it and diffuse it softly. Spacing can be more relaxed here, one light per clump rather than a fixed interval, since each grass becomes its own little lantern. One safety note I always mention: keep fixtures LED-only around dry ornamental grass in late fall and winter, when the foliage is papery. LEDs stay cool to the touch, so there's no heat concern against dormant blades.
Suggested budget range: $14 – $35.
6. Eighteen-Inch Classics for Mixed Perennial Borders
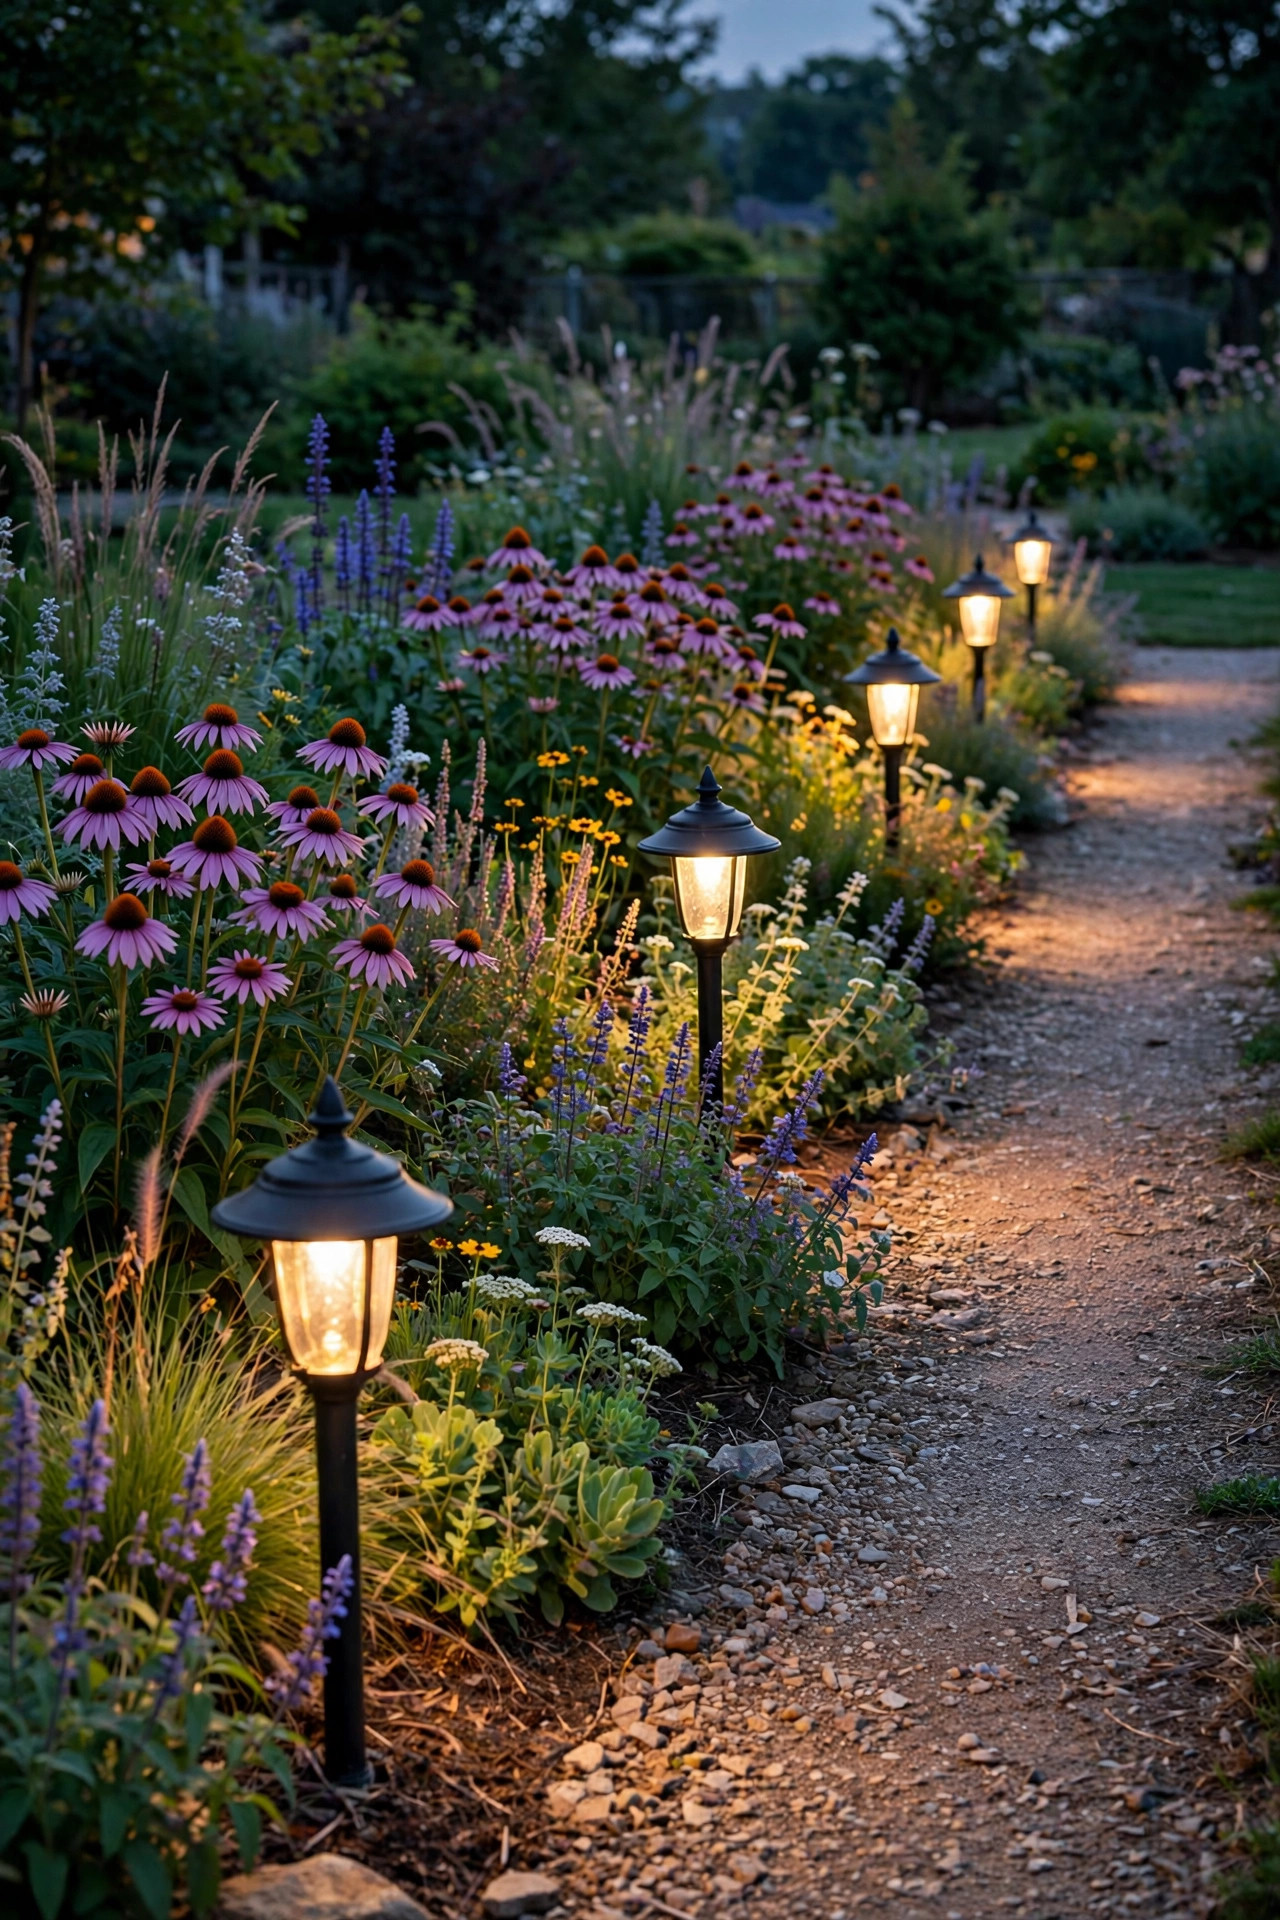
If I could only recommend one height for a typical mixed perennial border — coneflowers, salvia, black-eyed Susans, coreopsis, and friends maturing between 18 and 30 inches — it would be the classic 18-inch path light. This is the workhorse height the whole industry is built around, and for good reason: it clears low mounds, stays below the flower layer, and throws a wide, useful pool about 5 to 6 feet across. My spacing rule for 18-inch fixtures is every 6 feet on center, staggered to whichever side of the path has the planting depth to hide the stake. In a mixed border, vary your placement — one light nestled near the salvia, the next floating by the coneflowers — so the rhythm feels like moonlight, not a runway. If you're comparing your options among low-voltage path lights, the 18-inch models give you the widest selection of styles and the most forgiving installation. Keep the beam off the foliage directly behind the fixture where you can; a light staring into a coneflower stem at close range creates a bright stripe and a dark path, which is the opposite of the goal.
Suggested budget range: $15 – $40.
7. Twenty-Inch Lights Beside Medium Boxwood
Boxwood is where walkways start looking like the garden magazines, and it's also where undersized lights go to die. A sheared medium boxwood beside a front walk usually sits at 20 to 30 inches, dense and dark green — a 14-inch light next to it doesn't just hide, it vanishes completely by the second season. Step up to a 20-inch fixture and set it a few inches in front of the shrub's drip line, so the head clears the sheared face and the light washes forward onto the path. The boxwood itself becomes a gorgeous dark backdrop that makes the warm pool look even warmer by contrast. I keep spacing at 5 to 6 feet with boxwood, because the shrubs read as a continuous wall and consistent pools keep the formal look tidy. This is also a pairing where finish matters: classic black or oil-rubbed bronze against deep green boxwood is timeless, and matching your fixture finish to your door hardware pulls the whole entry together. Trim-wise, give each light a little "window" — when I shear the boxwoods in late spring, I clip a small notch around each fixture so foliage never creeps over the lens.
Suggested budget range: $18 – $45.

8. Twenty-Four-Inch Bollards Beside Hydrangeas
Hydrangeas are the divas of the foundation bed: mature mopheads and paniculatas run 3 to 5 feet tall and nearly as wide, with flower heads that bow outward under their own gorgeous weight. A standard stake light doesn't stand a chance. This is where I switch categories entirely, to 24-inch bollard-style path light heights that read as intentional architecture rather than garden gadgets. The bollard's height lifts the light source above the lowest bowed blooms, and its sturdy, post-like silhouette holds its own against the shrub's mass. Set bollards at the front corners of each hydrangea, spaced 6 to 8 feet apart, and let the big leaves softly shadow the edges of each pool — that dappled effect is pure summer evening. Because hydrangeas leaf out late and get cut back hard in some varieties, the bollard keeps the path safely lit even when the bed is bare sticks in March. Choose bollards with shielded, downward-throwing optics so light lands on the path and the lower foliage, not in your eyes. Honestly, this pairing costs more, but next to a $40 shrub, a flimsy $10 stake looks lost anyway.
Suggested budget range: $35 – $90.

9. Thirty-Inch Tall Lights for Deep Foundation Beds
Some front walks run alongside deep foundation beds — 4 to 6 feet of layered shrubs, with tall evergreens and flowering shrubs at the back maturing anywhere from 3 to 6 feet. Short lights in a bed like this light the mulch beautifully and the path not at all, because the beam never escapes the plantings. Thirty-inch path lights (the tallest common residential size, sometimes called "tall stakes" or mini bollards) lift the source above the front layer of plantings so the pool actually reaches the walkway. I use them sparingly — every 7 to 8 feet is plenty, since the elevated beam spreads wider, roughly 7 to 8 feet across. This is also the height I reach for when a walk curves past a tall mixed hedge of lilac or viburnum. The taller fixture throws light over the front edging plants and onto the curve where you actually step. Two practical notes: taller stakes wobble more, so drive them deep and consider models with thicker stems or ground anchors; and keep the finish dark so the taller silhouette melts into the shrubs by day instead of announcing itself.
Suggested budget range: $25 – $70.
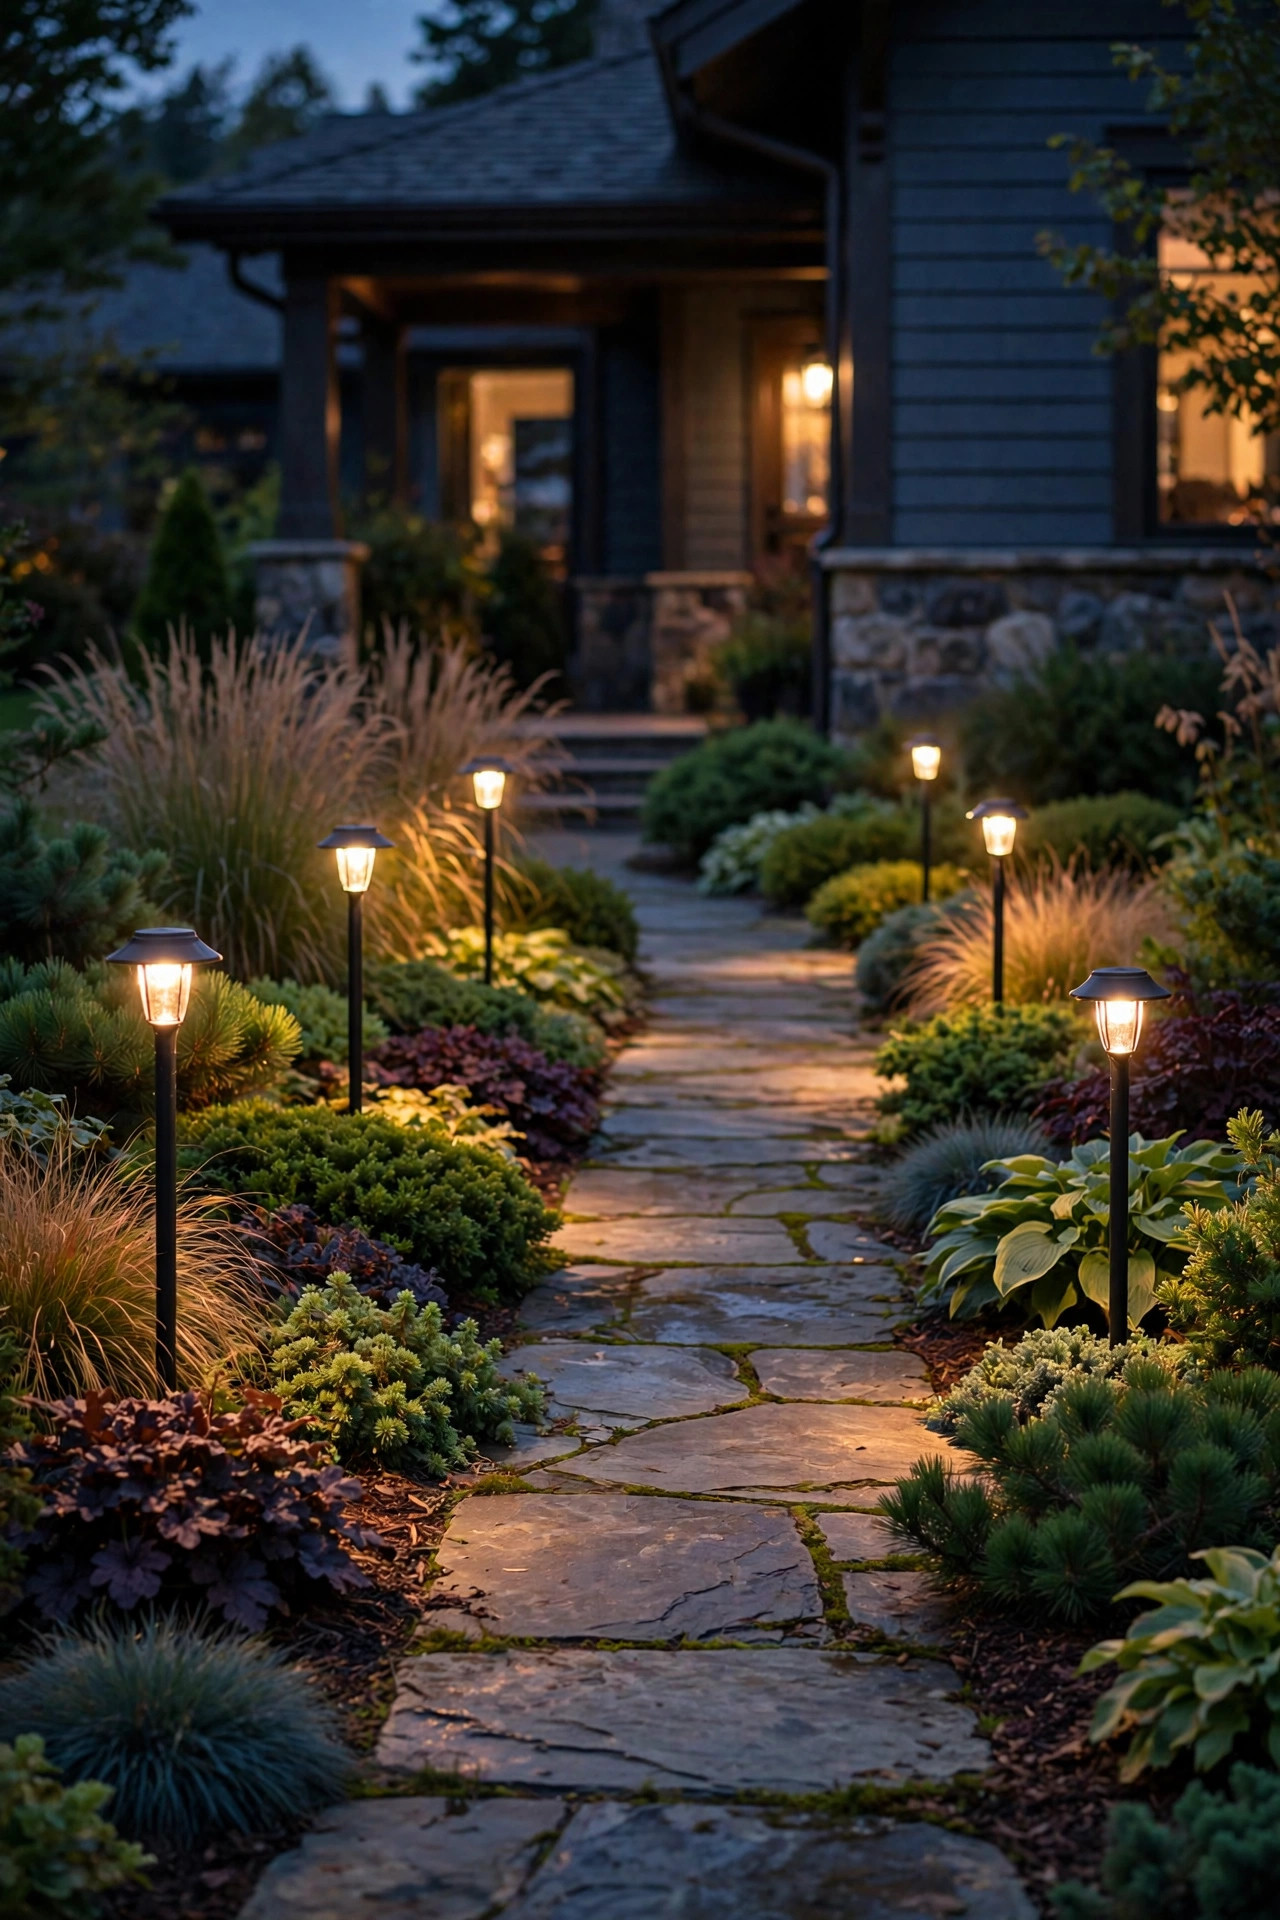
10. Dome Lights Tucked Under Low Evergreen Shrubs
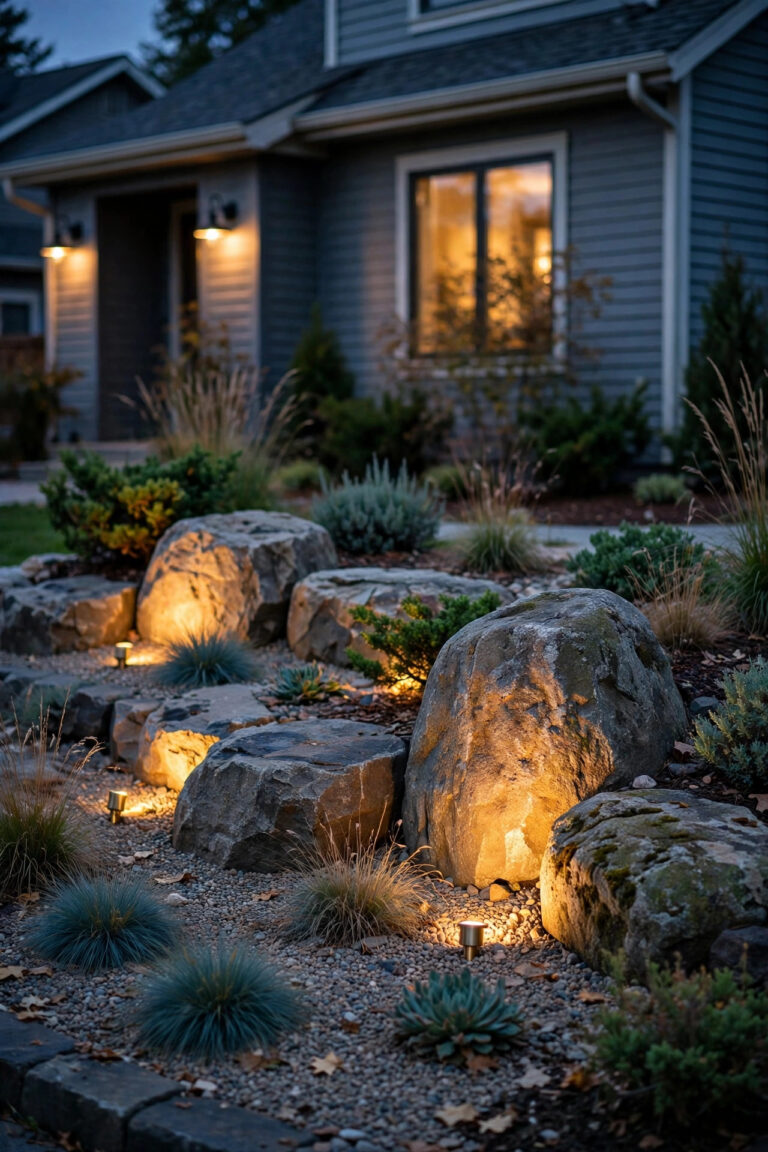
Spreading junipers, low mugo pines, and creeping evergreens hug the ground at 12 to 24 inches with dense foliage that swallows upright fixtures whole. My solution is the mushroom or dome light — a short fixture, usually 10 to 14 inches, with a wide cap that sits right at the shrub's edge and throws a skirt of light out from underneath the branches. Installed at the front drip line, the dome hides in the shadow of the foliage by day, and at night the evergreen appears to glow from within, with a clean pool spilling onto the path. It's the closest thing to moonlight I've found for evergreen beds. Keep the lens at least 2 inches clear of the lowest branches so needles never rest on the fixture, and remember that LED domes stay cool, which matters around resinous evergreen foliage. Spacing is flexible — every 5 to 7 feet, or one per shrub for specimen plantings. If you're using solar versions along a shaded evergreen bed, be realistic: the panel needs real sun, which is exactly what these plantings block, so wired low-voltage tends to be the reliable pick here.
Suggested budget range: $14 – $38.
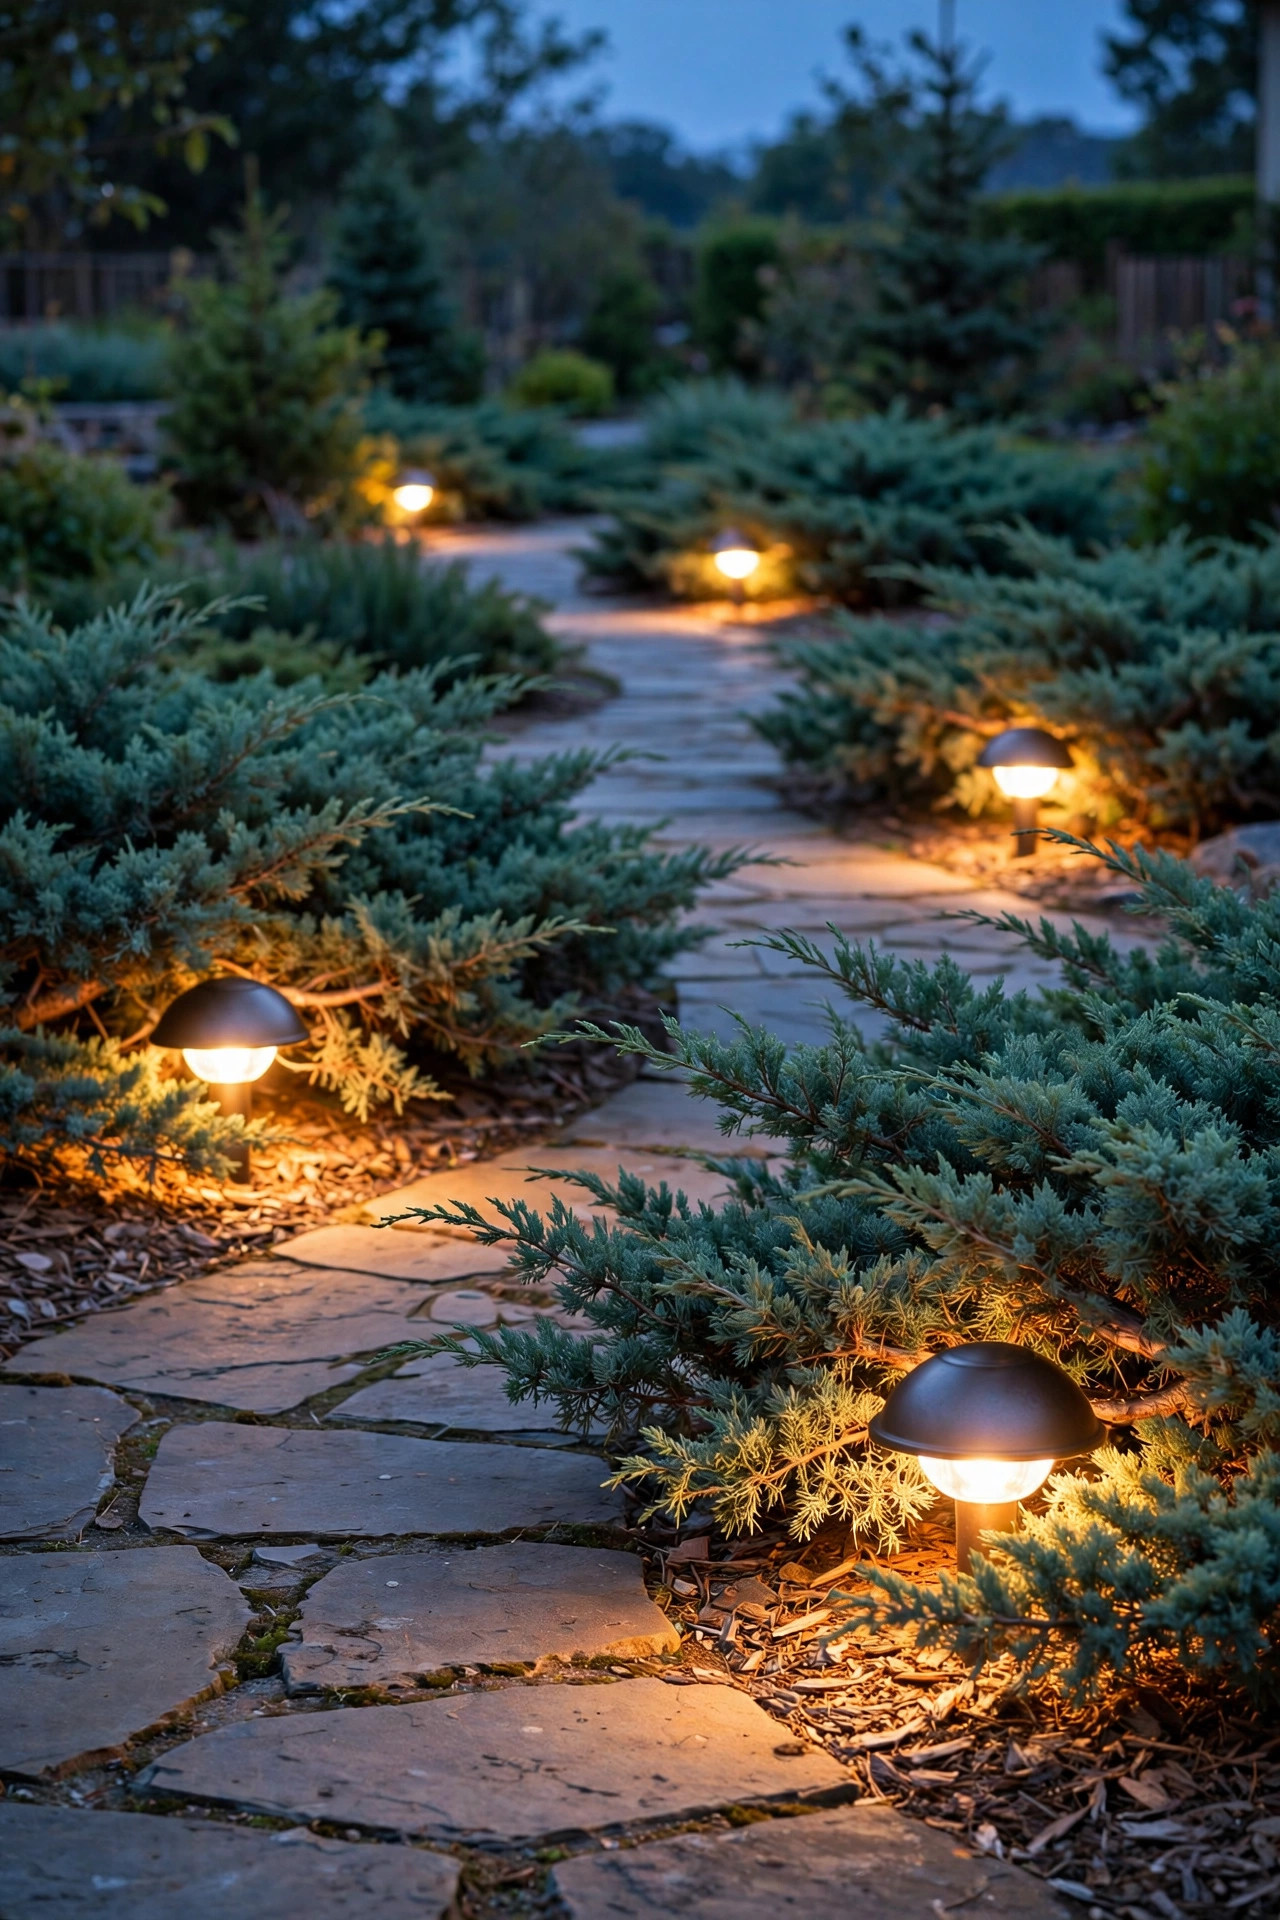
11. Twelve-to-Fourteen-Inch Lights for Low Boxwood Edging
There's a difference between a medium boxwood shrub and a low boxwood hedge used as living edging — the sheared ribbon, 10 to 16 inches tall, that lines so many classic front walks. It deserves its own pairing: slim 12- to 14-inch path lights, set just inside the hedge line or snugged against its path side, spaced with the kind of regularity a formal edging demands. In formal runs I break my usual "vary the placement" advice — here, even spacing every 5 feet, perfectly aligned, is the whole point. The light head should clear the sheared top by an inch or two, so the beam skims across the path and grazes the hedge's face, showing off that crisp geometry at night. When I shear the hedge twice a season, I check each fixture as I pass, wiping the lens and nudging anything the hedge has pushed off plumb. Slim fixtures with a simple silhouette suit this job; ornate lantern styles fight the formality. If your edging is the dwarf Korean or English type that grows slowly, you'll have years before the hedge even approaches the fixture height — this is the most forgiving pairing on the whole list.
Suggested budget range: $12 – $30.

12. Mixed Path Light Heights in One Layered Bed
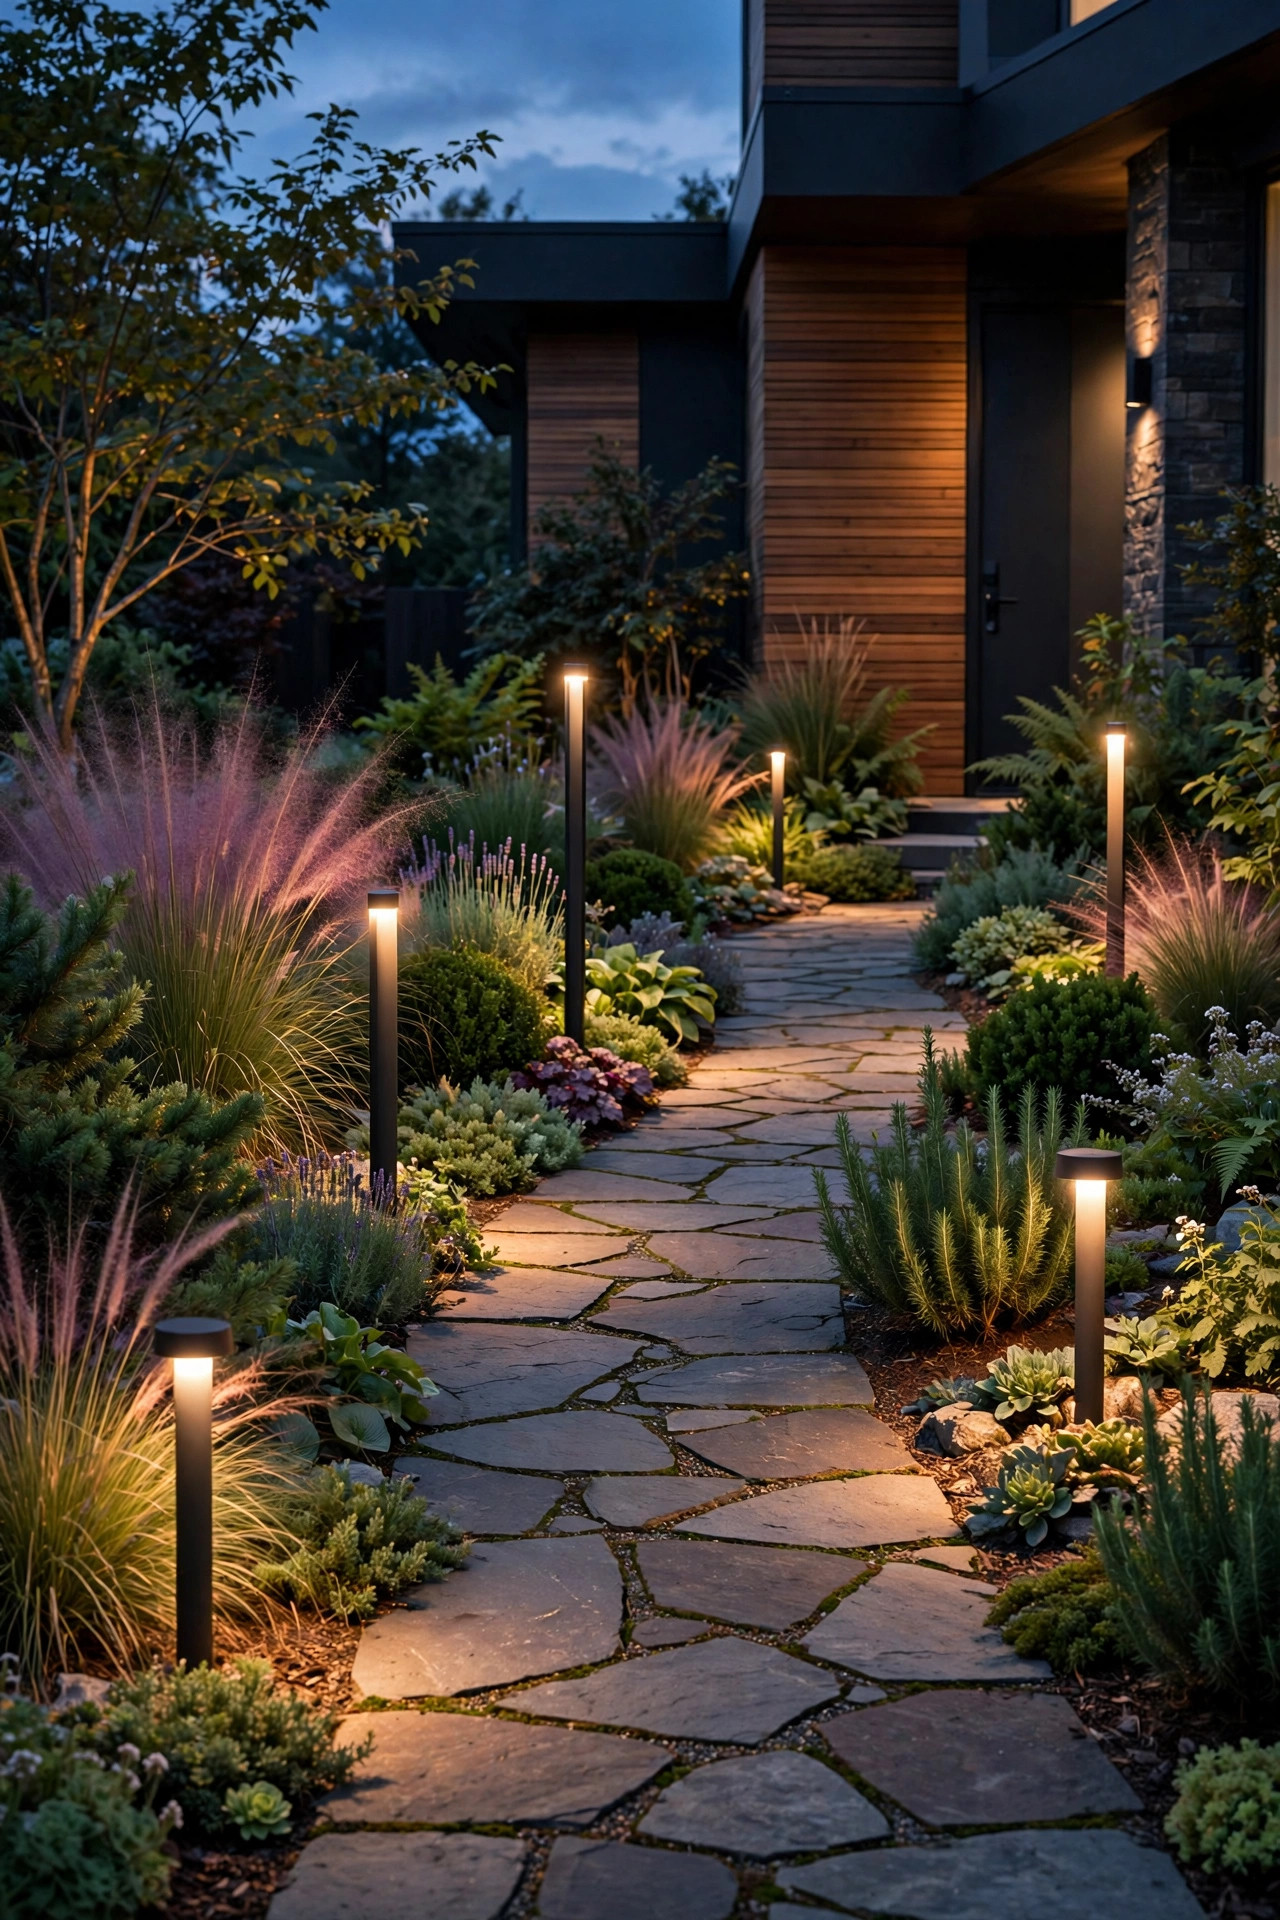
Here's where my layering philosophy really earns its keep. A real bed isn't one plant at one height — it's groundcover in front, perennials in the middle, shrubs at the back — so why should the lights all match? In my own front bed I run 10-inch lights at the groundcover edge, 18-inch fixtures in the perennial middle, and a pair of 24-inch bollards anchoring the shrub layer, and the effect at night is depth: pools of light stepping back into the garden instead of a flat dotted line. The rules that keep it looking intentional: keep one finish and one fixture family across all heights, keep color temperature identical (2700K warm white everywhere — mixed temperatures look like a mistake, not a design), and let each light serve the plants immediately around it. This approach also solves the classic problem I hear about in lists of common outdoor lighting mistakes, where a single mismatched row of lights ruins an otherwise beautiful bed. Start with the middle height as your backbone, then add the low and tall accents where the plantings call for them. Honestly, this is the pairing that makes neighbors slow down on their evening walks.
Suggested budget range: $15 – $60.

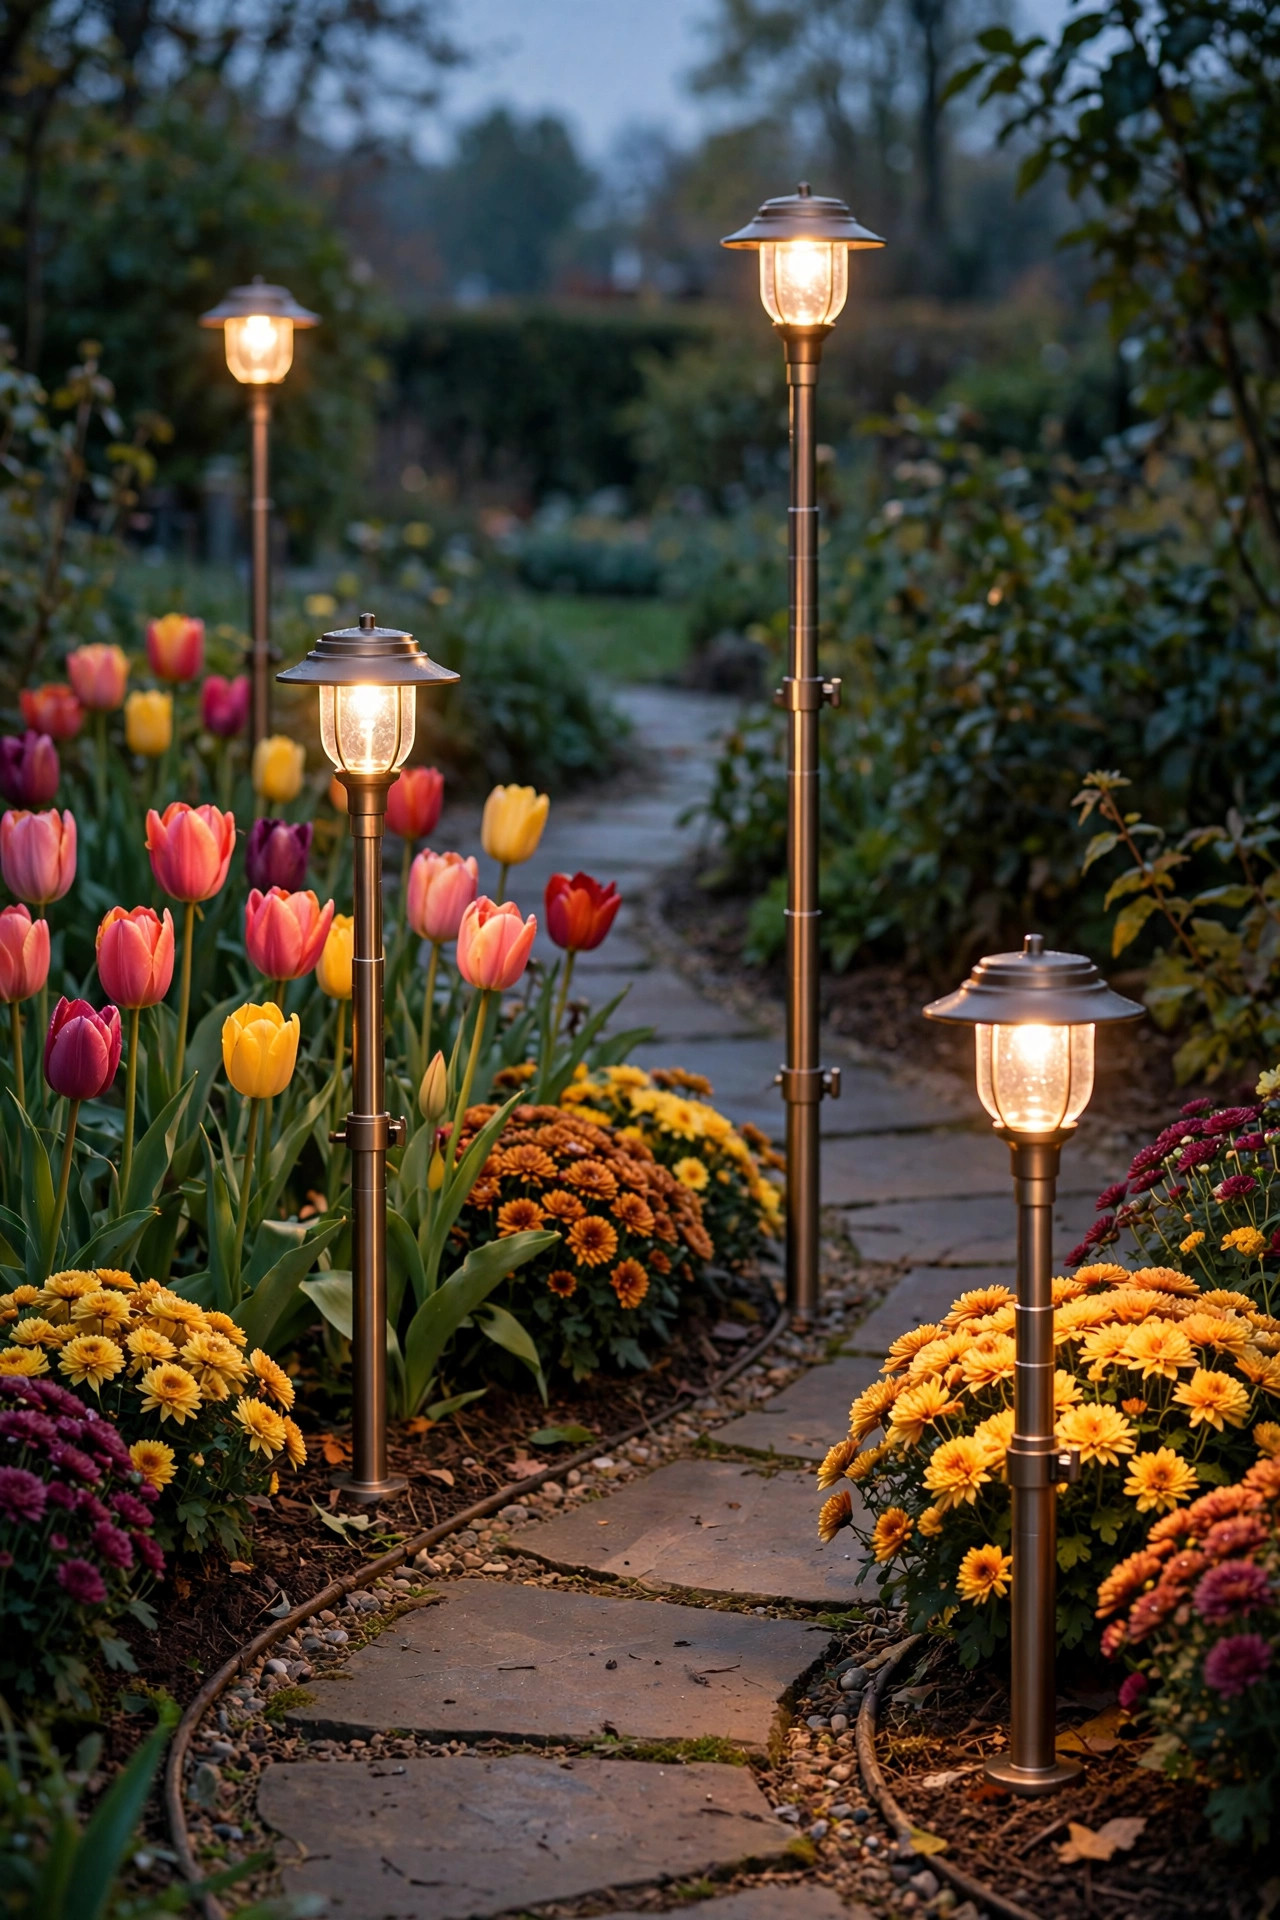
13. Adjustable-Height Stakes for Seasonal Plantings
Some beds refuse to commit to one height. Spring tulips stand 14 inches, the summer fillers mound to 20, and fall mums balloon to 18 — and a fixed-height light is wrong for at least one act of that show. Adjustable and telescoping path lights, which slide between roughly 12 and 24 inches, were made for these beds. I set mine at the height of whatever's starring that season, and yes, I actually go out and adjust them — it takes two minutes per light while I'm deadheading anyway. The trick is choosing models with a positive locking collar rather than friction-fit stems, which slowly sink under their own weight and end up lying in the mulch. Adjustable heights also shine in vegetable-adjacent paths and cutting gardens, where what grows beside the walk changes completely year to year. A buying note: the mechanism is one more thing to fail, so I reserve adjustable lights for the beds that truly rotate plantings, and keep fixed heights everywhere else. Wipe the stem clean before sliding it — grit in the collar is what makes them stick by year two.
Suggested budget range: $16 – $42.
14. Taller Lights for Sloped and Terraced Planting Beds
Slopes change the math completely. A path light on a bed that rises 2 feet above the walk effectively loses that height — a 12-inch fixture planted uphill beams into the bank, while the same light on the downhill side towers over the path and glares. My rule for sloped plantings: measure height from the path surface, not the soil surface. On the uphill side, add the rise to your fixture choice, so a bed sitting 18 inches above the walk with medium plantings gets a 24- to 30-inch light. On the downhill side, go shorter than standard — 10 to 12 inches — and choose shielded fixtures, because a light below path level shines straight into walkers' eyes if the bulb is exposed. Terraced beds get one height per terrace, echoing the steps of the retaining walls, which looks deliberate and lovely. These are exactly the situations covered in guides to walkway lighting ideas for tricky yards, and they reward a test run: before committing, I set unlit fixtures (or even sticks cut to height) at dusk and walk the path to check sightlines from both directions.
Suggested budget range: $18 – $55.

15. Matching Path Light Heights to Steps and Landings
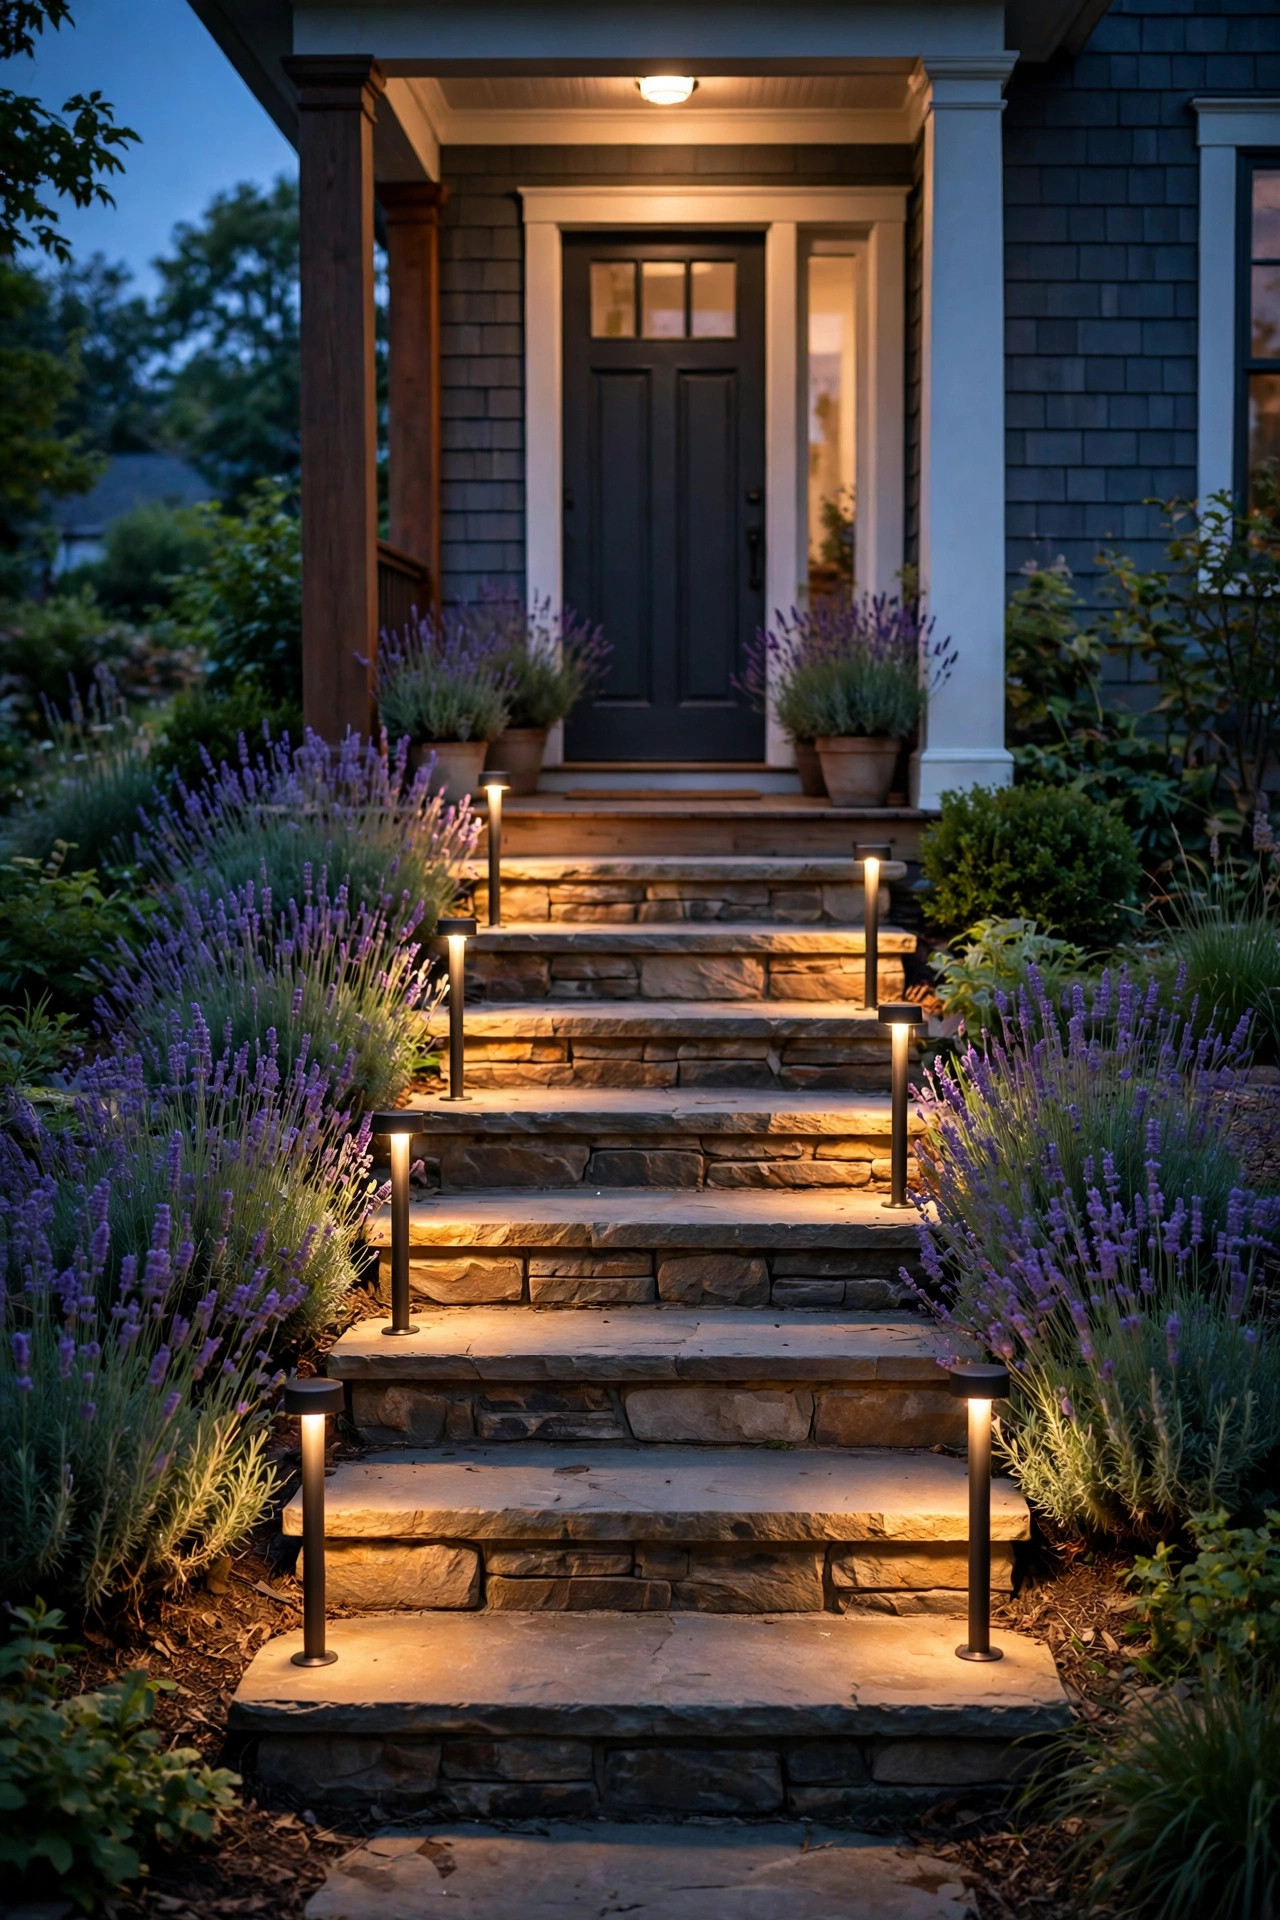
Steps are where height choices turn from pretty to genuinely important. Where plantings flank a step or landing — think lavender, dwarf grasses, or low hebe mounding beside the treads — I match the fixture to the step geometry: the light head should sit roughly at the height of the second tread above where it's planted, usually 14 to 18 inches, so the pool washes across the tread edges and defines each step. Plantings beside steps tend to flop over the walking surface (lavender, I'm looking at you), so place the light on the planting's path-side shoulder, where it lights both the foliage edge and the tread. Never let a fixture rise from the middle of a flopped planting at ankle height directly beside a step — a hidden, tilted light on a stair is a trip hazard in itself. I also keep step-area lights on the wider spacing end, about one per two or three treads, and favor shielded, downward optics so descending guests aren't looking into a bare bulb. Get this pairing right and the steps read as a warm, welcoming cascade instead of the darkest part of the walk.
Suggested budget range: $15 – $45.
Frequently Asked Questions
What is the standard height for path lights?
The most common residential path light height is 18 to 24 inches, and 18 inches is the closest thing to a standard. That range clears most low plantings and throws a useful pool of light 5 to 6 feet across. But "standard" only works if your plantings are standard too — match the fixture to the mature height of what's growing beside it, going shorter for groundcover and taller for shrubs.
Should path lights be taller than the plants next to them?
Generally, yes — the light head should sit just above the mature foliage line of the plants immediately beside it, ideally by 2 to 4 inches. That keeps the beam aimed at the path instead of being absorbed by leaves. The exception is deliberate backlighting, like tucking a short fixture at the base of ornamental grass so the blades glow; that's an accent effect, not path lighting.
How far apart should I space path lights of different heights?
Shorter lights throw smaller pools, so space them closer: roughly 3 to 4 feet for 6-inch fixtures, 5 to 6 feet for the classic 18-inch size, and 7 to 8 feet for tall 24- to 30-inch models. A good test is to place one light, turn it on at dusk, and set the next where its pool just begins to overlap the first. Staggering sides on wider paths keeps the look natural.
Do taller path lights give off more light?
Not necessarily — brightness depends on the lumens of the bulb or LED, not the height of the stake. A taller fixture simply spreads the same light over a wider area, which makes the pool look softer and dimmer per square foot. If you go tall, choose models with a bit more output (around 150–200 lumens for path use) so the wider pool still reads clearly on the ground.
Conclusion
If you take one thing from this guide, let it be this: path light heights are a planting decision, not a fixture decision. Walk your beds, note what each plant's mature height really is in July — not what the tag promised in April — and let that number pick the light. Low stakes for groundcover, the classic 18 inches for perennial borders, bollards and tall stakes where shrubs take over, and a mix of all three where your beds layer back. Your future self, strolling up a softly glowing walk with not a single buried fixture in sight, will thank you. Ready for more ideas? Browse the rest of my outdoor lighting guides here on the site — there's a pairing for every corner of your yard.