Few things test your patience like a yard that goes dark twenty minutes after sunset, night after night. You reset the little breaker on the transformer, the lights glow beautifully, and then — click — darkness again. If transformer tripping landscape lighting faults are ruining your evenings, take heart: this is one of the most fixable problems you'll meet, because a tripping breaker is not random. It's a message. The transformer is telling you a short circuit — or occasionally an overload — is hiding somewhere in your run, and it's shutting things down to protect itself and your wiring. The good news? Finding that short is a process, not a guessing game. In this walkthrough I'll show you my exact method: prove the transformer itself is healthy, empty the run, add fixtures back one at a time, then split the cable in half again and again until the fault has nowhere left to hide. You'll need a multimeter, a handful of waterproof connectors, and about an hour. By the end, you'll know how to find the short, repair it so it stays repaired, and stop it from coming back next season.
The Short Answer
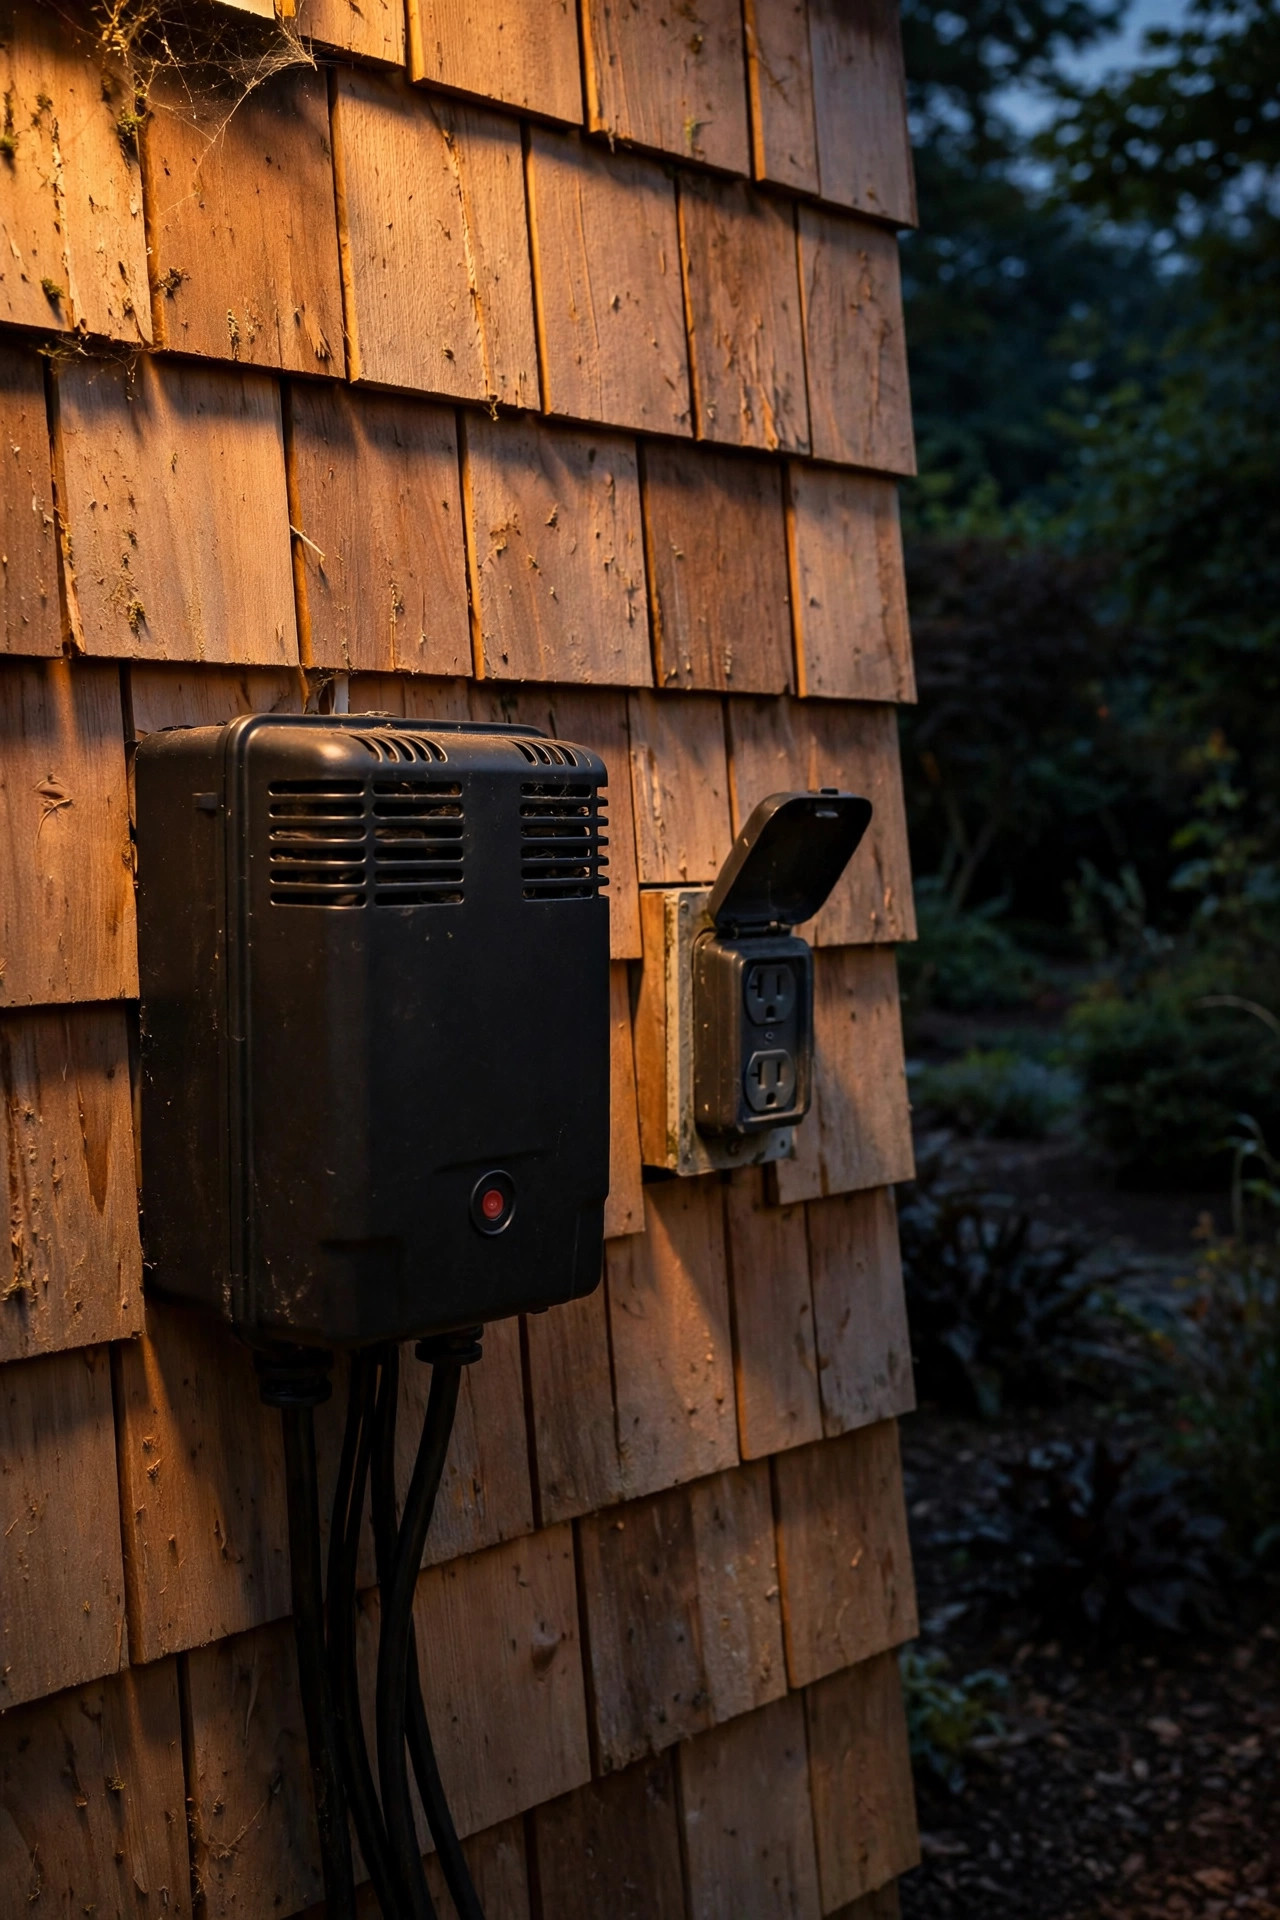
A transformer that keeps tripping is almost always protecting you from a short circuit: two conductors touching where they shouldn't, usually at a nicked cable, a drowned connector, or a failed fixture socket. Rarely, it's a plain overload — too many watts on one run. The fix is methodical, not expensive: disconnect everything, prove the bare transformer holds, then reconnect fixtures one at a time until it trips. That fixture, its connector, or the cable just before it is your fault zone. Then use the split-half test to narrow the cable itself. Most homeowners find the culprit within an hour, and the repair is usually under $20 in parts.

What "Tripping" Is Really Telling You
Almost every landscape transformer has a built-in circuit breaker or thermal protector on its low-voltage side, and understanding what sets it off is half the diagnosis. There are three triggers. The first is a dead short: the two conductors in your cable touch directly, current skyrockets instantly, and the breaker trips the moment the lights try to come on. The second is an overload: no short at all, just more wattage than the transformer or that one cable run can carry, so everything heats up slowly and the breaker lets go after ten, twenty, forty minutes of running beautifully. That timing difference is a genuine clue — instant trip at switch-on almost always means a hard short, while a delayed trip on a warm evening points at overload or a "soft" short that's leaking current through wet soil or a waterlogged connector. The third trigger isn't the transformer's breaker at all: it's the GFCI on the outlet, which trips for ground faults on the 120-volt side. Note which device is actually tripping before you start, because they point at completely different problems. And please, hear this from someone who has seen the alternative: the breaker is not the problem. It's the messenger. It exists so a fault melts a $2 internal part instead of cooking your cable's insulation inside a mulch bed.
The Usual Suspects: Where Shorts Hide in Transformer Tripping Landscape Lighting Problems
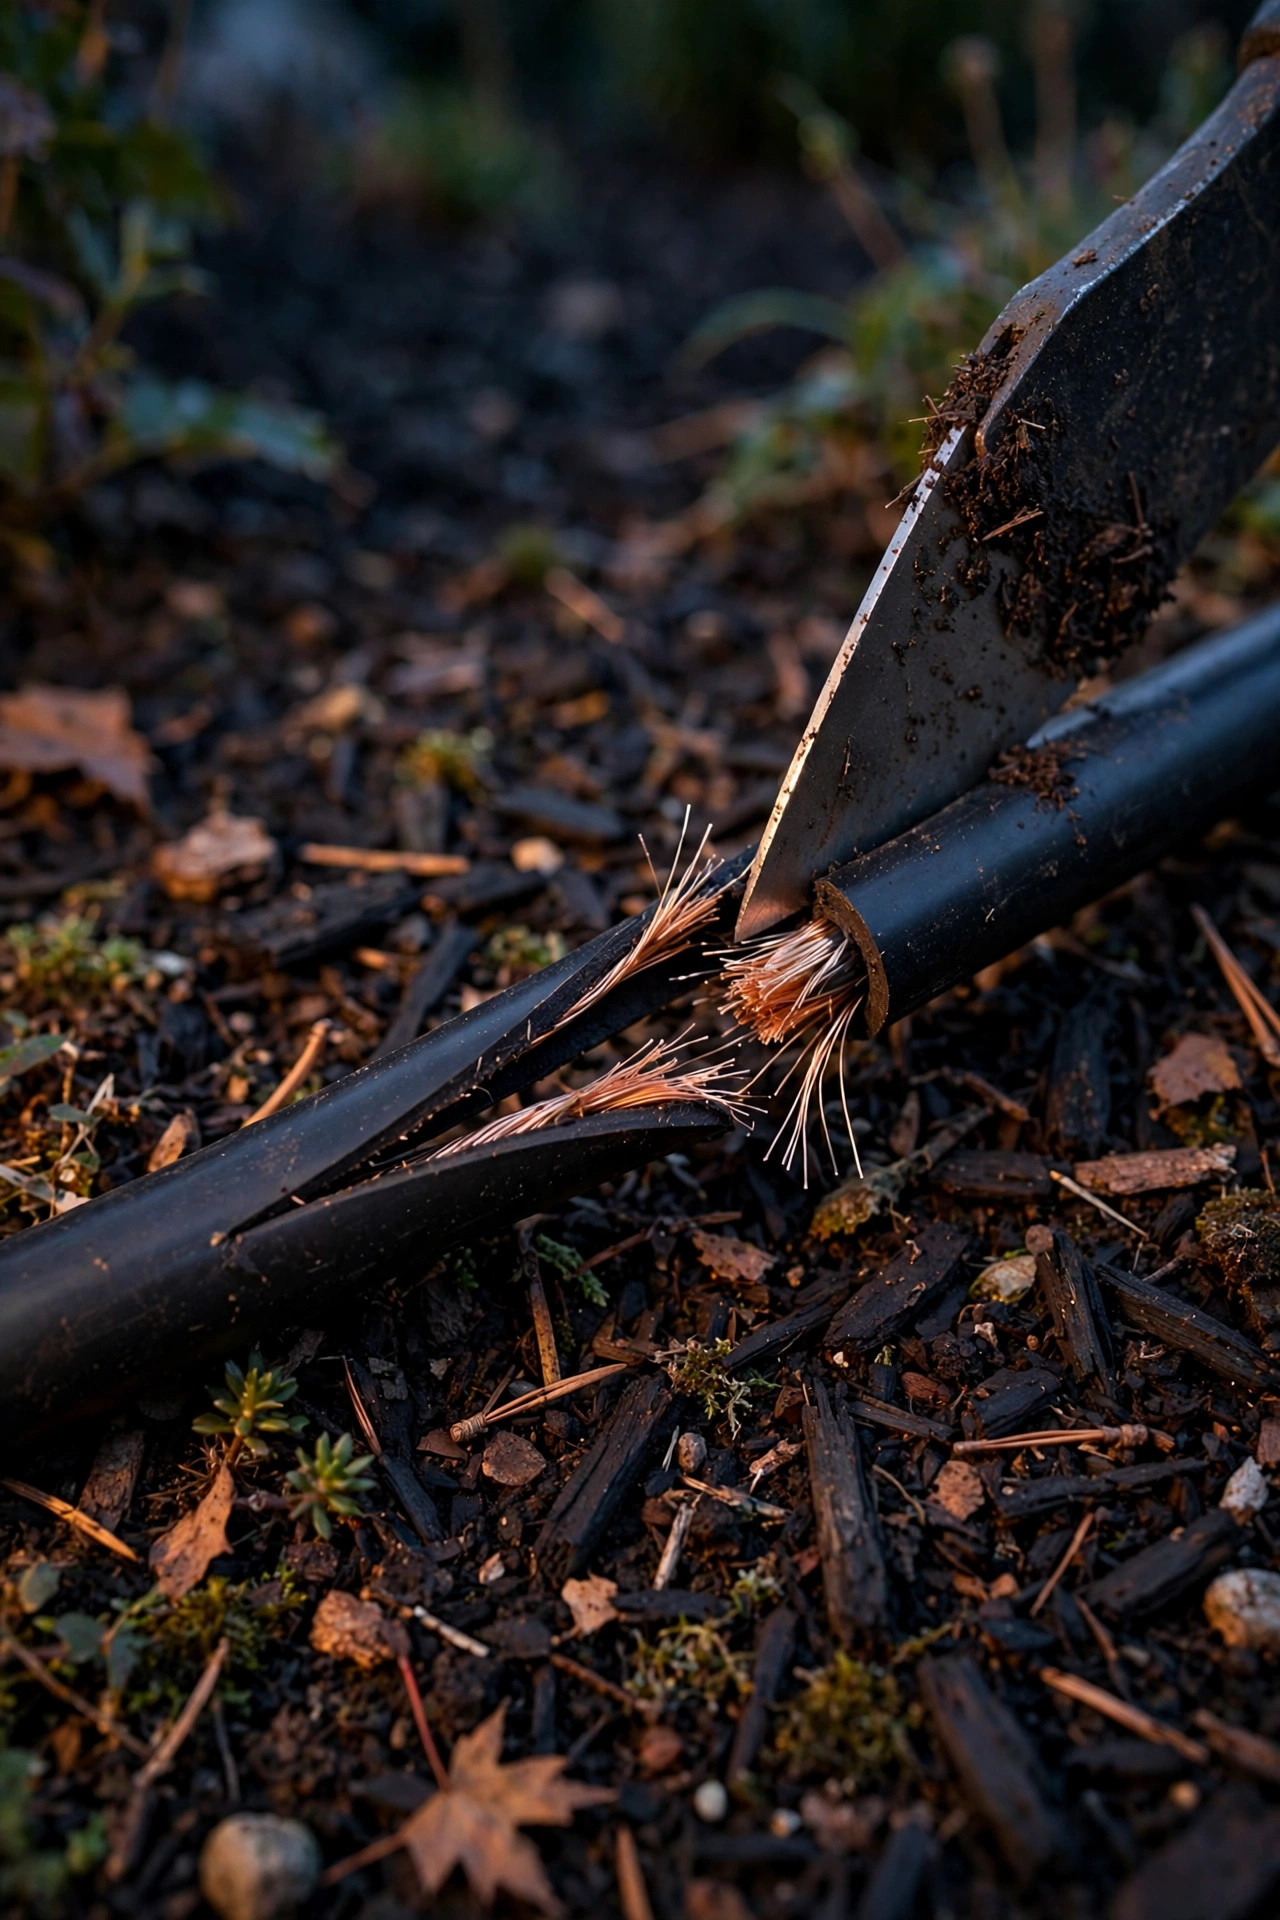
In my experience, transformer tripping landscape lighting faults come from the same short list of hiding places, so it pays to know them before you start digging. The number-one culprit is physical cable damage. Landscape cable lives a hard life: edging tools slice it, shovels nick it during planting, core aerators punch it, and every spring somebody drives a landscape staple straight through it. The insulation opens, soil moisture creeps in, and the two conductors eventually meet — sometimes only when the ground is wet, which is why some systems only trip after rain. Second on the list: pierce-point connectors, the little clamp-on taps that came free in the fixture box. Their metal teeth corrode green, the plastic housing cracks, water gets in, and the connector becomes a tiny short circuit with a roof on it. Third: water inside a fixture or socket. A well light sitting in a puddle, a path light with a cracked lens, a socket with green corroded contacts — any of these can bridge the circuit. Fourth, look for pinched fixture leads: a lead wire trapped under a paver, a stepping stone, or a heavy planter slowly crushes through its own insulation. And fifth, the sneaky one: a fixture that has tipped face-down into wet mulch, cooking its socket into a carbonized mess that conducts just enough to trip you on damp nights. Keep this list in your head during the search. The tests below will march you straight to whichever one is yours.
Safety First: How I Work on a Live 12-Volt System
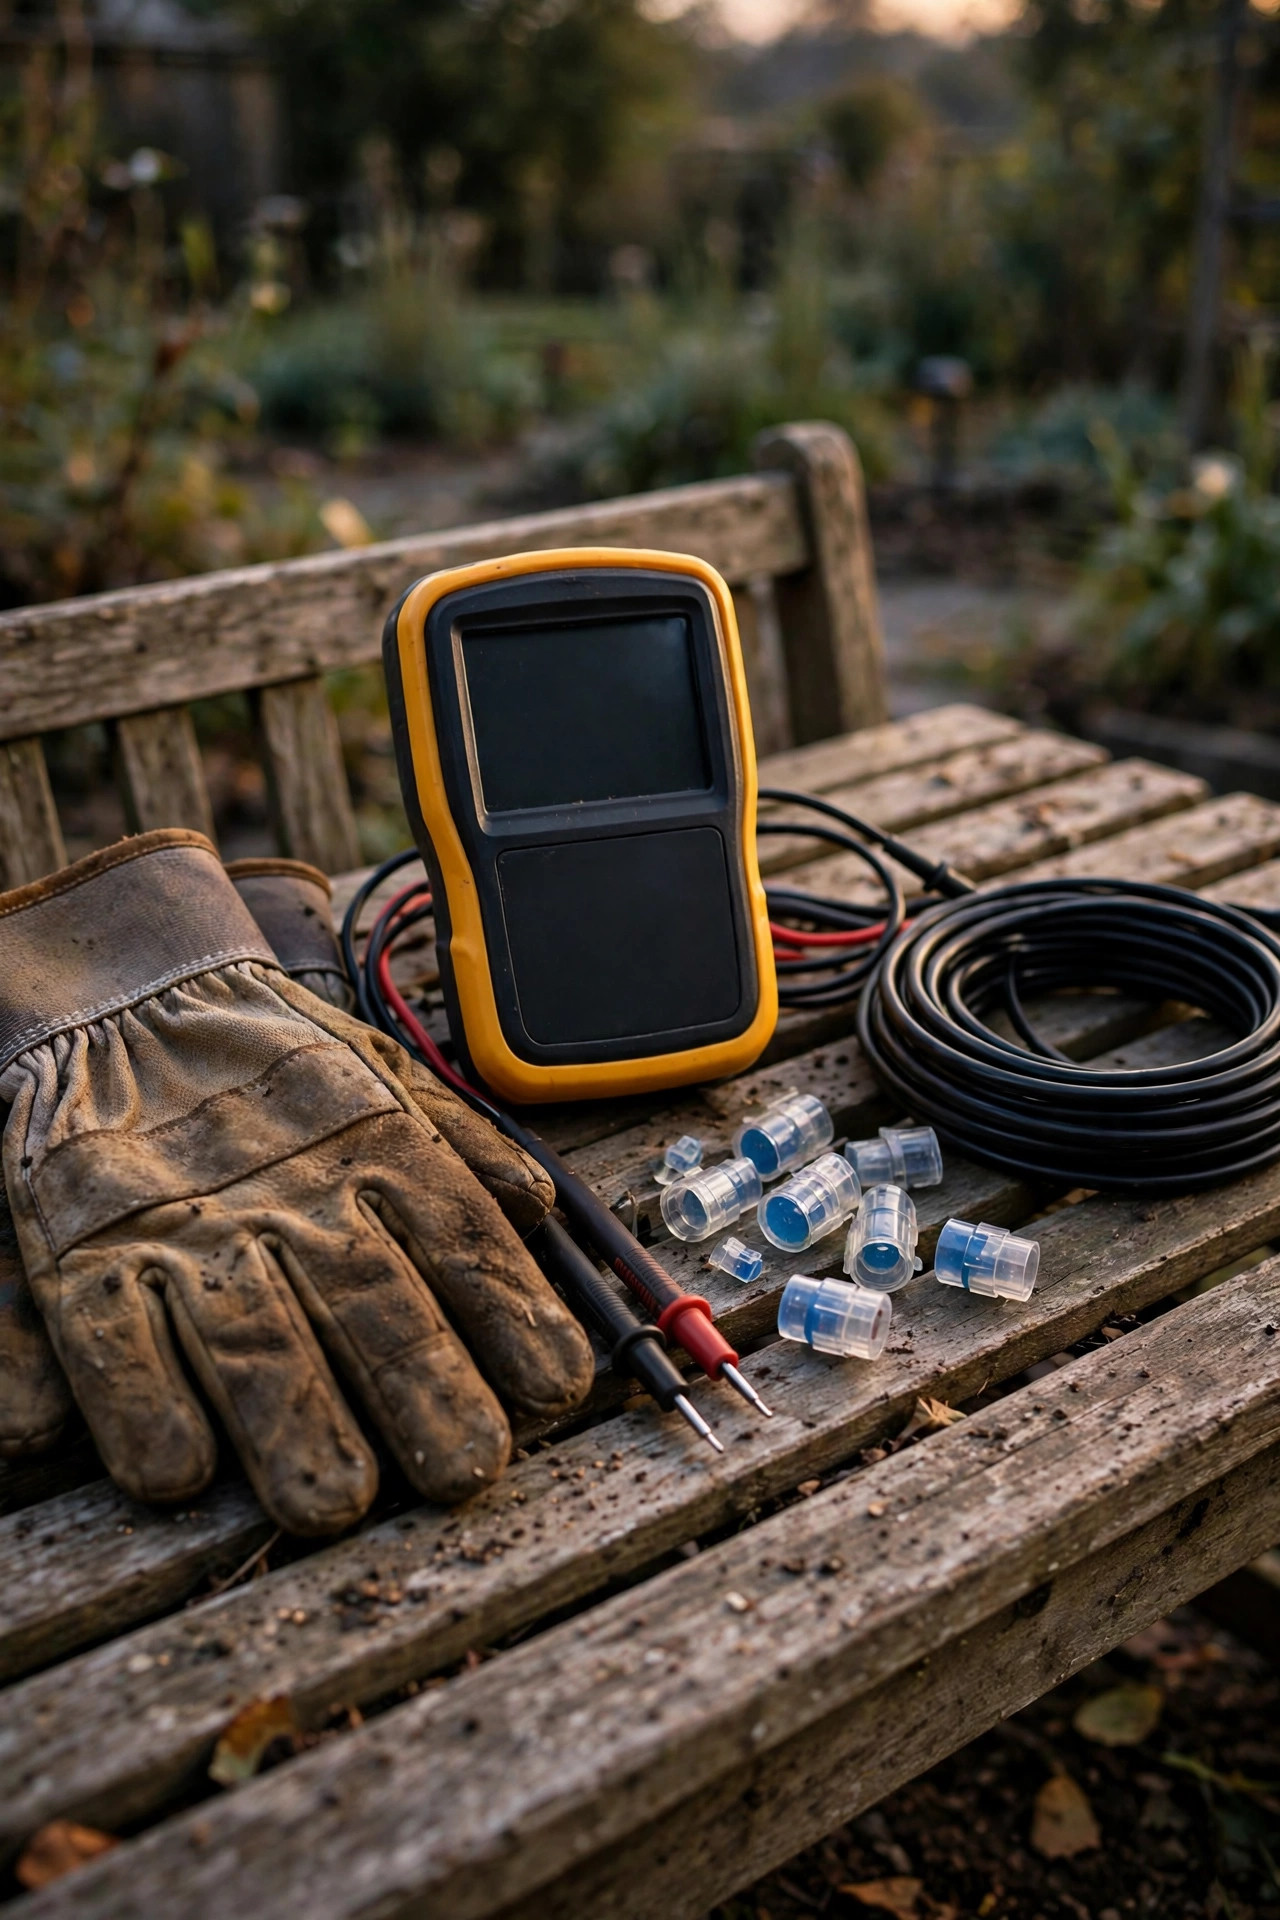
People hear "low voltage" and assume "no danger," and mostly that's true for you — 12 volts won't shock you through dry skin. But a landscape transformer can push serious current, and current is what melts insulation, scorches connectors, and has genuinely started mulch fires in faulted systems I've been called in to look at. So a few ground rules. First, the 120-volt side is a different story entirely: never open the transformer's housing, never work on the outlet circuit, and unplug the unit before you touch its terminals. Second, always switch the transformer off and unplug it before cutting cable or opening connections — a cable that looks innocent can be carrying full current. Third, never, ever bypass the breaker, tape it down, or swap in a bigger fuse to "get through the weekend." That breaker is the only thing standing between a small fault and a smoldering wire. Fourth, do your testing with dry hands on dry ground, and if a connector or fixture is hot to the touch, smells burnt, or shows melted plastic, stop and replace it rather than nursing it along. Finally, when you test live — plugging in to see whether the breaker holds — keep the test short, stay nearby, and unplug before you go back to handling wire. Respect the current, and this whole job stays firmly in the safe DIY category.
Step 1: Confirm the Problem Is Really on the Lighting Side
Before you blame a single fixture, prove the transformer itself is innocent. This takes five minutes and saves hours. Start by unplugging the transformer and looking at the outlet: if the GFCI has tripped, reset it and plug in a lamp or phone charger to confirm the outlet itself delivers steady power. A weak outlet or a failing GFCI can mimic every symptom in this guide. Next, disconnect all the low-voltage load wires from the transformer's terminals — every run, completely off. Now plug the transformer back in, set the timer to manual ON, and wait. If the breaker trips with absolutely nothing connected, the fault is inside the transformer itself: an internal short or a failed breaker, and honestly, replacement is the right call rather than repair. If it sits there humming happily, grab your multimeter and measure the voltage at the output taps; you should see roughly 12 to 15 volts depending on which tap you're on. Steady voltage with no load means the transformer is healthy and the fault is definitely out in the yard. If your system has multiple cable runs on separate terminals, reconnect them one at a time, waiting a full minute between each. The run that trips the breaker as it lands is the run you get to go hunting in. One bad run identified, the rest of the yard exonerated — that's real progress before you've touched a single fixture.

Step 2: Empty the Run, Then Add Fixtures Back One at a Time
With the guilty run identified, walk it and disconnect every fixture from the main cable — open each connector or unplug each hub lead, but leave the main cable itself connected at the transformer. Reset the breaker and switch the system on. Two possible results, and both are informative. If the breaker still trips with a bare cable and zero fixtures attached, congratulations, you've eliminated every fixture at once: the short is in the cable itself, and you can skip straight to the split-half test in the next section. If the bare run holds — which is what happens most often in my yard — the fault lives in a fixture, its lead wire, or its connector. Now reconnect the fixtures one at a time, working from the transformer outward, and give each one a full minute before adding the next. A hard short will trip the breaker the instant its fixture joins the circuit. When that happens, you've found your zone: examine that fixture's connector first (they fail far more often than fixtures do), then its lead wire for pinches or chew marks, then the socket for corrosion or water. Swap in a known-good connector before condemning the fixture itself. One caution: a "soft" short may only trip when the system has run warm for a while, so if everything reconnects without a trip, let the whole run operate for a full evening before declaring victory. Soft faults are shy, but they always come back.

Step 3: The Split-Half Test — Finding a Short in Transformer Tripping Landscape Lighting Runs
When the cable itself is the suspect, this is the test that finds a short in transformer tripping landscape lighting runs without digging up your whole yard, and it's the single most useful trick in this entire guide. The idea is borrowed from electricians: never test the whole run, test half of it. Start by estimating your run's length and finding a connection point near the middle — a hub, a fixture tap, or a spot where you can safely cut and later re-splice. Disconnect or cut the cable there so the run becomes two halves. Now connect only the first half (transformer end) and reset the breaker. If it trips, the short is in that half. If it holds, the short is in the far half. Reconnect, move your test point to the middle of the guilty half, and repeat. Here's the beautiful math: a 100-foot run becomes 50 feet, then 25, then 12, then about 6 — four rounds of testing corner the fault into a stretch of cable you can dig up with a hand trowel. When you've narrowed it down, excavate that section gently and inspect every inch. You'll usually find the story written right there: an edger slice, a staple through the jacket, a chewed spot, or an ancient twist-and-tape splice someone buried and forgot. Mark each test point with a landscape flag as you go so you don't lose your place, and don't re-bury anything until the final section of this guide says so.

Step 4: Read the Run With a Multimeter
A breaker can only tell you "yes" or "no." A multimeter tells you where, and it turns the split-half test from good into surgical. Work with the power completely off for this. Disconnect the suspect run at the transformer and at the far end if it's looped, then set your meter to resistance (ohms) or continuity. Touch one probe to each conductor of the cable. A healthy cable run with no fixtures attached should read open — infinite resistance, no beep. A reading near zero ohms means the two conductors are touching somewhere along that stretch: a dead short, confirmed without guessing. A low-but-not-zero reading, say a few ohms to a few hundred, suggests the soft kind of fault — moisture, corrosion, or a carbonized connector leaking current between the wires. You can bisect with the meter exactly the way you did with the breaker: split the run, measure each half, follow the low reading. One more pro move: while your helper watches the meter, walk the run and wiggle connectors and step near buried splices. A reading that jumps when you touch something is the fault announcing itself. If you're new to meters on these systems, my walkthrough on how to test landscape lighting with a multimeter covers the dial settings and probe technique in friendly detail. Write your readings down as you go — an hour in, you'll be glad you did.
The Repair: Cutting Out Damage and Making a Splice That Lasts
Found it? Now repair it like you never want to see it again, because the difference between a permanent fix and a recurring nightmare is almost entirely in this ten minutes. First, with the transformer unplugged, cut out the damaged section completely — don't try to save a few inches of compromised cable. Give yourself healthy, bright copper on both sides; if the strands are black or green, keep cutting back until they're shiny. Strip about half an inch of insulation from each end. For the connection itself, use gel-filled waterproof connectors made for direct burial, or adhesive-lined heat-shrink butt splices — both seal the copper away from soil moisture, which is the whole game underground. My step-by-step guide to splicing landscape lighting wire shows both methods with the little details that matter, like keeping the gel capsule fully closed. What I beg you not to do: twist the wires together and wrap them in electrical tape. Tape underground lasts one wet season, and then you'll be re-reading this guide in the rain. If the damage is at a fixture — a corroded socket or a cooked lead — replace the socket or the fixture rather than cleaning and hoping. Once repaired, test the full run for an entire evening with the cable still exposed, then bury it. A repair you watch working for one night is a repair you can trust for years.
What It Costs in 2026
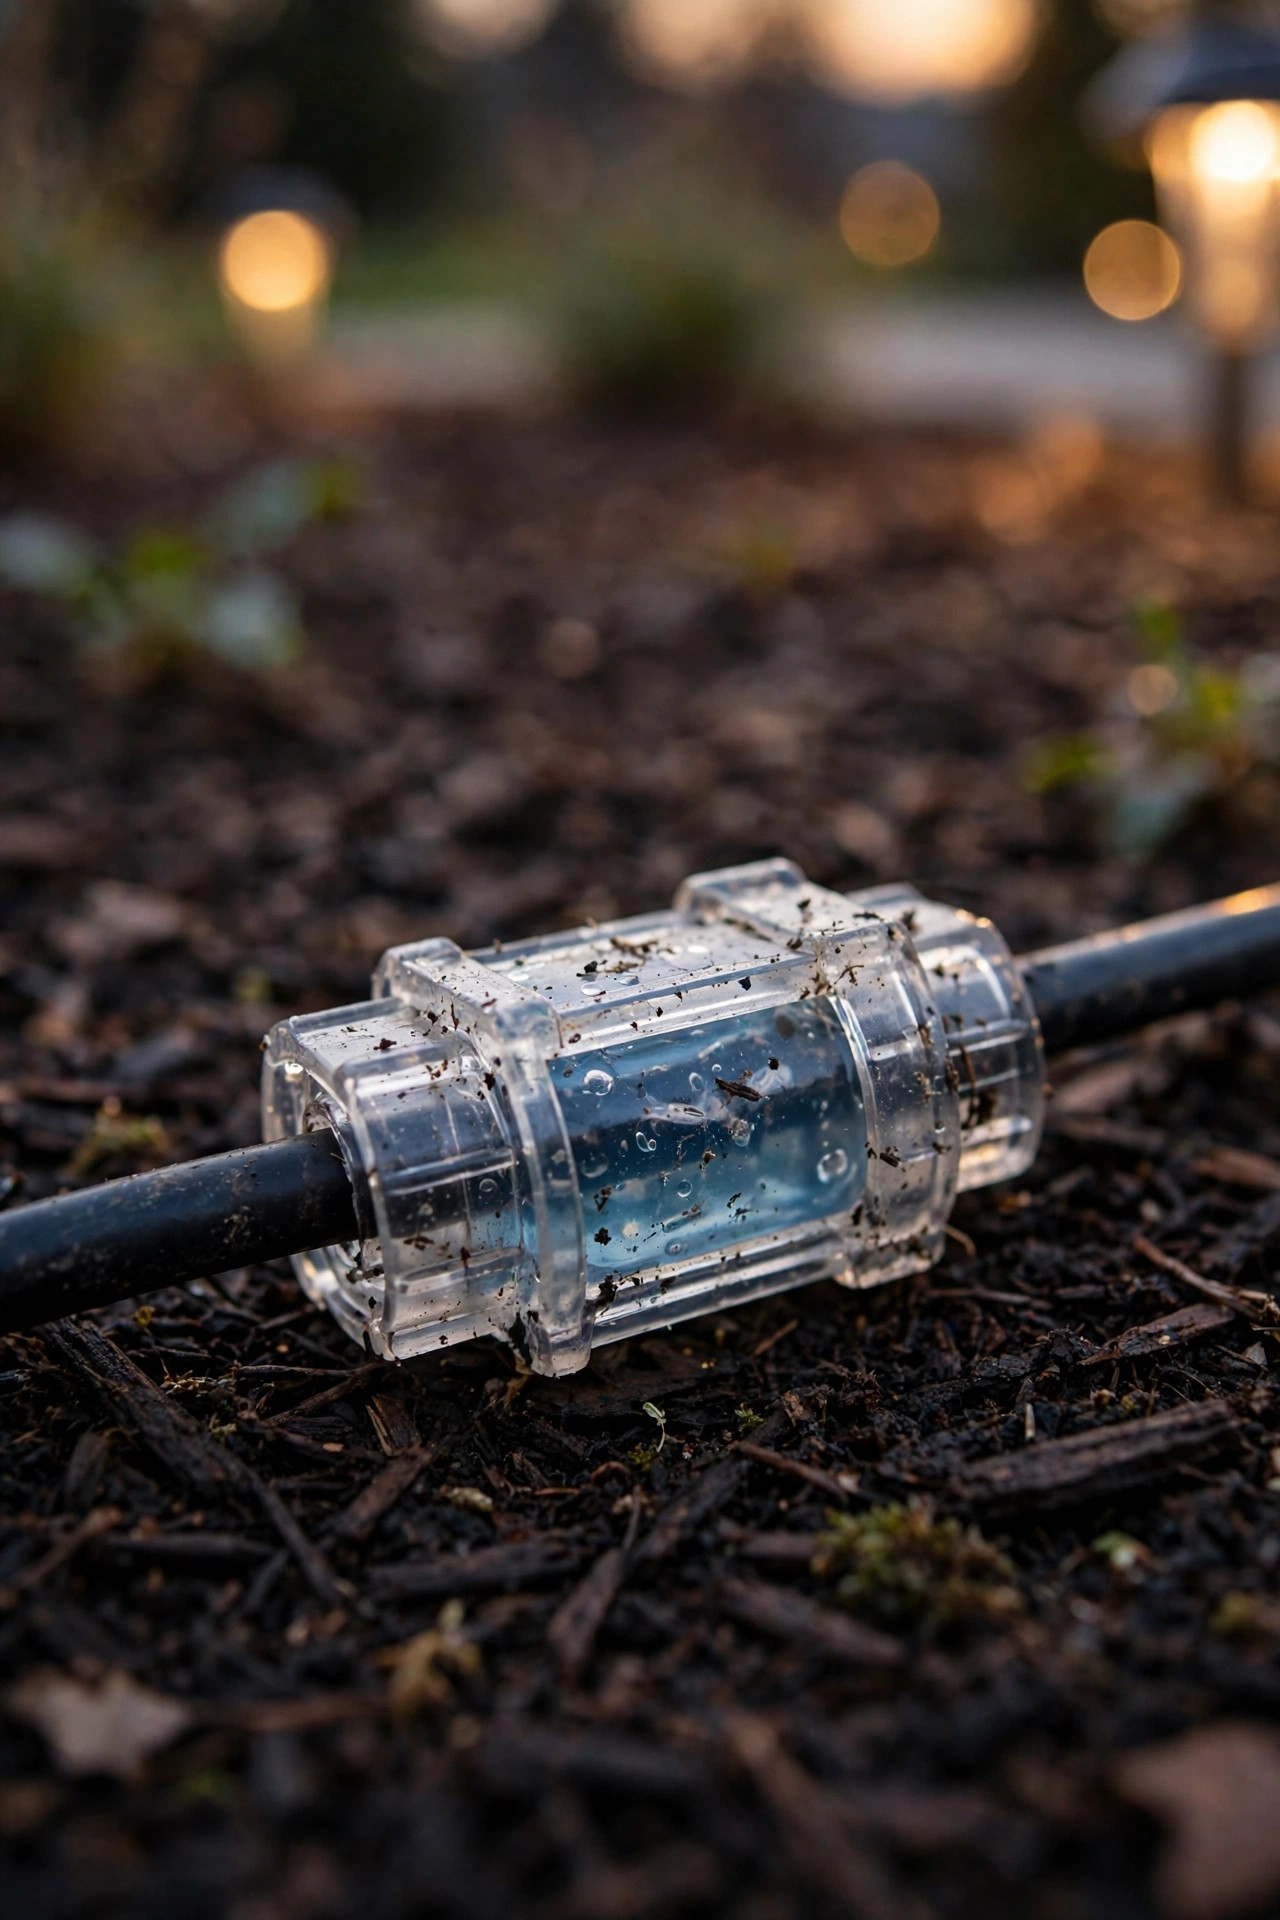
Here's the honest math, because this is one of those problems where the DIY savings are enormous. If the fault is a connector or a nicked cable — and it usually is — your parts bill is a pack of gel-filled waterproof connectors at $10 to $20, or a small heat-shrink splice kit for about $15. A perfectly decent digital multimeter runs $20 to $40 and will serve you for a decade of projects beyond this one. If you need to replace a damaged stretch of cable, 12-gauge low-voltage cable costs roughly $0.50 to $1.00 per foot, so even a generous 25-foot replacement section is under $25. The expensive outcomes are the rare ones: a genuinely failed transformer runs $80 to $250 depending on wattage and smart features, and a replacement fixture is $25 to $90 if a socket has cooked itself beyond saving. Now compare the professional route. Most electricians and landscape lighting pros charge a $150 to $400 service call minimum, with troubleshooting billed at $75 to $150 per hour — and to be fair, a good pro with a cable fault locator will find a buried short fast. My honest guidance: run the tests in this guide first. If two evenings of methodical testing don't corner it, or the fault turns out to be inside the transformer, that's when the pro earns their fee. Everything else on this page is a sub-$30 Saturday fix.
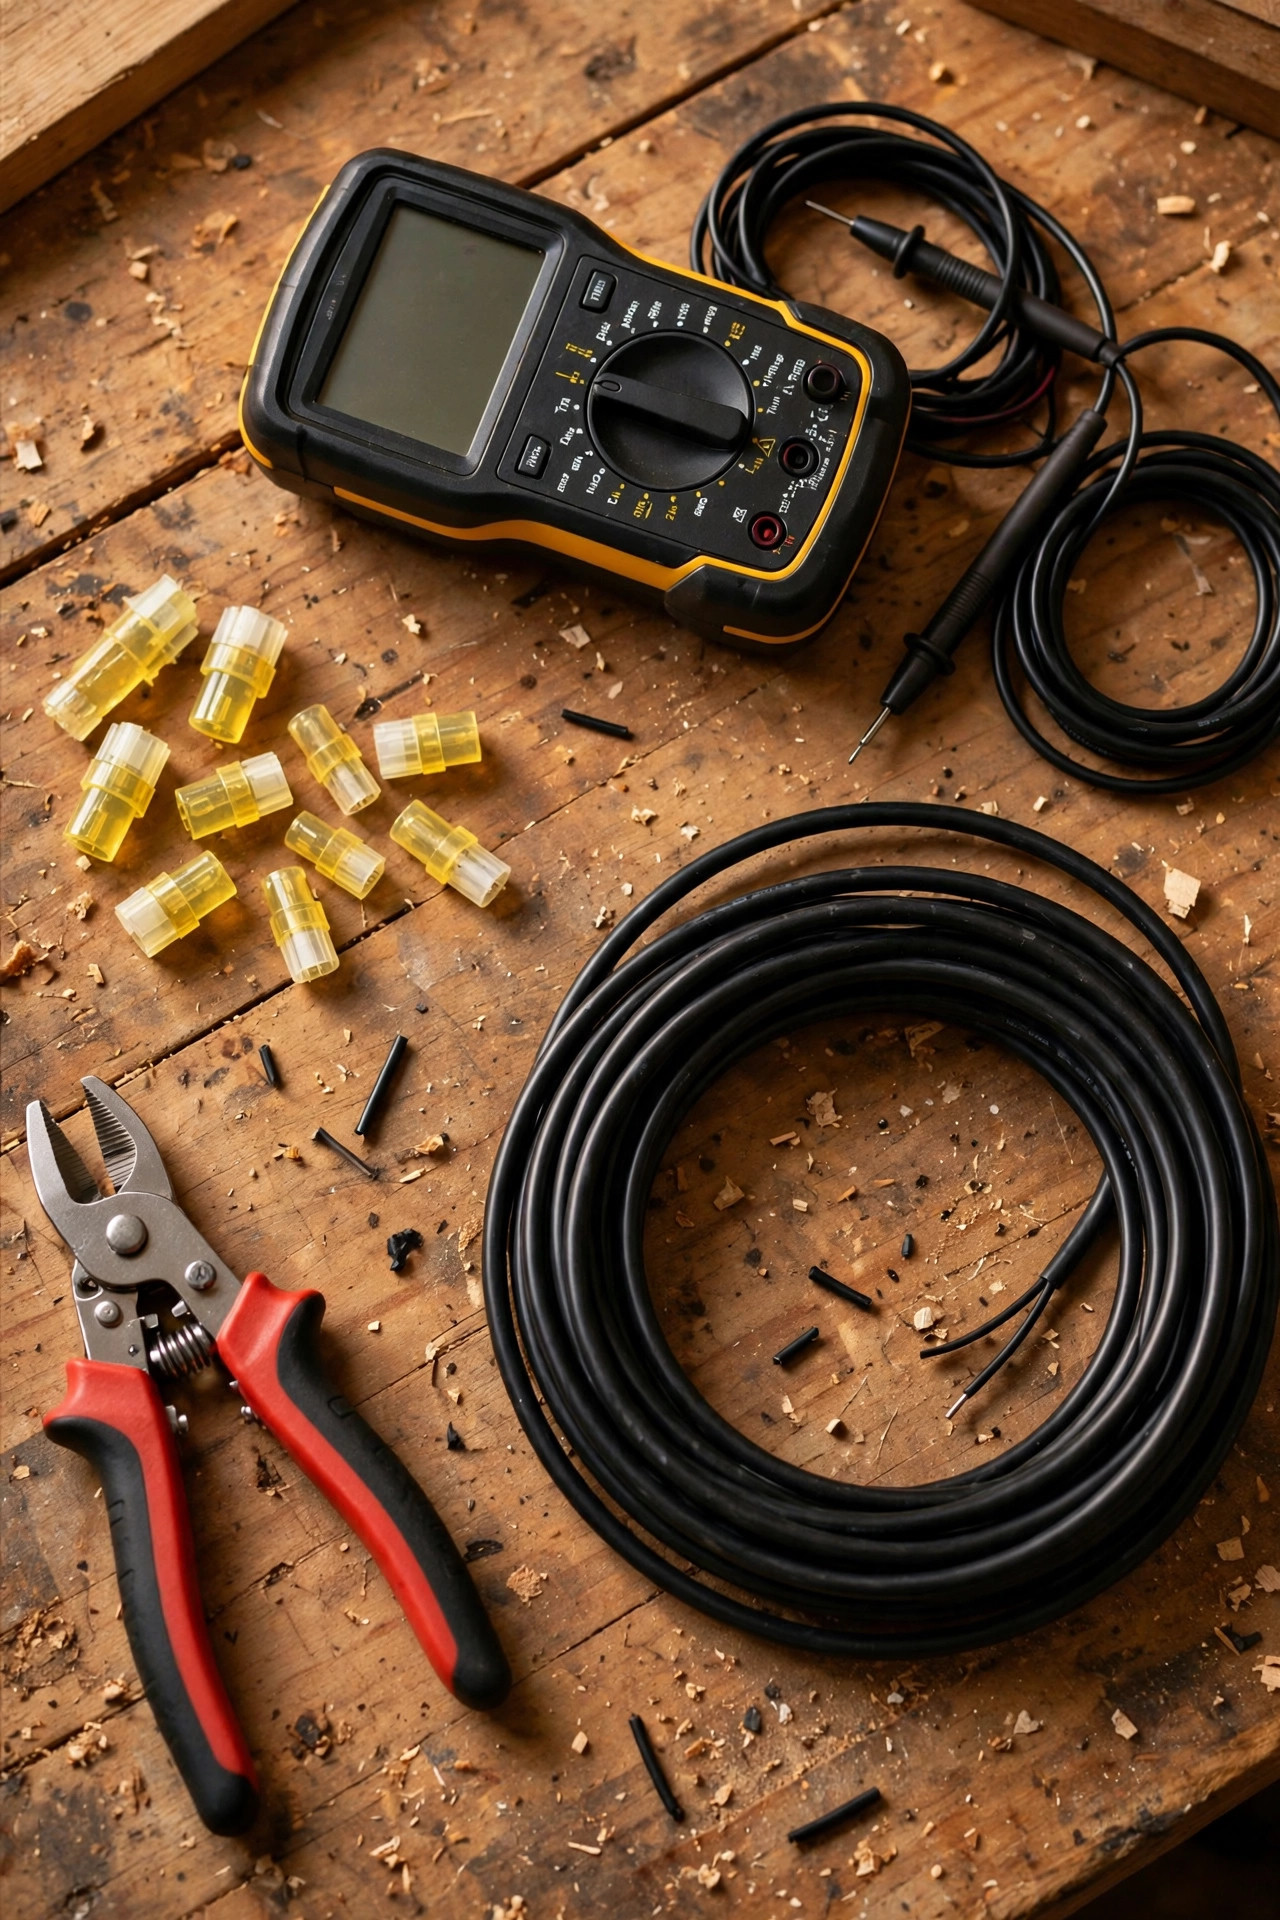
5 Mistakes That Keep the Breaker Tripping
I see the same five errors over and over, including a couple I made myself years ago. One: resetting the breaker nightly and hoping. Every trip is the fault cooking a little more insulation; hope is not a strategy, and the problem only ever gets worse. Two: defeating the protection — taping the breaker, up-sizing a fuse, or swapping to a bigger transformer to "handle it." That doesn't fix a short; it gives the short more current to make heat with. Three: the buried twist-and-tape splice, covered above but worth repeating, because half the recurring faults I find trace back to somebody's previous tape job. Four: replacing the transformer first. It's the most expensive part in the system and, statistically, the least likely culprit — a $150 guess that usually changes nothing. Test it bare, the way Step 1 describes, before spending a dime. Five: burying the repair before testing it. I know, the trench is open, the mulch is right there, you're tired. Resist. One evening of the system running with the repair exposed is the difference between "fixed" and "fixed, probably." A bonus sixth, because it causes so much grief: overloading a run while you're at it. If you've been adding fixtures for years, count your watts while the yard is apart — creeping past the transformer's capacity creates trip symptoms that perfectly imitate a short.
Prevention: A 20-Minute Check That Stops Repeat Trips
Once your yard is glowing again, a short spring ritual keeps it that way. Every year, before mulch season, walk the run with the system on and look at each connection point. Upgrade any remaining pierce-point connectors to gel-filled ones as you find them — this single change prevents more future faults than everything else on this list combined. Keep cable routes out of the edging line where tools do their damage, press in a few discreet marker flags or drop rocks where the cable crosses open bed edges, and slide a short sleeve of conduit over any stretch that passes under a path edge or garden border. Give splices a little slack loop rather than pulling them drum-tight, because taut connections work themselves apart as soil settles. While you're out there, add up the wattage on each run and keep the total under 80 percent of the transformer's rating; headroom is what separates a system that shrugs off a hot August night from one that trips at 9 p.m. If your far-end lights also run noticeably dimmer than the ones near the house, that's a different gremlin entirely — my guide to landscape lighting voltage drop explains how to rearrange runs so every fixture gets its fair share. Twenty minutes each spring, and most yards simply stop having this problem.

Frequently Asked Questions
Why does my transformer only trip after it rains?
Rain-trip patterns almost always mean water is completing the circuit. Moisture seeps into a cracked connector, a nicked cable jacket, or a flooded fixture, and wet soil plus water bridges the tiny gap between conductors that dry air keeps apart. The fault was already there; the rain just switches it on. Use the split-half test on a dry day, and pay special attention to low spots where water pools and any connection sitting at soil level.
Can too many lights trip the breaker even without a short?
Yes — that's an overload, and it imitates a short faithfully. Add up the wattage of every fixture on the transformer and on each individual run. If you're at or above the rating (and runs should stay under about 80 percent of it), the breaker will trip from heat after the system runs a while. The fix is moving some fixtures to another run, splitting the load across two transformers, or swapping hungry halogen bulbs for LEDs, which usually cuts the load by 75 percent or more.
How do I know if the transformer itself is the problem?
Disconnect every low-voltage wire from its terminals, plug it in, and set it to manual ON. If it trips with nothing connected at all, the fault is internal and the transformer needs replacing. If it hums along happily and your meter shows a steady 12 to 15 volts at the taps, the transformer is innocent — no matter how guilty it looks — and the short is out in the yard. Never skip this test; it's five minutes that can save you $150.
Is it safe to keep resetting the breaker and using the lights?
A handful of resets while you actively diagnose is fine — that's literally how the tests in this guide work. But running the system night after night on a fault that keeps tripping is a genuine fire and equipment risk: each trip is heat building at a damaged point in your wiring. If you can't find the fault quickly, leave the system off until you can, and never defeat the breaker to keep the lights on.
Conclusion
Here's what I hope you take from this: transformer tripping landscape lighting circuits are annoying, but they're rarely expensive and never truly mysterious. The breaker narrows the problem to one run, emptying that run separates fixtures from cable, and the split-half test walks you down the wire until the fault has nowhere left to hide. Repair it with sealed connectors, test it for an evening before you bury it, and give the system twenty minutes of attention each spring. Do that, and dusk goes back to being the best part of the day — your walkway glowing, your trees lit, and no walk out to the transformer in your slippers. If you're in the middle of a bigger lighting project, browse the rest of my guides and ideas here for layouts, costs, and fixture inspiration to make the whole yard shine.