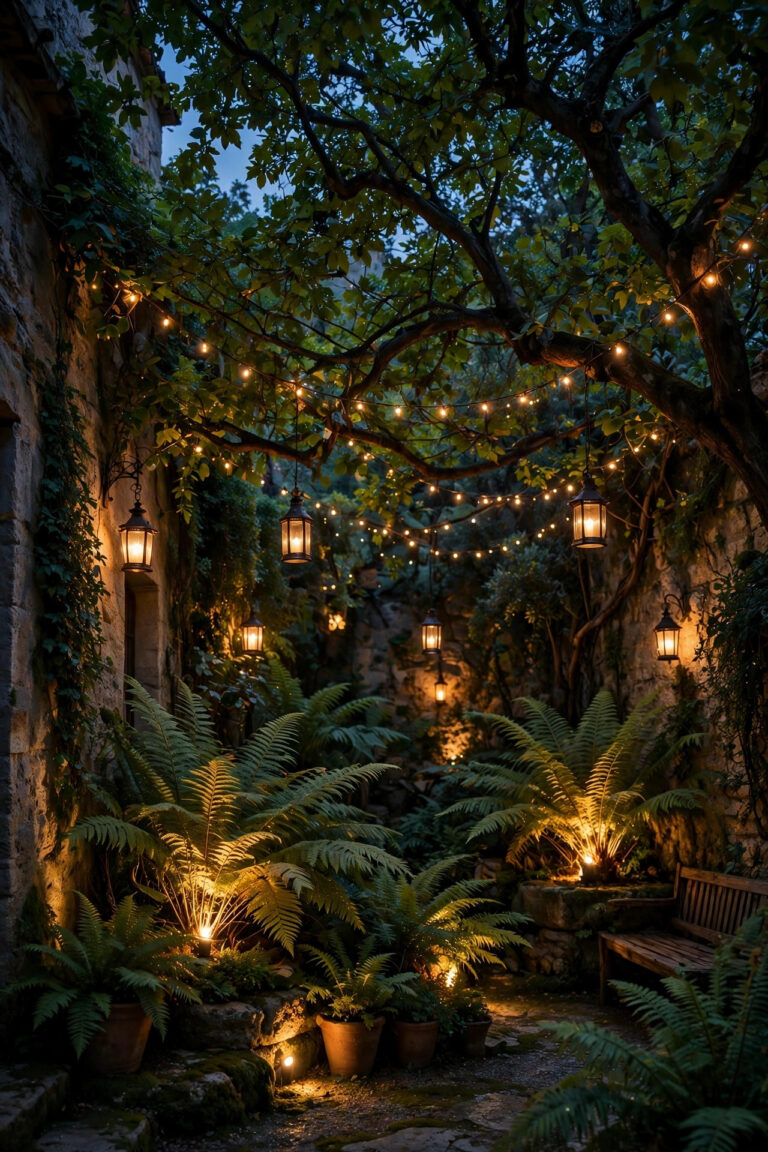
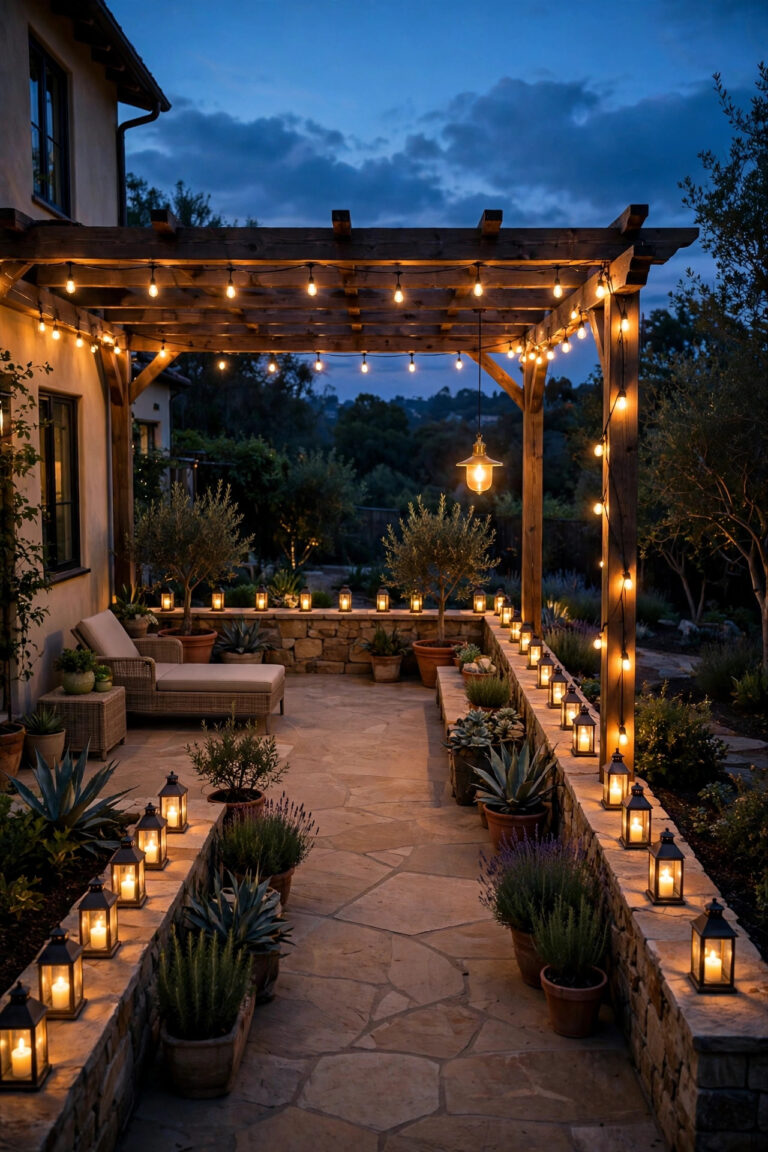
That skinny strip between your house and the fence is probably the most ignored square footage you own. Mine was a dark, slightly spooky tunnel I only used on trash night, and honestly? I held my breath on every single trip. The fix was not more light, it was smarter light. These narrow side yard lighting ideas all follow one rule I learned the hard way: in a tight corridor, light the edges and the ends, never blast the middle. Grazing the fence, washing the house wall, and finishing the view with one bright focal point tricks your eye into reading the whole passage as wider than it really is. That layering philosophy runs through every idea below: a low path layer so you can see your feet, a wall layer that pushes the boundaries outward, and a soft overhead or end-point glow that gives the space a destination. Whether your side yard is a working utility run or a secret garden path waiting to happen, you will find solar, low-voltage, and plug-in options here, most of them weekend-friendly and renter-friendly too.
1. Graze the Fence With Uplights to Push the Walls Out
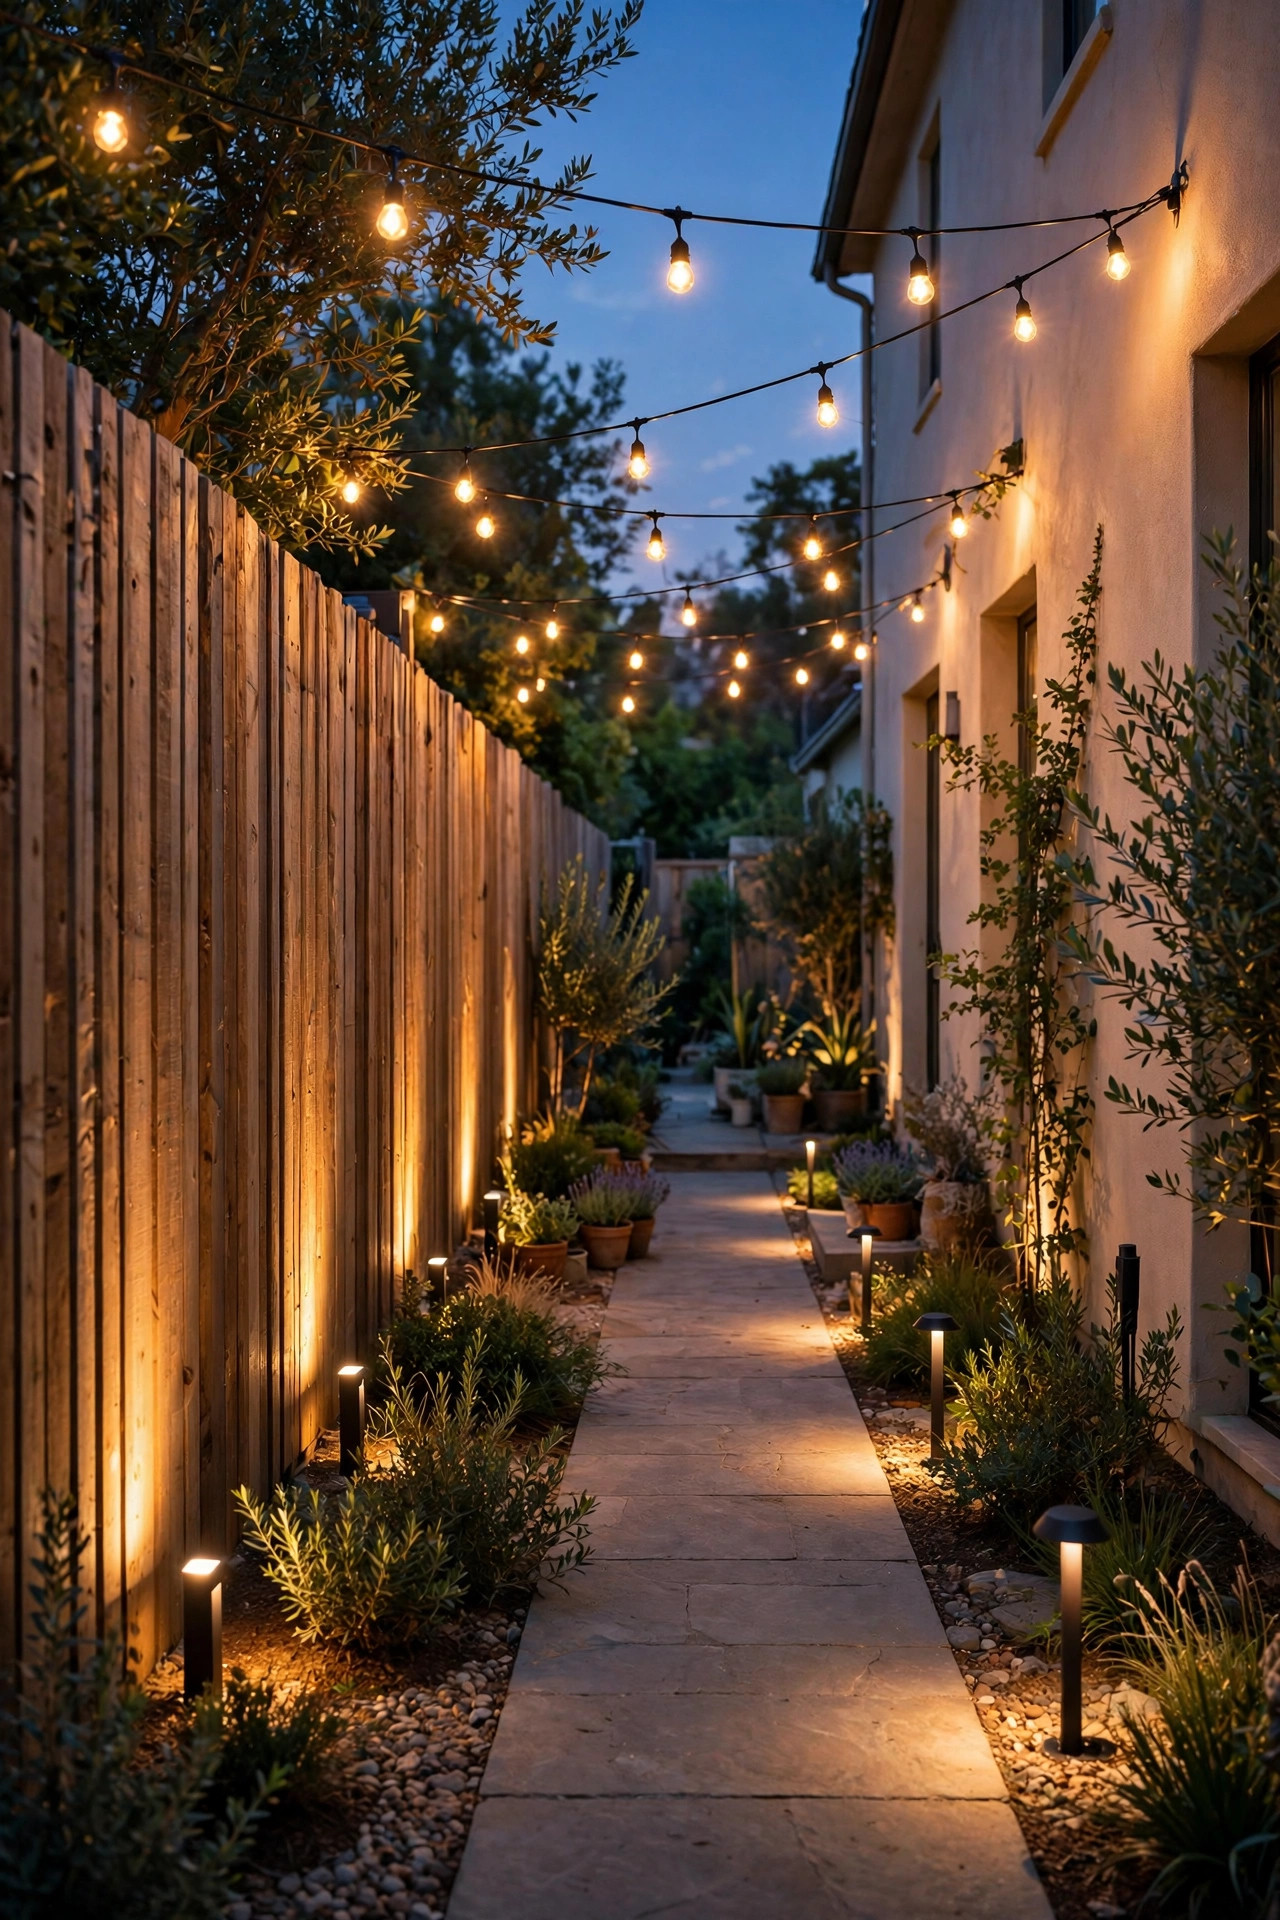
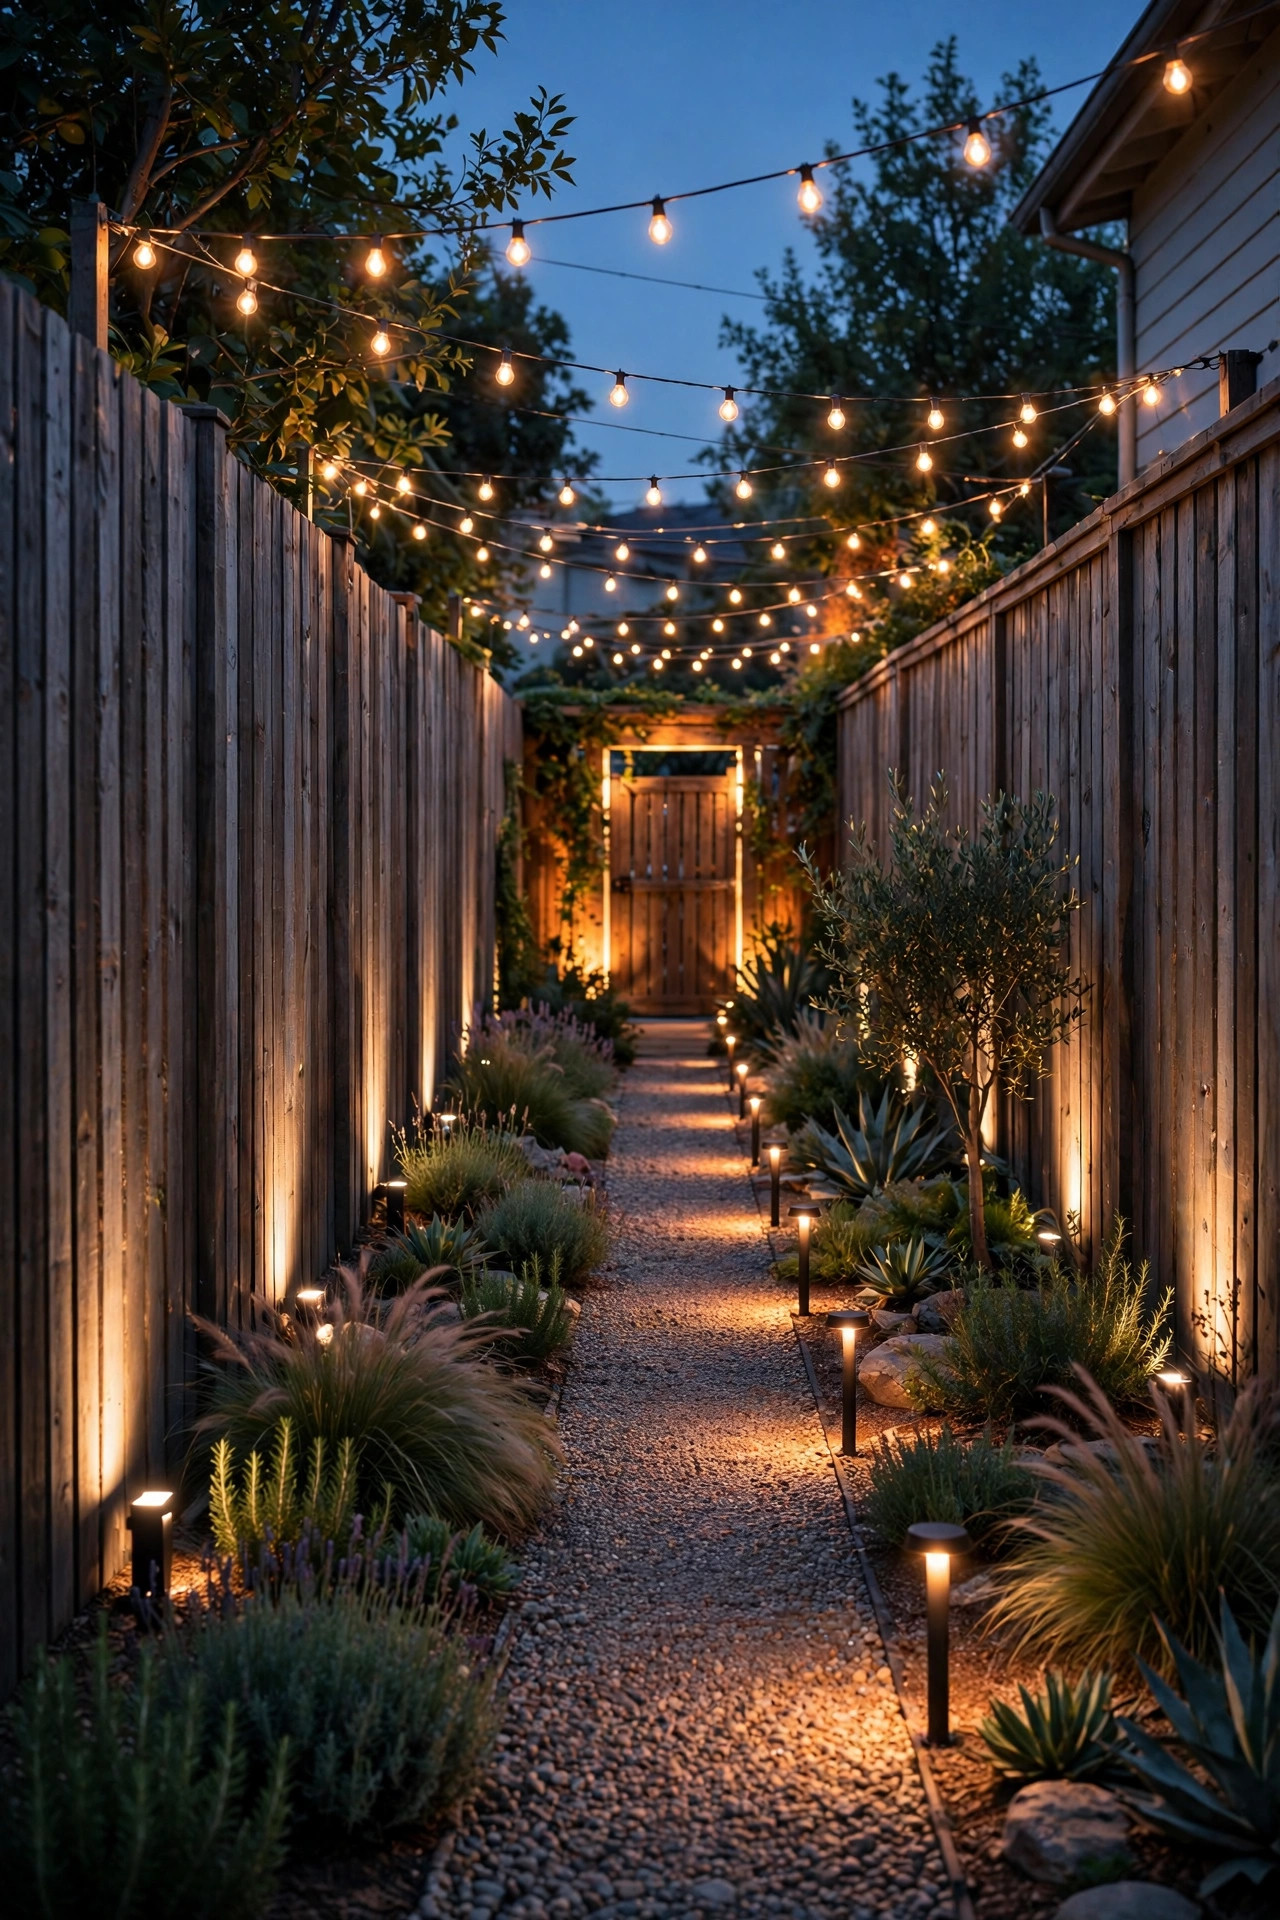
If you only do one thing from this list, do this one. Set small low-voltage uplights or well lights at the base of the fence every 6 to 8 feet and angle them up at about 30 to 45 degrees so the beam rakes across the boards instead of pointing straight up. That raking light is called grazing, and it does two jobs at once: it shows off every bit of texture in the wood or vinyl, and it makes your eye travel upward, which reads as height and width in a corridor that has neither. I run mine on a 12-volt system with 3- to 5-watt LED fixtures in a warm 2700K, tucked just in front of the fence line and slightly behind the planting edge so the fixtures themselves disappear. Keep the beams overlapping slightly so there are no black gaps between pools of light, because gaps shrink a space and continuity stretches it. This is the foundation layer of the whole passage, and once it is in, everything else on this list is just seasoning.
Suggested budget range: $60 – $140.

2. Hang a Zigzag String Light Canopy Overhead
A low ceiling of light is the oldest trick in the small-space book, and it works just as well outdoors. Run two or three zigzag passes of outdoor string lights between the house wall and the fence at about 7 to 8 feet high, high enough to walk under comfortably, low enough to feel like a ceiling rather than a streetlight. That glowing canopy gives the corridor a top edge, and once a space has a defined top, the sides automatically feel farther apart. Use a steel guide wire for any span over about 10 feet so the catenary sag stays graceful instead of droopy, and choose shatterproof LED filament-style bulbs, never glass, over a walkway. I anchor to the house with screw hooks into studs or masonry and to the fence with hooks on the posts, not the pickets. On a dimmer or a simple dusk-to-dawn timer, this layer turns the trash run into a little evening promenade, and it costs less than most people expect.
Suggested budget range: $35 – $90.

3. Line the Path With Low-Profile Bollard Lights
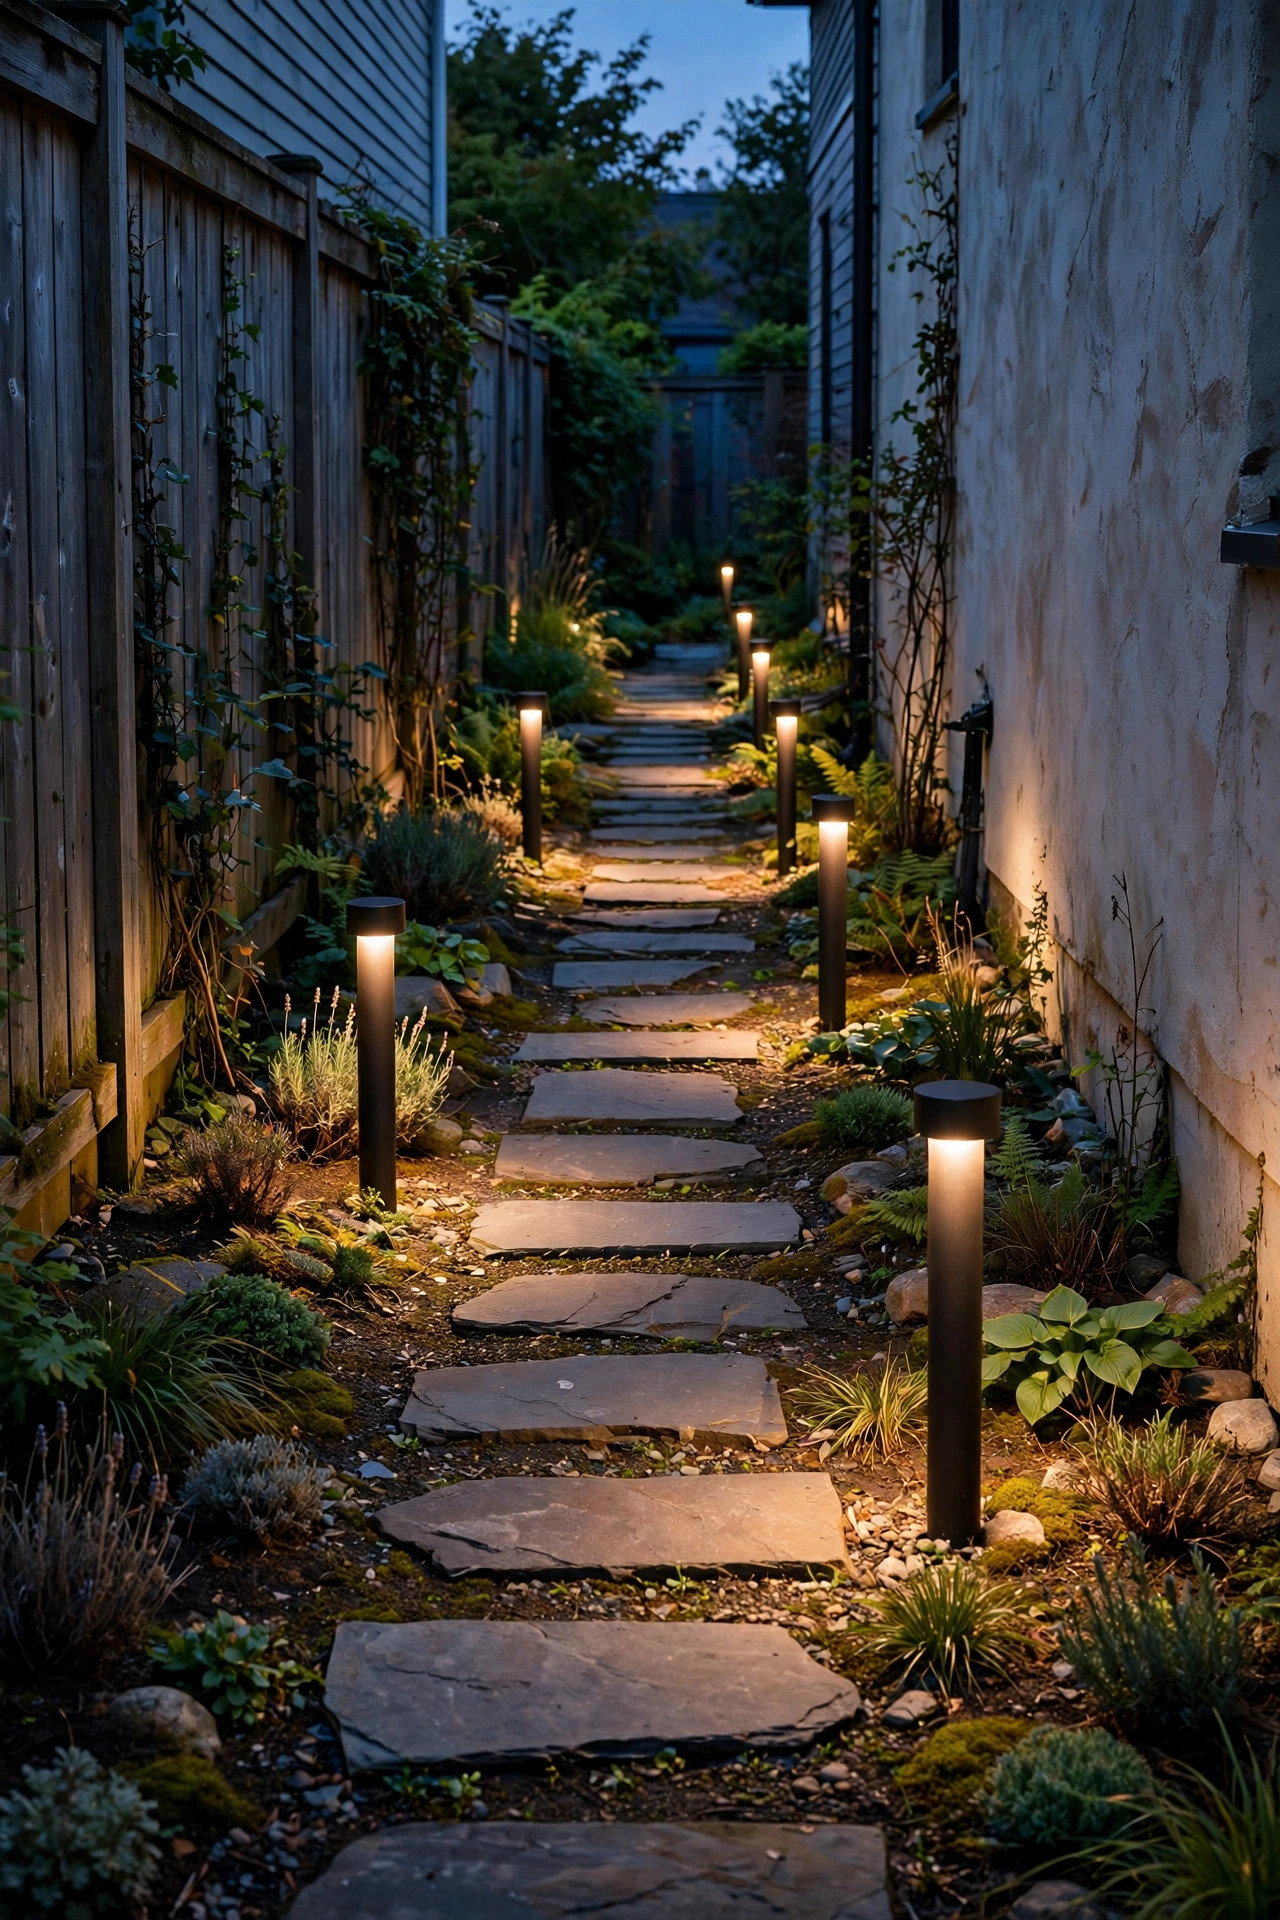
Tall path lights overwhelm a narrow passage, so go low and wide instead. Bollard-style fixtures in the 12- to 18-inch range throw their light down and out in a soft pool that hugs the ground, marking the walking line without glaring at eye level or crowding the walls. Space them every 5 to 6 feet and stagger them slightly from side to side rather than marching them in two straight soldier rows, because a gentle stagger makes the path feel meandering and generous instead of like a runway. This is the same low, staggered approach I use in my narrow walkway lighting ideas, and it transfers perfectly to side yards. Look for fixtures that shield the bulb from direct view, since a bare bulb in a 4-foot-wide corridor is right in your face. Low-voltage wired sets stay consistent on cloudy weeks, but good solar bollards work fine if the passage gets at least a few hours of direct sun.
Suggested budget range: $50 – $130.
4. Mount Slim Sconces Along the House Wall
The house side of the corridor is half your canvas, and most people leave it completely dark. Slim, low-profile wall sconces fix that. Mount them 5 to 6 feet up, spaced 8 to 10 feet apart, and choose fixtures that throw light mostly downward or in a soft up-down wash so the wall itself glows rather than the bulb glaring. In my experience, downlight from the house side balances the fence graze from idea one, and when both walls carry light, the dark middle band disappears and the passage reads at its full width, sometimes wider. Pick a fixture depth under 4 inches so nothing juts into the walking space, and match the finish to your trim or door hardware so it looks intentional. Hardwired sconces on a photocell are the set-and-forget option, but battery and solar sconces have gotten genuinely good and save the electrician entirely. Keep them at 2700K to 3000K so the wall wash stays warm and residential, not office-park white.
Suggested budget range: $45 – $120.

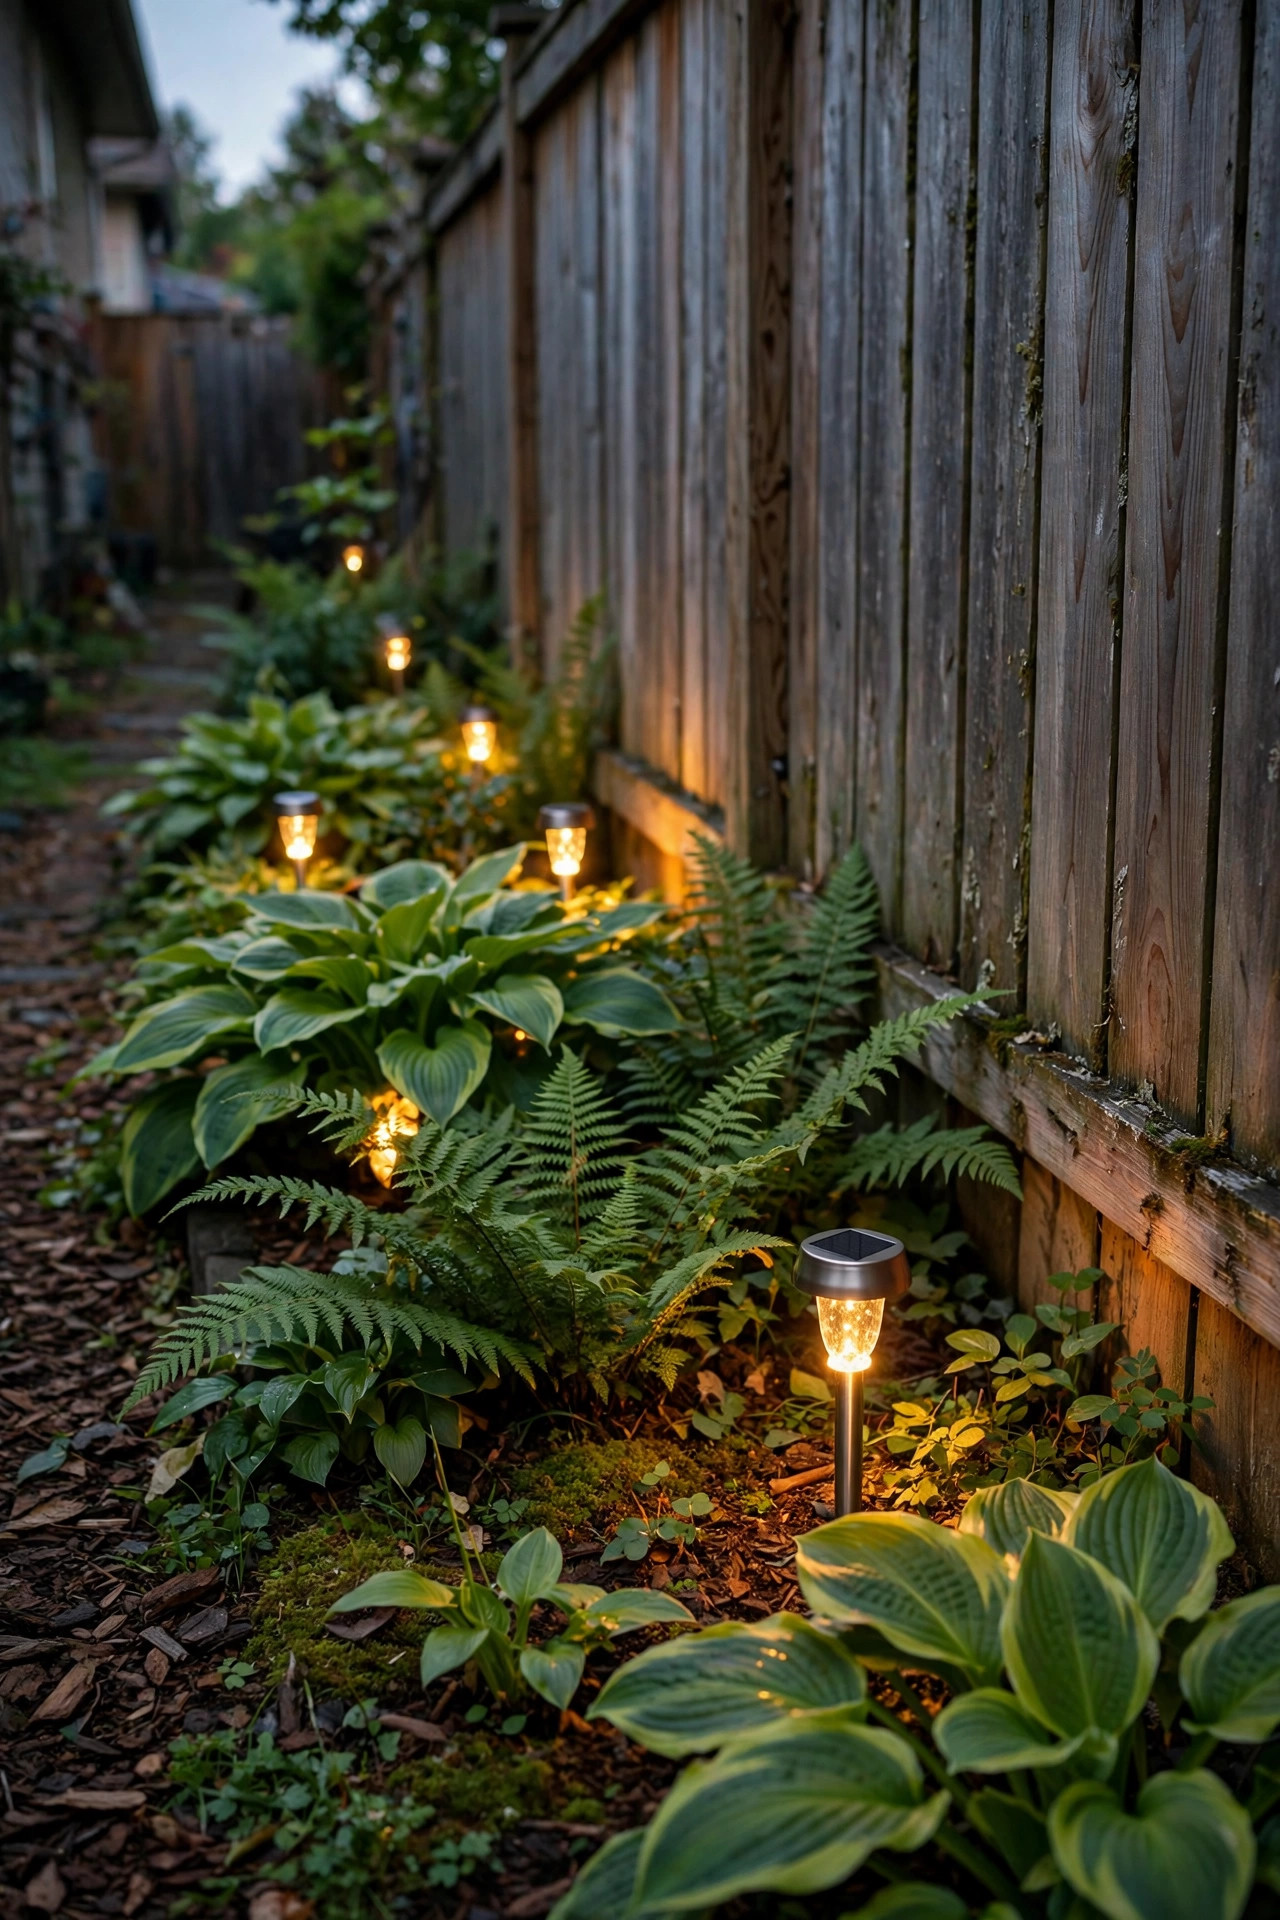
5. Tuck Solar Stakes Into the Planting Pockets
Most narrow side yards have little pockets of planting along the fence: a hosta here, a fern there, whatever survives the shade. Those pockets are free real estate for solar stake lights. Push a stake into each cluster, keeping the light low and slightly inside the foliage so the leaves catch the glow and the fixture stays hidden. Lit foliage does something wonderful in a tight space: it softens the hard fence line, and a soft edge always feels farther away than a hard one. Choose stakes with the solar panel built into the top and at least 8 to 10 lumens if you want actual path visibility, or the tiny 2-lumen accent stakes if this layer is purely decorative over a wired base. Be honest about your sun, though. A side yard between two houses might only get two hours of direct light, and in that case spread fewer, better stakes on the sunny end and let wired lights carry the shady end.
Suggested budget range: $25 – $70.
6. Give the Eye a Bright Finish Line at the Far End
Here is a designer trick that costs almost nothing: make the far end of the passage the brightest thing in it. A lit focal point at the end, a small ornamental tree washed with light, a glowing lantern on the gate, even a bright birdbath, pulls your gaze straight down the corridor, and a space you look through feels dramatically longer and wider than a space that dead-ends in darkness. I aim the focal point about twice as bright as the path lighting around it, somewhere in the 300- to 400-lumen range, so it registers as a destination rather than just another fixture. One well-placed spotlight or a pair of crossed uplights on a feature is all it takes. This trick works in every long, skinny space, from hallways to garden paths, and it is the single fastest way to make a 40-foot utility run feel like a designed garden walk instead of a leftover gap between houses.
Suggested budget range: $30 – $100.

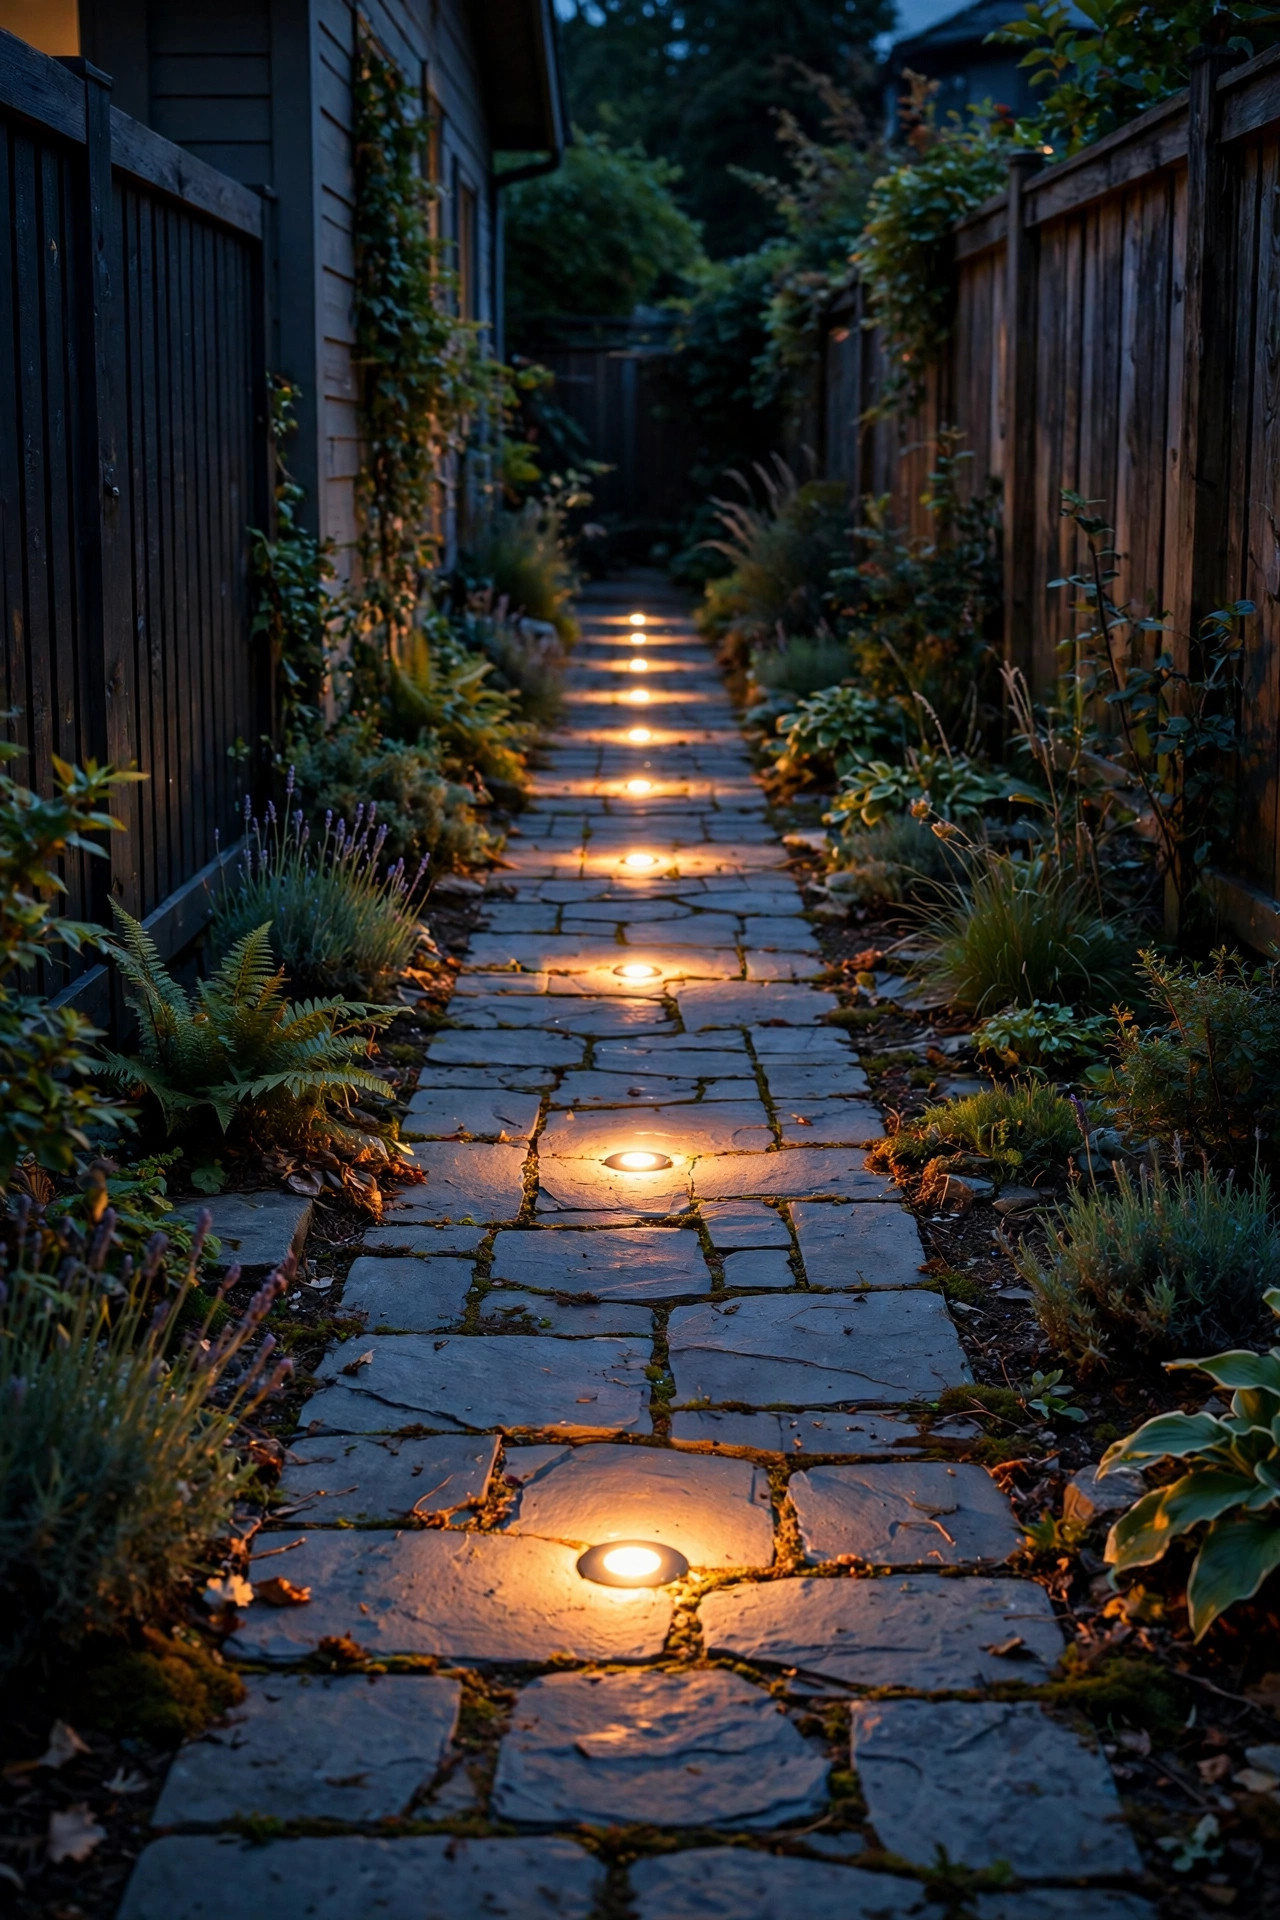
7. Sink Recessed Lights Flush Into the Pavers
When a passage is truly tight, say under 4 feet wide, even low bollards can feel like obstacles. The answer is to put the light in the floor. Recessed paver lights and in-ground deck lights sit completely flush with the walking surface, so nothing catches a toe, a trash can wheel, or a mower. Run them in a line about 12 to 18 inches from the fence or wall edge, spaced every 4 to 5 feet, and the lit edge line visually widens the path because your eye measures the space from light to light rather than from wall to wall. Most kits are 12-volt with replaceable LED pucks, and the better ones have stainless or heavy composite housings rated for foot traffic and weather. Renters and the commitment-shy can get a similar effect with flat solar deck discs that drop into place with no wiring at all, though they sit a hair proud of the surface. Either way, flush lighting is the cleanest, most modern look on this whole list.
Suggested budget range: $70 – $180.
8. Uplight a Trellis to Borrow Vertical Space
Narrow spaces feel narrow mostly because they are all horizontal squeeze and no vertical interest. A simple flat trellis panel on the fence, planted with a climbing rose, jasmine, or even a tidy evergreen vine, changes that completely once you light it. Set one small uplight at the base, 6 to 12 inches out from the fence, and let the beam climb through the foliage. The lit leaves flicker a little in a breeze, the shadows play on the boards behind, and suddenly the corridor has a living wall that draws your eye up instead of across to the neighbor. Keep the fixture to a narrow 30-degree beam so light stays on the trellis and does not spill into windows. LED only anywhere near dry foliage, and in my experience this is the idea guests comment on most, because it makes the passage feel like a garden room you pass through rather than a gap you endure.
Suggested budget range: $25 – $80.

9. Narrow Side Yard Lighting Ideas for the Trash Run: Motion Sensors That Earn Their Keep
Let us be practical for one idea: most side yards exist so you can haul bins, reach the AC unit, and store the ladder. That run deserves light that works as hard as you do. A motion-sensor fixture over the gate or midway down the passage gives you bright, hands-full-friendly light exactly when you are out there, and darkness the rest of the night so you are not lighting the fence for nobody. I always recommend dual-brightness models if you can find them: a soft 20 percent glow all evening so the passage never looks abandoned, jumping to full brightness when the sensor trips. Mount the sensor 7 to 8 feet up and aim it along the path, not across it, to catch you early. Keep this layer on its own switch or sensor circuit, separate from your pretty garden layers, because utility light wants to be brighter and cooler than mood light, and mixing the two jobs on one timer satisfies neither.
Suggested budget range: $20 – $60.

10. Wash the Fence From Above With Mounted Downlights
Idea one grazed the fence from below; this one washes it from above, and the two looks are worth comparing before you commit. Small downlights mounted on the fence posts or under a simple cap rail every 8 to 10 feet cast soft cones of light down the boards and onto the planting bed below. The effect is calmer and more even than grazing, less dramatic texture, more gentle glow, and it doubles as real path lighting since the pools land where you walk. It is one of my favorite fence lighting ideas for narrow lots because the fixtures live on the fence itself, taking zero floor space. Solar versions with remote panels work if your fence top gets sun; otherwise low-voltage wired is the reliable route. Aim for fixtures with a hood or louver so the light goes down, not into the eyes of anyone walking the passage, and space the cones so their edges just touch on the ground.
Suggested budget range: $55 – $130.

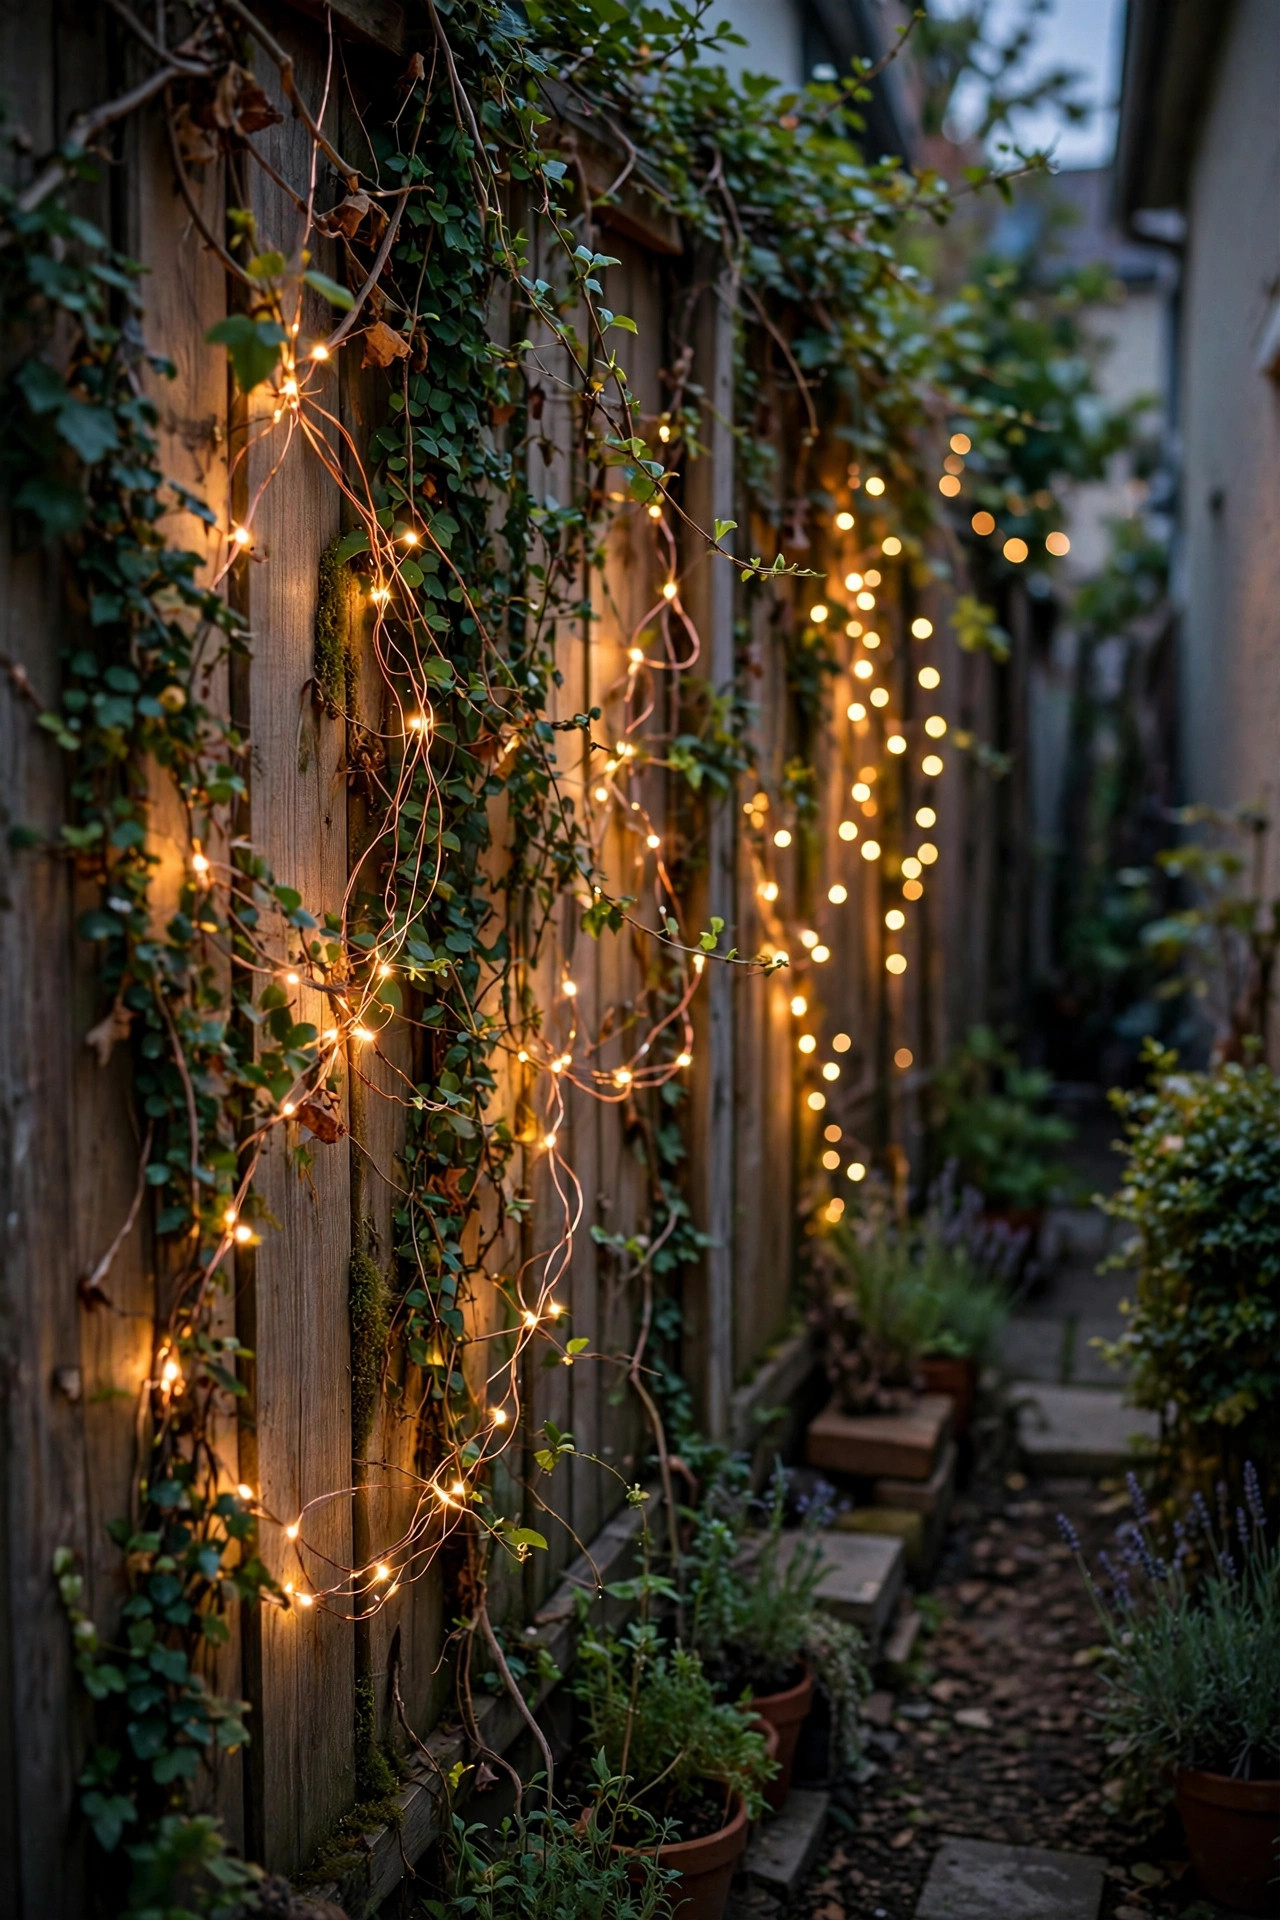
11. Weave Fairy Lights Through the Fence-Line Vines
For pure charm per dollar, nothing beats copper-wire fairy lights woven through whatever is already growing along the fence. The tiny LEDs disappear into the leaves by day and turn the whole green wall into a constellation by night, and because the light points are so small and so many, the fence line stops reading as a flat wall and starts reading as depth. That depth illusion is pure gold in a narrow passage. Use LED strings only, never anything that warms up, anywhere near foliage, and choose outdoor-rated sets with a timer plug so they run dusk to bedtime without you thinking about it. I weave loosely in big S-curves rather than tight wraps, about one 33-foot strand per 8 feet of planting, and let some strands droop slightly for a relaxed, grown-in look. Battery strands work for a single panel, but for a full run, one plug-in set on a timer is cheaper and far less fiddly.
Suggested budget range: $15 – $45.
12. Stagger Lantern-Style Path Lights Instead of Lining Them Up
Straight double rows of identical lights are what make a path feel like an airport runway, narrow and purely functional. Break the runway by using lantern-style path lights and staggering them: one on the fence side, the next on the house side a few feet farther along, zigzagging gently down the passage. Your eye follows the zigzag, and a path your eye travels diagonally feels wider than the same path read straight on. Lanterns earn their keep here because their light glows in every direction through the glass, reading as little destinations rather than hardware. Keep them short, 12 to 15 inches, with seeded or frosted glass to soften the bulb, and leave at least 3 feet of clear walking width between lantern and opposite wall. In my experience, five or six lanterns down a 40-foot run, staggered, look richer than ten in formation, which means this idea often costs less than the neat-and-tidy version while looking twice as designed.
Suggested budget range: $40 – $110.

13. Pick One Color Temperature and Never Mix
This idea is free if you plan before you buy, and it quietly ruins more side yards than any other mistake. When one fixture glows warm amber and the next blasts blue-white, your eye keeps jumping between them, and all that visual stopping and starting makes a small space feel even smaller and more chaotic. Choose one color temperature for the whole passage, and in a residential side yard that number should be 2700K, or 3000K at the very whitest. Check the box before you buy every single fixture, because product lines are notorious for offering the same light in three temperatures. Warm light also flatters wood fences, brick, and foliage, while cool light flattens all three into gray. The one exception I allow is the utility motion light from idea nine, which can run a touch brighter and whiter since it is a work light, not part of the evening scene. Everything that stays on after dark matches, no exceptions.
Suggested budget range: $20 – $60.

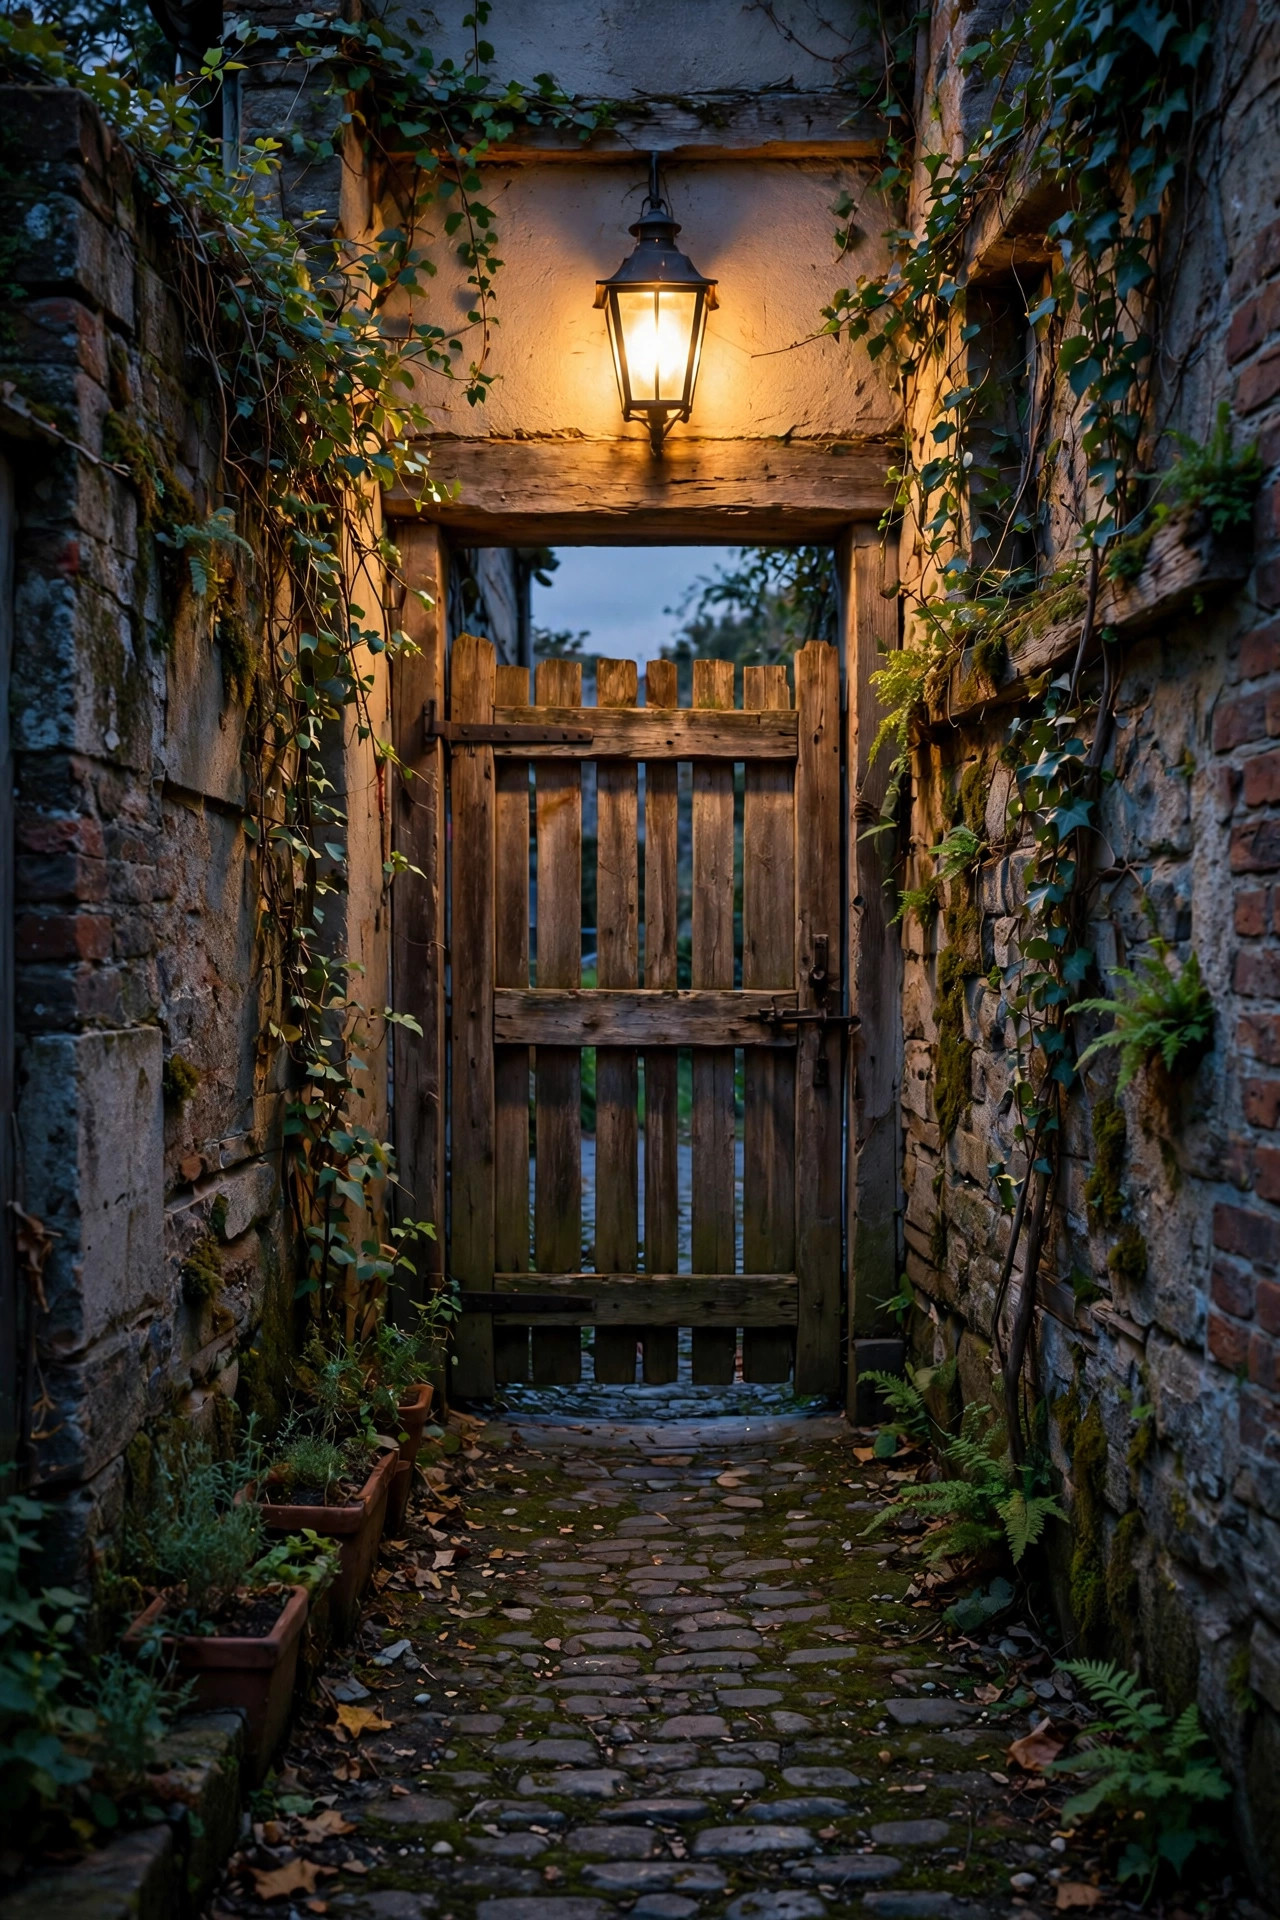
14. Light the Gate Like It Is a Front Door
The gate at the end of a side yard is usually a sad, sagging afterthought, but treat it like a front door and the whole passage gains a sense of arrival. Flank it with one small lantern or mount a single fixture above it, and suddenly the corridor has a period at the end of the sentence. This pairs beautifully with the bright finish line from idea six, and honestly the two together are the cheapest width illusion in this entire post. If your gate opens to the front yard, the light also does real security work, marking an entry point most burglars would prefer stayed dark. Choose a fixture scaled to the gate, nothing over about 10 inches tall, in the same finish as your sconces so the passage reads as one designed system. Solar lanterns with a dusk sensor are the zero-wiring option; just be sure the panel clears the fence shadow by midday or it will quit on you by nine at night.
Suggested budget range: $30 – $90.
15. Edge a Raised Bed or Step With LED Strip Light
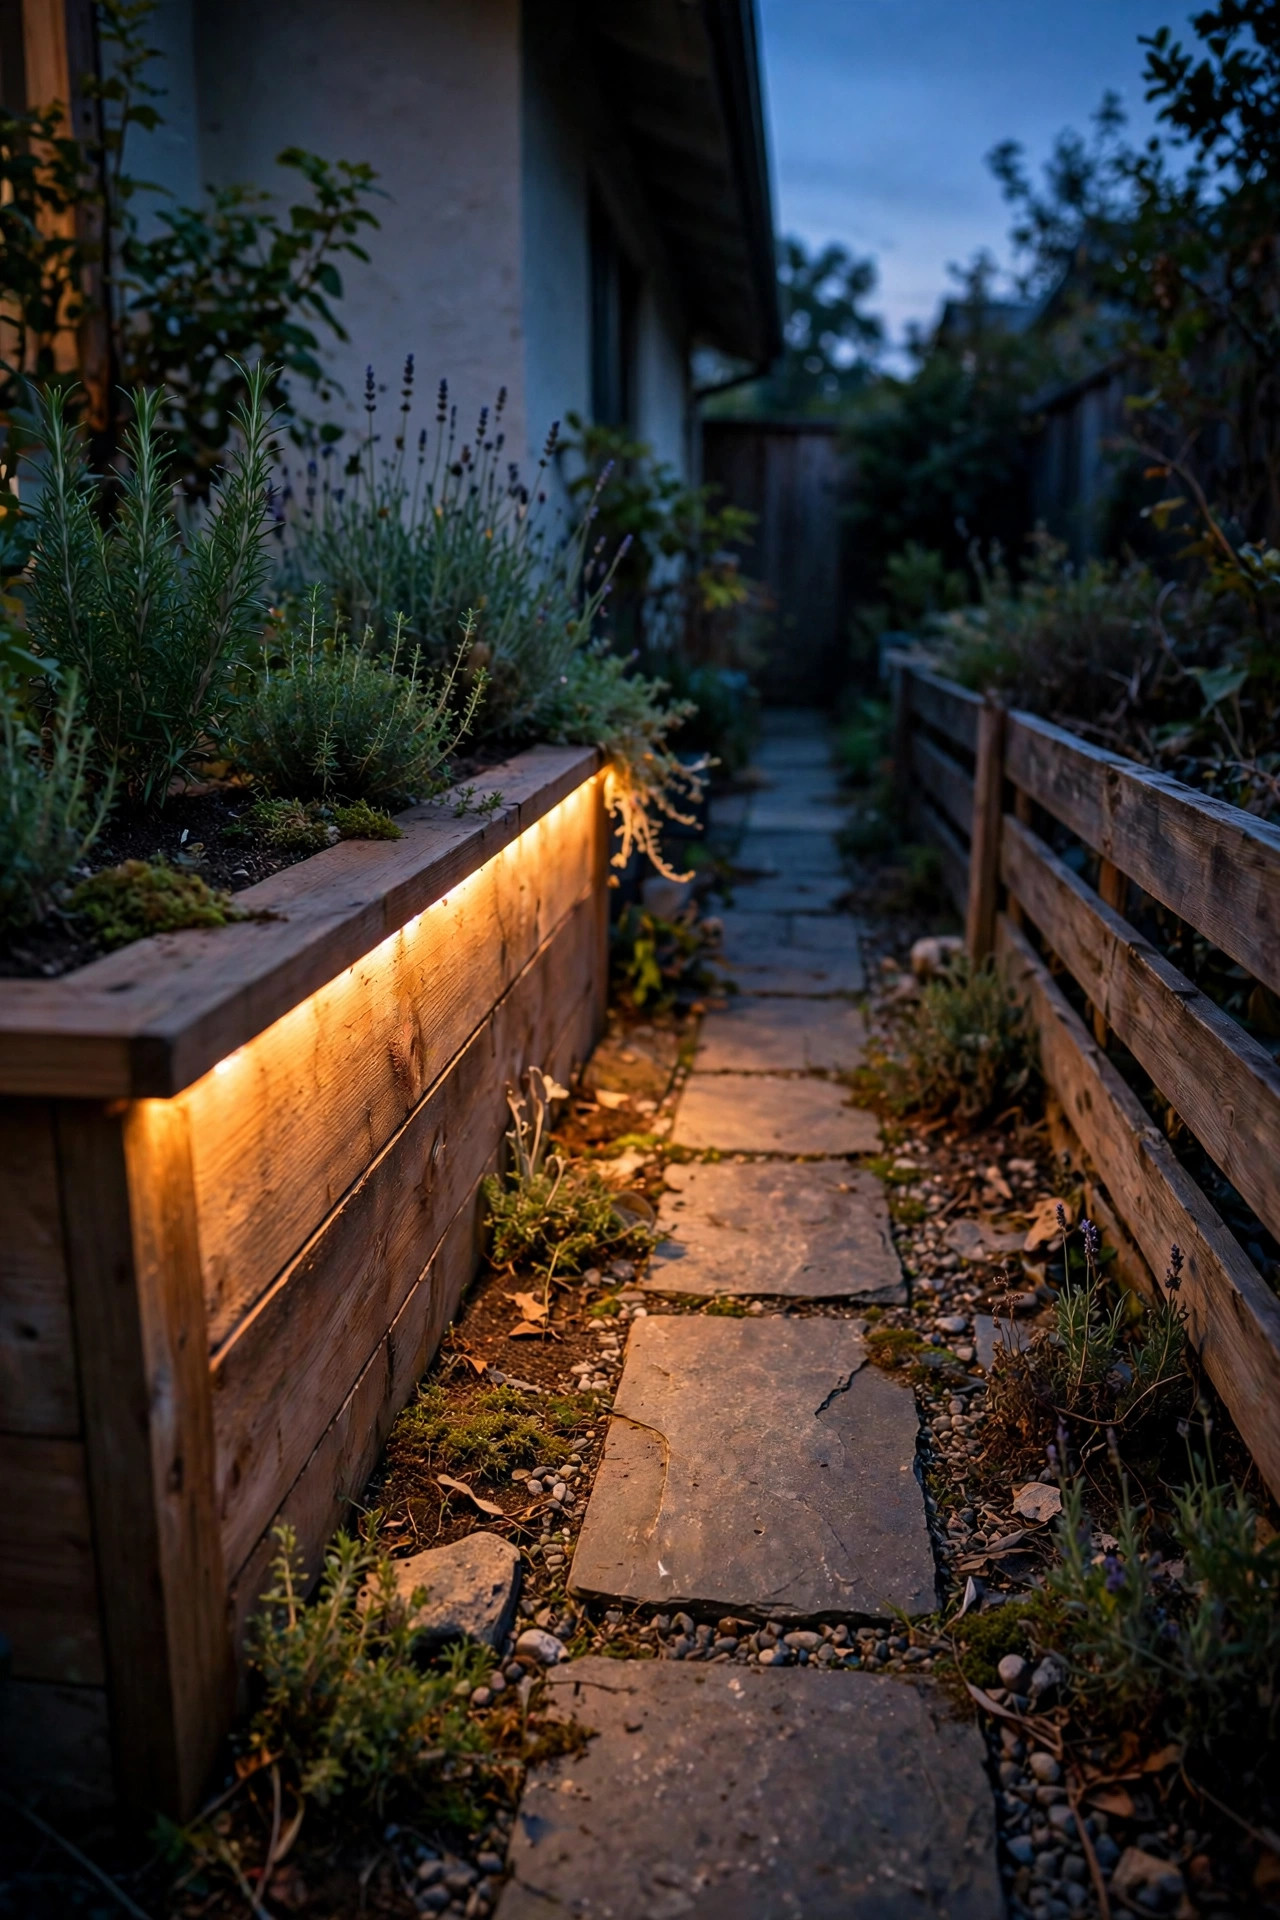
A line of light at ground level is a powerful widening tool because it draws a bright boundary exactly where the walking space ends. If your side yard has a raised bed along the fence, a low retaining edge, or even two or three steps, tuck an outdoor LED strip under the cap or nosing so it washes down the face and pools on the path. The hidden source makes it look architectural, like the bed itself is glowing, and the continuous line reads far more spacious than the same brightness in separate dots. Use a strip rated IP65 or better, in an aluminum channel with a diffuser if you can, since bare strip diodes look cheap and die young outdoors. Keep strips LED-only near any mulch or timber, and put them on the same timer as your path layer. This is also the safest step lighting I know, because the whole tread edge glows instead of one spot in the middle.
Suggested budget range: $30 – $85.
16. Hang Pendant Lanterns From Brackets Down the Fence
If string lights feel too casual for your house, pendant lanterns on simple wall brackets give you the same overhead glow with a more tailored silhouette. Mount three or four brackets on fence posts or the house wall, 7 to 8 feet up and spaced 10 to 12 feet apart, and hang a weatherproof lantern from each. Because the lanterns hang at slightly different points down the corridor, they create rhythm, and rhythm is another word for visual width: the eye counts the beats and perceives a longer, larger space. Choose lanterns with the bulb set high inside the housing so you get glow without glare at eye level, and keep the style lantern-like rather than bare-bulb industrial, which can feel harsh in a tight space. Solar hanging lanterns make this a one-afternoon project with zero wiring, though wired pendants on the house wall are the brighter, all-weather choice. Either way, this layer pairs beautifully over a base of low path lights.
Suggested budget range: $45 – $120.

17. Layer It All: My Go-To Narrow Side Yard Lighting Ideas Formula
Here is the whole post in one recipe, the exact combination I install when a client shows me a gloomy 5-foot corridor and a modest budget. Start with the fence graze from idea one as your boundary layer, low bollards or recessed lights as your path layer, and one bright focal point or lit gate at the end as your finish line. Add string lights overhead only if the passage doubles as a garden walk; skip them on a pure utility run and let the motion light from idea nine handle that job. Put every layer that stays on at night on one photocell timer so the scene builds itself at dusk: walls first, path always, accents on top. Keep everything 2700K, keep every bulb shielded from direct view, and resist adding one more fixture once it looks good, because in a narrow space restraint is what reads as spacious. Done well, your narrow side yard stops being the space between the houses and becomes the prettiest walk on the property.
Suggested budget range: $150 – $400.
Frequently Asked Questions
How bright should lighting be in a narrow side yard?
Brighter is not better in a tight corridor. Aim for gentle path lighting around 50 to 100 lumens per fixture, wall washes in the 100 to 200 lumen range, and one focal point or gate light around 300 to 400 lumens so the end of the passage reads as the destination. If a single fixture lights the whole yard like a parking lot, it will flatten everything and make the space feel smaller, not bigger.
Do solar lights actually work in a shaded side yard?
Sometimes, and it depends entirely on your sun window. Most solar path lights need 4 to 6 hours of direct sun to run all evening, and a passage between two houses may only get two. Put solar fixtures on the sunny end, choose models with separate remote panels you can mount on the fence top in full sun, and let low-voltage wired lights carry the deep-shade sections so the path never goes dark.
What color temperature makes a narrow space feel wider?
Warm white, around 2700K, is the sweet spot for side yards. It flatters wood, brick, and foliage, and a single consistent temperature across every fixture makes the corridor read as one calm, continuous space. Mixing warm and cool bulbs creates visual stops and starts that chop up the passage and make it feel smaller. Whatever you choose, buy every fixture in the same temperature.
How far apart should I space path lights in a side yard?
Every 5 to 6 feet works for most narrow passages, a little closer than the spacing you would use in an open yard, because the walls bounce light back and forth. Stagger the fixtures from side to side instead of lining up two straight rows, and check the result after dark before you bury any cable: you want overlapping pools of light with no fully dark gaps between them.
Conclusion
A narrow side yard is never really about width, it is about what your eye is given to look at. Light the boundaries, mark the path low and warm, finish the view with something bright to walk toward, and the tightest corridor on your lot starts to feel like a garden passage instead of a gap. Start with the fence graze and one good focal point from these narrow side yard lighting ideas, live with it for a week, and add layers only where the darkness still bothers you. For wider strips and more general layouts, browse my full side yard lighting ideas roundup next, then come back here for the tight-space tricks.