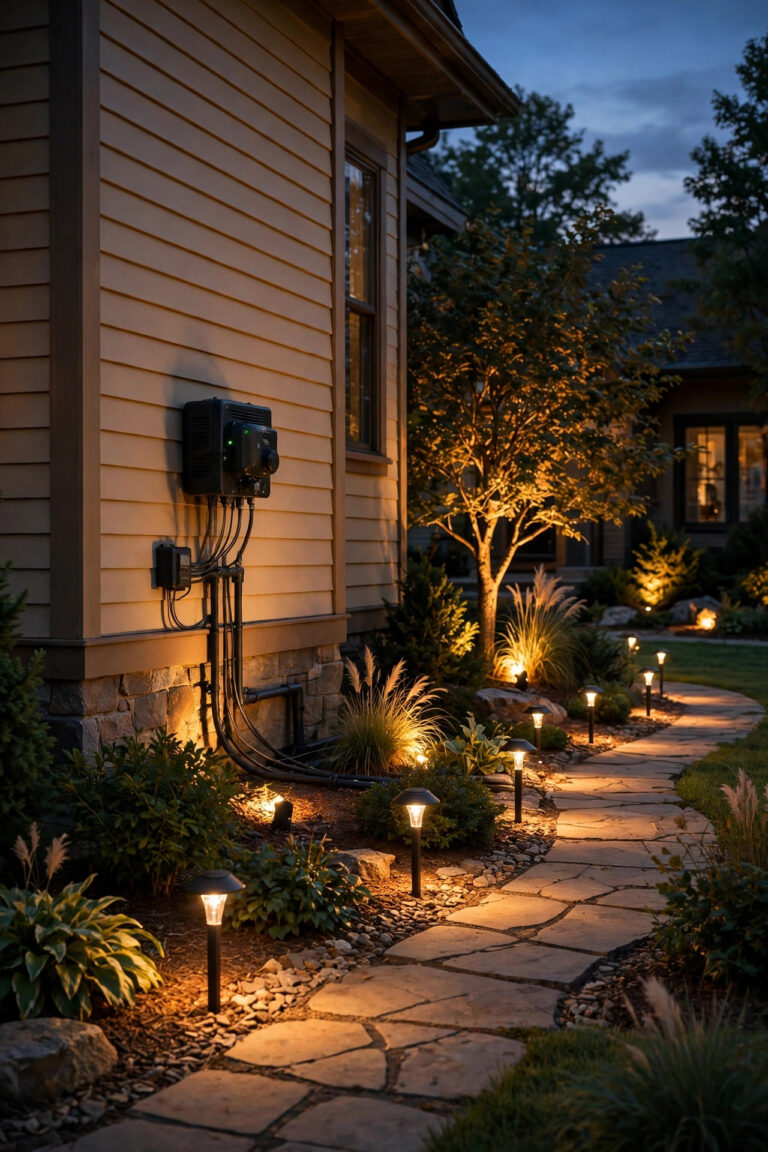
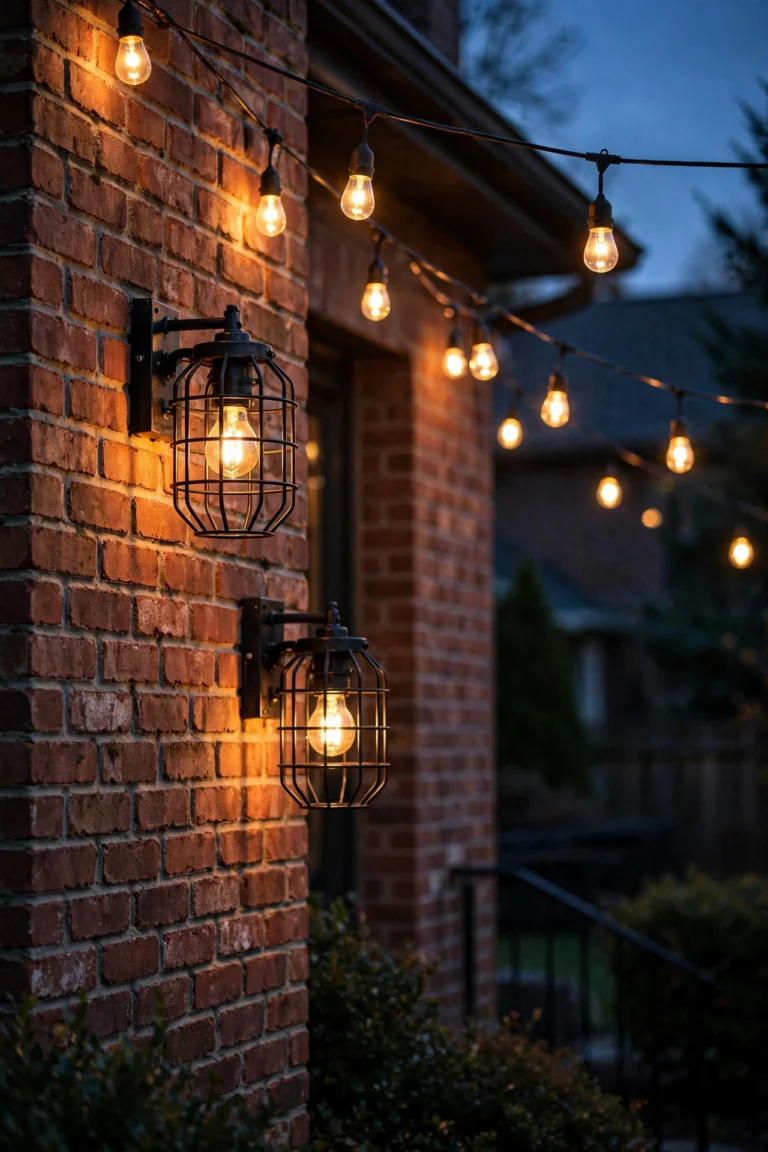
An L-shaped patio gives you two outdoor rooms for the price of one — a dining arm, a lounging arm, and one tricky inside corner where the two meet. But that bend is exactly where most lighting plans fall apart: one arm glows, the other goes dark, and the elbow turns into a shadowy no-man's-land. After a few seasons of experimenting, I've found that the best l shaped patio lighting ideas treat the corner as the main event, not the leftover. Light the bend first, then layer each arm with its own mix of overhead sparkle, eye-level warmth, and low edge glow, and the whole layout reads as one generous, connected space. Below are the 21 setups that have earned a permanent place on my own L — with real spacing numbers, bulb picks, and timer habits for each. Mix two or three and your patio will finally work after dark the way it does at noon.
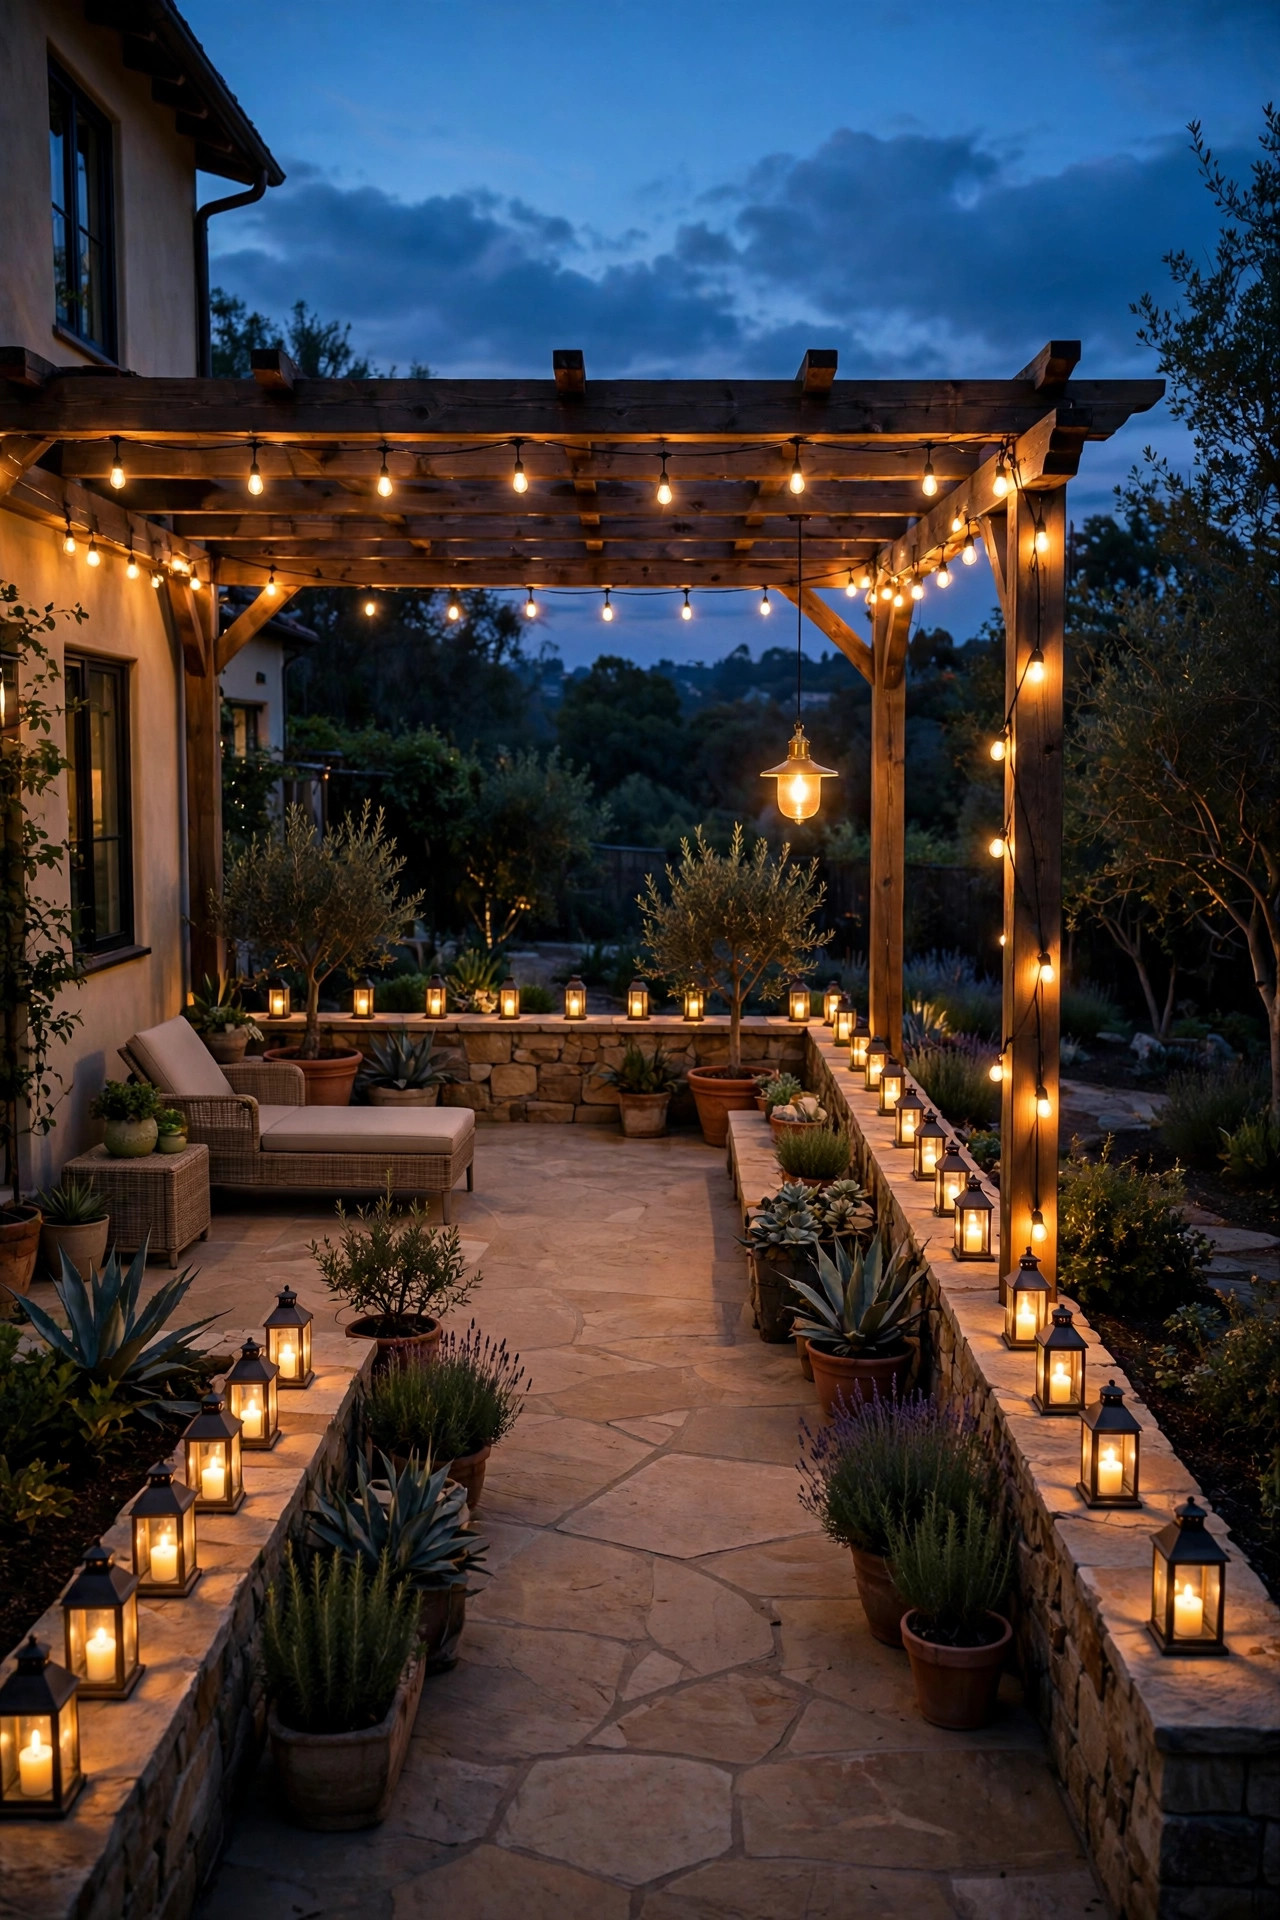
1. Anchor the Elbow — Where L Shaped Patio Lighting Ideas Live or Die
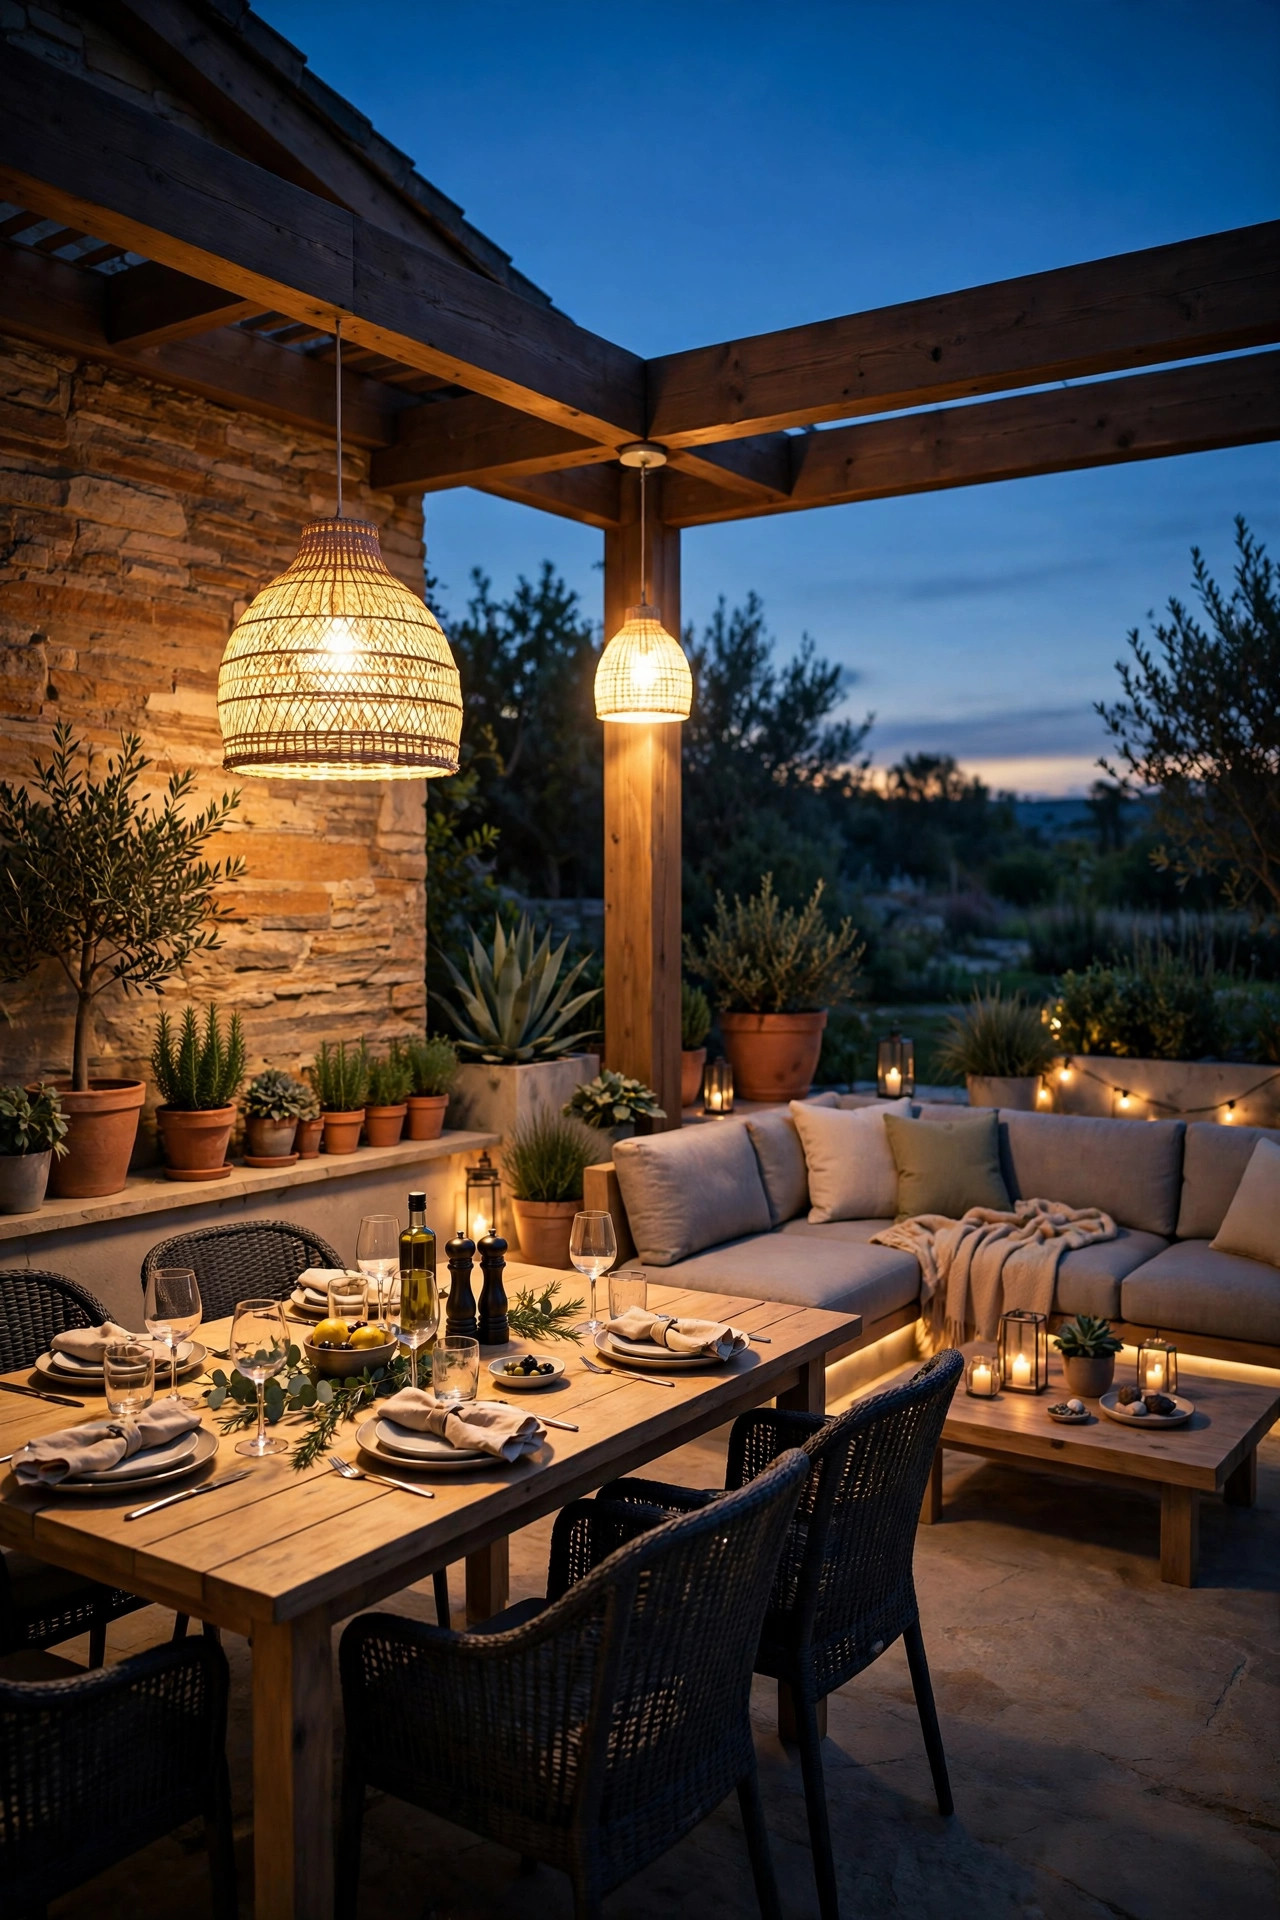
Every L has an inside corner, the elbow where the two arms meet, and it is the single most important spot on the whole patio. I hang one statement fixture there — a weatherproof pendant or a small outdoor chandelier — centered over the corner at about 7 feet high, so its glow spills a little way down both arms at once. That one light becomes the visual hinge of the whole layout: your eye lands on it, then travels outward. Choose a fixture with a warm 2700K bulb around 800 lumens, bright enough to define the space but soft enough to stay cozy, and put it on a dimmer if you can. If your elbow has no ceiling or pergola to hang from, a shepherd's hook stand or an arched floor lamp rated for outdoor use does the same job. In my experience, patios that feel "almost right" are almost always missing this anchor — the arms are lit, but nothing ties them together. Add the corner fixture first, live with it a week, and you'll know exactly what each arm still needs.
Suggested budget range: $60 – $180.
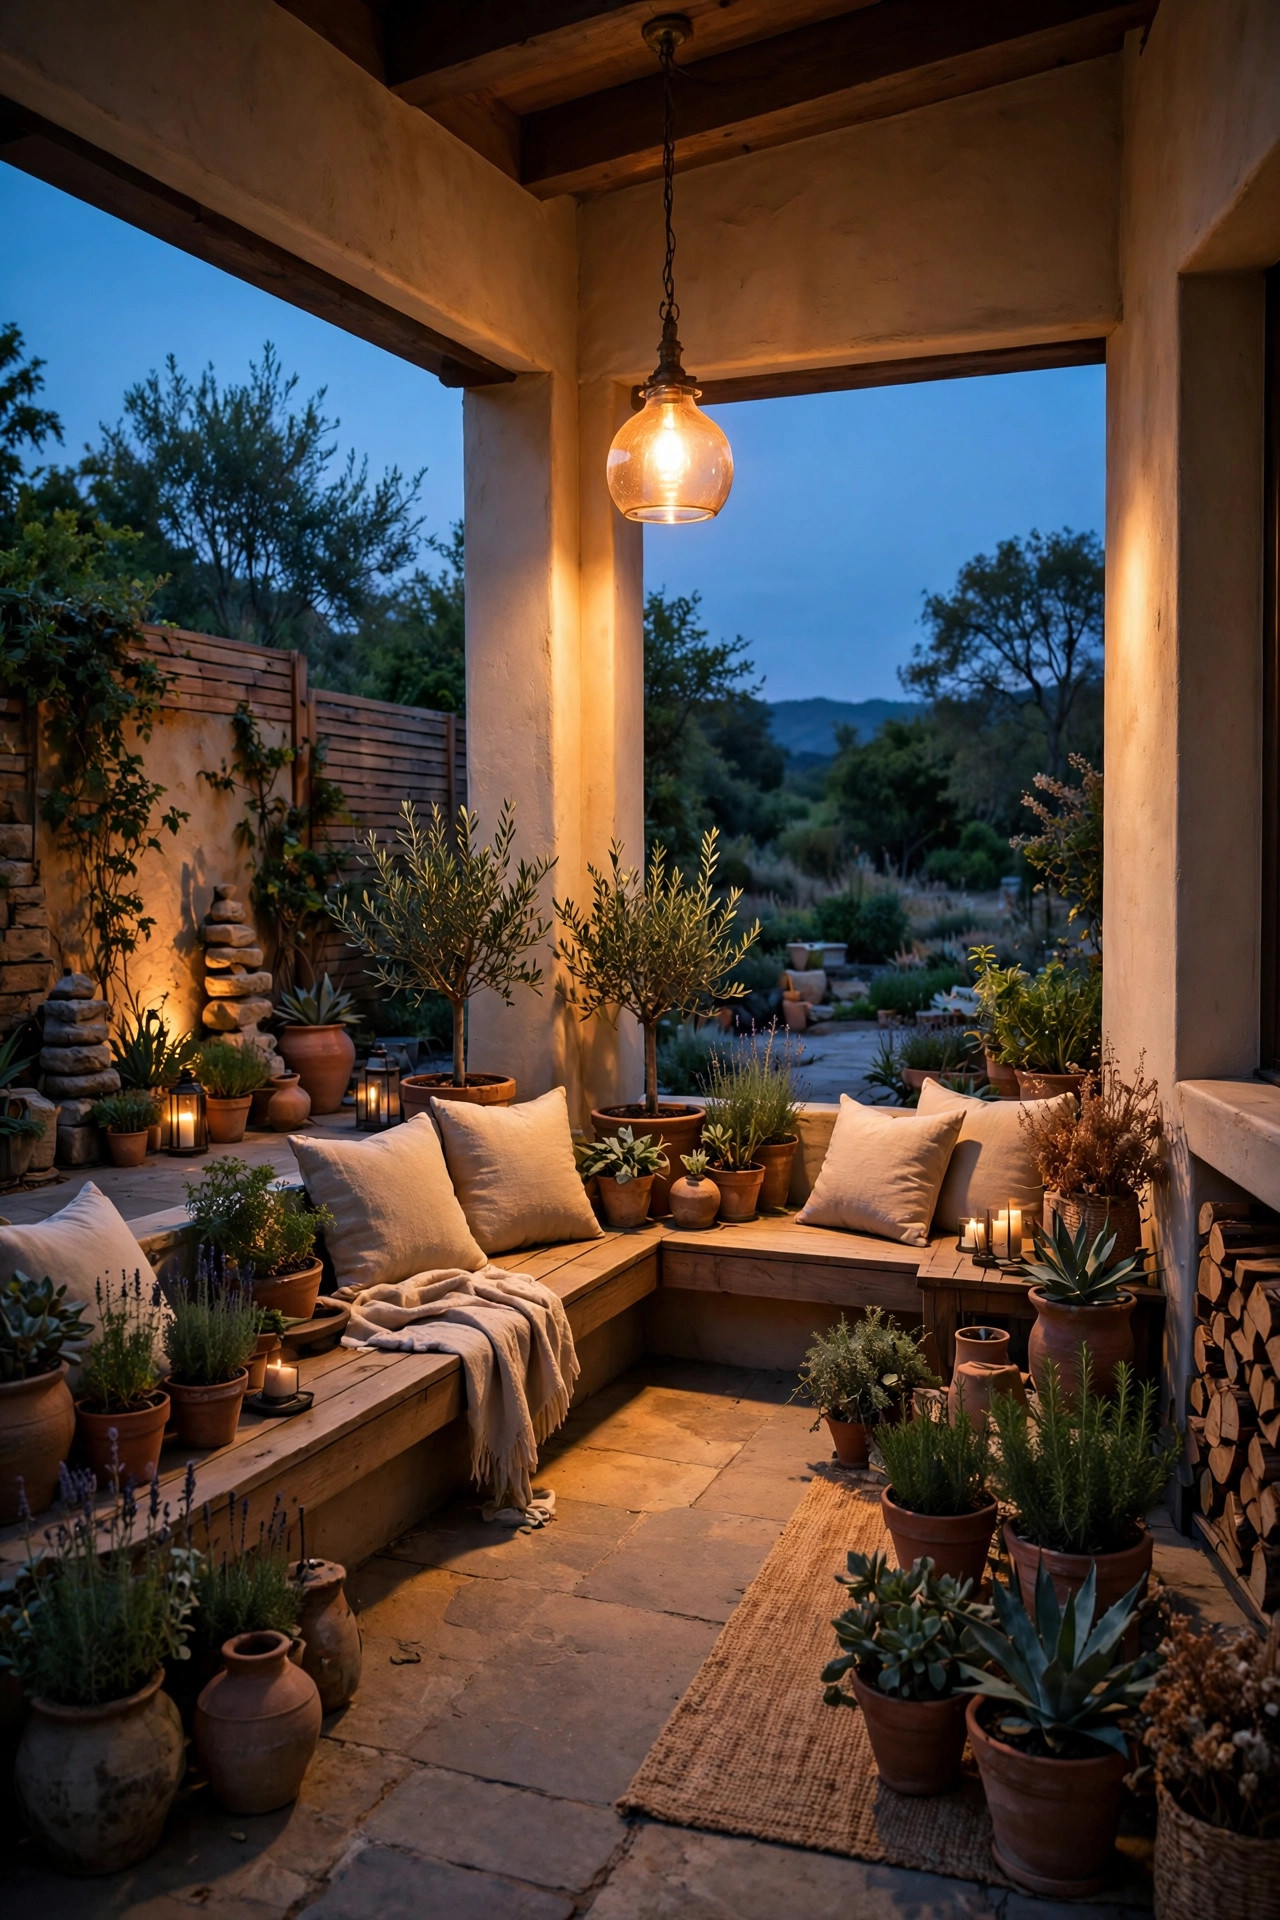
2. Run Bistro String Lights Along Both Arms
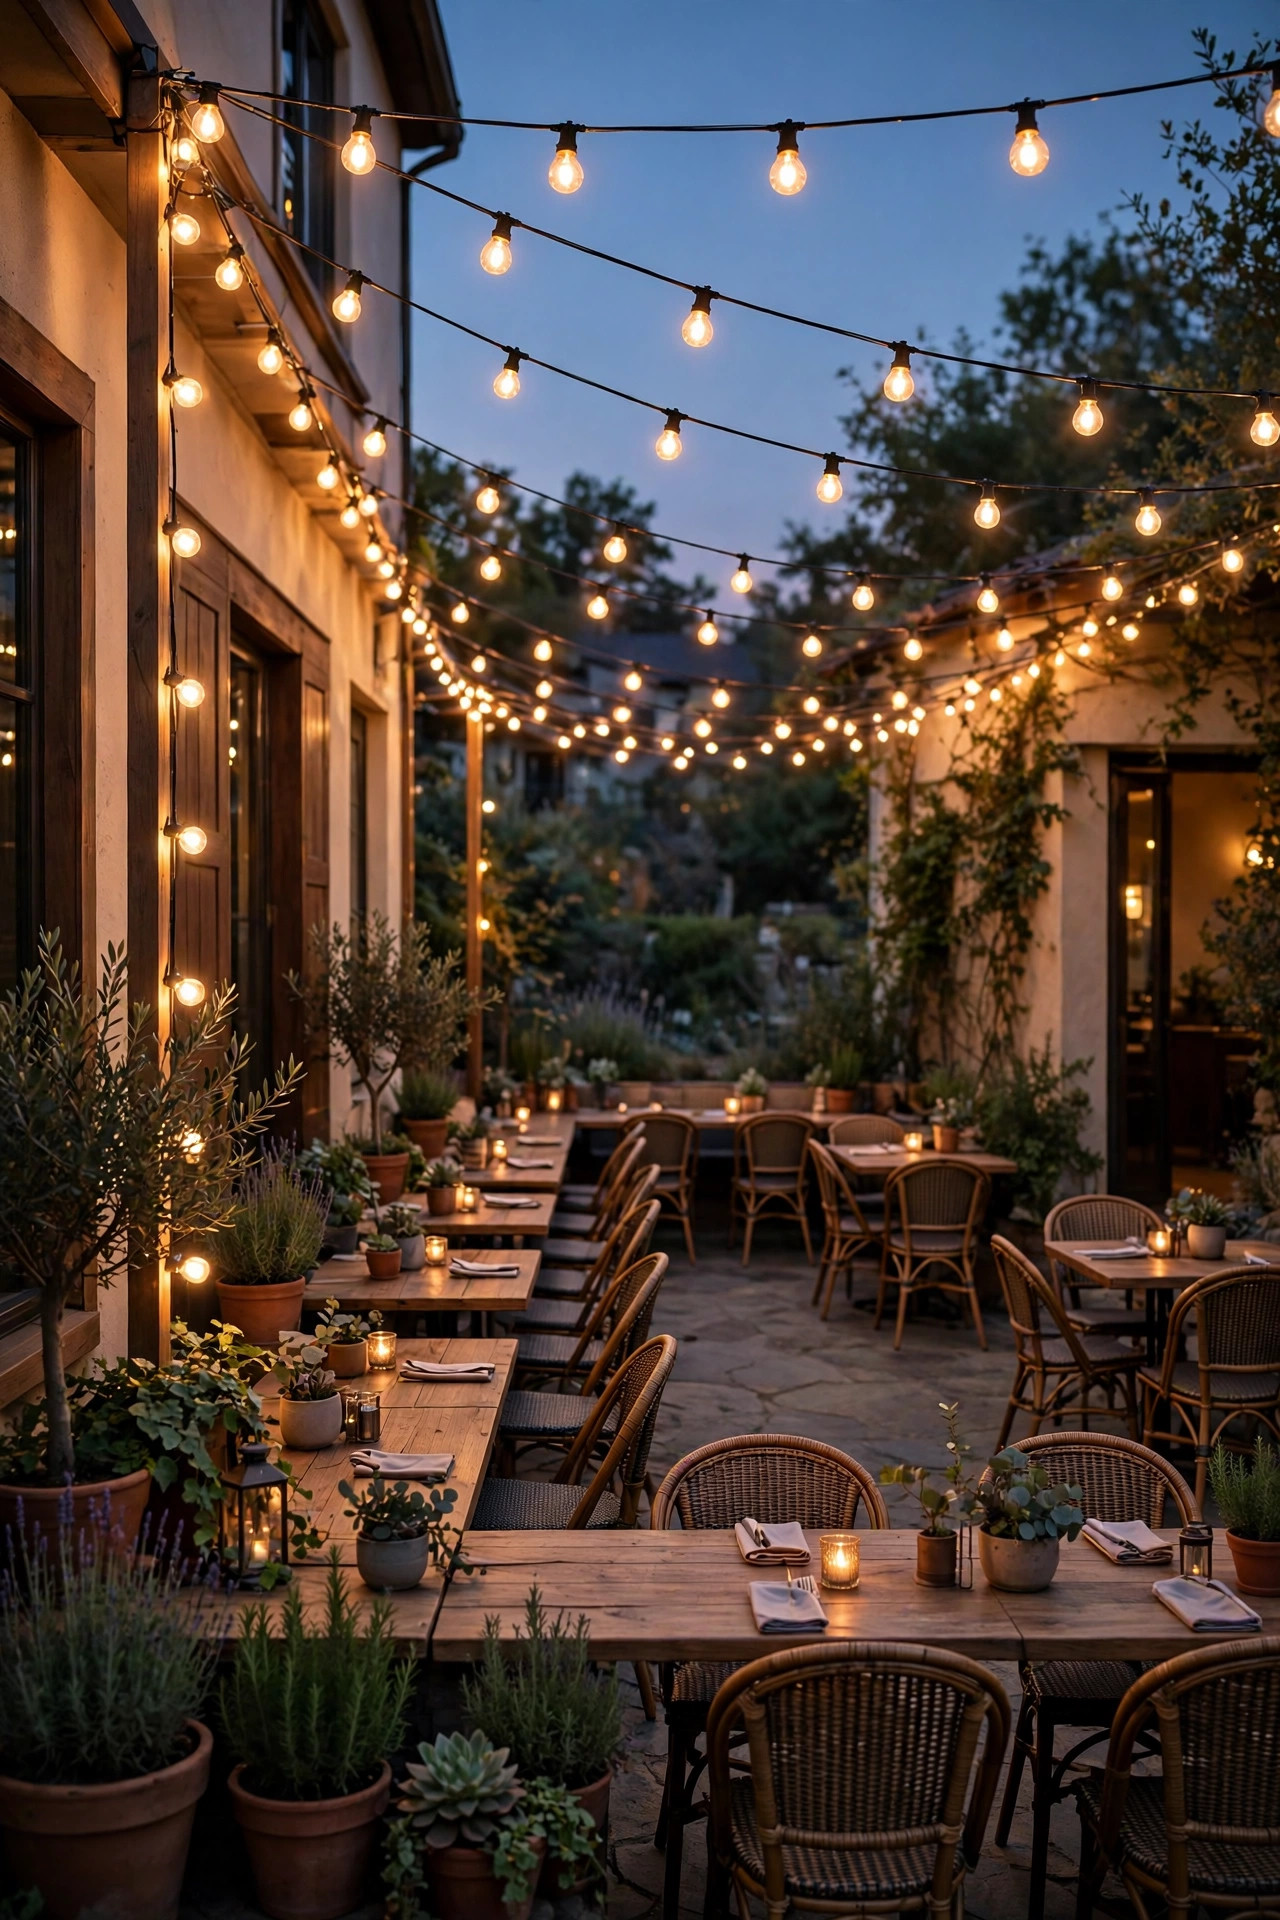
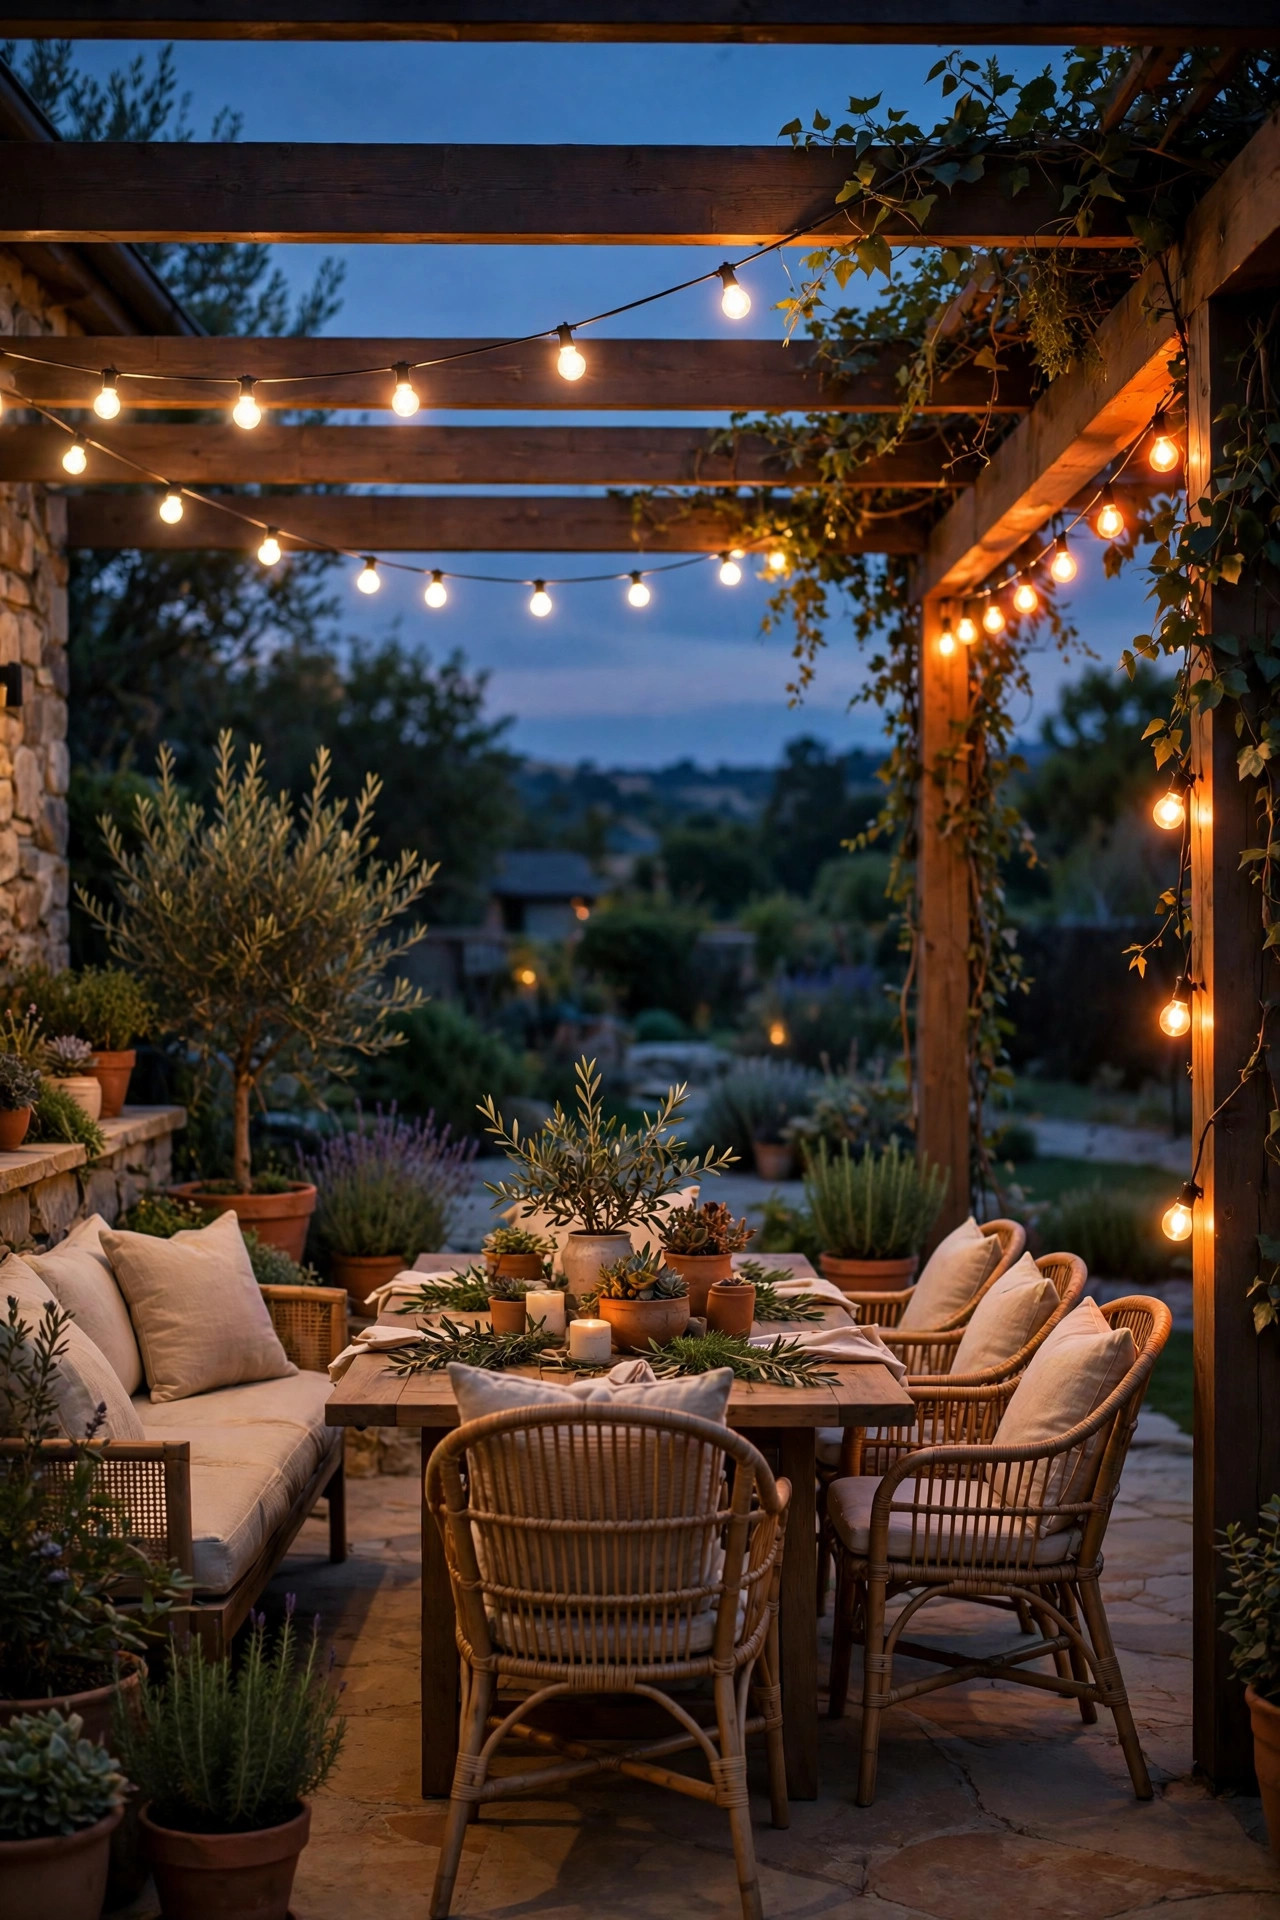
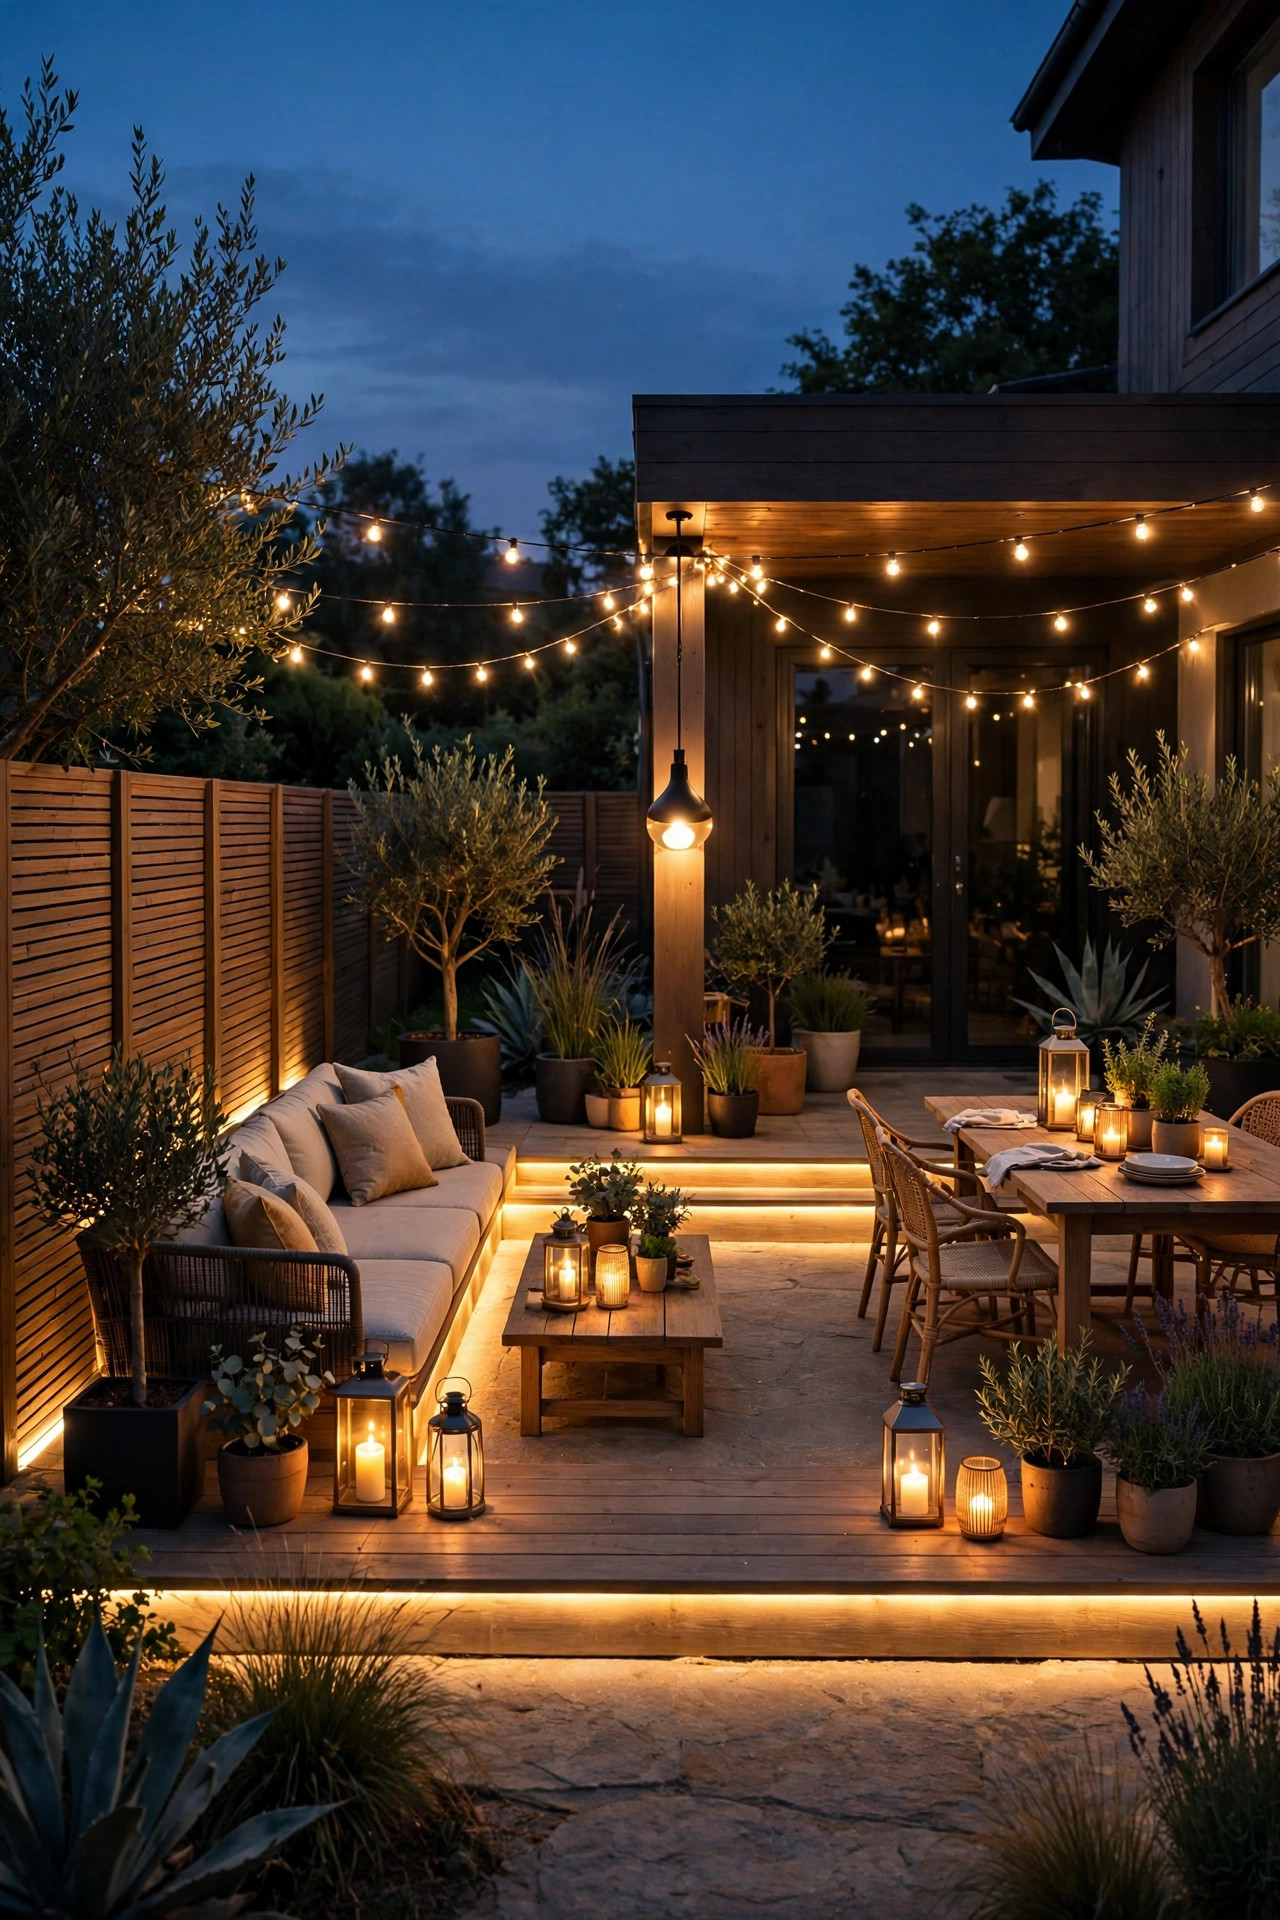
String lights are the fastest way to make an L feel intentional, because the two runs visually stitch the arms together. I screw eye bolts into the house wall and run one strand down each arm, meeting at the corner so the lines form a glowing echo of the patio's shape. Keep the swag gentle — about a foot of dip for every 10 feet — and for runs longer than 15 feet, thread a thin guide wire first so the strand clips to the wire instead of straining its own sockets. Warm-white 2700K filament-style bulbs spaced about 12 inches apart give that classic bistro glow; my full routine for strand spacing and timers is in my guide to bistro string light ideas. Where the two strands meet at the elbow, let them cross slightly and overlap by a bulb or two rather than leaving a dark seam. Plug both runs into one outdoor timer set for dusk to 11 p.m. Honestly? This is the change guests notice first, and it takes an afternoon.
Suggested budget range: $35 – $90.
3. Layer Each Arm in Three Heights
Here's the rule I plan every arm around: light at three heights — overhead, eye level, and low. Overhead is your string lights or a pendant, throwing the general glow. Eye level is sconces, lanterns, or a floor lamp, which is the light faces actually read as warm. Low is path lights, step lights, or a rope of light along the edge, which keeps feet safe and defines the patio's outline after dark. An arm with only one height always looks unfinished: strings alone feel like a party rental, and path lights alone feel like a runway. On my dining arm, the stack is strings overhead, two sconces at eye level by the door, and solar stakes low along the edge. On the lounge arm, it's a corner pendant, lanterns on the side table, and a low rope light. Same three layers, completely different mood — that's the point. When you shop, buy for one full arm at a time so each zone works on its own before you blend them.
Suggested budget range: $120 – $300.

4. Flank the Doors With Sconces on Both House Walls
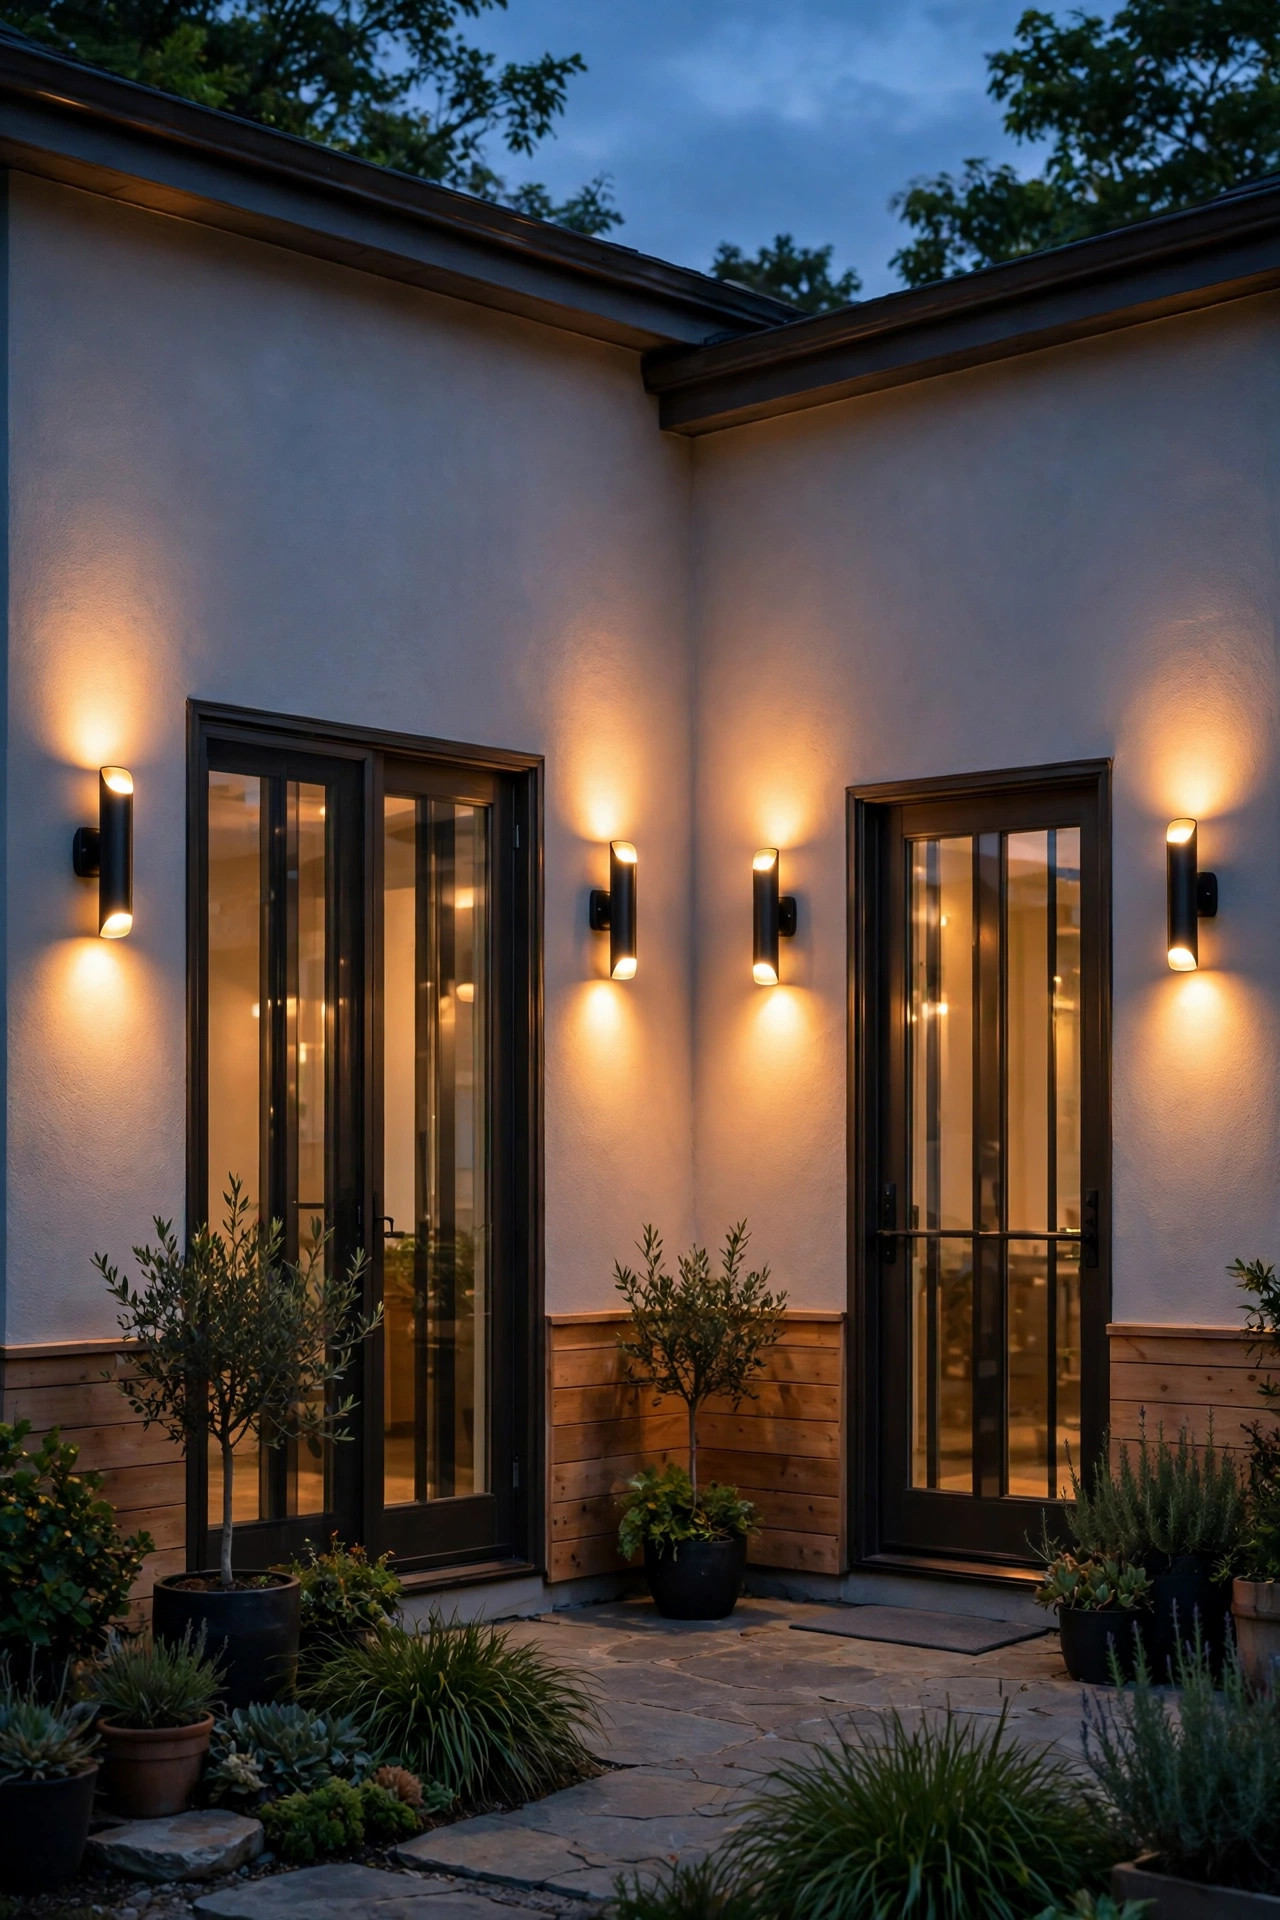
An L usually touches the house along two walls, which means two doors — and two chances for glare or darkness if you only light one. I mount a sconce on each side of every patio door, about 66 inches from the floor, with frosted glass or a shade that throws light up and down instead of straight into eyes. Match the fixtures across both walls even if the doors differ; the repetition is what makes the two arms feel like one design. Warm 2700K bulbs at 450 to 800 lumens each are plenty — you're lighting faces and door handles, not a runway. Choose fixtures rated for wet locations, since the corner of an L catches more wind-driven rain than a straight wall does. Put the sconces on the same switch or smart plug as your corner pendant so the "structure" lights all come on together at dusk. In my experience the up-down style is the most forgiving: it washes the siding with a soft V of light that makes even plain vinyl look expensive after dark.
Suggested budget range: $70 – $160.
5. Set a Fire Bowl at the Bend as a Glowing Hinge
Firelight loves a corner. A tabletop fire bowl or a small propane fire table placed right at the elbow gives the bend a living, flickering center that pulls both arms toward it — the pendant anchors the corner from above, the fire anchors it from below. I keep at least 3 feet of clearance between the bowl and any chair or cushion, and set it on a stable, level base since elbows often sit on the patio's drainage slope. A tabletop bowl with a 12-inch diameter is plenty for glow; you want ambiance, not a bonfire competing with your fixtures. The real magic is the color: firelight runs warmer than any bulb, around 1800K, so everything near it looks golden and the two arms read as one warm room. Keep electric lights near the fire slightly dimmer so the flame stays the star. On nights we don't light it, the bowl still works as a sculptural centerpiece with a flameless candle inside. It's the seat everyone fights over, every single time.
Suggested budget range: $50 – $150.

6. Trace the Outer Edge With Low Path Lights
The outer edge of an L does double duty: it faces the yard, so it's what your patio looks like from the street, and it's where guests step off into dark grass. I run low path lights along both outer edges, spaced 5 to 6 feet apart, staggered slightly instead of marching in a perfect soldier line. Fixtures about 12 to 18 inches tall with shielded tops throw pools of light downward onto the pavers and keep glare out of the seating areas. At the outside corner where the two edges meet, I place one slightly taller fixture — it reads as a period at the end of the sentence and quietly marks the turn. Low-voltage wired lights are my pick for the main runs because they never fade by midnight the way cheap solar can; expect about 100 to 200 lumens per fixture. Angle each head a touch inward so the light lands on stone, not lawn. From inside the house, this edge line is what makes the whole L look finished — a glowing outline you can read at a glance.
Suggested budget range: $80 – $200.

7. Outline the Corner Planting Bed With Solar Stakes
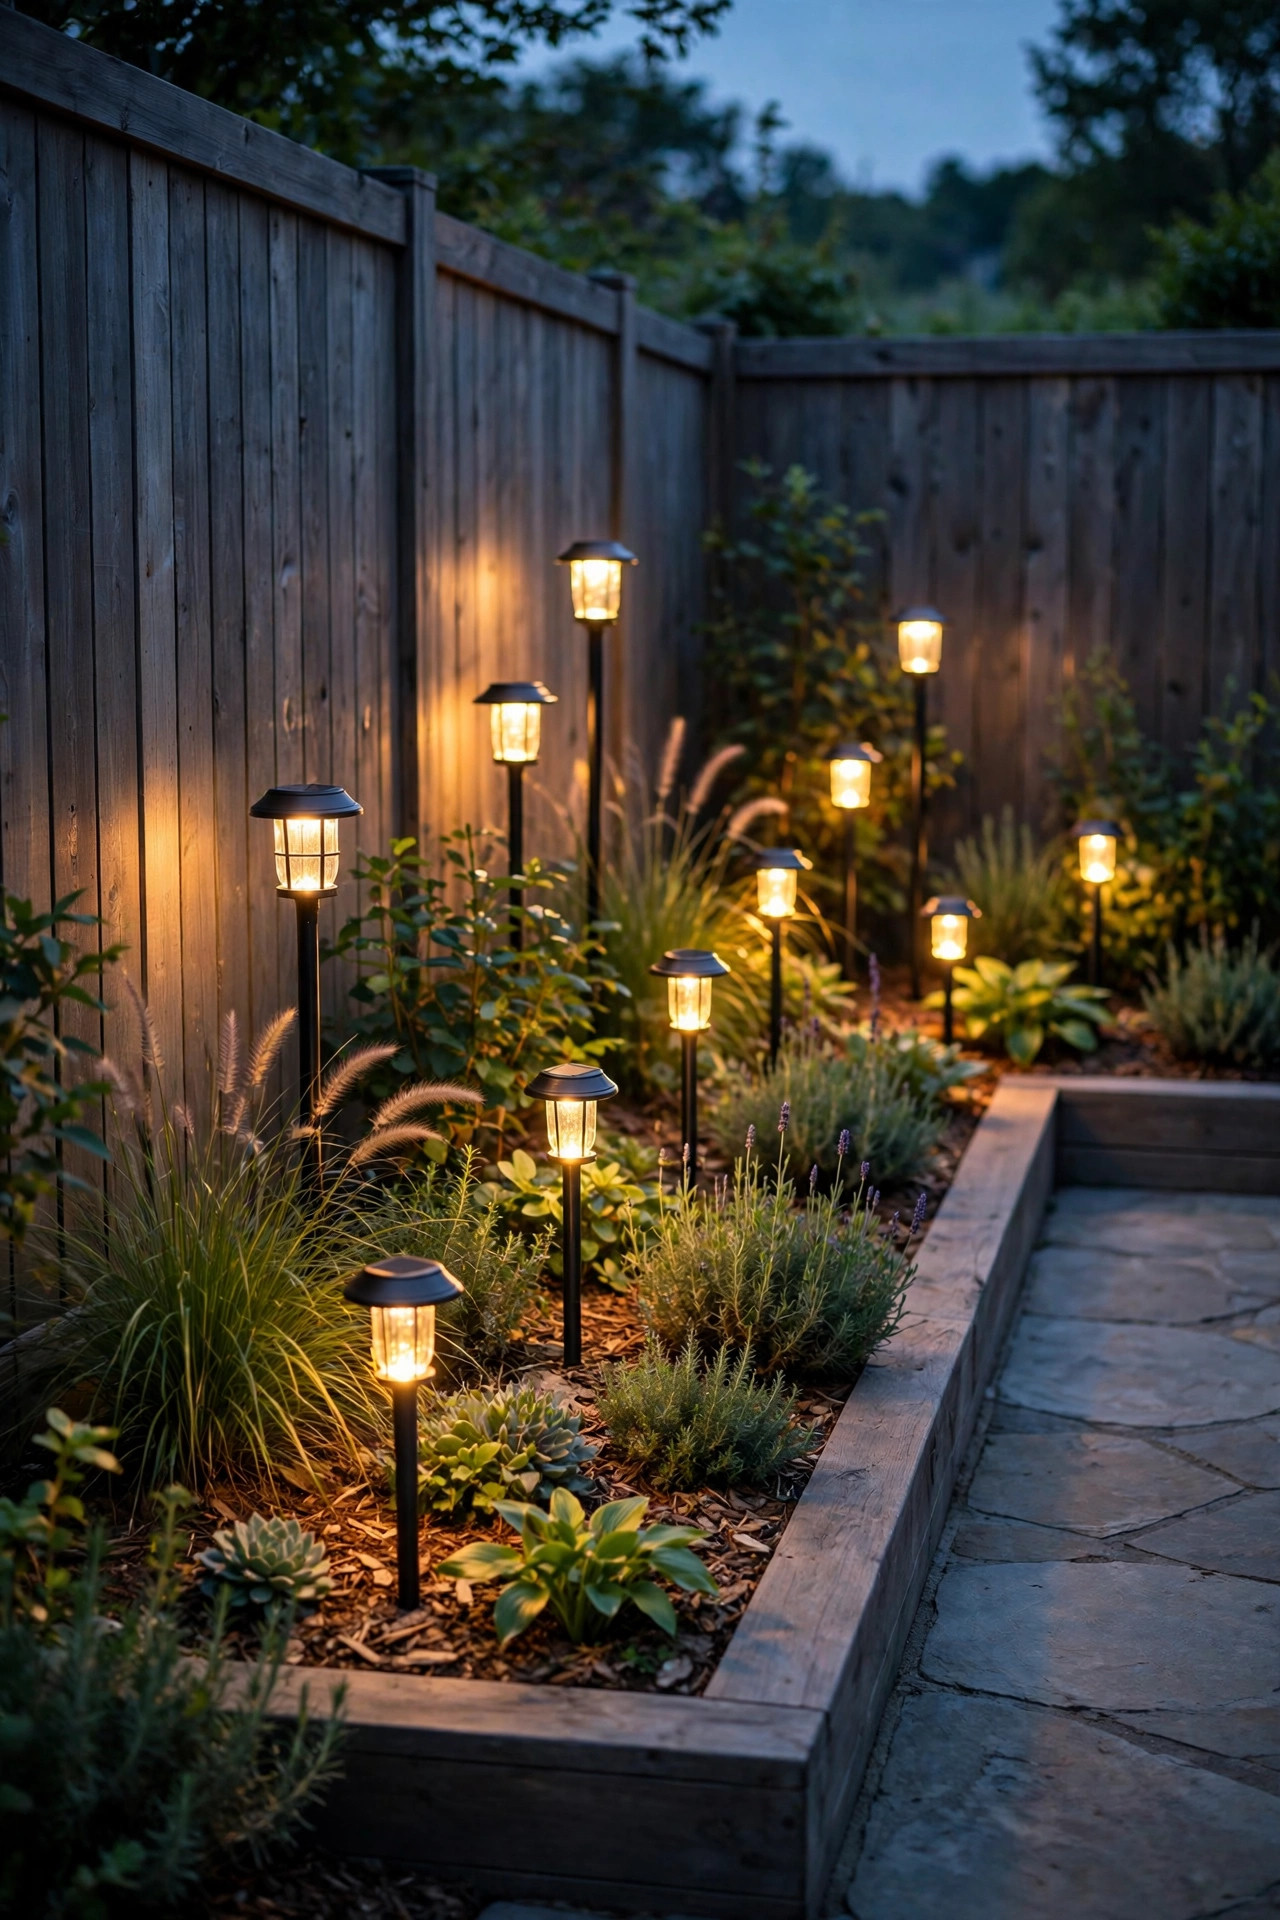
The inside corner often has a planting bed tucked against it, and that little triangle of green is prime real estate for solar stakes. I push six to eight stakes through the bed at varied heights among the plants — some just peeking over the foliage, a couple taller at the back — so the bed glows like it's lit from inside. Because the bed usually sits against the house, it gets partial shade, so I choose stakes with a separate solar panel I can stake 3 feet away in full sun, connected by the thin wire most sets include. Warm-white 2700K to 3000K only; the blue-white solar stakes from the bargain bin will fight every other light on your patio. This is the cheapest layer on my whole list and, honestly, the one that makes the corner feel lush instead of leftover. Pull the stakes up before you mulch in spring, wipe the panels with a damp cloth monthly, and they'll run five or six hours a night all season. Replaceable batteries stretch them to a second year easily.
Suggested budget range: $25 – $60.
8. Add Freestanding Poles Where There's Nothing to Hang From
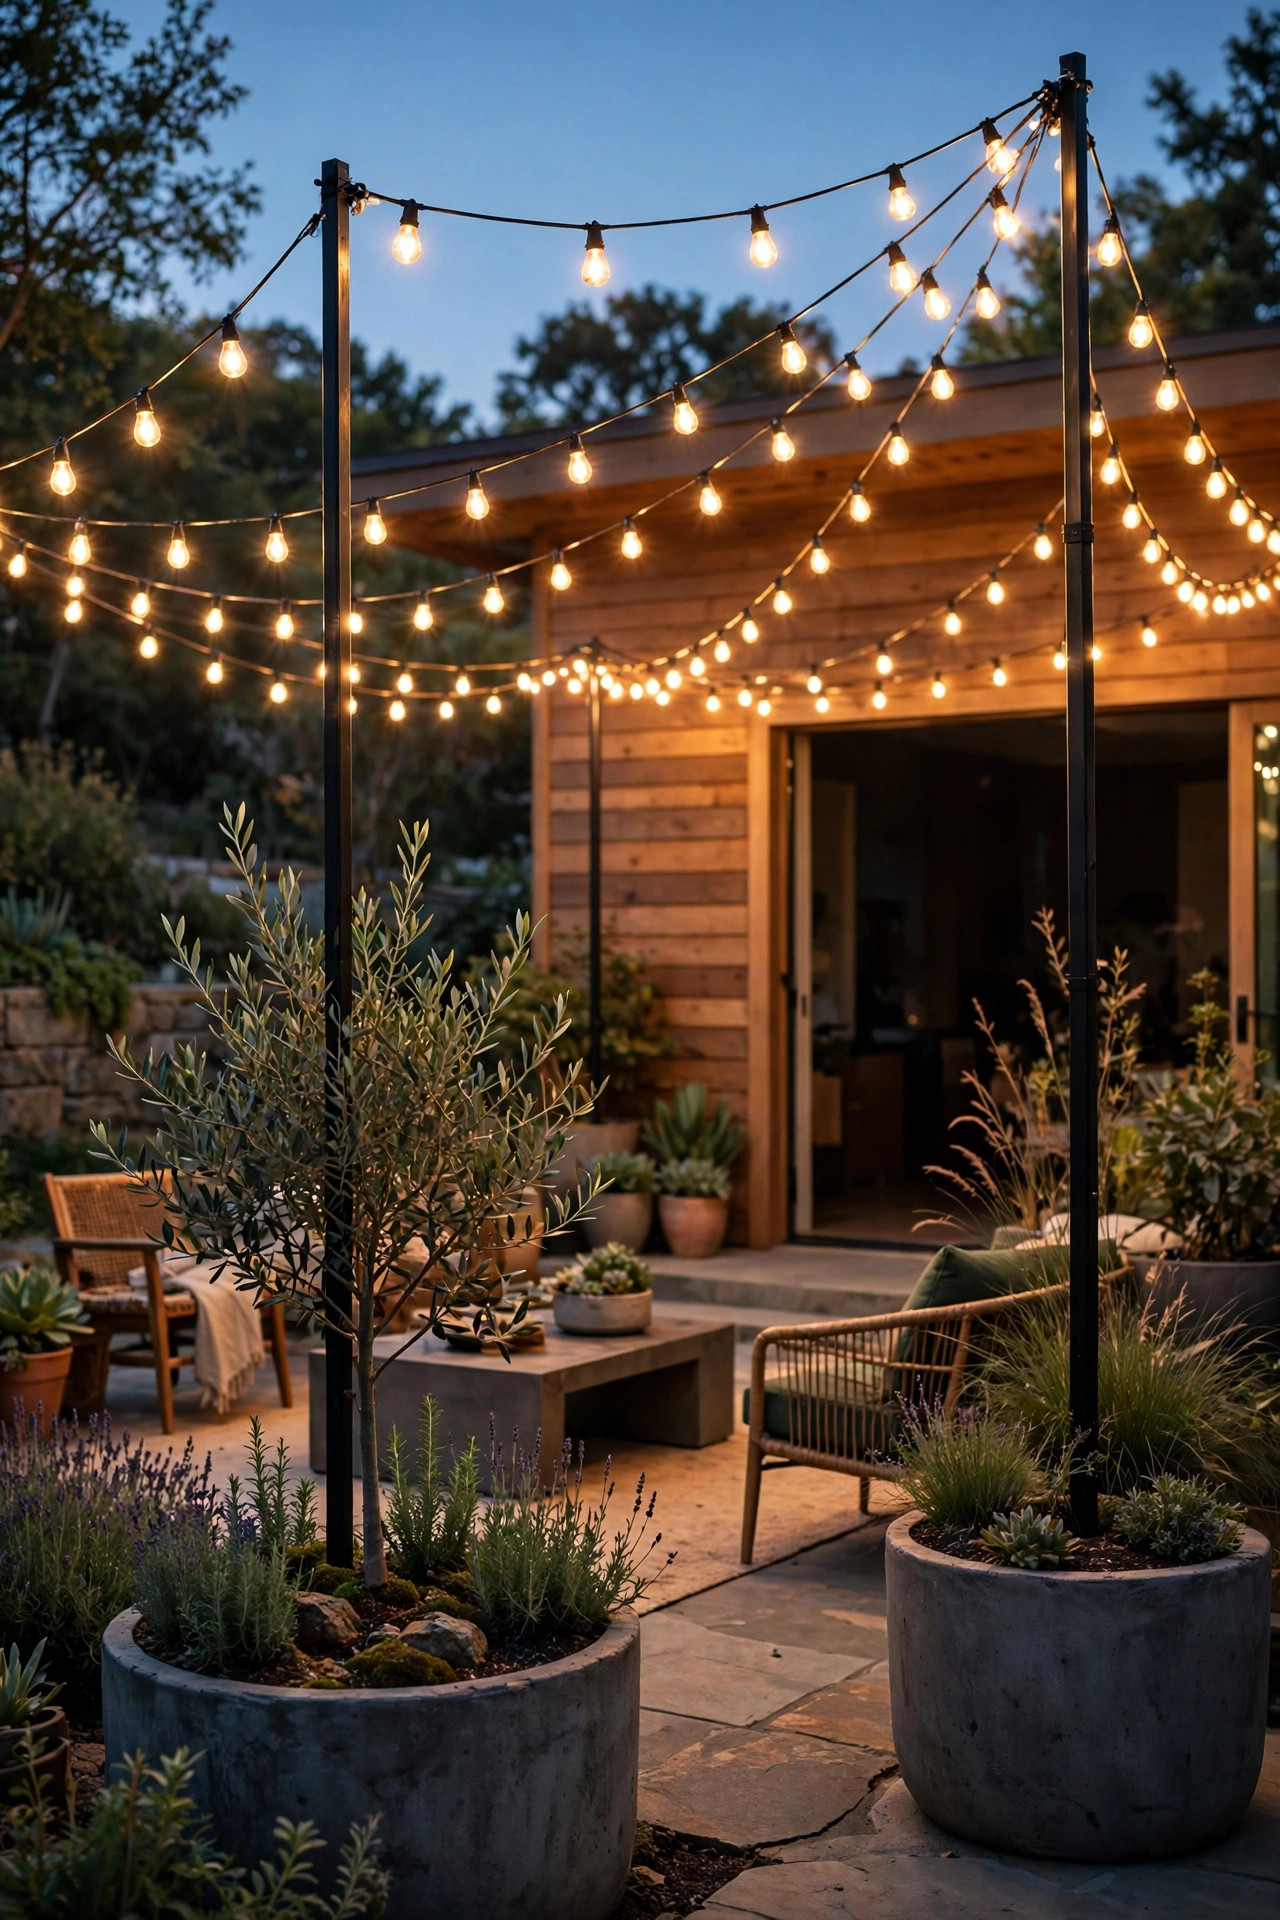
Most L-shaped patios have one arm — usually the lounge arm — that runs away from the house into open yard, with no wall, tree, or pergola to anchor a strand. That's what freestanding string light poles are for. I set two poles at the far end of the open arm, planted in heavy planter pots filled with gravel and soil, and run the strand from the house corner out to the poles and back, forming a canopy over the seating. Poles 9 to 10 feet tall keep bulbs at a comfortable 7½ to 8 feet after the swag dips. My notes on bases, heights, and wind-proofing are in my roundup of string light pole ideas — the short version is: the base matters more than the pole, and a wobbling pole will drive you inside faster than mosquitoes. In the corner where the patio bends, a single pole can serve both arms if you angle the strands carefully. Dress the pots with trailing plants and the hardware disappears into the garden by July.
Suggested budget range: $60 – $140.
9. Tuck Recessed Step Lights Where the Levels Change
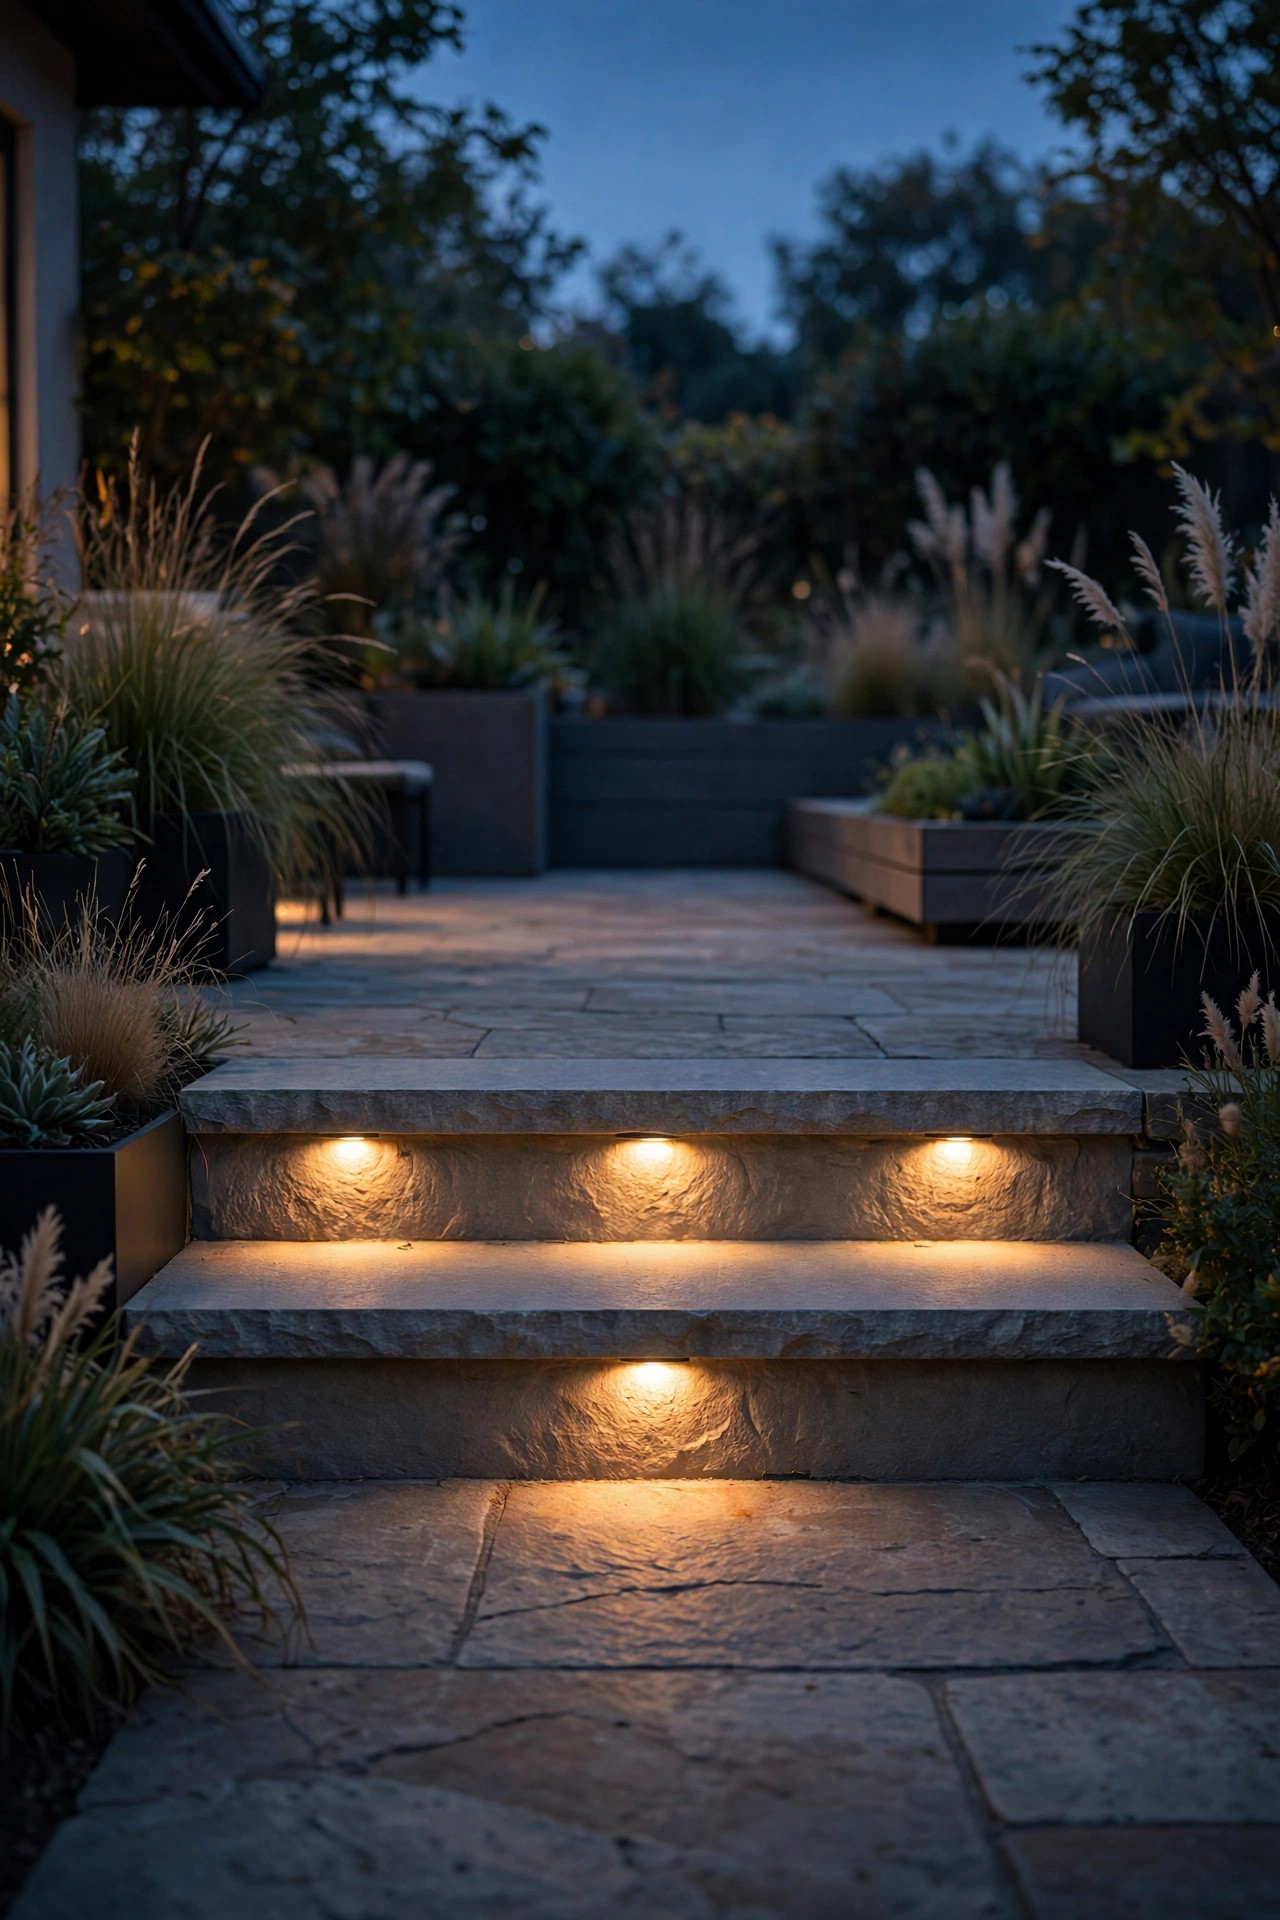
Many L-shaped patios step down from one arm to the other — the dining arm off the kitchen sits a step higher than the lounge arm, or the whole layout terraces with the yard. That little level change is the number-one trip hazard after dark, and it's exactly where light earns its keep. I recess small step lights into the riser face, one every 4 feet or centered on each stair tread's path of travel, throwing a soft wash across the step below. Choose fixtures that aim down, not out — you want to see the step, not the bulb. At 50 to 100 lumens each, they're markers, not floodlights. If your patio is already built and cutting into pavers isn't an option, surface-mount solar step lights stick on the riser in minutes and charge from the same sun the patio gets. Wire them to come on with your low edge lights so the "safety layer" is always one switch. In my experience this is the idea visitors never comment on — and the reason nobody's ever missed that step at my house.
Suggested budget range: $40 – $120.
10. Cluster Lanterns in Threes at the Bend
When in doubt at a corner, cluster. Three lanterns grouped at the bend — one tall floor lantern, one medium, one small, all with flameless candles on timers — fill the elbow with layered, flickering warmth that a single fixture can't match. I set the tallest at the very corner and step the other two down toward whichever arm needs the help. Groupings of three work because the heights create their own little skyline; two looks like a pair that lost one, four starts to look like stock. Metal lanterns with real glass read best outdoors, and a matte black finish disappears against evening shadows while the candle glow does the talking. Set the timers to flicker on at dusk for six hours and the corner lights itself on nights you'd otherwise forget. This is my favorite renter-friendly fix, too — no wiring, no mounting, and the whole cluster moves to the next house. Swap the candles for small string-light nests in winter and the same lanterns carry the patio through the holidays without missing a beat.
Suggested budget range: $45 – $110.

11. Uplight the Tree at the Outside Corner
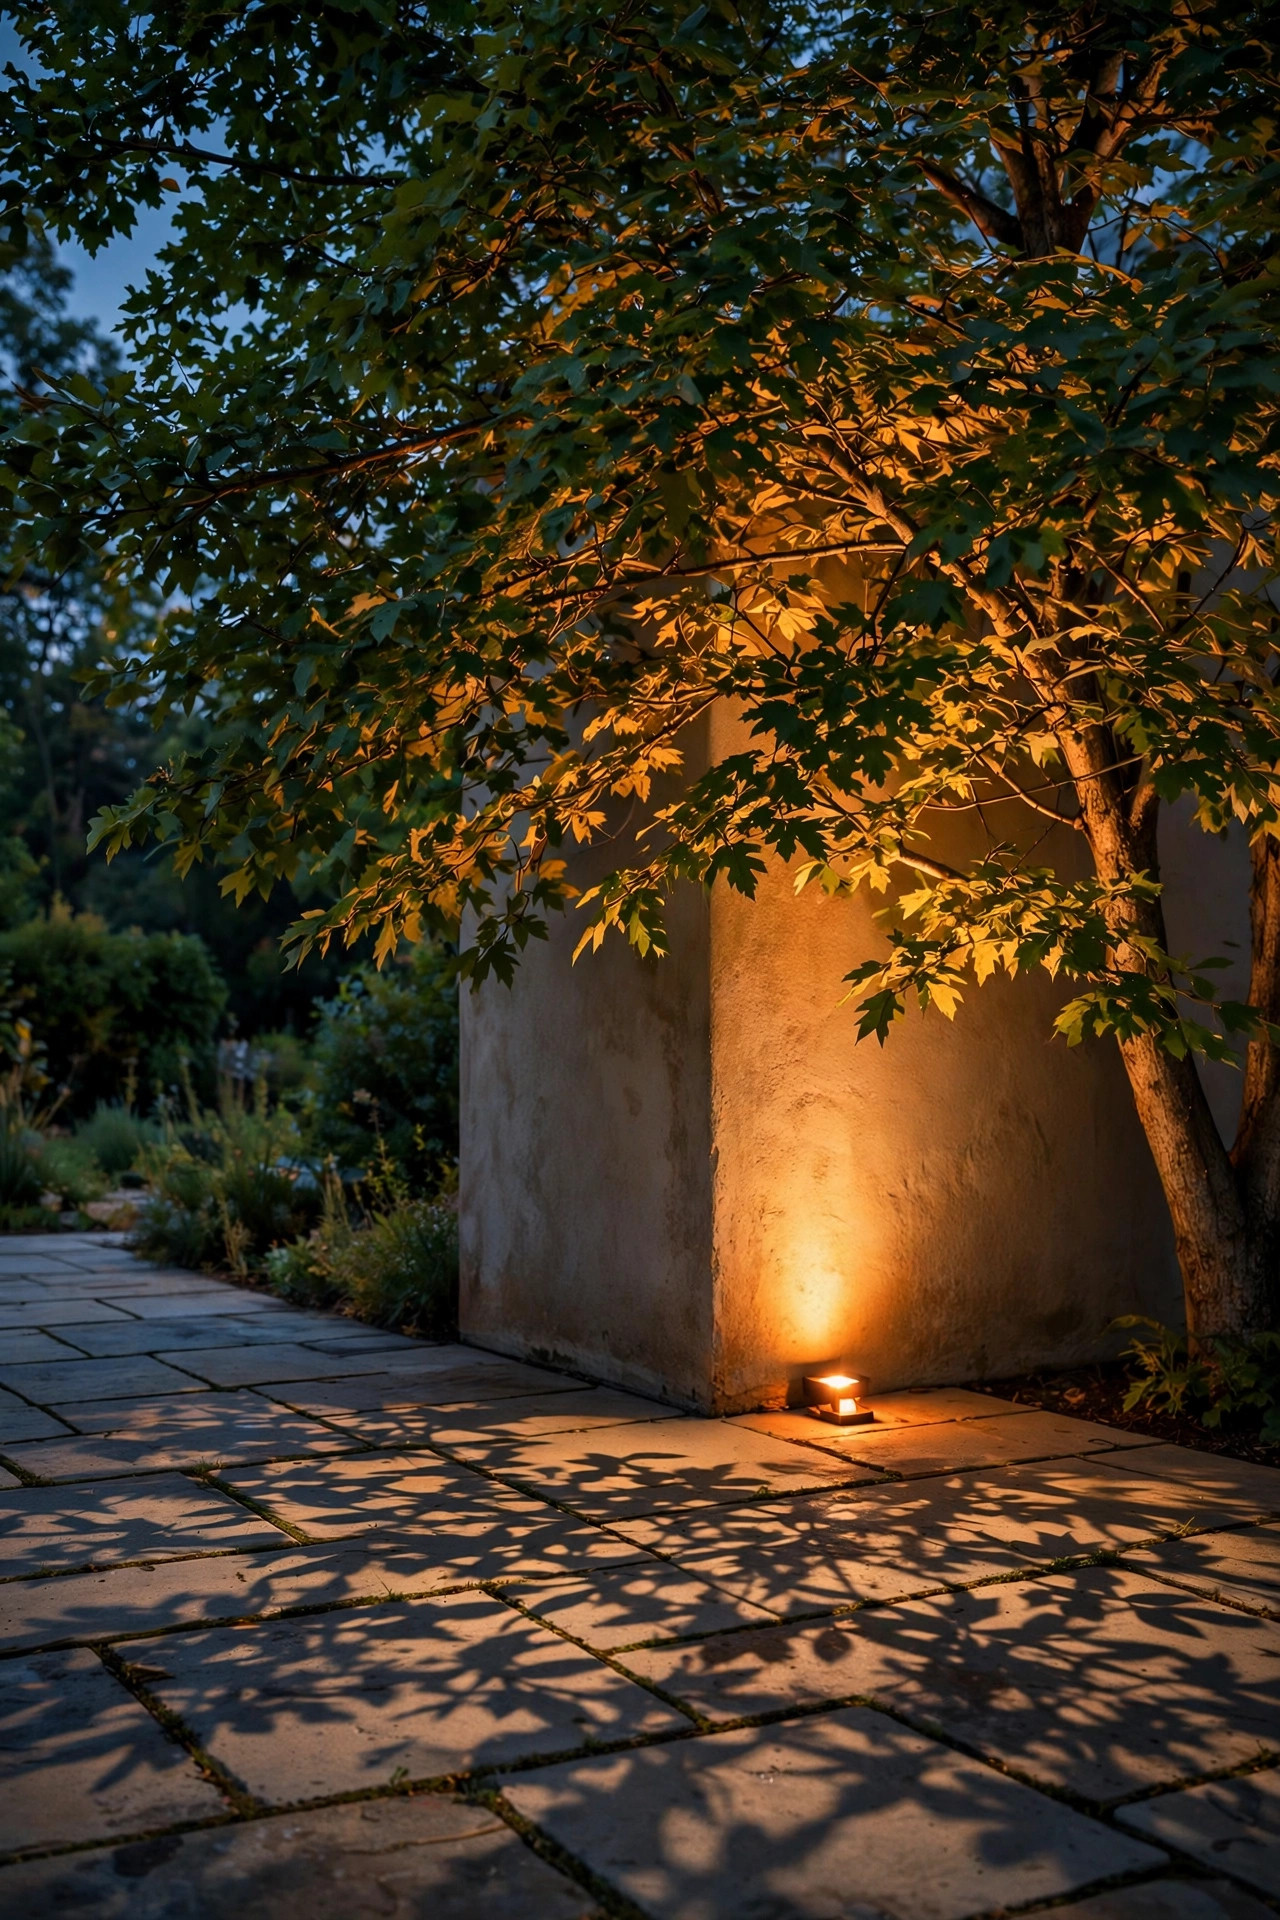
If a tree stands anywhere near the outside corner of your L, uplighting it gives the whole patio a ceiling of dappled light and a backdrop that makes both arms feel enclosed and private. I place one low-voltage spotlight 12 to 18 inches from the trunk with a 36-degree beam, aimed up into the canopy, at a warm 2700K and 300 to 500 lumens. From the seating areas, you don't see the fixture at all — just branches glowing overhead and leaf shadows drifting across the pavers. That moving pattern is what designers call moonlighting's warmer cousin, and it makes a plain patio feel like a garden room. If the tree sits a few feet off the corner in the lawn, even better: the light reaches the patio without any fixture cluttering the stone. Keep the beam inside the canopy and off neighboring windows — corners bounce light in two directions, so check from the street once. One honest warning: after you light the tree, the unlit fence beyond it will look darker by comparison, so plan a low lantern or stake at the fence line to finish the picture.
Suggested budget range: $25 – $70.
12. Run an LED Strip Under the Built-In Bench
L-shaped patios practically beg for a built-in bench along the inside walls — and the underside of that bench is the best hiding spot on the patio. I stick a waterproof LED strip along the bench's front underside, facing down, so a ribbon of warm light washes the floor and the bench appears to float. Use a strip rated IP65 or better, 2700K, and tuck the power supply in a weatherproof box at the corner where it can also feed other low lights. The glow is pure function dressed as drama: it lights the walkway along the bench, shows guests where the seating edge is, and never shines in anyone's eyes. Keep the strip on the same zone as your step lights and edge lights so all the "floor layer" switches together. If your bench is a simple wooden storage bench instead, the strip mounts the same way under the front lip. In my experience this is the idea that makes people say the patio looks professionally designed — and it's a twenty-minute install with a $30 roll of tape-backed light.
Suggested budget range: $30 – $80.

13. Dress the Corner Planters With Fairy Lights
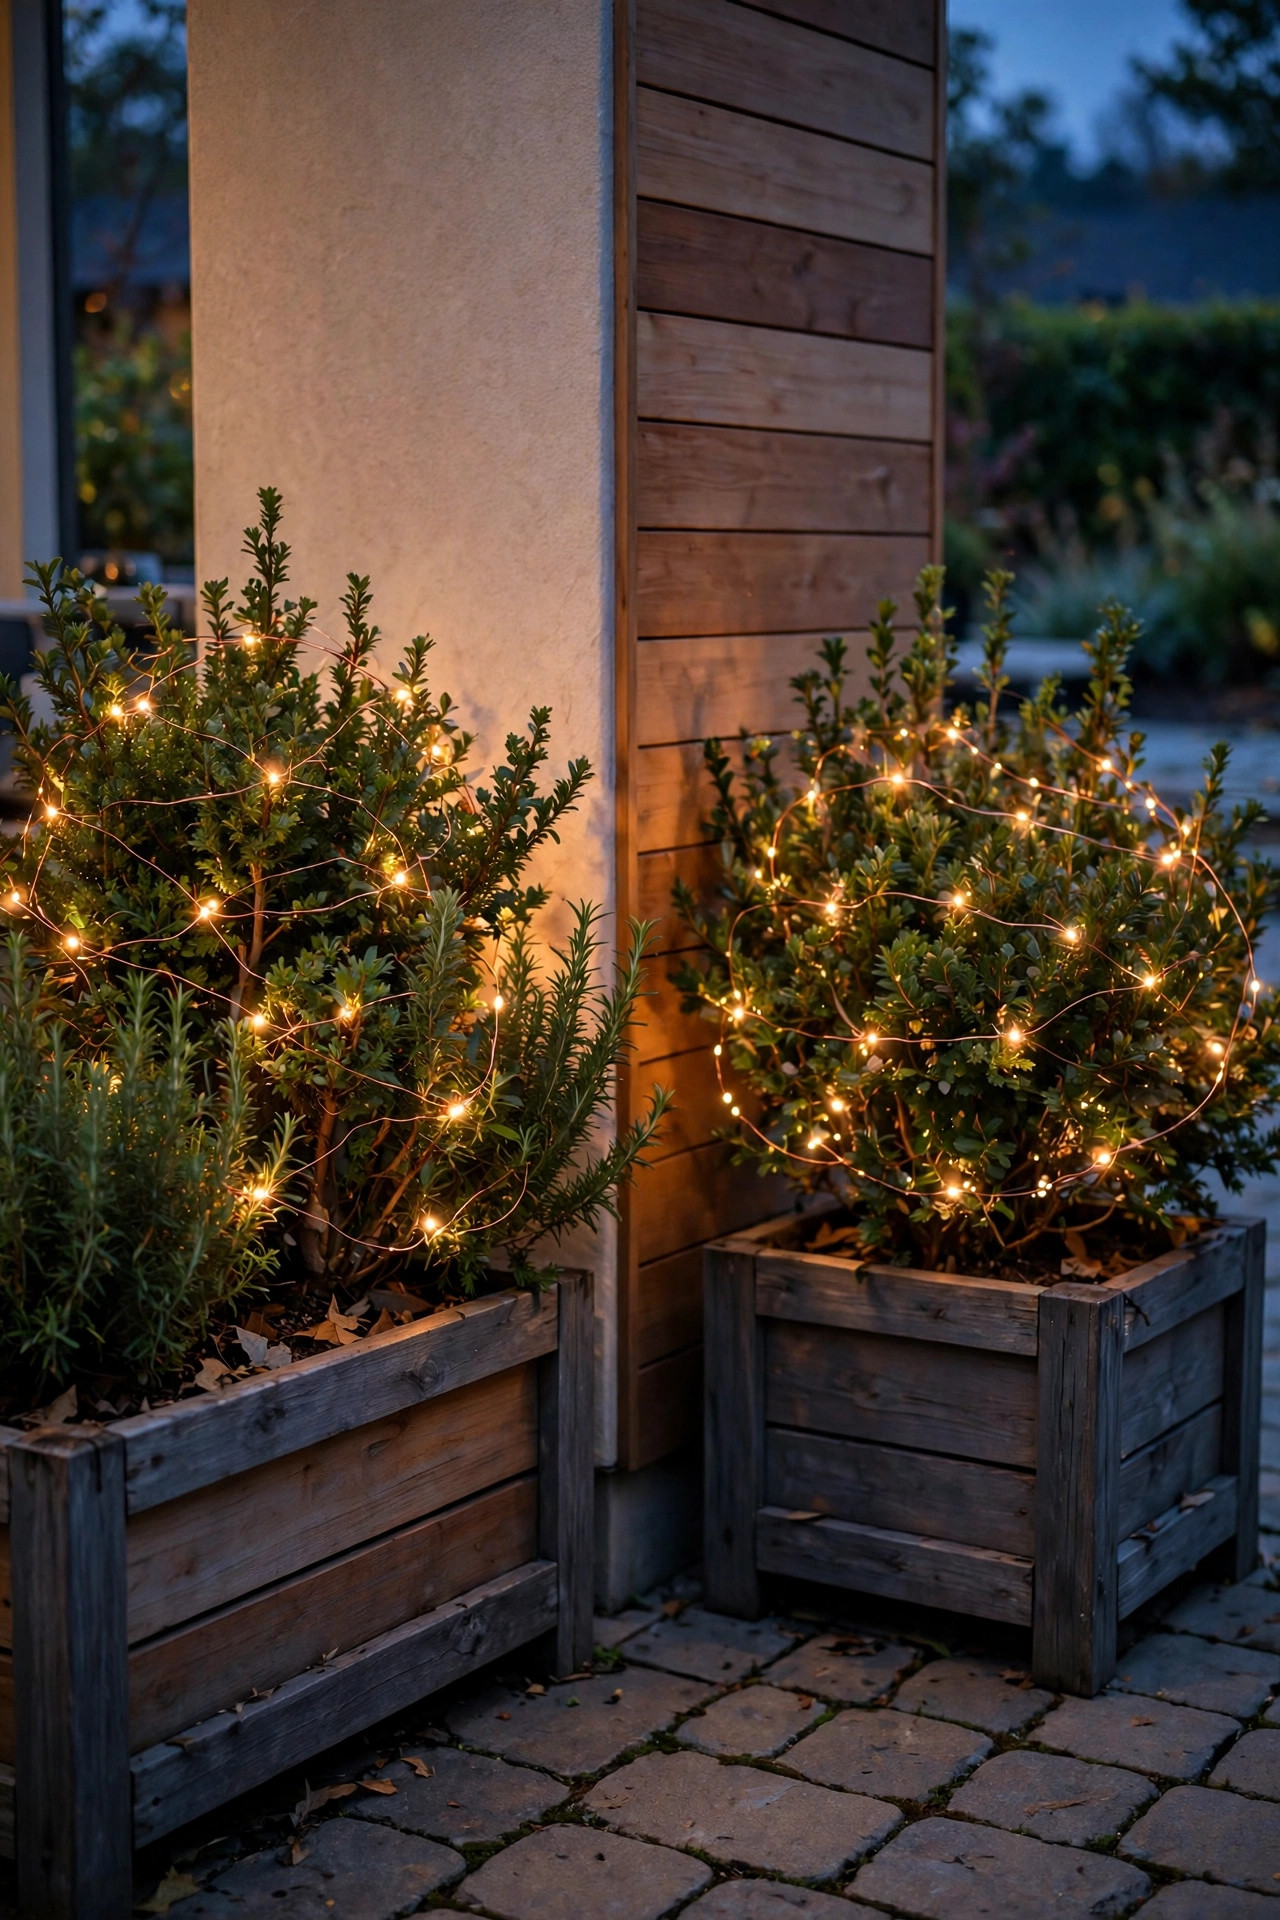
Planters flanking the inside corner soften all that hardscaping, and a strand of copper-wire fairy lights woven through each one turns them into glowing sculptures after dark. I use battery-powered strands with a built-in timer — six hours on, eighteen off — and wind the wire loosely through the branches of a small shrub or ornamental grass, concentrating the lights toward the top where they read as fireflies caught in the leaves. Because the wire is nearly invisible in daylight, the planter looks unadorned until dusk does the reveal. Two planters, one on each side of the elbow, frame the corner pendant from idea one and give the bend a finished, symmetrical feel. Choose warm-white strands; the multicolor sets fight the rest of your palette. Battery boxes tucks behind the planter rim stay dry through most rain, but I bring them in for winter storms. In my experience these little sparkles are what make the corner photograph well — they're the difference between a lit patio and a magical one in every picture guests take.
Suggested budget range: $20 – $50.
14. Trace the Whole Outline With a Rope Light
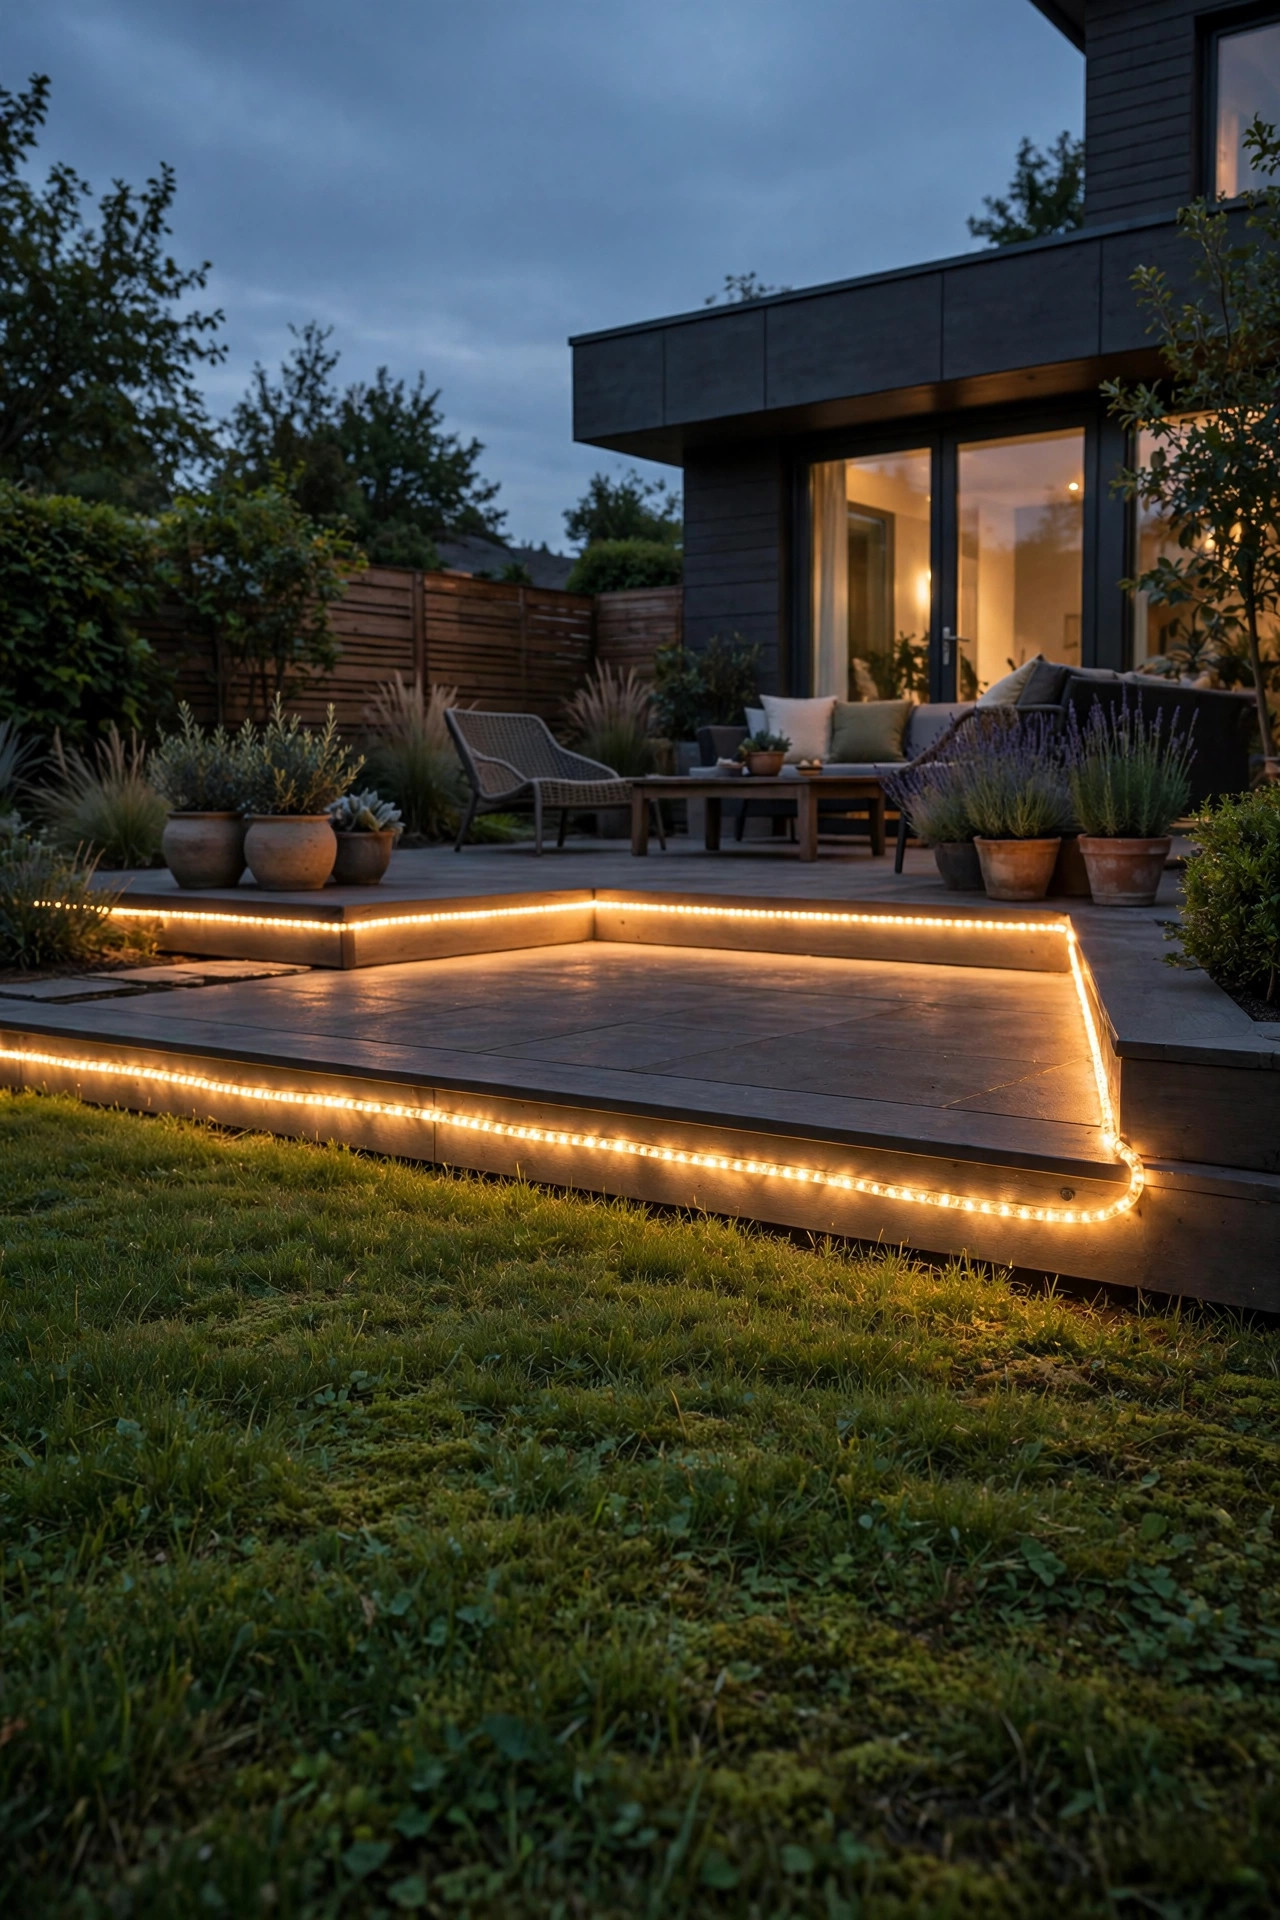
A rope light under the patio's edge cap — or tucked along the base of a low retaining wall — draws the entire L in one continuous line of light. It sounds simple, but seeing the full shape outlined at night is oddly satisfying, and it does real work: the outline tells guests exactly where the stone ends and the lawn begins, on both arms, from anywhere in the yard. I use a warm 2700K rope rated for outdoor use, clipped every 18 inches so it runs straight instead of sagging into scallops, and I hide the cord's start at the inside corner where the outlet lives. Corners are where rope lights kink, so bend a generous radius — about 4 inches — rather than forcing a sharp fold, which can crack the tubing and kill a section. Put the rope on your low-light zone with the step lights and bench strip. From the street, the outlined L reads as pure architecture. It's also the friendliest light on the patio for fireflies and stargazing, since it points down and stays dim.
Suggested budget range: $35 – $85.
15. Moonlight the Lounge Arm From Above
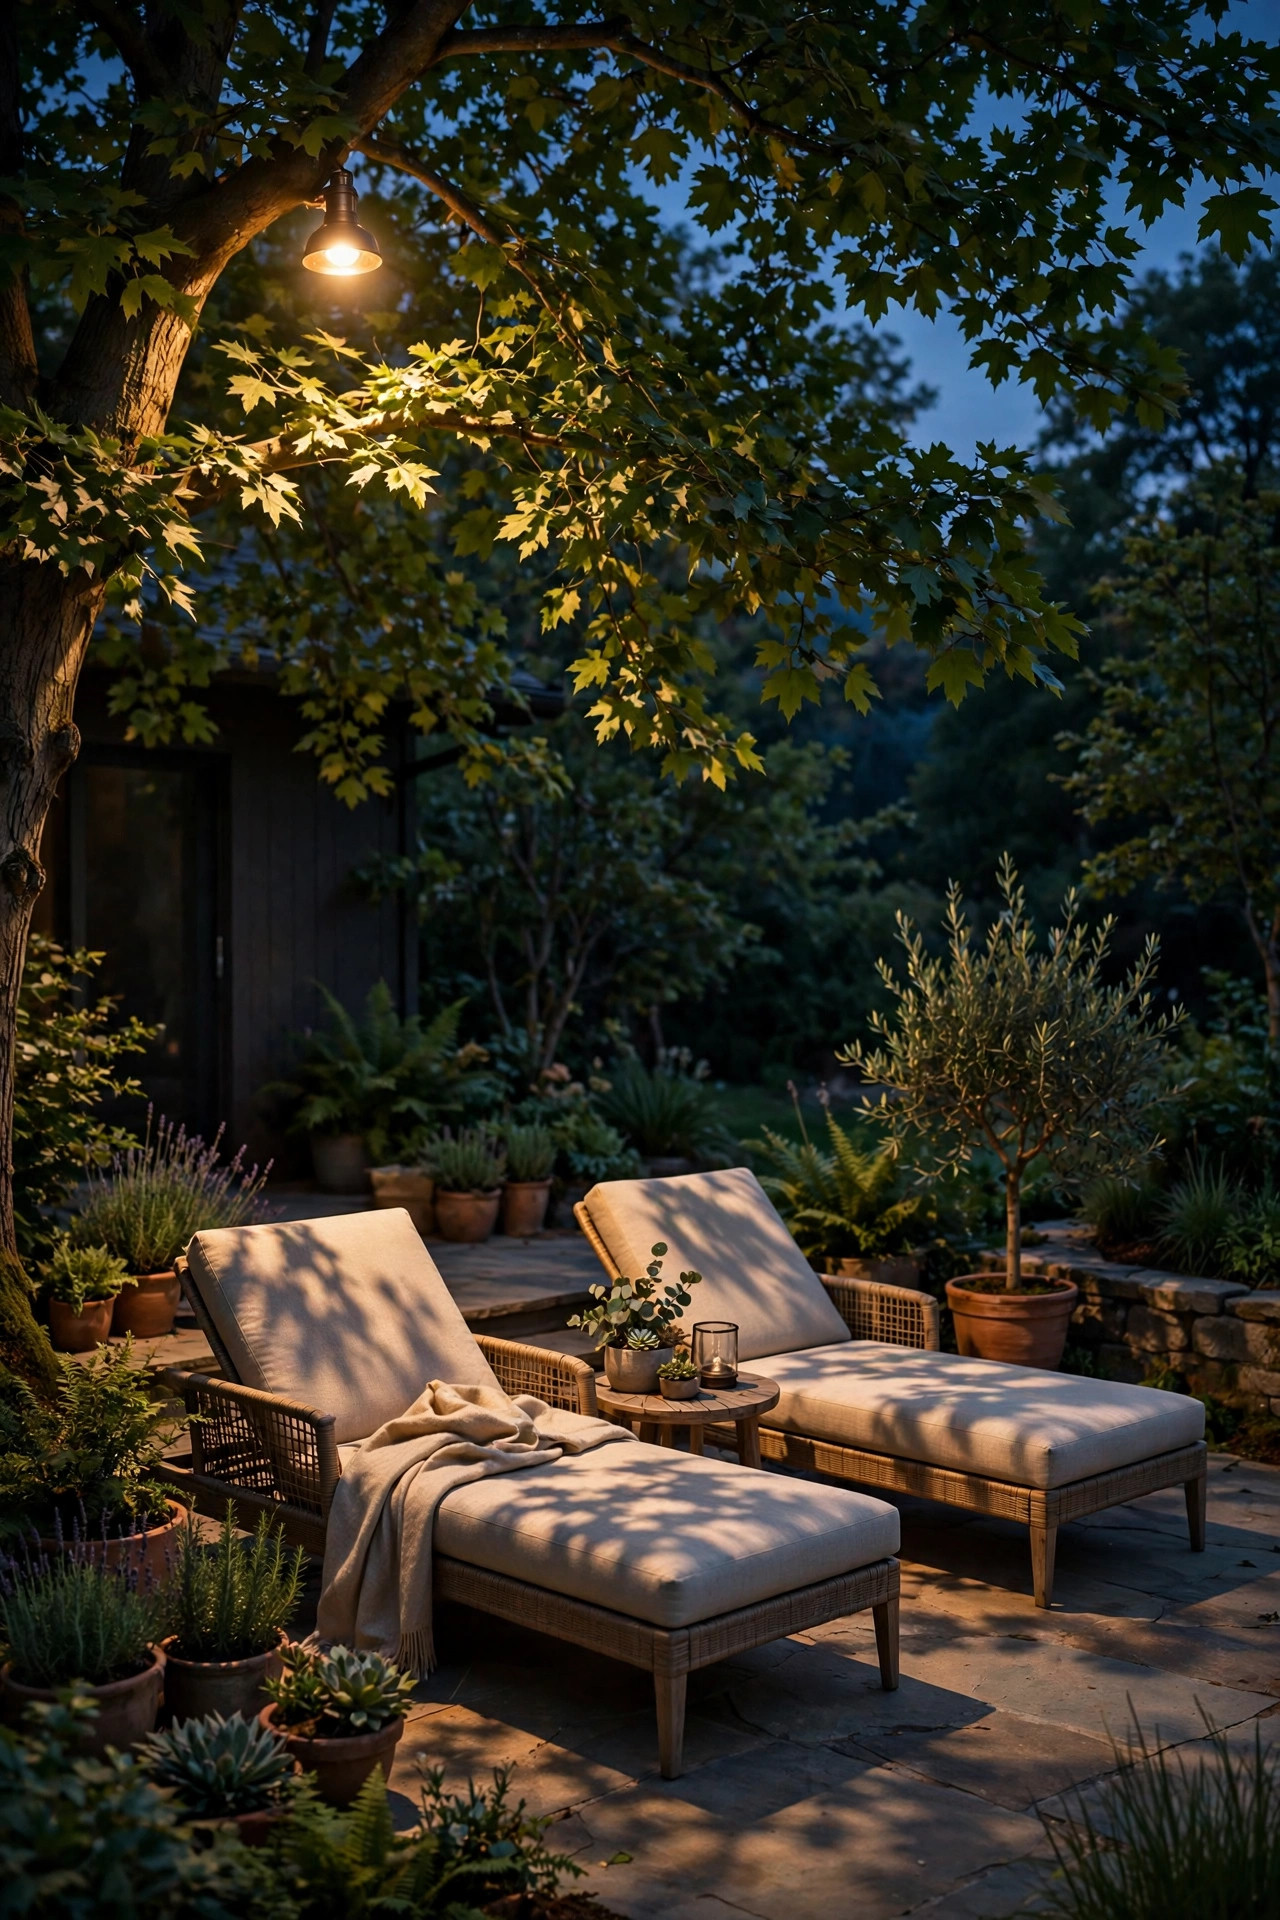
The lounge arm deserves a different mood from the dining arm — softer, dimmer, more sky. Moonlighting delivers it: mount one shielded fixture high in a tree or on a tall pole at the far end of the arm, aimed down through branches so the light arrives as dappled pools, like moonlight through leaves. A slightly cooler 3000K reads more "moon" than "candle," but I never go bluer than that or the two arms stop feeling related. Keep it dim — 200 to 400 lumens spread over the whole seating area — because this layer is for conversation and stargazing, not reading. If there's no tree, a 10-foot pole at the arm's far corner with a downward shielded head does a convincing impression. The dapple pattern hides a multitude of patio sins, too: faded pavers and mismatched furniture all disappear under moving leaf shadows. Pair it with the fire bowl at the bend and the lounge arm gets two kinds of flicker at once. In my experience, this is the light that's still on at midnight when the party has shrunk to four people and nobody wants to leave.
Suggested budget range: $45 – $120.
16. Use Bollards to Separate the Two Zones
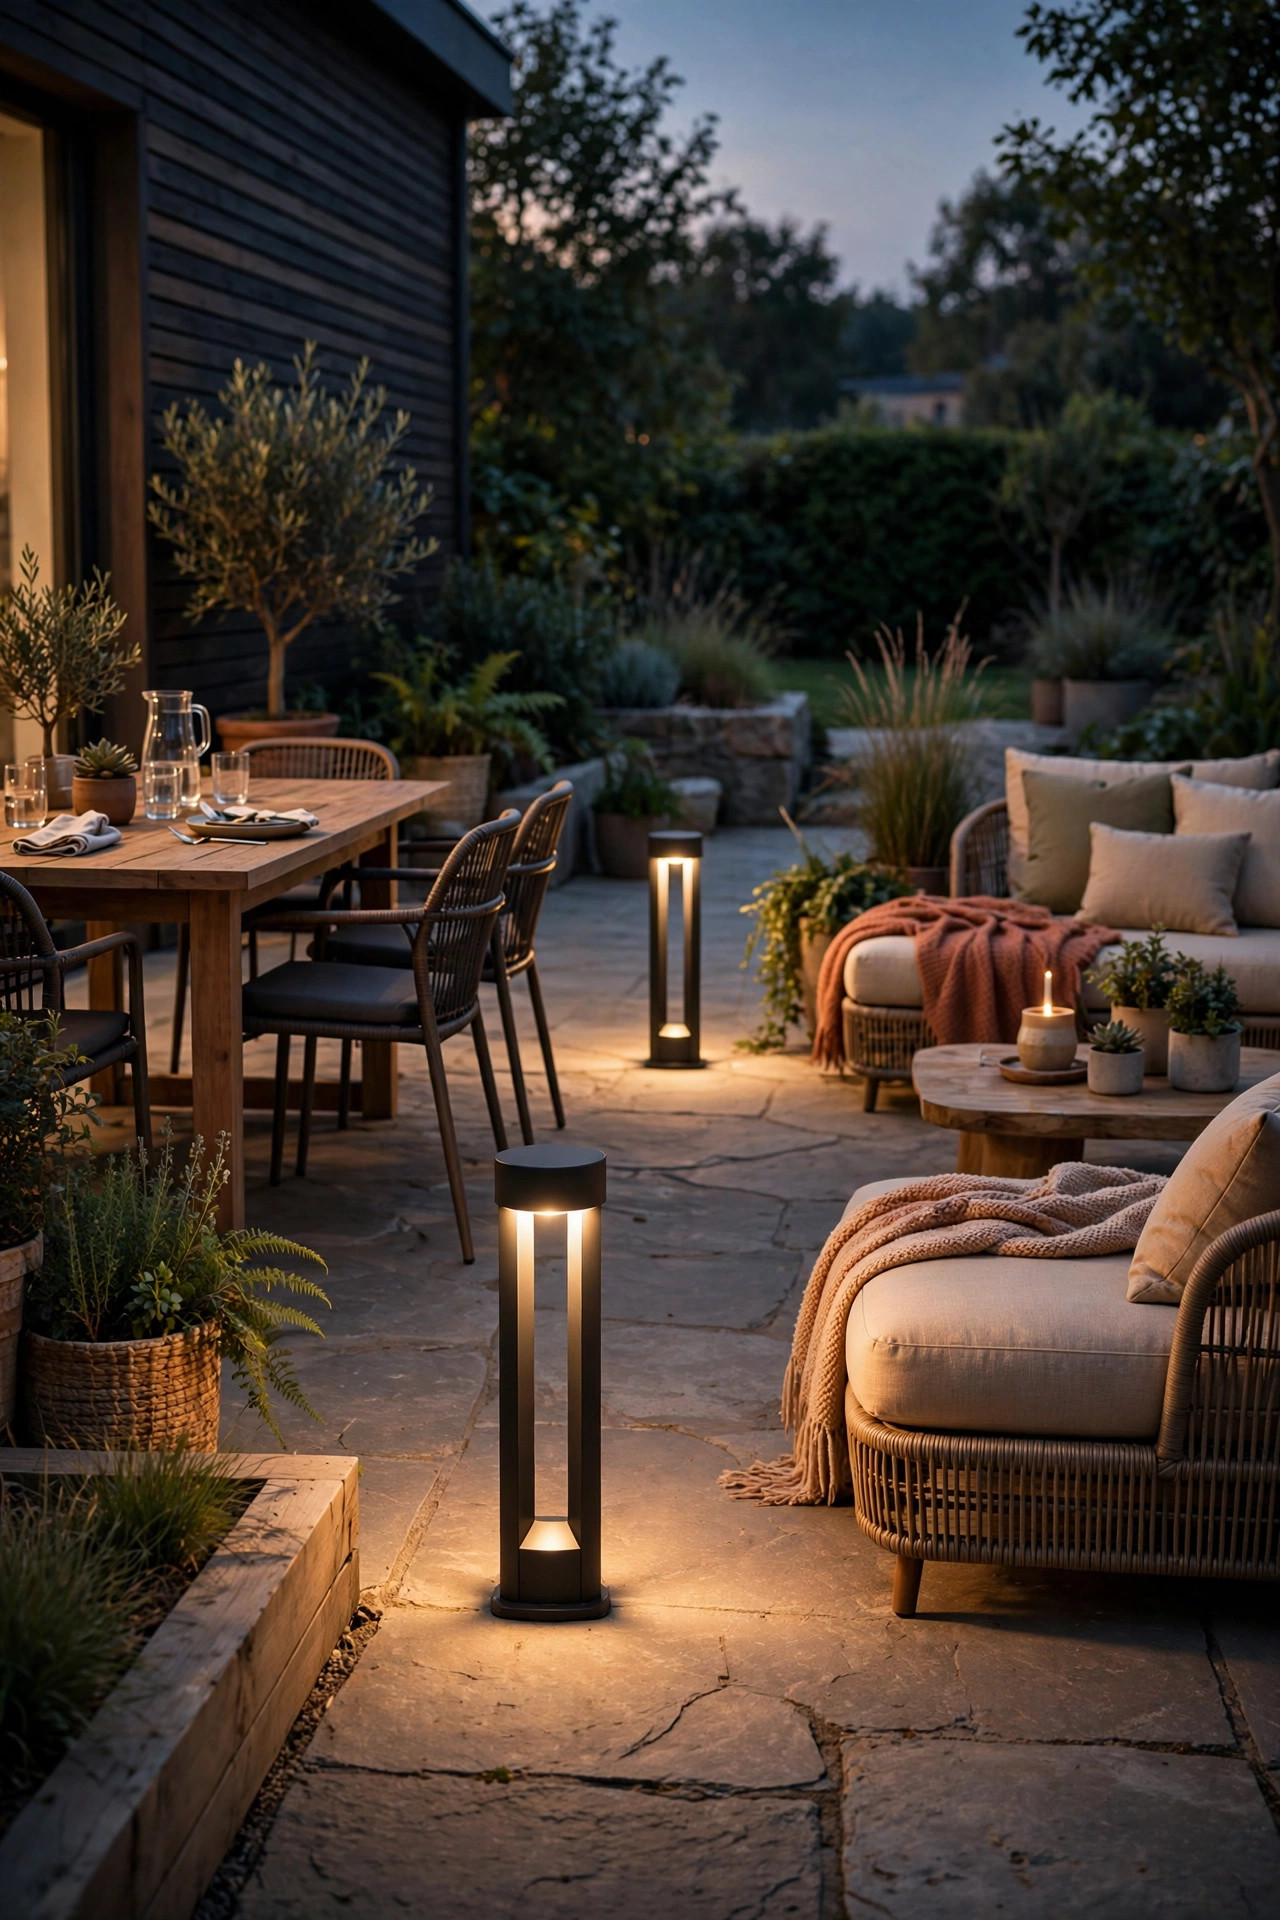
An L reads as two rooms, but the boundary between them is invisible after dark — which is why dinner guests wander into the loungers and the grill smoke drifts over dessert. Short bollard lights fix the zoning without a single wall. I place one bollard at the inside corner's floor point and one where the dining arm's seating ends, so the pair quietly draws the line. Bollards 18 to 24 inches tall with louvered or shielded heads throw a tidy ellipse of light on the ground and nothing into faces. Solar bollards work fine here since they're markers, not task lights, but wired ones on your low zone switch more reliably with the rest of the floor layer. Keep spacing irregular on purpose — a bollard at each decision point (the corner, the step, the grill turnoff) instead of a marching row. The effect is subtle but real: each arm keeps its own mood because your eye now has a border to read. Choose a finish that matches your sconces so the whole kit feels bought-on-purpose.
Suggested budget range: $55 – $130.
17. Line the Low Wall With Hurricane Lanterns
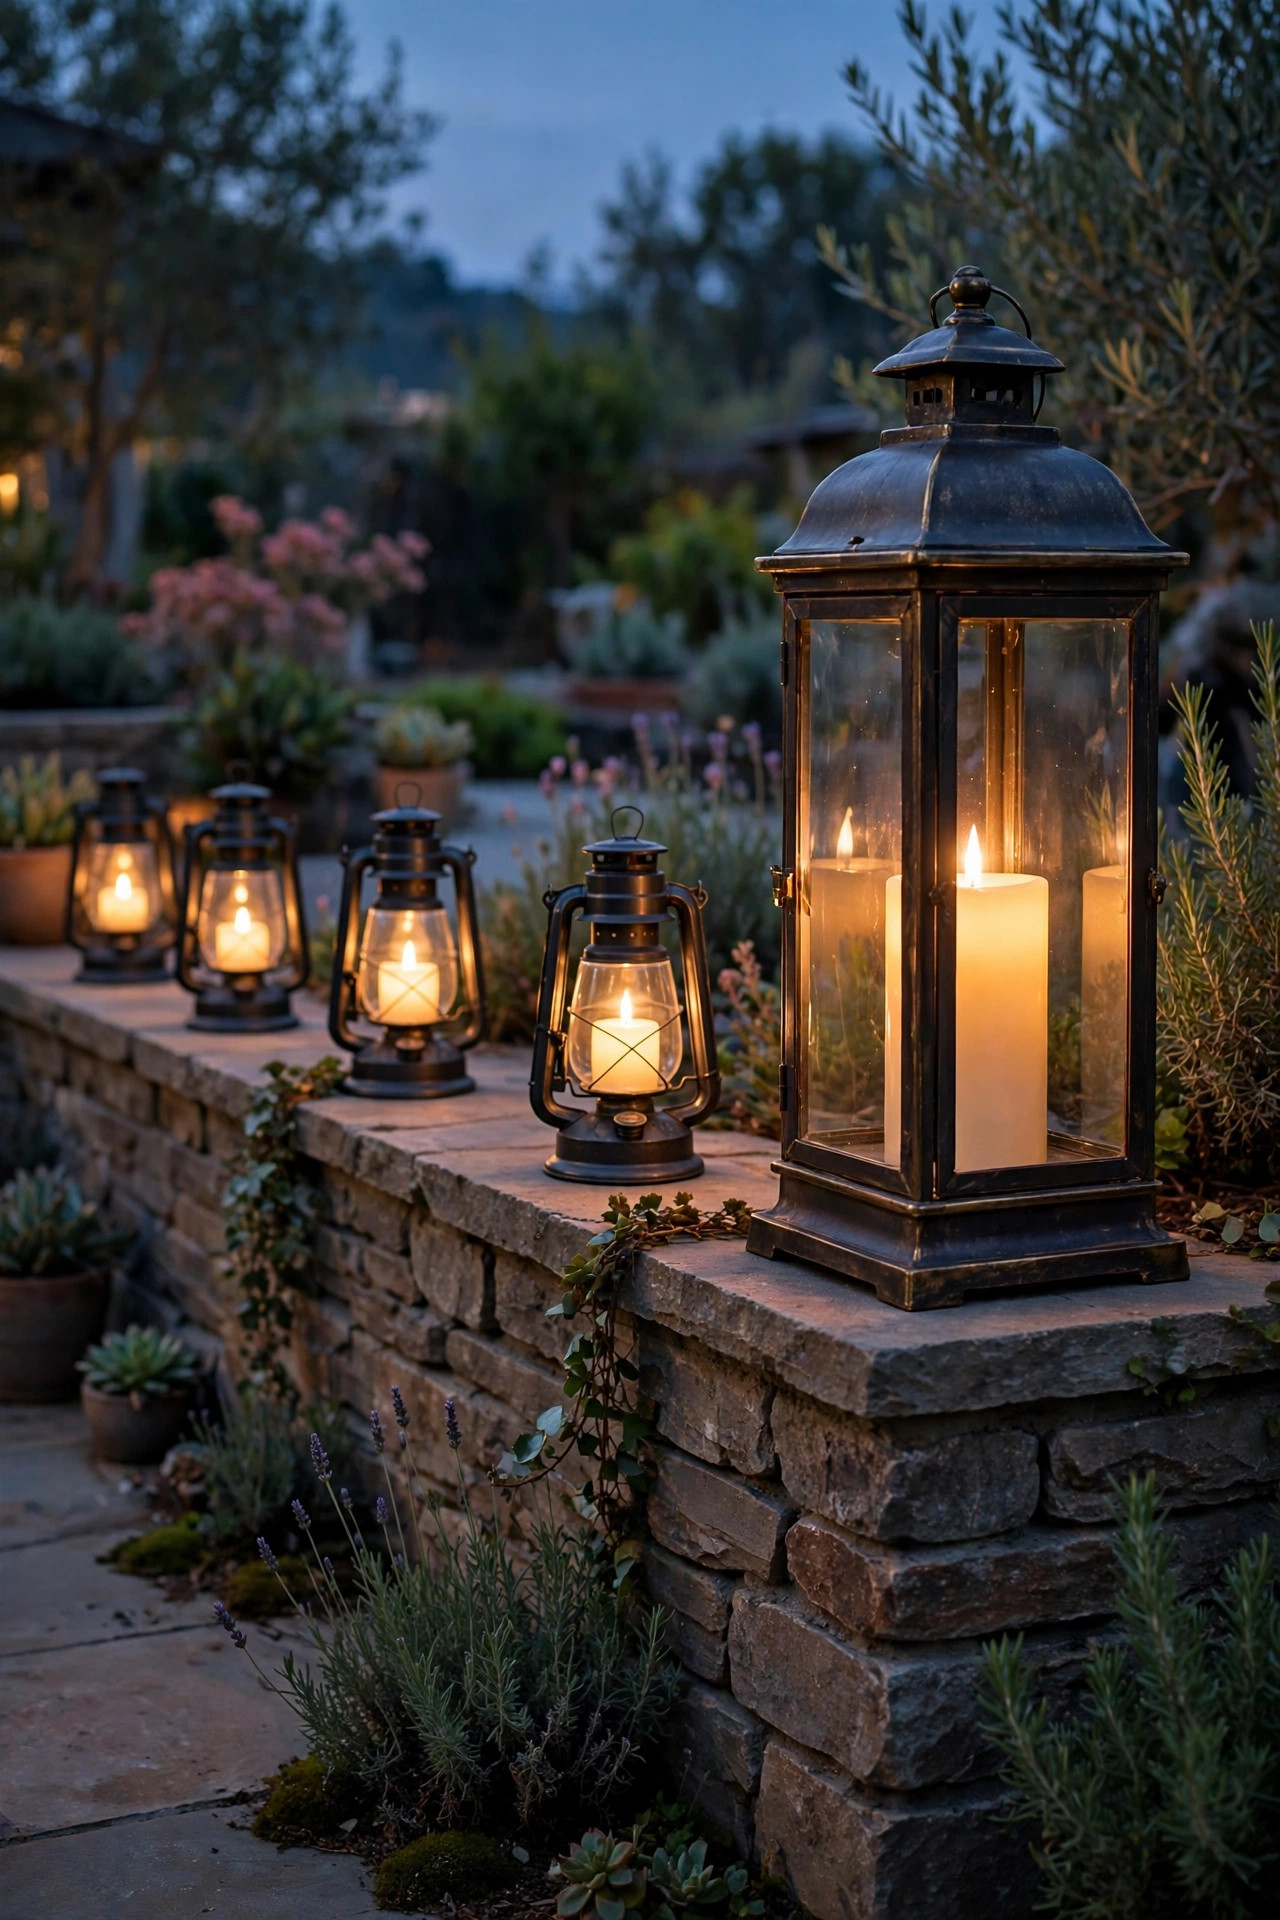
If your L wraps around a low seating wall or a raised planter edge — and so many do — that long horizontal surface is a lantern shelf waiting to happen. I set hurricane lanterns along the wall every 4 to 5 feet, each holding a flameless pillar candle on the patio's master timer. Glass hurricanes earn their name outdoors: the chimney shields the "flame" from corner breezes that funnel down both arms, so the flicker stays steady instead of strobing. Vary the lantern heights slightly but keep the candles the same warm tone, and line them a few inches back from the wall's edge so nobody's elbow sends one over. This row does the eye-level layer for the whole outer edge in one move, and it reflects beautifully in any glass doors behind the patio. On the wall's corner, I put the largest lantern — the outside corner of the L deserves a full stop, just like the inside one. Bring the lanterns under cover for winter if your climate freezes hard; the candles themselves are cheap to replace in spring.
Suggested budget range: $40 – $100.
18. Give the Grill Its Own Task-and-Motion Light
Almost every L parks the grill on one arm — usually the short one by the kitchen door — and that arm needs honest, working light, not ambiance. I mount one bright, shielded fixture over the grill zone: 800 to 1,200 lumens of 3000K light aimed down at the grates, on a motion sensor with a manual override switch by the door. The motion setting handles the weeknight dash in and out, and the override keeps it steady for a full Saturday cookout. Bright, slightly cooler light here is a feature, not a mood killer — you need to see the difference between medium and medium-rare — and because it's confined to one arm and aimed down, it never washes out the lounge glow around the bend. A small battery lantern clipped to the grill handle makes a fine backup. Just keep the fixture at least a foot above the grill hood's open arc, and choose a metal housing that shrugs off heat and grease. Your future self, flipping burgers in November darkness, says thanks.
Suggested budget range: $35 – $90.

19. Swap in Smart Color Bulbs for Party Mode
Most nights my patio runs warm white — but the sconces and pendant all hold smart bulbs, so party mode is one tap away. I set a scene for gatherings: the corner pendant and sconces stay warm, while the string-light bulbs shift to soft amber and a hint of color at the far arm only. Keeping color at the edges and warm white at faces is the trick; a whole patio in rotating rainbow reads as a carnival, not a home. Smart bulbs also solve the L's wiring quirks — each arm becomes its own group in the app, so I can dim dining to candle-level while the lounge arm stays bright enough for a card game. Choose bulbs rated for enclosed, outdoor fixtures if your sconce has a shade, and check that your Wi-Fi reaches the far arm; a weak signal is the usual reason one bulb "won't listen." Sunset-triggered routines mean the patio lights itself year-round without me reprogramming a timer for the seasons. On ordinary Tuesdays, nobody would guess the system can do any of it.
Suggested budget range: $50 – $120.
20. Put Each Arm on Its Own Dimmer Zone
Here is the unglamorous idea that makes all the others work: wire or group the patio as two zones, one per arm, each on its own dimmer or smart plug. The dining arm almost always wants more light — faces, plates, a card game — while the lounge arm begs to go low and firelit. One switch for everything forces a compromise that's wrong in both directions. With two zones, I run dining at about 70 percent, lounge at 30, and the corner pendant on its own control so the hinge can play either side. If you're hard-wiring, a two-gang box by the patio door keeps it simple; if you're retrofitting, smart plugs and smart bulbs grouped by arm get you 90 percent of the same control for a Saturday's effort. Label the switches — guests will never guess which is which, and honestly, neither will you in July. In my experience, zoning is the upgrade people resist ("it's just a patio") and then rave about ("we basically live out there now").
Suggested budget range: $30 – $110.
21. The Finishing Layer: L Shaped Patio Lighting Ideas, Pulled Together
Once the anchors and accents are in, do the dusk walk-through — this final pass is where l shaped patio lighting ideas stop being a list and become a place. Stand at the inside corner at full dark and turn slowly: you should be able to read both arms, see the elbow glow, and spot no bare bulb glaring back at you. Squint is the test — anywhere you squint needs a shade, a shield, or a dimmer click down. Then match every bulb to the same warm family, 2700K to 3000K, because a single blue-white straggler unzips the whole design. Set one timer for the structure lights — pendant, sconces, edge — and let lanterns and stakes run on their own dusk sensors. Finally, photograph the patio from the yard; the camera finds dark holes and hot spots your eye politely ignores. My L took three rounds of this ten-minute ritual to settle, and now the lighting just disappears into good evenings — which is, honestly, the entire point. Layer by layer, the corner became the best seat in the house.
Suggested budget range: $15 – $60.
Frequently Asked Questions
What color temperature is best for an L-shaped patio?
Warm white, 2700K to 3000K, on every fixture. Because the two arms of an L are visible from each other, mismatched bulbs are more obvious than on a straight patio — one cool bulb makes the whole arm look wrong. I run 2700K in living zones and allow 3000K only at the grill, where slightly crisper light helps with cooking.
How do I light an L-shaped patio with no outdoor outlet?
Go solar and battery in layers: solar stakes and step lights for the low layer, battery lanterns with timers at the corner, and solar string lights with a remote panel for overhead. Place panels where the sun actually reaches — on an L, one arm often shades the other by afternoon, so remote panels you can aim make a real difference.
How many feet of string lights do I need for an L-shaped patio?
Measure both arms and add about 15 percent for swag. A typical 12-by-16-foot arm plus a 10-by-12-foot arm needs roughly 60 to 70 feet of strand to line the edges, or double that if you zigzag a canopy over one arm. Buy the same strand style in both lengths so the bulbs match perfectly at the corner.
Should both arms of the patio match exactly?
They should match in color temperature and fixture finish, but not in brightness. Think of the arms as two rooms in one house: same palette, different moods. Dining usually wants brighter, more even light; lounging wants it lower and warmer-feeling. Zoning each arm on its own dimmer gives you both without buying two different systems.
Conclusion
An L-shaped patio doesn't need more light — it needs the right light in the right order: the corner anchored, each arm layered, the edges defined. Start with these l shaped patio lighting ideas at the bend and work outward, and the awkward angle becomes the reason the whole space works. If you want more ways to build on the layout, browse my full collection of patio lighting ideas for the next layer — your evenings outside are about to get much longer.