The first evening I spent on our rooftop terrace, I made the classic mistake: I lit it like a backyard. One bright floodlight later, the city view I had moved up there for was completely washed out, and my neighbor two buildings over was probably seeing spots. A rooftop is not a yard with a better view; it is a stage floating in the skyline, and everything you add either frames that view or fights it. That is why the rooftop terrace lighting ideas that actually work all follow one rule: light stays low, warm, and aimed down, so the terrace glows and the skyline stays the star. I use the same layering philosophy I trust everywhere, just tuned for height: a soft ground layer for safe footing, a gentle glow at sitting height for faces and food, and only the faintest sparkle above, never a beam pointed at the sky. Add windproofing, building rules, and timers to the mix, and you get evenings that feel like a private sky lounge. Here are the 17 setups that transformed our roof from a bright box into the best seat in the city.
1. Start With a Simple Plan for Your Rooftop Terrace Lighting Ideas
Before you buy a single fixture, stand on the terrace at dusk and decide what the light is not allowed to do: it cannot outshine the skyline, spill into a neighbor window, or leave a dark trip hazard between the door and the seating. Sketch three zones: the walk from the roof door, the gathering area, and the edge. Every zone gets one layer only: ground light for the walk, sitting-height glow for the gathering area, and a whisper of light at the edge so the perimeter reads clearly without becoming a beacon. I always recommend checking your building rules and lease first, because many buildings ban drilling into the roof membrane and parapet, which pushes you toward clamp, adhesive, weighted, and freestanding fixtures anyway. Note where your one outdoor outlet lives, since that decides what can be plug-in and what must be solar or battery. Honestly, this twenty-minute plan is what separates a terrace that feels designed from one that feels decorated. The same layering logic anchors my favorite deck lighting ideas, just translated up several stories.
Suggested budget range: $0 – $25.

2. Shield Every Fixture and Aim It Down
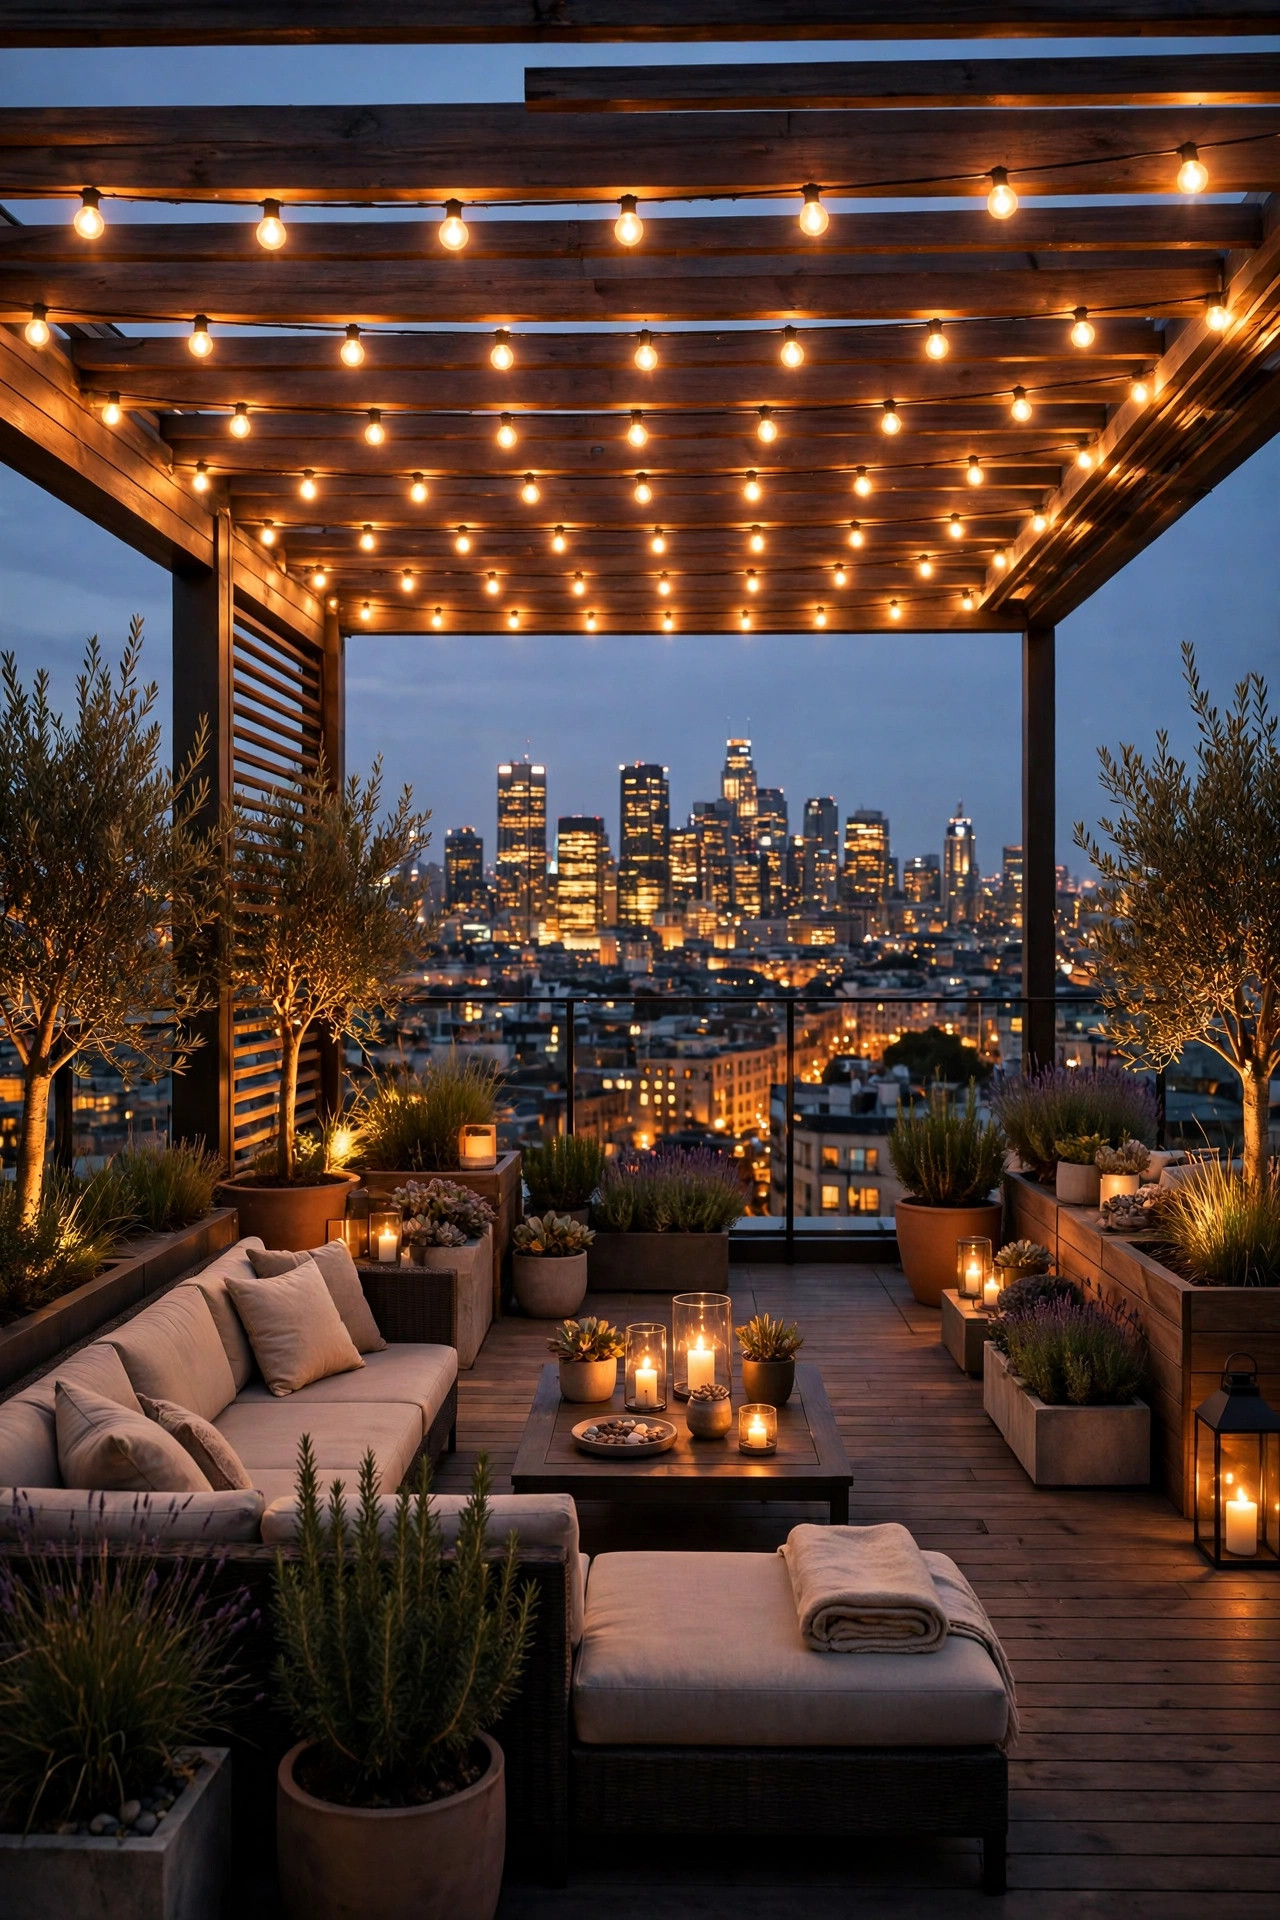
If you only follow one rule up here, make it this one: no bare bulbs pointing outward and no fixture aimed above the horizontal. Shielded fixtures with frosted lenses or louvered caps throw their light onto the deck boards where you need it and keep it out of the sky, out of pilot flight paths of your evening view, and out of the windows across the street. Look for full-cutoff or dark-sky-friendly designs, the same principles I lean on in my dark sky outdoor lighting notes, because on a roof your spill light travels for blocks. Swap any existing exposed globe or clear-lens fixture for a hooded downlight style; the difference at night is honestly startling, because your eyes stop fighting glare and the city lights sharpen back into focus. Keep brightness modest too: 100 to 300 lumens per shielded fixture is plenty when several work together. A quick test: stand at the far end of the terrace and look back. If you can see the bulb itself, the shield is wrong or the angle is. Your future self, sipping coffee under a dark sky, will thank you.
Suggested budget range: $25 – $90.

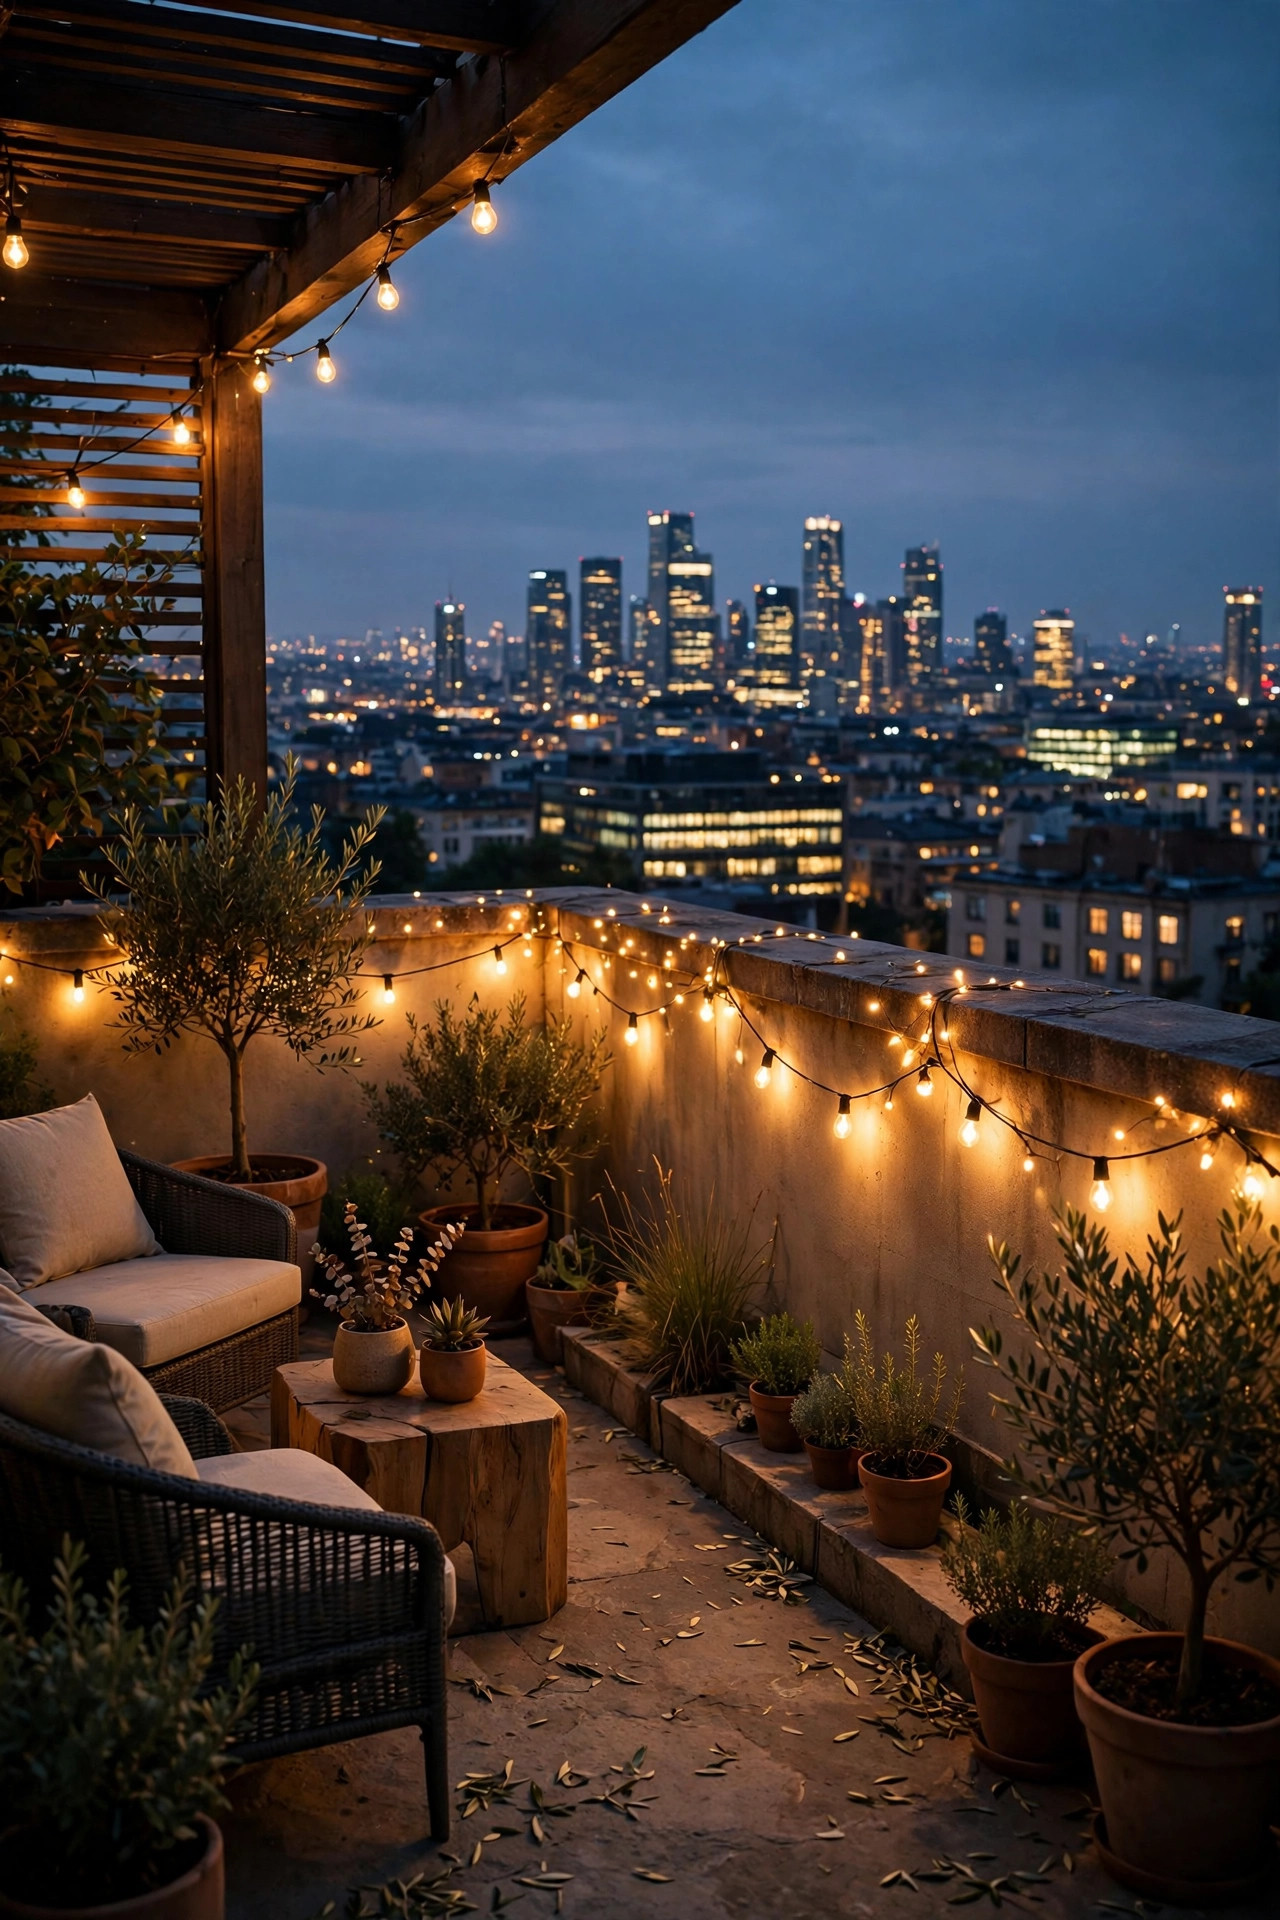
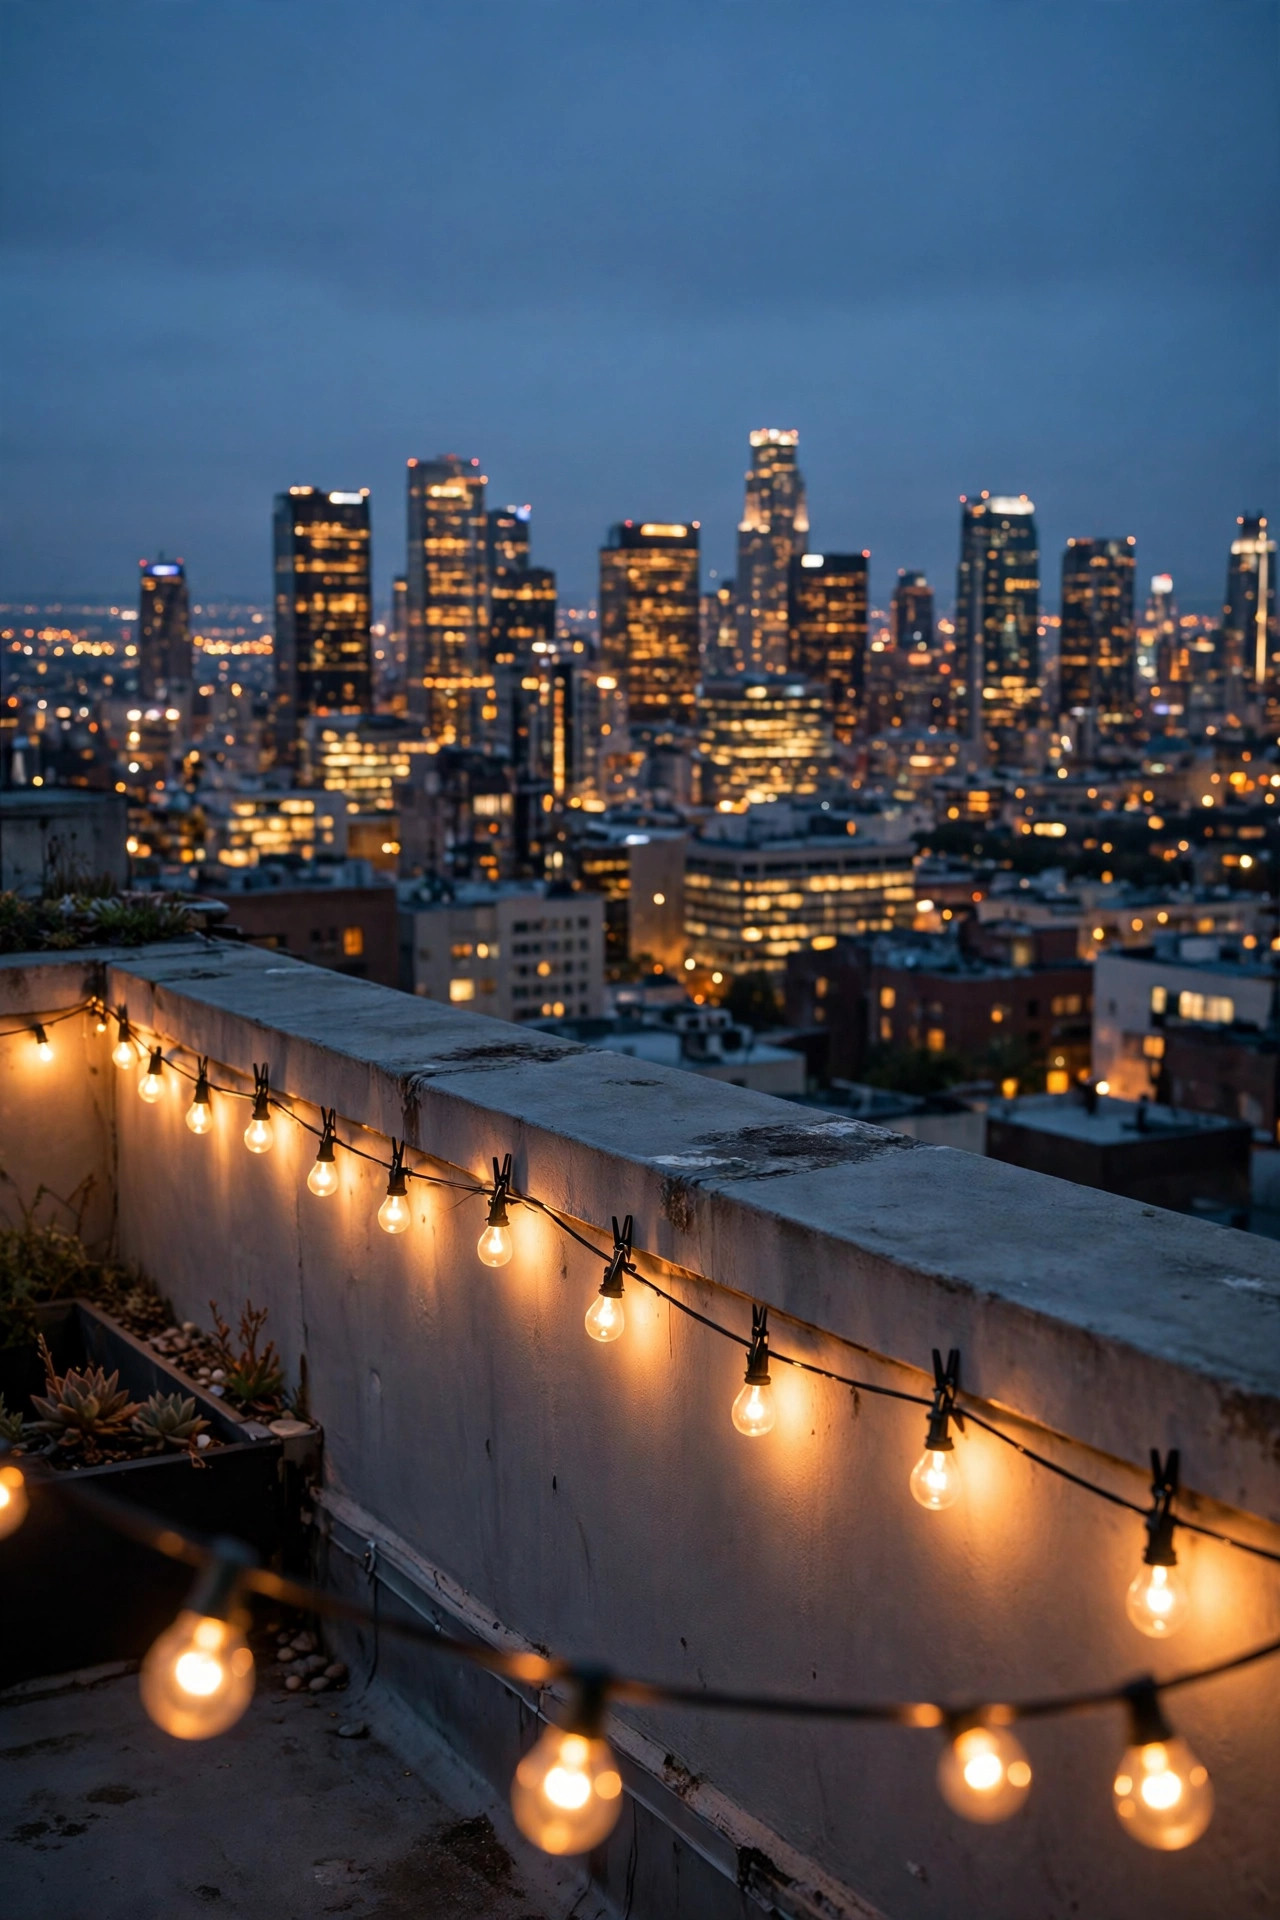
3. Run String Lights Low Along the Parapet
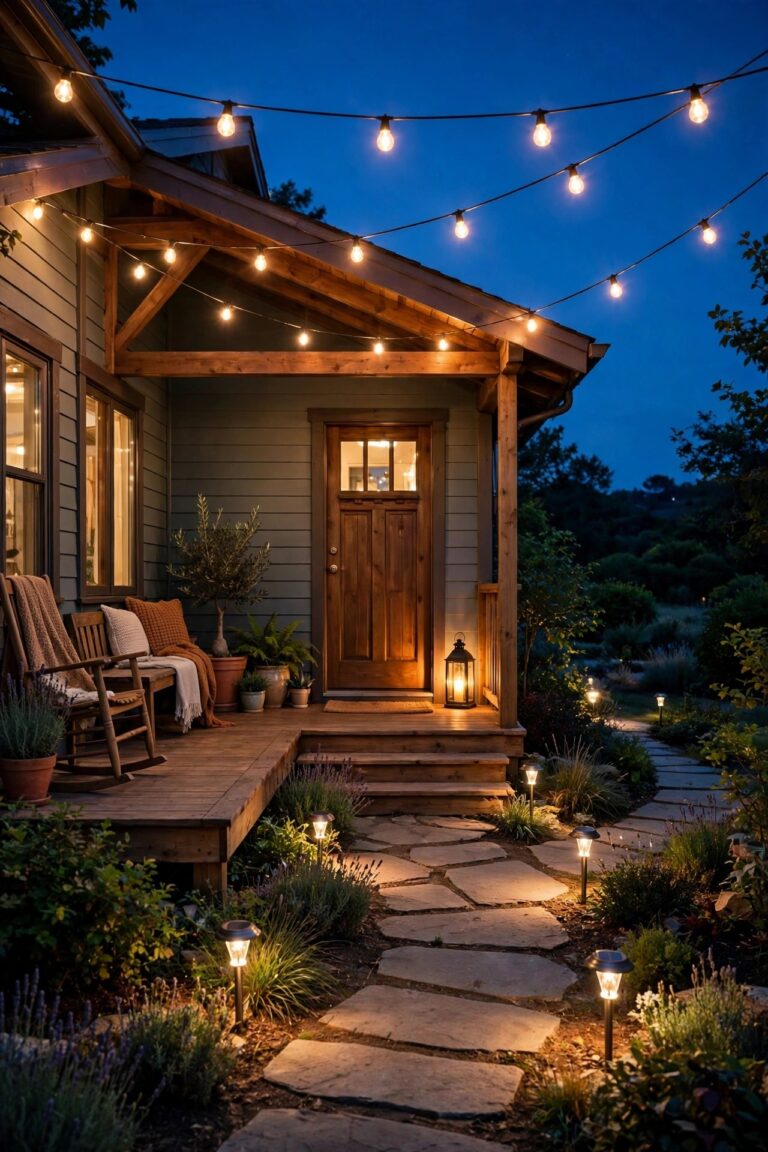
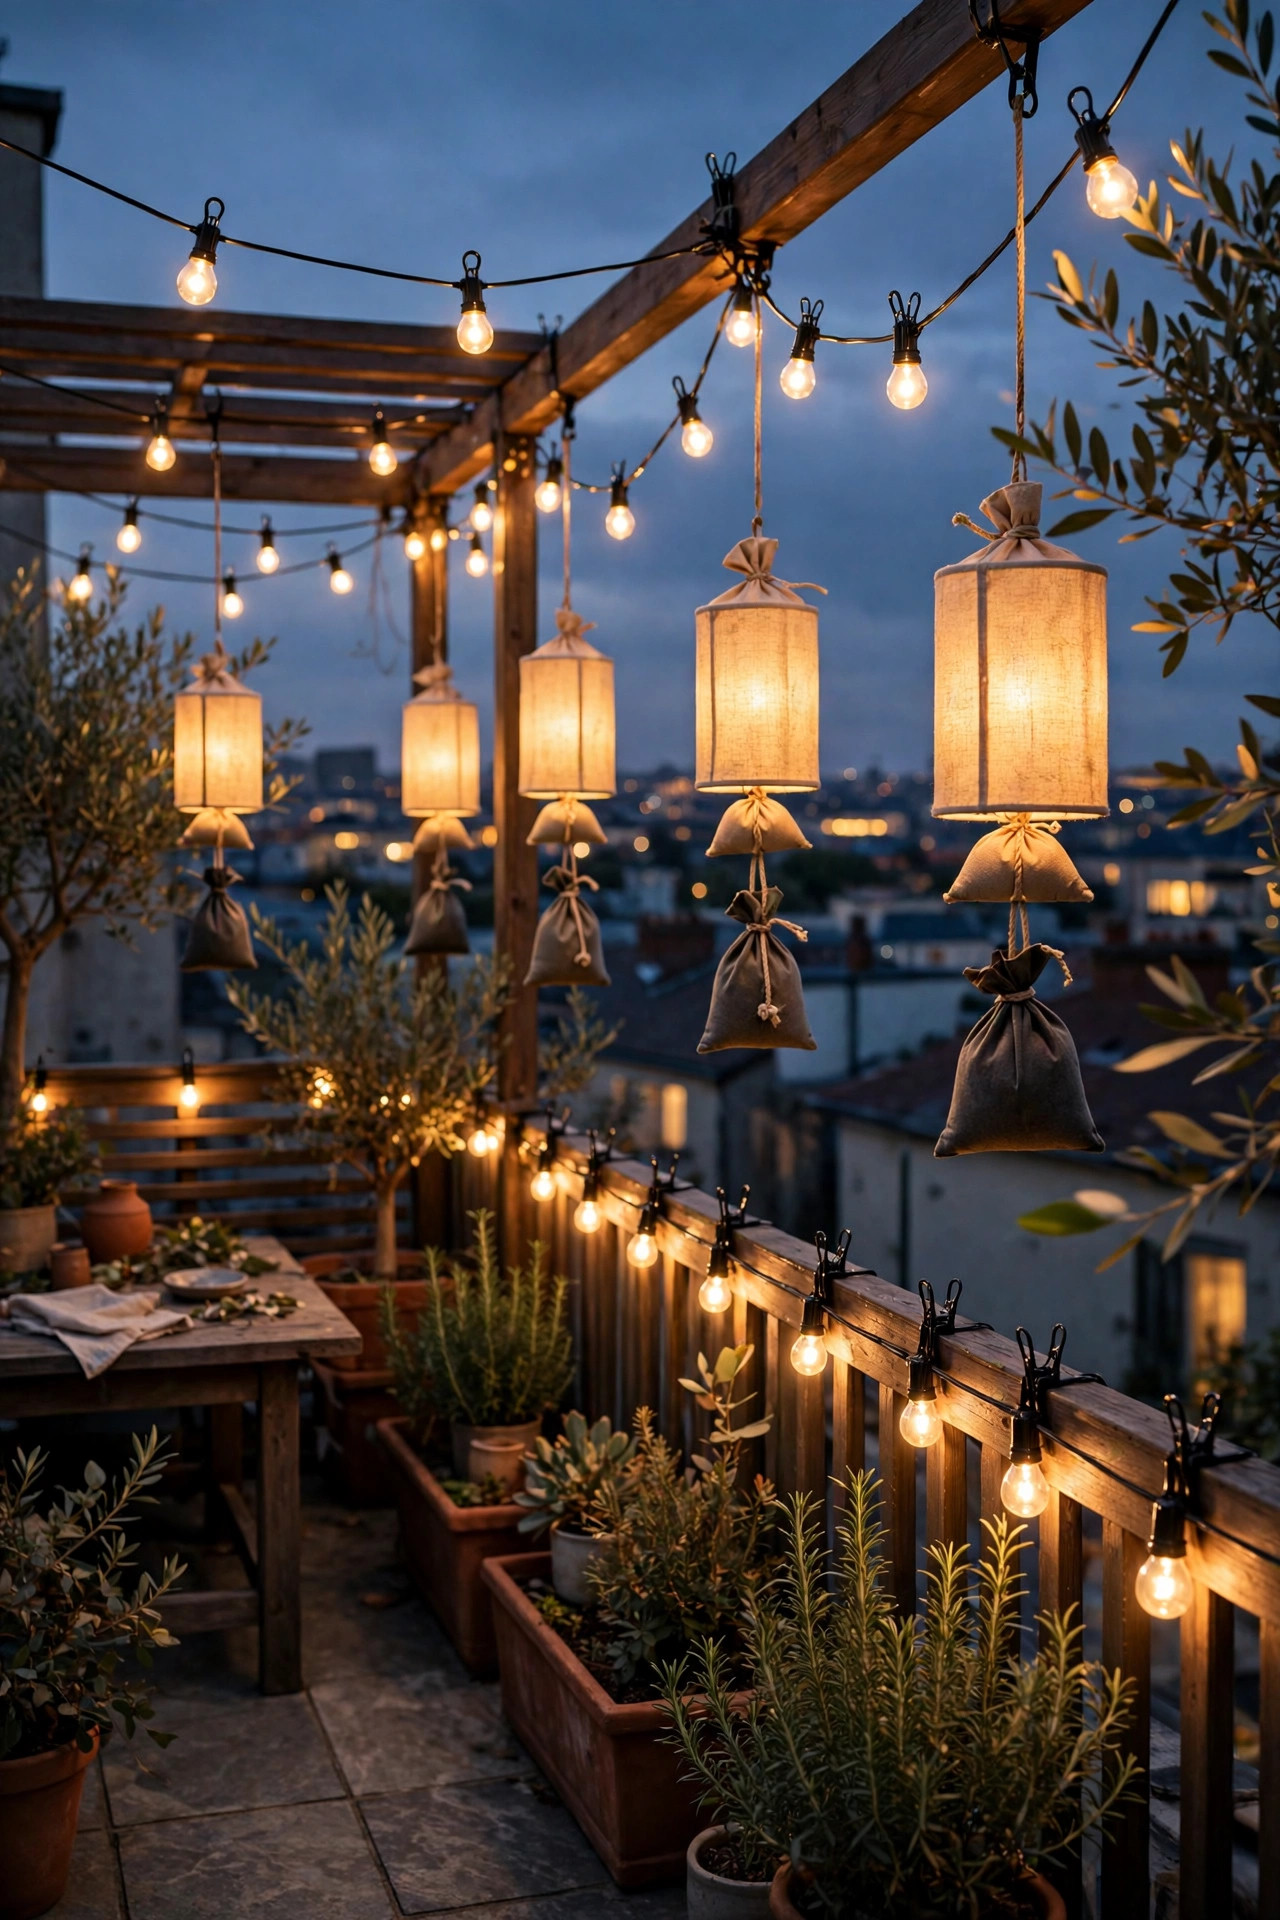
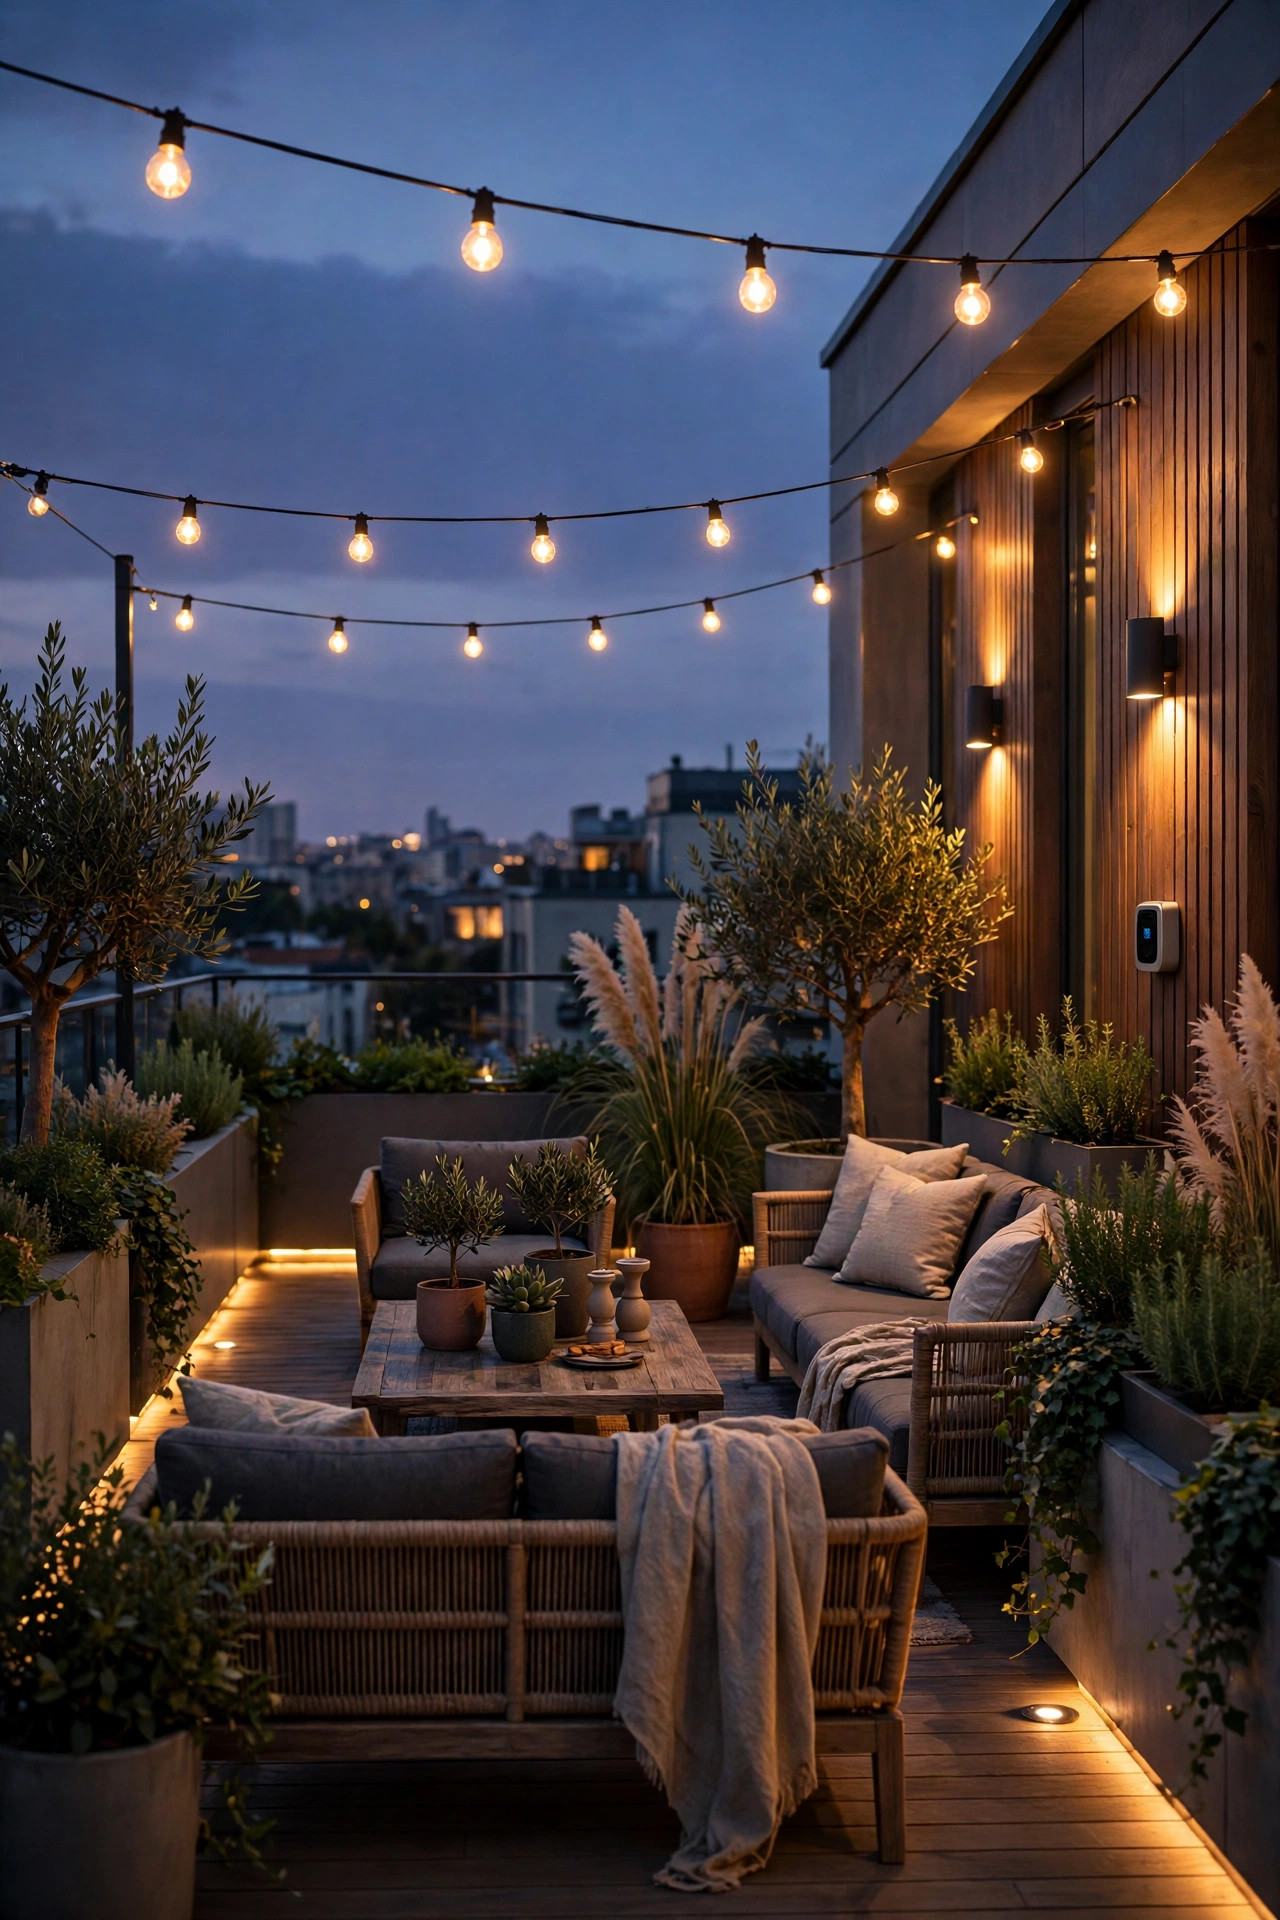
String lights belong on a rooftop, but height changes everything: a swag strung overhead becomes a sail in the wind and a bright dotted line competing with the skyline. Instead, run one strand low along the inside face of the parapet or railing, about knee to hip height, using removable clips or zip ties every 18 inches so it never sags into grabbable loops. Down low, the strand reads as a warm horizon line that frames the view instead of crossing it, and it doubles as edge definition so guests always know where the terrace ends. Choose commercial-grade strands with shatterproof LED bulbs and heavy sockets; rooftop wind is not kind to bargain sets. Warm white filament-style bulbs at 2200K to 2700K blend beautifully with city light. The clip-and-rail techniques I use for balcony lighting ideas translate perfectly to a parapet. Plug into a GFCI outlet with a weatherproof in-use cover, and put the strand on a timer so it never glows forgotten until dawn.
Suggested budget range: $30 – $85.
4. Define the Edge With Low Bollards and Step Lights
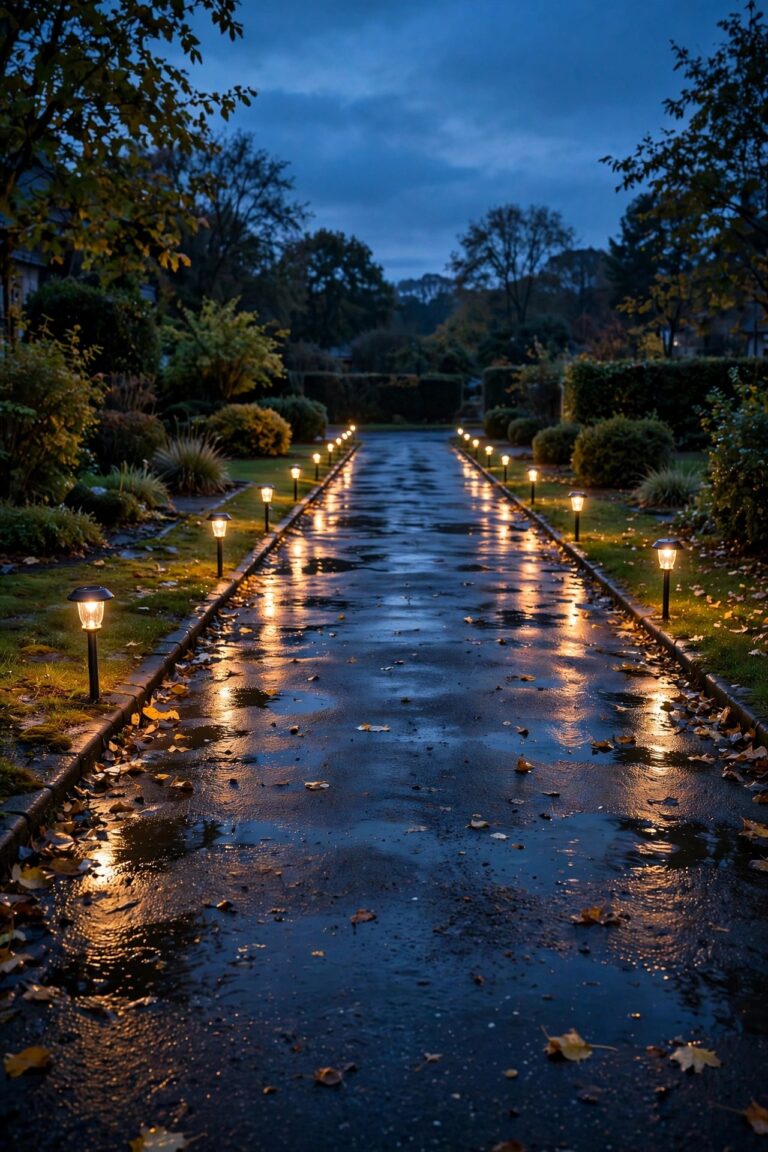
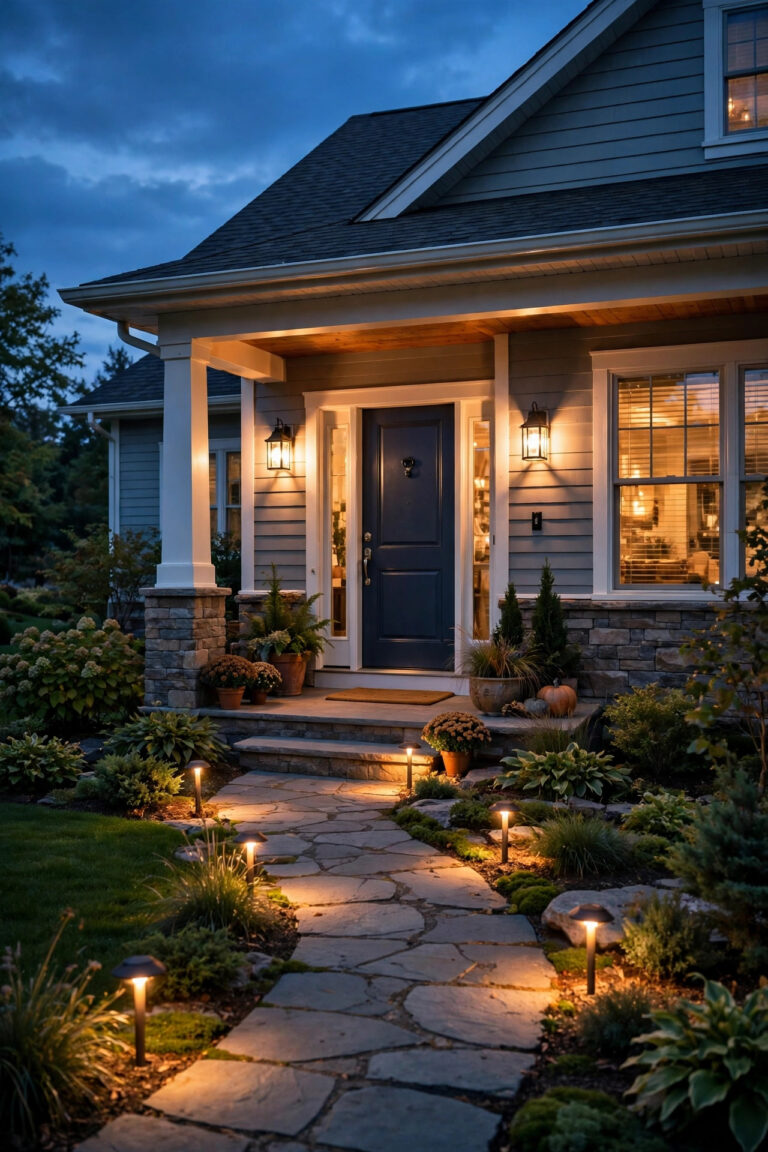
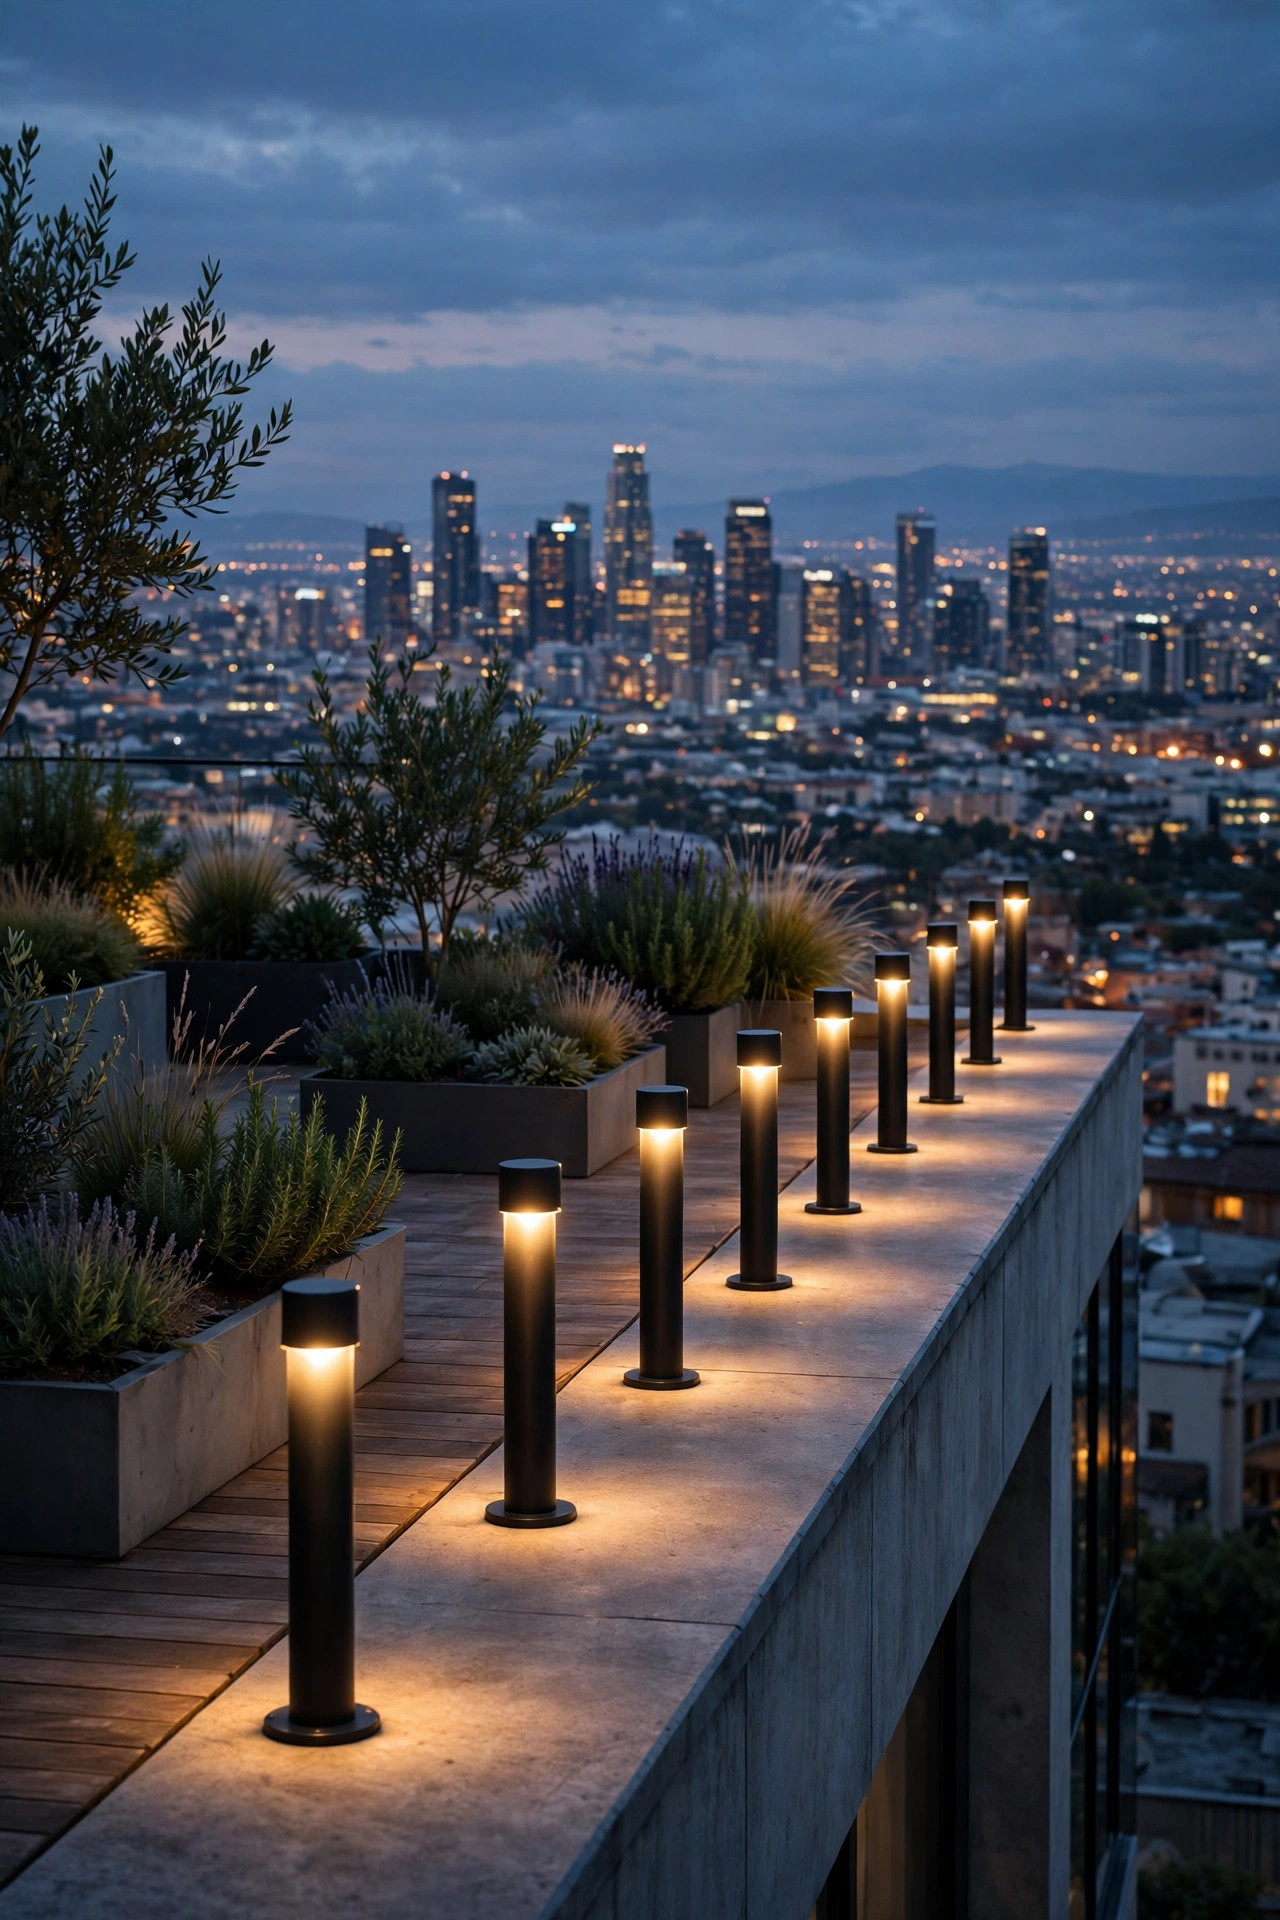
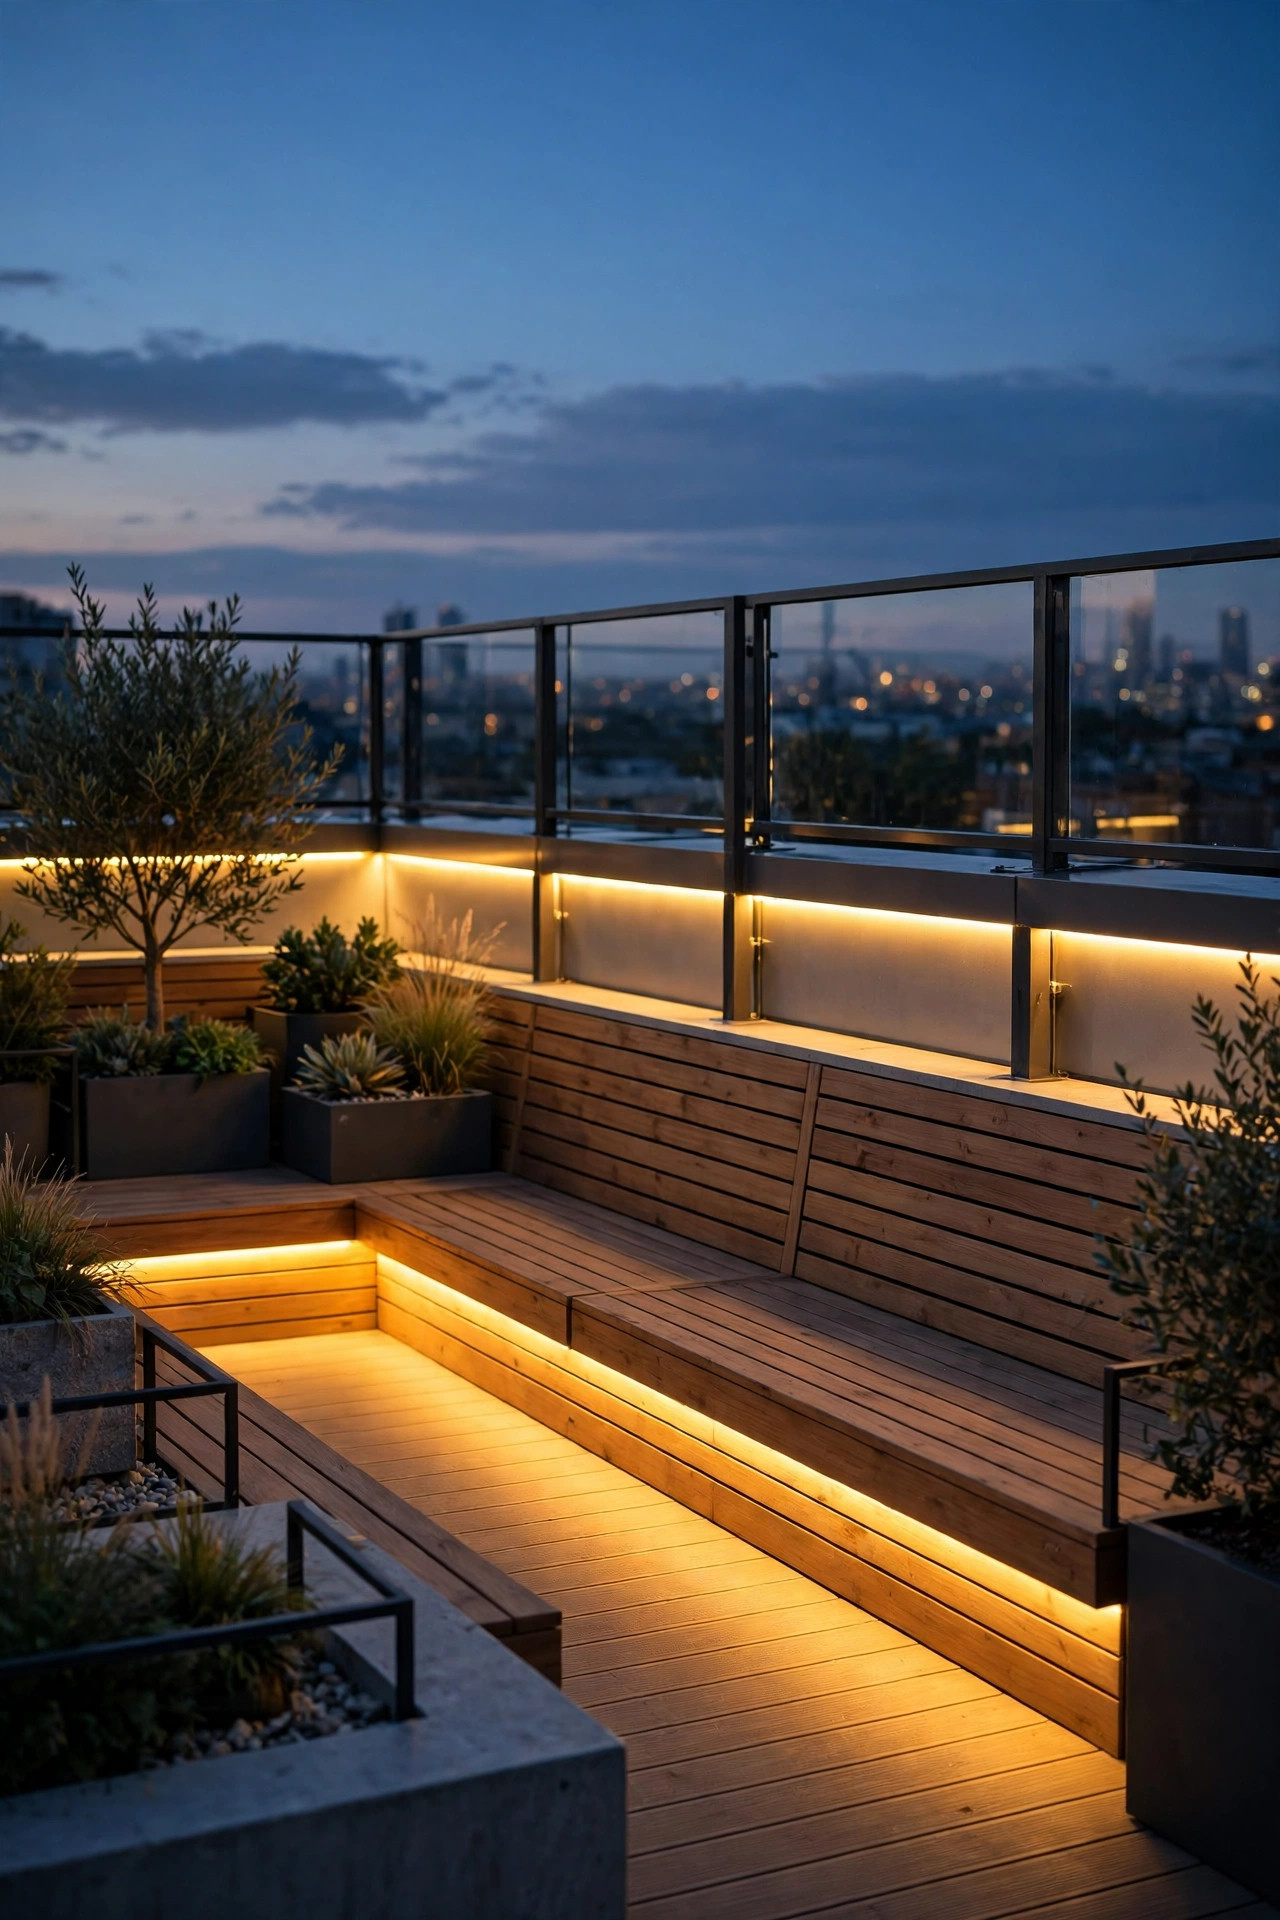
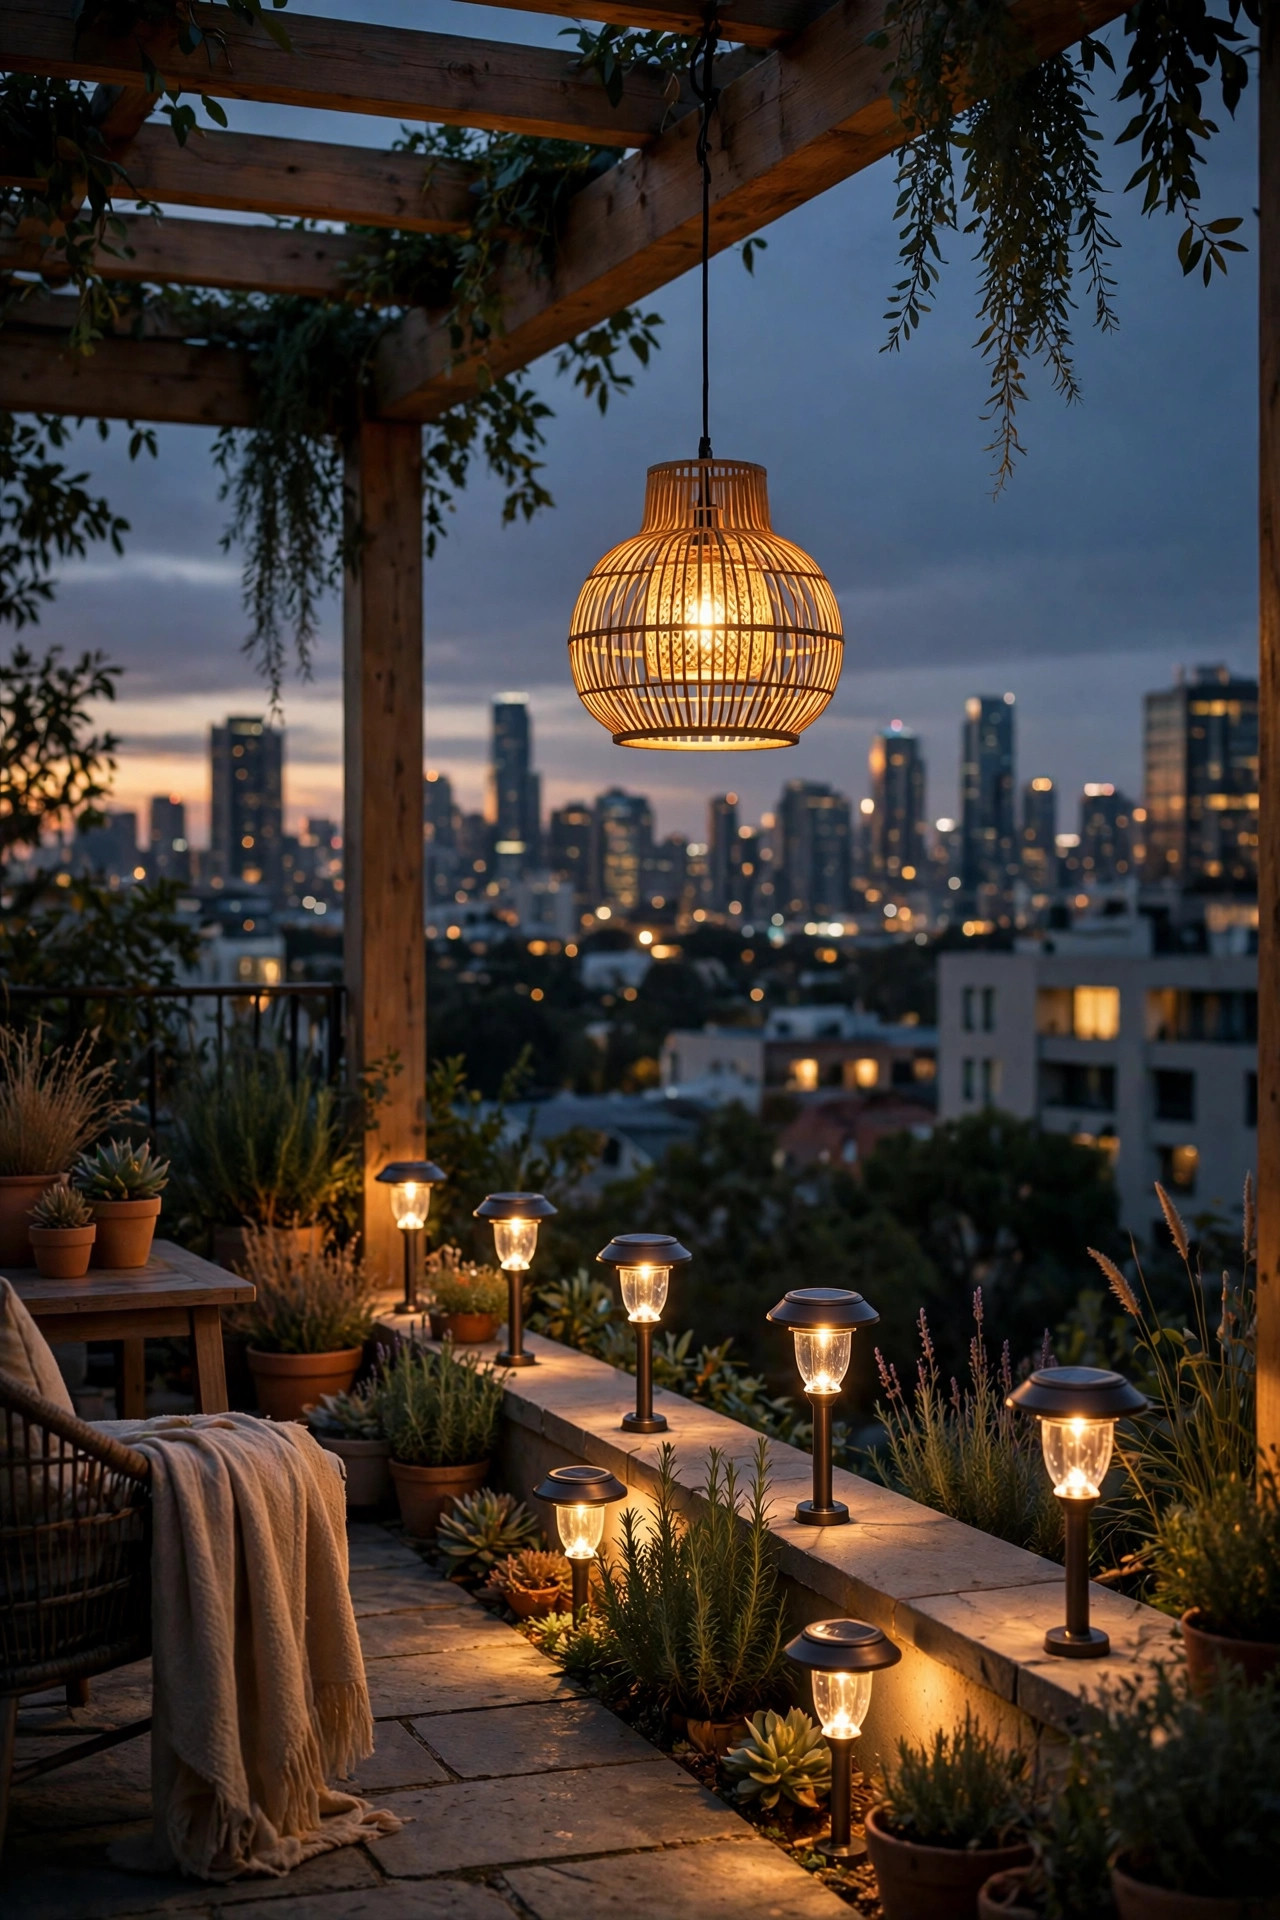
The edge of a rooftop is the one place you never want ambiguity after dark. Low bollard-style lights, solar post lights, or recessed step lights mounted along the perimeter give the terrace a calm boundary line that reads from every seat without throwing light upward. Keep fixtures under 18 inches tall so they sit below sightlines when you are seated; the goal is a dotted glow at floor level, not a row of little lighthouses. Space them 4 to 6 feet apart along walkways and closer, about 3 feet, near any change in deck level or the roof door threshold. Solar versions are ideal where the parapet shades your outlet side, but pick models with replaceable batteries and a honest 8-hour runtime. In my experience, edge lighting is also what makes guests relax: people instinctively stay comfortable when they can read the footprint of a high space. Choose fixtures with diffused lenses so no single point glares, and check after the first rain that no water pools inside the housings.
Suggested budget range: $40 – $120.
5. Uplight the Planters, Never the Sky
Every rooftop terrace needs greenery, and a planter lit from within its own foliage is the prettiest light source up there. Small solar or low-voltage spotlights tucked into planters and aimed into shrubs, ornamental grasses, or a potted olive tree create soft, living texture while keeping every lumen on the leaves, where it belongs. The rule is simple: the beam ends on the plant. Angle fixtures so the foliage catches the full throw; if you can see past the plant into a bright cone of empty air, tilt it down. One spotlight per large planter is enough, roughly 100 to 200 lumens, and warm white keeps greens from going neon. This trick also breaks up the hard rectangle of most terraces, because the planted corners glow at slightly different heights. Keep fixtures on stakes pushed deep into the soil so wind cannot walk them across the deck, and wipe the lenses monthly; rooftop dust and pollen films dim them faster than you would expect.
Suggested budget range: $20 – $75.

6. Hide LED Strips Under Railings and Bench Seats
Some of the most elegant light on my terrace comes from fixtures you cannot see at all. Waterproof LED strip lights tucked under the handrail, under bench seats, and beneath the lip of a built-in planter throw a floating wash of light straight down onto the deck, with zero glare and zero visual clutter against the skyline. Choose outdoor-rated strips with a silicone coating (look for IP65 or better) and warm white output around 2700K, and mount them on the underside of surfaces using the adhesive backing plus small clips every 12 inches, since rooftop heat cycles loosen adhesive over a summer. The effect is pure hotel lounge: the furniture appears to hover, the walking path stays readable, and your eyes never meet a bulb. Run the low-voltage cable tight along the underside of the rail and down to a weatherproof driver box near the outlet. Dimming matters here, so pick a strip system with a remote or app dimmer and run it at 50 to 70 percent most nights. It is glamour lighting that also happens to be the safest way to cross the terrace with a tray.
Suggested budget range: $25 – $80.
7. Cluster Flameless Lanterns at Sitting Height
Faces and food live at sitting height, and that middle layer is where a rooftop earns its cozy. Battery-powered flameless candles inside hurricane lanterns are my workhorse here: real flame is a genuine hazard in rooftop wind, and most buildings ban it outright, while a good flameless pillar flickers convincingly, never blows out, and cannot tip a flame onto a cushion. Cluster lanterns in threes on the coffee table, the dining table, and one low side table, mixing heights between 6 and 14 inches for that collected look. Because they are cordless, you can re-stage them in a minute when the evening shifts from dinner to lounging. Choose lanterns with some heft or add a few decorative stones in the base so gusts do not slide them. Timers built into the candles are a gift: set them once for a 6-hour window and the terrace lights itself at dusk all season. In my experience, this gentle eye-level glow is what guests photograph, far more than any fixture above their heads.
Suggested budget range: $20 – $65.

8. Give the Grill Zone One Honest Task Light
Cooking after dark needs real light, but a rooftop grill corner does not need to flood the whole terrace to get it. A single shielded pendant or a clamp-on task light mounted above the grill, aimed straight down at the grate, gives you 400 to 600 lumens exactly where the burgers are and nowhere else. Battery or plug-in rechargeable work lights with a warm-to-neutral output work beautifully if hardwiring is off the table, and a clamp mount respects the no-drilling rule on most roofs. Position the light slightly in front of the grill so your own shadow does not fall across the food, and keep it at least 3 feet from any fabric shade or umbrella edge. When dinner is done, switch it off and let the ambient layers take back over; that contrast is what makes the rest of the terrace feel intimate again. Honestly, one disciplined task light protects the mood better than any dimmer, because nobody is tempted to crank the whole system just to check a steak.
Suggested budget range: $25 – $95.

9. Let Solar Fixtures Do the Heavy Lifting
No outdoor space gets better sun than a roof, which makes a rooftop terrace the one place solar lighting truly shines, pun fully intended. Solar path stakes along the planter edges, solar post caps on the railing, and a solar pendant over the side table can carry the whole ambient layer with no outlet, no cable runs, and no drilling. The catch is placement: panels need direct sun, so map the shadows your building, bulkhead, and neighboring towers throw across the deck before you buy, and put panels in the all-day sun patches even if the light itself sits a few feet away on a remote-panel model. Expect 6 to 8 hours of warm glow from a full charge, and choose fixtures with replaceable batteries so a tired cell does not retire the whole light in year two. Clean the panels with a damp cloth monthly; city grime is real, and a dusty panel can lose a third of its charge. Solar will not run your task light, but for the soft layers it is honestly unbeatable up here.
Suggested budget range: $30 – $110.
10. Windproof Every Single Thing
Rooftop wind is a different animal: gusts that barely register on the sidewalk arrive up top with real force, and anything light, tall, or loose will eventually take flight. Audit every fixture with that in mind. Lanterns get weighted bases or a handful of sand in the bottom. String lights get zip ties or clips every 18 inches, never a draped swag. Furniture-height fixtures get clamp, adhesive, or ground stakes into planters rather than faith and gravity. Choose shatterproof bulbs everywhere, because a glass bulb dropped twenty stories is not a cleanup problem, it is a liability problem; plastic LED bulbs bounce and survive. Tuck cables tight along walls and under rails so nothing can whip or trip, and bring battery lanterns inside ahead of forecast storms, since even heavy pieces can creep across a slick deck. I do a two-minute tug test each spring: anything I can wobble with one hand gets secured again. It is unglamorous work, and it is the difference between a terrace that survives August thunderstorms and one that sheds parts into the street.
Suggested budget range: $15 – $60.
11. Automate Your Rooftop Terrace Lighting Ideas With Timers and Dimmers
The fastest way to waste a beautiful skyline is a light left blazing at 2 a.m., and the fastest way to guarantee it never happens is automation. Put plug-in layers on an astronomical timer that tracks sunset, so the terrace wakes up at dusk in June and January alike and shuts down at a neighbor-friendly hour, 10 or 11 p.m. in our building. Smart plugs add app control for the nights you do stay up late, plus dimming scenes: full glow for dinner, half for conversation, embers for the last glass. Solar and flameless pieces mostly carry their own dusk sensors, so the whole system layers itself on with no one flipping a switch. Set the motion light at the roof door separately, on its own sensor, so a midnight trip inside does not relight the party. In my experience, automation is also a diplomacy tool: a terrace that reliably goes dark at a reasonable hour never earns a complaint, and consistent timing keeps your light from ever becoming the building gossip. Set it once, then forget it and enjoy the evenings.
Suggested budget range: $15 – $70.
12. Add One Tabletop Fire Bowl as the Centerpiece
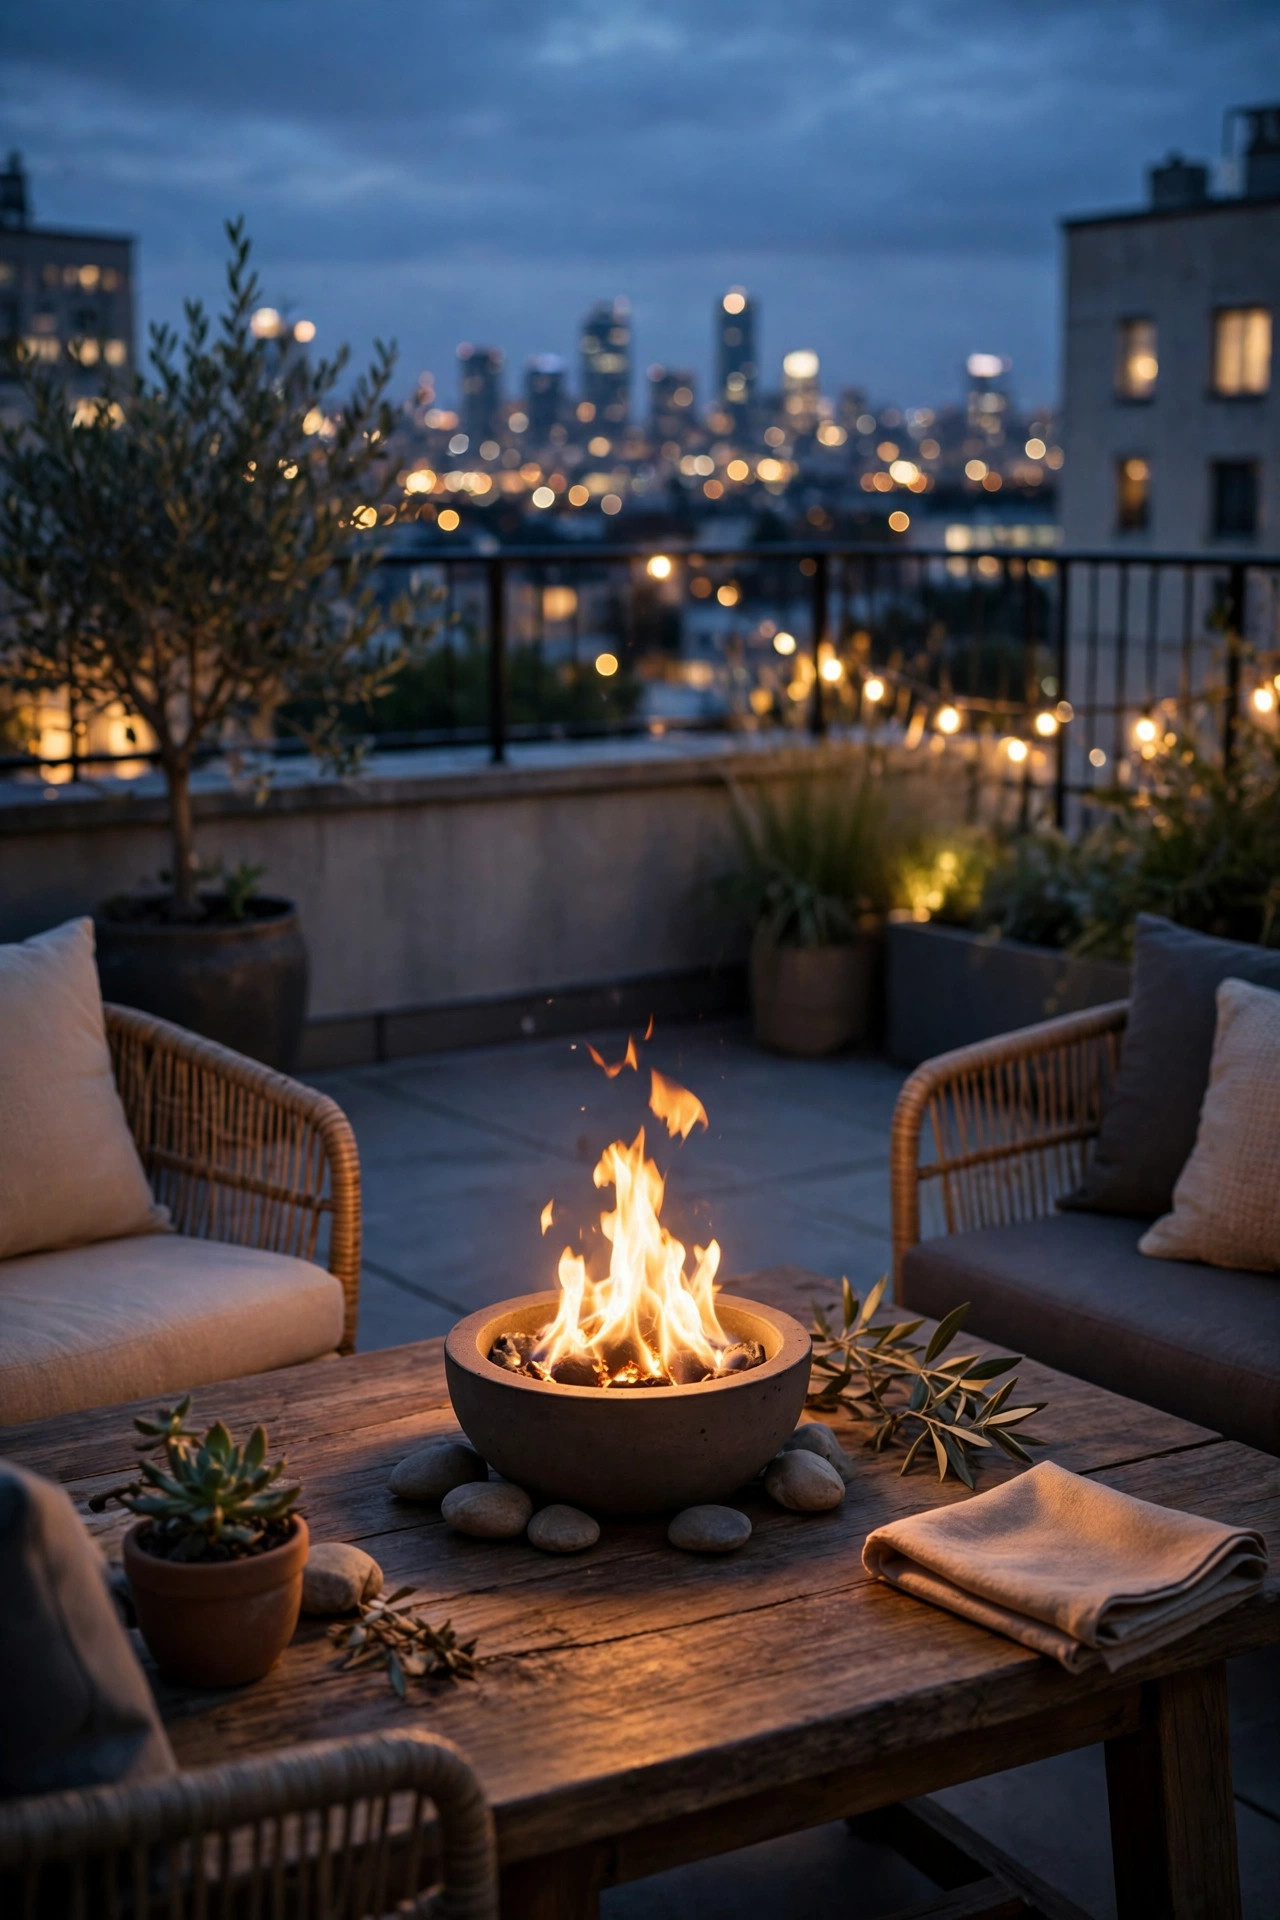
Every gathering drifts toward a flame, and on a rooftop a small tabletop fire bowl gives you that primal glow without a fire pit footprint or a chimney of sparks over the edge. Choose a compact gel-fuel or propane tabletop model sized for a dining or coffee table, and read your building rules first, because some roofs ban open flame entirely; where it is banned, a flame-effect LED bowl is a surprisingly good stand-in with the same amber flicker. Keep real-flame versions at the center of a stable table, at least 3 feet from cushions, shade fabric, and the parapet plants, and never leave one burning while you pop downstairs. The light itself is pure ambiance: low, warm, and local, which is exactly the skyline-friendly profile this whole post is about. A single bowl anchors the seating area so well that I often run the string lights at half brightness on fire-bowl nights. Store fuel canisters indoors, capped, away from the grill. One small flame, thoughtfully placed, does more for atmosphere than a thousand extra lumens.
Suggested budget range: $35 – $120.
13. Wash the Privacy Screen or Green Wall, Gently
Most rooftop terraces have one surface doing privacy duty: a trellis, a slatted screen, a reed fence, or a green wall of planters. A gentle wash of light across that surface turns a barrier into a backdrop and adds depth without a single lumen escaping upward. Use two small shielded fixtures at the base aimed up the screen at a steep angle, or a hidden strip along its top rail aimed down, keeping the throw tight to the surface. If your screen is planted, tuck solar spotlights into the planter soil as in idea 5 and let the leaves do the diffusion. Warm light on wood slats or greenery reads rich and calm, and it reflects just enough bounce back into the seating area to flatter faces. What you must not do is flood it: a blasted-bright screen becomes a billboard the whole neighborhood can see. Aim for a wash you notice only when it is off. Done right, this is the layer that makes a small terrace feel twice as deep, because the far wall glows instead of disappearing.
Suggested budget range: $25 – $85.

14. Mark Every Step and Level Change
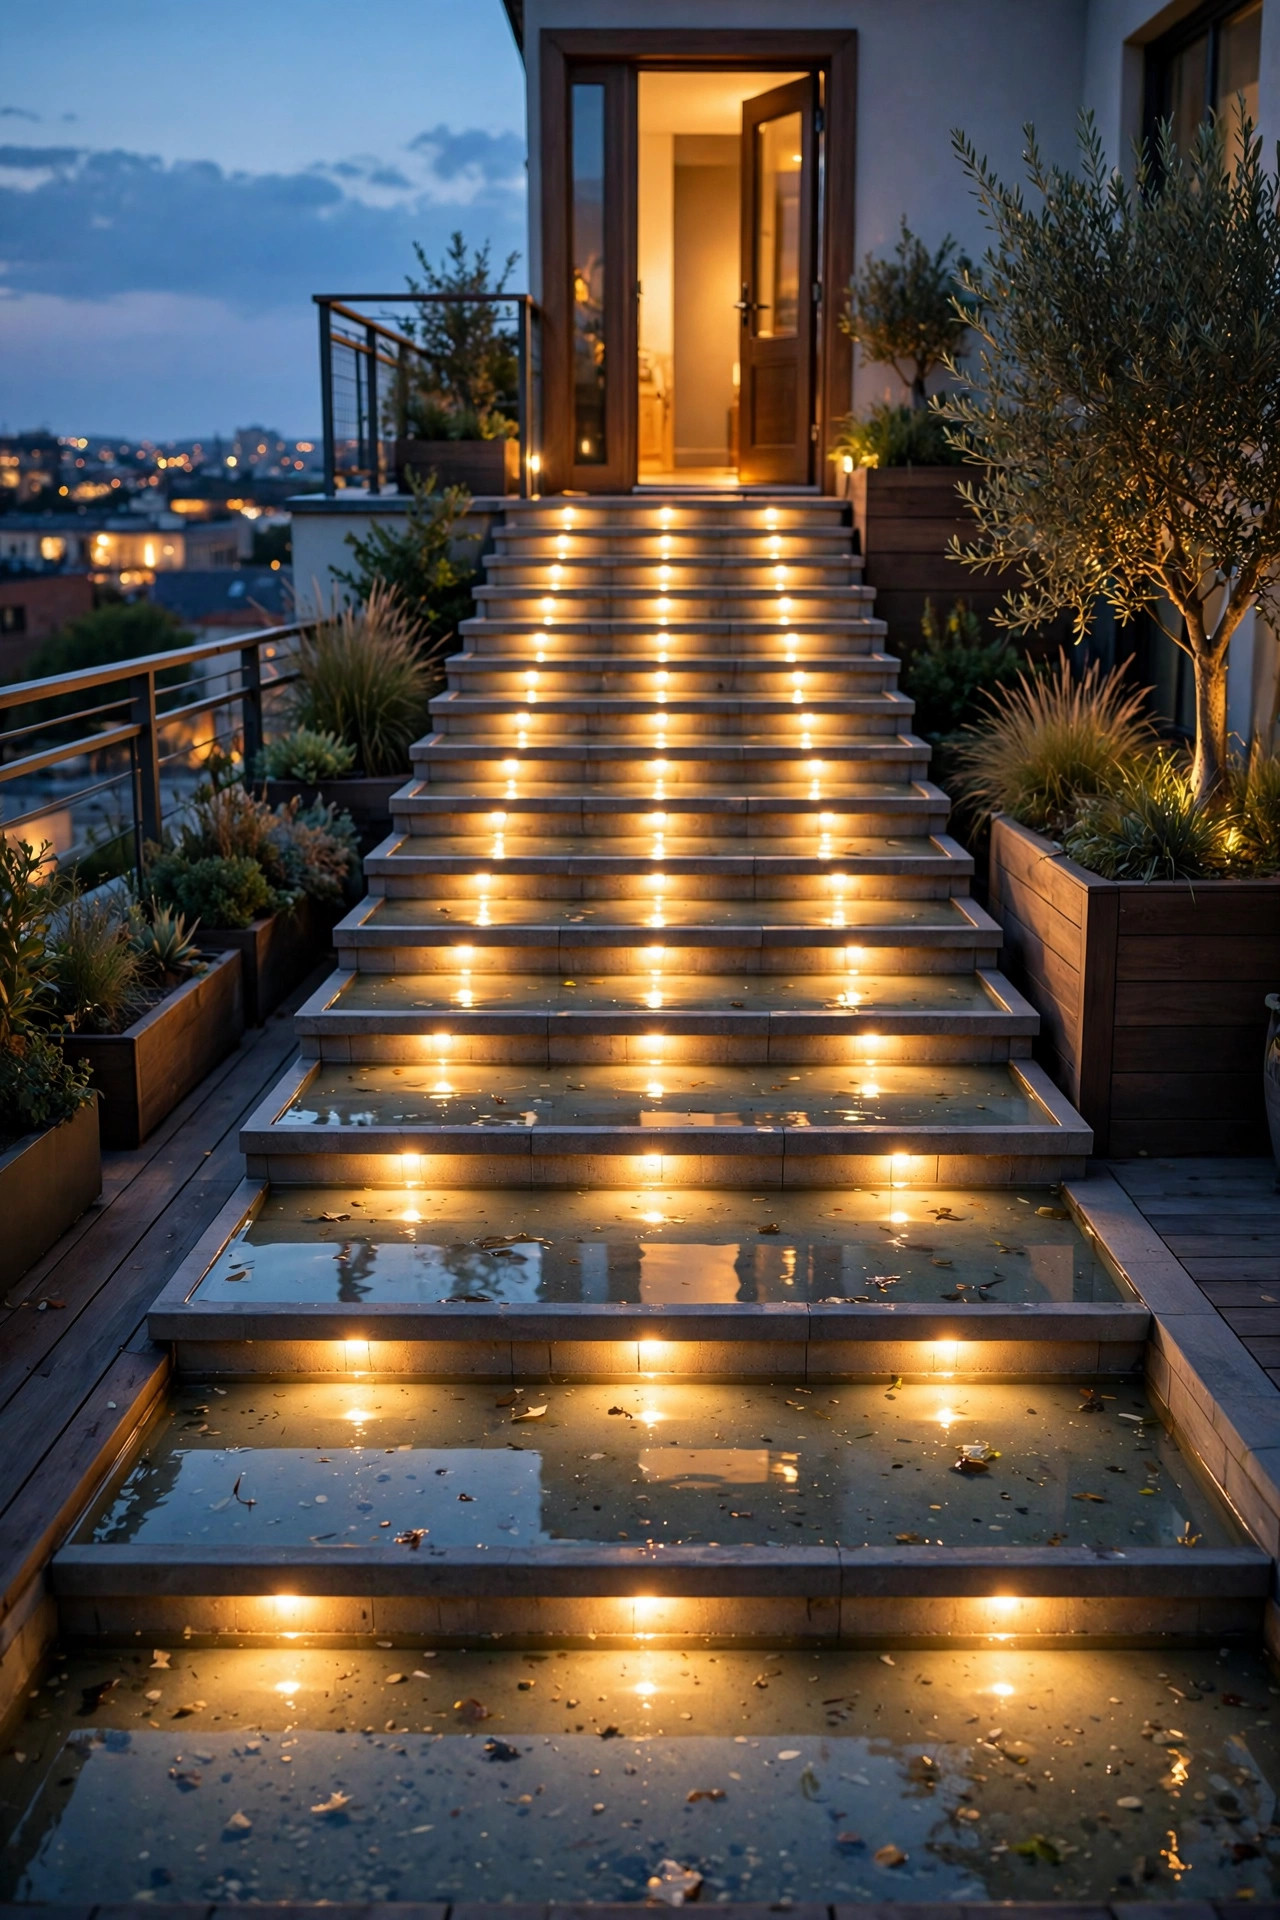
Rooftop decks are full of quiet hazards: the threshold at the roof door, a raised deck platform, two steps down to a lower section, the edge of a planter you forgot was there. Small step lights are the unglamorous heroes that keep an elegant evening from ending in a twisted ankle. Recessed lights in stair risers are lovely if your deck allows them; where it does not, adhesive solar step lights and low-profile strip lighting under each tread nose do the same job with no drilling. Light every change of level, the door swing path, and any spot where decking meets a different surface, because contrast underfoot is what aging eyes and wine-carrying hands both need. Keep these fixtures dim and downward: 30 to 80 lumens is plenty per step, and a diffused lens prevents the sparkle that blinds you mid-step. I always recommend a slow walk-through after installation, carrying something in both hands like a real host, to catch any dark gap the plan missed. Safety lighting done this well simply disappears into the design.
Suggested budget range: $20 – $70.
15. Hold One Warm Temperature Across the Whole Terrace
Nothing cheapens a rooftop faster than a bulb zoo: one blue-white sconce, one amber string, one greenish solar stake, all arguing against the amber wash of the city below. Pick one temperature and hold it everywhere: 2700K is my rooftop standard, warm enough to flatter skin and brick, close enough to city light to feel harmonious. Where a fixture offers 2200K, that extra-amber setting is lovely for lanterns and fire-effect pieces, and the slight variation inside the warm family reads as richness rather than mismatch. The discipline is mostly a shopping habit: check the Kelvin rating on every box before it comes up the elevator, and retire the one cool-white bulb the previous tenant left in the door fixture, because a single 5000K bulb at eye level will hijack the whole scene. Warm consistency is also kind to the skyline itself; cool light competes with the view while warm light frames it. In my experience this single rule delivers more perceived elegance per dollar than any fixture upgrade on this list.
Suggested budget range: $10 – $45.
16. Put a Modest Motion Light at the Roof Door
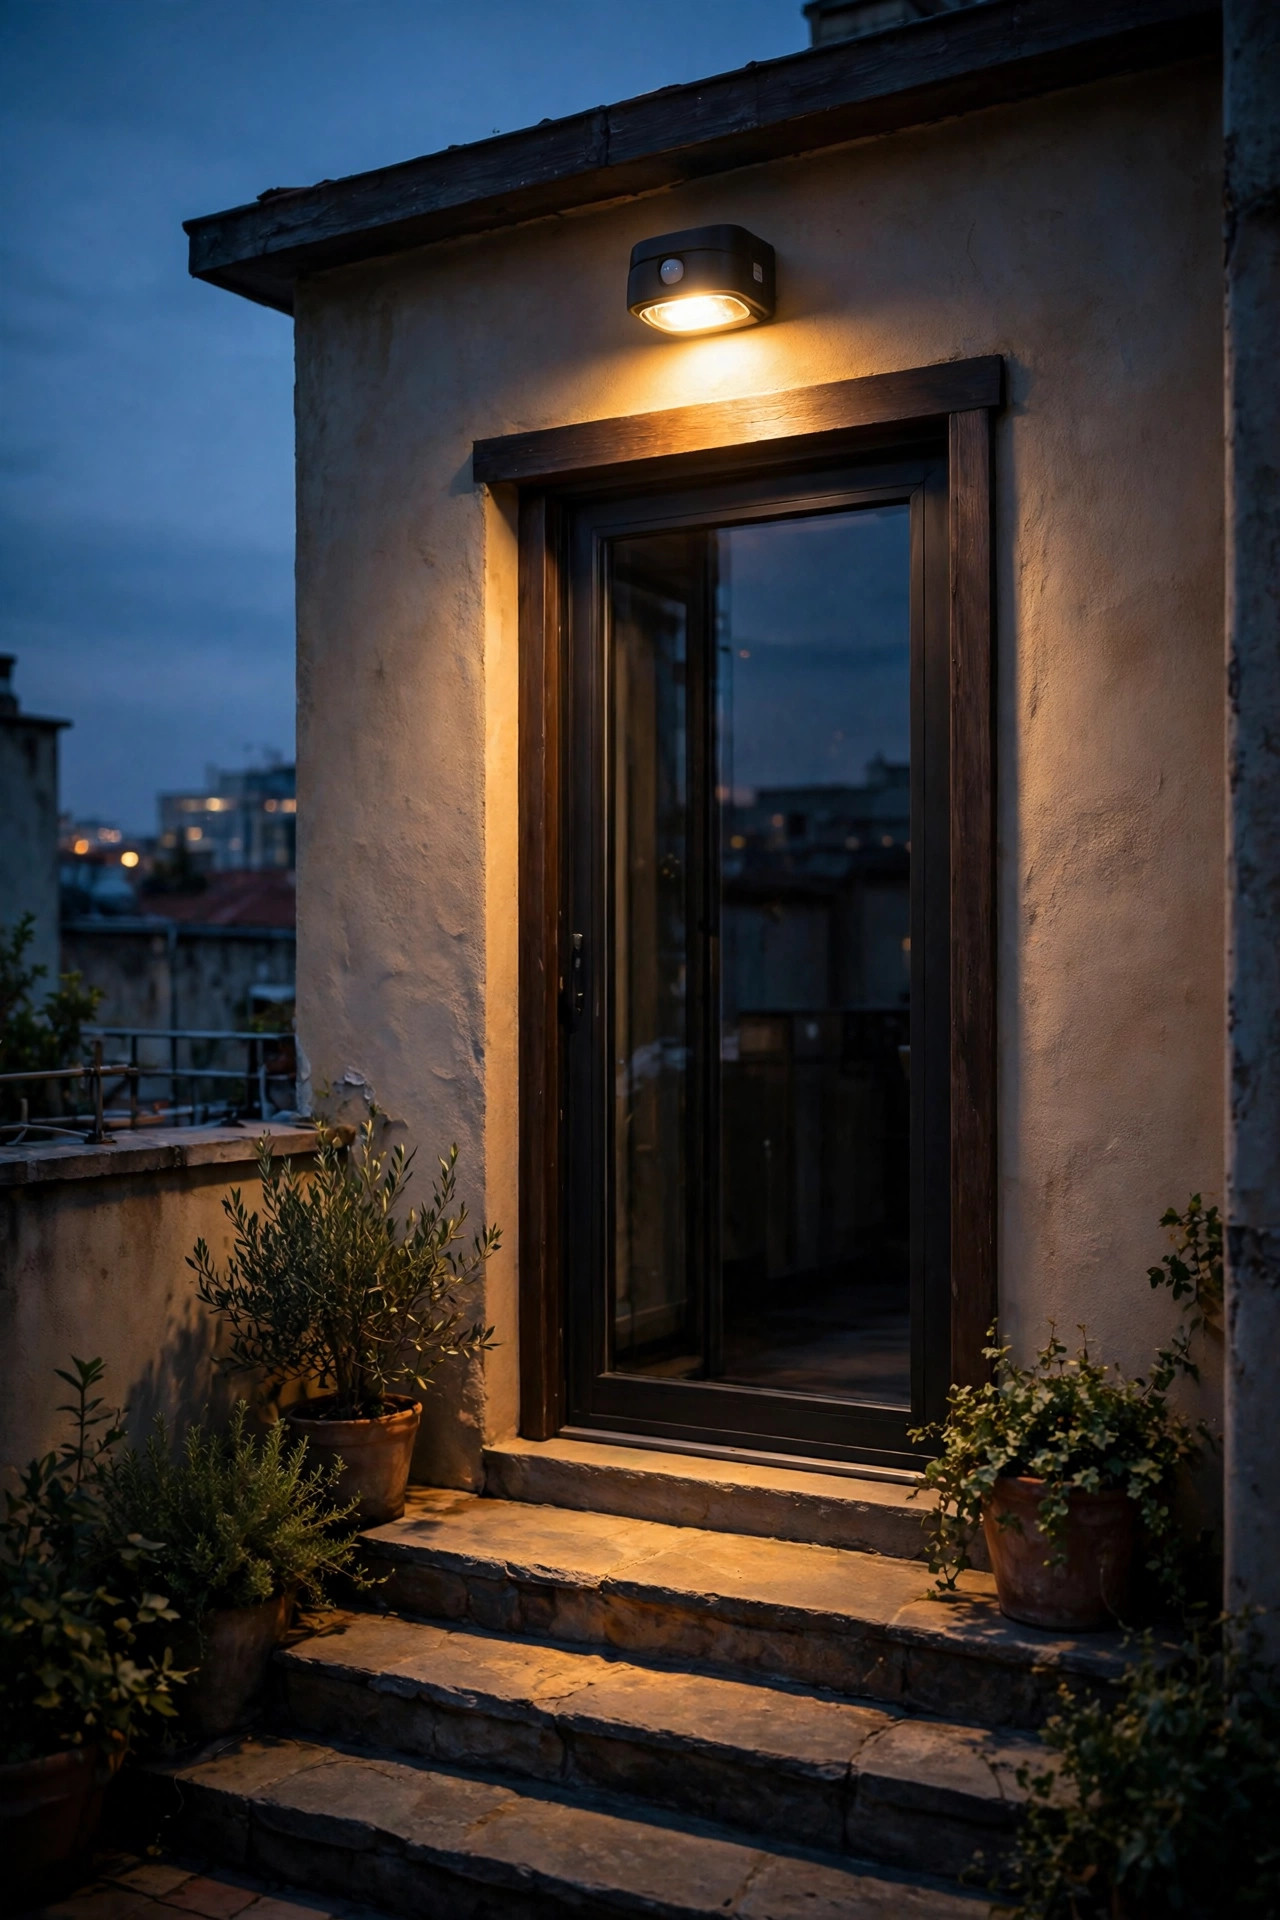
The trip between the terrace and the kitchen deserves its own tiny system: a motion-sensor light at the roof door that wakes when you approach with a tray and sleeps when you pass. Mount it beside or above the door, aimed down at the threshold, in the 200 to 400 lumen range with a warm bulb and a short 30 to 60 second timer. Battery and solar models both work well here, which keeps you clear of the roof membrane and any hardwiring rules. Angle the sensor across the door path rather than straight out at the terrace, so it triggers for arrivals and departures but ignores guests shifting in their chairs. A shielded, downward design matters doubly here because door lights sit at eye height, exactly where glare hurts most. This is also your security layer: a door that lights itself announces comings and goings and keeps the lock and handle visible. Small, boring, and absolutely essential; it is the light you will use more than any other on the roof.
Suggested budget range: $20 – $60.
17. Finish With a Street-Level Check of Your Rooftop Terrace Lighting Ideas
The last step happens off the terrace entirely. Once everything is installed, go down to the sidewalk at night, look up, and then look from a neighbor rooftop or across the street if you can. What you are checking is your rooftop terrace lighting ideas from everyone else's perspective: the terrace should read as a soft warm room floating in the skyline, not a stadium. If one fixture is visibly brighter than the rest, dim it or shield it. If light spills past your parapet onto the facade below, re-aim it. Then come back up, sit in the darkest chair, and confirm the real goal: the skyline is brighter than your terrace, your eyes are relaxed, and every step of the floor is readable. Repeat the check when you change anything, and once each season, because bulbs get swapped and fixtures get bumped. This little ritual is honestly what respect for the skyline means in practice: your light serves your evening and then disappears into the city glow, a good neighbor at altitude.
Suggested budget range: $0 – $20.

Frequently Asked Questions
What color temperature is best for a rooftop terrace?
Warm white, 2700K or below, is my recommendation for every layer on the roof. It flatters faces and food, harmonizes with the amber glow of most city skylines instead of competing with it, and produces far less sky glow than cool white light. A single cool bulb can hijack the whole scene, so check the Kelvin rating on every fixture you bring up.
How do I keep rooftop lights from bothering neighbors and the skyline?
Shield every fixture, aim everything downward, keep brightness modest, and put the system on timers that shut down at a reasonable hour. Then do the street-level check: from the sidewalk your terrace should look like a soft warm room, not a spotlight. Warm temperatures spill less perceived glare than cool ones at the same brightness.
Are solar lights bright enough for a rooftop terrace?
For the ambient layers, absolutely, and a roof is the best solar location on any home because nothing shades it like a yard tree does. Modern solar stakes, pendants, and post caps handle edge definition and planter glow beautifully after a sunny day. Keep one plug-in or battery task light for the grill, since cooking needs more lumens than solar reliably gives.
How much does it cost to light a rooftop terrace?
A layered setup built from the ideas here typically runs $250 to $700 total, depending on how much is solar and battery versus plug-in. Most terraces need no electrician at all, because the no-drilling rules on most roofs push you toward clamp, adhesive, weighted, and solar fixtures that install in an afternoon.
Conclusion
Great rooftop terrace lighting ideas all come back to restraint: shield it, warm it, aim it down, and let the skyline stay the brightest thing in the room. Start with the plan and the edge lighting, add your sitting-height glow and one honest task light, automate the whole system, and finish with that sidewalk check from below. If you are ready for the next project, browse the rest of the outdoor lighting ideas here on the site; there is a whole city of evenings left to light, and yours is next.