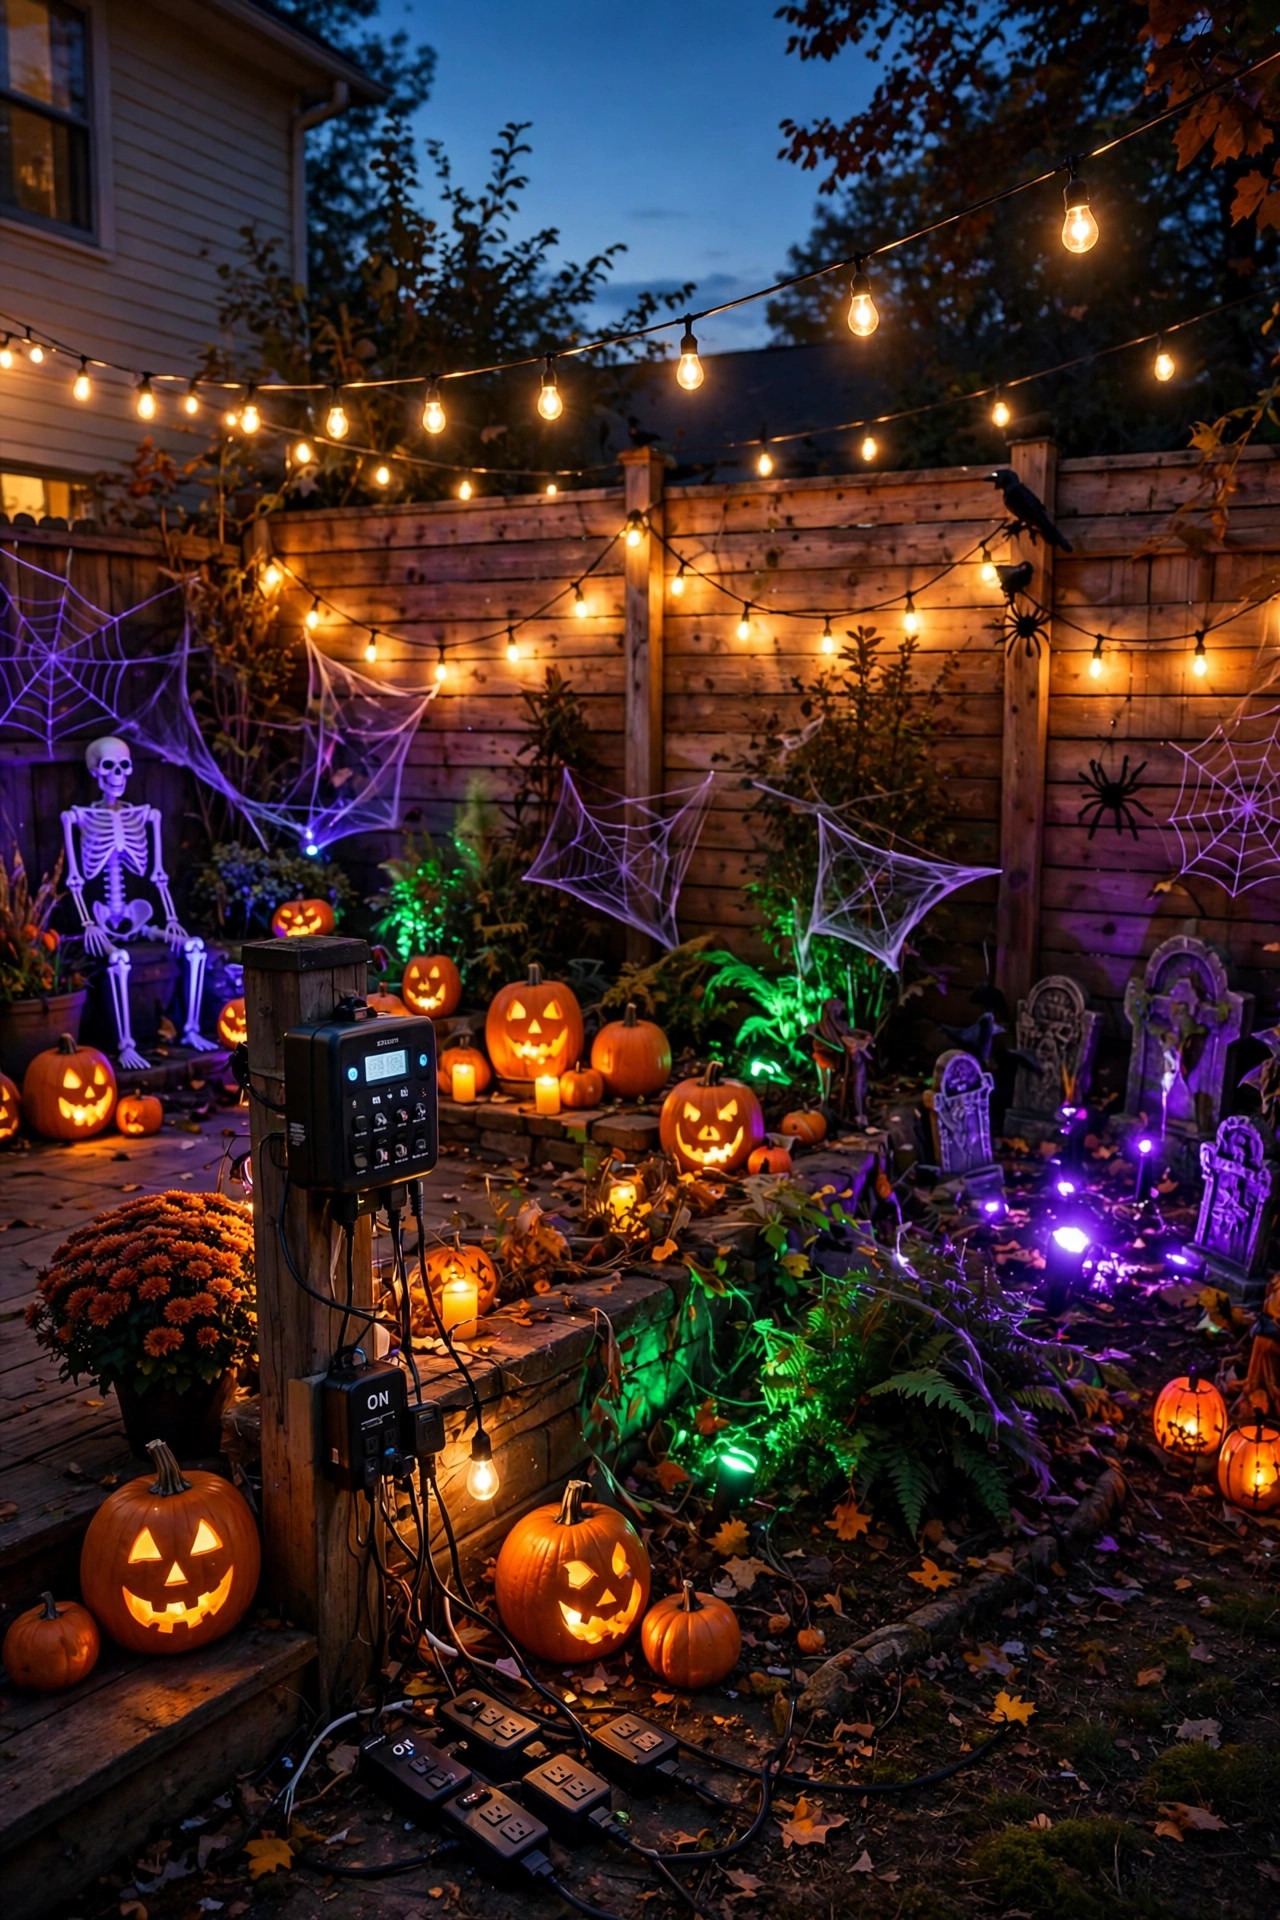
Every October, my backyard goes from cookout central to the street's unofficial haunted house, and I have learned one thing the hard way: the scares are only half the show. The real magic of great haunted backyard halloween lighting is layering. I build every display in three layers — a low ground layer that pools light in the fog and guides feet safely, a mid layer of glowing props and lanterns at eye level, and a high layer of colored uplights washing the trees so the whole yard feels watched. Get those three layers working together and even a few plastic tombstones look like a movie set. Skip the layering and even expensive props fall flat. This list walks through all 23 of my favorite effects, from a full-yard purple-and-green color plan down to the little flickering details that make guests slow their steps. Most of it goes up in a single weekend afternoon, runs on timers so I never touch a switch, and packs away into two storage bins. If you are also decorating out front, my guide to halloween outdoor lighting ideas covers the porch and front yard side of the haunt.
1. Start With One Haunted Backyard Halloween Lighting Color Plan
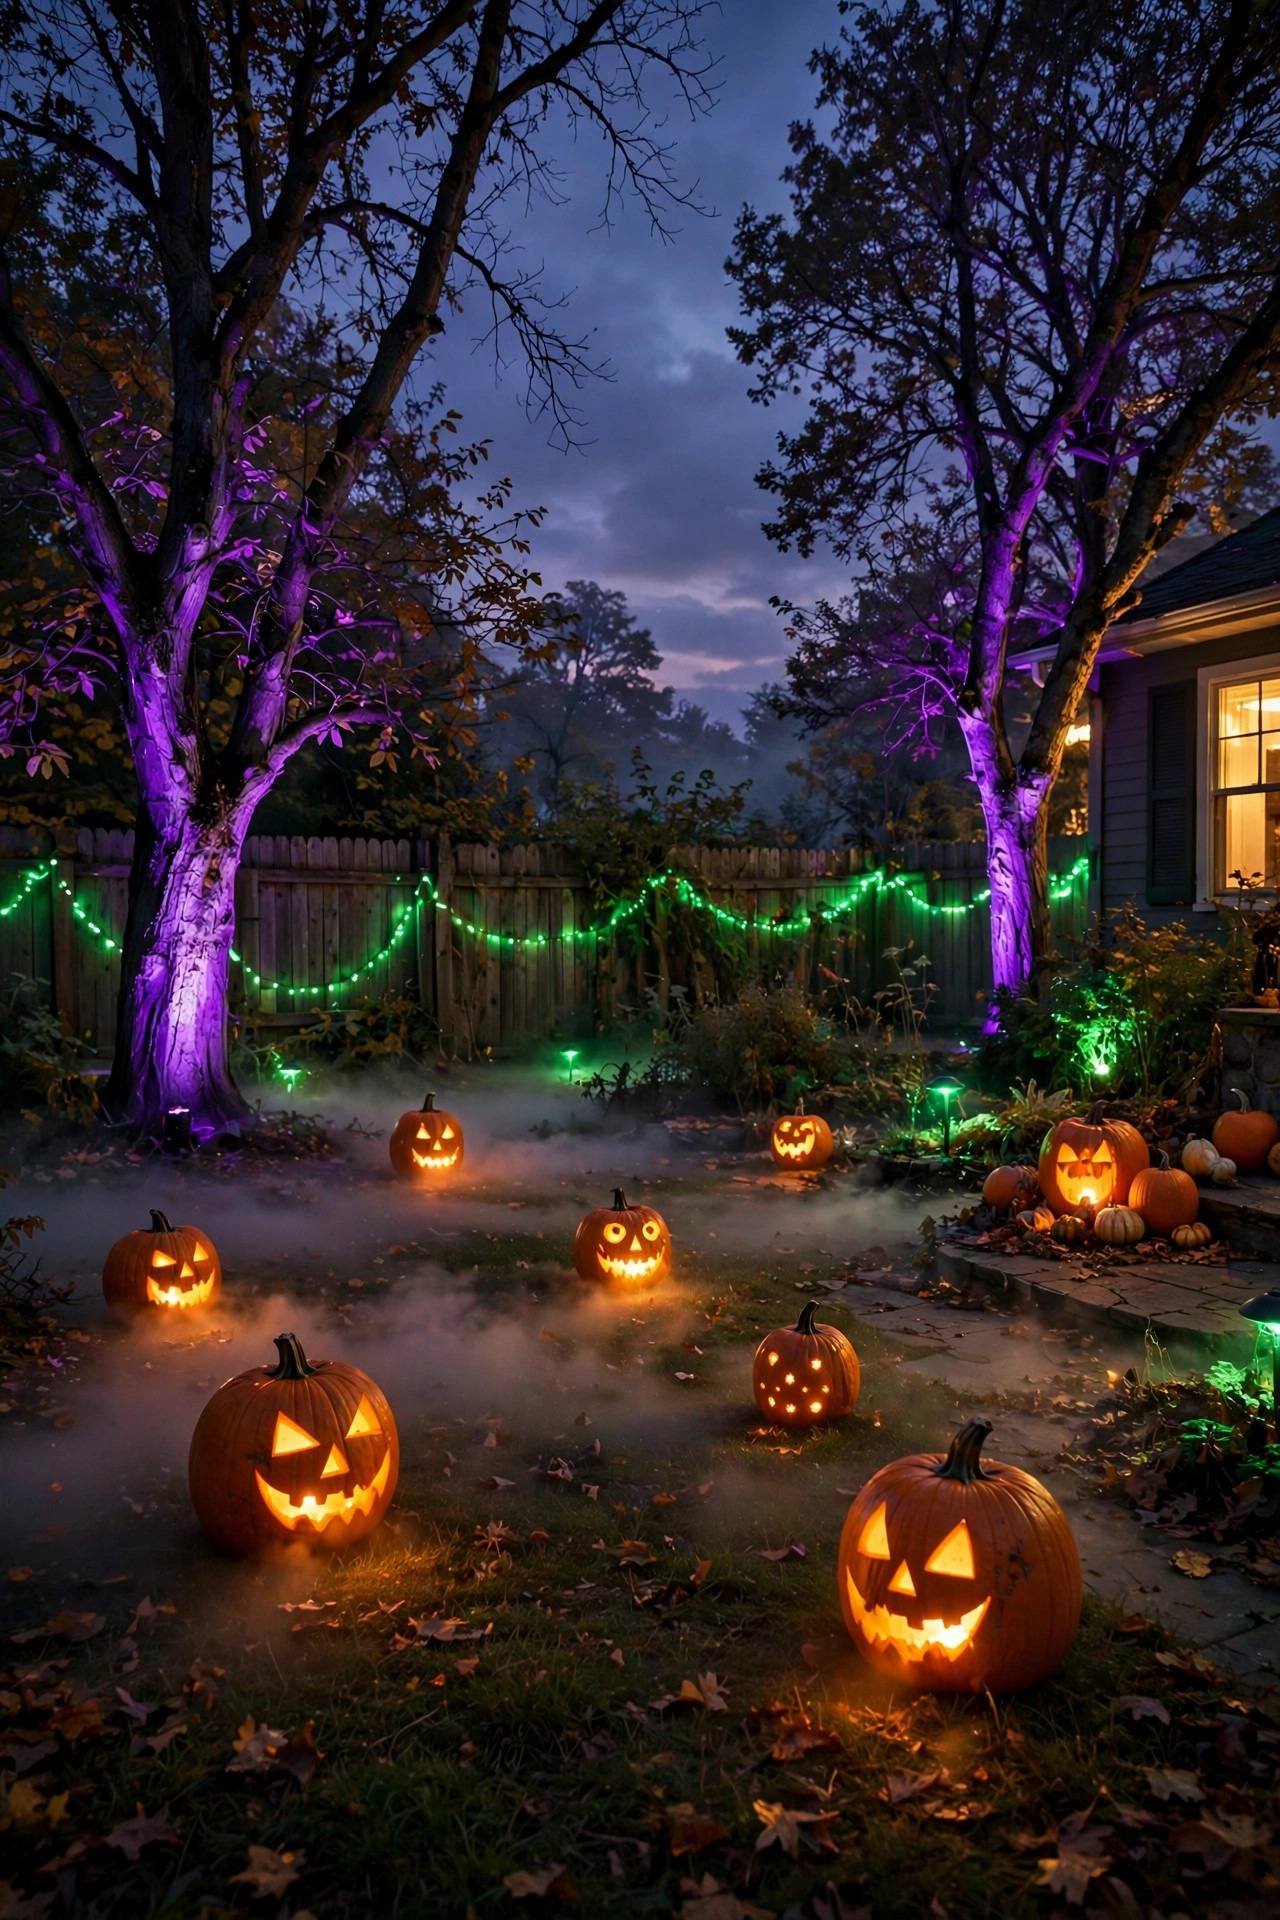
Before I hang a single bulb, I pick my palette and I do not cheat on it. Purple, green, and warm orange are the classic haunted trio, and limiting the whole yard to those three colors is what makes a display look designed instead of random. Purple uplights handle the trees and fence, green owns the graveyard and cauldron zone, and orange lives in pumpkins, lanterns, and flame effects where a fire color makes sense. When everything flashes and glows in unrelated colors, the eye reads "yard sale," not "haunted." I also decide which fixtures stay warm white: the path lights near steps stay clear and steady, because guests still need to see where they are walking. Everything else gets a colored lens, a gel cover, or a smart bulb set to my palette. If you are using standard white landscape fixtures, inexpensive color lens caps snap over most spotlights in seconds. Write the plan on paper first, walk the yard at dusk, and mark each zone with a paint stick. That ten minutes of planning saves an hour of rearranging later, and it keeps you from buying six packs of bulbs you do not need.
Suggested budget range: $20 – $60.
2. Wash the Trees in Purple Uplight
Tall trees are the cheapest haunted house walls you will ever own, and purple light turns them into looming monsters. I place a wide-beam LED spotlight at the base of each major tree, about 12 to 18 inches from the trunk, angled up into the canopy so the branches throw long shadows. Purple reads eerie without going cartoonish, and it mixes beautifully with fog. Solar spotlights work if your yard gets decent afternoon sun, but wired low-voltage fixtures give a stronger, more reliable wash for a big oak. Space uplights on the trees that frame your main scene rather than lighting every tree you own — two or three strong washes beat six weak ones. Keep the beams off the neighbor's windows; a slight inward angle solves that. If a tree has low hanging branches, tuck the fixture behind a shrub so the source stays hidden and only the glow shows. Hidden sources always look more expensive than visible ones. I run these on a timer from dusk to about 11 p.m., which covers trick-or-treat hours and any backyard party without wasting electricity all night.
Suggested budget range: $25 – $80.

3. Pour Low Fog Through Ground-Level Light
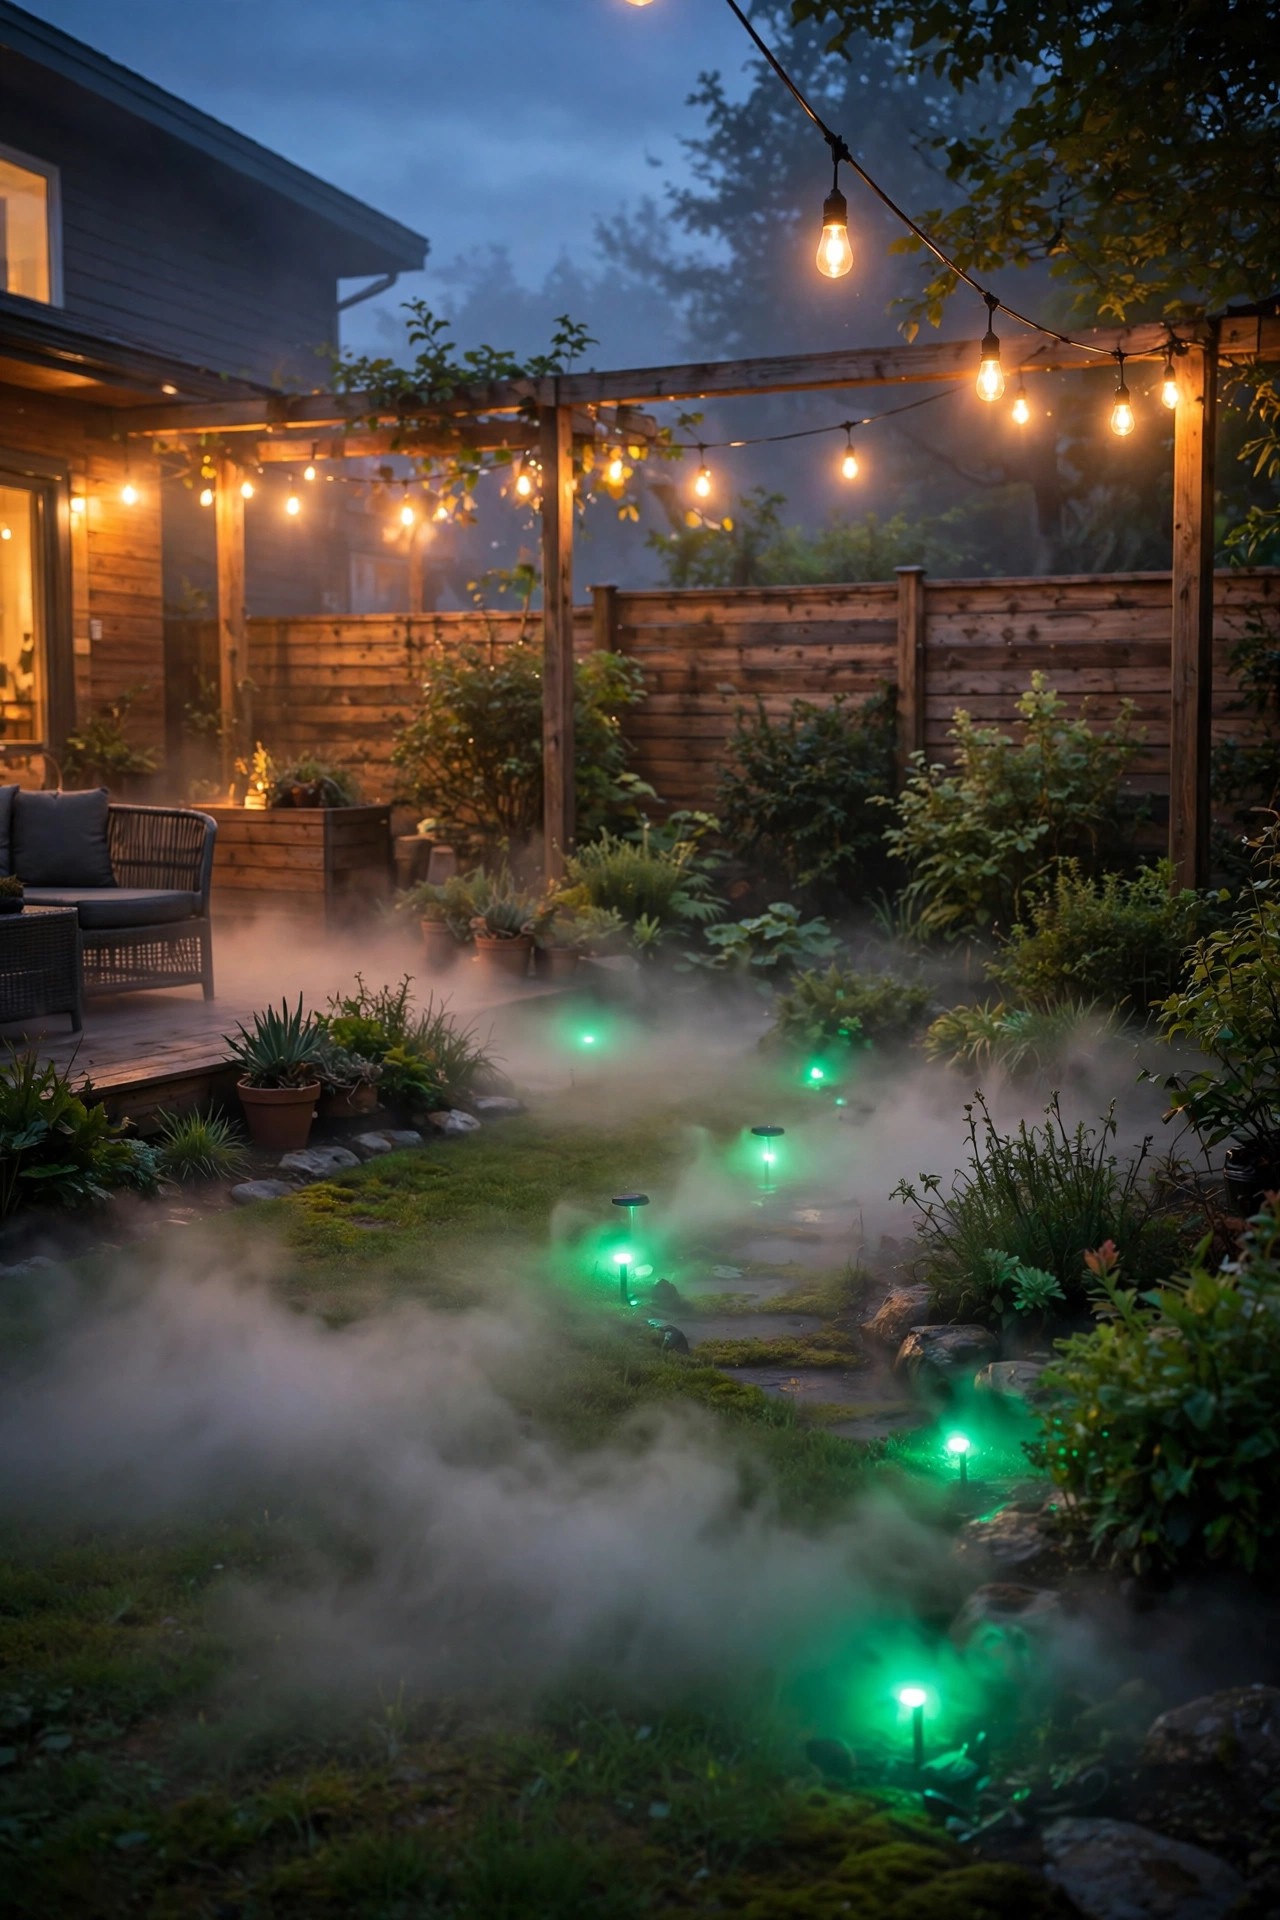
Fog is the single biggest atmosphere upgrade you can buy, but the secret is keeping it low and lit from beneath. A standard fog machine with low-lying fog juice, or regular juice run through a cooler full of ice, hugs the ground instead of blowing away. I position the machine upwind behind a shrub and let the fog drift across the graveyard zone. Then I place small ground-level spotlights and path lights at the fog's edge so the beams cut through it in visible shafts. Lights sitting under fog glow like swamp gas, especially in green or purple. Refill the juice before your party starts, because a mid-party refill in the dark is no fun, and keep the machine's nozzle area clear of dry leaves. Fog machines get hot at the tip, so give it a foot of clearance from mulch and fabric props. One caution from experience: fog drifts. Warn the neighbors or, better, invite them, because a wall of fog rolling over the fence at 8 p.m. looks alarming without context. Indoors-rated machines are not weatherproof, so bring it in if rain threatens.
Suggested budget range: $40 – $120.
4. Line the Path With Jack-o'-Lantern Luminaries
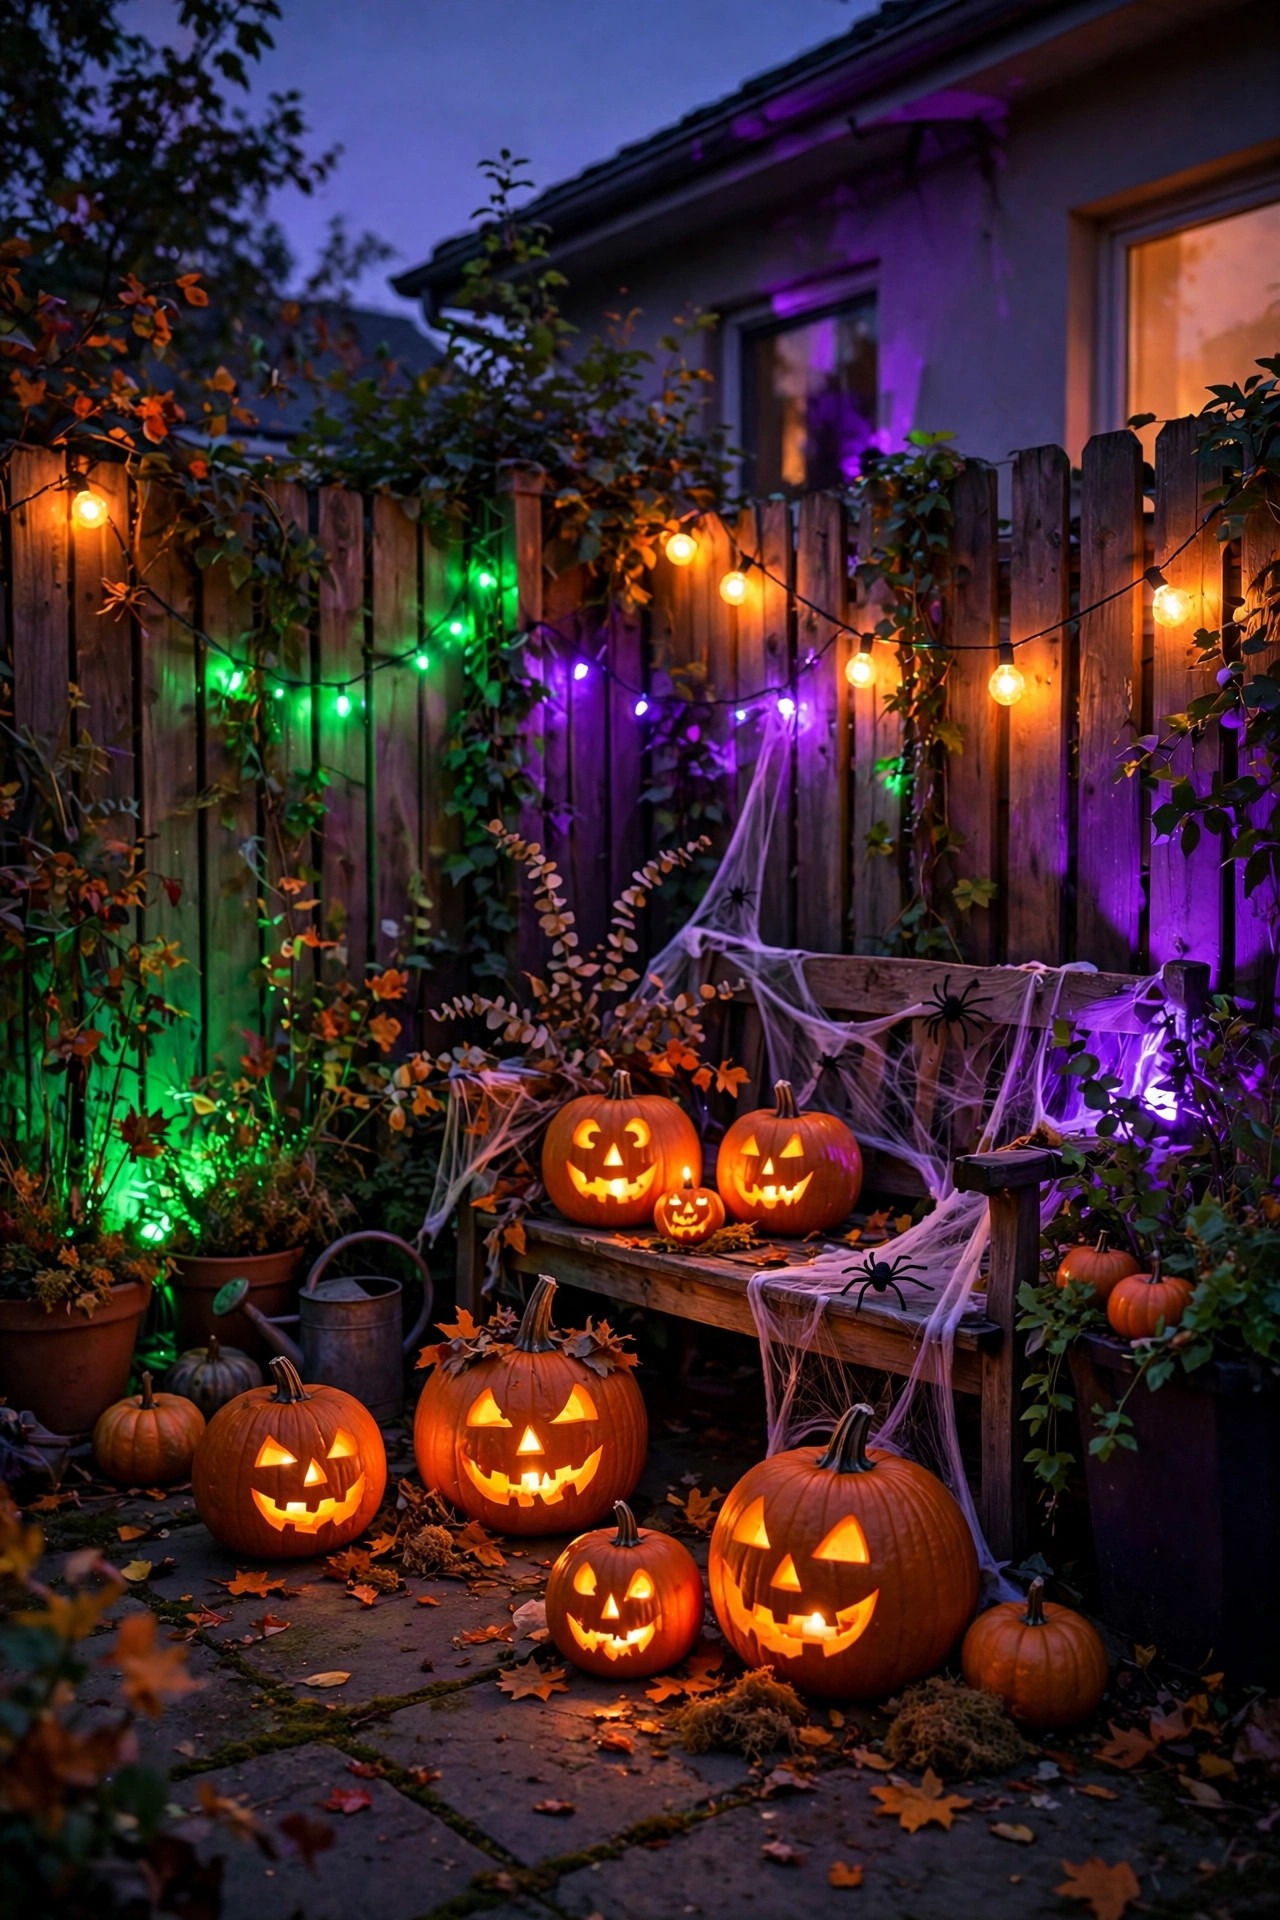
Nothing says Halloween like a row of grinning pumpkins, and lighting them from inside turns your walkway into the entrance of the haunt. I carve real pumpkins the day before Halloween for the front of the path, but for the week-long display I use foam craft pumpkins that never rot. Inside each one goes a battery LED tea light or a small puck light — never a real candle. Real flames inside pumpkins near dry leaves, costumes, and excited kids are a risk I stopped taking years ago, and LED flicker candles honestly look better on a windy night because they never blow out. Space the pumpkins every 3 to 4 feet, alternating sizes so the row feels organic. Turn each face slightly toward approaching guests rather than straight ahead; angled faces catch the light better and look more alive. If your path is dark beyond the pumpkins, add a few low path lights behind them so people can see the ground itself. Pumpkins show the decoration, but the path lights prevent the trips. Keep spare batteries in a kitchen drawer, because one dead pumpkin face in the row looks sadder than no pumpkins at all.
Suggested budget range: $15 – $50.

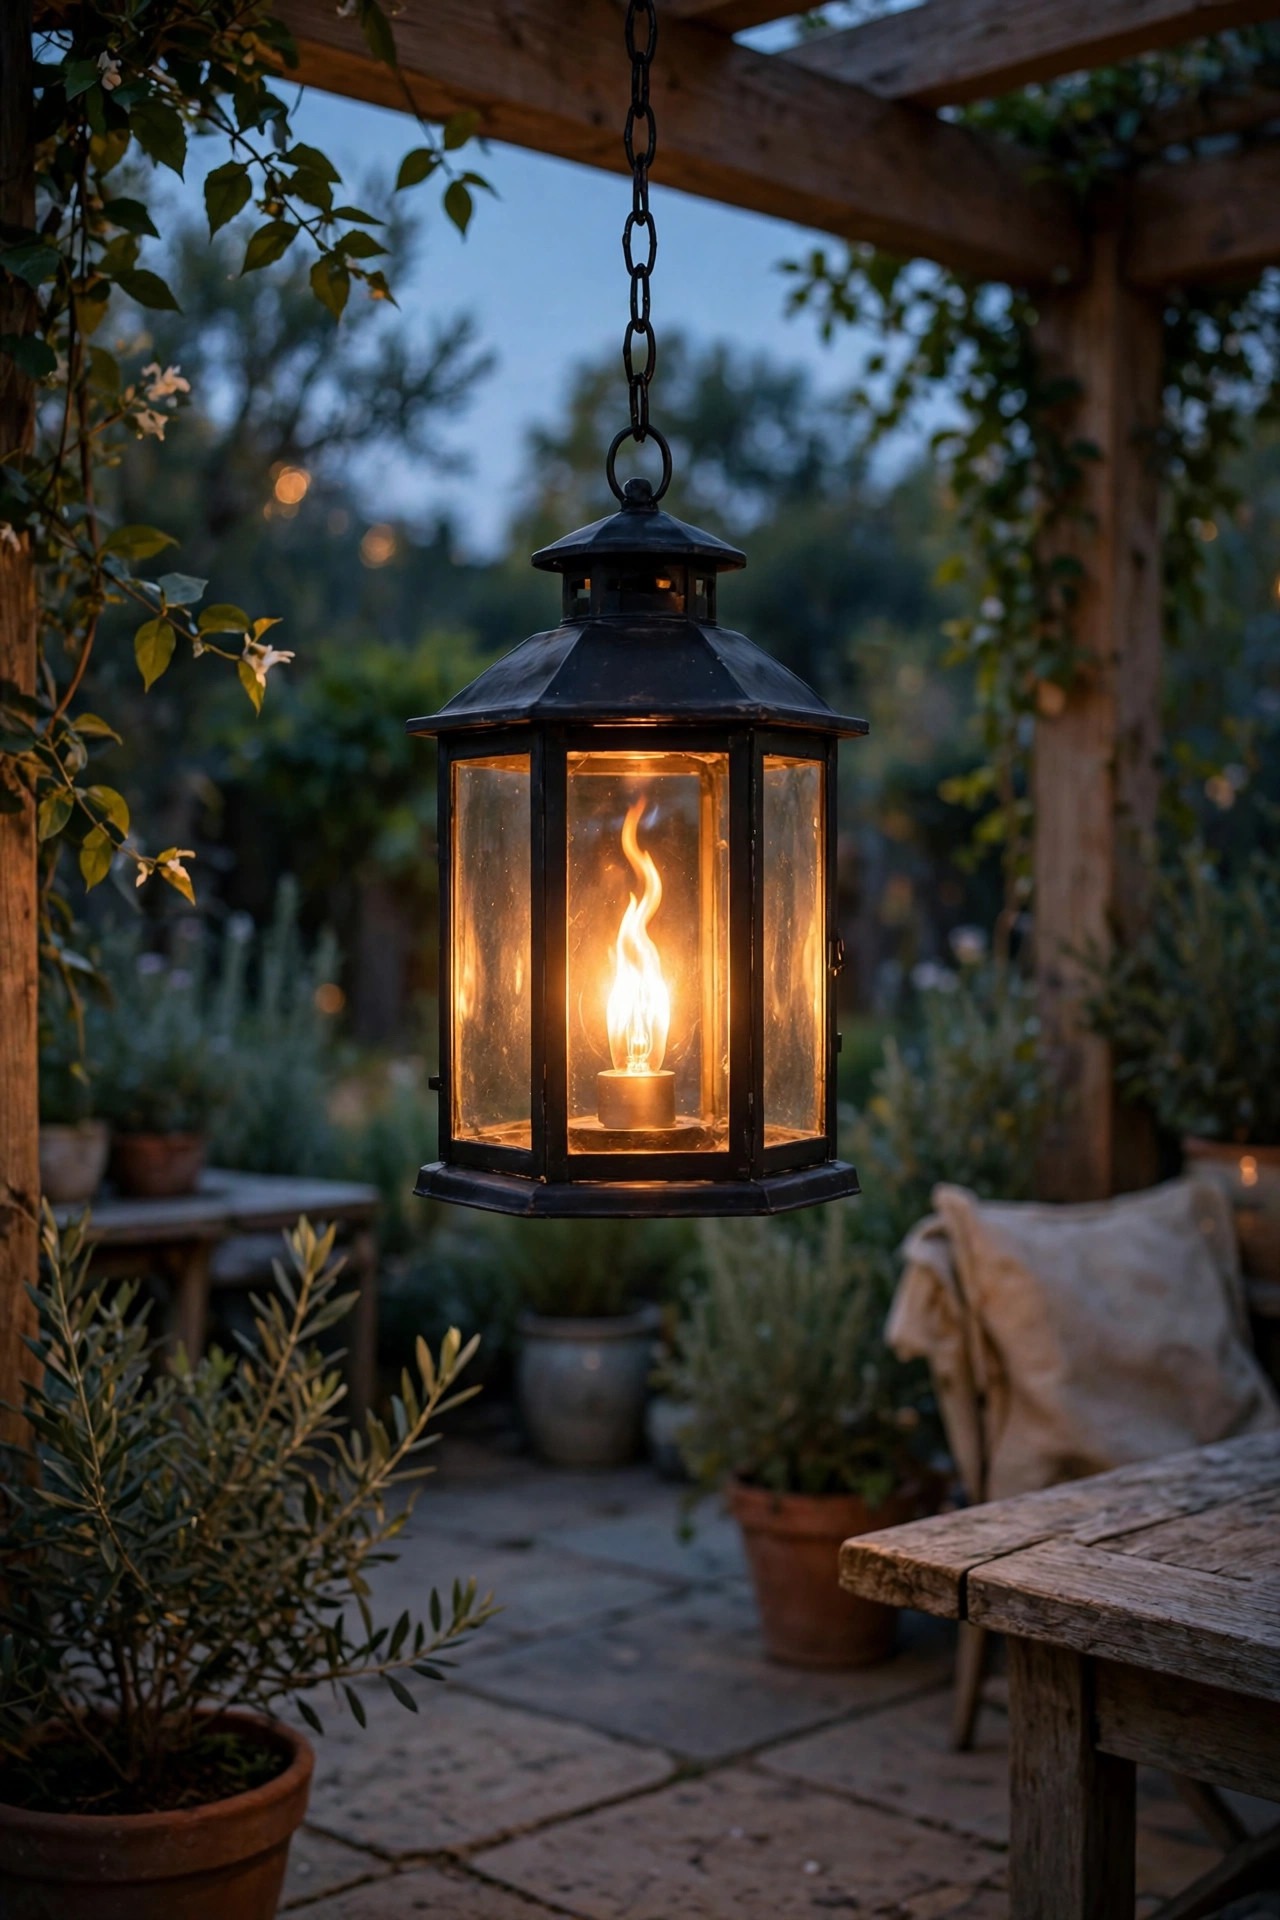
5. Swap Lantern Bulbs for Flickering Flame Effects
Flicker is the motion that makes a still scene feel haunted, and flame-effect LED bulbs are the easiest way to get it everywhere at once. I screw them into my porch lantern, the carriage lights by the back door, and any open socket fixture around the patio. The better bulbs have a gravity sensor so the flame always points up, and several modes including a steady glow for after the party. In enclosed lanterns they read as real candlelight from ten feet away. I also drop flickering LED candles into hanging lanterns along the fence, set on timers so they wake up at dusk on their own. Mix flicker heights — a couple at ground level, a few at waist height, one up high — so the whole yard seems to shimmer. One warning: cheap flame bulbs vary wildly in color, and some look more like orange strobe lights. Buy one, test it in your darkest fixture, then order the rest to match. All of these are LED, so they stay cool against paper lantern shades and fabric, which is exactly why I can use them inside props where real flame would be reckless.
Suggested budget range: $12 – $45.
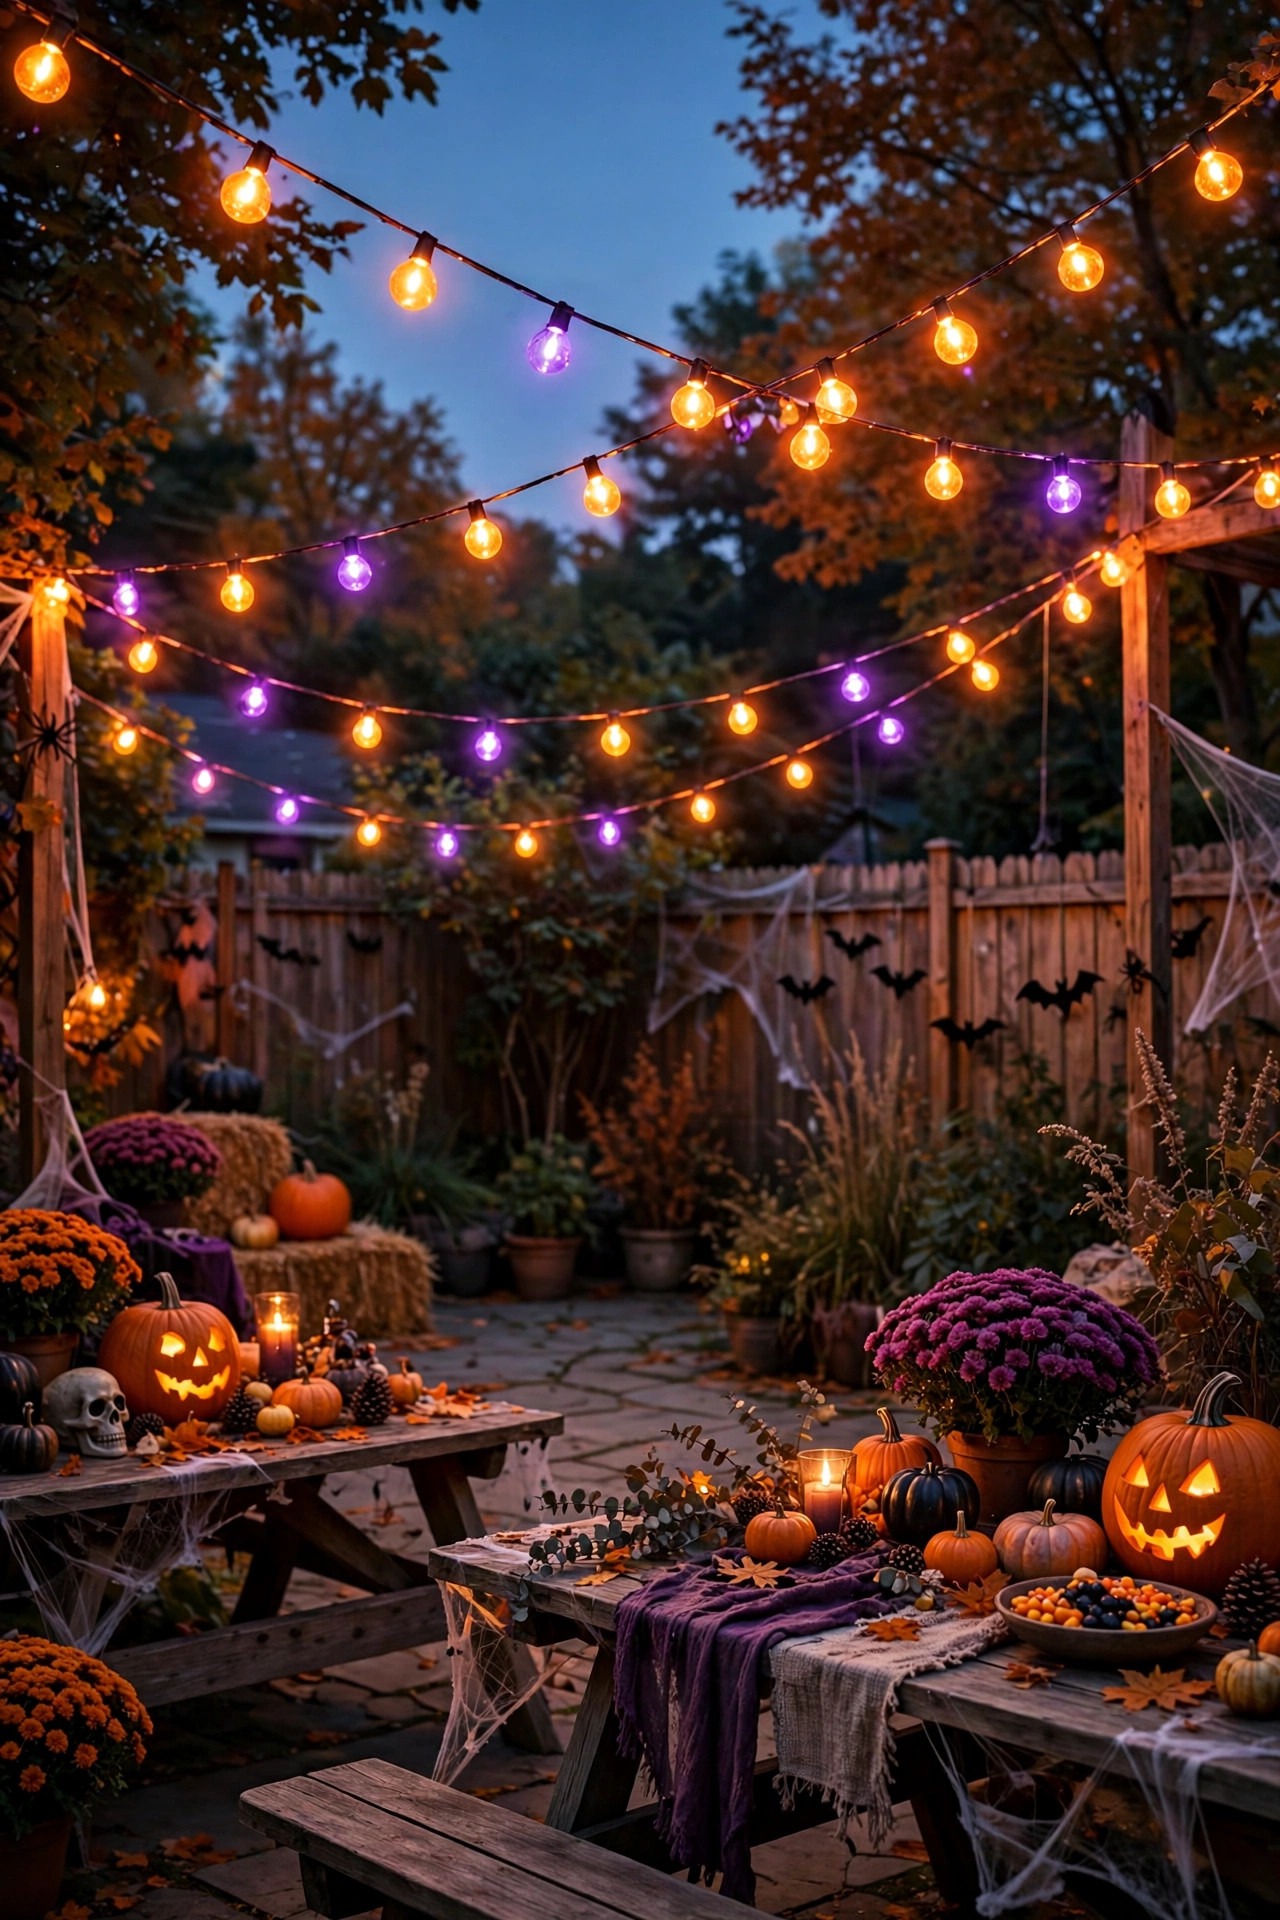
6. Zigzag Orange and Purple String Lights Overhead
A canopy of string lights defines the party zone and gives the backyard a ceiling, which makes everything under it feel like a room in the haunted house. I run commercial-grade outdoor string lights in a zigzag between the house, a tall pole, and the biggest tree, then alternate orange and purple bulbs along each strand. If your strands have fixed white bulbs, swap in colored LED replacements a few at a time until the ratio feels right — I like roughly two orange to one purple. Keep the swags at least 7 feet above the ground at their lowest point so tall guests and witch hats clear them. Use guide wires for spans over about 20 feet so the weight never pulls on the sockets. These lights do double duty: they are spooky decor and genuine area lighting for the snack table, which is why they anchor most of my outdoor party lighting ideas for the rest of the year too. Put them on a dimmer-rated outdoor smart plug and drop them to 60 percent once the party starts; full brightness kills the mood the fog worked so hard to build.
Suggested budget range: $30 – $90.
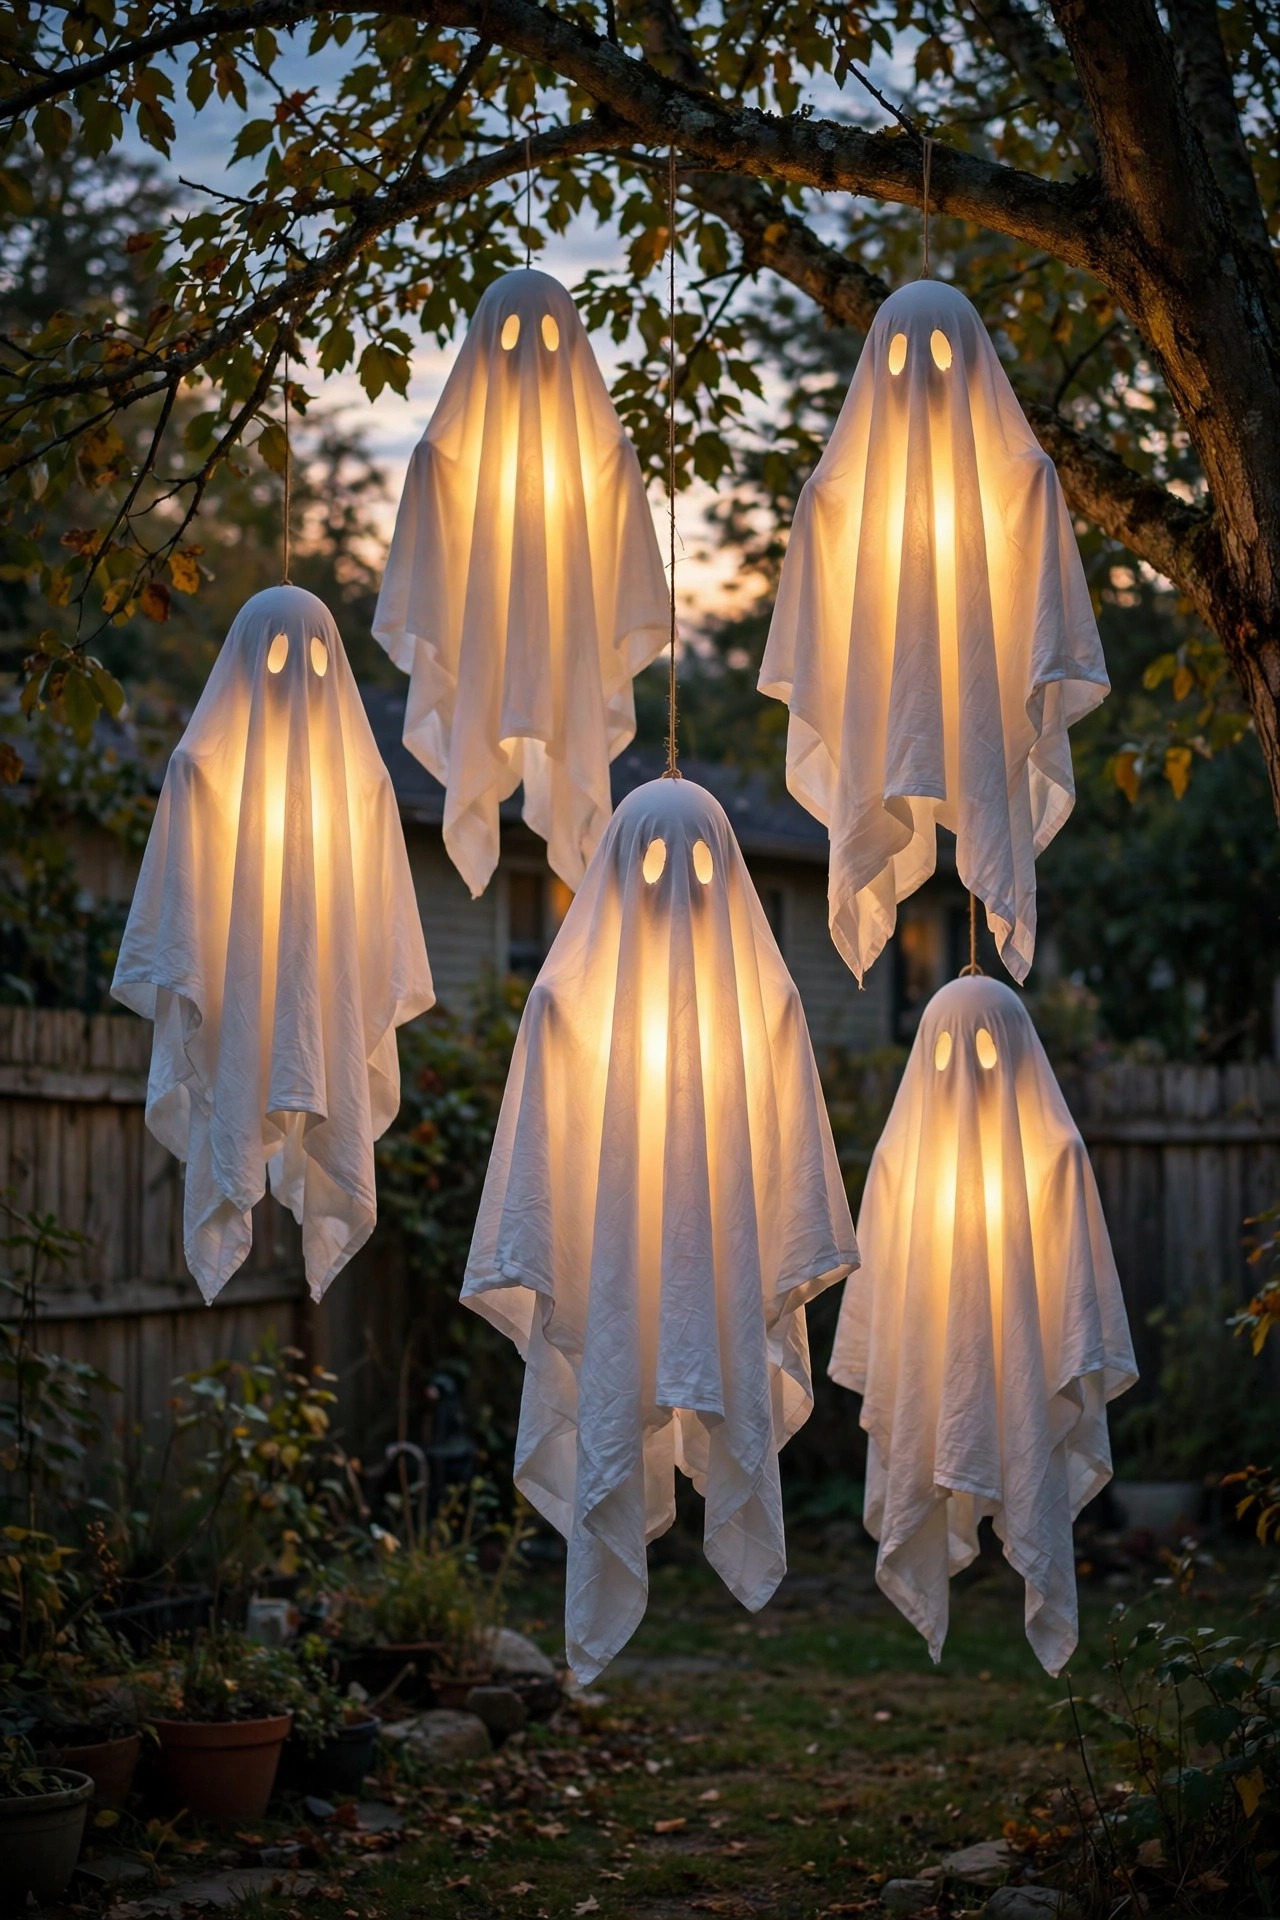
7. Hang Glowing Ghosts From the Branches
Sheet ghosts are a dollar-store classic, and a light inside each one turns a cute decoration into something that genuinely hovers. I build mine over a foam ball or a small balloon, drape cheesecloth or a white sheet over it, and tuck a battery puck light up inside the head so the whole ghost glows from within. Hang them from branches with fishing line at different heights, from about 5 to 8 feet, so they float at and above eye level. In a light breeze they sway slowly, and the internal glow makes the movement impossible to ignore. Cool white light reads ghostly; warm white reads friendly, which matters if your crowd is small children. Group them in odd numbers — three ghosts over the graveyard, two flanking the gate. Battery lights with remotes save you climbing a ladder every evening, and timers set to six hours handle the whole season. Cheesecloth is flammable, so LED lights only, no exceptions, and bring the ghosts in during heavy rain since the fabric wicks water and gets heavy enough to tear free and land on your fog machine.
Suggested budget range: $10 – $35.
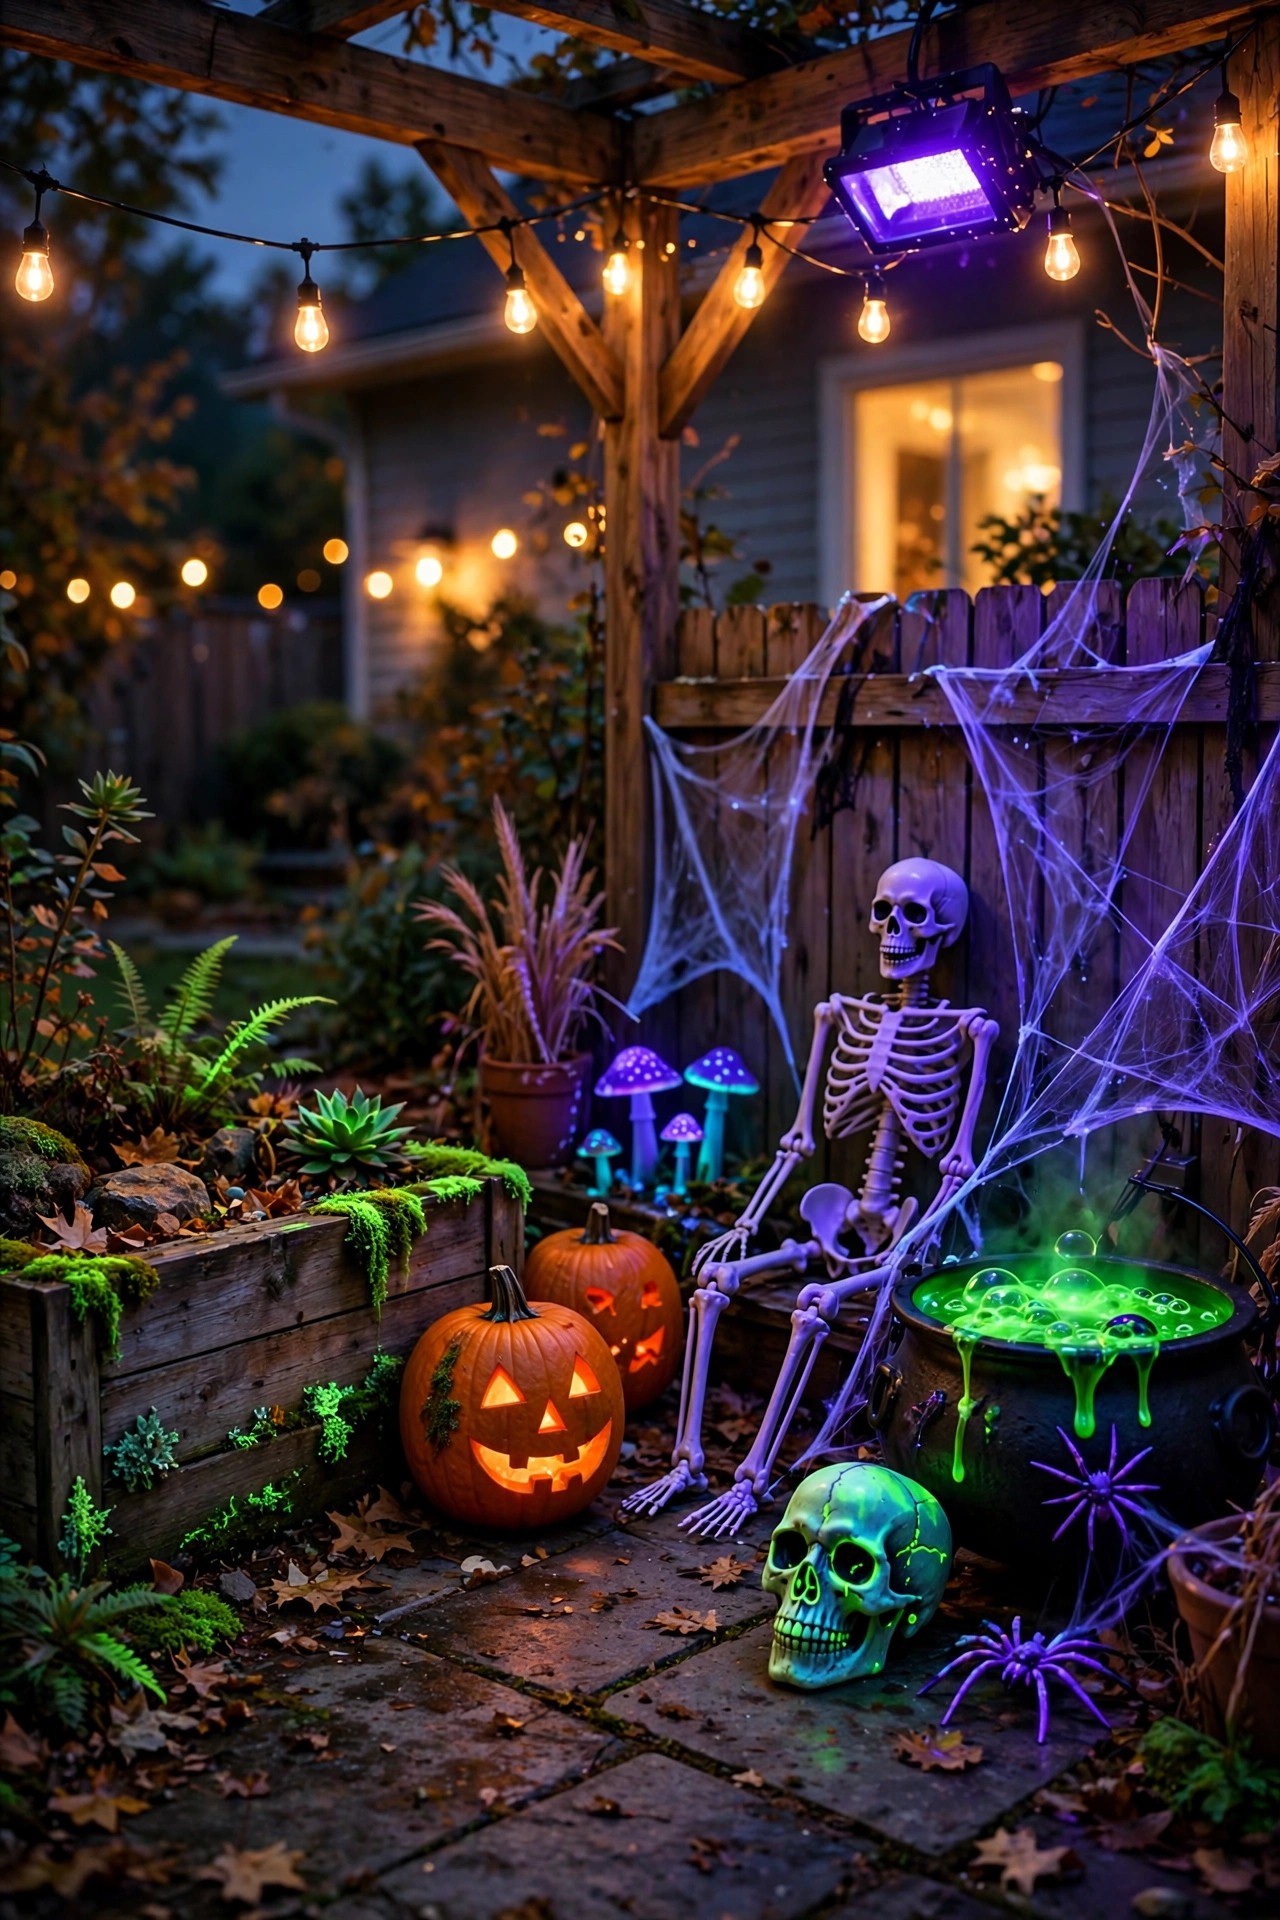
8. Add a Blacklight Wash for Glow-in-the-Dark Props
A UV blacklight flood makes every white and neon prop in the yard glow with that unearthly violet shine, and it is the trick behind most professional haunts. I mount one or two LED blacklight floods high on the fence or under the eave, washing the whole prop zone rather than pointing at a single item. White sheets, skeleton bones, spider webs, and anything painted with UV-reactive paint will pop against the dark. The wash itself is dim purple, so layer it over your other colors instead of replacing them — I keep the blacklight zone separate from the purple uplight zone so the two effects do not compete. Check that your fixtures are true 365 to 395 nanometer UV LEDs; cheap party bulbs with purple-tinted glass do almost nothing. Eye safety is straightforward: mount them high and aimed down or across, never at face level where guests stare into them. Kids in white costumes will glow brilliantly, which parents love for photos and for spotting their little monsters across a dark yard. Run a test night before your party to catch any prop that glows an unexpected color.
Suggested budget range: $20 – $60.
9. Uplight a DIY Graveyard of Foam Tombstones
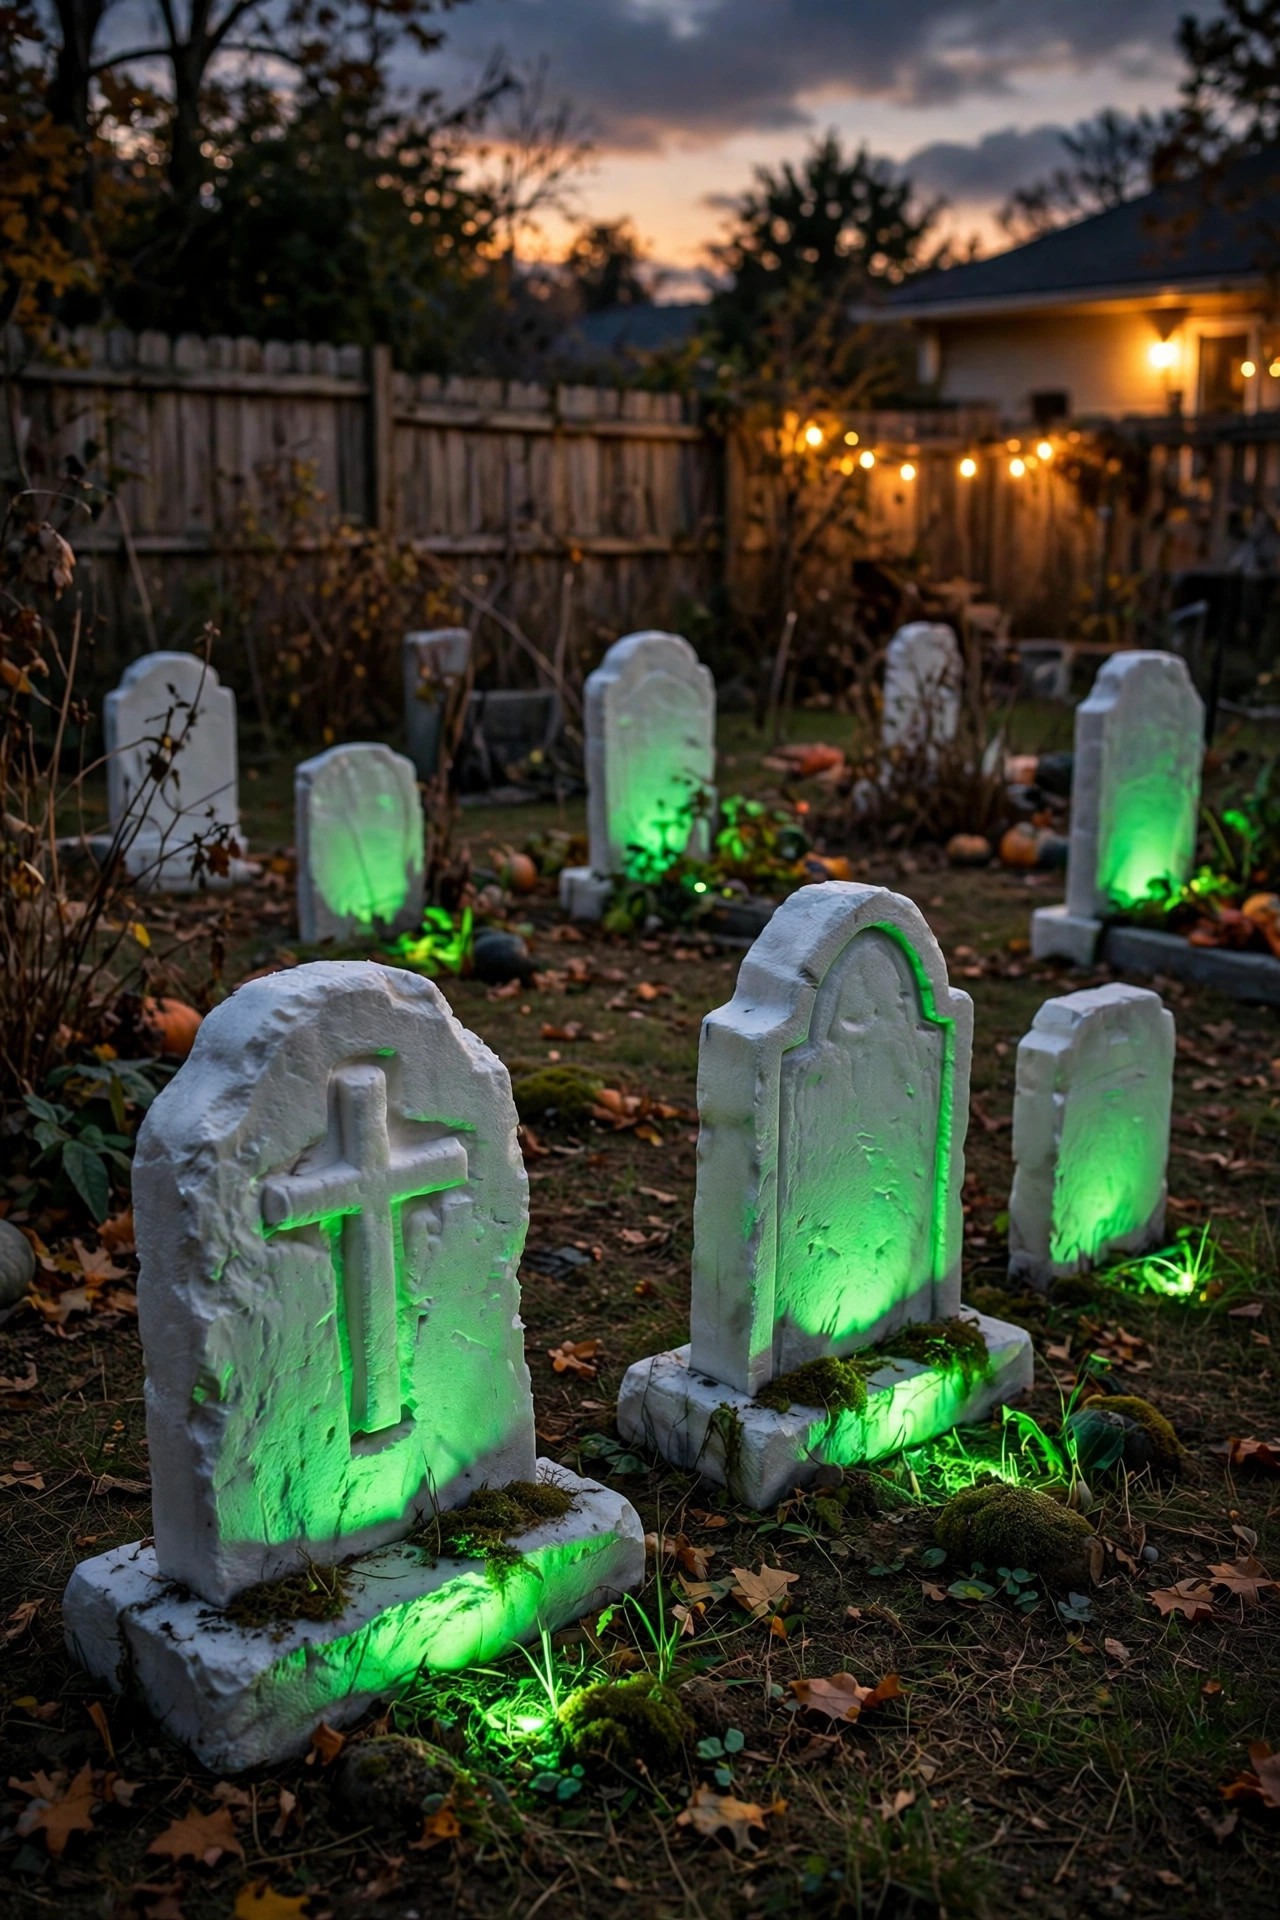
The graveyard is the heart of my haunt, and tombstones lit from below look ten times more expensive than they are. I carve mine from thick foam board, paint them gray, and weather the edges with a dry brush of black paint. Each stone gets a small ground spotlight placed 6 to 10 inches in front of it, angled up so the light grazes across the front face and throws every carved letter into shadow. Green light is my default for gravestones, with one purple stone at the back for depth. Graze angle matters more than brightness — a dim light at a sharp angle beats a bright one pointing straight. Stagger the stones in two loose rows rather than a soldier-straight line, and vary their heights. Secure them with garden stakes, because October wind loves to relocate foam tombstones into the neighbor's yard. Keep real carved epitaph jokes short and readable from the path; guests will stop and read every one. If you only build one scene this year, build this one. Everything else in the yard is supporting cast.
Suggested budget range: $25 – $70.
10. Give Your Hero Prop One Dramatic Spotlight
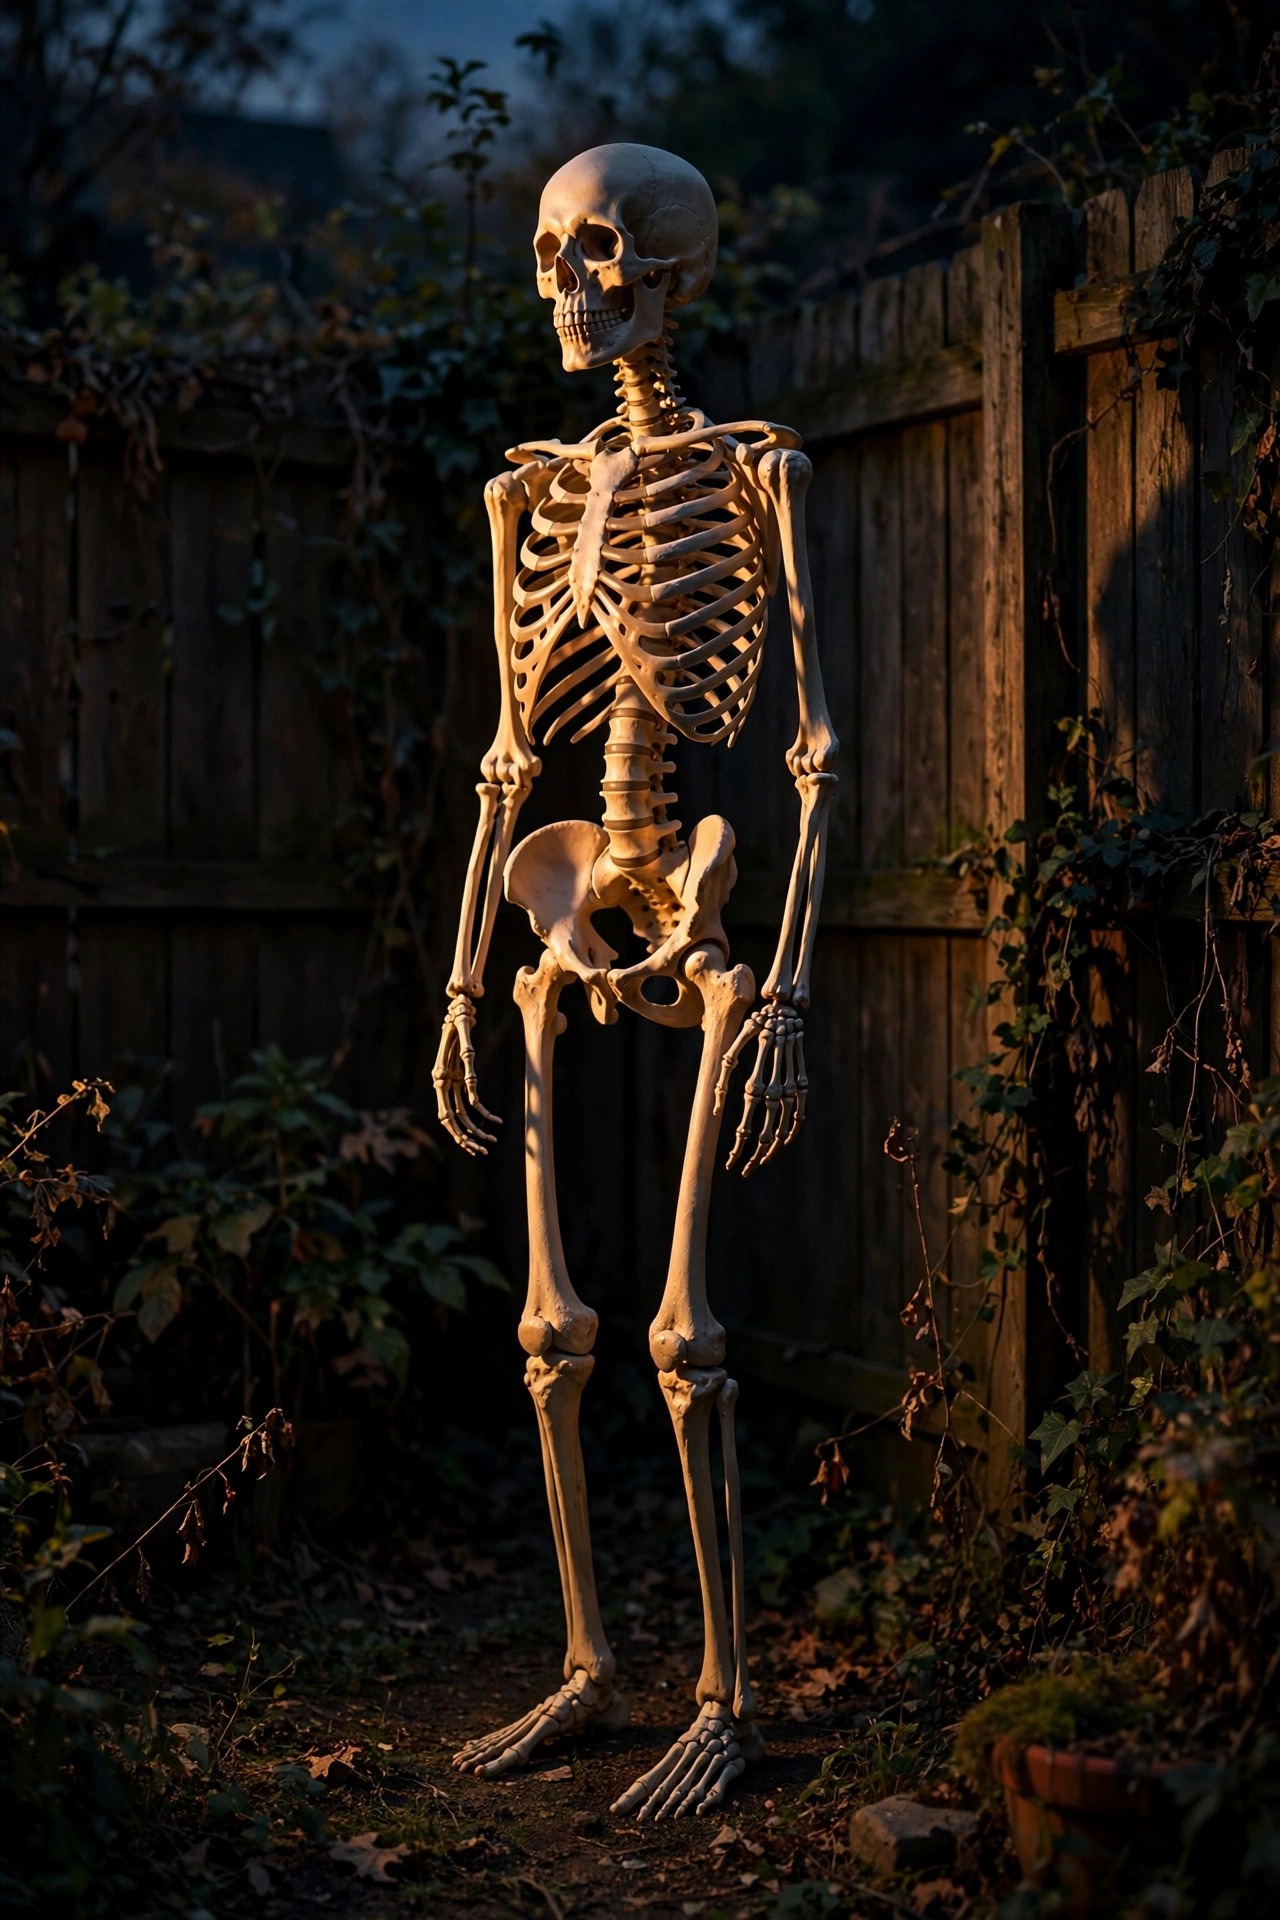
Every haunt needs a star: one tall skeleton, one witch, one zombie that gets the full theatrical treatment while everything else supports it. I place my hero on a slight rise or a hidden wooden crate for extra height, then light it with a single narrow-beam spotlight from low and to the side. Side light carves deep shadows across a face or ribcage in a way front light never can, and a lone beam in a dark corner of the yard pulls every eye straight to it. Leave the surrounding area noticeably darker than the rest of the display — contrast is what makes a spotlight dramatic. A slow color change between green and purple on a smart spotlight adds life without a strobe. Keep the fixture itself hidden behind a tombstone or shrub so guests see the lit figure, not the hardware. If your hero moves or talks, even better, but honestly a static figure lit well outperforms an animated one lit flatly. Photograph it on your phone before party night and adjust the angle; the camera shows you harsh shadows your eyes forgive in person.
Suggested budget range: $20 – $75.
11. Fake Moonlight With One Cool Downlight
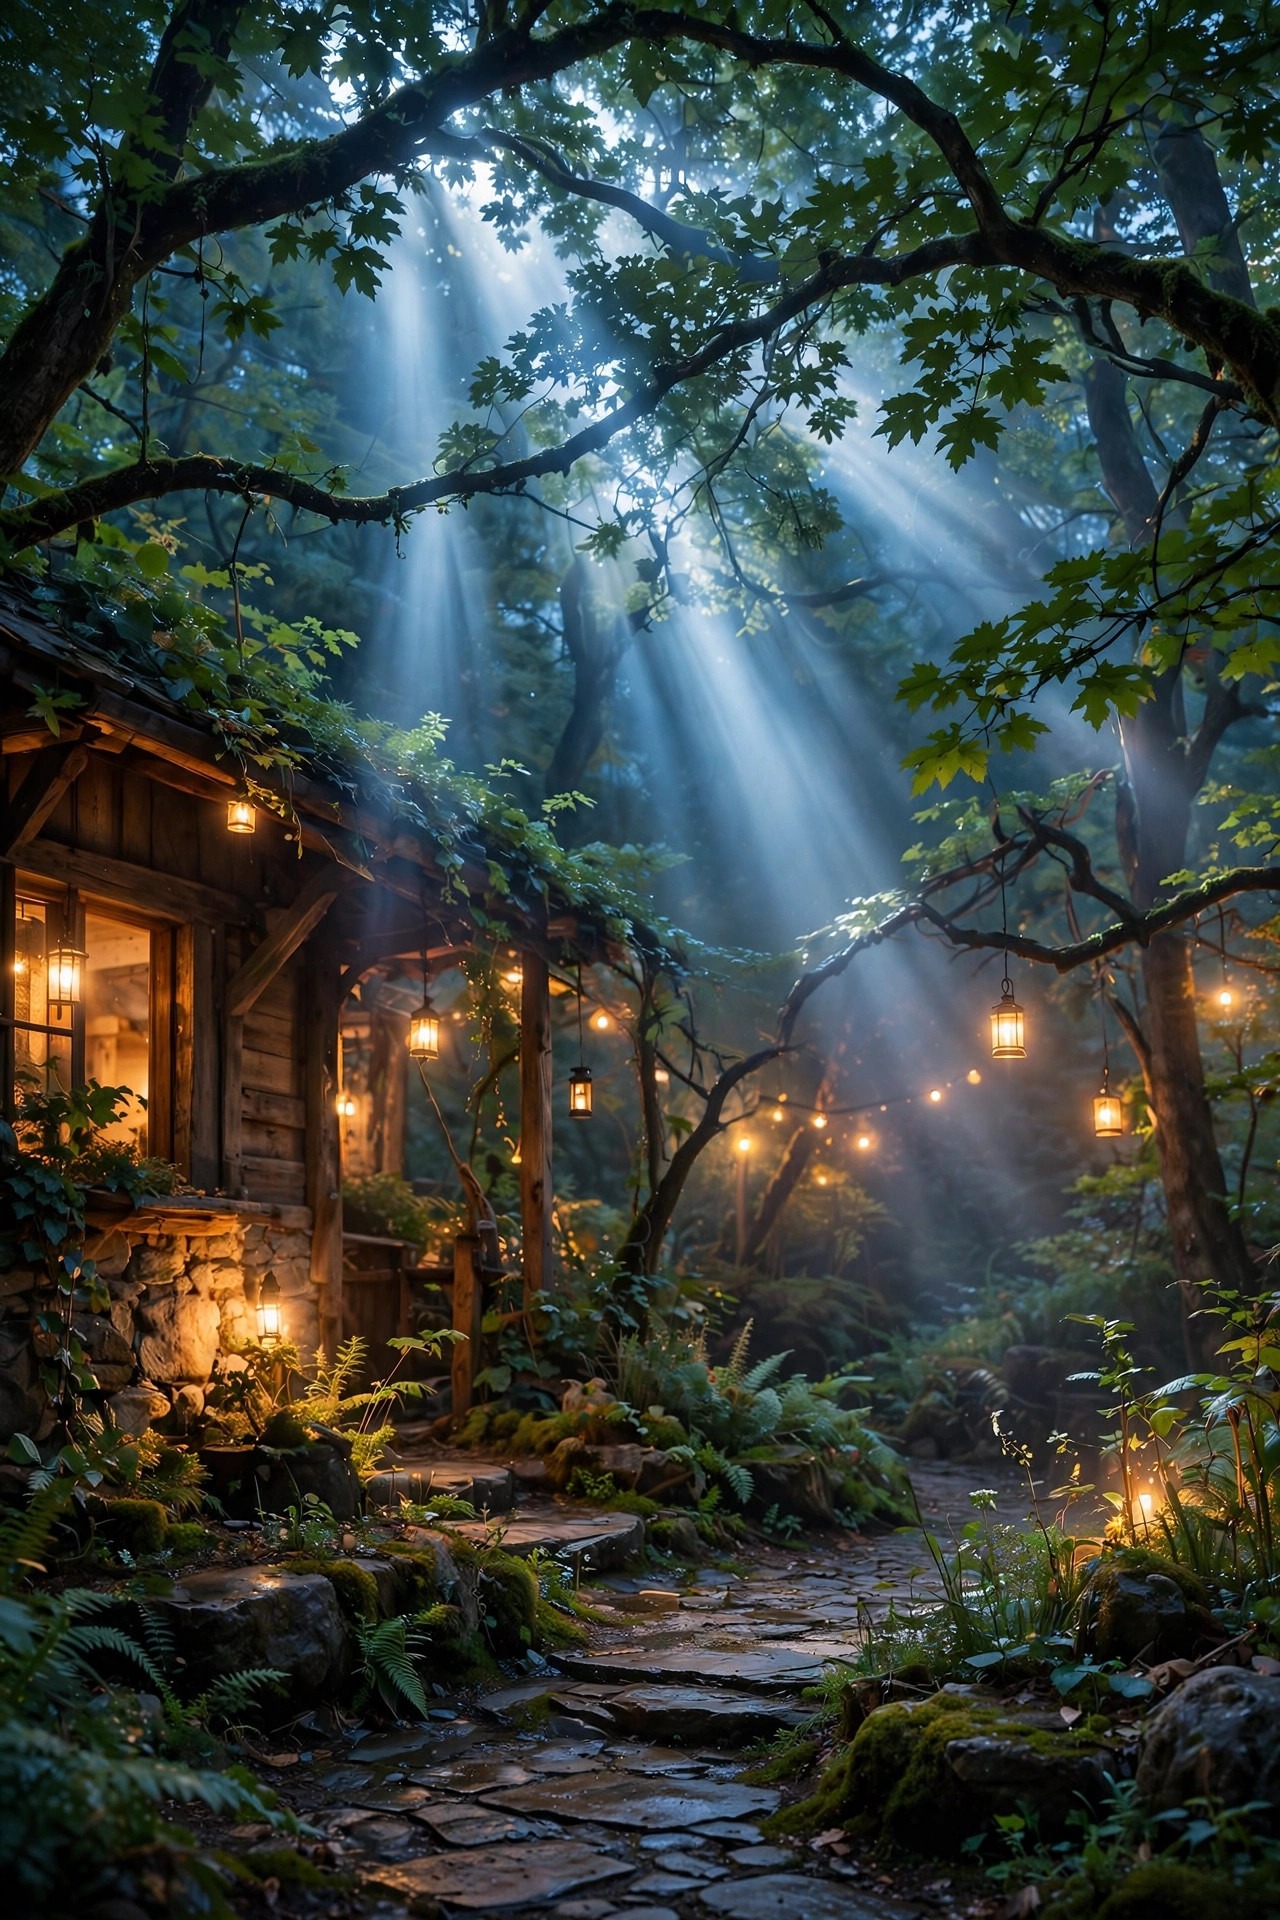
After all that purple and green, one wash of pale blue-white from high above makes the whole yard feel like a graveyard under a full moon, and it gives eyes a rest between color zones. I mount a single cool white spotlight 15 to 20 feet up in my biggest tree, aimed down through the branches so the leaves print moving shadow patterns on the lawn. This technique is called moonlighting, and I use the same fixture placement tips from this moonlighting trees guide the rest of the year with a warmer bulb. For October, the cooler color temperature, around 5000K in appearance, sells the moon illusion. Keep it dim — moonlight should be the quietest light in the yard, just enough to silhouette the fence line and give the fog a pale top layer. A fixture with an adjustable beam lets you tighten or widen the pool. Because it sits high and points down, it never glares in anyone's eyes. This is also the one light I leave running all October rather than just party nights, since it doubles as gentle security lighting.
Suggested budget range: $30 – $85.
12. Backlight Creepy Silhouettes in the Windows
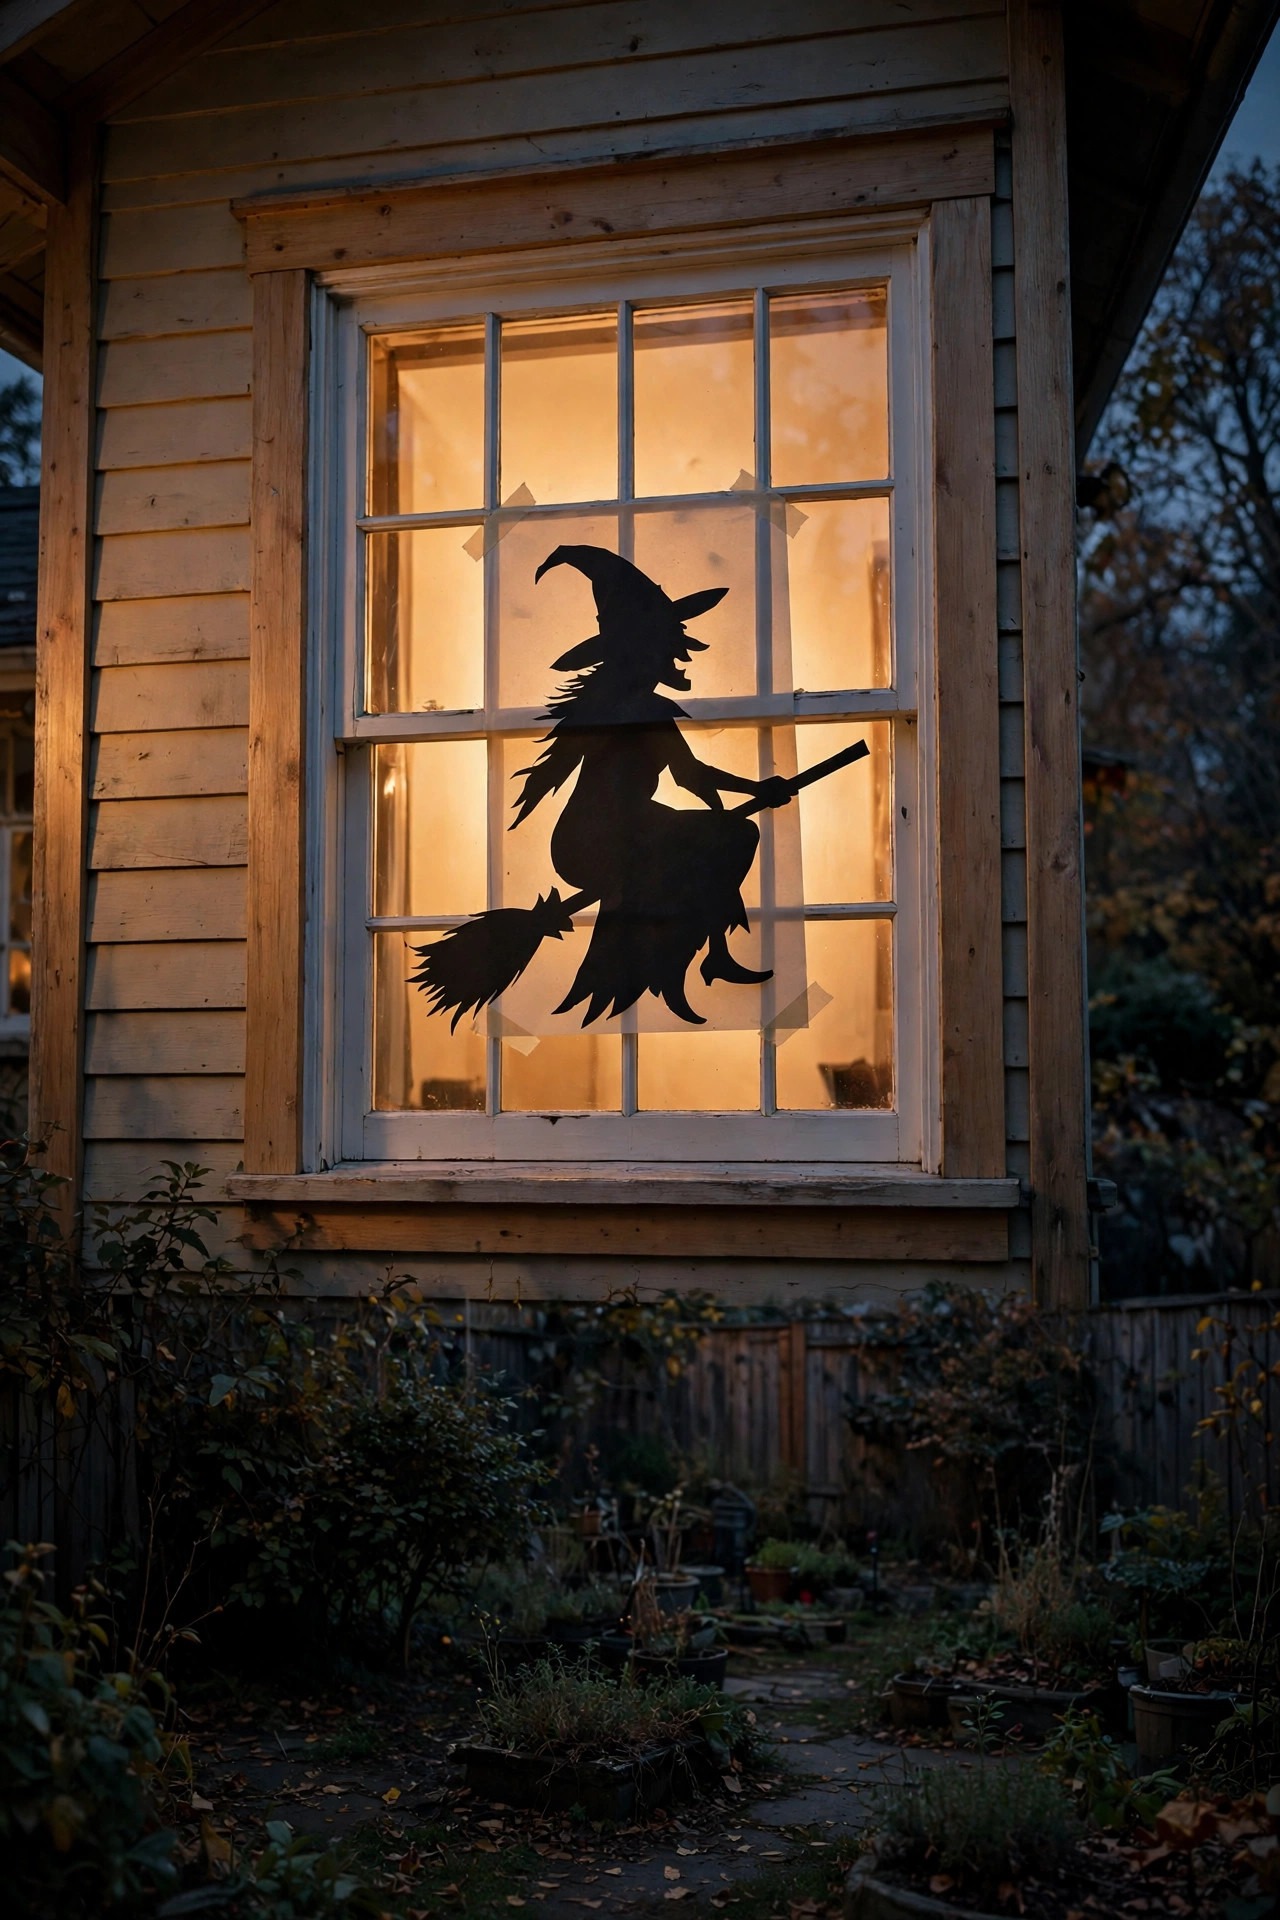
The cheapest scene in my whole haunt is inside the house, and guests talk about it the most. I cut big silhouettes from black poster board — a witch at a cauldron, grasping hands, a row of bats, a figure standing very still — and tape them inside the back windows and sliding door. Then I close the blinds or hang a sheer curtain behind the cutout and leave a warm lamp on in that room. The shape glows against the light like a shadow play, readable from the far fence. This is haunted backyard halloween lighting at its most efficient: one indoor lamp lights the whole scene. Still figures are scarier than busy ones, and one silhouette per window reads better than a crowded collage. If you have a second-story window facing the yard, a single standing figure up there stops people mid-sentence. Keep the room light on a timer so the silhouettes appear at dusk even if you are busy outside. Use painter's tape so the poster board removes cleanly, and store the cutouts flat between two boards to reuse next year.
Suggested budget range: $5 – $20.
13. Make the Cauldron Bubble With Green Light
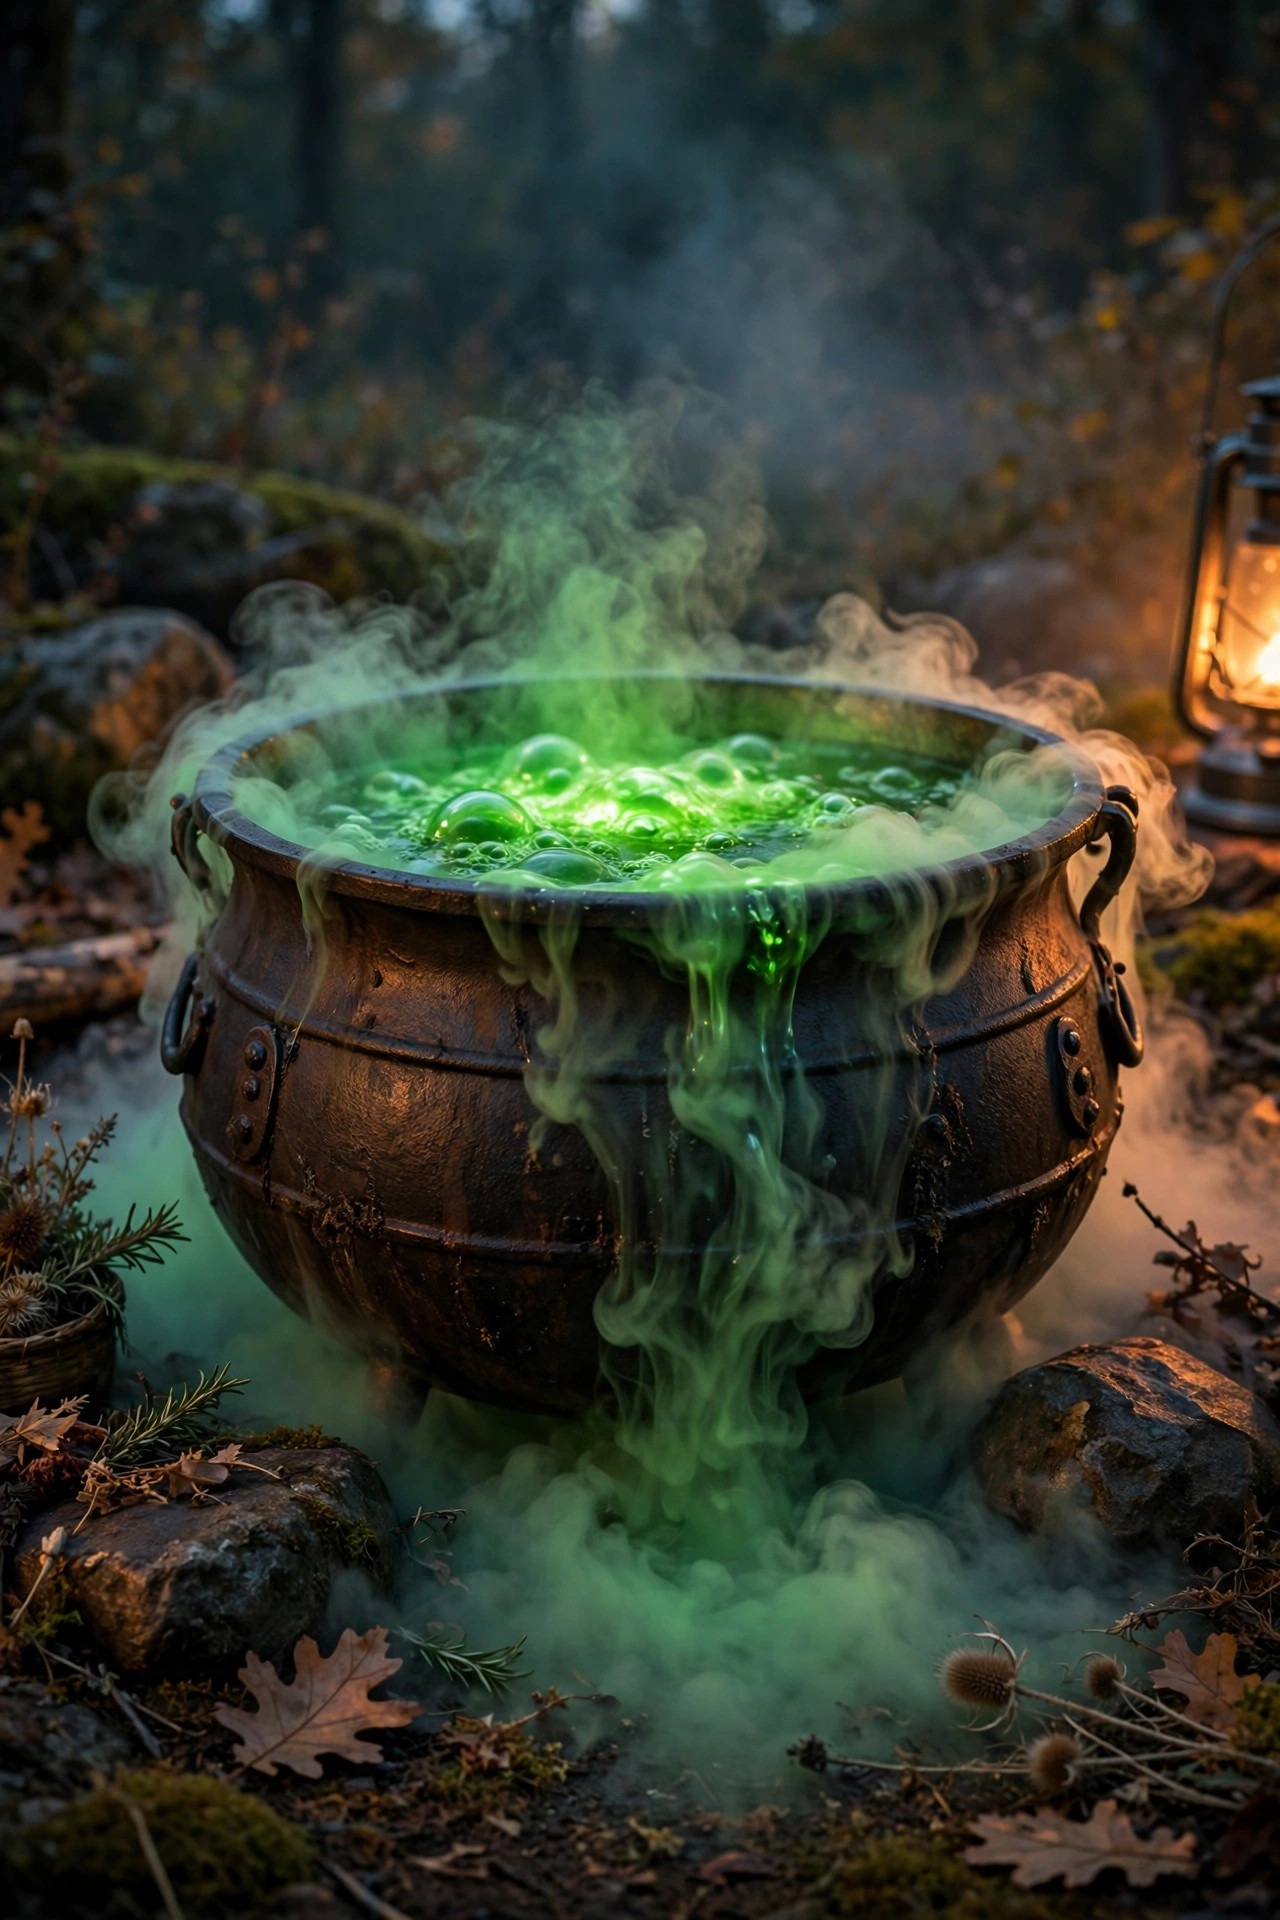
A witch's cauldron with green light spilling out of it is a guaranteed gathering point, so I give it a full station by the snack table. The build is simple: a plastic cauldron, a waterproof green LED light puck sitting in the bottom, and a fog machine hose or a small ultrasonic mister to make the "brew" spill over the rim. Submersible LED pucks with remotes are made for exactly this and cost a few dollars each. A strand of clear bubble lights or white cobweb draped over the edge sells the boil. Set the puck to green, and keep a dim purple uplight on whatever stands behind it so the cauldron has a backdrop instead of blackness. Safety notes, because this one draws a crowd of kids: if you use dry ice for the spill effect, handle it with gloves only, never let guests reach into the brew, and ventilate — dry ice in a sealed small space is a real hazard. The mister version is safer for little hands and runs all night on a cup of water. Photograph this station early; it is where everyone will want their picture taken.
Suggested budget range: $20 – $55.
14. Light the Spider Corner With Web and Violet
Every yard has that one dark corner by the fence, and mine belongs to the spiders. I stretch stretchy webbing across the corner from fence to shrub, seat the biggest spider I own in the middle, and wash the whole web with a single violet spotlight from the side. The web catches the light strand by strand and seems to float. UV-reactive webbing under a blacklight works too, but violet visible light reads better from across the yard and photographs beautifully. Add two or three smaller spiders with tiny red LED eyes if you want a detail for guests who wander closer. Keep this corner dim around the edges so the web glows against genuine darkness rather than competing with the string lights. Anchor webbing firmly; loose strands catch guests' costumes and end up trailing across the lawn. Skip the web entirely if your corner sits above a walkway — nobody enjoys a face full of fake cobweb in the dark. A few glow-in-the-dark spiders scattered on the ground below extend the scene for free, especially after they charge under the violet light all evening.
Suggested budget range: $15 – $45.

15. Keep a Safe, Steady Path Layer Under the Scares
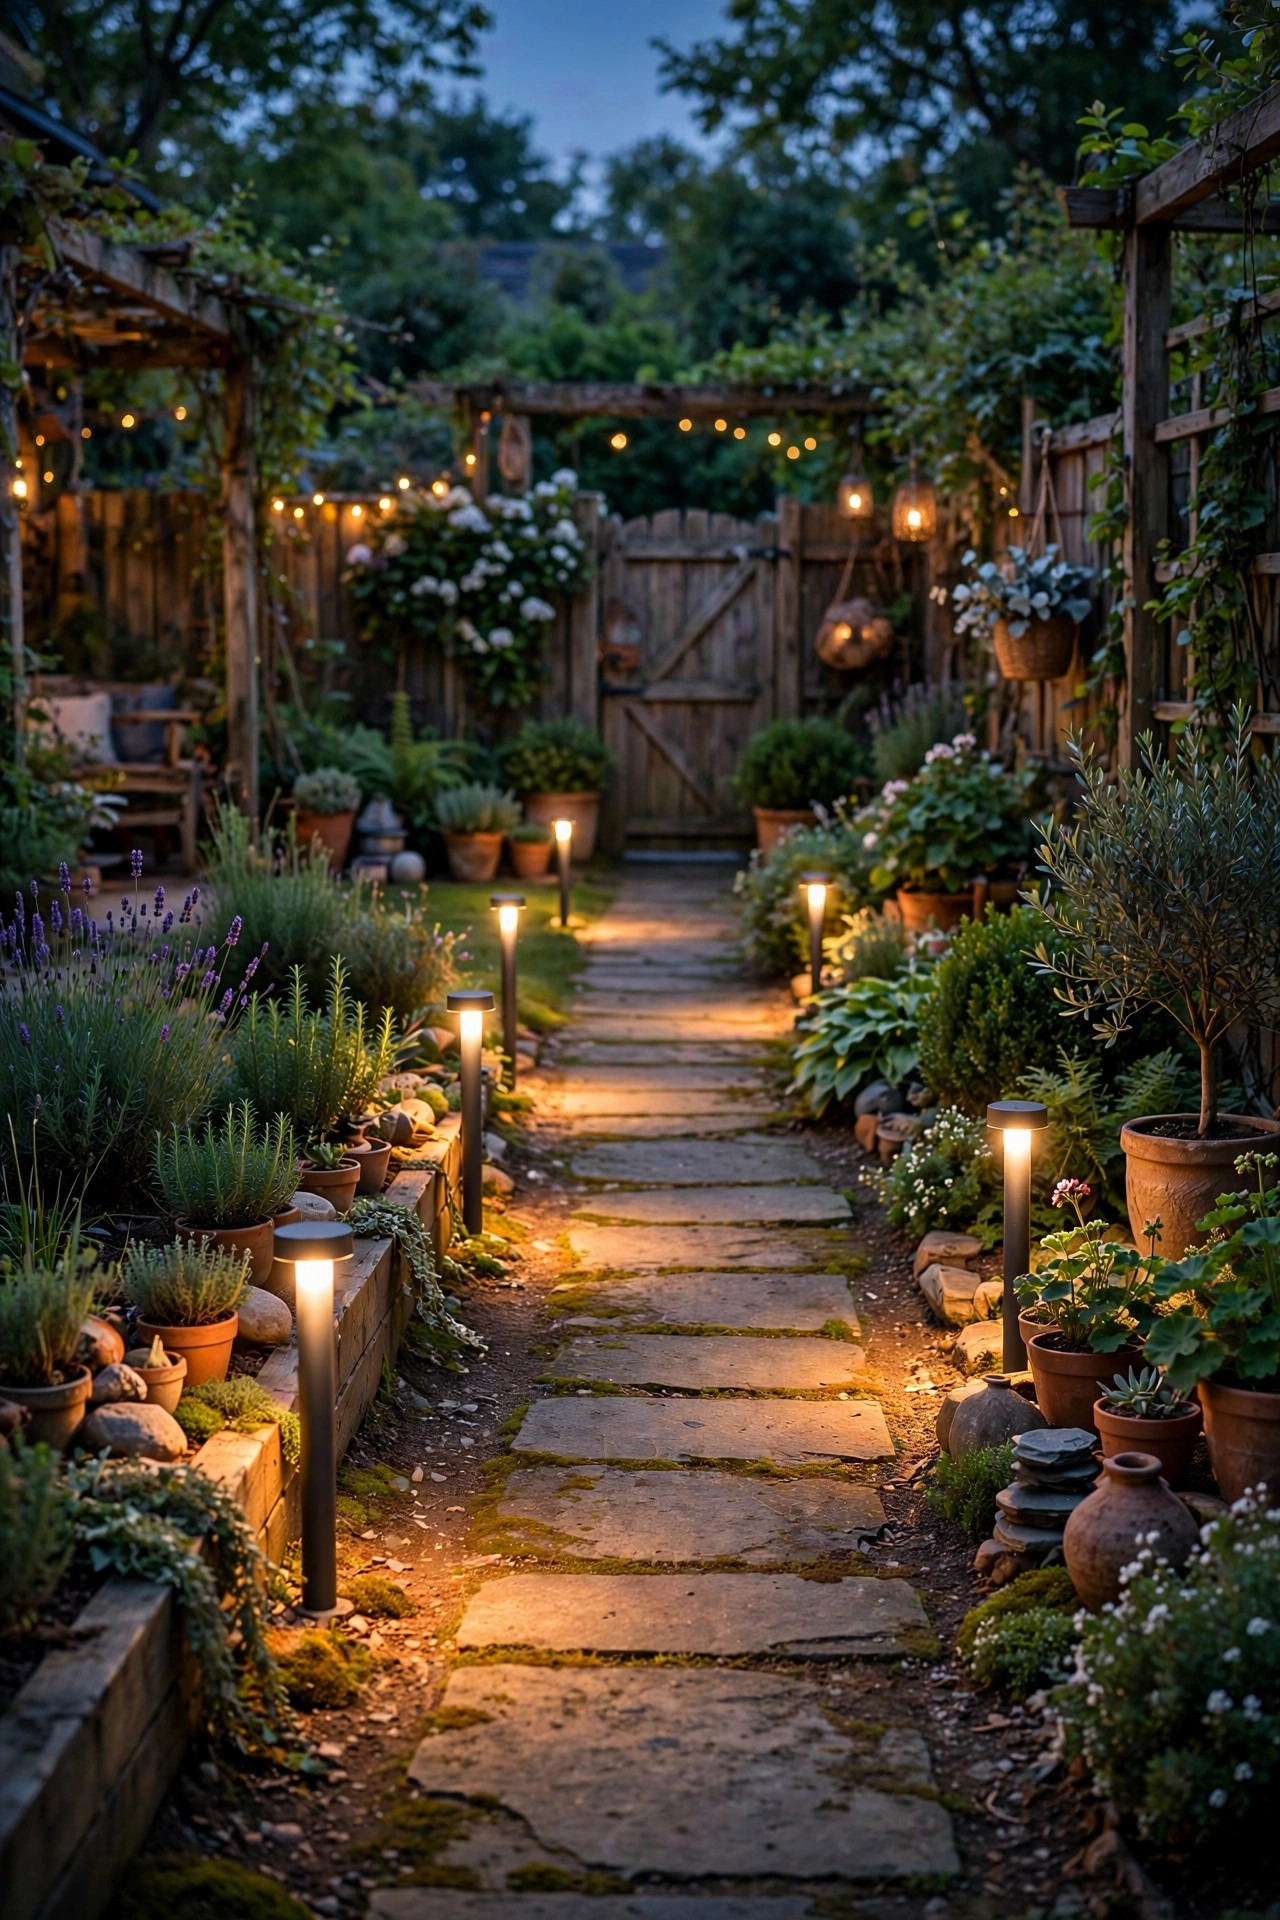
This is the least glamorous idea on the list and the one I refuse to skip. Between the jump scares, guests still walk to the cooler, the bathroom door, and the gate, often carrying plates, in costumes with limited vision. I run a dedicated safety layer of low, steady, warm-white path lights along every route, spaced 4 to 6 feet apart and bright enough to show steps, roots, and hose crossings. These never flicker, never change color, and never turn off for effect. Solar path lights handle most of it, with wired lights on the two stone steps where a fall would actually hurt. Run extension cords across walkways only inside cord covers, or better, route them along fence lines and tape down any unavoidable crossing. I walk every route myself in the dark, wearing the clumsiest costume mask I own, before I call the yard done. If I cannot see the ground, neither can a seven-year-old vampire. Halloween injuries are overwhelmingly trips and falls, and no display is worth a sprained ankle. Pretty is the goal, but safe is the job.
Suggested budget range: $20 – $60.
16. Fake Ember Glow Behind the Shrubs
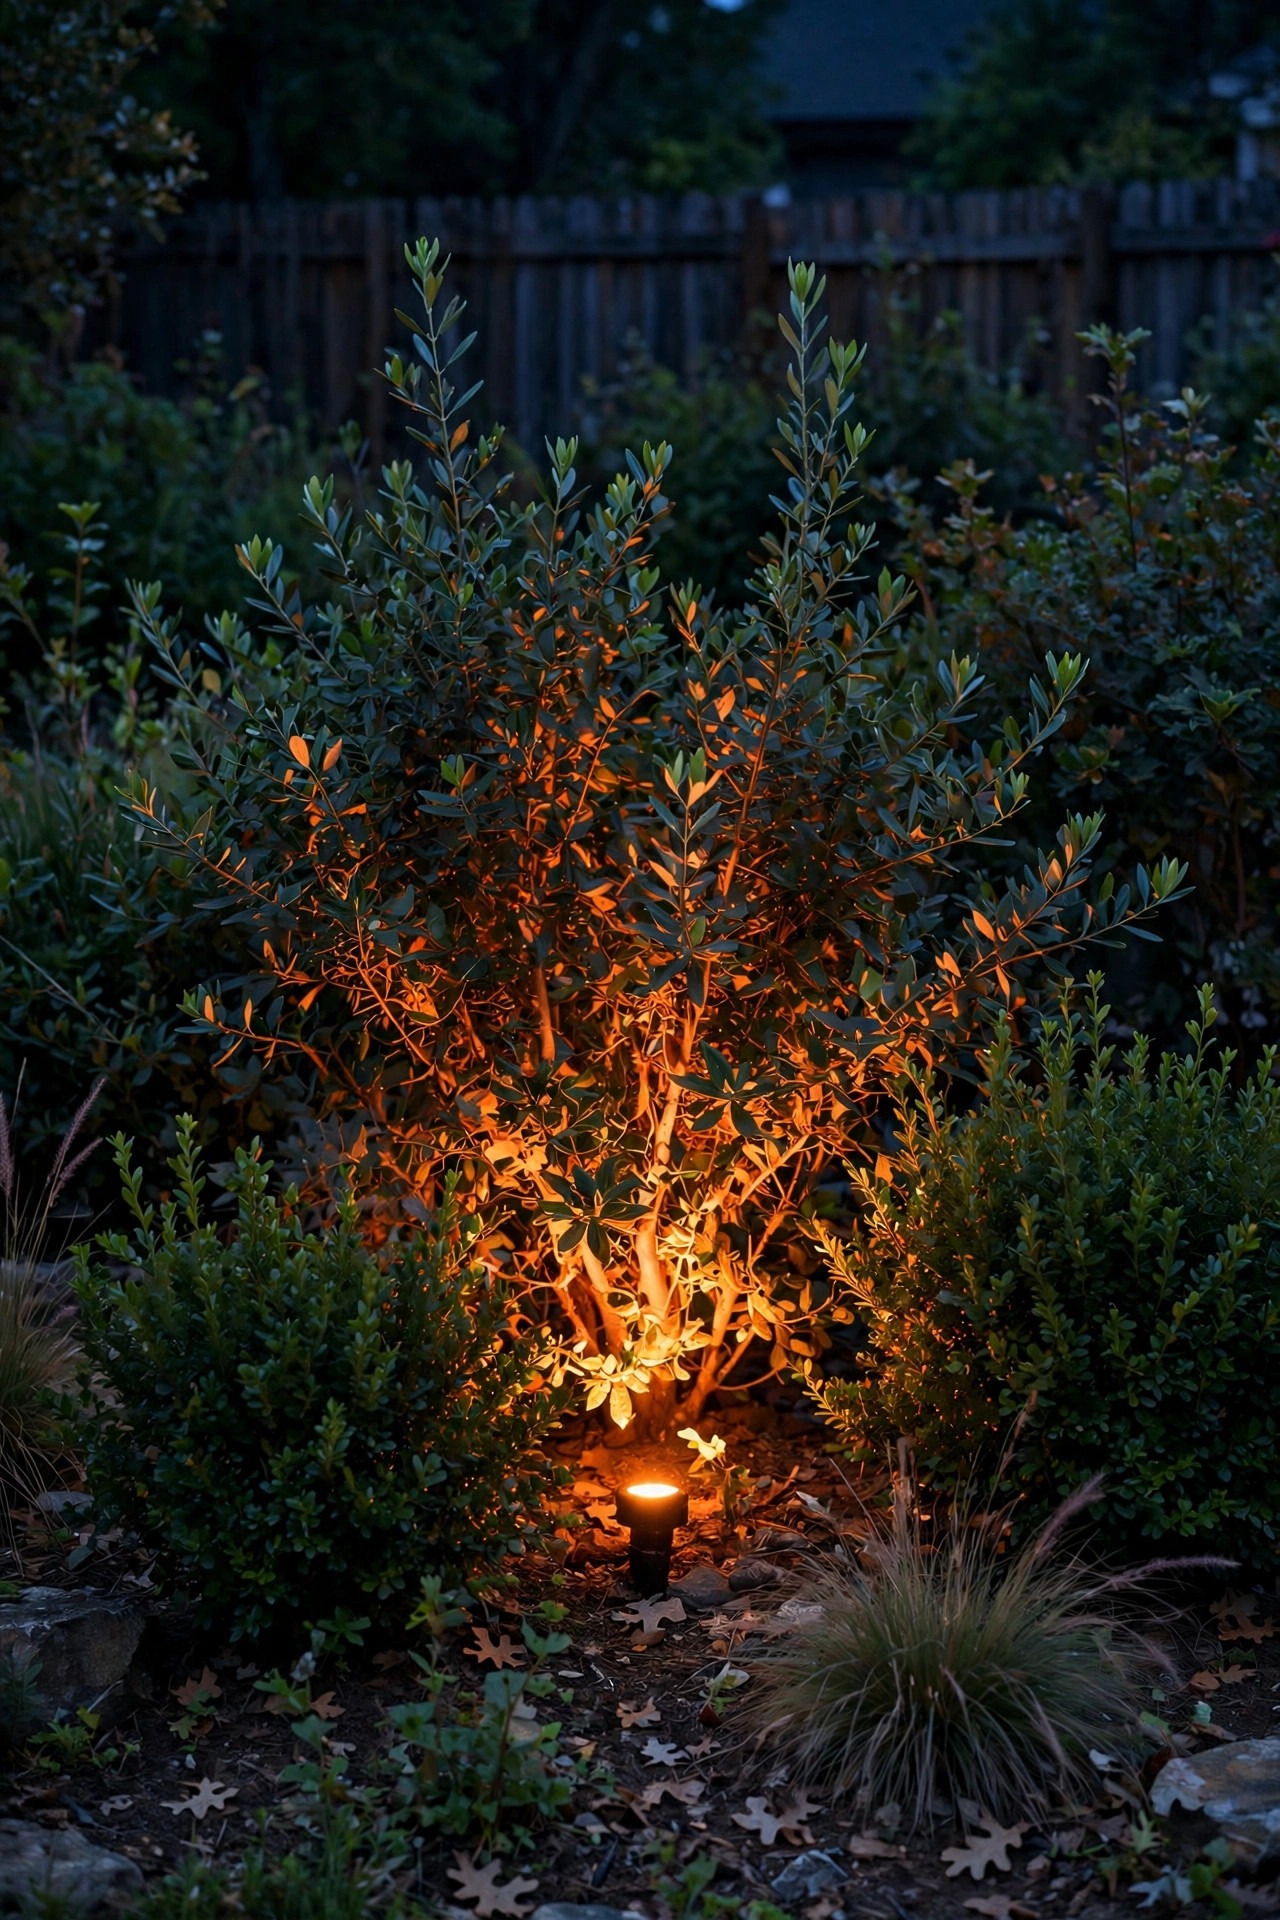
A low, deep-orange uplight hidden behind shrubs looks exactly like something is smoldering back there, and it takes five minutes to set up. I push the fixture down low behind a hedge or ornamental grass, point it up through the foliage, and let the leaves diffuse the orange into a breathing ember glow. If the fixture pulses or flickers slowly, even better — a flame-mode smart bulb in a weatherproof socket does this beautifully. Two ember spots at opposite ends of the yard suggest the fire is spreading, which unsettles people in the best way. This effect pairs perfectly with a fire pit area as its calmer cousin, or as the whole fire story if your town restricts open flames during a dry October. Keep the color deep orange or red-orange; bright yellow reads as a porch light and breaks the spell. Like all my uplights, the fixture itself stays hidden so only the glow exists. It is also the coziest effect on the list once the party winds down — turn off the purples, leave the embers, and the yard feels like a campfire story waiting to happen.
Suggested budget range: $15 – $50.
17. Send Guests Down a Motion-Activated Scare Trail
The side yard is wasted space at most parties, so I turn mine into a short haunted trail with lights that wake up as guests pass. Battery motion-sensor spotlights, aimed at a prop every 8 to 10 feet, stay dark until someone approaches — then a zombie face, a lunging spider, or a glowing-eyed ghoul lights up one at a time. The sequence feels personal, like the yard is reacting to you. Solar motion lights work if the panel gets sun, but for an October trail I trust replaceable batteries more. Keep each light aimed at its prop and shielded from the path itself, so guests see the monster, not a blast of light in the eyes. Mark the trail entry with two pumpkin luminaries and let darkness do the inviting. Warn parents at the gate that the trail exists; a surprise that thrills a ten-year-old can genuinely frighten a four-year-old, and a small sign keeps everyone choosing their own adventure. Test the sensor range at dusk and adjust angles so tall adults and small kids both trigger reliably.
Suggested budget range: $25 – $70.

18. Project Ghosts Onto a Sheer Curtain
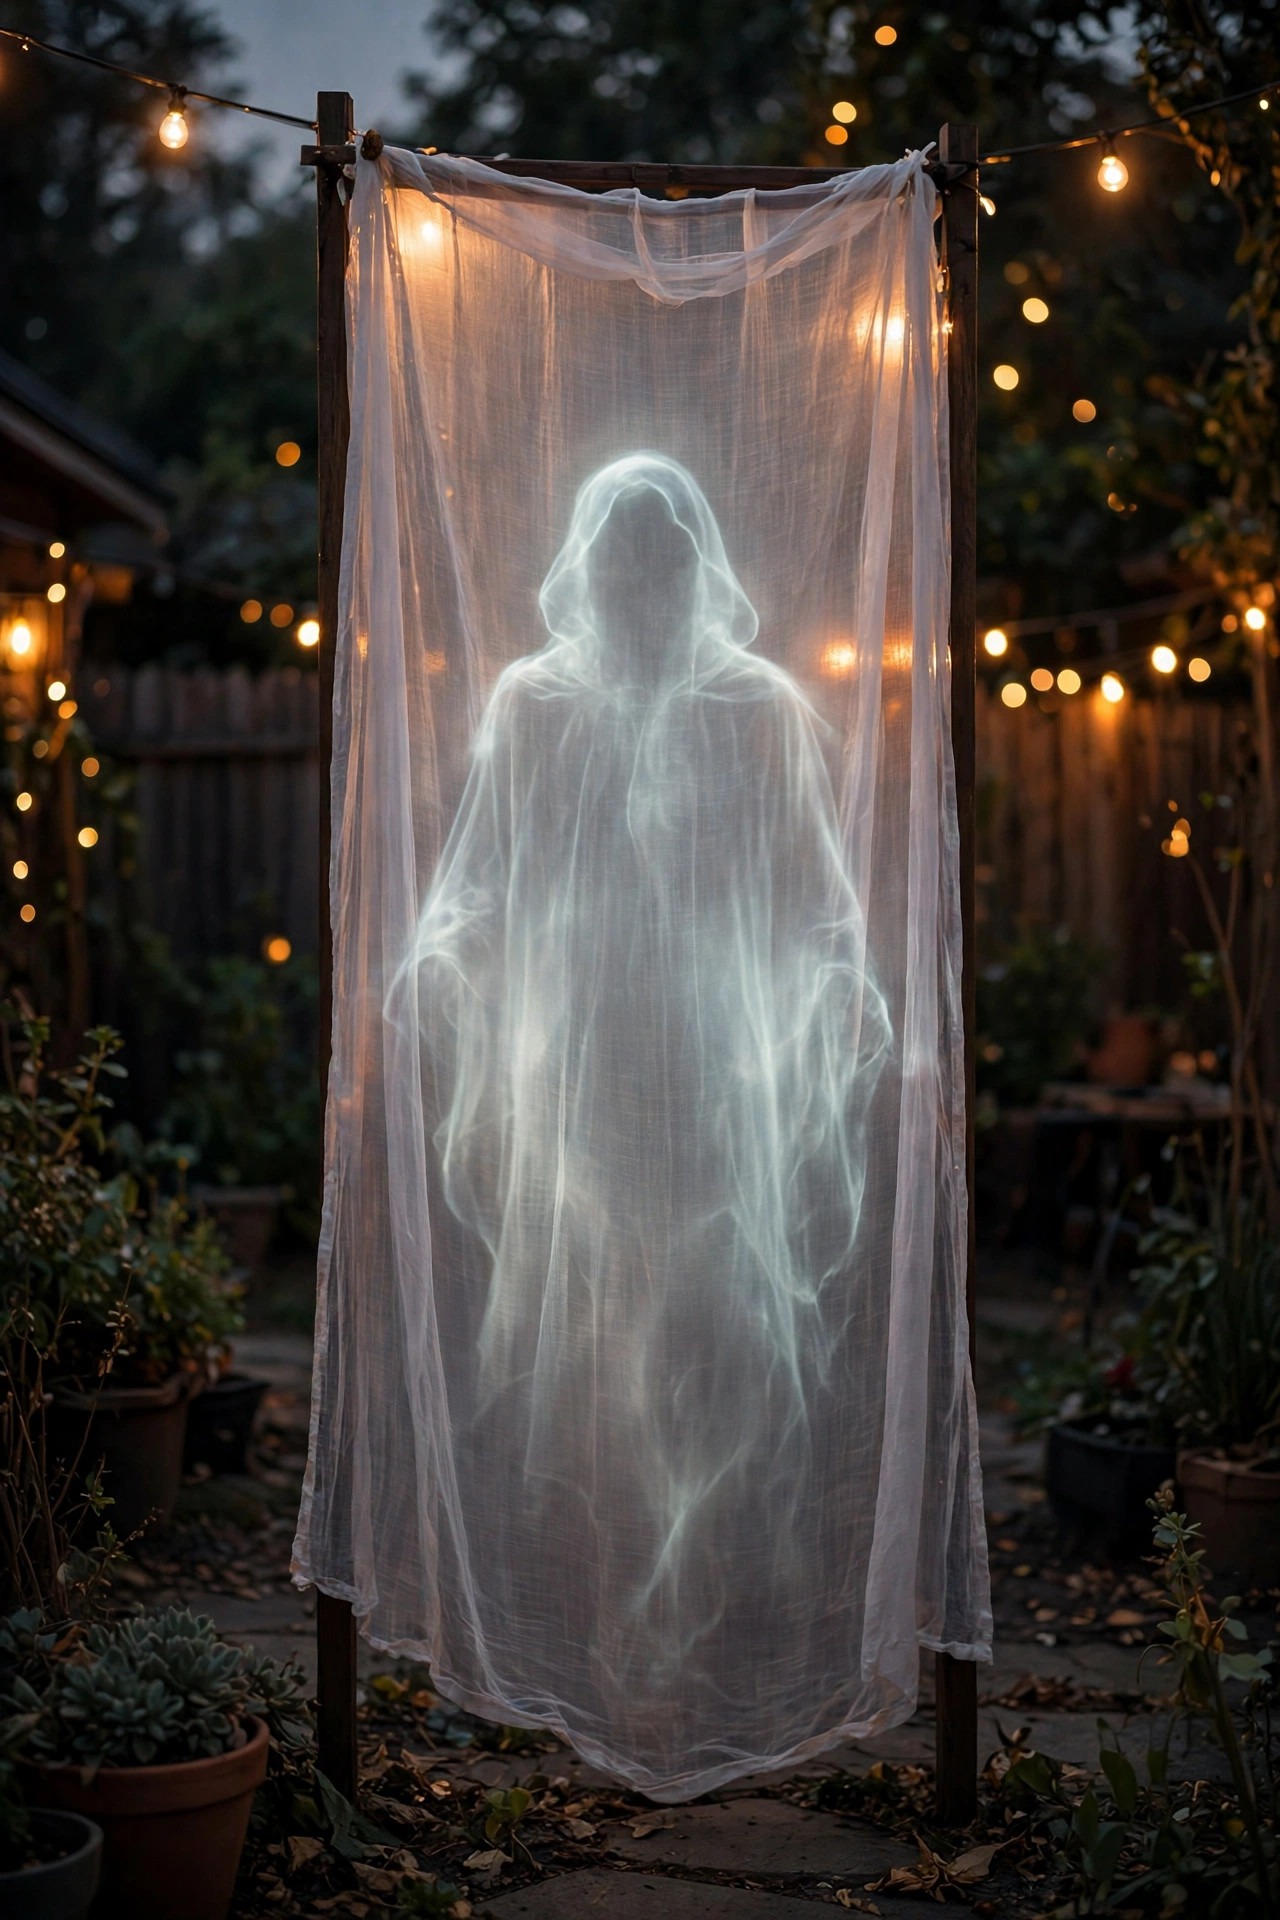
A small projector and a white shower curtain liner turn any window, doorway, or frame strung between two trees into a screen for floating ghosts. Rear projection is the trick: hide the projector behind the curtain so guests see only the apparition. Loop videos of drifting specters are easy to find, and free ones work fine at this scale. Keep the surrounding area dark — projection washes out fast under string lights, so I screen my ghosts on the far fence line away from the canopy. A black scrim cloth works even better than a curtain if you can find one, since the fabric nearly vanishes and the ghost floats in midair. Secure the screen taut on all four corners; a rippling screen reads as cloth, while a tight one reads as magic. Weather decides the schedule here: projectors are not outdoor-rated, so mine lives in a plastic bin with a hole cut for the lens on dry nights and stays inside during rain. Sound is optional and honestly the silent drifting ghost unsettles people more than any moan track.
Suggested budget range: $50 – $150.
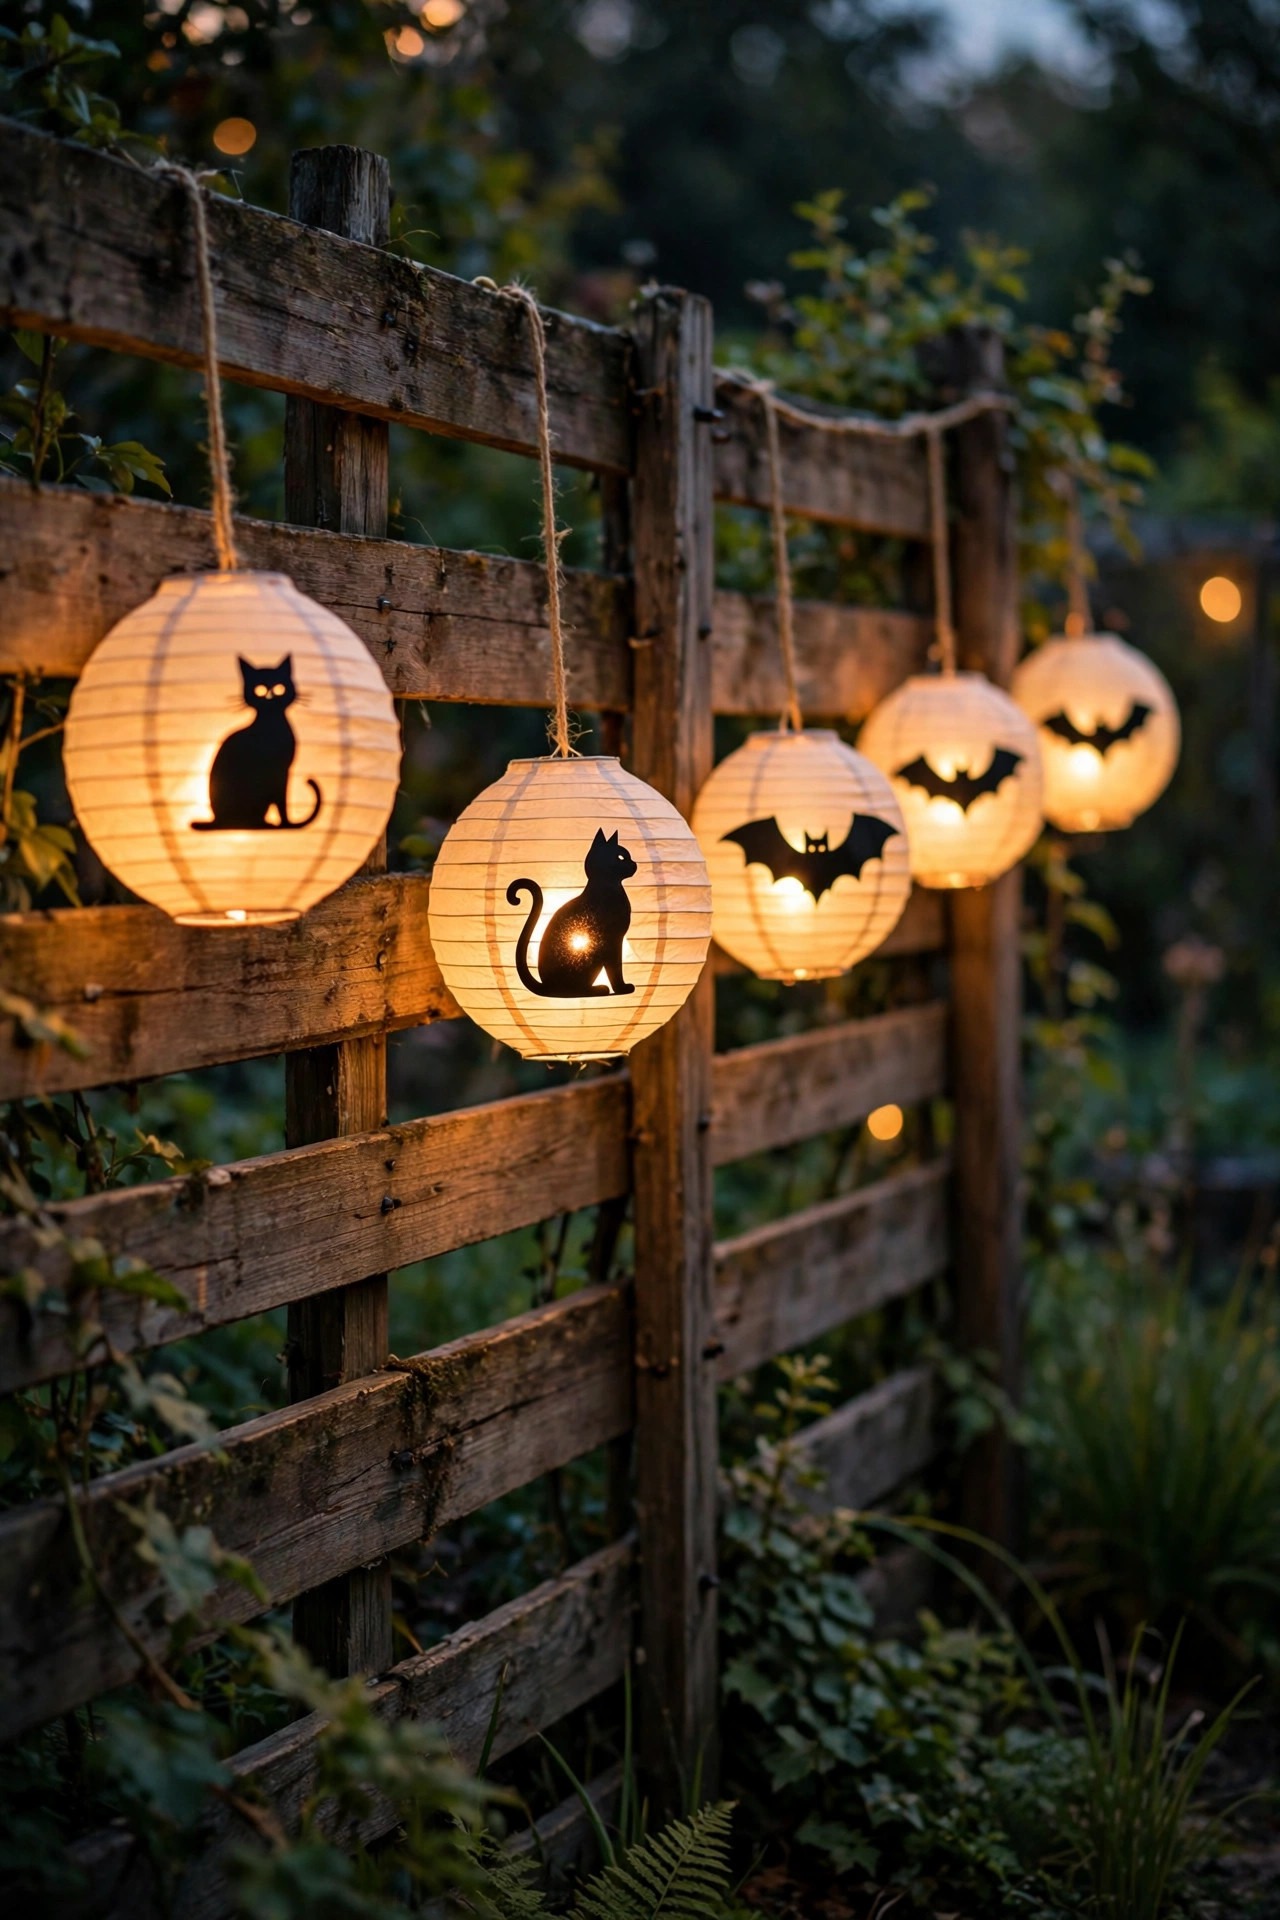
19. Hang Lanterns With Creepy Cutout Silhouettes
Plain paper lanterns glow beautifully but read a little wedding; five minutes with black paper fixes that. I cut simple silhouettes — bats, cats, spiders, a haunted house — and tape them inside inexpensive paper or fabric lanterns before hanging them along the fence and under the string light canopy. When the LED bulb inside lights up, the shape appears as a dark shadow floating in the glow, like a shadow puppet frozen mid-scene. Mix sizes from 8 to 16 inches and hang them in loose clusters of three at heights between 5 and 7 feet. LED bulbs only inside paper, always, and choose battery lanterns for spots far from outlets so no cords cross the yard. Orange lanterns with black bats are the crowd favorite at my house, with one purple lantern in each cluster for contrast. The cutouts are the cheapest customization on this whole list and the thing kids ask about most. Keep a few blank lanterns in reserve; wind will claim at least one every season. Store them nested with the silhouettes still inside and next year's setup takes ten minutes.
Suggested budget range: $12 – $40.
20. Hide a Green Glow Under the Deck
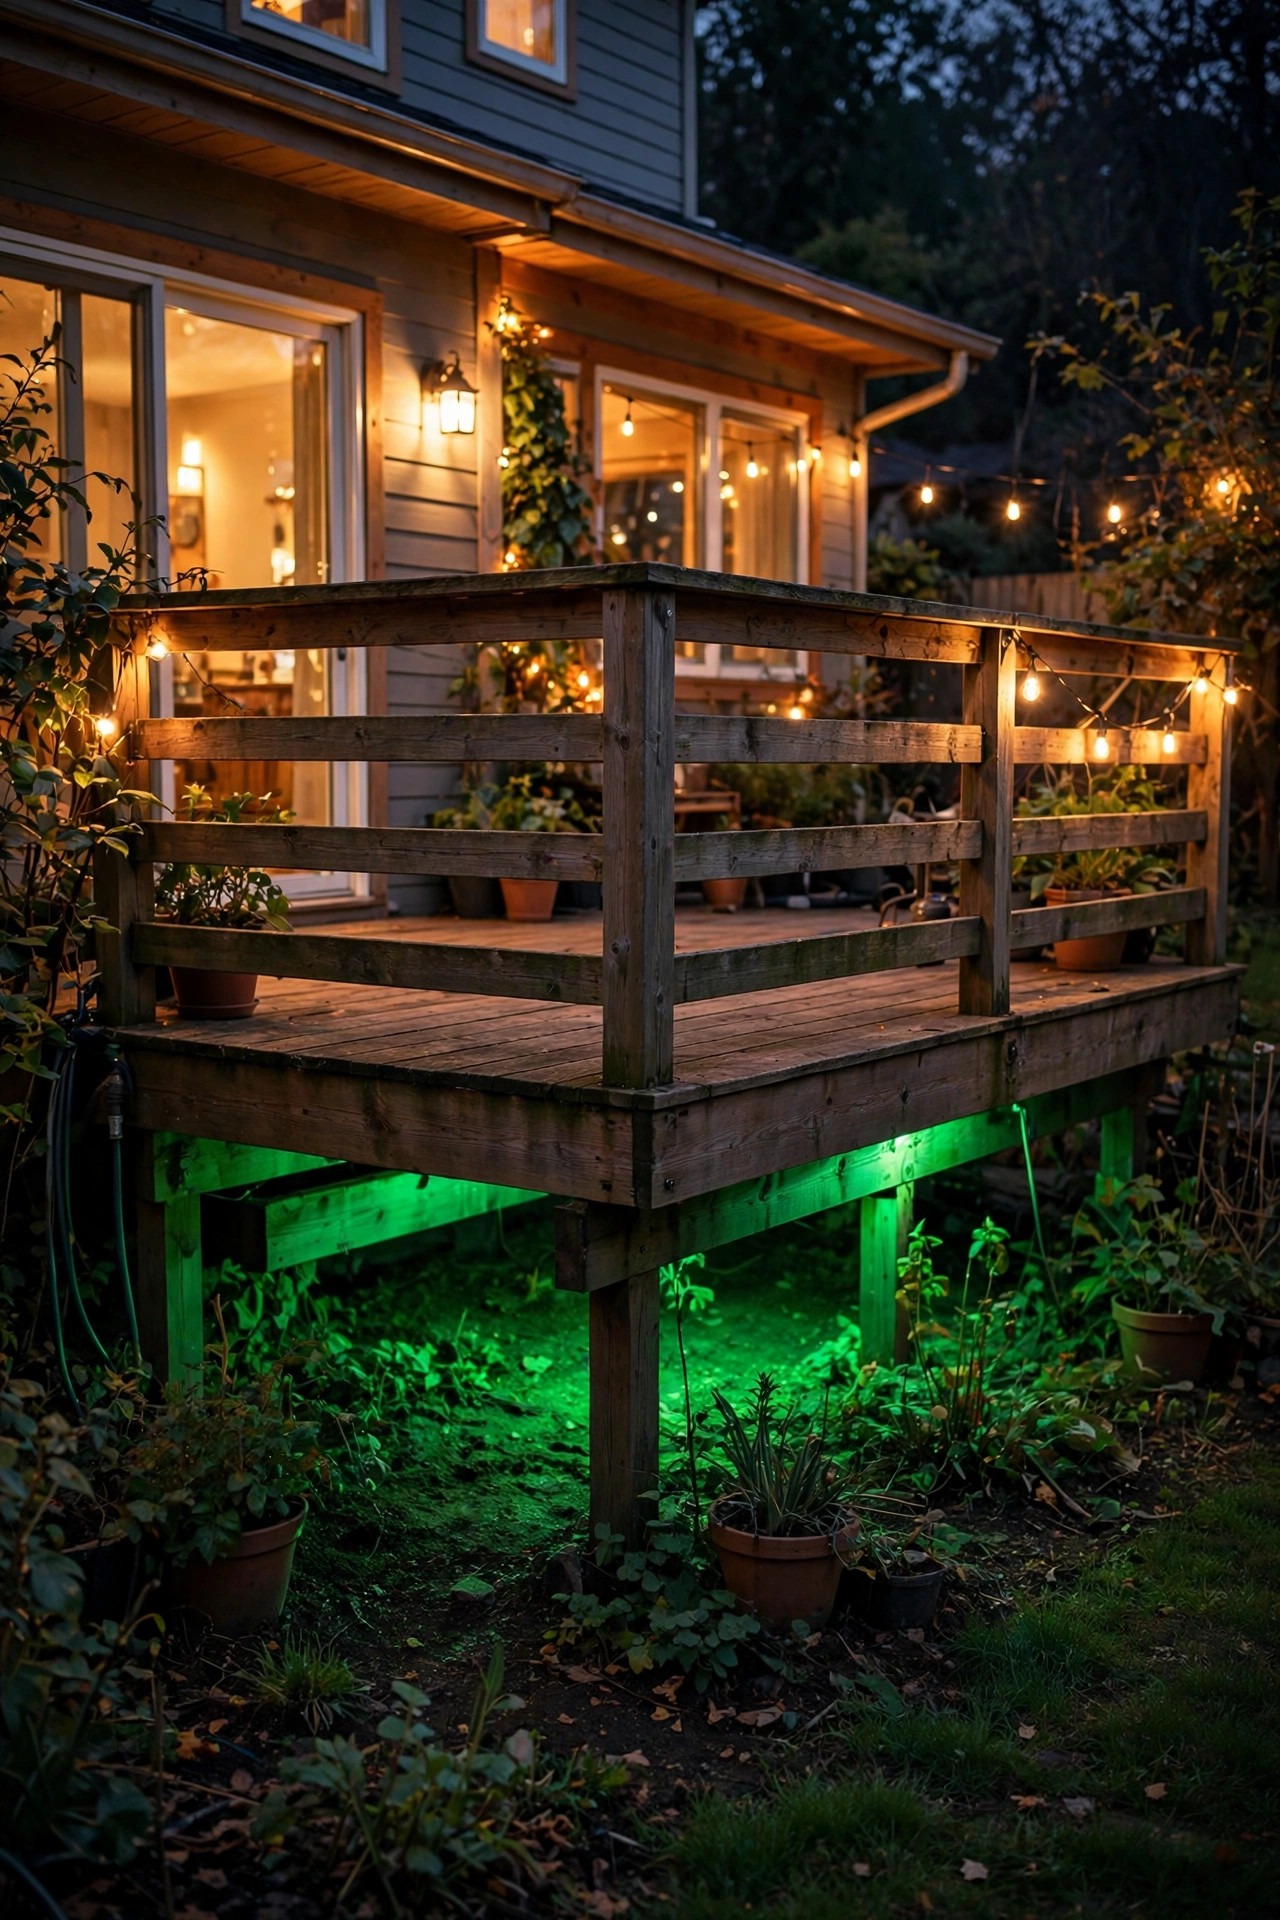
The space under a deck or porch is naturally the darkest, most avoided spot in the yard, which is exactly why a sickly green glow coming from it works so well. I lay a weatherproof LED rope light or a couple of green spotlights deep under the deck, aimed outward so the light spills from the darkness underneath instead of pointing at anything specific. Guests cannot see a source or a prop — just an unnatural glow leaking out from a place that should be black. Add a low fog drift across it if your machine reaches, and the effect doubles. If your deck has lattice or skirting, the light stripes through the gaps in long fingers across the lawn, which looks incredible and costs nothing extra. Keep fixtures and cords off the ground where water pools; elevate them on a brick. This is also a sneaky good spot for a hidden Bluetooth speaker if you add sound later — the combination of sourceless light and sourceless sound genuinely raises goosebumps. Check from the street that no light leaks in a way that reads as a plain work light; angle everything down and inward.
Suggested budget range: $15 – $45.
21. Ring the Party Zone With LED Luminaria Bags
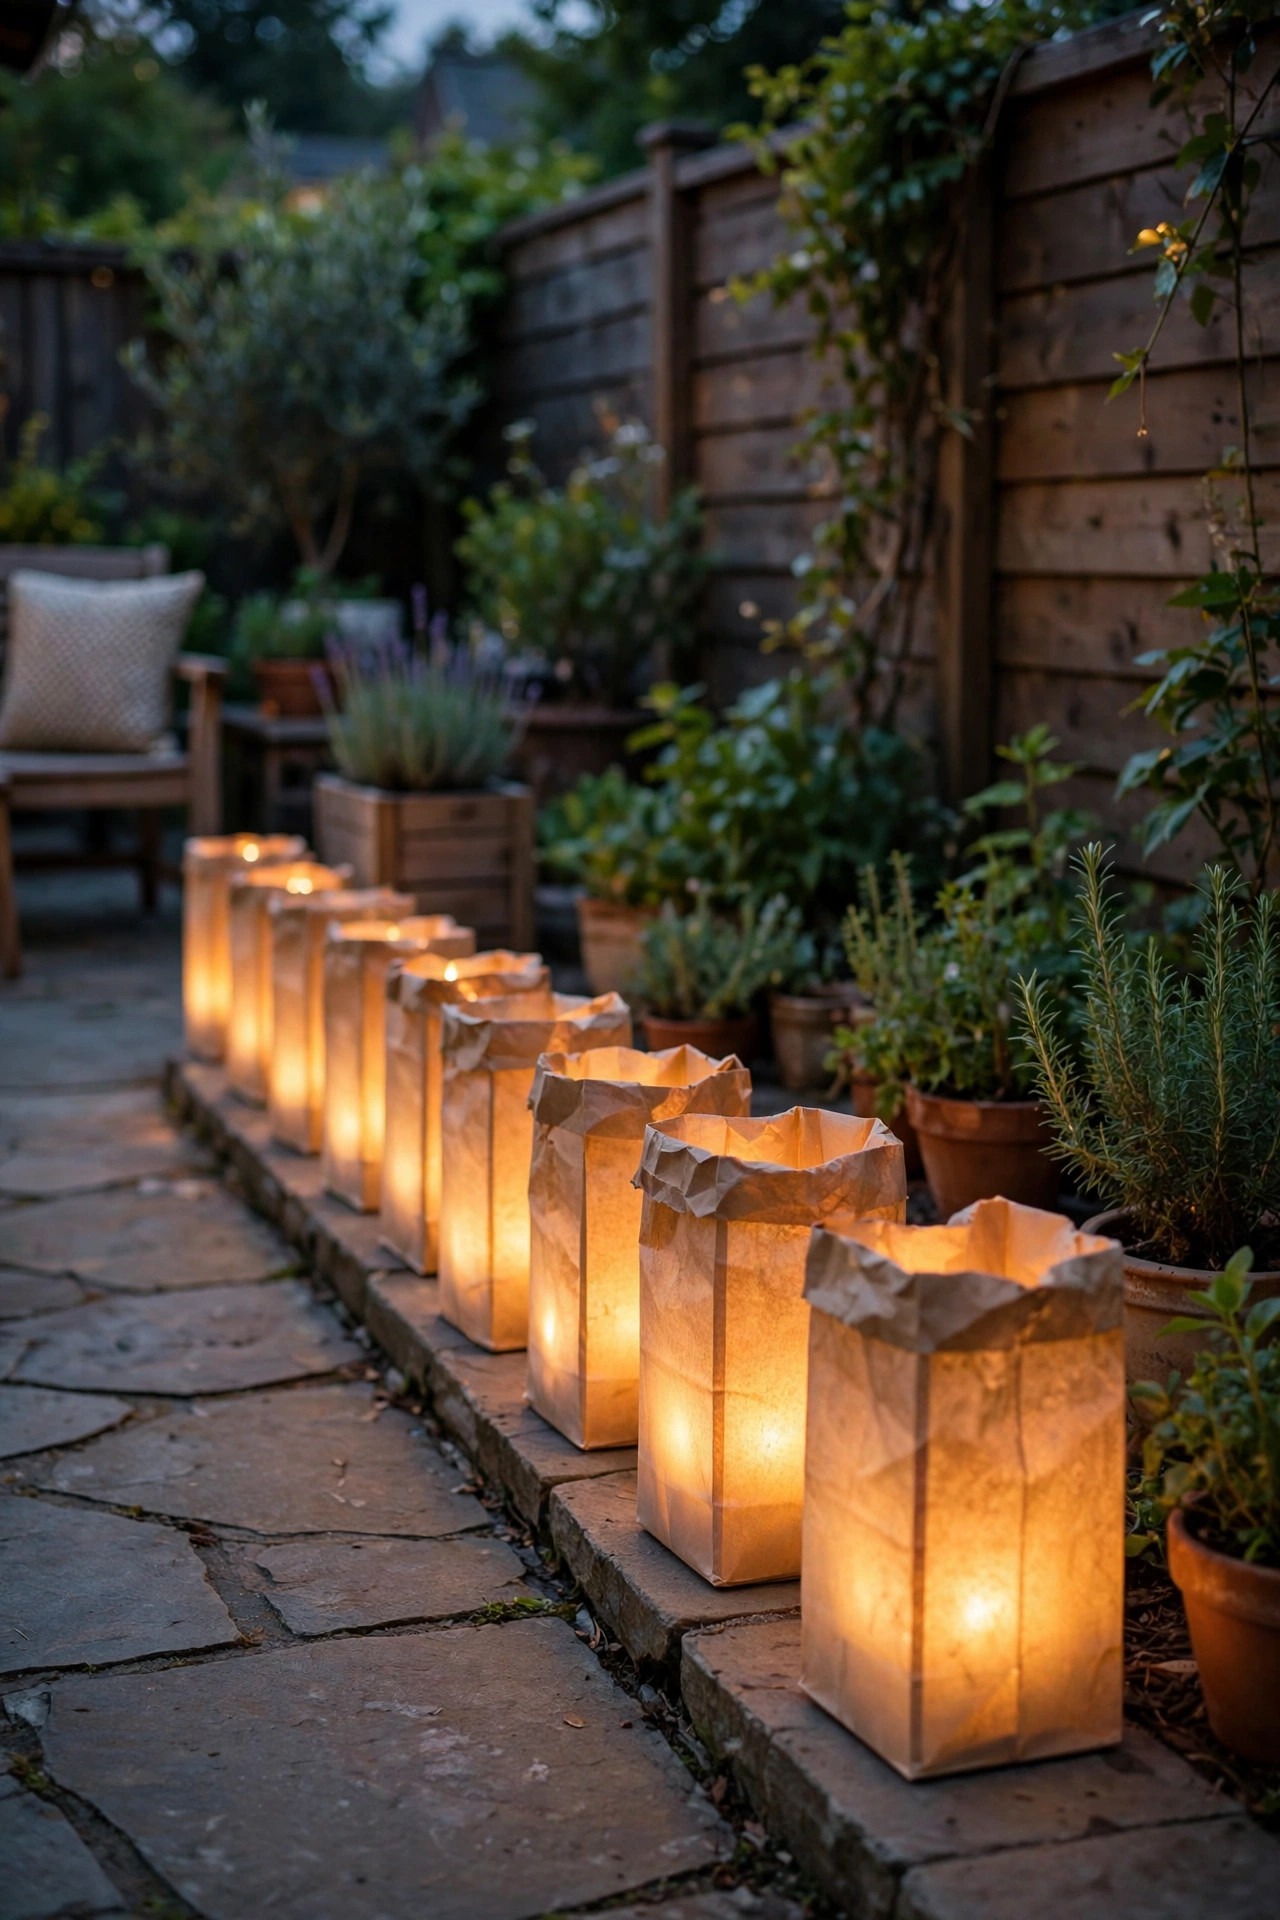
Luminaria bags give a soft, low, flickering border that quietly tells guests where the party lives and where the haunt begins. I use the weatherproof plastic kind rather than paper, weight each with a handful of sand or a stone, and drop in an LED tea light. Real candles in paper bags are a fire story waiting for a gust of wind, so this is another LED-only idea at my house. A double row along the patio edge looks lush; a single row works along a garden border. Space bags about 18 inches apart and keep the glow warm white or soft orange so the border feels candlelit rather than electric. On Halloween night I swap every third tea light for a purple one where the luminarias meet the trail entrance, a little color cue that the mood changes past that line. The bags fold flat for storage and last for years. If wind is forecast, extra sand in each bag and a spot slightly out of the main gust path keeps the row standing until the last guest leaves.
Suggested budget range: $15 – $40.
22. Dim Everything Else: Darkness Is an Ingredient
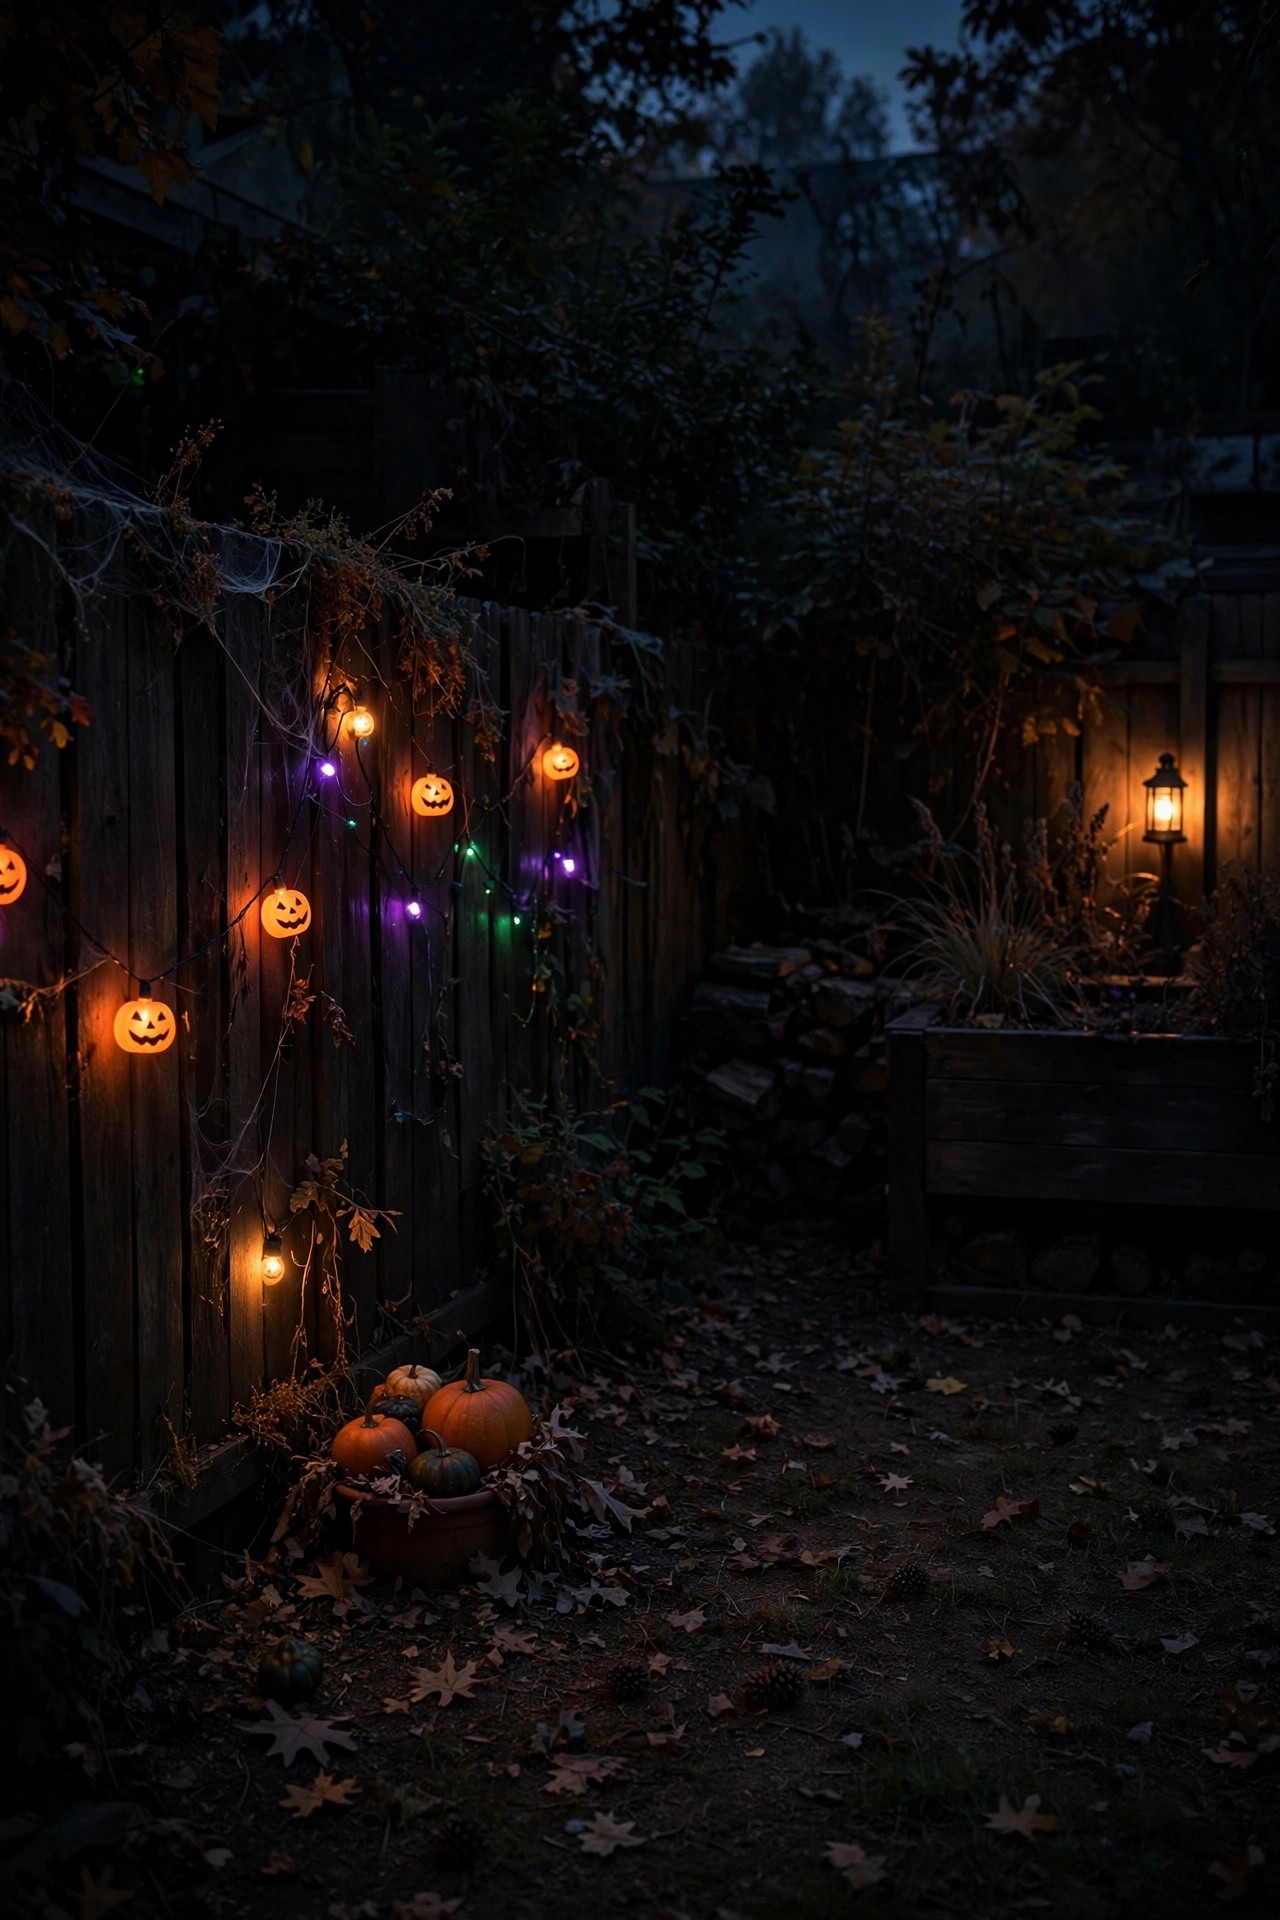
The biggest mistake I see in Halloween yards is too much light, everywhere, all at full brightness. A haunted scene needs genuine darkness for the lit pieces to perform against, so I deliberately manage what stays off. The bright white security flood over the back door goes off for the season, replaced by a flame-effect bulb in the fixture. Porch and patio lights on the house get smart bulbs dimmed to 20 percent or swapped to orange. I even ask the string light canopy to run at half brightness once the fog machine starts. Walk your yard from the street and from the gate and look for leaks: a glowing kitchen window, a bright garage light, a neighbor-facing flood. Cover, dim, or recolor each one. Darkness also hides your cords, fixtures, and the edges of foam props, doing free production design work all night. Keep the safety path layer from idea 15 steady and exempt from all this dimming — moody is the goal, invisible steps are not. When guests say the yard feels like a real haunted attraction, this restraint is usually why.
Suggested budget range: $0 – $30.
23. Put Your Whole Haunted Backyard Halloween Lighting Display on Timers
By the third year of running outside every evening to plug things in, I put the entire display on timers and never looked back. A couple of outdoor smart plugs and the built-in timers on my battery lights run all 22 ideas above like a show: string lights and silhouettes at dusk, uplights and graveyard at dark, fog machine on a smart plug I trigger from my phone when guests arrive, and everything off at 11 p.m. so the neighbors and my electric bill stay friendly. Group lights by zone on separate plugs so you can kill the scare trail for a younger crowd while the party zone stays lit. Dusk-sensing timers beat clock timers in October, because sunset moves fast this month and a display glowing at 5:30 p.m. in daylight looks lost. Label every plug with tape and a marker — future you, standing in the dark with a dead cauldron light, will be grateful. This final step is what turns a pile of decorations into haunted backyard halloween lighting that runs itself all season while you actually enjoy your own party.
Suggested budget range: $15 – $50.
Frequently Asked Questions
What colors work best for a haunted backyard?
Purple, green, and orange are the classic trio for a reason. Purple feels eerie and upscale on trees and fences, green owns anything undead like graveyards and cauldrons, and orange belongs in pumpkins and flame effects. Limit the yard to those three plus steady warm white on walking paths. When every prop glows a different random color, the scene reads as clutter instead of a designed haunt.
How do I keep fog low to the ground?
Use low-lying fog juice, or chill regular fog by running the output through a cooler filled with ice. Place the machine upwind of your scene, slightly elevated, and let the fog spill and settle. Cool, still evenings hold fog best; wind defeats every trick, so on breezy nights aim the machine into a sheltered corner. Keep the hot nozzle clear of leaves and fabric, and warn nearby neighbors before party night.
Can I leave Halloween lights up all October?
Yes, if every fixture is rated for outdoor use and plugged into a GFCI outlet. LED bulbs and outdoor-rated string lights handle a month of evenings easily, and timers keep the nightly runtime to about five hours. Bring fog machines, projectors, and fabric props like sheet ghosts inside during heavy rain, since most are not weatherproof. Check cords weekly for wear, and unplug anything that flickers unexpectedly.
How much does it cost to light a whole backyard for Halloween?
A convincing full-yard display runs about $150 to $400 the first year if you buy the fog machine, a few spotlights, and string lights, and far less in later years since nearly everything is reusable. Start with the color plan, tree uplights, pumpkin luminaries, and one hero spotlight if the budget is tight. Store-brand foam props and LED tea lights stretch dollars further than one expensive animated figure.
Conclusion
The displays people remember are never the ones with the most stuff — they are the ones with a plan: three colors, three layers, one hero moment, and real darkness doing quiet work in between. Start with the color plan and the tree uplights, add fog and pumpkin light, and let timers run the show while you enjoy the party. Build your haunted backyard halloween lighting one effect at a time across a couple of Octobers and it compounds into something the whole street plans around. Browse our other outdoor lighting ideas for the fixtures and techniques that carry your yard the rest of the year, and happy haunting.