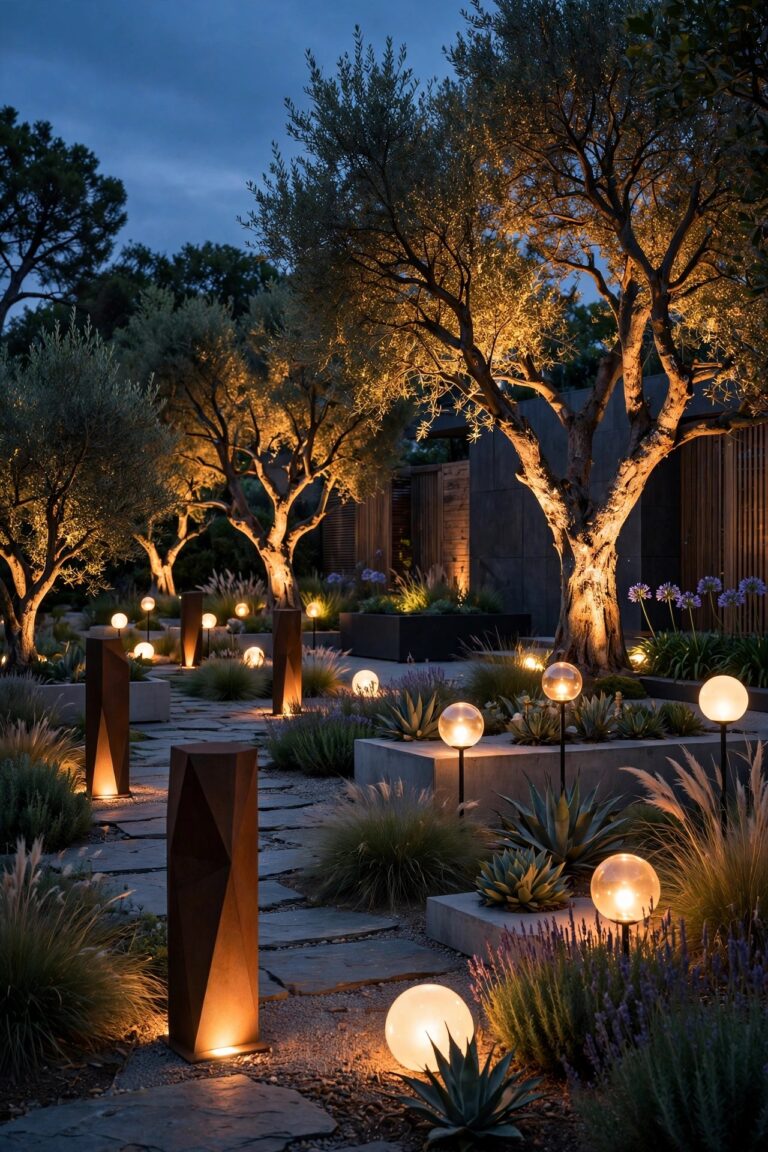
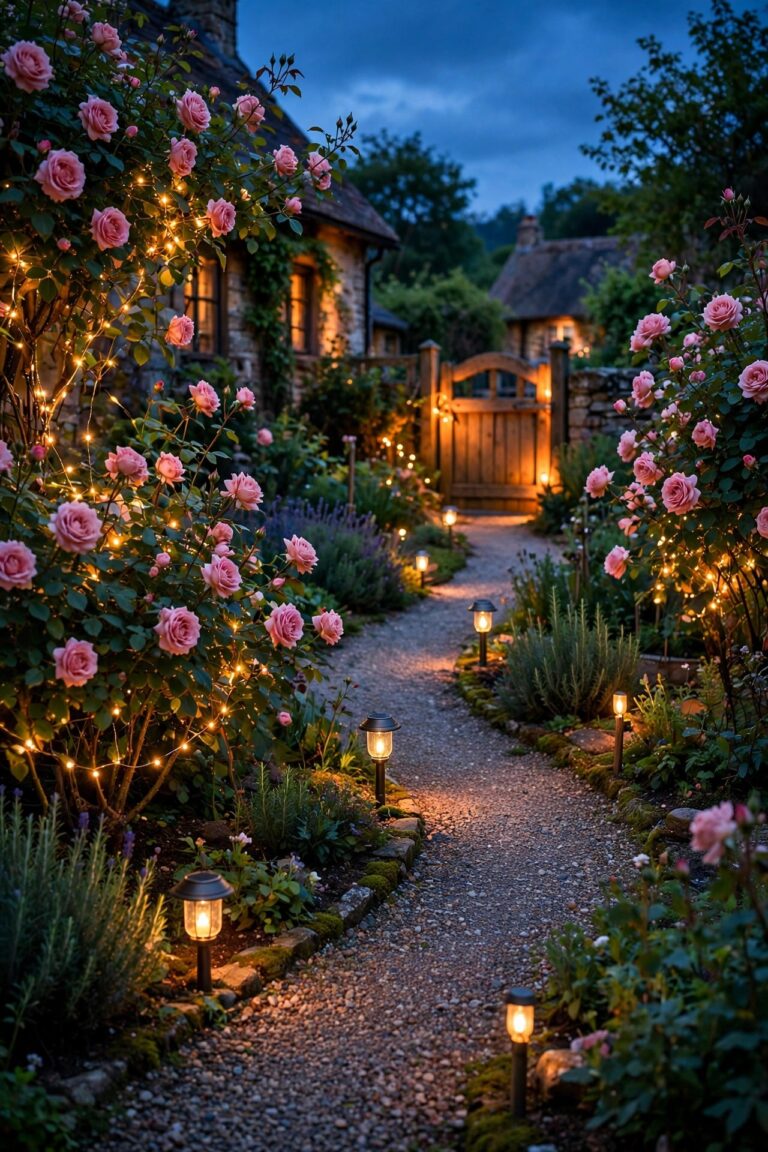
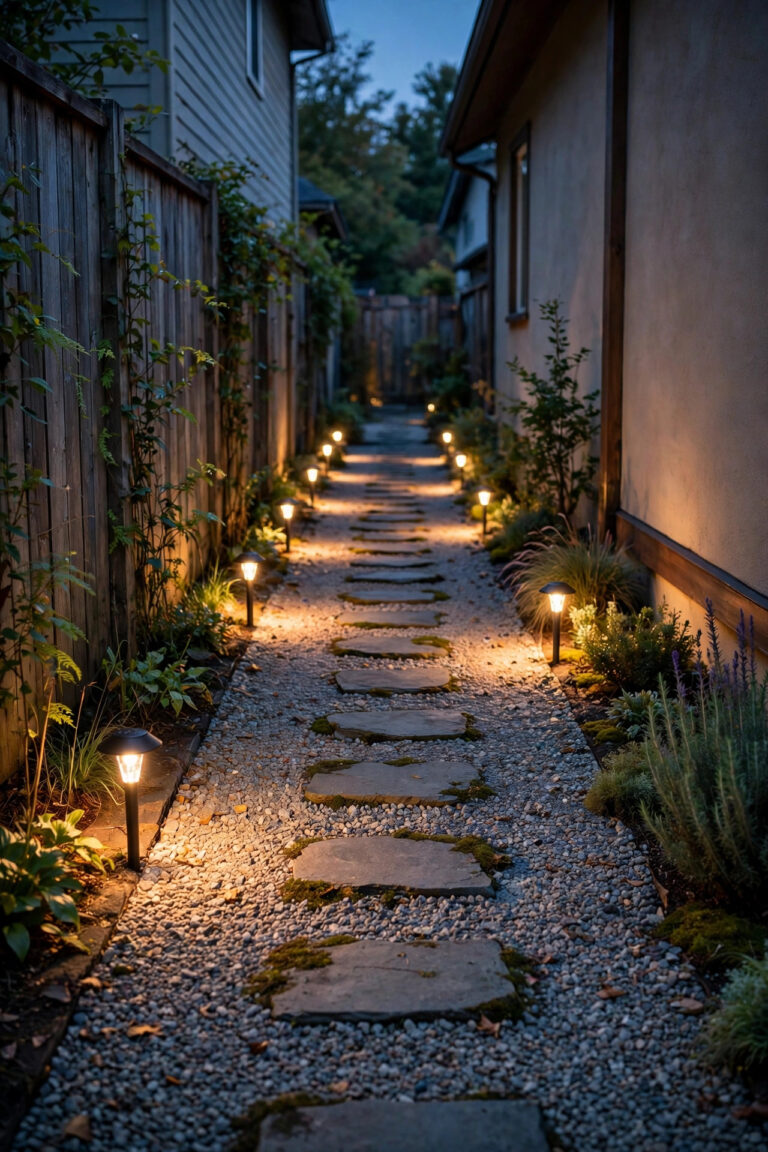
There is a reason a craftsman garden never looks quite right under a row of generic big-box path lights. The style is built on honest details: hammered copper, seeded glass, square lines, stone that looks like it grew there. The craftsman garden lighting ideas that truly honor those details work in layers, the same way I light every garden I love. First, gentle guidance light so feet find the flagstone path after dark. Second, warm pools of light at the gate, the bench, and the porch steps. Third, quiet accents that show off the dry-stacked wall, the Japanese maple, and the hand-built arbor. In this post I am sharing the 15 setups I come back to again and again, from mica-shade lanterns and low-voltage copper stakes to solar pieces you can settle into the soil this weekend. Every one is chosen for warm 2700K glow, sturdy weatherproof construction, and the handmade character this architecture deserves. Let us light your garden the way it was built: with care, and on purpose.
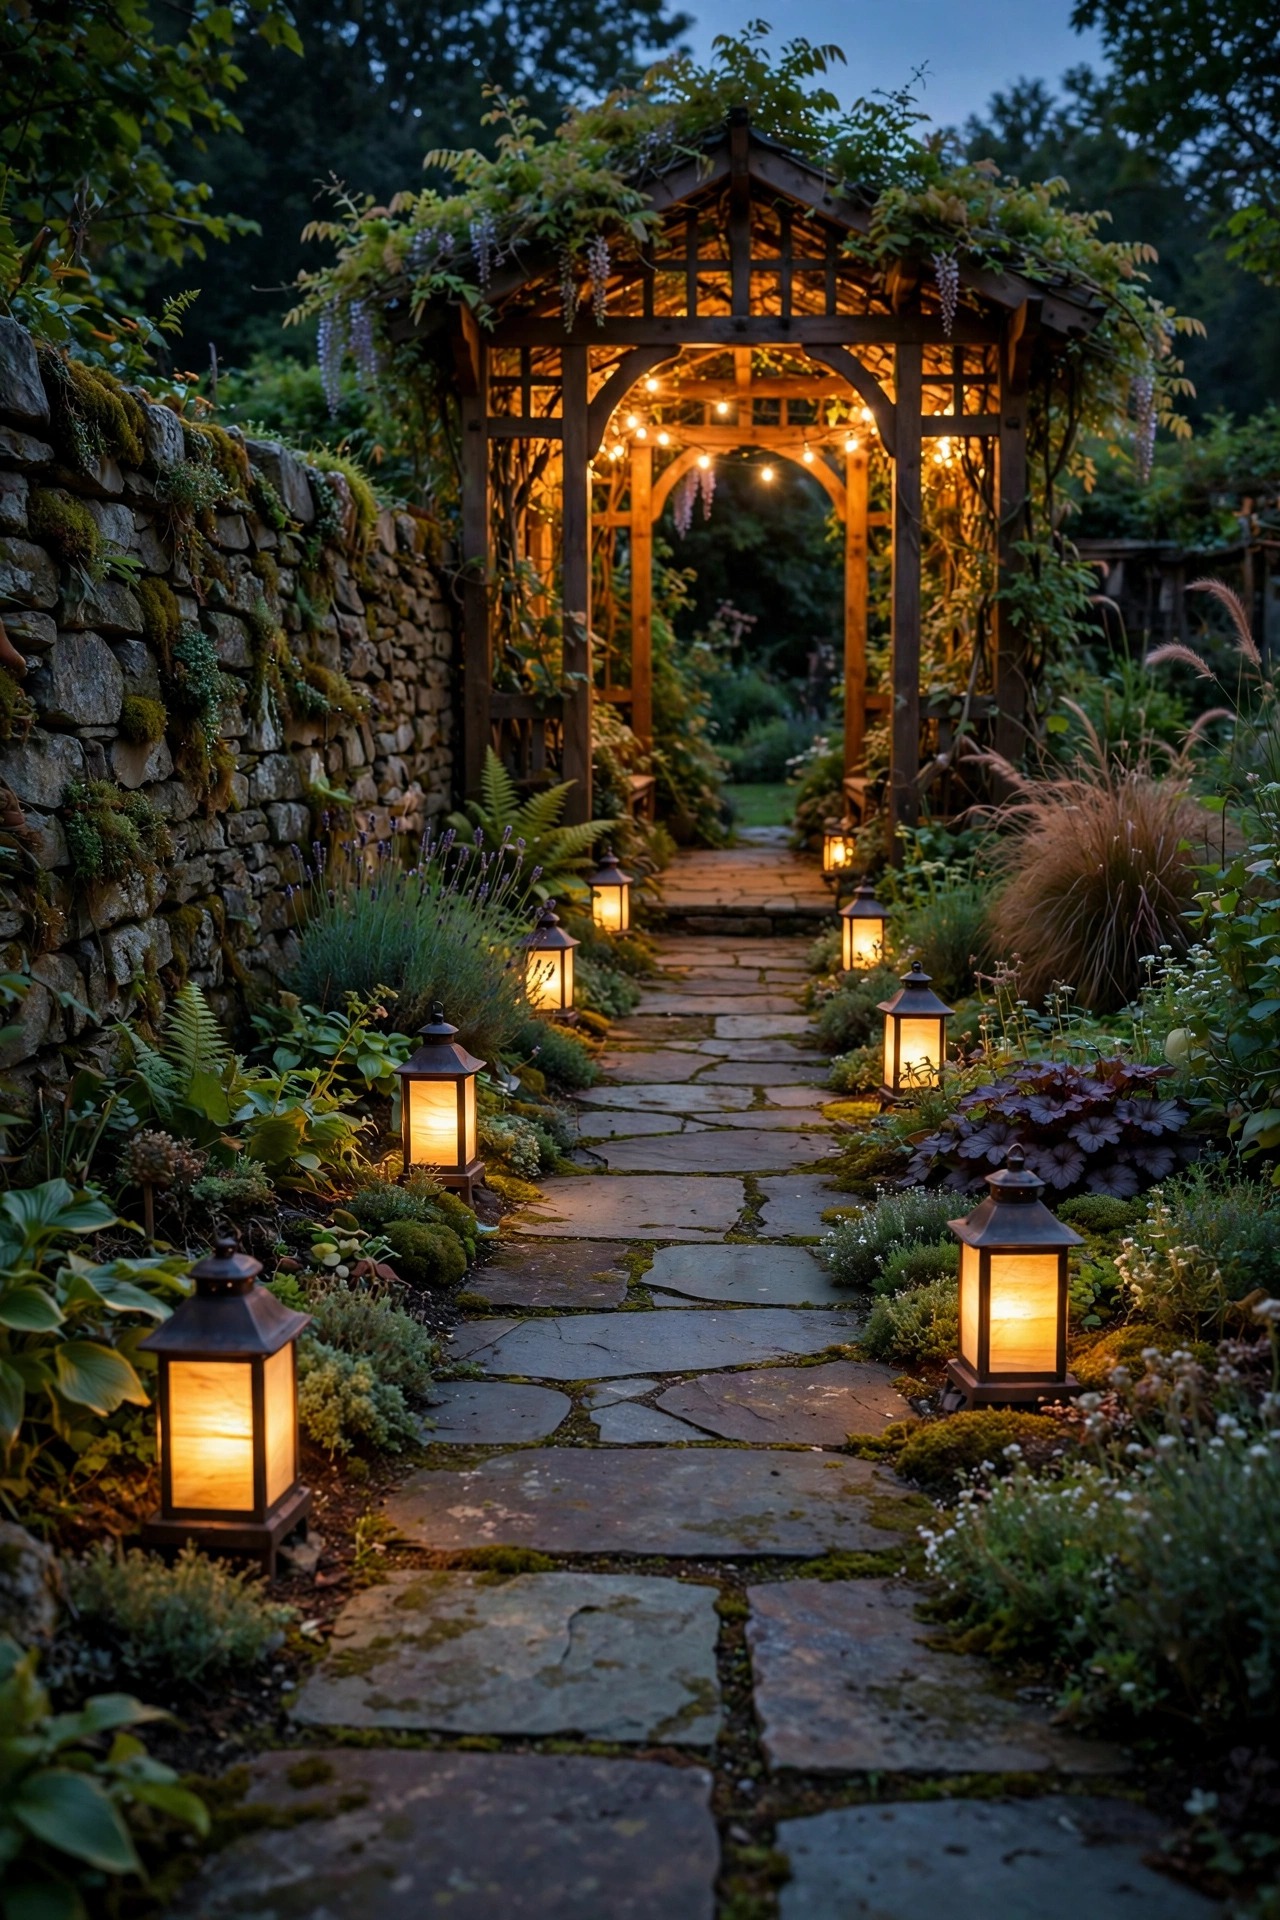
1. Start With a Layered Craftsman Garden Lighting Ideas Plan
Before I buy a single fixture, I walk my garden at dusk with a flashlight and a notepad, and I honestly recommend you do the same. Craftsman design is deliberate, and the lighting should be too. I plan in three layers. The guidance layer is a soft line of low lanterns that traces the flagstone path so nobody trips on an uneven edge. The welcome layer pools warmer, slightly brighter light at the places people gather: the gate, the bench under the arbor, the steps up to the porch. The accent layer is the quiet magic, a gentle uplight on the maple, a glow inside the stone wall planter, texture and shadow doing the decorating. Sketch the garden on paper, mark where you walk, where you sit, and what you love looking at, then assign each spot to a layer. Most gardens my size need 12 to 18 fixtures total, far fewer than the runway look I see too often. One low-voltage transformer in the 150 to 300 watt range runs the whole plan with room to grow, and every bulb stays at a warm 2700K so the layers blend instead of fighting.
Suggested budget range: $150 – $400.
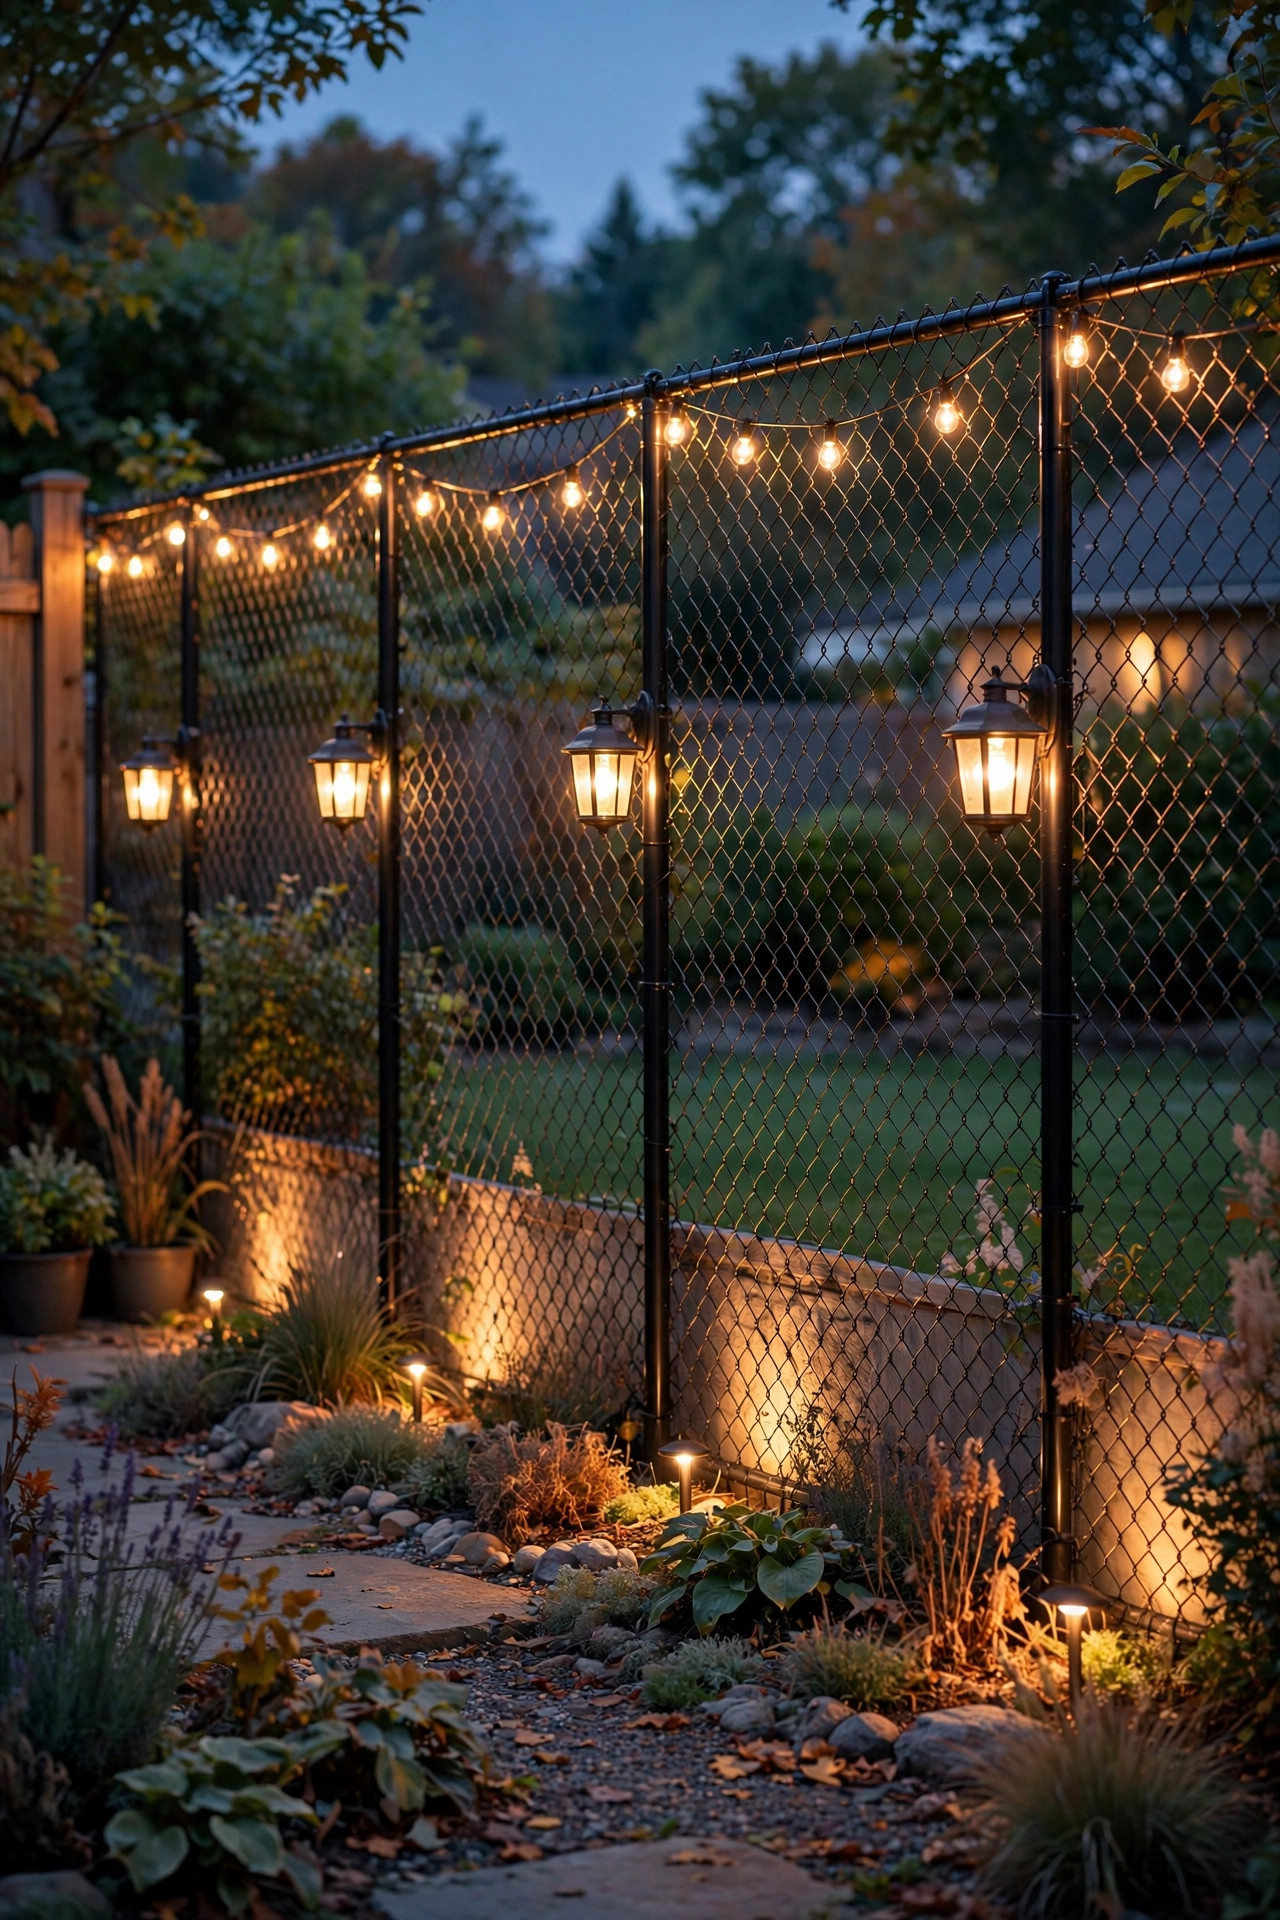
2. Line the Path With Mica-Shade Lanterns
Mica is the signature craftsman shade material for a reason: that amber, slightly mottled panel softens light the way old porch lanterns did a century ago, and modern versions pair it with weatherproof resin or powder-coated metal frames that shrug off rain. I line my flagstone walk with mica-shade lanterns 18 to 24 inches tall, spaced 6 to 8 feet apart and staggered side to side so the pools of light overlap gently instead of marching in a stiff row. Look for square or tapered silhouettes with a simple grid over the panel; the geometry reads instantly as craftsman. Low-voltage versions wire into your main system and stay consistent, while solar mica lanterns work beautifully for a short path if the panels see six hours of sun. Use LED filament-style bulbs at 2700K behind the mica for that candlelit depth. Two care notes from experience: push the stakes deep enough that frost heave does not tilt them by spring, and wipe the panels with a soft dry cloth a few times a season, because a film of pollen dulls that amber glow fast.
Suggested budget range: $180 – $420.
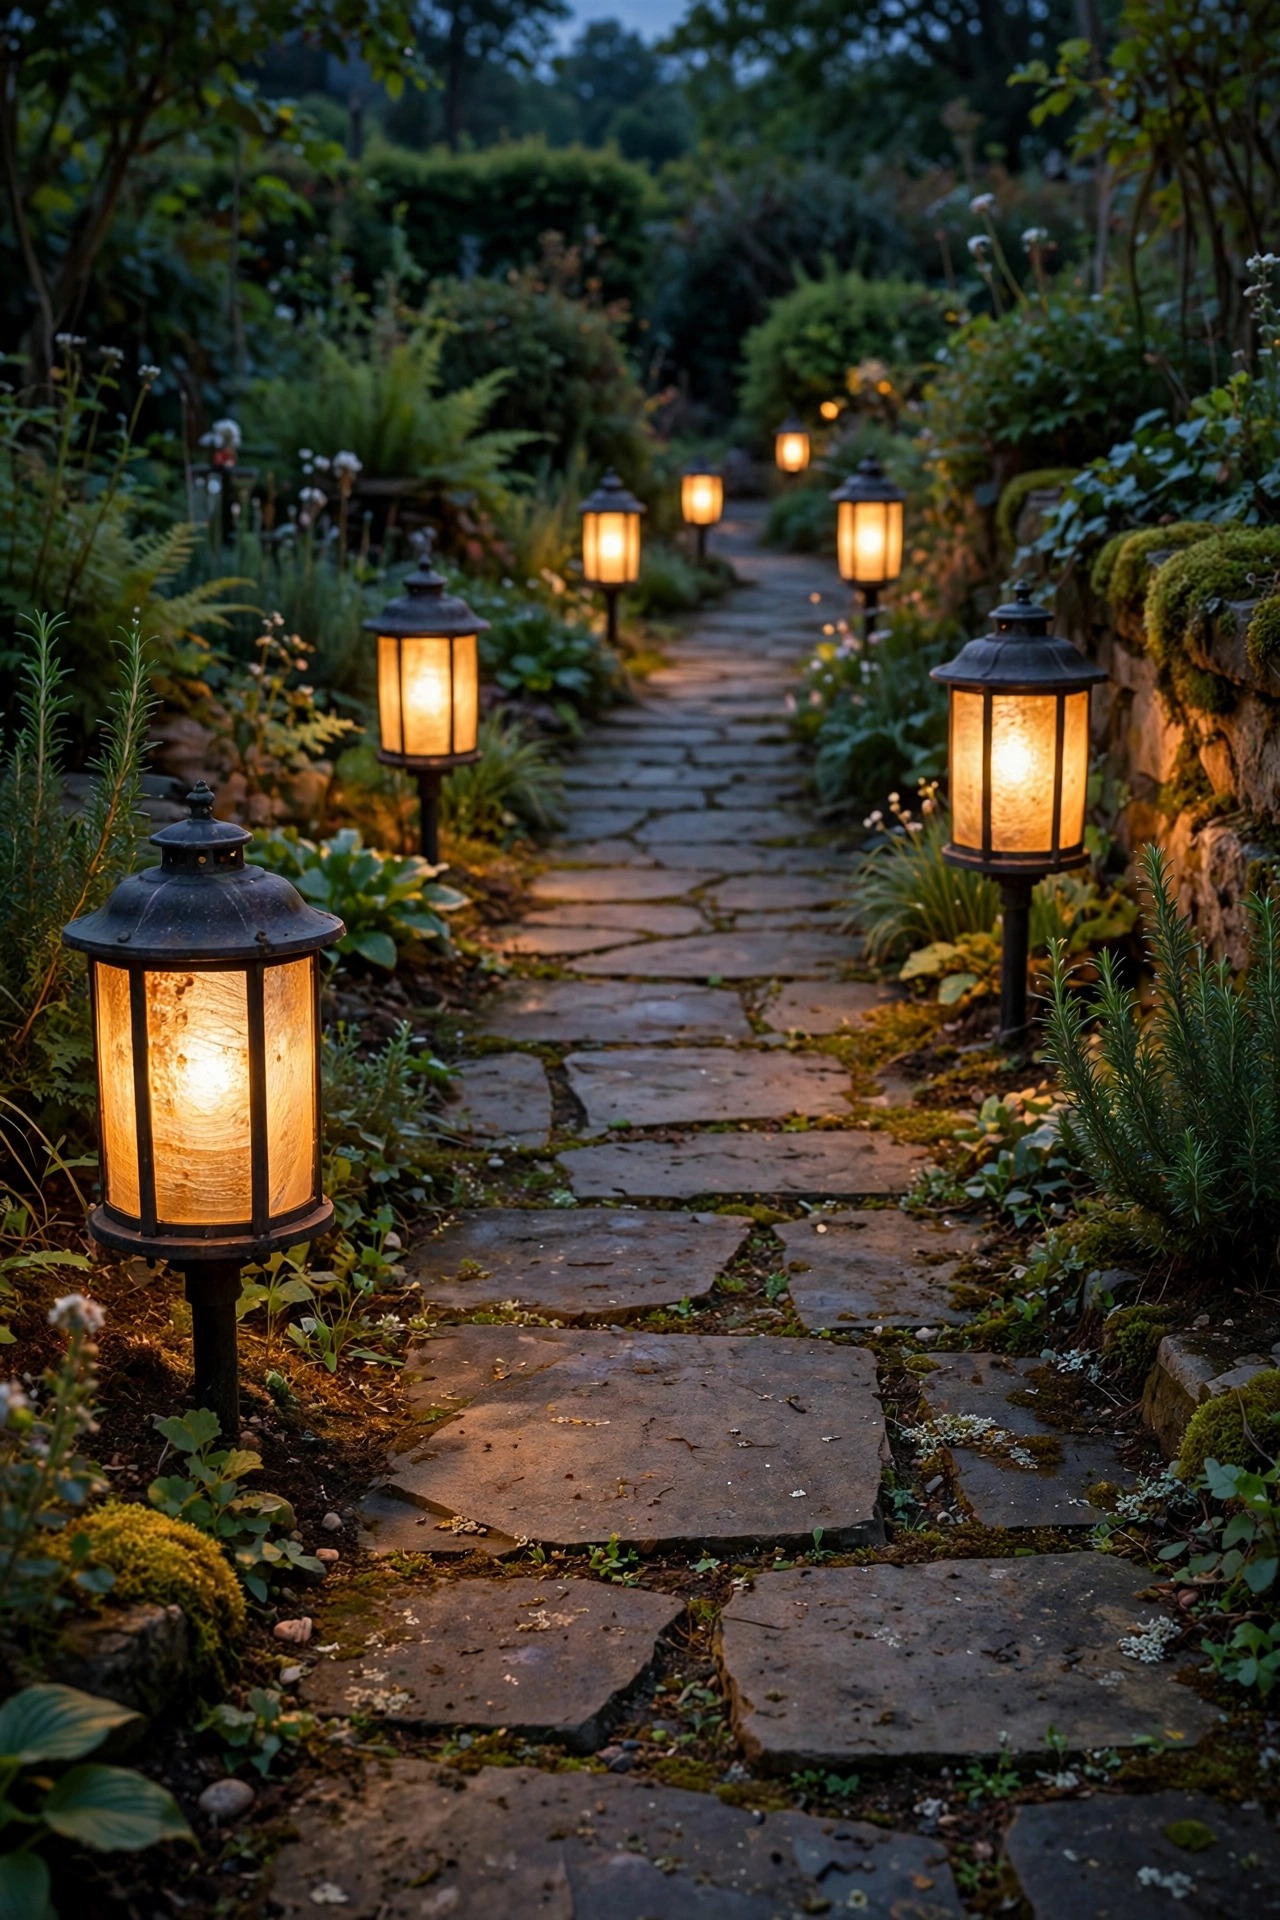
3. Tuck Hammered Copper Stakes Into the Flower Beds
If I had to pick one material that belongs in a craftsman garden, it is copper, and hammered copper stake lights are my favorite way to bring it in at ground level. Each little dome or mission-style cap is dimpled by hand, so the light that escapes scatters in a warm broken pattern across mulch and low plantings instead of glaring. Real copper starts bright and penny-shiny, then deepens to bronze and finally earns that soft green patina that looks so right against stone and cedar. I tuck these stakes in threes along flower bed edges, about 12 to 15 inches tall, angled so the glow washes the front of the border. Low-voltage versions are the reliable choice for consistent brightness; solar copper stakes have improved, but reserve them for sunny beds. One honest warning: if you want the bright copper look forever, choose lacquered copper and accept a little upkeep, because raw copper will patina no matter what the label promises. In my experience the patina is the whole point. It makes new lights look like they have served the garden faithfully for decades.
Suggested budget range: $90 – $260.
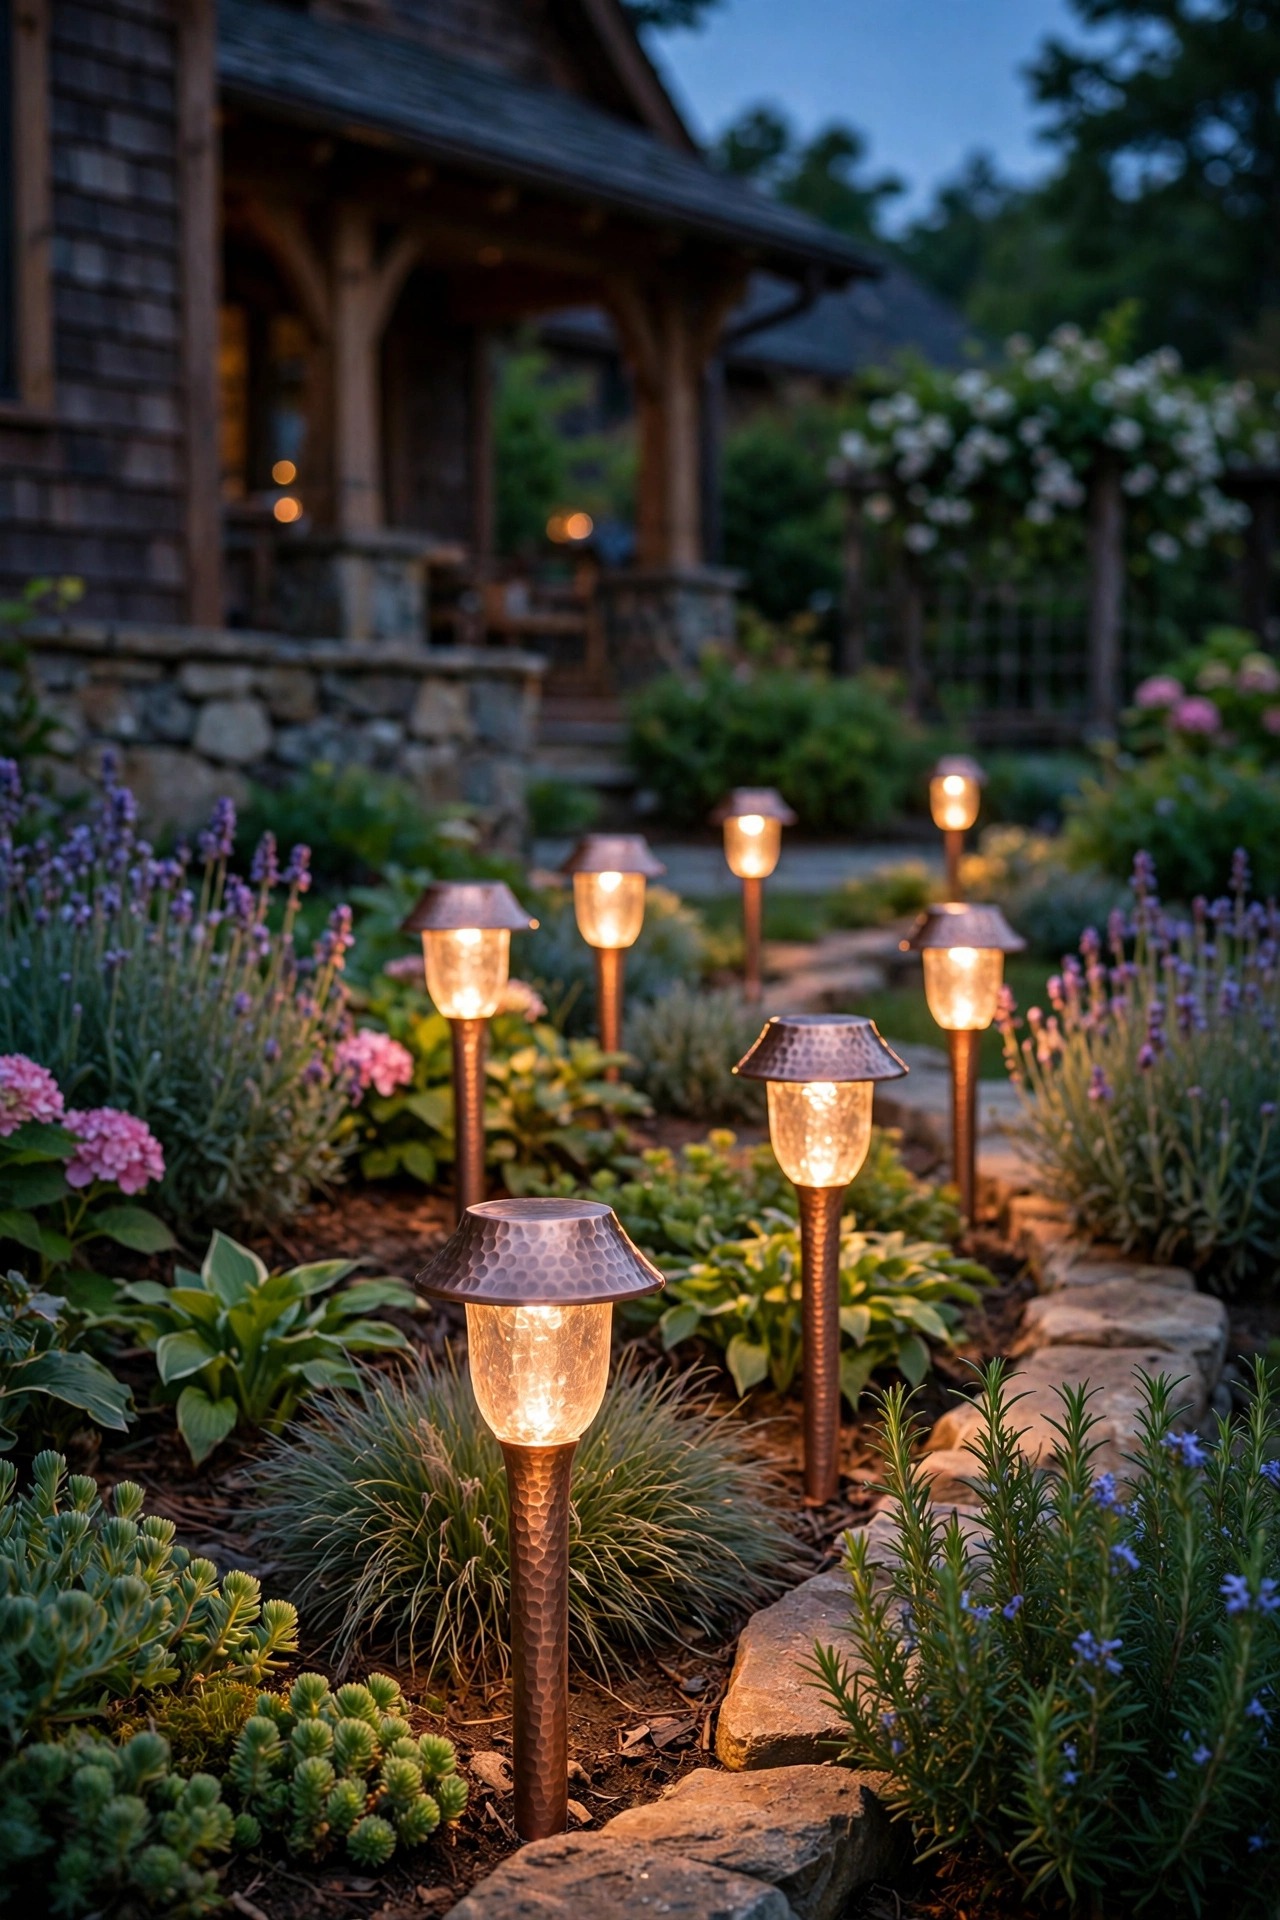
4. Cap Stone Piers and Garden Walls With Lanterns
A low stone garden wall or a pair of brick gate piers is practically begging for lanterns, and capping them with craftsman lanterns is the single most architectural move in this whole list. The tapered, four-sided lantern form echoes the porch columns on a bungalow, so the garden and the house suddenly speak the same language. I size the lantern to the pier: the base should cover at least half the cap width, and the whole fixture should stand 12 to 18 inches tall so it reads as a feature, not an afterthought. Hardwired versions give the steadiest light and can share a circuit with your gate lantern, but good solar pier caps now work well on sunny walls and save the trenching. Anchor them properly with masonry screws or construction adhesive rated for exterior use; a lantern that rocks in the wind looks neglected by November. Seed the glass, literally: seeded or amber glass panels hide the bulb and throw that old-soul glow across the stone, highlighting every bit of texture the mason worked so hard on.
Suggested budget range: $140 – $380.

5. Choose Prairie-Style Square Bollards for Wider Walks
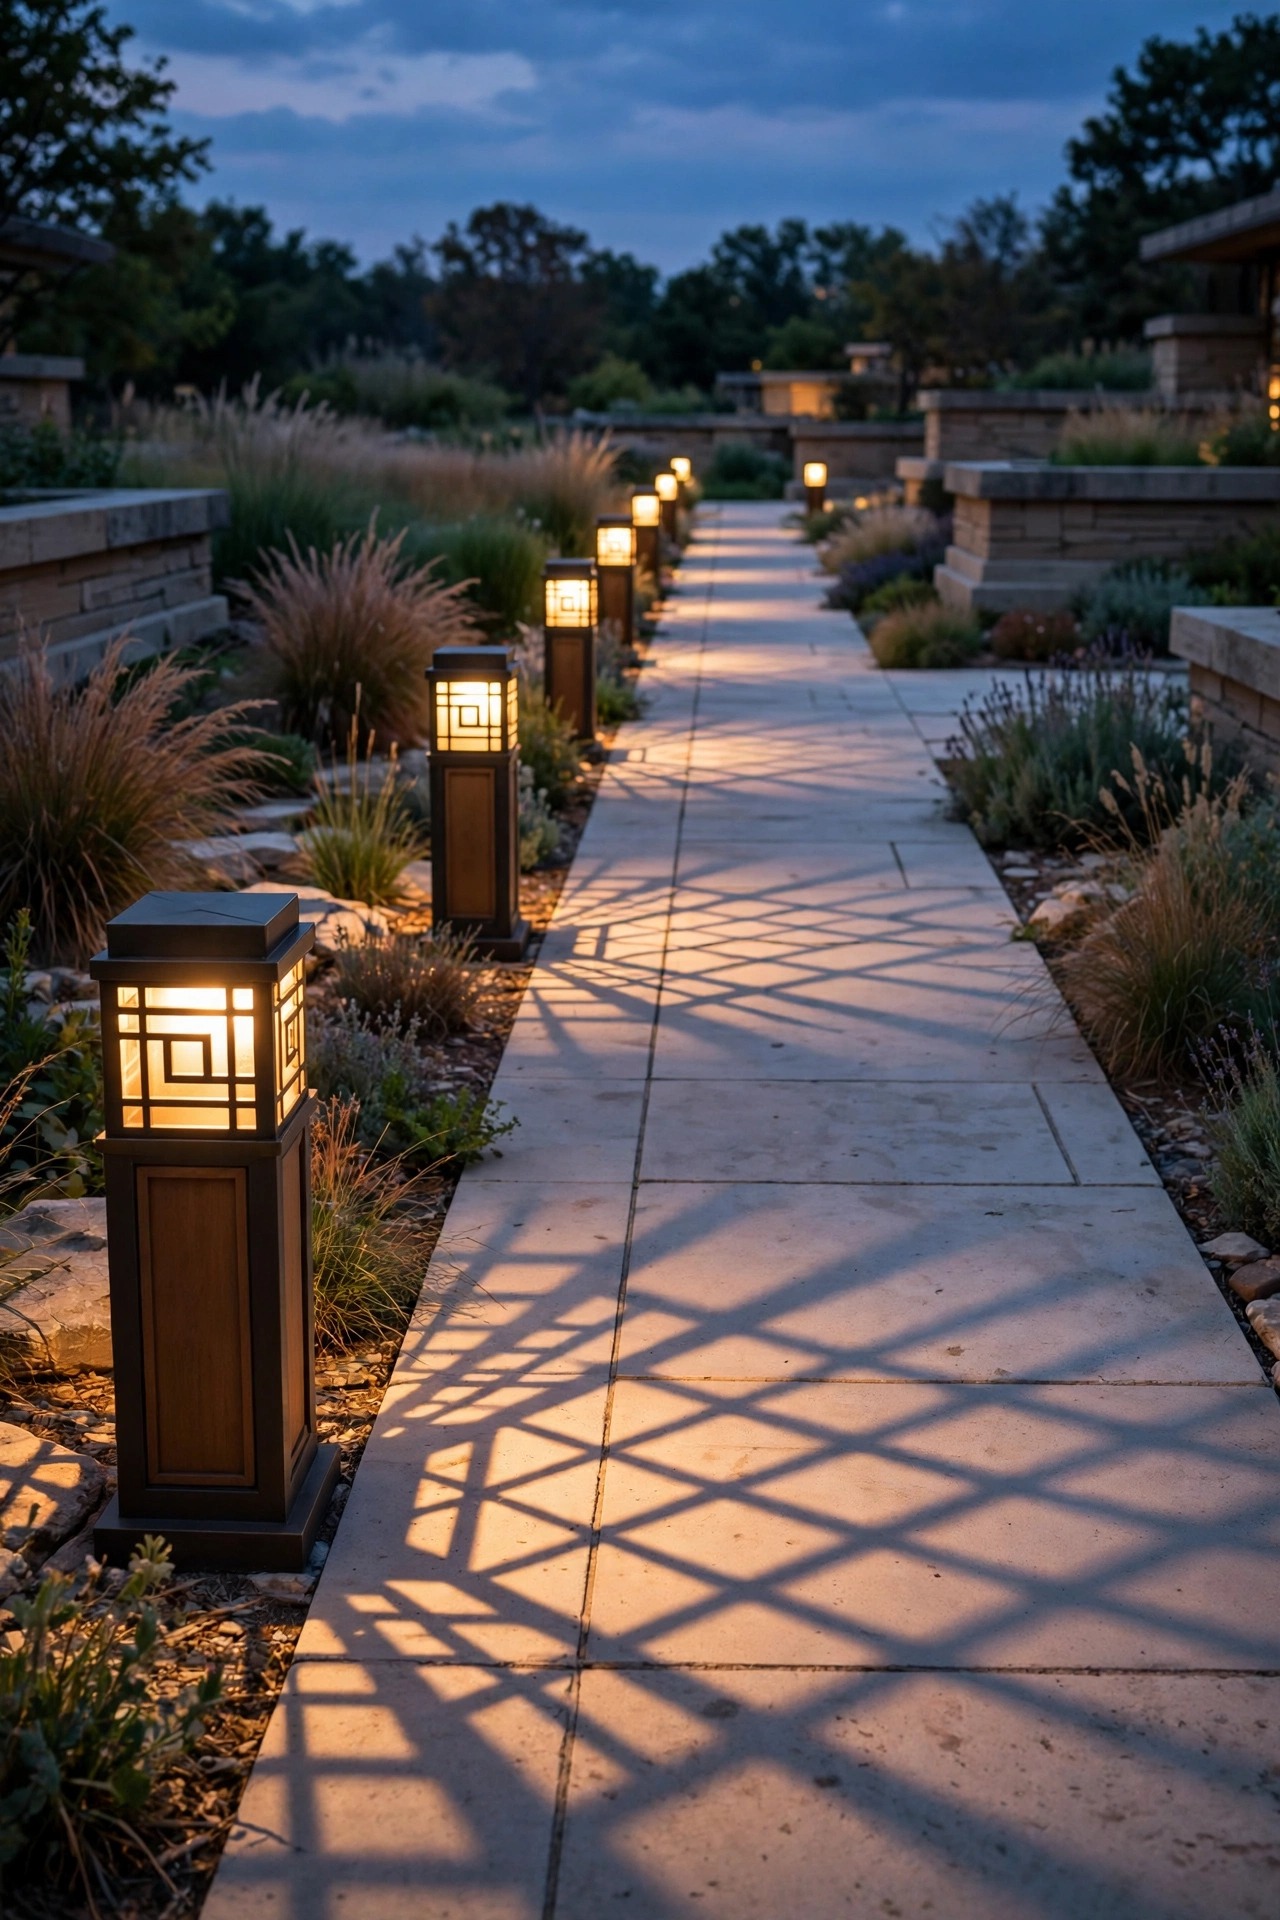
Prairie style is the craftsman family's love letter to the horizontal line, and square bollard lights with geometric grid shades carry that look straight down a garden walk. Instead of a bare bulb on a stick, you get a low, sturdy column, usually 24 to 30 inches tall, in cast aluminum with a bronze or black finish, and the shade casts patterned shadows that are half the charm. I use bollards where a path meets lawn or where guests need clearer guidance than a soft stake light gives, spacing them 8 to 10 feet apart on alternating sides. Because the light source sits behind a grid or louver, glare stays low and the beam pools where feet actually land. Choose fixtures with sealed LED modules or replaceable bulbs at 2700K, and check for a wet-location rating since bollards live out in the sprinkler zone. Set them in small gravel or concrete footings if your soil is soft; a leaning bollard ruins the crisp geometry instantly. These are workhorse lights with gallery manners, and in a garden built on squares and straight lines, they fit like they were drawn into the original plans.
Suggested budget range: $160 – $450.
6. Hang Seeded-Glass Pendants Under the Arbor
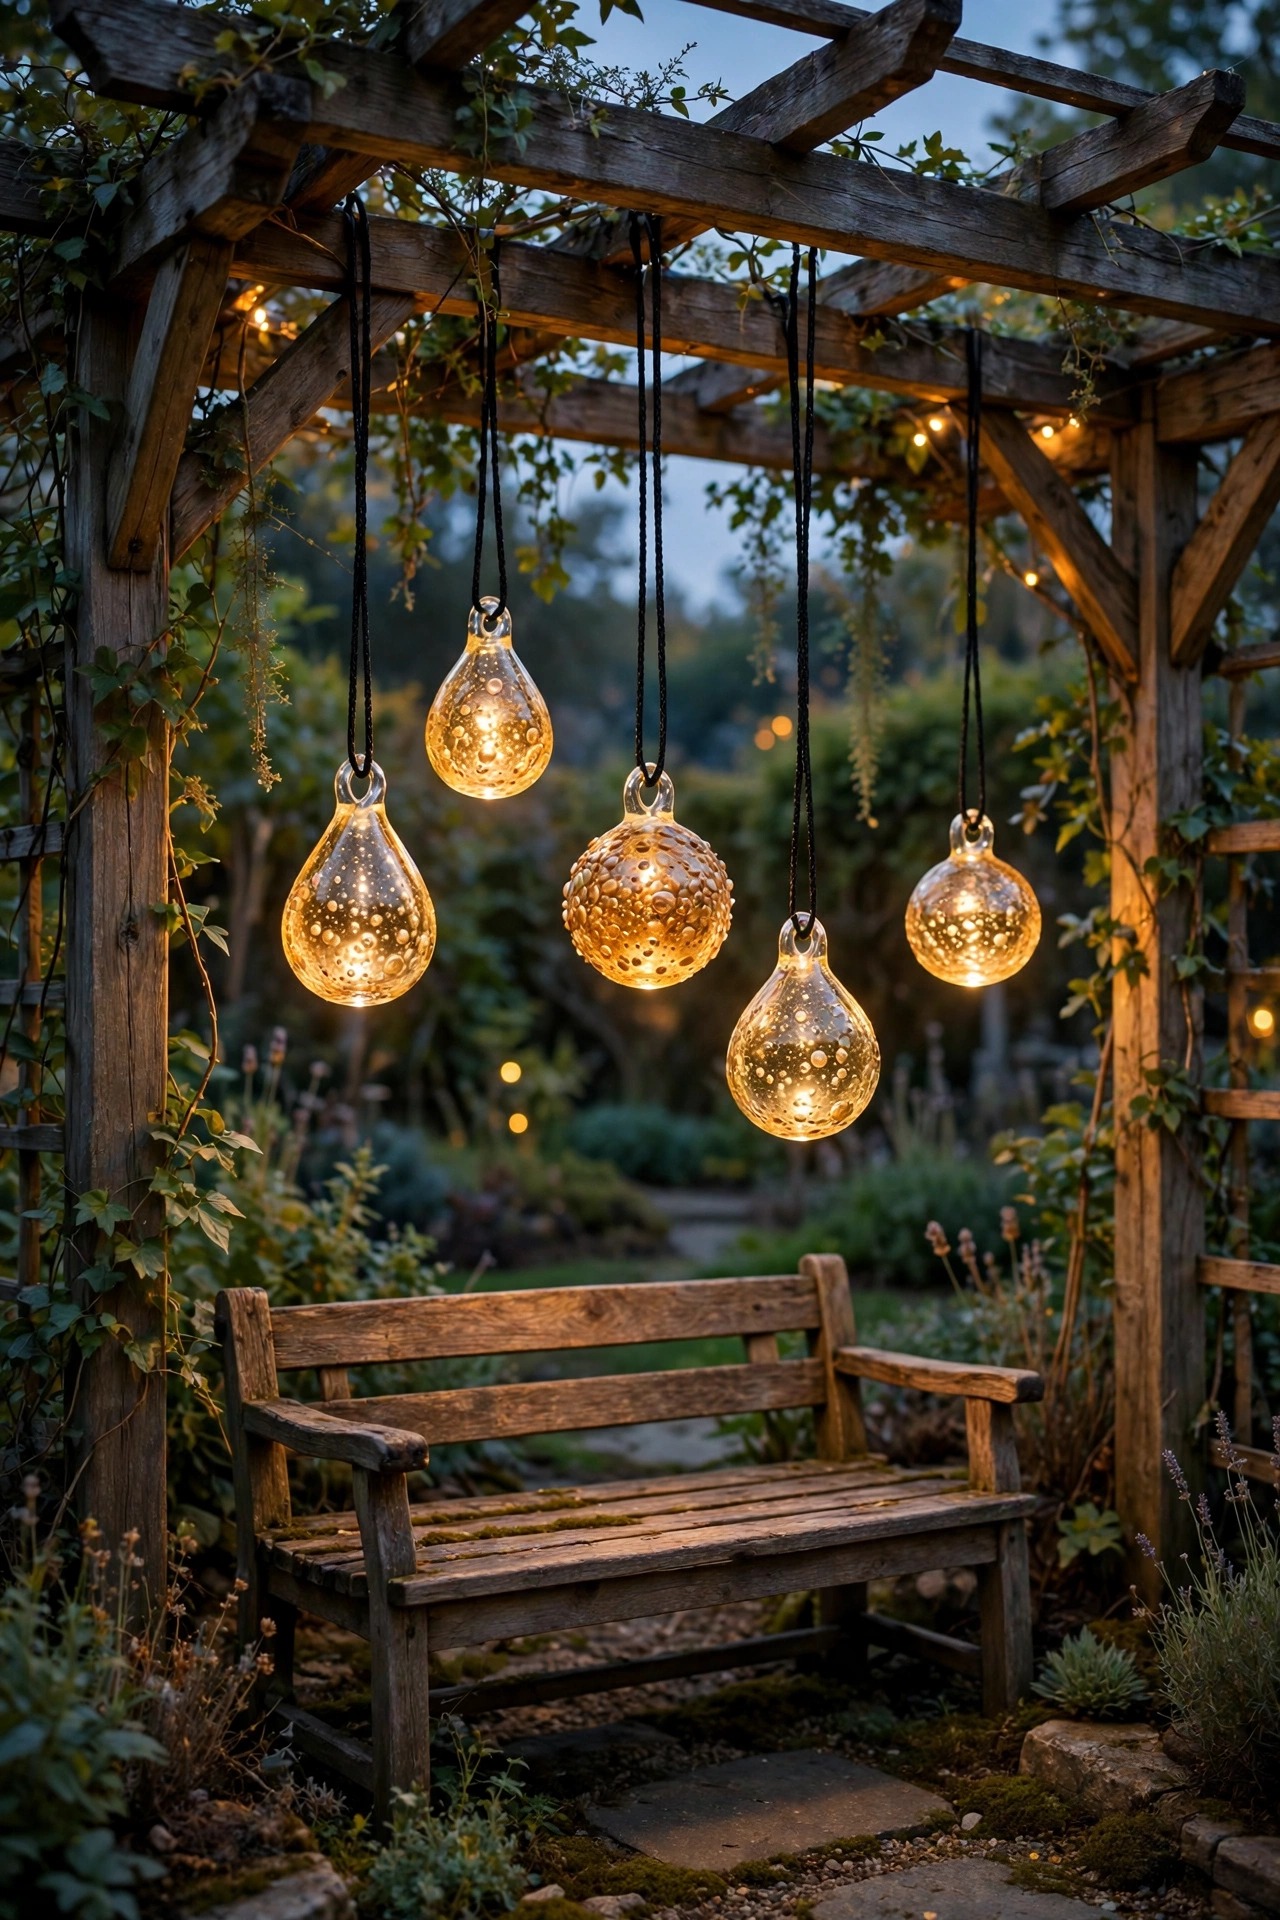
My garden arbor is where I drink my morning coffee, and two seeded-glass pendants turned it from a pass-through into a room. Craftsman pendants hang from simple chains or straight rods, with square canopies and glass that sparkles with tiny bubbles, so the light feels handmade even when it is brand new. Hang them 6 feet 6 inches to 7 feet above the path so tall guests pass comfortably, and center them over a bench or gate rather than the walk itself. Hardwired is best if the arbor stands near the house; otherwise, a plug-in pendant on an outdoor-rated cord, clipped neatly along the beam and plugged into a GFCI outlet, works safely and renter-friendly. LED bulbs only, please, since real flame and hot halogen bulbs have no business near dry vines and cedar. A warm dimmer takes the glow from task-bright to firefly-soft in seconds. On breezy evenings the seeded glass throws moving flecks of light across the plantings below, and honestly? It still stops me mid-sip, every single time.
Suggested budget range: $110 – $300.
7. Uplight the One Tree That Carries the Garden
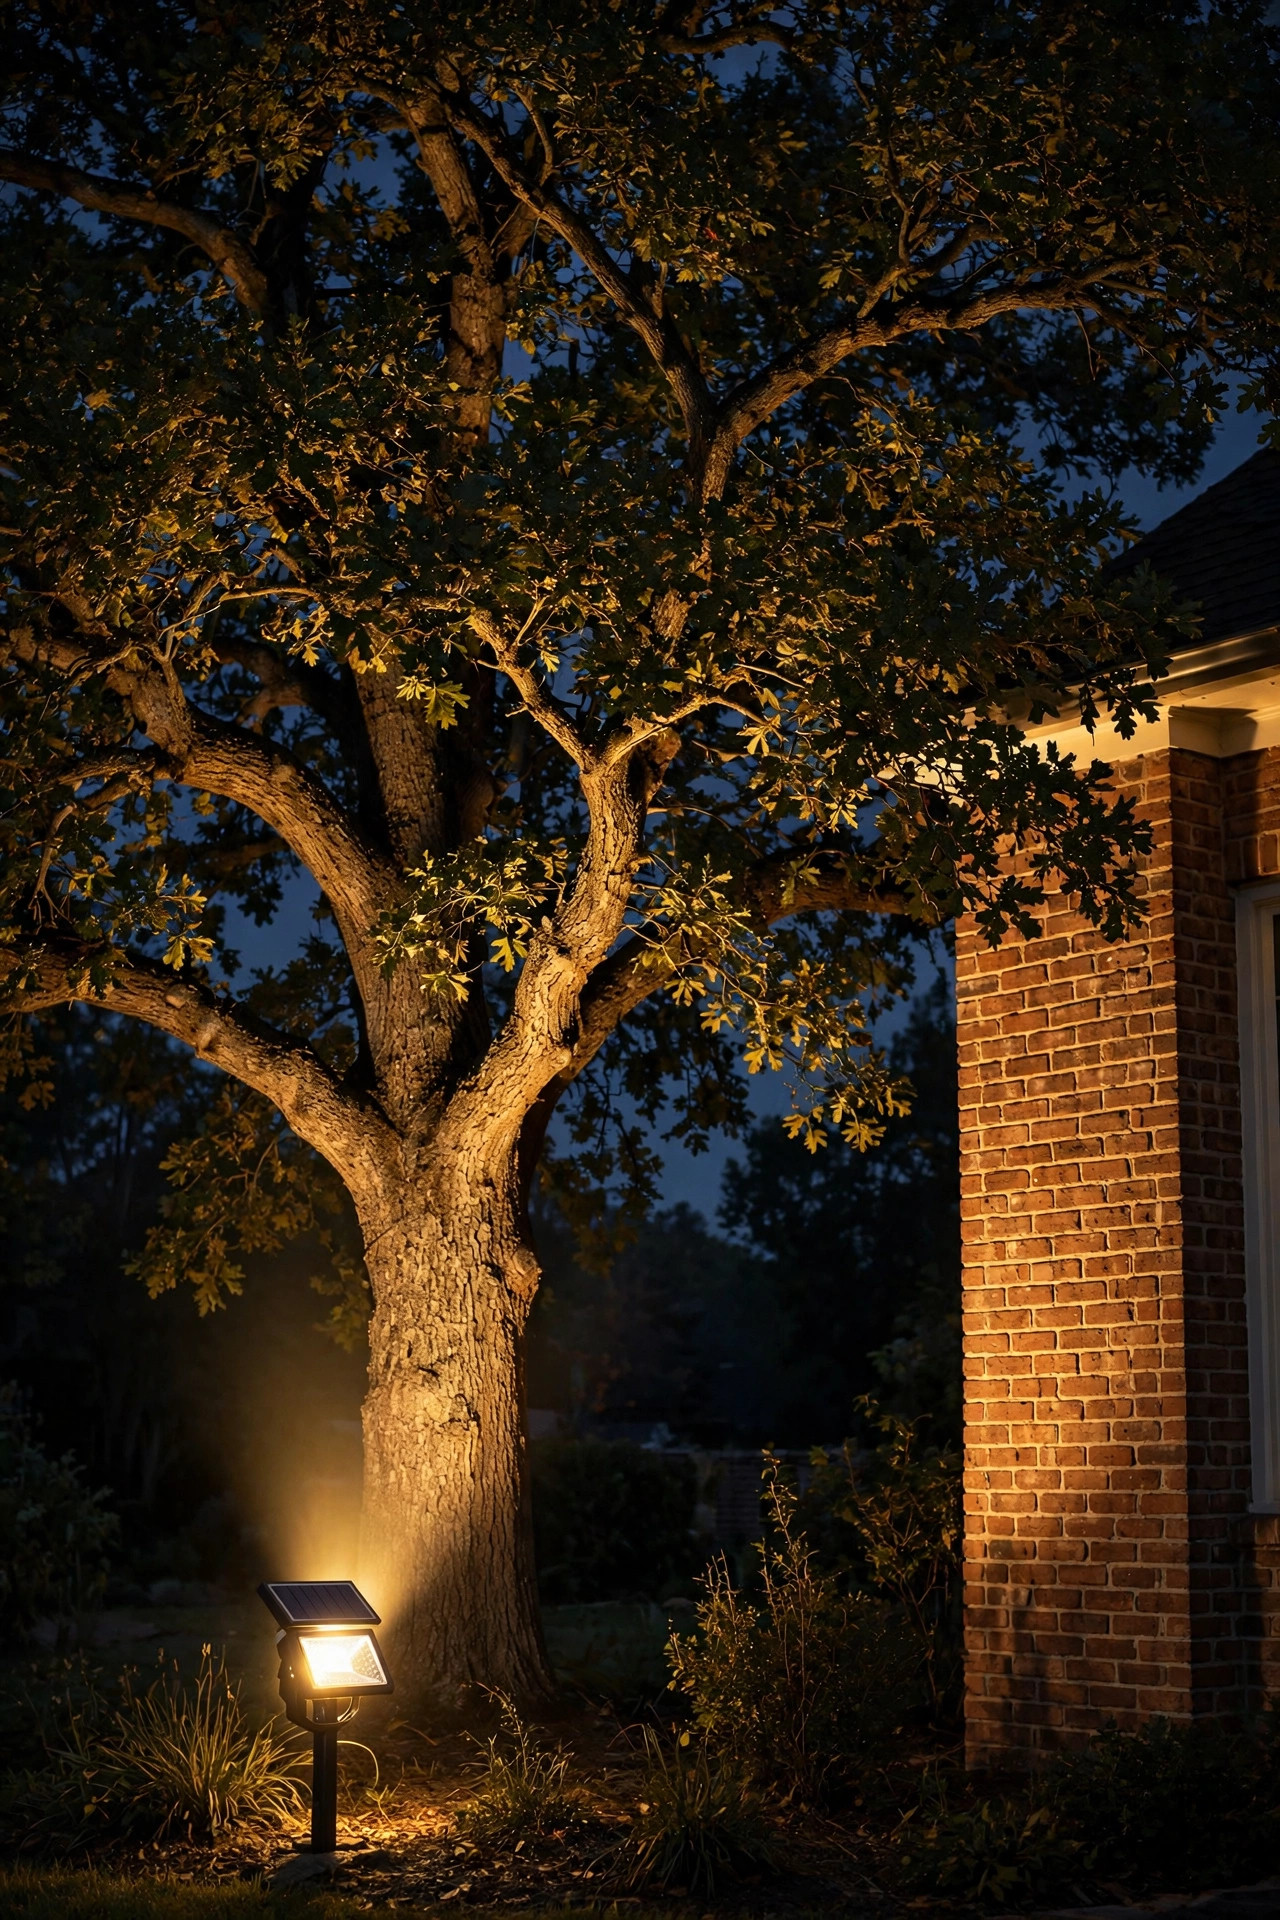
Every craftsman garden has one tree doing the heavy lifting, a Japanese maple, a sculptural oak, a multi-trunk serviceberry, and one well-placed uplight turns it into the main event of the evening. I use a single low-voltage well light or bullet fixture in a bronze finish, set at the base and aimed up at a 30 to 45 degree angle so the beam grazes bark texture and fans into the canopy. Graze, do not blast: a narrow to medium beam, 2700K, and just enough brightness to model the branches. From the path, you should see the tree glowing, never the fixture, so tuck it behind a stone or a low planting and add a glare shield if the angle exposes the lens. Keep the fixture a foot or two off the trunk to leave room for growth, and re-aim twice a year as the canopy fills in. This is the accent layer at its best, one fixture, enormous payoff, and it gives the whole garden a sense of depth after dark that no row of path lights can match.
Suggested budget range: $60 – $180.
8. Weave Copper-Wire Fairy Lights Through One Special Shrub
Used with restraint, copper-wire fairy lights give a craftsman garden the softest possible sparkle, like fireflies that agreed to stay put. The craftsman part is the restraint: I weave one warm strand loosely through a single boxwood or along the inside edge of a hydrangea, rather than wrapping every shrub in sight. Solar versions with a small remote panel are my pick here, because you can hide the panel in a sunny gap while the strand works in shade, and the wire itself nearly disappears by day. Keep the density low, one gentle pass, lights spaced by the rhythm of the strand itself, so the effect reads as depth inside the planting rather than decoration on it. The LEDs stay cool to the touch, which makes them safe nestled against foliage, and the copper wire ages to match the other metals in the garden. They will not light a path and should not try; this is pure accent, the glimmer you notice from the bench on the second look. Take them down or refresh the batteries before winter if your winters are harsh, and they will serve for seasons.
Suggested budget range: $25 – $70.

9. Recess Square Step Lights Into Stone Garden Steps
Garden steps are where lighting stops being decoration and becomes a genuine kindness, especially the uneven stone steps so many craftsman gardens inherit. Small recessed step lights, square-faced to match the architecture, wash each tread with a soft sheet of light so edges and risers read clearly after dark. I place one fixture per step on narrower stairs, or every other step on wide ones, mounted in the riser near one side or tucked under a tread lip where the source hides completely. Low-voltage kits make this a confident weekend project if you can run cable before the stones settle; for line-voltage work or cutting into mortared masonry, hire an electrician and consider it money well spent. Keep the color at 2700K and the brightness modest, because steps need definition, not drama. While you are at it, check that the first and last steps get light even if the middle ones share, since those transitions are where ankles get surprised. Guests will never consciously notice these lights, and that is the highest compliment step lighting can earn.
Suggested budget range: $130 – $360.

10. Mount a Mission-Style Lantern Beside the Garden Gate
The garden gate is your handshake, and a mission-style lantern mounted beside it sets the craftsman tone before a guest sees a single flower. I choose a wall lantern with a strong square backplate, seeded or amber glass, and a cap that sheds rain, then mount it 5 feet 6 inches to 6 feet high on the latch side so the light falls across the path and the hardware. It pairs naturally with the porch fixtures; my roundup of craftsman outdoor sconce ideas shows how to match finishes and glass across the whole property so nothing looks collected by accident. A photocell or motion sensor makes this the hardest-working light in the garden, on at dusk without a thought, brighter when someone approaches. Hardwired beats solar here because gates often sit in tree shade, and a dim welcome is worse than none. Finish-wise, oil-rubbed bronze and aged copper both sit beautifully against cedar gates and stone posts. This one fixture, chosen with care, tells visitors the garden was designed, not accumulated.
Suggested budget range: $80 – $220.

11. Scatter Solar Lanterns With Geometric Cutouts in Far Beds
Some corners of my garden sit an honest hundred feet from the nearest outlet, and geometric solar lanterns are how those corners glow anyway. The craftsman-friendly versions are square lanterns with simple cutout patterns, diamond, grid, or prairie cross, that project patterned pools of light onto the path or patio edge while the lantern itself stays handsome by day. Treat solar brightness honestly: these are accent and gentle guidance lights, giving their best after six or more hours of direct sun on the panel. I group two or three where a bed meets the walk, and I wipe the panels monthly because a dusty panel can halve the charge. Stake them firmly or weight the bases; lightweight lanterns wander in storms. In northern winters, I bring the prettiest ones onto the porch in January when short days starve them, and they return in March like garden furniture. For far beds, shady gates, and renters who cannot trench a single wire, these little patterned lanterns deliver a surprising amount of craftsman character for very little money or effort.
Suggested budget range: $40 – $120.

12. Try Moonlighting From a High Branch for Pure Atmosphere
Moonlighting is the technique I stole from the Japanese garden tradition and never gave back: a shielded downlight mounted 15 to 20 feet up in a mature tree, filtering soft light through the branches so the ground below dapples like a clear night. It suits a craftsman garden beautifully, because nothing shows off honest materials like gentle, natural light. If you admire that restraint, the japanese garden lighting ideas I have collected lean on the same philosophy of shadow and suggestion. Use a soft 2700K source, aim it down through gaps in the canopy, and keep the fixture and its cable invisible from below. This is the one project where I hire a pro with climbing gear and an electrician's license; height plus wiring is not a ladder job. The payoff is a whole seating area lit without a single visible fixture, with leaves printing slow-moving shadows on the stone. It is the most magical effect in this entire post, and the one guests ask about most, usually while looking around for lights they cannot find.
Suggested budget range: $200 – $500.

13. Spotlight the Handcrafted Focal Point
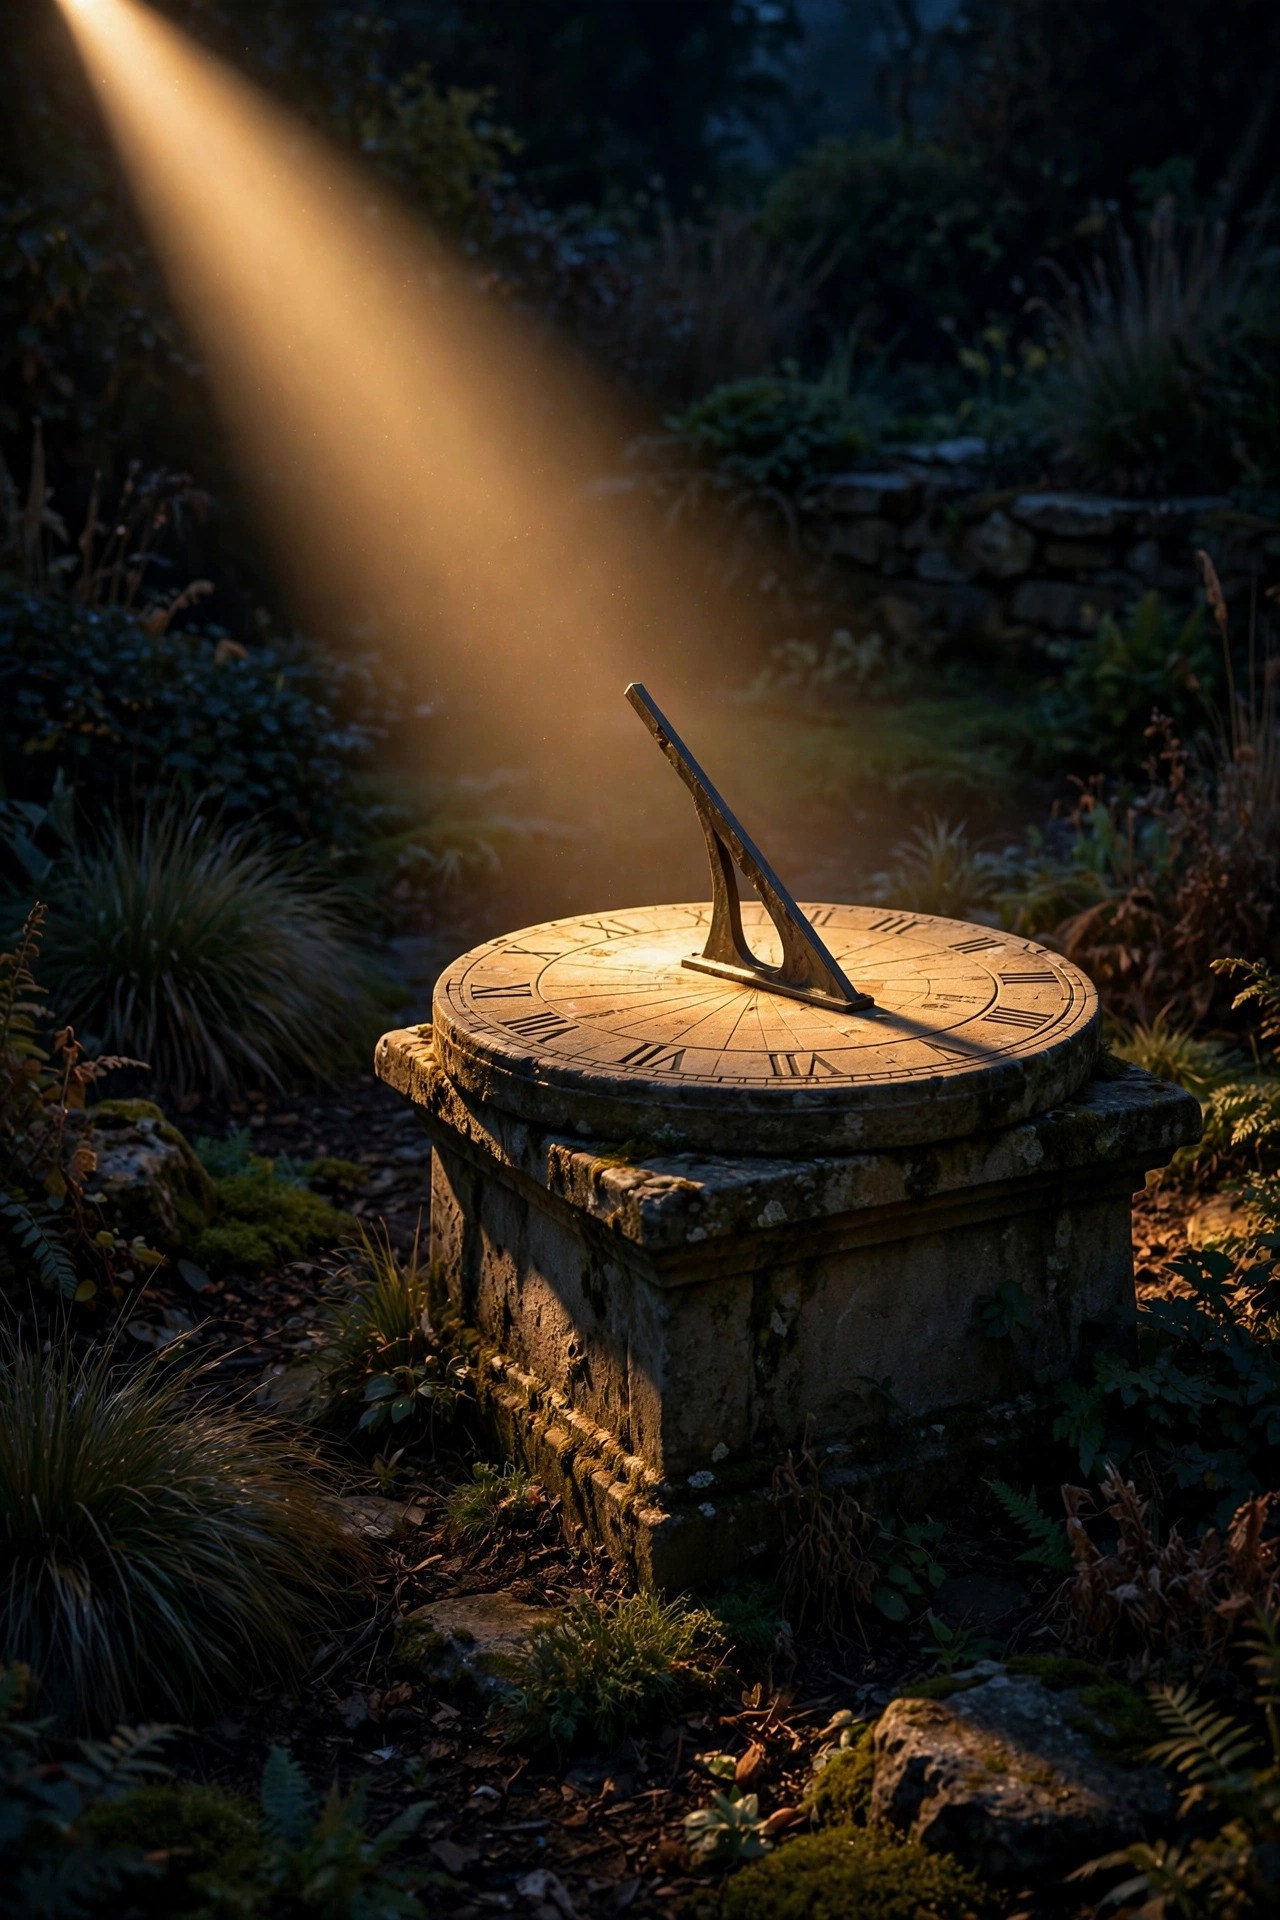
A craftsman garden usually hides one handcrafted treasure: a stone sundial, a cast birdbath, a carved bench, a little dry-stacked fountain. Give it the gallery treatment with a single narrow-beam spotlight, and it becomes the evening anchor of the garden. I set a low-voltage bullet or well light 3 to 5 feet away, angled at about 30 degrees so the light grazes across the surface and models every chisel mark instead of flattening it. A 15 to 30 degree beam is the sweet spot; wider beams wash the treasure into the background planting. My guide to garden statue lighting ideas goes deeper on angles for statues specifically, but the principle holds for any focal point: light the object, shield the source, and let the darkness around it do the framing. Bronze and black fixtures disappear against mulch, and a honeycomb louver kills stray glare for pennies. Choose one focal point per view, not three; craftsman gardens reward editing, and a single glowing treasure beats a yard sale of lit objects every time.
Suggested budget range: $45 – $130.
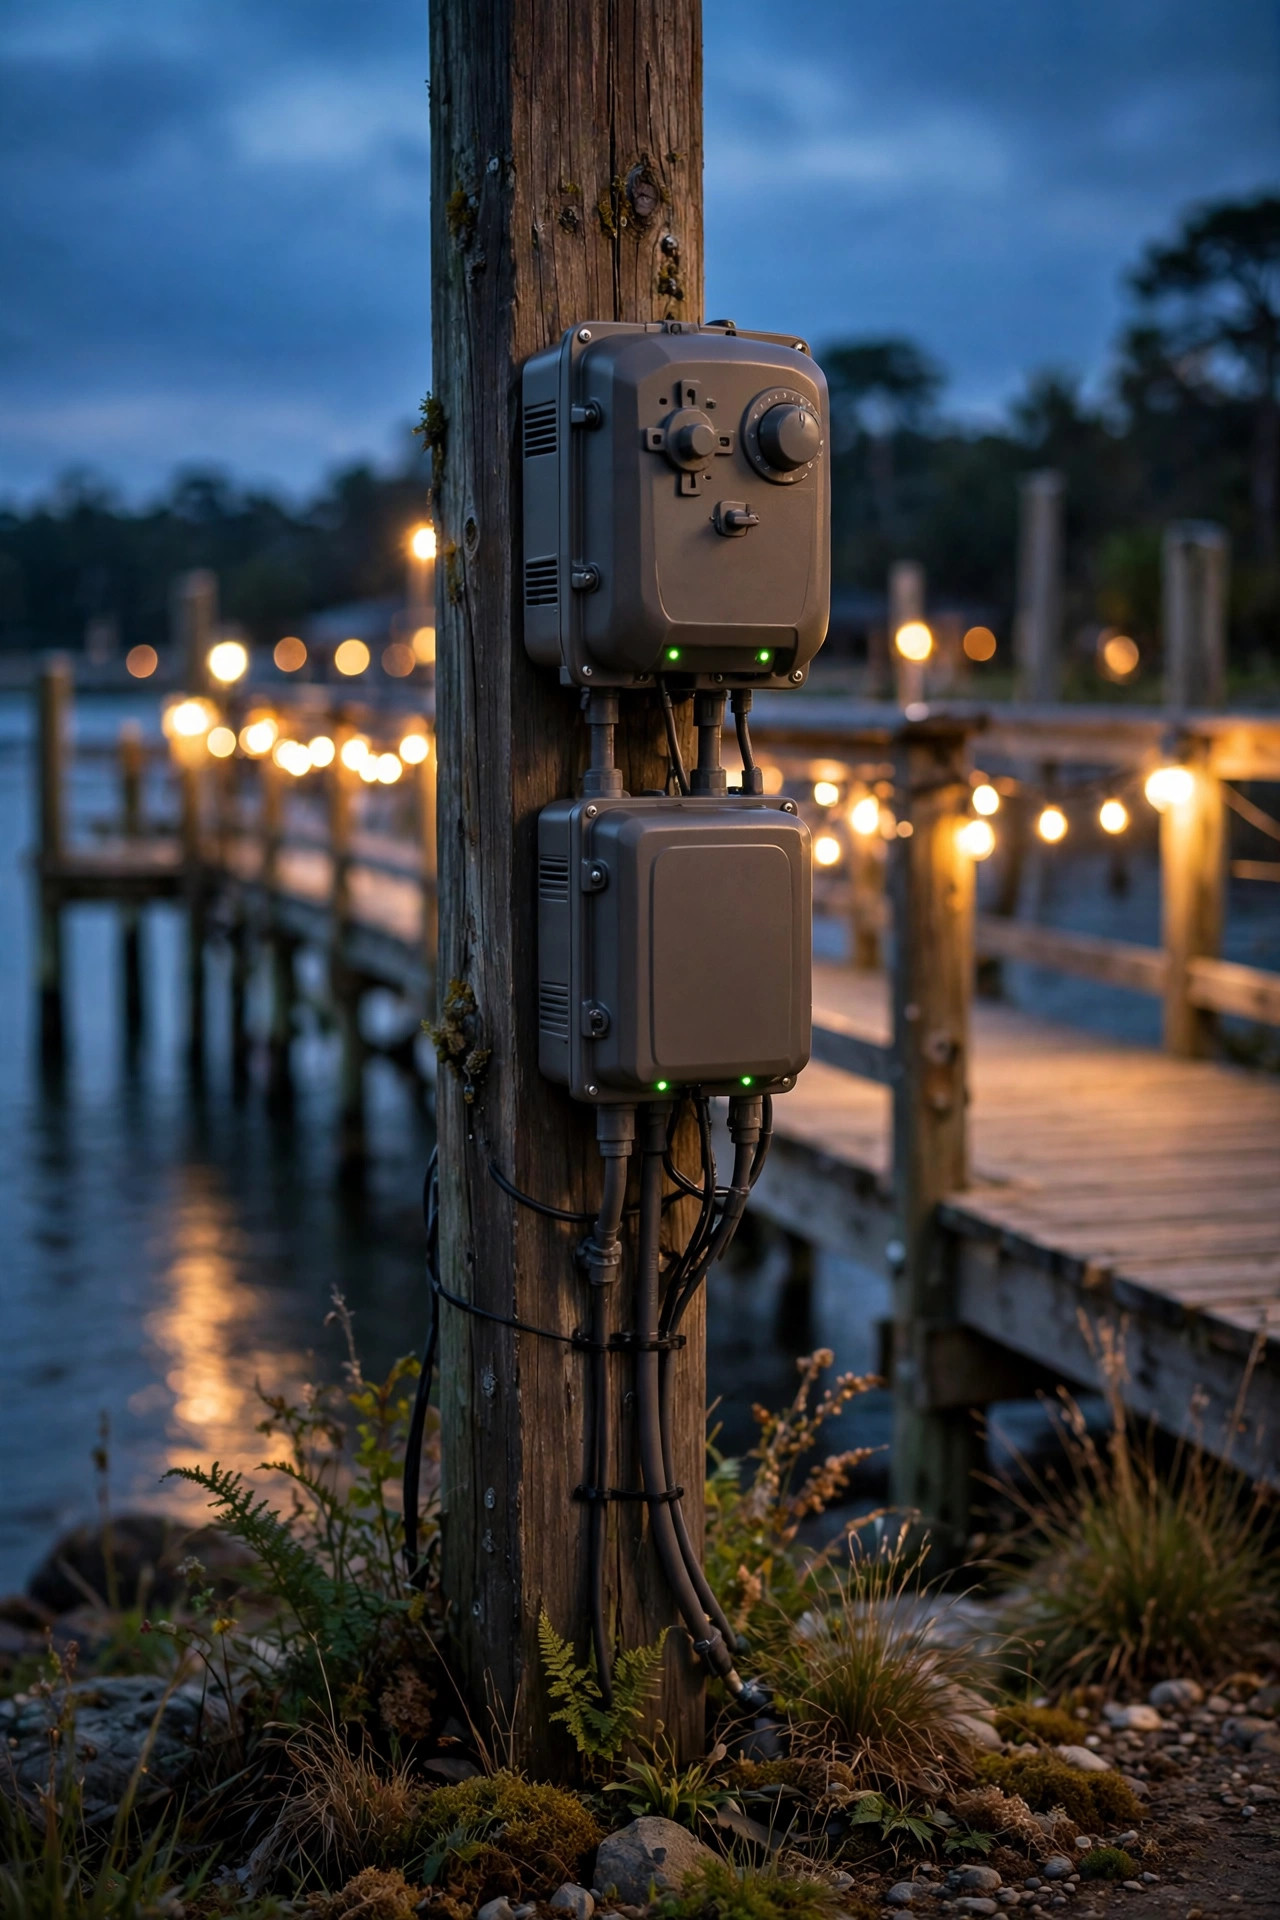
14. Put Every Layer on Timers and Photocells
The most craftsman thing about my garden lighting is that nobody operates it. A transformer with an astronomical timer knows sunset better than I do, turning the guidance and welcome layers on at dusk and resting them at midnight, while the gate lantern keeps its own dusk-to-dawn watch through a photocell. This layering of schedules is deliberate: paths lit when we are out enjoying them, accents off when the garden belongs to the owls, and energy bills that stay politely small. Smart plugs rated for outdoor use can run a plug-in pendant or fairy strand on the same rhythm, with an app override for party nights. When you set up yours, group fixtures by layer on separate timer zones if your transformer allows it, and recheck the schedule after every power outage, since a reset timer shining at noon is the fastest way to look like you gave up. Photocells need an occasional wipe too; a pollen-caked sensor reads noon as midnight. Set it once, tend it lightly, and the garden lights itself with the same quiet reliability as a well-made door latch.
Suggested budget range: $30 – $90.
15. Finish With a Dusk Walk-Through of Your Craftsman Garden Lighting Ideas
Your last step costs nothing and changes everything: walk the whole garden at dusk with fresh eyes and a small screwdriver for aim adjustments. Start at the street and come through the gate the way a guest would. Squint; any spot that makes you squint is glare, and it wants a shield, a lower wattage, or a kinder angle. Check that path pools overlap softly with no dark gaps at steps or turns, and that every fixture still speaks the same warm language, because one stray cool-white replacement bulb can shout over fifteen 2700K fixtures. This is also when I enforce the one-temperature rule: pull any bulb that reads blue against the mica and copper, and replace it before it annoys you nightly. Then do the bench test. Sit where you actually sit, with your drink of choice, and look slowly around. The garden should glow in layers, gate to tree to quiet shining corners, with the fixtures themselves mostly invisible. Adjust one thing, sit again. That unhurried half hour is how good craftsman garden lighting ideas become a garden you never want to come in from.
Suggested budget range: $0 – $60.
Frequently Asked Questions
What color temperature looks best in a craftsman garden?
Warm 2700K is the craftsman standard, and I hold every fixture in the garden to it. That temperature flatters copper, bronze, stone, and cedar, and it echoes the amber glow of the gaslight era these homes were built in. Behind mica shades you can drop to 2200K or 2400K for an even deeper amber if a fixture feels too bright. What matters most is consistency: one 4000K bulb in a sea of warm fixtures reads as a mistake, not a feature. Check the Kelvin number on every box before it goes in the cart.
Are solar lights bright enough for a garden path?
For guidance, yes, in a sunny garden. A good solar lantern marks edges and turns honestly after six or more hours of direct sun. For welcome light at a gate, steps, or seating, I still recommend low-voltage wired fixtures, because they deliver the same brightness every night regardless of weather or season. Most of my favorite gardens mix both: wired for the backbone, solar for far beds and accents. Judge solar by panel placement, not promises on the box; a shaded panel will disappoint no matter how many lumens the label claims.
How do I keep copper and bronze fixtures looking right outdoors?
First, decide whether you love the patina, because raw copper and bronze are supposed to change. Copper deepens to bronze, then softens toward green over a few seasons, and that progression is part of the craftsman charm. If you prefer the bright look, buy lacquered fixtures and renew the coating when it flakes. Either way, choose wet-location rated fixtures, rinse off sprinkler minerals and pollen a few times a year with plain water, and skip abrasive polishes on hammered finishes, since they flatten the texture that makes the light scatter so beautifully.
How many path lights does a typical garden path need?
Measure the path and divide by your spacing. For lantern-style fixtures I use 6 to 8 feet between pools of light, staggered on alternating sides, so a 40-foot path usually lands at six or seven lanterns. Add one at every turn, gate, and step, even if the spacing math says otherwise, because those are the spots feet actually hesitate. Wider bollards stretch to 8 to 10 feet apart. When in doubt, buy one fewer than the plan says and live with it for a week; dark gaps are easy to fill, but an over-lit path is hard to unsee.
Conclusion
The thread running through all fifteen of these craftsman garden lighting ideas is respect: for honest materials, for square and simple lines, for the way a handmade thing earns its glow. Start with the layered plan, add mica and copper where your hands and eyes linger, and let one tree and one treasure carry the drama. Keep every bulb at 2700K, put the whole system on a timer, and walk it at dusk until it feels inevitable. If you are hungry for more, browse the other garden and landscape lighting ideas here on the site; your garden deserves the same care at night that you give it all day.