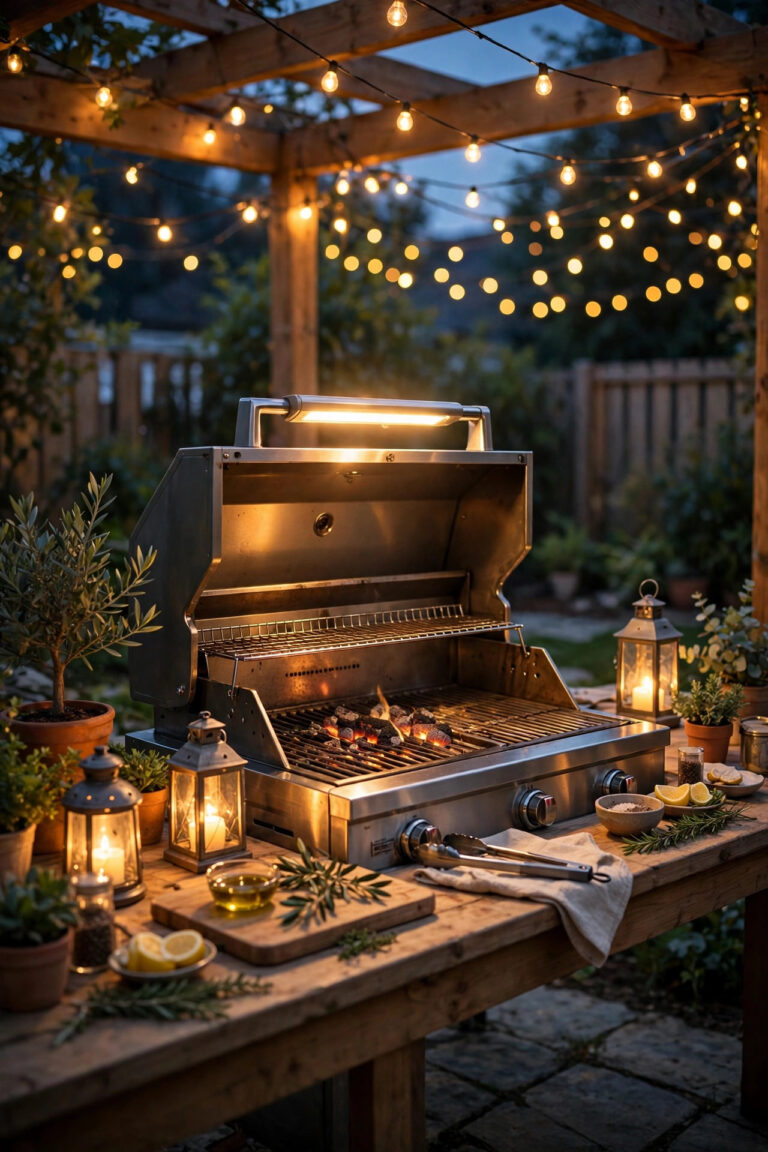
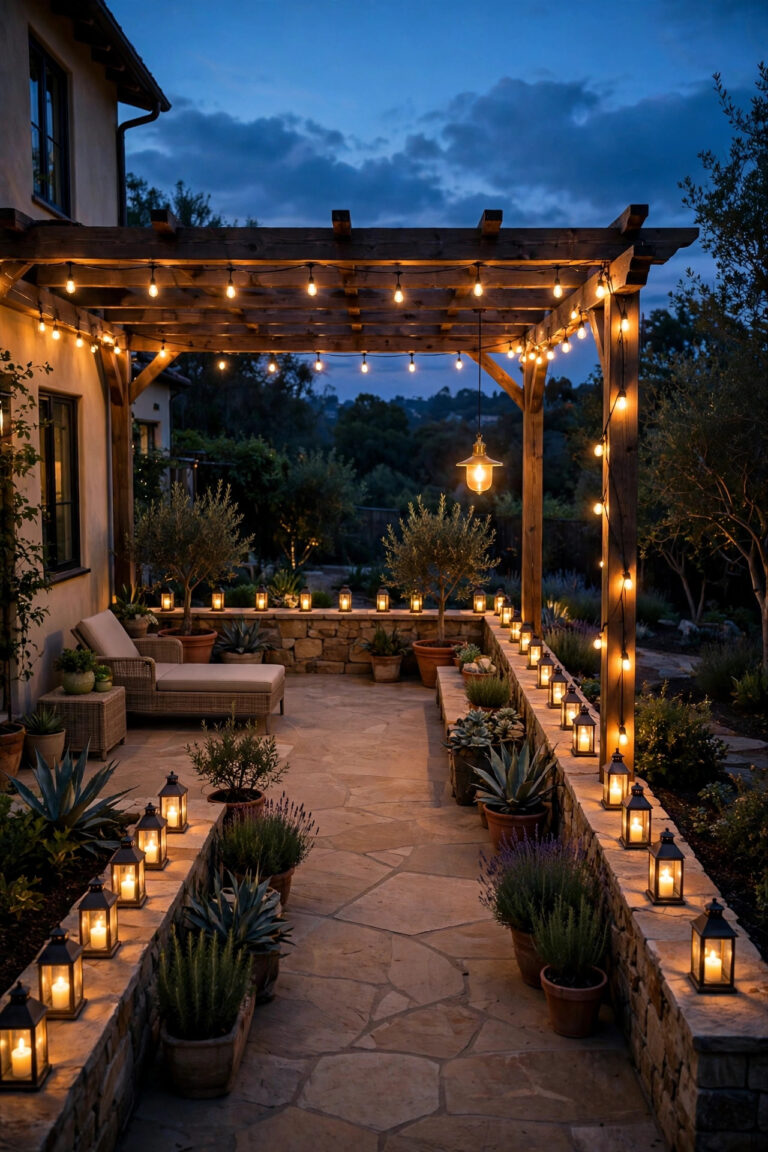
Every cottage garden I have ever loved looks its best in the last twenty minutes of daylight, when the roses go dusky pink and the path disappears into soft shadow. That in-between moment is exactly what good lighting should stretch all evening long. The cottage garden lighting ideas in this post are not about flooding your yard with brightness — they are about small, warm pools of glow tucked into flower beds, wound through climbing roses, and hung from branches so your garden feels enchanted instead of illuminated. In my experience, the secret is layering: path lights low at your feet, lanterns at eye level, and one soft wash overhead in the trees. Below are the 21 ideas I reach for again and again, each with the spacing, bulb choices, and honest budget ranges I wish someone had handed me when I lit my first little garden. Most of them are solar or plug-in simple, none of them need an electrician, and together they will have your neighbors slowing down on their evening walks just to look.
1. Layer Your Cottage Garden Lighting Ideas Low, Middle, and High
Before I buy a single fixture, I sketch my garden in three layers, and I honestly believe this one habit is the difference between a garden that glows and one that just has lights in it. The low layer lives at your feet: path lights, solar stakes, and little lanterns under 18 inches tall that pool light on the gravel or stepping stones. The middle layer is your welcome layer — lantern posts, shepherd's hooks, and bench lanterns around waist to eye height, where the pretty fixtures themselves become part of the cottage look. The high layer is one soft wash overhead: fairy lights in a small tree or café strands over the arbor. Keep every layer on warm 2700K bulbs so the whole garden reads as one candlelit scene instead of three competing ones. Assign every purchase to a layer before it goes in the cart, and if a fixture does not fill a gap in your sketch, skip it. In my experience, cottage charm comes from restraint: a few small glows with dusky shadow between them feel far more enchanted than a yard lit edge to edge.
Suggested budget range: $150 – $400.

2. Weave Fairy Lights Through the Rose Bushes
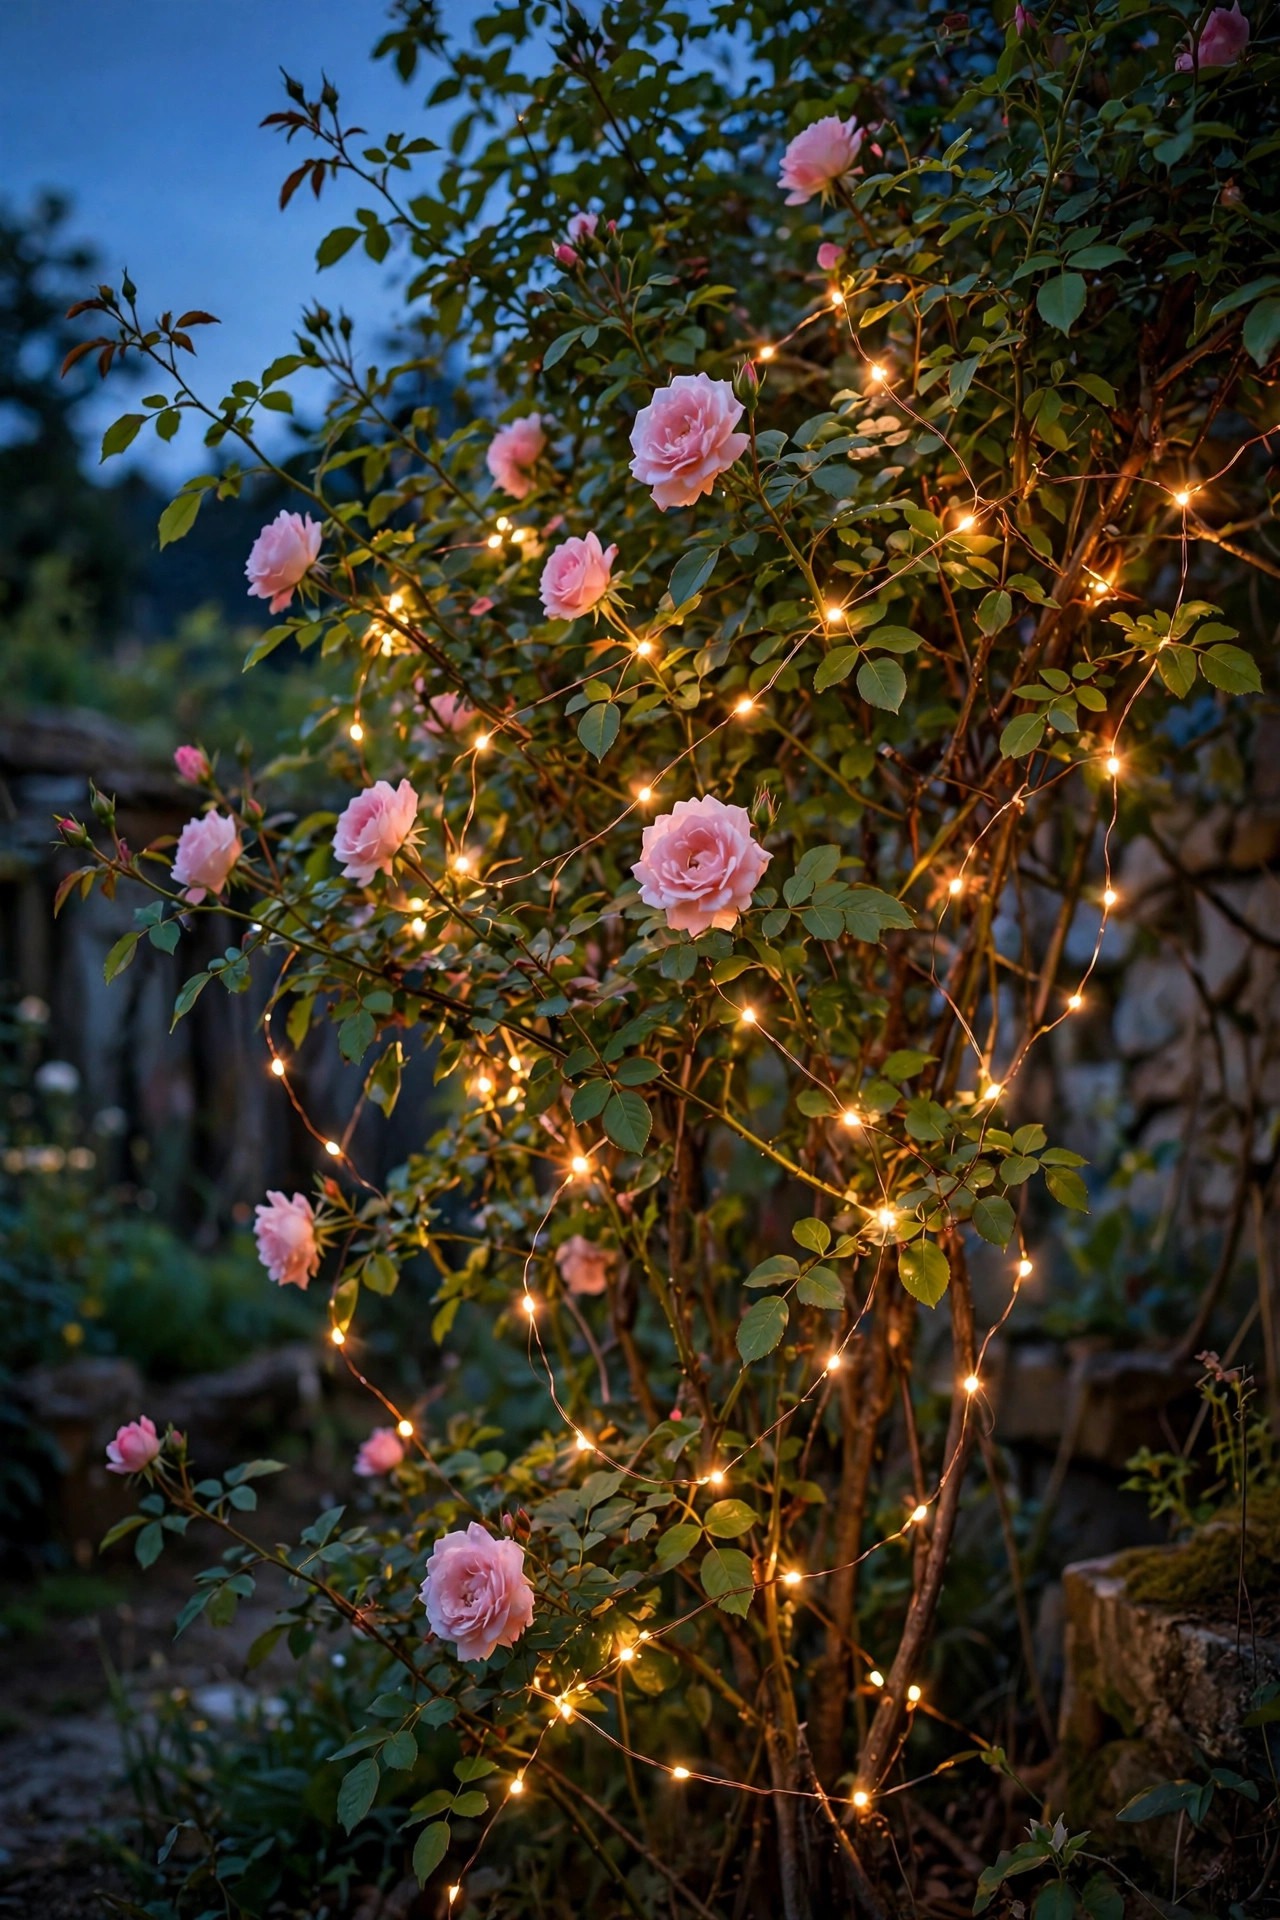
A strand of copper-wire fairy lights woven through a climbing rose is the single most enchanted trick I know, and it costs less than a pizza. Choose solar or battery strands with warm white diodes on thin copper wire — the wire practically disappears against the canes, so all you see at dusk is a constellation floating in the foliage. Weave loosely, in and out every 12 inches or so, and never cinch the wire tight around a cane; roses swell as they grow, and a snug strand becomes a girdle by August. I drape two 33-foot strands per bush, starting low near the base and spiraling up to about 5 feet. Keep the solar panel staked where it catches real sun, ideally facing south and clear of leaves. Come pruning time, unwind the strands first — it takes five minutes and saves the snarl I created the year I tried to prune around them. If your heart is set on roses as the star, my notes on rose and cottage garden lighting ideas pair beautifully with this look. LED fairy lights stay cool to the touch, so they are safe against petals and dry leaves.
Suggested budget range: $20 – $60.
3. Line the Path With Small Solar Lanterns
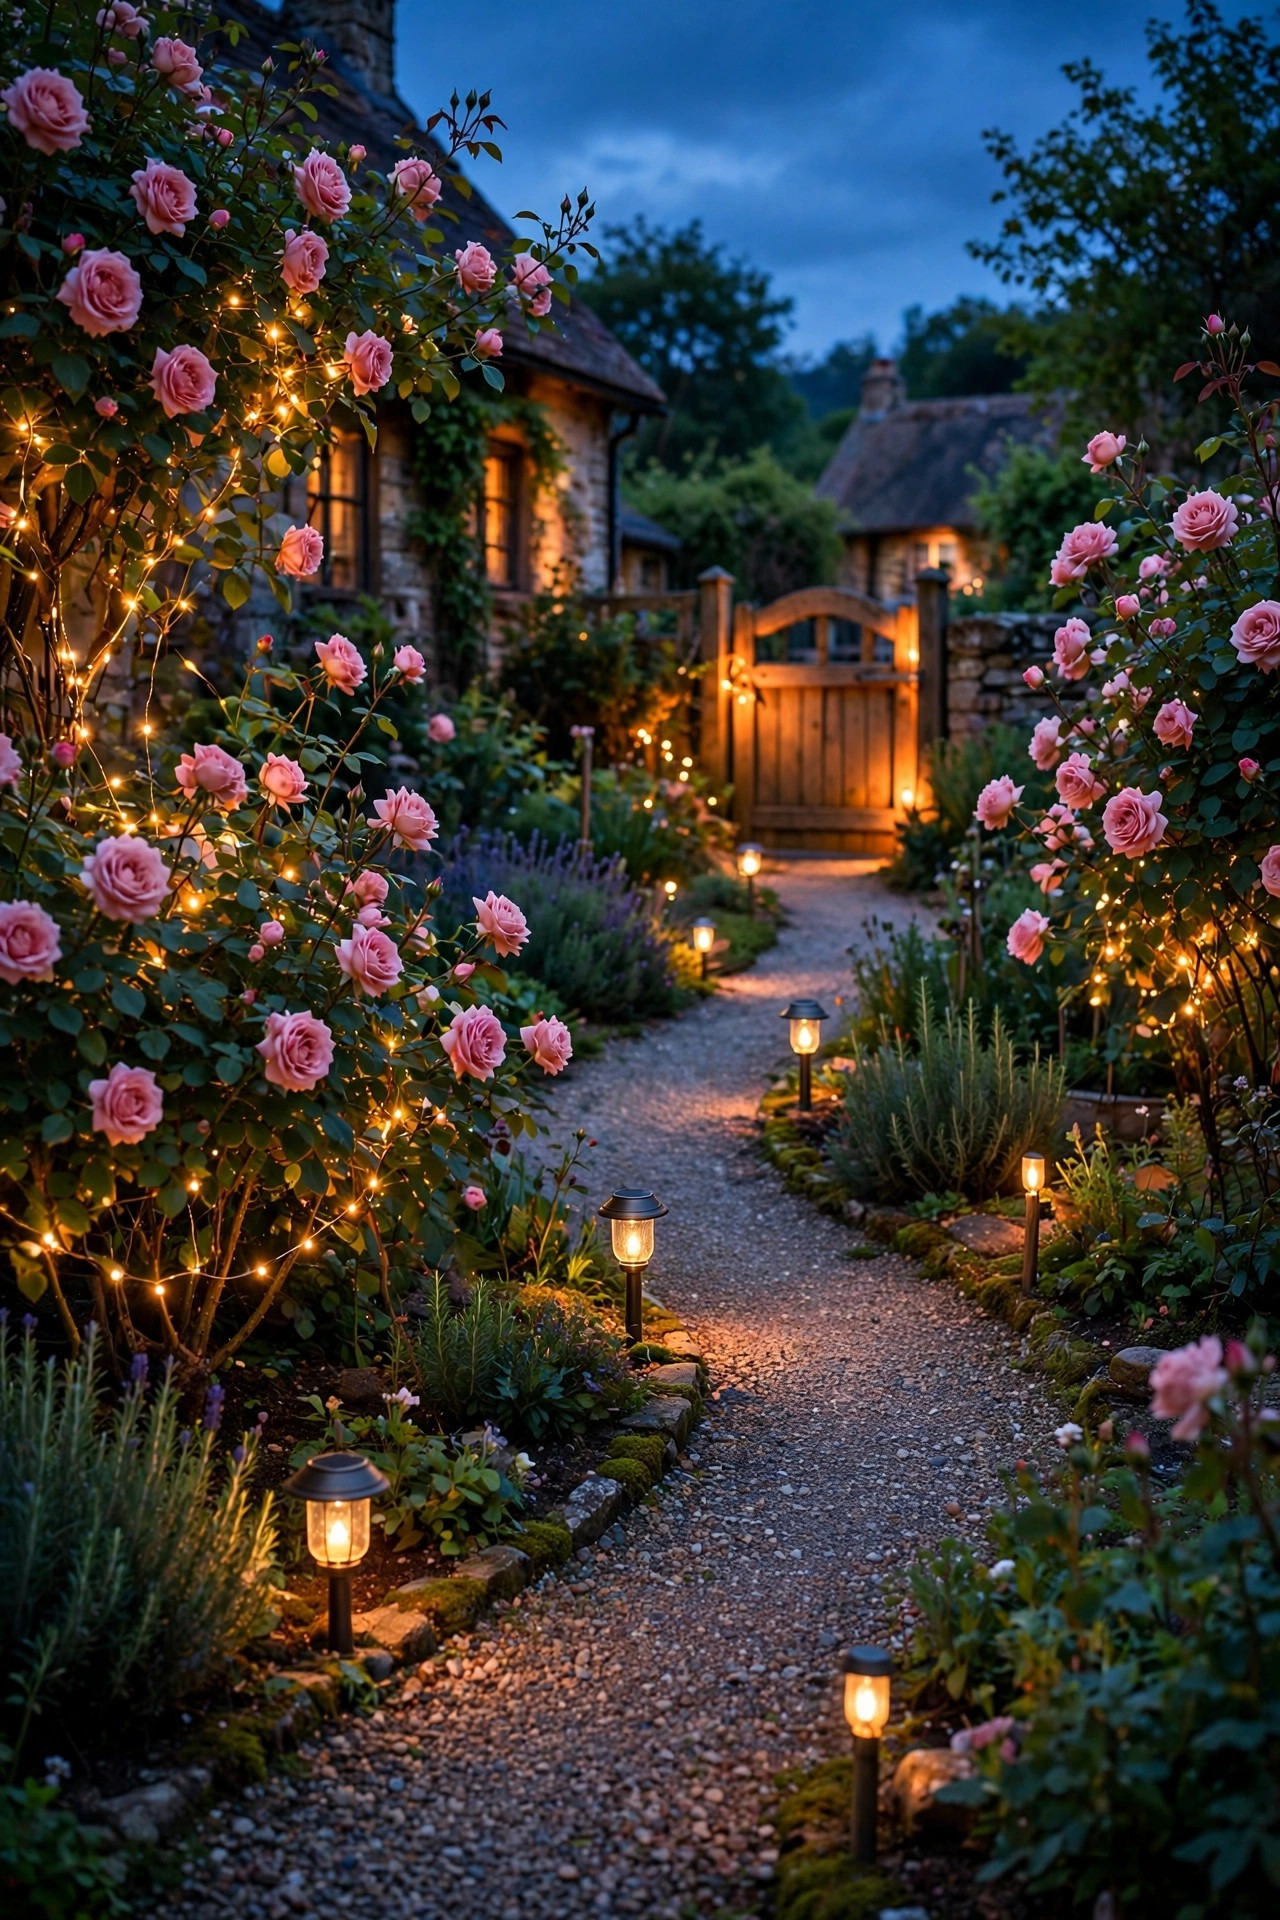
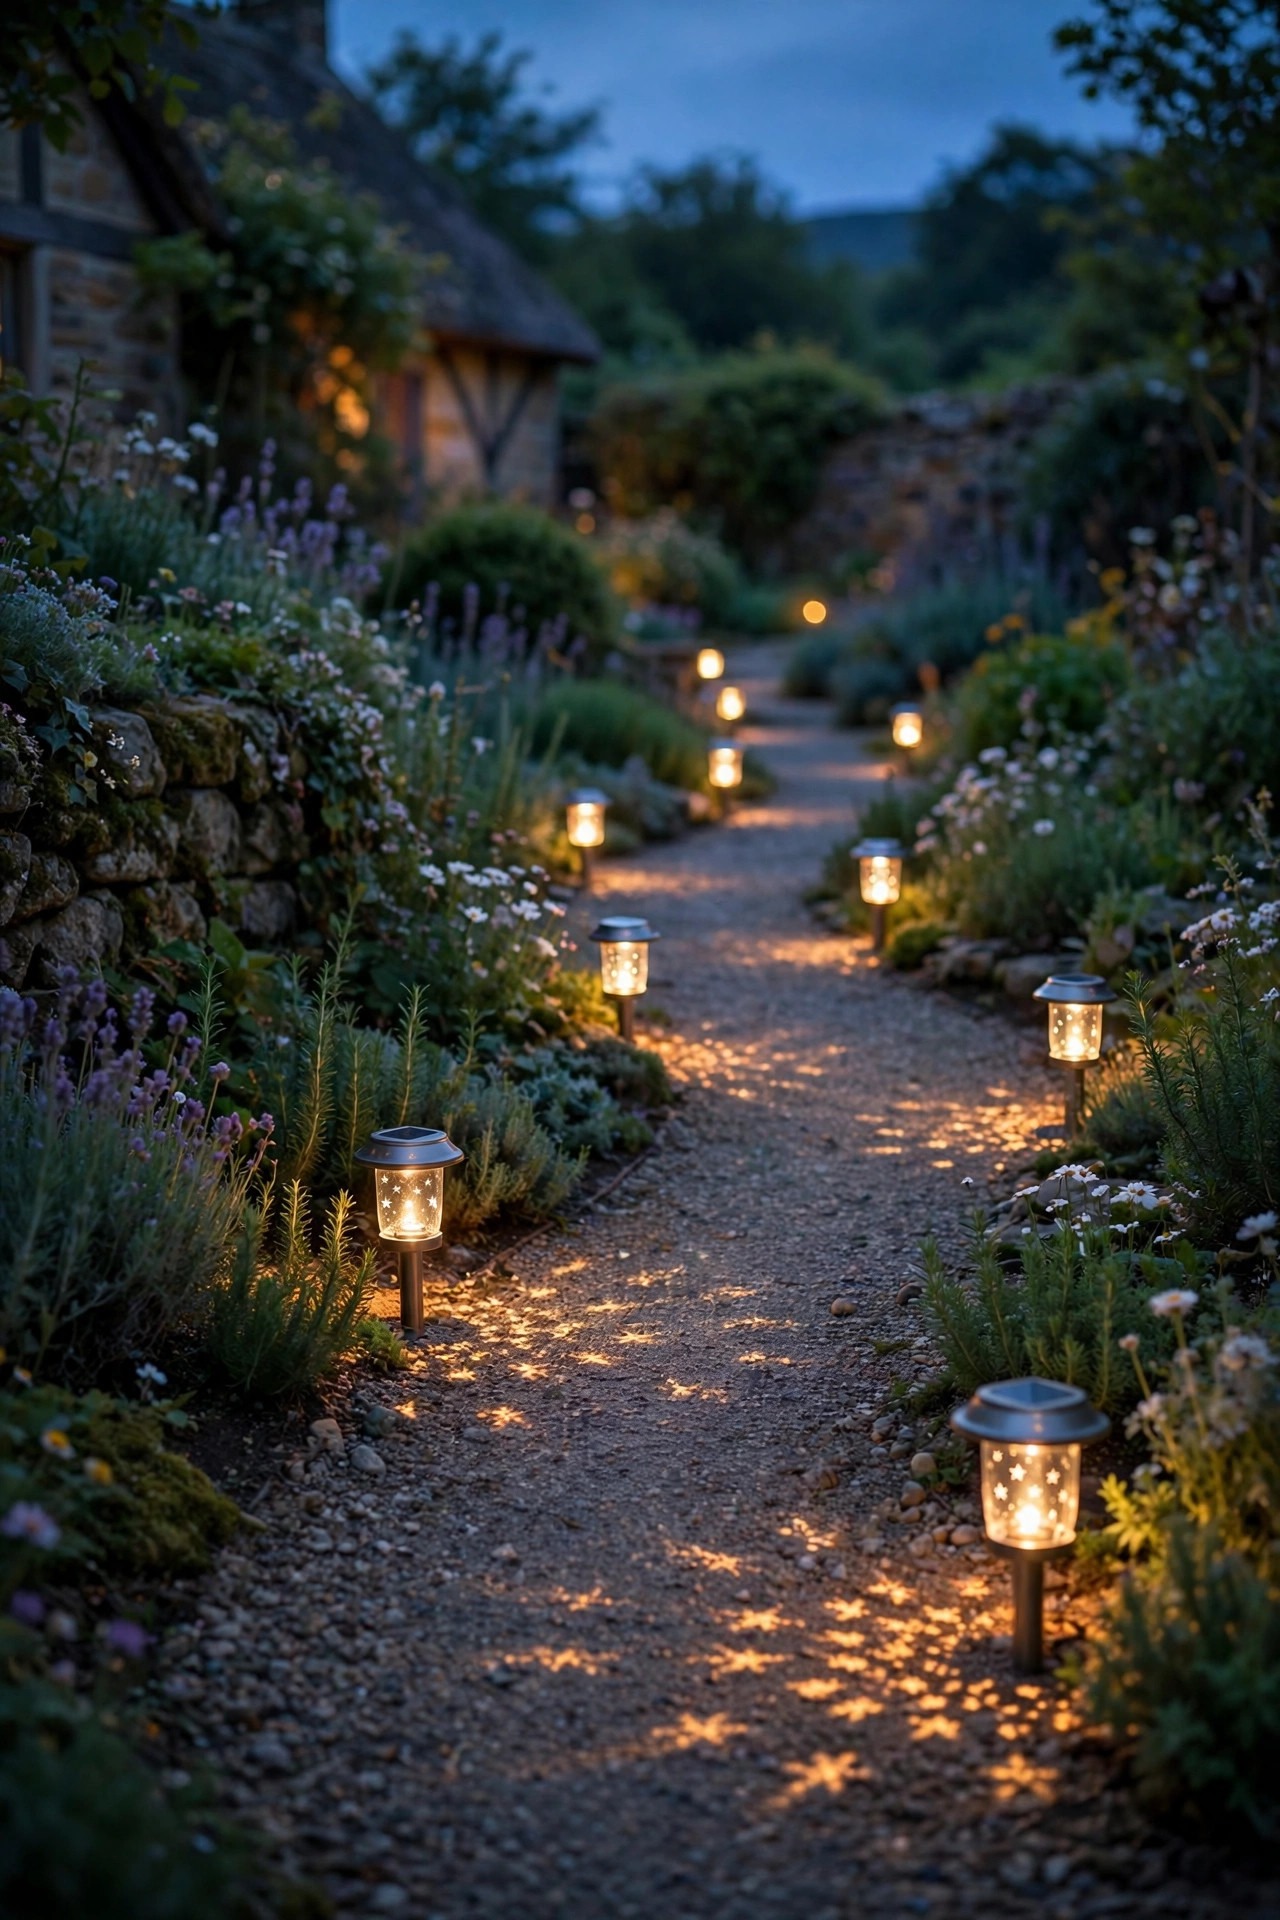
Cottage paths should meander, and their lighting should too. I use small solar lanterns — the kind with a shepherd's-hook top or a little punched-metal shade that throws star patterns on the gravel — spaced 5 to 6 feet apart and staggered from side to side rather than lined up in two stiff rows. A runway of perfectly paired lights reads airport, not storybook. Push each stake a good 6 inches into the soil so frost heave and curious raccoons do not tip them, and keep the shades at about knee height, 12 to 15 inches, so the light pools where your feet land. Solar lanterns need a fair shake: at least six hours of direct sun on the panel, so under a dense canopy they will fade by ten o'clock. In shadier gardens I mix in a few low-voltage lanterns on the main stretch and save solar for the sunny bends. Wipe the panels with a damp cloth every month or so — pollen film quietly steals a third of the charge. Choose warm white versions only; the bluish solar lights bargain bins love will fight every other glow in your garden.
Suggested budget range: $40 – $120.
4. Drape Fairy Lights in a Small Tree Canopy
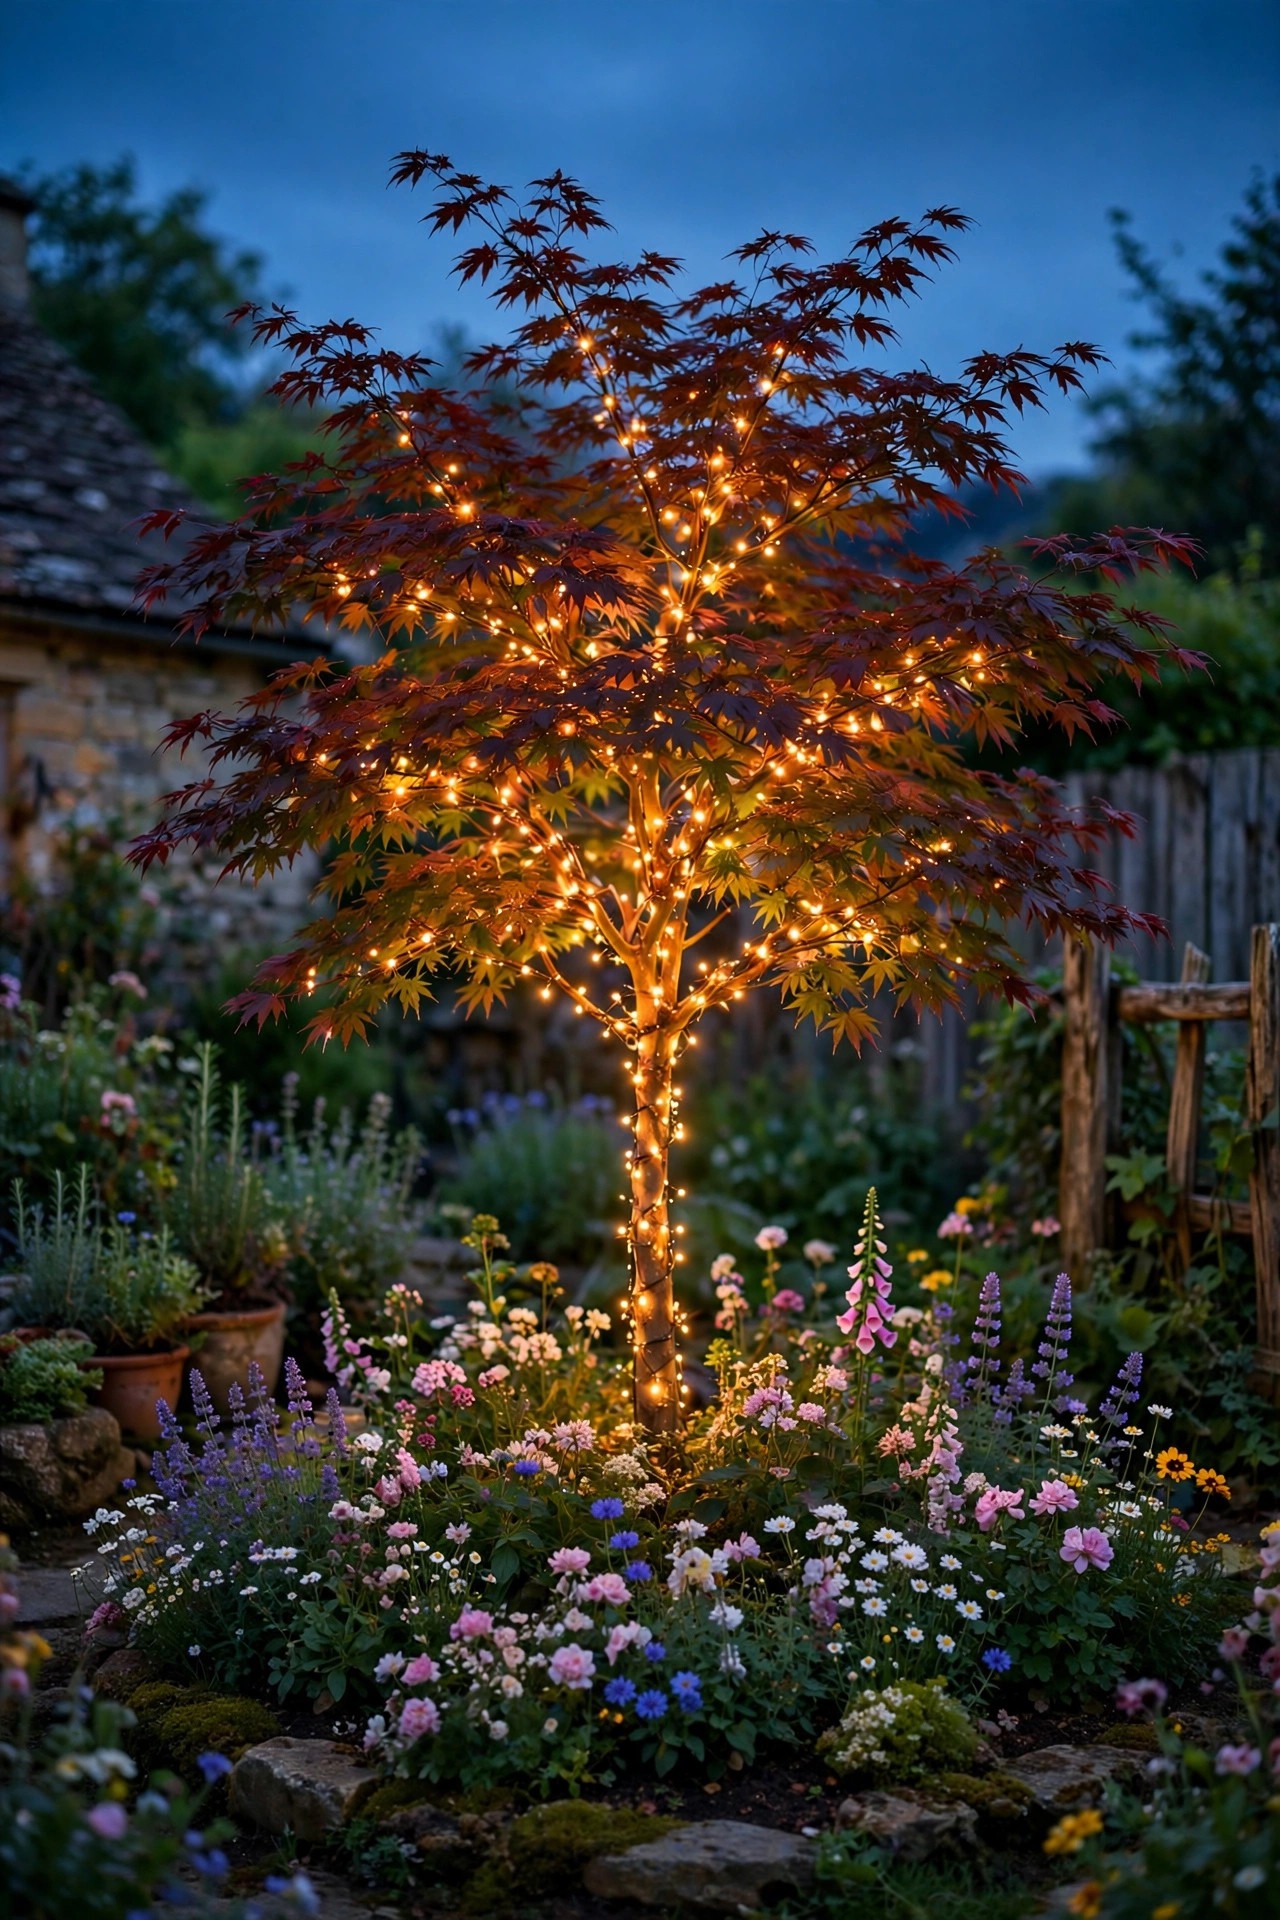
Every enchanted garden needs one tree that sparkles. A small ornamental — a crabapple, a dogwood, a Japanese maple — wrapped in fairy lights becomes the ceiling of the whole garden room. I wrap the trunk snugly with a copper-wire strand, then spiral out along just two or three main branches, letting the ends trail a little so the light feels grown, not installed. Two 66-foot plug-in strands usually cover a young tree; solar strands work, but the panel needs a sunny perch at the edge of the canopy. Plug-in strands on an outdoor timer are my honest preference here, because canopy shade starves solar panels. Use warm white, never multicolor, and keep the density gentle — you want fireflies, not a casino. If wrapping feels fussy, drape instead: loop the strand in soft swags between branches like garland. My full roundup of outdoor fairy light ideas has the hanging patterns I use most. One safety note I never skip: only LED strands in trees, since they run cool against bark and dry leaves, and inspect the wire each spring for squirrel damage before you plug in.
Suggested budget range: $30 – $90.
5. Hang Mason Jar Lanterns From Shepherd's Hooks
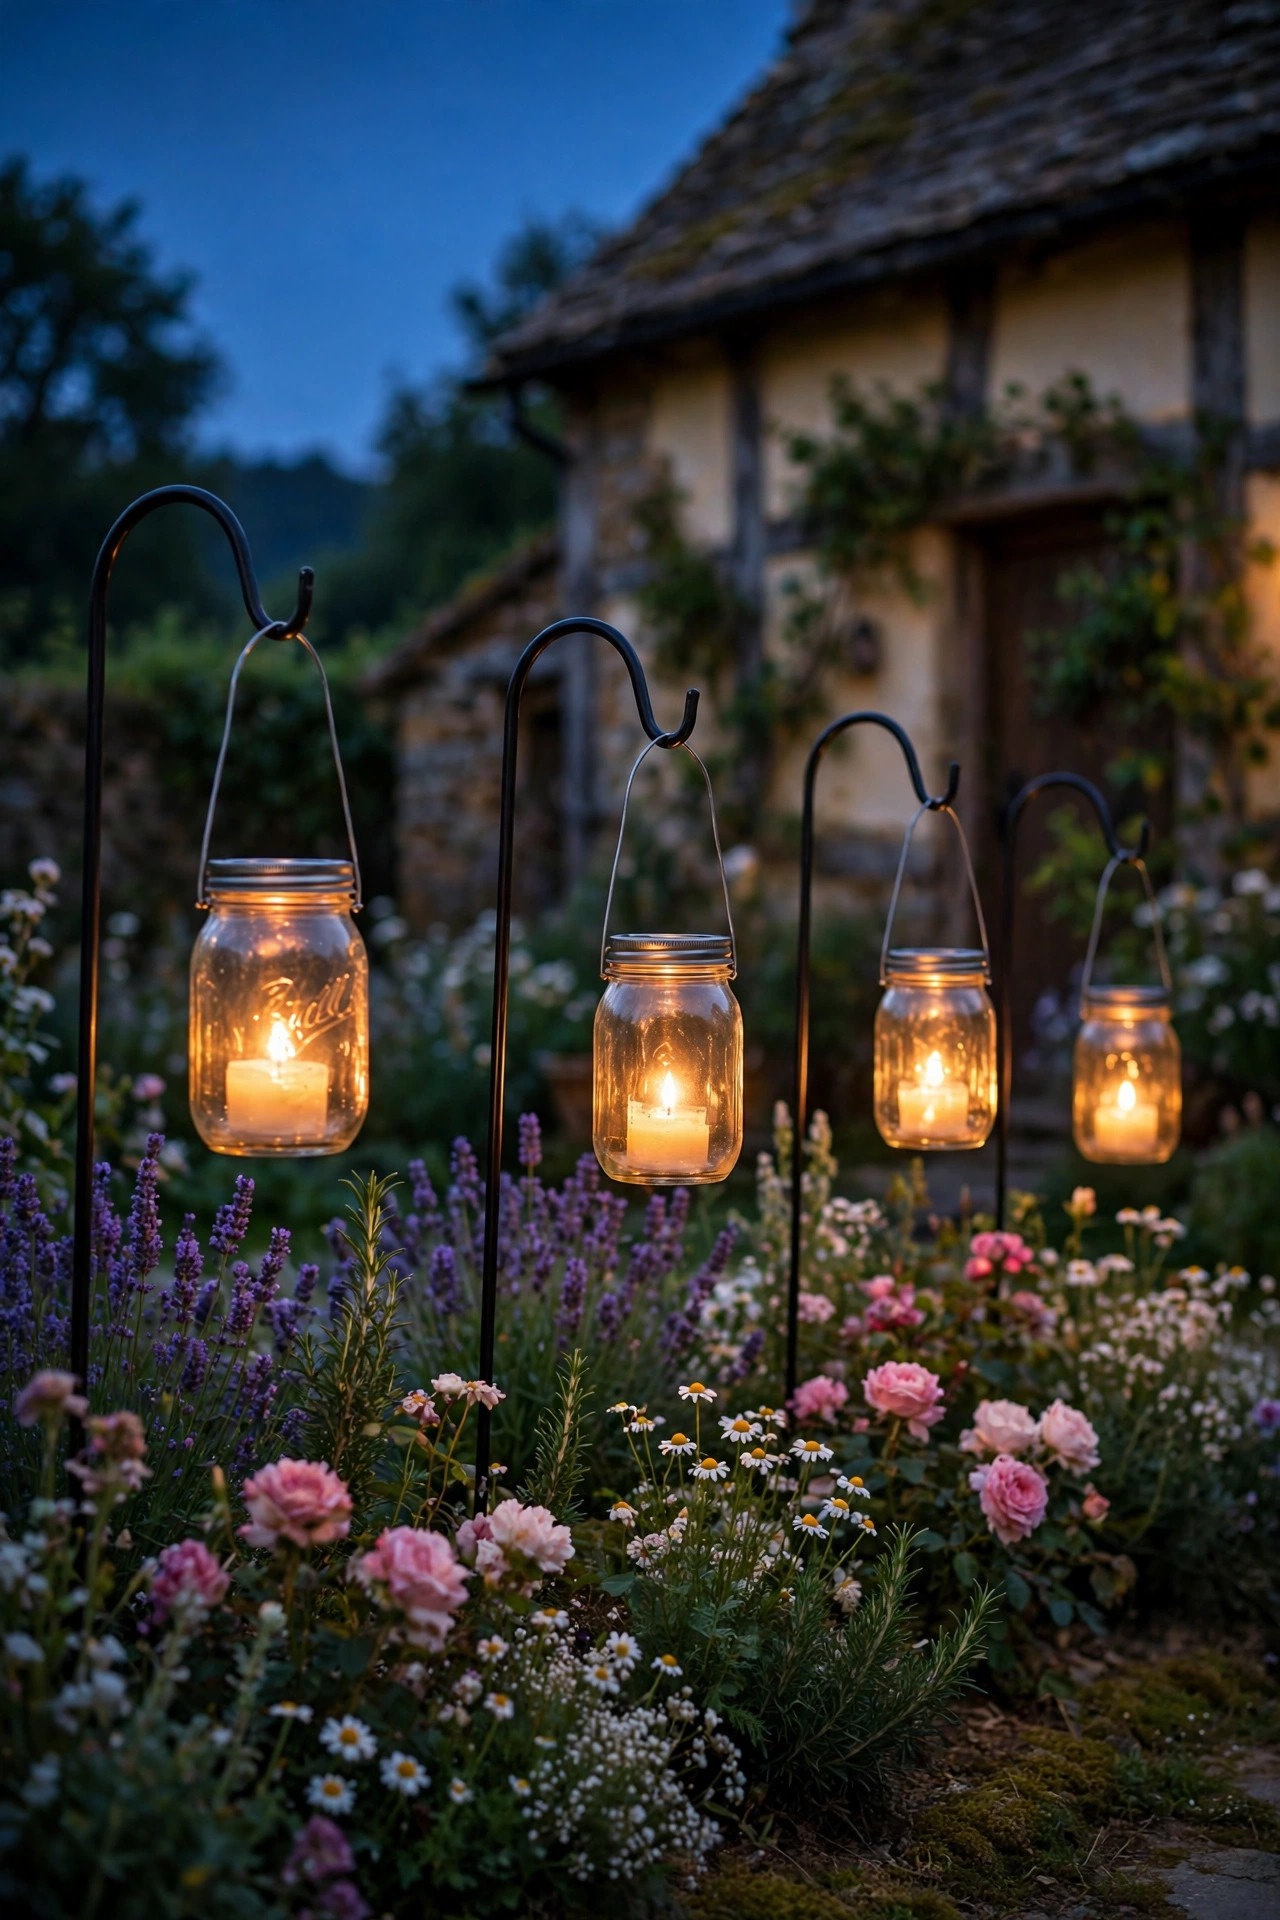
Few things say cottage garden like a row of mason jars glowing along a flower bed. I hang mine from black metal shepherd's hooks, 36 to 48 inches tall, pushed a foot into the soil along the path or border edge. Inside each jar goes either a solar lid insert — the kind with a tiny panel in the cap that charges all day — or a flameless tea light on a timer. Real candles in jars look dreamy for a party, but I never leave them burning unattended, and flameless versions honestly fool everyone after dark. Space the hooks 4 to 5 feet apart and vary the heights slightly if your hooks allow it; that gentle irregularity is what makes it feel handmade instead of manufactured. Frosted jars soften the glow beautifully and hide the battery pack. In winter I bring the jars in, wash them, and store the lids dry — the solar caps are the first thing moisture kills. Group three jars on a hook cluster near the bench, too, for a little lantern bouquet. This is the cheapest idea on the whole list, and somehow it is the one guests always ask about.
Suggested budget range: $25 – $70.
6. Flank the Garden Gate With Lantern Posts
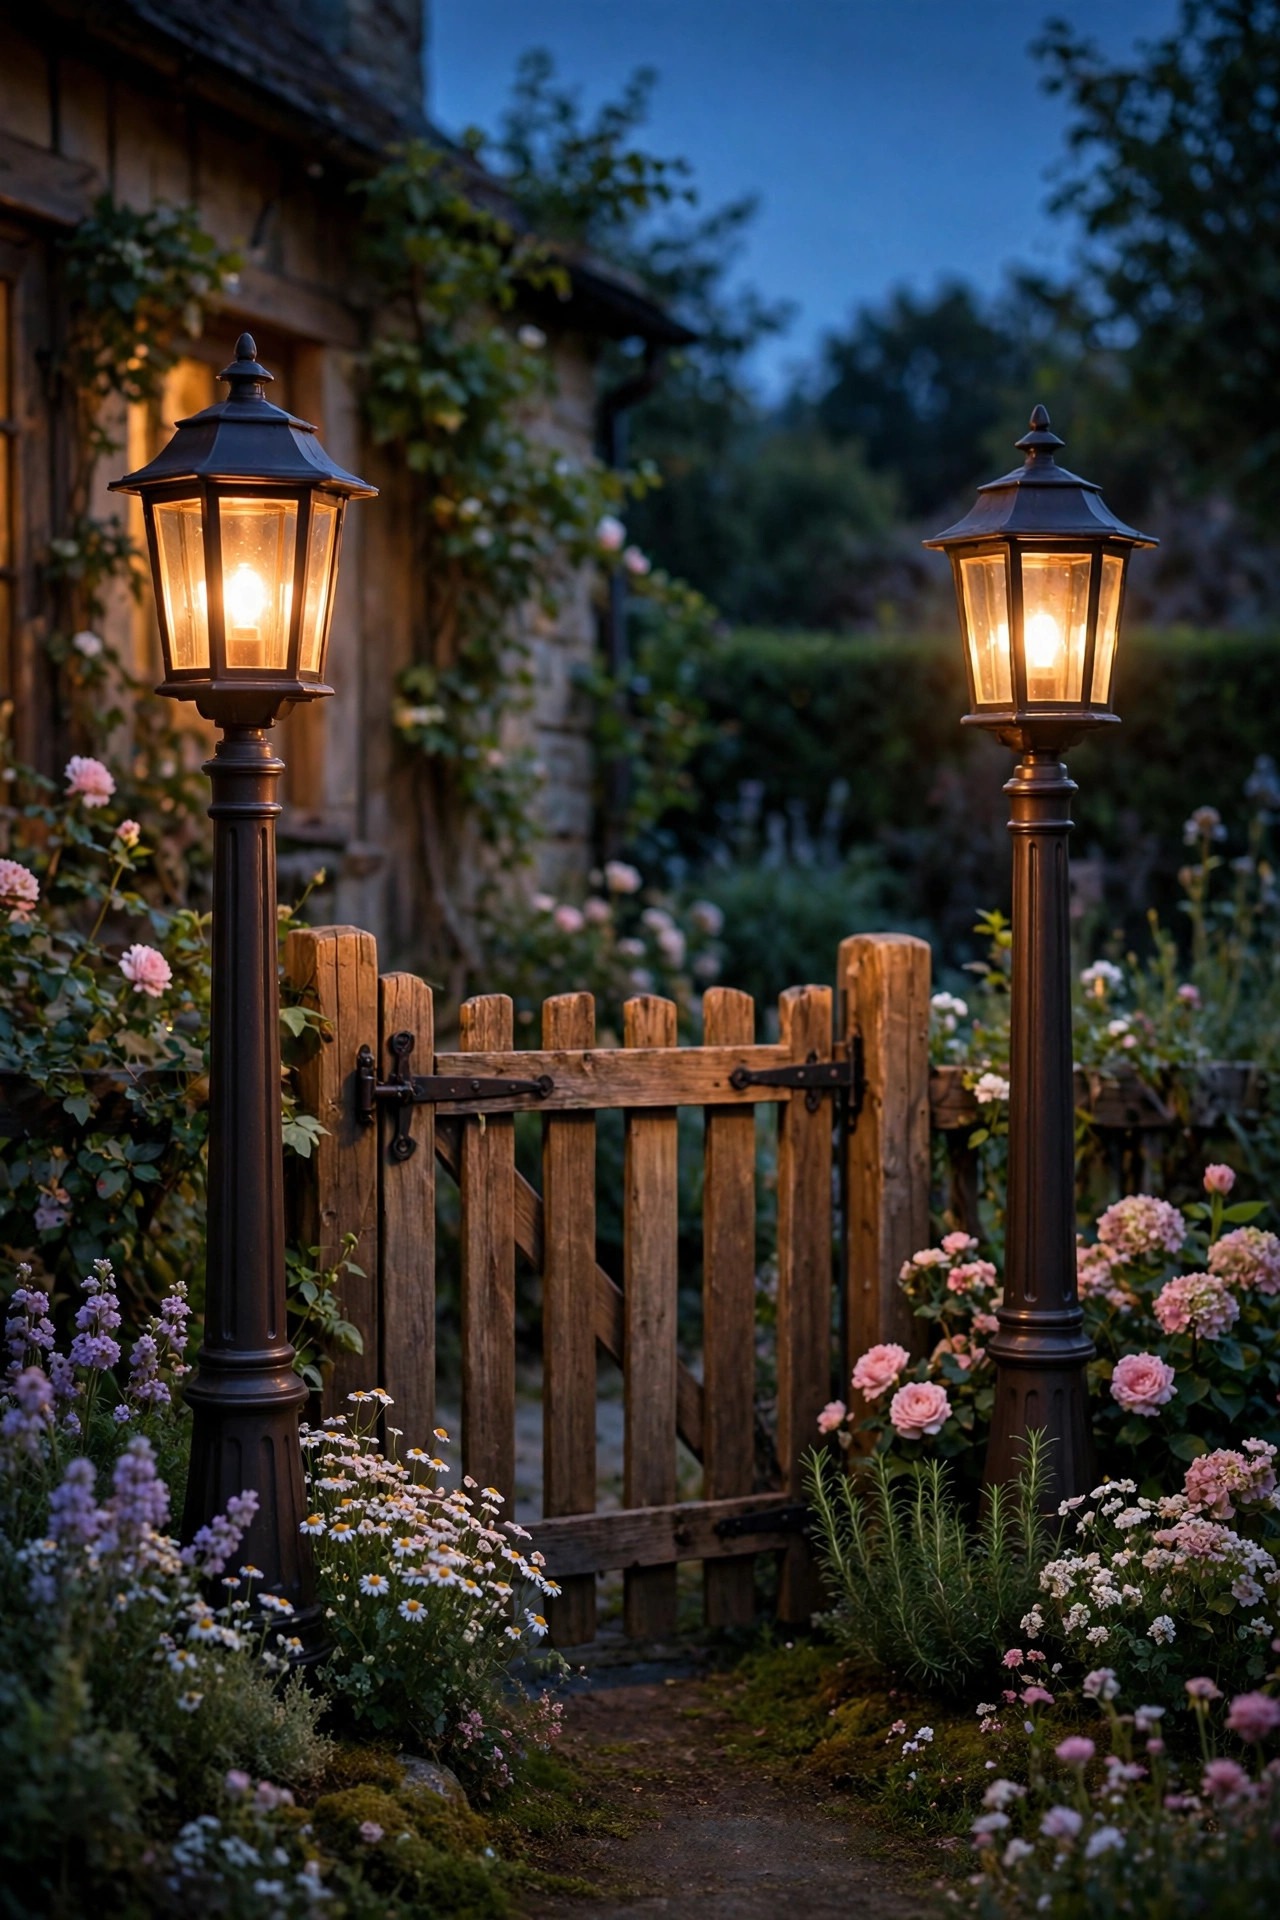
A garden gate is a front door in miniature, and it deserves the same welcome treatment. I flank mine with a matched pair of lantern posts — short ones, 3 to 4 feet tall, with a hanging lantern head or a carriage-style top — set just inside the fence line where they light the latch and the first step through. Symmetry matters here more than anywhere else in the garden, because the gate is where the eye lands first. Hardwired low-voltage posts give the steadiest glow and can share the transformer with your path lights; solar post caps are the renter-friendly route and have gotten genuinely pretty, with seeded glass and warm diodes. Mount or stake them dead level — a leaning lantern post reads shabby in the wrong way within a week. Keep the bulbs modest, around 200 to 300 lumens each; the gate should glow, not glare into the street. I plant something soft at the base of each post, catmint or lady's mantle, so the fixtures disappear into the planting by day. Honestly, this pair of lights does more for curb appeal than anything else I have added.
Suggested budget range: $80 – $240.
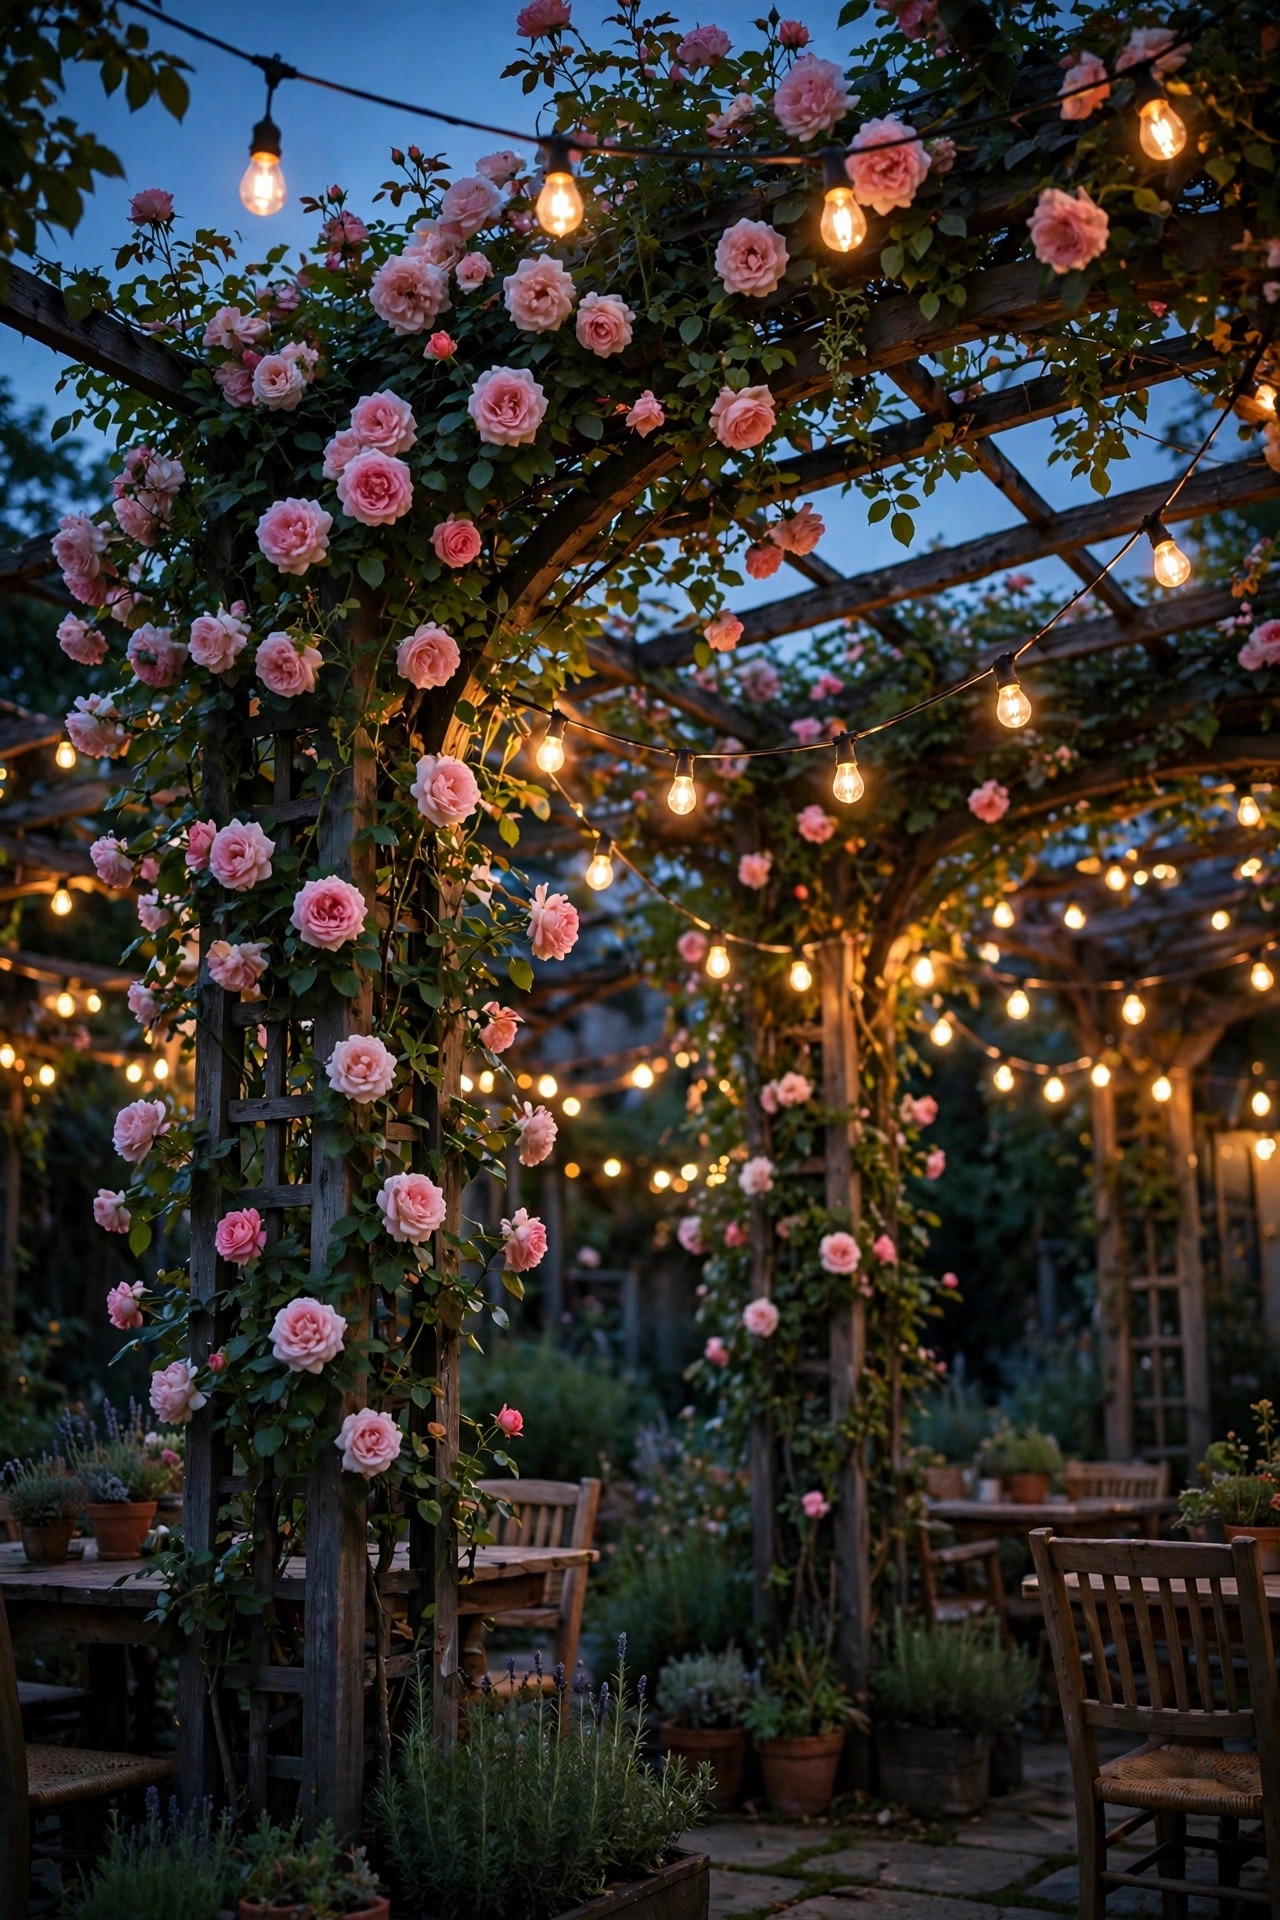
7. Swag Café String Lights Over the Arbor
An arbor or trellis arching over the path is a gift — it gives you a ceiling to light. I swag café string lights along mine in soft catenary curves, one strand per side, with the bulbs hanging about 7 feet above the path so nobody brushes them. Use outdoor-rated strands with shatterproof LED filament-style bulbs and hang them from a tensioned guide wire or sturdy cup hooks screwed into the arbor frame, never from the vine itself; wisteria gets heavy and will happily drag your lights down by midsummer. A gentle swag every 3 to 4 feet looks intentional, and I let a little extra drape collect at the corners. On a dimmer or a smart plug, these become the middle layer of the whole garden — the glow you see from the kitchen window. Check the strand rating before you buy: you want wet-location listed, with sealed sockets, and a maximum run length you actually respect when linking strands. Keep a couple of spare bulbs in the kitchen drawer. When the roses bloom through those swags in June, I swear the whole garden smells better just because it looks so pretty.
Suggested budget range: $60 – $160.
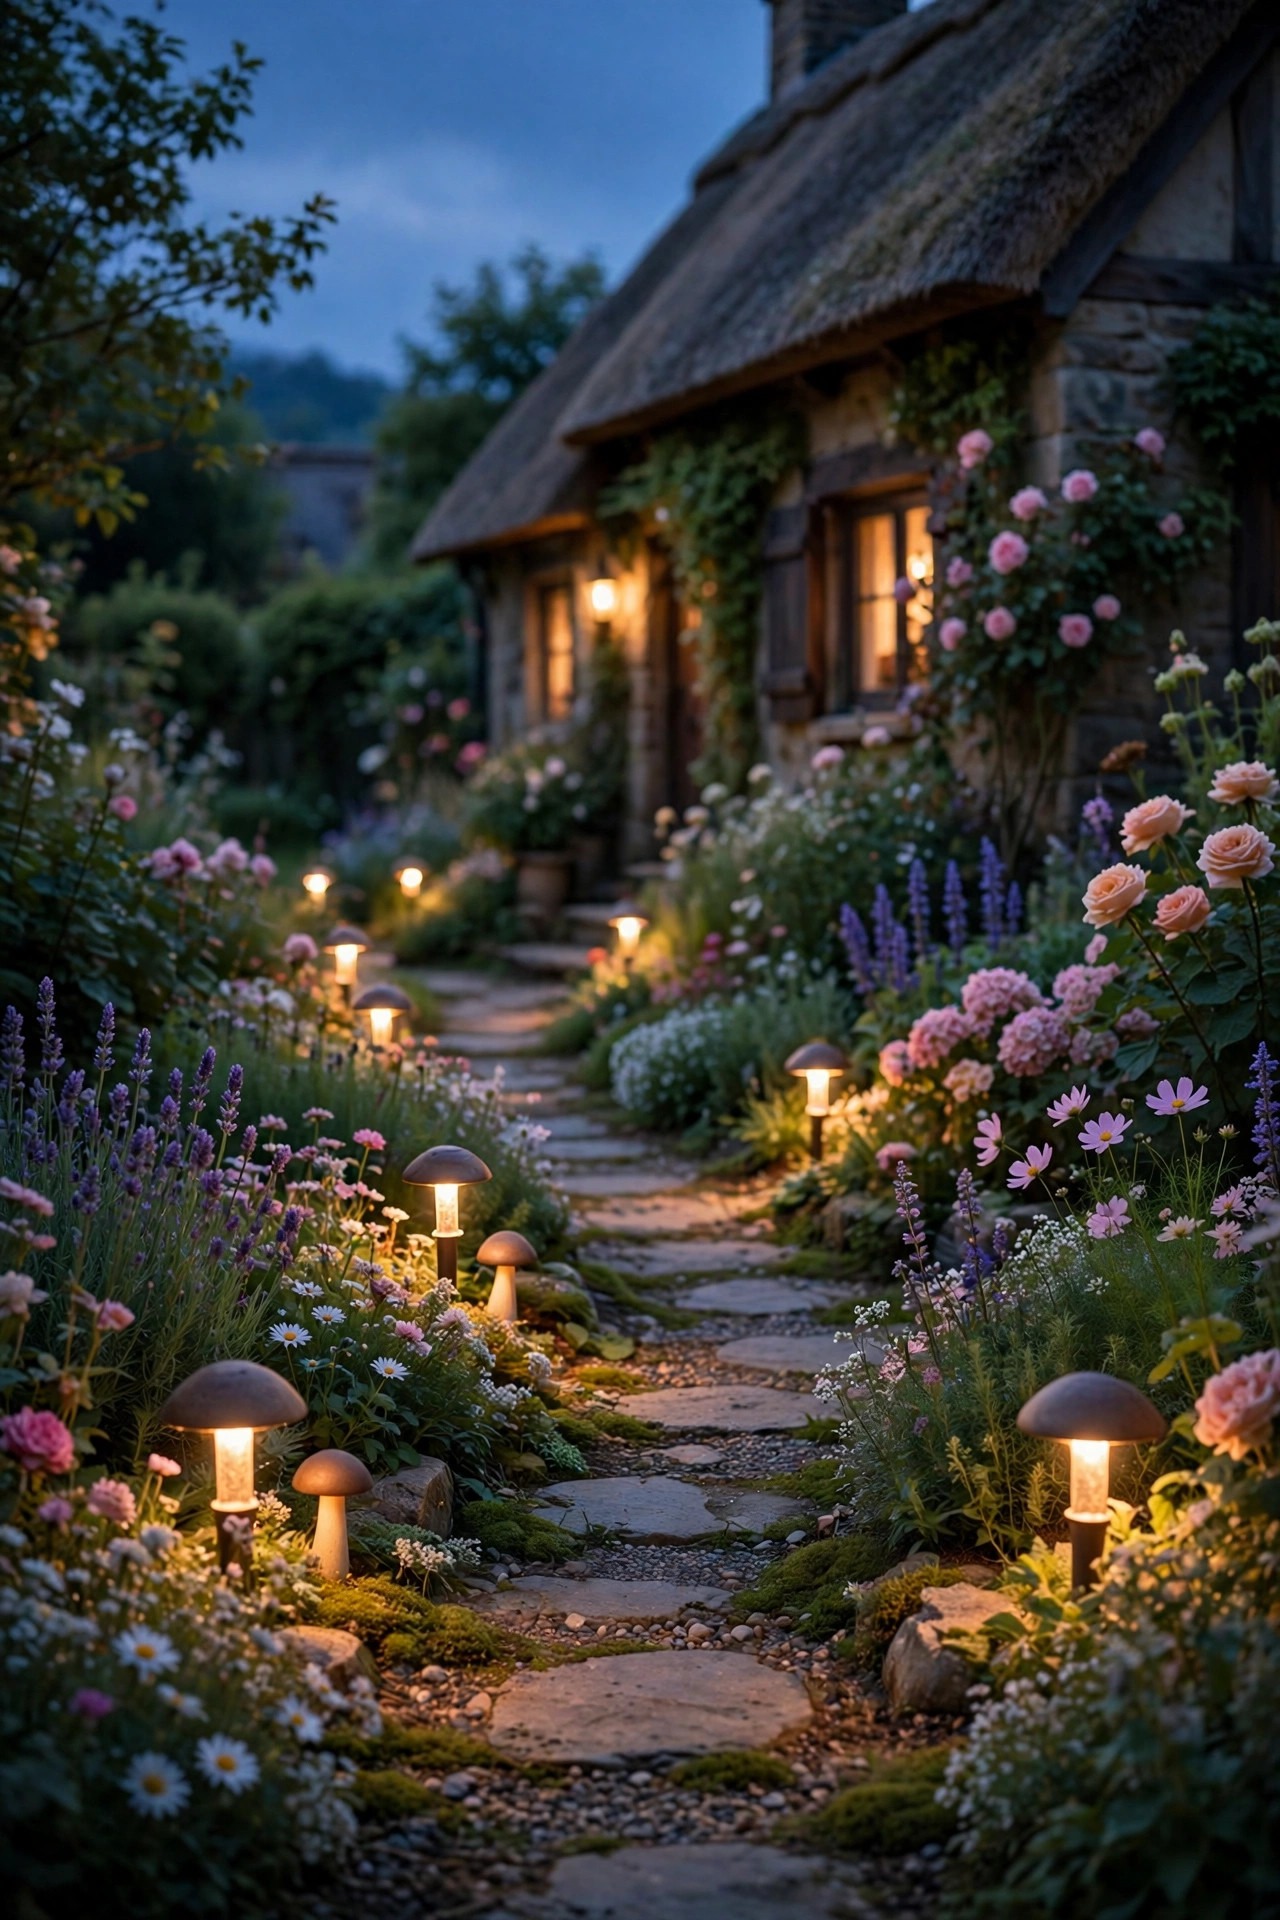
8. Dot the Path With Mushroom-Style Lights
If your garden leans storybook — and if you are reading this, it does — mushroom-style path lights were made for you. The little domed caps shade the bulb completely, so all you see is a warm pool of light on the path and a cute silhouette by day. Because the light is fully shielded, there is zero glare in your eyes as you walk, which makes them perfect along the stretch of path you see from the house. I space mine a little wider than standard path lights, about 7 to 8 feet apart, since their job is mood first and wayfinding second. Solar versions are everywhere and fine in sun; low-voltage versions are steadier for the shady woodland corner. Keep them small — 8 to 12 inches tall — so they read as toadstools that wandered in, not fixtures you installed. They pair adorably with the fairy-light tree and the mason jars, and children lose their minds over them in the best way. One practical note: the domes collect pollen and spiderwebs, so a ten-second wipe when you deadhead the roses keeps the glow clean.
Suggested budget range: $45 – $130.
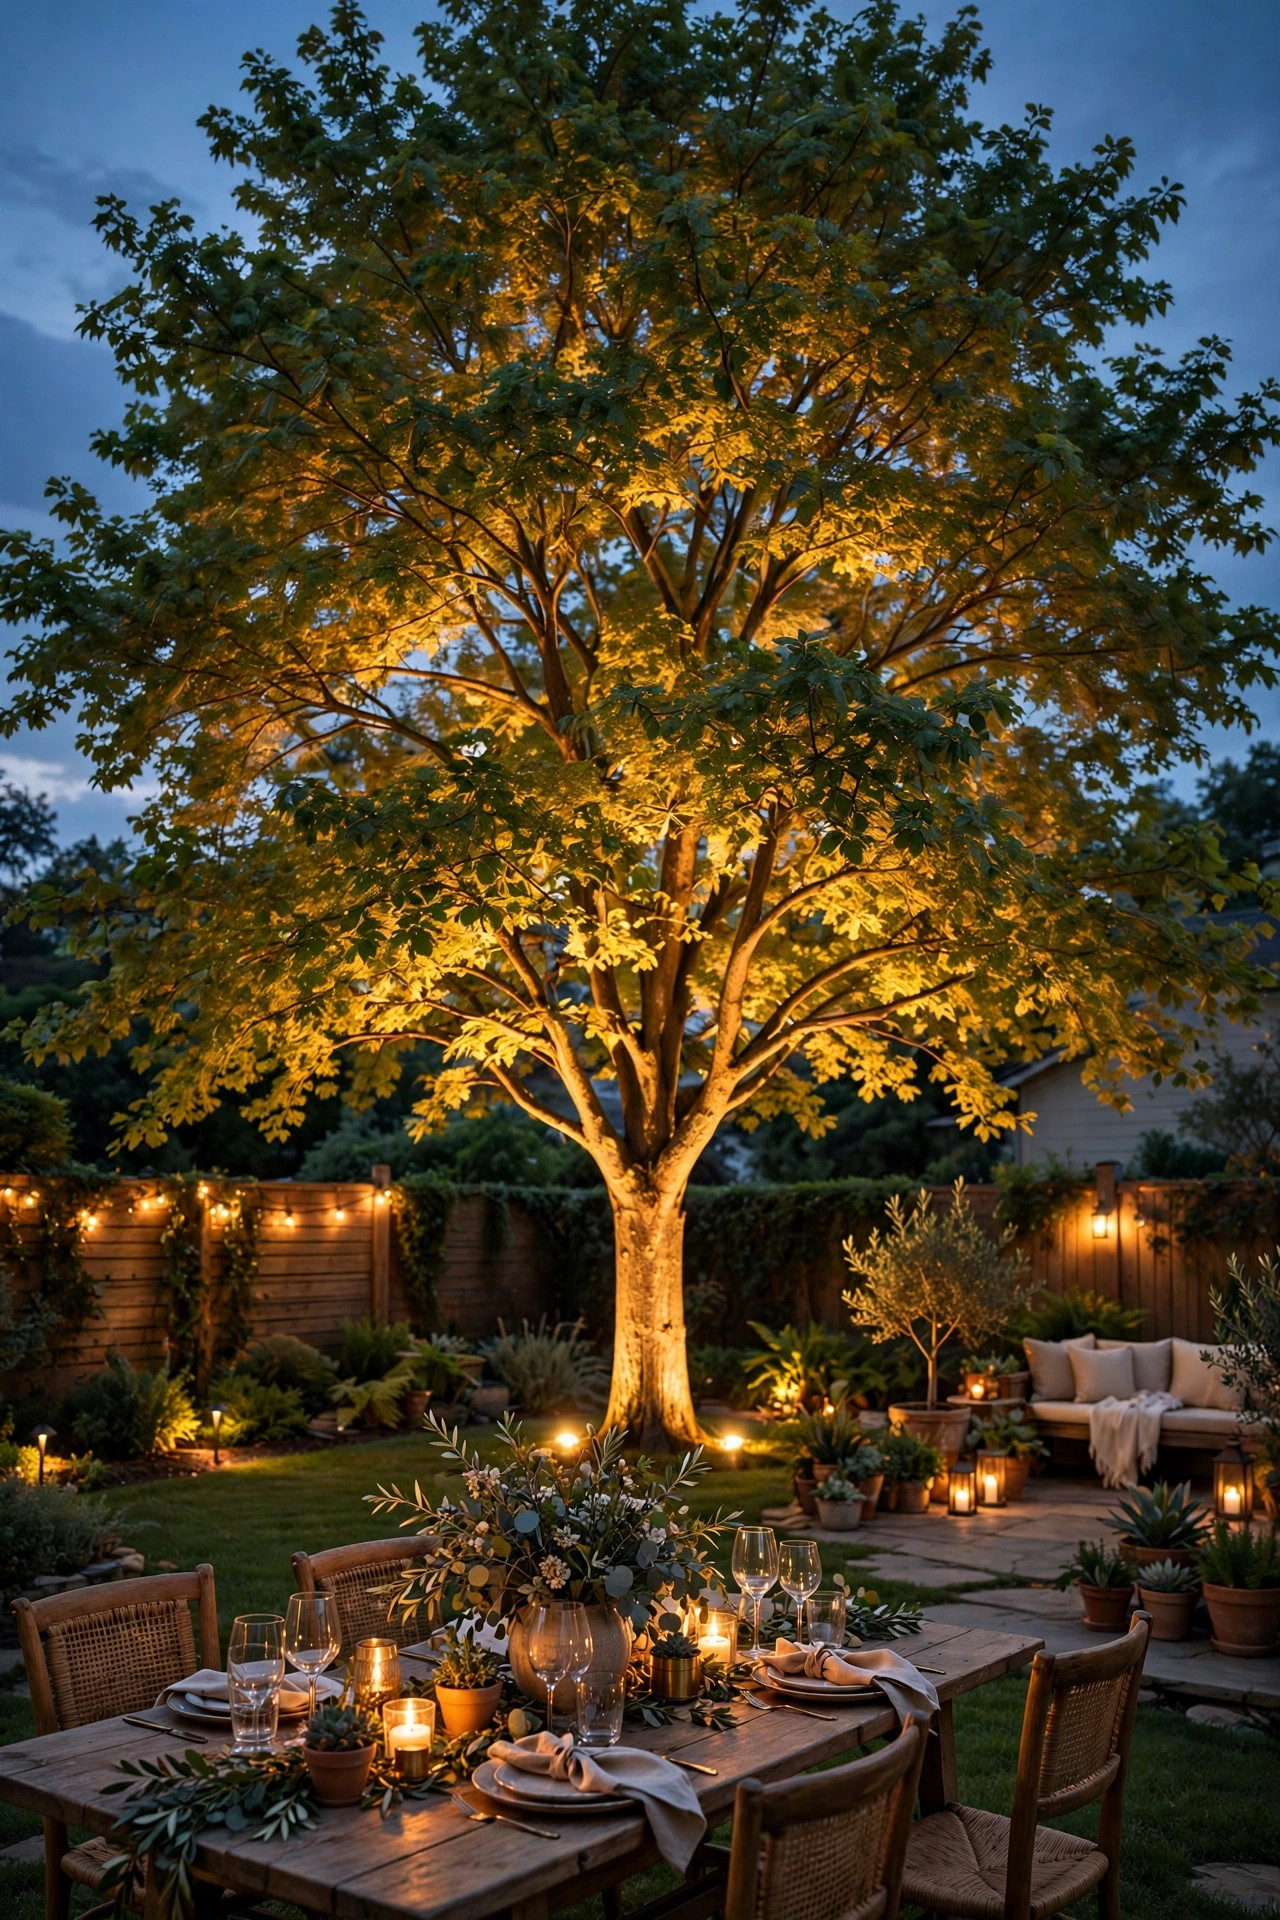
9. Uplight One Beloved Tree or Garden Statue
Every garden has a star: the gnarled apple tree, the stone rabbit half-hidden in the hostas, the birdbath your grandmother gave you. Give that one thing a single uplight and let everything else stay supporting cast. A low-voltage well light or a small adjustable spotlight staked 12 to 18 inches from the base, aimed up at about a 45-degree angle, turns bark texture and stone detail into sculpture after dark. Warm 2700K again, and modest output — 300 to 500 lumens is plenty, because the drama comes from contrast with the dark around it, not from brightness. Angle the beam so it never spills into a neighbor's window or your own eyes from the bench; a little shield or honeycomb louver helps. Bury low-voltage cable 6 inches deep along the bed edge, and put this light on the same timer as the rest so your star rises right on cue at dusk. Resist the urge to uplight three things. In my experience, one glowing focal point reads enchanted, while three read like a garden center display. Rotate the honor seasonally if you cannot choose — statue in spring, tree in summer.
Suggested budget range: $50 – $150.
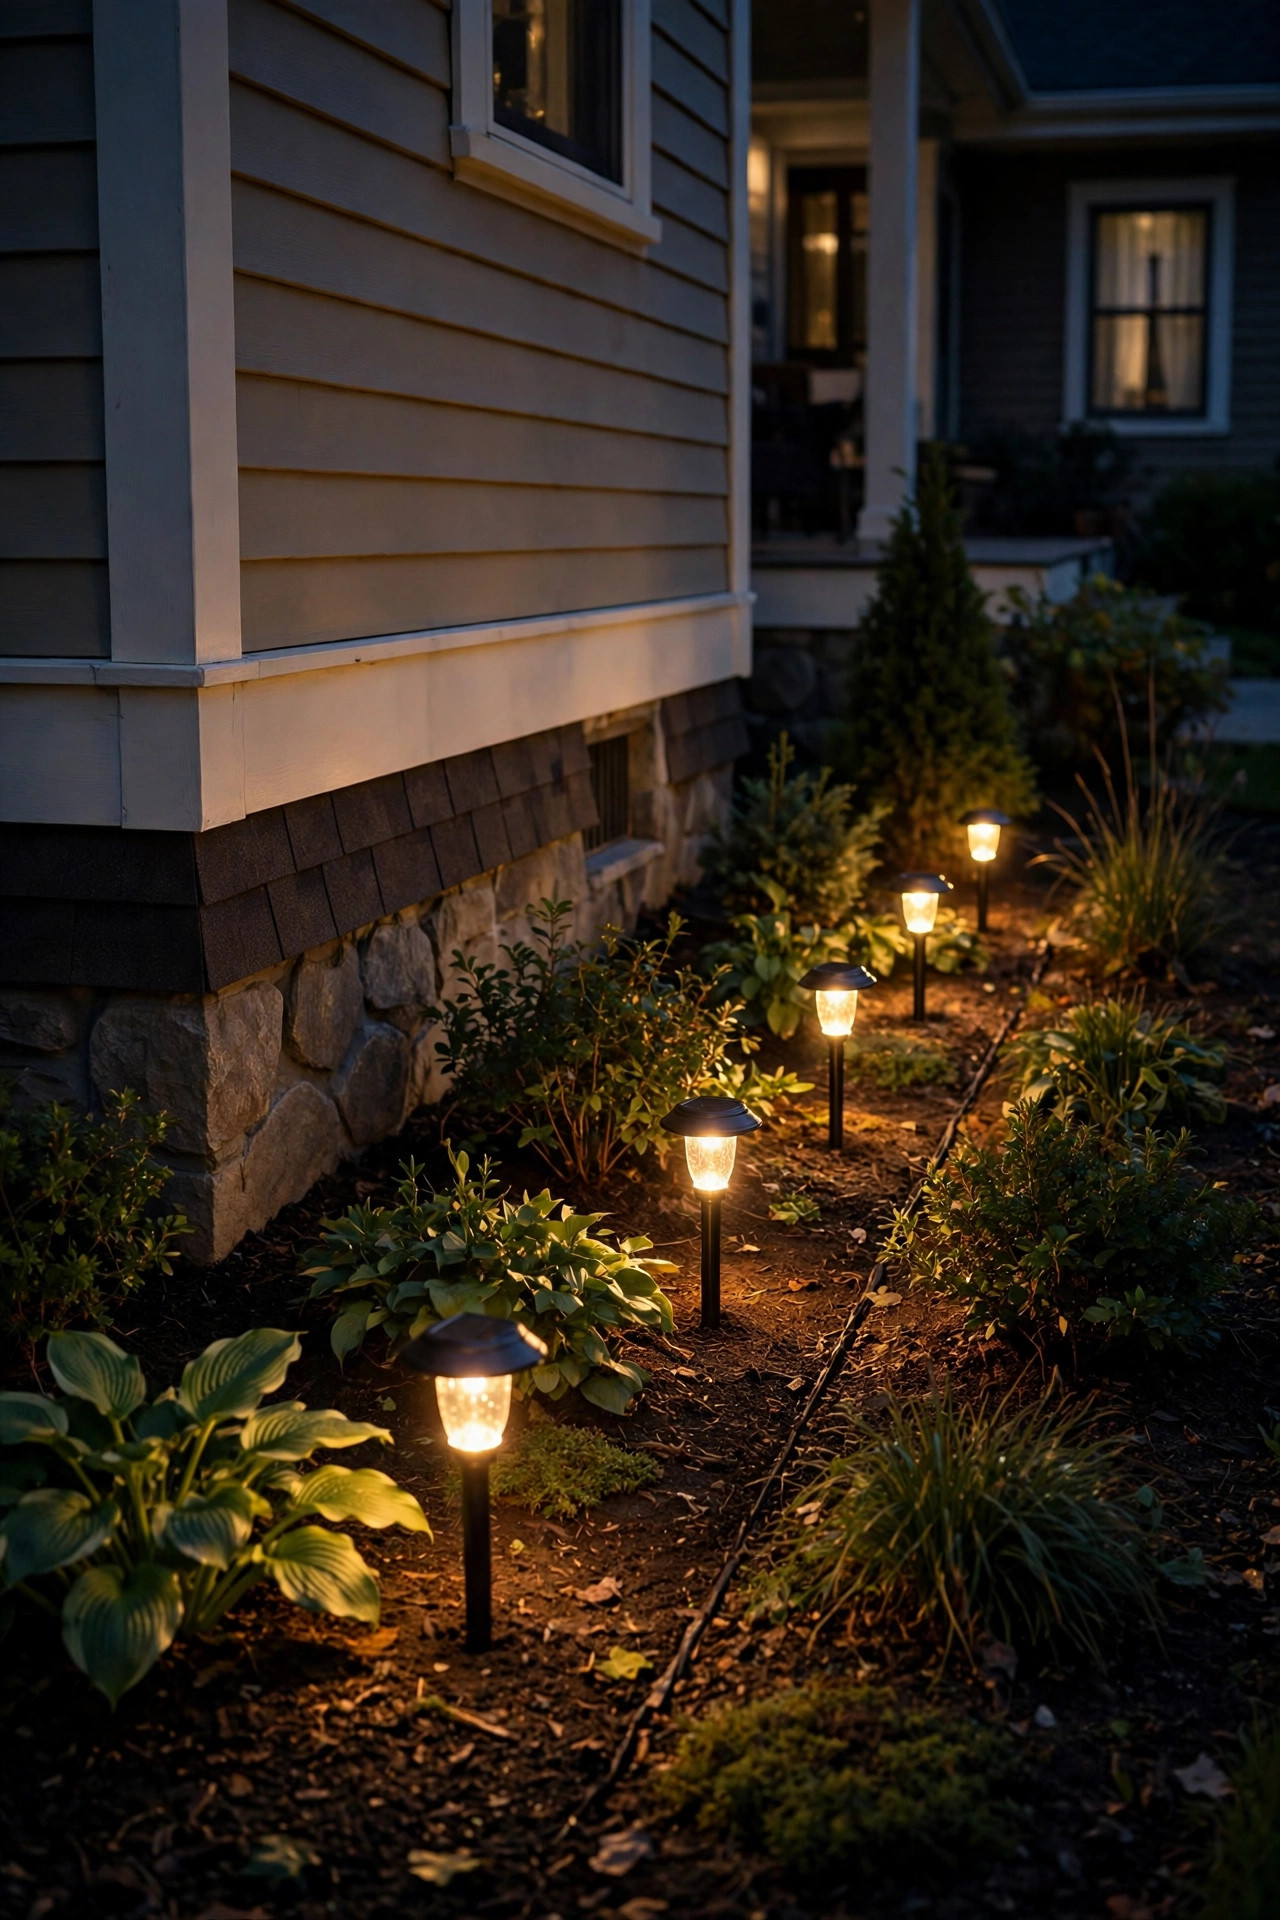
10. Tuck Solar Stakes Into the Flower Beds
The prettiest bed lighting hides its hardware. I push slim solar stake lights down among the perennials — between the catmint, behind the daylilies — so the fixture vanishes and only a soft bloom of light shows among the leaves. Choose stakes 12 to 18 inches tall with small, warm heads, and angle the adjustable ones slightly downward so the light washes the foliage instead of shining in your eyes. Three to five per bed is plenty; you are seasoning, not sautéing. Solar stakes are the most forgiving lights in the garden: no wire, no transformer, and if a clump of phlox outgrows one, you just pull it up and move it two feet left. Their weakness is shade, so place them toward the sunnier front edge of the bed where the panels can drink all afternoon. By July, when the beds are full and blowsy, those little glows make the whole border look like it is breathing. Pull the stakes before you divide perennials in fall, and store them in the shed over winter — the batteries last twice as many seasons that way.
Suggested budget range: $30 – $90.
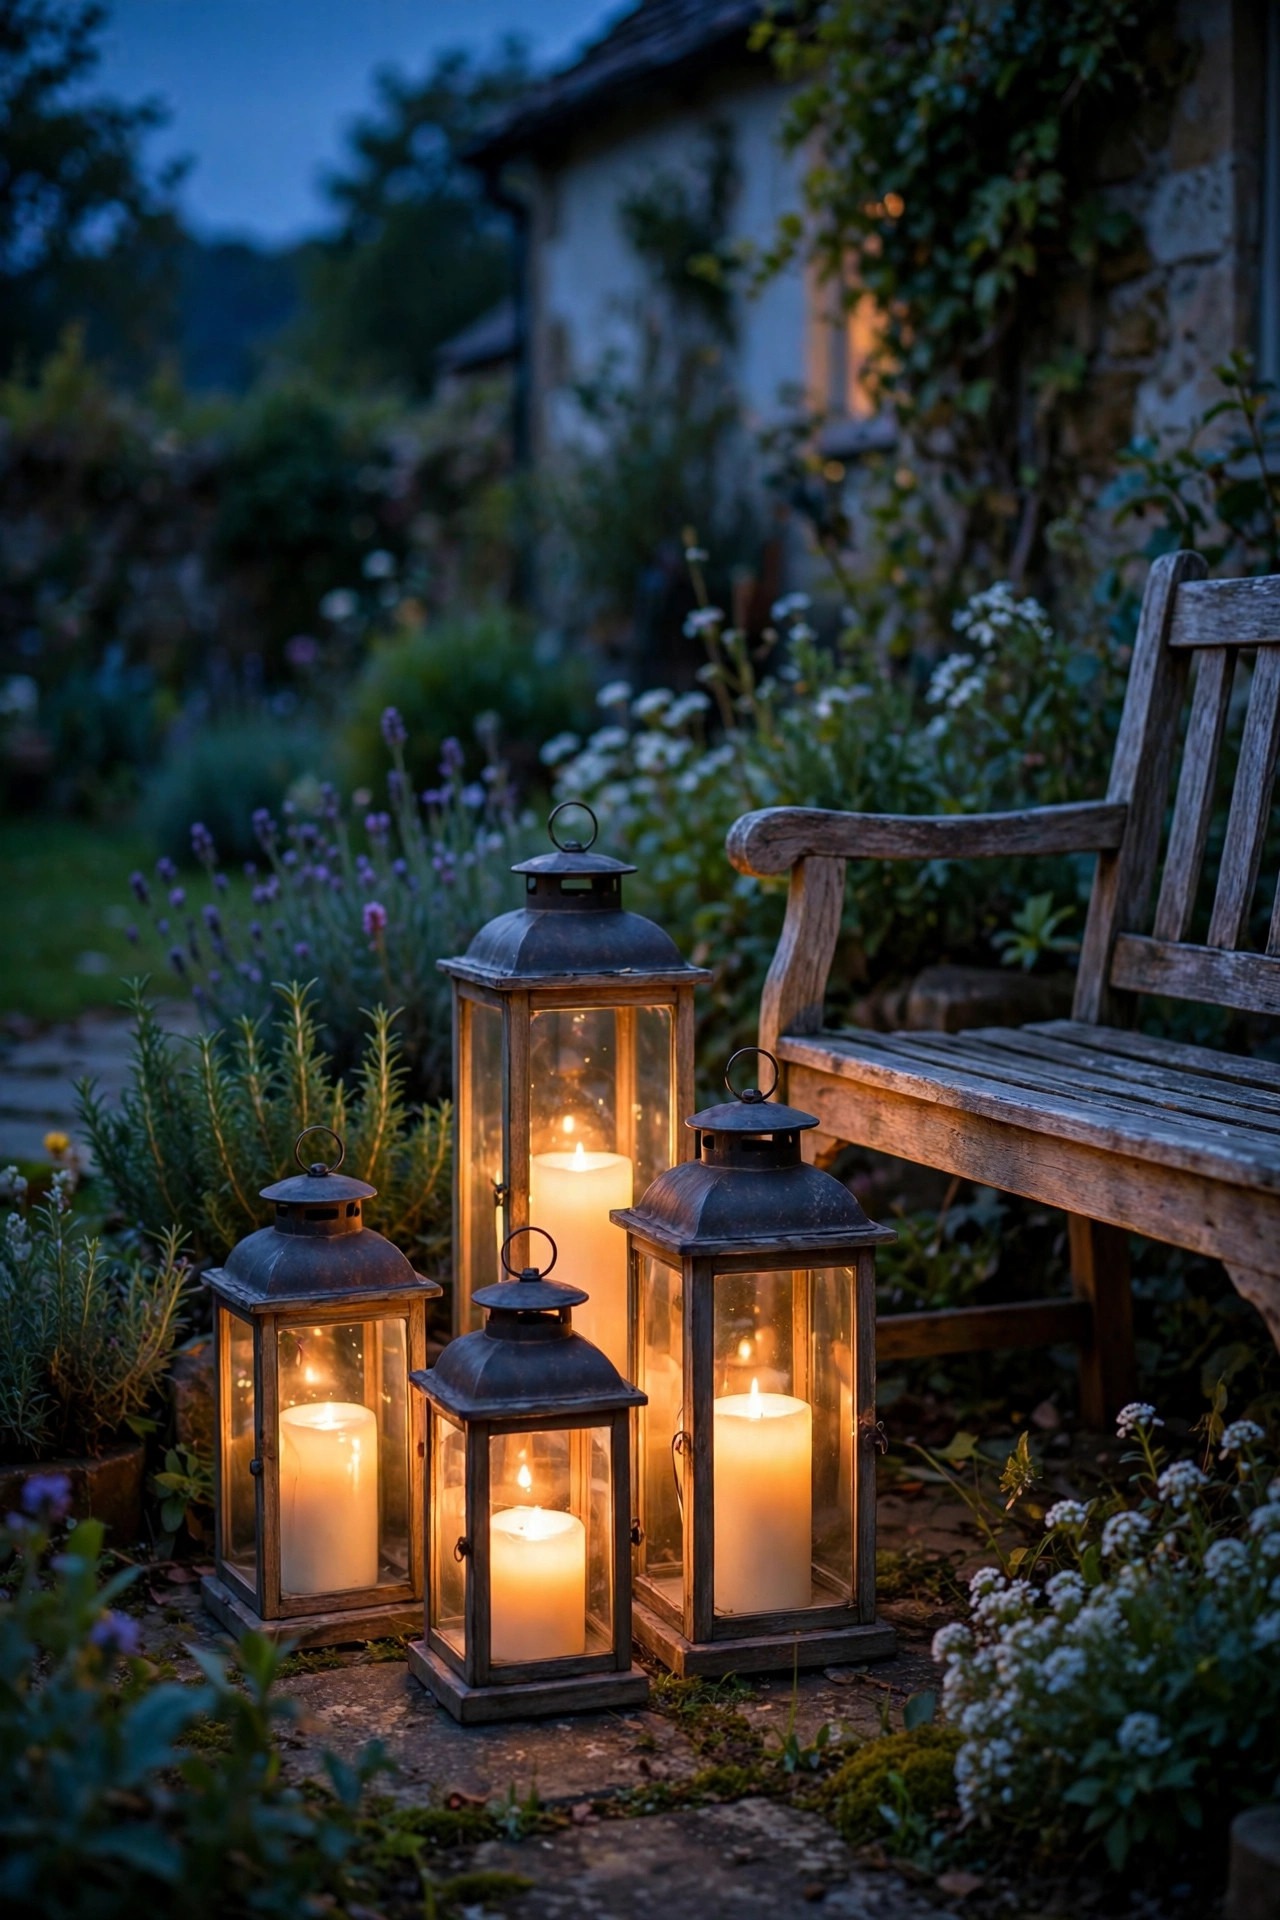
11. Cluster Hurricane Lanterns on the Bench and Steps
A garden bench in the dark is just furniture; a garden bench with lanterns is a destination. I cluster hurricane lanterns — glass chimneys over flameless pillar candles — in threes: one on the bench, two on the ground beside it, or a small row along the garden steps where feet need the hint of light. Flameless candles with a timer are the whole trick here. Set them once to come on at dusk for five hours and the garden simply kindles itself every evening, with zero open flame near mulch, dry leaves, or the hem of your dress. Look for outdoor-rated flameless candles with a realistic flicker; the cheap indoor ones yellow and quit in the humidity. Vary the heights — a 4-inch, a 6-inch, a 9-inch pillar together look collected, not matched. The glass hurricanes keep wind from being an issue and keep curious moths out of the flame area. If your steps are the slippery kind, put one lantern at the top and one at the bottom rather than on the treads themselves. This little cluster is where I sit with tea after dinner all summer, and it cost less than the bench did.
Suggested budget range: $35 – $100.
12. Try Moonlighting From a High Branch
Moonlighting is the most magical effect on this list and the one that takes the most care. A single fixture mounted 15 to 20 feet up in a sturdy tree, aimed straight down through the branches, casts dappled light and leaf shadows across the path below — it honestly looks like a full moon moved in permanently. Use a low-voltage downlight with a warm 2700–3000K bulb and a soft spread; hang it on the trunk side of a major limb so the hardware disappears. The cable runs down the back of the trunk in a loose coil — trees grow, and a tight cable girdles bark within a few seasons. I will be honest: this is the one job where a tall ladder, a helper on the ground, and patience are non-negotiable, and there is no shame in hiring a lighting installer for an afternoon. Never nail into the tree; use stainless straps or tree-rated mounts that can be adjusted as the trunk expands. The payoff, though — dinner guests always ask what kind of moon it is. Keep this as your single high-layer star and let the fairy lights play support.
Suggested budget range: $120 – $350.

13. Scatter Firefly Stakes Through the Borders
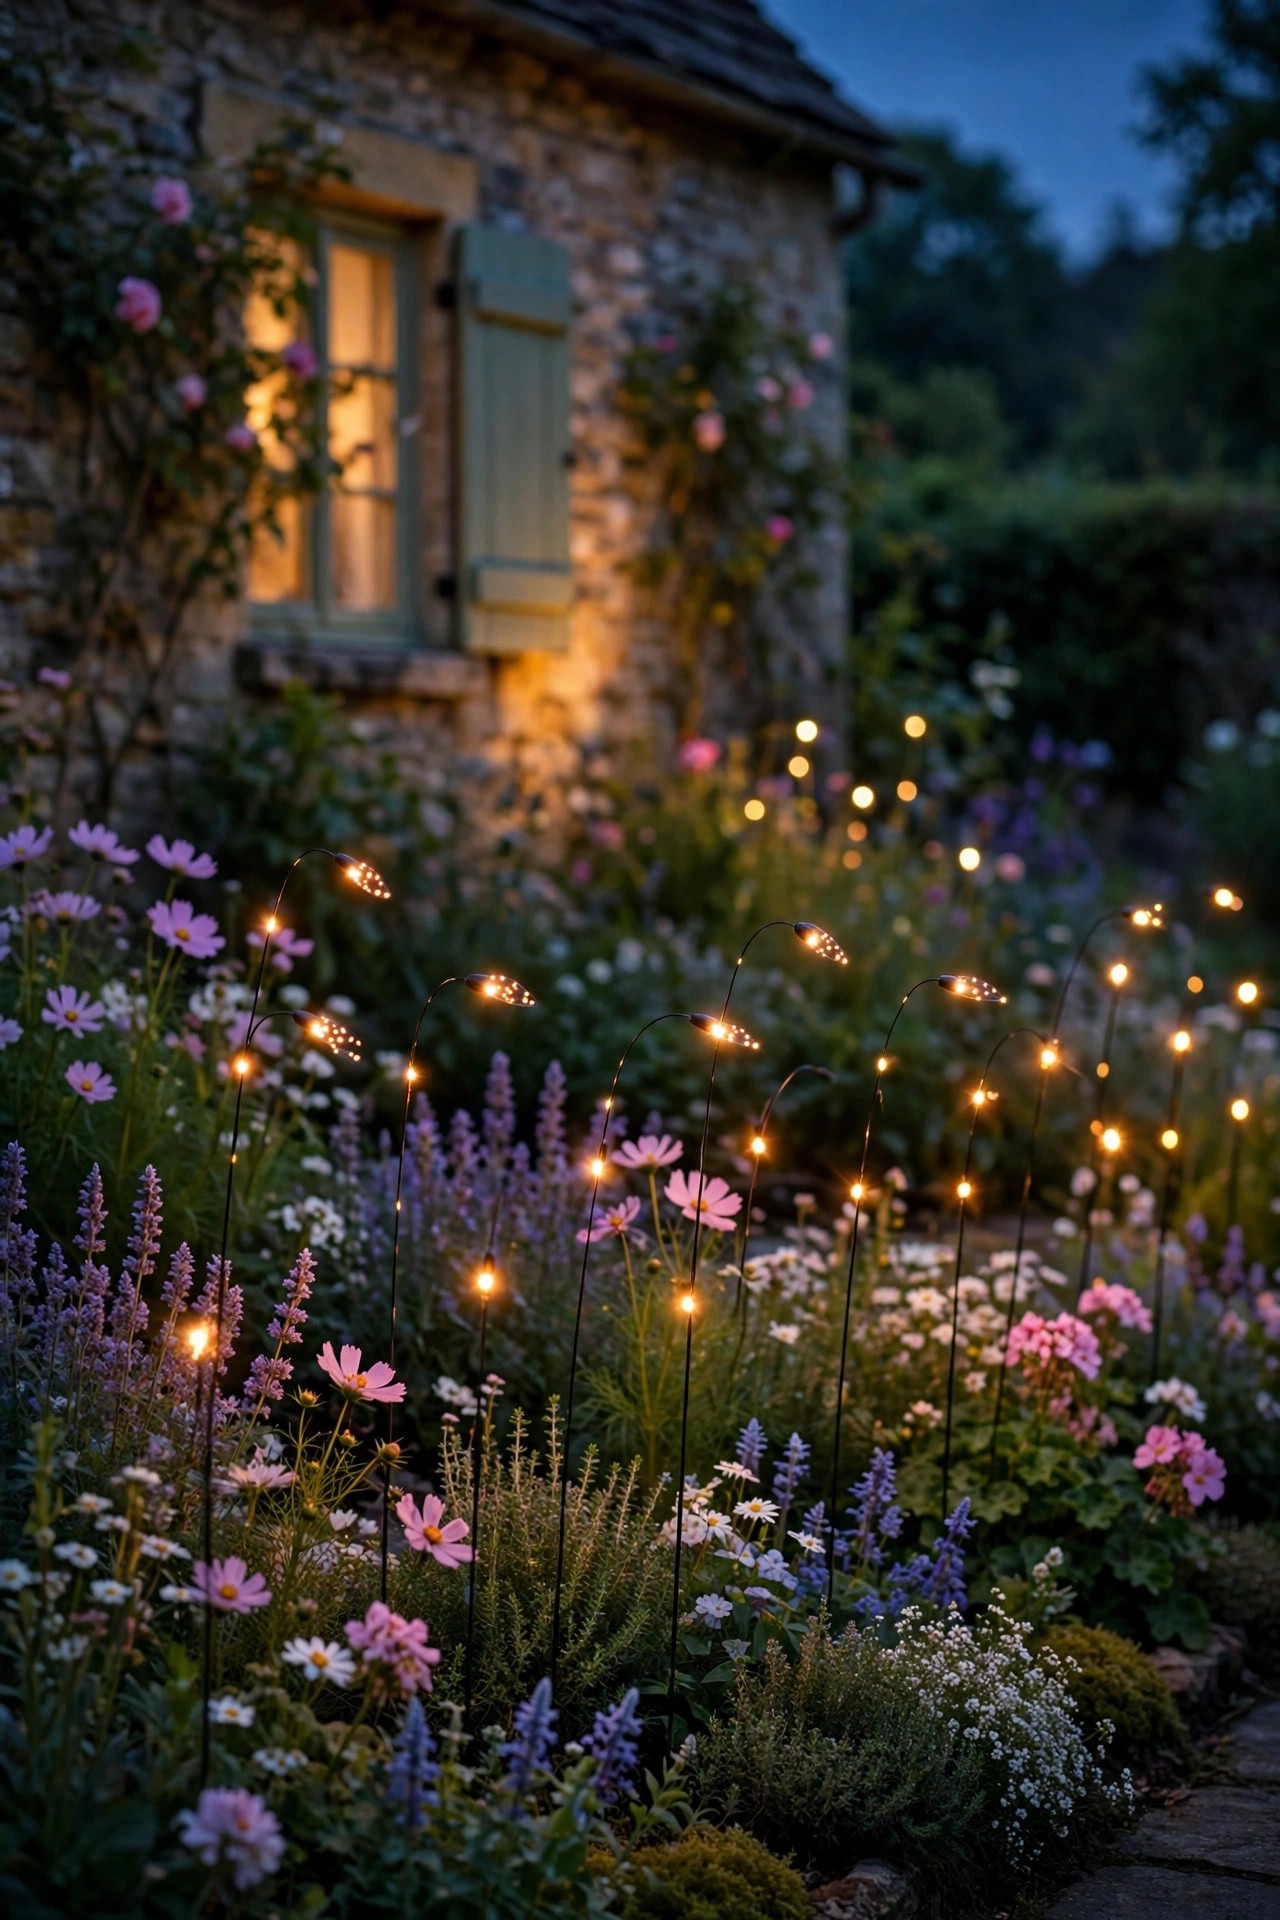
Firefly lights are pure nostalgia: a cluster of tiny warm dots on thin flexible stems that sway in the evening breeze exactly like the real thing. Each solar stake holds six to ten little bulbs on wires you bend and arrange once, fanning them out over the border so they hover at different heights among the flowers. I plant them in groups of three stakes at the back of a bed, where the movement catches your eye from the house. They give almost no usable light — that is not their job — but as atmosphere they are unmatched, and on still June evenings visitors genuinely mistake them for fireflies for a second. The panels need sun, so site the stake base where the foliage will not swallow it by midsummer; taller back-of-border plants are the usual culprits. Bring them in before the first hard frost if you want the batteries to see another summer. One styling tip: keep firefly stakes away from the fairy-light tree. Two different sparkles in the same view compete, and the garden feels calmer when each glow gets its own little stage.
Suggested budget range: $25 – $75.
14. Give the Birdbath a Gentle Glow
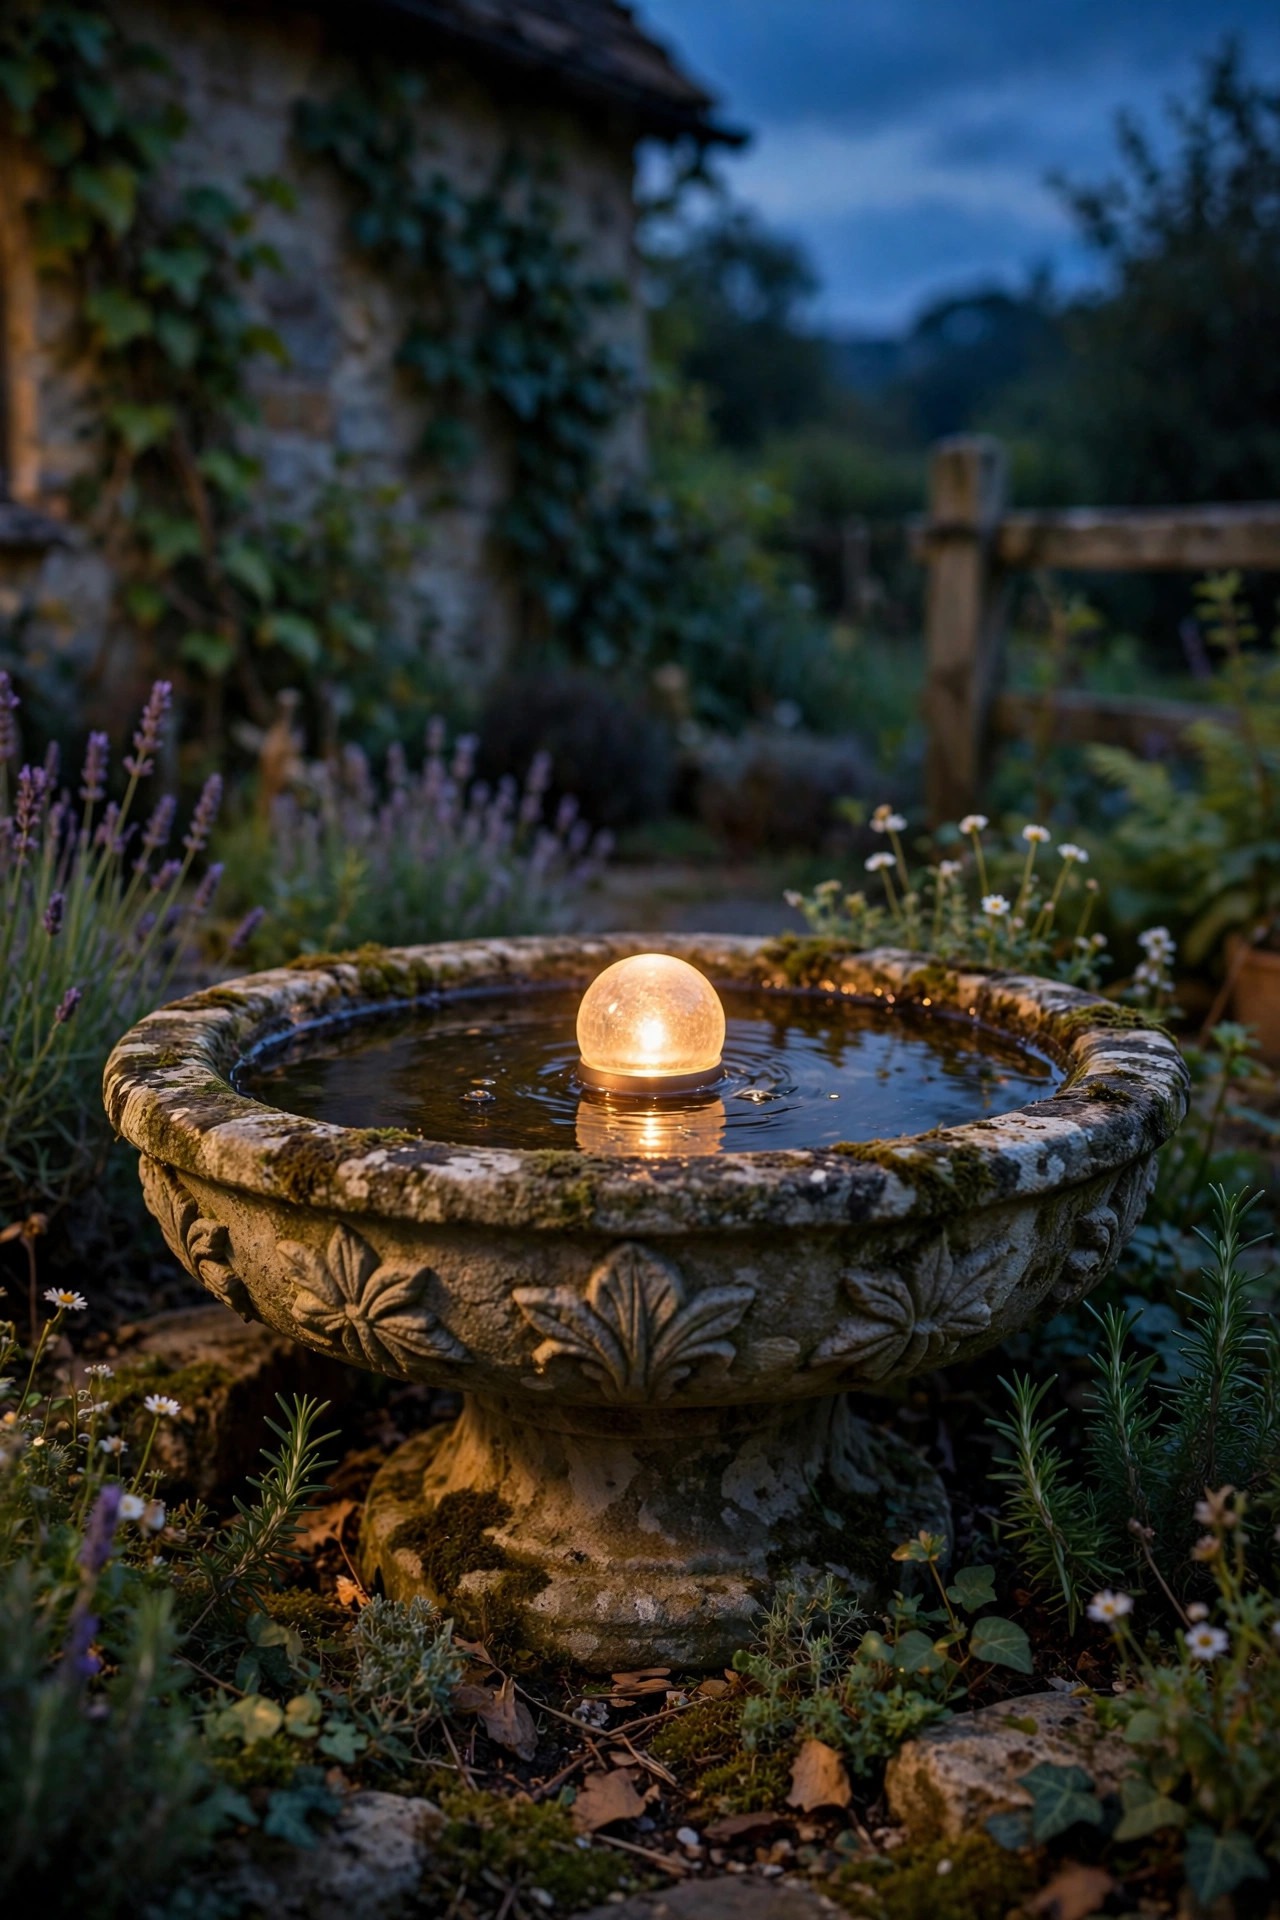
Water doubles every light you give it, so the birdbath or little fountain is the cheapest drama in the garden. A small solar spotlight staked in the planting nearby, aimed at the water's surface from a low angle, turns the basin into a shimmering mirror after dark. Or float a solar orb right in the bath — the waterproof kind rated IP68 that charges all day and glows on the water all evening; the ripples from a late drink make it dance. If your feature has a pump, keep any wired light on a GFCI-protected circuit, no exceptions, and keep fixtures rated for submersion if they go in the water rather than beside it. Aim carefully: you want the gleam on the water, not a beam in the eyes of anyone on the bench. This is also the one spot where I allow a slightly cooler bulb, 3000K, because it reads moonlit on water — but warm works beautifully too. Clean the solar panel when you scrub the bath, which, if your robins are anything like mine, is about twice a week in June.
Suggested budget range: $20 – $80.
15. Hang Paper Lanterns for Garden Party Nights
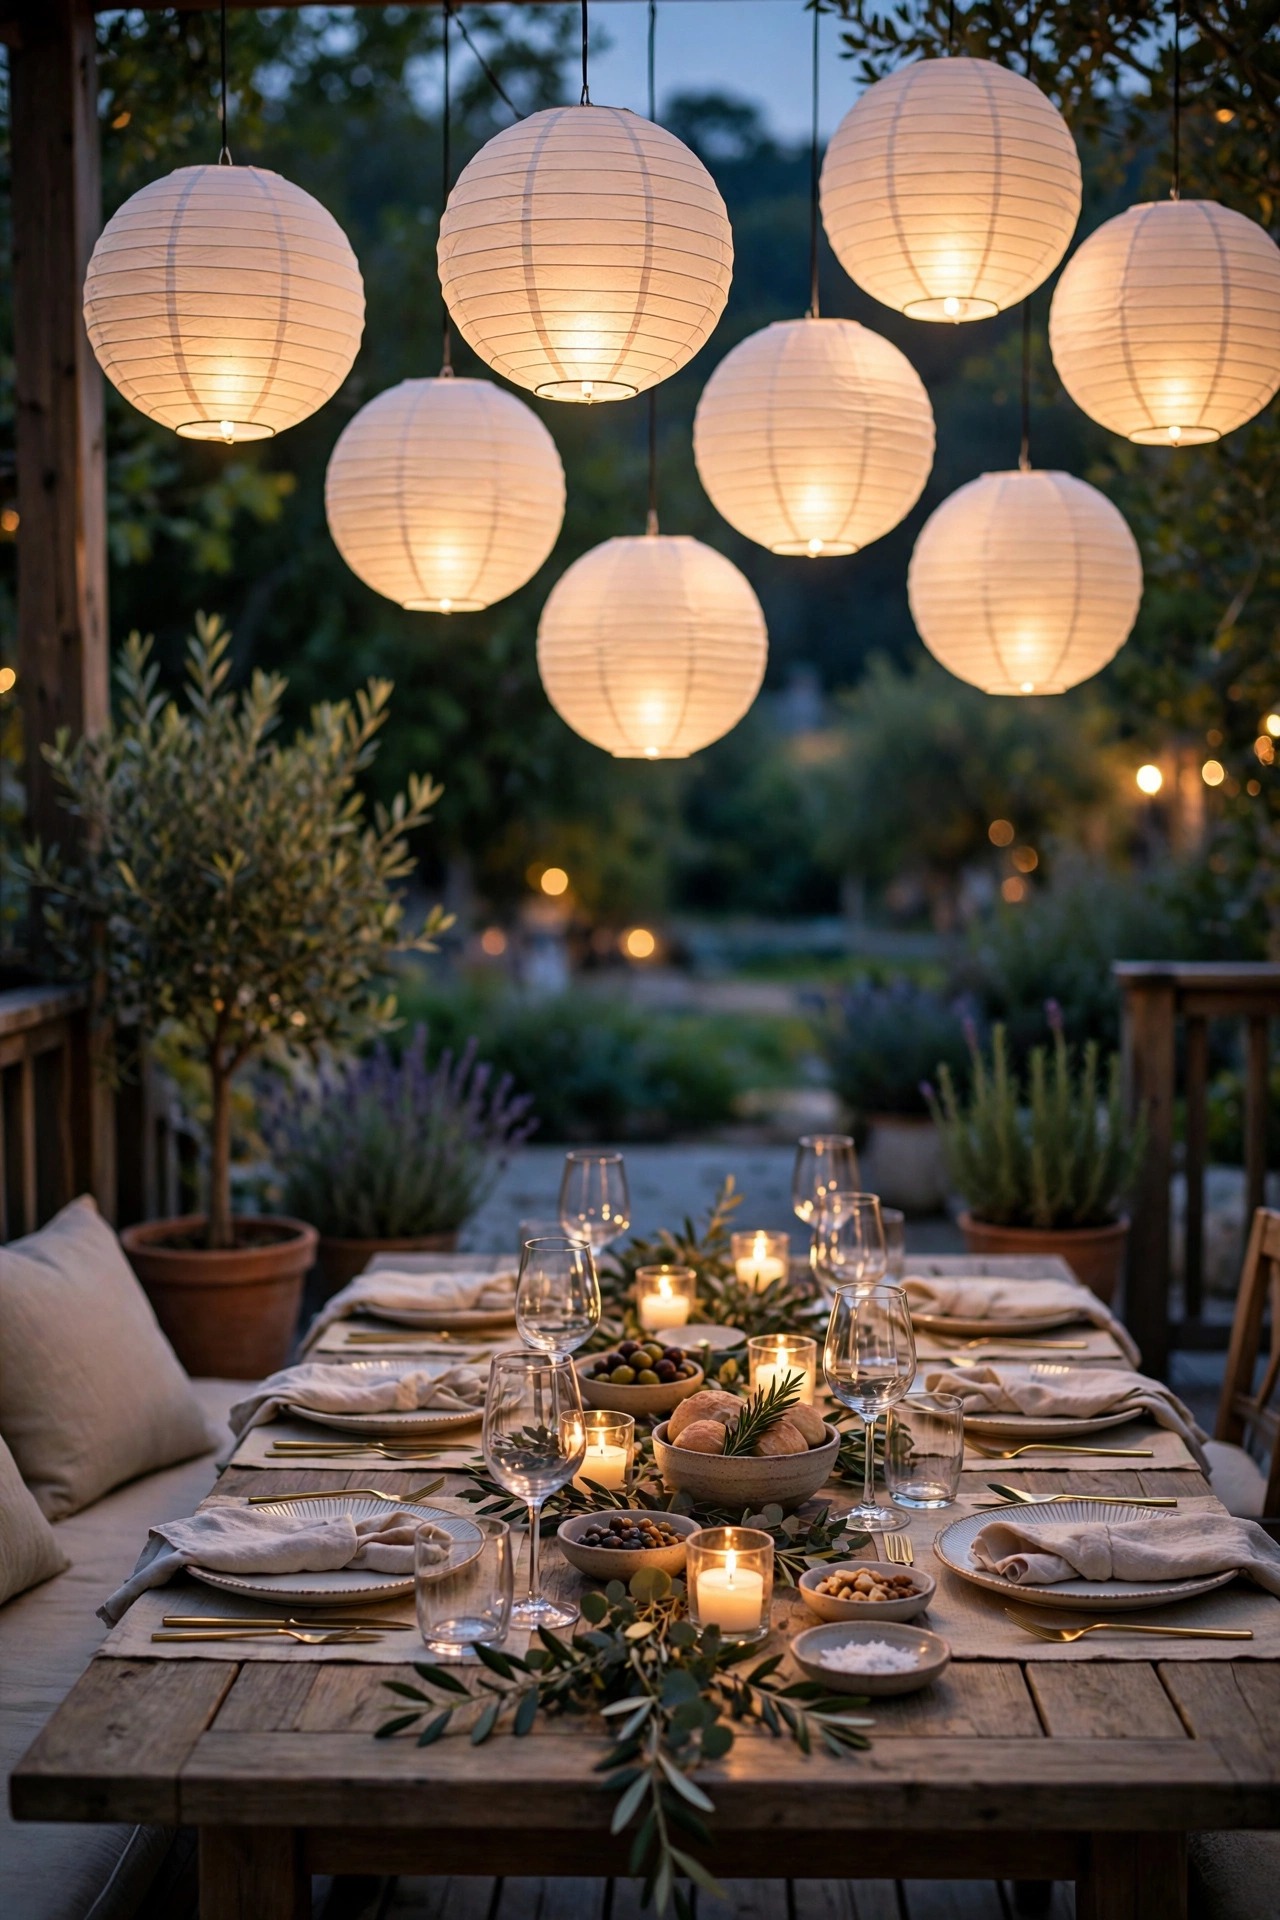
Paper lanterns are my secret weapon for turning an ordinary Tuesday dinner in the garden into an occasion. Strung on a café light strand or hung individually from tree branches and the arbor, big soft orbs in cream and blush make the whole garden feel like a festival in a storybook. The rules are simple and strict: LED bulbs only, never incandescent or candles, because paper and heat are enemies; hang them at least 8 feet over seating so heads and raised glasses clear them; and treat them as temporary. Paper lanterns are not weatherproof, full stop. Mine go up for the evening and come down before bed, or at most live under the covered porch for a dry weekend. Store them flat in a bin and they last for years of parties. Sizes from 8 to 16 inches mixed together look gathered and generous. For a slightly sturdier cousin, nylon lanterns handle a damp night better and fold the same way. Honestly, nothing on this list photographs better, and nothing makes guests linger longer — something about lantern light overhead just tells people the evening is not over yet.
Suggested budget range: $30 – $85.
16. Space Path Lights Like Stepping Stones, Not a Runway
The most common cottage garden mistake I see is path lights placed like airport markers — evenly paired, too bright, close enough to land a plane. Cottage paths want rhythm instead. Space your lights 6 to 8 feet apart, on alternating sides of the path, and let the pools of light just kiss rather than overlap into a continuous strip. Each fixture should light the next two or three steps and nothing more, which means modest output, roughly 100 to 200 lumens, and shades or caps that throw the light down, not out. Height matters as much as spacing: 12 to 18 inches keeps the glow on the ground where feet are, while taller fixtures start lighting knees and faces. Before you commit, do what I do — set the lights out unlit at dusk, turn them on, and walk the path slowly with a cup of tea, nudging each one until the walk feels like a story unfolding. Then note where you still stumble; that is where one more light goes, not everywhere at once. A path you can walk barefoot at midnight, guided but never glared at, is the whole goal.
Suggested budget range: $60 – $180.

17. Keep Every Bulb at One Warm Temperature
If I could tattoo one rule on every garden I design, it would be this: pick one color temperature — 2700K, the warm amber of candlelight and old porch bulbs — and let nothing else in. The fastest way to break a garden's spell is one bluish 5000K daylight bulb glowing like a gas station among the roses. When you shop, read the Kelvin number on every box, including the solar lights, whose default is often a chilly blue-white unless the listing promises warm white. Bulbs will drift slightly between brands, and that is fine; 2700K next to 3000K is a whisper, but 2700K next to 5000K is an argument. Keep a small stash of spare 2700K bulbs and warm solar replacements in the shed so a midseason failure does not tempt you into a mismatched grab from the hardware store bin. Flame-effect bulbs, at 2000–2200K, are the one sanctioned exception — they read as firelight, and firelight belongs in a cottage garden. Walk your garden at full dark once a season and hunt for offenders. Your eye will find the wrong bulb instantly, and swapping it takes two minutes.
Suggested budget range: $15 – $60.
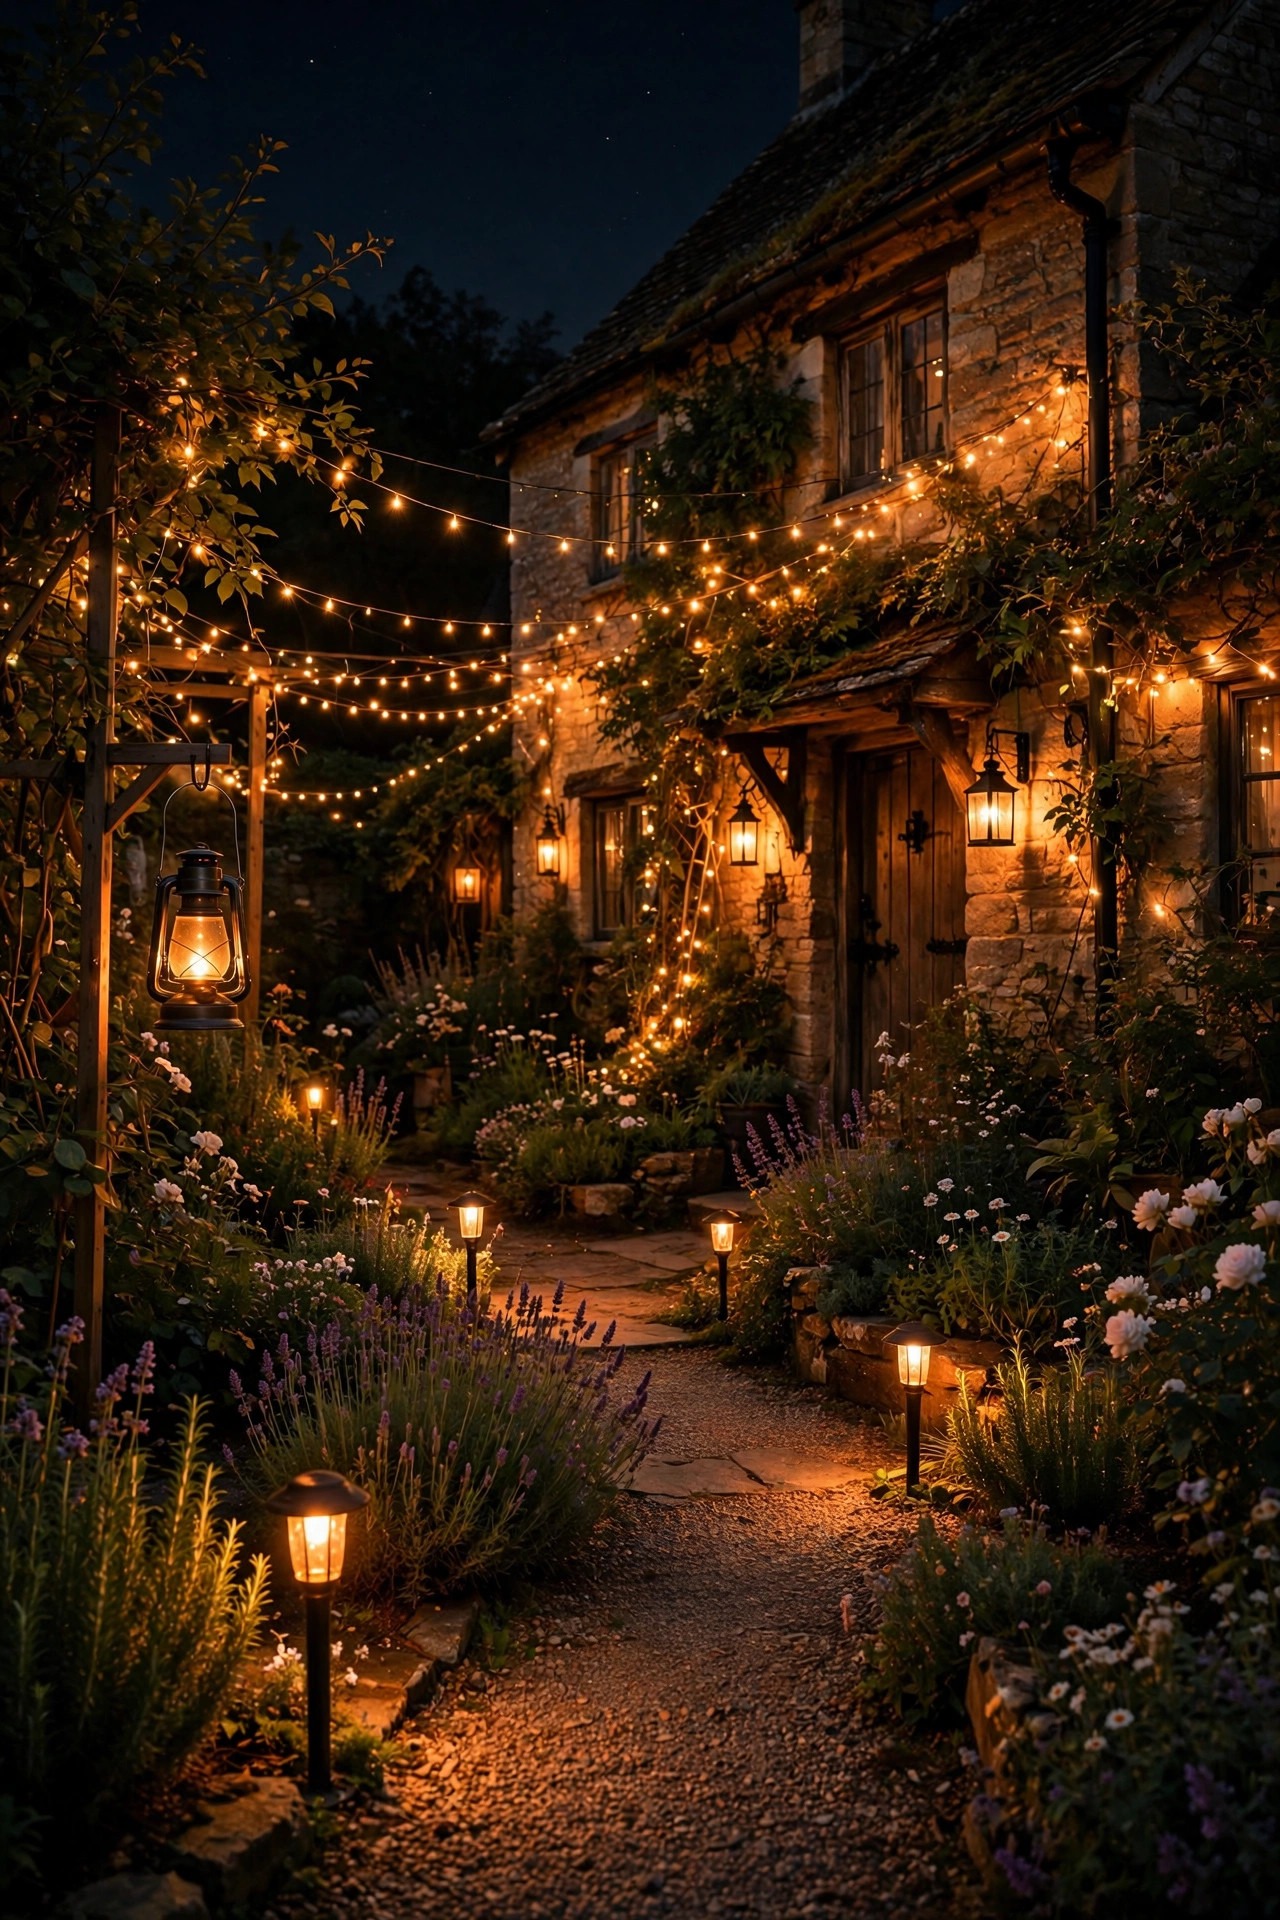
18. Put the Whole Garden on Timers and Photocells
The most enchanted gardens are a little bit lazy: the lights simply appear at dusk whether you are home or not. I run everything I can on dusk-to-dawn photocells or timers — the low-voltage transformer has a photocell eye, the café strands live on an outdoor smart plug, and the flameless candles have built-in five-hour timers. Set the schedule once in spring and the garden kindles itself every evening like it has a housekeeper. Photocell tip from hard experience: mount the sensor where it sees real sky but not your own lights, or the lights will fool it into a midnight disco of on-off-on. Timers need a seasonal nudge, since dusk in June and dusk in September are different animals; a photocell handles that automatically. Smart plugs rated for outdoor use, tucked under an eave or in a weatherproof box, let you dim the strings from the porch when the party mood wants softer. There is a safety dividend too — a garden that lights itself looks lived-in when you travel. Total effort after setup: remembering to enjoy it. This one upgrade takes every other idea on this list and makes it effortless.
Suggested budget range: $40 – $130.

19. Run String Lights Along the Picket Fence
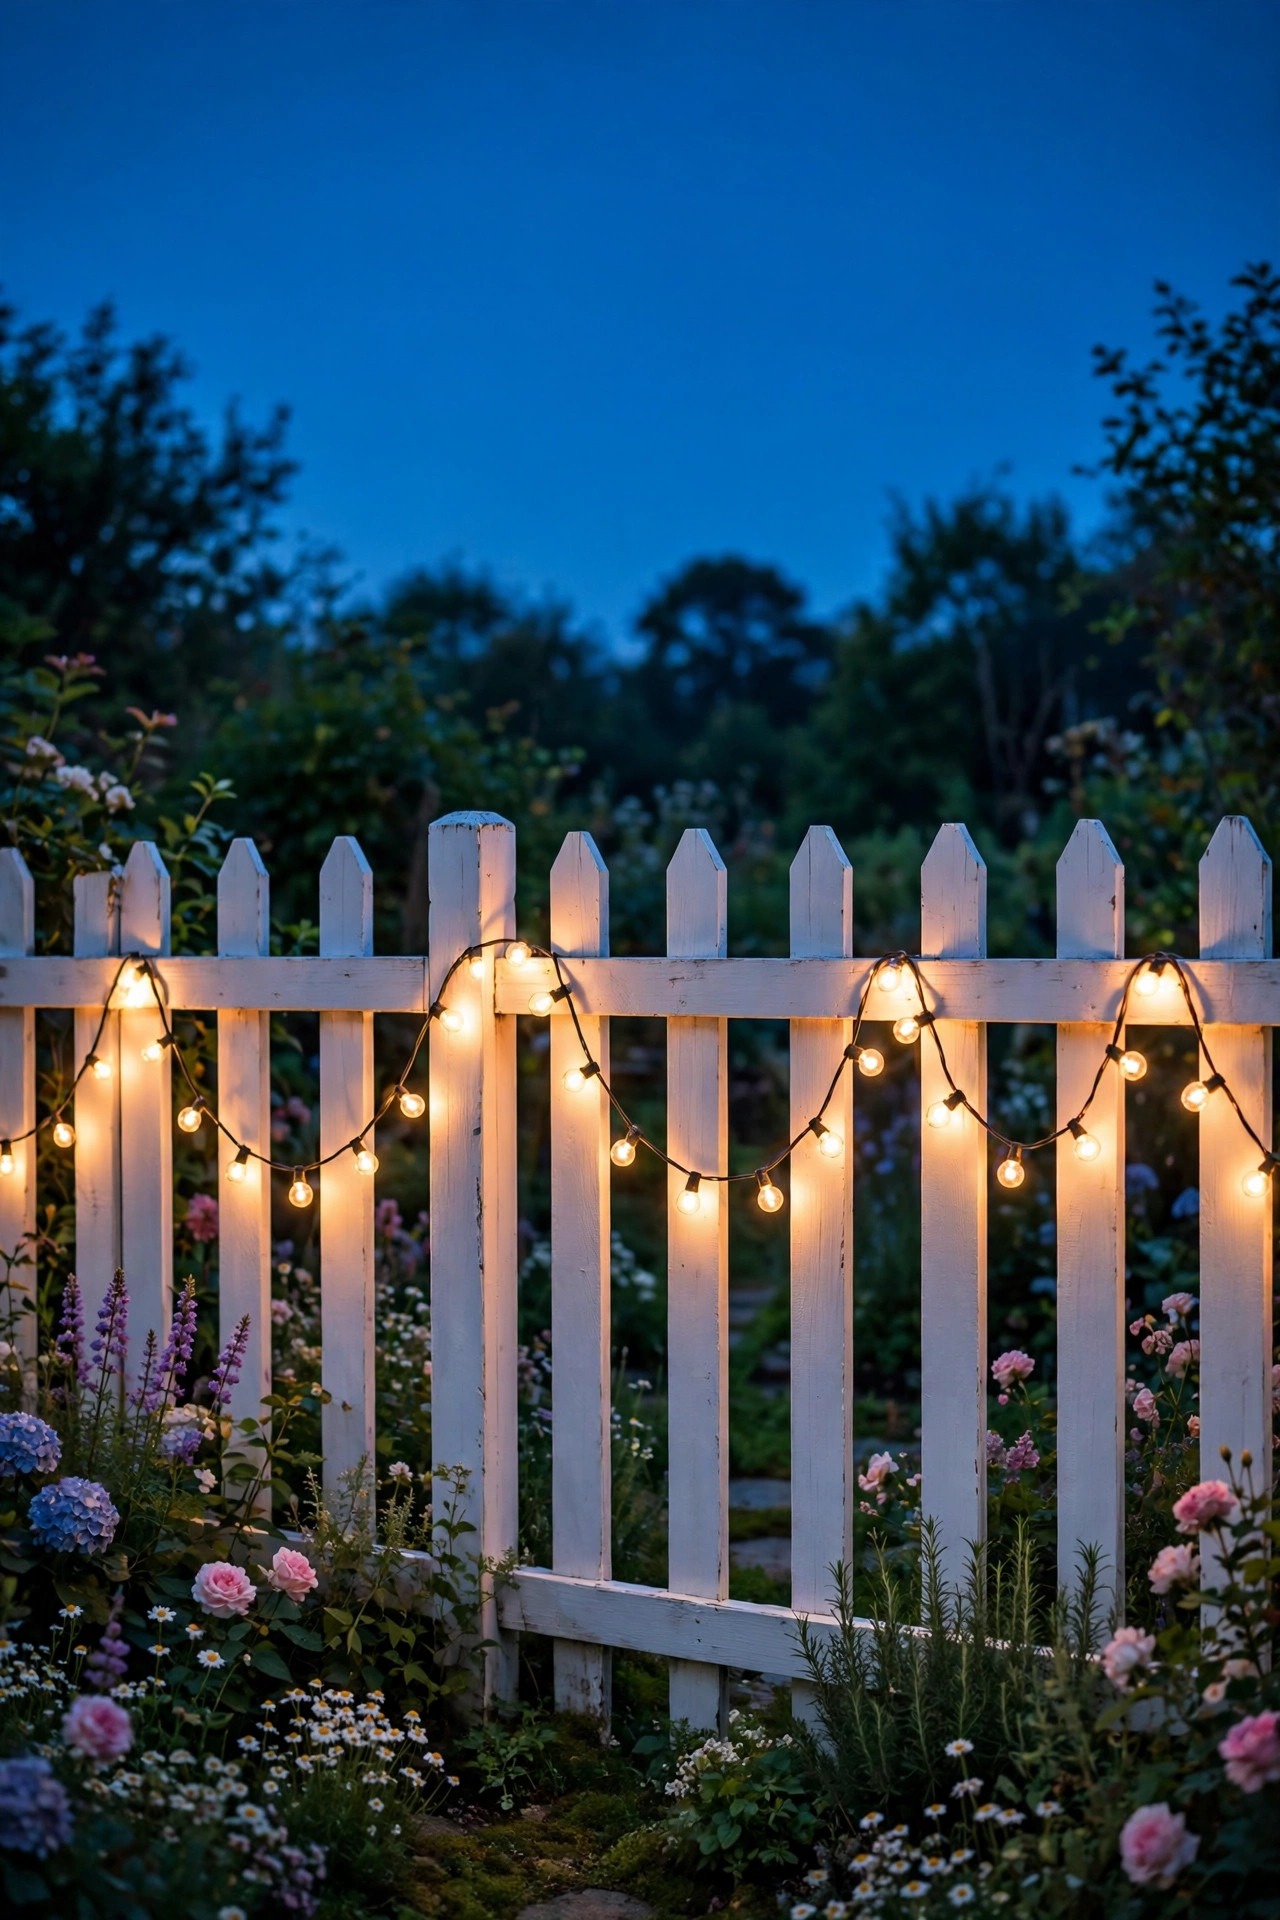
A picket fence is practically begging for a swag of lights. I run a single strand of warm café or fairy lights along the inside of mine, draped in gentle scallops from post to post, so the whole garden room gets a glowing outline at dusk. Attach with small screw-in hooks or fence clips on the posts — never drape wire where the gate swings or where the mower and trimmer work. The inside face of the fence is the right side: the glow washes your beds instead of the street, and the strand stays out of the weather's worst. Keep bulbs small along a fence; the big café globes belong over the arbor where there is room for them. A solar strand can work on a sunny fence line, but a plug-in strand on the garden timer is steadier and lets the fence join the same dusk moment as everything else. Stand at the gate when you finish and look back: the fence line should read as a soft necklace of light with the garden glowing inside it. It is the simplest boundary magic I know, and it makes even a small yard feel like a world of its own.
Suggested budget range: $35 – $110.
20. Let the Lighting Follow the Seasons
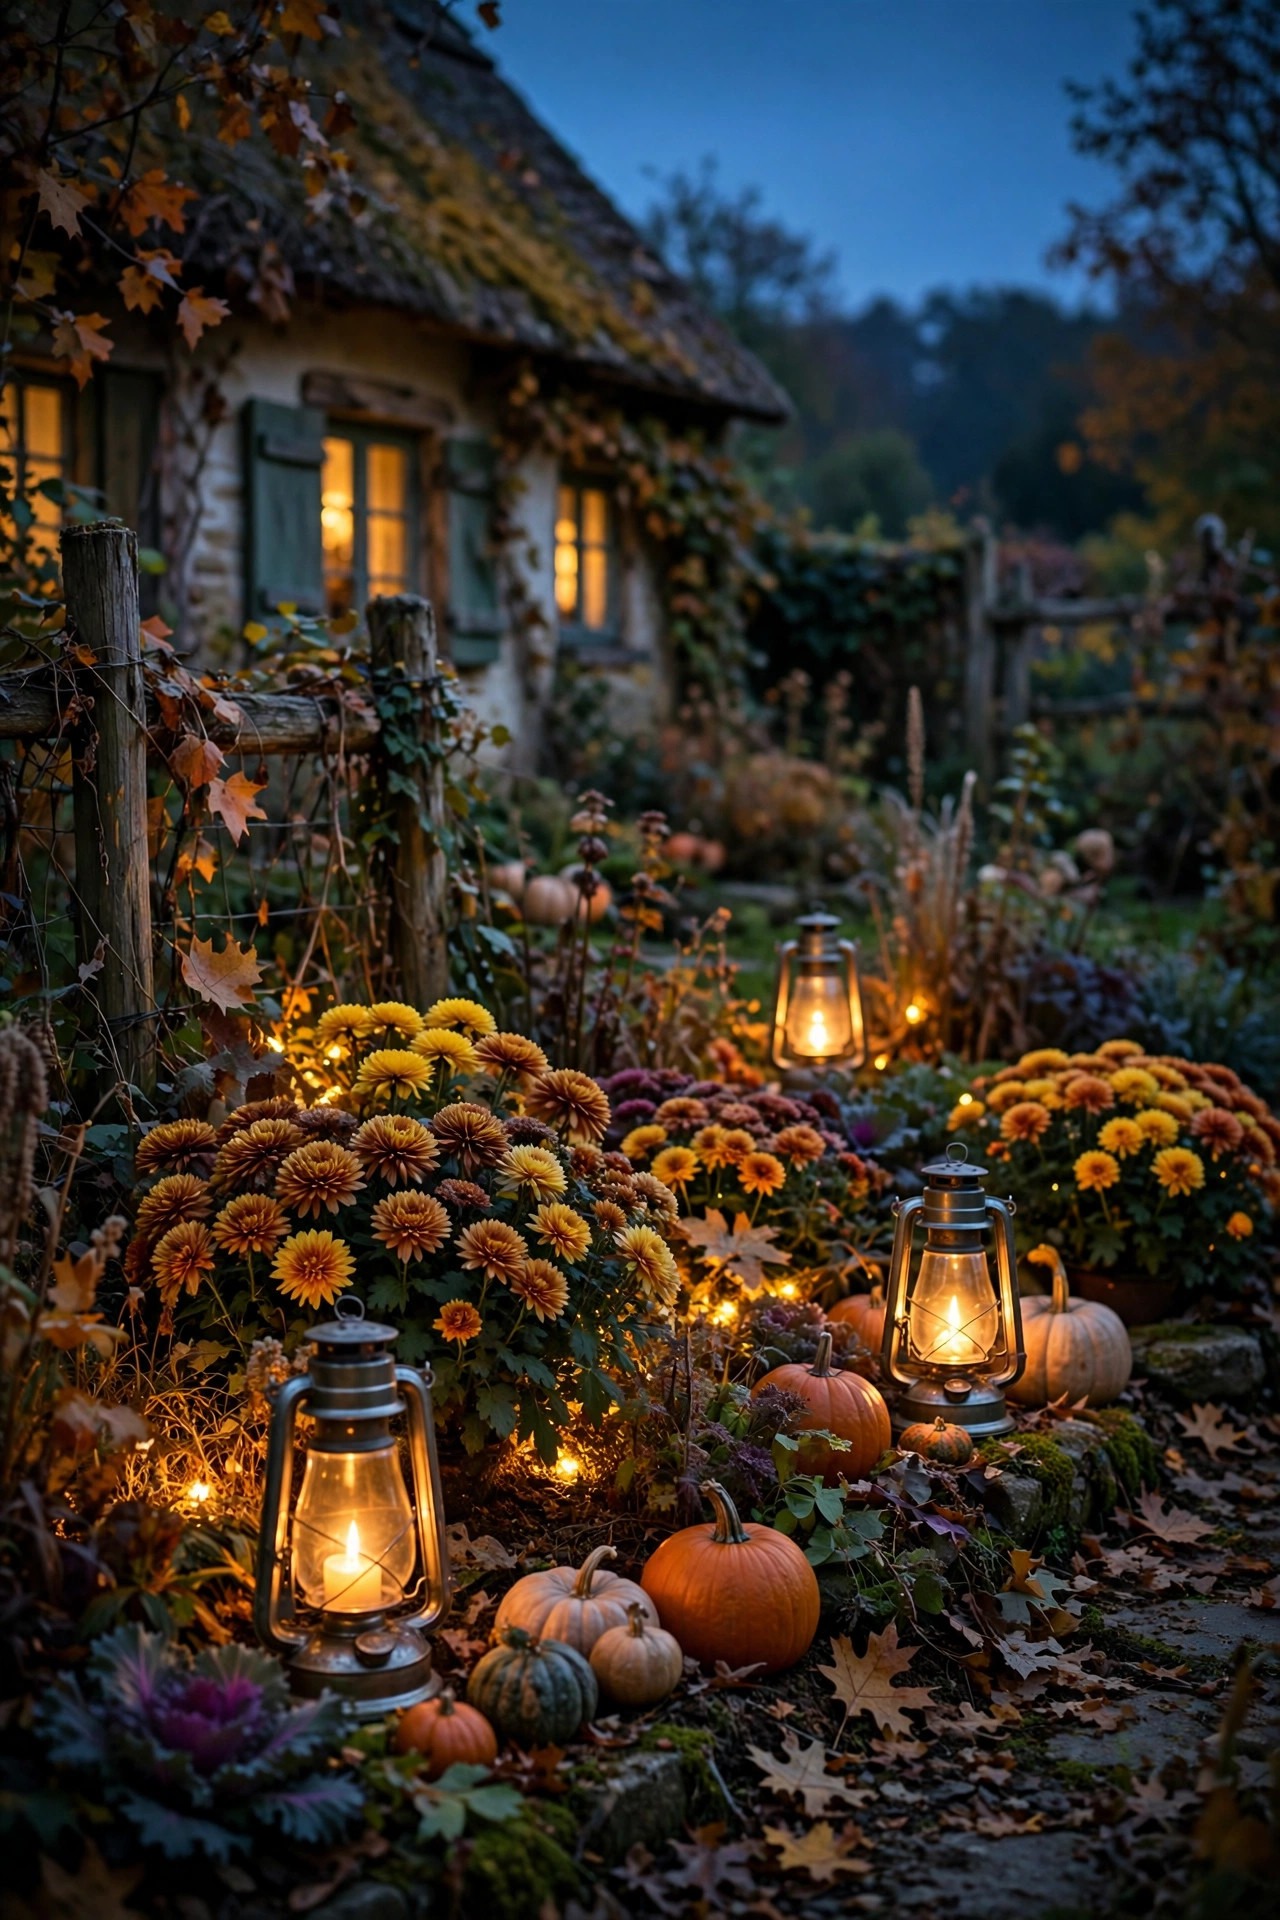
A cottage garden changes its dress four times a year, and the lighting should change with it. In spring, I aim the bed stakes at the tulips and the first roses and move the fairy strands to the lilac while it blooms. Summer is peak everything: full fairy canopy, firefly stakes in the tall borders, lanterns everywhere. Come fall, I shift the glow low and golden — hurricanes among the pumpkins and mums, the uplight moved to the maple for its two weeks of glory. Winter is my favorite surprise: the garden goes structural, and a single strand in the bare lilac plus the gate lanterns on early dusk timers make the bones of the garden look like an illustration. Solar pieces need repositioning as the sun's angle drops; a stake that charged happily in July may starve in October shade. Treat the spring and fall time changes as your cue for a lighting walk: swap a bulb, move two stakes, retire anything that flickers. Gardens are alive and lighting is gardening — it is never truly finished, and honestly that is the joy of it.
Suggested budget range: $20 – $90.
21. Finish With a Dusk Walk-Through of Your Cottage Garden Lighting Ideas
Here is my favorite ritual, and I do it every time I finish a garden — mine or a friend's. Wait for full dusk, pour something warm, and walk the whole garden slowly with fresh eyes, exactly as a guest would. You are hunting for three things: glare, gaps, and one moment of magic. Glare is any bulb you can see directly from the bench, the gate, or the kitchen window — shield it, angle it down, or dim it. Gaps are the stumble spots on the path and the bed corner that went murkier than you meant. The moment of magic is the view that makes you stop — protect it, and make sure nothing brighter competes with it. Adjust one thing at a time and walk again; small nudges beat big redesigns at this stage. Then sit down in your favorite spot and just be in it for ten minutes before you touch another fixture. In my experience, the walk-through is where a nice lighting plan becomes your lighting, tuned to how you actually live in the garden. Do it again at the turn of each season, tea in hand, and your cottage garden lighting ideas will keep quietly improving year after year.
Suggested budget range: $0 – $50.

Frequently Asked Questions
What color temperature looks best in a cottage garden?
Warm white at 2700K, almost every time. It mimics candlelight and old lamplight, flatters roses and skin alike, and keeps the whole garden feeling like one scene. Avoid 5000K daylight bulbs outdoors — one of them glowing among the beds breaks the spell instantly. Flame-effect bulbs at 2000–2200K are the one lovely exception, since they read as real firelight inside lanterns. Whatever you choose, pick one temperature and hold the line across every fixture, solar included.
Are solar lights bright enough for a garden path?
For guidance and glow, yes. A decent solar path light gives enough light to mark the path edge and your next few steps, especially spaced 5 to 6 feet apart in a staggered rhythm. What solar will not do is floodlight an area — and in a cottage garden, that restraint is a feature. For steps, gates, or a main front walk where footing matters, add one or two low-voltage fixtures on a transformer and let solar handle the meandering stretches. Just remember the panels need about six hours of real sun to keep the promise.
How do I keep fairy lights from tangling when I prune?
Weave loosely and you are halfway there. Copper-wire strands flex with the plant instead of strangling it, and if you unwind each strand before heavy pruning — five minutes, truly — it lifts away clean instead of snagging on every cane. Solar and battery packs make natural break points where you can detach a strand in seconds. What not to do is prune through a tangled strand and hope; I tried that once and spent an hour picking wire out of a rose bush wearing gloves two sizes too big.
How much does it cost to light a whole cottage garden?
A gentle start — a set of solar path lanterns, two fairy strands, and a few bed stakes — lands around $120 to $300 and already changes the evening completely. A fully layered garden with a low-voltage transformer, an uplight, gate posts, and string lights might run $500 to $900, usually spread over a few seasons. That is genuinely how most cottage gardens happen: one birthday lantern at a time. Start with the path and the gate, add sparkle as the budget allows, and let the garden grow into its glow.
Conclusion: Small Glows, Big Magic
An enchanted garden is never about brightness — it is about small, warm pockets of light placed with love among the flowers. Layer low, middle, and high; hold every bulb to one warm temperature; let timers do the remembering; and give one beloved tree or statue the spotlight. Start with whichever of these cottage garden lighting ideas made your heart lift, whether that is fairy lights in the roses or lanterns by the gate. If you want more inspiration for the beds and borders themselves, browse my other garden lighting ideas here on the site — the kettle is on, and the garden gate is open.