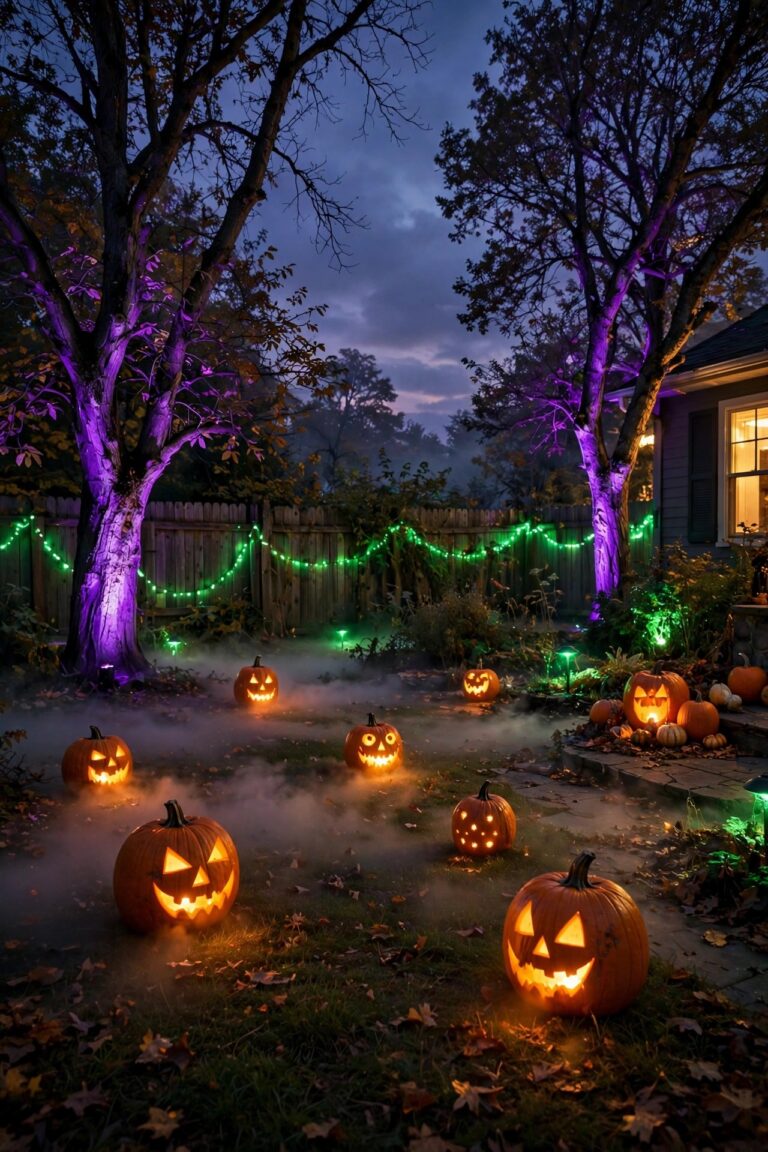
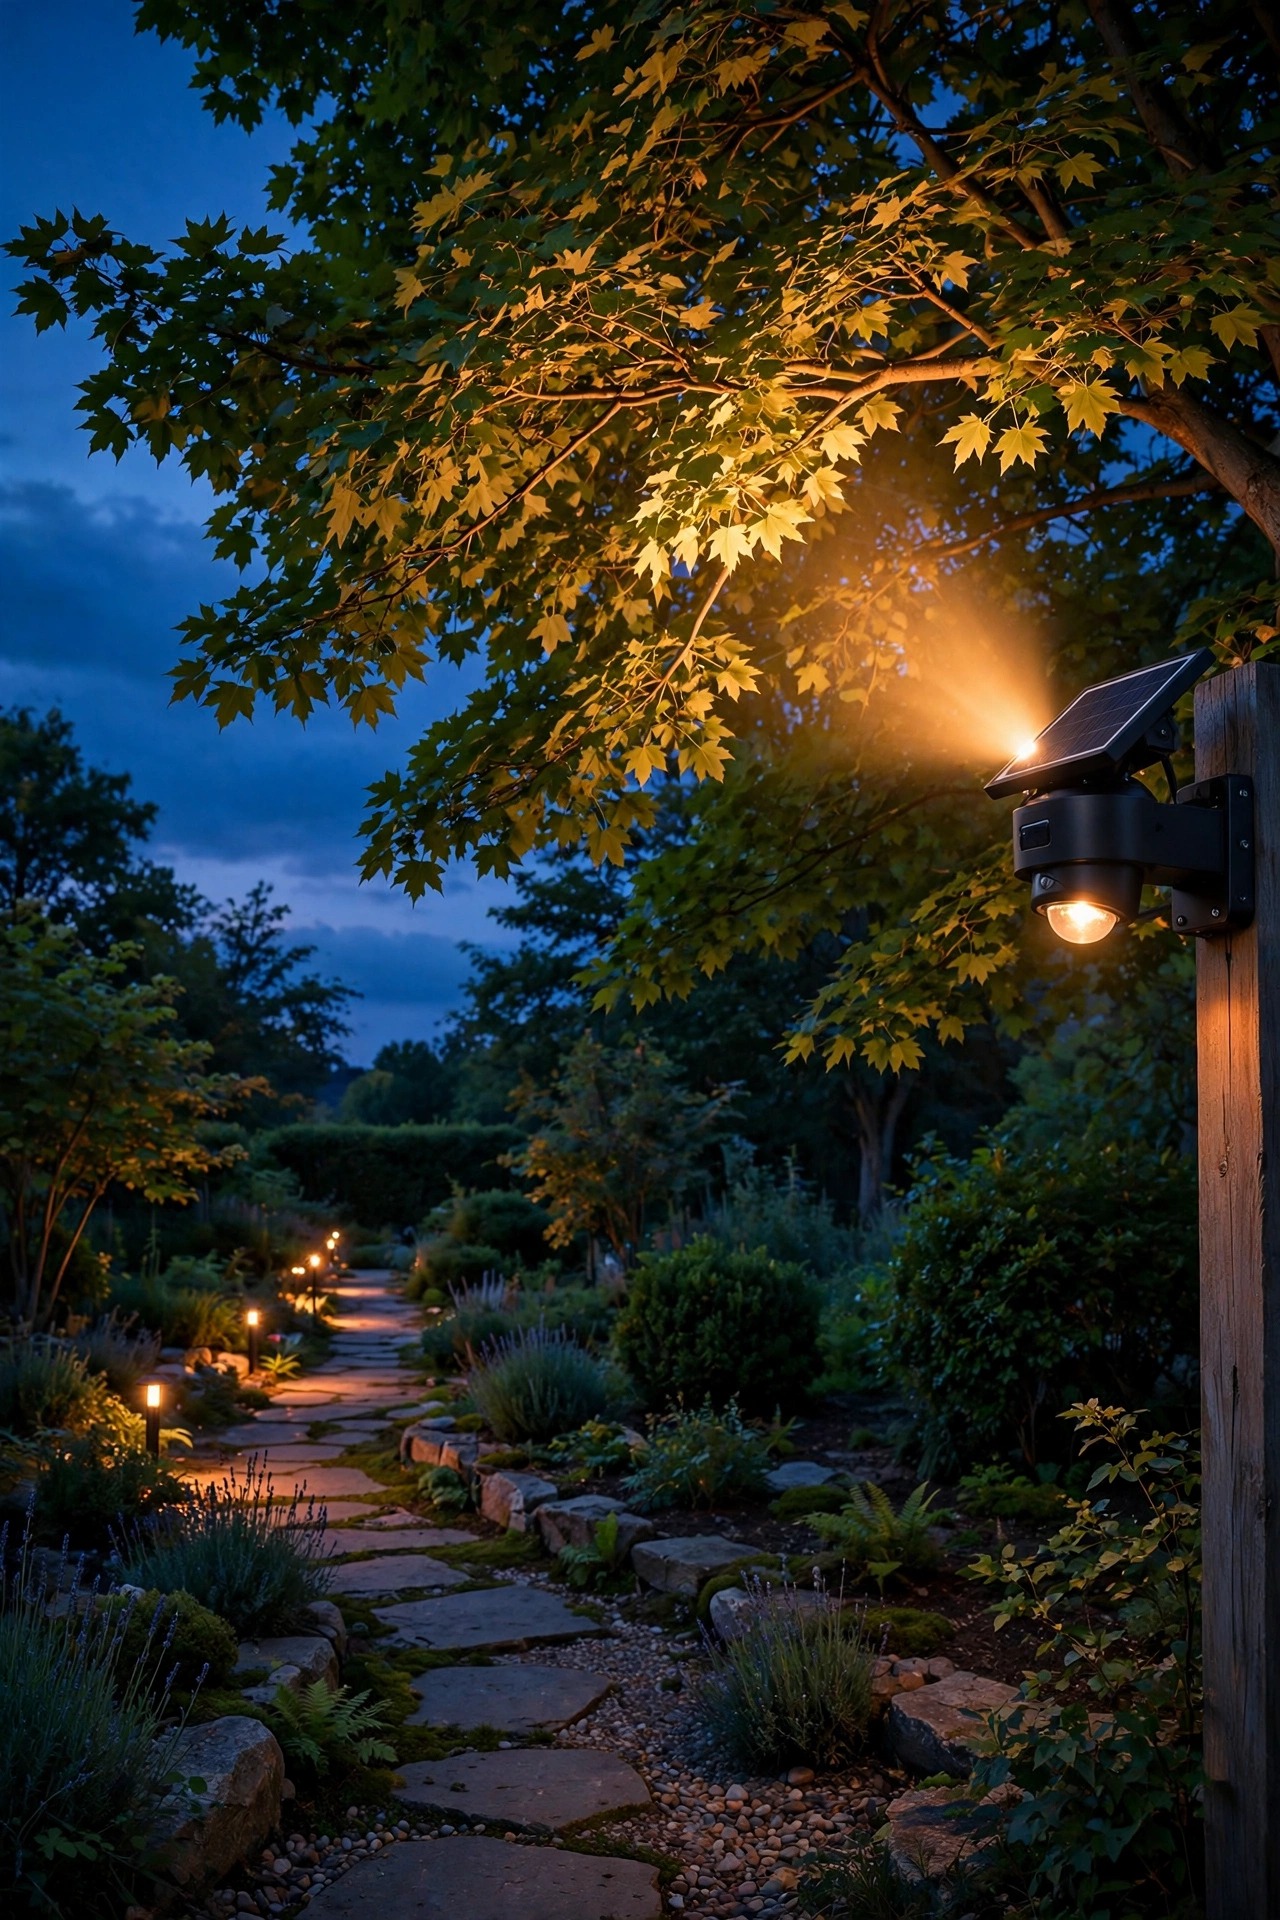
There is a moment every evening, right at dusk, when my yard used to go flat and dark — and the big maple by the patio simply disappeared. Wiring uplights out to that tree meant trenching cable across the lawn, and honestly, I put it off for years. Then I tried solar spotlights for trees, and the whole picture changed in a single afternoon. No wires, no transformer, no electrician: just a stake, a sunny spot for the panel, and a beam aimed up into the canopy. In my experience, one well-placed solar spotlight does more for a yard than a dozen path lights, because trees are the tallest, most sculptural thing you own outdoors. The trick is layering — a strong uplight as your welcome layer, softer accents around it, and dark space left on purpose so the lit tree really glows. Below I share 13 ways I actually use solar spotlights around my trees, with the aiming angles, distances, and panel tricks that make them shine all evening instead of fading by nine.
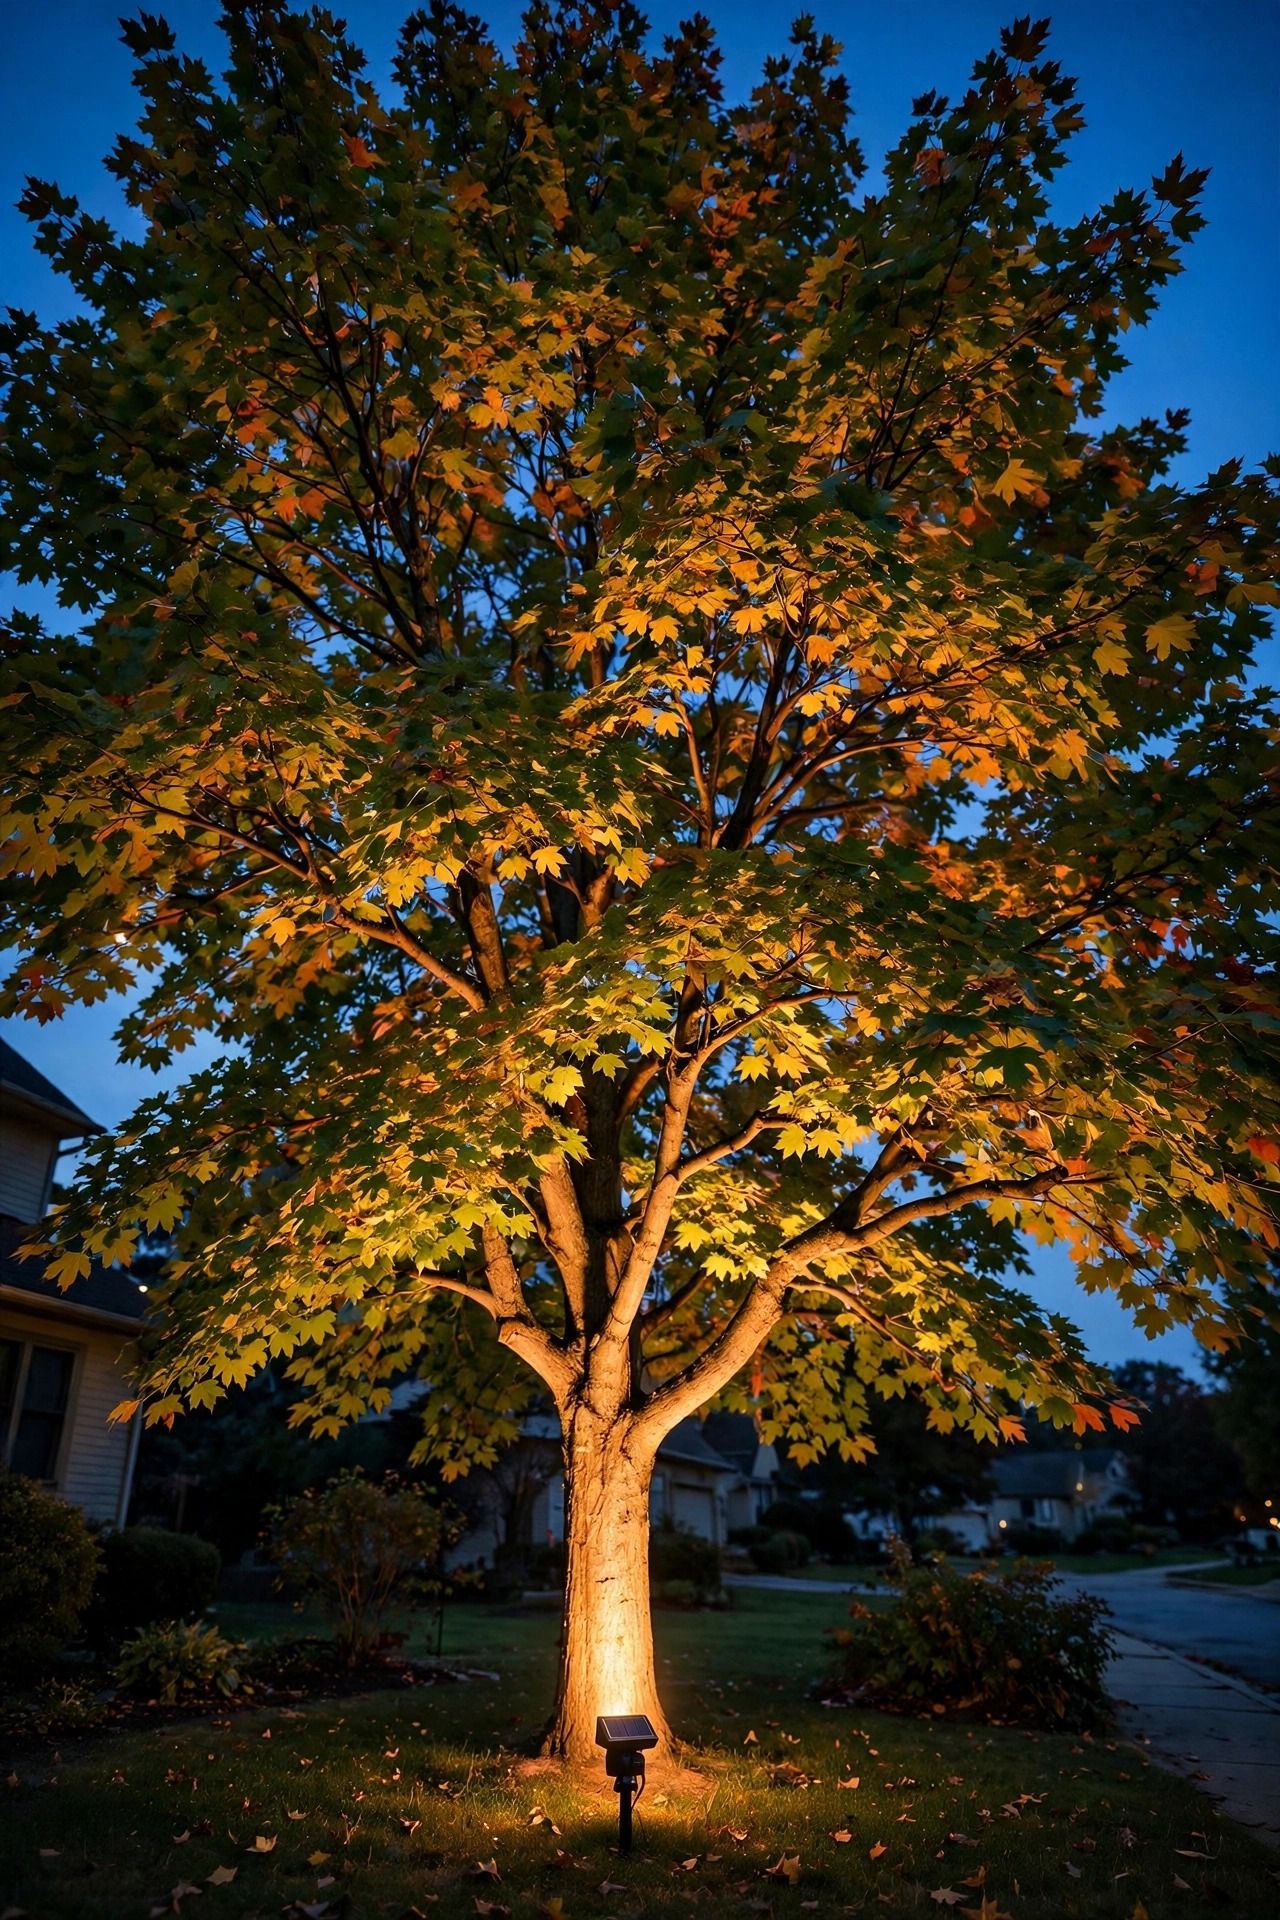
1. Start With One Hero Tree and a Single Bold Uplight
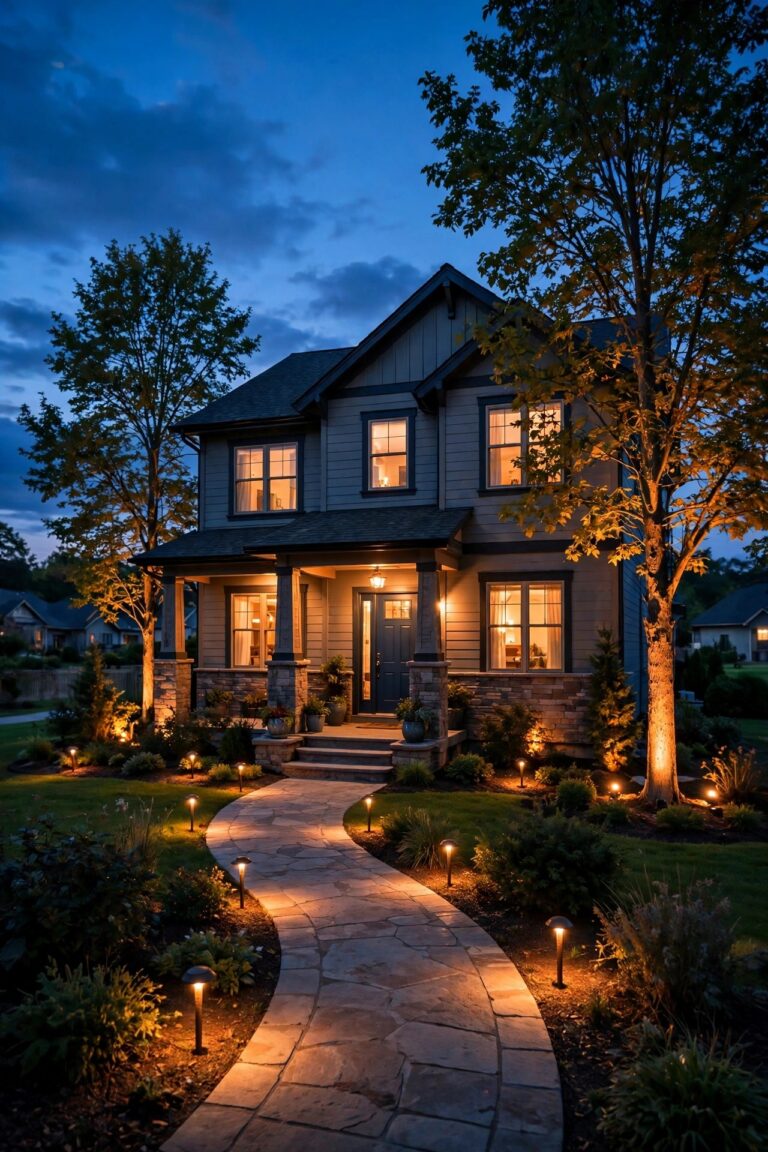
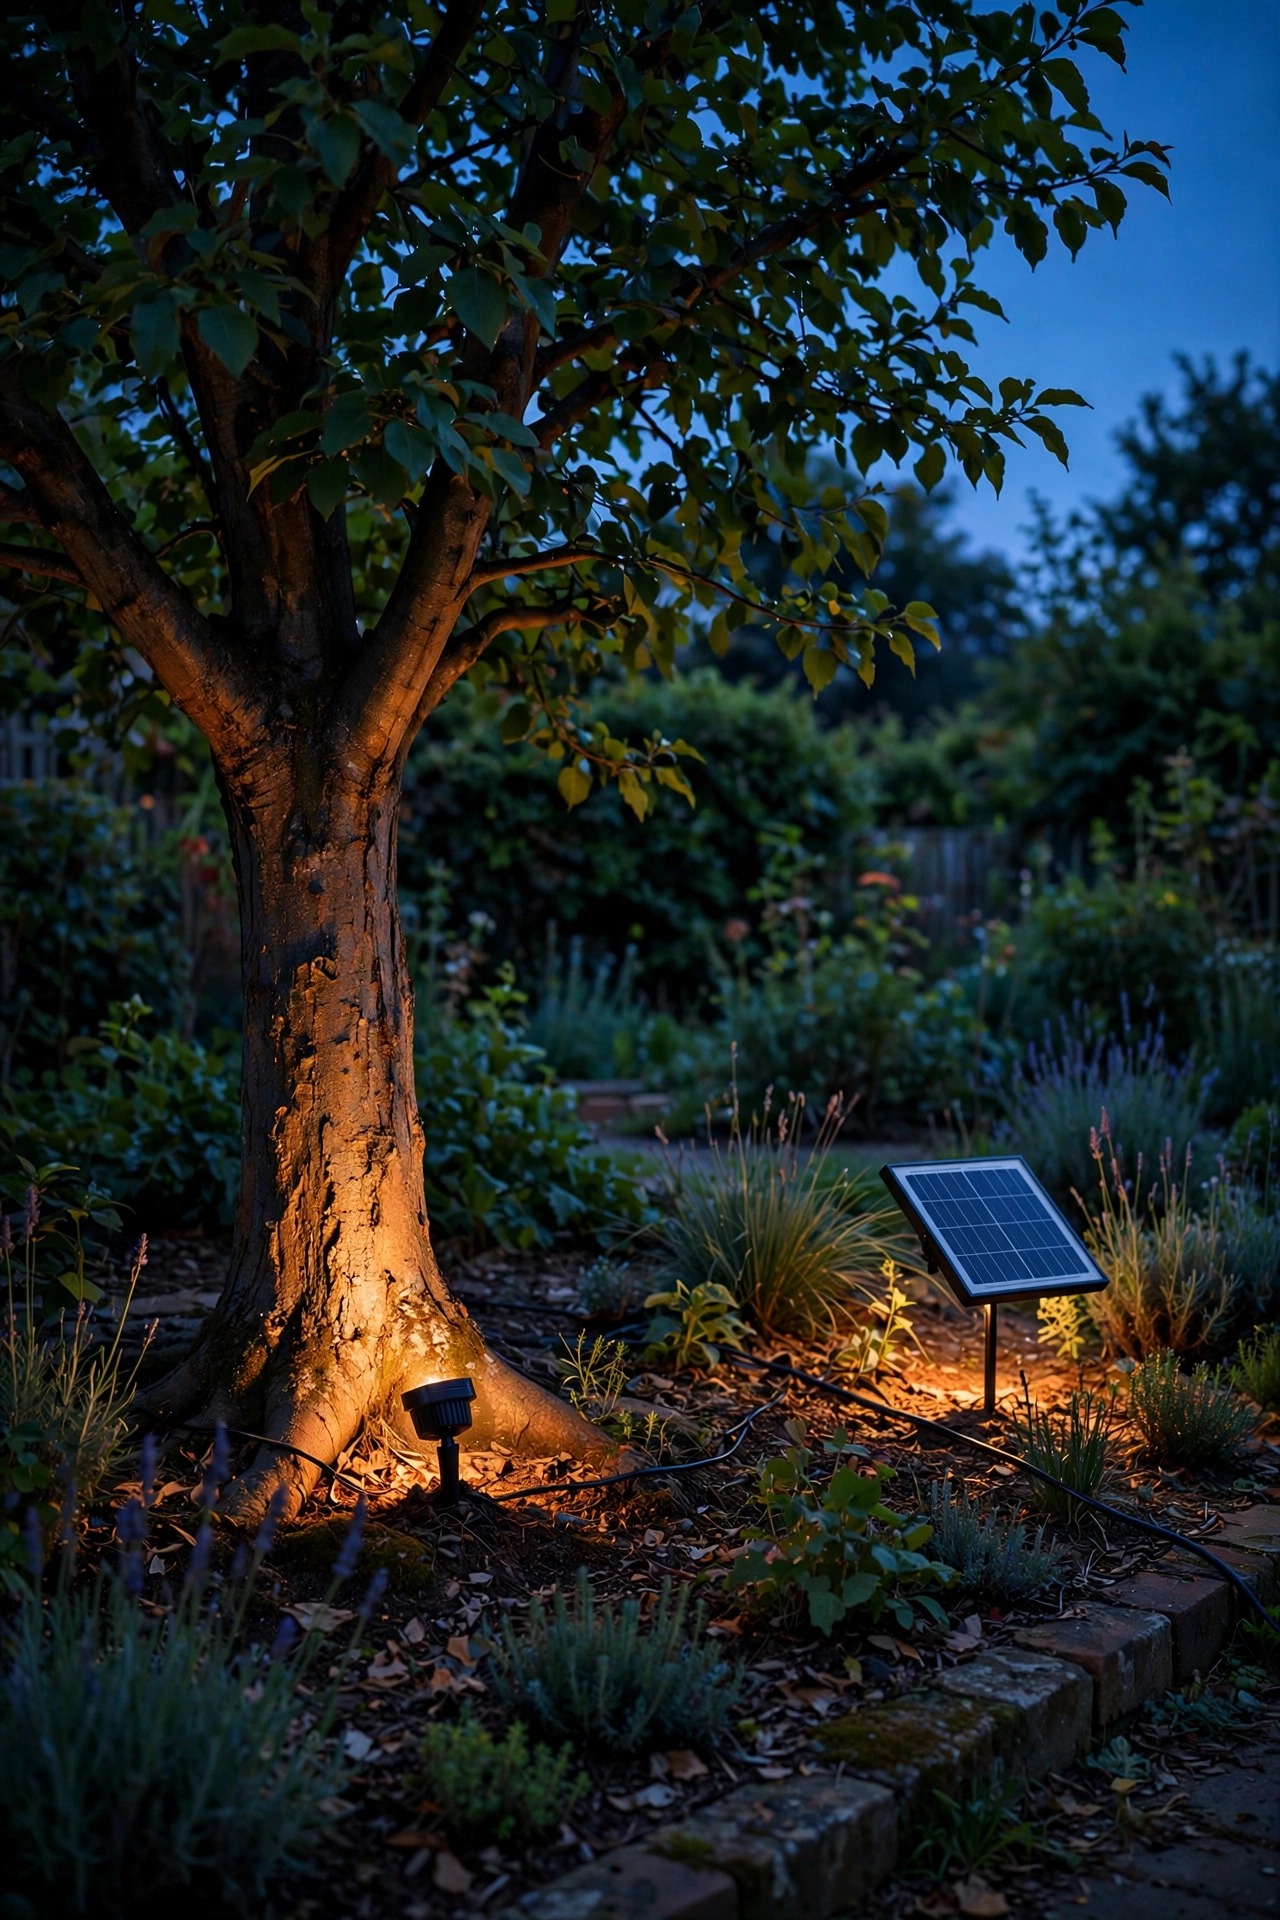
Every yard has one tree that deserves the spotlight treatment first — the maple shading the patio, the oak anchoring the front bed, the crepe myrtle by the driveway. Start there, with a single solar spotlight staked 12 to 18 inches from the trunk and tilted up at roughly 30 to 45 degrees. That angle lets the beam kiss the trunk and keep climbing into the lower canopy instead of blasting straight up and getting lost. I like a warm white LED around 2700–3000K and at least 100 to 200 real lumens; many solar spots overstate brightness, so look for honest lumen ratings and a decent-size panel. Push the stake in at dusk if you can, then step back to the street and judge it like a guest would. Too low and you get a bright trunk with a black hole above it; too steep and the canopy glows while the trunk disappears. Nudge the head a few degrees at a time — small changes matter. For more drama, this is exactly the treatment I use on the hero planting in my garden focal point spotlight ideas, and it never fails to make the whole bed look intentional.
Suggested budget range: $20 – $45.
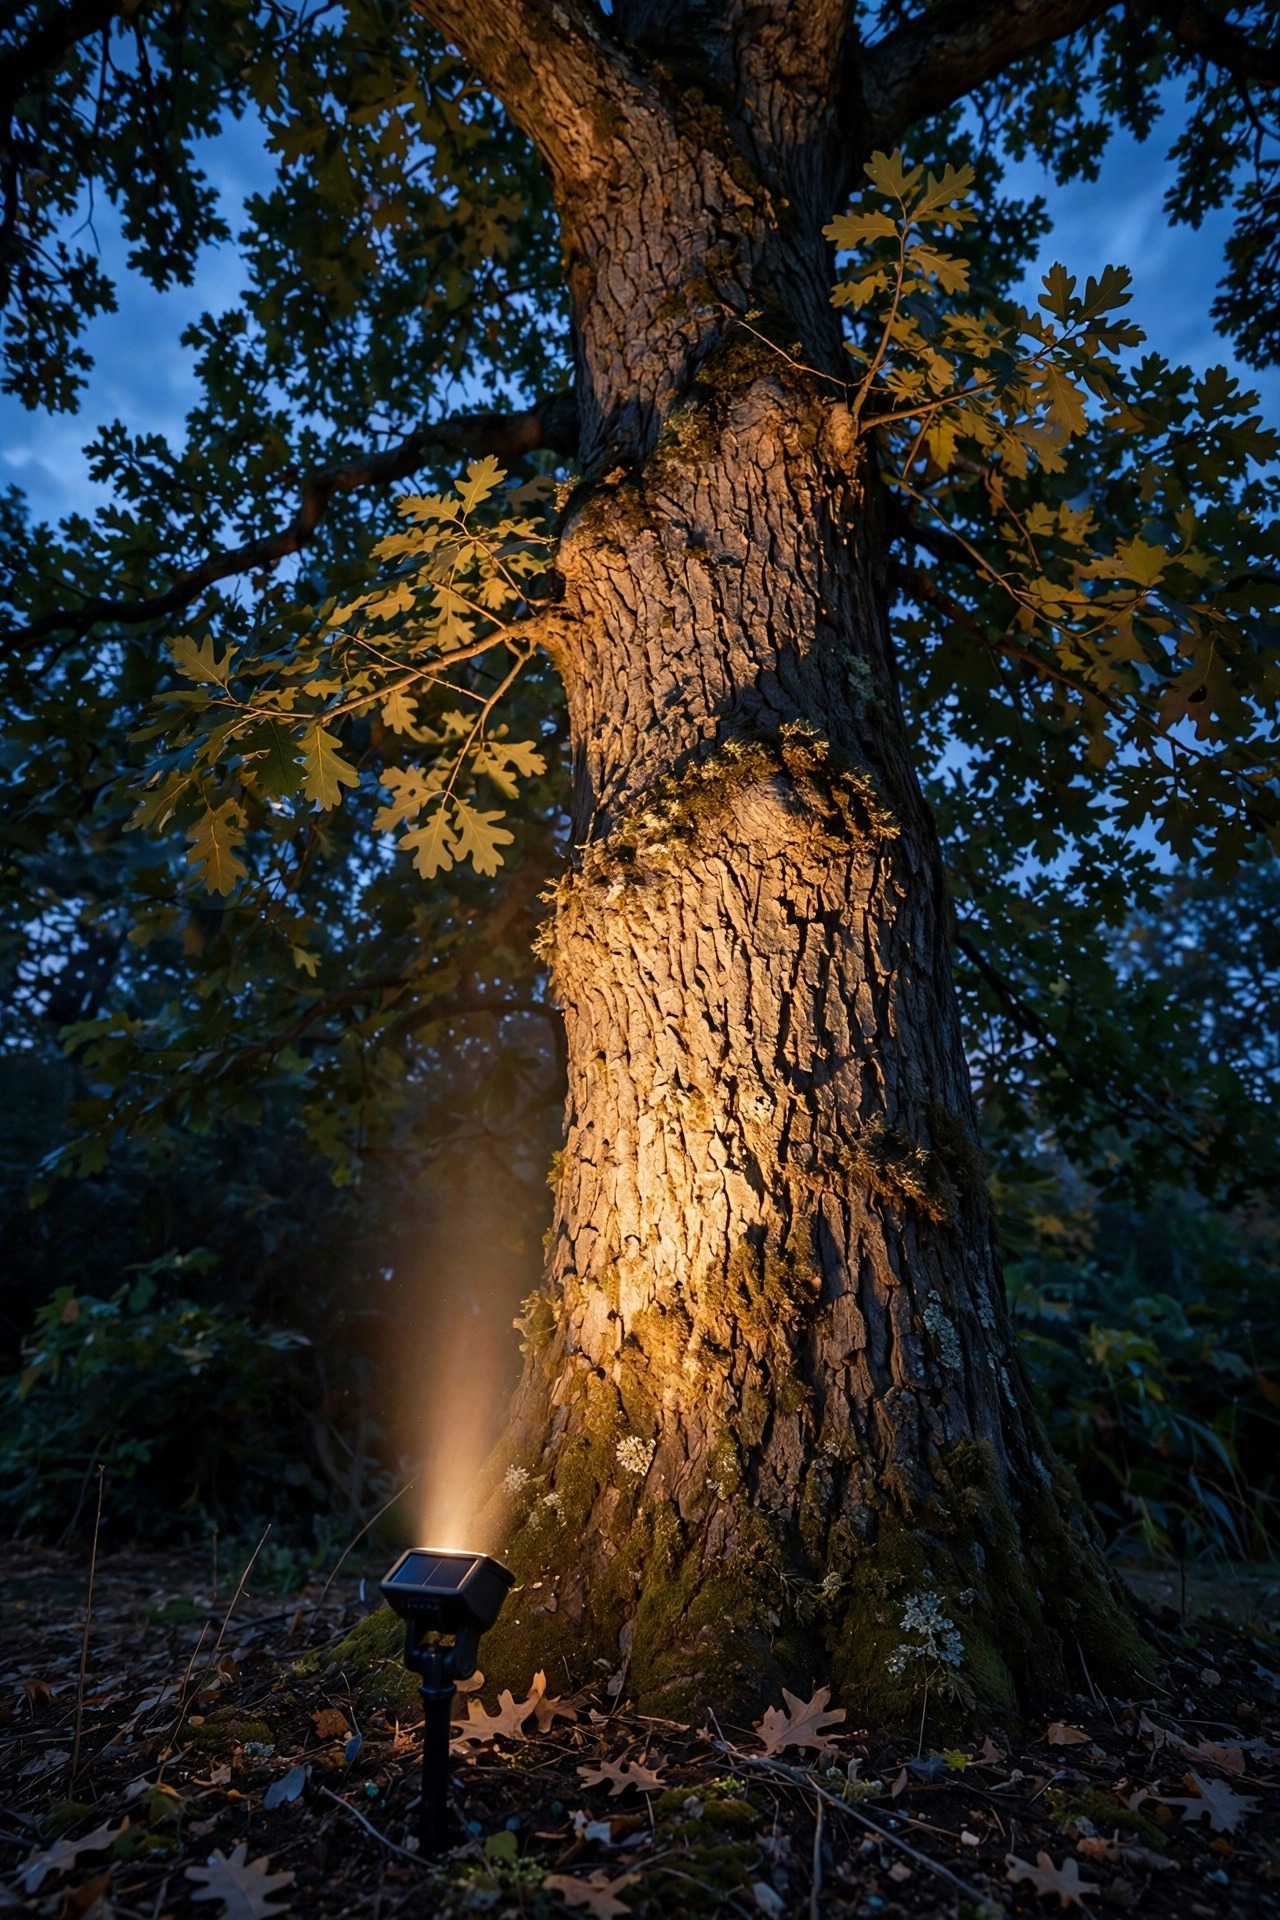
2. Use Two Solar Spotlights for Trees to Cross-Light Wide Canopies
A broad, spreading canopy lit from just one side looks like a lollipop with a bite taken out of it. The fix is cross-lighting: two solar spotlights placed at roughly 45-degree angles to each other, each one lighting the opposite half of the canopy. Set them 18 to 24 inches out from the trunk, on the two sides your yard is actually viewed from — usually the street side and the patio side. Cross-lighting fills the shadow gaps a single beam leaves behind, and it models the branches so the tree looks round and full instead of flat. Keep both lights the same color temperature, or the tree will look like two different trees stitched together. If one side still reads dimmer, slide that fixture a few inches closer rather than hunting for a brighter model; distance changes brightness faster than specs do. This two-spot setup is the backbone of most layered tree lighting I do, and it scales beautifully: add a third, dimmer spot behind the trunk for a halo of rim light on the rear branches once the first two are balanced.
Suggested budget range: $40 – $90.

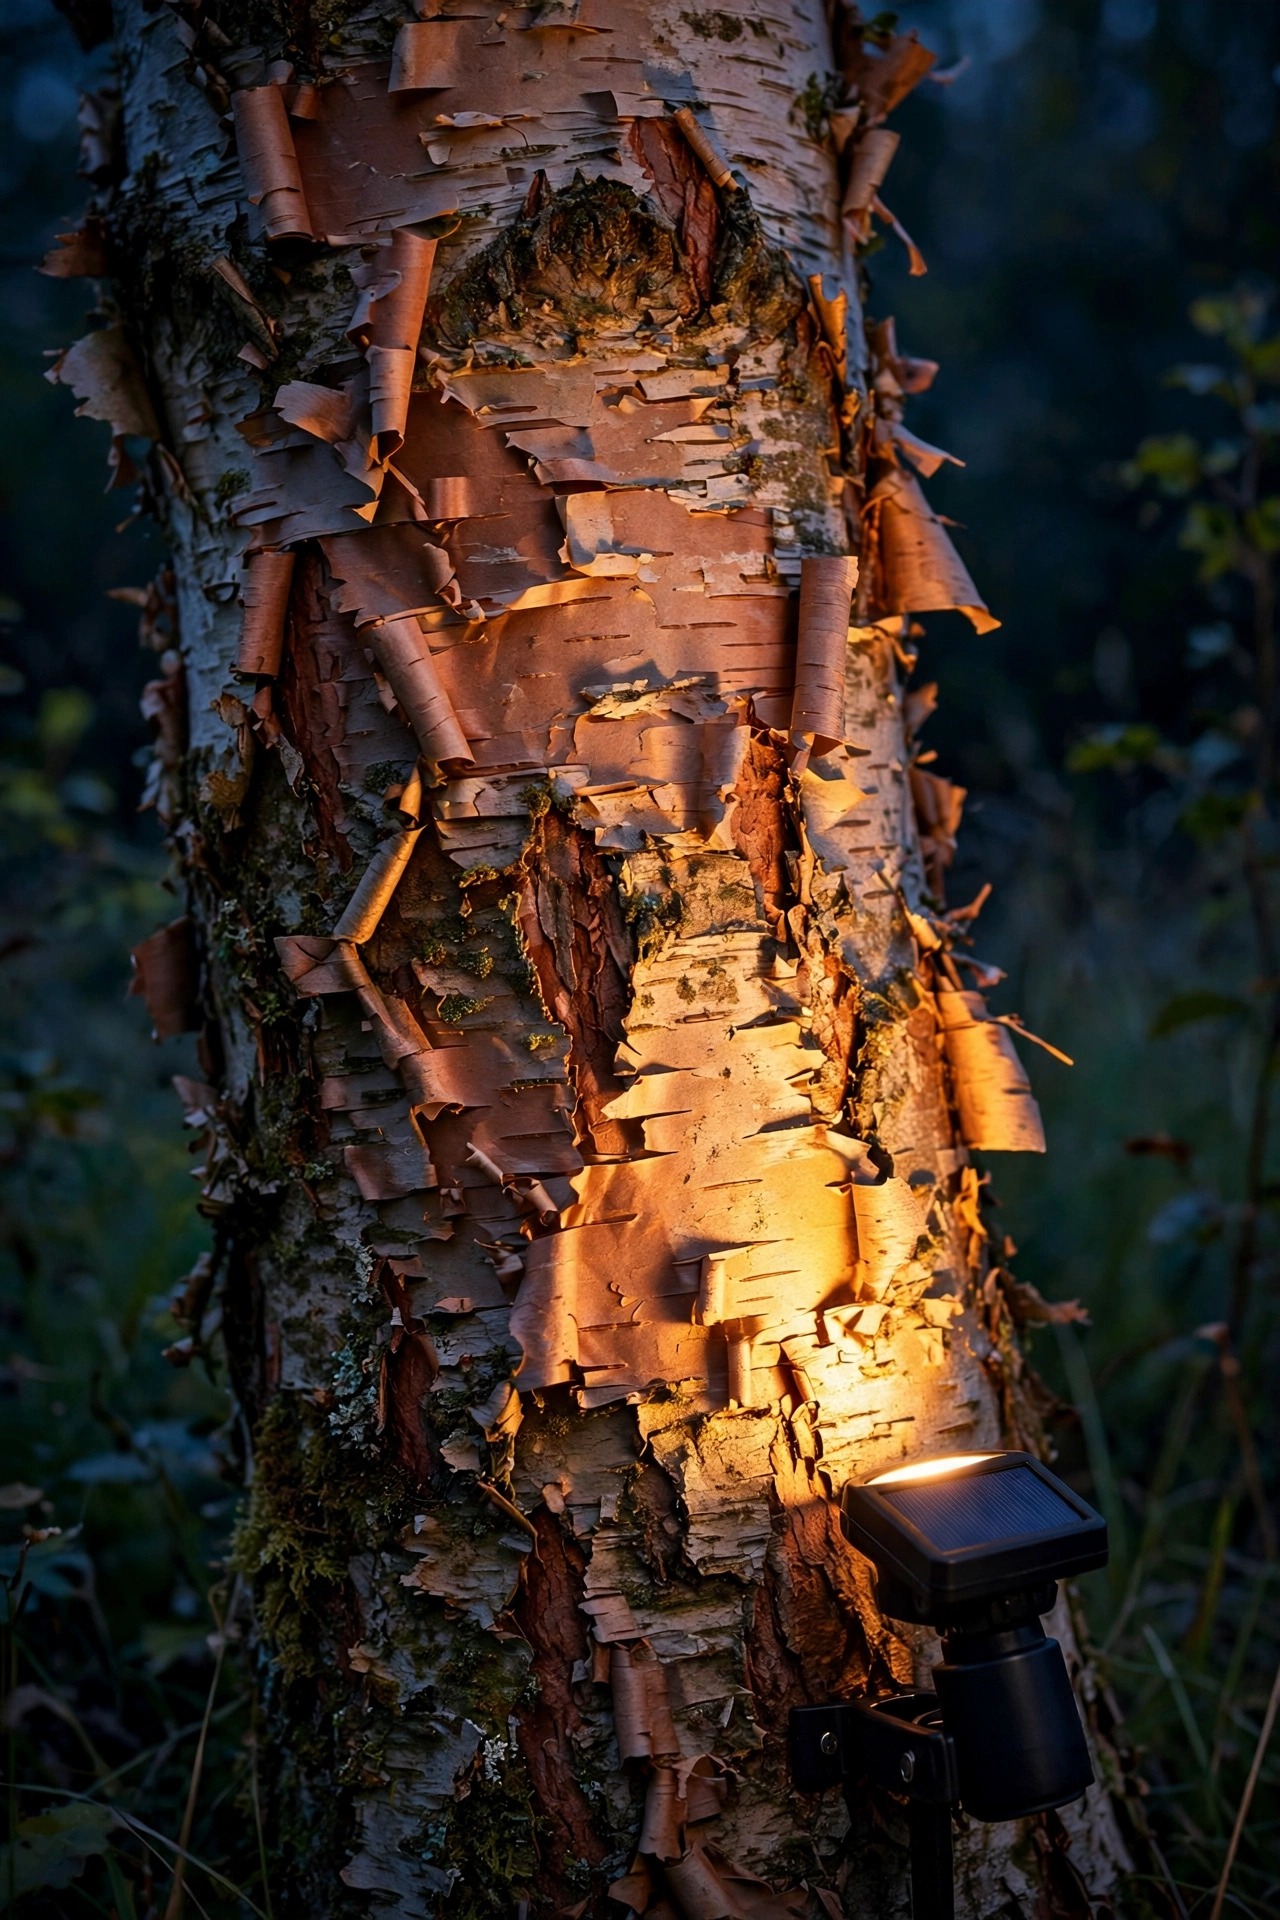
3. Graze the Trunk for Bark Texture
Some trees earn their keep with bark, not leaves — the shaggy plates of a river birch, the peeling curls of a paperbark maple, the deep furrows of an old oak. To show that texture off, graze it: park the spotlight just 4 to 6 inches from the trunk, aimed almost straight up so the beam rakes along the surface. Grazing light throws every ridge and curl into relief, the same way sunset raking across a brick wall does. A narrow-to-medium beam works best here, something in the 30-degree range, because a wide flood spills past the trunk and wastes its drama on the sky. Keep the head low and tucked into the mulch so the fixture itself stays invisible from the seating area. One caution from my own yard: grazing shows dust, webs, and peeling paint on nearby fences just as faithfully, so give the trunk a quick brush-down first. And in winter, when the leaves are gone and the architecture is all you have, this is honestly the prettiest trick on the whole list.
Suggested budget range: $15 – $40.
4. Choose Remote Panels When the Tree Sits in Shade
Here is the honest problem with solar uplighting: the prettiest spot for the tree is often the shadiest spot for the panel. A spotlight staked under a dense canopy may only sip an hour or two of direct sun, and no battery chemistry can fix a starved panel. That is exactly why I reach for remote-panel solar spotlights in deep shade. The light head goes at the trunk where it belongs, while the panel rides on its own stake at the end of a 6- to 10-foot cable, planted out at the drip line where real sun lands. Aim the panel south, tilt it toward the sun, and keep it clear of mulch splash. Pinned along a bed edge, that thin cable disappears within a week. Runtime jumps from a sad two hours to a solid six to eight on the same tree. While you are at it, wipe the panel monthly and peek at my tips to make solar lights brighter — panel placement and a clean surface matter more than any spec on the box.
Suggested budget range: $30 – $60.
5. Pick a Narrow Beam for Tall, Skinny Trees
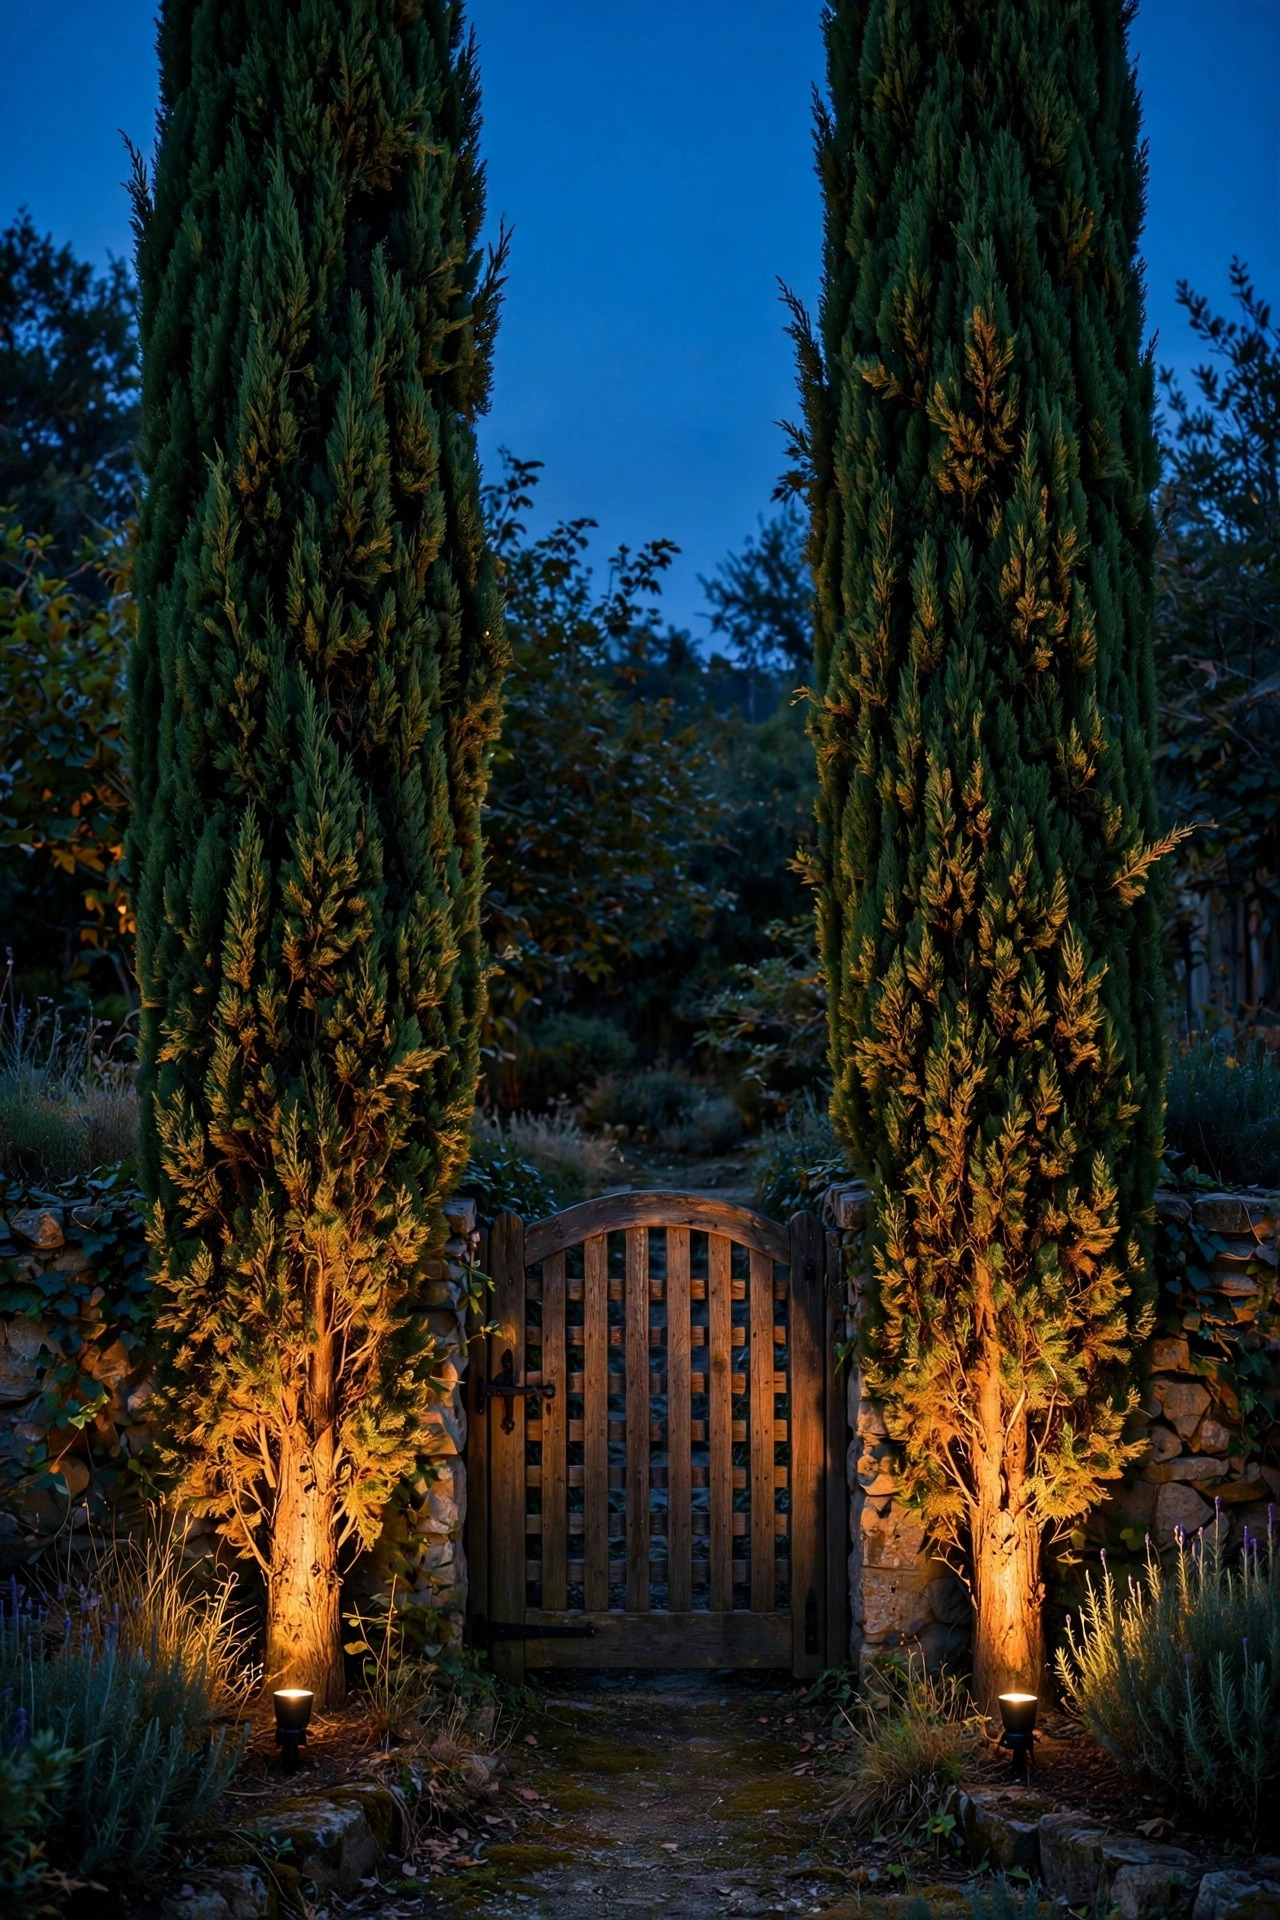
Columnar trees — a slim Italian cypress, a fastigiate hornbeam, a young pine — swallow wide beams whole. Half the light misses the tree entirely and lights up the night sky instead. For these vertical shapes, choose the narrowest beam you can find, around 15 to 25 degrees, and set the fixture 12 to 24 inches from the trunk, tilted steeply so the column of light travels up the full height. Because the beam is concentrated, a modest 100-lumen solar spot looks surprisingly powerful on a narrow tree. Work in pairs on a matched set of columns flanking a gate or garage: same model, same distance, same angle, so the two read as twins instead of cousins. One styling note I learned the hard way: narrow beams make hot spots. If the bottom three feet of the tree glows white-hot while the top fades, back the fixture up six inches and soften the tilt. You want a gentle gradient, brightest at the base and easing upward, like candlelight climbing a wall.
Suggested budget range: $18 – $42.
6. Wash Spreading Oaks With a Wide Beam
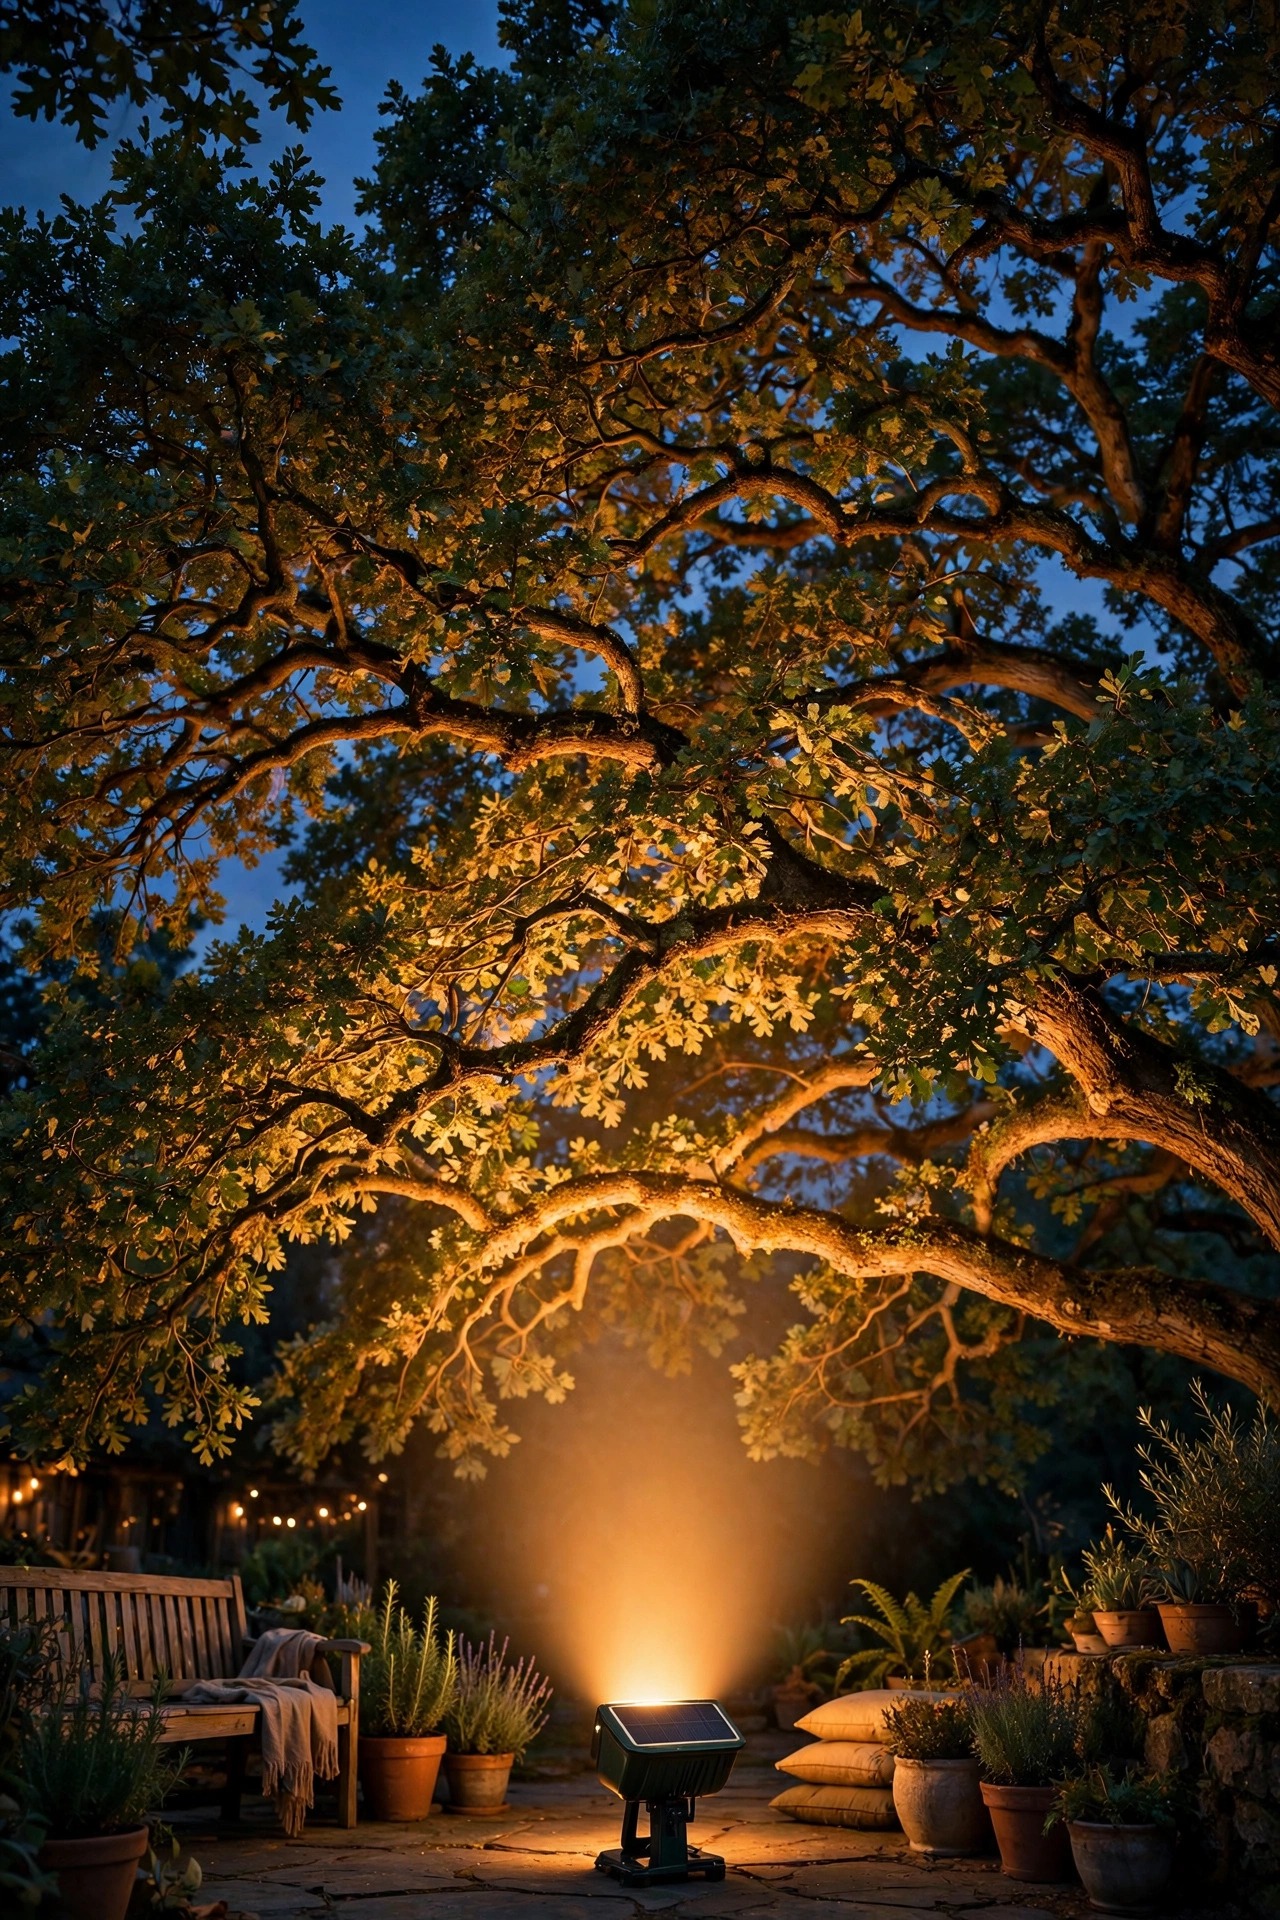
A mature oak or elm is the opposite problem from a cypress: the canopy is a roof, thirty feet wide, and a skinny beam just pokes a bright hole in it. Go wide instead — a flood-style solar spot with a 60- to 90-degree beam, or two wide spots if the tree is a true giant. Position wide-beam lights a little farther out, 24 to 36 inches from the trunk, and tilt them lower, around 30 degrees, so the light spreads under the canopy and catches the undersides of the branches. Lighting the underside is the secret, honestly: from a patio chair, that glowing ceiling is the whole show. Expect to trade punch for coverage — wide beams look dimmer per square foot, so choose higher-lumen models, 200-plus if you can, and give the panels prime sun. In my yard, the wide wash under the oak is where every summer dinner party ends up, because the light feels like a room. Add a dim path light or two at the edge and the space reads finished.
Suggested budget range: $35 – $80.
7. Mount Solar Spotlights for Trees High for a Moonlight Effect
Most people aim their uplights at the sky, but my favorite evening effect comes from above: moonlighting. Strap a solar spotlight high on the trunk — 10 to 15 feet up if you can reach it safely with a ladder — and angle it down through the branches. The light filters through leaves and lands in soft, dappled pools on the ground, exactly like a full moon. The catch is the panel: it has to live above the densest foliage or ride a cable up to a sunny patch at the canopy edge, or the light will quit by ten. Use a cool-neutral white here, around 3500–4000K, since moonlight reads slightly blue, while warm white aimed down just looks like a porch light fell in the tree. Keep the beam modest; moonlighting is atmosphere, not task lighting, and the dappled shadows do the decorating for you. Safety first: work with a helper, never lean a ladder against a limb, and use the straps provided rather than screws, which wound the tree. Done right, guests always ask where the light is coming from.
Suggested budget range: $35 – $70.

8. Add Color-Changing Spots for Holidays and Game Days
A color-changing solar spotlight is a little theatrical, and I mean that as a compliment. With one fixture and a small remote or a button on the head, the same oak that glows warm white on Tuesday turns orange for Halloween, red and green for December, and team colors on game day. My rules for keeping it tasteful: run color on one tree only, keep the rest of the yard warm white, and dial the brightness down if the fixture allows it — a soft amber or gentle green reads festive, while full-strength blue turns the canopy into an aquarium. Color also flatters certain trees year-round: a slow green wash makes summer foliage look impossibly lush, and a faint gold warms up white-barked birches. Battery life drops on bright color modes, so save them for the evening hours you are actually outside. Kids, in my experience, will volunteer to be in charge of the remote forever. Think of color as the seasonal wreath of tree lighting: not for every day, but pure joy when it counts.
Suggested budget range: $25 – $55.
9. Use Motion-Sensor Spots Where Security Matters
A solar spotlight with a motion sensor does double duty at the side yard, the back gate, or anywhere a tree stands near a path people actually walk at night. At rest it can hold a low, pretty glow — or stay dark to save the battery — then swing to full brightness when someone approaches. The tree becomes a greeter: the canopy flares up as you come up the walk, which feels welcoming to guests and considerably less welcoming to anyone who should not be there. Aim the sensor toward the path, not the street, so passing cars do not trigger it all night and drain the battery by midnight. Most sensors reach 15 to 25 feet; test the trigger zone at dusk by walking it yourself. Height matters too: staked at ground level, the sensor reads legs and pets well, which is honestly what you want. Pair one sensor spot on the tree with a steady low uplight on the other side, and you get security that still looks like landscaping. It is the hardest-working fixture in my whole yard.
Suggested budget range: $28 – $60.
10. Give Every Trunk of a Multi-Trunk Tree Its Own Spot
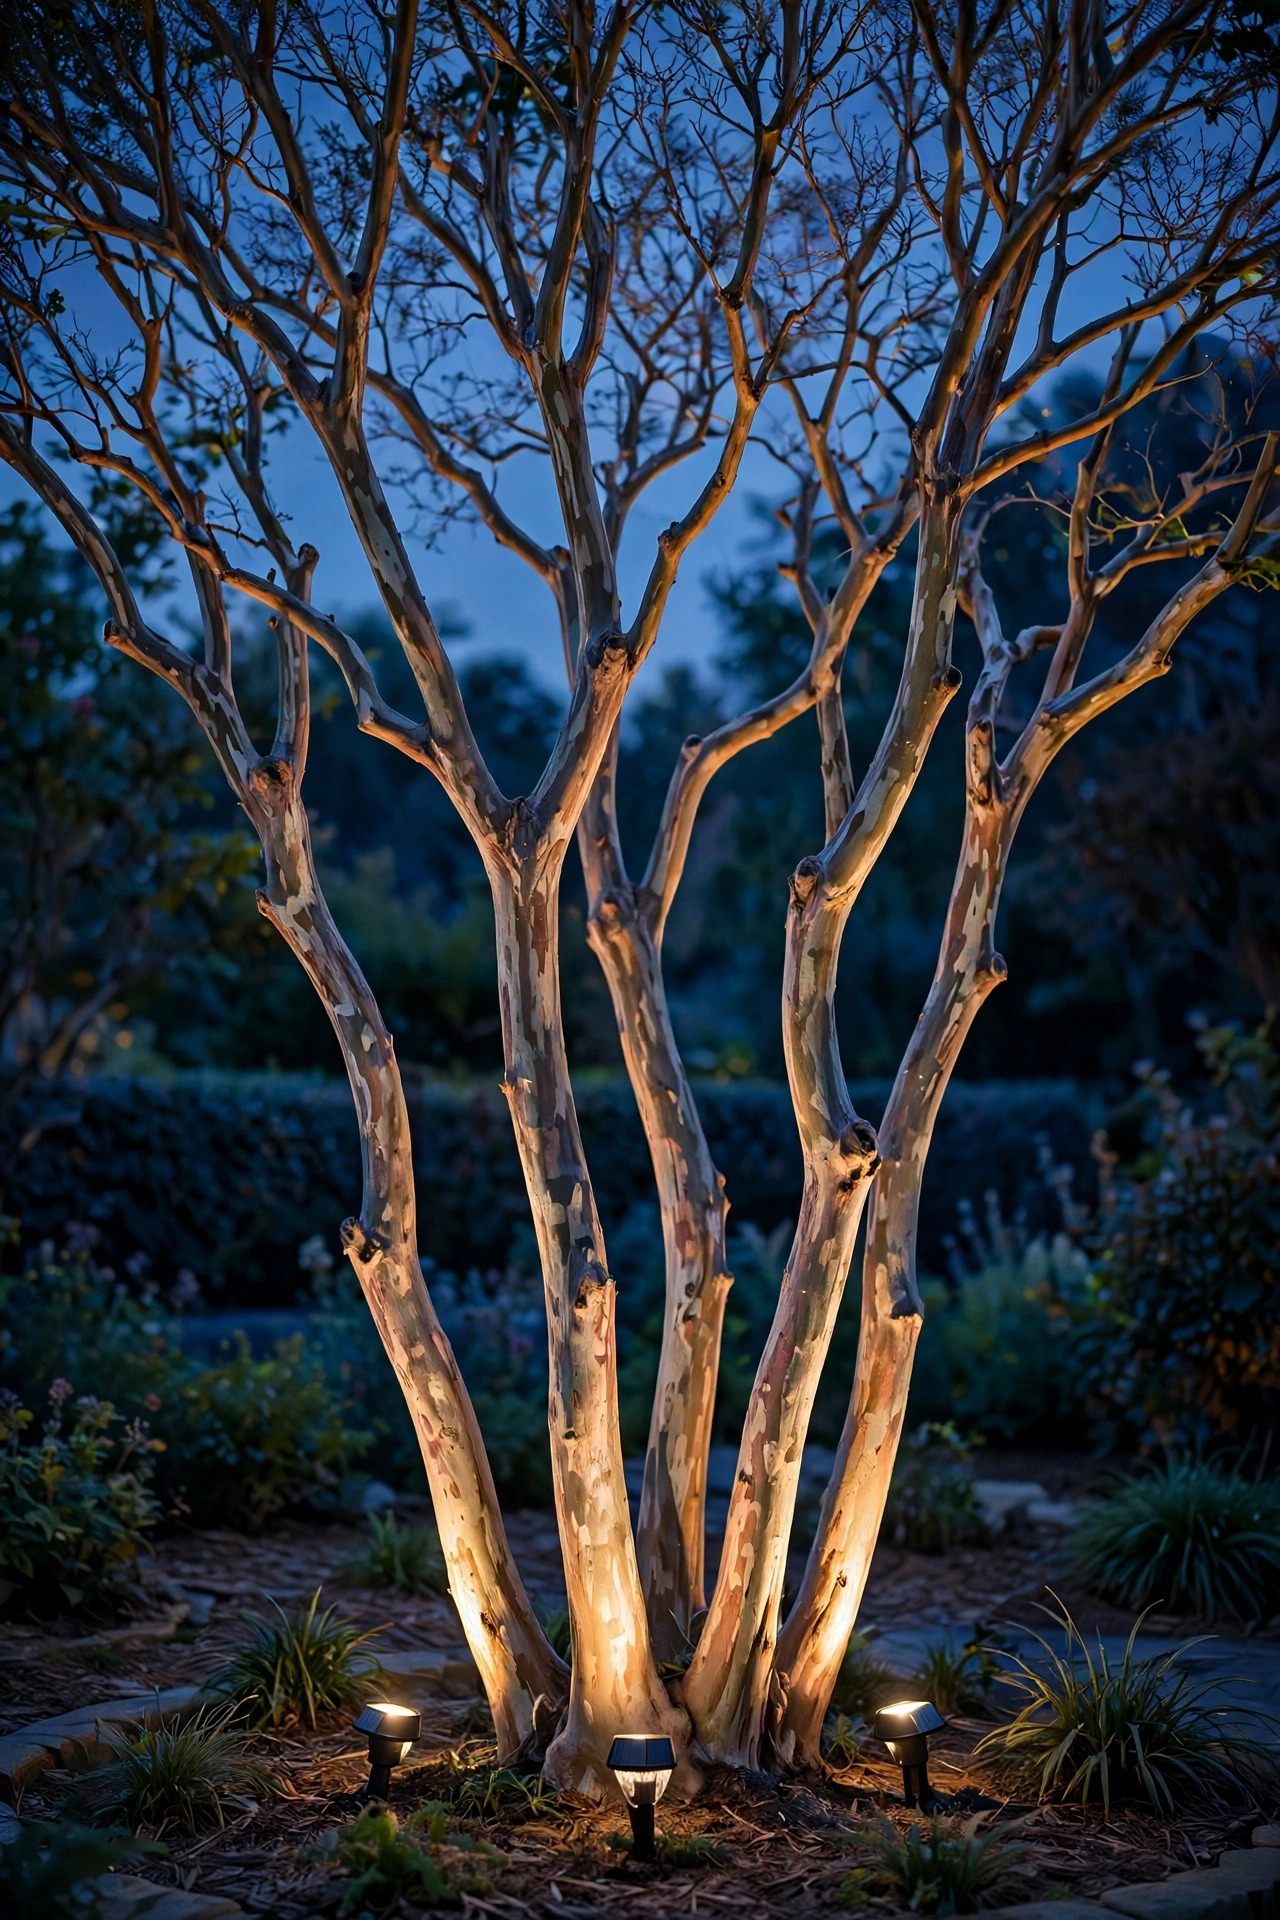
Multi-trunk trees — crepe myrtles, serviceberries, clumping birches — look lopsided lit by one beam, because the light only finds whichever trunk stands in front. Give each major trunk its own small spotlight. Three modest solar spots, one per trunk, staked 8 to 12 inches out and fanned at slightly different angles, weave the trunks together into one glowing sculpture. Using several smaller lights beats one big one here: each beam stays close to its trunk, grazes the bark, and spills just enough into the shared canopy to blend. Match color temperatures exactly, since mismatched whites are painfully obvious when trunks stand side by side. Angle the outer two slightly outward to widen the silhouette, and keep the center one more vertical. In winter this is the showpiece treatment — bare, twisting trunks lit from below look like a fountain frozen mid-splash. Budget-wise, multi-packs of small solar spots make this cheaper than it looks, and if one fails in year three, you are replacing a fifteen-dollar light, not the whole scheme.
Suggested budget range: $30 – $75.
11. Silhouette a Tree Against the House Wall
For a tree planted near the house, flip the whole idea around: put the spotlight behind the tree, between the trunk and the wall, and aim it at the house. The tree itself goes black — a bold, branching silhouette — while its shape is projected huge against the siding. It is the most dramatic look on this list and it costs the least light, because you are decorating the wall, not the canopy. Six to twelve inches between trunk and fixture is plenty; the closer the light, the bigger and softer the shadow. A warm white beam gives you a golden wall with a black tree drawn on it, like a screensaver that happens to be real. This works best with open, sculptural branching — a Japanese maple is the dream candidate — and less well with dense evergreens, which just become a blob. One warning: aim low, and check from inside that you are not beaming light straight through a bedroom window. Neighbors get the pretty view; you keep the sleep.
Suggested budget range: $15 – $38.

12. Re-Aim Every Season as the Canopy Changes
A solar uplight is not a set-and-forget fixture, because the tree it serves keeps changing. In April the beam slips easily through bare branches; by July the same angle is buried in foliage and half the light never reaches the top. I do a two-minute dusk walk-through each season with a drink in hand — tough chore, I know — and re-aim as the canopy fills in. Spring wants a steeper angle through open branches. Summer wants the head pulled back a few inches and tilted lower to catch the canopy underside. Fall color deserves a warmer, more frontal light, and winter is grazing season, when trunks and structure carry the show. Adjustable heads and movable stakes are what make this possible, so when you buy, choose fixtures you can re-aim without tools and stakes that pull out cleanly. Mark your best angles with a pebble beside each stake and the seasonal tweaks take seconds. Trees grow; the light should keep up. Honestly, this little ritual is half the reason my yard looks better in year three than year one.
Suggested budget range: $18 – $45.

13. Layer Uplights With Path Lights for Depth
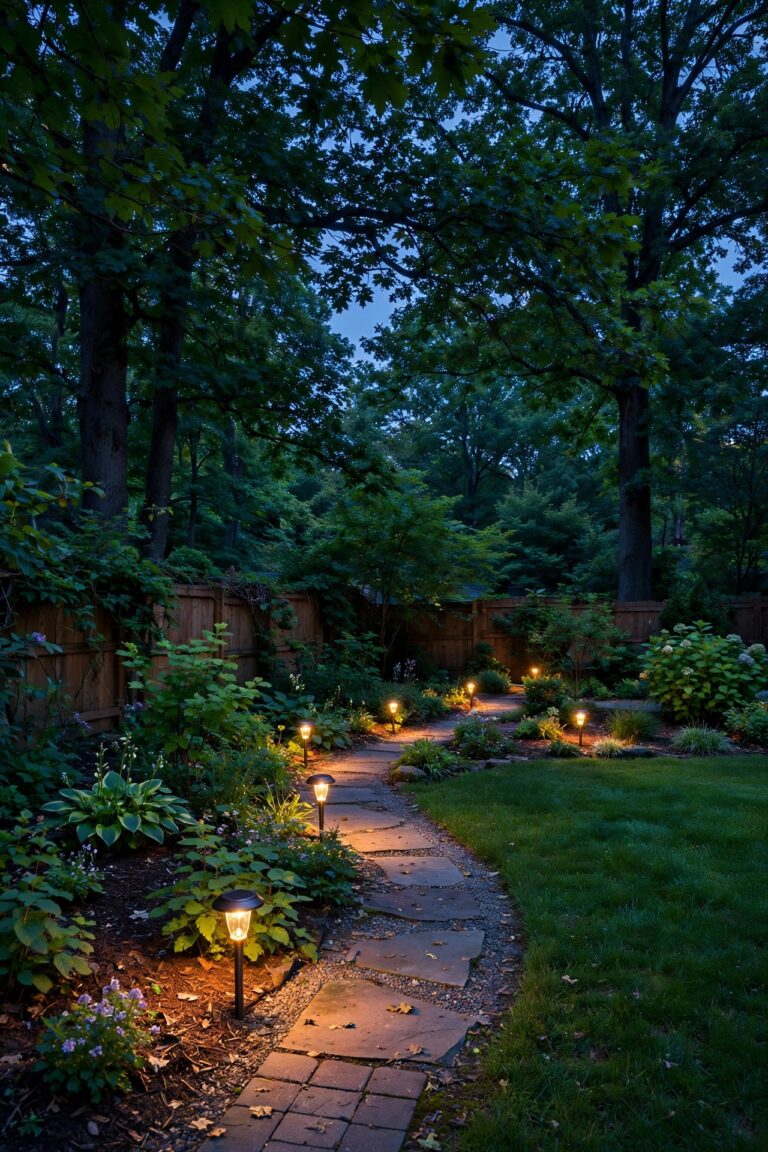
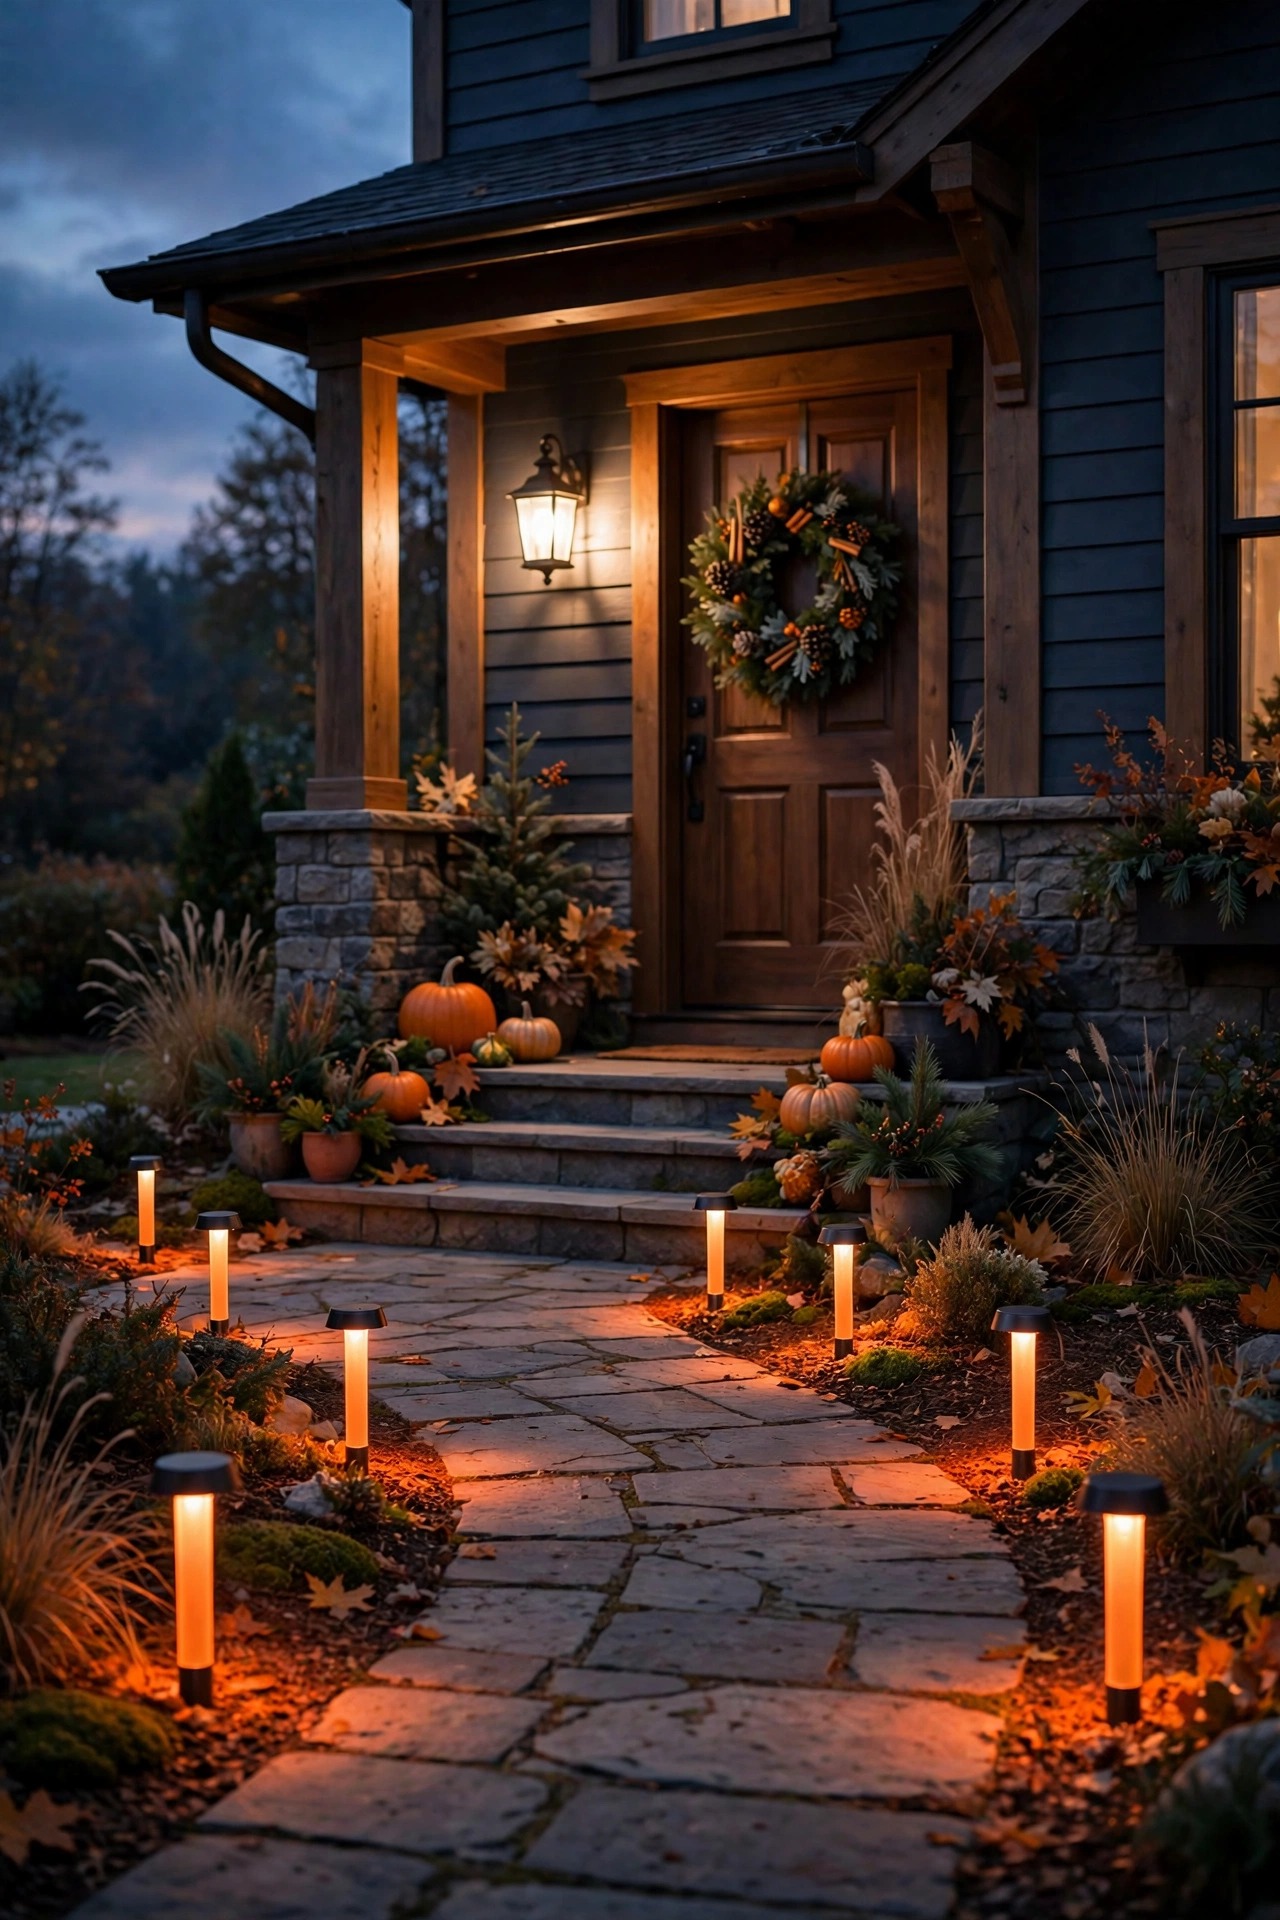
An uplit tree floating alone in a black yard can look like a museum exhibit — impressive, but a little lonely. Layering fixes that. Think of the uplight as your welcome layer, the tall statement. Then add a low guidance layer: two or three soft solar path lights leading the eye from the walk to the tree, dim enough that they never compete. Finish with an accent layer — a fairy-light wrap on a nearby shrub, a lantern on the bench, a low wash across the bed — so the eye travels from ground to canopy in steps. Keep each layer dimmer than the one above it and the tree stays the star. This is the same layering I use all over my yard, and it is why the whole scene reads as designed rather than decorated. If you want more ways to dress the tree itself beyond uplighting, my backyard tree lighting ideas cover wraps, hanging lanterns, and string-light canopies. Start with the hero tree tonight; the layers can grow one fixture at a time, which is exactly how mine did.
Suggested budget range: $45 – $110.

Frequently Asked Questions
How many lumens do I need to uplight a tree with solar spotlights?
For a small ornamental tree, 50 to 100 lumens is plenty. A medium shade tree looks its best with 100 to 200 lumens per fixture, and a big, wide canopy may want 300 or more, often split across two lights. Beam angle matters as much as the number: a narrow beam concentrates its lumens and looks brighter than a wide flood with the same rating. Be skeptical of bargain listings claiming thousands of lumens from a palm-size panel.
How far from the trunk should a solar spotlight sit?
It depends on the effect. For bark grazing, 4 to 6 inches. For a classic trunk-and-canopy uplight, 12 to 18 inches. For a wide wash under a spreading canopy, 24 to 36 inches. When in doubt, start at about a foot, stand back at dusk, and adjust in small steps — a few inches closer makes a bigger difference than most people expect.
Will solar spotlights work if my tree shades the panel?
An integrated panel stuck under a dense canopy will struggle, especially in winter. The reliable fix is a remote-panel model: the light stays at the trunk while the panel stakes out where it can get four to six hours of direct sun. If you must use an integrated panel, place it on the sunny south or west side of the trunk and keep the panel wiped clean.
How long do solar spotlights stay lit at night?
On a full sunny charge, most quality models run 6 to 10 hours in summer — easily dusk to bedtime. Expect less in winter, when days are short and the sun sits low; 4 to 6 hours is realistic. Lights with dimming or motion modes stretch runtime by saving full brightness for when you are actually outside. A fading light usually needs a panel cleaning or a fresh rechargeable battery, not a replacement.
Conclusion
A tree is the biggest piece of sculpture you will ever plant, and it deserves better than disappearing at sunset. With solar spotlights for trees, there is no trench, no cable, and no electrician standing between you and a canopy that glows until bedtime — just honest placement: the right beam, the right distance, and a panel that actually sees the sun. Pick your hero tree, start with one light tonight, and let the layers grow from there. Then browse more of my outdoor lighting ideas here on the site and plan your next glow-up.