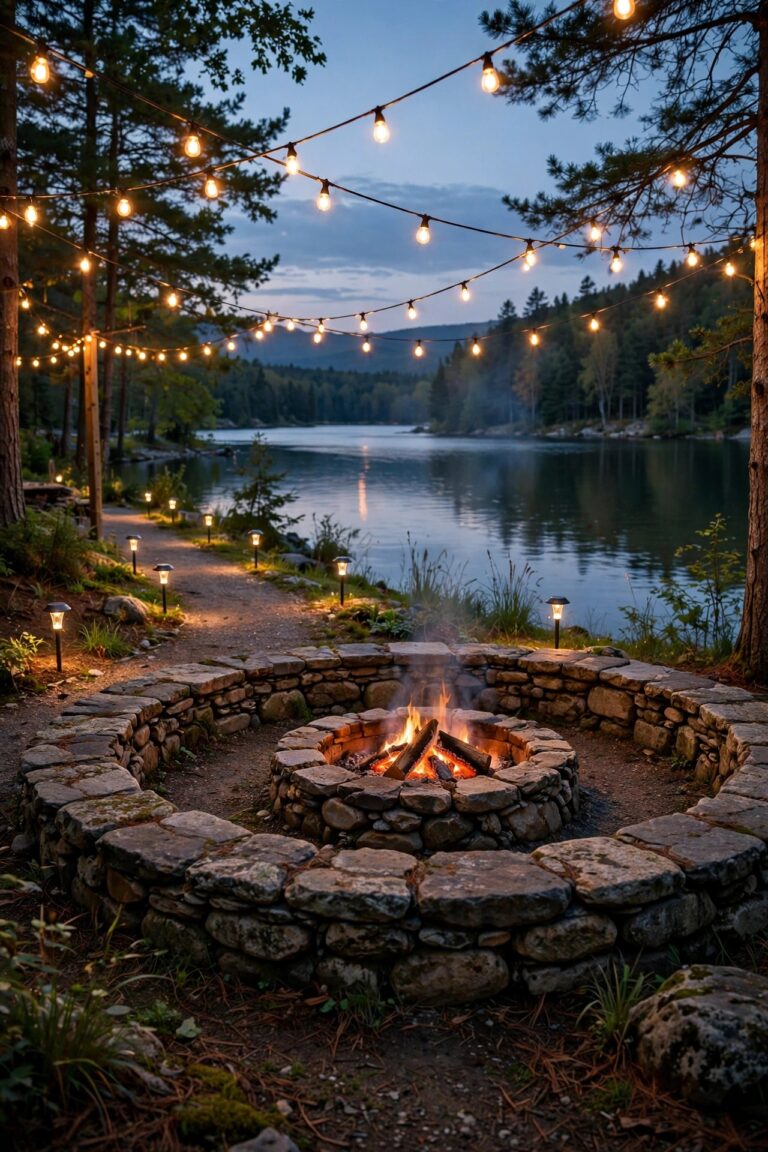
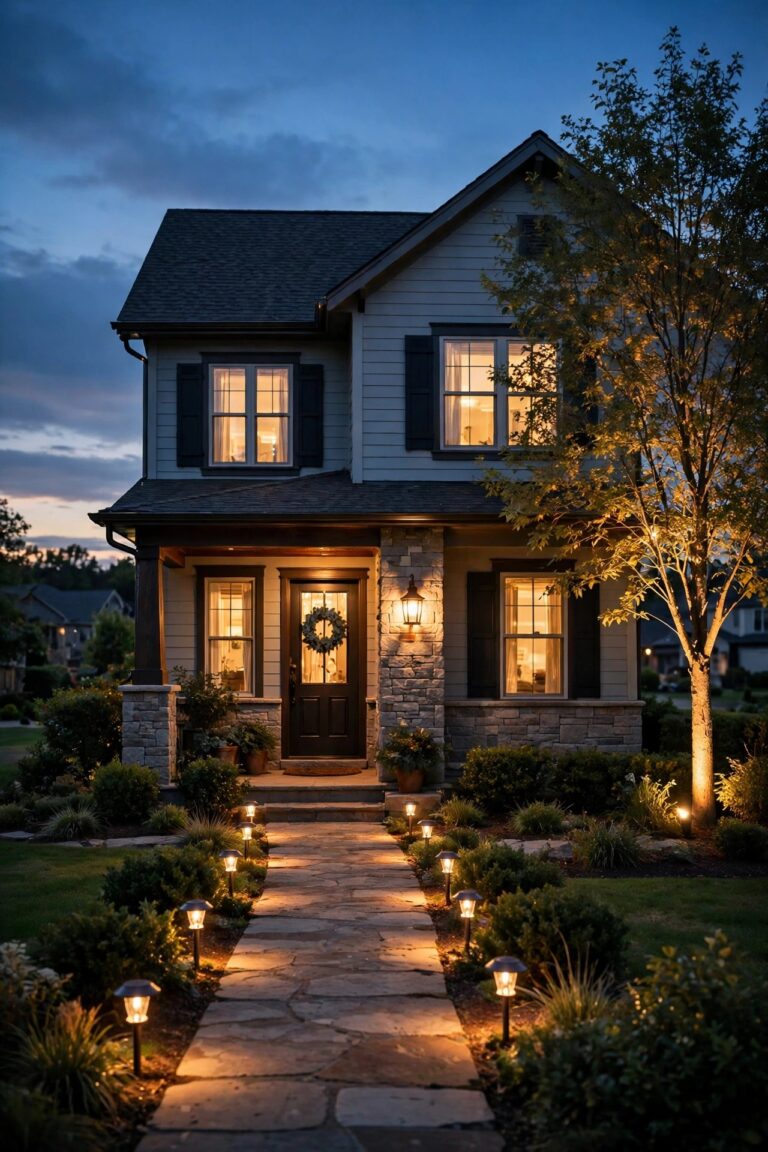
Can a whole yard really run on sunshine alone? A few summers ago I would have laughed at that — my first solar stakes barely made it to 9 p.m. But the lights themselves were never the real problem. The plan was. Good solar landscape lighting design is mostly decided before you buy a single fixture: where the sun actually falls in your yard, which zones need real brightness and which need only a whisper of glow, and how the layers stack up after dark. Get those three things right and a fully solar yard stops being a compromise and starts being the easiest lighting you will ever own — no trench, no transformer, no electrician. In this guide I will walk you through the exact process I use: a simple shade audit, a three-layer plan, lumen budgets by zone, panel tricks for shady lots, and a phased way to build it all over a few seasons without wasting money.

The Short Answer
Yes — a whole yard can run on solar, if you design around the sun instead of against it. Audit where direct sun lands for at least six hours a day, put your hungriest fixtures there, and use remote-panel or lower-output lights everywhere else. Build in three layers — path, accent, feature — and budget brightness in lumens per zone rather than per fixture. Expect path lights at 20 to 100 lumens, accents at 100 to 300, and one or two feature spotlights at 300 to 800. Phase the install, keep the panels clean, and solar stops feeling like a compromise.
Map the Sun First: The Shade Audit
Every solar light is really two products in one: a lamp for the night and a little power plant for the day. The lamp gets all the attention, but the power plant decides whether the lamp is still glowing at 10 p.m. or died at dusk. That is why my whole design process starts with a shade audit, and honestly it is the step most people skip.
Pick one ordinary day and walk your yard four times: around 9 a.m., noon, 3 p.m., and 6 p.m. Each time, note which beds, paths, and corners are sitting in direct sun. I take quick phone photos from the same spot so I can compare them side by side later. Then I sort every area into three buckets: full sun (six or more hours of direct light), part sun (three to six hours), and deep shade (under three). A simple sketch on paper is plenty — a rough outline of the house, the big trees, the fence lines, and three shaded zones marked in pencil.
Two traps to watch for. First, season: a bed that bakes in April may sit under a leafed-out maple all summer, and a winter sun sits far lower, so fences throw much longer shadows in December. Audit in the season you care about most, and re-check in summer if you plan in spring. Second, the best charging spots in most yards face south and sit clear of the house shadow by mid-morning. The rule the audit gives you is simple and unforgiving: the brightest lights in your plan must live in full-sun zones. Deep shade gets remote-panel fixtures or no light at all — and designing honestly around that fact is what separates a yard that glows all evening from a yard of expensive garden ornaments.

Solar Landscape Lighting Design Starts With Three Layers
Once I know where the sun lives, I plan the light in three layers — the same layering philosophy I use for wired lighting, adjusted for what solar does best.
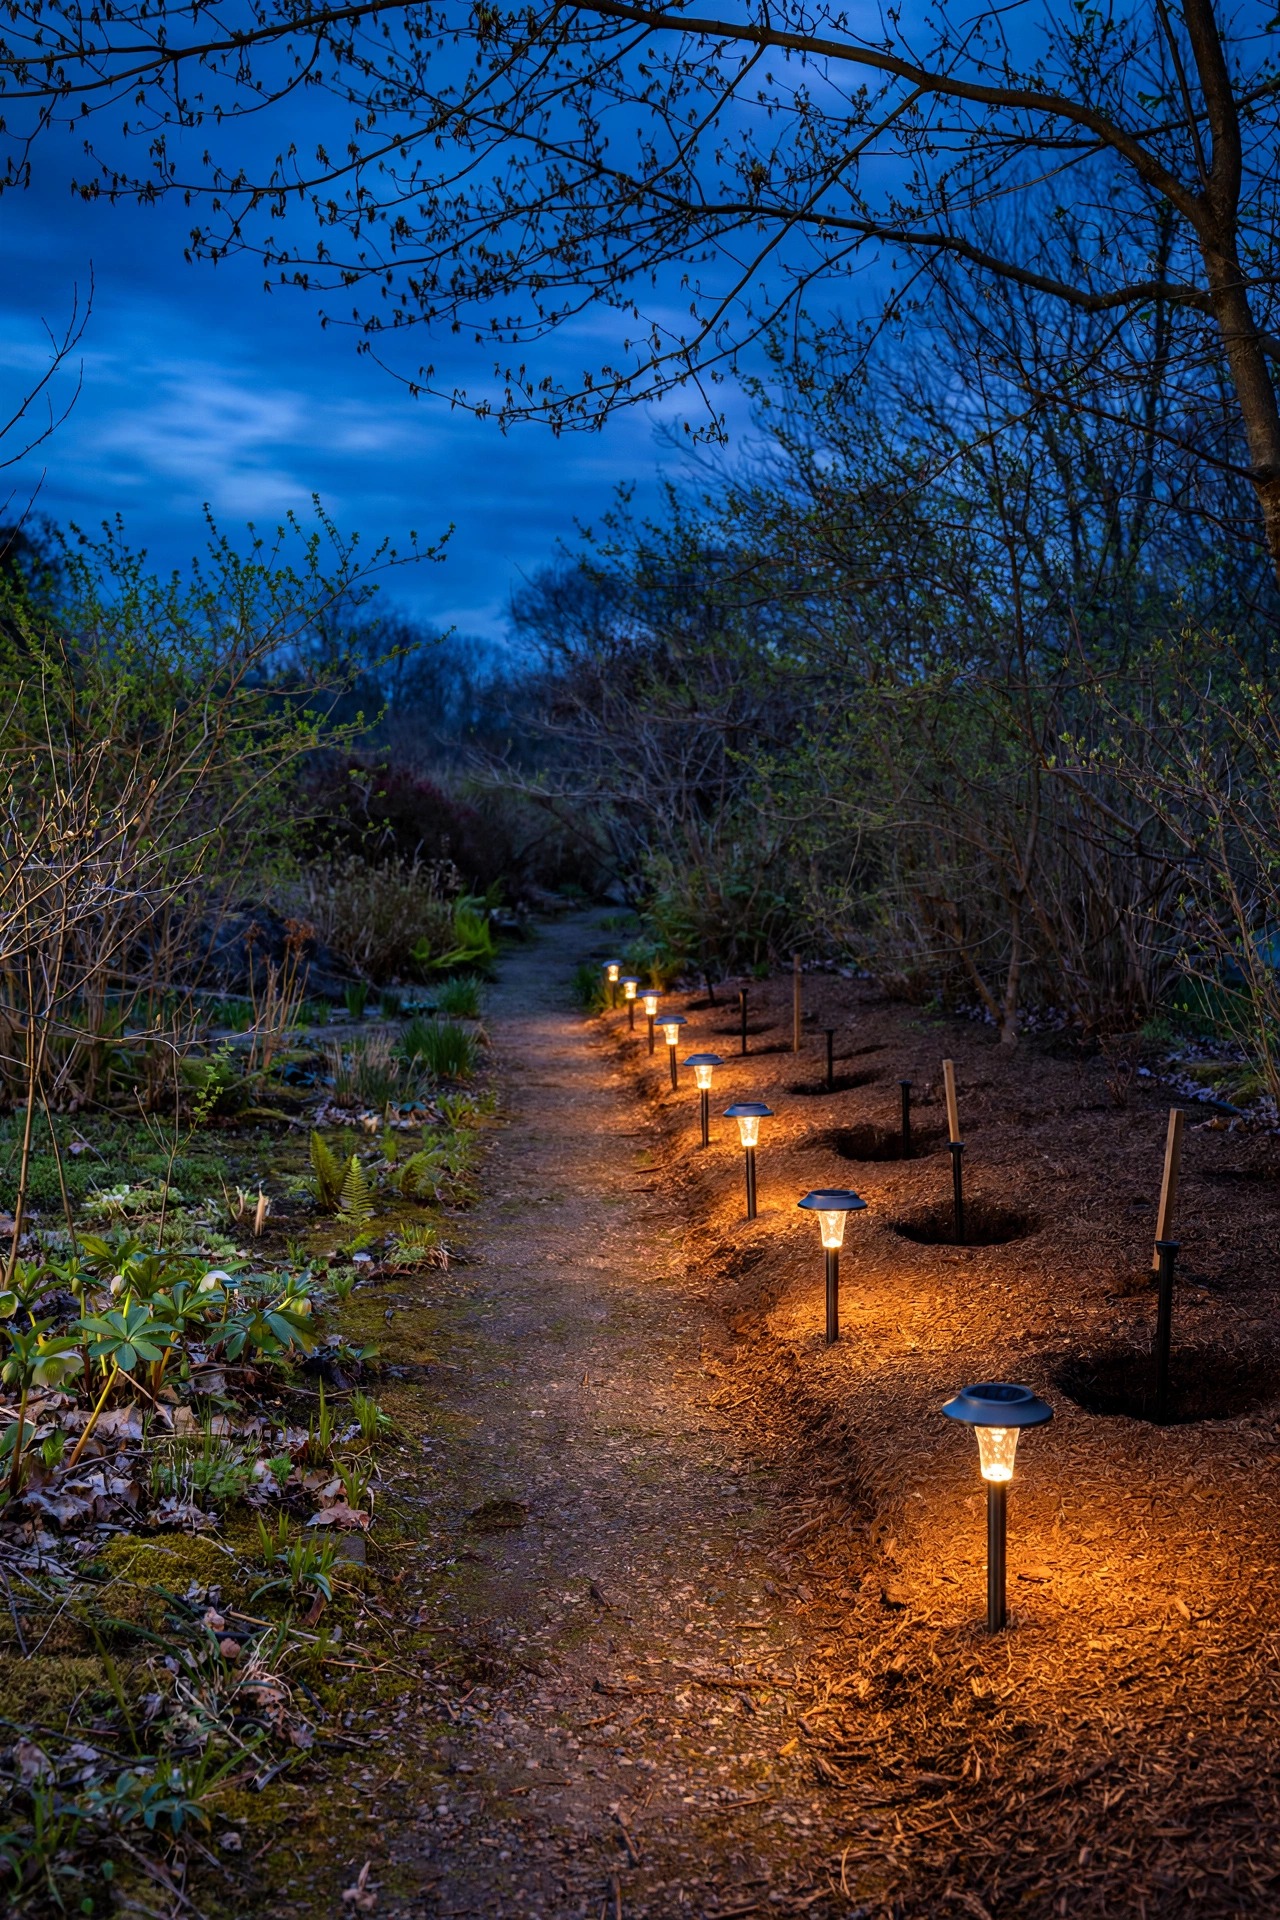
The path layer is guidance: low, even, glare-free light along walkways, steps, and the driveway edge. These fixtures are modest, usually 20 to 100 lumens, spaced about six to eight feet apart and staggered side to side so the walk reads as a rhythm, not a runway. Their job is safety and wayfinding, not drama.
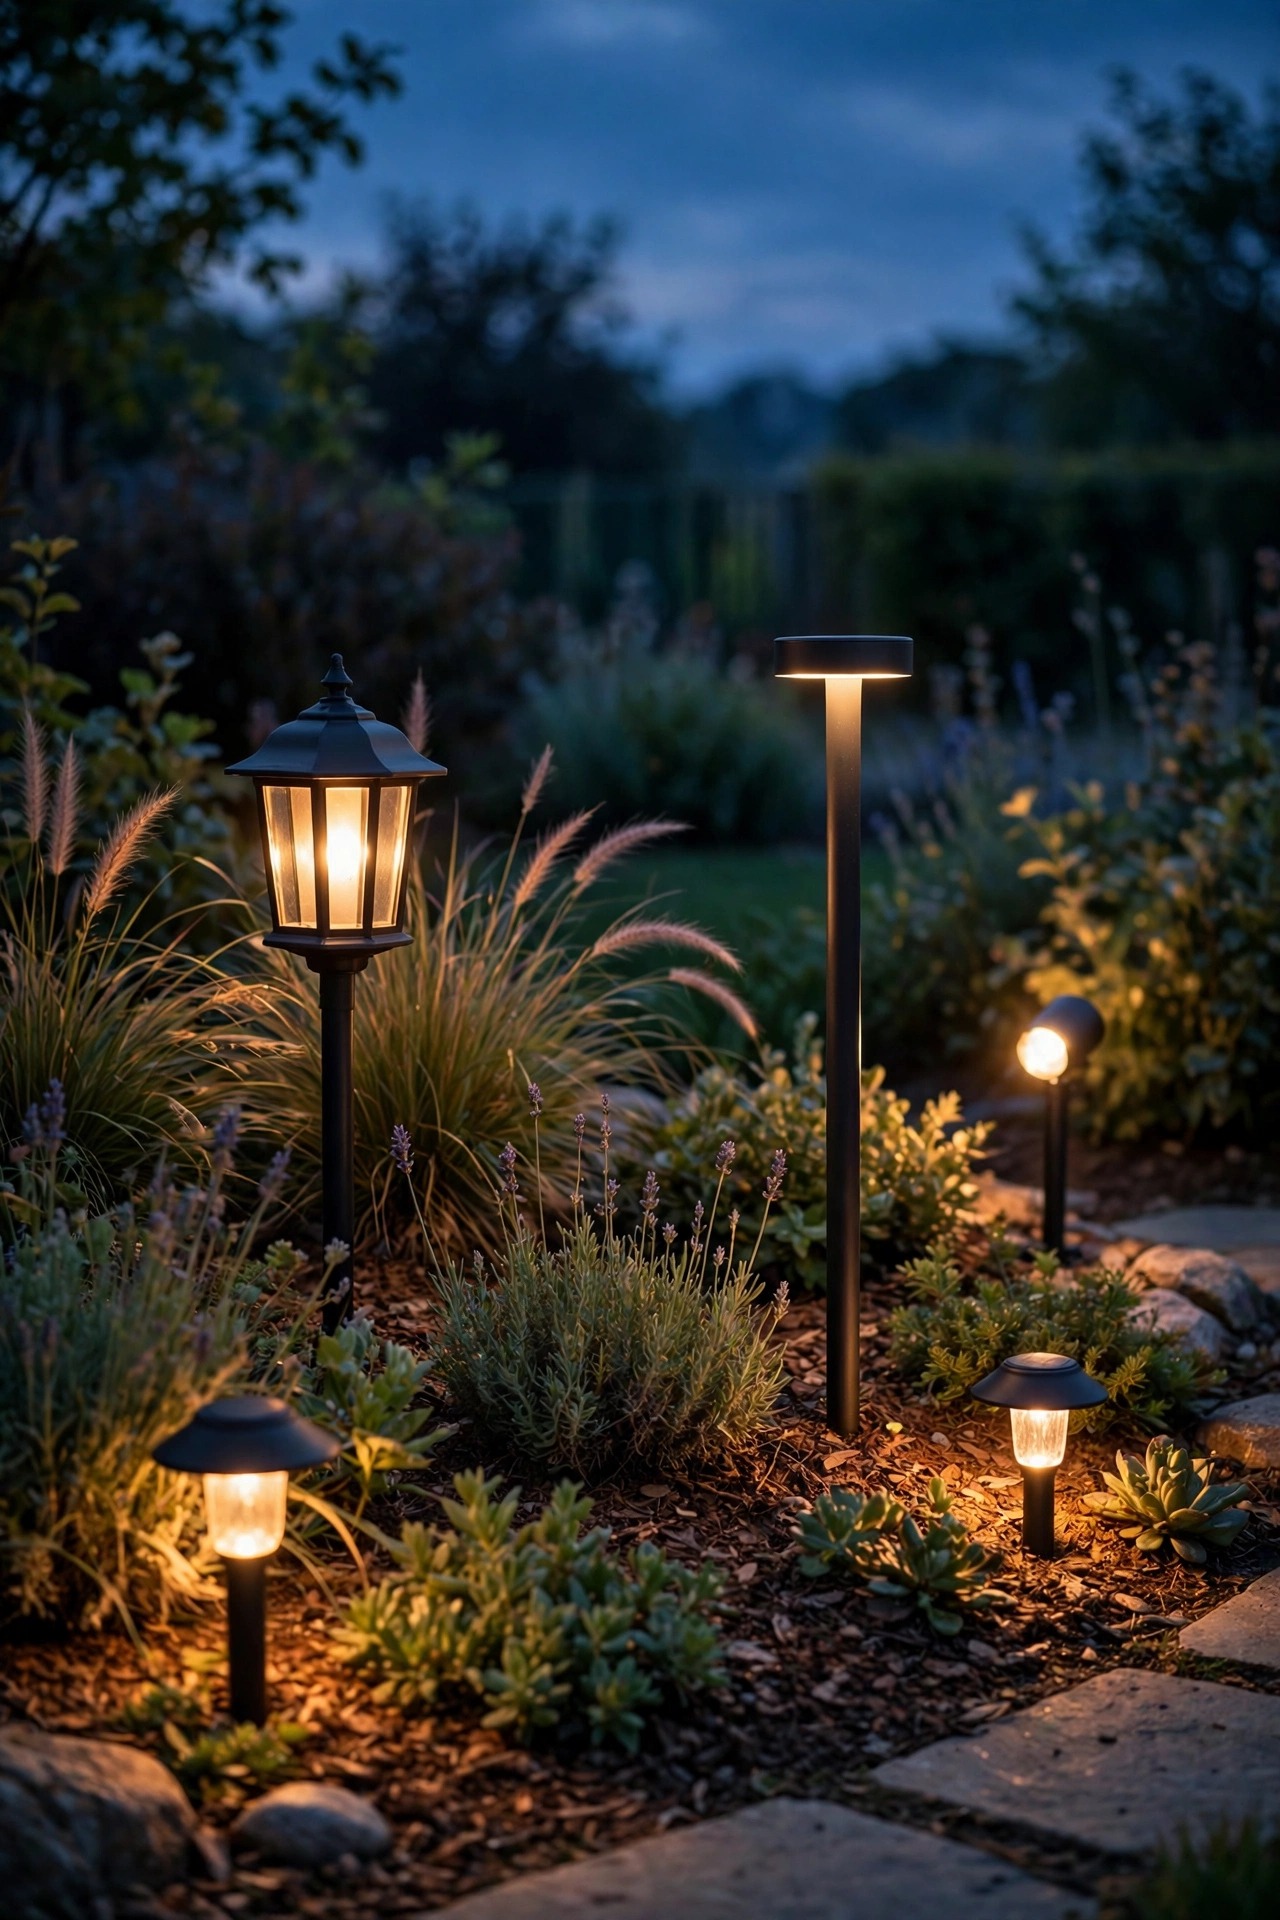
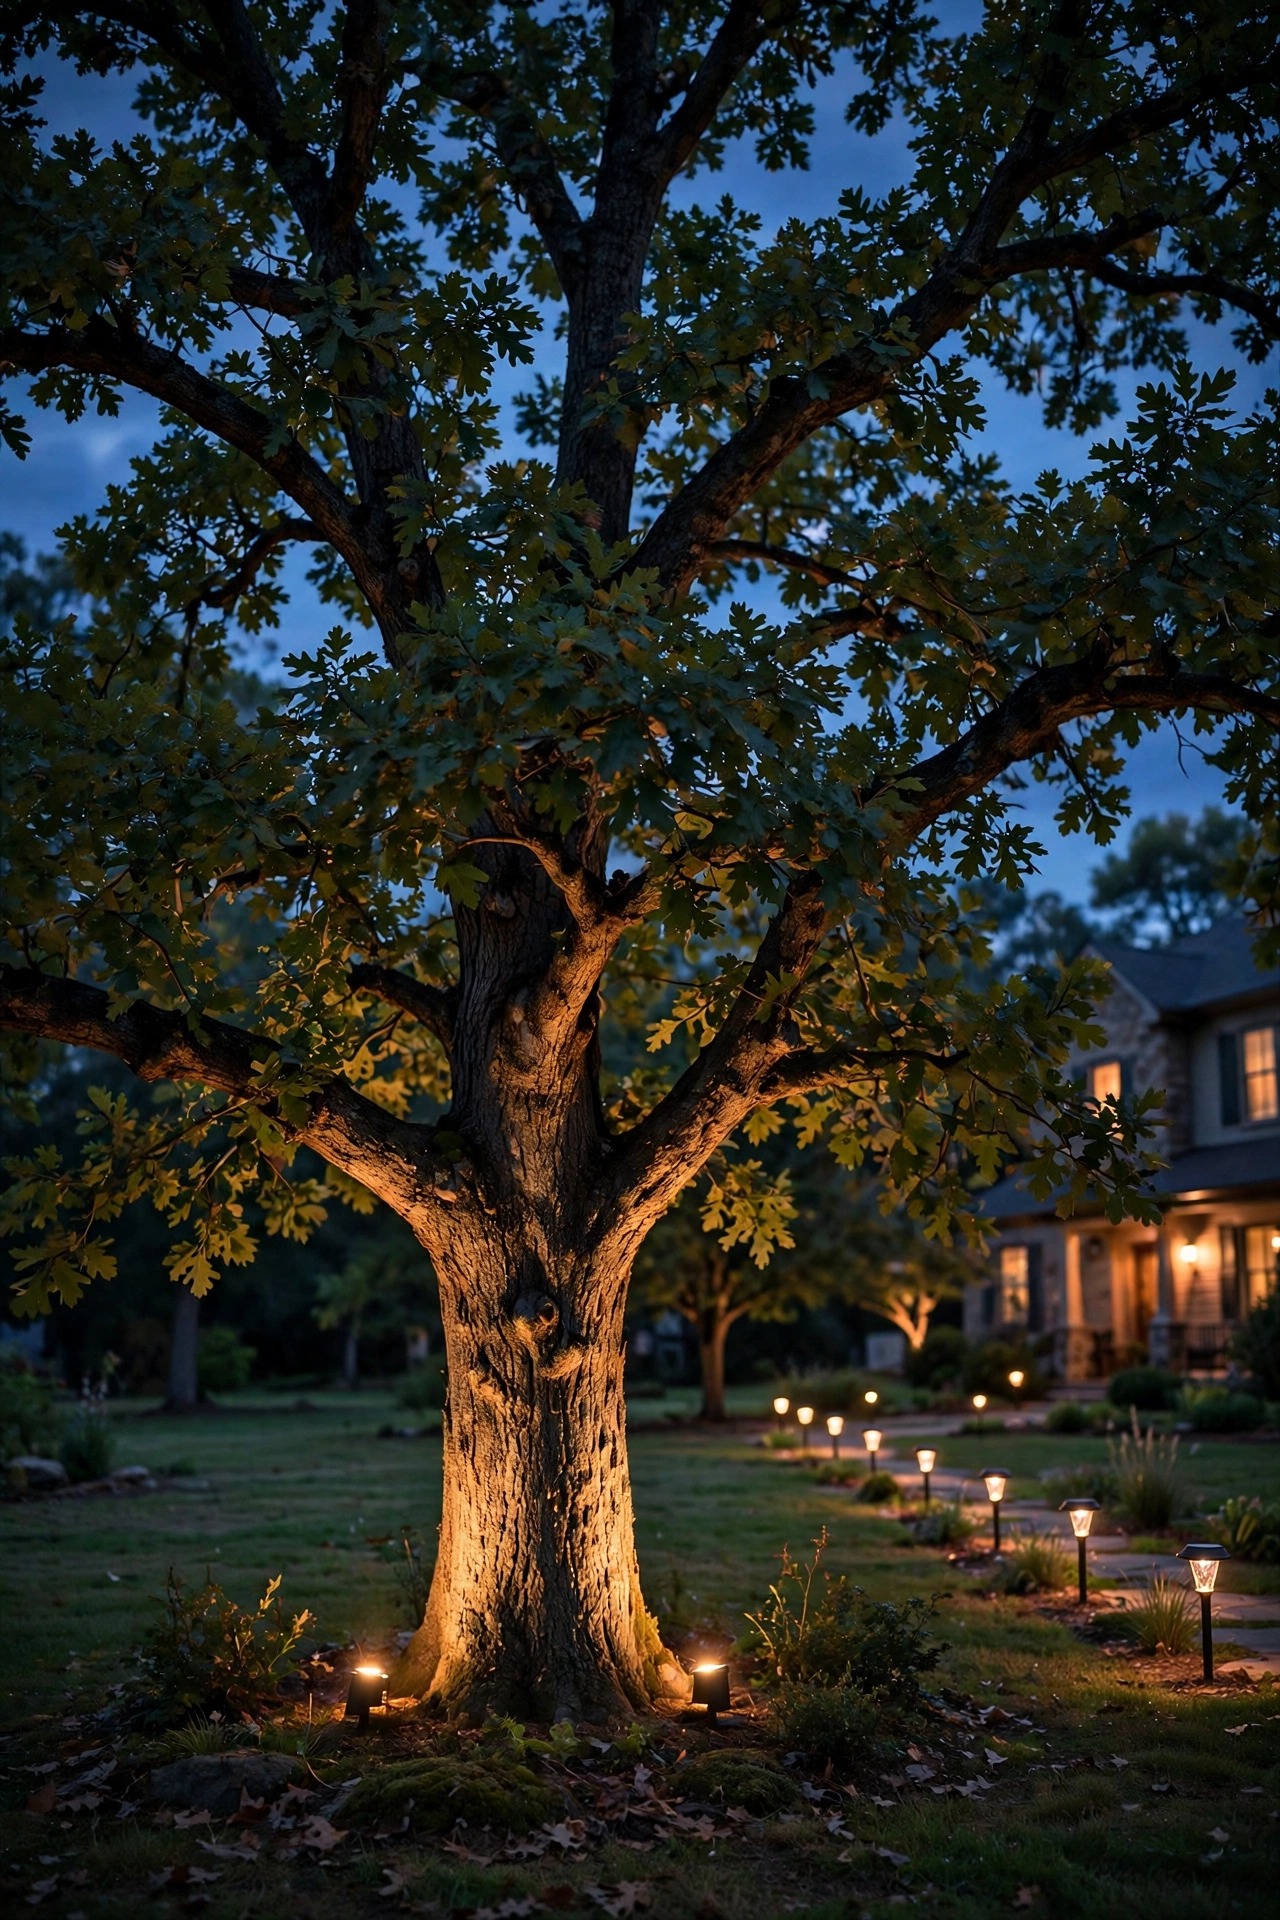
The accent layer is texture. This is the uplight washing a small ornamental tree, the soft pool of light inside a bed of ornamental grasses, the lantern glow near a bench. Accents run brighter than path lights, roughly 100 to 300 lumens, and they are placed where the eye naturally lands from the patio or the street. This layer is what makes a yard look designed rather than merely lit.
The feature layer is the hero — one, maybe two subjects per view: the specimen tree, the fountain, the arbor gate. Feature lights are the brightest in the yard, 300 to 800 lumens, and they earn it by being rare. If everything is a hero, nothing is.
My favorite test once a layer is in: stand at the street and then at the back door, and look at each layer on its own. Every layer should look intentional by itself, and together they should stack — path brightest near the ground where feet need it, accents in the middle distance, the feature glowing at the back like a period at the end of a sentence. I go deeper on this stacking idea in my guide to layered landscape lighting, and it is worth a read before you buy anything.

A Brightness Budget in Lumens, Zone by Zone
With solar, forget watts entirely — lumens and battery capacity are the only honest numbers. And because every lumen you burn has to be harvested first, I budget brightness by zone, not by fixture. It keeps one greedy corner from starving the design, and it forces the light to land where it actually does something.
Here is the budget I start from. The front entry zone gets the most generous allowance: a combined 800 to 1,500 lumens across porch-adjacent accents and the first stretch of walkway, because this is your safety zone and your first impression. The main walkway and driveway zones run lean — a line of 20 to 100 lumen path lights adds up to guidance without glare, and the total matters far less than the even spacing. Garden bed zones get 100 to 300 lumens per accent, aimed at plants, never at windows. The patio perimeter stays the dimmest of all: warm, low light that outlines the space while keeping faces and food lit by the house lights instead. Feature subjects stand alone at 300 to 800 lumens each.
Two principles govern the whole budget. First, distribution beats totals — ten modest lights placed with intention outshine three blazing ones every time, in looks and in runtime. Second, every zone has a battery reality behind it: a fixture burning 300 lumens for ten hours needs roughly three times the harvested energy of one burning 100. When a zone keeps dying early, the fix is almost never a bigger light; it is a smaller lumen budget or a better charging spot. If you want to think through zones room by room, my walkthrough of landscape lighting zones pairs nicely with this budget.

Mixing Fixture Types Without the Hodgepodge Look
The fastest way to make a solar yard look like a clearance aisle is to mix one of everything: a tiki torch here, a color-changing orb there, three styles of path light because each was on sale. Solar makes this trap easier, because the lights arrive one tempting pack at a time. A few unifying rules keep a mixed yard looking like one design.
Pick one finish family and stay in it — matte black, oil-rubbed bronze, or clean stainless — across every fixture, even from different makers. Finishes read at a glance from the street, so consistency there does most of the visual work. Second, lock one color temperature for the whole yard, 2700K to 3000K warm white. A single cool-white fixture in a warm yard glows blue by comparison and instantly looks like a mistake. Third, repeat each fixture type at least three times. One lantern is an object; three matching lanterns are a design decision. Fourth, keep the rhythm honest: path lights at even intervals, accents in loose pairs or triples, feature lights alone. And finally, vary heights on purpose — low path fixtures at ankle height, lanterns and bollards at knee to waist height, a downlight hung in a tree branch overhead. Height variety looks layered; style variety looks accidental. During the day the fixtures should nearly disappear into the beds. If a visitor notices the hardware before the glow, a rule got broken somewhere.
Panel Placement Strategy for Shaded Yards
A shady yard does not disqualify you from solar — it just moves the design problem from the lights to the panels. The good news: the light and its power plant do not have to live in the same spot.
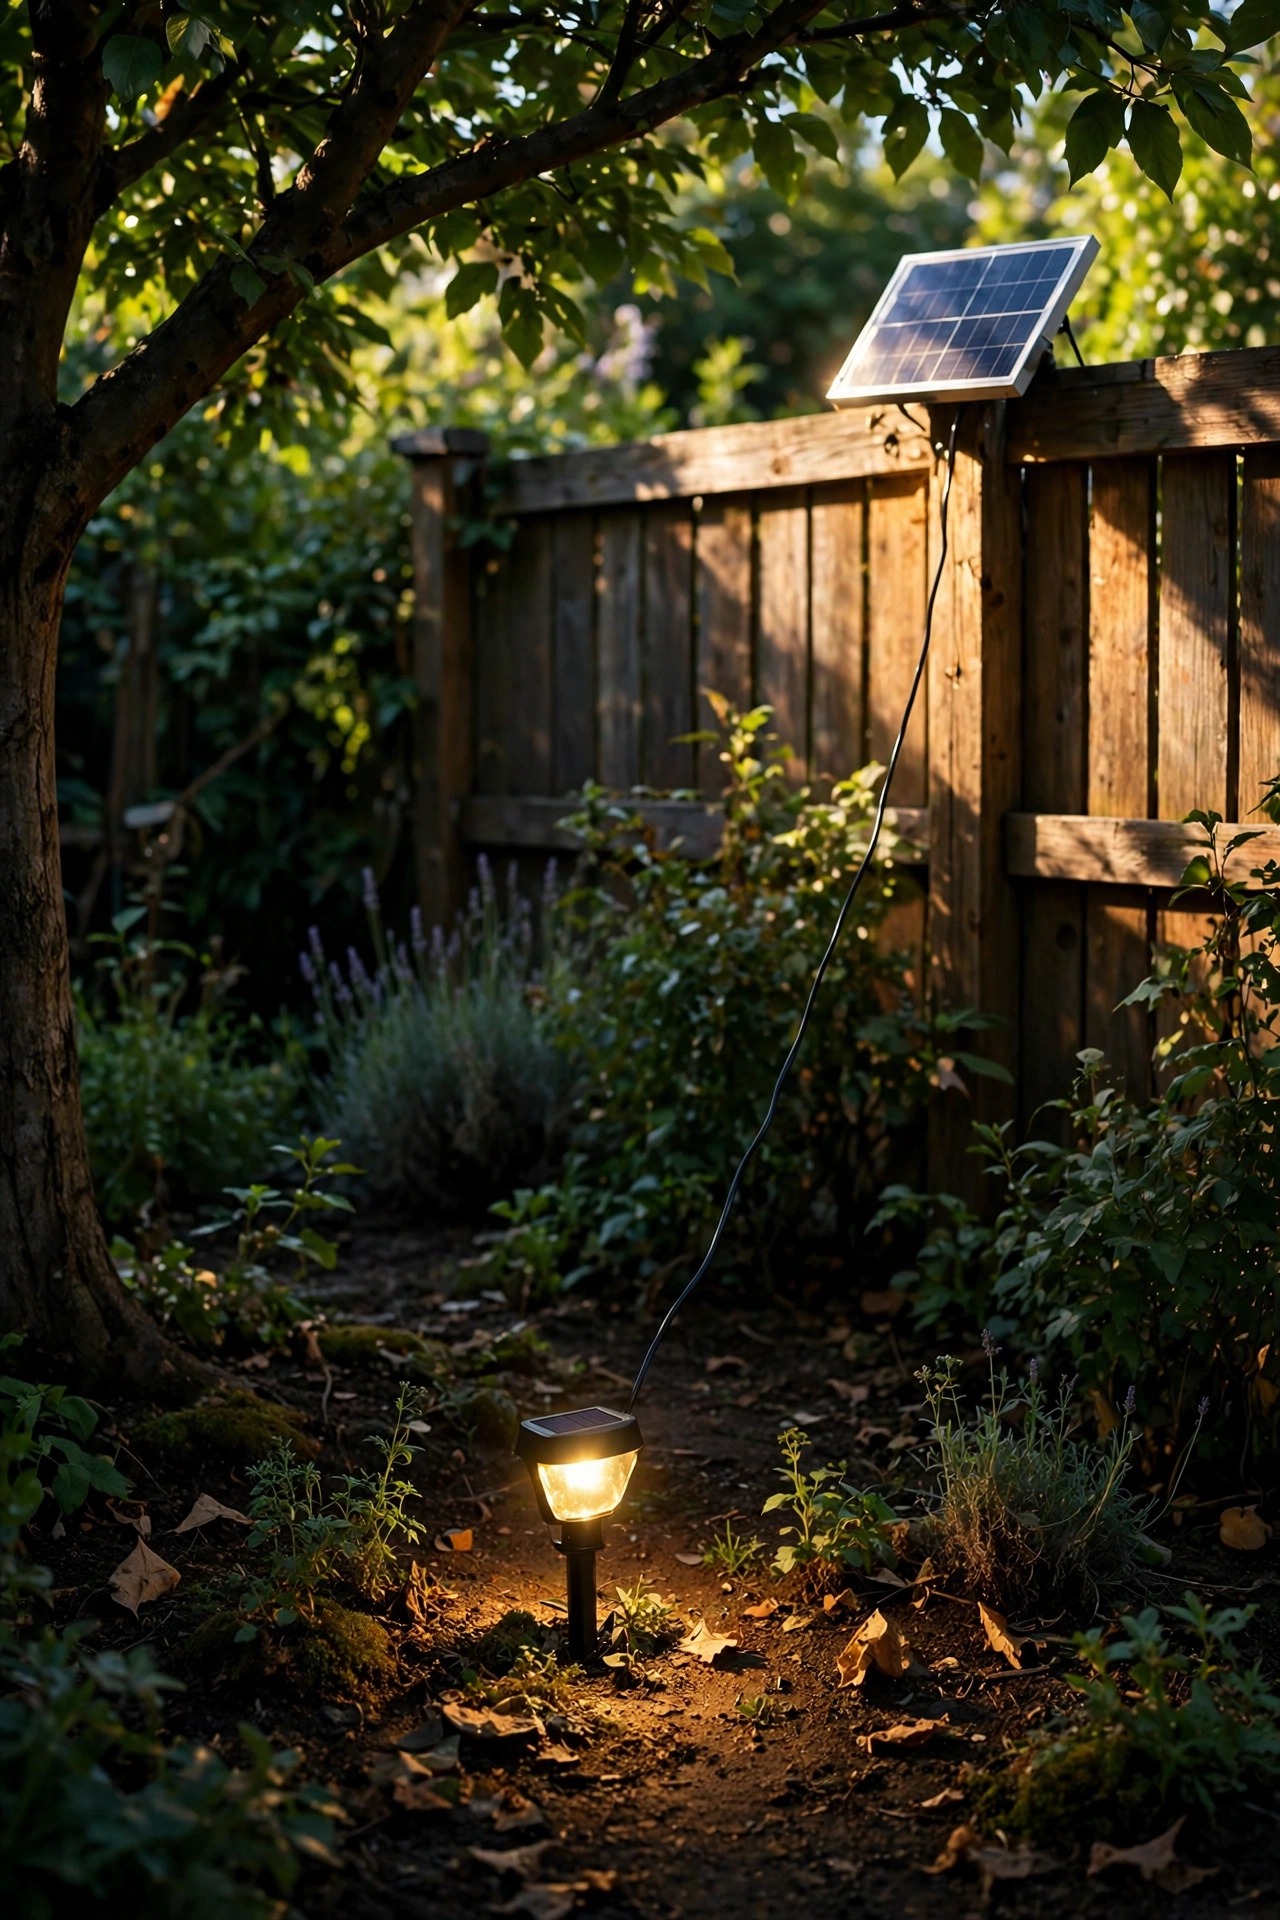
Remote-panel fixtures are the workhorse here. The lamp sits in the shade where you want the glow, while its separate solar panel rides a cable — often nine to fifteen feet of it — to the nearest sunny perch: a fence top, a shed roof edge, a sunny stake at the bed border. I use these for bed accents under trees all the time, and nobody at dusk can tell the panel is twelve feet away in the sun.
Where a fixture has an attached panel, placement gets pickier. Aim panels toward the south where you can, tilted roughly 30 to 45 degrees, which sheds rain and catches the low winter sun better than lying flat. Prefer fixtures with larger panels and replaceable, higher-capacity batteries for any spot that gets under five hours of sun — a big panel in part shade harvests like a small one in full sun. And be a little ruthless: selective pruning of one low branch, or moving a light three feet out from a shrub that grew over it, fixes more dim yards than any product upgrade. For genuinely deep shade — under a dense canopy, on a north wall — be honest and either run a remote panel to real sun or skip that spot. One dark corner is far better than one sad light blinking out at 7 p.m.
Phasing Your Solar Landscape Lighting Design Over the Seasons
Here is the quiet advantage solar has over wired: you can build the design in phases, live with each one, and adjust before spending another dollar. I almost never install a whole yard at once anymore.
Phase one, in spring, covers the sunniest zones and the safety layer: the front walk, the steps, the driveway edge. These are the highest-value lights, they charge in the best spots, and they teach you how your chosen fixture line actually performs — real runtime, real brightness — before you commit to twenty more of them.
Phase two, in early summer, adds the accent layer. Wait until the planting is fully leafed out, because only then are your shade patterns telling the truth. Uplights for the small trees, washes for the beds, lanterns by the seating — placed using the audit you redo now that the canopy is in.
Phase three, in fall, is the feature layer plus the entry refresh, finished before the evenings get long. This is also when you find out which phase-one fixtures disappoint in the shorter days, while there is still time to move them to sunnier ground. Over winter, just observe: note which zones fade by 8 p.m. and which sail to midnight, and let that list drive next spring's tweaks and battery swaps.
Two habits make phasing work. Buy from one fixture line across all phases so finishes and color temperature match years apart. And keep your yard sketch updated with install dates — when a light fades in year three, that little map tells you whether the battery is simply old, or the spot was always marginal.
Solar vs Low-Voltage Wired: The Honest Limits
I love solar, and I will still talk you out of it for the wrong yard. Honest limits, plainly stated.
Runtime is seasonal. A fixture that glows ten hours in June may manage four to six strong hours in December before stepping down to a dim overnight mode — fine for ambiance, frustrating if you expected June performance at Christmas. Brightness has a ceiling too: solar spotlights top out well below what a wired fixture on a transformer can pour onto a big oak all night, and a three-day cloudy streak will show in every zone at once. Batteries are consumables, typically lasting one to three years before runtime shrinks. And a heavily shaded or north-facing lot may simply never harvest enough, whatever the brochure promises.
Wired low-voltage wins for all-night security brightness, dramatic uplighting of large trees, and deep-shade properties. Solar wins nearly everywhere else: no trenching or cable runs, no transformer, no electrician, gentle DIY installs, easy moves when you replant a bed, and it is the only sensible option for renters and for far corners hundreds of feet from an outlet. Plenty of beautiful yards run a hybrid — wired for the hero tree, solar for everything else — and that is a legitimate design, not a failure. If you are still deciding, my head-to-head solar vs wired landscape lighting comparison lays out the trade-offs in detail.
What It Costs in 2026
Phased solar design is kind to a budget precisely because the spending spreads out. Here is the honest math I give friends, using typical 2026 shelf prices.
Basic path lights run $8 to $25 each, and they are fine for a first phase in sunny spots. The quality tier — metal housings, larger panels, replaceable batteries — runs $25 to $60 per path light, and in my experience this is the single best upgrade in the whole plan, because these are the fixtures still working in year four. Solar spotlights and uplights run $20 to $80 each depending on output. Remote-panel accent lights, the shaded-yard problem solvers, run $30 to $90. String lights and decorative lanterns for the patio perimeter run $15 to $50.
By phase, a realistic spend looks like this: phase one, the front walk and steps, lands around $150 to $400. Adding the accent layer in phase two runs another $200 to $600. Feature lights and the entry finish in phase three add $150 to $500. A whole yard, designed properly and built over a year or two, typically totals $600 to $1,800 — against $300 to $900 in parts for a DIY wired kit before you count your trenching weekends, or $2,500 to $6,000 and up for a professional wired install.
Running costs are where solar is unbeatable: the electricity is $0, forever. Your only recurring line is batteries — replacement cells run $3 to $8 per light every one to three years. The one false economy to avoid: bargain multipacks with sealed, non-replaceable batteries. They are cheap exactly once, and then they are landfill.

The Maintenance Rhythm That Keeps It Bright
Solar lighting is low maintenance, not no maintenance — and nearly every "my solar lights stopped working" story I hear is really a skipped rhythm. Mine takes about fifteen minutes a month.
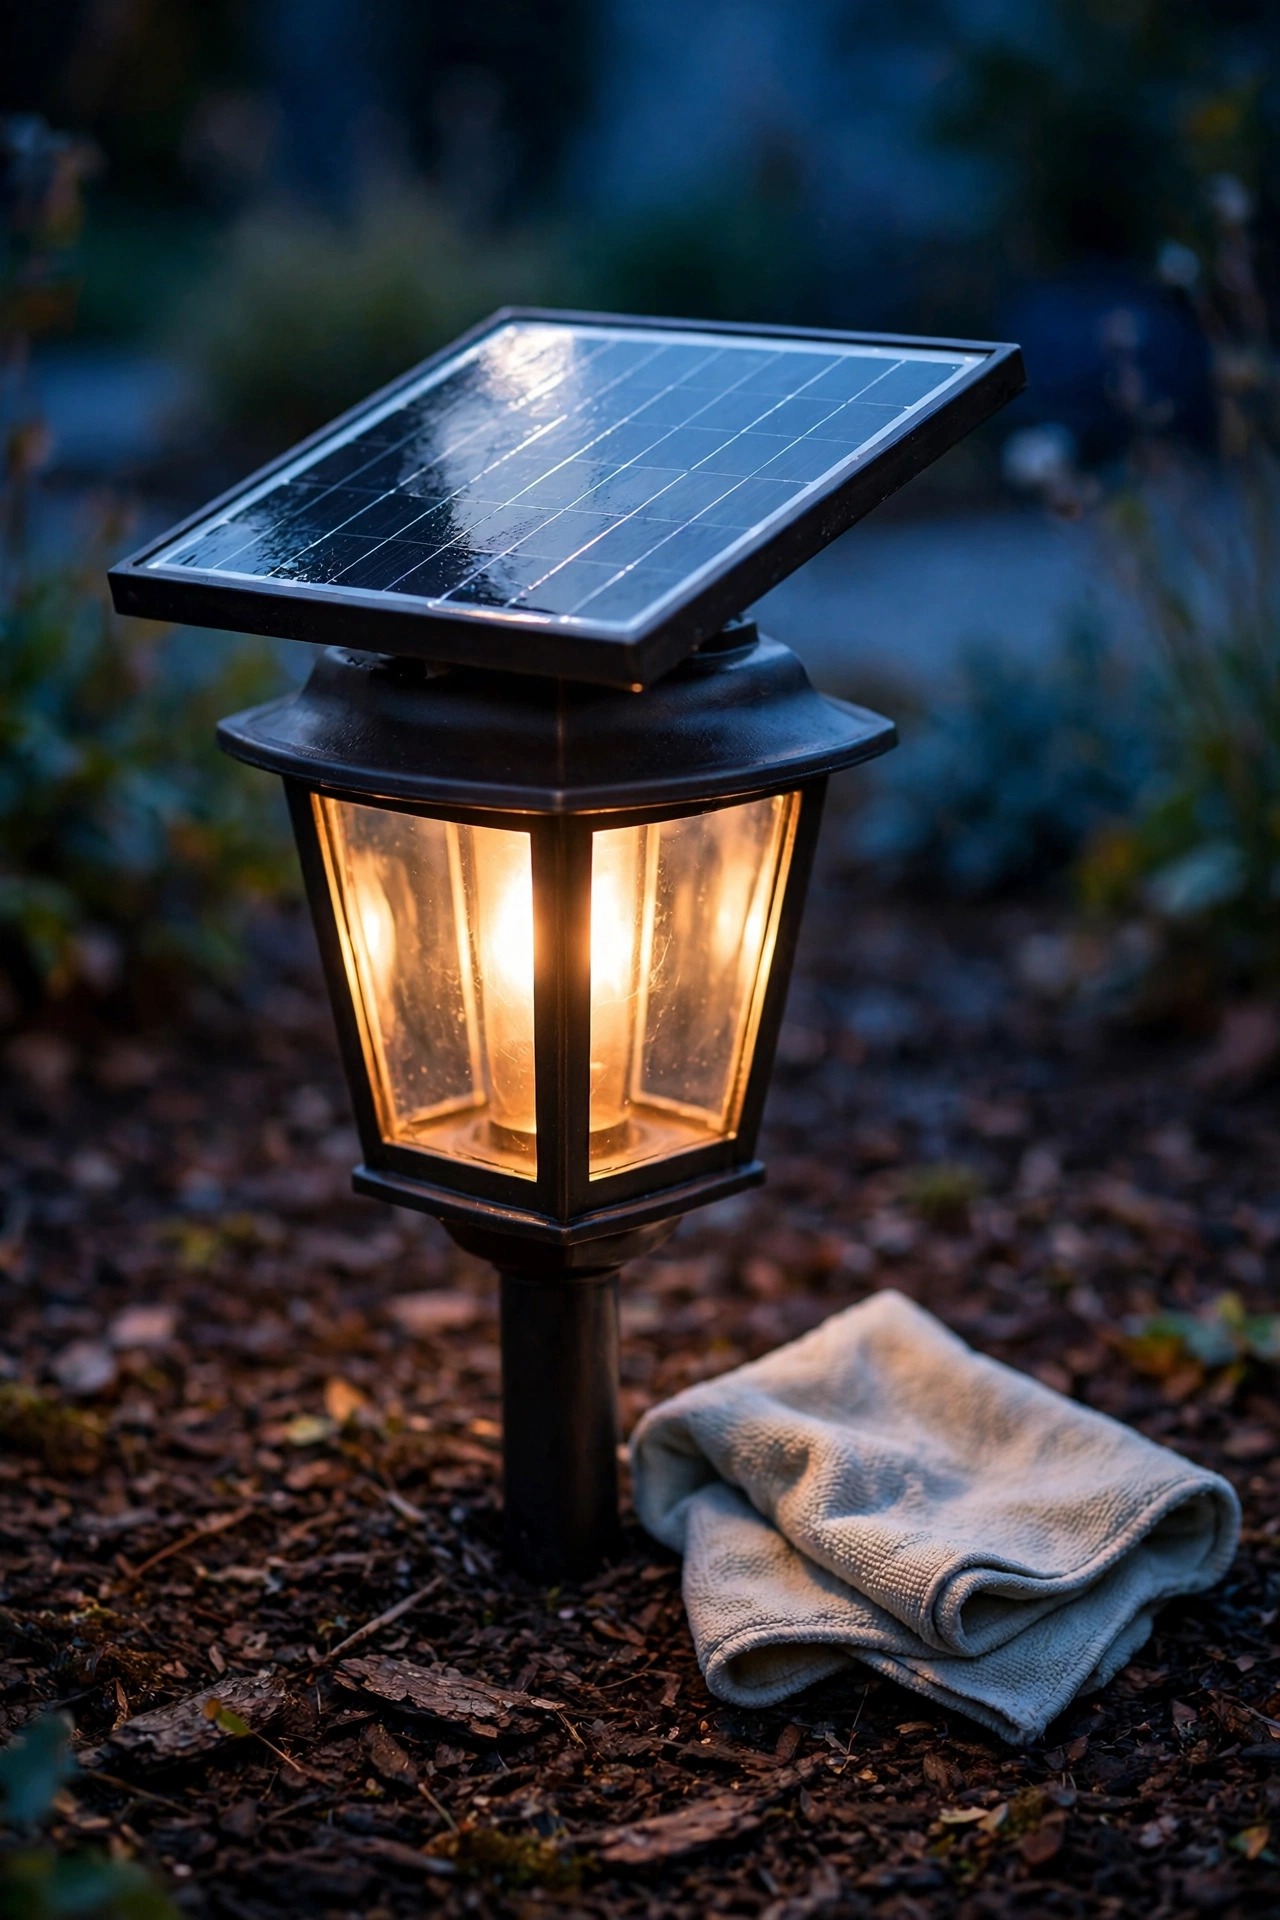
Monthly, wipe the panels. Pollen, dust, and sprinkler spots film over the surface and quietly cut charging, sometimes by a third; a soft damp cloth is all it takes. While you are out there, glance at aim and tilt — mulch shifts, stakes lean, panels get bumped by mowers.
Seasonally, trim what grew. Plants are enthusiastic; a hosta that was nowhere near a panel in May can shade it completely by July, and fixtures disappear into perennials that need a gentle push back. Re-check your shade audit whenever a tree comes down or a fence goes up, too — new sun is free brightness.
Once a year, in fall, do a battery round. Walk the yard at 10 p.m. and note which lights are dim or dark; those get fresh rechargeable cells before the long nights arrive, and tired cells go to a battery recycling bin, never the trash. Brush snow off panels after storms if you are in snow country — a panel under two inches of snow harvests nothing. Keep a small stash of spare batteries and one spare fixture from your line, and a dim light becomes a five-minute fix instead of a dead spot in the design for a month. That rhythm, honestly, is the whole secret: the design gets a yard glowing, but the rhythm is what keeps it glowing in year three.
Frequently Asked Questions
How many hours of sun do solar landscape lights actually need?
Six or more hours of direct sun is the sweet spot for a full, dusk-to-late-evening runtime. Four to five hours can work if you choose lower-lumen fixtures or models with larger panels and batteries — just expect a shorter evening. Under three hours, use a remote-panel fixture with its panel placed in real sun, or choose a different spot.
Can solar lighting work in a fully shaded yard?
Partly, with honesty about what "work" means. Remote-panel lights can carry accent lighting into shade as long as the panel itself reaches sun. But a yard under a complete, dense canopy will not support bright feature lighting or all-night path light on solar alone — that is a job for low-voltage wired, or a hybrid of the two.
How long do solar landscape lights stay on at night?
In summer, a well-charged fixture typically runs eight to ten hours, often dusk to dawn. In winter, expect four to six hours at full brightness, with many fixtures then stepping down to a dimmer mode for the rest of the night. Runtime is the honest trade of solar design, and it is why I put the highest-value light early in the evening path.
How long do the batteries last before they need replacing?
Most rechargeable cells in solar fixtures last one to three years before runtime noticeably shrinks. Fixtures with replaceable batteries are the ones to buy — a fresh cell restores nearly new performance in minutes. Sealed fixtures, where the battery cannot be swapped, usually become disposable the day the cell tires, which is why I steer friends away from them.
Conclusion
A whole yard on sun power is not a fantasy — it is a planning exercise. Audit the shade before you shop, build in three layers, budget your lumens by zone, and let remote panels solve the shady corners instead of pretending they are sunny. Phase it over the seasons, wipe the panels, swap the batteries in fall. That is the whole of good solar landscape lighting design, and none of it is complicated once the sun gets a vote. Start with the front walk this weekend, and browse the rest of my outdoor lighting ideas here when you are ready for phase two.