The scariest step in any yard is the one you cannot see. I learned that the charming way, carrying a tray of drinks down our deck stairs at a cookout and trusting my feet to remember what my eyes could not check, and I have been a little obsessed with stair lighting ever since. Solar step lights are my favorite fix because they ask for nothing: no wiring, no electrician, no trench dug across the lawn. Each fixture collects sunshine all day, then pools a small shielded glow exactly where your foot is about to land. The trick is treating the staircase as a tiny lighting plan instead of a row of gadgets. One well-placed light per tread beats six scattered at random, warm white beats icy blue, and a small panel that truly sees the sun beats a big battery starved in shade. In this list I will walk you through thirteen ways to light deck stairs, porch steps, garden terraces and concrete stoops, with honest notes on spacing, glare control, and mounting that survives real foot traffic, plus what each option actually costs. Safer nights start with one visible tread.

1. Plan Your Solar Step Lights Before You Buy
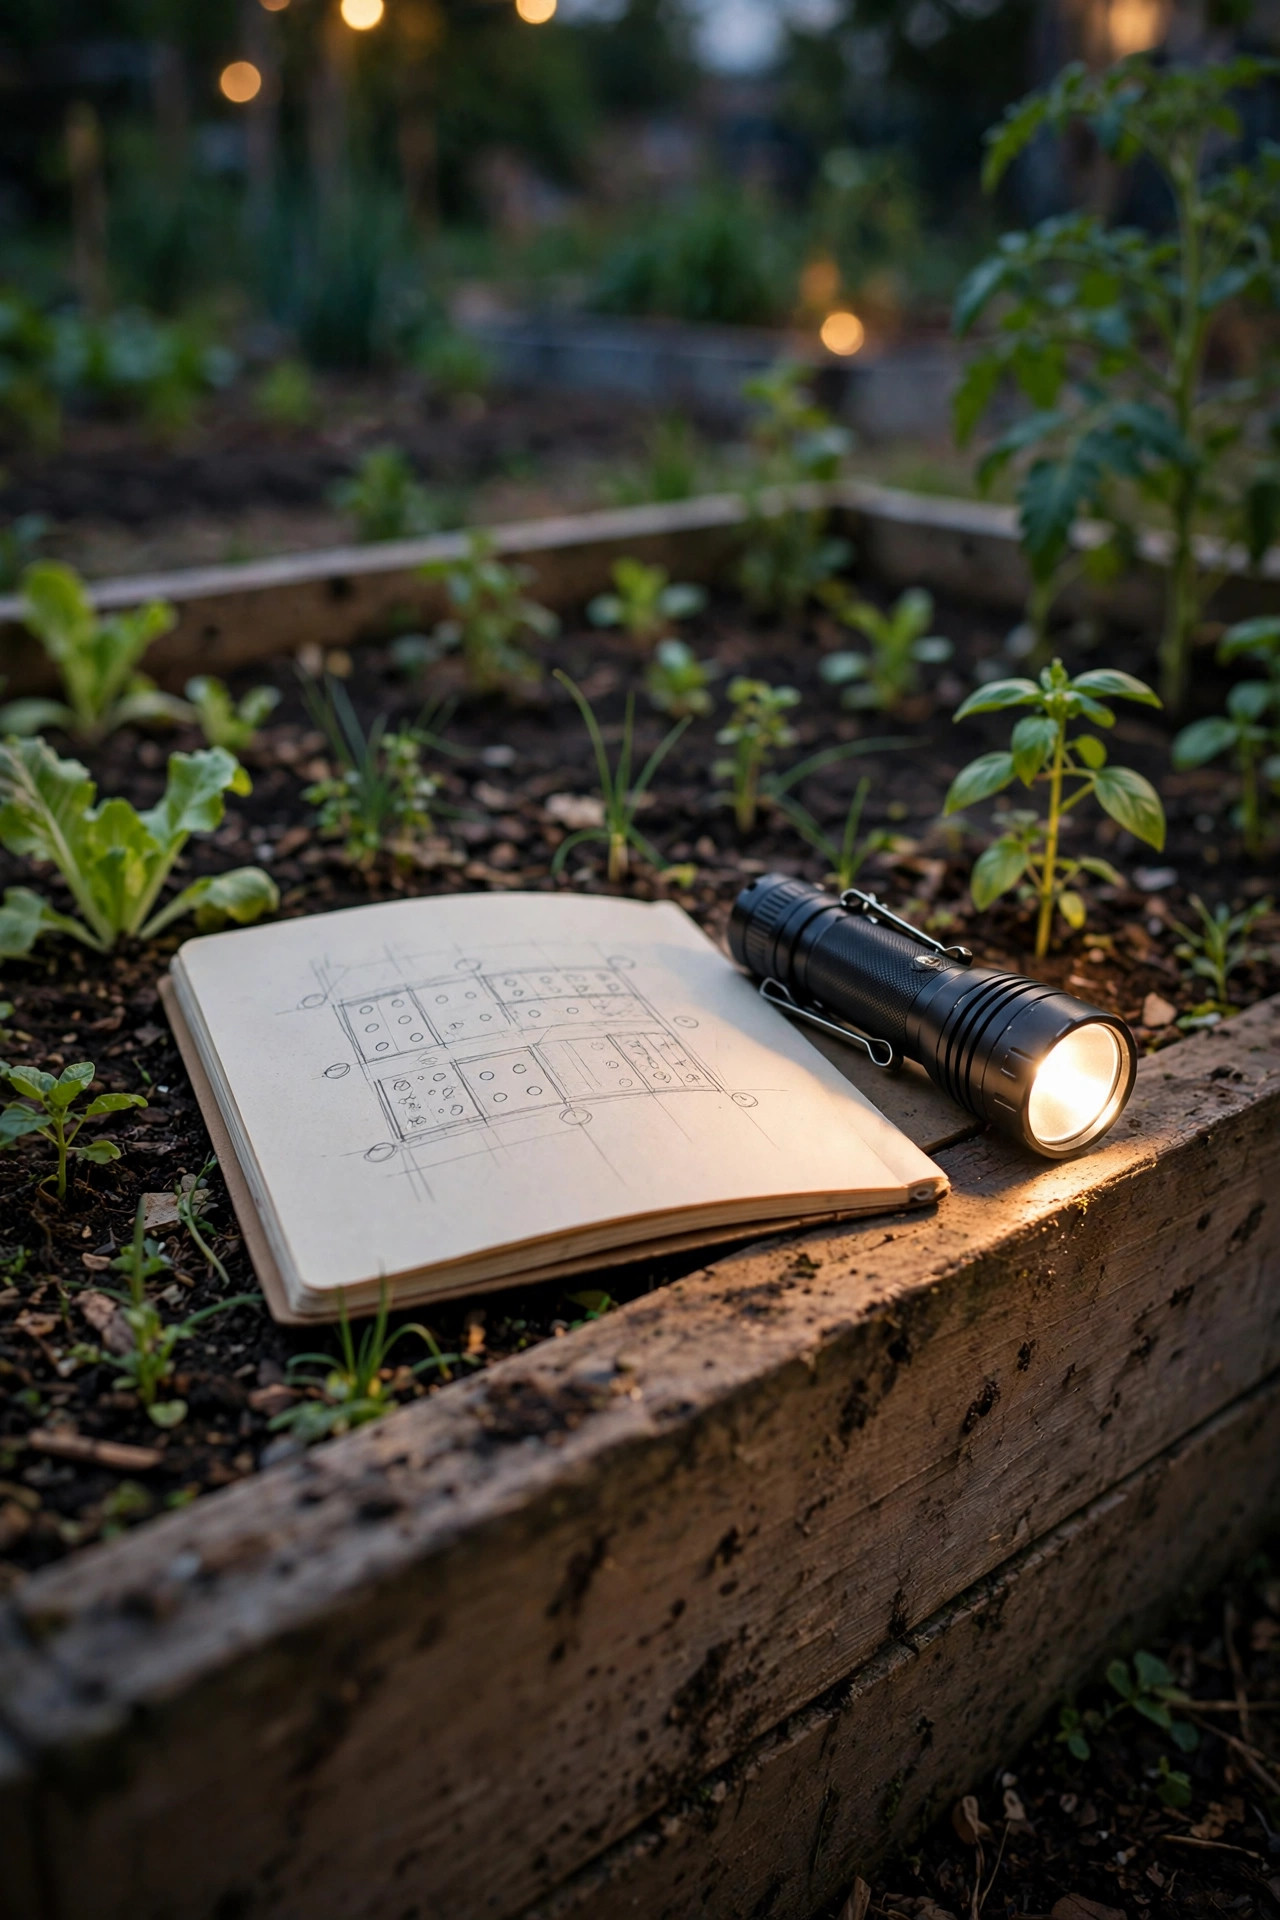
Before you order a single pack, go stand on your staircase at dusk with a roll of painter's tape. Count the treads, then mark where a light could live on each one: centered on the riser, tucked under the tread nose, mounted on the side wall, or staked in the soil beside the step. One light per tread is my default for stairs people use every night; every other tread works for wide, shallow steps broken up by landings. Now the part everyone skips: follow the sun. Most solar step lights need six or more hours of direct sun on the panel to run all night, so note which steps fall into house shadow by mid-afternoon. A shaded staircase is not a deal-breaker, but it changes what you buy, because you will want fixtures with separate panels you can place in the sun, or the sunniest step doing the charging for its neighbors. Measure your tread depth and riser height too, and note what the steps are made of, since wood, composite, concrete and stone each take a different mounting approach. Ten minutes of tape and honesty here prevents the classic mistake: a full set of pretty lights that all go dark by nine.
Suggested budget range: $10 – $40.
2. Mount Lights on the Riser for a Shielded Downward Glow
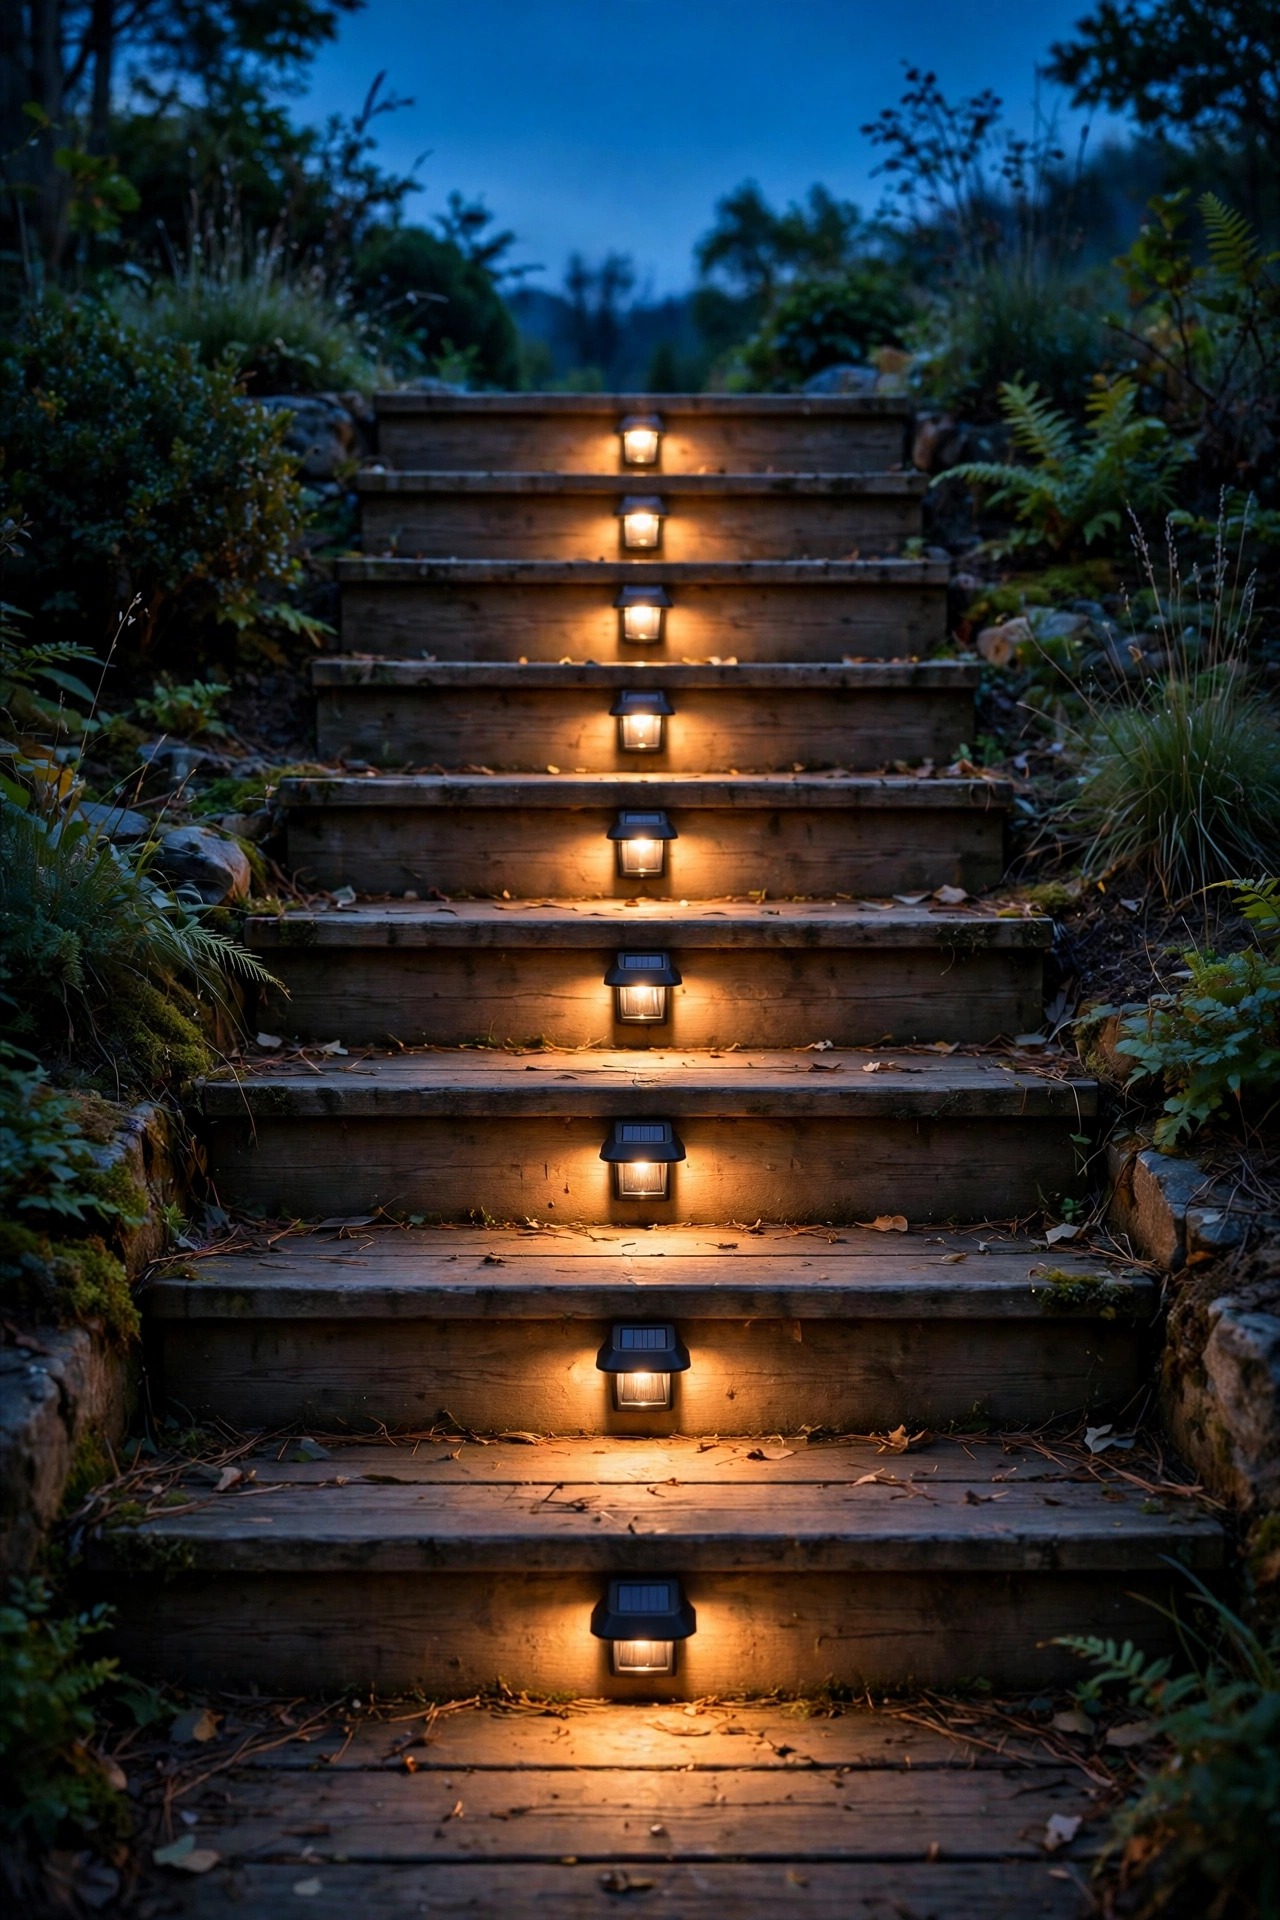
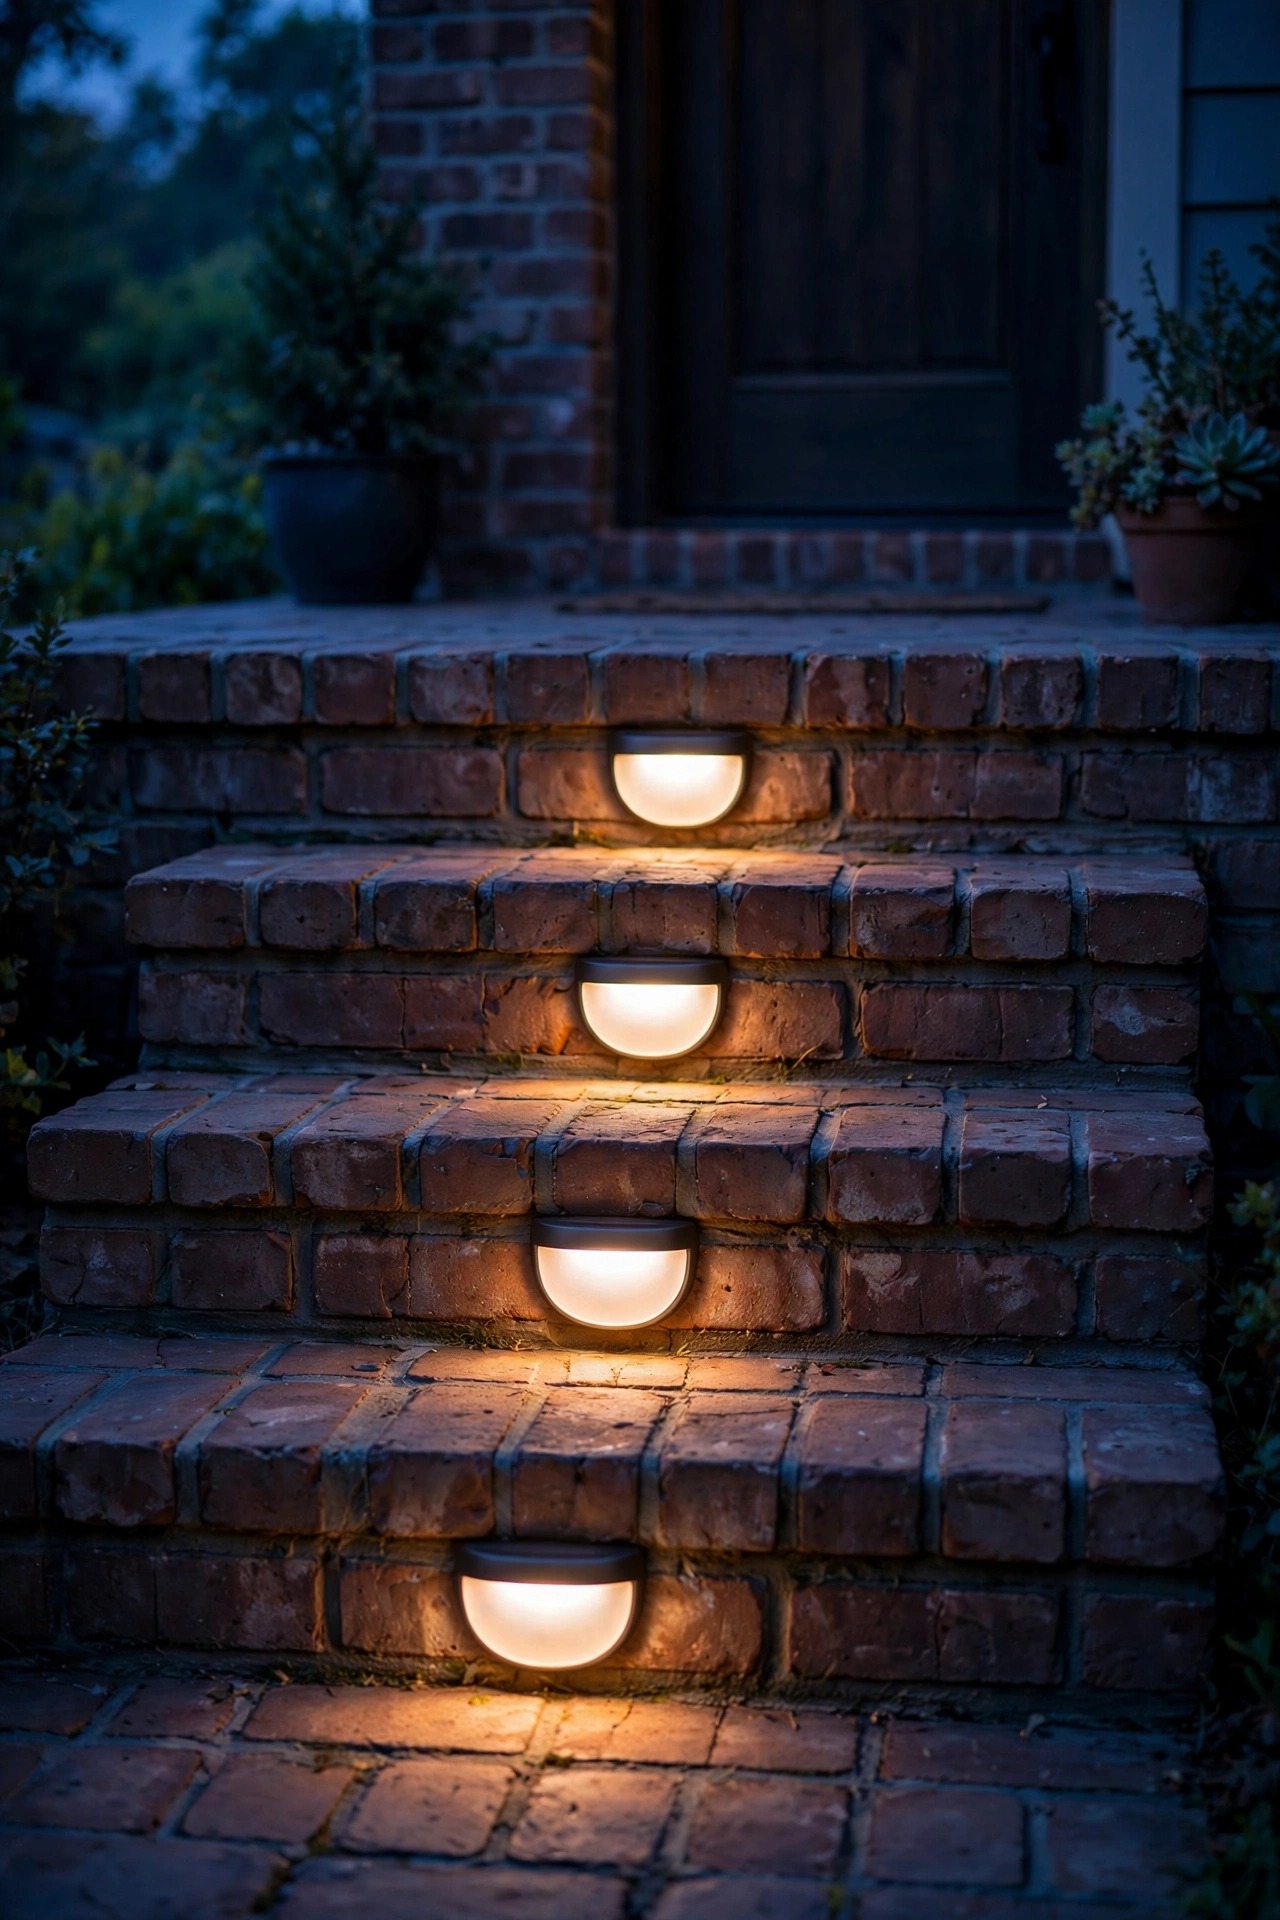
The riser, the vertical face between one tread and the next, is the hardest-working mounting spot on any staircase. A small fixture screwed to the riser just under the tread nose throws its light down and out across the tread below, so you see the step surface itself rather than a bright dot. Because the source sits below eye level and points down, riser lights are naturally glare-free, which matters most on the climb up, when a bare bulb at ankle height would otherwise shine straight into your eyes. Installation is simple on wood and composite: two stainless screws, a few minutes per step, done. On concrete or stone, pre-drill with a masonry bit and use wall anchors, and skip adhesive pads for anything permanent, since freeze and thaw cycles pop them off by spring. Center one fixture per riser on steps up to about four feet wide. Choose hooded or louvered styles so the lens never shows from above, and keep the finish dark so the fixtures disappear into the stair by day. In my experience this single approach solves eighty percent of stair lighting problems.
Suggested budget range: $30 – $80.
3. Tuck LED Strips Under the Tread Nosing
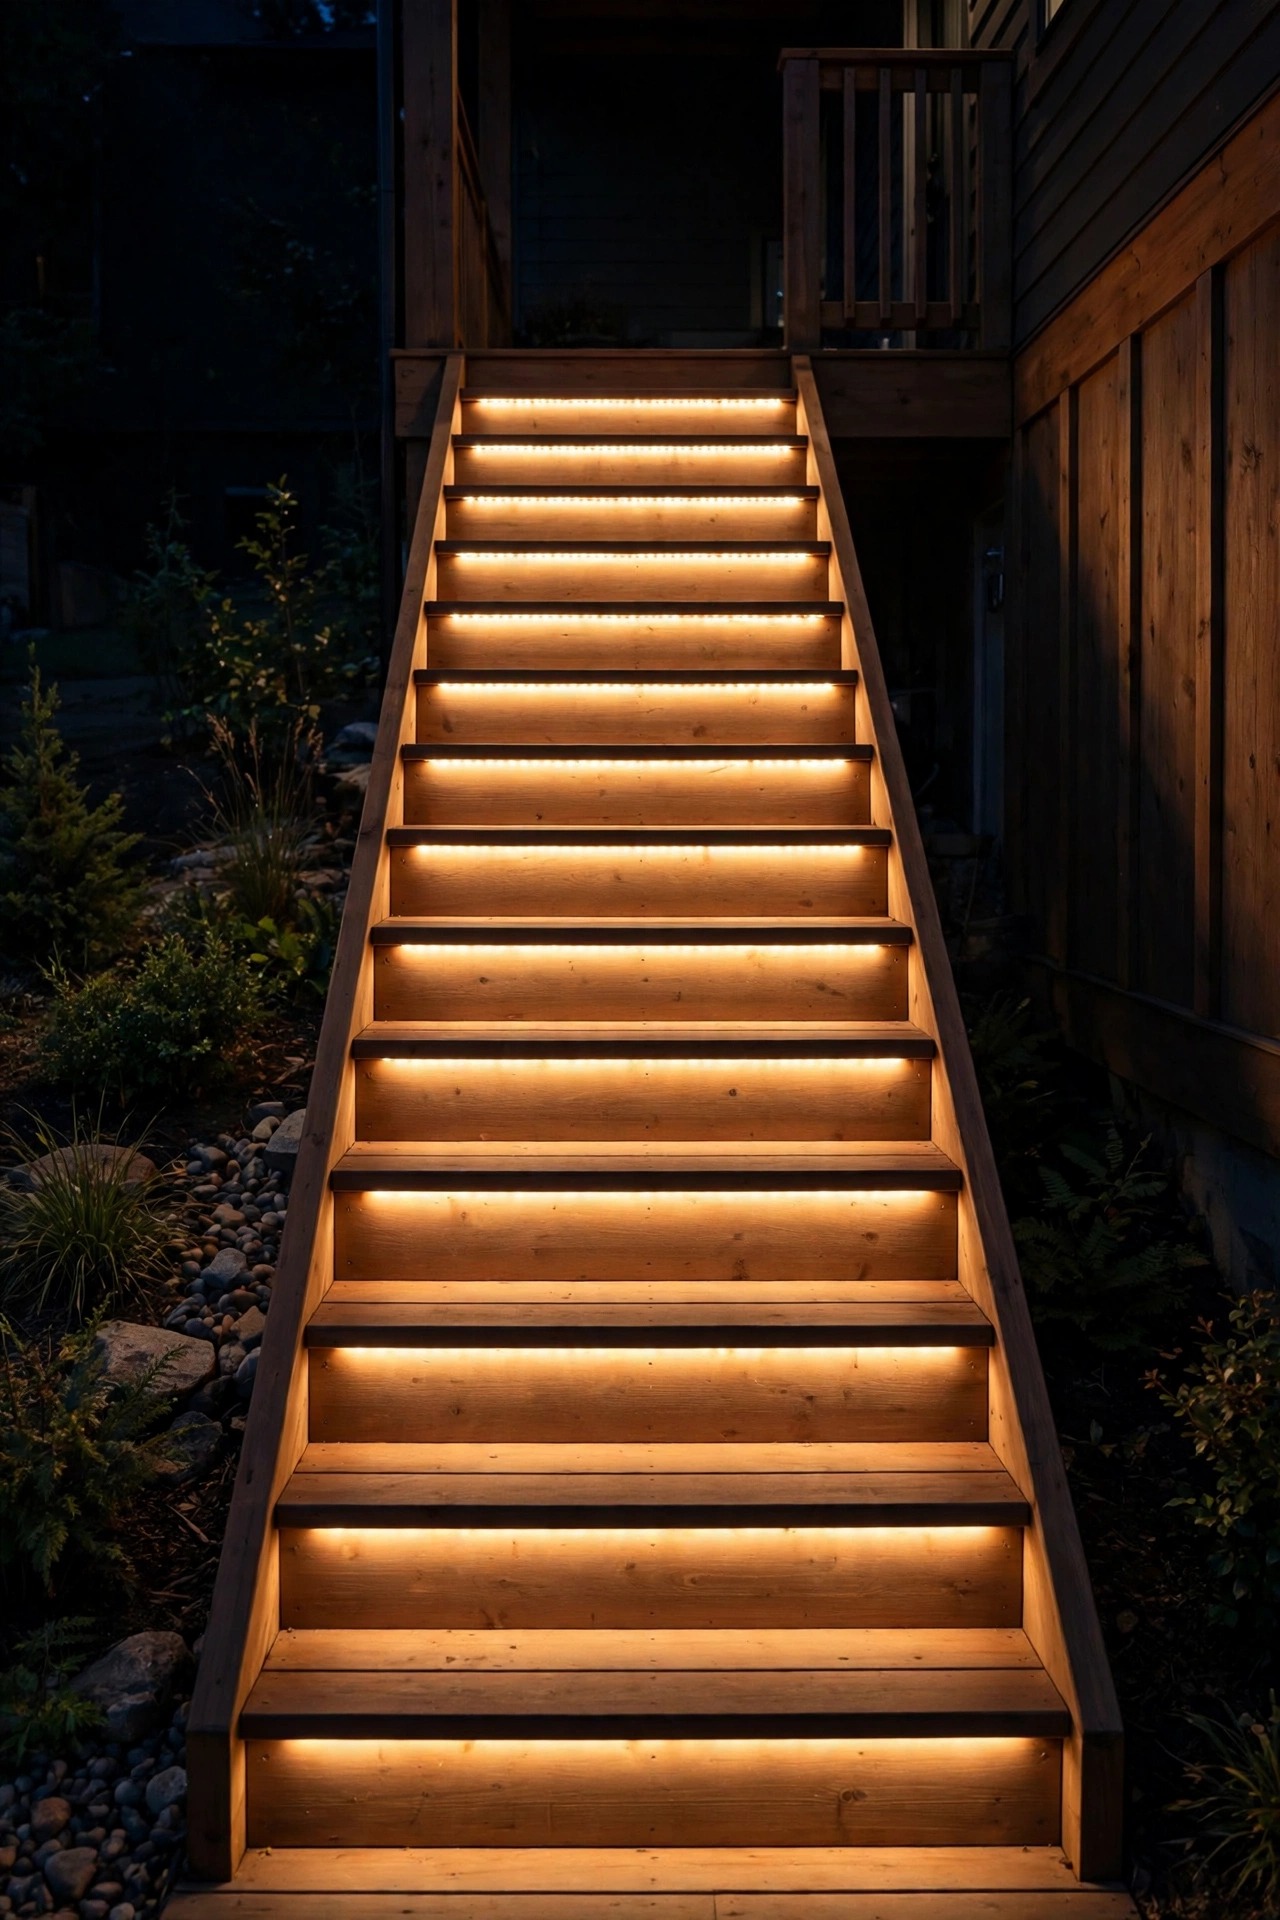
If you want the modern, hotel-stair look, hide a solar LED strip in the shadow line under each tread nose. The strip itself disappears completely; what you see is a clean ribbon of light washing down the riser and pooling softly on the tread beneath, with no visible fixture to kick, trip on or weather. Solar versions pair a flexible strip with a small separate panel, which is a gift on stairs, because the panel can sit on a sunny railing post while the strips work in full shade below. Look for strips rated for outdoor wet locations, and mount them with both the adhesive backing and the little screw clips in the box, since adhesive alone lets go in summer heat. Cut only at the marked scissor points, and seal every cut end with the caps provided so moisture stays out. This style loves straight, uniform staircases: long runs of identical wood or composite treads where one continuous line per step reads as architecture. A single panel and controller can often feed several steps, which keeps the charging simple and the look wonderfully consistent from top to bottom.
Suggested budget range: $25 – $70.
4. Recess Puck Lights Flush Into Wood and Composite Steps
Recessed puck lights are the answer when anything sitting proud of the step will get kicked, shoveled or snapped off. Each round fixture drops into a hole drilled with a hole saw, sitting perfectly flush with the riser face or the tread edge, so boots, brooms and snow shovels glide right over it. The solar cell usually lives in the top of the puck itself, which means each step charges independently and a shaded step never drags down its neighbors. This is a wood and composite technique only; drilling a neat round pocket in concrete or stone is a job for masonry coring tools and a braver person than me. Pre-drill a test hole in scrap lumber first to confirm the fit, and run a thin bead of exterior silicone around each rim so driven rain cannot creep behind the fixture. Because the lens faces outward or upward at ankle height, choose frosted lenses that soften the beam, and aim for one puck per riser, offset to the same side on every step so the rhythm reads clearly. Flush, tough and nearly invisible by day: this is the most permanent-feeling solar option there is.
Suggested budget range: $40 – $120.

5. Cap the Stair Posts to Mark Where the Run Begins and Ends
Every staircase has two moments that matter most: the first step off the landing and the last step at the bottom. Solar post cap lights mark both. Fitted onto the newel posts at the top and bottom of the run (and on any mid-landing post), they act like little lanterns announcing where the stairs start and finish, which is exactly where most missteps happen. Caps come sized for standard posts, so measure yours before ordering; the common fits are for four-inch and six-inch posts, with adapter bases for the in-between sizes. Be honest about what caps can and cannot do: they wash the landing and the first tread beautifully, but their light does not reach the middle steps, so treat them as the welcome layer paired with riser or strip lights doing the per-tread work. I like caps in the same finish family as the rest of the stair hardware so the whole run looks designed rather than collected. Because the panel sits flat on top with a full sky view, post caps are often the strongest chargers on the whole staircase and the last lights still glowing at midnight.
Suggested budget range: $35 – $90.

6. Let Motion Sensors Spend the Battery Only When You Are There
A staircase nobody uses after ten does not need to burn bright until dawn, and that is where motion-sensor step lights shine, literally. These fixtures idle at a soft glow, just enough to show the stair outline, then jump to full brightness when the sensor catches someone approaching, and settle back down a minute later. The battery savings are real: on long winter nights, a motion setup can still be greeting you at six in the morning when always-on neighbors have gone dark. Mount or aim the sensor toward the approach path, not straight down the stairs, and test the trigger distance from both directions; ten to fifteen feet of warning gives the light time to be fully bright before your foot arrives. This is my favorite choice for side-yard stairs, basement bulkhead steps and guest entries that see occasional traffic. One caution: a sensor pointed at a busy street or a waving shrub will fire all night and waste the savings, so angle it carefully and keep plants trimmed back. Dim idle plus bright welcome is honestly the smartest behavior any solar light can have.
Suggested budget range: $30 – $85.
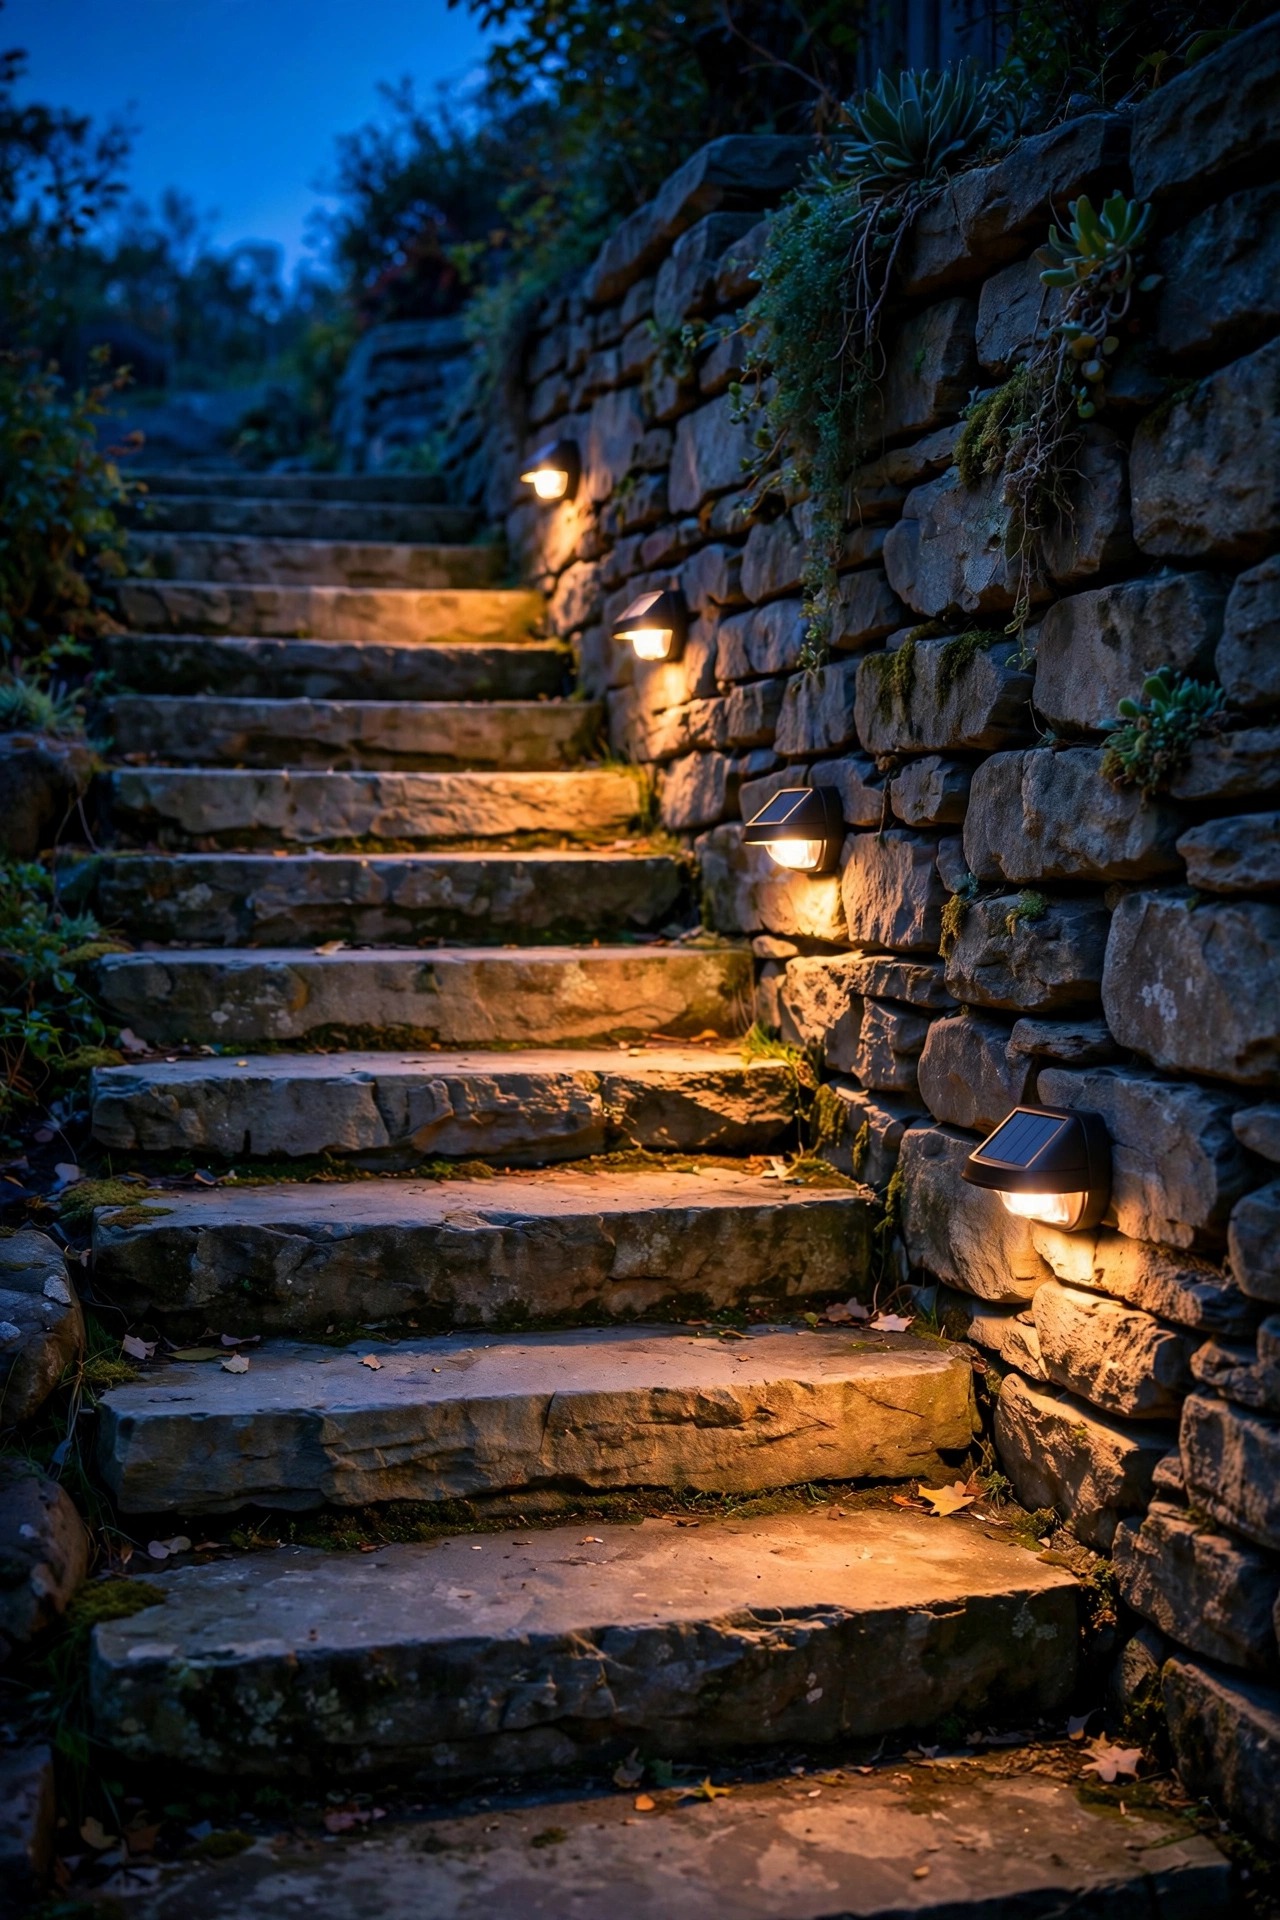
7. Mount Lights on the Side Wall Beside Narrow Stairs
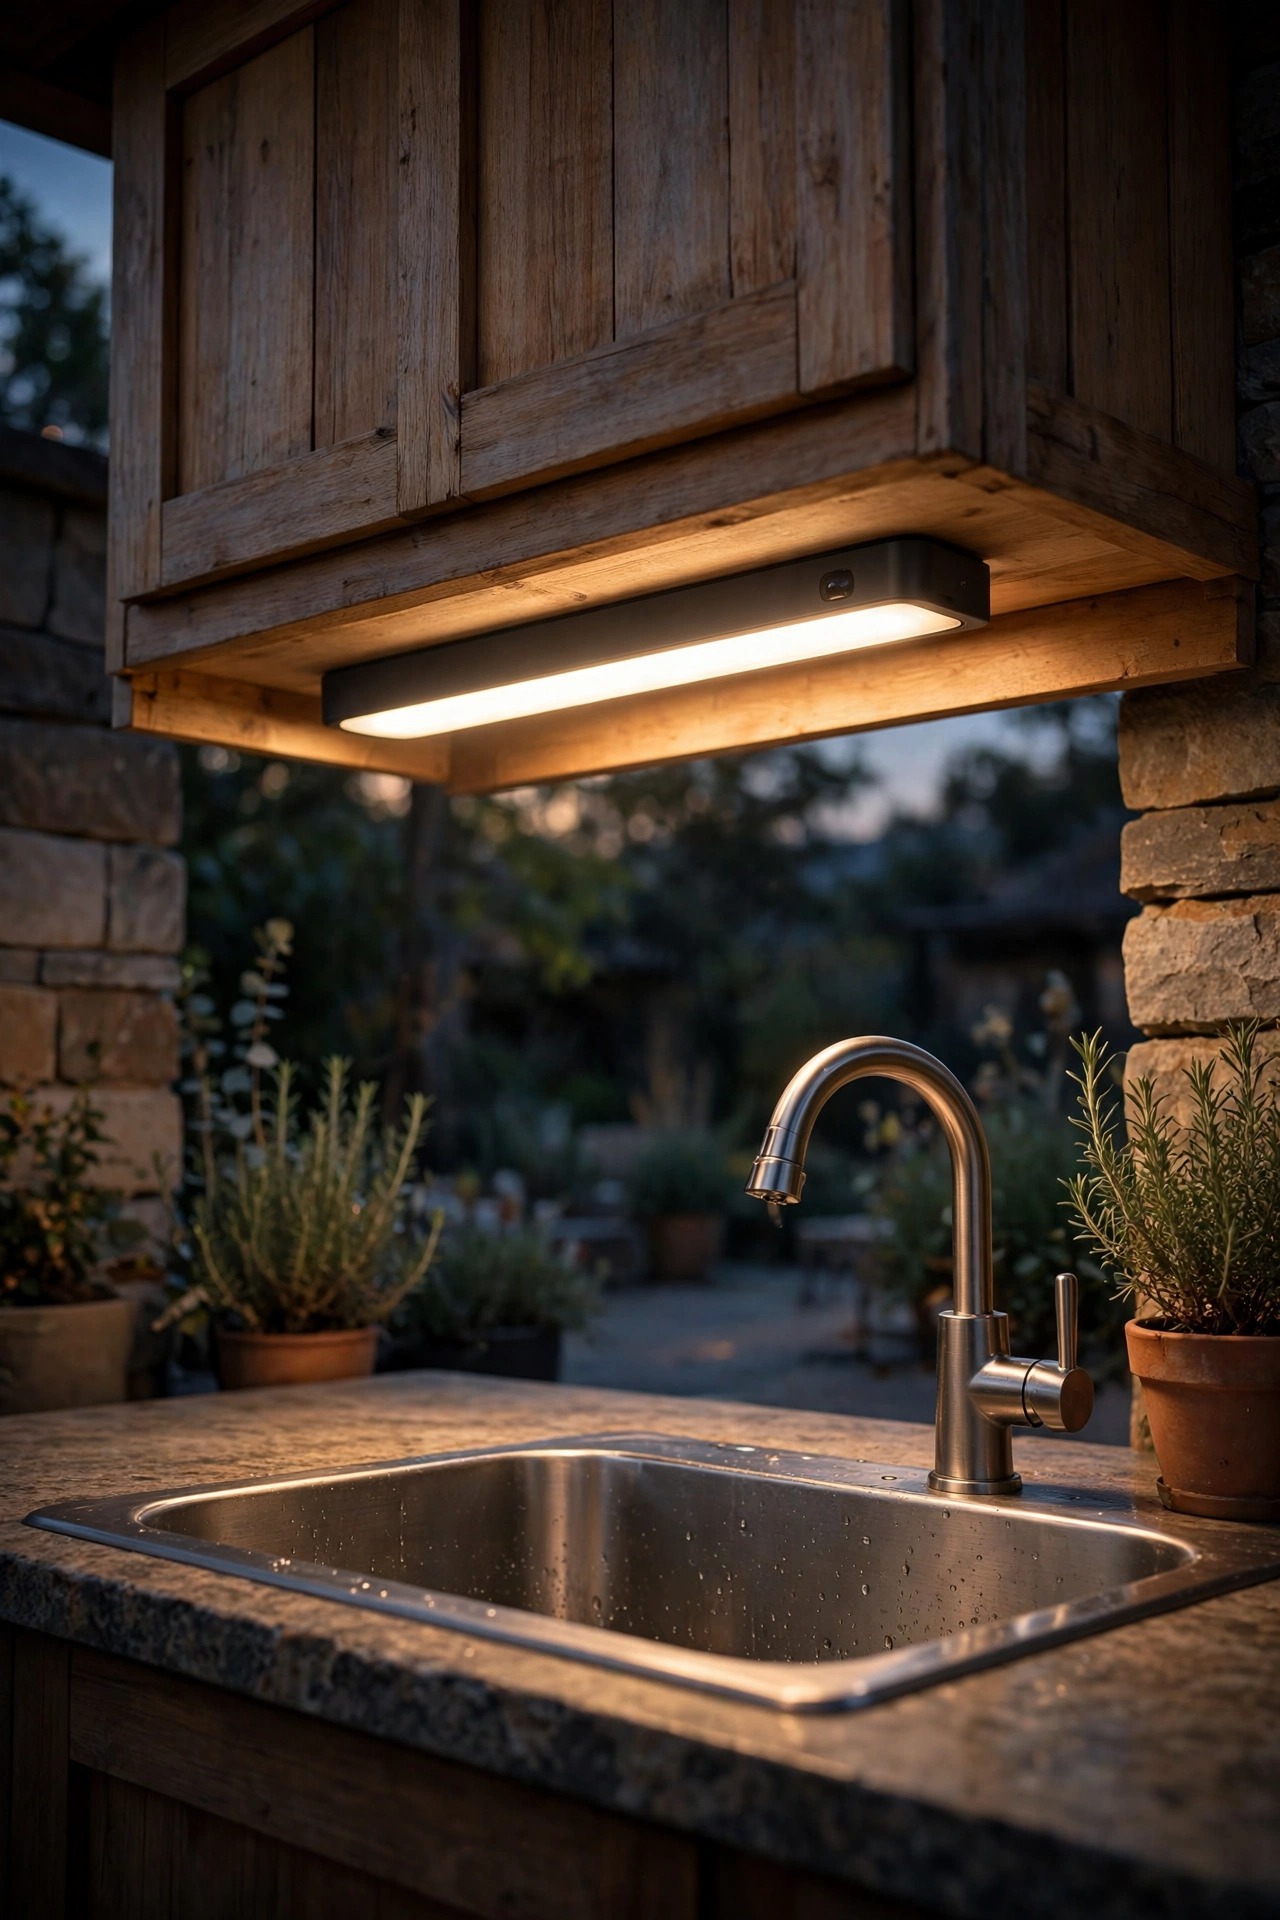
Some staircases have nowhere to put a light on the step itself: the treads are worn stone, the risers are crumbling brick, or the whole run is a narrow service stair squeezed against the house. Mount the lights on the wall instead. A row of small solar fixtures fixed to the wall or fence about twelve to eighteen inches above the tread line, angled downward, rakes light across each step from the side and throws a crisp shadow edge at the back of every tread, which is exactly the visual cue your feet read in the dark. Side mounting keeps fixtures completely out of the footpath, safe from kicks and weather, and it works on stairs you are not allowed to drill, since a couple of screws in a fence rail beat holes in historic masonry. Renters can even use heavy-duty outdoor adhesive mounts on a smooth wall for a no-holes version. Keep the spacing matched to the steps, one light per tread or per pair of treads, and choose downward hooded styles so the beam lands on the stairs, not in the eyes of anyone climbing toward them.
Suggested budget range: $28 – $75.
8. Stake Lights in the Soil Beside Steps You Cannot Drill
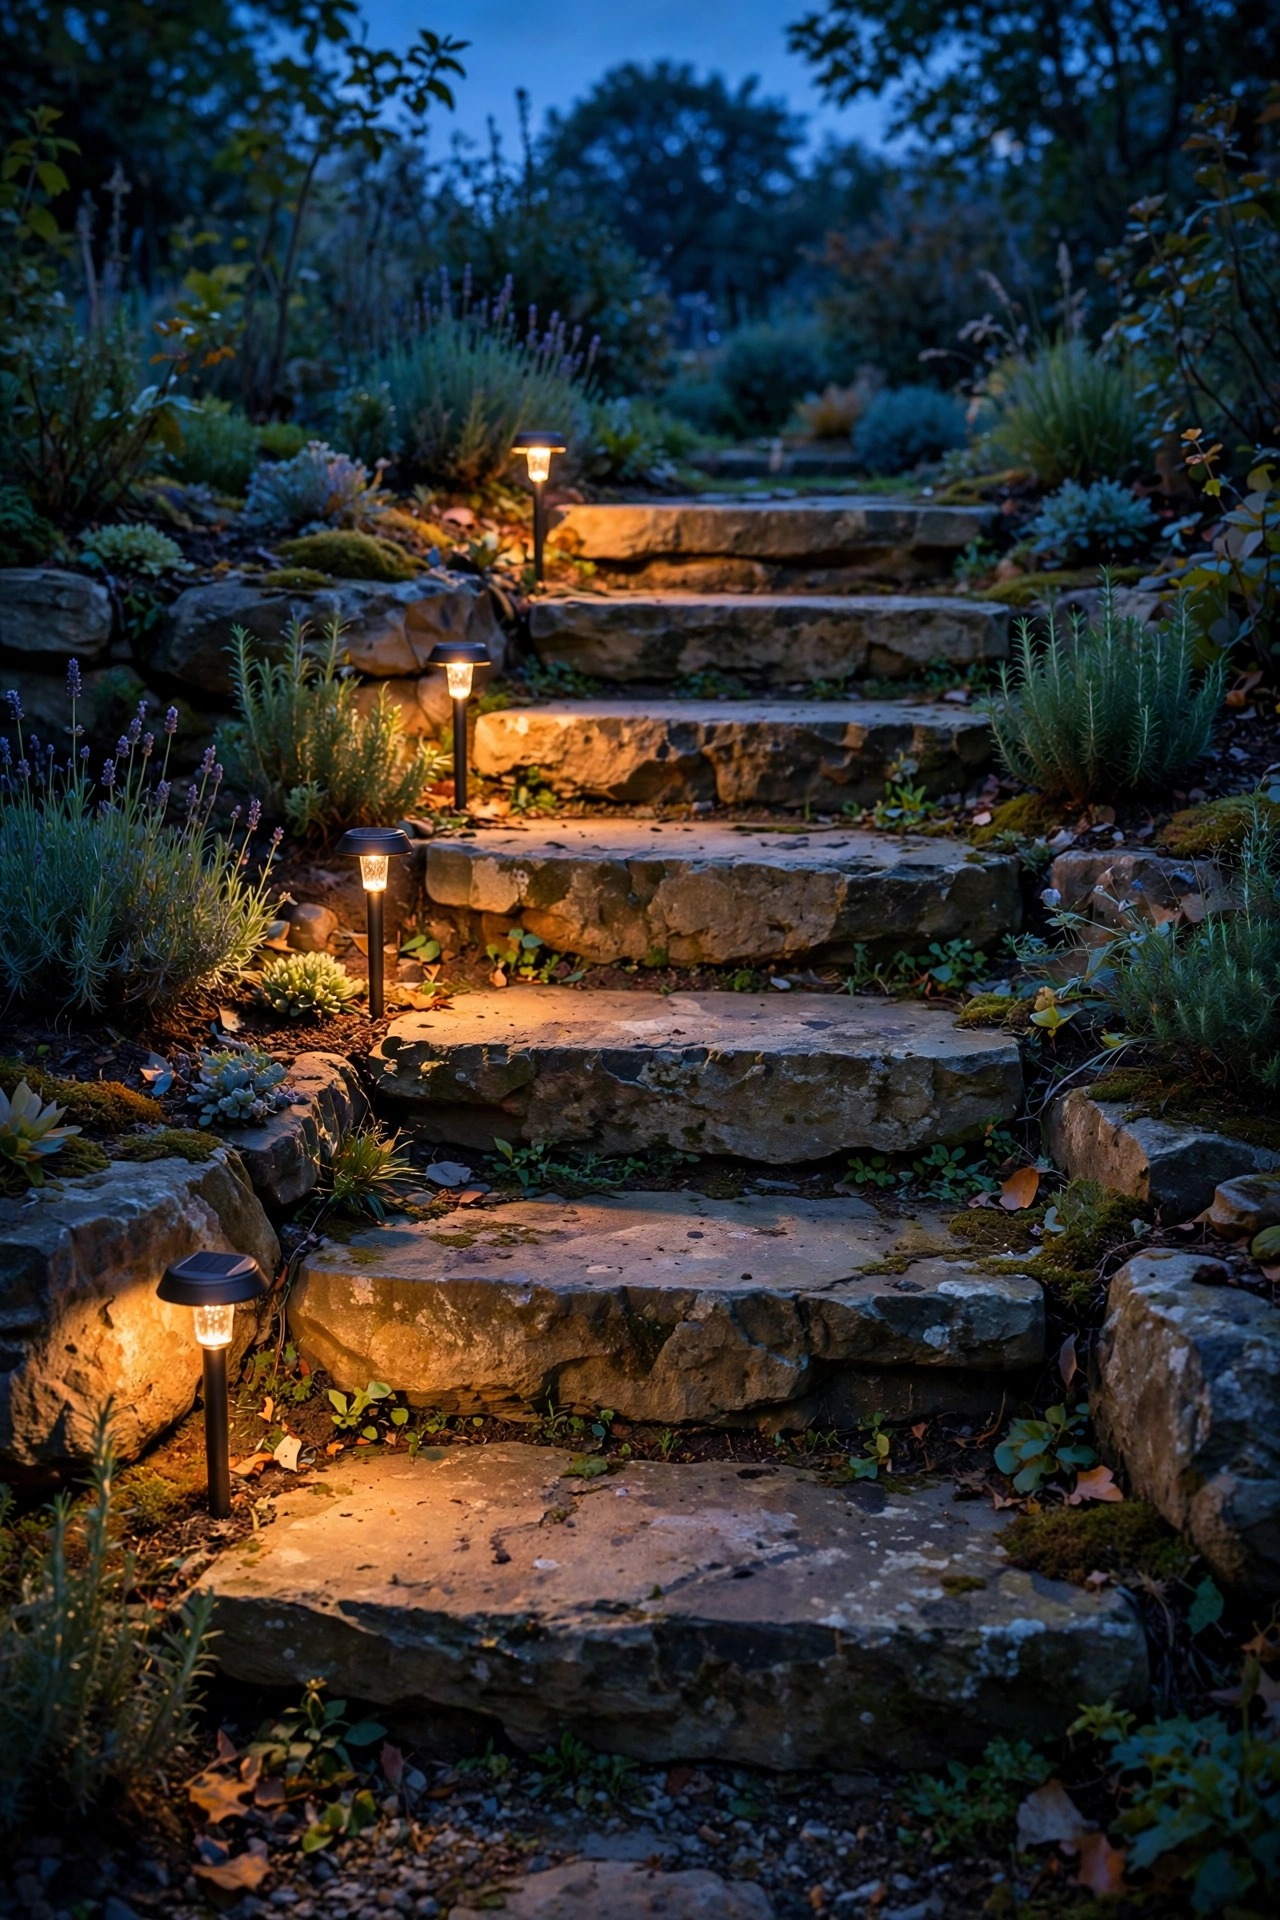
Garden steps made of boulders, railroad ties, flagstone or poured concrete often cannot (and should not) be drilled. The workaround is to light them from the side: short solar stake lights pushed into the soil or gravel right at the edge of each step. The secret is placement discipline. Stakes belong tight against the step edge, aimed or shielded so their pool of light lands on the tread, not scattered across the lawn, and low enough that the fixture itself never becomes a tripping hazard or a mower casualty. Downward-firing pathway styles work far better here than decorative globes, which waste their light on the sky. Push stakes a few inches deeper than the instructions suggest so frost heave and bumped garden hoses do not tilt them by mid-season, and give each one a little wiggle test after the first rain. Where the soil beside a step is really just rubble, a small buried flowerpot of gravel makes a surprisingly solid socket. This is the fastest idea on the list to install and the easiest to rearrange when you realize the light belongs one step lower.
Suggested budget range: $25 – $65.
9. Give Wide Steps Two Lights, One Near Each End
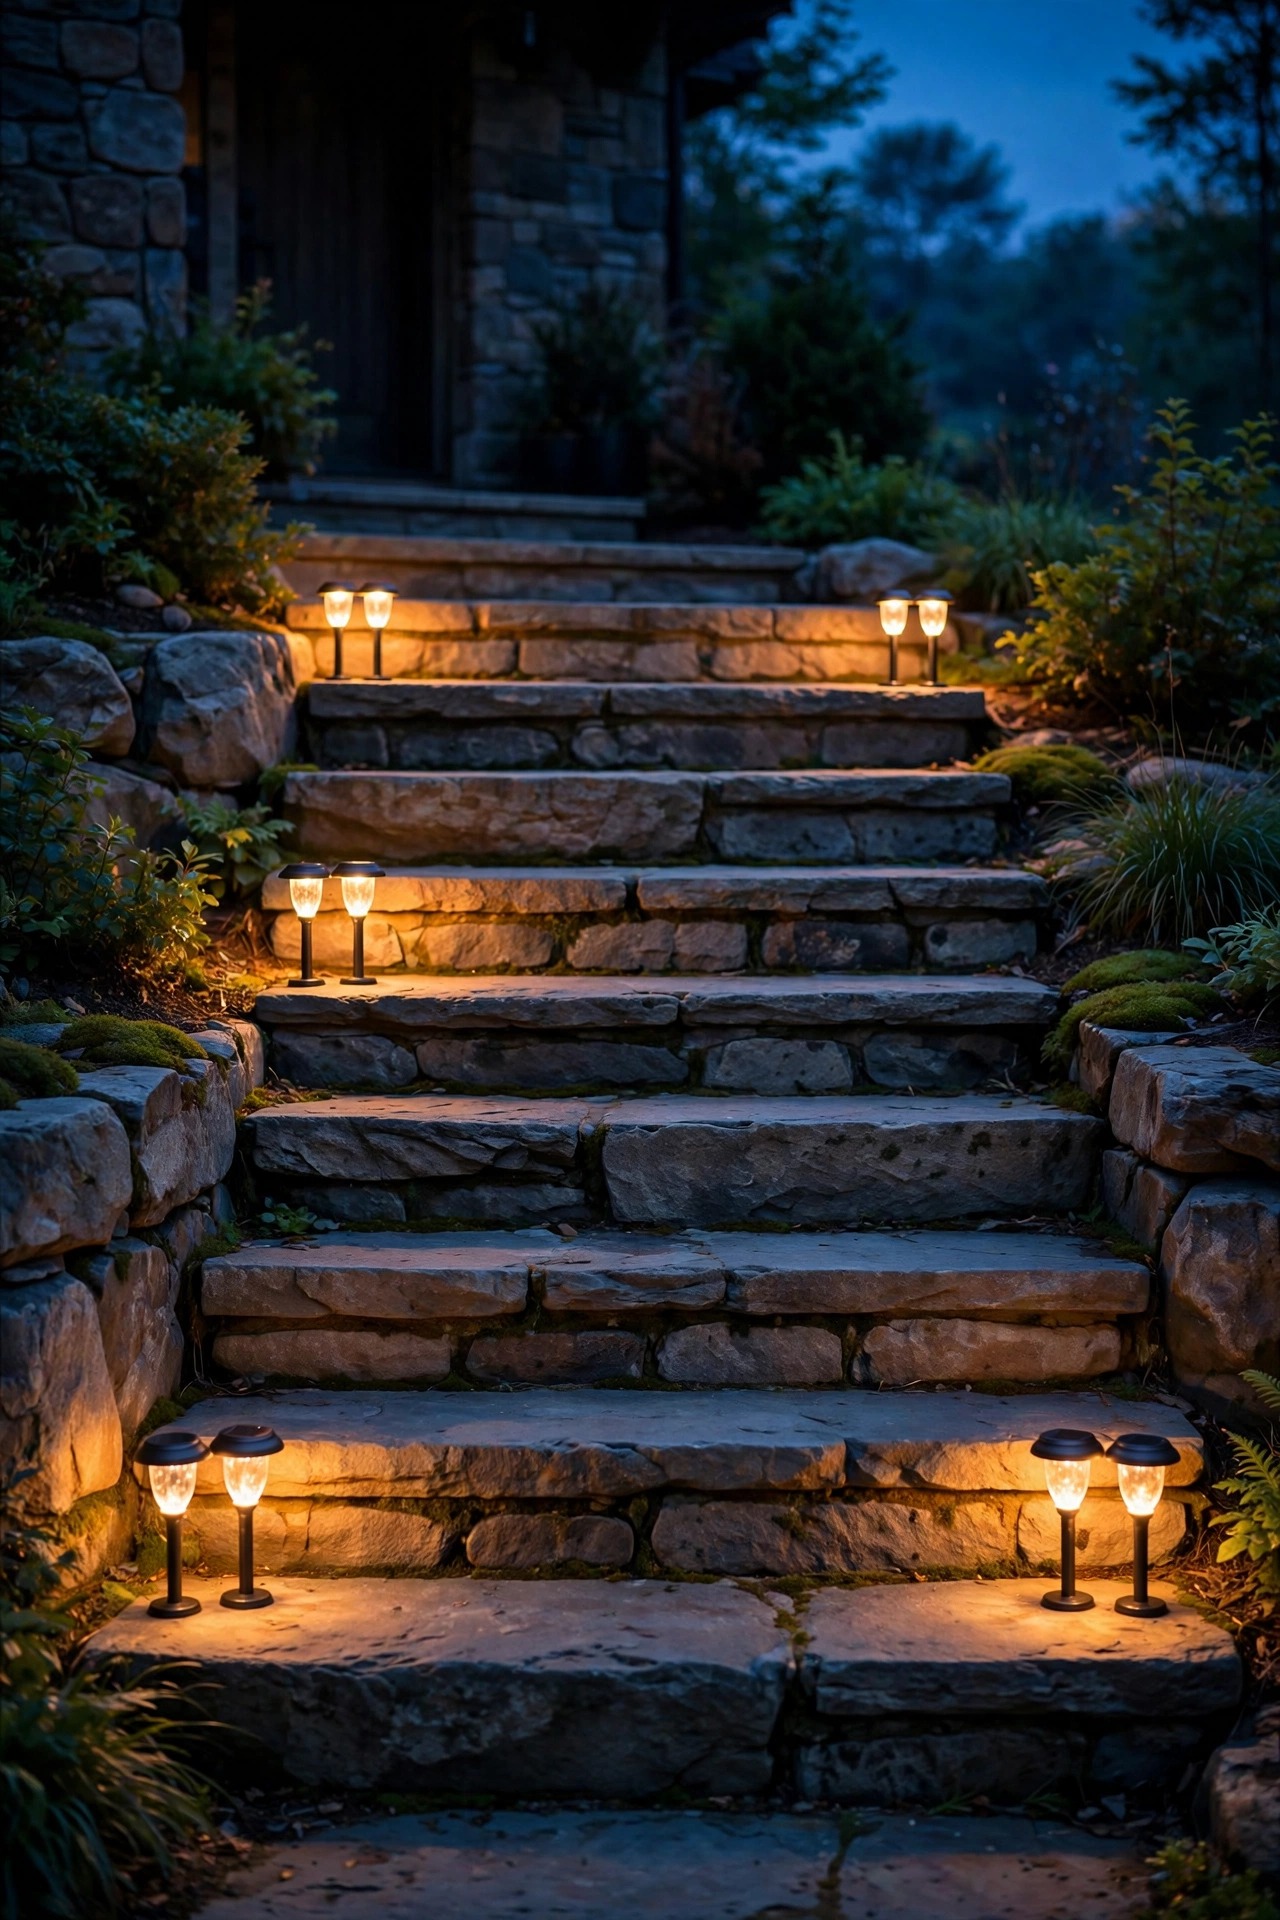
Steps wider than about four feet play a trick on single center lights: the middle glows, both ends fade into darkness, and guests naturally drift toward the edges where the railing is. The fix is simply to double up. Place one light near each end of every tread, roughly six to twelve inches in from the edges, so the whole width reads as one even, welcoming surface. Corner-shaped fixtures that hug the junction of tread and riser are made for exactly this job, and they sit low enough to survive foot traffic. Whatever style you choose, keep the pair identical and level; a mismatched set makes a grand staircase look like a repair in progress. Pay special attention to the very top and very bottom steps, because falls cluster there, and make sure those two treads are the best lit of the run. On truly grand entries, a center fixture joins the pair for three across, which looks like pure architecture at night. It costs a little more per step, but wide stairs are usually the front-of-house showpiece, and this is where the budget earns its keep.
Suggested budget range: $30 – $70.
10. Choose Warm White, Shielded Lenses to Kill the Glare
The fastest way to ruin a good stair lighting plan is the wrong bulb color and a bare lens. Cool blue-white light, anything up around 5000 to 6000K, feels harsh at night, flattens the depth of each tread, and makes a cozy entry look like a loading dock. Warm white in the 2700 to 3000K range reads like candlelight, flatters wood and stone, and still shows every edge clearly. Just as important is shielding: a frosted or hooded lens that hides the diode itself means you see lit treads, not bright dots, and nobody climbing the stairs gets a face full of glare at the top step. Brightness is the third leg. Most step lights only need a gentle pool, and if yours feel dim, the problem is usually the panel, not the LED; a dusty panel or a bad angle can cut charging in half, and my notes on how to make solar lights brighter cover the cleaning and tilting fixes that restore them. Judge your stairs from the bottom looking up, the guest view. If you can see the light source itself, shield it, soften it or aim it down.
Suggested budget range: $30 – $90.
11. Combine Layers on Deck Stairs for the Full Treatment
Deck stairs deserve their own conversation because they get used hard: bare feet at midnight, kids racing down, everyone carrying something. My favorite deck recipe layers three of the ideas above. Riser lights on every tread do the core safety work. Post caps at the top and bottom posts mark the ends of the run. One motion-sensor light at the lower landing handles the trip back from the yard. Each layer covers the others' weak spots, and because everything is solar, the whole system installs in an afternoon with no transformer math at all. If you are planning a bigger deck project, my roundup of deck stair light ideas goes deeper on wired and solar combinations for multi-level decks. Two deck-specific notes: on composite treads, pre-drill every screw hole so the material does not mushroom or crack, and mount charging panels on the sunny side of the railing, since deck stairs so often sit in the house's own shadow. Done right, the staircase stops being the dark gap between deck and lawn and becomes the prettiest route in the yard.
Suggested budget range: $60 – $160.

12. Put the Panel Where the Sun Actually Is
Every other idea on this list quietly depends on this one: the panel has to see real sun. Six to eight hours of direct sunlight is the honest goal, and the most common failure I see is a beautiful staircase tucked under an eave, a maple or the north side of the house, where the panels sip gray daylight and quit by nine. Walk your staircase at ten, noon and two, and note where the sun actually lands. Fixtures with separate panels on a cable are the grown-up solution for shaded stairs, because the light can sit on the step while the panel rides up to a sunny railing or fence top. If your lights must charge where they sit, favor the sunniest steps for the fixtures that matter most, like the top step and any tread that changes direction. Keep panels clean, too; a film of pollen can steal a third of the charge, so wipe them when you water the pots. Expect shorter run times in December and swap in fresh rechargeable batteries every year or two, since tired batteries, not tired LEDs, cause most early fade-outs.
Suggested budget range: $15 – $50.

13. Finish With a Night Walk-Through of Your Solar Step Lights
Installation day is not done until you have walked the route in the dark, carrying something, the way real life uses those stairs. Go down slowly with a laundry basket, come back up with a drink, then stand at the bottom and look up with guest eyes. You are hunting for three things: any tread edge that still disappears, any light that shines in your eyes instead of on the steps, and any fixture your foot or ankle finds before your eyes do. Nudge angles, swap a too-bright fixture for a frosted one, and add a single extra light at the one step that still reads dark; nearly every staircase has exactly one stubborn step, often where a landing turns. Check the run again after the first rainy night, because wet treads reflect light differently and can reveal a glare spot that dry wood hid. I repeat this little audit at the start of each season when I clean the panels, and it takes ten minutes. That walk-through is the difference between lights installed on your stairs and solar step lights actually guarding them.
Suggested budget range: $0 – $30.

Frequently Asked Questions
How many solar step lights do I need for one staircase?
For most home staircases, plan on one light per tread for stairs you use nightly, or one per two treads for wide, gentle steps with a landing breaking up the run. A typical six-step deck stair needs six riser or strip fixtures, plus a post cap or marker at the top and bottom. Wide steps over four feet count double, since each tread needs a light near both ends to stay evenly lit.
Do solar step lights work in winter or in shaded yards?
They work, but with honest limits. Shorter days and a low sun mean less charging, so expect fewer hours of light in December, and choose motion-sensor models that save their battery for when you are actually on the stairs. In shaded yards, pick fixtures with separate panels you can mount in a sunny spot on a railing or fence. Fresh rechargeable batteries each year or two keep winter performance from sagging.
Are solar step lights bright enough to make stairs genuinely safer?
Yes, because stair safety is about contrast, not floodlights. A modest pool of warm light on each tread shows the edge clearly, and your eyes adjust easily since there is no glare. What makes stairs dangerous is one bright light and deep shadow beyond it. Even, shielded, per-tread lighting at low brightness beats a single powerful fixture every time, especially on wet or icy treads.
Why did one of my solar step lights stop working?
Work through the simple causes first: the protective pull-tab or on switch, a panel filmed with pollen or shaded by a plant that grew over summer, and a rechargeable battery that has reached the end of its life after a couple of seasons. My checklist of solar light fixes walks through each test in order. In my experience, a clean panel and a fresh battery revive nine out of ten dead lights.
Conclusion
A staircase after dark should never be a guessing game. The formula running through all thirteen ideas is simple: one honest pool of warm, shielded light per tread, a panel that truly sees the sun, and mounting that respects how feet, weather and shovels actually treat a set of steps. Start with the riser lights or strips your staircase can take, mark the top and bottom, and finish with that slow night walk-through. Solar step lights ask for no wiring and no electrician, just a little placement discipline, and they pay you back every single evening. For more ways to make the whole route from street to door glow, browse the deck, path and porch lighting ideas here on the site.