There is something about a colonial garden at dusk that just stops me in my tracks. The brick walk laid in a straight line, the boxwoods clipped into matching shapes, the front door framed by two lanterns that are perfect twins — it all feels calm, ordered, and quietly grand. And honestly? Lighting is what makes that order visible after sunset. The best colonial landscape lighting ideas all follow one simple rule: whatever you do on the left, you repeat on the right. In this post I am sharing the 21 ideas I reach for when I want that classic symmetrical glow, built on the layering approach I use in every yard — a soft ambient base, clear task light where feet actually land, and warm accents that pick out the architecture and the focal points. You will find spacing numbers, bulb temperatures, and a budget range for every single idea, plus the little tricks that keep pairs perfectly matched. Whether your home is a true center-hall colonial or you just love the timeless look, these ideas will help your garden feel composed and welcoming from the curb all the way to the back gate.
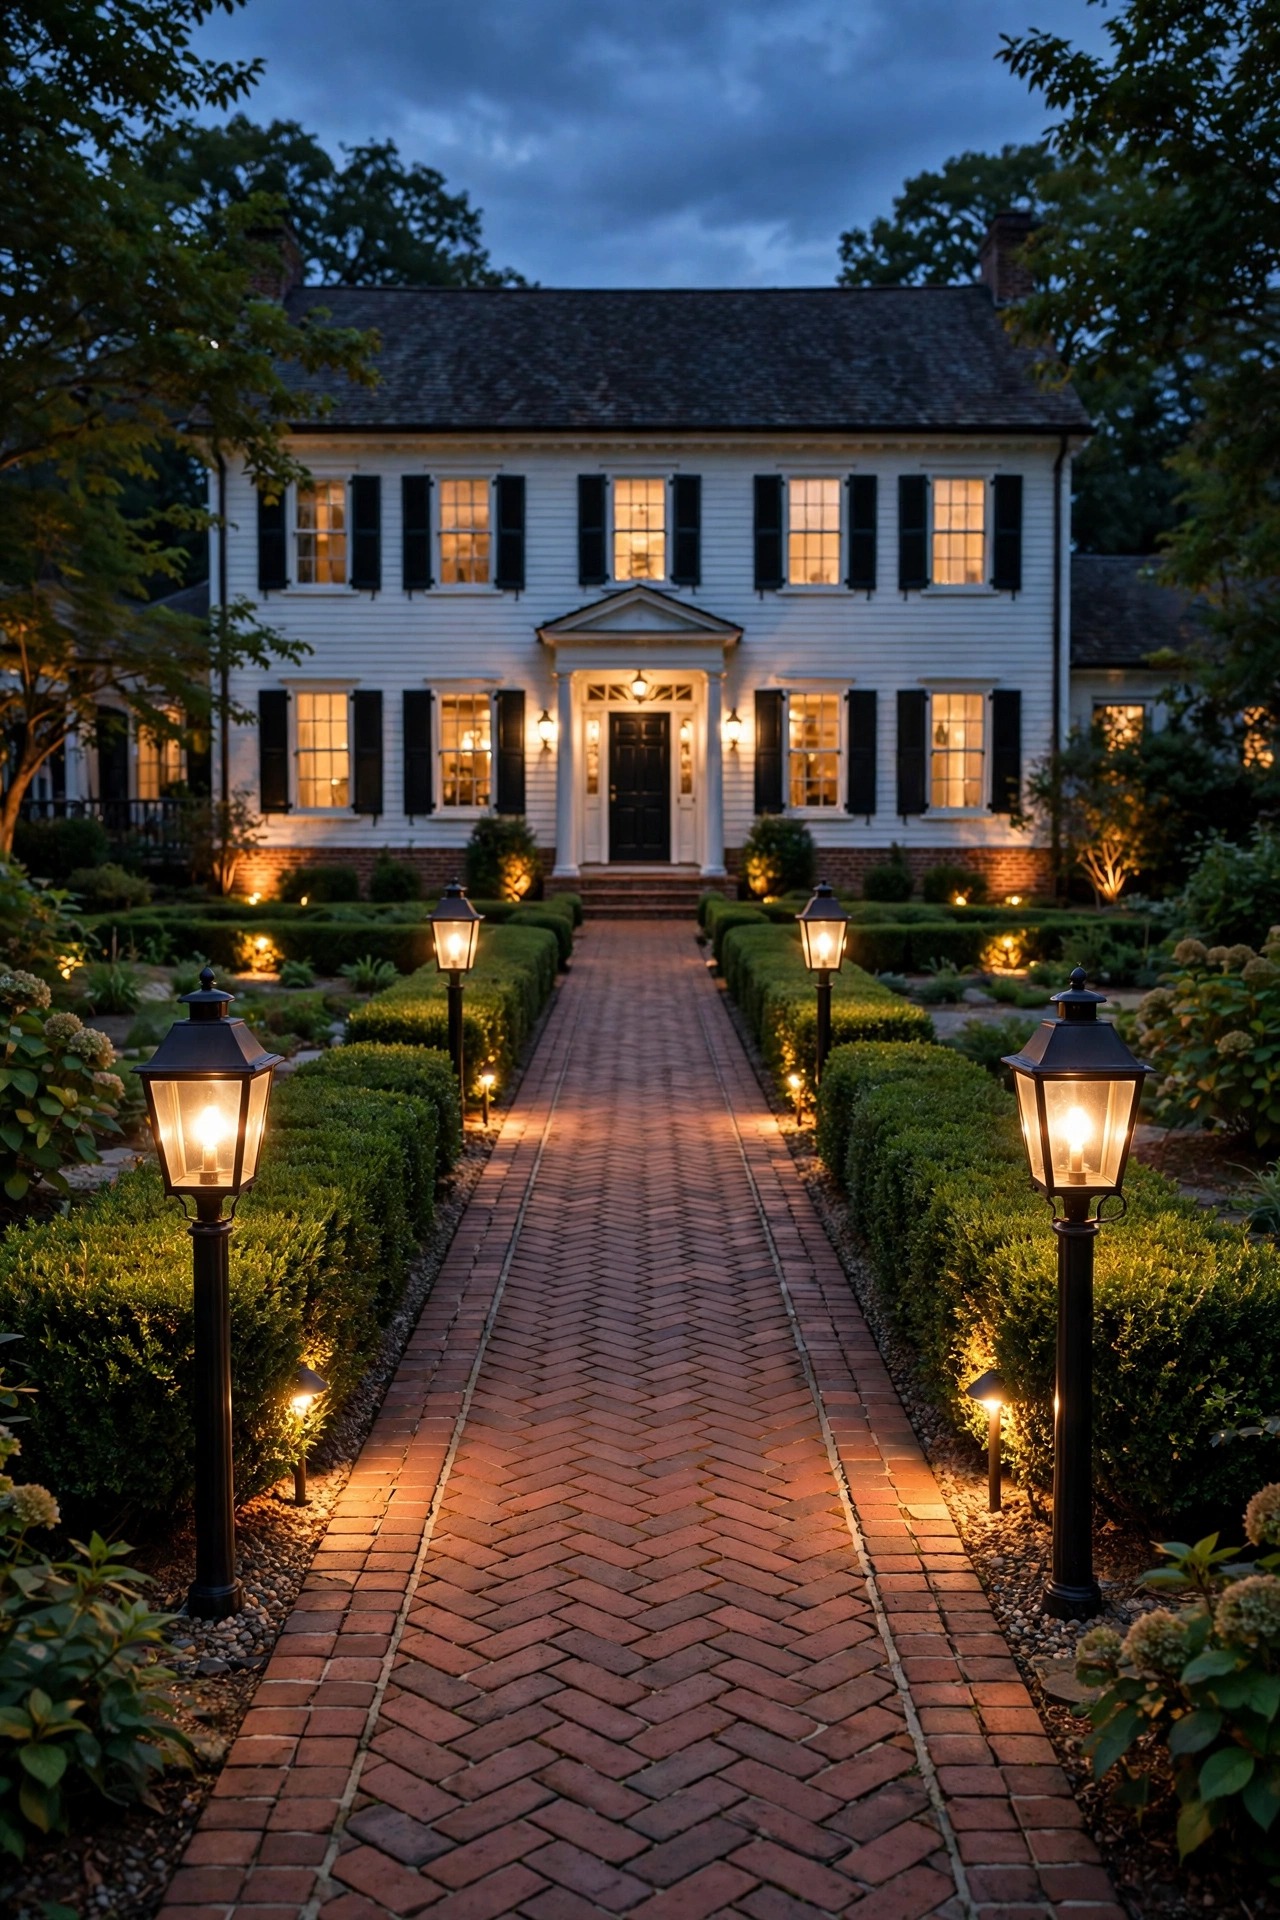
1. Map Out Your Colonial Landscape Lighting Ideas Around One Strong Axis
Every formal garden starts with an axis — an invisible straight line running from the front door or garden gate to a focal point at the far end. Before I buy a single fixture, I sketch that line and mark what sits on each side of it. Colonial design is all about mirror images, so my plan literally folds in half: lanterns, path lights, and uplights get placed in pairs at equal distances from the center line. I work in three layers, the same way I light any yard — ambient light for a soft general glow, task light on the walk and steps, and accent light on the tree, statue, or facade that anchors the view. Decide your focal point first, because every pair you place should lead the eye toward it. I also note where the transformer and cable runs will go right now, since symmetrical layouts often need two equal cable runs, one down each side, to keep voltage and brightness even. A simple sketch with measurements takes me twenty minutes and saves hours of moving stakes later. Trust me, with symmetrical designs, planning is not optional — it is the whole game.
Suggested budget range: $0 – $40.

2. Flank the Front Walk With Paired Lantern Posts
If a colonial garden has one signature lighting move, this is it: two lantern posts standing like sentries where the walk meets the sidewalk or driveway. I choose classic black post lanterns with clear glass and warm LED filament-style bulbs around 2700K, mounted about 5 to 6 feet high so the glow falls softly on the path instead of glaring into eyes. The key is exact placement — measure from the center of the walk and set each post the same distance out, usually 18 to 24 inches from the edge of the brick. I always put the pair on the same circuit and the same timer setting so they switch on together; nothing ruins the symmetry faster than one lantern lit and one dark. For wiring, low-voltage posts are the easiest DIY route, and I bury the cable at least 6 inches deep along the walk edge. If your walk is long, a second shorter pair halfway down keeps the rhythm going. In my experience this single pair does more for curb appeal than any other fixture in the yard, because it announces the whole symmetrical scheme before guests even reach the door.
Suggested budget range: $180 – $450.
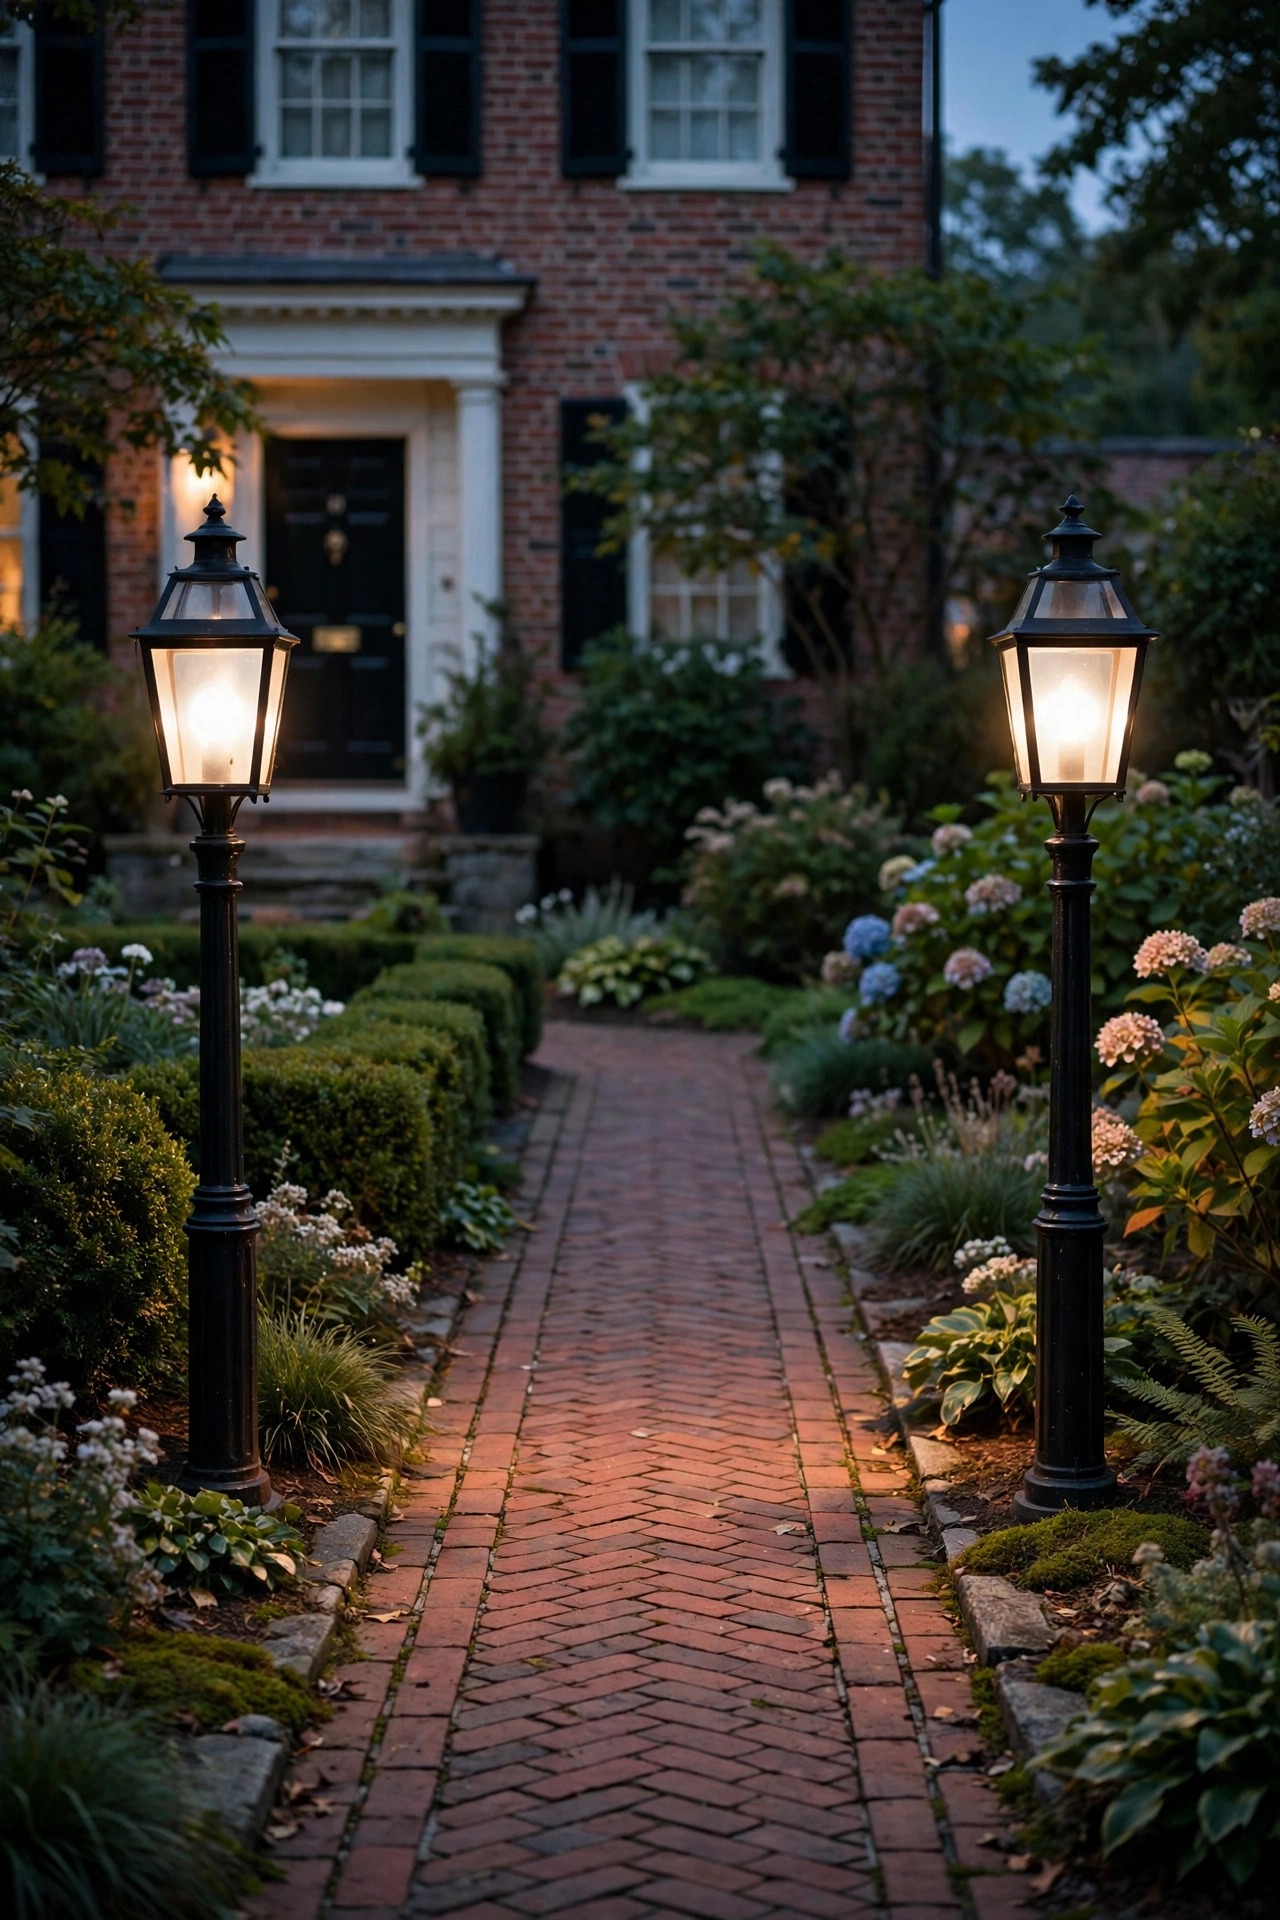
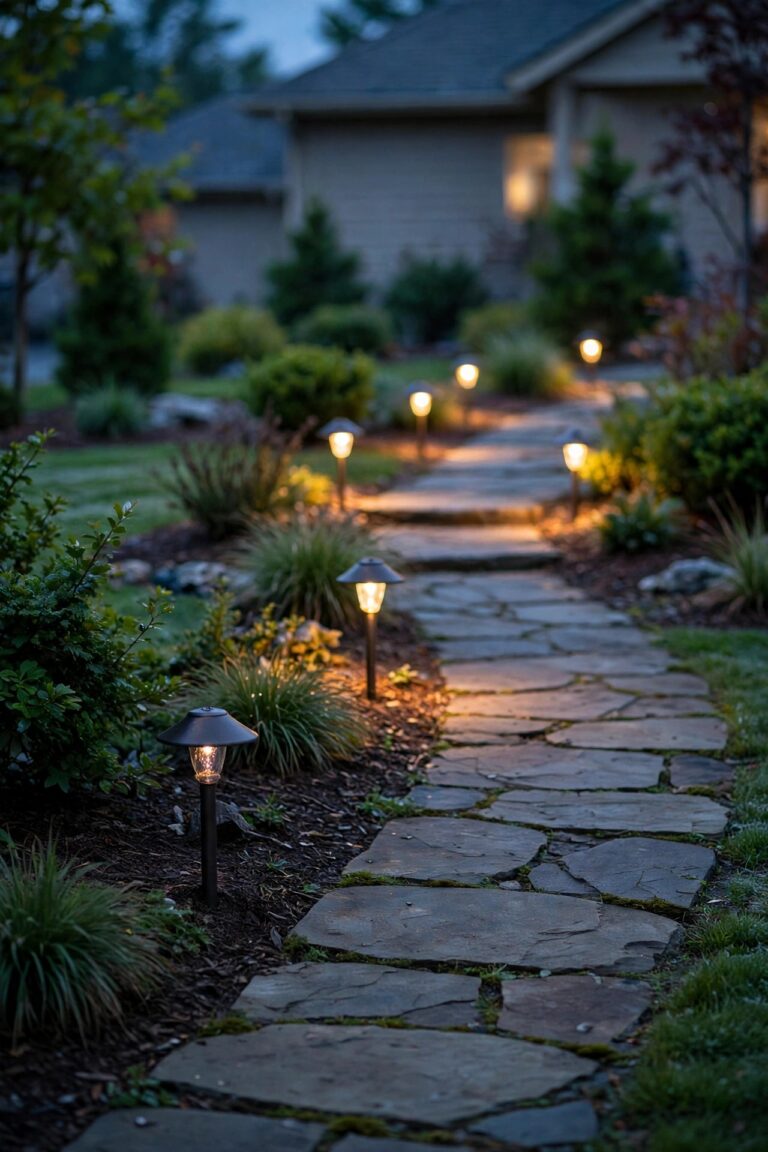
3. Space Path Lights in a Steady, Mirrored Rhythm
Path lights are where symmetry either sings or falls apart. I space mine 6 to 8 feet apart along a straight colonial walk, and — this is the part people skip — I place them directly opposite each other rather than staggered. Staggering is lovely for cottage gardens, but a formal layout wants pairs that line up like soldiers. Measure from a fixed point, like the front step, and mark both sides with landscape flags before you install anything. I prefer low, hooded fixtures in black or aged bronze that throw light downward onto the brick, about 12 to 18 inches tall, so you see pools of light instead of bare bulbs. Keep brightness modest, around 100 to 150 lumens each; a row of runway-bright lights reads modern, not colonial. If you want the exact math for spacing and overlap, my landscape lighting spacing guide walks through it in detail. One last tip from my own yard: buy two or three extra fixtures from the same batch. Finishes fade, and a replacement bought years later rarely matches its partner.
Suggested budget range: $150 – $400.
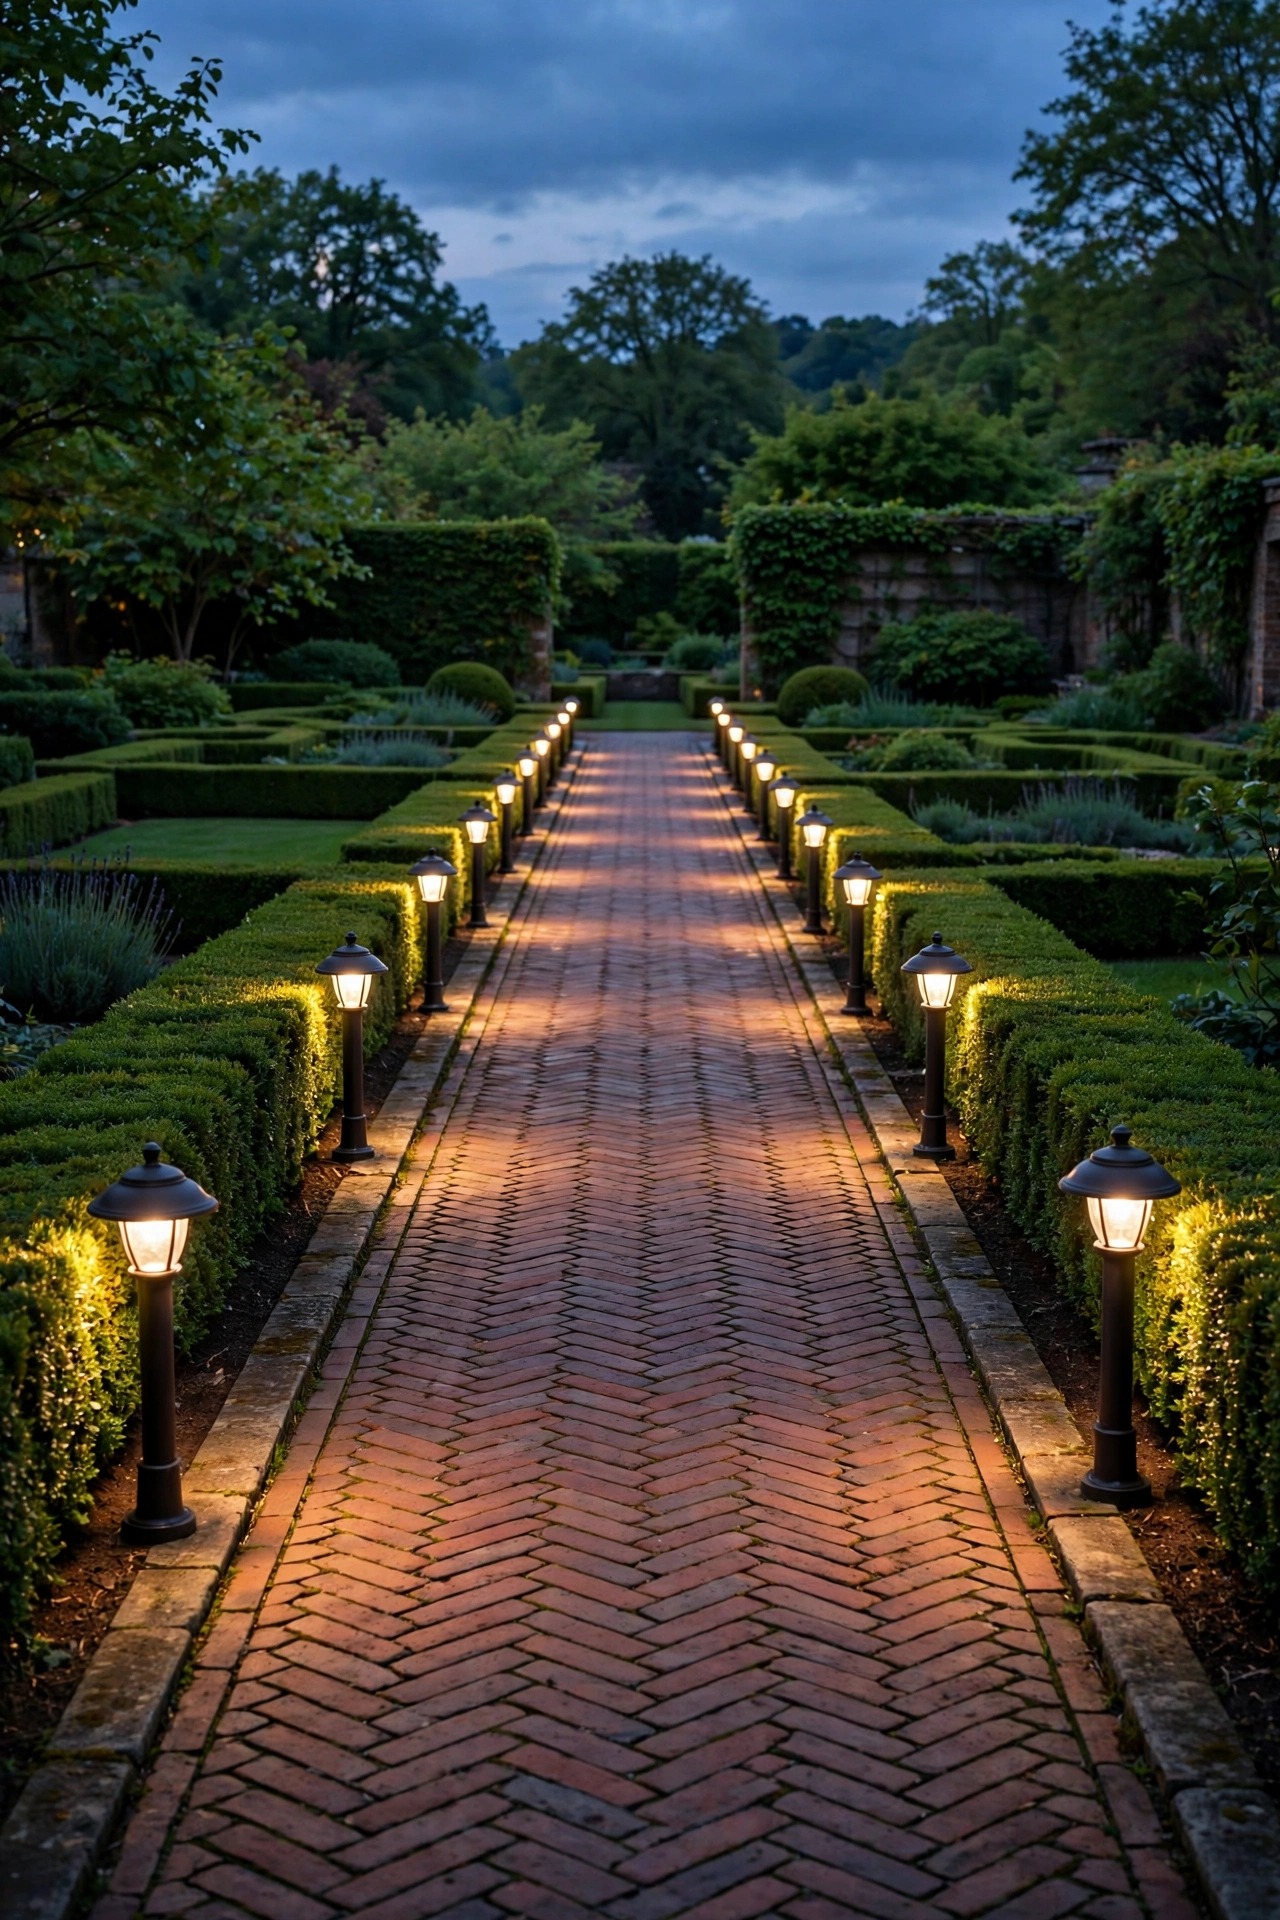
4. Uplight the Statement Tree With Twin Fixtures
Most colonial yards have one hero tree — a magnolia, a dogwood, or a proud old oak centered on the axis or standing guard at the corner. One uplight makes it look lopsided after dark, so I always use two matching spotlights placed at equal angles, roughly 45 degrees apart, aimed up into the canopy. Set each fixture 12 to 18 inches out from the trunk, tilted so the beams cross slightly in the branches; that crossing fills the canopy evenly and hides the dark gap a single beam leaves behind. Warm white around 2700K keeps bark and leaves looking rich rather than ghostly. For a medium tree, two fixtures at 400 to 600 lumens each are plenty. Well lights that sit flush in the ground are my pick near walks, since there is nothing to trip over or knock out of alignment with the mower. Check the aim after the first week — soil settles, and a matched pair only stays matched if both fixtures hold their angle. This is the backdrop your whole garden poses in front of, so it is worth the extra fixture.
Suggested budget range: $90 – $220.
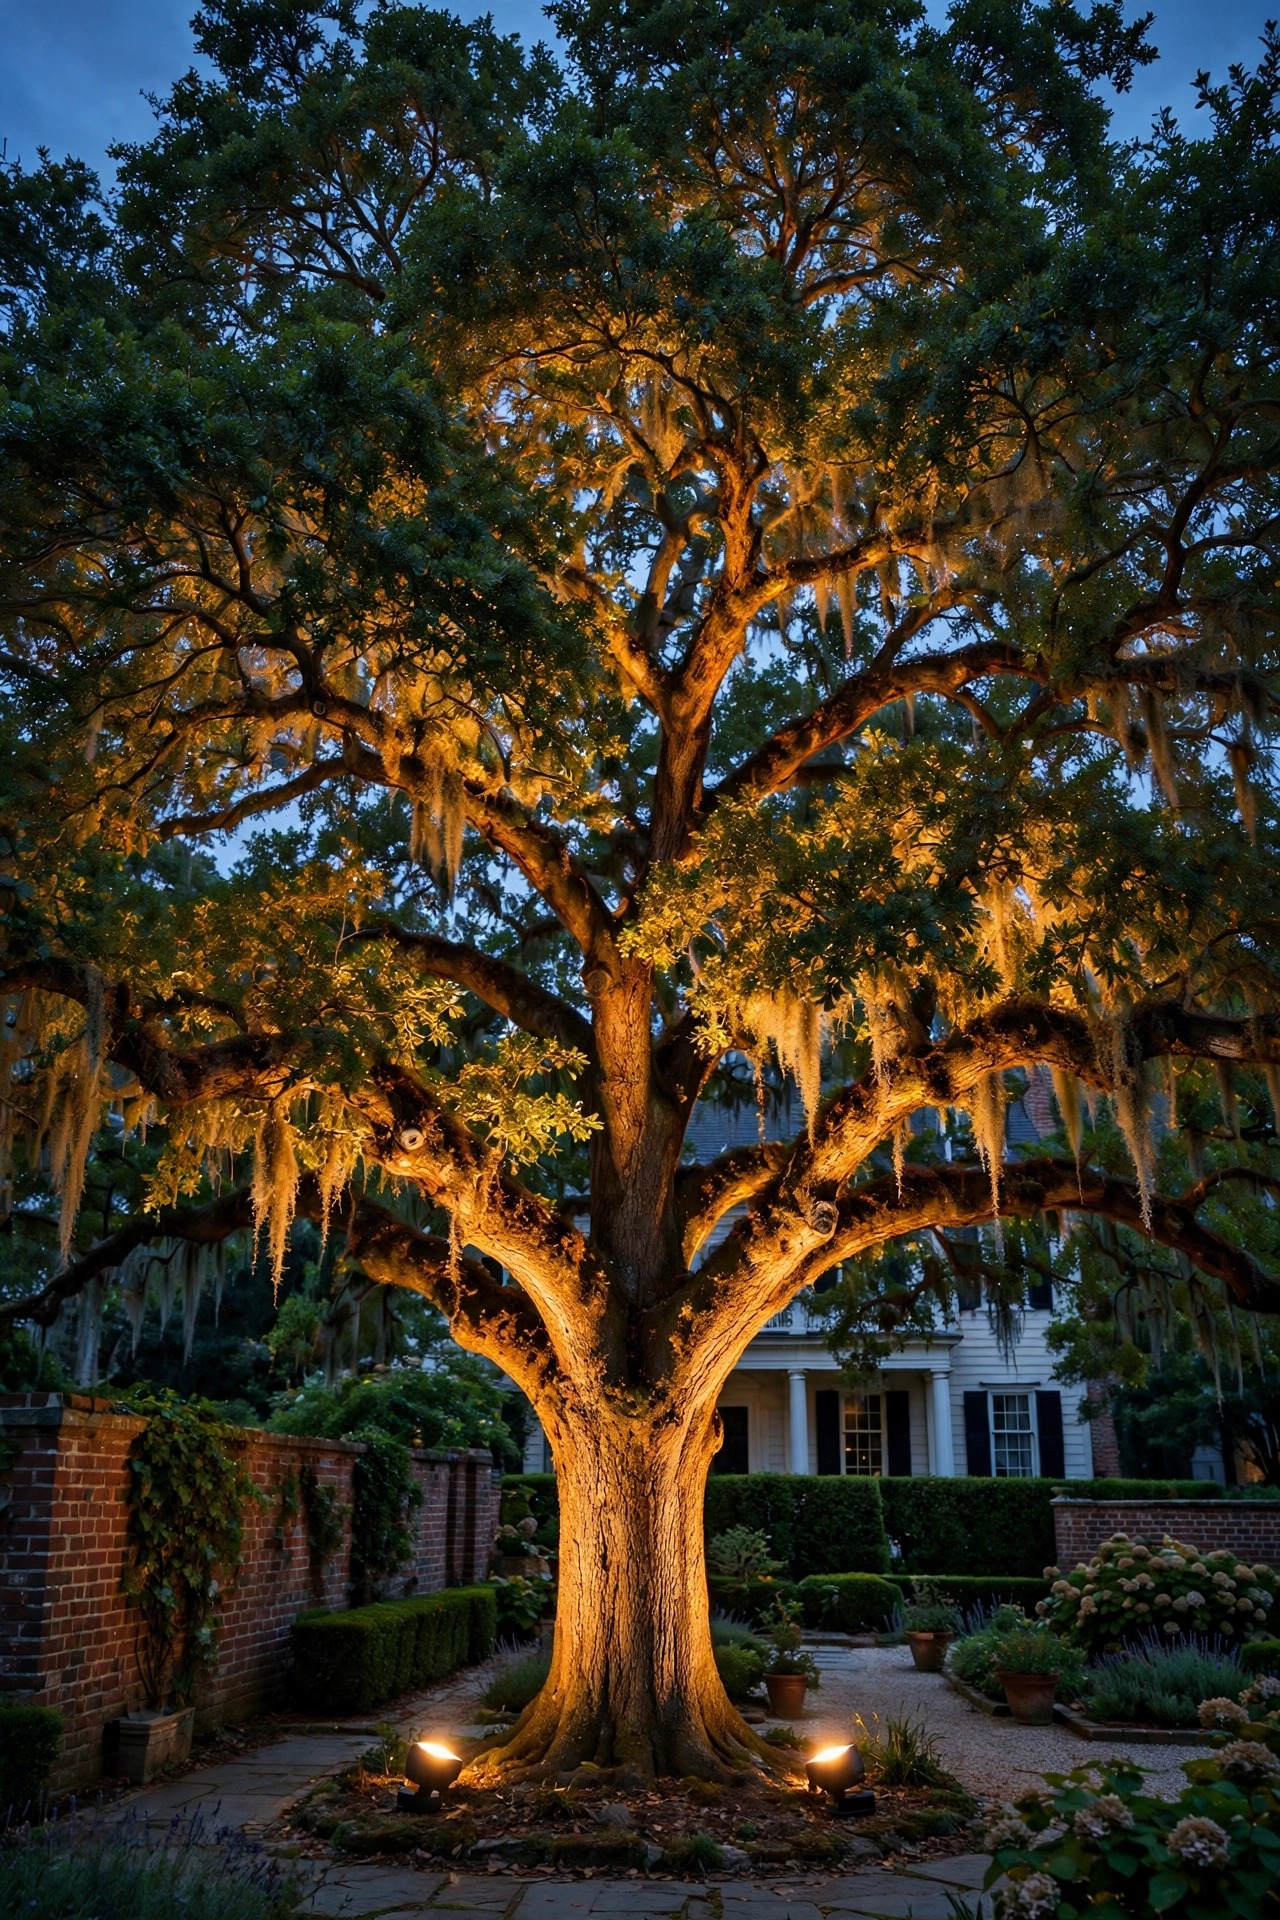
5. Frame the Garden Gate With Matching Sconces
A garden gate is a doorway, and doorways in colonial design always come in pairs. I mount one sconce on each gate post or on the wall sections flanking the opening, at the same height — usually 5 and a half to 6 feet from the ground to the center of the fixture. Lantern-style sconces with seeded glass feel right at home here, and I stick with 2700K LED bulbs so the light reads like candlelight through old glass. If the gate sits far from the house, low-voltage sconces wired into the main system are worth the trench work; mismatched solar sconces tend to charge unevenly, and one dim twin breaks the spell. Keep the two fixtures on the same switch or timer zone as the walk lanterns so the whole entry lights as one scene. I also add a small gravel or brick landing under the gate if there is not one already, because the pooled light needs a surface to land on to look intentional. Guests read this pair as a welcome before they ever touch the latch, and at night it quietly marks the boundary between street and garden.
Suggested budget range: $120 – $300.

6. Edge a Boxwood Parterre With Low, Even Bollards
A parterre — those neat geometric beds edged in clipped boxwood — is the heart of a formal colonial garden, and it deserves lighting as tidy as its hedges. I run short bollards or low mushroom-style fixtures around the perimeter at perfectly even intervals, usually one at each corner and one at the midpoint of each side. Symmetry here is about rhythm: if the north side has three fixtures, the south side gets three in the same spots. Keep them low, 8 to 12 inches tall, and shielded so the light grazes the gravel and the hedge base instead of blasting the planting. Around 50 to 100 lumens each is enough; a parterre should glow, not sparkle. I wire them in a loop so voltage stays even from the first fixture to the last — corner-to-corner brightness differences are painfully obvious in a geometric bed. In my experience, this is also where a timer earns its keep, because the parterre looks best lit for a defined evening window, then dark so the garden can rest. The effect at dusk is pure Williamsburg: order you can see.
Suggested budget range: $200 – $500.

7. Give the Axis a Lit Focal Point
Every axis needs a destination, and in a colonial garden that is usually a sundial, a statue, an obelisk, or a birdbath set dead center at the end of the walk. Lighting it well takes restraint: I use two small spotlights placed symmetrically at the base, angled up at about 30 degrees, so the piece is modeled from both sides and no harsh shadow splits it in half. Aim for 200 to 300 lumens per fixture for a stone piece under 4 feet tall — enough to read the detail without bleaching it white. Cross-lighting like this also keeps the light sources themselves hidden from the main viewpoint, which matters because a visible glare spot pulls the eye off the sculpture. My garden focal point spotlight ideas go deeper on angles for different materials, since marble, bronze, and weathered concrete all behave differently. One honest note: keep the fixture finish quiet. Black or dark bronze disappears into the planting; shiny brass near a focal point becomes the focal point, and that is never the goal in a formal scheme.
Suggested budget range: $80 – $200.
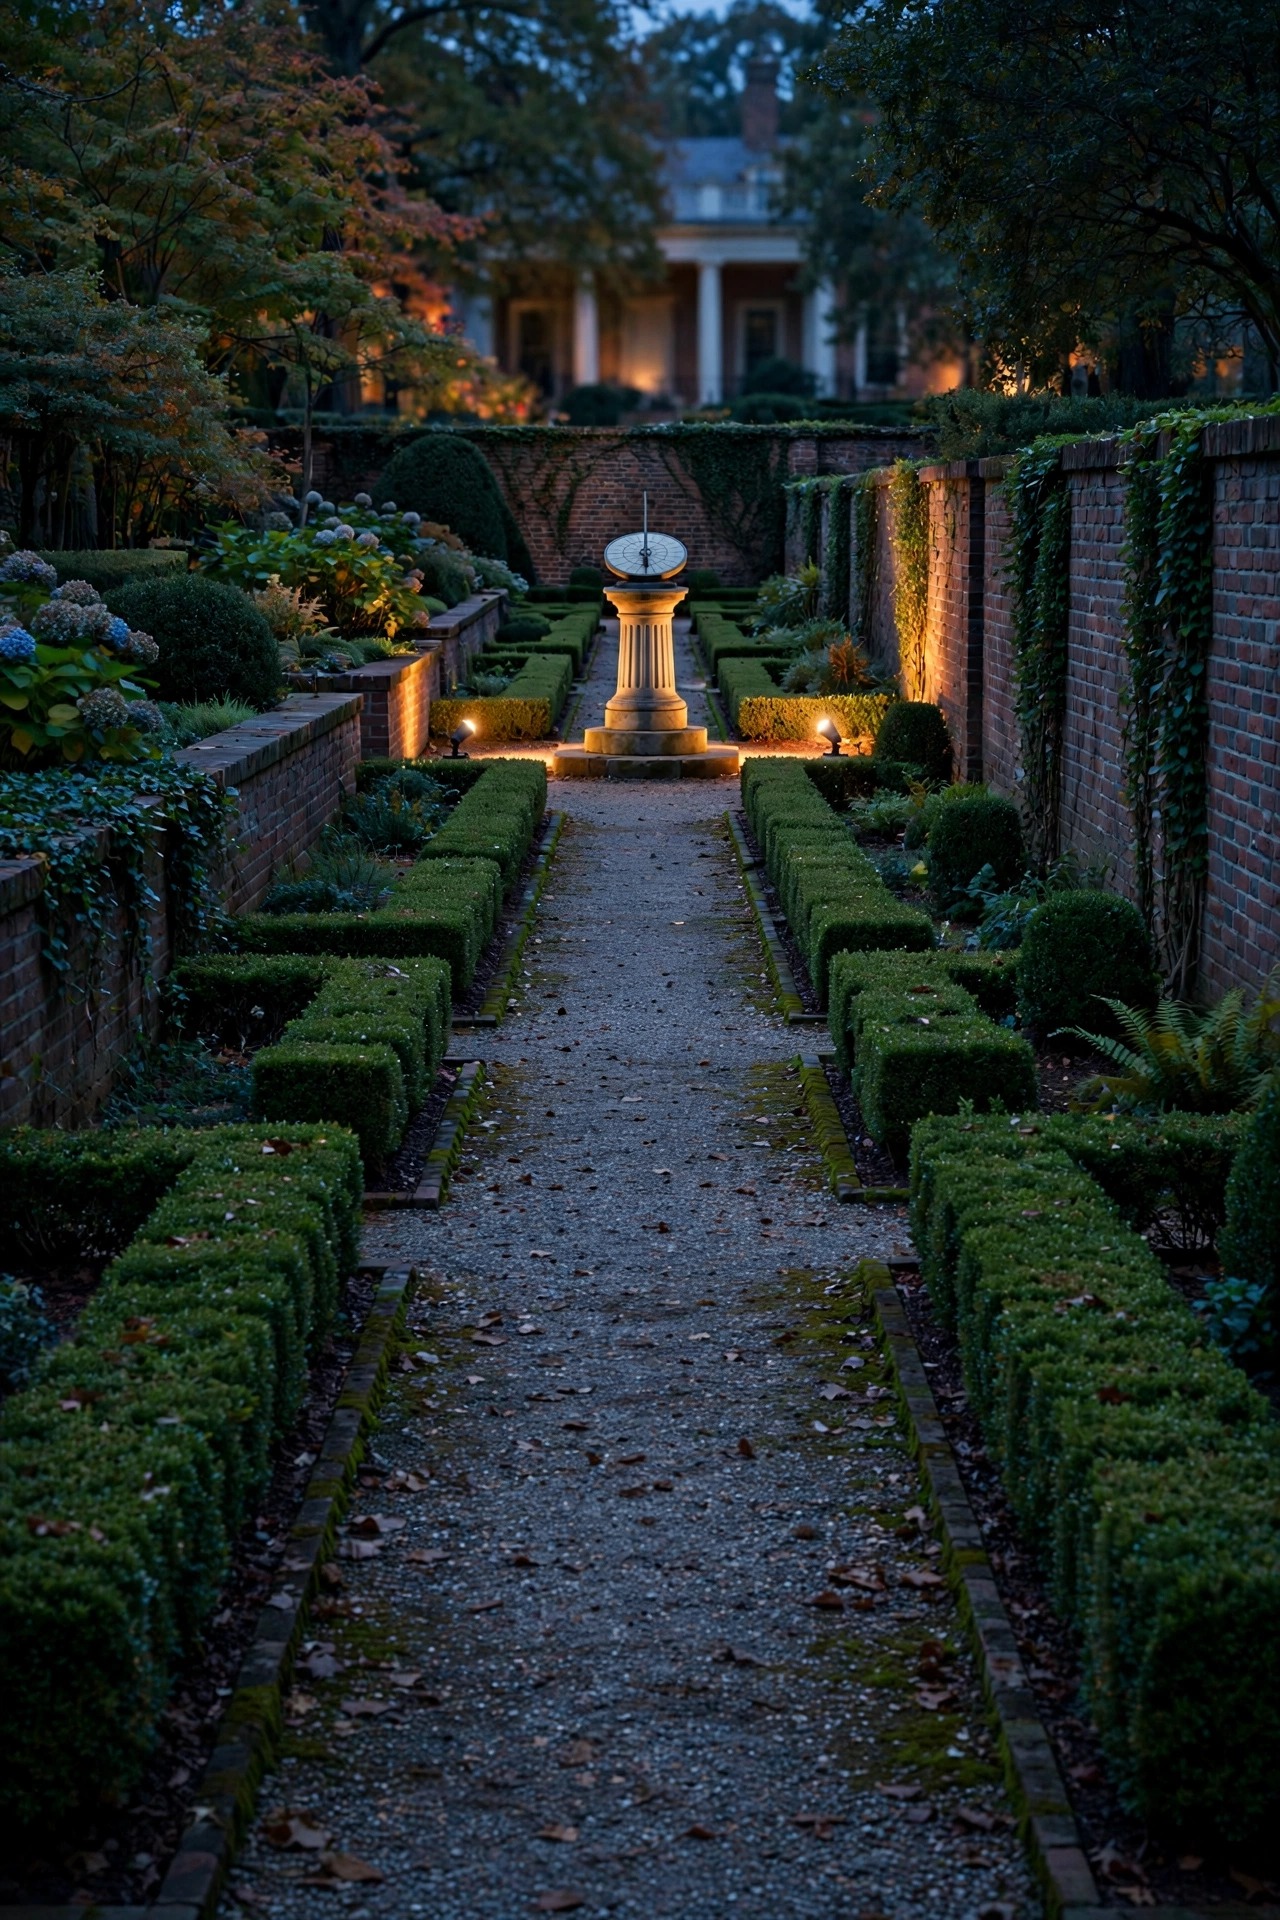
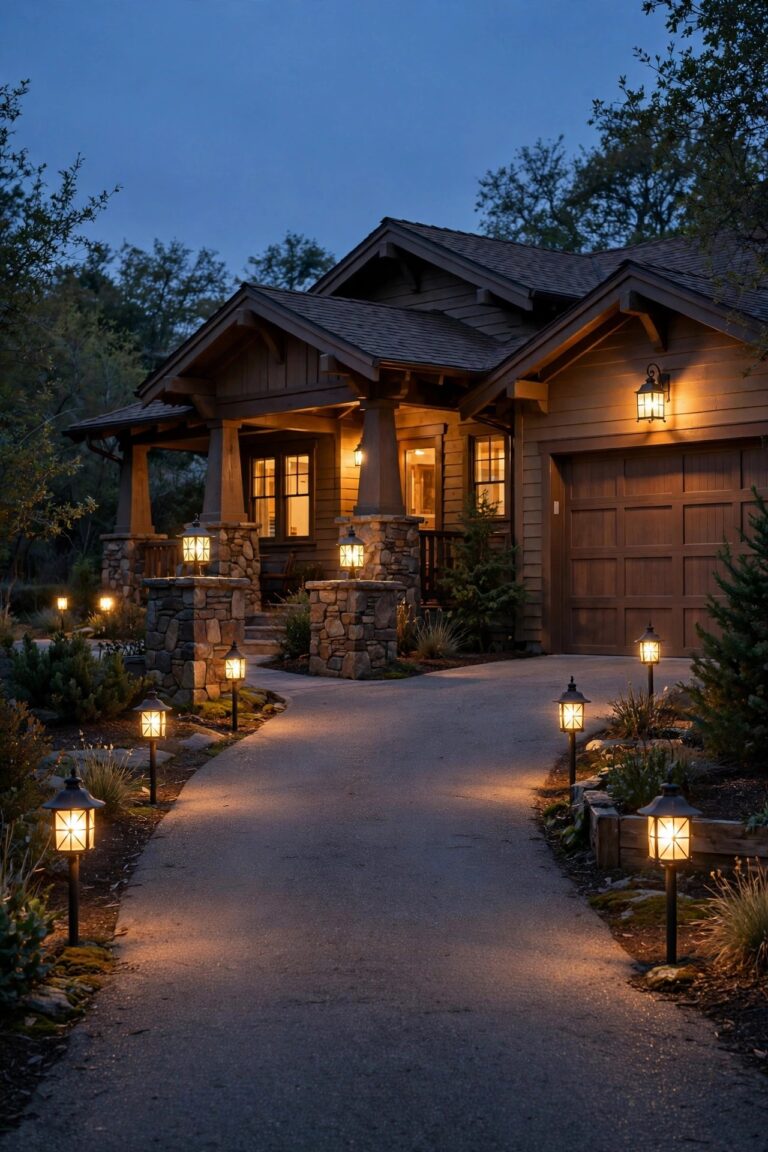
8. Top Brick Pillars With Carriage-Style Lanterns
Brick pillars at a driveway entrance or flanking a garden opening are practically begging for lanterns, and the carriage style — square, black, with a gently peaked cap — is the most colonial silhouette there is. I mount one on each pillar at exactly the same height, and I measure the pillars themselves first; if one was repaired or repointed slightly taller, shim the shorter fixture so the lantern tops align perfectly from the street view. Hardwired 120-volt lanterns are common here, and that is one place I happily call an electrician, since pillar wiring runs through masonry. Ask for warm 2700K bulbs and a photocell or smart timer so the pair wakes up together at dusk. Scale matters more than people expect: the lantern should be roughly one quarter to one third the width of the pillar cap. Too small reads like an afterthought, too big looks top-heavy. I also match the finish to the front door lanterns so the property reads as one designed scheme from the street to the stoop. Done right, these are the fixtures neighbors ask about.
Suggested budget range: $300 – $750.
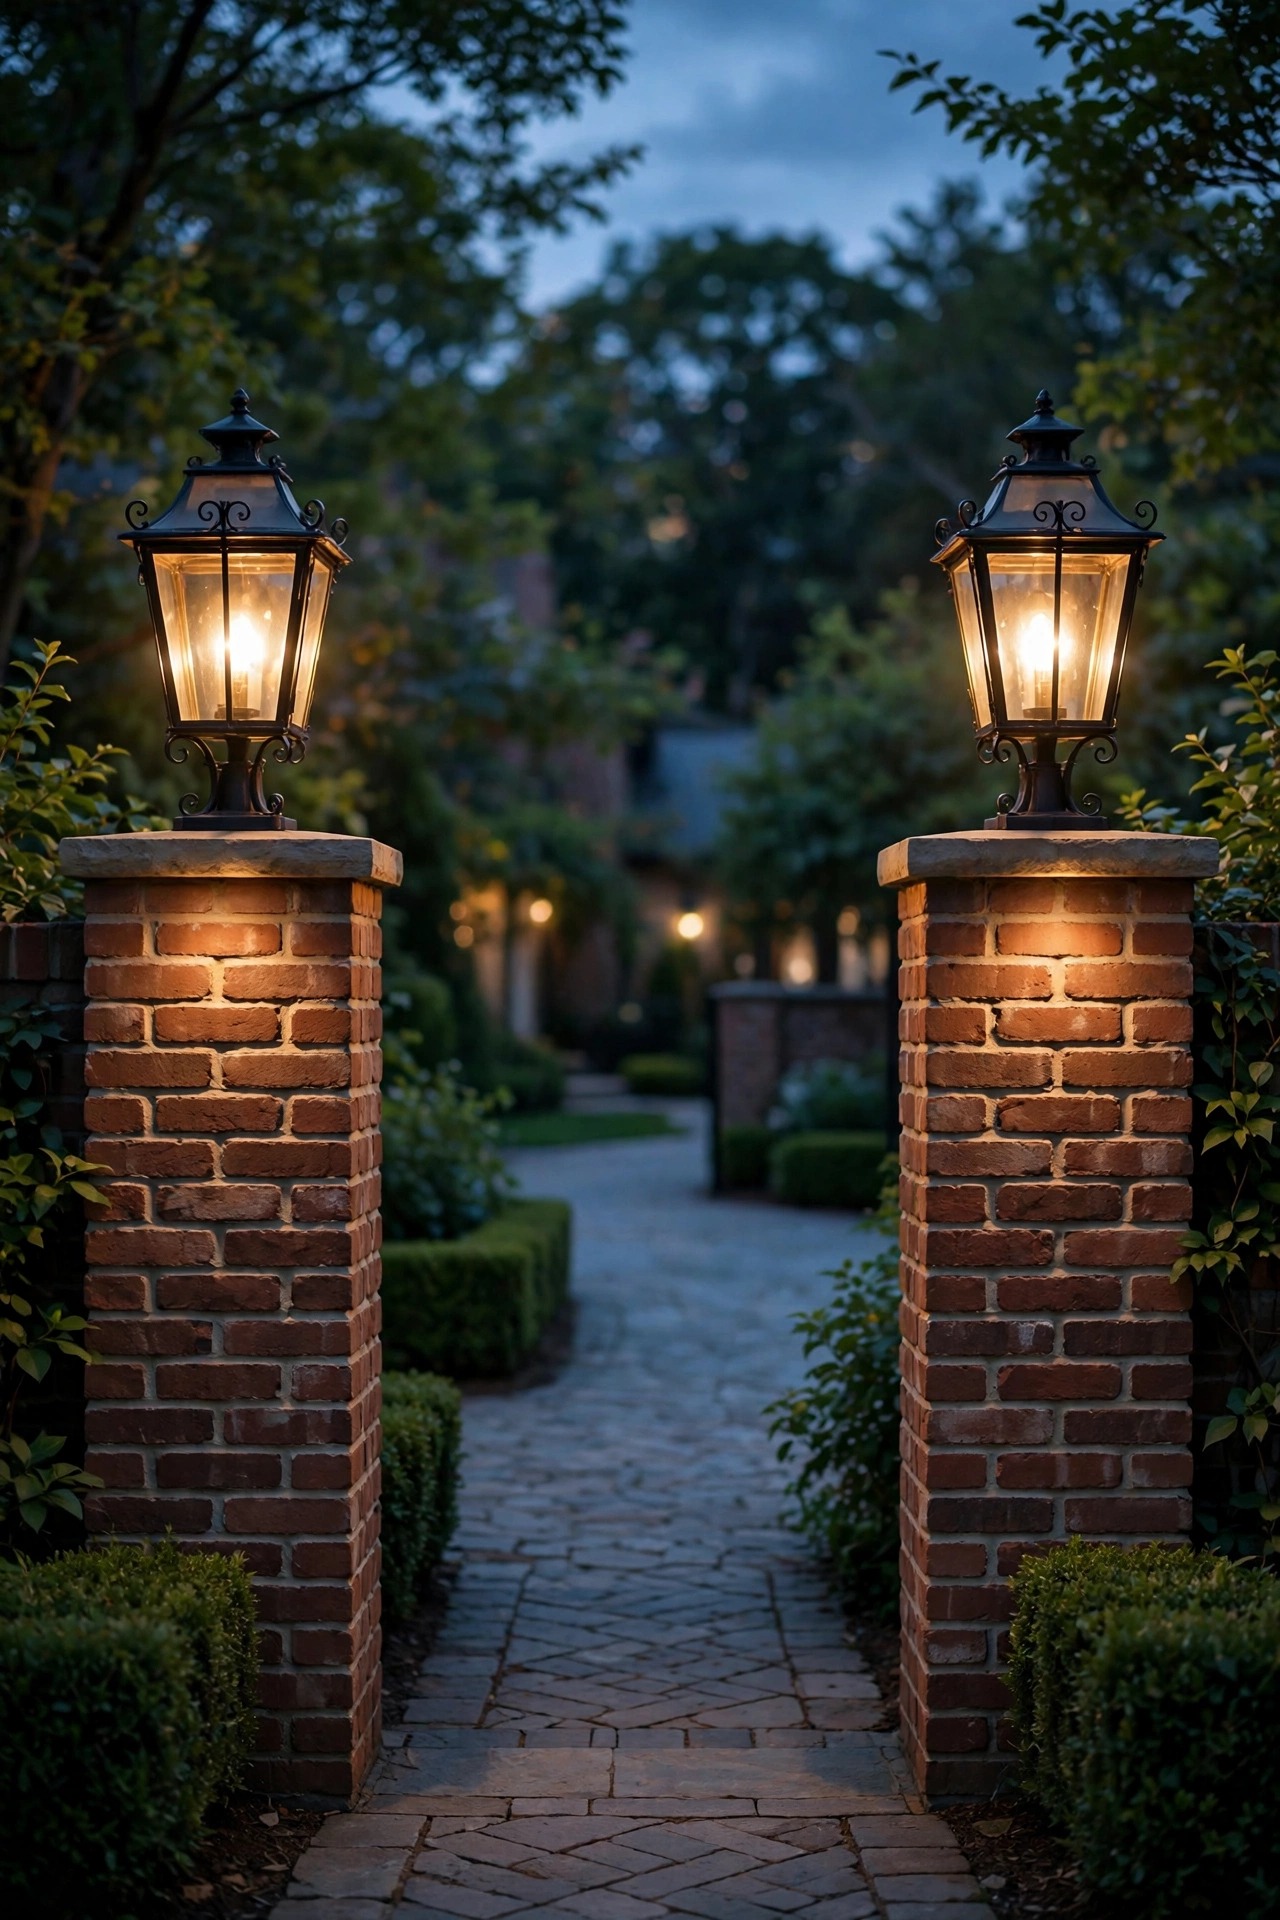
9. Wash the Foundation Plantings in Symmetrical Pairs
Colonial homes usually wear their foundation plantings in matched sets — a holly on each side of the door, boxwoods in even runs under the windows — so the lighting should honor that planting plan. I place small wash lights or short spotlights in pairs that mirror the shrubs themselves, one fixture per feature shrub, set 12 inches out from the bed edge and aimed to graze across the foliage. Grazing light is the trick: it rakes across leaves and brick at a low angle, showing texture a straight-on beam flattens. Keep the pairs the same distance from the house on both sides, even if it means the fixture sits in slightly awkward soil — your eye reads the light pattern, not the fixture position. For brick facades, a warm 2700K wash makes the masonry look candlelit, which is exactly the mood a colonial wants. I put the foundation zone on its own timer channel so I can dim the evening down in stages: entry and walk first, foundation wash fading last. It is a small luxury that makes the whole house feel composed rather than simply lit.
Suggested budget range: $140 – $350.

10. Mirror Your Flower Bed Spotlights Bed for Bed
Formal gardens usually have twin flower beds facing each other across a walk or lawn panel, and the fastest way to make them look intentional at night is to light them as true mirrors. Whatever I do in the left bed — say, a low spotlight on the rose standard and two small washes on the perennial mounds — I repeat in the right bed at the same distances from the walk. I literally measure with a tape and copy the layout, fixture for fixture, angle for angle. Matching bulb temperature is non-negotiable here; a 2700K fixture opposite a 3000K one makes one bed look sunny and the other muddy, and your eye catches it instantly even if you cannot name why. Seasonal flowers complicate things since beds change height through the year, so I choose adjustable spotlights on short stakes that I can re-aim in spring and midsummer. Keep the beams inside the beds — light spilling across the walk breaks the clean dark line that separates the pair. When both beds glow as twins, the walk between them becomes a promenade, and that is the whole colonial fantasy in one view.
Suggested budget range: $110 – $280.
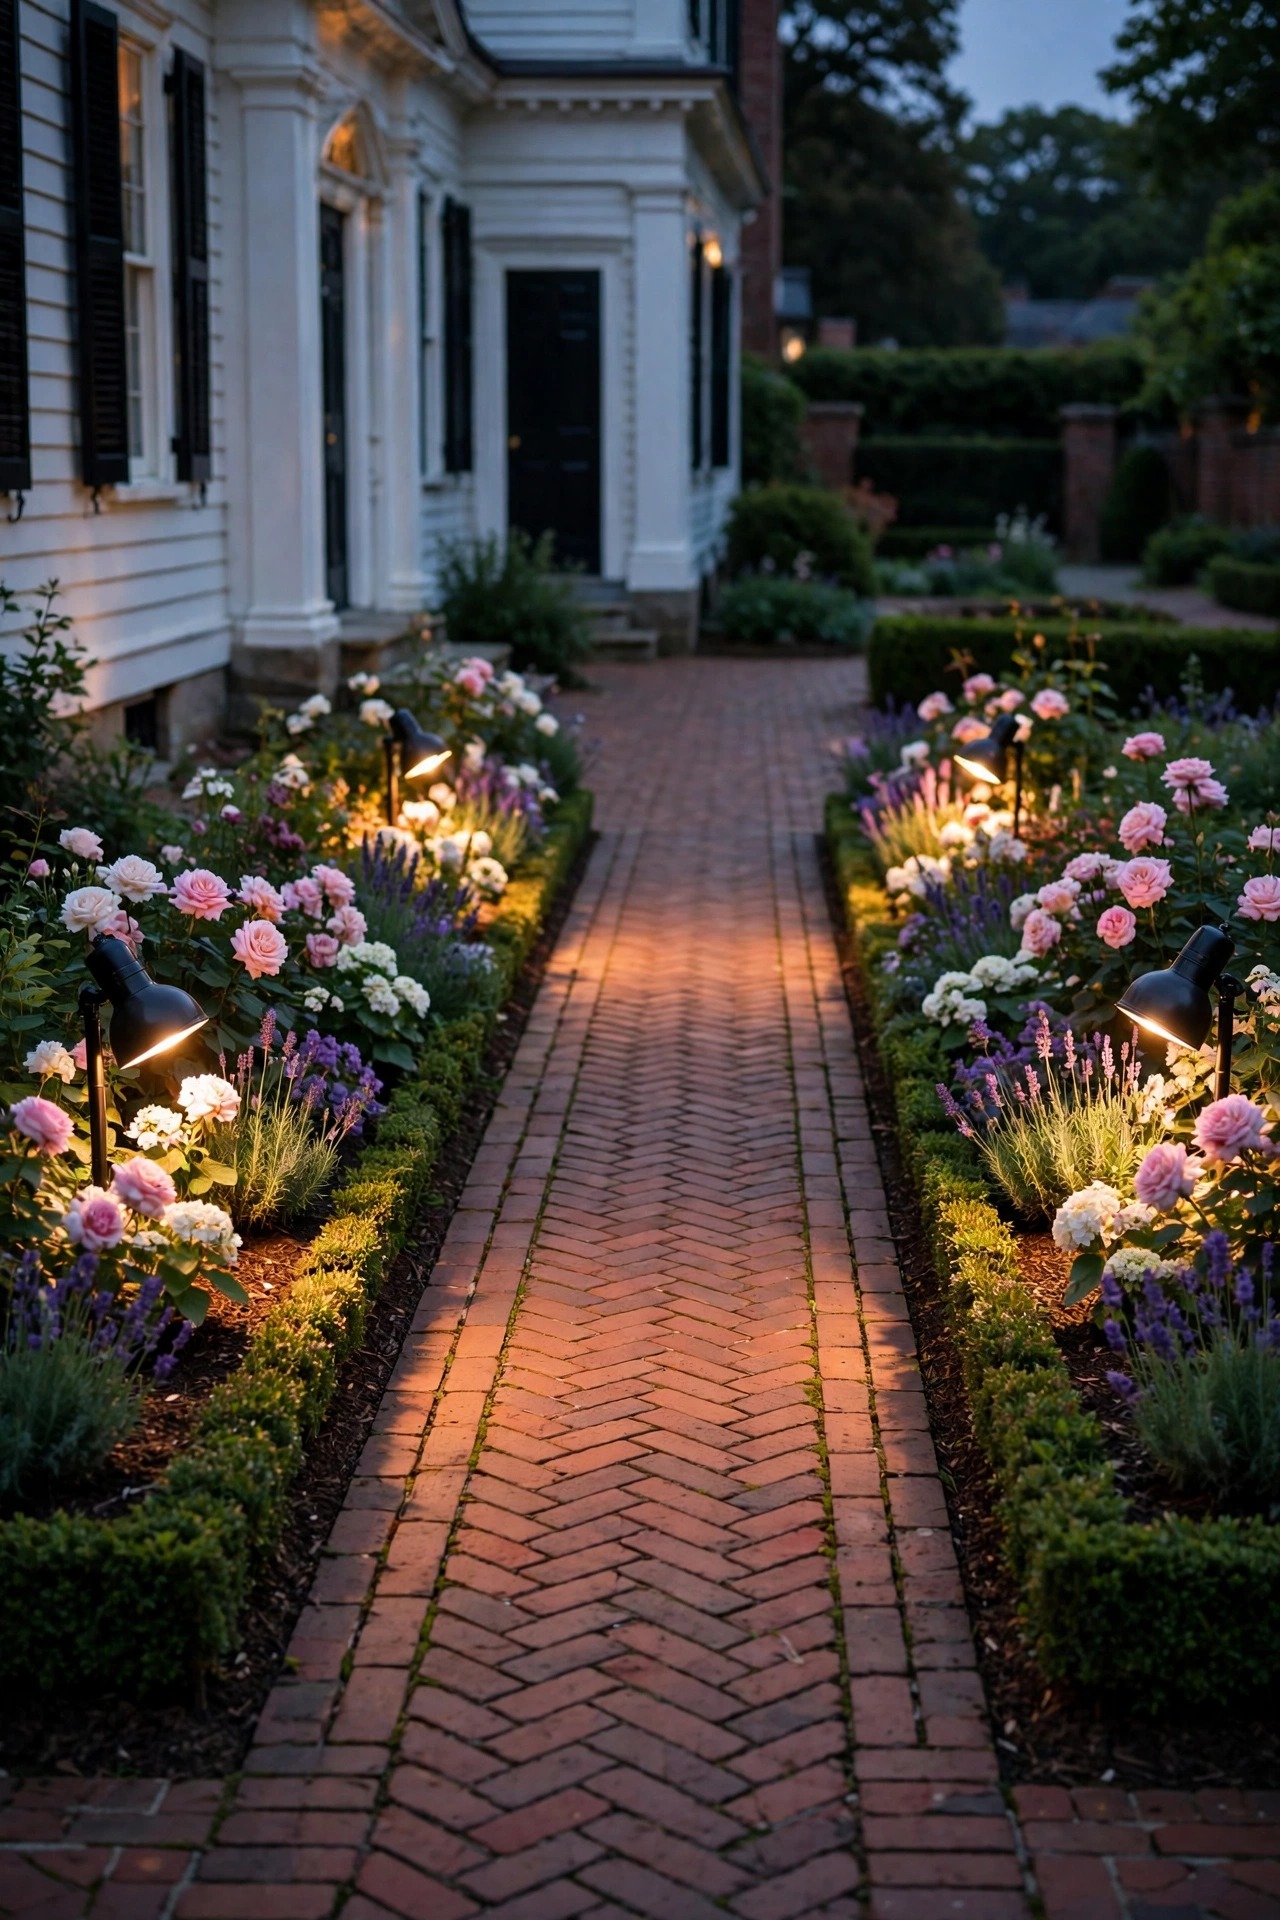
11. Line the Brick Walk With Recessed Markers in Perfect Pairs
For a cleaner, more architectural look than stake lights, I love recessed brick or paver markers set flush into the walk itself. Installed in opposite pairs every 4 to 6 feet, they outline the path with soft dots of light that never get knocked crooked by a mower or a snow shovel — and staying perfectly aligned is the entire point of a formal layout. This is a job to plan during a walk build or rebuild, since the fixtures sit in the bedding layer with a low-voltage cable channel beneath. If your walk already exists, surface-mount deck-style markers on the edging stones get you most of the look for far less effort. Choose warm white, around 2700K, and keep output low, 30 to 60 lumens per marker; you are drawing a line, not lighting a runway. I wire opposite pairs to the same home run so a pair always shares brightness. One caution from experience: buy markers rated for foot traffic and freeze-thaw cycles, and order two spares, because a single dark gap in the rhythm shows up like a missing tooth in every evening photo of your front yard.
Suggested budget range: $160 – $420.
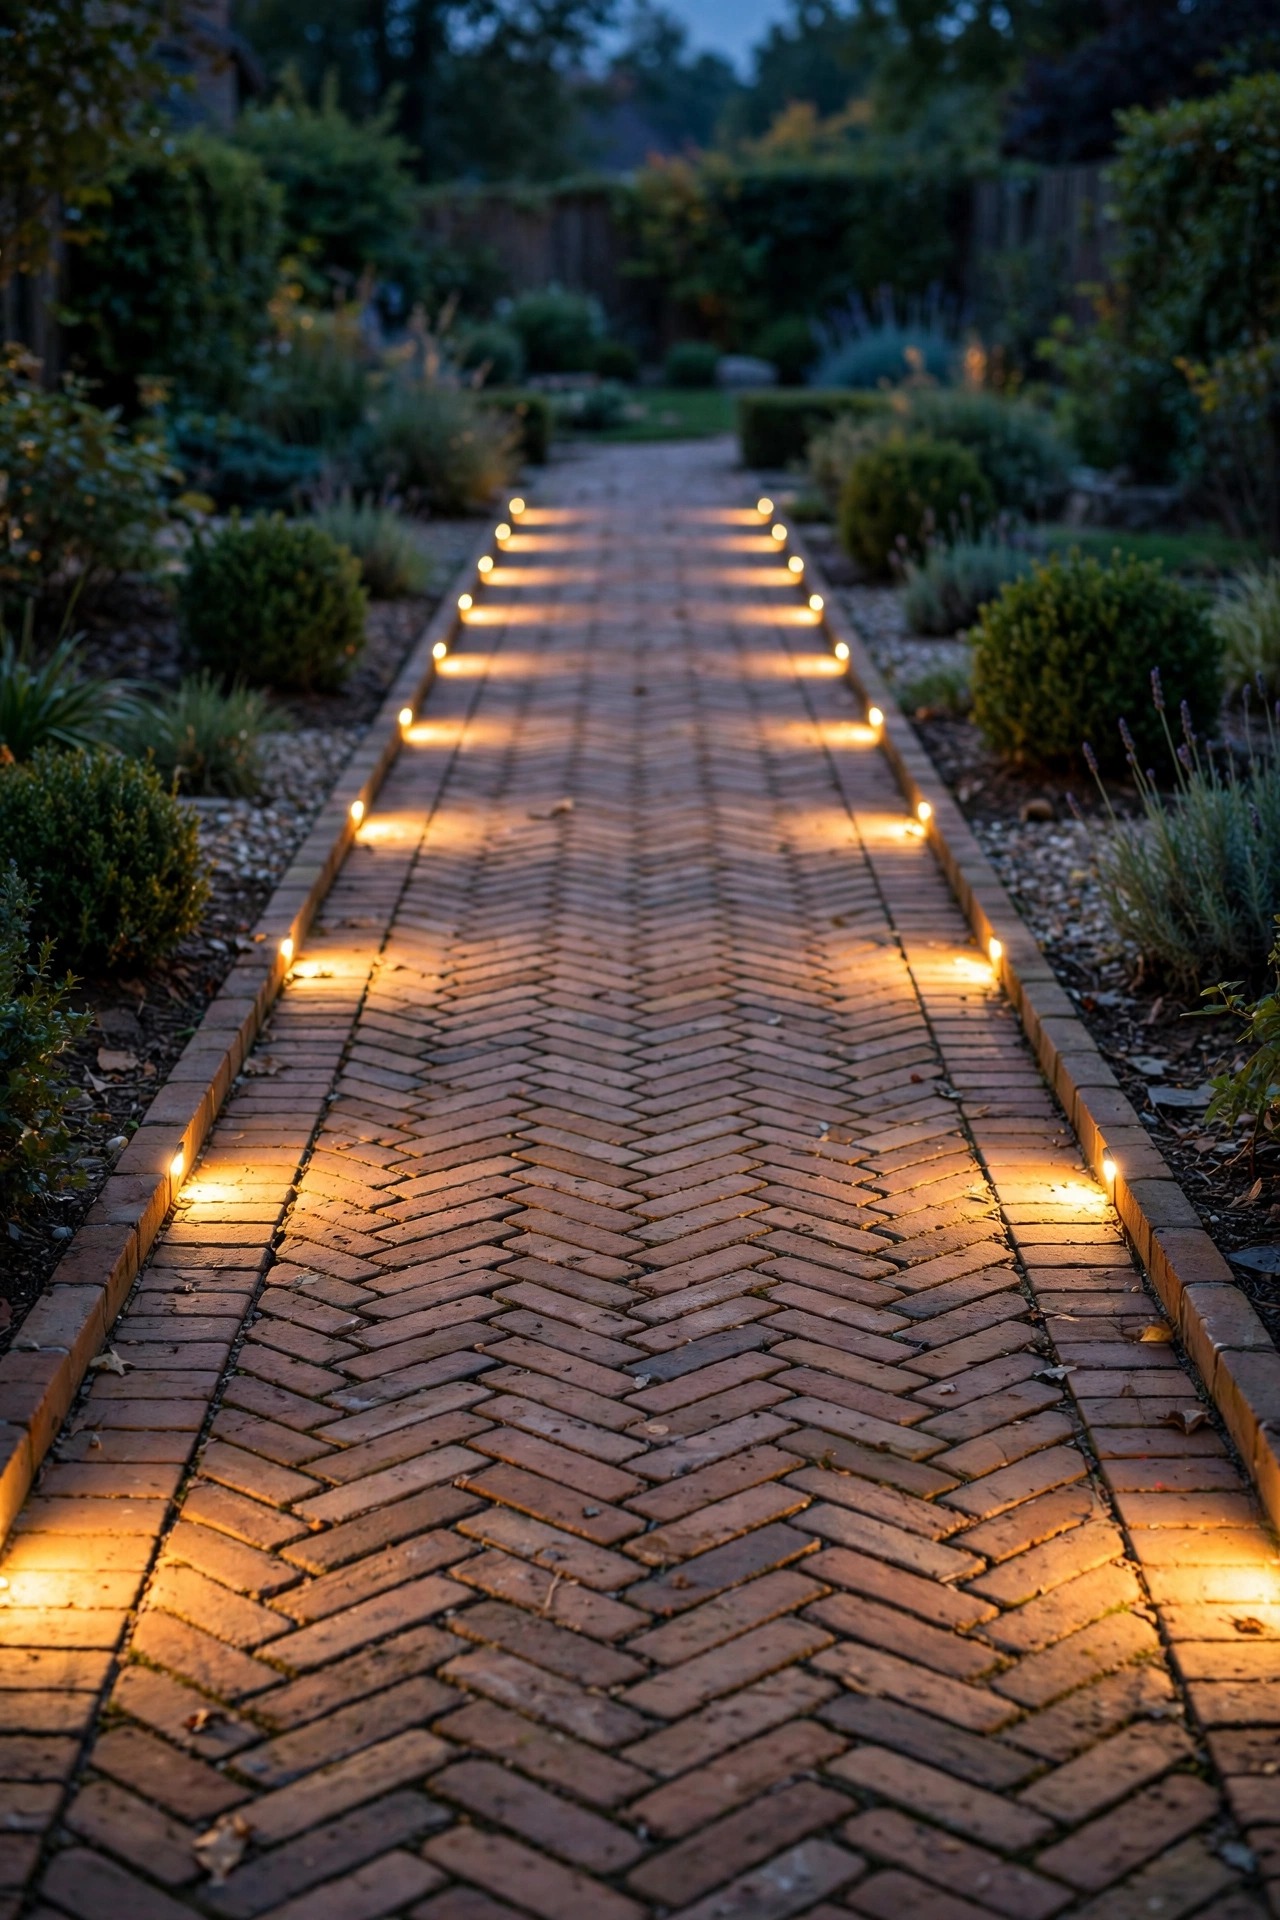
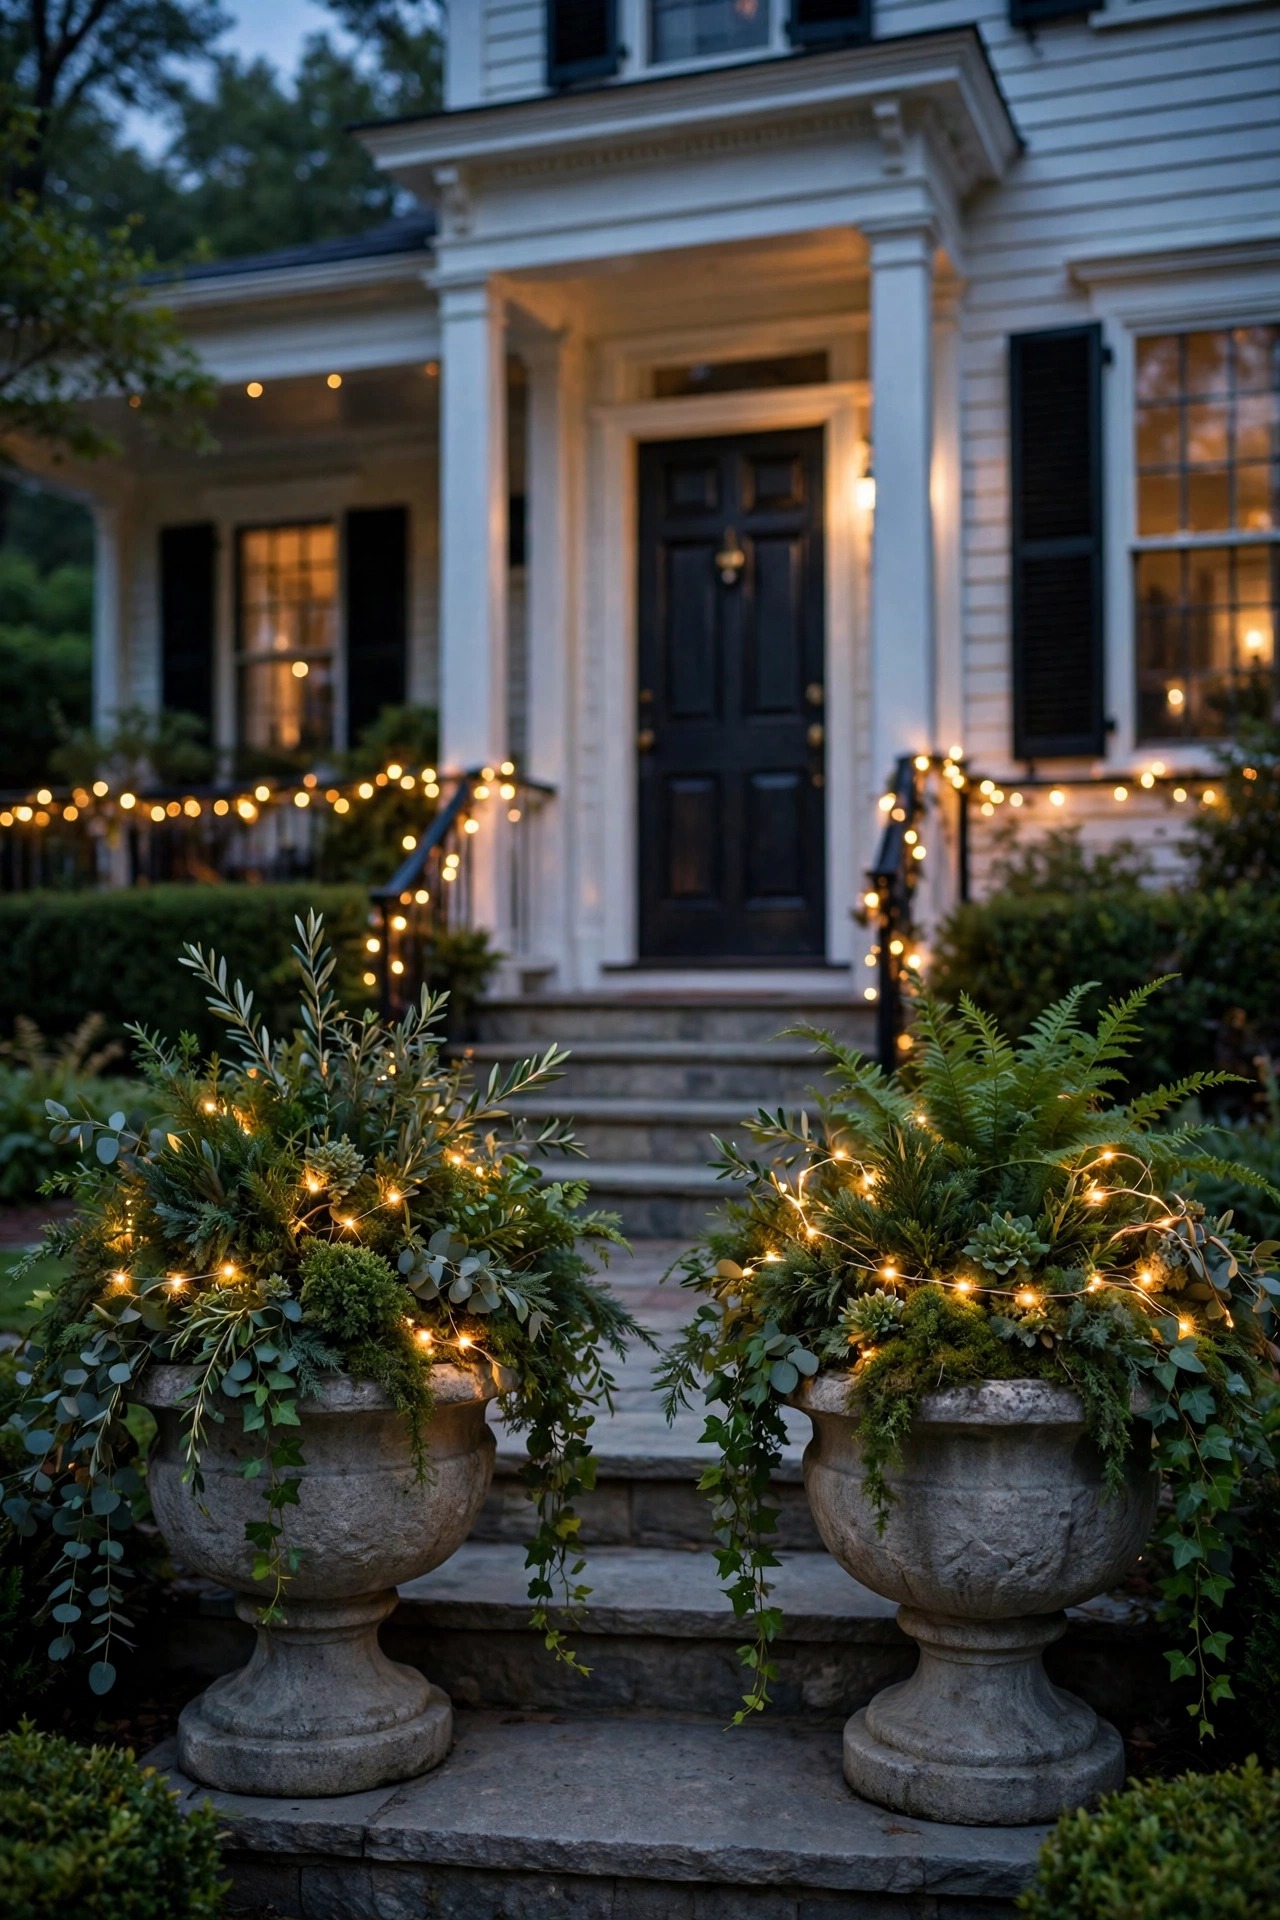
12. Pair Urn Planters With Warm Fairy Lights
Not every colonial accent needs a wire. Classic cast-iron or stone urns flanking the front steps take beautifully to a tangle of warm copper-wire fairy lights tucked into the planting — ivy, trailing rosemary, or seasonal annuals all work. The secret is doing both urns in the same session with the same string length and the same loose hand, so the sparkle density matches. I use battery or solar strings with a timer set to the same six-hour window on both, and I choose warm white only; the twinkle should feel like fireflies, not a holiday display. Weave the wire deep into the foliage so you see glow points rather than the wire itself, and keep the battery pack tucked at the back rim where rain sheds off. Swap in fresh batteries at the start of each season so one urn never fades before the other. I will be honest: this is the softest, least formal idea in this whole list, and that is exactly why I love it — a pair of glowing urns keeps a symmetrical scheme from feeling stiff or museum-like. Classic bones, a little bit of magic.
Suggested budget range: $40 – $120.
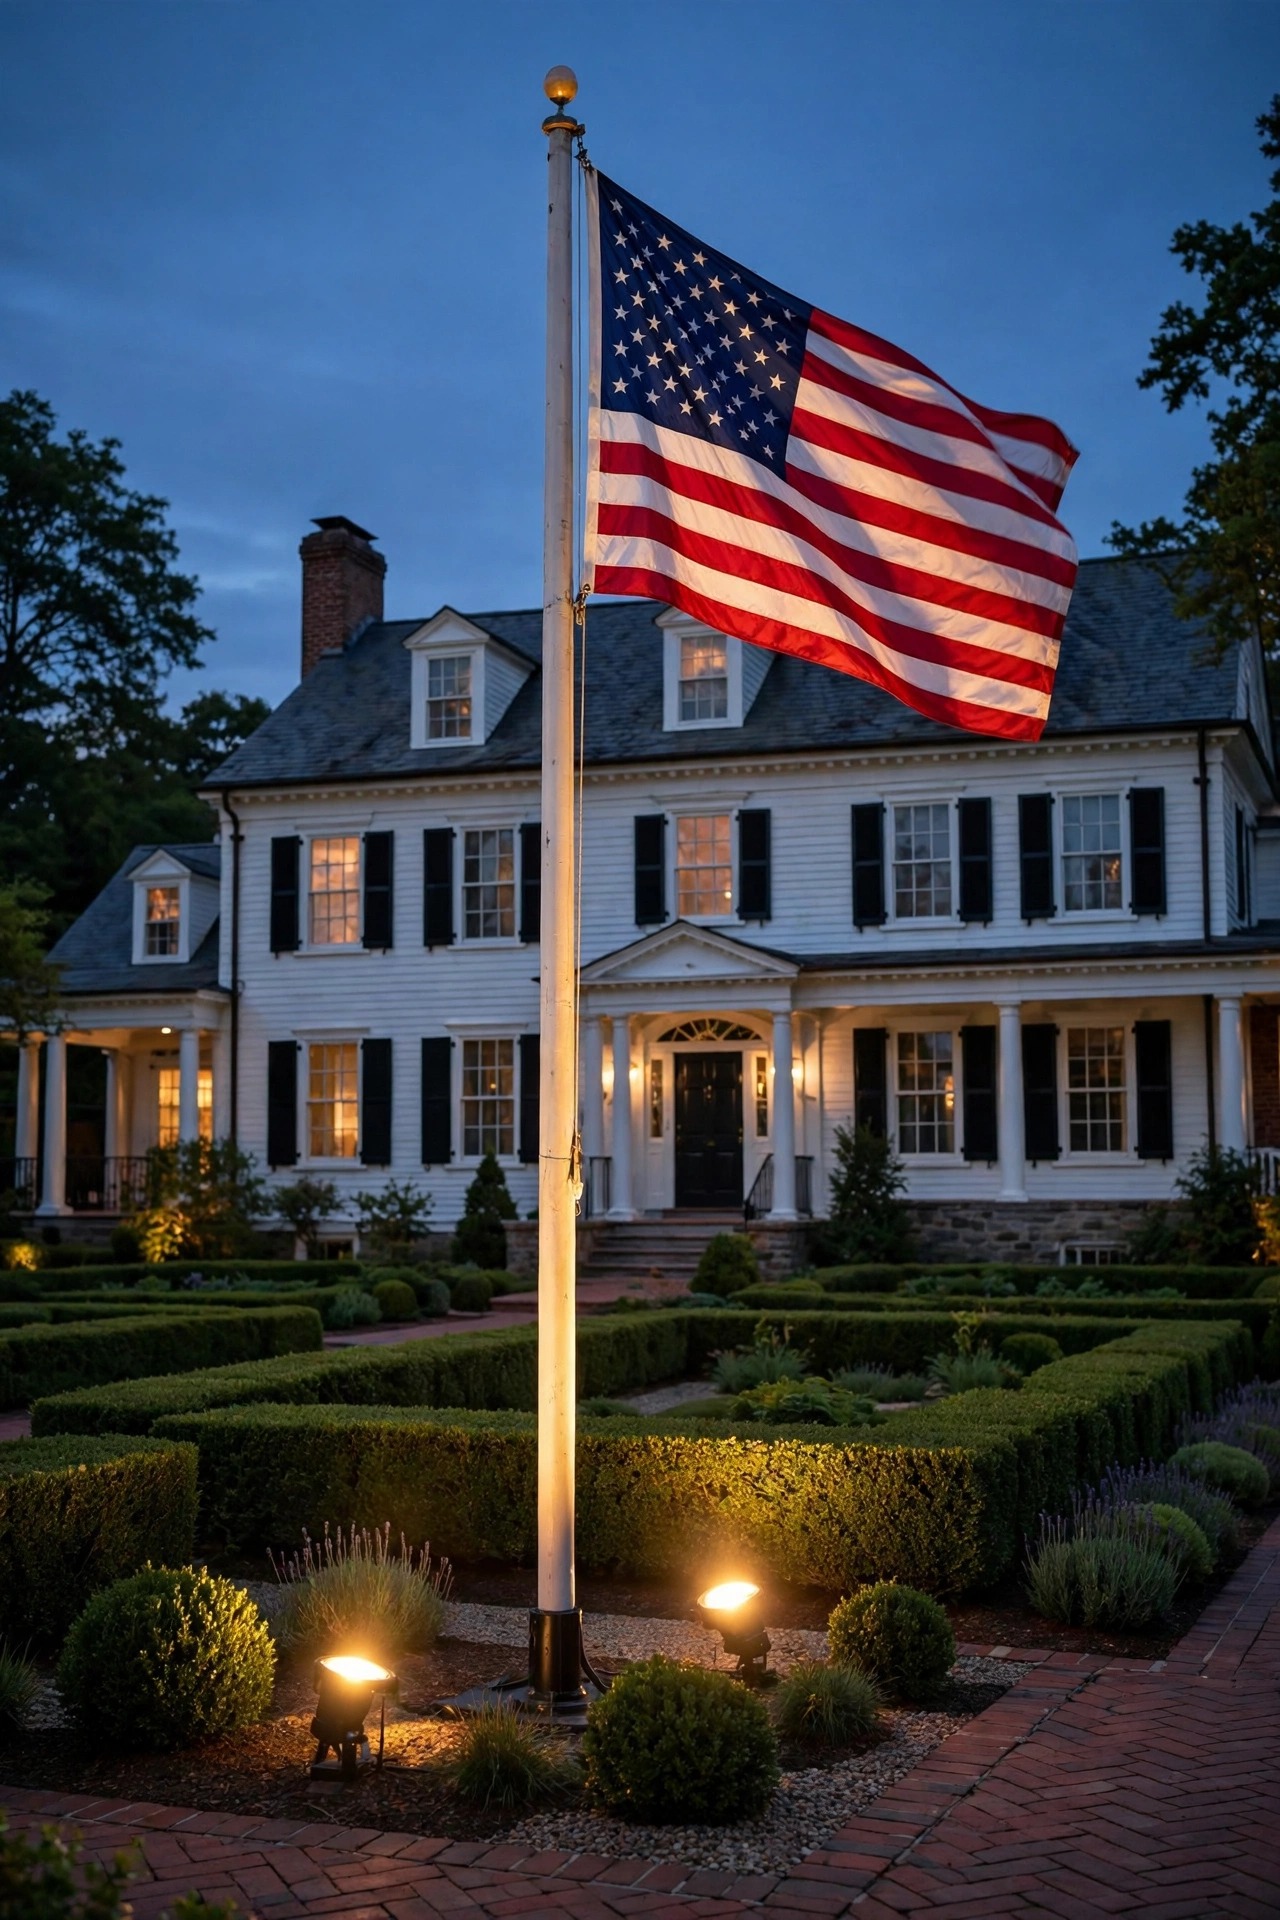
13. Spotlight the Flagpole for Classic Americana
A flagpole centered on the front lawn is about as colonial as it gets, and lighting it properly is both a courtesy to the flag and a gorgeous focal point. Ground-mounted spotlights are the standard approach: I place two fixtures in a matched pair at the base, angled up the pole, which lights the flag evenly from both sides and avoids the single harsh shadow one fixture throws. If your pole is on the garden axis, align the pair with the axis so the geometry agrees with everything else in the yard. Solar flagpole lights that mount at the top are a simpler retrofit, but ground spots give a much more even wash and stay put in wind. Use 2700K to 3000K and moderate output — you want the flag visible and dignified, not floodlit like a stadium. Keep the fixtures a foot or so out from the pole base and shield them so passersby never catch the bare source. On still evenings the lit flag against a dark sky stops people on the sidewalk, and I mean that literally — I have watched it happen.
Suggested budget range: $70 – $180.
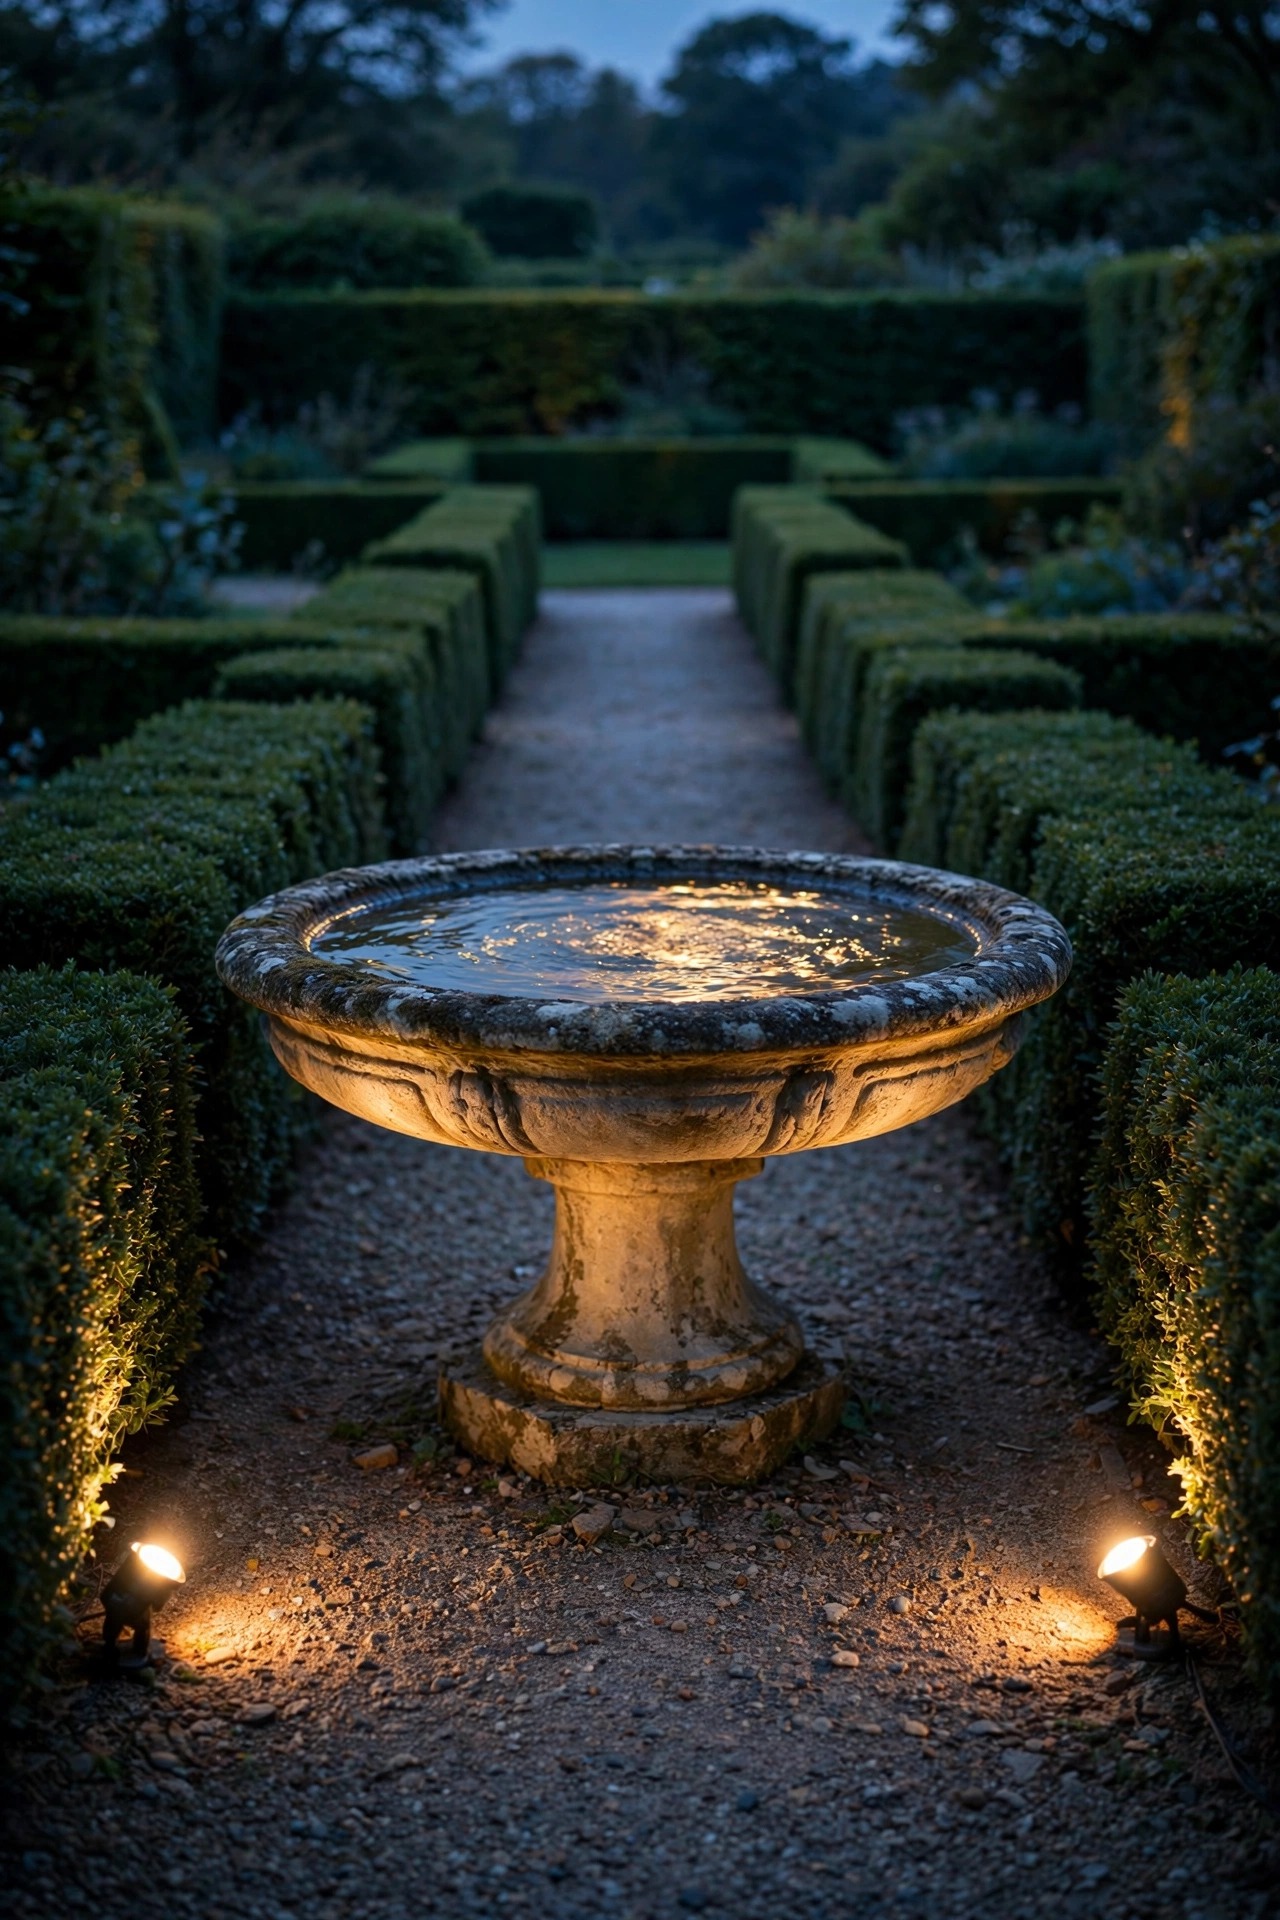
14. Light the Birdbath or Fountain at the End of the Axis
If your axis ends in a water feature instead of a statue, light it for movement. A small submersible warm-white light inside a fountain bowl makes the water shimmer, and a matched pair of low spotlights aimed at a birdbath from opposite sides keeps the symmetry rule intact while the ripples do the decorating. I position the pair at equal distances, hidden behind the planting at the basin's edge, angled slightly upward so the underside of the water arc catches the light. Submersible fixtures must be rated for full immersion — look for an IP68 rating — and run them on a GFCI-protected circuit, no exceptions around water. Keep the brightness gentle, around 100 to 200 lumens; a glowing basin should feel like moonlight on water, not a hot tub. If you go the solar route for a birdbath, buy both lights the same day from the same shelf and replace them together, because unmatched solar output is the number one symmetry killer I see in readers' yards. The reward is a garden that feels alive at night, with the soft sound of water layered into the glow.
Suggested budget range: $60 – $190.
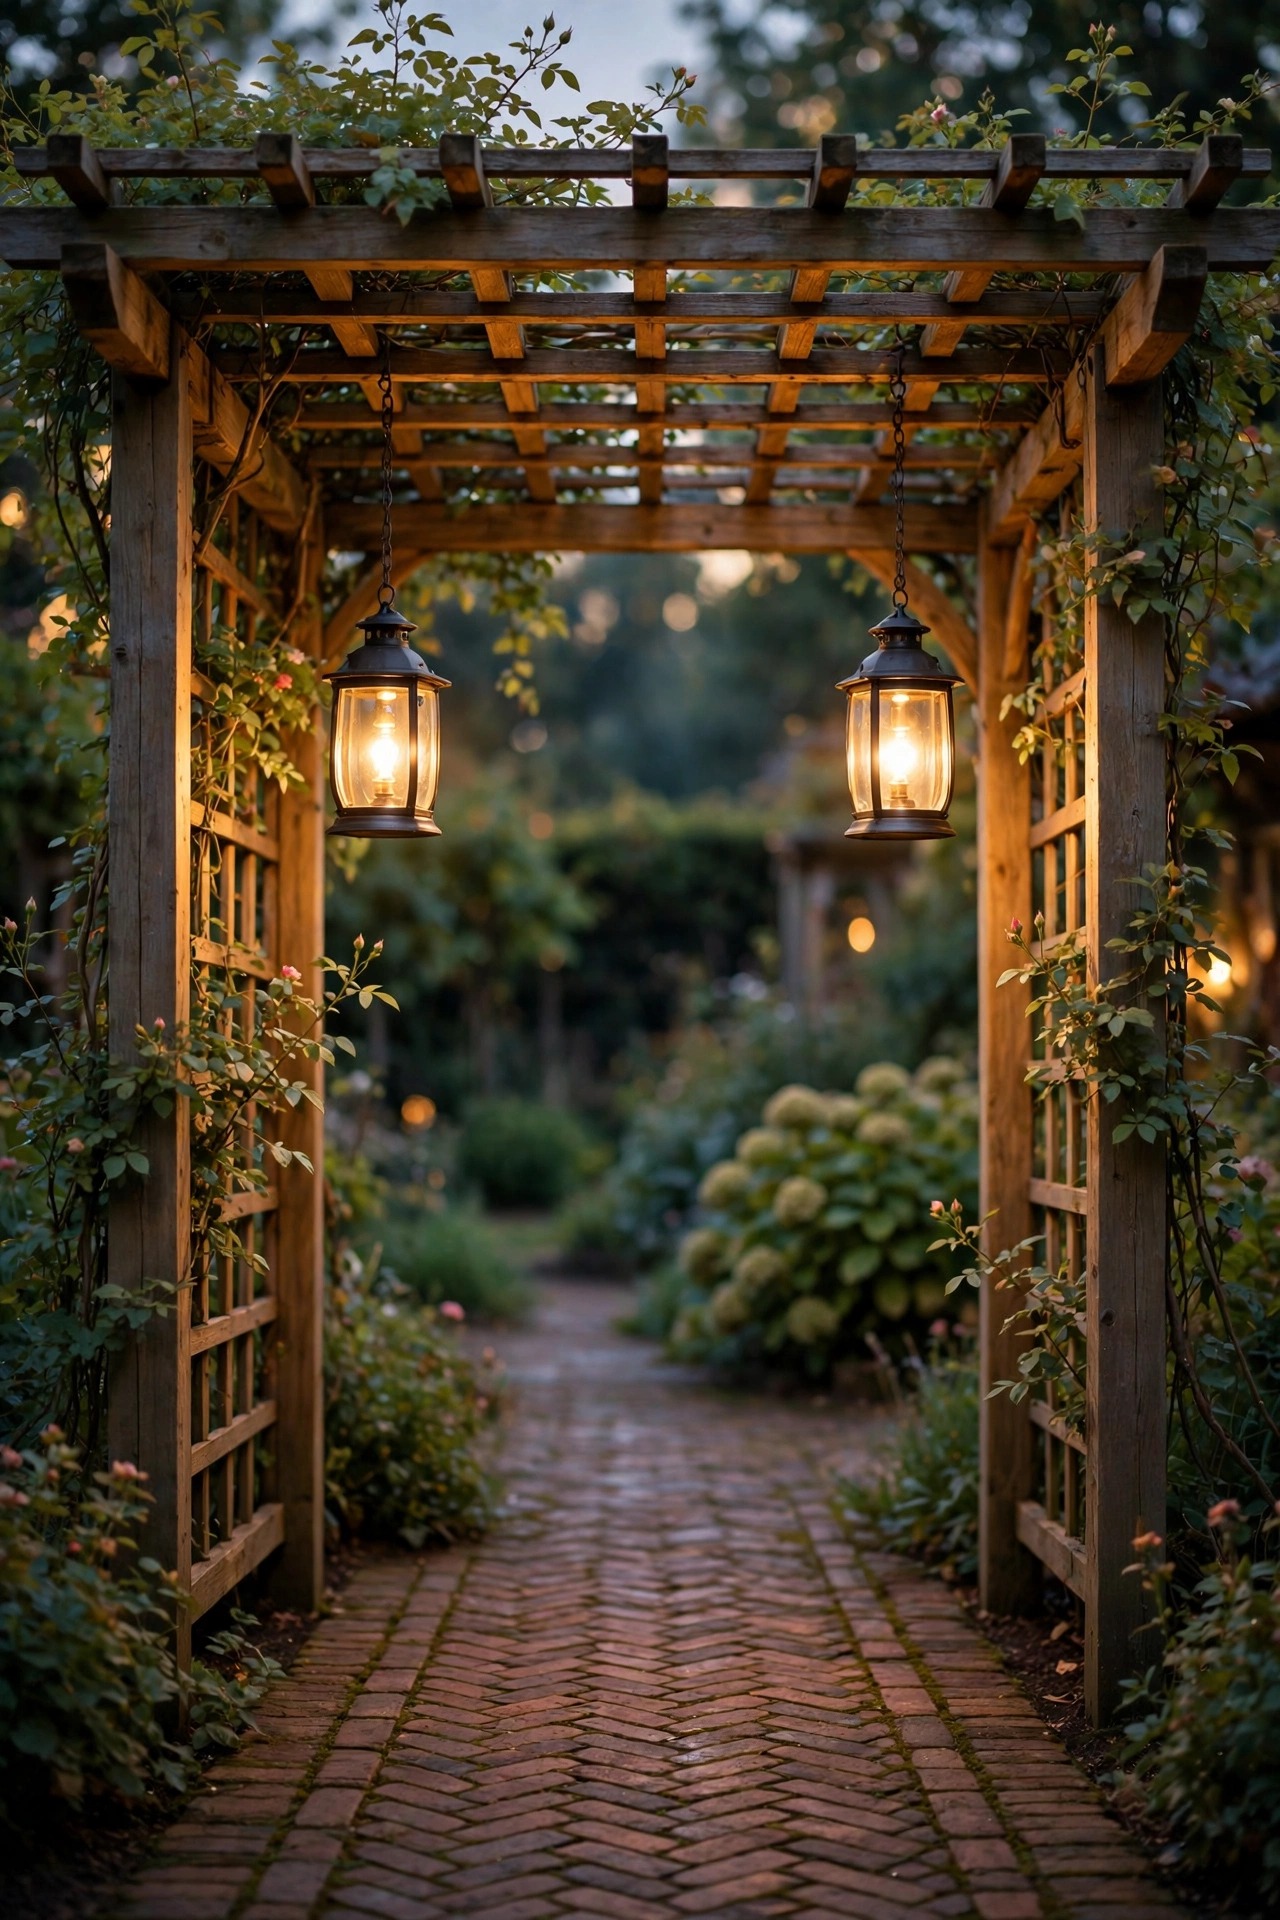
15. Hang Twin Lantern Pendants in the Arbor
An arbor or pergola straddling the garden path is a natural doorway, and doorways get pairs. I hang one lantern pendant from each side beam at the same height — or a single centered lantern only if the structure is narrow — and I measure the drop from the beam twice so both chains hang identical to the inch. Weather-rated pendants with seeded or clear glass and 2700K filament-style bulbs give that carriage-house glow, and I wire them into the main low-voltage system through the posts so there are no cords in sight. If wiring is not possible, matched solar lantern pendants hung at equal heights are a fair compromise, though I replace the pair together when they age. The light should pool on the path beneath the arbor, bright enough to read the step or gate latch, roughly 200 lumens per lantern. Climbing roses or wisteria around the posts soften the beams and throw lovely patterned shadows. Walking through a lit arbor at night feels like passing between two worlds — street behind you, secret garden ahead — and that little moment of theater is pure colonial romance.
Suggested budget range: $130 – $320.
16. Try Moonlighting From Two Matched Trees
Moonlighting — fixtures mounted high in a canopy, shining down through branches — is the most natural-feeling light in this whole list, and it suits a colonial garden beautifully because it mimics the moonlit estates of old. For symmetry, I mount fixtures in two matched trees at the same height, usually 15 to 20 feet up, aimed down through the branches so the light dapples the lawn or terrace in overlapping pools. Use a cooler-warm white here, around 3000K, to suggest moonlight, and keep it dim; moonlighting should whisper. The fixtures must be proper tree-mounted units with stainless hardware and enough cable slack for the tree to grow, and this is one install where I recommend a pro or at least a very confident ladder worker — safety first, always. Position the two trees' light patterns to overlap in the middle so there is no dark seam between them. The moving leaf shadows on a breezy night are something no ground fixture can fake. It is the most expensive idea per fixture on this list, but for a large formal garden, it is the layer that makes everything else look effortless.
Suggested budget range: $350 – $800.

17. Keep Herb and Kitchen Garden Rows Evenly Lit
Colonial gardens almost always included a working kitchen garden, and if you have one — raised beds, herb rows, a little potager near the back door — lighting it evenly is both practical and pretty. I run low path lights down the central aisle in matched pairs, one pair per bed corner, so the grid of beds reads as a lit checkerboard after dark. Even spacing matters more here than brightness; you are often out snipping herbs at dusk, so task light around 100 lumens per fixture, aimed down at the paths, keeps footing safe without blinding you while you work. Low-voltage fixtures are my choice over solar in the kitchen garden because the light is consistent in December when days are short and you still want fresh rosemary for dinner. Keep fixtures out of the beds themselves so soil work and compost runs never disturb them, and rinse lenses when you rinse the harvest buckets — dusty lenses dim a pair unevenly. There is something deeply satisfying about a kitchen garden glowing in tidy rows; it honors the working roots of the colonial style instead of just borrowing its looks.
Suggested budget range: $120 – $300.

18. Lock In One Warm 2700K Palette Everywhere
Here is the unglamorous secret behind every polished colonial lighting scheme I have ever admired: every single bulb is the same color temperature. I use 2700K across the whole garden — lanterns, path lights, uplights, washes — because mixed temperatures are the fastest way to make a matched pair look mismatched. A 2700K lantern beside a 4000K one reads as two different eras arguing with each other. When you buy fixtures, check the Kelvin rating on every box, and when you replace a bulb in one of a pair, replace its twin too, even if the twin still works. LED bulbs shift slightly in color as they age, so a fresh bulb beside a three-year-old one will show a difference your eye picks up at dusk. I keep a small labeled box of spares from the original purchase batch in the garage for exactly this reason. Filament-style LEDs give the most candle-like glow in clear-glass lanterns, which is the colonial sweet spot. This discipline costs almost nothing — it is a buying habit, not a purchase — and it is the difference between a yard that looks designed and one that looks assembled.
Suggested budget range: $30 – $90.
19. Match the Driveway Entrance Pillars
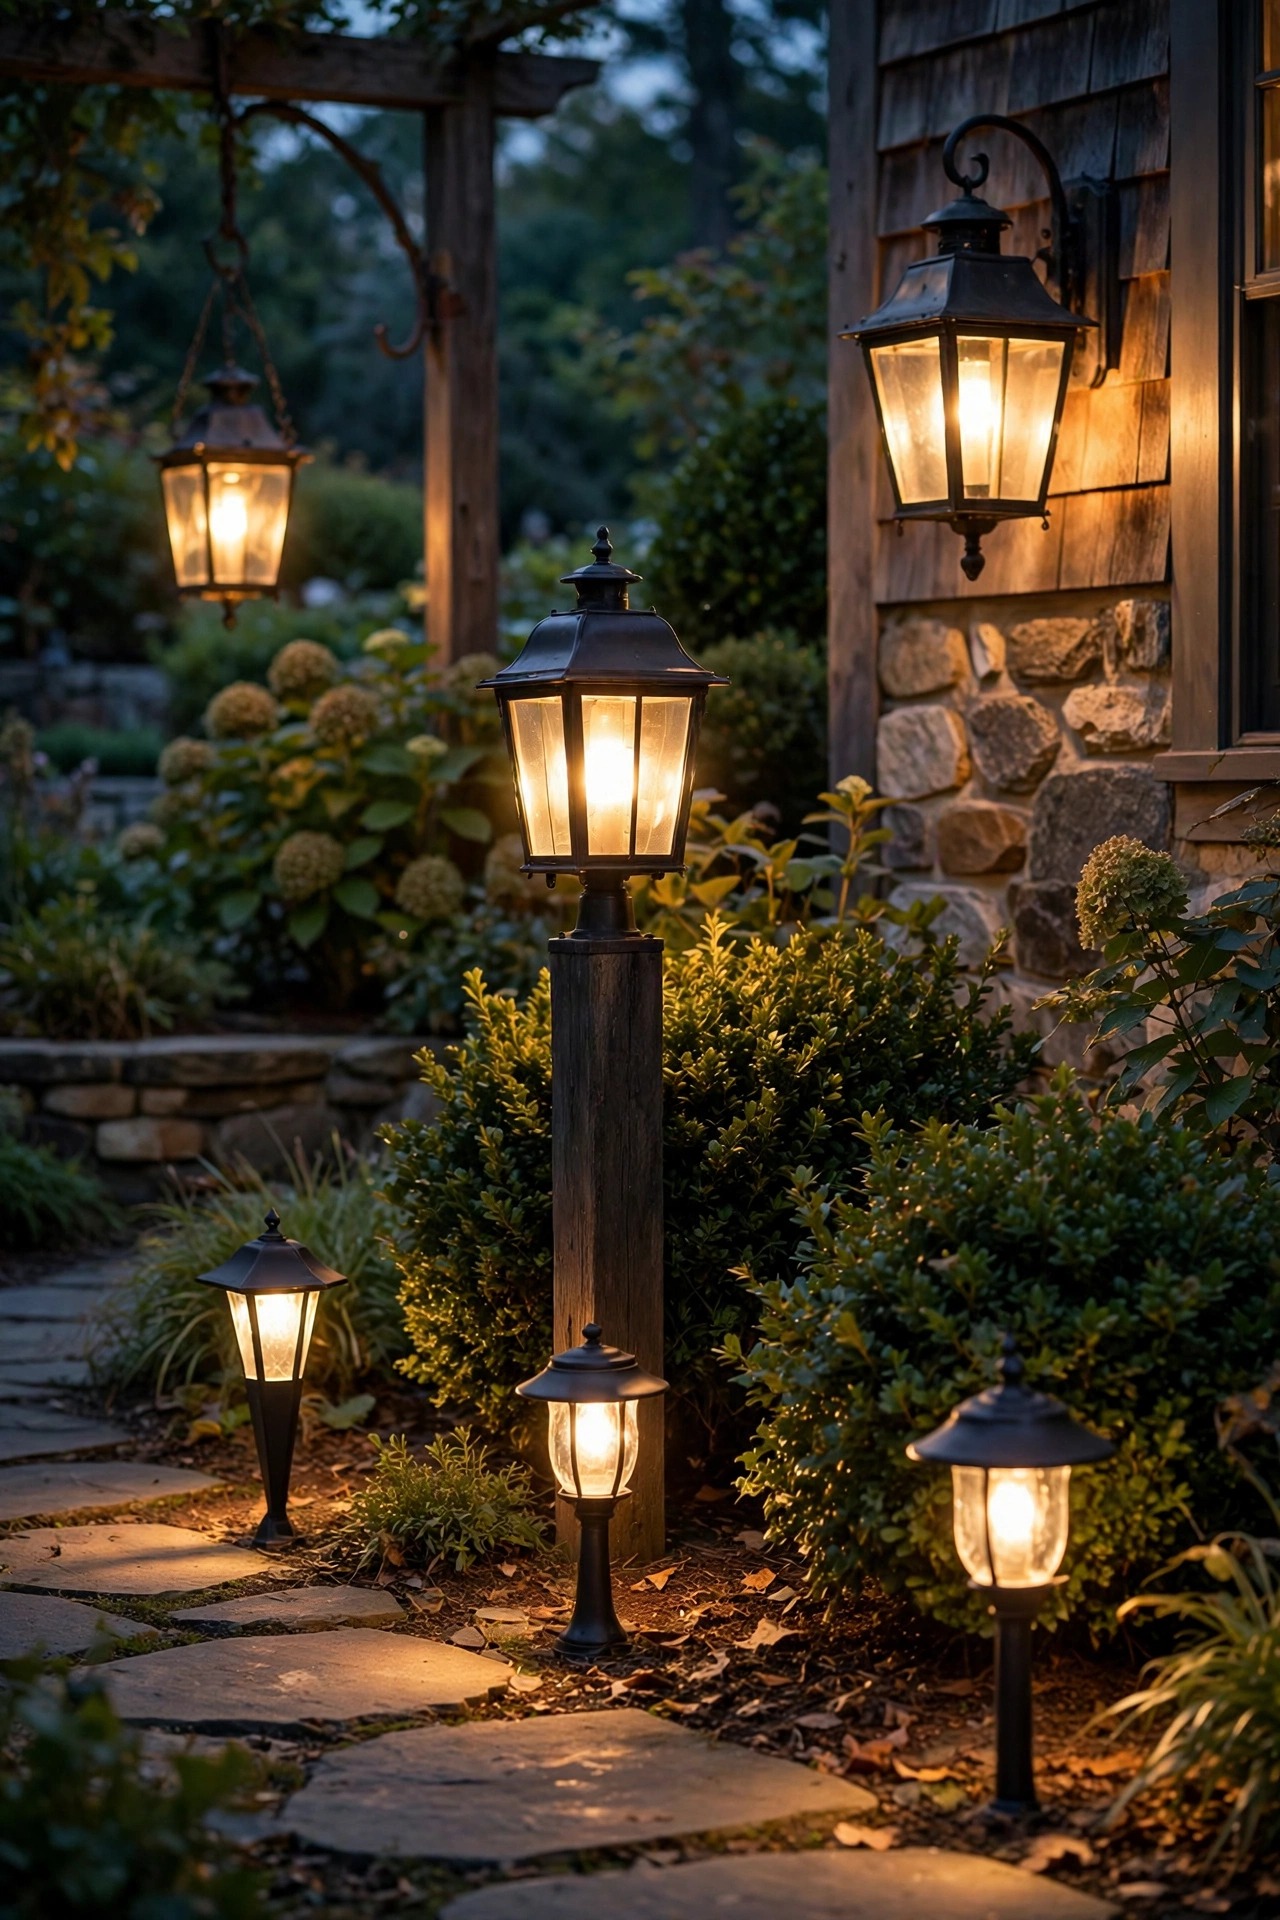
The driveway entrance is the first sentence of your home's story, and in a colonial scheme it should rhyme with the front door. If you have brick or stone pillars where the drive meets the street, cap each with a lantern matched in style and scale to your porch fixtures — same finish, same glass, same bulb temperature. Where pillars do not exist, a pair of post lanterns on either side of the drive apron gives the same formal handshake. I set the pair back about a foot from the drive edge so car mirrors clear them comfortably, and I wire them on the same photocell as the porch so the whole arrival sequence lights as one. Height consistency with the rest of your scheme matters: entrance lanterns around 5 to 6 feet feel welcoming rather than institutional. Reflective house numbers on one pillar — lit by its own lantern — solve the eternal delivery-driver problem with colonial good manners. Standing at the street at dusk, a matched pair here frames your home like bookends, and everything symmetrical beyond them reads as intentional, even the parts you have not gotten to yet.
Suggested budget range: $250 – $600.

20. Add Seasonal Symmetry With Wreaths and Garlands
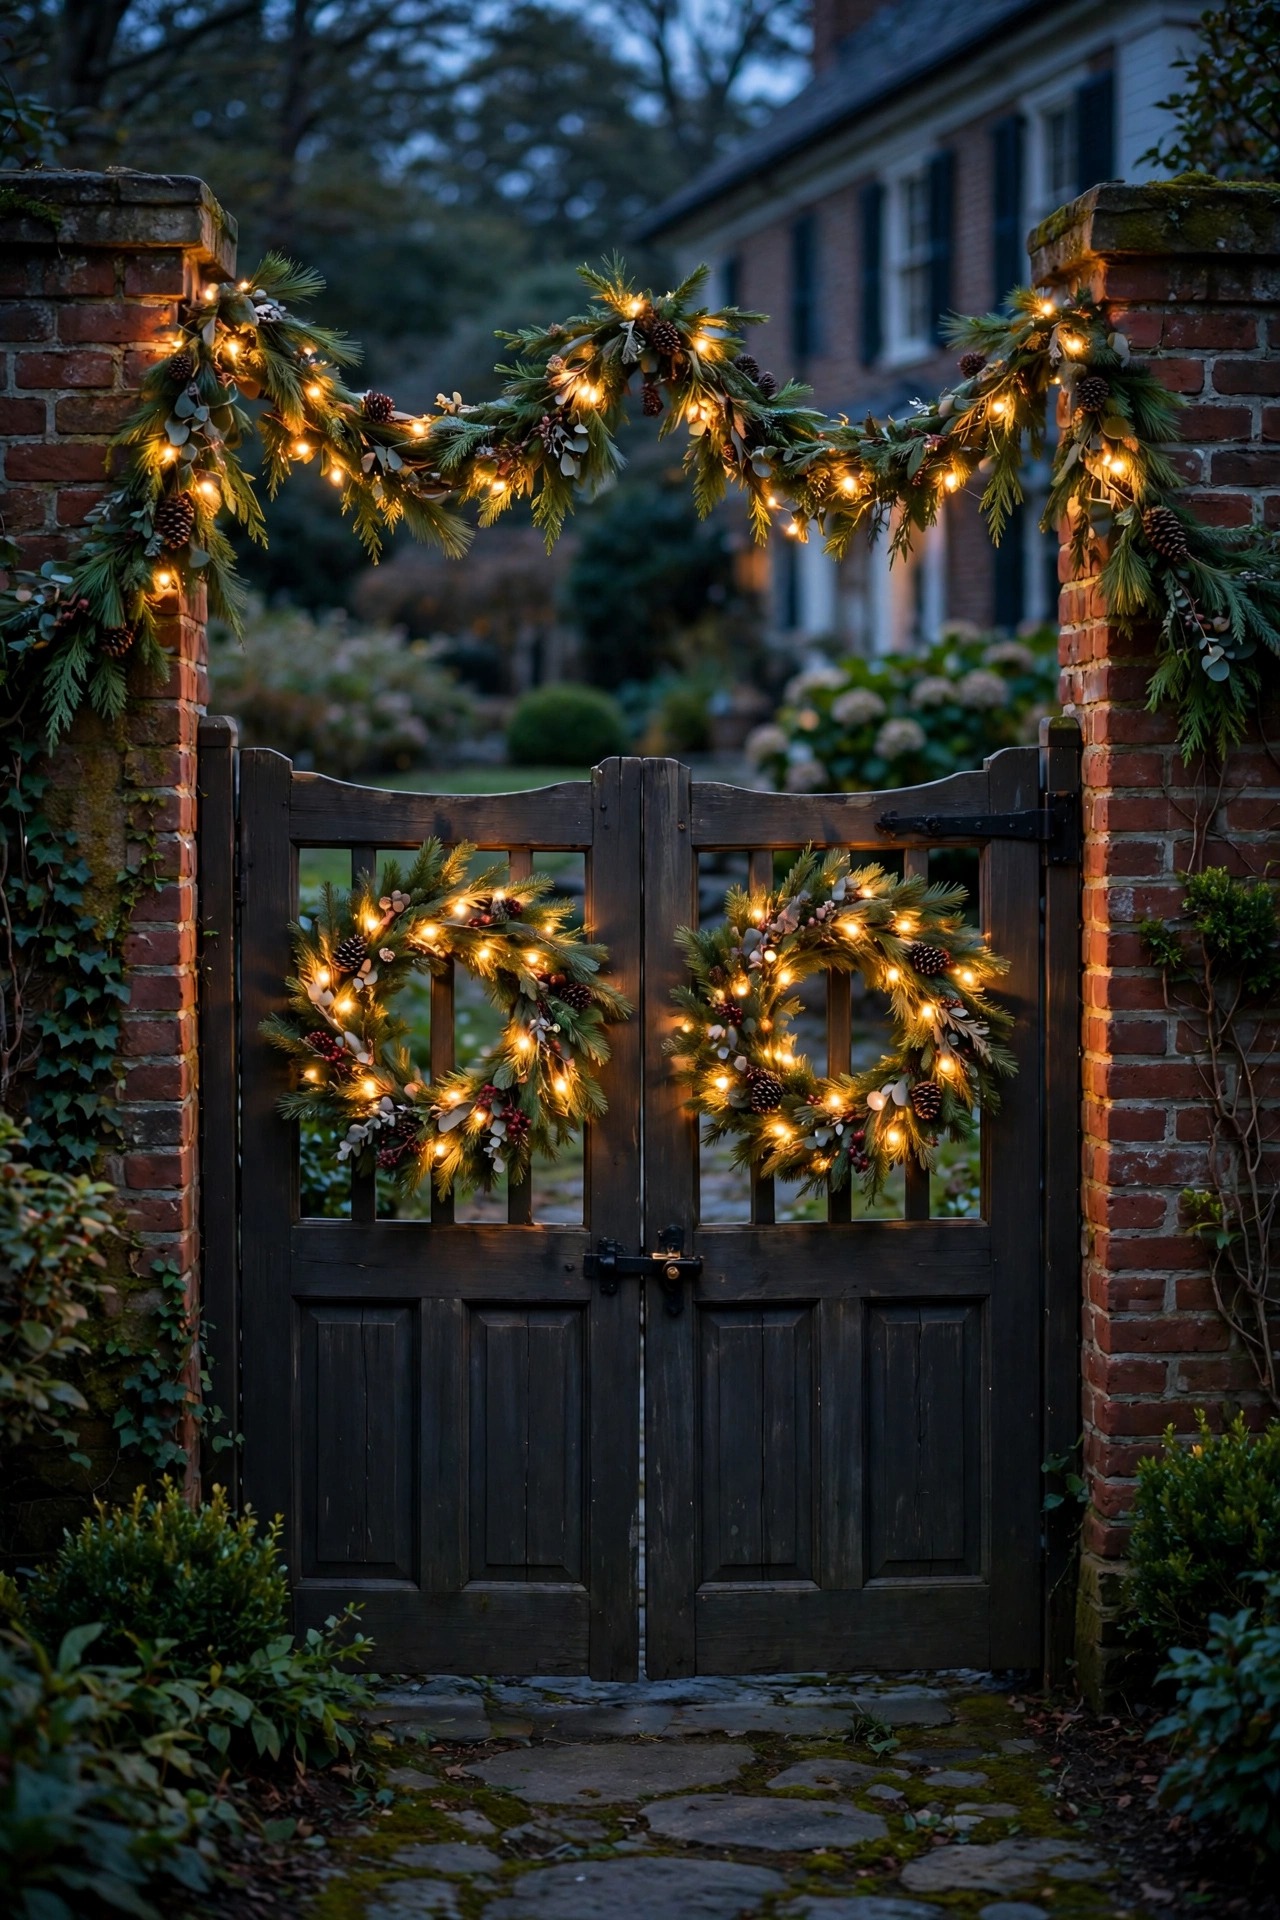
Colonial style loves a seasonal moment, and the rule never changes: decorate in pairs. Two wreaths with warm mini lights on the garden gate, garlands swagged evenly along both sides of a fence run, matching candle lanterns on the steps for autumn — whatever the season, the left and right get equal treatment. I use battery-operated light strings with built-in timers for wreaths and garlands so both sides switch on and off together, and I count the swags out loud as I hang them; three on the left means three on the right, same drape, same spacing. For winter, a pair of small lit evergreens in urns by the door extends the scheme without touching the permanent wiring. Keep the light color warm white to stay in step with your 2700K landscape palette — multicolor strands belong to a different house style entirely. Outdoor-rated cords and connections are non-negotiable, and I bring battery packs under cover where I can. Seasonal layers are where a formal garden gets to smile a little, and because they come down in a few weeks, they are the perfect low-risk way to test a new symmetrical arrangement before committing to fixtures.
Suggested budget range: $50 – $160.
21. Walk the Yard at Dusk and Audit Your Colonial Landscape Lighting Ideas
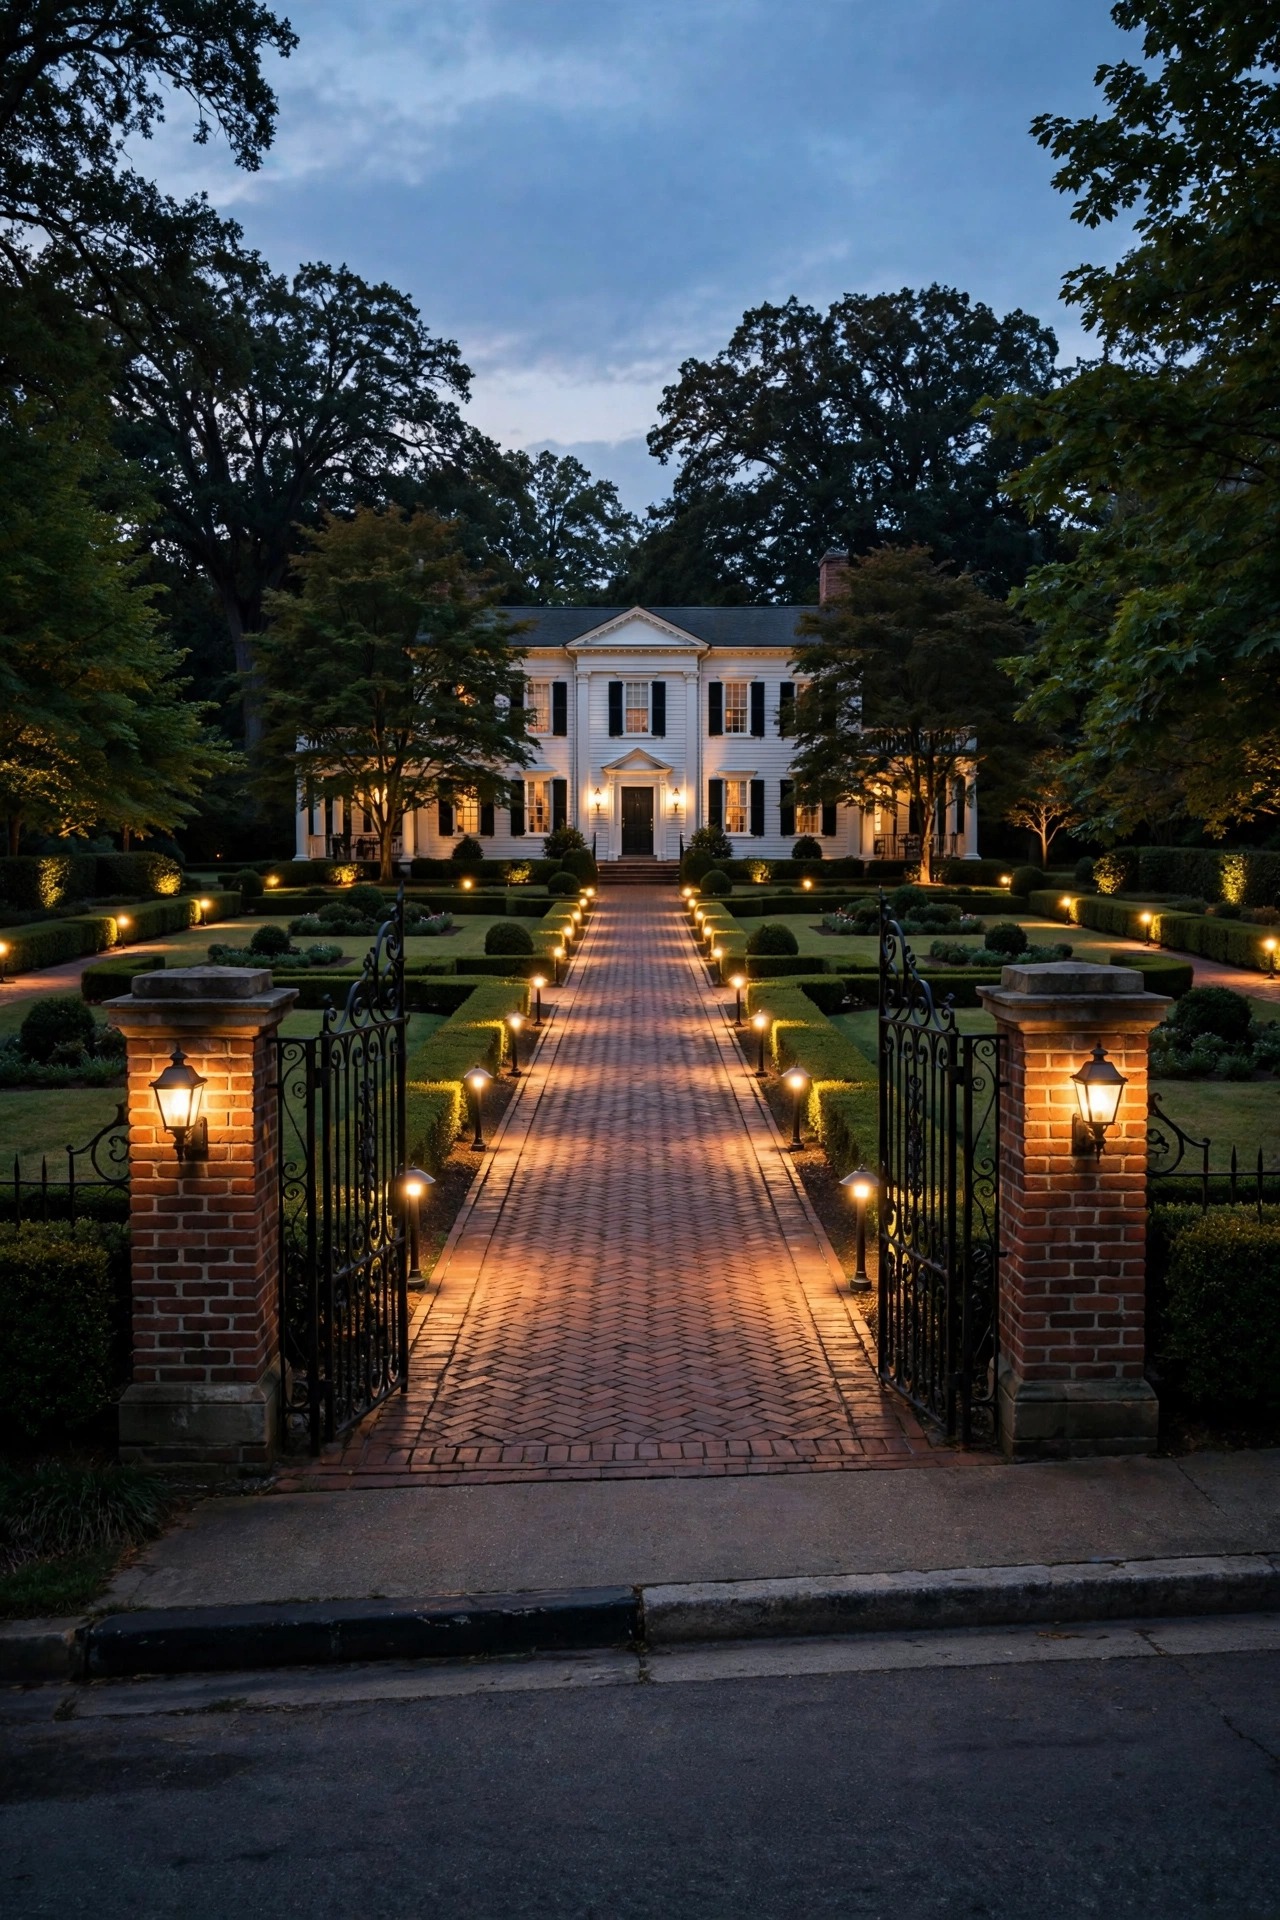
The last step is the one that makes all the others true: once everything is installed, walk the whole garden at dusk with a notebook and honestly audit your colonial landscape lighting ideas from every viewpoint. Stand at the street and check the axis — do the pairs line up, or did one fixture drift an inch during backfilling? Walk the path and look for a twin that sits dimmer, which usually means a loose connection or a lens filmed with pollen. Check from the porch back toward the street too, because symmetry should read from both directions. I do this audit twice a year, in spring after the beds are replanted and in fall before the holidays, and I fix small things on the spot: re-aim a spotlight, straighten a stake, swap a tired bulb and its twin together. Take a photo from the curb each time; your eye adapts to gradual changes, but a photo compared against last season's does not lie. This little ritual is the difference between a garden that was symmetrical on install day and one that stays symmetrical for years. Formal gardens reward the attentive — and honestly, the dusk walk is a pleasure all by itself.
Suggested budget range: $0 – $50.
Frequently Asked Questions
What color temperature looks best for a colonial-style garden?
Warm white at 2700K is the classic choice, and it is what I use for nearly every fixture in a formal scheme. It flatters brick, stone, and boxwood, and it mimics the candlelight and gaslight a colonial home would have known. Whatever you choose, use one temperature everywhere — consistency matters more than the exact number, because mixed temperatures make matched pairs look mismatched.
How far apart should path lights be in a formal layout?
For straight colonial walks, 6 to 8 feet apart is the sweet spot, placed in opposite pairs rather than staggered. Closer spacing, around 5 to 6 feet, works on short walks where you want a continuous ribbon of light. The pairs should measure the same distance from a fixed starting point, like the front step, so the rhythm stays mirror-perfect from end to end.
Should I choose solar or low-voltage for a symmetrical scheme?
Low-voltage wired lighting wins for formal gardens, in my experience. Every fixture gets the same power, so pairs glow at identical brightness, and timers keep the whole scene in sync. Solar fixtures charge unevenly depending on shade, so one twin often runs dimmer or dies earlier in the evening. Solar is fine for soft accents like urns, but let wired fixtures carry the structure.
How much does a colonial landscape lighting setup cost overall?
A modest front-yard scheme with paired path lights, entry lanterns, and two tree uplights typically lands between $800 and $2,000 in fixtures if you install it yourself. Adding pillar lanterns, a lit focal point, and moonlighting can bring a full front and back garden to $3,000 to $6,000. Professional installation usually adds 40 to 60 percent, but the phased approach works beautifully — start with the axis and entry pairs, then add layers season by season.
Conclusion
At the end of the day, great colonial landscape lighting ideas are not really about fixtures at all — they are about rhythm, repetition, and the quiet confidence of a garden where every light has a partner. Start with your axis, build your pairs from the entry inward, keep every bulb at one warm temperature, and audit the whole scene at dusk twice a year. Do that, and your garden will hold its formal poise long after sunset. If you are starting from scratch, my beginner landscape lighting starter plan lays out the first fixtures to buy and the order to install them. Then browse the rest of my lighting ideas here on the site — I add new seasonal schemes all the time, and I would love to hear which symmetrical pairing becomes the star of your yard.