Every backyard party has that one corner where the photos happen — and at mine, it used to be the worst-lit spot in the whole yard. One string of porch lights, a lot of squinting, and photos where everyone looked slightly haunted. The fix turned out to be easier than I expected: treat the photo spot like a tiny stage and light it in layers. These party photo booth lighting ideas are exactly what I reach for now, whether it is a birthday, a graduation, or a just-because summer get-together. You will layer a glowing backdrop, a soft flattering light for faces, and a few sparkle accents around the edges, and suddenly your phone photos look like they came from a rented booth that costs hundreds. Most of these setups use lights you may already own — string lights, lanterns, a couple of uplights — and nothing here needs an electrician. Pick two or three ideas for a simple corner, or stack them all for a full booth station guests will line up for. If you want the wider party glow too, my outdoor party lighting ideas cover the rest of the yard.

1. Hang a Fairy Light Curtain for Classic Party Photo Booth Lighting Ideas
A curtain of copper-wire fairy lights is the backdrop I recommend to everyone first, because it photographs like pure magic and takes ten minutes to hang. I use a 10-by-10-foot curtain with the strands spaced about 4 inches apart, draped from a pergola beam, a tension rod between two posts, or a simple PVC frame if the booth sits mid-lawn. Warm white in the 2700–3000K range gives skin that golden, just-before-sunset glow in every shot. Hang the curtain so the strands end a few inches above the ground, and stand your guests about 2 feet in front of it — that small gap is what blurs the individual bulbs into soft bokeh circles behind them. For extra depth, I sometimes layer a sheer white curtain panel in front of the lights, which diffuses them into one continuous glow. Plug everything into a GFCI outlet and keep connections off damp grass inside a waterproof cord cover. If you want more ways to work these strands into fences and trees, my outdoor fairy light ideas are full of them. Honestly, this single layer does 80 percent of the work.
Suggested budget range: $25 – $60.

2. Add a Ring Light on a Tripod for Flattering Faces
Backdrop sparkle is only half the job — faces need their own soft, direct light, and a ring light is the easiest way to get it. I use an 18-inch dimmable ring light on a tripod raised to about 5 to 6 feet, with the phone mounted right in the center of the ring. Set the color temperature somewhere between 3000K and 4000K: warm enough to feel like evening, neutral enough that white shirts and teeth do not go orange. Position guests roughly 3 to 4 feet in front of the ring so the light wraps evenly and the catchlights land in their eyes — that little circle reflection is what makes booth photos look professionally lit. Start the brightness around halfway and adjust after a test shot; full power at close range blows out foreheads. Because the ring runs on a USB power bank, you can park the booth anywhere in the yard without hunting for an outlet, and a small sandbag on the tripod legs keeps it steady when the dancing starts. It is the single most complimented piece of gear I own.
Suggested budget range: $30 – $70.

3. Swag Edison Bulb String Lights Over the Booth
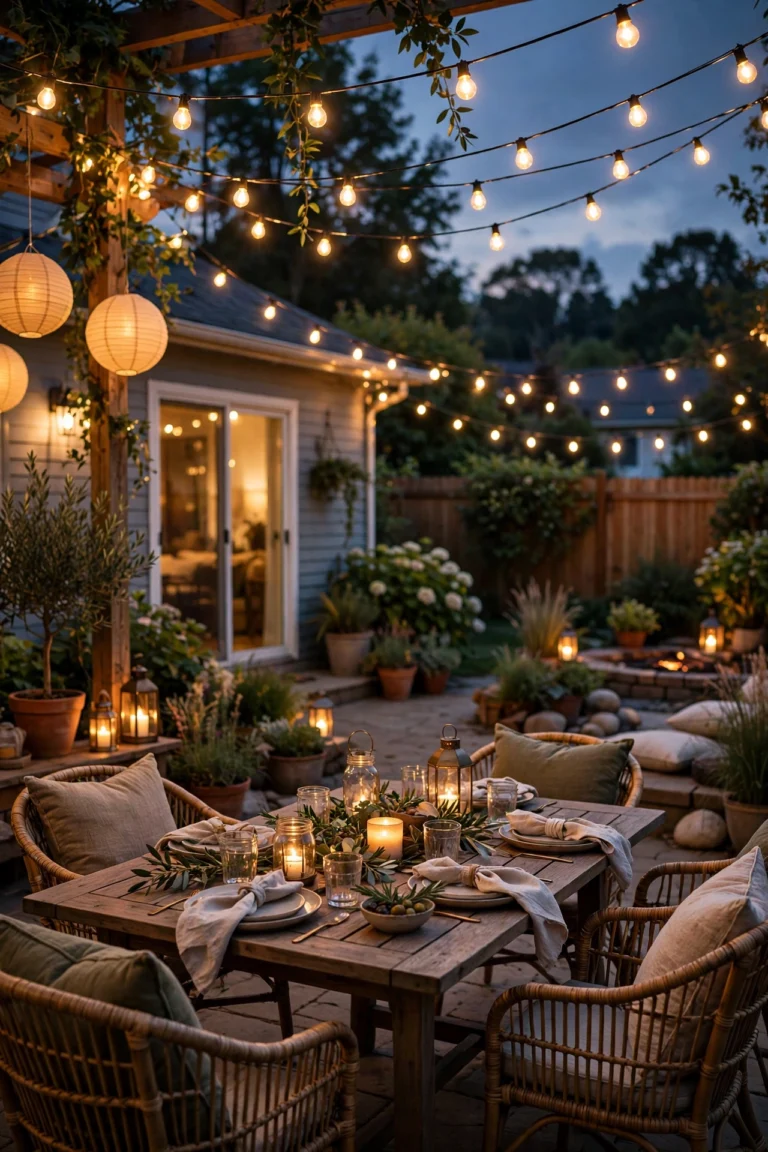
Overhead swags turn a backdrop into a destination, and Edison-style string lights are my favorite way to do it. I run two or three strands in loose catenary curves about 8 feet above the posing area, anchored to the house, a tree, or a pair of string light poles, so the booth has its own glowing ceiling. Look for shatterproof LED filament bulbs — they give you that vintage amber filament look with no glass to sweep up and almost no heat. Keep the bulbs spaced so the swags dip no lower than about 7 feet at center, well above raised arms and champagne toasts. If the strands feel like a separate layer from your backdrop, that is fine: the contrast between the warm overhead bulbs and a twinkling curtain behind is exactly the depth cameras love. For bulb styles, strand lengths, and hanging hardware that actually holds, my Edison bulb string light ideas walk through the options. One strand is pretty; three swags are a photo magnet.
Suggested budget range: $35 – $90.
4. Make a Neon-Style LED Rope Sign the Centerpiece
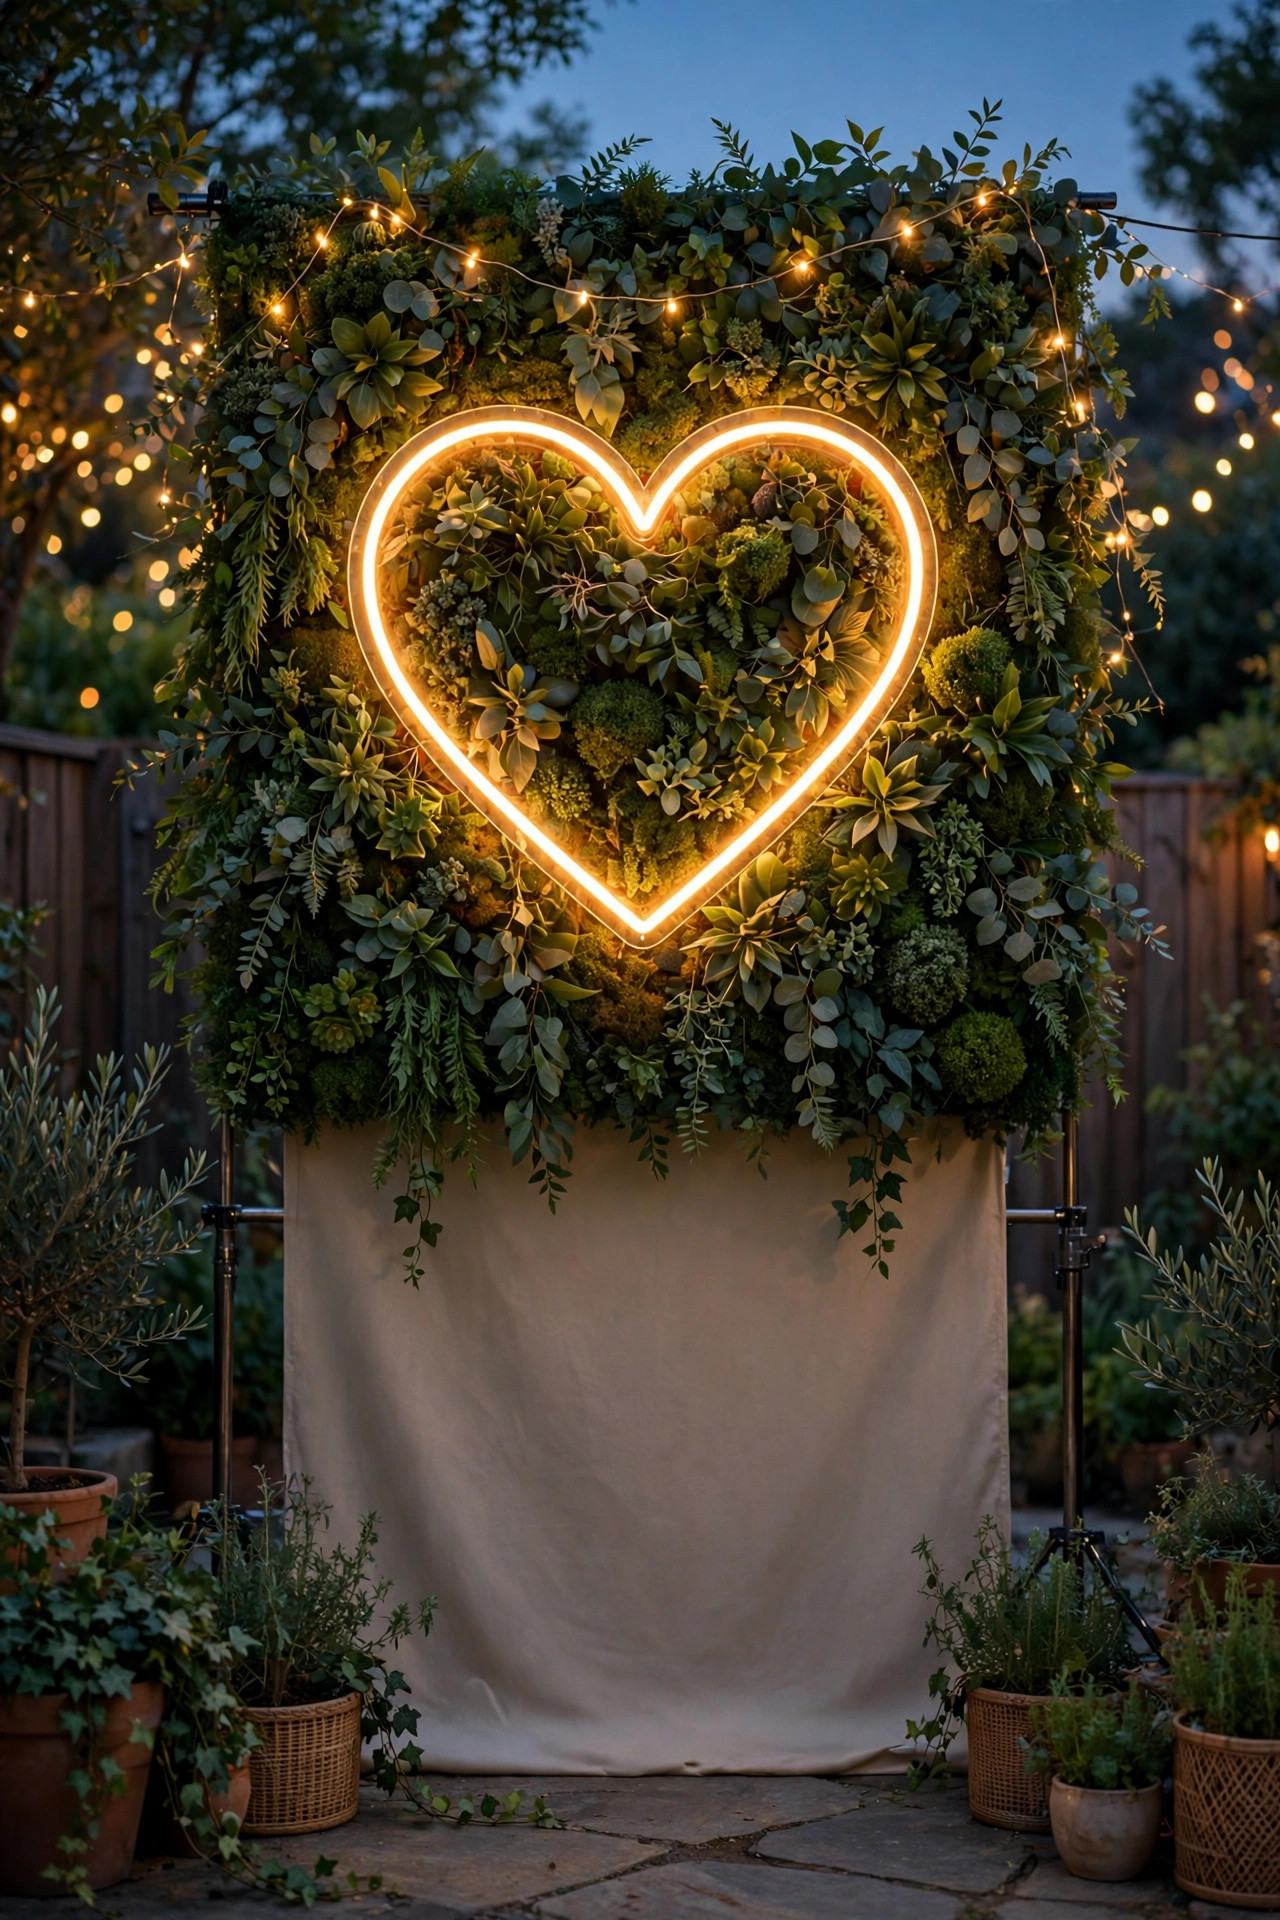
Nothing pulls guests into a photo corner like a glowing sign, and modern LED neon-flex rope gives you the look without glass tubes or a scary power draw. I mount one sign — a simple script word, a heart, or the guest of honor's initial — at eye level in the center of the backdrop, roughly 5 feet off the ground, so it floats right behind people's heads in the frame. Choose warm white or soft pink for the most flattering cast on skin; bright blue and green look fun in person but can tint faces in photos. The flexible rope mounts to a clear acrylic board or directly to a fence with clips, and most versions dim, which matters — at full blast the sign will outshine every face in front of it. Run it at about 60 percent brightness and take one test photo to check. LED rope stays cool to the touch, so it is safe around fabric backdrops and curious kids. It is one piece of decor that does the styling, the lighting, and the advertising for your booth all at once.
Suggested budget range: $40 – $120.
5. Cluster Paper Lanterns at Different Heights
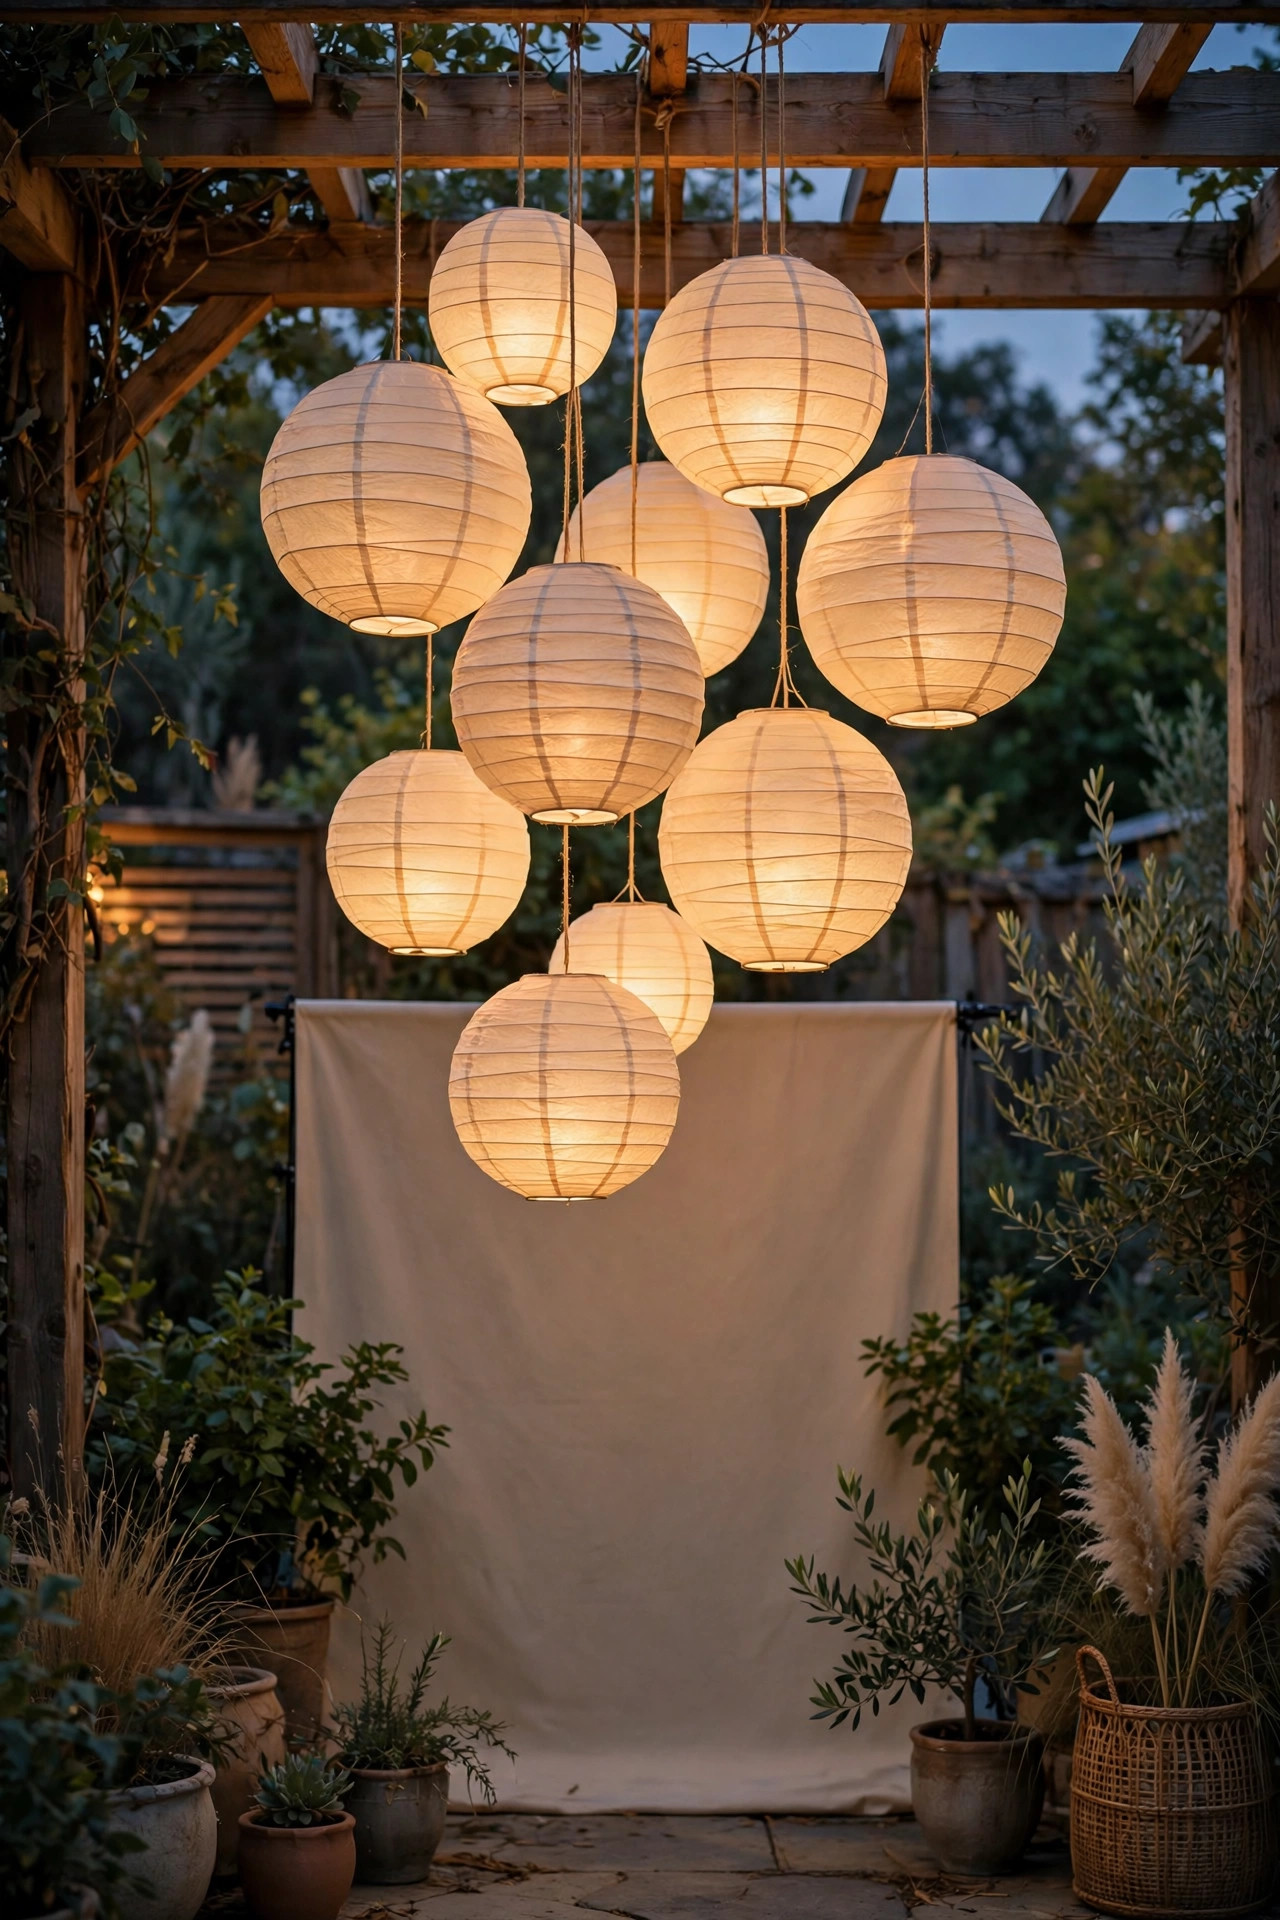
For daytime-to-dusk parties and soft, romantic themes, paper lanterns give a diffused glow that string lights cannot match. I hang round lanterns in mixed sizes — 8, 12, and 16 inches — in a loose cluster above and beside the backdrop, staggering them between about 6 and 9 feet high on clear fishing line so they seem to float. Inside each one goes a cool-running LED bulb or a battery LED puck; never a real candle or an incandescent bulb, because paper and heat are a bad mix. White and ivory lanterns read classic in photos, while blush or gold adds a gentle color story without tinting skin. Space the cluster denser in the middle, right where heads will be, and thinner at the edges so the arrangement has a focal point. The big, soft surfaces also bounce your other lights beautifully — a ring light aimed into a lantern cluster produces the kind of even, shadowless glow photographers chase. Hang them an hour before guests arrive and they will be the first thing people photograph.
Suggested budget range: $20 – $55.
6. Wash the Backdrop Wall With Colored Uplights
If your booth sits against a fence, garage wall, or hedge, two uplights at the base can turn that plain surface into a glowing color wash. I place a pair of LED uplights on the ground about 12 to 18 inches out from the wall, angled up at roughly 45 degrees, and set them to a single saturated color — magenta, teal, or warm amber are my party favorites. One solid color photographs far better than the cycling rainbow mode, which confuses phone cameras and leaves faces mid-color-change. Keep the uplights a step behind where guests stand so nobody trips over them, and point the beams at the wall only, never up into eyes. This is the fastest way I know to make a birthday booth feel like a themed event: school colors for a graduation, orange and purple for Halloween, red and green at Christmas. Because the wash is indirect, it flatters the backdrop without adding harsh light to faces, and it layers beautifully behind a fairy light curtain hung a foot or two in front of the wall.
Suggested budget range: $30 – $75.

7. Set Up Two Soft Panel Lights for Shadow-Free Faces
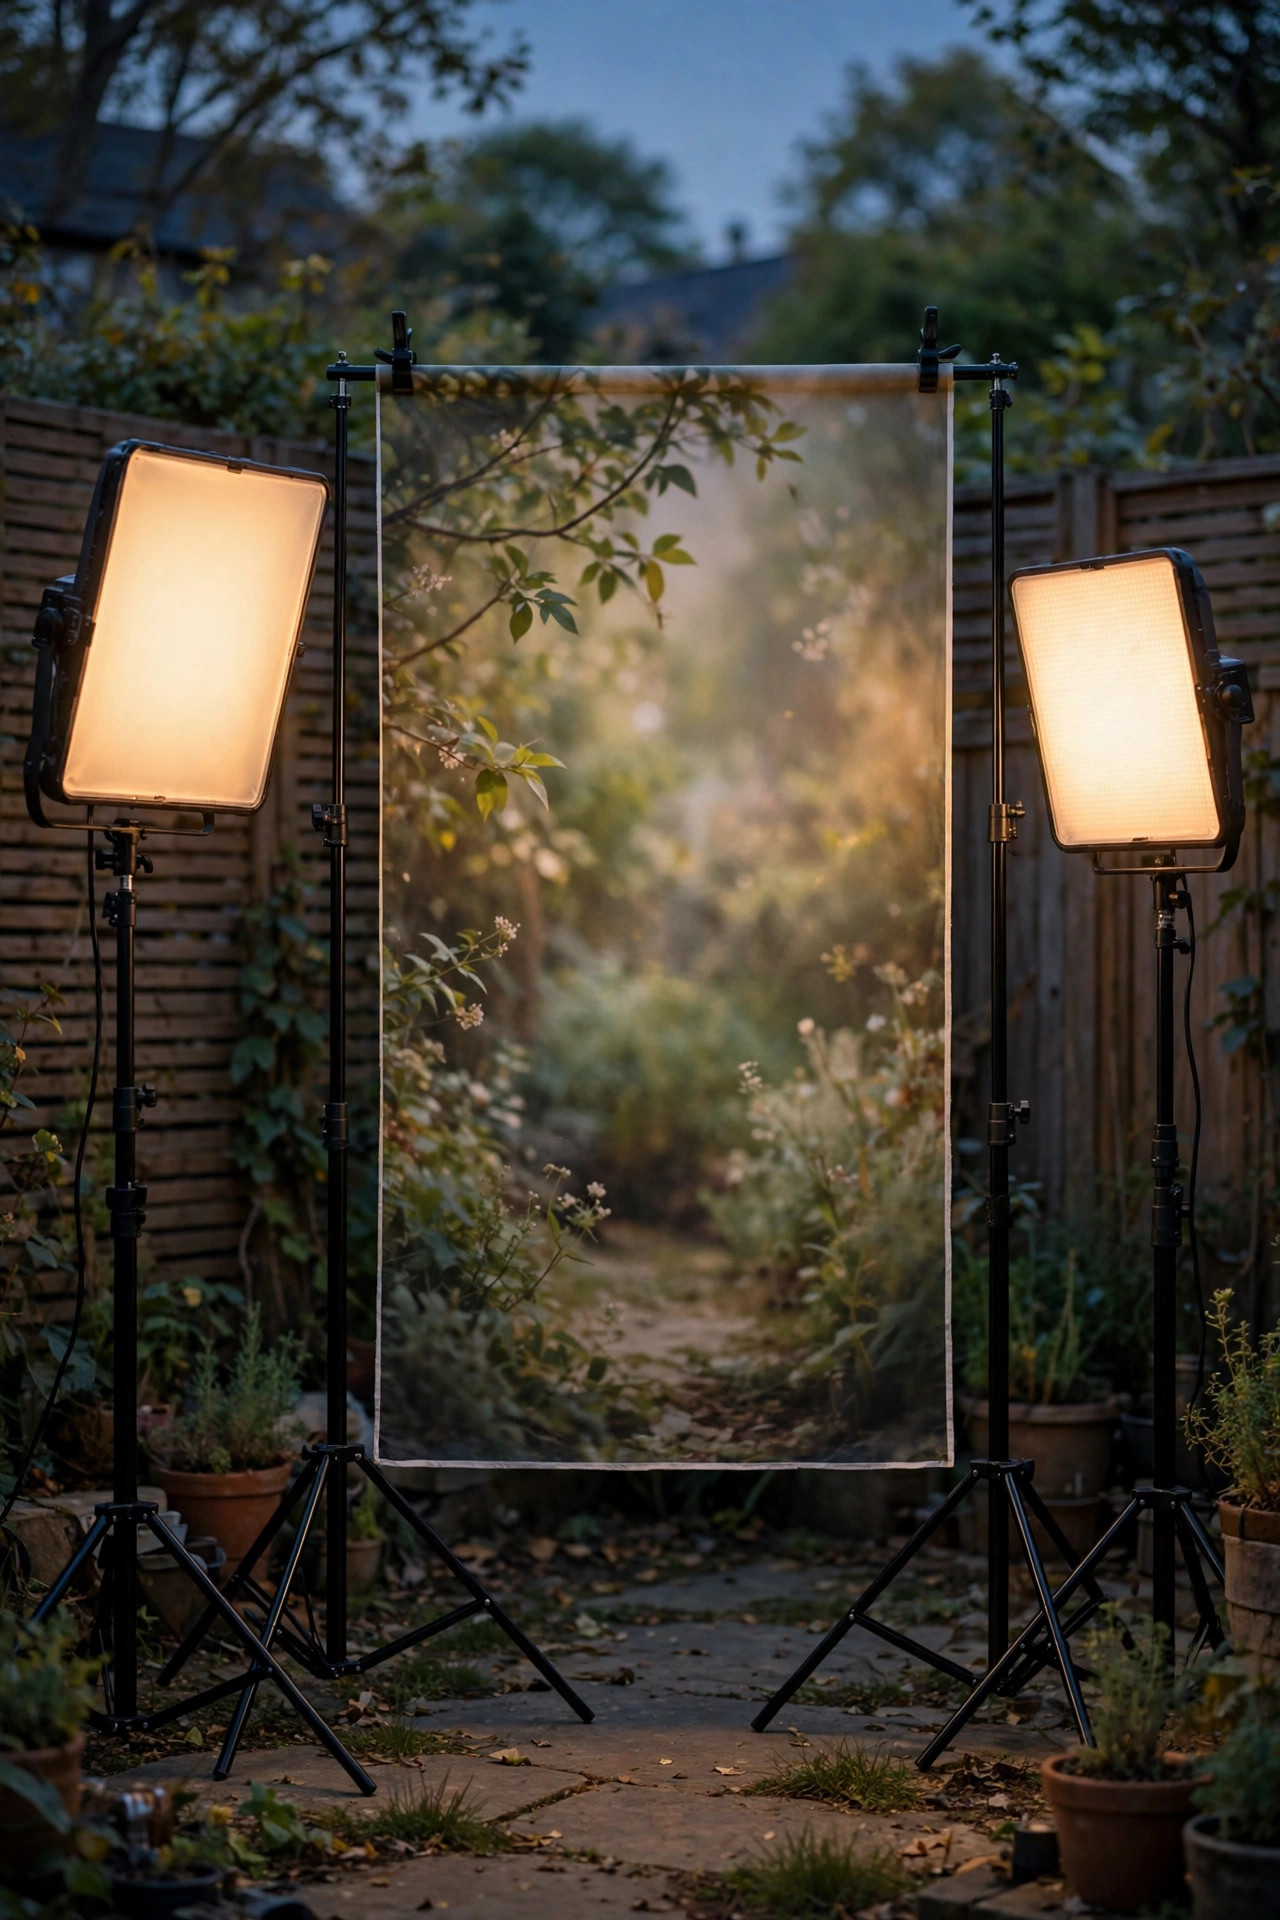
When I want genuinely polished portraits — milestone birthdays, engagement parties — I borrow the classic two-light setup photographers use, scaled down for the yard. Two small LED panel lights on stands, each with a diffusion cover or a white shower curtain panel clipped in front, go on either side of the backdrop at about 45-degree angles to where guests stand, roughly 5 feet high and 4 feet away. The light closer to the camera side runs a touch brighter as the key light; the other fills in shadows so nobody gets a dark half-face. Match both panels to the same color temperature, around 3500K, so skin tones stay consistent from shot to shot. Soft, diffused light is forgiving of everything — wrinkles, shiny foreheads, glasses glare — which is why guests always love these photos. Battery-powered panels keep cords out of the walkway, and a strip of glow tape on each stand leg saves shins after dark. It takes ten extra minutes to set up and pays off in every single frame.
Suggested budget range: $60 – $150.
8. Line the Walkway to the Booth With Lanterns
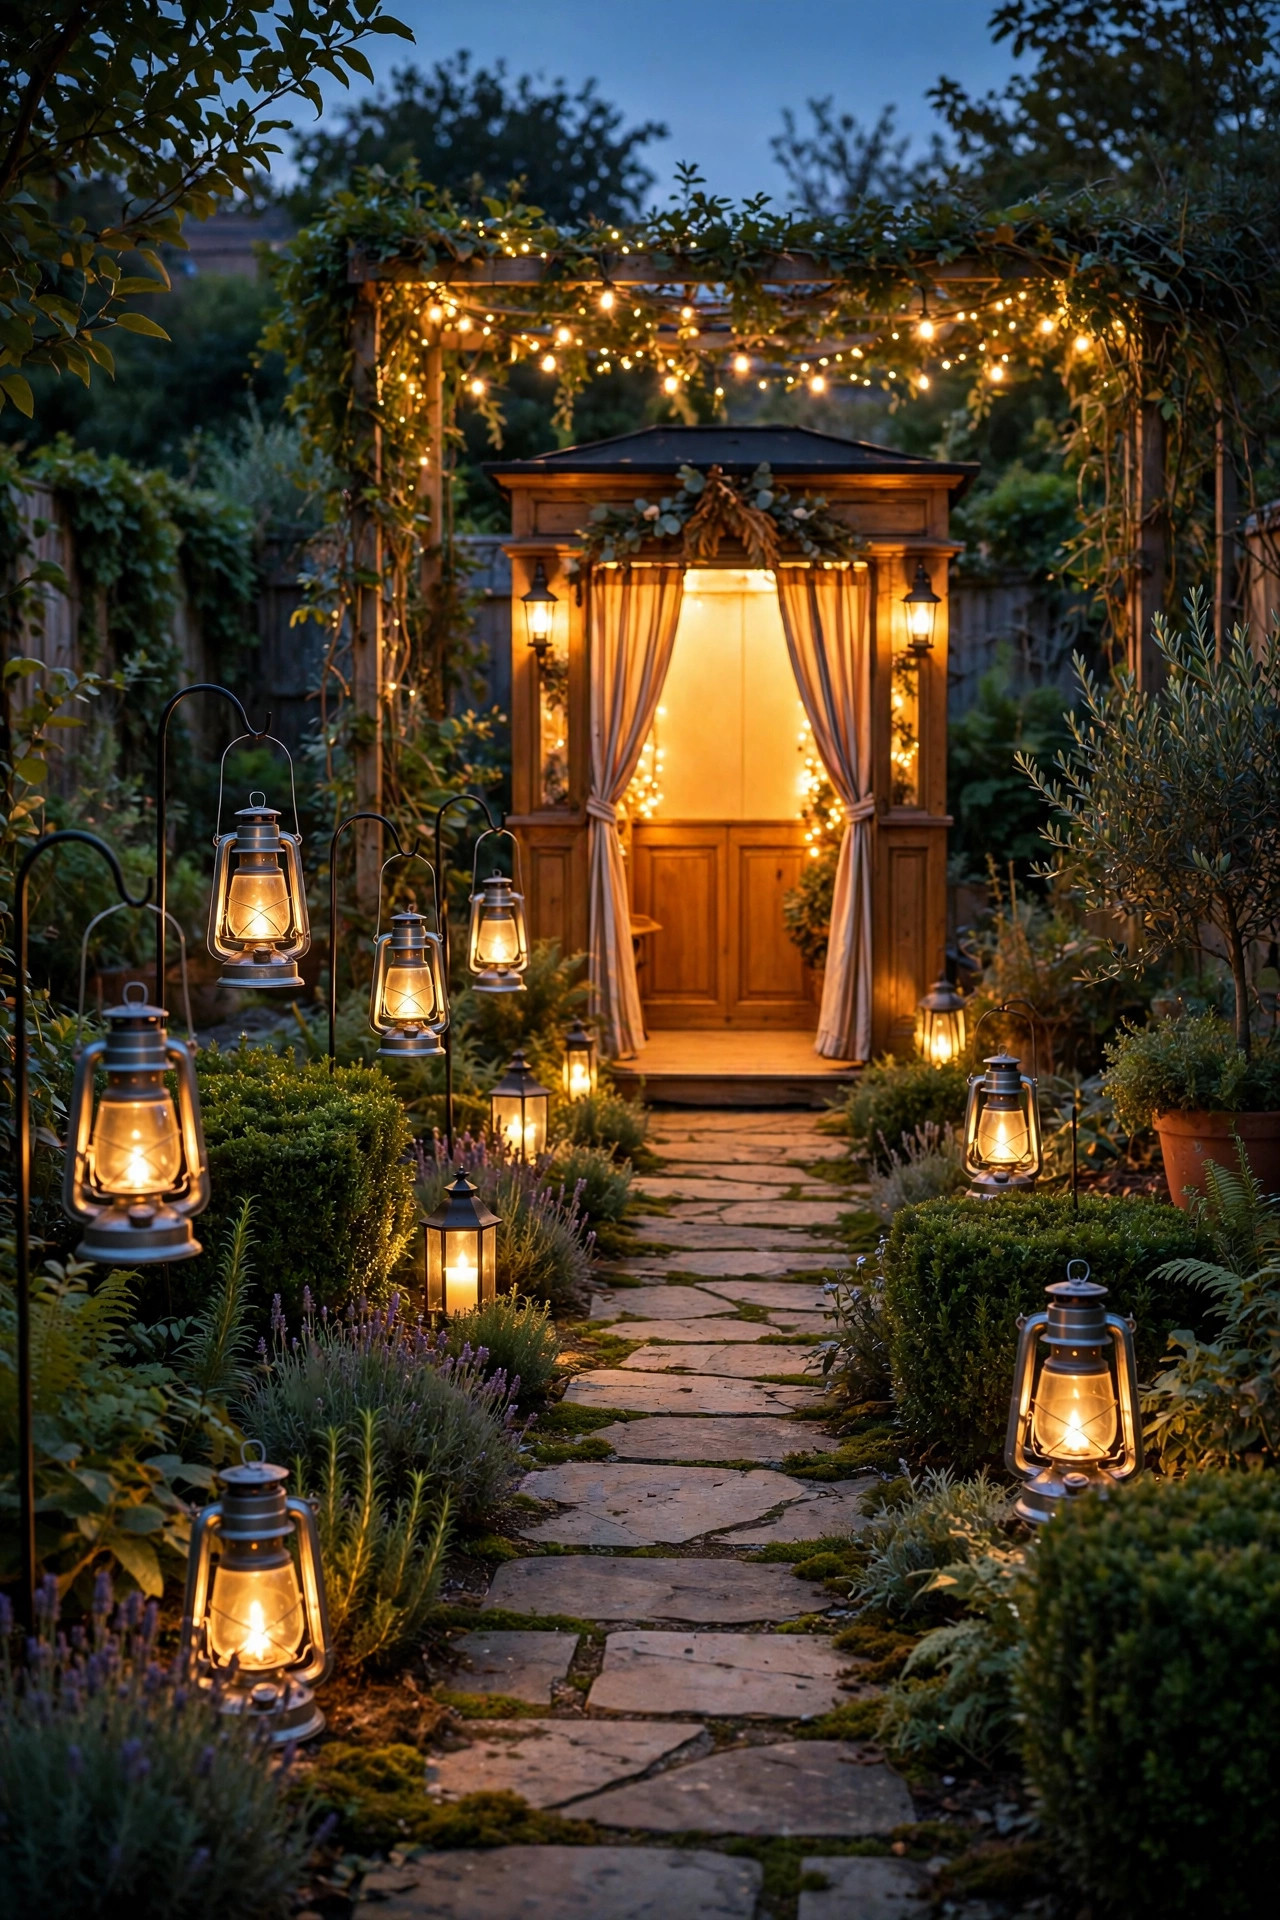
A booth nobody finds is just decor, so I light the route to it like a little runway. A row of lanterns — metal hurricanes, solar stakes, or mason jars with LED candles — spaced about 3 feet apart along the path from the patio to the photo corner tells guests exactly where the fun is and builds anticipation the whole way. Keep the lantern light warm and low; this is guidance lighting, not stage lighting, and it should never compete with the booth itself. Solar lanterns charged during the day are the zero-effort option, while battery LED candles on a timer come on automatically at dusk. The path also solves a real safety problem: it keeps guests out of your flower beds and away from sprinkler heads and extension cords in the dark. Photographers in the family will thank you too, because a lit walkway makes a gorgeous leading line in wide shots of the yard. By the second hour of the party, that little lantern path looks like it leads somewhere important — because it does.
Suggested budget range: $25 – $65.
9. Build a Backlit Glow Wall, the Easiest of My Party Photo Booth Lighting Ideas
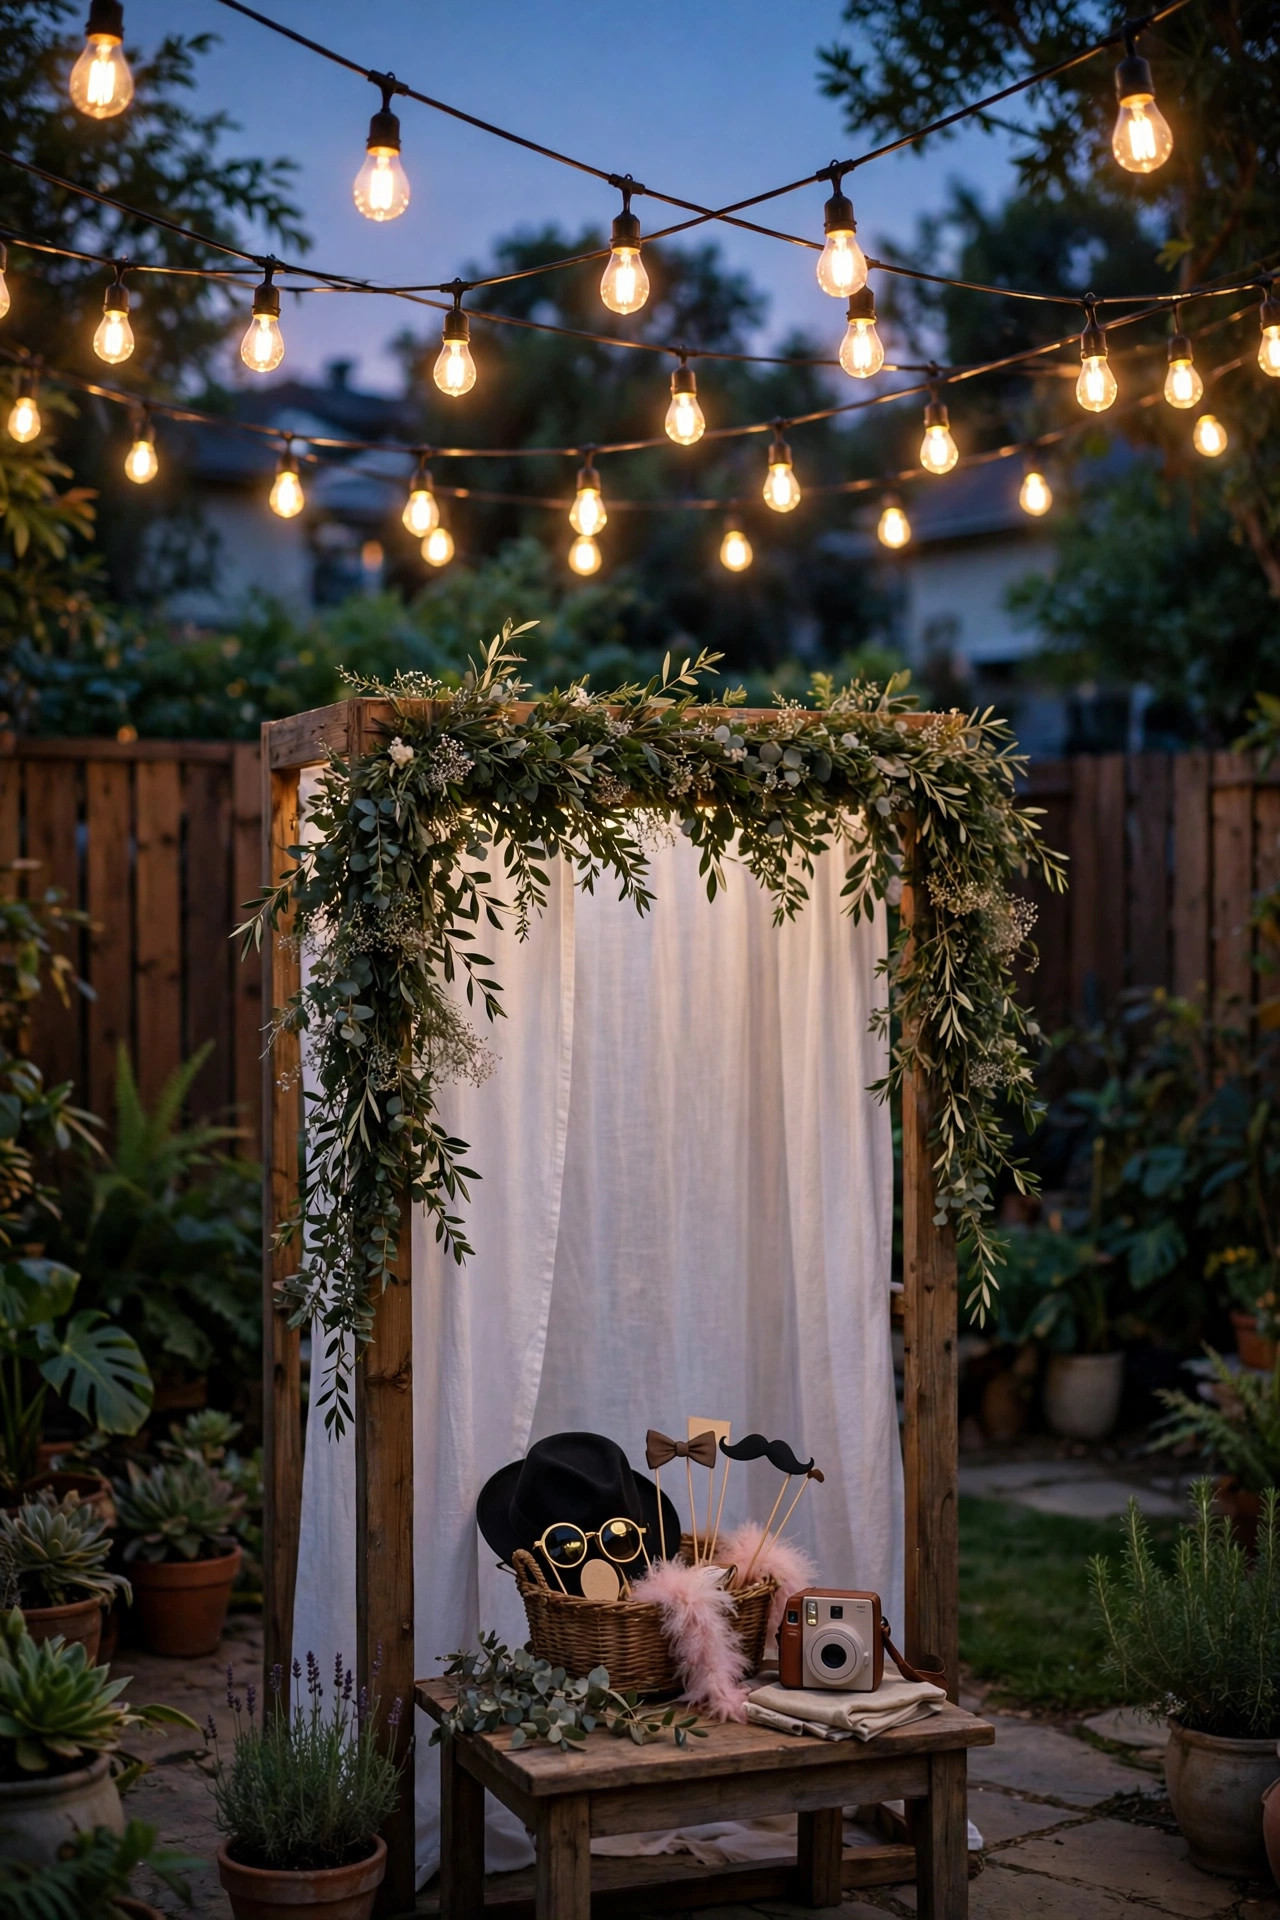
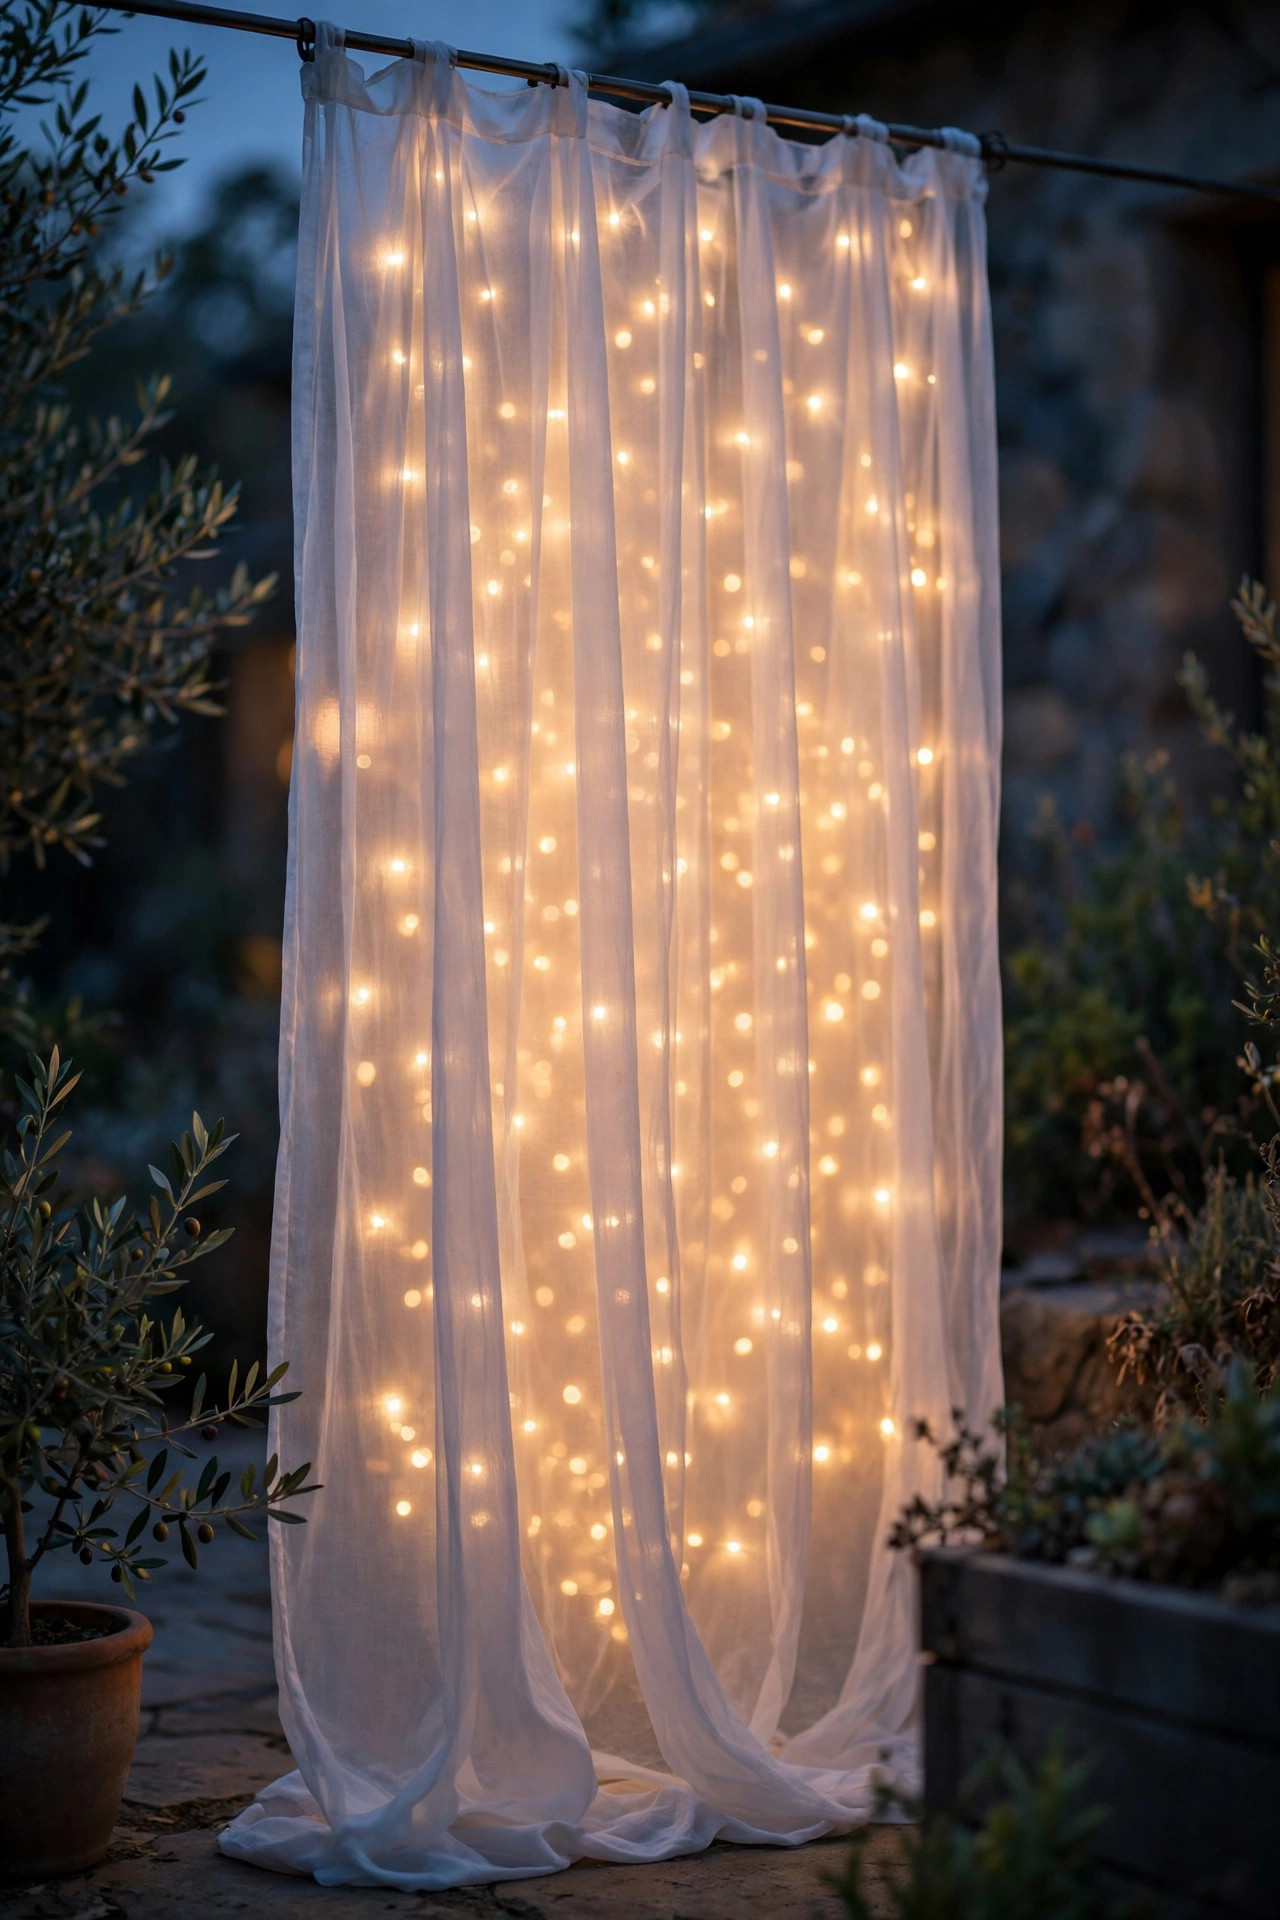
When a client or friend asks for maximum glow with minimum gear, this is the party photo booth lighting trick I teach first: stretch a white or ivory sheer curtain panel across a frame, then hang one or two strands of string lights on the back side of it, about 6 to 8 inches behind the fabric. The sheer diffuses every bulb into one soft, even wall of light, so guests standing in front are rimmed in glow with no visible wires, no hot spots, and no harsh shadows. It hides an ugly fence beautifully, too. I build the frame from two garden poles and a crossbar, or simply pin the panel to a clothesline strung between trees. Because the bulbs sit behind fabric, LED strands are non-negotiable here — they run cool against the material all night. A plain flat sheet works in a pinch, though sheers give the dreamiest halo. Add a small sign or garland on the front if you like, but honestly? The glowing wall alone stops people in their tracks.
Suggested budget range: $30 – $70.
10. Hang a String Light Hoop Chandelier Above the Posing Spot
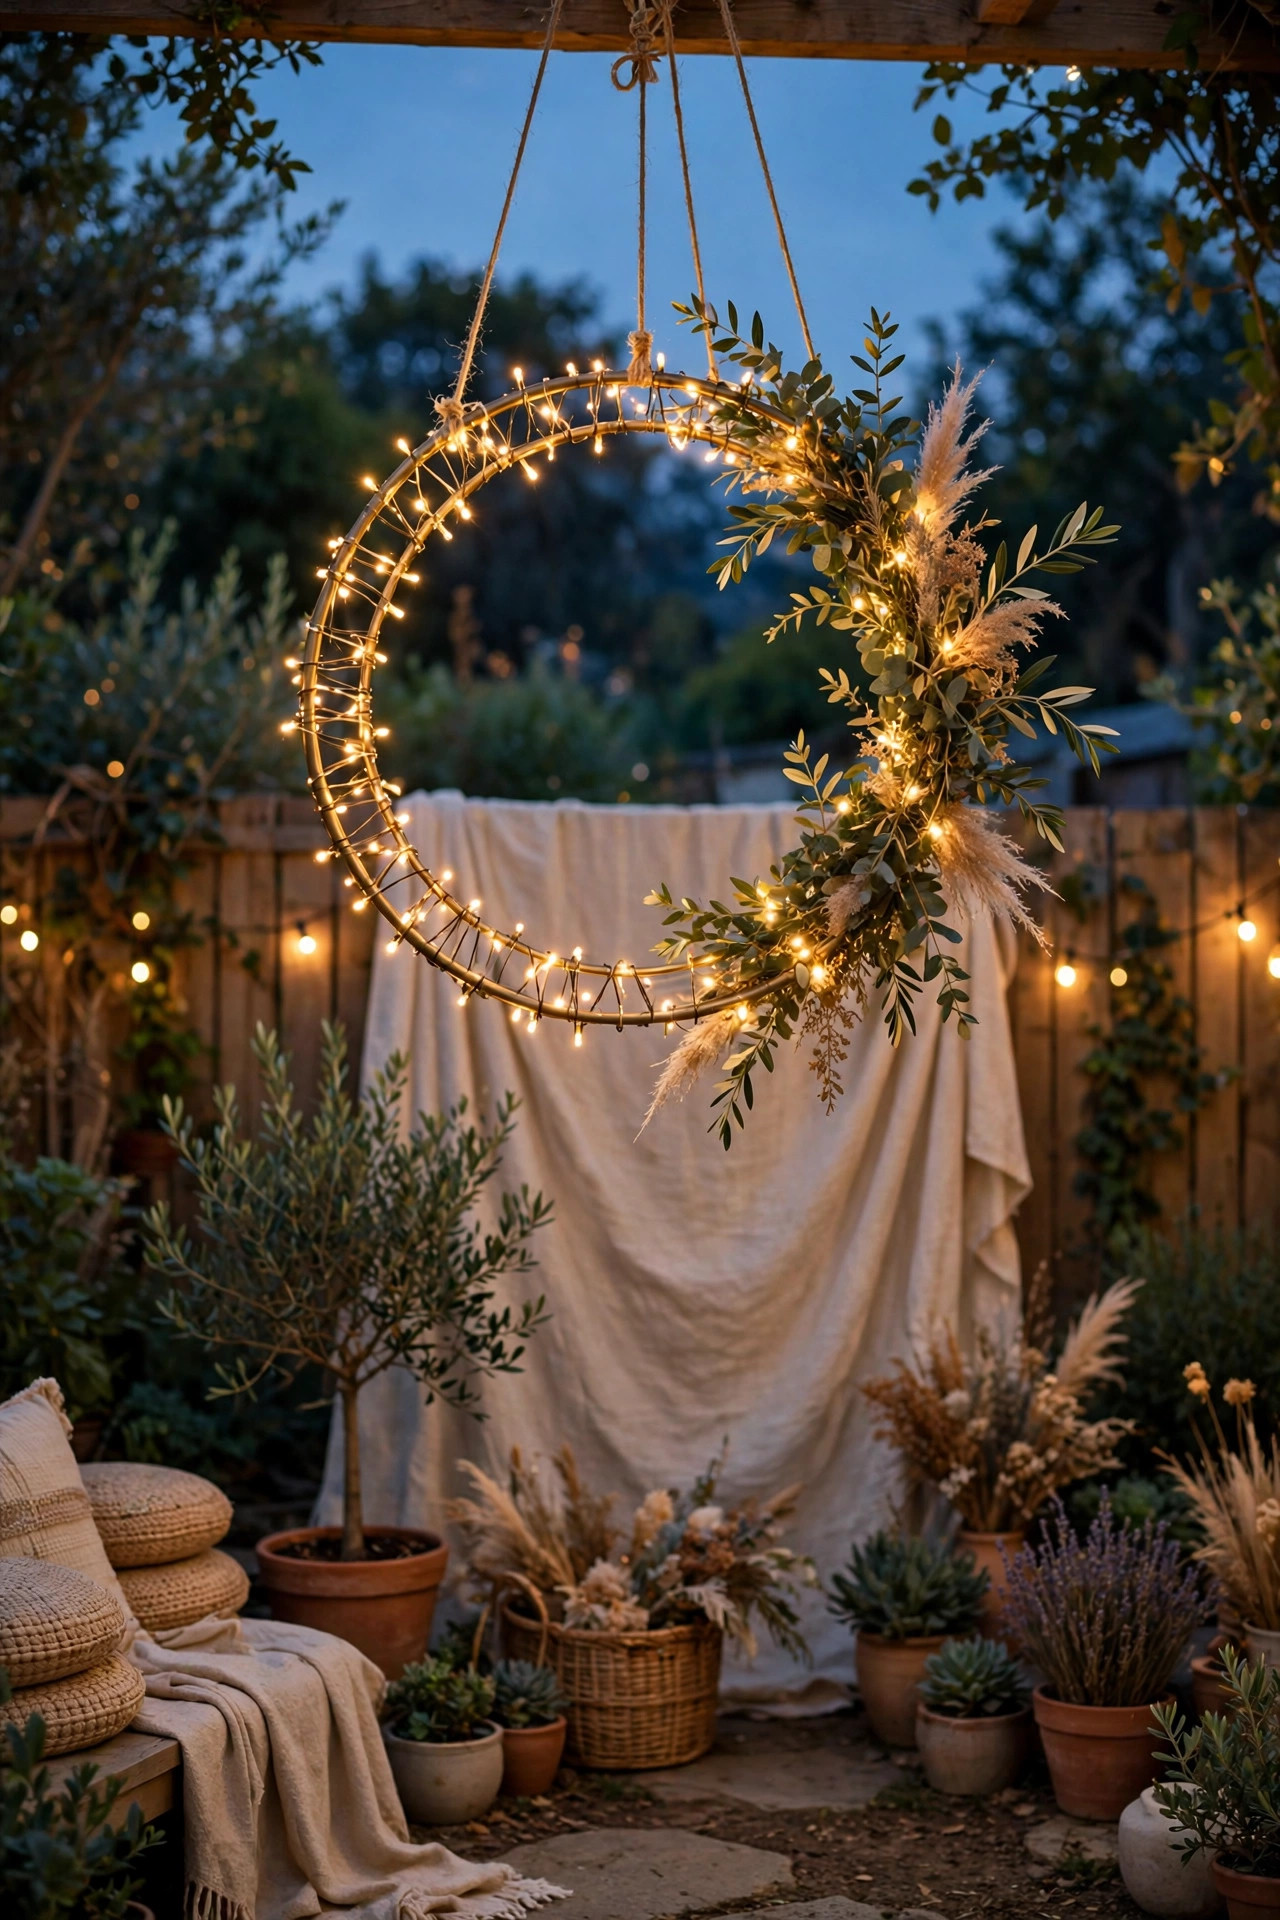
A light hoop floating over the booth adds the overhead layer that makes a setup feel finished, and it is a five-dollar craft project at heart. I wrap a large metal hoop — 24 to 30 inches across, the kind sold for wreaths — with two strands of copper-wire fairy lights, then hang it level at about 7 feet above the center of the posing area from a pergola beam or a shepherd's hook stand. The ring of light reads like a halo in photos taken from slightly below, and it casts a gentle downward glow that softens the overhead shadows string lights alone can leave on faces. For a fuller look, drape a few strands from the hoop down toward the backdrop like a light jellyfish; guests adore posing under it. Battery-powered strands keep this completely cordless, which matters for a mid-lawn booth. Keep the hoop high enough that tall guests and raised props clear it comfortably, and check the hanging line twice — a hula hoop of lights is light, but nobody wants it as a hat.
Suggested budget range: $20 – $50.
11. Light the Prop Table With a Small Spotlight
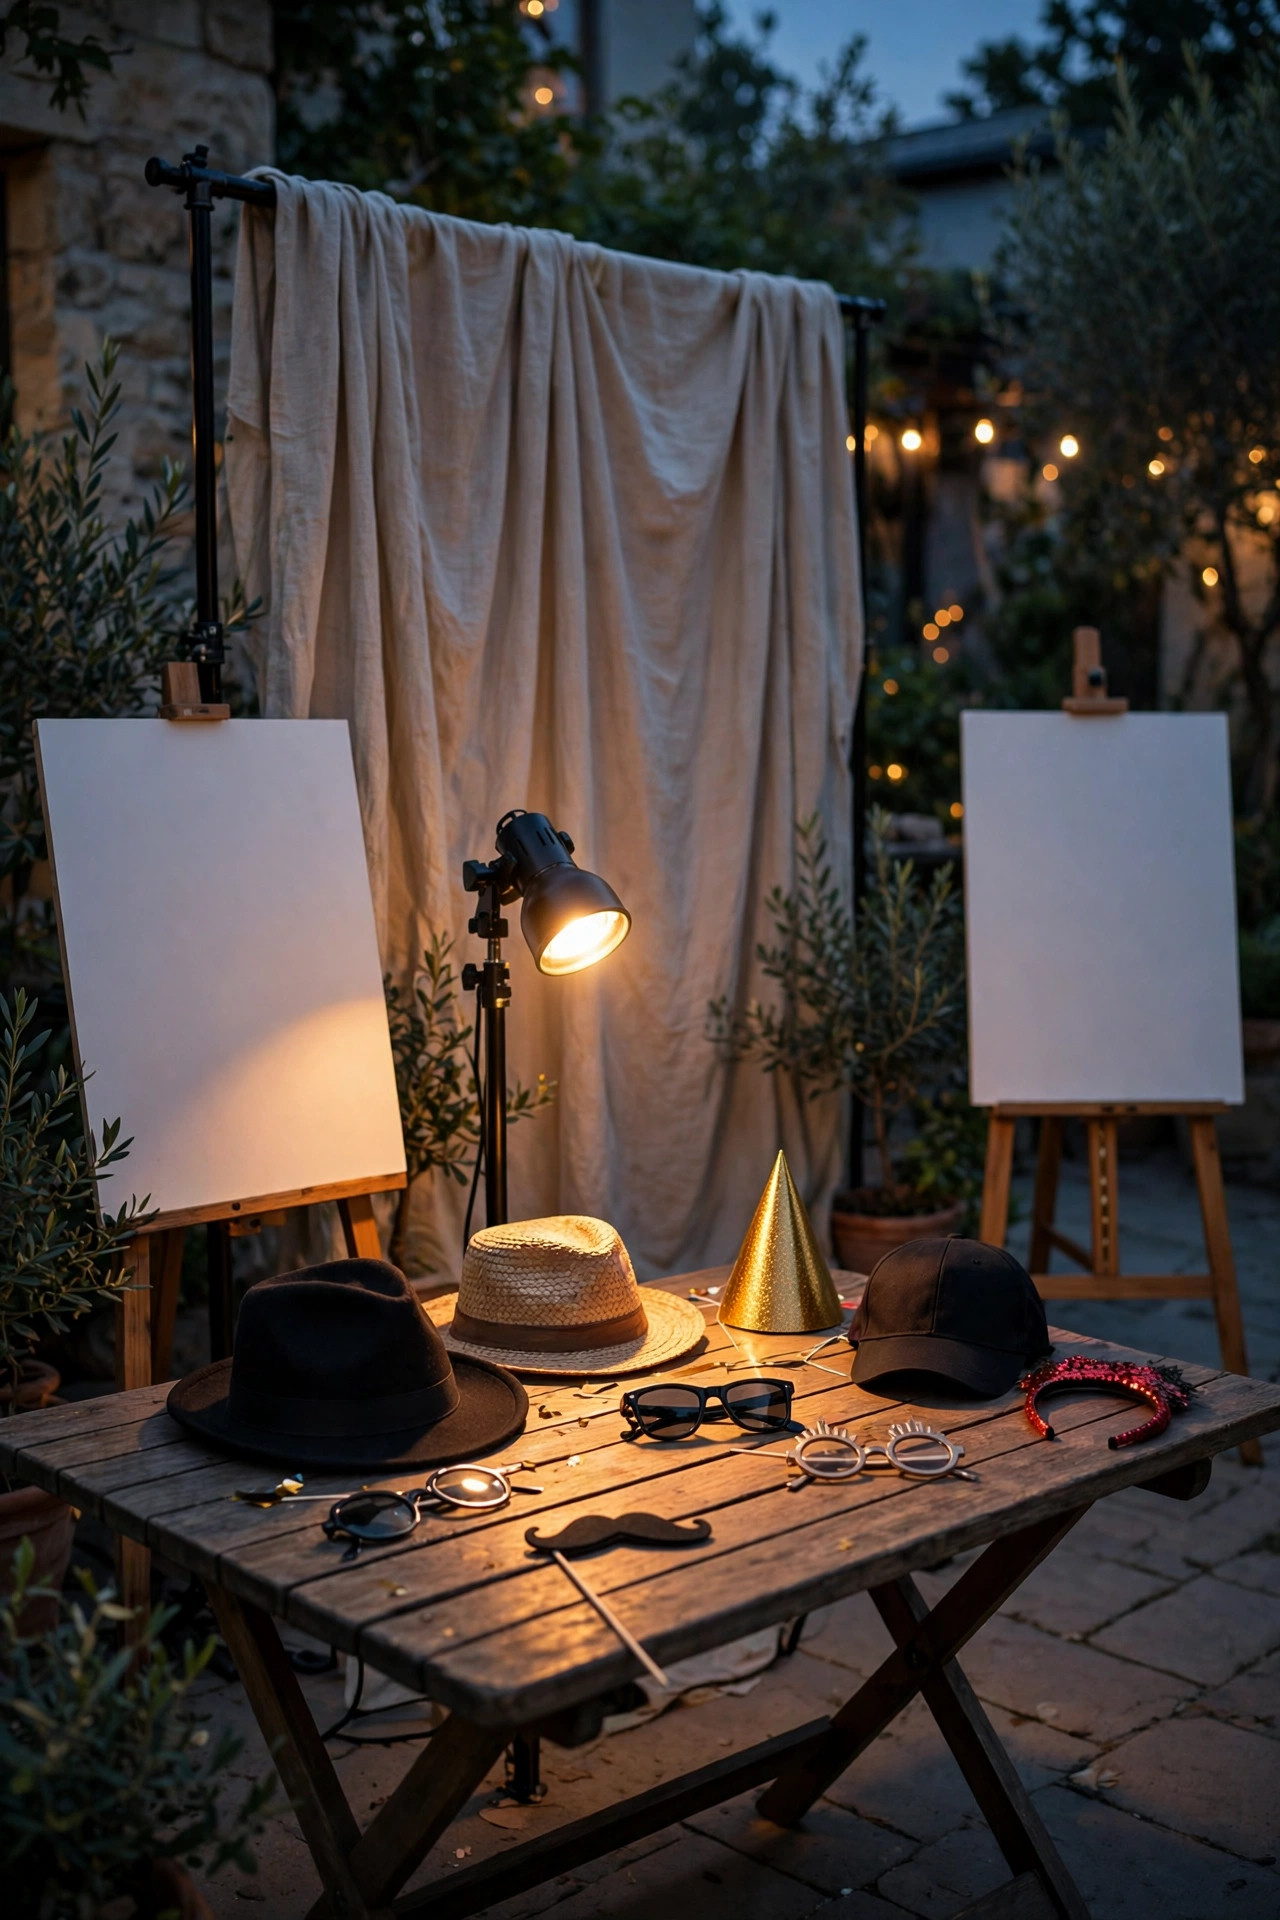
Half the fun of a photo booth is the props — hats, signs, feather boas, silly glasses — and a dim prop table kills the momentum while guests squint and rummage. I clip a small spotlight or aim a battery puck light over the prop table so everything is easy to see and grab between shots. A warm white clamp light on the backdrop frame works, or stand a small lantern-style table lamp at the back of the table for a styled look. Keep this light noticeably dimmer than your face lighting and angled down at the table surface only; a bright prop light beside the booth creates a weird second hotspot in the background of photos. I lay props on a light-colored cloth so small items like mustaches on sticks do not vanish into a dark tabletop. Label-free, tangle-free, visible props mean guests cycle through faster and the booth line keeps moving. It is a tiny detail, but every great booth I have set up had a prop table you could actually see.
Suggested budget range: $10 – $35.
12. Twine Copper-Wire Lights Through a Greenery Backdrop
A greenery wall is the backdrop guests request most, and weaving light through the leaves is what makes it look alive after dark. I start with faux greenery panels or a real hedge or ivy-covered fence section as the base, then twine two or three strands of copper-wire fairy lights loosely through the foliage, letting bulbs peek out at random depths rather than neat rows. Random is the whole secret — lights buried at different depths twinkle like fireflies when a breeze moves the leaves. Warm white at low brightness blends best; the goal is sparkle hiding in green, not a lit-up shrub. If your backdrop is a real hedge, solar strands save you the outlet hunt entirely and the thin copper wire disappears against the leaves. Keep any plug-in connections tucked up off the ground and out of sprinkler range, and use only lights rated for outdoor use where they might get damp. Combined with a soft ring light for faces, this backdrop produces the lush, garden-party photos everyone ends up framing.
Suggested budget range: $35 – $85.

13. Pin-Spot a Balloon Garland
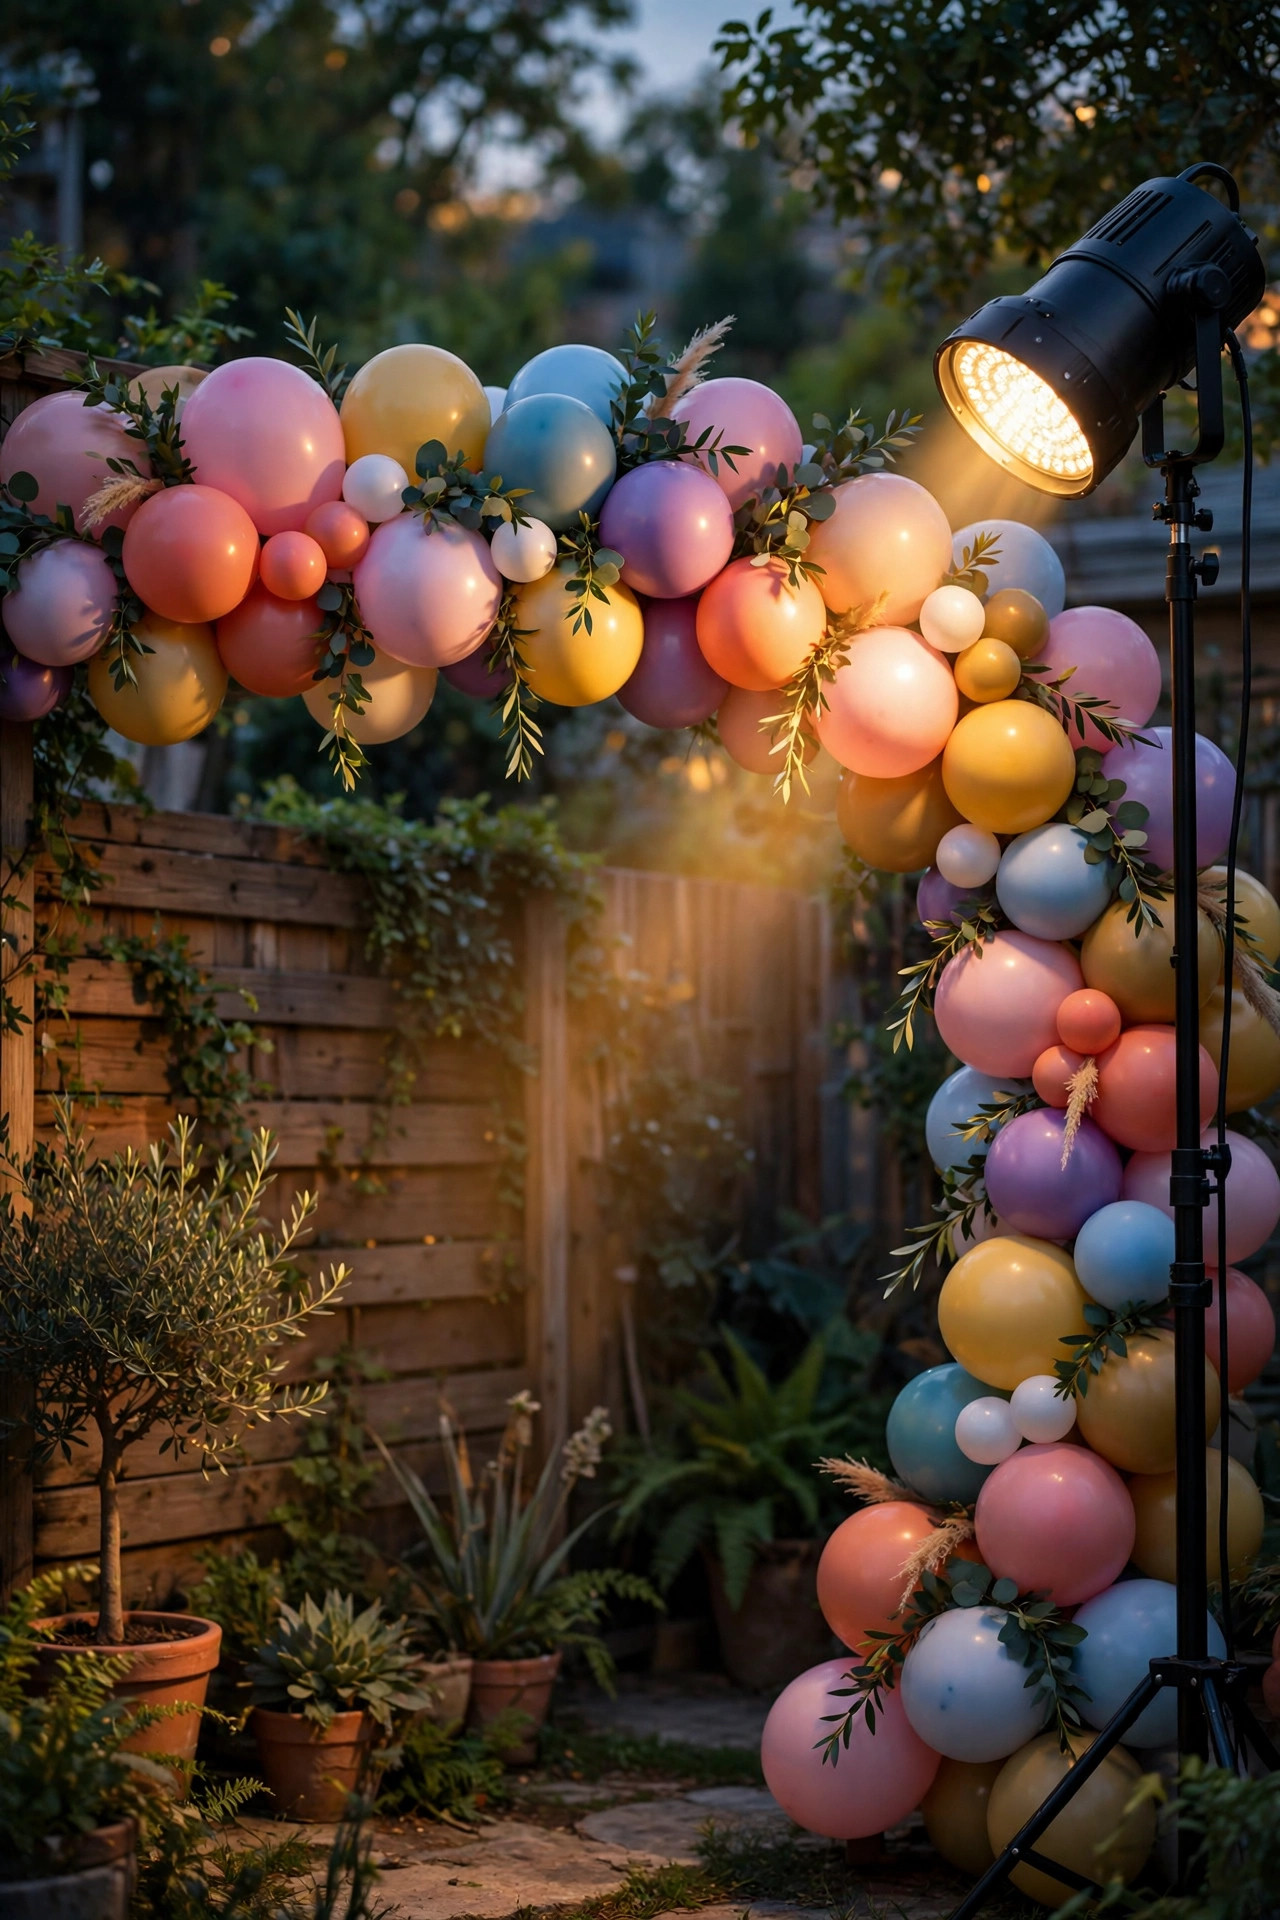
Balloon garlands are the party backdrop of the moment, and one small spotlight aimed correctly makes them look twice as expensive. I place a single narrow-beam LED spotlight or pin spot on the ground or a low stand, about 4 to 5 feet from the garland, angled up across its fullest section so the curves and shadows of the balloons get real dimension. Flat front lighting makes balloons look like a cartoon; angled light makes them look sculptural. LED is absolutely non-negotiable here — incandescent and halogen spots get hot enough to pop latex, which is a party moment nobody wants. Keep the spot's color temperature neutral to warm so balloon colors read true in photos, and gel or set it to a matching tint only if the garland is all one color. If the garland arches over the booth, a second small spot from the other side balances it, but one is honestly enough for most setups. Test with a photo before guests arrive, because balloon shine shows glare before your eyes notice it.
Suggested budget range: $20 – $45.
14. Frame the Booth With LED Flame Torches
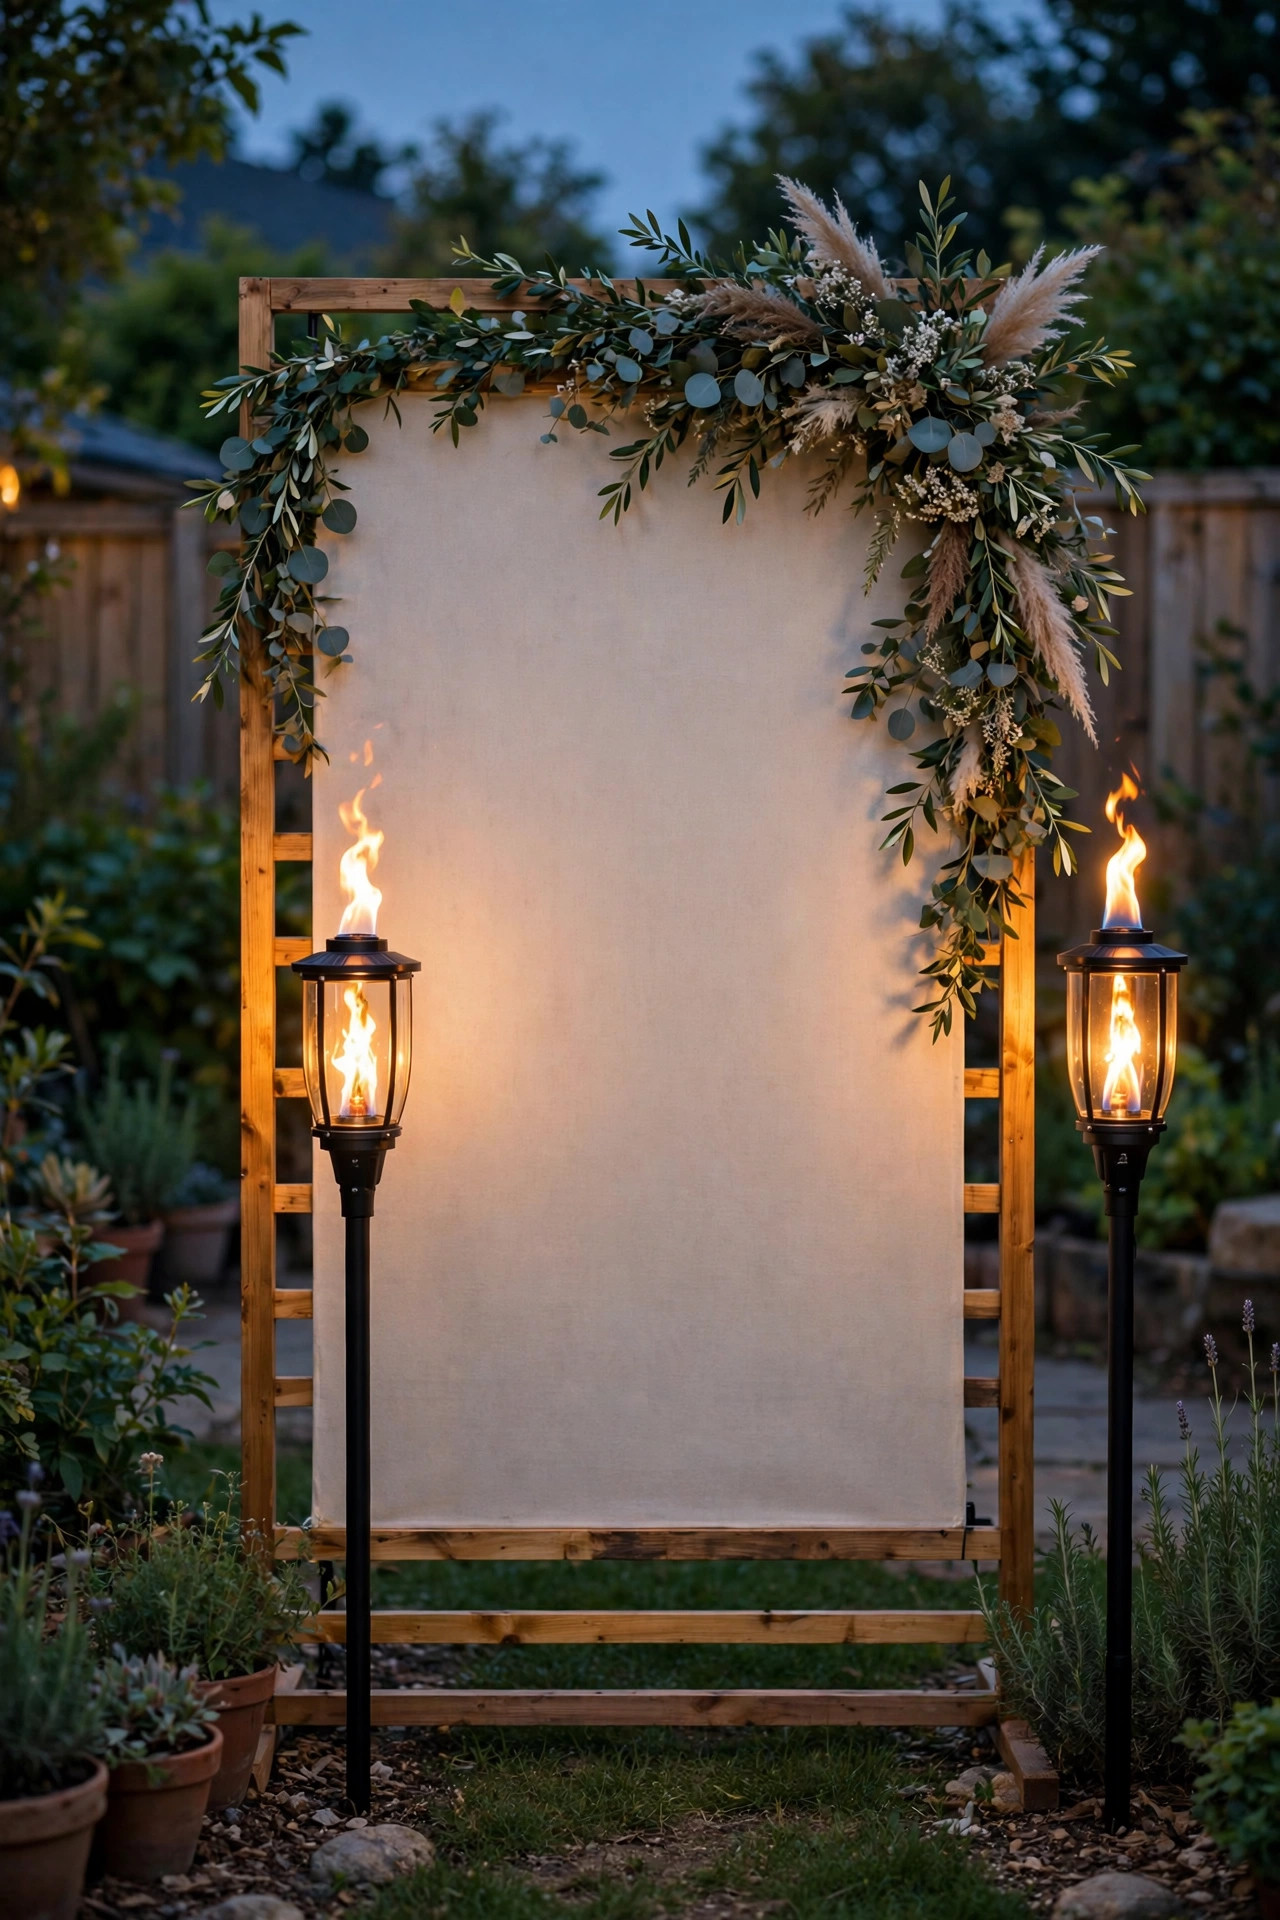
For evening parties with a tiki, campfire, or tropical theme, flickering flame-effect torches framing the booth add movement that still backdrops cannot. I place two or four torches just outside the backdrop's edges — close enough to appear in wide shots, far enough that the flicker never falls directly on faces. Modern solar flame torches look remarkably real from 6 feet away, charge all day, and switch themselves on at dusk, so there is nothing to light, fill, or supervise. That is also the safety win: no open flame near paper props, fabric backdrops, or guests in flowing sleeves, which is exactly why I retired my real tiki torches for booth duty. The warm orange flicker reads beautifully against a cool blue dusk sky in photos and gives the booth a gentle boundary that says this is the spot. Solar models need a full day of sun before the party, so stake them out the morning of, or choose battery versions for a shaded yard.
Suggested budget range: $25 – $60.
15. Use Dimmable Smart Bulbs to Shift the Mood All Night
A booth that looks right at 7 p.m. can look washed out by 10, so I put the key fixtures on dimmers and adjust as the night deepens. Smart bulbs in the backdrop-edge fixtures — or a simple plug-in dimmer for string lights — let me start brighter during blue hour, when daylight competes, then ease everything down as the sky darkens so the glow stays rich instead of harsh. I also set one warm scene and leave it alone during prime photo time: constant color changes are fun on the dance floor but maddening in a photo set, where every picture comes out a different shade. Keep all the booth lighting on the warm side of the dial for consistency, and resist the rainbow party modes anywhere near faces. A timer or an astronomical schedule on the smart plug means the booth lights itself at dusk even if I am busy flipping burgers. Dimming also stretches battery and solar lights later into the night, right when the funniest photos happen.
Suggested budget range: $20 – $60.

16. Go Fully Solar and Battery Where There Is No Outlet
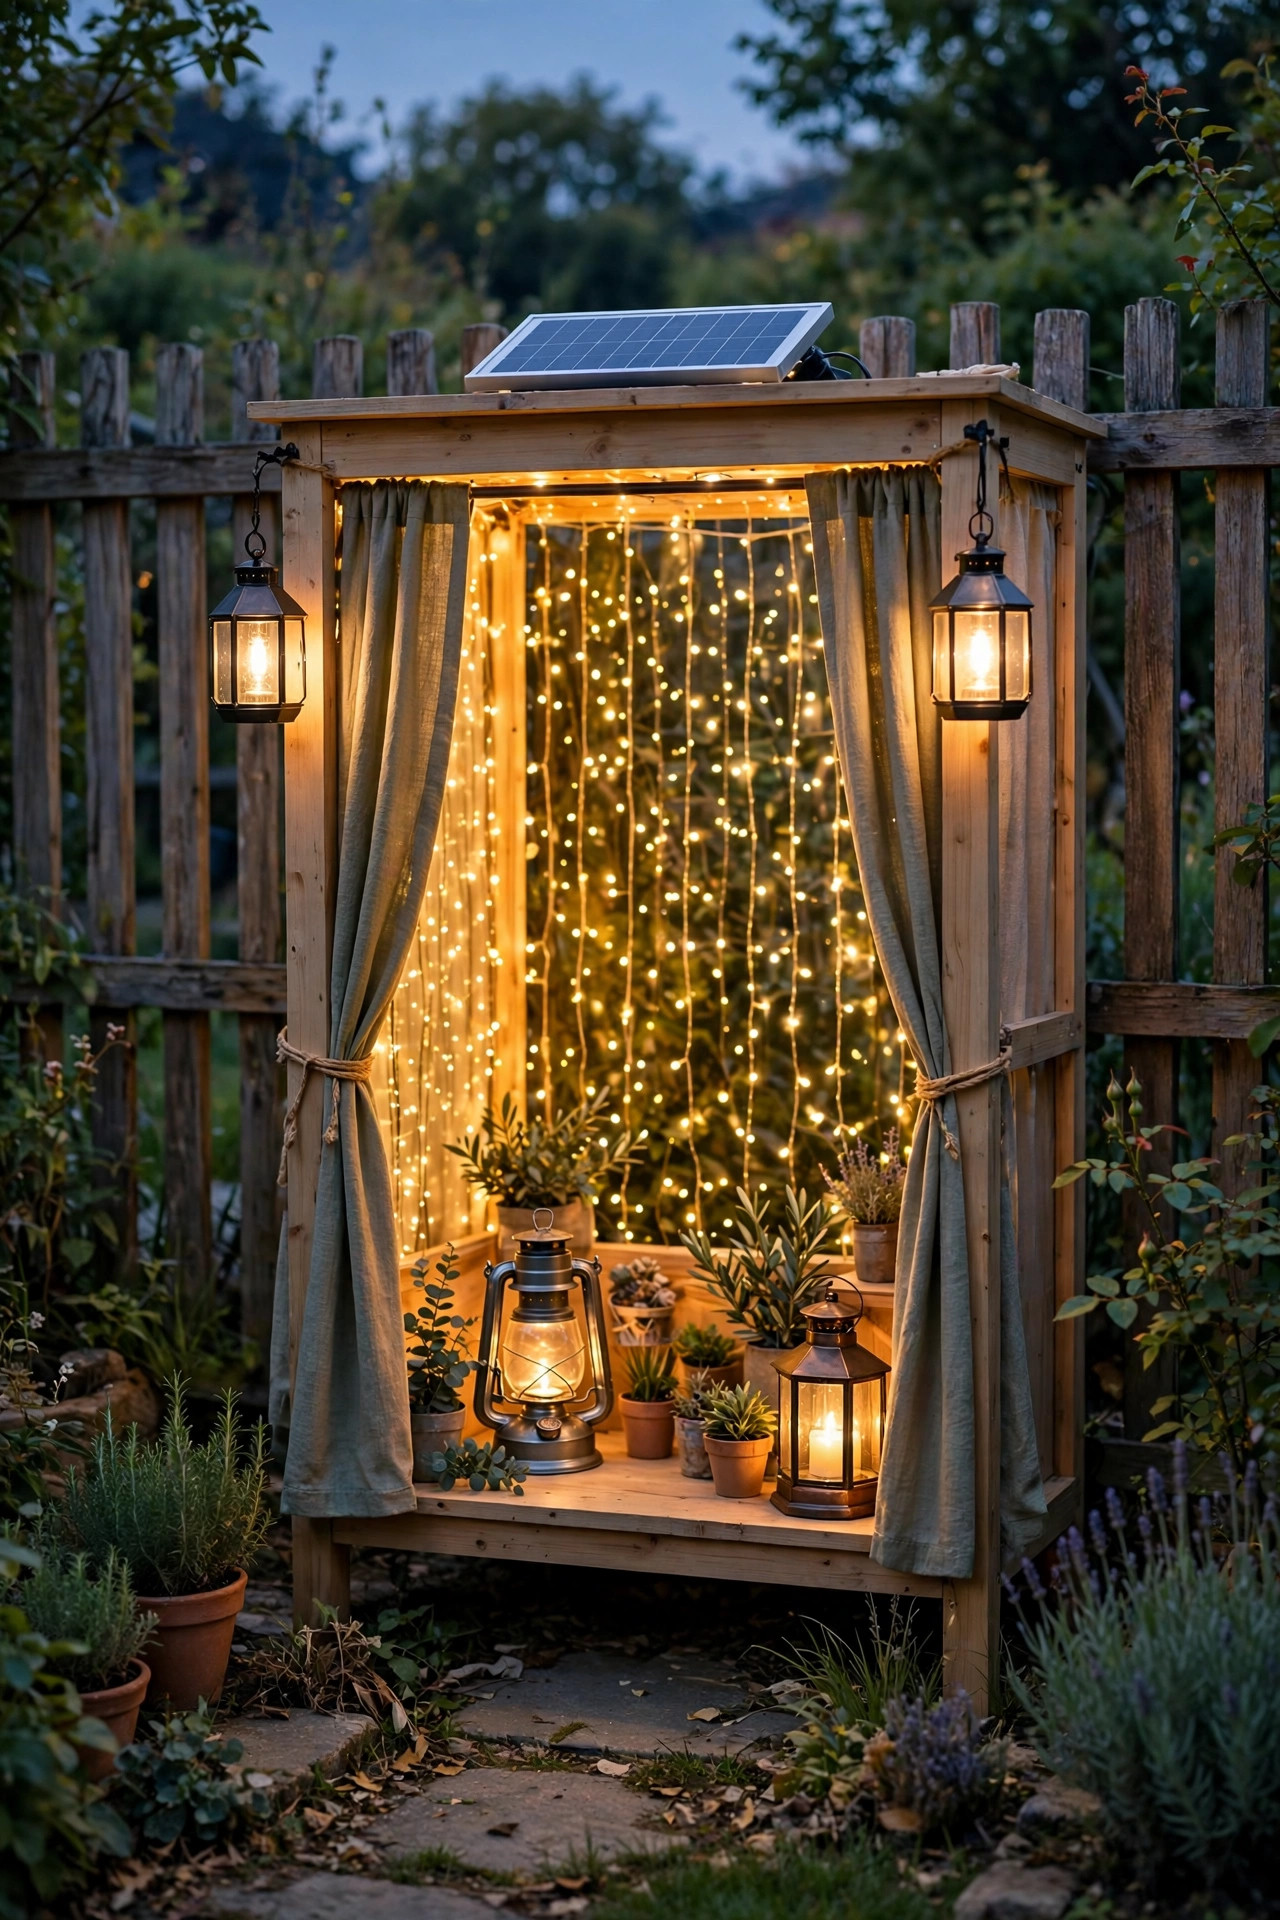
Some of the best photo spots — the far fence, the big oak, the garden gate — have no outlet anywhere near them, and that should not rule them out. I build no-outlet booths from solar curtain lights on the backdrop, a USB ring light on a power bank for faces, and battery fairy lights in the greenery, and the photos come out just as good as the plugged-in version. The discipline is in the prep: solar panels need 6 to 8 hours of direct sun beforehand, so I hang everything the morning of the party and angle the little panels south. Fresh batteries go in the morning too, not as guests arrive. Keep a spare power bank and one extra strand in a basket by the booth for the inevitable mid-party swap. Solar gear also removes every trip hazard from the setup — no cords crossing walkways, no covers, no tape — which your ankles and your liability worries will appreciate. A cordless booth can move in five minutes if the wind or the party shifts.
Suggested budget range: $35 – $90.
17. Layer It All: My Full Party Photo Booth Lighting Ideas Setup, Start to Finish
When I build the full booth for a big night, I stack these party photo booth lighting ideas in a fixed order, and the whole thing takes about 30 minutes. First, the backdrop: a fairy light curtain or glow wall centered where guests will stand, about 2 feet of breathing room in front of it. Second, faces: the ring light or two soft panels at 45 degrees, 3500K, tested with one volunteer photo. Third, overhead: Edison swags or the light hoop at 7 feet to give the spot its ceiling. Fourth, edges and accents: uplights on the wall, flame torches at the corners, and the lit prop table off to one side. Fifth, the route: lanterns from the patio so guests find it. I finish by standing where the photographer stands and taking ten test shots, adjusting brightness layer by layer until the background sparkles, faces glow, and nothing blows out white. Write your winning settings on a sticky note — next party, you will set up in half the time.
Suggested budget range: $150 – $400.

Frequently Asked Questions
What color temperature looks best in party photos?
In my experience, warm white between 2700K and 3500K flatters skin the most at outdoor evening parties. It gives everyone that golden, healthy glow and hides a multitude of sins. The bigger rule is consistency: mixing a cool daylight bulb with warm string lights makes faces look patchy, so pick one temperature family for the whole booth and set every dimmable and smart fixture to match before the party starts.
How do I keep faces from looking harsh or shadowy in booth photos?
Harsh shadows come from a single small, bright light source, so soften and multiply your sources. Diffuse panel lights, a backlit sheer curtain, or a ring light all spread light so it wraps around faces instead of carving shadows. Place lights at about 45-degree angles, keep guests 2 to 4 feet from the main face light, and always take test shots with a volunteer — phone screens reveal glare and hot spots your eyes miss.
Can I light a photo booth if my yard has no outdoor outlet?
Absolutely — battery and solar gear has gotten genuinely good. A solar fairy light curtain handles the backdrop, a USB ring light on a power bank lights faces, and battery strands cover the accents. Charge solar panels for 6 to 8 hours in direct sun and load fresh batteries the morning of the party. You will also skip every cord trip hazard, which is a real bonus on a crowded lawn.
How much does a backyard photo booth lighting setup cost altogether?
A simple, pretty booth — one fairy light curtain plus a ring light — runs about $55 to $130 and covers most parties beautifully. A fully layered setup with overhead swags, uplights, a sign, and accent lighting lands between $150 and $400, especially if you already own string lights. Buying one layer per party is my favorite approach; by the third event you own a booth that rivals the rentals.
Conclusion
Great booth photos are never an accident — they are layers. A glowing backdrop, soft light on faces, something sparkling overhead, and a lit path to find it: those four layers turn any fence corner into the most popular spot at the party. Start with whichever of these party photo booth lighting ideas fits the gear you already own, test it with a few shots before guests arrive, and add one layer per party until your setup is the one friends ask to borrow. For the rest of the yard, browse the lighting ideas here on the site and keep that whole evening glowing.