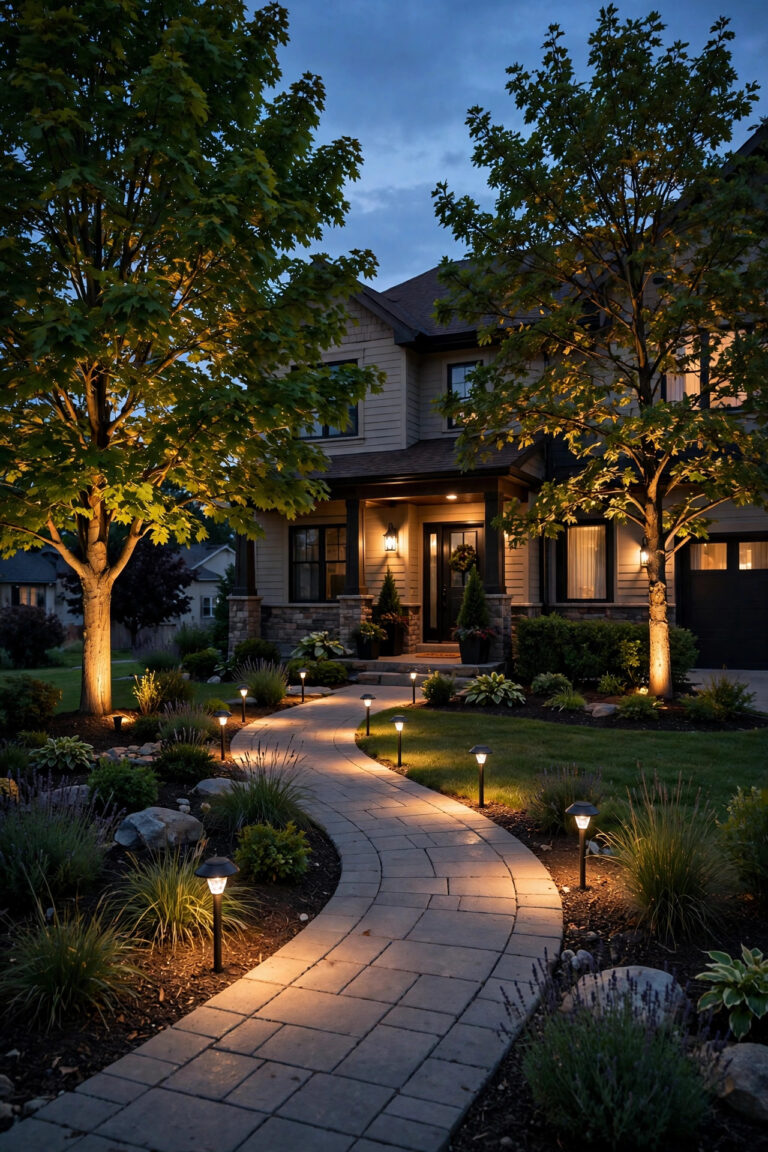
Every party at my house ends the same way: a line of guests in front of whatever wall or fence corner I dressed up that week, phones out, asking me to take just one more. A dedicated photo spot sounds like a lot of fuss until you realize it is just outdoor photo backdrop lighting done in layers: one soft layer to flatter faces, one sparkly layer to make the background glow, and one practical layer so nobody trips on a cord in the dark. Honestly, it is the highest-impact decorating I do, because the photos live on long after the party ends. In this post I am sharing the 21 backdrop setups I rotate through all season, from fairy light curtains to flower walls, each with honest budgets, spacing measurements, and the safety habits that keep fabric, paper, and wiring happily apart. Whether you are planning a birthday, a shower, or just a Friday night with friends, I promise there is a wall in your yard that is ready for its close-up.
1. Outdoor Photo Backdrop Lighting Starts With Three Layers
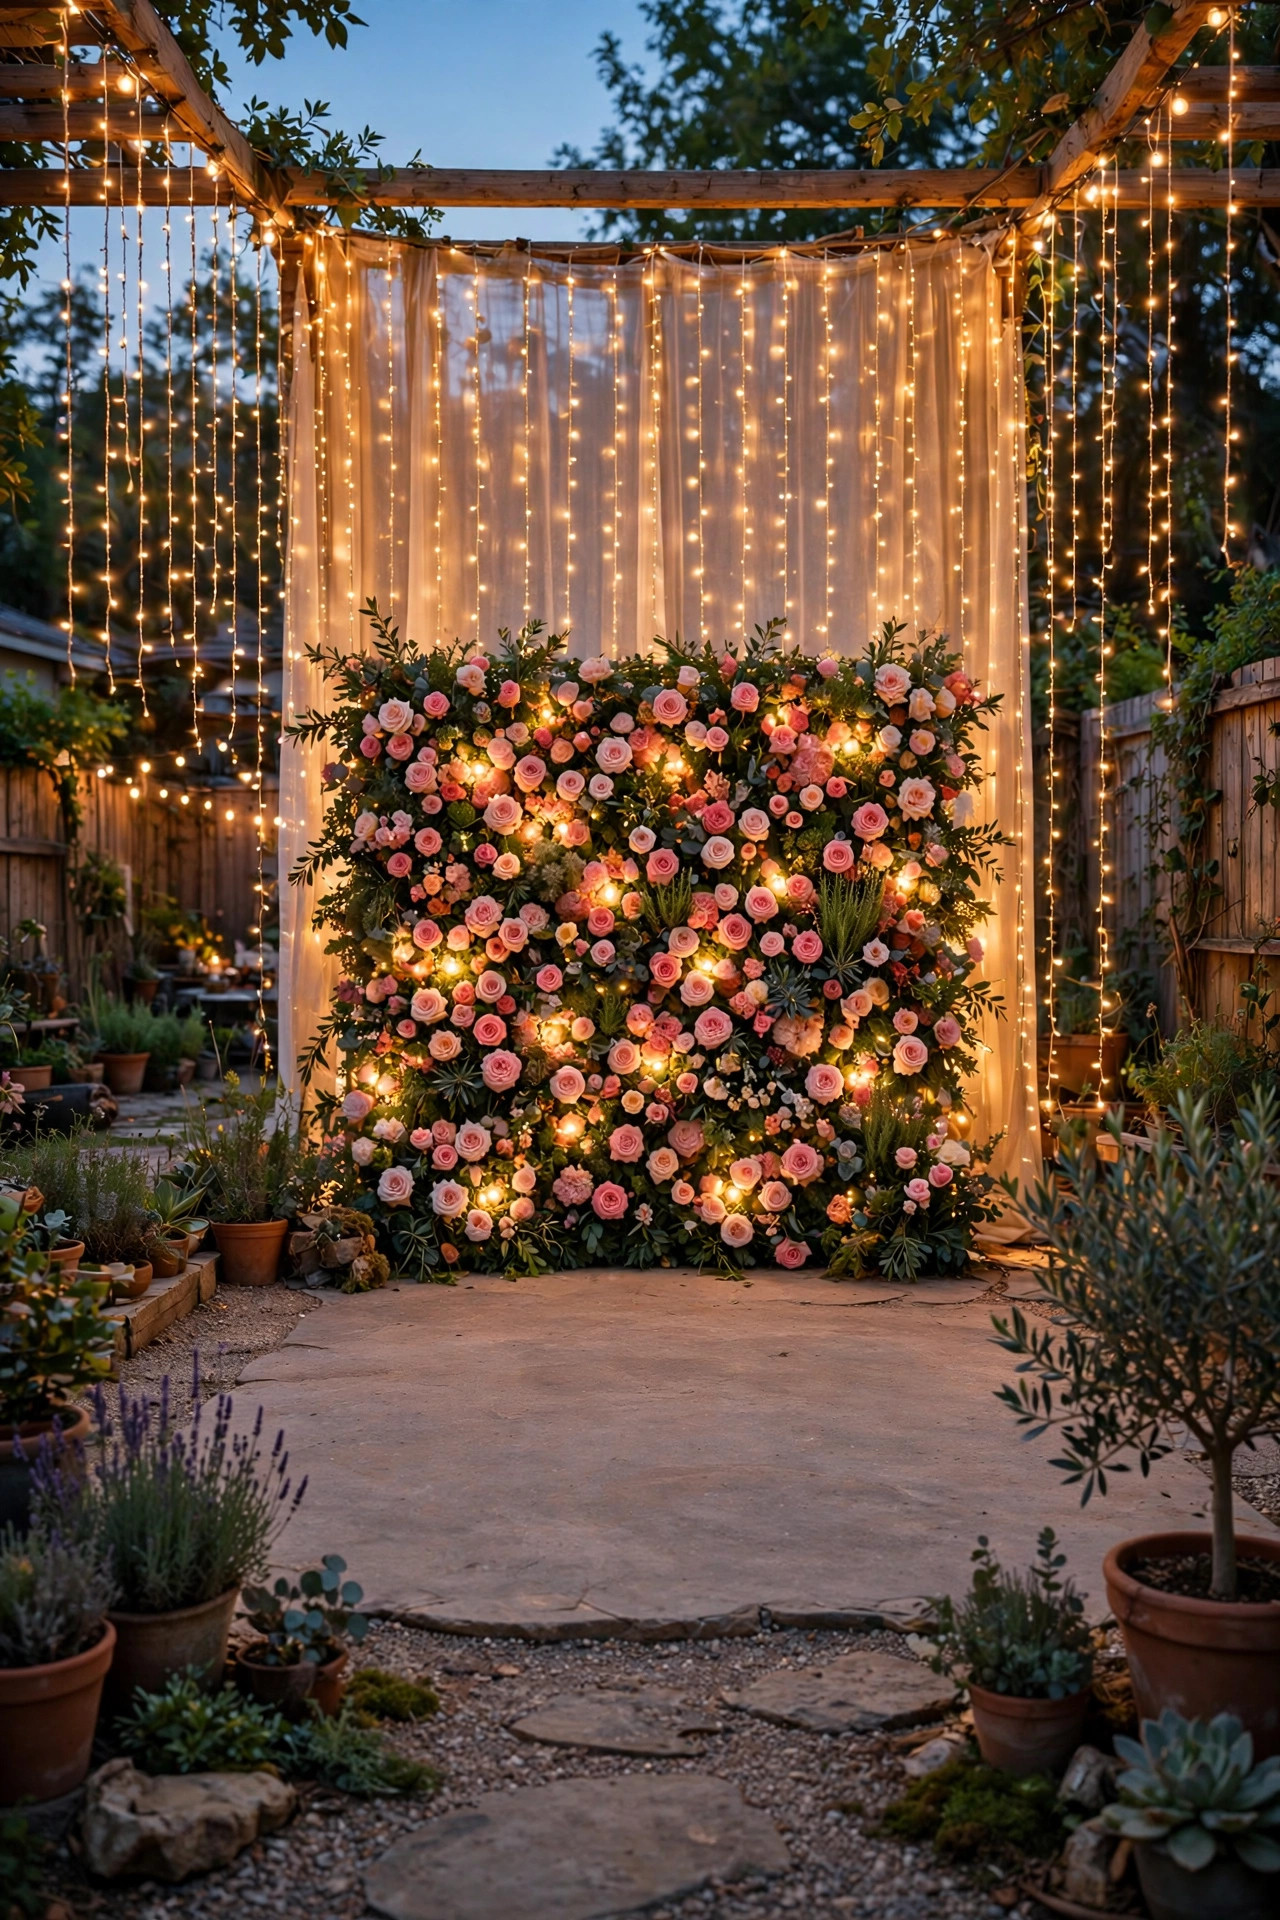
Before I hang a single strand, I plan every backdrop in three layers, because a flat wall of lights photographs flat. Layer one is the hero: the curtain, wall, or swag that fills the background of the frame. Layer two is sparkle: smaller points of light woven through layer one so the camera sees depth instead of a solid sheet. Layer three is the face light, one soft source in front so skin looks warm instead of shadowy. Pick your wall first. A 10-foot stretch of fence, a garage side, or a pergola end all work, and you want guests standing 3 to 4 feet in front of it so the background lights blur into soft dots. Set up before dusk, then take a test photo as the light fades and adjust. In my experience, ten minutes of testing beats an hour of fixing dark photos later. Keep every layer on one color temperature, ideally 2700K warm white, and plug everything into one outdoor-rated power strip on a GFCI outlet so one switch runs the whole scene.
Suggested budget range: $40 – $150.
2. Hang a Fairy Light Curtain Wall
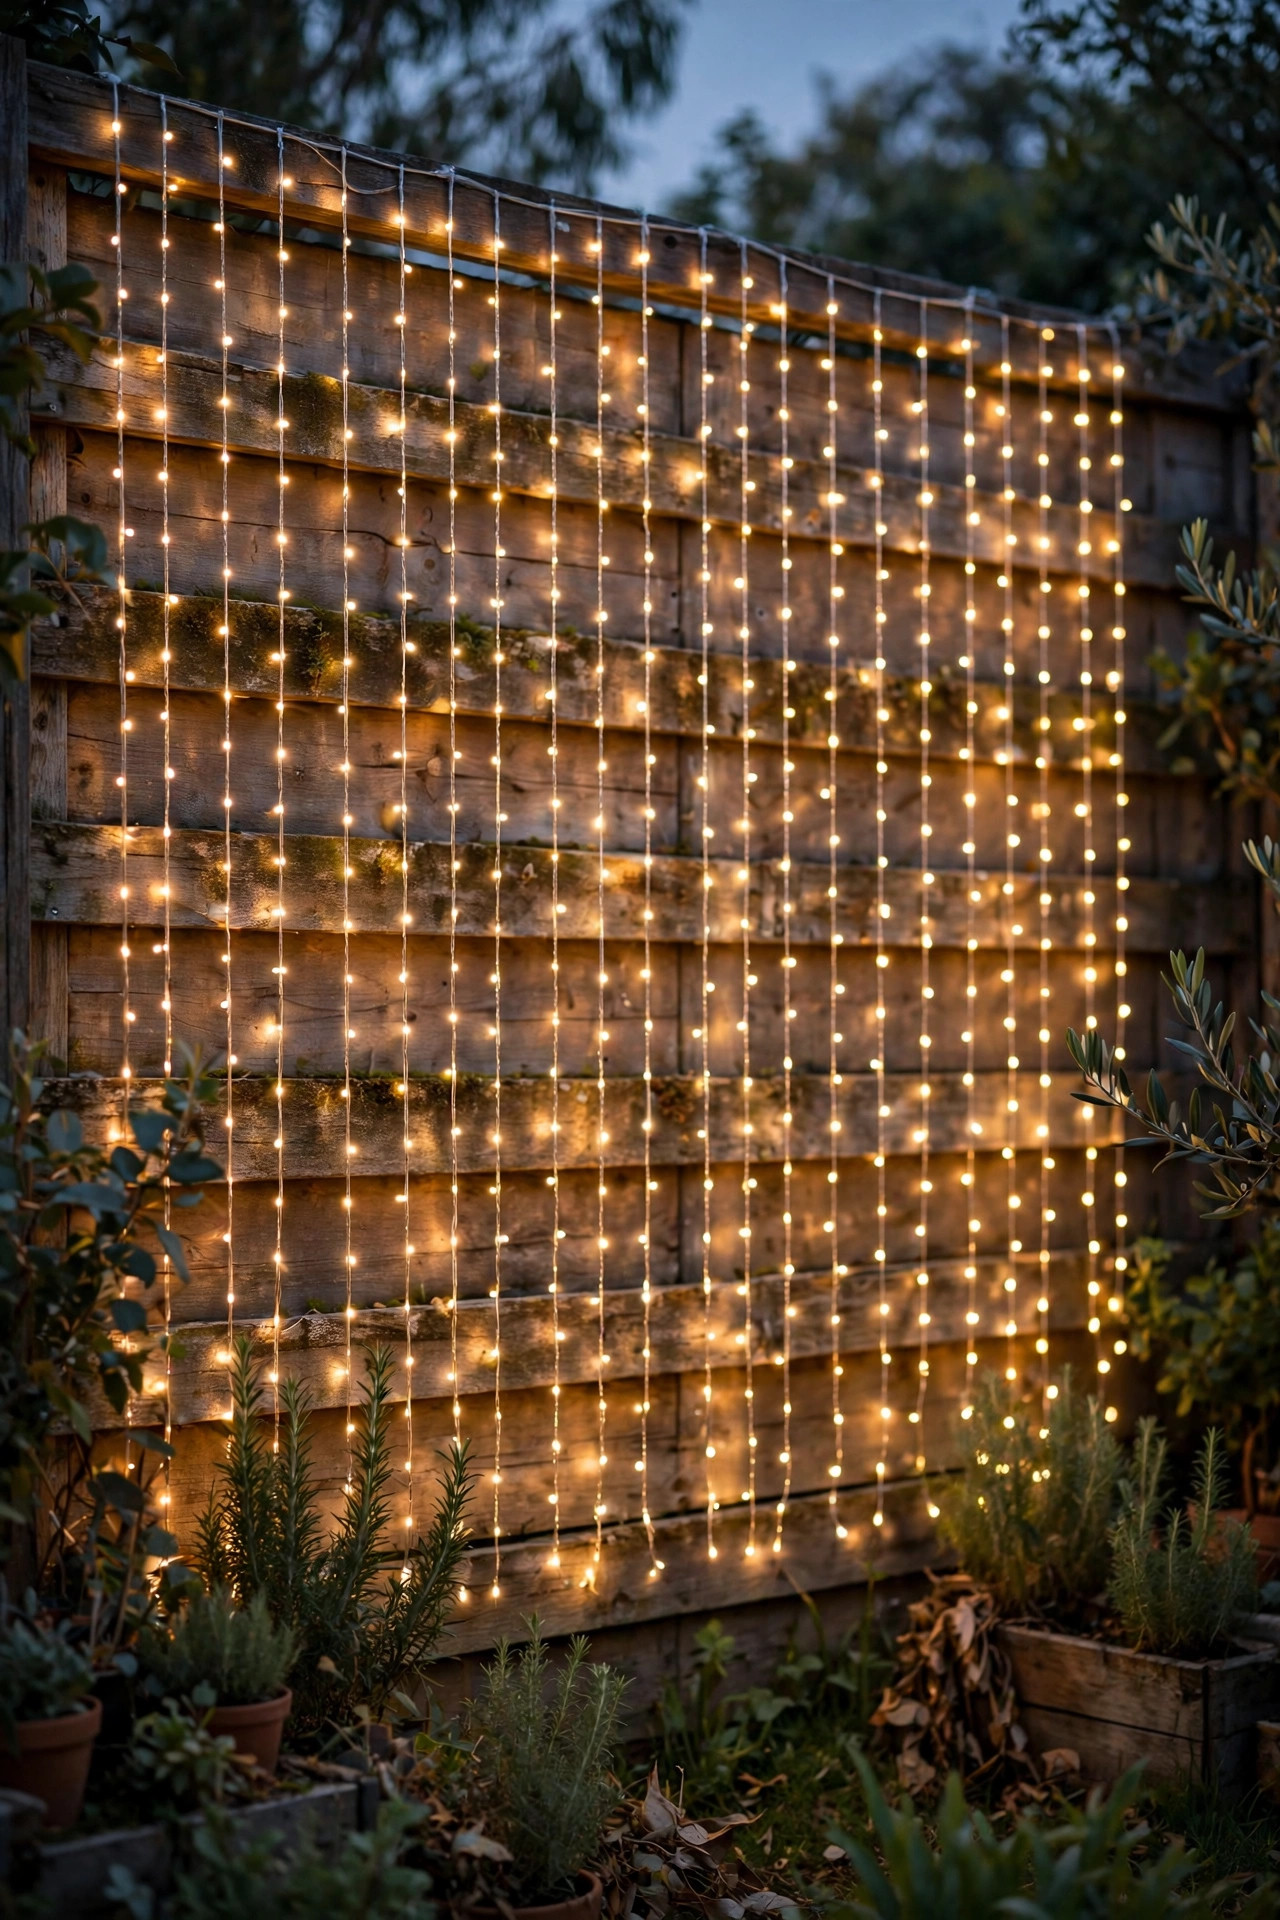
This is the backdrop I get asked about most, and it is the easiest win in the whole post. A curtain of warm white fairy strands, usually sold as a 10-by-10-foot panel, turns a plain fence into a wall of soft sparkle for very little money. I hang mine from a tension rod between two posts or along a clothesline strung tight at 8 feet, and I let the strands fall straight and untangled. Slide a sheer fabric panel in front and the individual dots melt into a dreamy glow; leave the strands bare and you get crisp bokeh behind every smile. Copper-wire versions bend easily around the edges of a frame, and most come with a remote and twinkle settings, though I keep mine on steady glow because twinkle modes can flicker strangely on phone cameras. Give the curtain its own strand spacing of about 4 inches so faces do not disappear into stripes of light. And because fabric is often part of this look, LED only, always: these strands stay cool, but I still keep a few inches between lights and draped cloth. If you love this light style as much as I do, my favorite outdoor fairy light ideas will keep you busy all season.
Suggested budget range: $25 – $70.
3. Build a Warm White String Light Grid
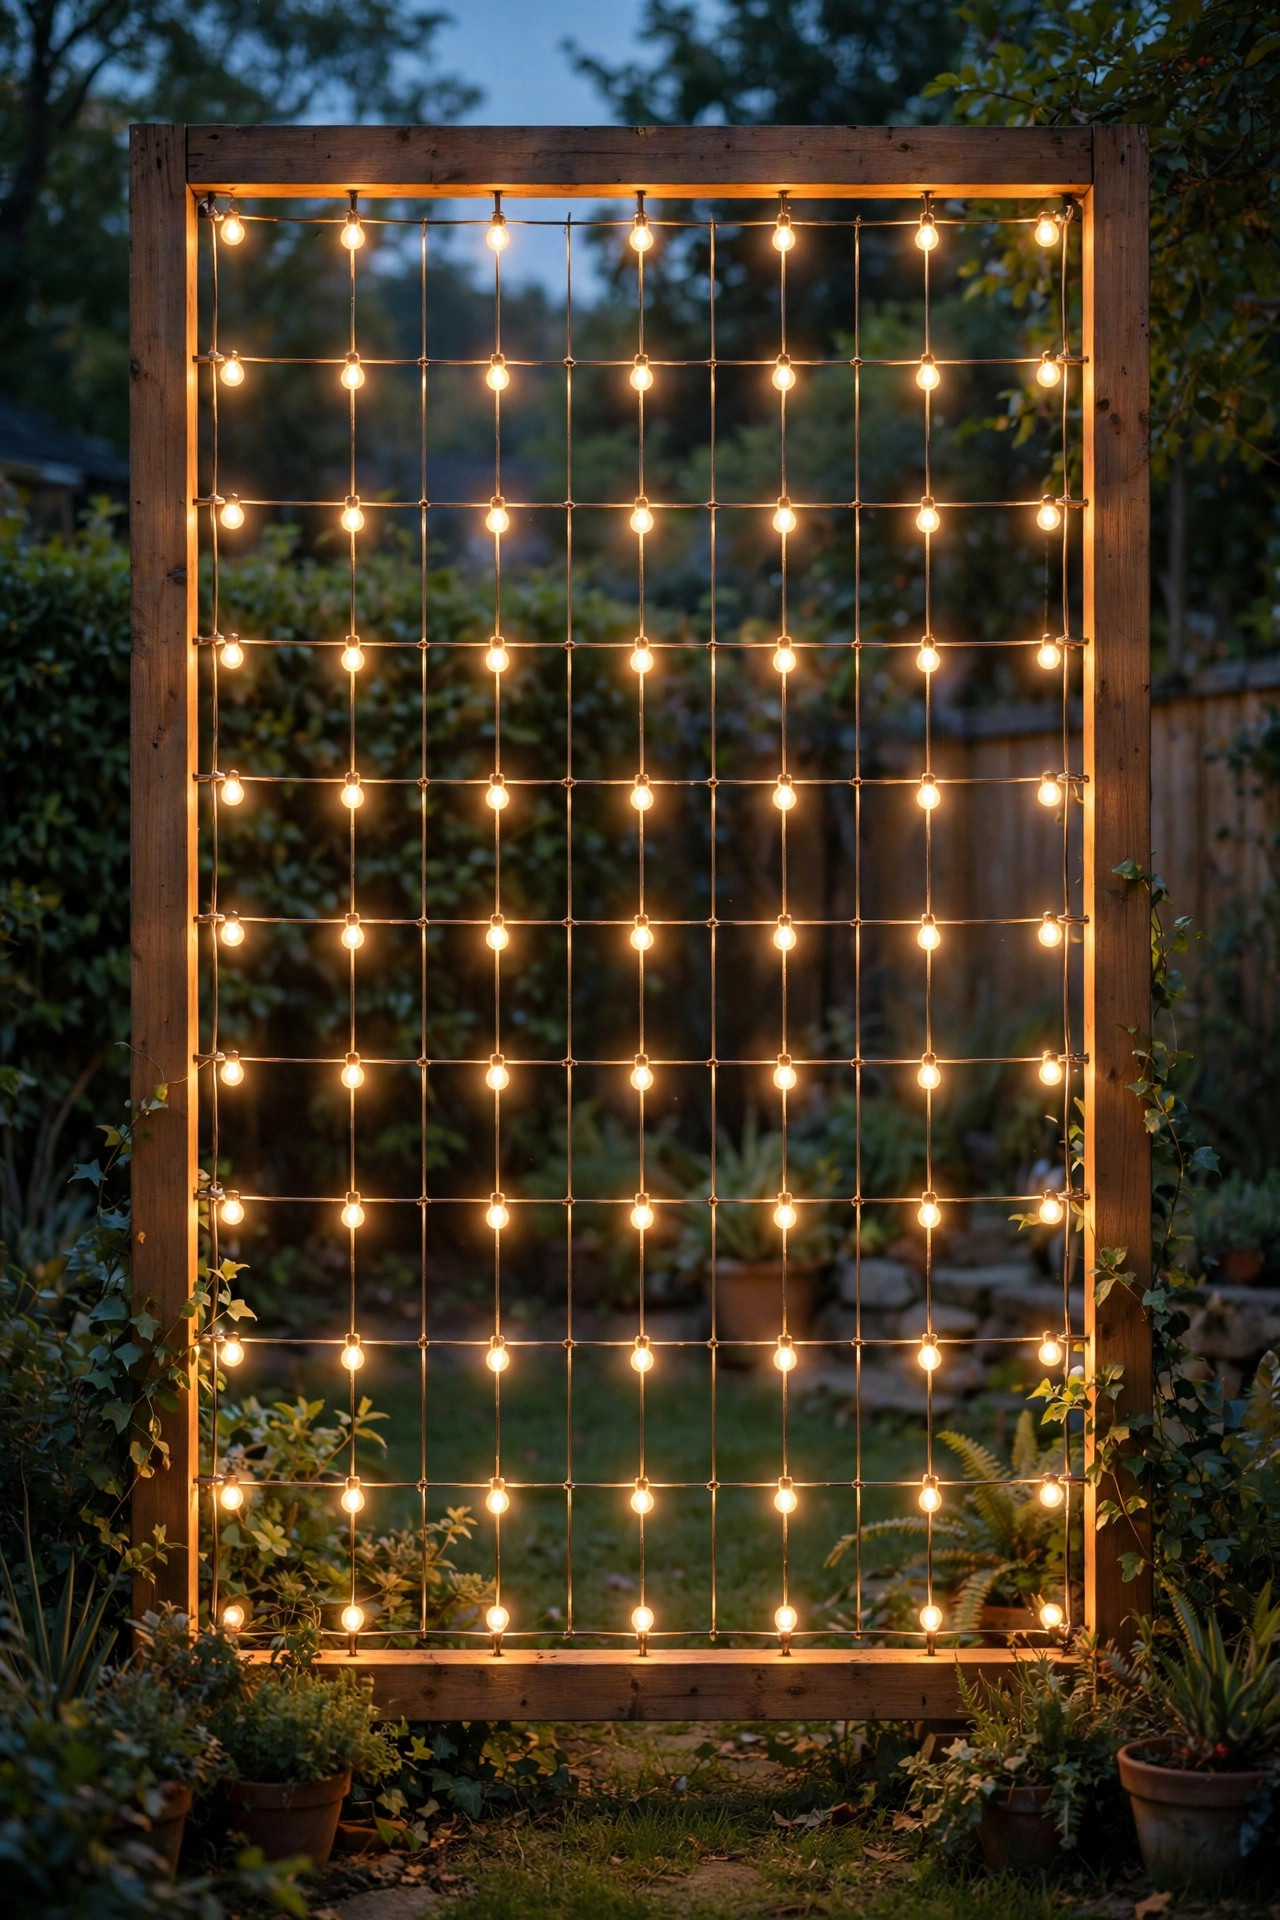
When I want a backdrop that feels a little more tailored than a curtain, I build a grid. Run commercial-grade string lights in straight horizontal rows across a frame or fence section, spacing the rows 12 to 18 inches apart, then add two or three vertical strands if you want a true checkerboard glow. The geometry photographs beautifully, especially for milestone birthdays and graduations where you want the background to feel designed rather than random. Use shatterproof LED bulbs, because a grid puts a lot of glass at head height and guests lean closer than you expect. I build my grid on a simple frame of two 8-foot poles and a crossbar so I can move it from the fence to the patio, and I zip-tie the strands at every crossing to keep the lines crisp. Put the whole grid on a plug-in dimmer and drop it to about 70 percent brightness for photos; full blast washes out faces and blows out phone highlights. Keep the bottom row at least 12 inches off the ground so mulch and grass stay clear of the bulbs.
Suggested budget range: $35 – $90.
4. Add a Neon-Style LED Sign as the Focal Point
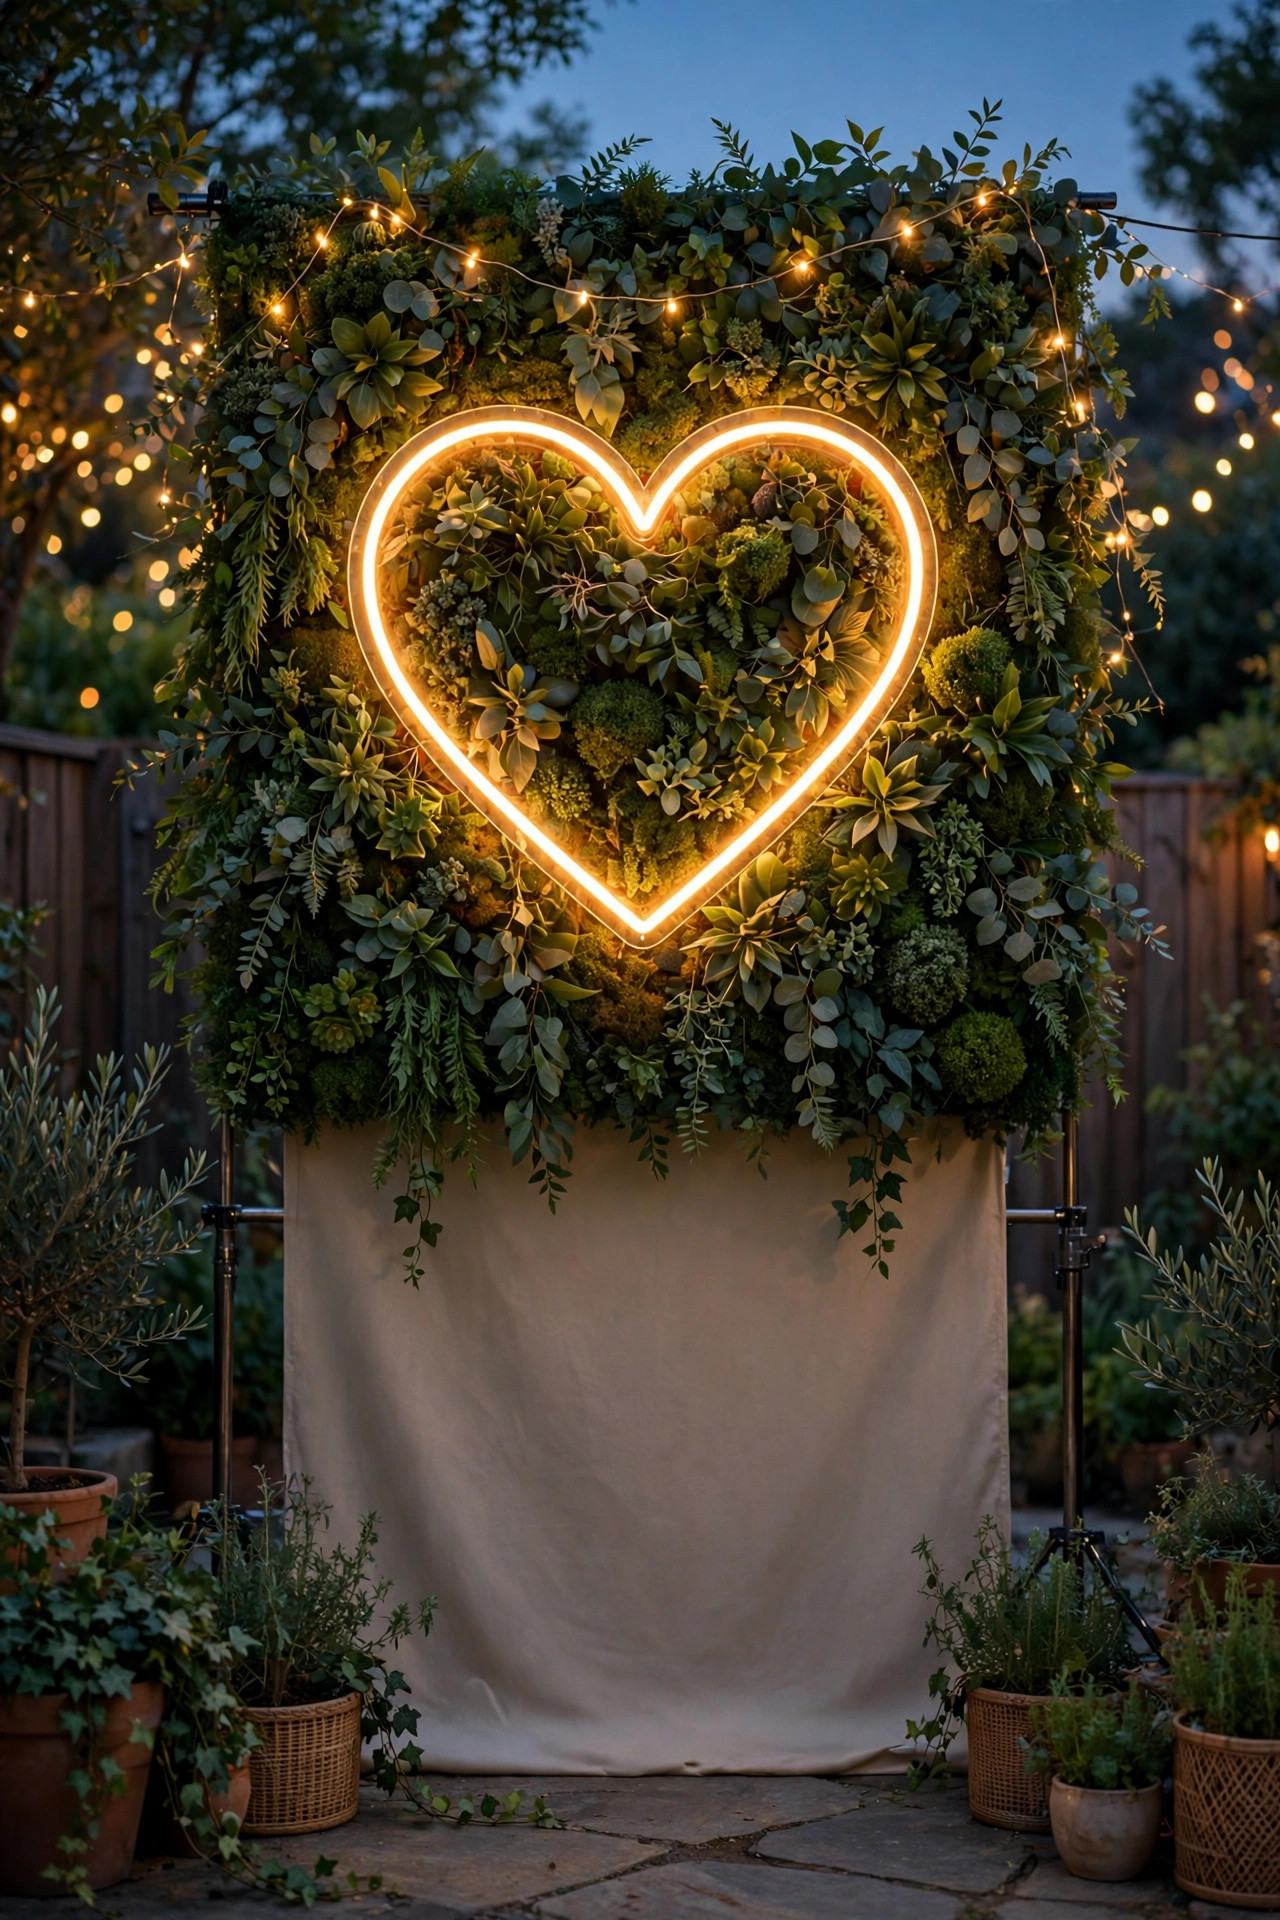
One glowing word or shape gives guests something to stand under and gives every photo an instant theme. Modern LED neon-style signs are flexible light strips sealed in silicone, so they run cool, shrug off splashes, and sip power compared with real glass neon. I mount mine on a greenery panel, a pallet wall, or directly on the fence with clear clips, centered at about 5 and a half feet so the word sits just above shoulder height in group photos. Words like celebrate, cheers, or a simple heart or star shape work for almost any party, which means one sign covers a whole season of gatherings. Most come with a dimmer remote, and I always dim to around 60 percent; a full-brightness sign blooms into a white blob on phone cameras and steals the light from faces. If the sign is corded, route the thin clear lead wire down a fence board and tape it flat so nobody catches it with a heel. Pair the sign with a softer layer behind it, like the fairy curtain from idea 2, so the word floats in sparkle instead of hanging on a dark wall.
Suggested budget range: $45 – $120.
5. Cluster Paper Lanterns at Mixed Heights
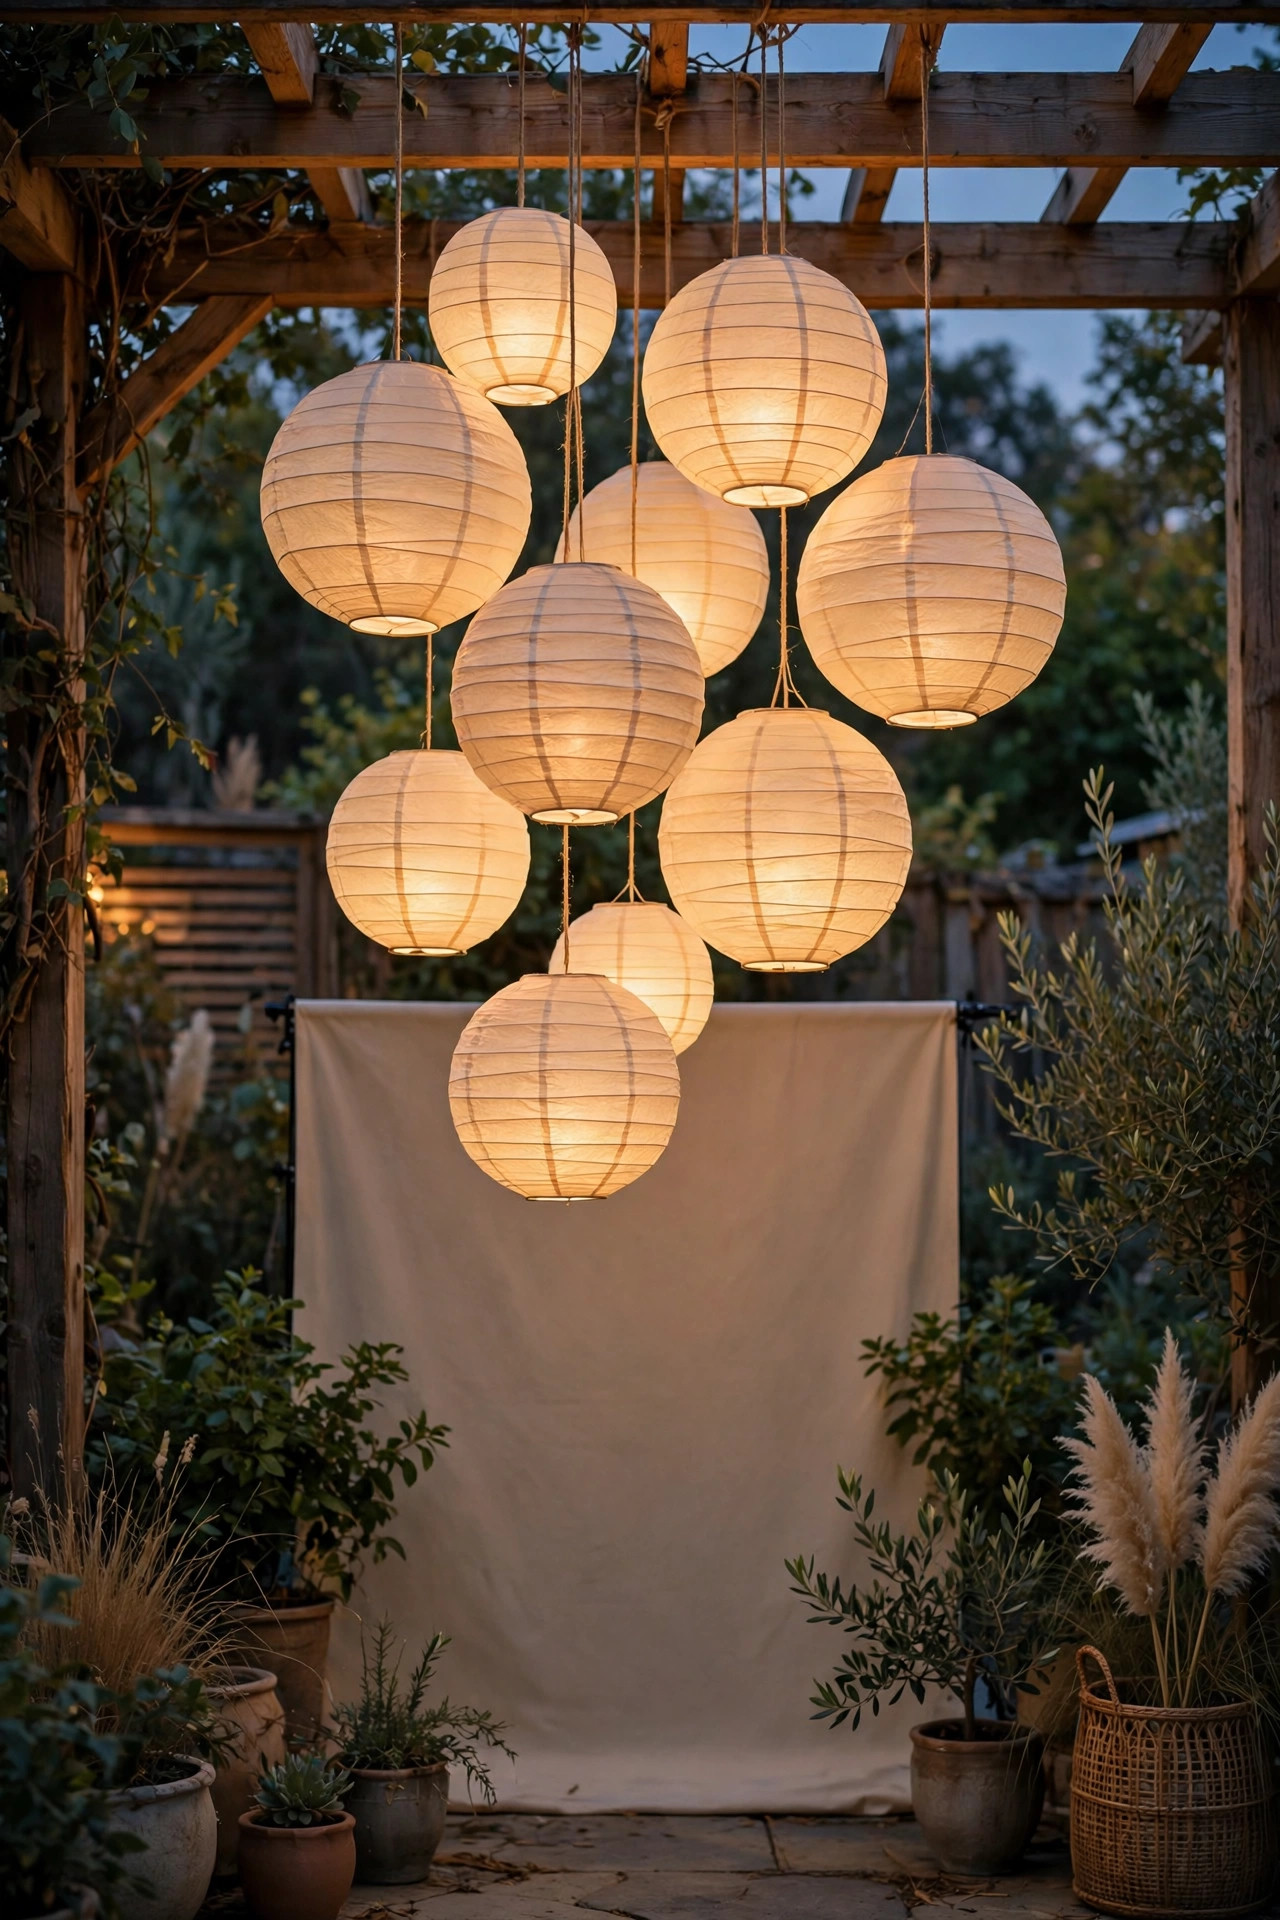
Paper lanterns give you a backdrop with real dimension, and they cost so little that I never feel guilty buying a fresh color for each party. I cluster 10 to 14 lanterns in mixed sizes, 8, 10, and 14 inches, hung at staggered heights between 4 and 7 feet across a pergola beam, a tree branch, or a backdrop stand. The secret is the light inside: use battery LED lantern inserts or flameless puck lights, one per lantern, never a bare bulb on a cord, because paper and heat are a bad combination and the inserts give an even glow with no hot spot. Group the lanterns in odd numbers and vary the depth, with a few pulled 6 to 10 inches forward of the wall, so photos pick up that lovely layered shadow play. Warm white inserts keep skin tones pretty; save the colored lanterns for the paper itself and let the light stay warm. After the party, the lanterns fold flat into a bin, which is more than I can say for most party decor.
Suggested budget range: $20 – $60.
6. Uplight a Flower Wall So the Blooms Glow
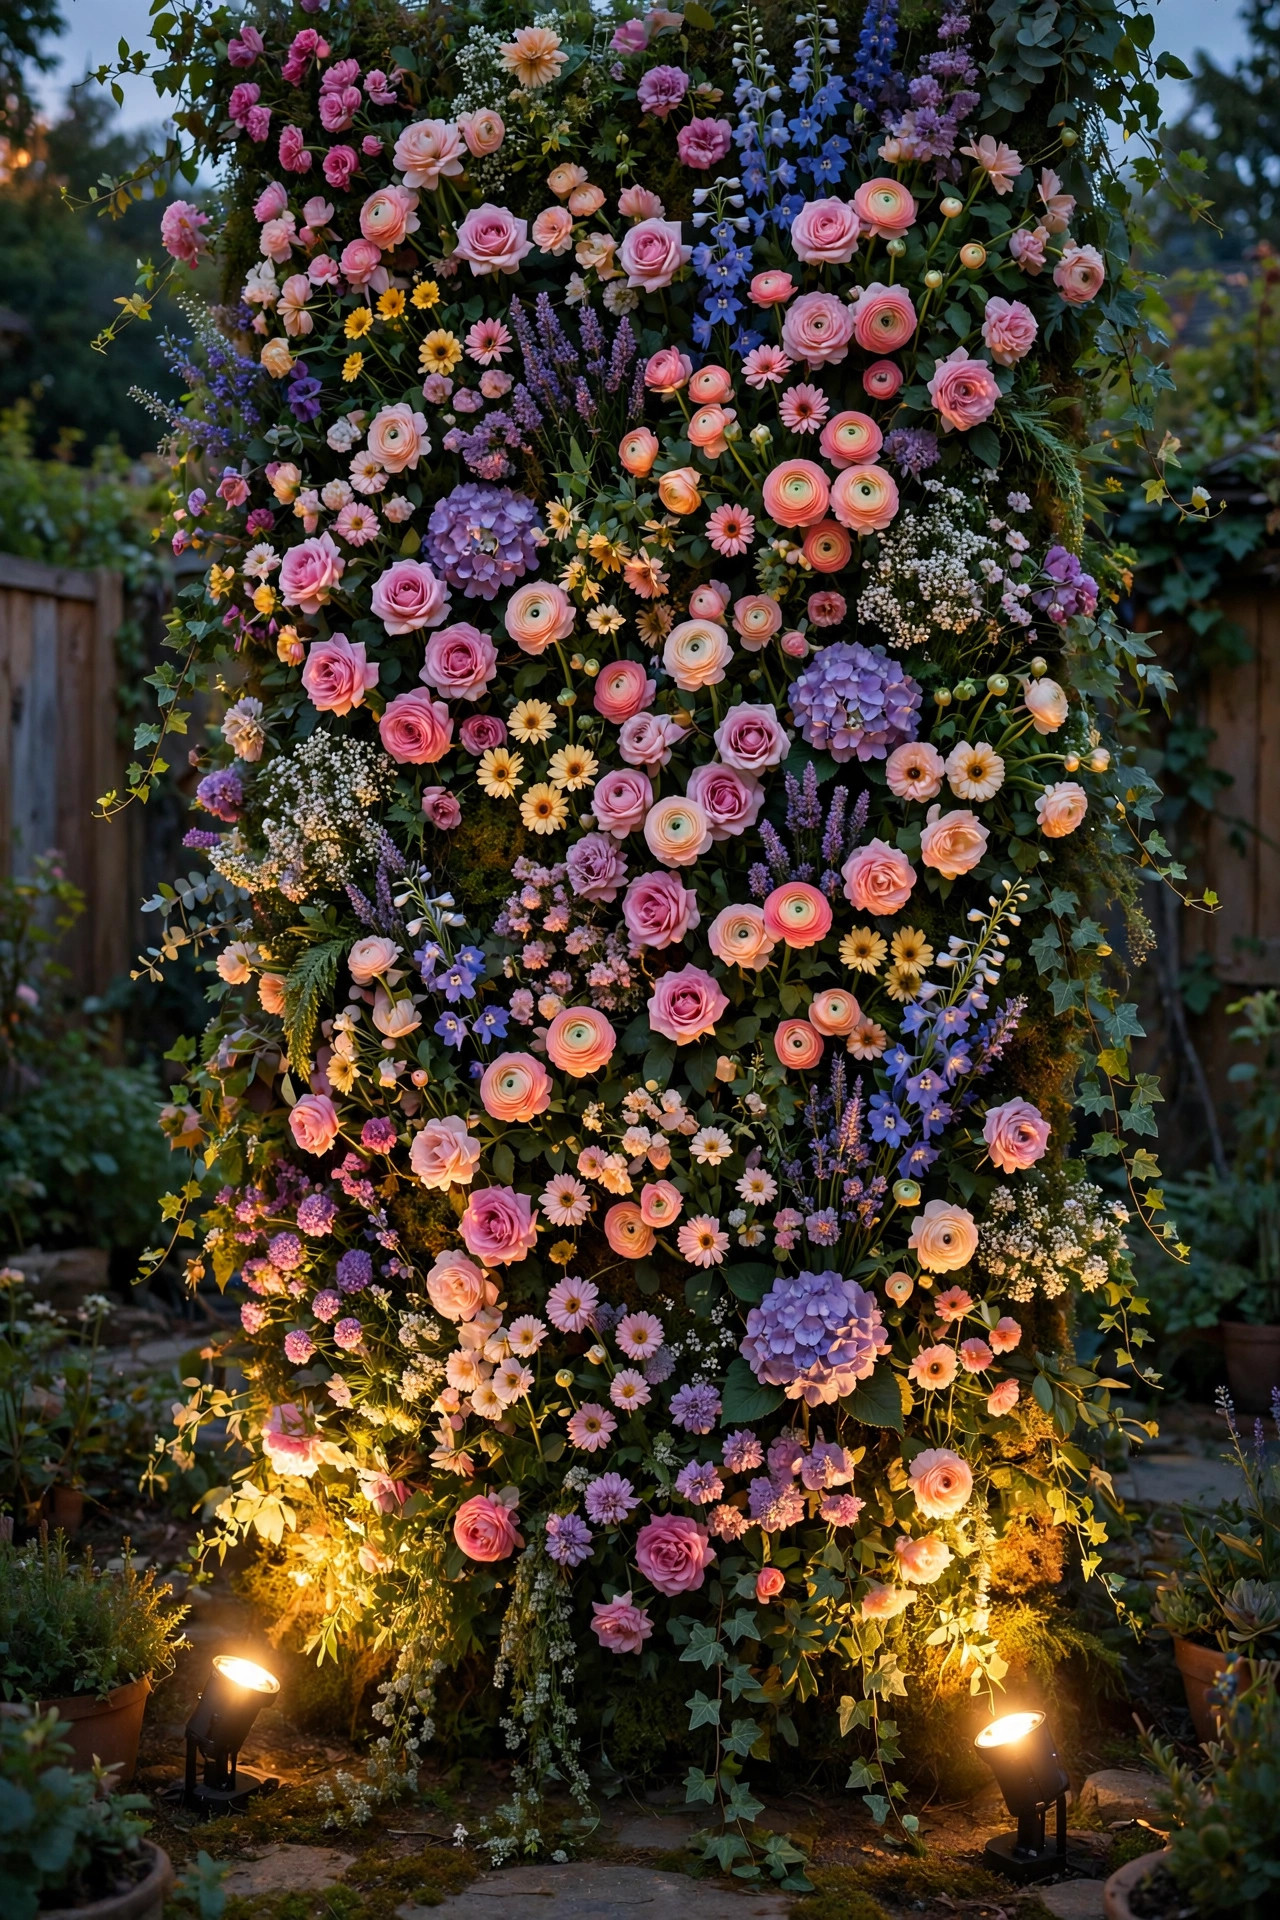
A flower wall is already gorgeous at noon, but at dusk it goes flat and gray unless you light it, and this is where two small uplights earn their keep. Set a pair of low-voltage LED spotlights or solar uplights on the ground 18 to 24 inches in front of the wall, angled up at about 30 degrees so the beams rake across the blooms and throw soft shadows between the petals. That raking angle is everything; straight-on light flattens the flowers into a printed poster. Warm white at 2700K keeps reds and pinks rich, while cool white makes roses look oddly blue, so check the bulb rating before you buy. Keep fixtures at least 12 inches from faux flower panels, since even LED lenses deserve a little air, and tuck the cords under the edge of the panel so the base looks clean in wide photos. For a fresh flower wall on a trellis, add a strand of copper-wire fairy lights woven loosely through the top third for sparkle above the uplight wash.
Suggested budget range: $60 – $180.
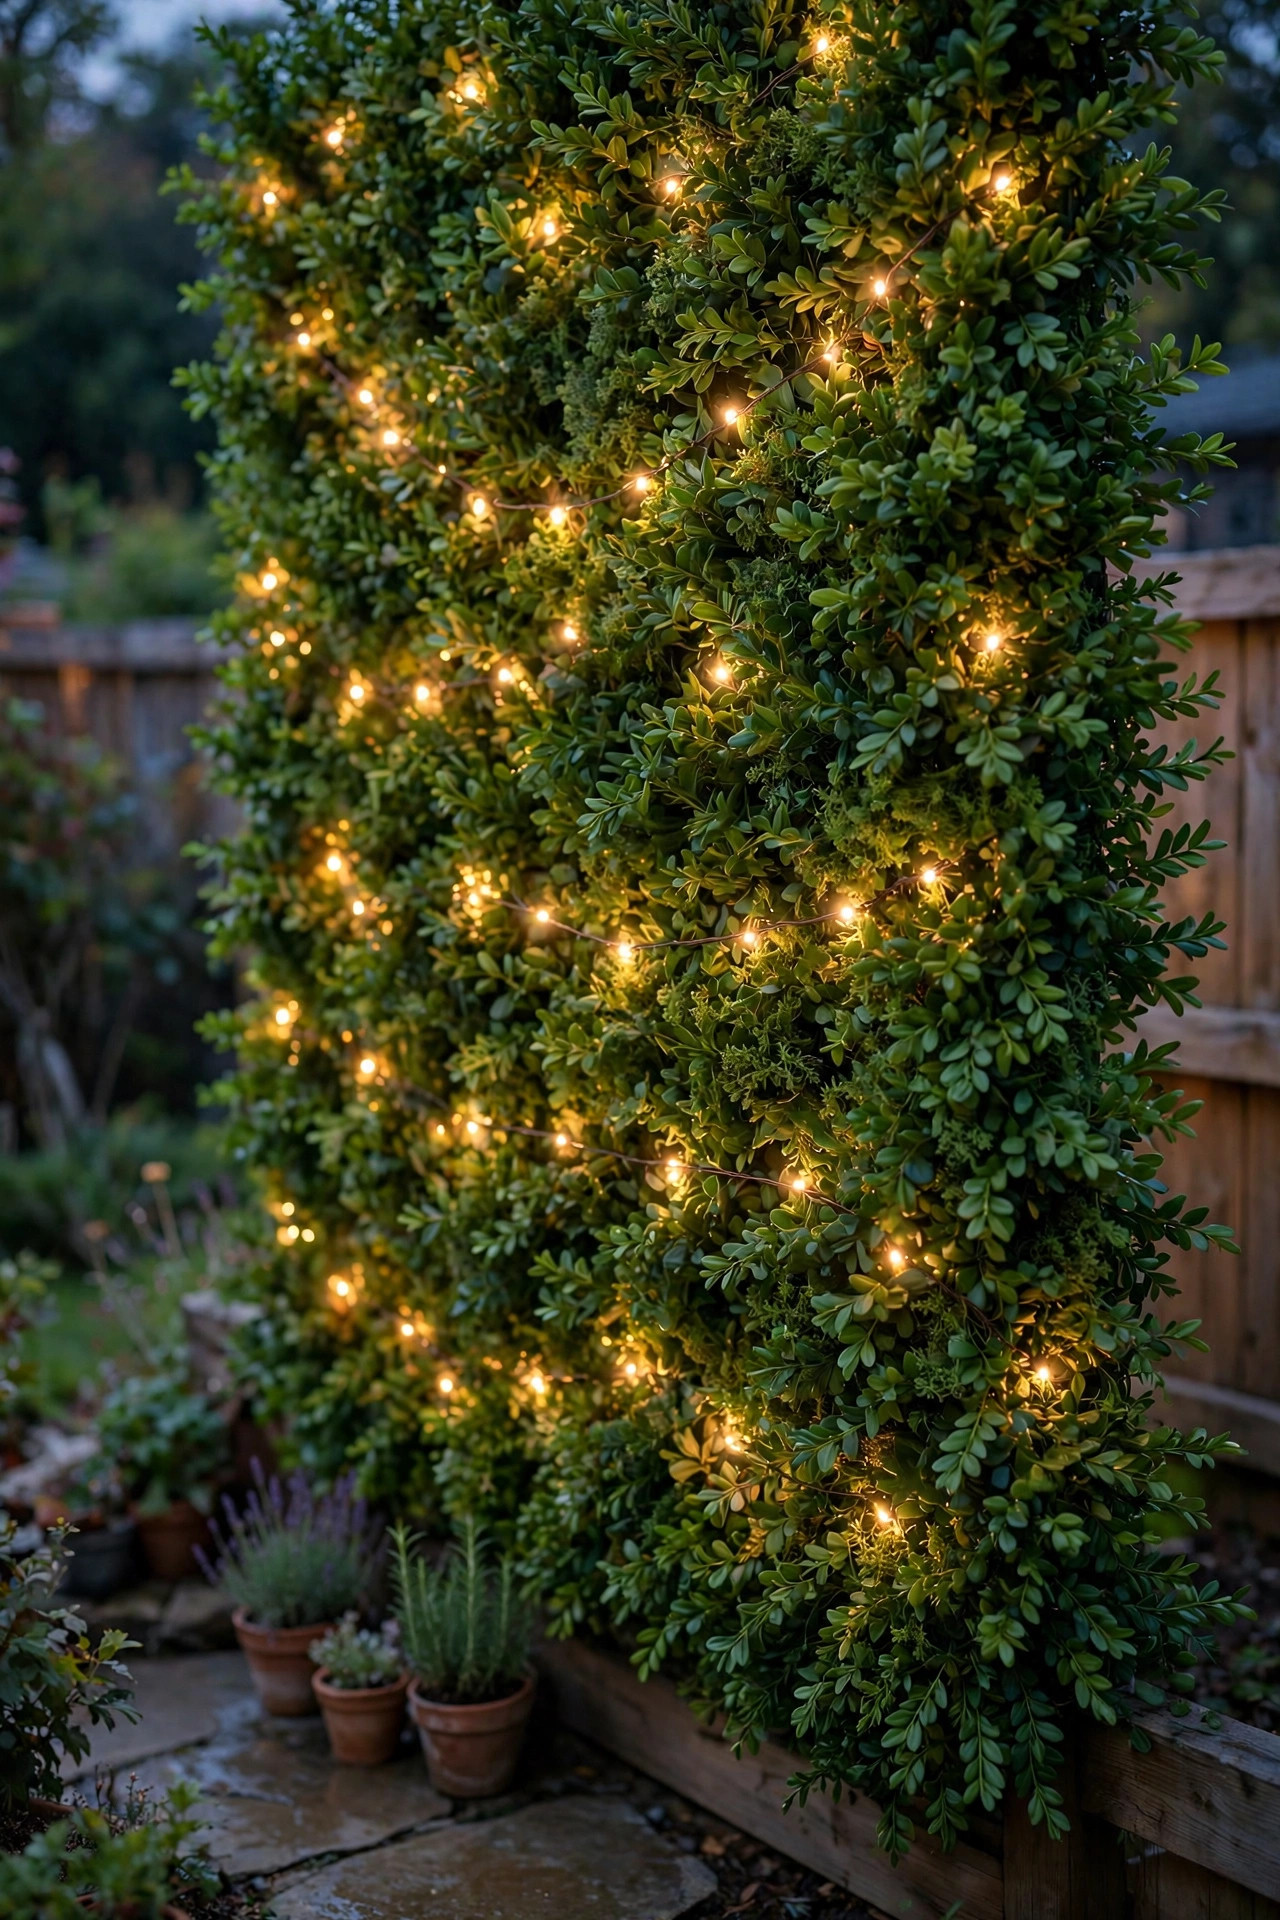
7. Hide Fairy Lights Inside a Greenery Wall
A greenery panel, whether it is faux boxwood tiles on a frame or a real hedge you already own, becomes a hundred times more photogenic with light hidden inside it. I weave two or three strands of copper-wire fairy lights through the panel before I hang it, poking the tiny bulbs just barely through the leaves so the wall sparkles from within instead of wearing lights like jewelry. Battery packs tuck into the frame at the back, which makes this the perfect backdrop for a spot with no outlet nearby. Space the glowing points unevenly, denser at the top and looser at the bottom, because perfectly even spacing reads as a store display in photos. The green-plus-gold combination flatters every skin tone and every outfit color, which is why this is my default backdrop for showers and engagement parties. If your panel is faux, keep it out of all-day direct sun when you can; the lights do not mind, but the plastic leaves fade slower in shade. Standing 3 feet in front of this wall, guests get a soft green glow behind them that no filter can fake.
Suggested budget range: $50 – $140.
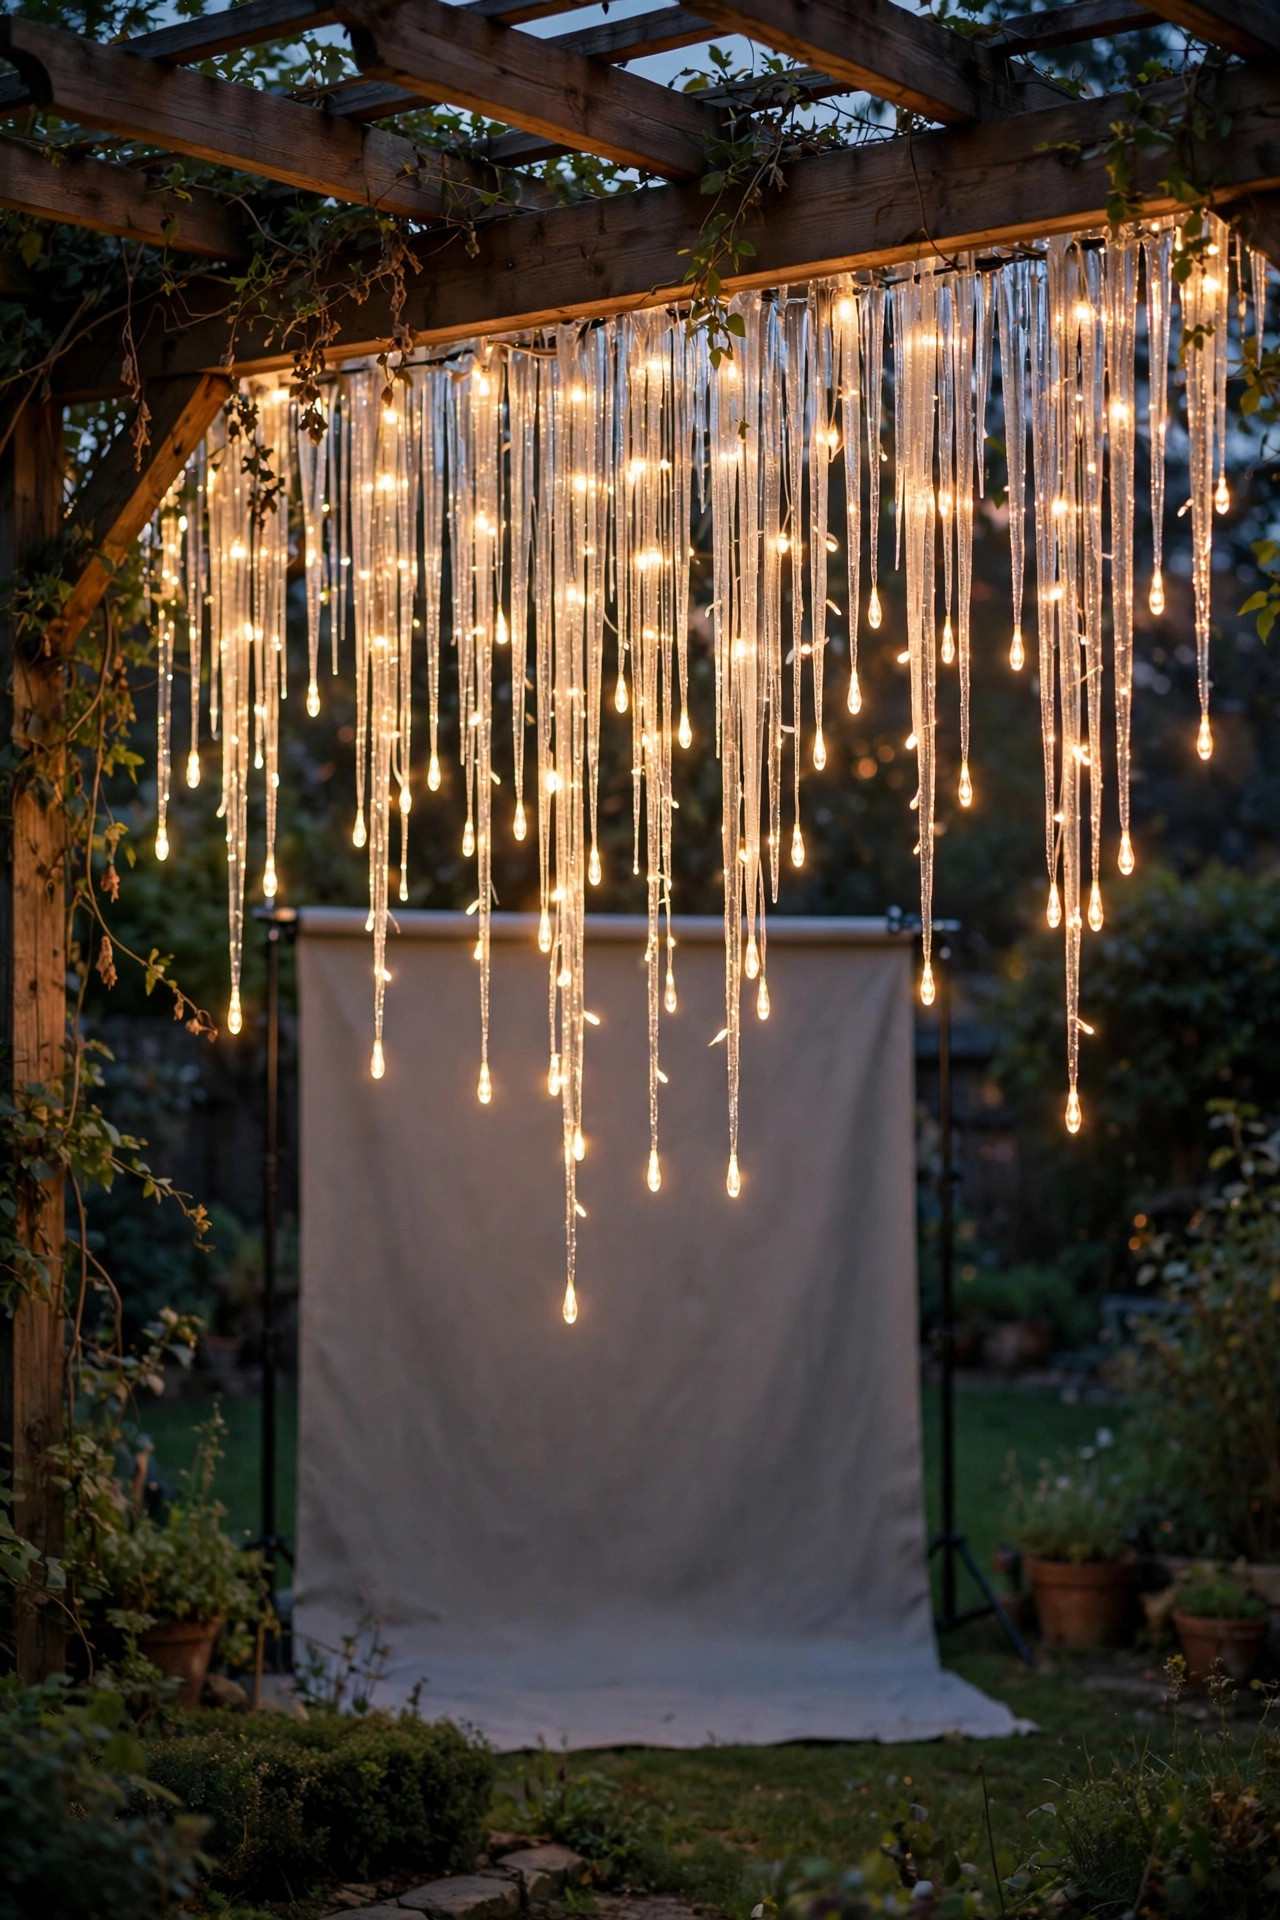
8. Drape Icicle Curtain Lights for a Waterfall Effect
Icicle strands give you movement that a flat curtain cannot: dozens of short drops hanging at staggered lengths, like the whole wall is dripping with light. I hang them from the edge of the pergola roof, a gutter line, or the top bar of a backdrop frame, and I use two strands side by side to cover a 10-foot span. The staggered drops, usually 12 to 24 inches, catch the camera beautifully because every photo shows light at different depths. Warm white is the classic choice and flatters faces best, and I always let a few strands hang slightly in front of a plain wall rather than mixing in fabric, so the drops read clearly. These strands are built for rooflines, which means they are outdoor-rated and weather tough, but check that the drops hang free and do not rest in wet mulch at the bottom of the frame. This is the backdrop I reach for at winter birthdays and holiday parties, though honestly it earns compliments in July too. If you fall for the look, my guide to icicle curtain lights year round shows how to use them far beyond December.
Suggested budget range: $30 – $80.
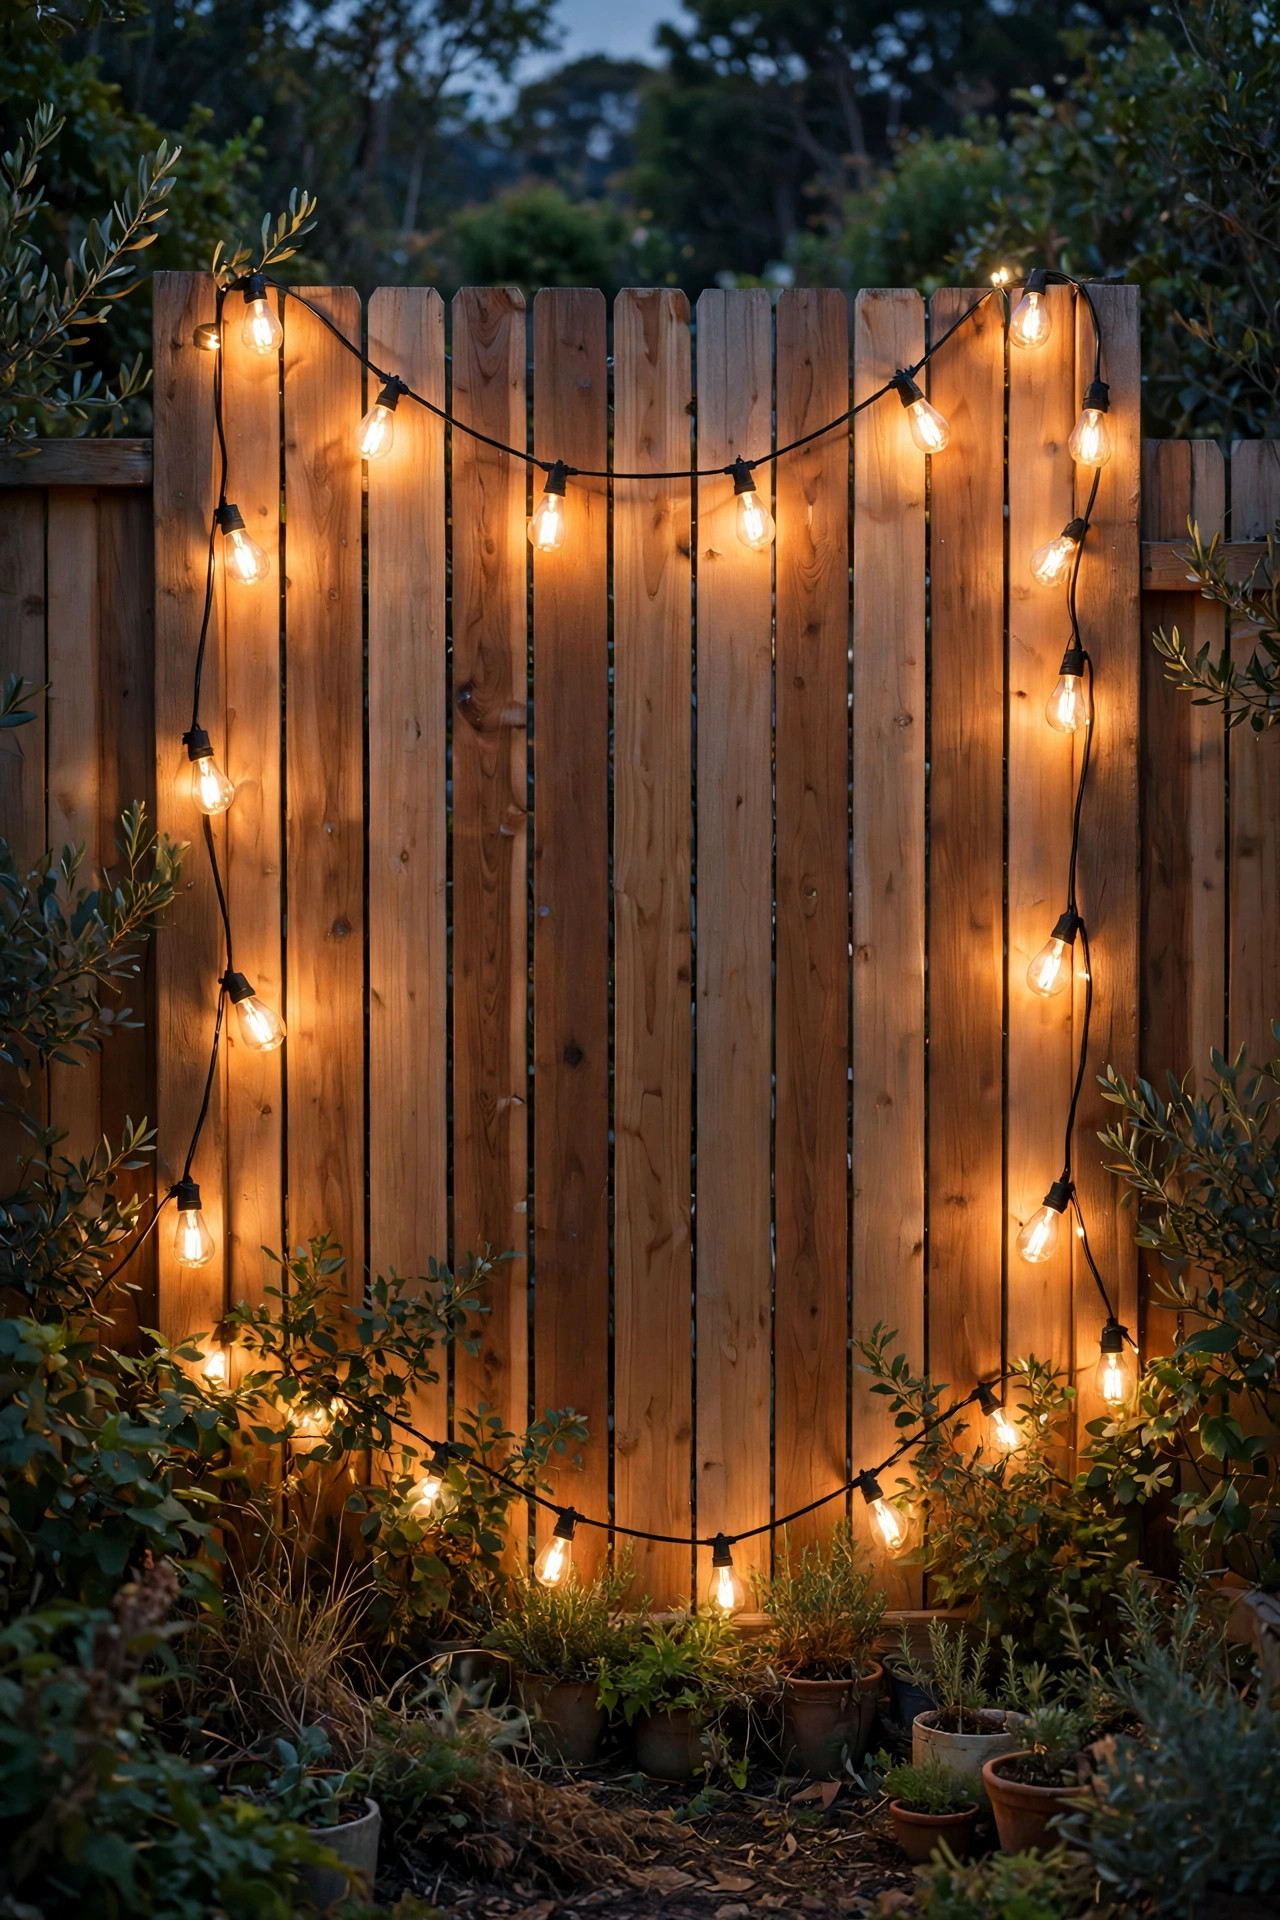
9. Frame the Wall With an Edison Bulb Swag
Sometimes the wall itself is the backdrop, a pretty brick face or a cedar fence, and all it needs is a frame of light to tell guests where to stand. I swag two strands of filament-style LED bulbs around the edges of the scene, anchored at the top corners and dipped in gentle curves every 3 to 4 feet, so the backdrop wears a glowing border. The oversized bulbs photograph as big soft orbs, which looks especially pretty in portraits. Keep the swag at least 7 feet high at its lowest dip so tall guests are not ducking bulbs, and use shatterproof bulbs anywhere people gather underneath. A plug-in dimmer matters here more than anywhere: filament bulbs at full power flare on camera, but dimmed to half they turn the color of candlelight and make the whole frame feel vintage. Because the bulbs themselves are the decoration, this is a fast setup, about 20 minutes including the ladder work, and it pairs well with a neon-style sign or a paper lantern cluster inside the frame when you want a fuller look.
Suggested budget range: $40 – $100.
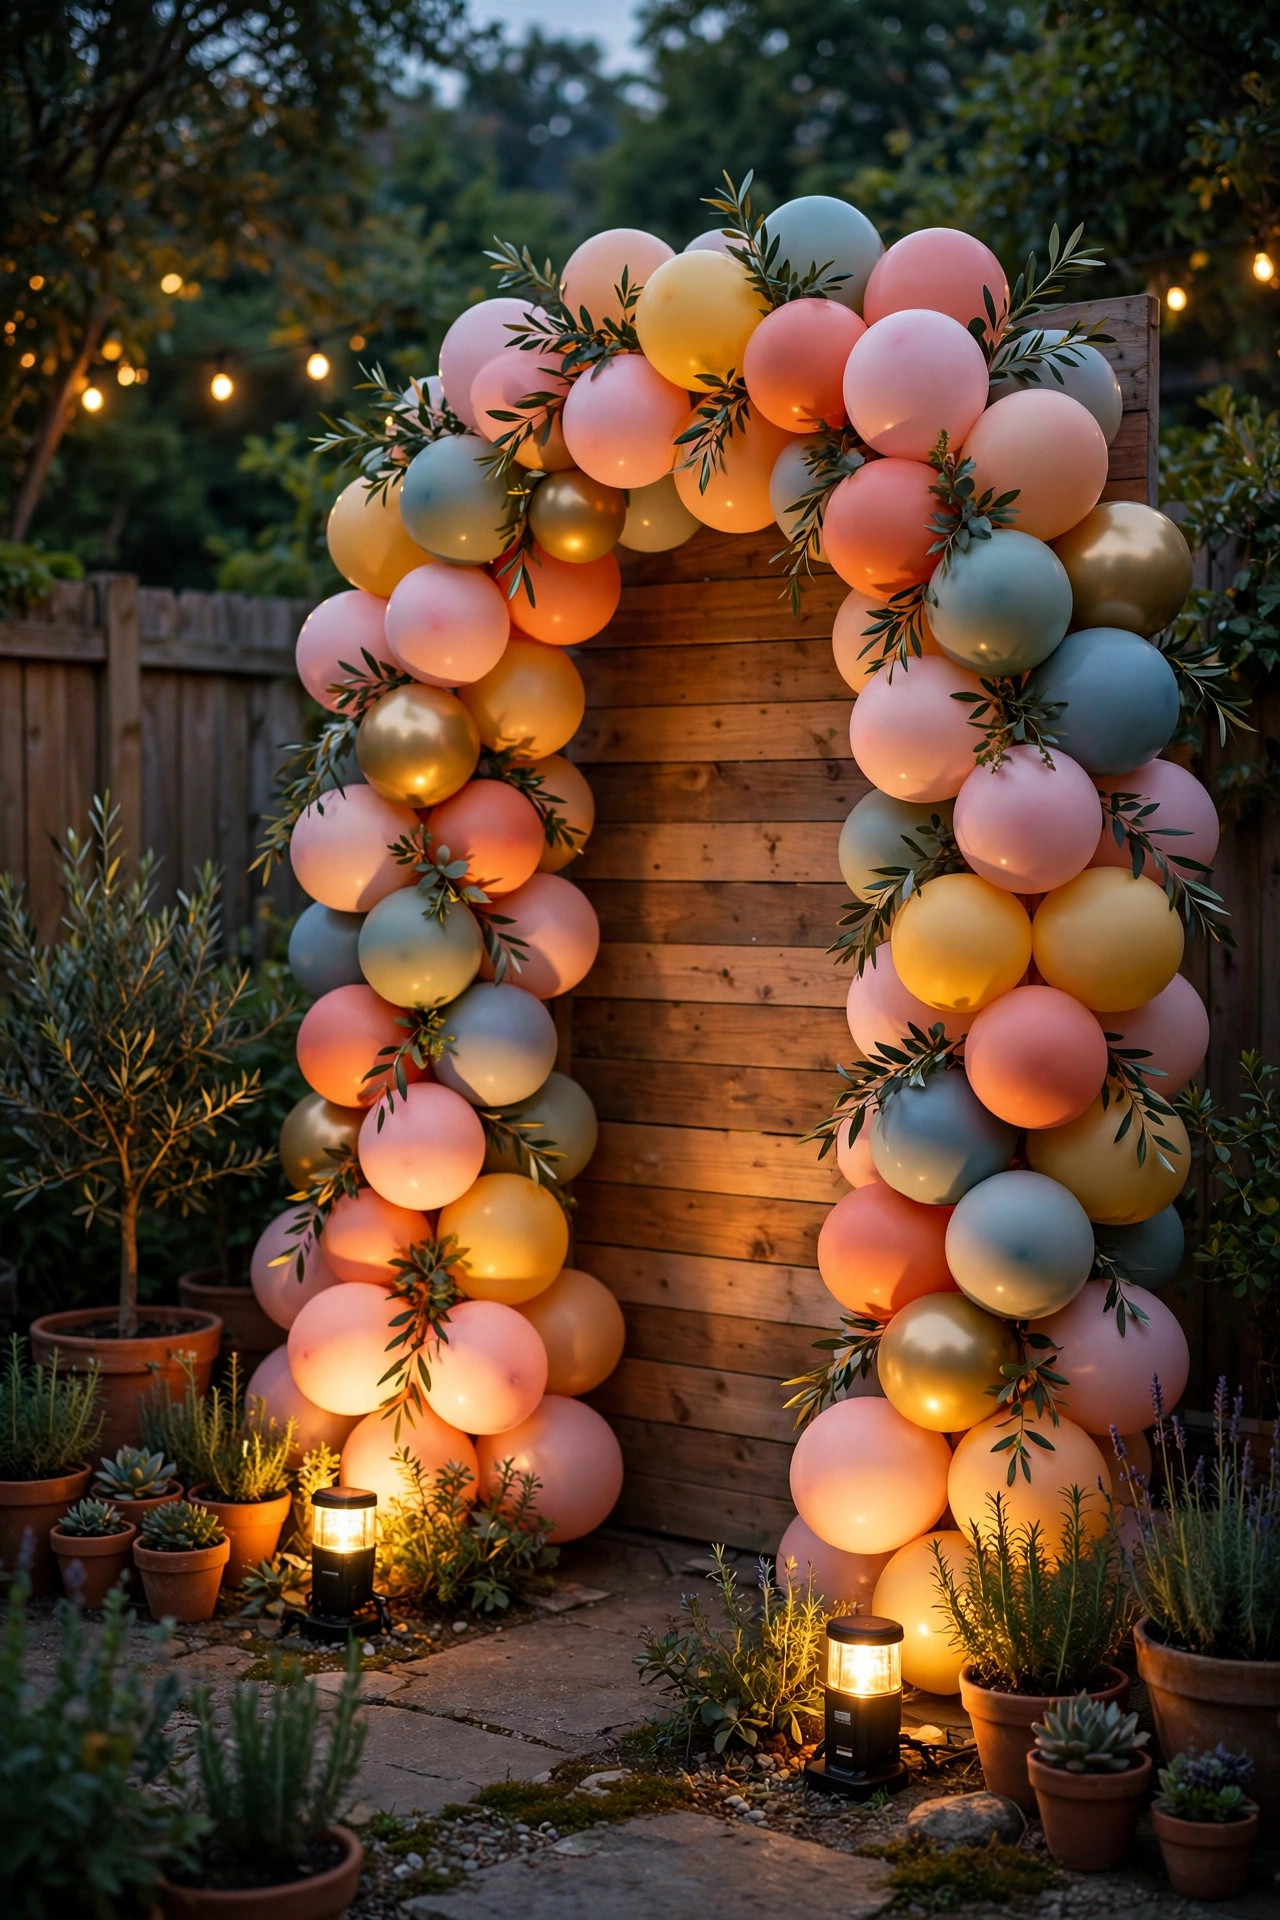
10. Pin-Spot a Balloon Garland
A balloon garland with no light on it disappears by 8 p.m., which is a shame after you spent an hour inflating it. Two small LED pin spots or battery uplights fix that in minutes. Place one light on the ground at each end of the garland, 2 to 3 feet back, angled up into the balloons so the whole arch glows like it is lit from inside. Battery uplights are perfect here because there are no cords crossing the photo zone, and you can set them to warm white for classic parties or a soft color for themed ones. One non-negotiable rule from experience: LED only, and keep every fixture at least 2 feet from the balloons, because latex and heat do not mix and a popped balloon mid-photo is nobody's favorite memory. Test the angle at dusk before guests arrive; you want the light to spread across the whole garland rather than blowing out the lowest balloons into white circles. This trick also rescues balloon columns and welcome-sign displays by the gate.
Suggested budget range: $30 – $85.
11. Flattering Outdoor Photo Backdrop Lighting Needs a Soft Key Light
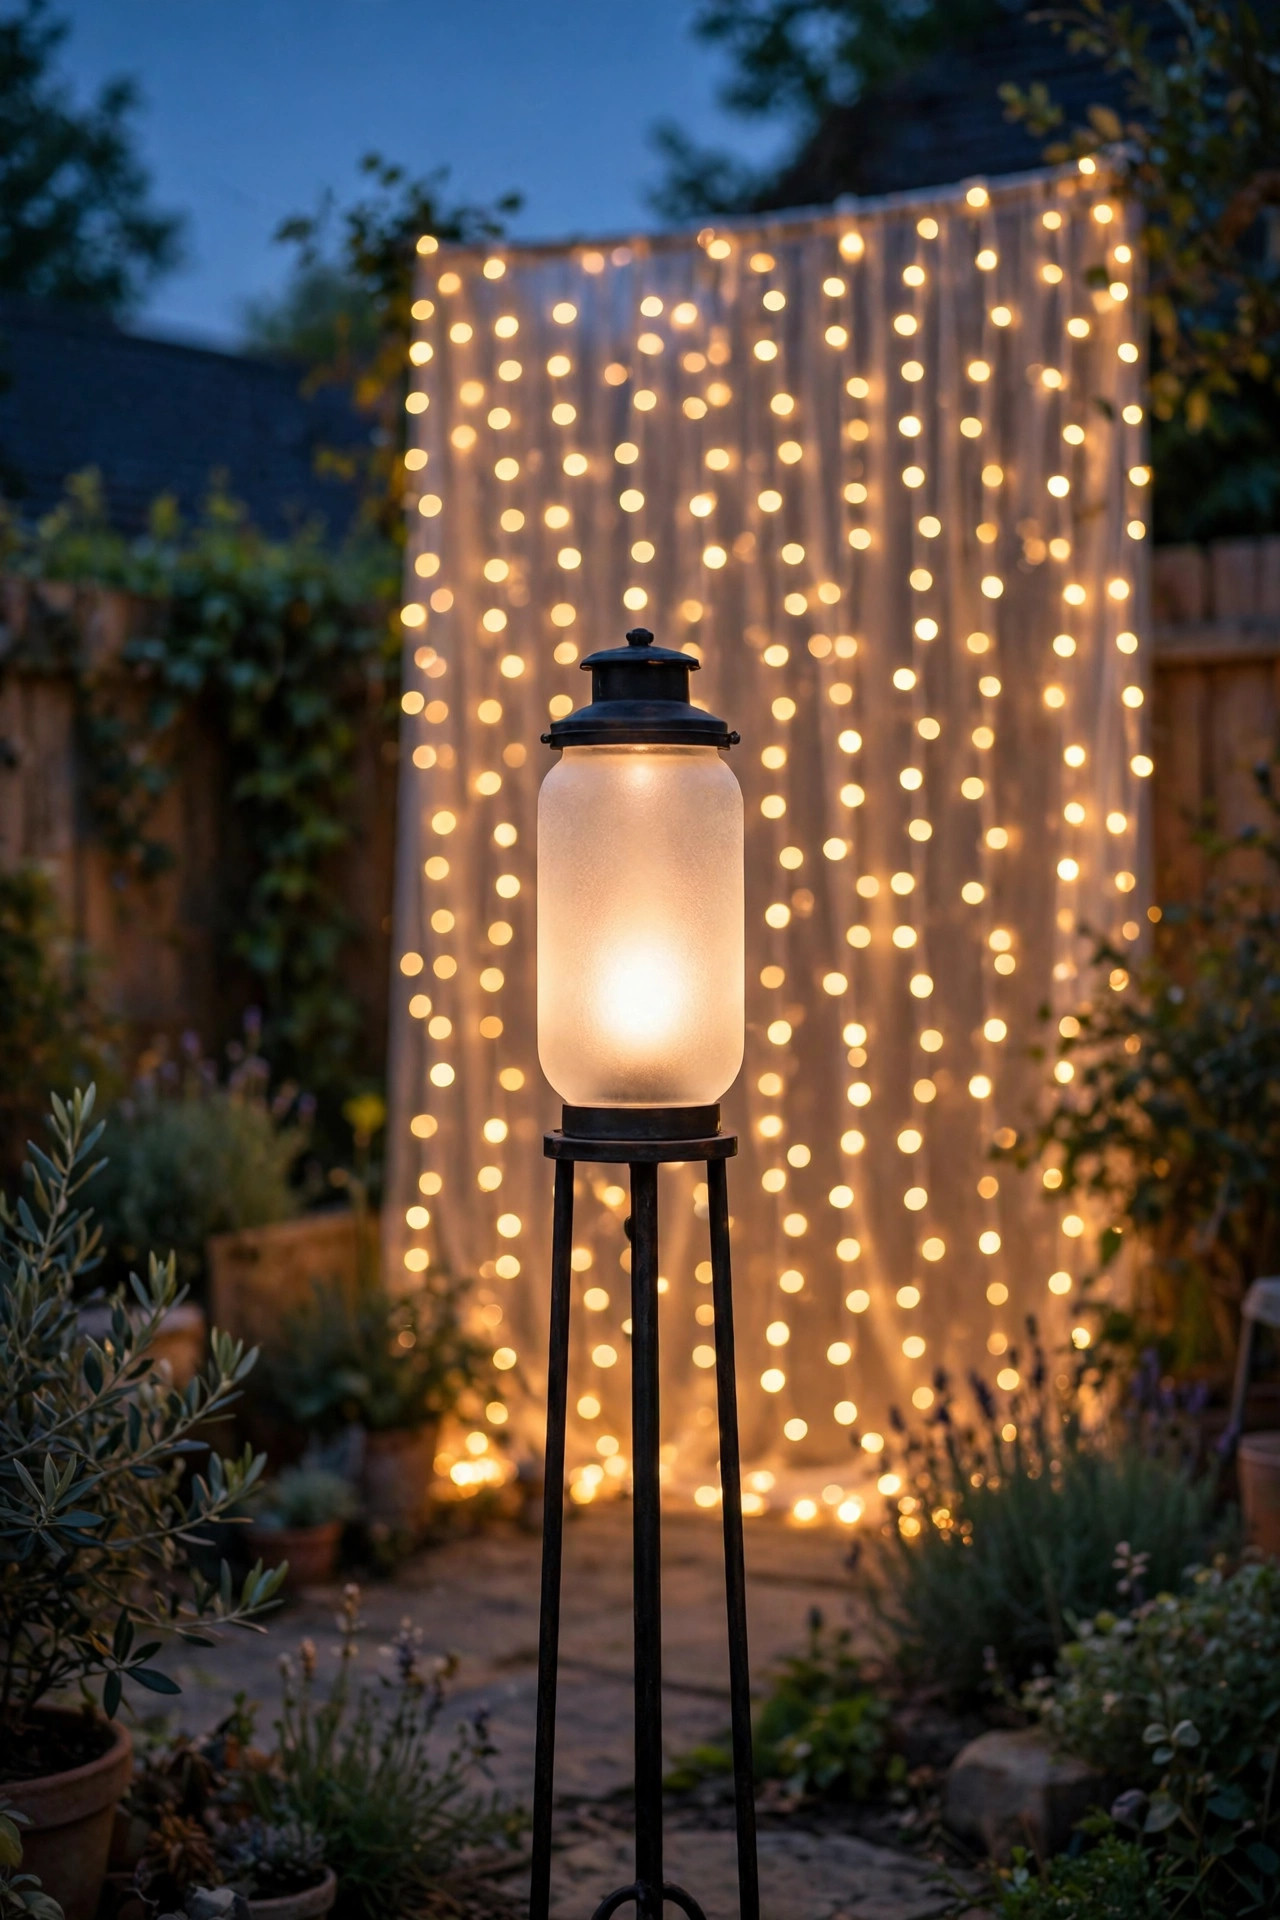
Here is the idea that separates decent backdrop photos from great ones: light the people, not just the wall. A single soft light in front of your guests, set about 45 degrees to one side and slightly above face height, fills in eye sockets and smooths shadows that the sparkly background cannot touch. I use a frosted lantern on a light stand, a shepherd hook, or even a table lamp shade style fixture with a warm 2700K bulb; the diffuser is the whole point, because a bare bulb creates harsh shine on foreheads. Place it 4 to 6 feet in front of where guests stand, just out of the camera frame, and keep it dimmer than you think; it should whisper, not shout. If guests complain about a light in their eyes, angle it down a few degrees rather than turning it off. This one addition is why party hosts think I bought a fancy camera. I did not. I bought a lantern and put it in the right place, and your backdrop photos will jump a level the first night you try it.
Suggested budget range: $25 – $75.
12. Nail Mason Jar Lanterns Along a Pallet Wall
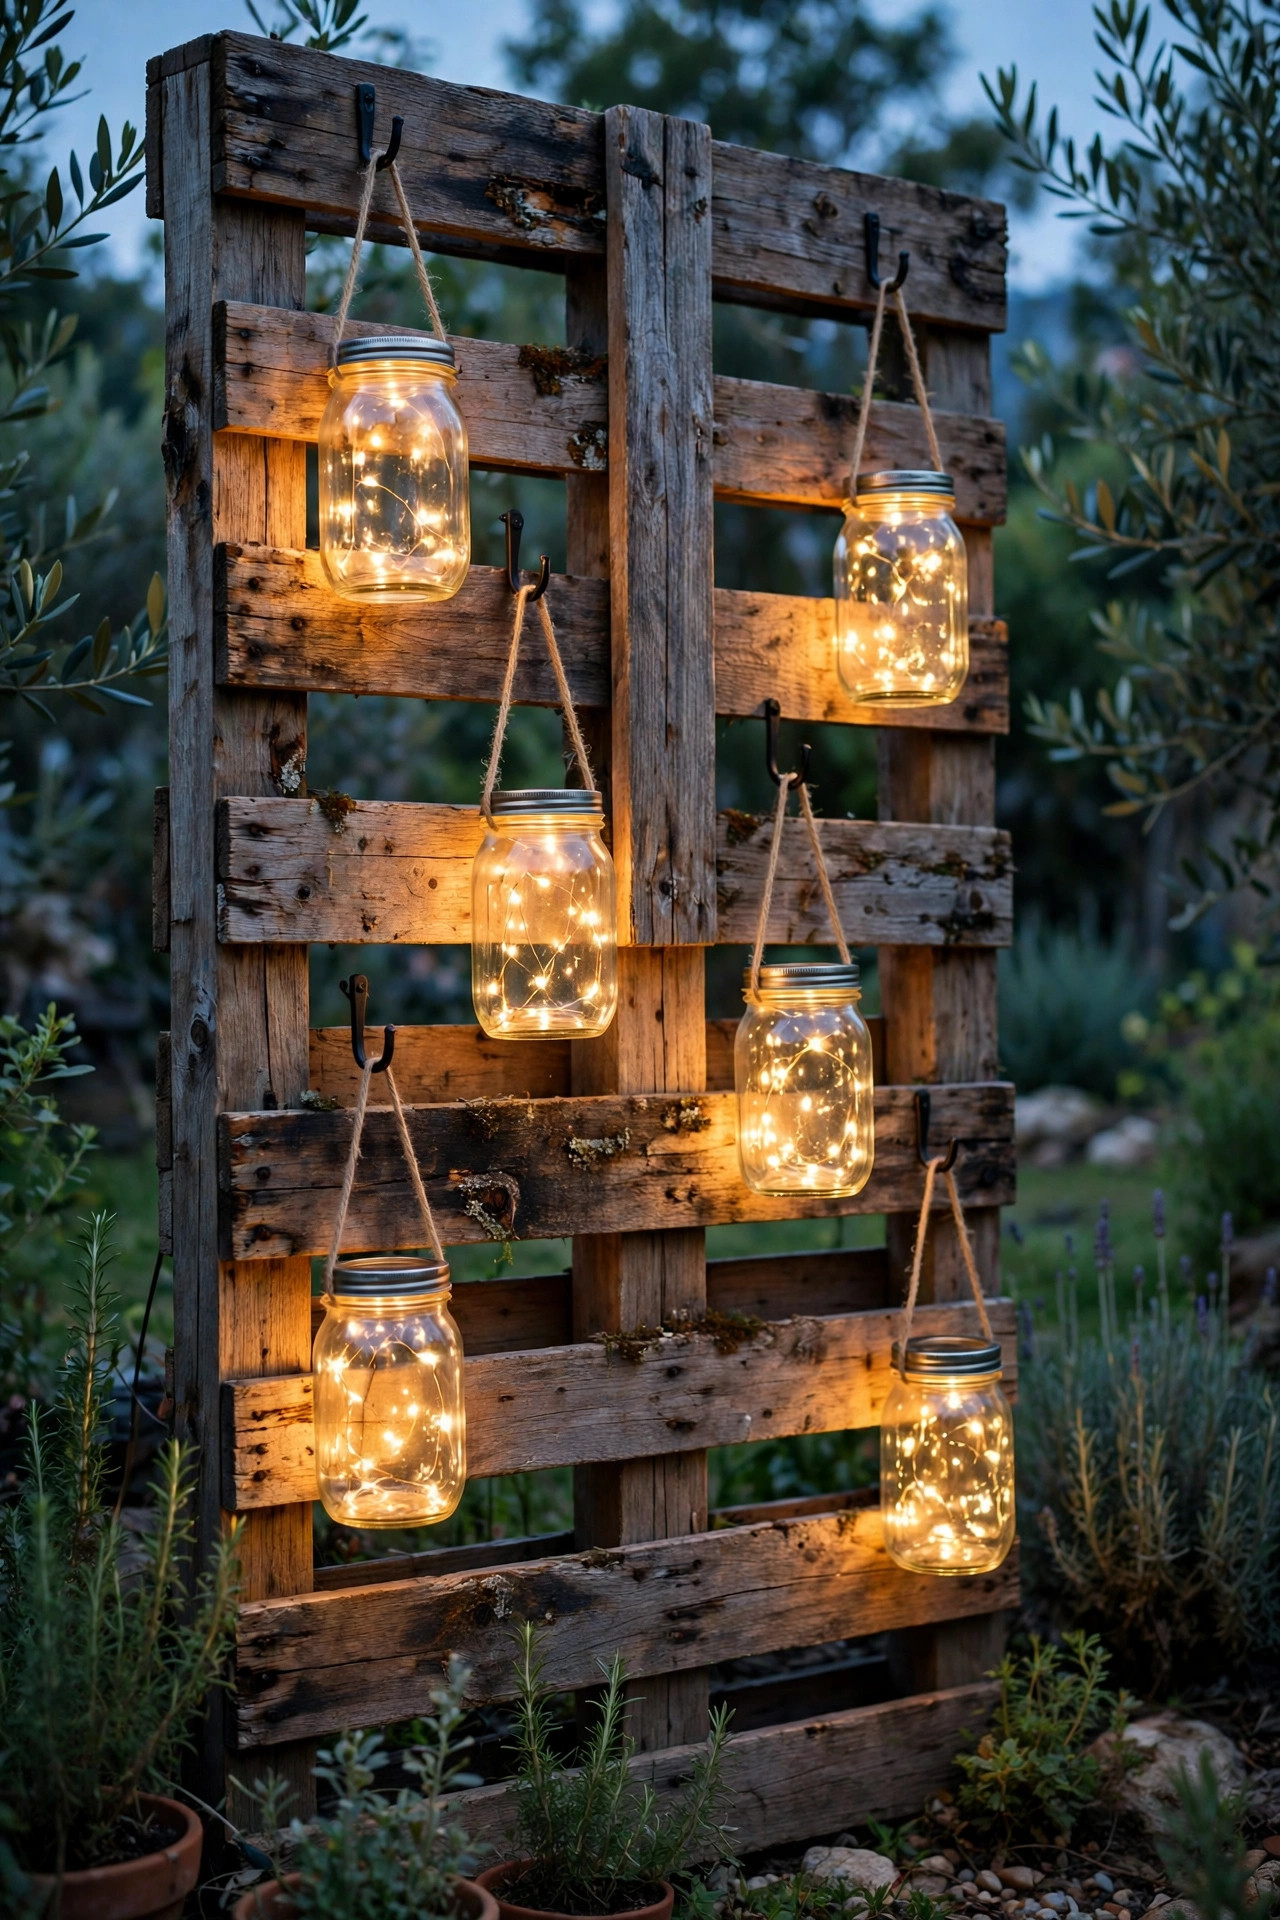
For a rustic party, nothing beats a weathered pallet or a stretch of fence boards dotted with glowing mason jars. I screw simple hook brackets into the boards at staggered heights, hang a jar on each, and drop in a flameless LED candle or a curl of battery fairy lights. Twelve to sixteen jars across an 8-foot wall gives you a constellation effect that photographs like a country wedding. Mix two jar sizes so the pattern does not look stamped out, and leave a clear space in the middle of the wall if you plan to add a sign or a monogram. Because the candles are flameless, this backdrop is safe around kids, paper banners, and hay bales, and the jars shrug off a breezy evening that would kill real flames. Solar lids for mason jars exist too and charge all day on the wall itself, which makes this my favorite no-outlet rustic option. Setup takes about half an hour, and the whole wall comes down into one storage bin when the season ends.
Suggested budget range: $25 – $65.
13. Layer Macramé and Copper-Wire Lights for a Boho Wall
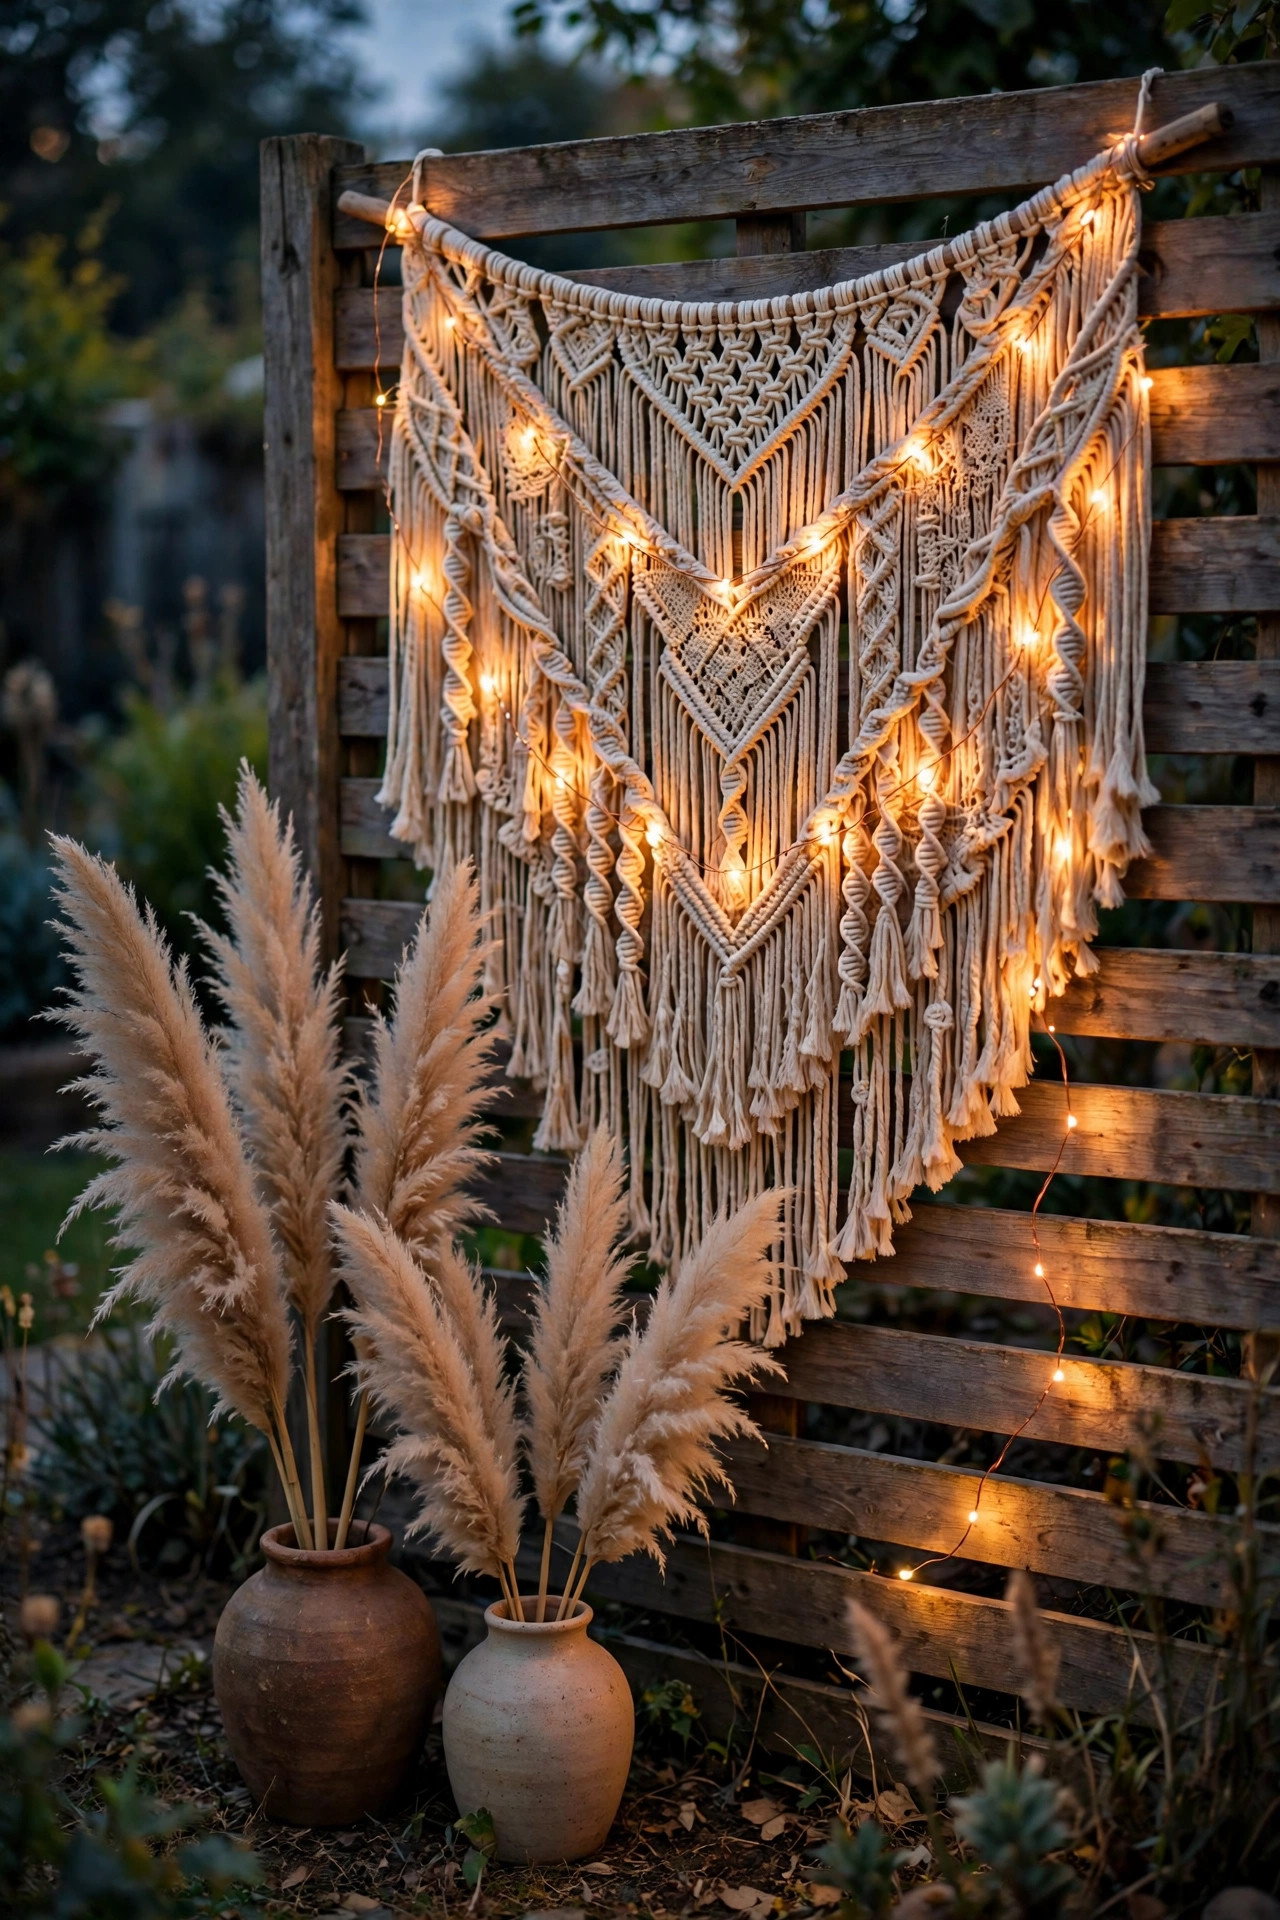
For boho showers and garden parties, I hang a large macramé panel or a few woven wall hangings on the fence and weave warm copper-wire fairy lights through the knots so the texture itself glows. The light catches every loop and tassel, and photos get this soft, handmade warmth that flat backdrops cannot match. Add a low wash of light from a ground uplight behind a row of pampas grass plumes in tall vases at the base, and the whole scene turns into something guests describe as a magazine shoot. Keep the fairy light strands on battery packs hidden behind the hanging, and use warm white only; colored lights fight the natural fibers and cheapen the look. One practical note: cotton macramé and outdoor humidity are not friends, so hang this backdrop the day of the party and bring it in at night rather than leaving it up all season. Woven panels also rustle in the breeze, which sounds lovely in person and means you should secure the corners so the lights do not tangle mid-party.
Suggested budget range: $35 – $95.
14. Backlight a Sheer Curtain for a Dreamy Glow
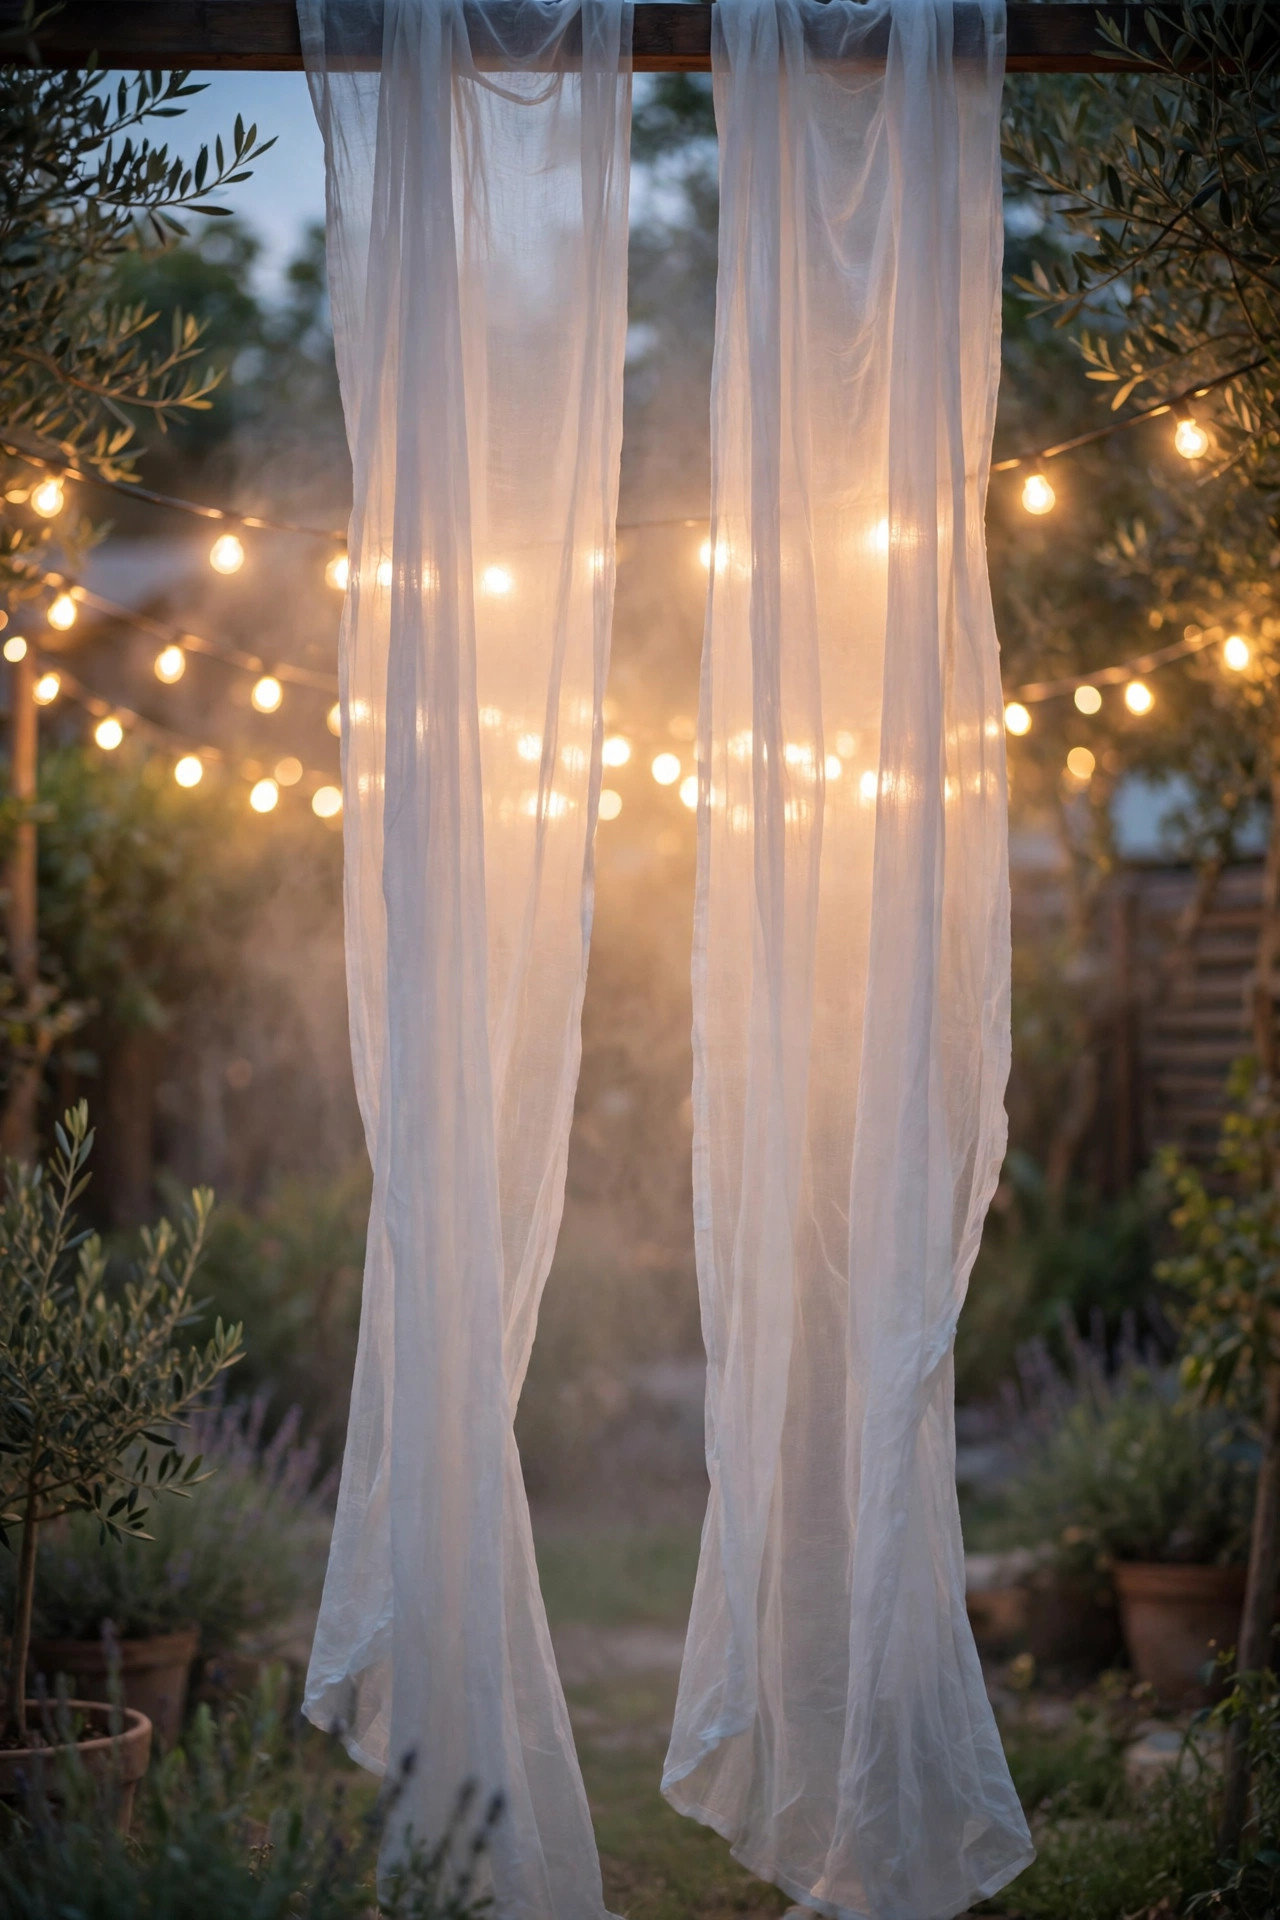
If the fairy curtain is sparkle, this is its softer sister: hang warm string lights or a fairy curtain on the wall, then drape sheer white or ivory panels a few inches in front of it. The fabric diffuses every point of light into a smooth, romantic haze that makes skin look flawless and hides an ugly fence completely. I hang the sheers from a backdrop stand or a taut line at 8 feet and let them pool slightly at the ground for that flowing look. Spacing matters for safety here: keep the fabric 4 to 6 inches away from the lights behind it, use LED strands only since they stay cool, and weight the hem so a breeze does not press cloth against the bulbs. Step back and check for wrinkles at dusk, because backlight shows every crease; a quick pass with a handheld steamer takes two minutes and pays off in every photo. This is the backdrop brides ask me to recreate more than any other, and it costs less than the cake.
Suggested budget range: $30 – $80.
15. Outline the Backdrop With a Rope Light Frame
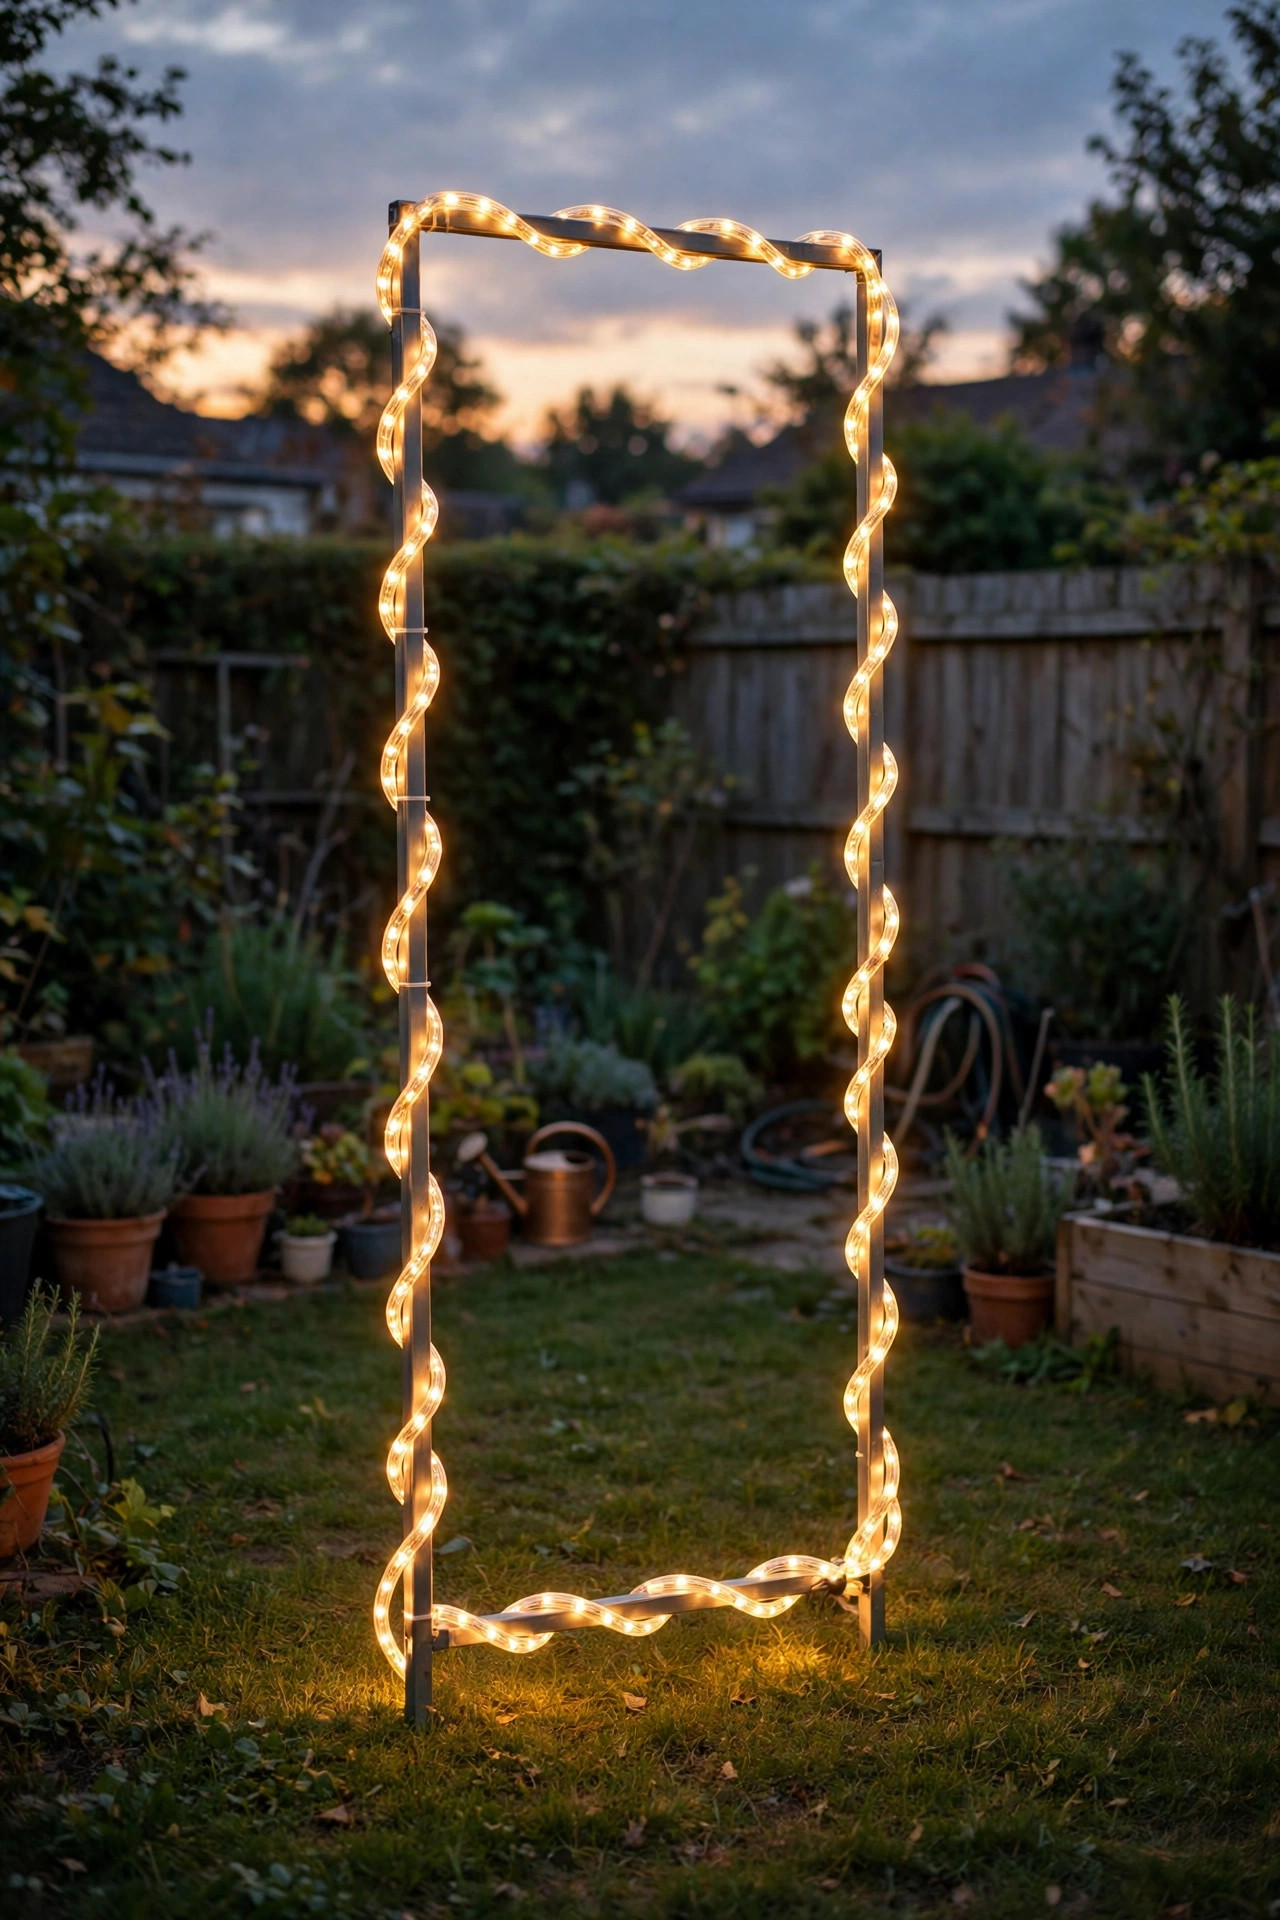
A clean line of light is the most graphic backdrop you can build, and LED rope light makes it almost foolproof. Bend the rope around a rectangular frame, an arch, or the outline of a big shape like a heart or a star, and clip it every 12 inches so the line stays crisp. Standing inside that glowing outline, guests look like they stepped into a photo booth, which is exactly the effect you want. Choose warm white for a classic look and save colors for themed parties. Rope light is sealed and outdoor-rated, so it handles dew and splashes without complaint, but use only the manufacturer connectors between lengths and keep the plug end up off the wet grass on a stake or hook. I build my frame from lightweight PVC or a metal arch stand so it stores flat against the garage wall. Because the outline throws even, shadowless light, pair it with the soft key light from idea 11 for faces, and let the rope do the decorating. Set-up runs about 30 minutes once the frame exists.
Suggested budget range: $20 – $55.
16. Uplight a Tree Canopy as a Living Backdrop
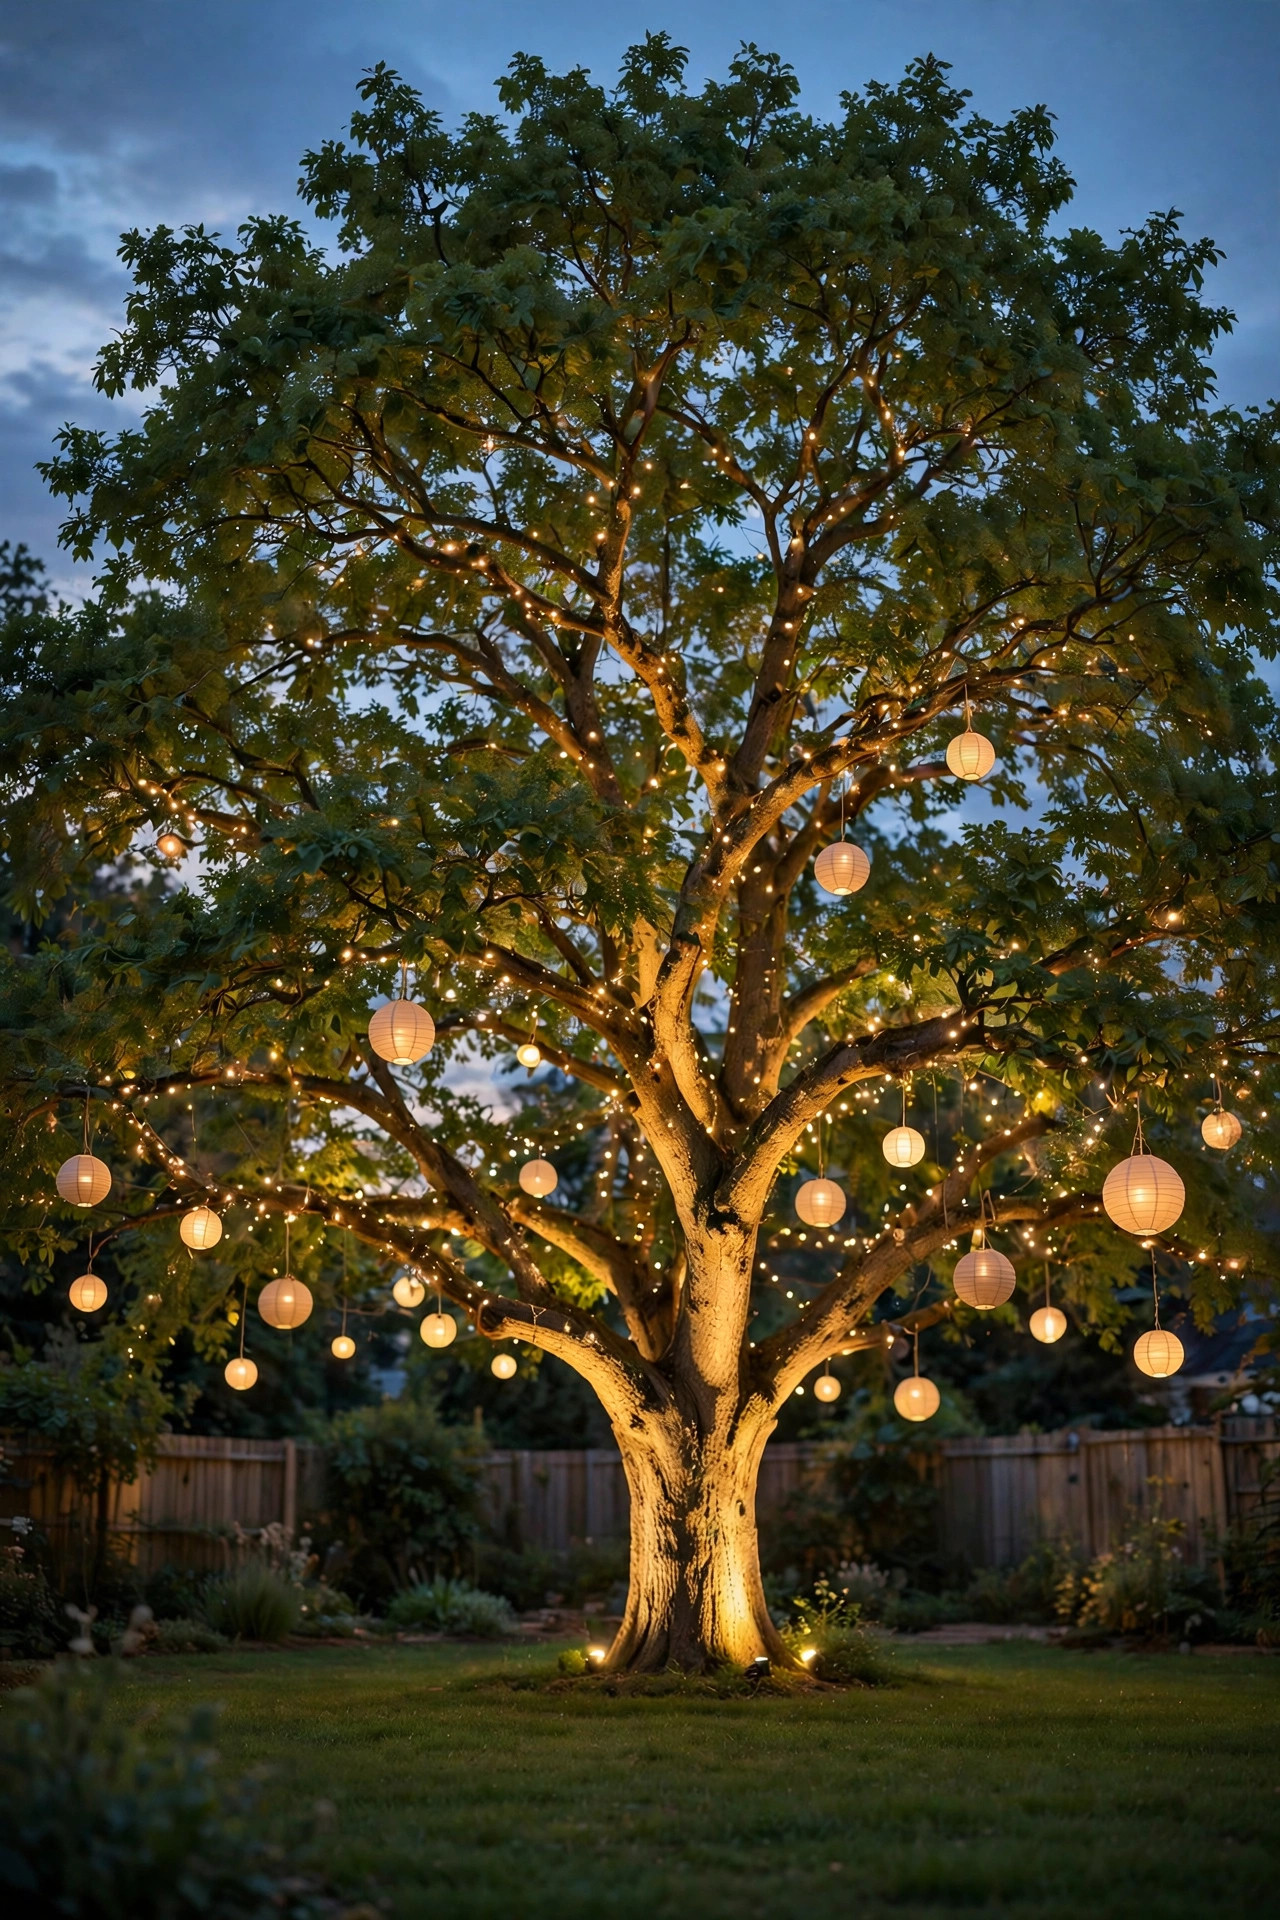
Some yards already own the best backdrop of all: a big tree. I set two warm uplights at the base of the trunk, aimed up into the canopy, and hang two or three strands of fairy lights or a few paper lanterns from the lowest branches. Guests stand on the lawn in front of it, and every photo gets a ceiling of glowing leaves that no fabric wall can imitate. Add one downlight high in the branches if you want the moonlighting effect, a soft pool of light that dapples through the leaves onto your guests. Keep the uplights 2 to 3 feet from the trunk and angled so the beams spread through the canopy rather than spearing straight up one side. This is the cheapest backdrop on my list if you already own uplights for your landscape lighting, because the marginal cost is a few strands and some lanterns. Just respect the tree: use straps and hooks, never nails or screws, and take hanging items down after the party so nothing girdles a growing branch.
Suggested budget range: $30 – $90.
17. Wash a Brick or Stone Wall With Grazing Light
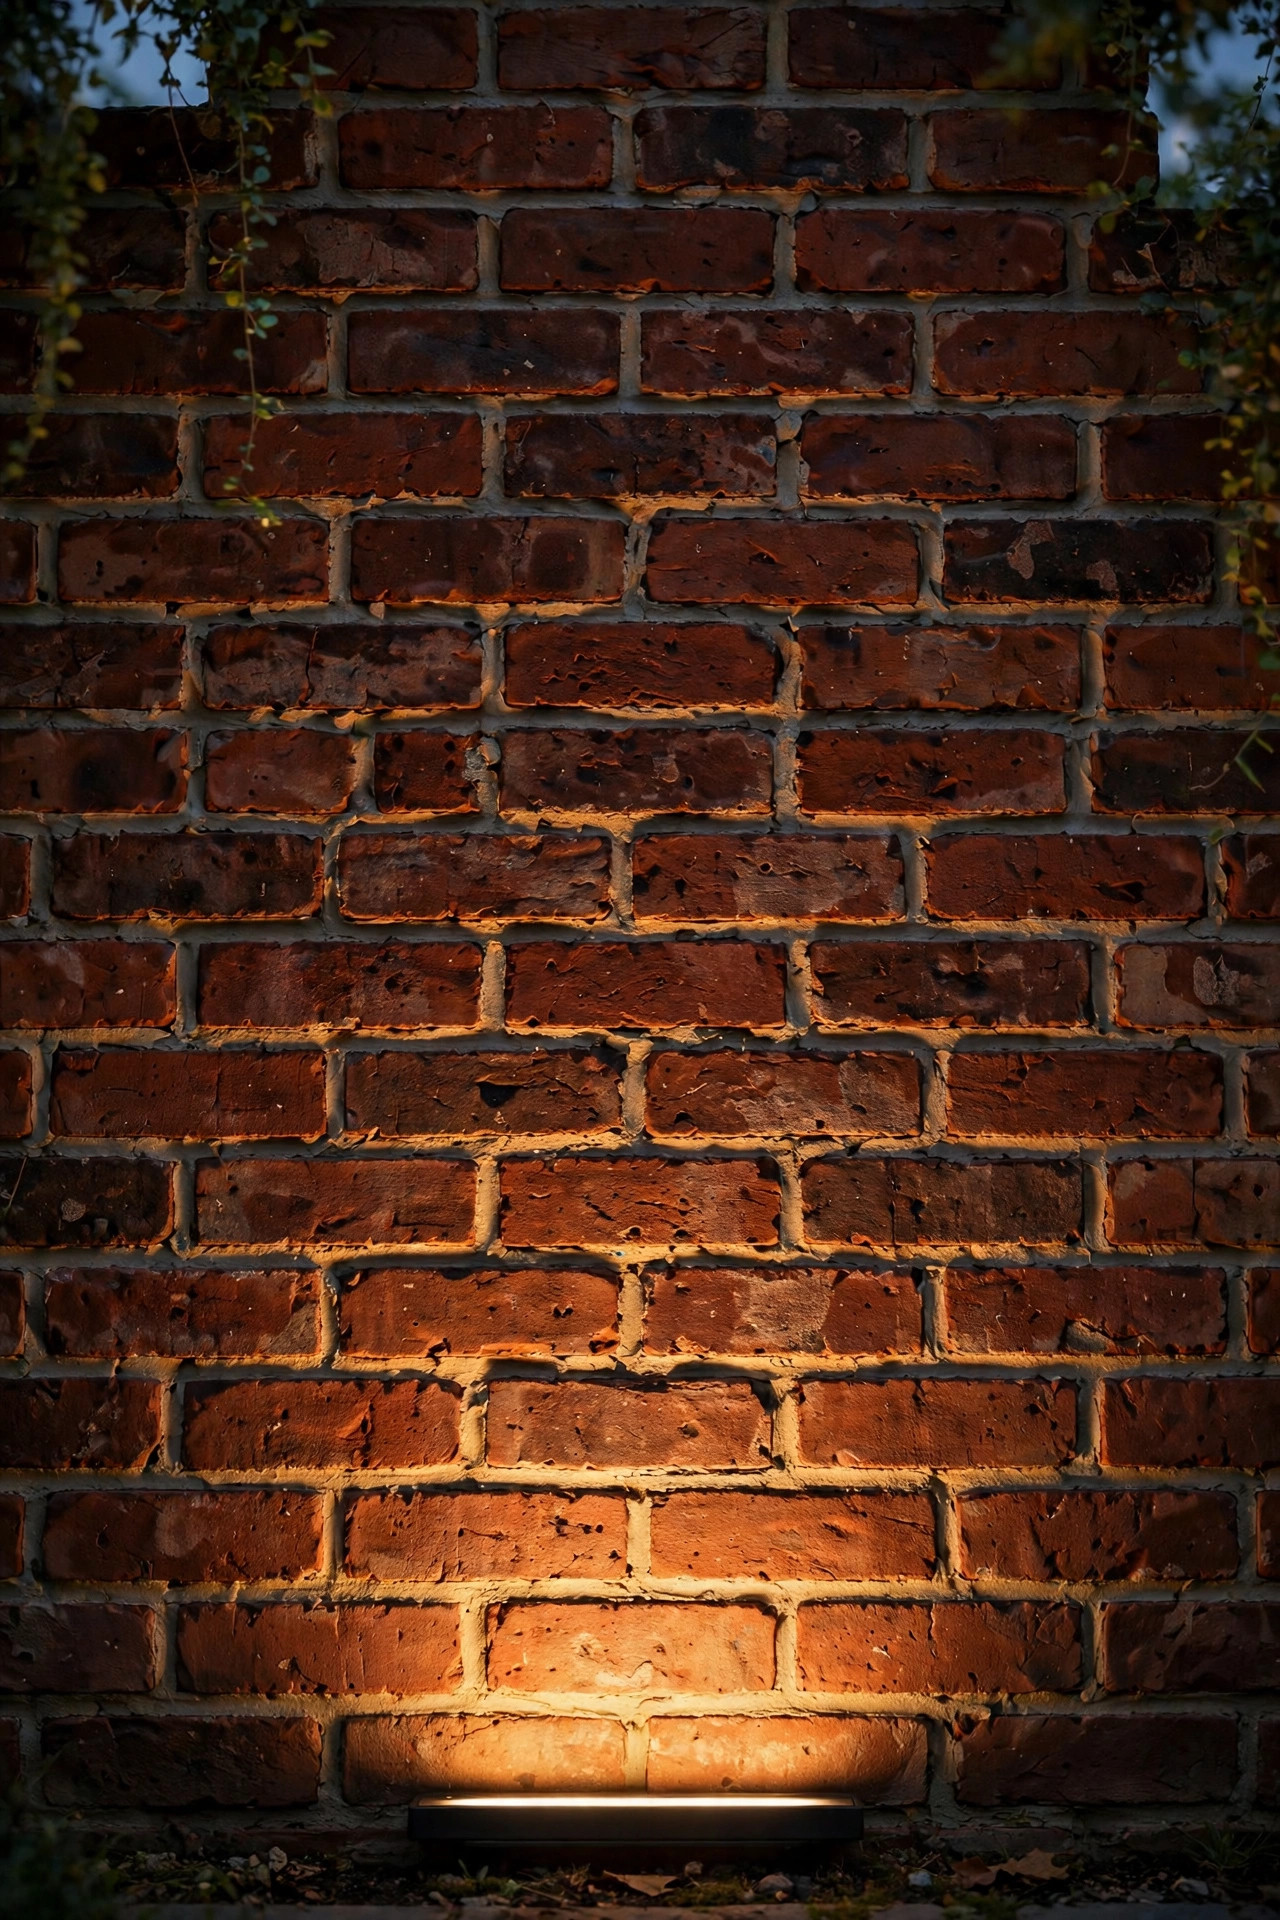
Brick, stone, and stucco have texture that flat light wastes and grazing light celebrates. Place a narrow-beam spotlight or a linear wash light just 6 to 12 inches from the wall, aimed almost straight up, so the beam skims the surface and every bump and mortar line throws a tiny shadow. The wall turns into a rich, dimensional backdrop that needs no other decoration, which makes this my pick for modern and minimalist parties. Warm white at 2700K to 3000K deepens red brick beautifully; much cooler and the wall goes gray and chilly in photos. Keep the fixture lens clean, because a dusty lens smears the grazing effect into mush, and flag the base lights with a plant or a low border if guests walk close, since a kicked fixture ruins the angle. Two fixtures spaced 4 to 5 feet apart cover a 10-foot photo zone evenly. Add nothing else except maybe a sign, and let the architecture do the talking.
Suggested budget range: $35 – $95.
18. Wash the Wall in Color for Themed Parties
Team colors, school colors, a pink wash for a baby shower: one color-changing floodlight turns a plain wall into a themed backdrop in about ninety seconds. I use a smart LED flood or a color bulb in a clamp fixture, set it 6 to 8 feet from the wall, and pick exactly one saturated color. One. The moment you cycle rainbow effects, faces go green, then purple, and every photo looks like a nightclub accident. Here is my rule that saves the pictures: the wall gets the color, and the faces still get warm white from the key light in idea 11, so skin stays natural while the background celebrates. Saturated blue and magenta photograph the richest; pale pastels tend to wash out on phone cameras, so push the saturation slider further than looks right to your eye. Battery color uplights work too and skip the cord entirely. This is the backdrop teenagers request by name, and it earns its keep at graduation and game-day parties all year.
Suggested budget range: $25 – $70.
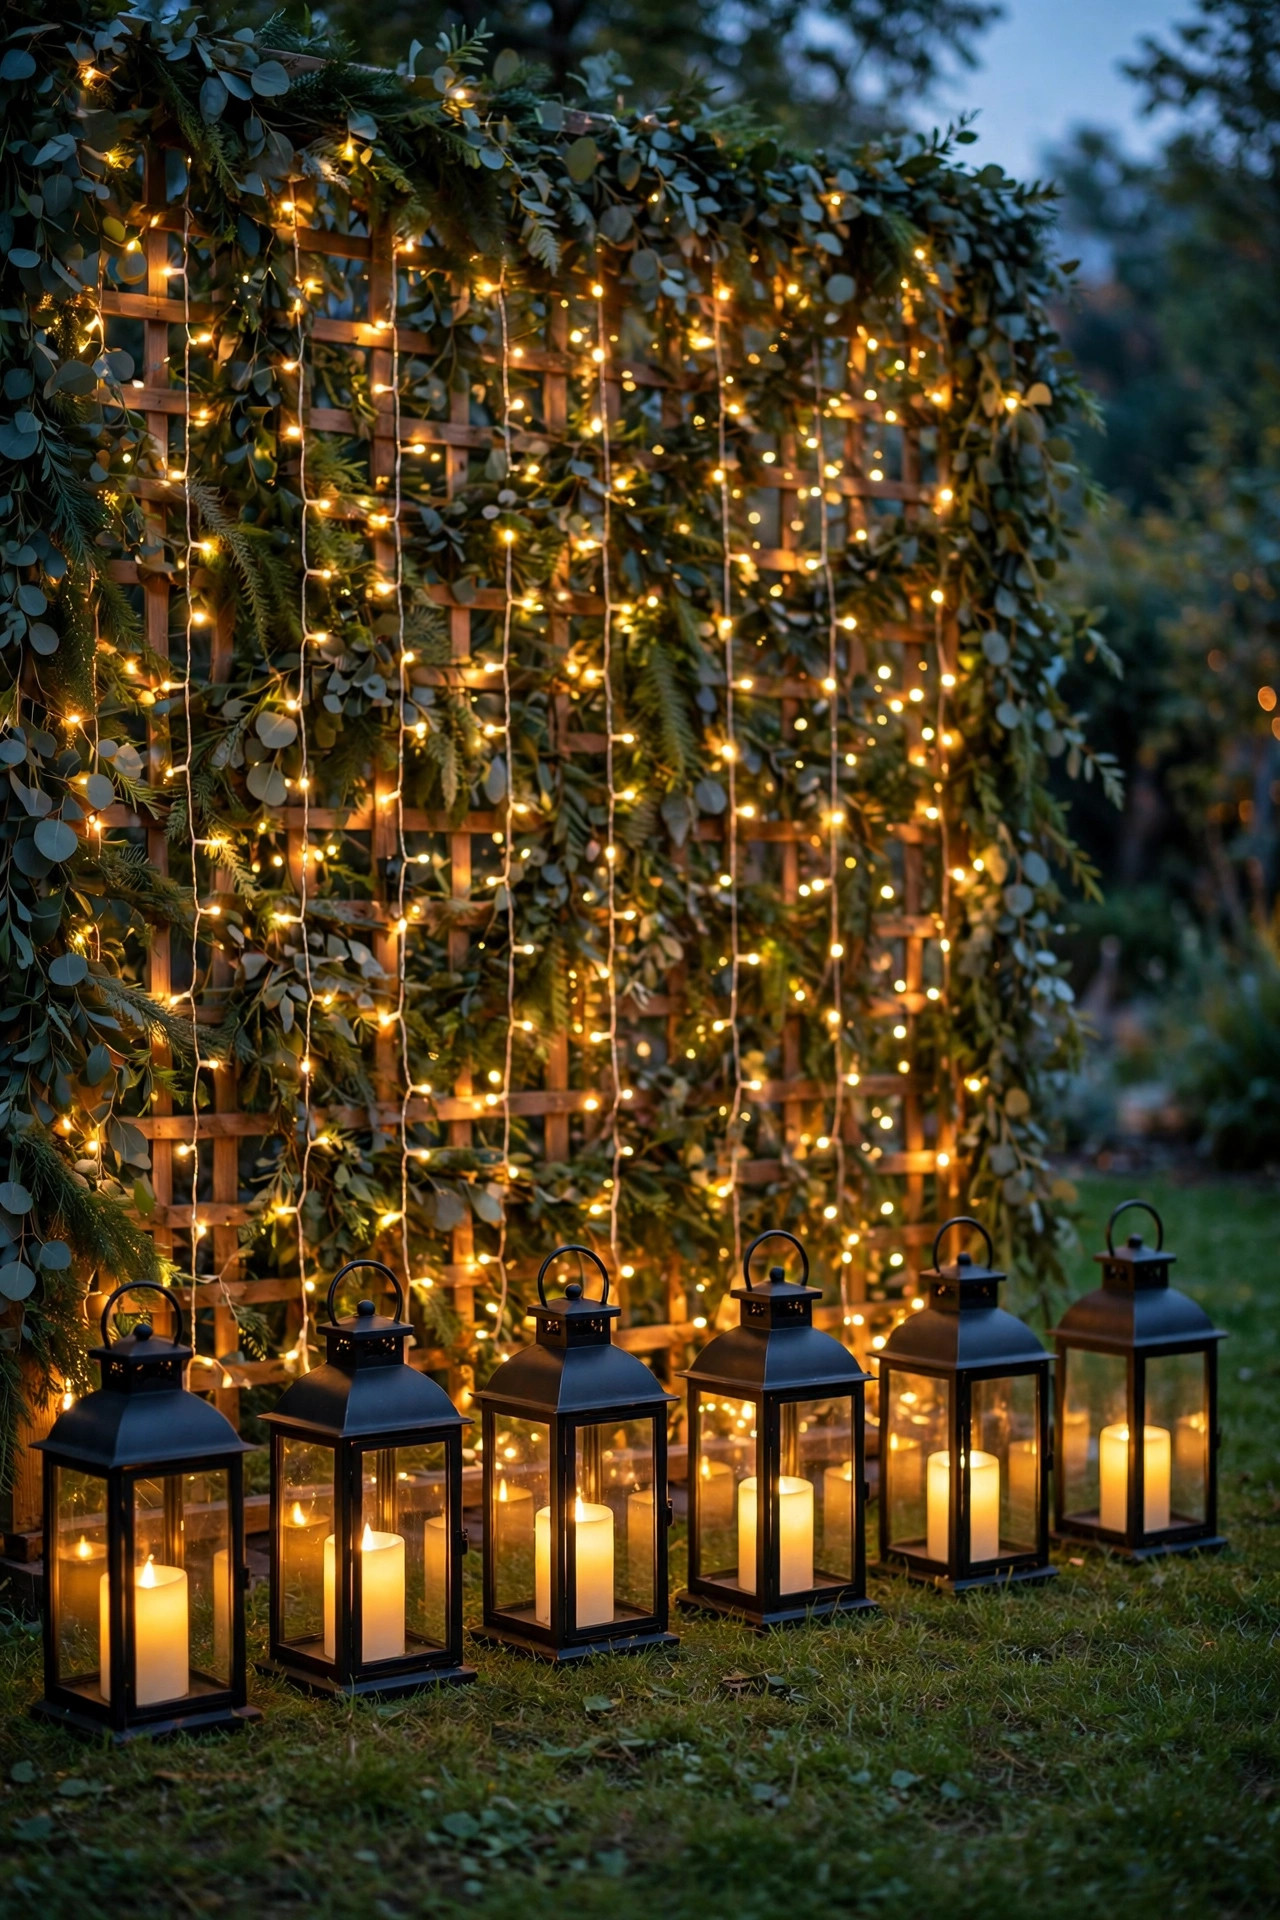
19. Ring the Floor With Flameless Candle Lanterns
Every backdrop needs a bottom edge, or photos crop awkwardly where the glow stops and the dark lawn starts. I line the base of the wall with flameless candle lanterns, spaced about a foot apart, and the row of low flames grounds the whole scene and gives full-length photos a finished frame. Lanterns with timers are the smart buy here; set them once and they wake up at dusk for every party without you crawling along the row flipping switches. Mix heights, a few tall lanterns anchoring the corners and shorter ones between, and keep the candles flameless without exception. Real flames at ankle height, near dress hems, paper decor, and kids in costumes is a combination I will never sign off on, and the LED versions flicker convincingly enough that guests ask where I bought the candles. The lantern row also quietly marks the boundary of the photo zone, so guests stop drifting sideways out of the good light. Storage is one bin, and the same lanterns moonlight as table decor the rest of the season.
Suggested budget range: $25 – $70.
20. Go Fully Solar and Battery When There Is No Outlet Nearby
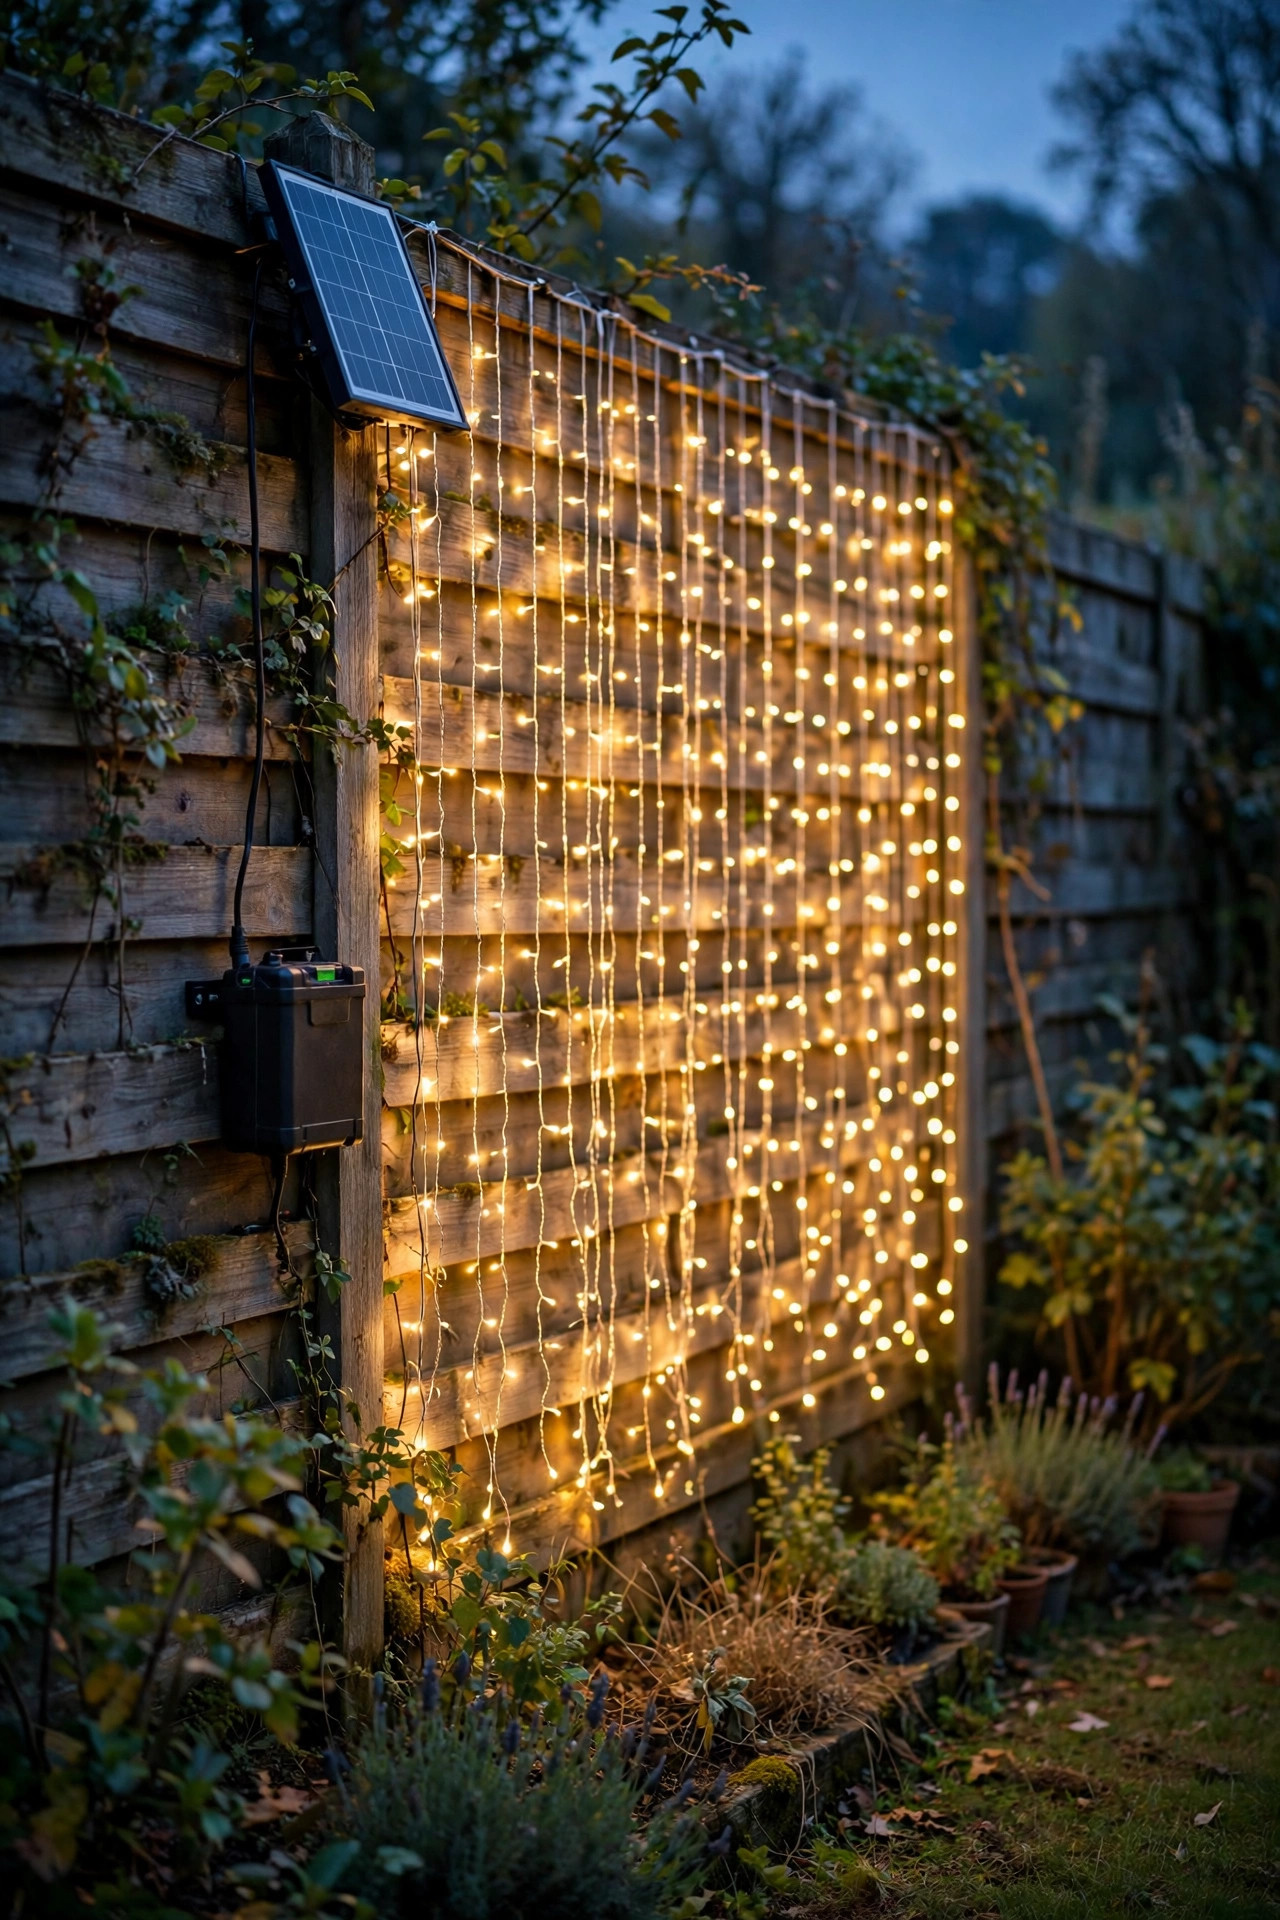
The prettiest wall in your yard might be the one farthest from an outlet, and you do not have to run an extension cord across the lawn to light it. Solar curtain lights hang on the fence and charge where they hang, battery fairy strands weave through greenery and flower walls with the packs hidden behind the frame, and a modern power bank runs a small LED sign for a full evening. I set this kit up at the far garden wall for my niece's graduation and nobody believed it was all untethered. The honest caveats: solar strands need six or more hours of real sun on the panel, so clip remote panels up on top of the fence if the wall sits in shade, and expect a slightly dimmer glow than plug-in versions by the end of a long night. Charge battery packs the night before, every time, because a backdrop that dies at 9 p.m. is worse than none. Group everything on remotes so one click lights the wall when the first guests arrive.
Suggested budget range: $30 – $85.
21. My Full Outdoor Photo Backdrop Lighting Recipe, Start to Finish
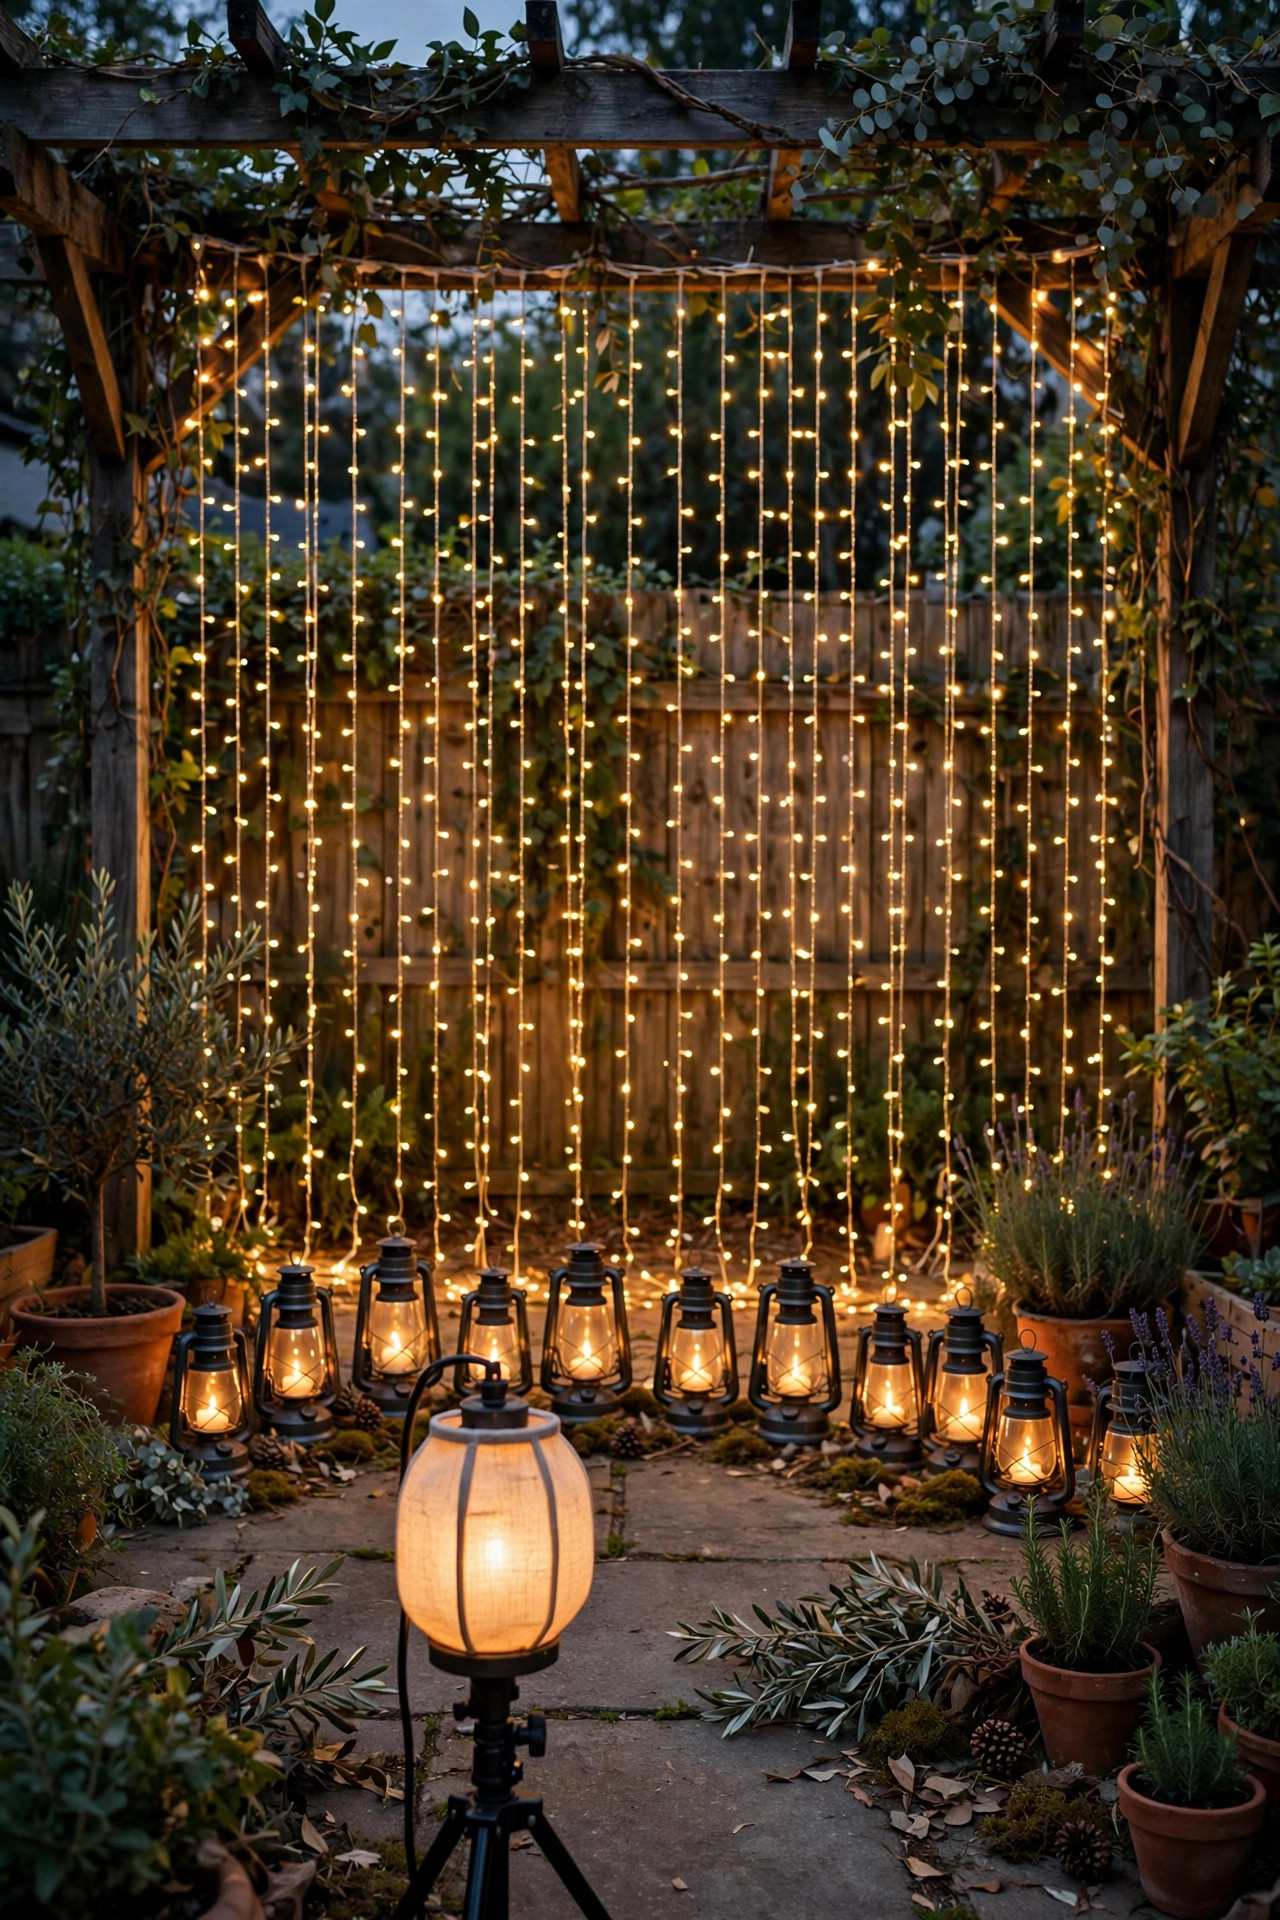
When a big party is coming, this is the exact order I work in. First, pick the wall and check where guests will stand, 3 to 4 feet out, with a clear path that keeps cords out of the walkway. Second, hang the hero layer: the curtain, grid, or glow wall. Third, weave in the sparkle layer and set the floor lanterns along the base. Fourth, place the soft key light in front and the dimmers where I can reach them. Fifth, and I never skip this, take test photos at dusk with my own phone, front and back cameras, and fix hot spots before anyone arrives. Sixth, tape or cover every cord crossing a path, confirm the GFCI outlet is happy, and keep spare batteries in my pocket. From blank fence to finished backdrop takes me about 90 minutes now, and the setup photographs beautifully from golden hour to last dance. Start with this recipe once, and you will start seeing every wall in your yard as a photo waiting to happen.
Suggested budget range: $90 – $250.
Frequently Asked Questions
What color temperature looks best for outdoor backdrop photos?
Warm white, 2700K to 3000K, is the flattering choice almost every time. It warms skin tones, makes gold and wood decor glow, and matches the string lights most of us already own. Cooler light above 4000K can look harsh and bluish on faces. Whatever you choose, keep every layer of the backdrop on the same temperature so the camera white balance stays happy.
How far should guests stand in front of a lighted backdrop?
About 3 to 4 feet is the sweet spot. That distance lets the background lights soften into pretty blurred dots, keeps shadows of your guests off the wall, and leaves room for the key light to do its work. If your backdrop is a flat wash of light on brick or color, 2 feet works fine too. Mark the spot with a small rug or mat and guests will naturally land in the good light.
Can I light a photo backdrop without an outdoor outlet?
Yes, and it is easier than it used to be. Solar curtain lights, battery fairy strands, and flameless lanterns cover the background and base layers, while a power bank runs a small sign or key light for hours. Charge everything the day before, give solar panels a sunny spot on top of the fence, and keep a spare set of batteries handy for long parties.
How do I keep backdrop lights safe around fabric and paper decorations?
Use LED lights only, since they stay cool to the touch, and keep a gap of a few inches between any strand and draped fabric or paper lanterns. Never put real candles or hot bulbs inside paper or cloth decor. Plug plug-in setups into a GFCI outlet, keep connections off wet ground, and tape down any cord that crosses a walkway so the backdrop stays a photo spot and not a tripping hazard.
Conclusion
A great party photo is never an accident; it is a warm wall, a little sparkle, and one soft light aimed at the people you love. Start with two or three of these ideas, test them at dusk, and your outdoor photo backdrop lighting will quietly become the most-visited spot at every gathering. For more ways to make the whole yard glow, browse my outdoor party lighting ideas and start planning your next celebration.