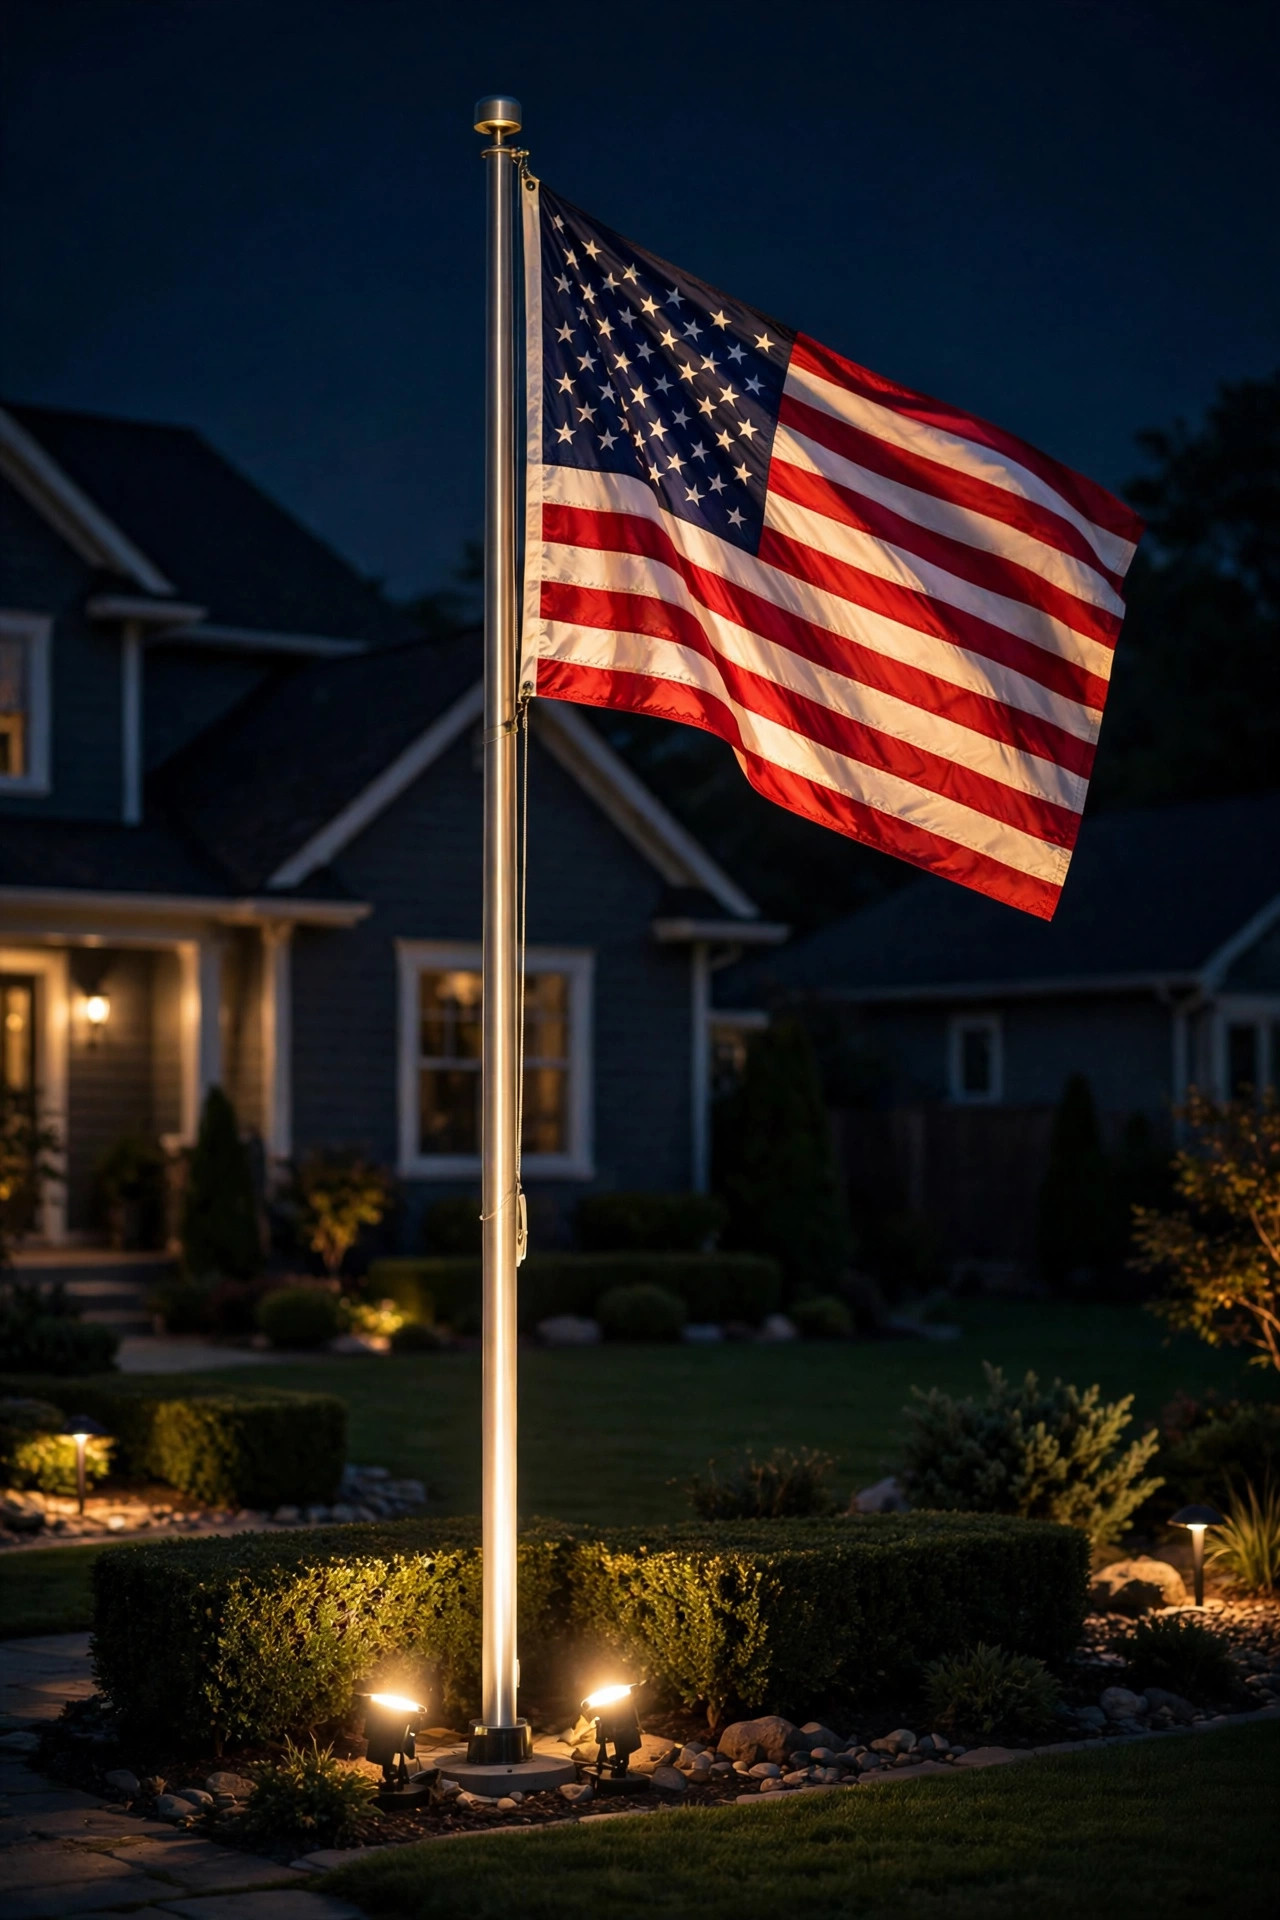
There's a moment on our street most evenings that still stops me: a neighbor's flag, lit from below, glowing softly against the dark while the rest of the yard fades away. It looks proud, calm, and cared for — and that's exactly the point. The U.S. Flag Code says the flag is customarily flown sunrise to sunset, but it may fly around the clock when properly illuminated during darkness. In other words, if your flag stays up at night, it deserves real light, not the spill from a streetlamp. These american flag lighting ideas cover everything from a simple solar spotlight to a full wired setup, with honest notes on brightness, placement, and etiquette. My philosophy is the same layering approach I use everywhere: one dedicated, well-aimed light for the flag itself, then softer supporting light around it so the display looks intentional, never harsh. Whether your flag flies from a 25-foot pole or a bracket by the front door, you'll find a setup here that fits your yard, your budget, and the respect the flag deserves — the same spirit I bring to my Fourth of July outdoor lighting every summer.
1. A Classic In-Ground Uplight at the Base of the Pole
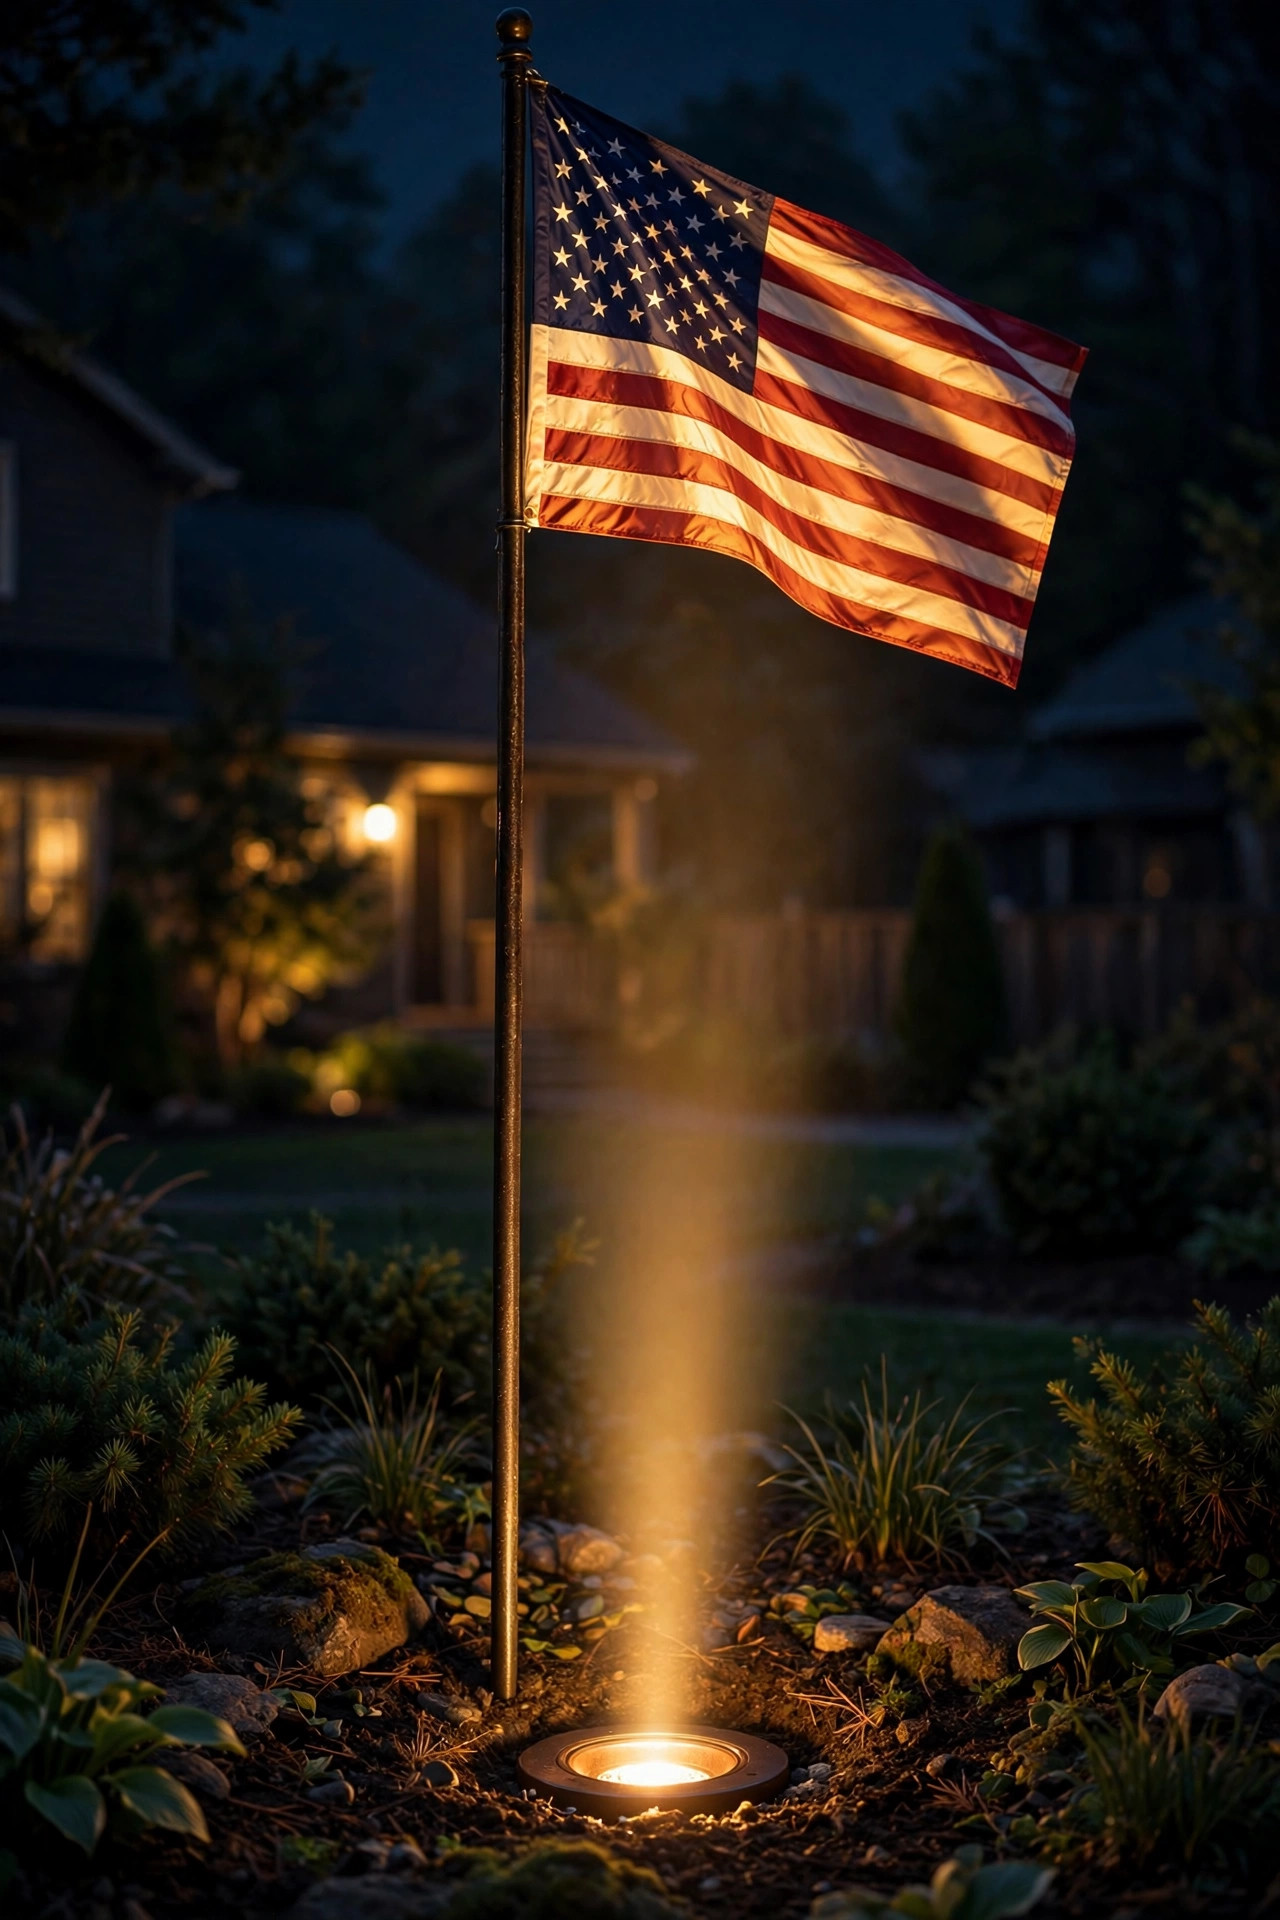
This is the look most of us picture: a single, dedicated spotlight set into the ground a few feet from the flagpole, aimed up so the flag glows against the night sky. An in-ground well light is my favorite version because the fixture sits flush with the lawn — nothing to trip over, nothing for the mower to clip, and no visible hardware competing with the flag itself. For a standard 20- to 25-foot residential pole, place the fixture about 3 to 5 feet from the base and tilt it so the beam center lands on the flag when it's hanging still; the flag flies at the top, so your beam needs to travel. Choose a narrow-to-medium beam, around 24 to 36 degrees, in warm white. Hardwired 120-volt well lights need a GFCI-protected circuit and proper burial-rated connections, so many homeowners hand this one to an electrician — honestly, that's money well spent for something that runs every single night. Keep mulch and grass trimmed back from the lens, because a blocked beam means a dark flag, and wipe the glass monthly; sprinklers leave mineral film that quietly steals brightness over a season.
Suggested budget range: $40 – $120.
2. A Solar Spotlight for a No-Wiring Setup
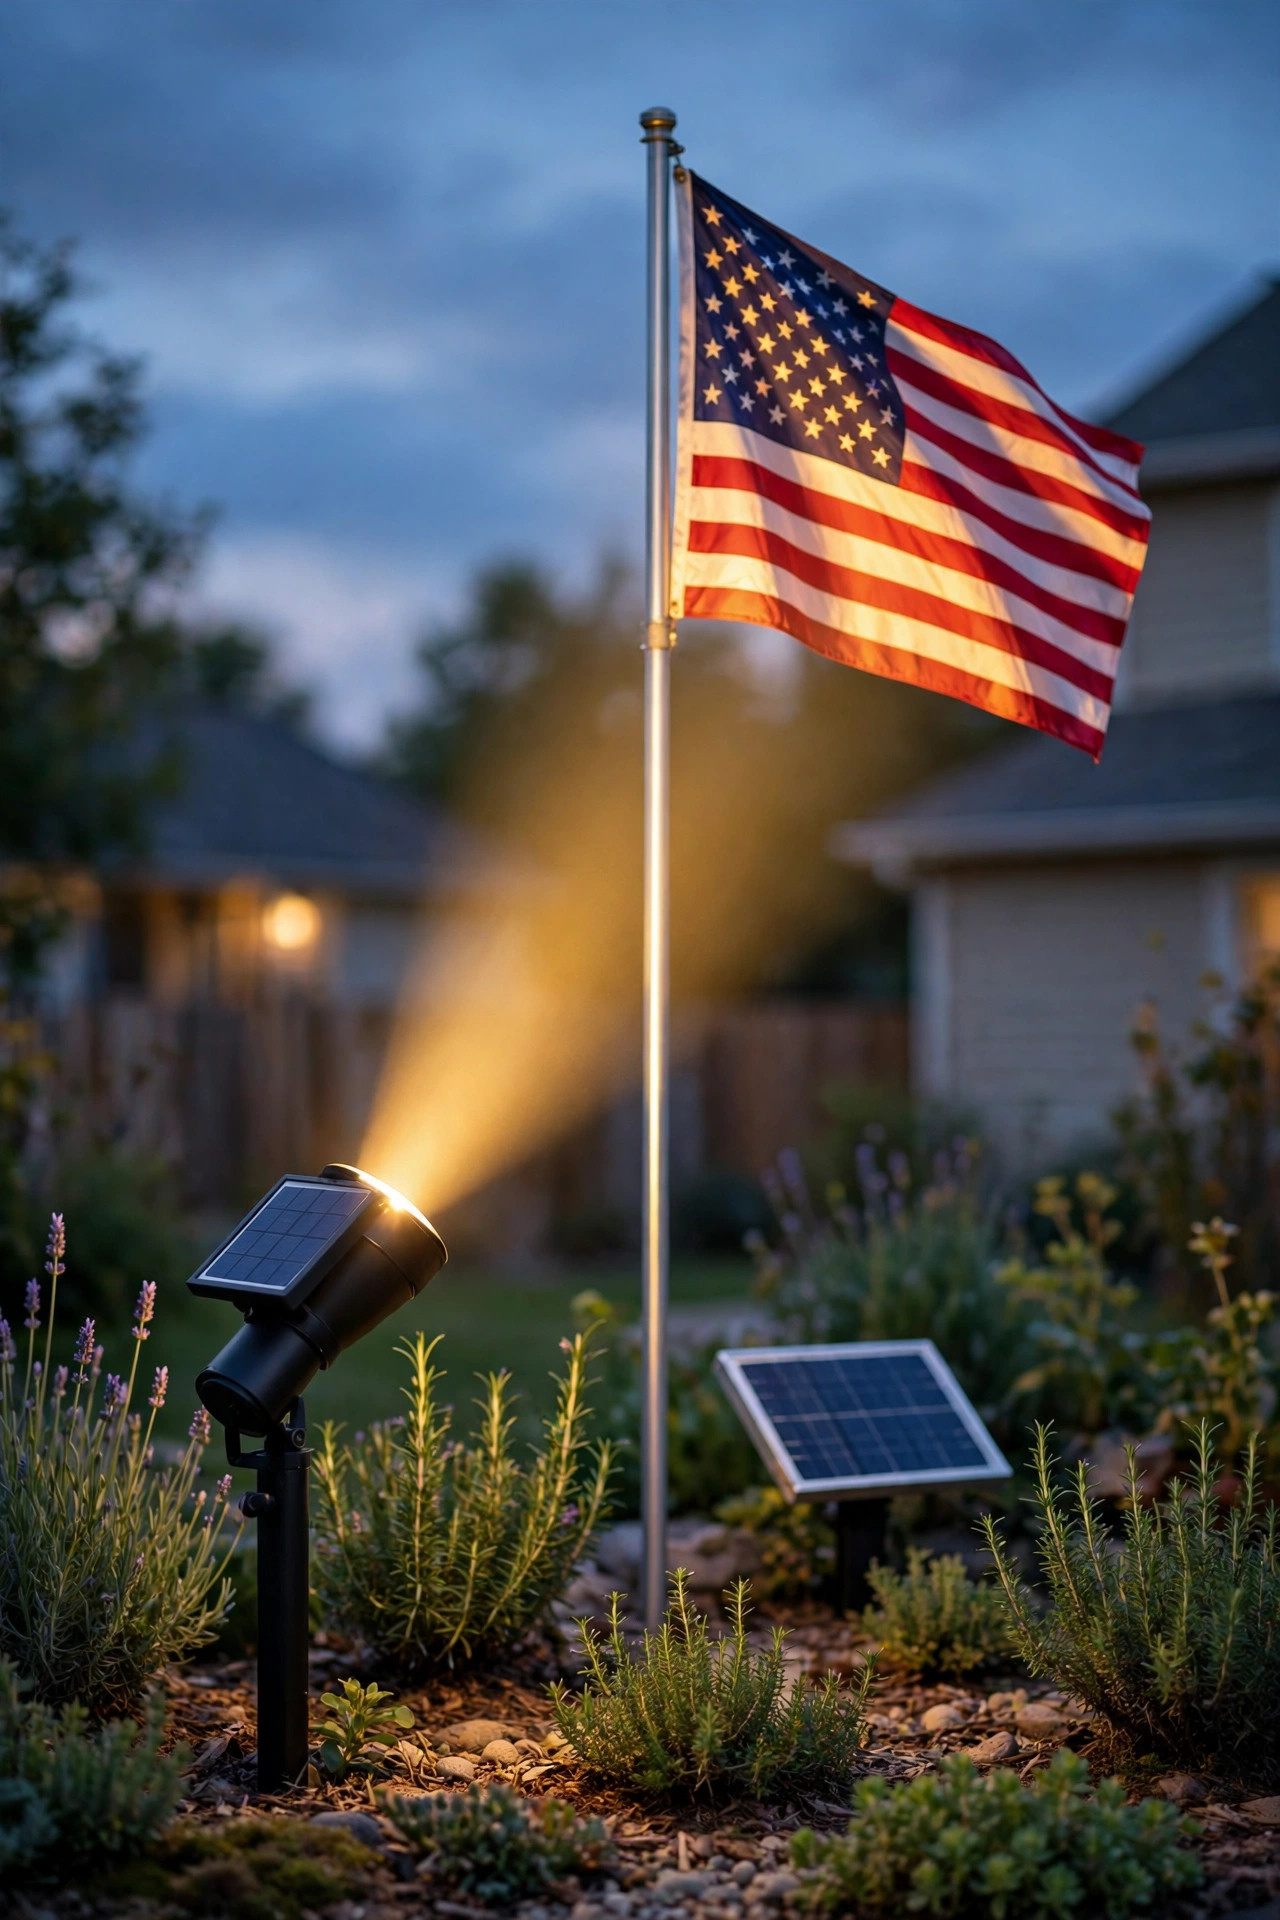
If your flagpole stands far from any outlet — out by the driveway, say, or at the edge of a big yard — a solar spotlight is the honest, practical answer. The better flag-specific models pair a focused LED spotlight with a separate solar panel on a short cable, so you can stake the panel in full sun and tuck the light where it aims best. Aim the light up at the flag and angle the panel south, tilted toward the sky, clear of shade from the pole itself. Expectations matter here: a decent solar spotlight gives you a soft, respectful glow rather than stadium brightness, and after two or three heavily overcast days the battery may fade before dawn. For a house-mounted flag or a pole up to about 15 feet, that's usually plenty. For taller poles, look for higher-lumen models with larger panels, and plan on replacing the rechargeable battery every couple of years. In my experience, paying a little more for a unit with a real glass lens and an aluminum housing beats the bargain stakes every time — cheap plastic yellows, the seal fails, and one wet season later your flag is dark again.
Suggested budget range: $25 – $60.
3. A Pole-Top Solar Disk Light That Shines Down
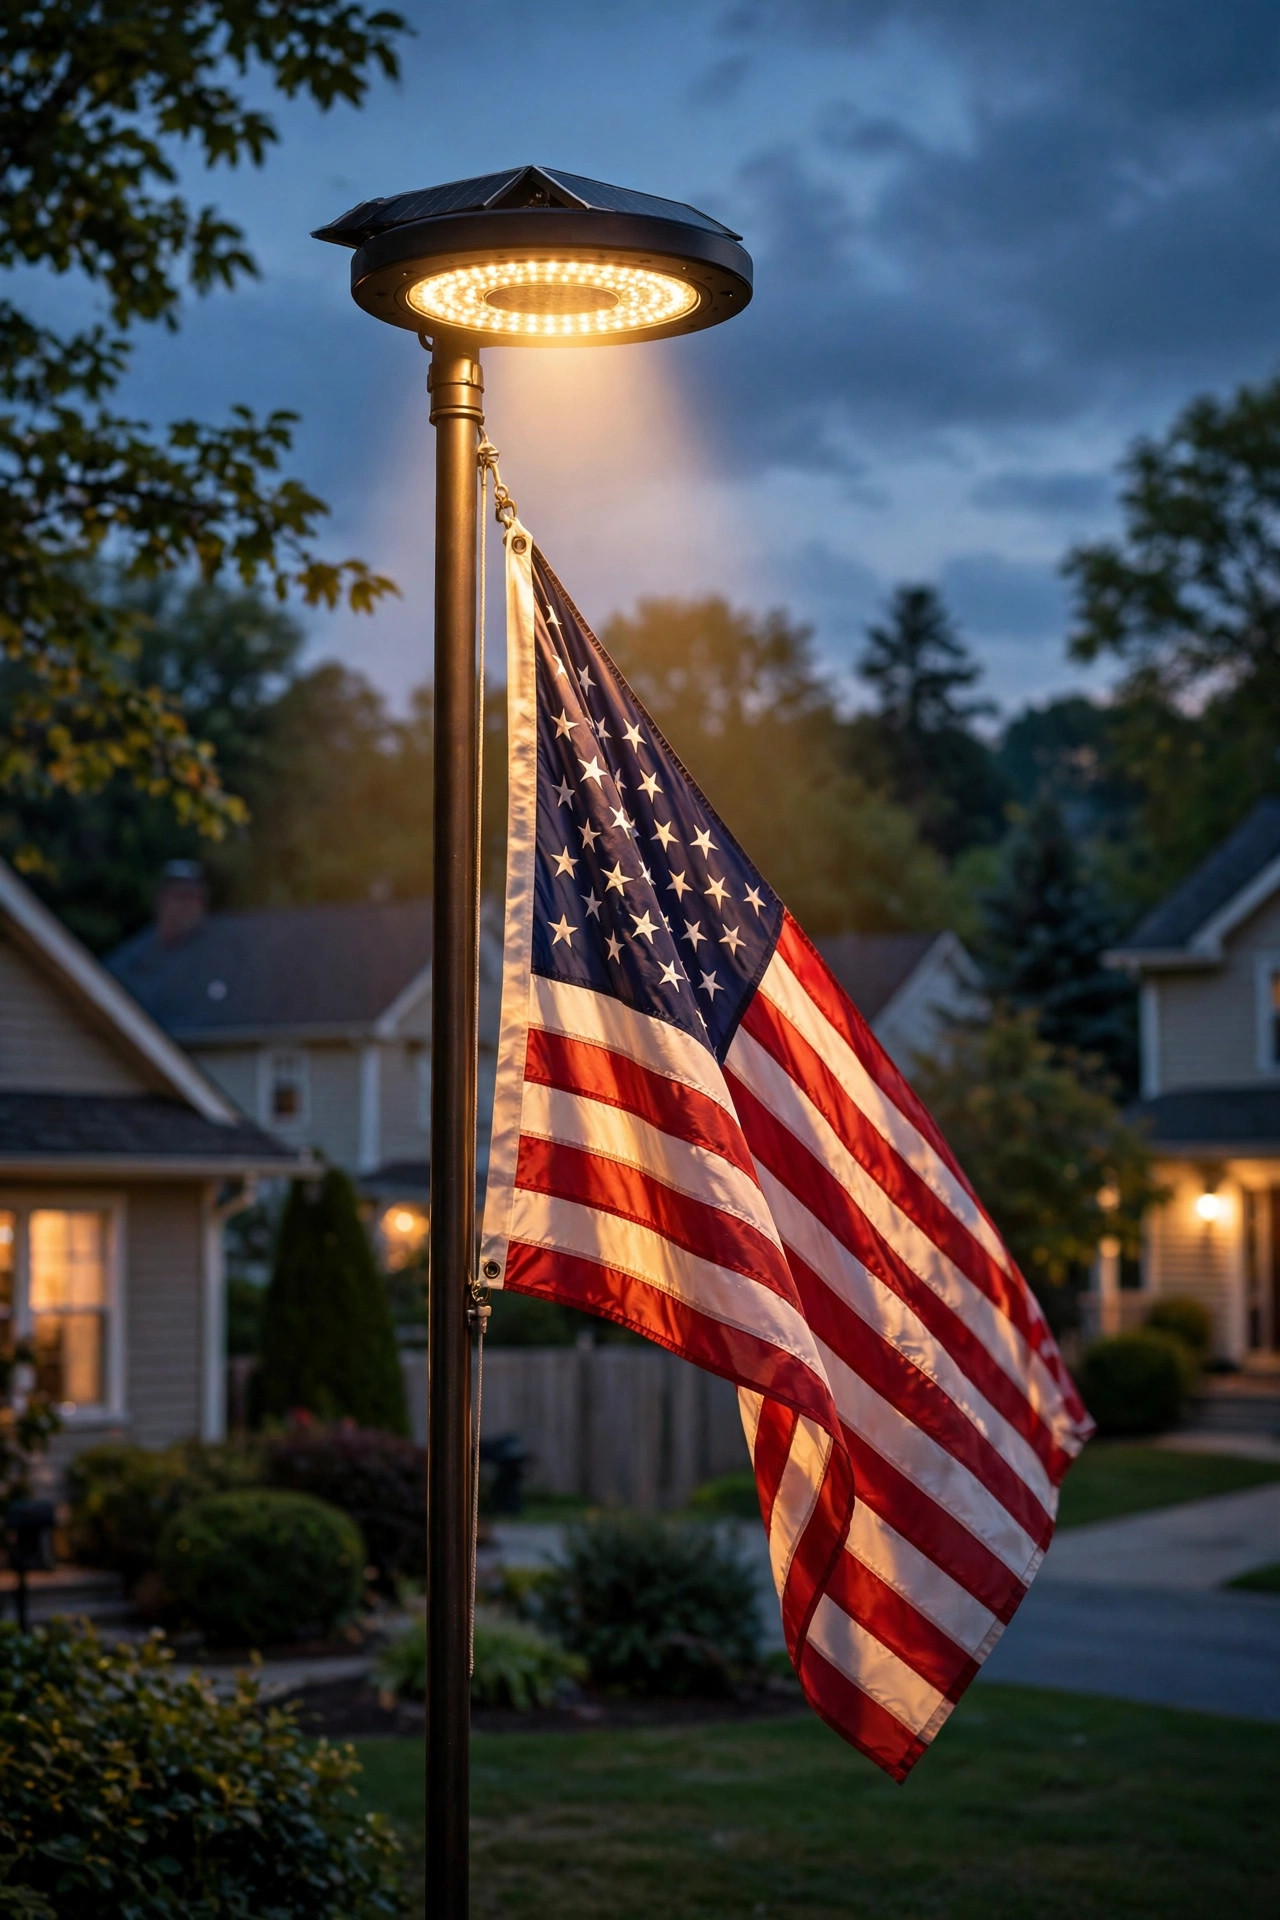
This clever design mounts a flat disk of LEDs at the very top of the pole, just under the ball finial, and shines light downward onto the flag. Because the light source travels with the pole top, it works beautifully in wind — as the flag wraps and unfurls, it stays inside the cone of light instead of drifting out of a ground beam. The disk charges through its own built-in solar panels during the day and switches on automatically at dusk. Installation is genuinely simple: lower the pole or use a ladder, slide the disk onto the spindle, and re-raise it. It suits poles up to about 20 to 25 feet; on taller poles the flag's lower edge can fall outside the brightest part of the beam. One caution from my own yard: check that the disk's center hole matches your pole's top hardware before ordering, and if your pole has an internal halyard with a truck assembly, confirm the fit first. The downward wash also lights the pole itself, which I find handsome — a slim silver line under the glowing flag. It is the most set-and-forget option on this whole list.
Suggested budget range: $40 – $90.
4. A Low-Voltage Wired Spotlight on a Stake
For steady, all-night brightness that never depends on yesterday's weather, a 12-volt low-voltage spotlight is the workhorse I recommend most. It runs off a small plug-in transformer, the cable buries just a few inches under mulch or sod, and the whole system is safe to install yourself on a Saturday. A single stake-mounted LED spotlight with an adjustable knuckle lets you fine-tune the aim after dark — and do aim it after dark, standing back at the street to check how the flag reads from a passerby's view. This is the same low-voltage family used across landscape lighting, and if you're weighing it against solar, my breakdown of solar vs wired landscape lighting covers the trade-offs honestly. Pick a fixture in the 400- to 800-lumen range for a 20-foot pole, with a beam angle near 30 degrees. Because it's wired, the light is identical at 5 a.m. as at dusk — which matters, because proper illumination means the flag is lit the entire night, not just the evening hours. Add a photocell or timer at the transformer and the system runs itself for years.
Suggested budget range: $60 – $150.

5. Two Spotlights for Even, Wind-Proof Coverage
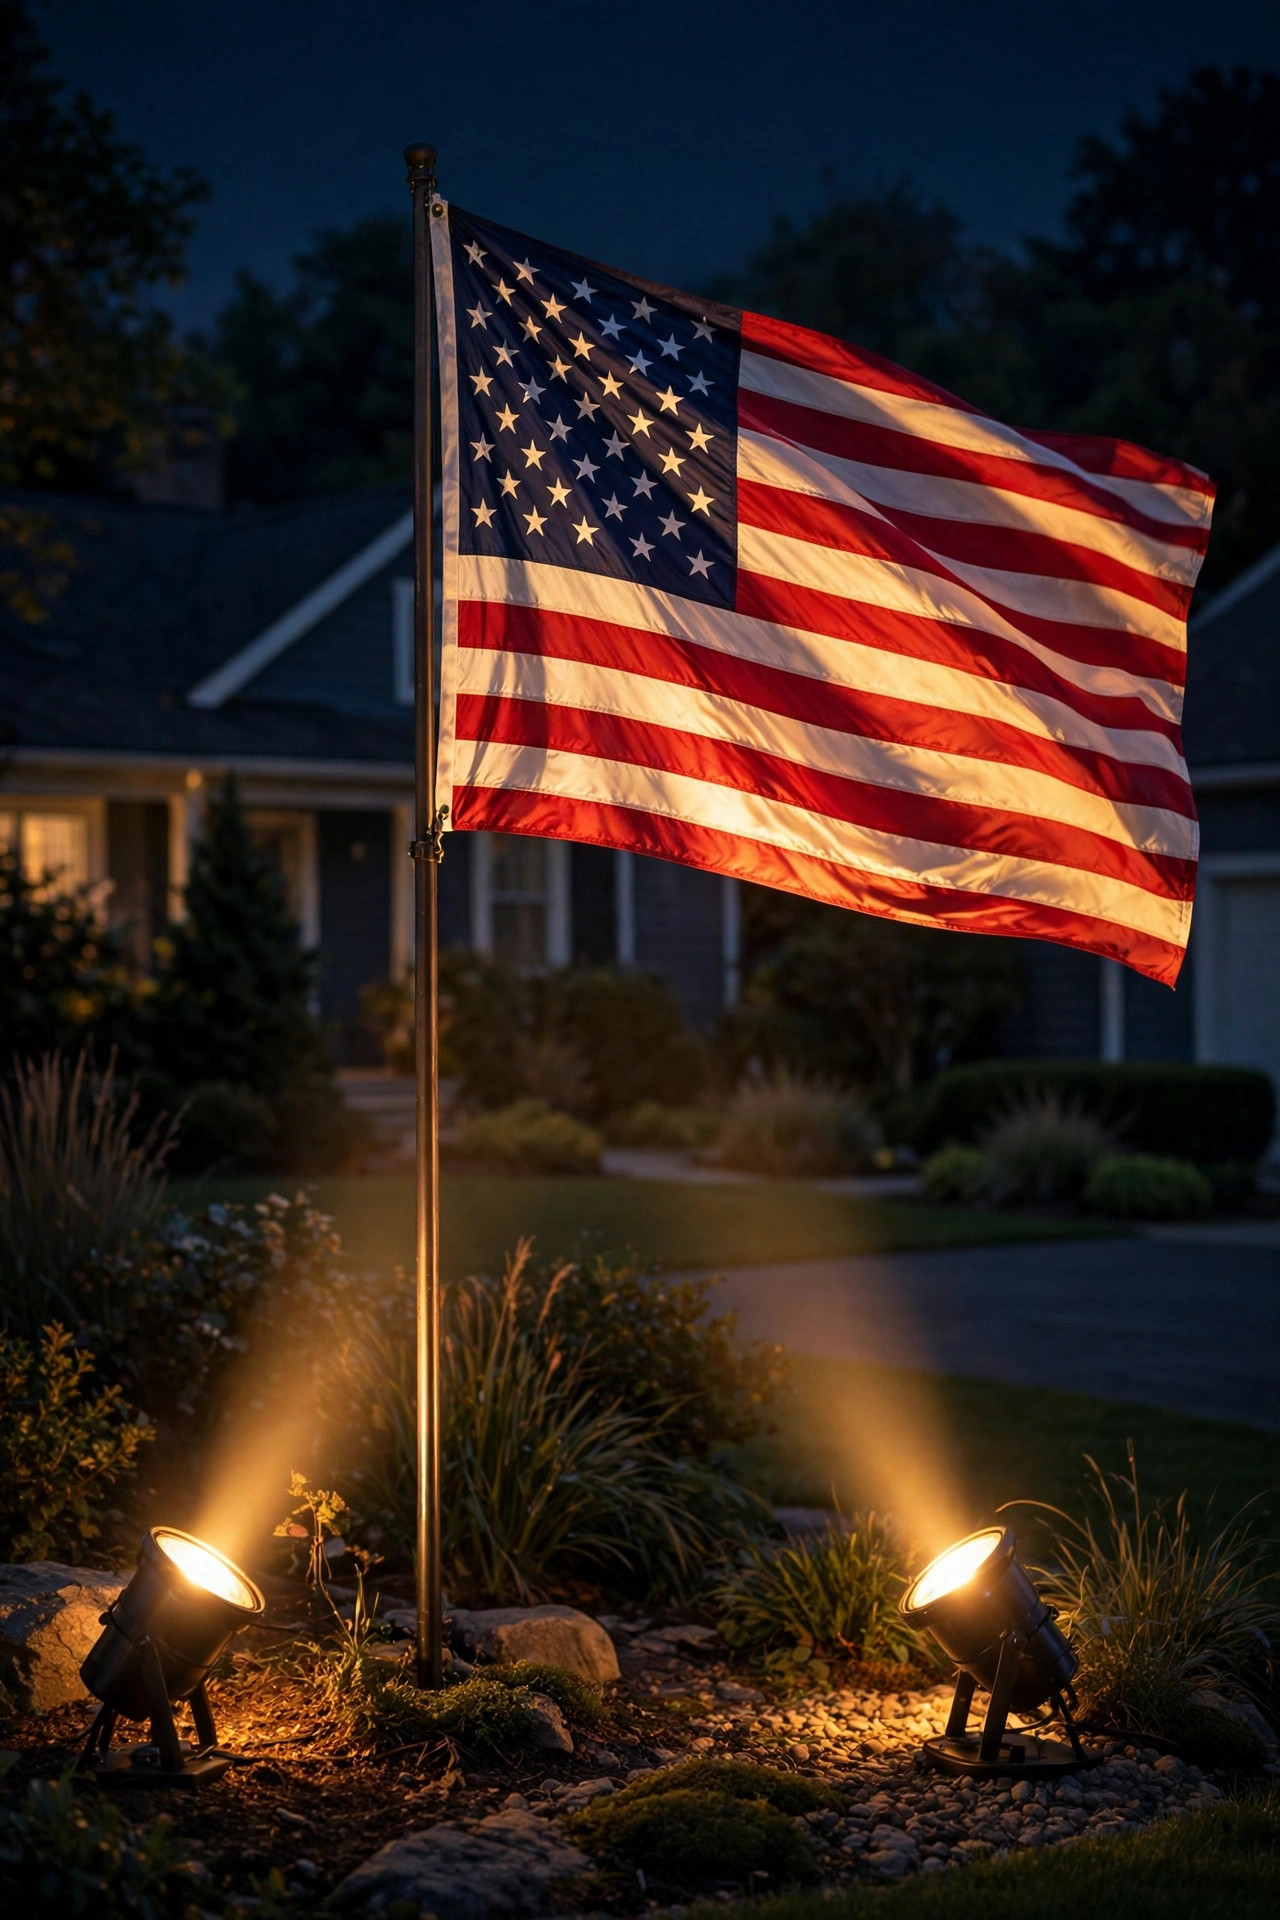
A single beam has one weakness: wind. When a breeze wraps the flag around the pole or streams it sideways, half of it can slide out of a narrow beam, leaving the display patchy. The fix the pros use is two spotlights, placed at roughly 45-degree angles on either side of the pole, both aimed up at the flag. Whichever way the wind turns the flag, one beam catches it fully. Set each fixture 4 to 6 feet out from the base for a 20- to 25-foot pole, and keep the two lights matched — same model, same color temperature — so the flag's red, white, and blue read evenly rather than warm on one side and cool on the other. This is the setup I'd choose for a flag that flies 24 hours a day in an open, breezy spot. Wired low-voltage fixtures make the pairing easiest, since both run from one transformer and one timer. Two solar lights can work too, but charge them identically and expect to swap batteries in matched pairs. Stand at the curb on a windy night to fine-tune; it's the most satisfying five minutes of adjustment in all of outdoor lighting.
Suggested budget range: $80 – $200.
6. A Wall-Mounted Flag Lit by an Angled Sconce
Plenty of us fly the flag from an angled bracket beside the front door, and that display deserves the same respect as a tall pole — if it stays up after sunset, it needs light. The neatest solution is a wall sconce mounted above the bracket, angled or shaded so its light washes down over the flag. Many homes already have a porch light in roughly the right spot; swapping in a fixture with a downward-focused shade and a brighter warm-white LED bulb often does the whole job. Position matters: the light should sit above and slightly in front of the flag so the fabric is lit across its full face, not backlit into a silhouette. If the bracket is on a garage or a side wall with no fixture nearby, a small hardwired spot on an adjustable arm is a tidy addition — have an electrician tie it into the porch circuit with a photocell so it runs dusk to dawn. Avoid shining the light from directly below a wall flag; the steep angle throws the folds into deep shadow and the flag reads as a dark shape instead of colors.
Suggested budget range: $35 – $110.

7. An Upgraded Porch Light for a Bracket Flag
Sometimes the simplest respectful setup is already hanging by your door. If your flag flies from a porch bracket and your porch light is a few feet away, a thoughtful upgrade — a brighter bulb, a clearer lens, a fixture that throws light outward instead of trapping it — can illuminate the flag properly without adding a single new fixture. Swap a dim bulb for a warm-white LED in the 800-lumen range, and choose a fixture with open or clear glass on the flag side so the light actually reaches the fabric. Then do the dusk test: stand outside at full dark and look honestly. Is the whole flag lit, top corner to bottom stripe, or just the edge nearest the house? If shadows swallow the far half, angle a small clip-on or stake spotlight from the porch floor to fill in — or accept the other perfectly respectful option, which is bringing the flag in at sunset. There's no shame in that tradition; the Flag Code's illumination rule exists precisely so a flag is never left hanging in the dark. What matters is choosing one or the other deliberately.
Suggested budget range: $15 – $50.

8. A Narrow-Beam Spotlight for Tall Poles
Once a pole passes about 25 feet, lighting the flag well becomes a beam-control problem. A wide flood wastes most of its light on the sky and the treetops while the flag at the top stays dim. What you want is a narrow-beam spotlight — a beam angle of roughly 10 to 25 degrees — with enough output, typically 800 to 1,500 lumens, to carry the distance. Place a narrow-beam fixture farther back than you'd guess, often 8 to 12 feet from the base of a 30-foot pole, and tilt it carefully; a degree or two at the fixture is feet of movement at the flag. This is the one setup where I suggest testing with a temporary light before burying cable or setting anything permanent. Hardware-store clamp lights and a friend with a phone at the top of a ladder — or better, just your own eyes from the street — will tell you the right distance in one evening. Also consider glare: a powerful narrow beam overshooting the flag lands in a neighbor's window or a driver's eyes, so aim precisely and choose a fixture with a glare shield or snoot.
Suggested budget range: $70 – $180.
9. A Dusk-to-Dawn Photocell Fixture
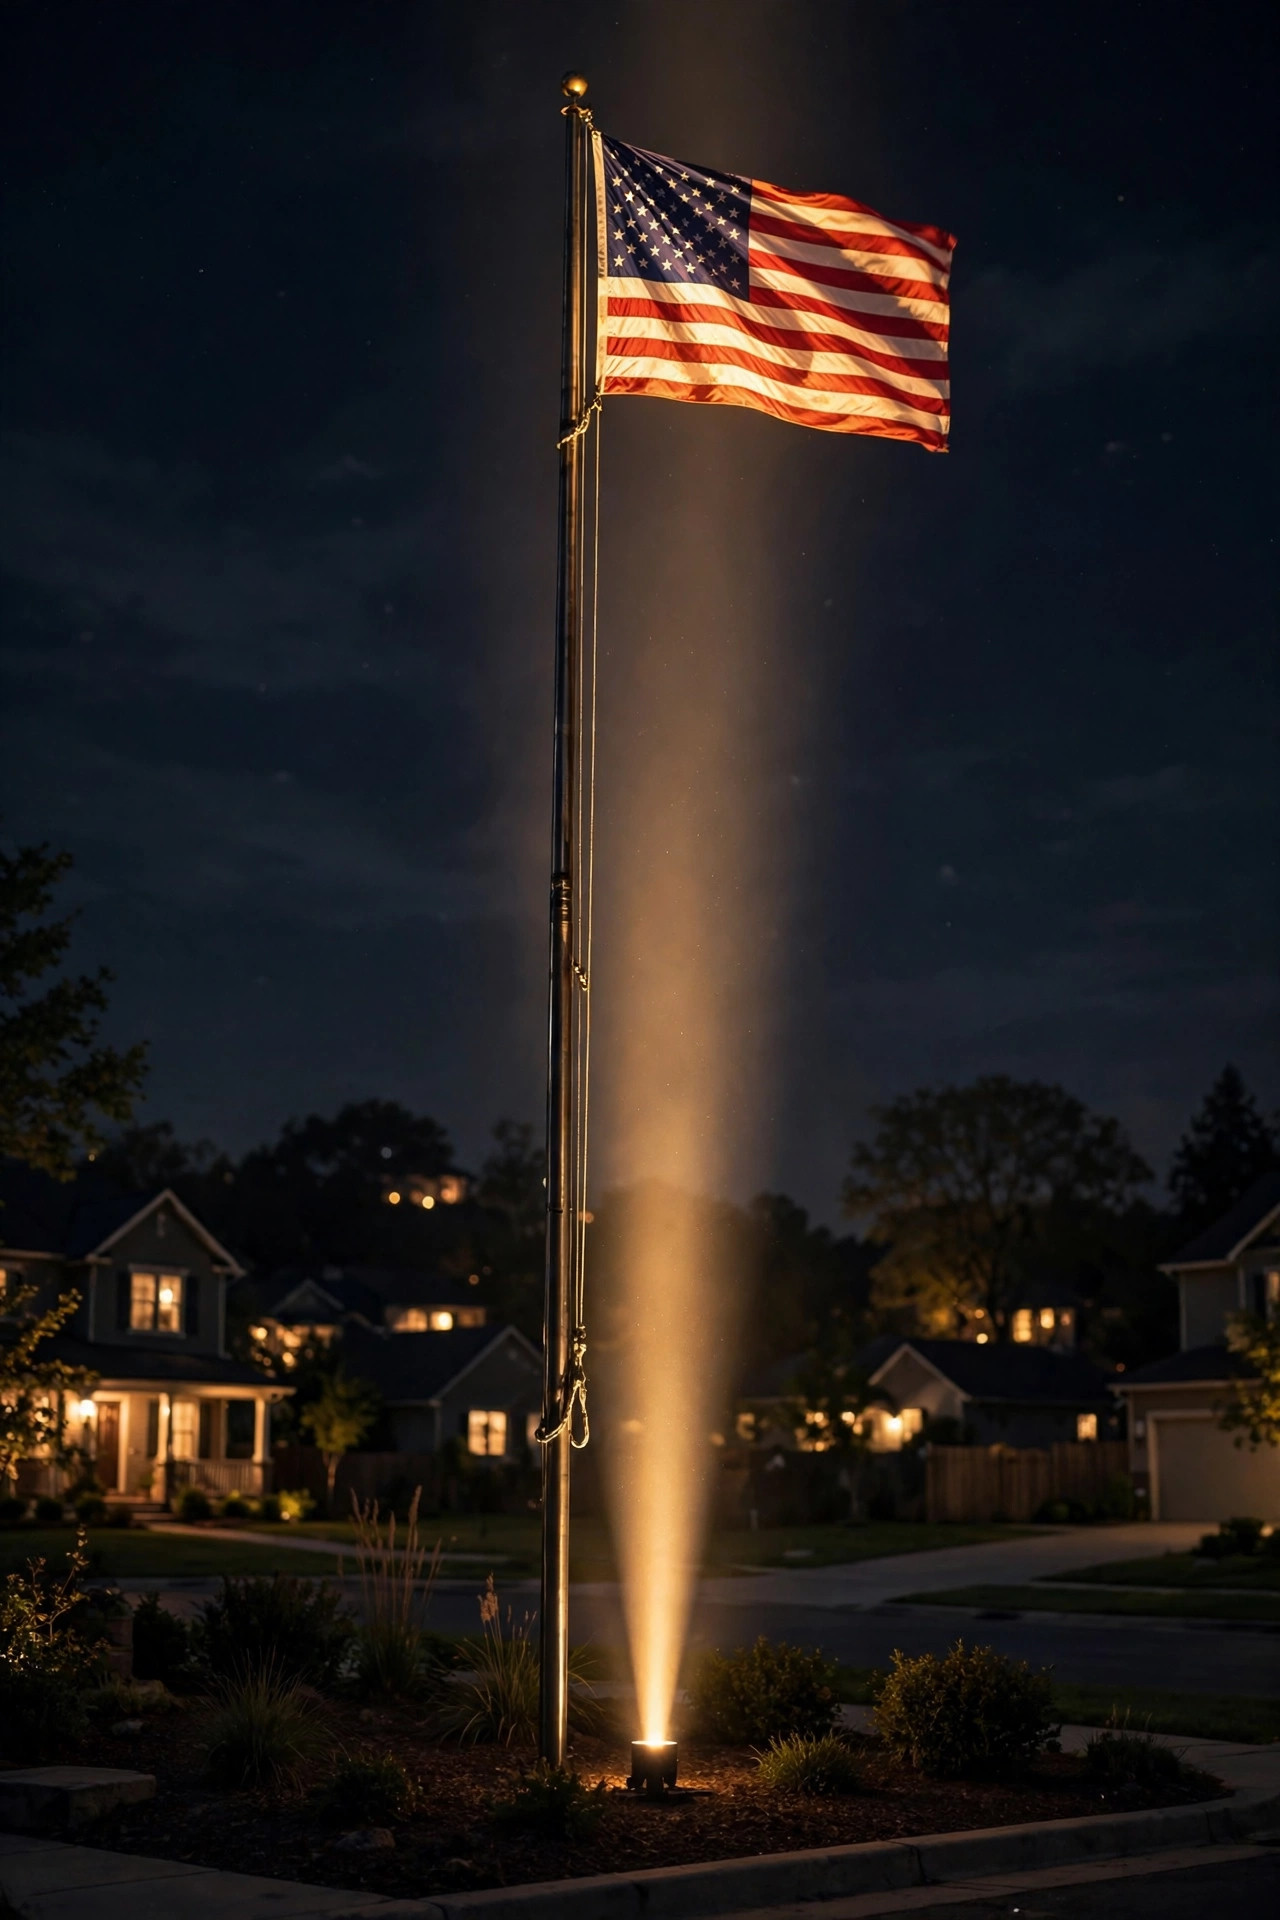
Proper illumination is partly a discipline problem: the light has to come on every night, all night, without anyone remembering a switch. A fixture with a built-in photocell removes the human from the loop entirely — it senses dusk, switches on, and stays on until sunrise, in January and July alike. Photocell-equipped spotlights come in both line-voltage and low-voltage versions, and many solar flag lights include the same sensing by default. I love this for a flag display because it matches the etiquette so neatly: the flag is never accidentally left dark because someone came home late or a timer drifted after a power outage. When shopping, look for a replaceable photocell or a fixture where the sensor isn't the first thing to fail, and mount the sensor so it isn't fooled by its own light bouncing off the pole — a sensor that sees the beam will cycle the light off and on all night, which looks anything but dignified. If your chosen spotlight lacks a sensor, you can add an inline photocell at the transformer or outlet for a few dollars. Set it, verify it on the first night, then forget it for years.
Suggested budget range: $45 – $120.
10. A Smart Plug and Astronomical Timer
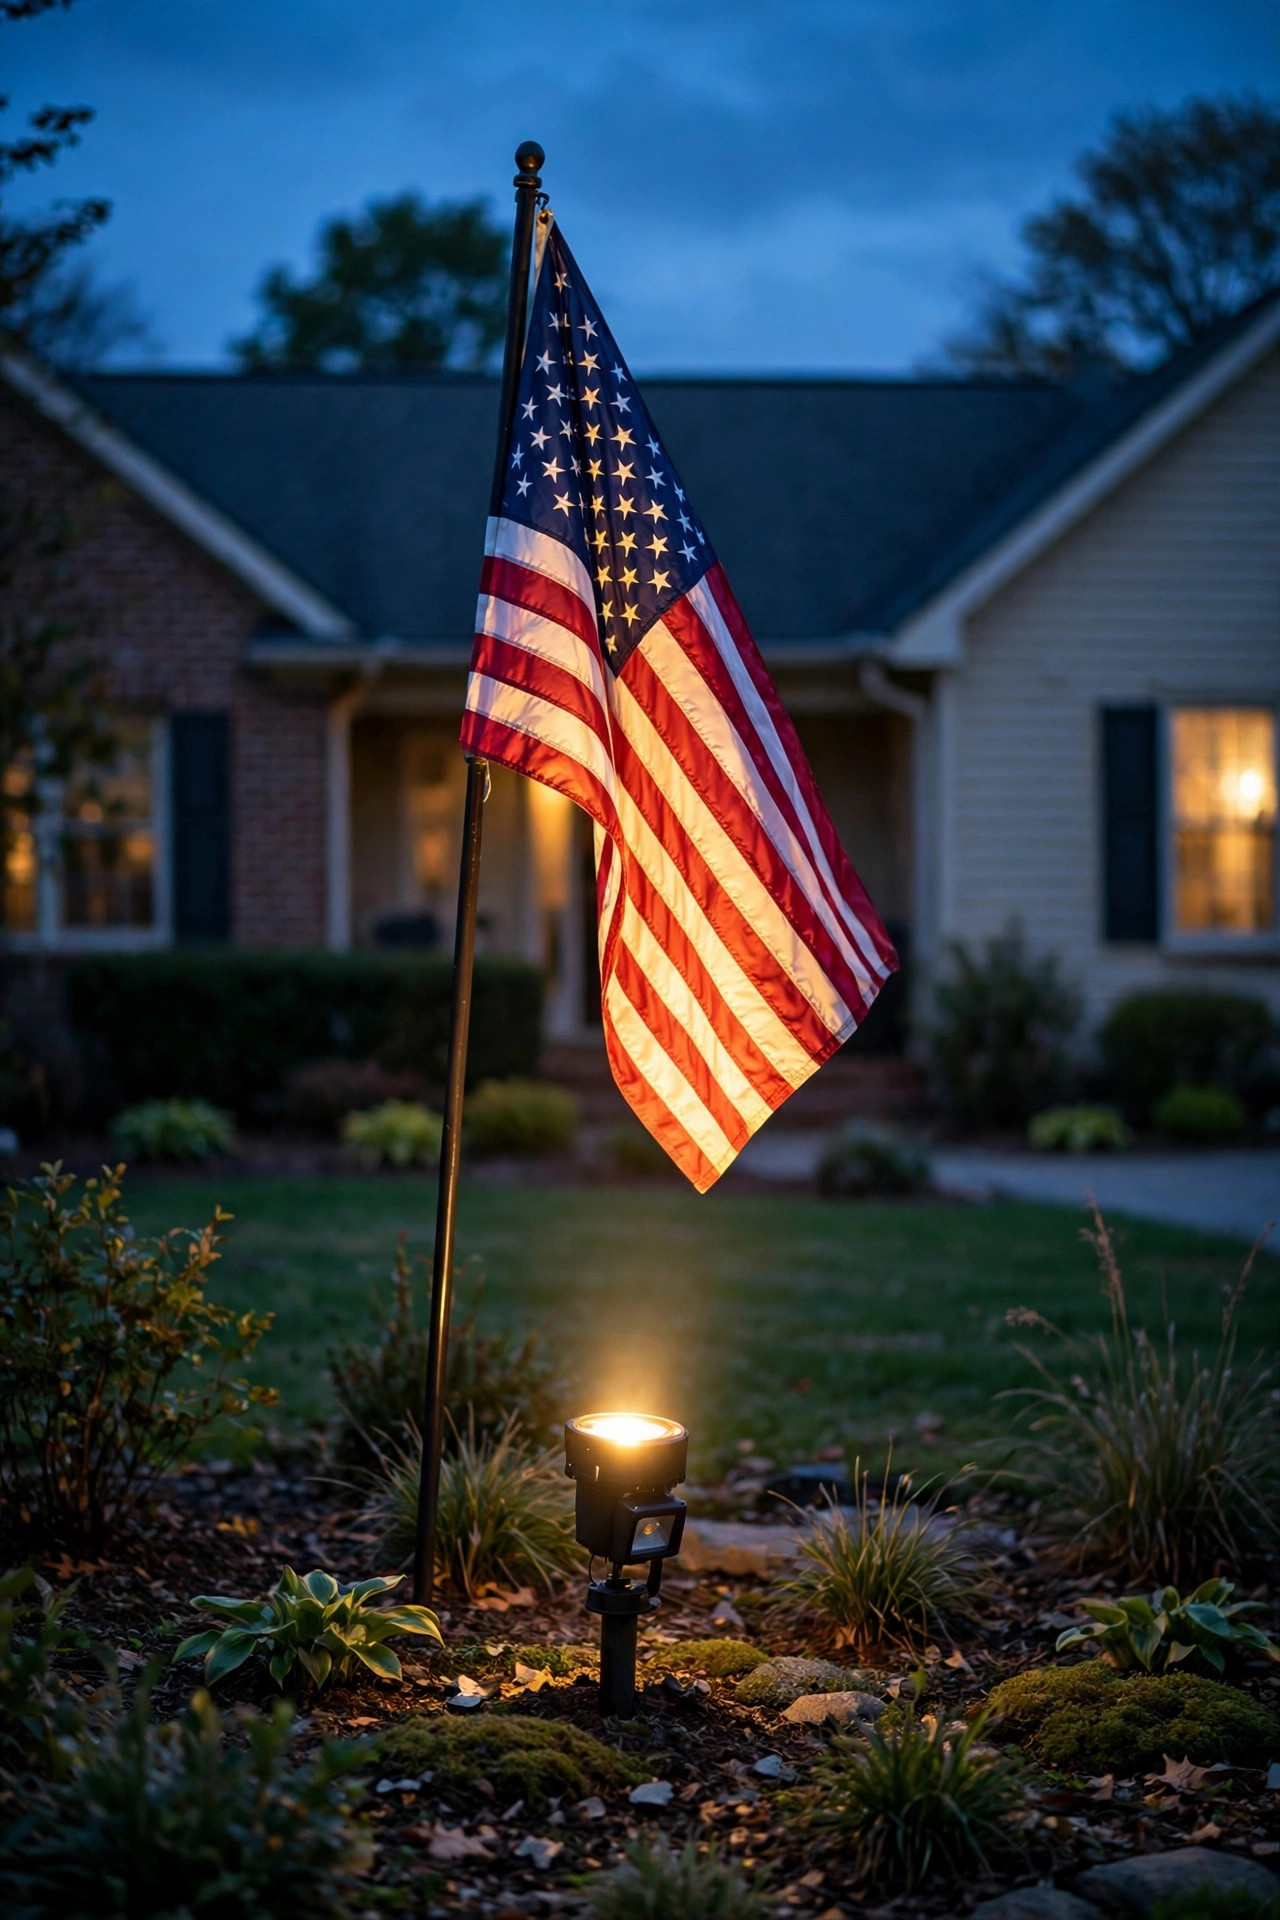
If your flag spotlight is wired but dumb, a weatherproof smart plug makes it punctual forever. The feature to look for is an astronomical (sun-tracking) schedule: you enter your location once, and the plug turns the light on at sunset and off at sunrise, adjusting itself as the days lengthen and shorten. No photocell to foul, no timer to reset after outages, and you can check from your phone that the flag is lit — a small peace of mind I genuinely appreciate when we travel. This approach works with any plug-in transformer or line-voltage fixture on an outdoor outlet, which should be GFCI-protected and fitted with an in-use cover. I go deeper on schedules and hardware in my guide to outdoor lighting timers and automation, including how to layer a timer with a photocell for belt-and-suspenders reliability. One etiquette note: resist any temptation to program the flag light to switch off at midnight to save a few cents. An LED spotlight costs pennies a night to run, and a flag that goes dark at 12:01 is, by the Code's standard, no longer properly illuminated.
Suggested budget range: $20 – $45.
11. Warm White Light, Because the Colors Matter
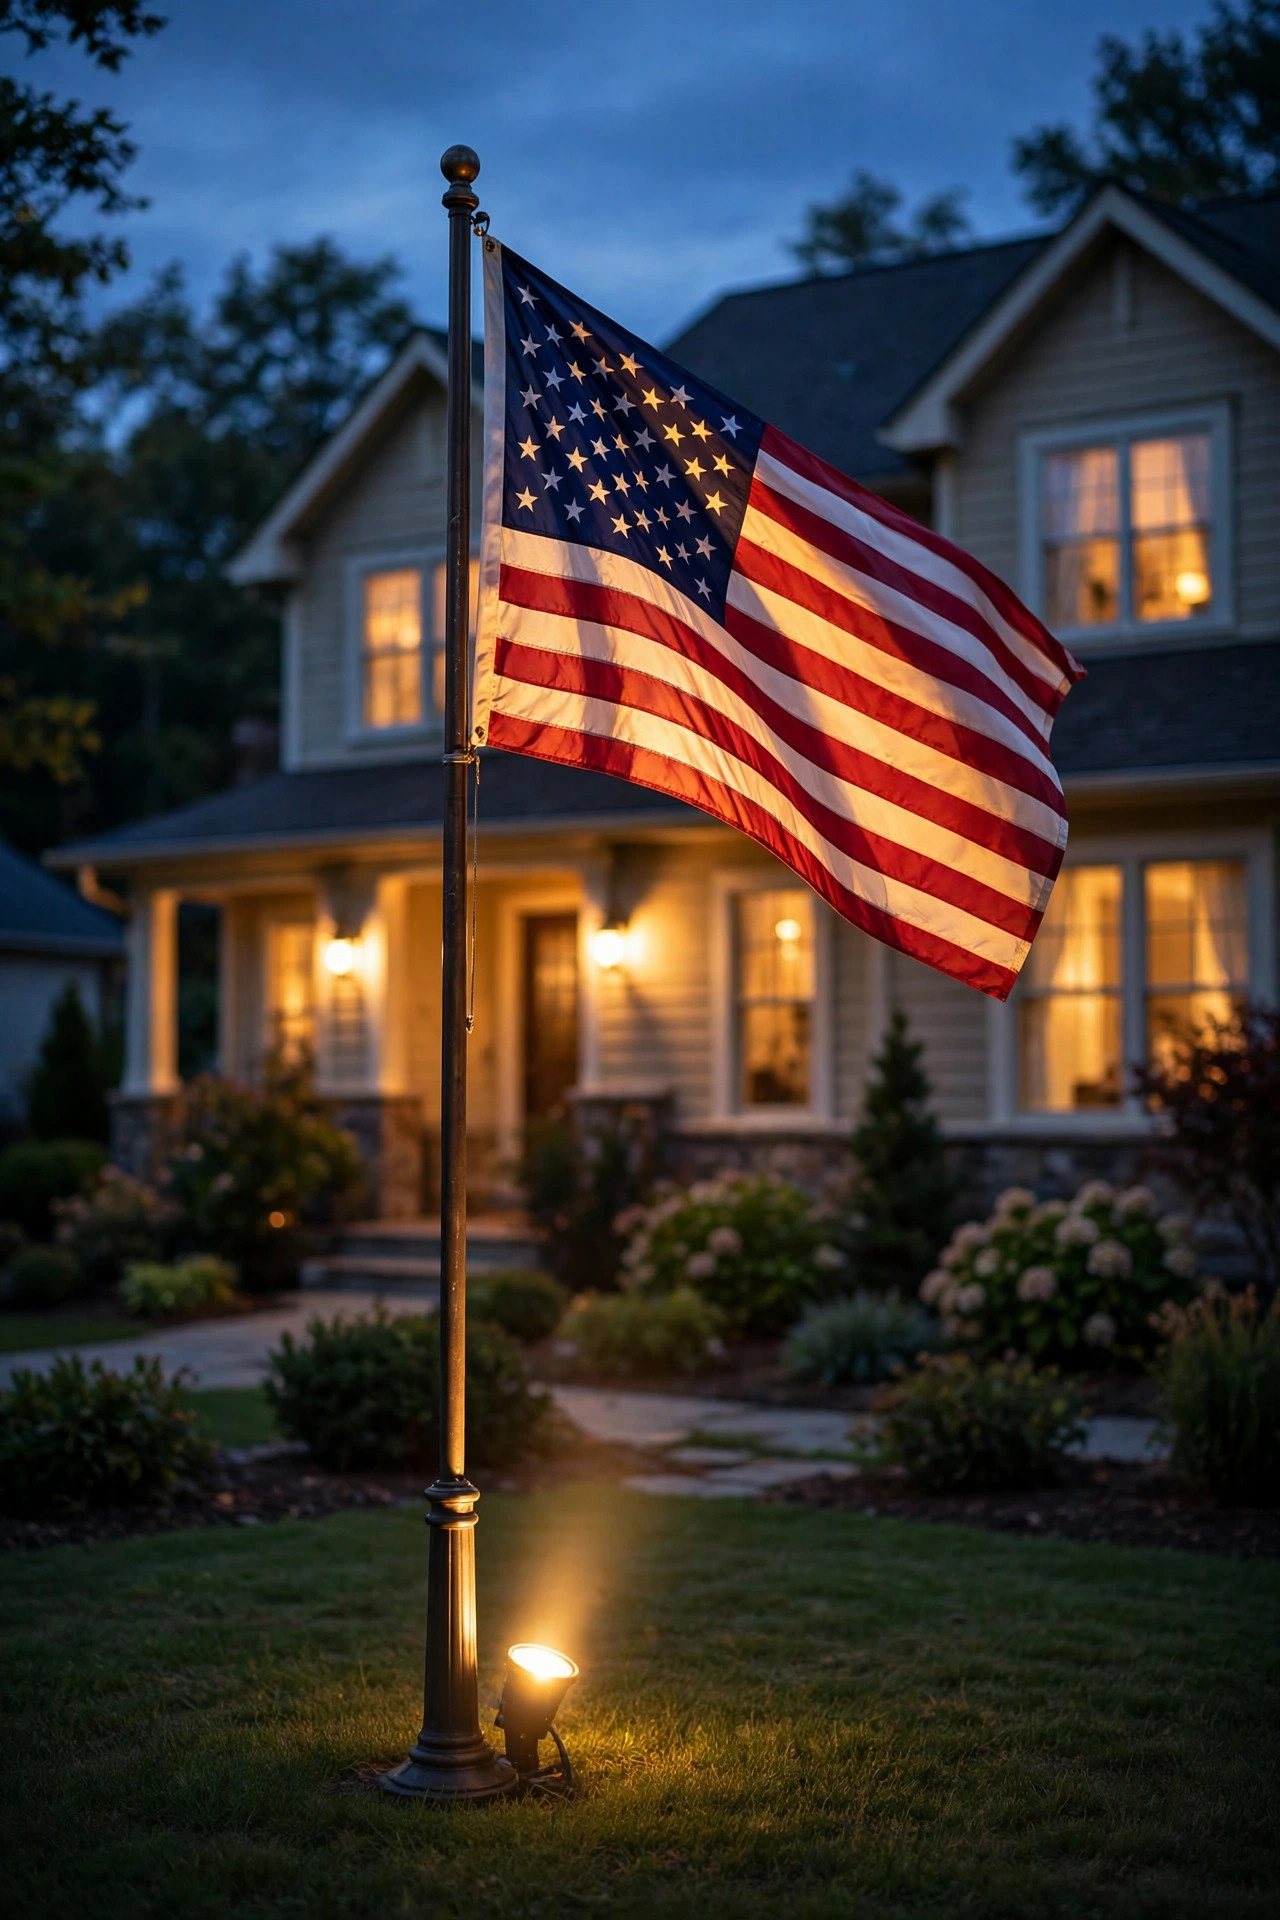
Here's a detail many displays get wrong: the color of the light itself. The flag's red, white, and blue only read true under a light with decent color rendering, and in my experience a warm white in the 2700K to 3000K range flatters the fabric beautifully — the red stays deep, the blue stays rich, and the white glows like candlelit linen rather than hospital corridor. Very cool, bluish light above 4000K makes the flag look washed out and, frankly, a little sad. Just as important: keep colored light off the flag itself. Red or blue gels, RGB spotlights, and holiday color-changing modes might feel festive, but they distort the flag's actual colors, and that crosses from decoration into disrespect in the eyes of most veterans' organizations. Save the patriotic red-and-blue accents for the flower beds, the porch rail, or the path — the flag stays in honest white light, and the contrast actually makes the whole display look more intentional. If you're replacing a bulb in an existing fixture, this is the cheapest meaningful upgrade on the list: one warm-white LED with a CRI of 90 or better.
Suggested budget range: $10 – $30.

12. Layered Lighting With the Flag as the Focal Point
A flag lit in an otherwise pitch-black yard can look a little stranded — one bright rectangle floating in the dark. Layering solves it: let the flag keep the strongest, most focused light, then add much softer supporting layers so the eye understands the scene. A pair of gentle path lights leading toward the pole, a low wash on the garden bed at its base, maybe a dim uplight on a nearby tree — each at a fraction of the flag light's brightness. The flag stays the unmistakable star, but now it belongs to a place. This is exactly the layering philosophy I use across my front yard, just with the hierarchy made explicit: brightest for the flag, dimmer for everything else, and nothing anywhere that competes. It also helps practically — guests and family can walk to the pole for a closer look without tripping through darkness. Keep every supporting fixture warm white so the whole scene shares one mood, and shield or aim supporting lights downward so none of their spill washes up and dilutes the flag's own beam. Done right, neighbors slow down on evening walks. Ours do.
Suggested budget range: $120 – $300.

13. A Garden Bed Accent Ring at the Pole Base
A flagpole planted in a mulched bed — often ringed with red and white flowers in summer — deserves a finishing touch: two or three small accent lights tucked into the bed itself. Low, hooded fixtures aimed at the planting ring (never up into anyone's eyes) give the base a soft pool of light that grounds the whole display, while the main spotlight does the real work on the flag above. The effect reads like a small memorial garden, and I mean that as the highest compliment — tidy, deliberate, cared for. Keep these accents dim relative to the flag light; if the bed outshines the flag, swap in lower-lumen lamps or hood the fixtures further. Solar stake accents are fine here because this layer is decorative rather than the flag's required illumination — that job belongs to your dedicated spotlight. Mind the mulch line when you aim: beds settle and plants grow, and a petunia at full August height can swallow a small fixture whole. I check mine at the start of each season, trim back, re-aim, and replace any cracked lens before it fills with rain.
Suggested budget range: $50 – $140.

14. A Steady Base Light With a Motion-Activated Boost
Let me be careful with this one, because etiquette comes first: a motion-only light is not proper illumination. A flag that sits dark until a raccoon wanders by is, for most of the night, an unlit flag. But a two-part setup can be both respectful and practical — a steady, always-on spotlight sized for the flag, plus a separate motion-activated flood that brightens the area when someone approaches the pole, the driveway, or the front walk. The steady light honors the flag all night; the boost light handles security and safe footing, then fades back. This pairing works well for poles near driveways where headlights and foot traffic are common. Aim the motion sensor across the approach path rather than at the street, or every passing car will trigger it, and set its duration short — a minute or two. Make sure the boost flood isn't aimed so it blasts the flag from a second, harsher angle and flattens the main beam's careful work; usually I'll point it at the ground plane instead. Respect first, convenience second — in that order, this combination genuinely delivers both.
Suggested budget range: $40 – $100.
15. A Walkway Flag Station Lit by Coordinated Path Lights
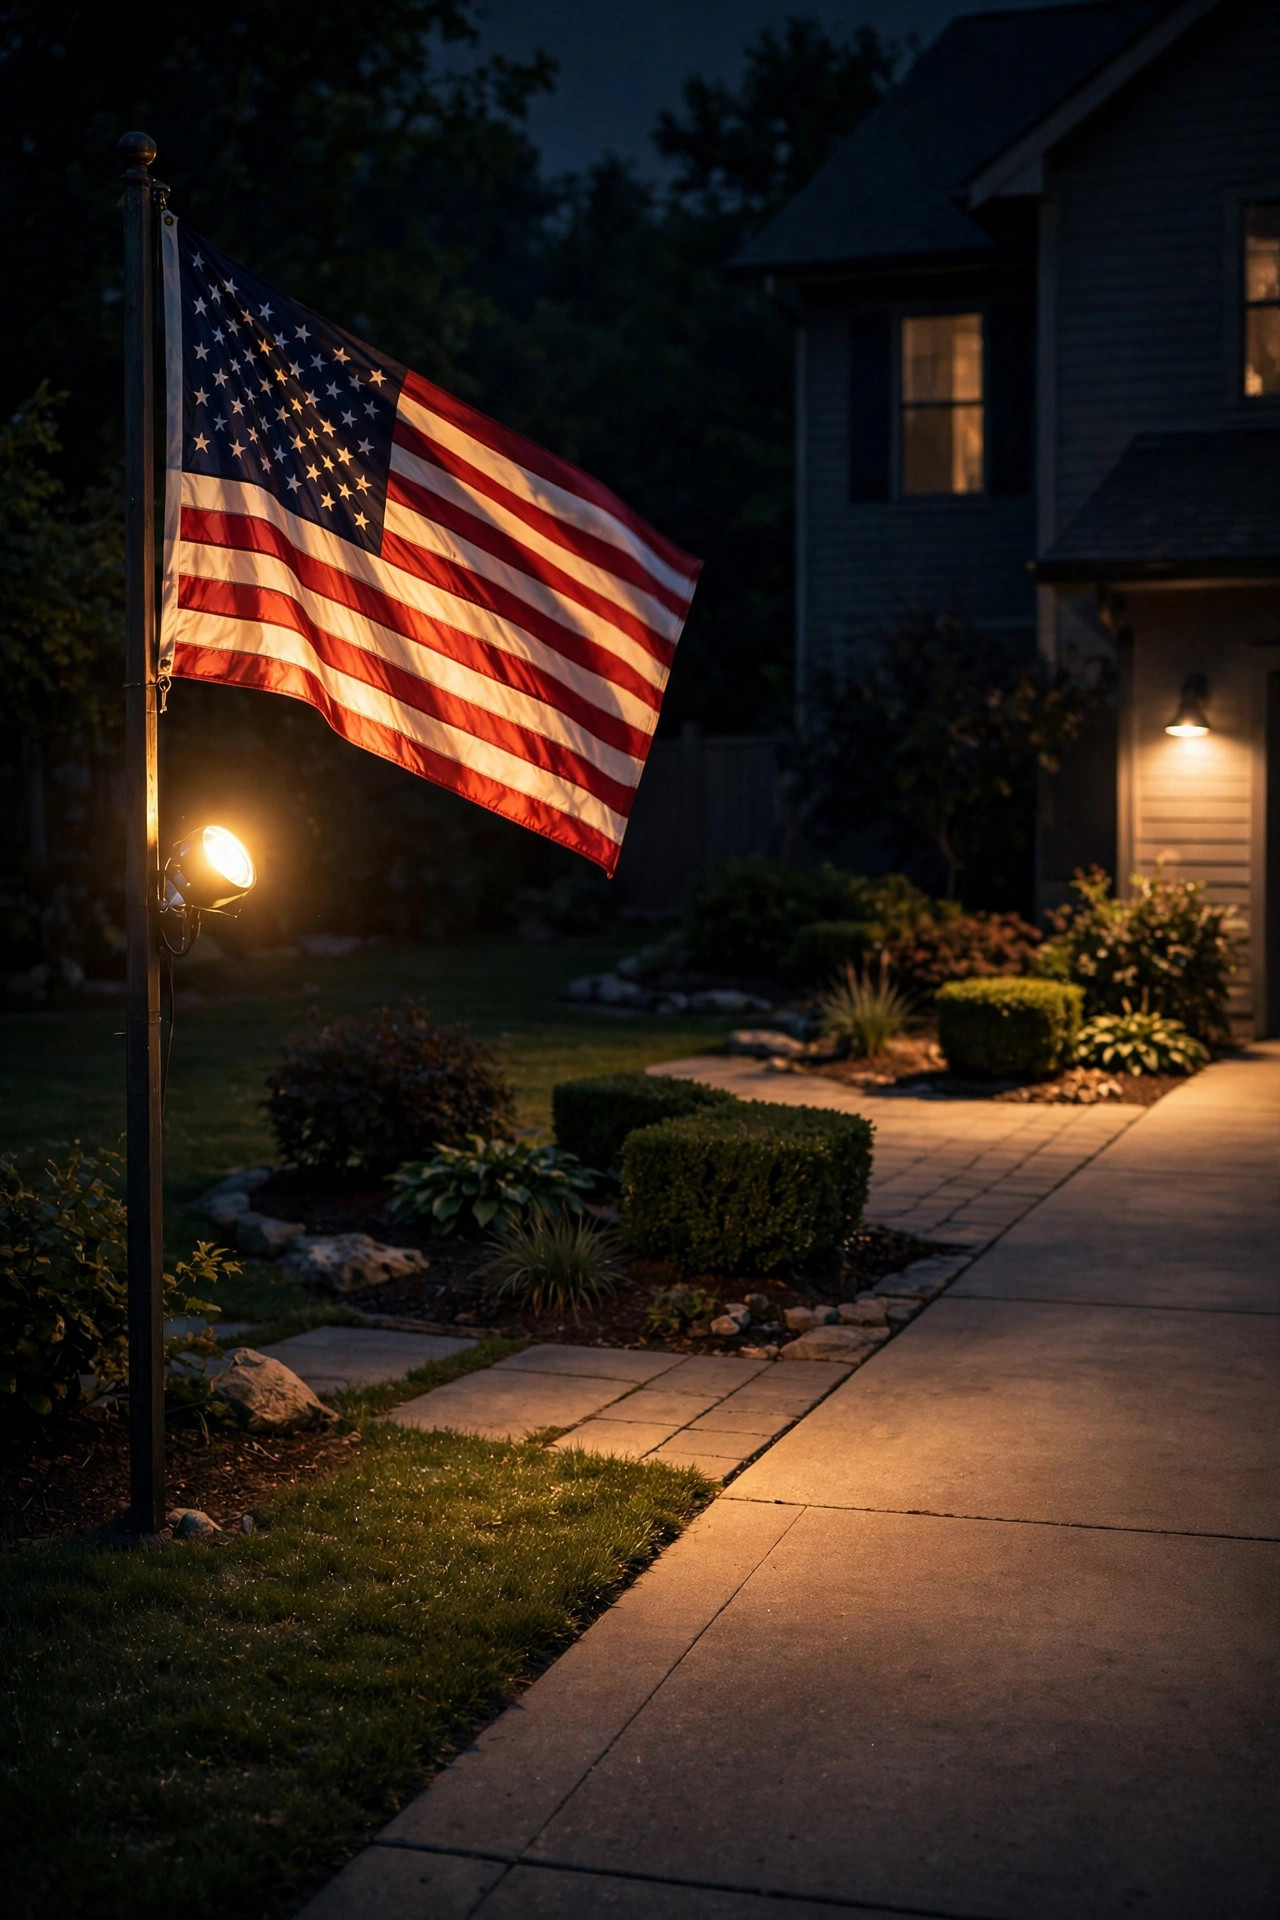
Not every display needs a towering pole. A shorter flag — 10 to 15 feet — planted where the front walk meets the garden makes a lovely, intimate station, and the right lighting is close at hand: the path lights you already own, plus one small dedicated spot. Here is the honest rule I follow: path lights alone, however pretty, rarely throw enough light upward to illuminate a flag properly. So add one compact spotlight at the base of the short pole aimed up, then let a matched pair or trio of warm path lights frame the walk leading to it. The coordination is what makes it charming — same warm color temperature everywhere, fixtures in a similar finish, nothing blinking or color-changing anywhere near the flag. Because the flag flies lower here, check it from the sidewalk at pedestrian eye level; a beam that's perfect from the street can glare at face height on the walk. Hooded, shielded spotlights help. This scale of display is also wonderfully renter- and budget-friendly: one solar spot, a few solar path lights, and an evening of arranging things until it looks right.
Suggested budget range: $45 – $110.

16. A Floodlight From the Eave for a Pole Set Away From the House
When the flagpole stands 15 to 30 feet out from the house, an eave- or soffit-mounted floodlight can be the cleanest solution of all — no fixtures in the lawn to mow around, no cable crossing the yard, and a long, even throw of light. Mount a dual-head LED flood under the eave, aim one head at the flag, and you can even aim the second at the driveway or walk where it's independently useful. The height of the eave, usually 9 to 12 feet, gives a pleasing, slightly downward angle on a midsize pole's flag. Two cautions from experience: first, a long throw needs real output — plan on a flood in the 1,500- to 2,500-lumen range, and accept a little softness at the flag's far edge. Second, be a good neighbor: from that height it's easy to spill light across the street, so use the fixture's visors, aim carefully at full dark, and check the view from your neighbor's porch, not just your own. Put the flood on a photocell or smart switch so it keeps the same dusk-to-dawn promise as every other setup here.
Suggested budget range: $60 – $160.

17. A Professional, Dedicated Installation for a Flag That Flies 24/7
If your flag flies every day of the year — as ours does — there's a point where a permanent, professional installation simply makes sense. An electrician runs a dedicated GFCI-protected circuit to the pole, sets a commercial-grade in-ground or pedestal fixture with a sealed, replaceable lamp, and often adds a photocell or time clock in a weatherproof enclosure. Everything is buried, armored, and built to be serviced in ten minutes rather than replaced every few seasons. Veterans' halls, churches, and schools choose this route for good reason, but I've come to believe a devoted homeowner benefits just as much: no batteries to fade, no stakes to straighten after the mower, no mid-winter failure leaving the flag dark. Ask the electrician to aim and focus the fixture with you present at dusk — the last five minutes of the job are the whole point of it. And while the trench is open, have a conduit stub run for a future second fixture; adding cross-light later becomes trivial. It's the most expensive idea here by far, and for a flag that never comes down, I think it's the one that honors the intention best.
Suggested budget range: $250 – $600.
Frequently Asked Questions
Does the American flag have to be lit at night?
If it stays up after dark, yes — that's the widely followed standard. The U.S. Flag Code says the flag should customarily be displayed from sunrise to sunset, but it may be displayed 24 hours a day when properly illuminated during darkness. So you have two respectful choices: bring the flag in at sunset, or light it properly all night. A dedicated light aimed at the flag — not streetlight spill — is what "properly illuminated" means in practice.
How many lumens do I need to light a flag?
It depends on pole height and distance. A house-mounted flag needs only a few hundred lumens from a nearby fixture. For a 20- to 25-foot pole with the light 3 to 6 feet from the base, 400 to 800 lumens with a focused beam works well. Taller poles, around 30 feet, call for 800 to 1,500 lumens in a narrow beam. Beam angle matters as much as raw lumens — a focused 30-degree beam beats a scattered flood with twice the output.
Is a solar light bright enough for a flagpole?
For house-mounted flags and poles up to about 20 feet, a good solar spotlight or pole-top disk light is genuinely enough, provided the panel gets full sun. Solar's weakness is consistency: several overcast days can dim it before dawn, and batteries fade after a couple of years. If your flag flies 24/7 on a tall pole and you want guaranteed all-night light, wired low-voltage is the more dependable choice — with solar as a fine option for smaller displays.
What color light is best for the American flag?
Warm white, around 2700K to 3000K, with good color rendering (CRI 90 or higher if you can find it). It keeps the red deep, the blue rich, and the white bright without a blue-ish cast. Avoid shining colored light — red, blue, or color-changing RGB — directly on the flag, since it distorts the flag's true colors. Keep patriotic color accents in the surrounding landscaping instead, and let the flag itself stay in honest white light.
Conclusion
Good american flag lighting ideas all come back to one simple promise: if the flag is up, the light is on — aimed well, warm in color, and steady until sunrise. Start with the setup that matches your display: a solar spot or pole-top disk for simplicity, a low-voltage spotlight for all-night reliability, a photocell or smart timer so you never forget, and warm white light so the colors stay true. Then stand at the curb on the first night, look at your flag glowing against the dark, and adjust until it gives you that small, quiet catch of pride. That's the whole test. For more ways to make your home's exterior glow with the same care, browse the rest of my lighting ideas here — and if your flag is faded or worn, retire it with your local veterans' organization and raise a fresh one under your new light. It deserves it.