
The first cold snap used to send my patio furniture into storage and me onto the couch until March. Then I figured out the real problem was never the temperature — it was the dark. A patio heater can warm your shoulders, but it cannot make a black, empty patio feel inviting. These winter patio lighting ideas changed that completely. Now my favorite hangouts happen in January: heater humming, blankets on every chair, cocoa within reach, and light doing the quiet work of making 30 degrees feel like a choice instead of a punishment.
My approach is the same one I use all year, just winter-proofed. Layer your light in three heights — a soft glow overhead, warm pools at sitting level, and gentle guidance down low so nobody catches an icy edge. Then add two winter rules: everything must be rated for wet, freezing weather, and every fixture near a heater needs real clearance. Pick the layers that fit your space below, and your patio stops hibernating.

1. Start With a Layered Plan for All Your Winter Patio Lighting Ideas
Before you buy a single bulb, stand on your patio at dusk and think in three layers. Overhead light — string lights, a fixture, icicles on the roof edge — gives you the general glow that makes the space readable. Eye-level light is where the cozy lives: lanterns on side tables, candles on the mantel, a lit firewood stack. Ground light is your safety layer, washing steps, edges, and the path from the back door so guests carrying cocoa mugs can see exactly where their boots land.
In my experience, winter patio lighting ideas fail when one layer tries to do all three jobs. A single bright floodlight overhead flattens everything and glares off the snow. Three soft layers at low brightness beat one harsh source every time. Aim for a combined feel of warm and dim — you want to see faces clearly, read the rim of your mug, and still feel like it is evening. Sketch your patio, mark where people sit, where they walk, and what they look at, then assign one idea from this list to each layer before you spend anything.
Suggested budget range: $0 – $25.

2. Hang Heavy-Duty Café String Lights as a Winter Ceiling
A swag of café string lights overhead is the single highest-impact move on this list. It turns open sky into a ceiling, and a ceiling makes a patio feel like a room — which is exactly the psychology you need in January. Use commercial-grade strands with thick rubber cords and suspended sockets; the thin decorative sets sold for summer parties crack and take on water in freezing weather. Look for shatterproof LED bulbs, because a glass bulb that breaks in the cold leaves shards in the snow until spring.
Hang them from the house to a pergola post, fence, or a sturdy string light pole, with enough dip to feel relaxed but at least 7 feet of clearance at the lowest point so nobody ducks. Space swags about 4 to 5 feet apart for an even canopy. Connect no more strands end-to-end than the manufacturer allows, and plug into a GFCI outlet with an in-use weatherproof cover. Around a patio heater, keep strands at least 3 feet from the heater head — the rising heat column is hotter than you think. I leave mine up all winter; rated strands handle snow load fine if you brush off heavy accumulation after a storm.
Suggested budget range: $40 – $120.

3. Pair Your Patio Heater With Light That Flatters It
If your hangouts are heated, plan the light around the heater instead of competing with it. A tall propane heater throws a surprising amount of orange glow from its reflector, and a fire table adds flicker — treat both as light sources in your plan and dim everything nearby to match. I place lantern-style fixtures just outside the heater's comfort circle, roughly 6 to 8 feet out, so faces get a second soft source and nobody is lit only from above like an interrogation scene.
Safety is non-negotiable here. Keep all fixtures, cords, and fabric at least 3 feet from a heater head, more if the manufacturer says so, and never drape string lights, curtains, or blankets over or near the unit. Choose metal and glass fixtures for the spots closest to the heat; plastic shades can soften and warp. Also think about shadows: a heater in the middle of the seating throws long ones, so a low lantern on the far side of each chair fills them in. When the heater and the lighting work as a team, the whole circle feels evenly warm instead of half-lit and half-roasted.
Suggested budget range: $30 – $90.

4. Ring the Fire Pit or Fire Table With Low Light
If your winter hangout centers on a fire pit or fire table, the flames are your main event — the lighting around them should support, not compete. I ring the seating with low fixtures: short path lights or small lanterns tucked between chairs, aimed outward or downward so the glow reads as a soft halo on the ground. Keep them 18 to 24 inches outside the chair line so boots and blanket hems stay clear, and never place anything with a cord inside the spark zone.
The trick is brightness discipline. Firelight is warm and dim, and your eyes adjust to it beautifully — until one bright solar stake in your peripheral vision ruins the spell. Choose fixtures under 100 lumens for this ring, all in the same warm 2700K family as the flames. If you want more inspiration for arranging seating and light around a fire, my guide to fire pit seating lighting ideas walks through layouts for round and square pits. One more winter note: keep a clear, lit path from the fire circle back to the house. Somebody always needs a cocoa refill, and the route crosses the coldest, darkest part of the yard.
Suggested budget range: $35 – $100.

5. Cluster Flameless Candle Lanterns at Sitting Height
Eye-level light is what makes people relax, and nothing does it better than lanterns clustered where people actually sit. I group flameless candle lanterns in threes on side tables, the outdoor coffee table, and the wide arm of the sofa — varying heights, same finish, all on the same timer setting so they flicker to life together at dusk. Flameless is the only sane choice outdoors in winter: real candles gutter out in the slightest breeze, and wax plus wool blankets plus a heater nearby is a risk I will not take.
Look for lanterns with outdoor ratings and candles made of plastic or silicone rather than real wax, which can crack in hard freezes. A 5- or 6-hour timer setting covers an evening hangout without you touching a switch with cold fingers. Battery life dips in the cold, so bring the candles inside between gatherings if temperatures drop below about 15 degrees — lithium batteries handle cold better than alkaline if you are buying spares. Honestly? This is the layer guests compliment most, and it is the cheapest one on the patio.
Suggested budget range: $25 – $75.

6. Run Icicle Lights Along the Roof Edge or Pergola Beam
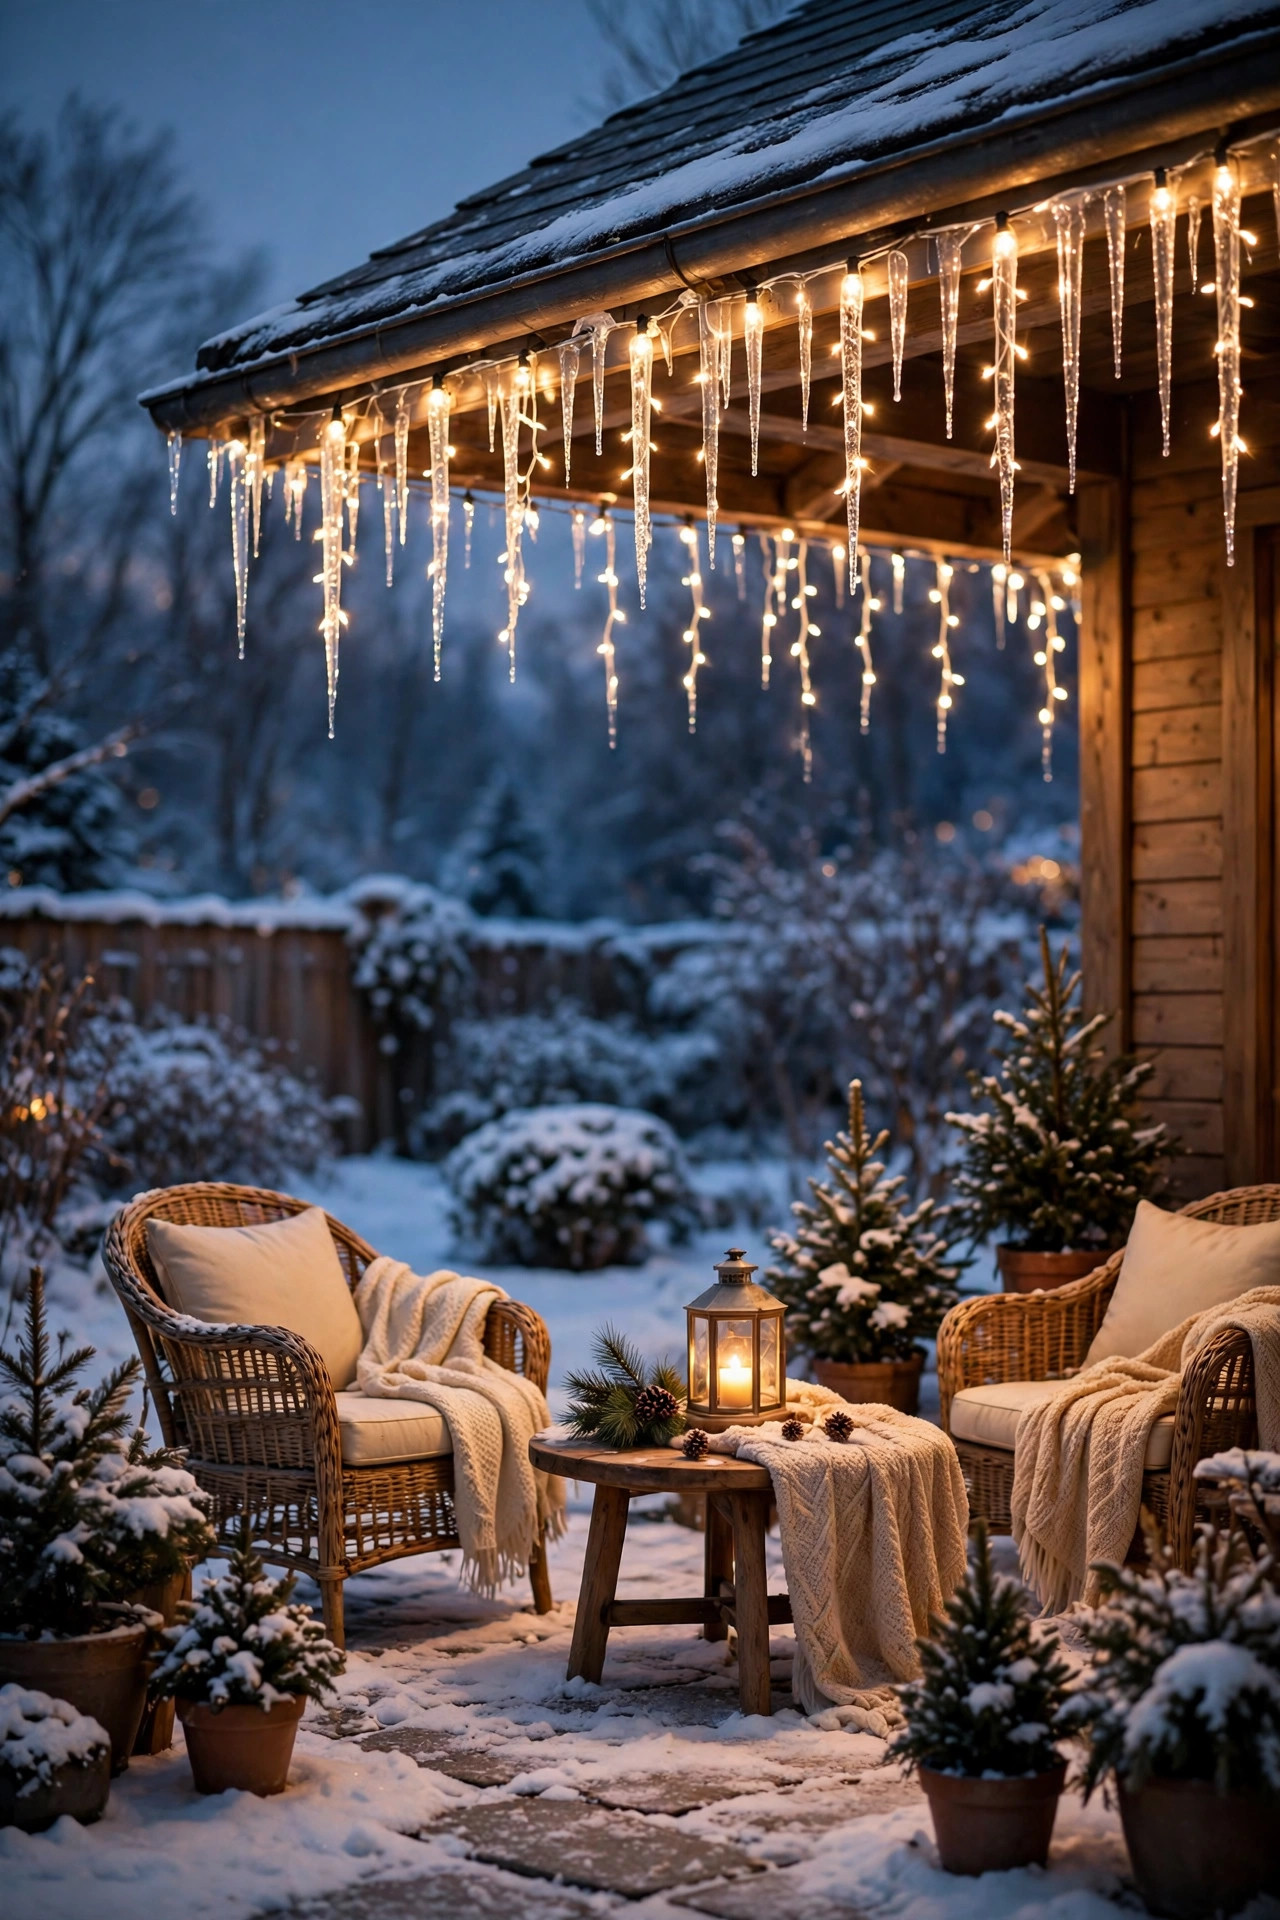
Icicle lights are not just for December. Along the roof edge over your patio — or the front beam of a pergola or covered patio — they read as winter sparkle all season: part starlight, part frost. I keep mine up through February, and in January they stop looking like holiday decor and start looking like the patio's permanent winter jewelry. Warm white is the classy choice; cool white reads icy-blue against snow in a way some people love, so match it to your other fixtures.
Install them before the deep cold sets in if you can, because clips get brittle and fingers get clumsy. Use proper gutter or shingle clips rather than staples, which damage cords and void ratings. If your patio has a roof or pergola structure, the lighting layouts in my covered patio lighting ideas guide pair beautifully with this edge treatment. Keep the first drop of each strand clear of the walking path, and route the lead cord down a post rather than across a doorway. On a timer, icicles plus string lights give you that layered overhead glow for the price of a pizza night.
Suggested budget range: $30 – $80.
7. Fill Winter Planters With Fairy Lights and Evergreens
Summer planters go sad and empty by November, but on a winter patio they are prime real estate for light. I refill mine with evergreen boughs, red dogwood or birch branches for height, and a strand of copper-wire fairy lights woven through the whole arrangement. The tiny warm points of light catch the frost on the branches, and the planter glows like a little lantern at ankle-to-knee height — perfect middle-layer light right beside the chairs.
Copper-wire fairy lights are the tool here because the wire disappears among the branches and the LEDs are cool to the touch, so they are safe tucked against dry greens. Choose battery packs rated for outdoor use, or solar versions only if the planter sits in your sunniest spot — December sun is weak. Set the battery pack down in the soil where the planter walls shield it from direct rain, and switch to the 6-hour timer mode so you never think about it. Refresh the greens once mid-winter; the lights keep working through the swap. Two planters flanking the patio door frame the whole scene when you look out from inside, which honestly sells the cozy hangout before anyone steps outside.
Suggested budget range: $20 – $60.

8. Light Every Step and Patio Edge for Icy Nights
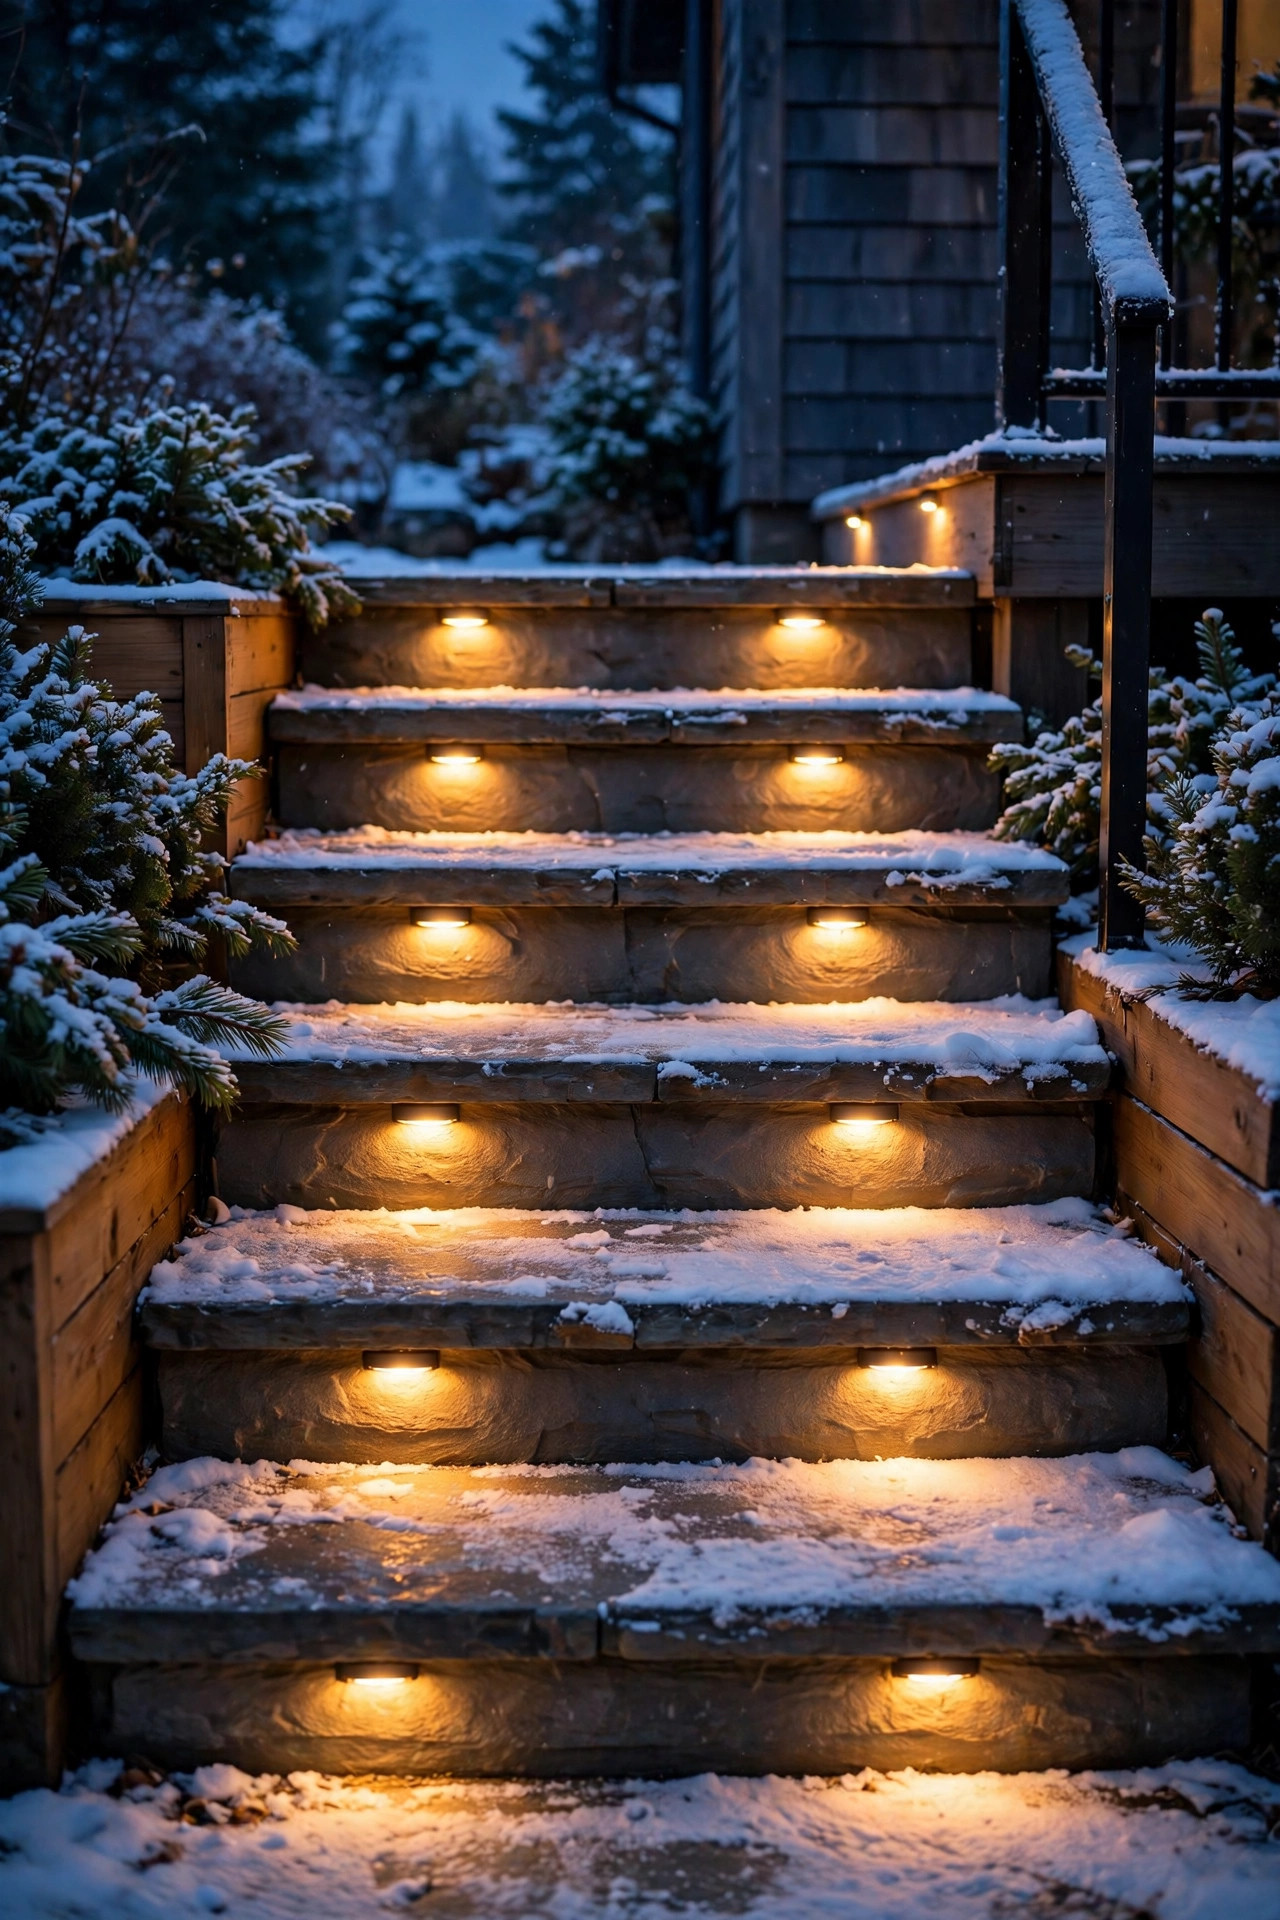
This is the least glamorous idea on the list and the one I would never skip. Winter patios have a hazard summer ones do not: invisible ice on steps, and edges that vanish under a dusting of snow. Low step lights, small recessed markers, or a rope of warm light along the patio edge outline exactly where the walking surface changes level. Guests look down naturally when carrying drinks, so light placed at shin height works far better than overhead glare.
Hardwired step lights are the tidy long-term answer, but battery and solar puck lights stuck under a step lip get you through this winter with zero wiring. Whatever you choose, keep the color warm and the brightness low — the goal is a visible edge line, not a runway. Brush snow off the fixtures after storms, because a buried light lights nothing, and check that meltwater is not pooling and refreezing right where the light encouraged people to walk. If your patio has a raised deck section or a sunken seating area, mark every single transition. The cozy hangout nobody remembers is the one where nobody fell.
Suggested budget range: $25 – $90.
9. Build a String-Light Tent Over the Sofa
When one swag of string lights is good, a dense canopy is better — especially over deep seating where people settle in for hours. I run four to six strands from a high central point on the house or a tall pole down to the patio corners, tent-style, so the light pools right over the sofa and coffee table. The denser overhead layer traps a surprising amount of perceived warmth, and it makes the seating area feel tucked-in and separate from the cold yard beyond.
Use the same commercial-grade, shatterproof LED strands as the single-swag version, and anchor the high point into structure, not trim — a full canopy catches wind like a sail. Keep the lowest strands a good 7 feet up, and remember the heater rule: if a patio heater stands inside the tent, its head needs at least 3 feet of clear air below the strands, and more is better. A dimmer rated for LED strings is worth every penny here; full brightness for setting up, half brightness for the hangout itself. Under a glowing tent with blankets and a fire table, guests stop checking the temperature entirely.
Suggested budget range: $60 – $150.

10. Make Mason Jar Luminaries With Copper-Wire Fairy Lights
Some nights call for a tabletop glow that costs almost nothing. A strand of copper-wire fairy lights coiled inside a mason jar makes a lantern that looks wonderful lined down the center of the patio table or perched on the arms of chairs. The glass throws soft, watery reflections, and the whole thing takes three minutes to assemble. I make a set of six every winter and scatter them wherever a layer of light feels thin.
Use jars with wide mouths so the battery pack fits inside or tucks behind the jar out of sight. Frosted glass or a light smear of frost spray on the inside softens the points of light into a glow; clear glass keeps the sparkle. These are LED and cool-running, so they are safe near napkins, blankets, and paper — but bring them in during heavy rain unless yours are fully sealed, since most fairy light battery packs are water-resistant rather than waterproof. As a bonus, the jars double as weights holding down table runners and napkins when the winter wind picks up mid-dinner.
Suggested budget range: $15 – $40.

11. Spotlight the Firewood Stack and Storage Bench
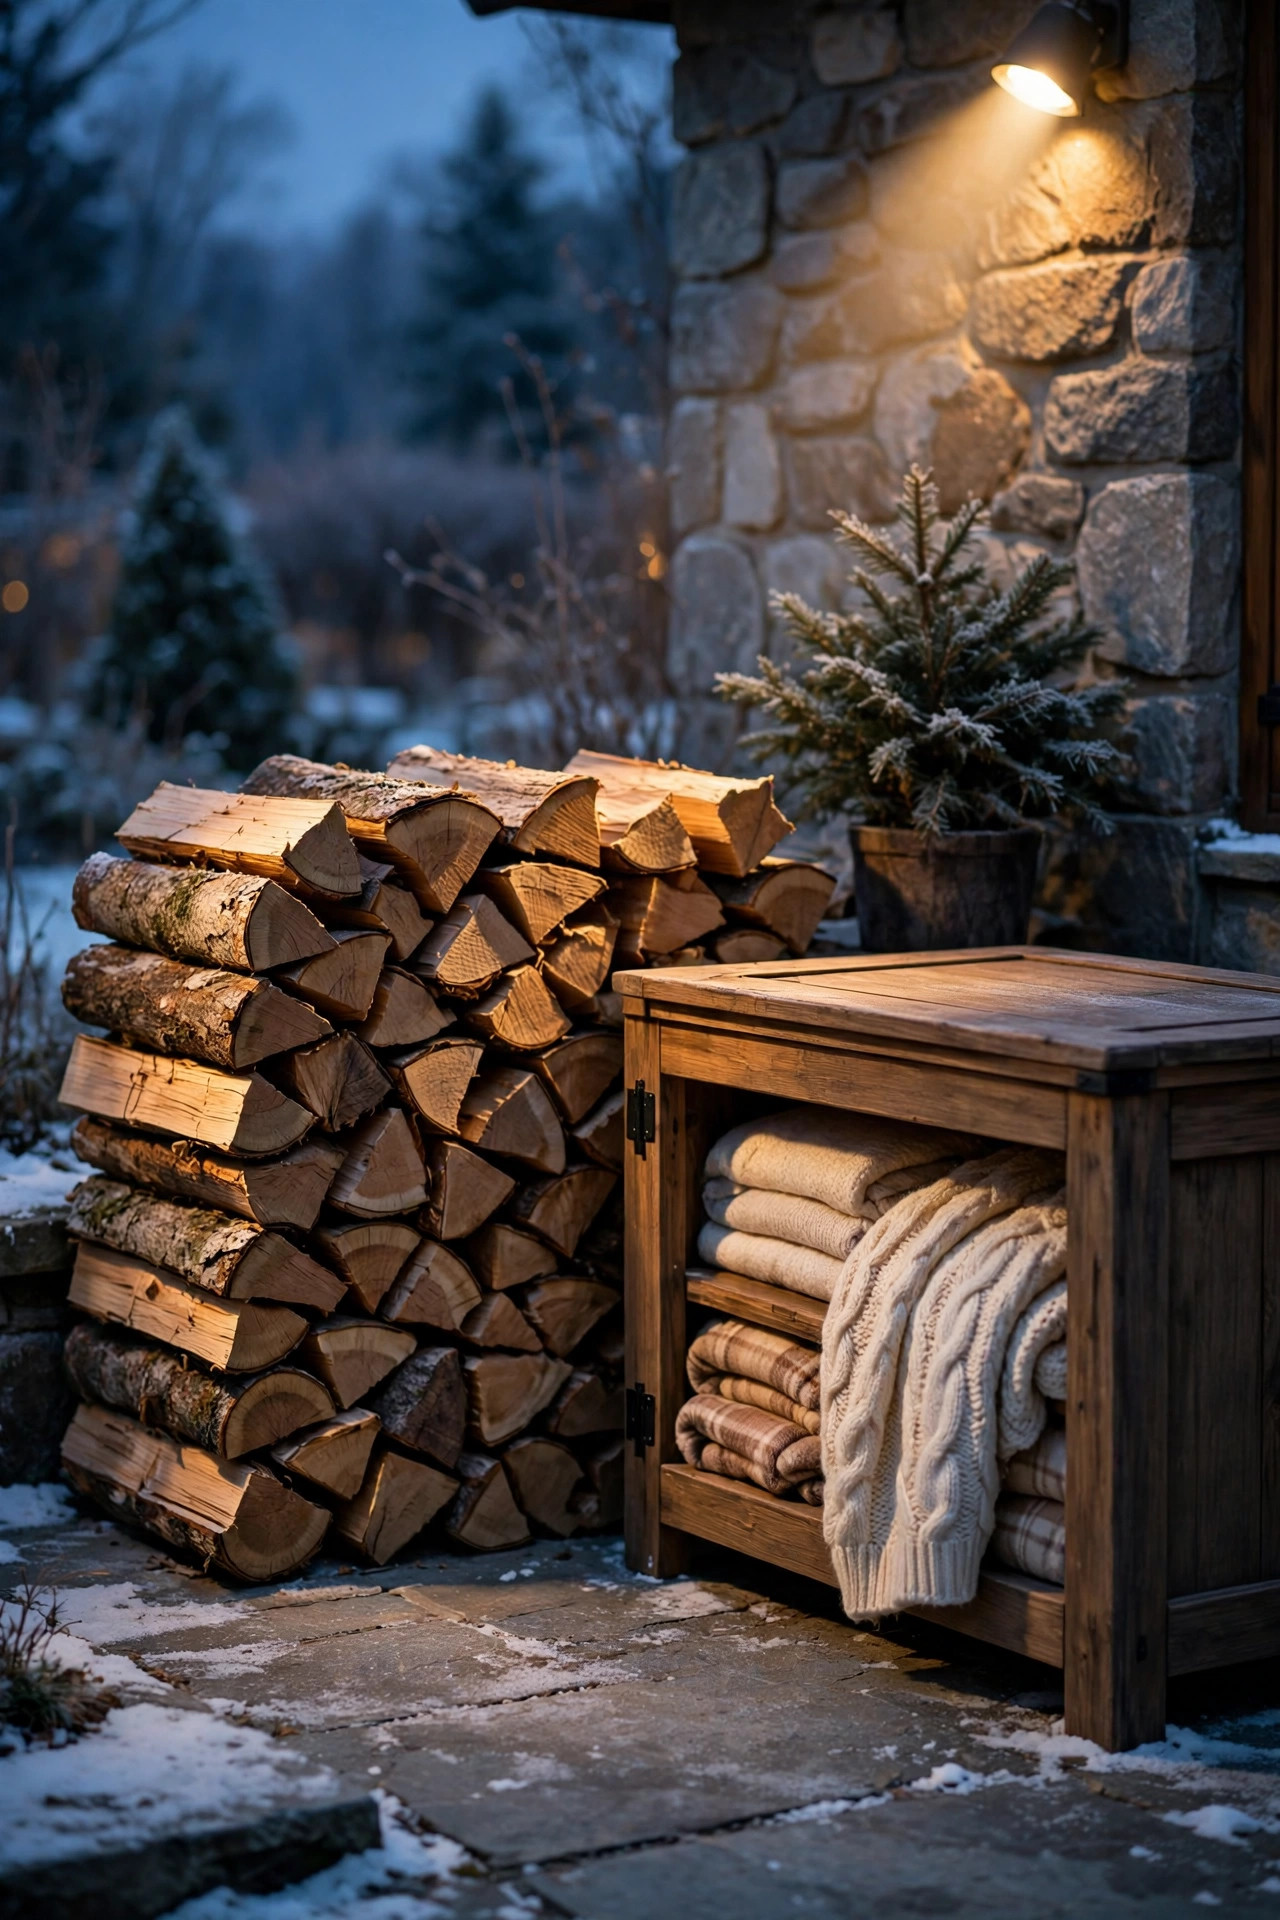
Every heated winter patio has a working corner: the firewood stack, the storage bench with the blankets, the propane tank corral. Lighting it does double duty — it is practical task light for whoever is fetching logs or blankets, and it turns a utilitarian pile into a handsome backdrop. A single warm spotlight or a small lantern on the bench does both jobs. A neatly stacked woodpile under warm light honestly looks like decor you paid a stylist for.
Aim the light along the stack rather than straight at it, so the log ends cast soft shadows and texture. A solar spotlight works here if the panel can sit in a sunny spot during the day — mount the panel up high where snow slides off instead of burying it. Keep the fixture itself out of the trip path between the fire and the stack, because that route gets walked in the dark, often with arms full of logs. Motion-sensor versions are perfect for this corner: dark when nobody needs it, instantly lit when someone does, and no switch to fumble for with gloved hands.
Suggested budget range: $20 – $55.
12. Choose Solar Stakes That Can Actually Handle December
I love solar path lights, but winter is where the cheap ones go to die. Short days, low sun angle, and panels frosted or buried by Tuesday mean most bargain stakes glow for about twenty minutes in January. If you want solar on a winter patio, buy like a skeptic: look for replaceable rechargeable batteries, a separate or generously sized solar panel, and a stated runtime of 8-plus hours. Monocrystalline panels squeeze more out of weak winter sun than the cheapest poly panels.
Placement matters more than price. Put stakes where they get direct midday sun — which in winter means away from the house's north shadow and off the patio's shaded edge — and brush the panels clear after every snowfall, because even a light dusting cuts charging hard. Angle matters too; a panel tilted toward the low southern sun charges noticeably better than one lying flat. My honest recommendation: use solar for accent sparkle only, and let plug-in or battery fixtures carry the layers you actually depend on. Think of December solar as a bonus, never the foundation, and you will never be disappointed by it.
Suggested budget range: $30 – $85.

13. Uplight Bare Branches and Evergreens Behind the Seating
A winter patio backs onto a garden that has gone architectural — bare branches, dark evergreens, the pale trunk of a birch. A couple of uplights turn that backdrop into scenery instead of blackness. I aim one warm spotlight up through a small ornamental tree behind the sofa and another into an evergreen, and suddenly the patio has depth: you are sitting in a lit room with a glowing garden mural behind it instead of staring into a void.
Keep uplights warm white, in the 2700–3000K range, and modest in output — 200 to 400 lumens is plenty for a small tree. Stake them a foot or two from the trunk, angled up into the branch structure, and shield the source so nobody seated sees the bare fixture. This is the same layering thinking I use across the whole yard in my winter landscape lighting ideas guide, just scaled down to the patio's backdrop. One caution: snow reflects uplight beautifully but also amplifies it, so check the scene from the chairs after the first snowfall and dim or re-aim if the garden suddenly glows like a stadium.
Suggested budget range: $35 – $95.

14. Tuck Rope Light Under Benches and Railings
Hidden light is the most flattering light. A warm LED rope light run under a bench seat, beneath a railing cap, or along the underside of a bar counter washes the ground and the furniture edges with glow while the source stays invisible. On a winter patio it does something extra: it outlines the furniture so guests can see where to sit in the dim ambient light, and it lights the floor where boots and dropped mittens land.
Choose rope or tape rated for outdoor wet locations, with sealed connectors, and mount it facing downward so meltwater sheds off instead of pooling on it. Clips every 12 to 18 inches keep it from sagging as temperatures swing. Keep the power supply and connections inside a weatherproof box or under the driest overhang you have — connections, not the rope itself, are where winter failures start. This is a permanent-install idea, so do it once, do it neatly, and it quietly upgrades every layer above it. Paired with the step lights from earlier, it gives your ground layer a finished, built-in look for very little money.
Suggested budget range: $25 – $70.

15. Hang Shepherd's Hook Lanterns Along the Path In
The hangout starts before guests reach the patio. A short row of shepherd's hook lanterns along the path from the back door or gate sets the tone and, more importantly, lights a route that may cross frost, ice, and early darkness. I use three to five hooks spaced 5 to 6 feet apart, lanterns hanging at about knee-to-waist height, all fitted with flameless candles on timers so the whole path wakes up at dusk on its own.
Push the hooks in before the ground freezes hard, or keep them in large planters if your soil is already locked up. Lanterns with real glass panes and metal frames handle winter weather and look far better than plastic in close-up. LED flameless candles only — a swinging lantern plus a real flame plus a guest's coat sleeve is a combination to avoid. In deep snow, the hooks also quietly mark the path's edge so nobody shortcuts across a drift and twists an ankle on the hidden garden edging. Small effort, and every arrival feels like walking into a winter postcard.
Suggested budget range: $40 – $110.

16. Keep Every Bulb at 2700K for One Warm Glow
Here is the discipline that separates a cozy patio from a mismatched jumble: every light source in the same warm family. I standardize on 2700K warm white for every bulb, strand, lantern, and candle across the patio. Firelight and heater glow both live in that amber neighborhood, so fixtures at 2700K blend into one seamless warmth. A single 5000K daylight bulb — in a porch fixture, say — will stick out like a headlight and make everything else look dingy by comparison.
When you shop, read the Kelvin number on the box, not the words "warm white," which stretch from 2700K to 3000K depending on the maker. 3000K is acceptable if it is consistent everywhere, but mixing the two is where things go subtly wrong. Flameless candles vary too, so buy them in sets from the same line. If you are replacing bulbs gradually, swap the most visible fixture first — the one over the door — because it sets the tone for everything below it. Honestly, this one rule is why some budget patios look expensive: not more light, just matched light.
Suggested budget range: $10 – $45.

17. Add Outdoor Curtains and Fairy Lights to Block the Wind
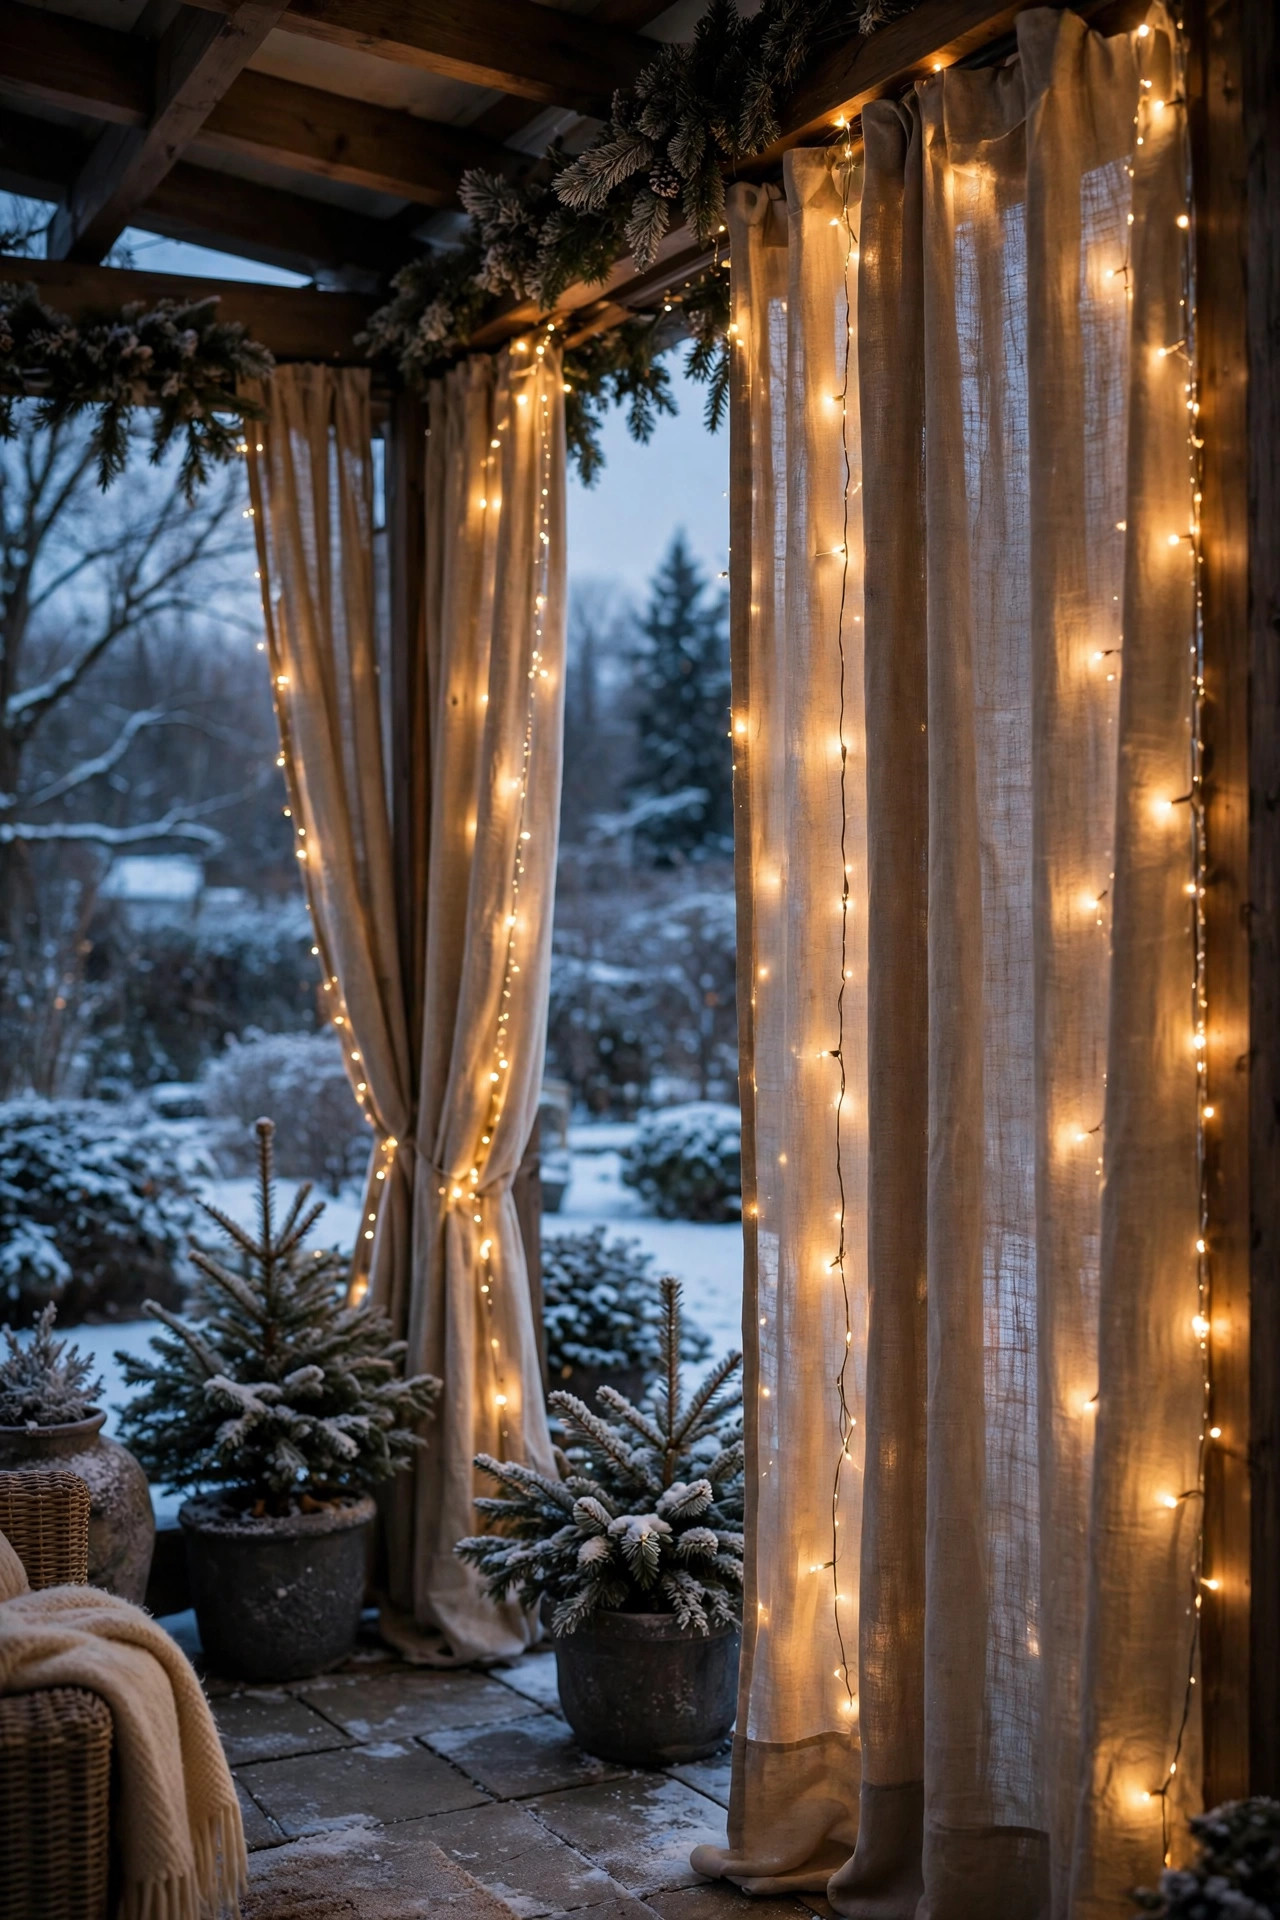
Cold air movement, more than cold air itself, is what ends winter hangouts early. Outdoor curtains along the open side of a covered patio or pergola cut the breeze dramatically — and woven with a strand of fairy lights or hung behind café bulbs, they become a glowing wall instead of a windbreak you apologize for. The light bouncing off fabric at seating height is incredibly flattering, like sitting inside a lantern.
Choose heavyweight outdoor fabric with grommets top and bottom, and weight the hem or tie the panels back when it is calm; a loose panel flapping against a patio heater is a genuine hazard, so keep curtains fully clear of heater heads and fire features, several feet at minimum, and never enclose a propane heater on all sides. Mount the rod to structure, not fascia trim, because a wind-loaded curtain pulls hard. On milder nights, tie the panels open and let the fairy lights in the folds do the decorating. This is the idea that most extends our season — with the breeze stopped, the heater suddenly feels twice as strong.
Suggested budget range: $50 – $140.
18. Put Everything on Timers and Smart Plugs
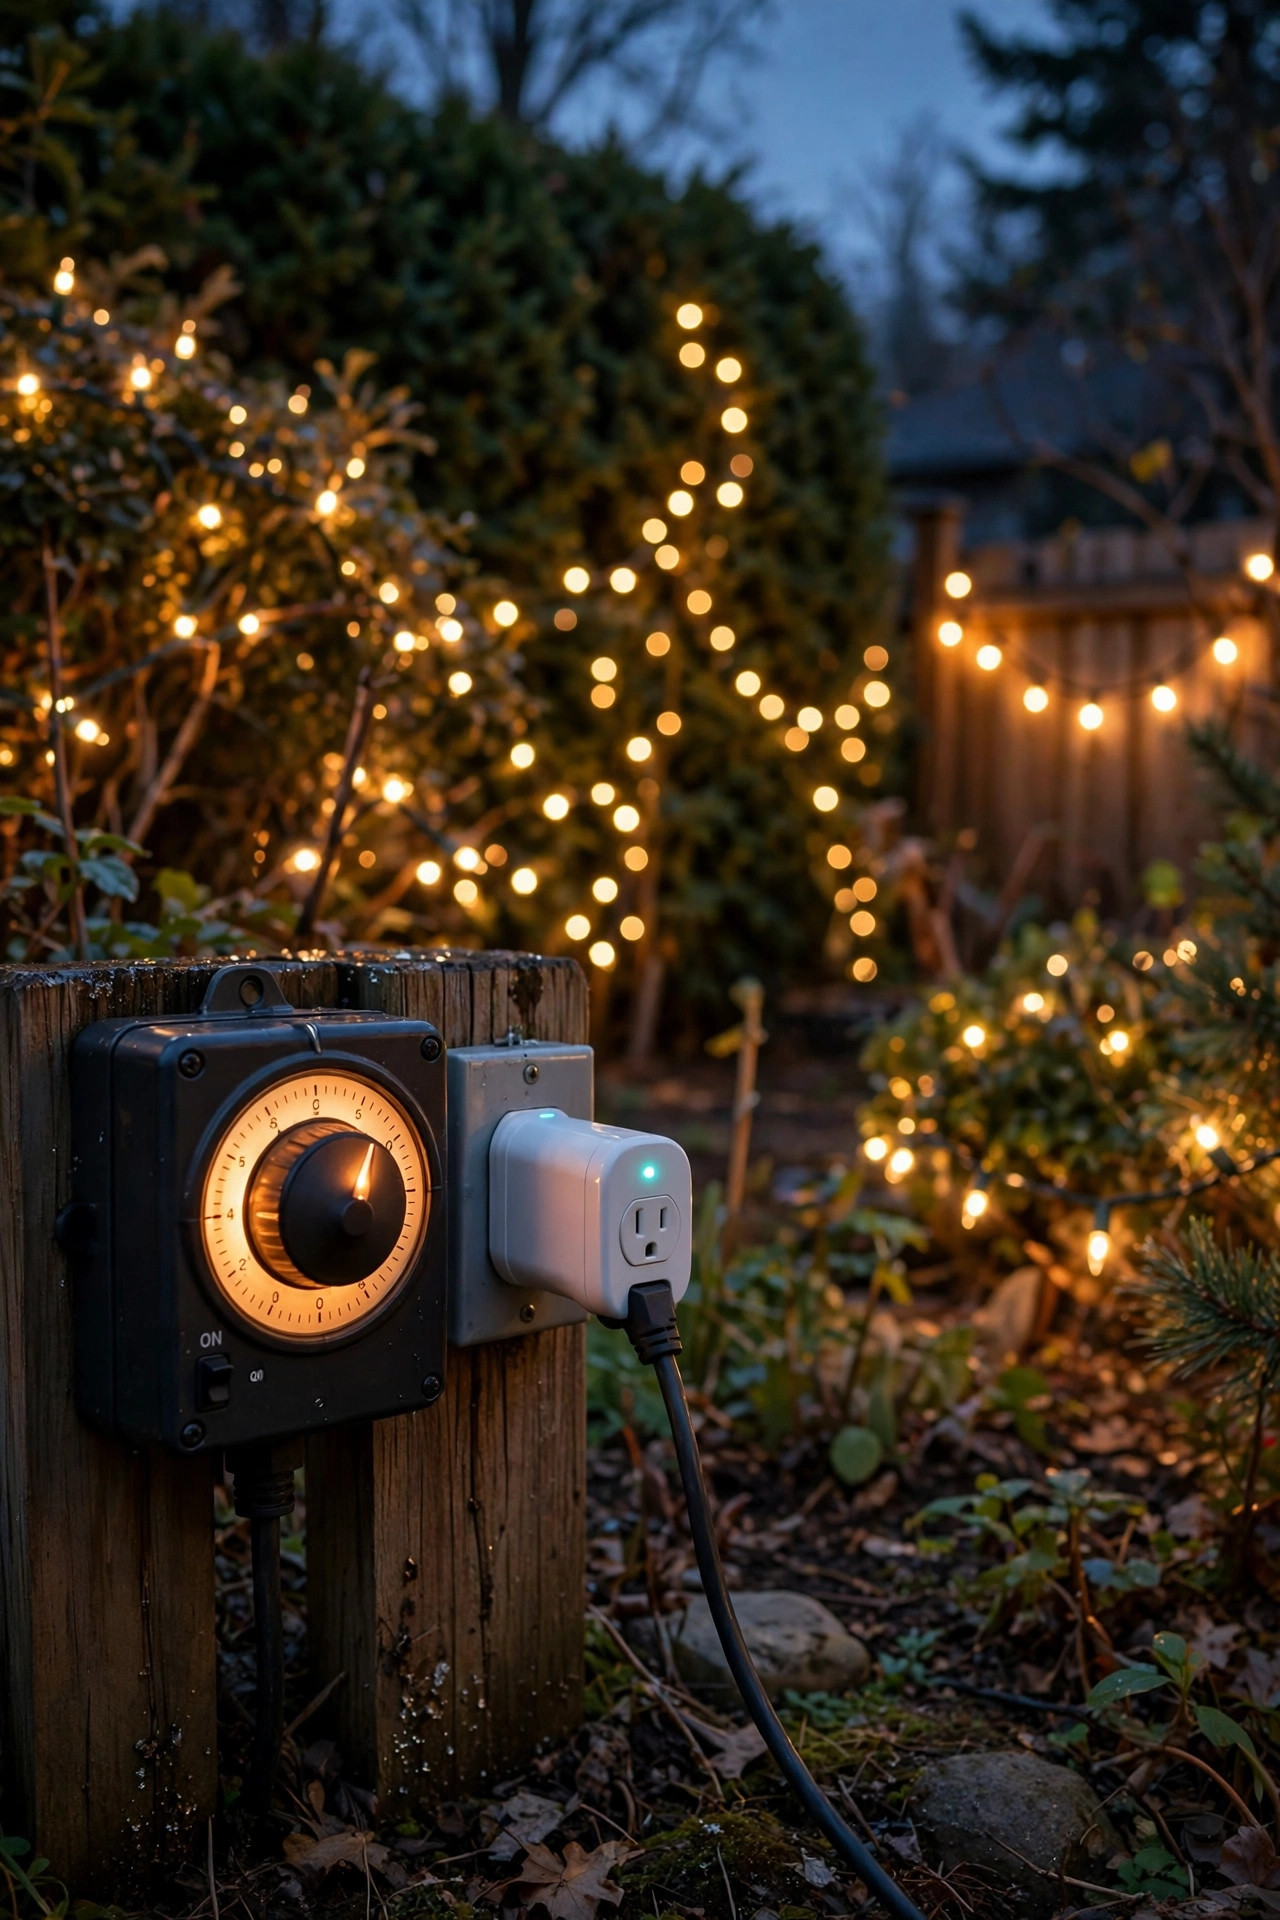
The best winter patio is the one already glowing when you step out. I run the string lights, icicles, and uplights on outdoor smart plugs and mechanical timers set to come on about 30 minutes before dusk and off at 11 p.m., so the patio warms up visually while the heater does the literal warming. Coming home to a lit patio also makes the yard feel alive from inside the house, which is half the pleasure of having one.
Use plugs and timers rated for outdoor use, kept inside weatherproof in-use covers, and respect their amp ratings — string lights are light loads, but a heater should never share a timer or smart plug unless the device is explicitly rated for that draw; my heaters plug straight into the outlet, always. Astronomical timers that track sunset automatically are worth the small premium in winter, when dusk moves by an hour across the season and a fixed 5 p.m. setting falls behind by February. Group fixtures by layer on separate plugs if you can: canopy on one, accents on another, so you can run a low-glow scene for quiet nights and everything at once for company.
Suggested budget range: $20 – $65.
19. Putting It All Together: My Full Winter Patio Lighting Ideas Setup
Here is how the layers combine on my own patio on a typical January Friday. At 4:30 the timers wake up: café strands and icicles overhead, the string-light tent dimmed to half over the sofa. At sitting height, lanterns flicker on the side tables, mason jar luminaries line the table, the firewood stack glows under its spotlight, and the planters sparkle at the door. Down low, step lights trace the patio edge, rope light washes under the bench, and shepherd's hook lanterns light the path from the back door. The heater clicks on twenty minutes before guests arrive; the fire table waits for after dinner.
Notice what is not here: no floodlight, no daylight bulbs, nothing brighter than the fire. Total draw from the LEDs is less than one old incandescent bulb, and the whole scene runs itself whether I am hosting or just enjoying it through the window with tea. Start with three layers — one overhead, one at the tables, one at the ground — and add a new idea each month of winter. That is the real secret behind all my favorite winter patio lighting ideas: they accumulate, one small warm layer at a time, until the coldest season becomes the coziest one.
Suggested budget range: $150 – $400.

Frequently Asked Questions
What color temperature is best for winter patio lighting?
Warm white at 2700K is the sweet spot for a cozy winter patio. It matches the amber glow of firelight, patio heaters, and candles, so every light source blends into one warm scene instead of competing. You can go to 3000K if every fixture matches, but avoid mixing temperatures, and keep daylight bulbs at 4000K and above off the patio entirely — they read as cold and harsh against snow and make skin tones look washed out on a winter night.
Will solar lights really work on a patio in the middle of winter?
Some will, with the right expectations. Short December days and a low sun angle mean solar fixtures charge far less than in summer, and snow covering a panel stops charging completely. Choose solar lights with larger or separate panels and replaceable batteries, place them where midday sun actually reaches, and brush panels clear after storms. In my experience solar works best as accent sparkle in winter — path markers and planter lights — while plug-in and battery fixtures carry the main layers you depend on for a hangout.
How do I keep cords and plug connections safe in snow and wet weather?
Plug everything into GFCI-protected outlets and keep connections inside weatherproof in-use covers or connection boxes rated for wet locations — never leave a bare plug junction sitting in snow or a puddle. Route cords along walls and posts rather than across walkways, cover any unavoidable crossing, and raise connections off the ground on a hook or inside the cover so meltwater cannot pool in them. Inspect cords each month for cracks, since cold makes insulation brittle, and replace anything damaged rather than taping it.
How much does it cost to light a patio for cozy winter hangouts?
A solid three-layer setup — a string light canopy, a set of lanterns, and step or path lights — typically runs $150 to $400 depending on patio size and how much you buy commercial-grade. Adding a heater-adjacent plan, uplights, and smart plugs can bring a full build to $400 to $700 spread over a season. Because nearly everything here is LED, running costs stay tiny: a full evening of patio lighting usually costs just a few cents in electricity, far less than the propane or pellets heating the hangout itself.
Conclusion
A winter patio does not need more heat nearly as much as it needs better light. Layer a warm glow overhead, keep lanterns and firelight company at sitting height, and mark every step and edge down low, and the coldest months turn into the coziest seat in the house. Start with the three layers, match everything to 2700K, and let timers do the daily work. If these winter patio lighting ideas have you looking at your own patio differently, browse the rest of my outdoor lighting ideas here on the site — your January evenings are about to get much warmer.


