There is a moment at every fire pit night when the flames settle into embers and the whole circle goes oddly dark. Faces disappear, the drink table becomes a guessing game, and somebody always trips over the cooler on the way back inside. That is exactly why I stopped relying on the fire alone and started collecting fire pit seating lighting ideas that carry the evening long after the blaze dies down. In my experience, a great fire pit circle works in layers: a soft overhead glow so people can see each other, low light at ground level so feet and steps stay safe, and a few warm accents that keep the magic without competing with the flames. None of it needs to be bright, either; firelight is surprisingly dim, so even gentle bulbs can overpower it if you are careless with placement. Below are the 19 layers I mix and match around our own seating circle, from five-minute solar fixes to a fully wired setup on dimmers. Pick two or three to start, and your circle will glow long after the last log turns to ash.

1. Swag String Lights Overhead: The Easiest of All Fire Pit Seating Lighting Ideas
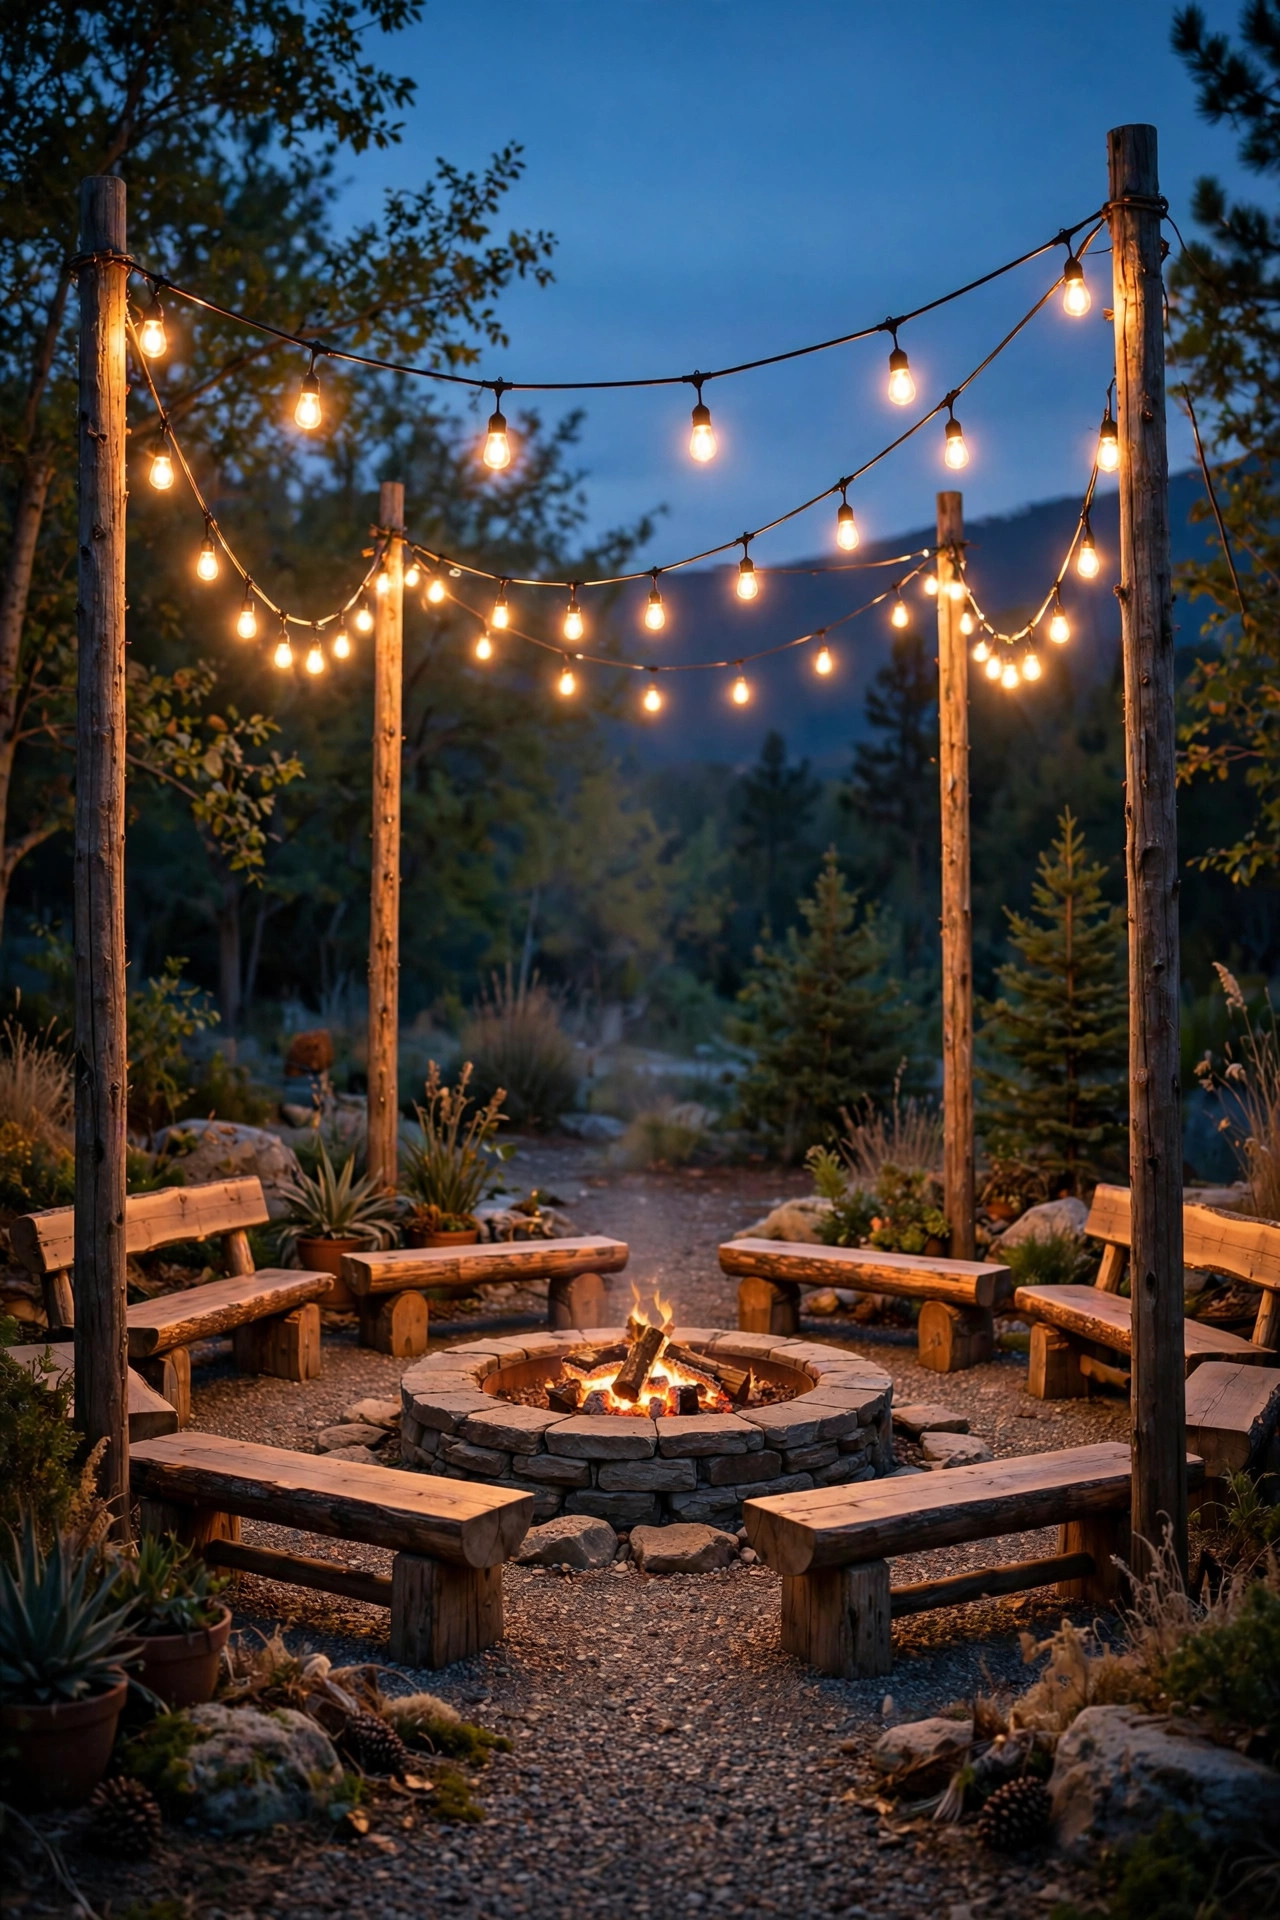
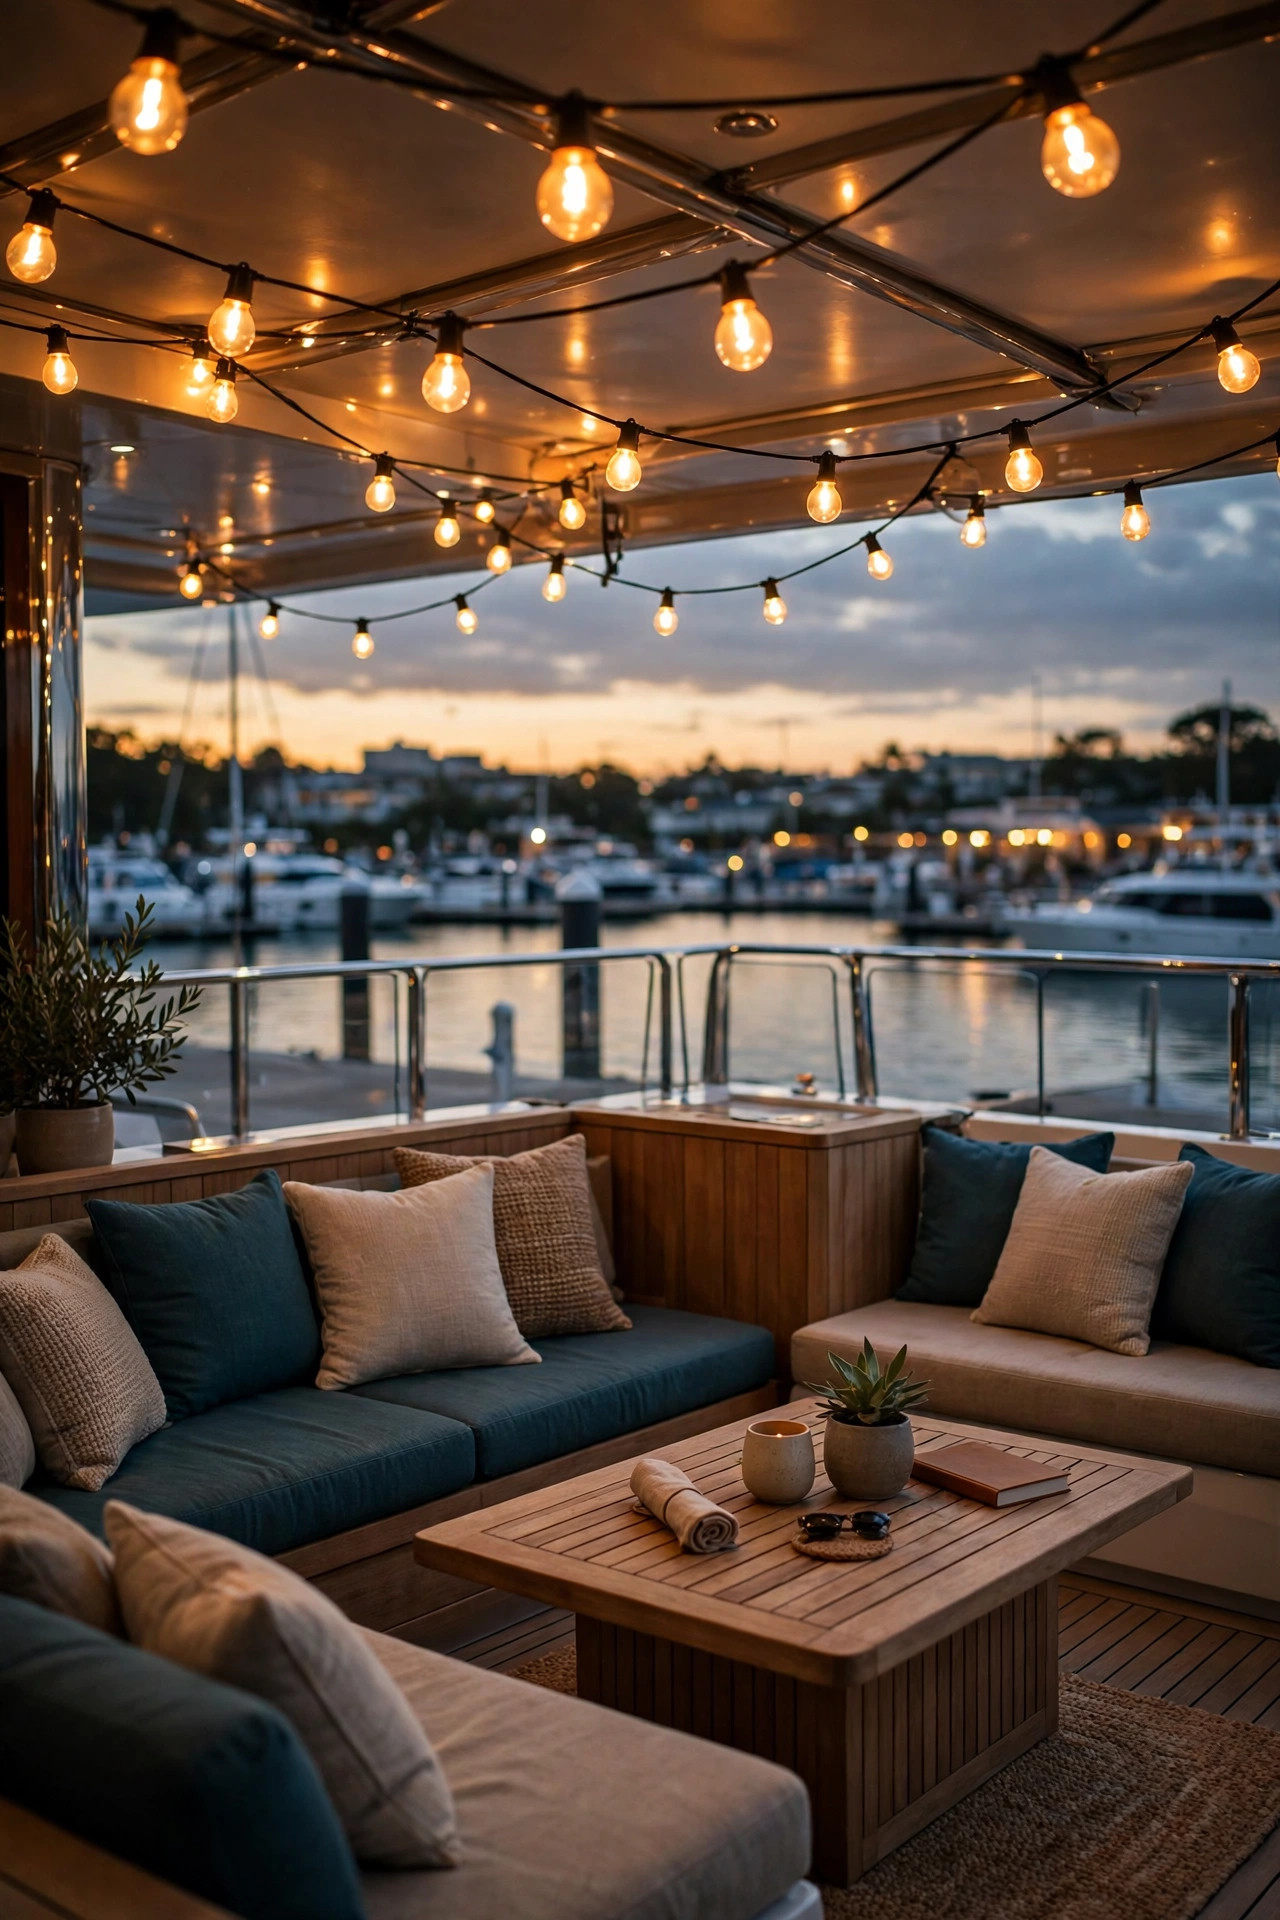
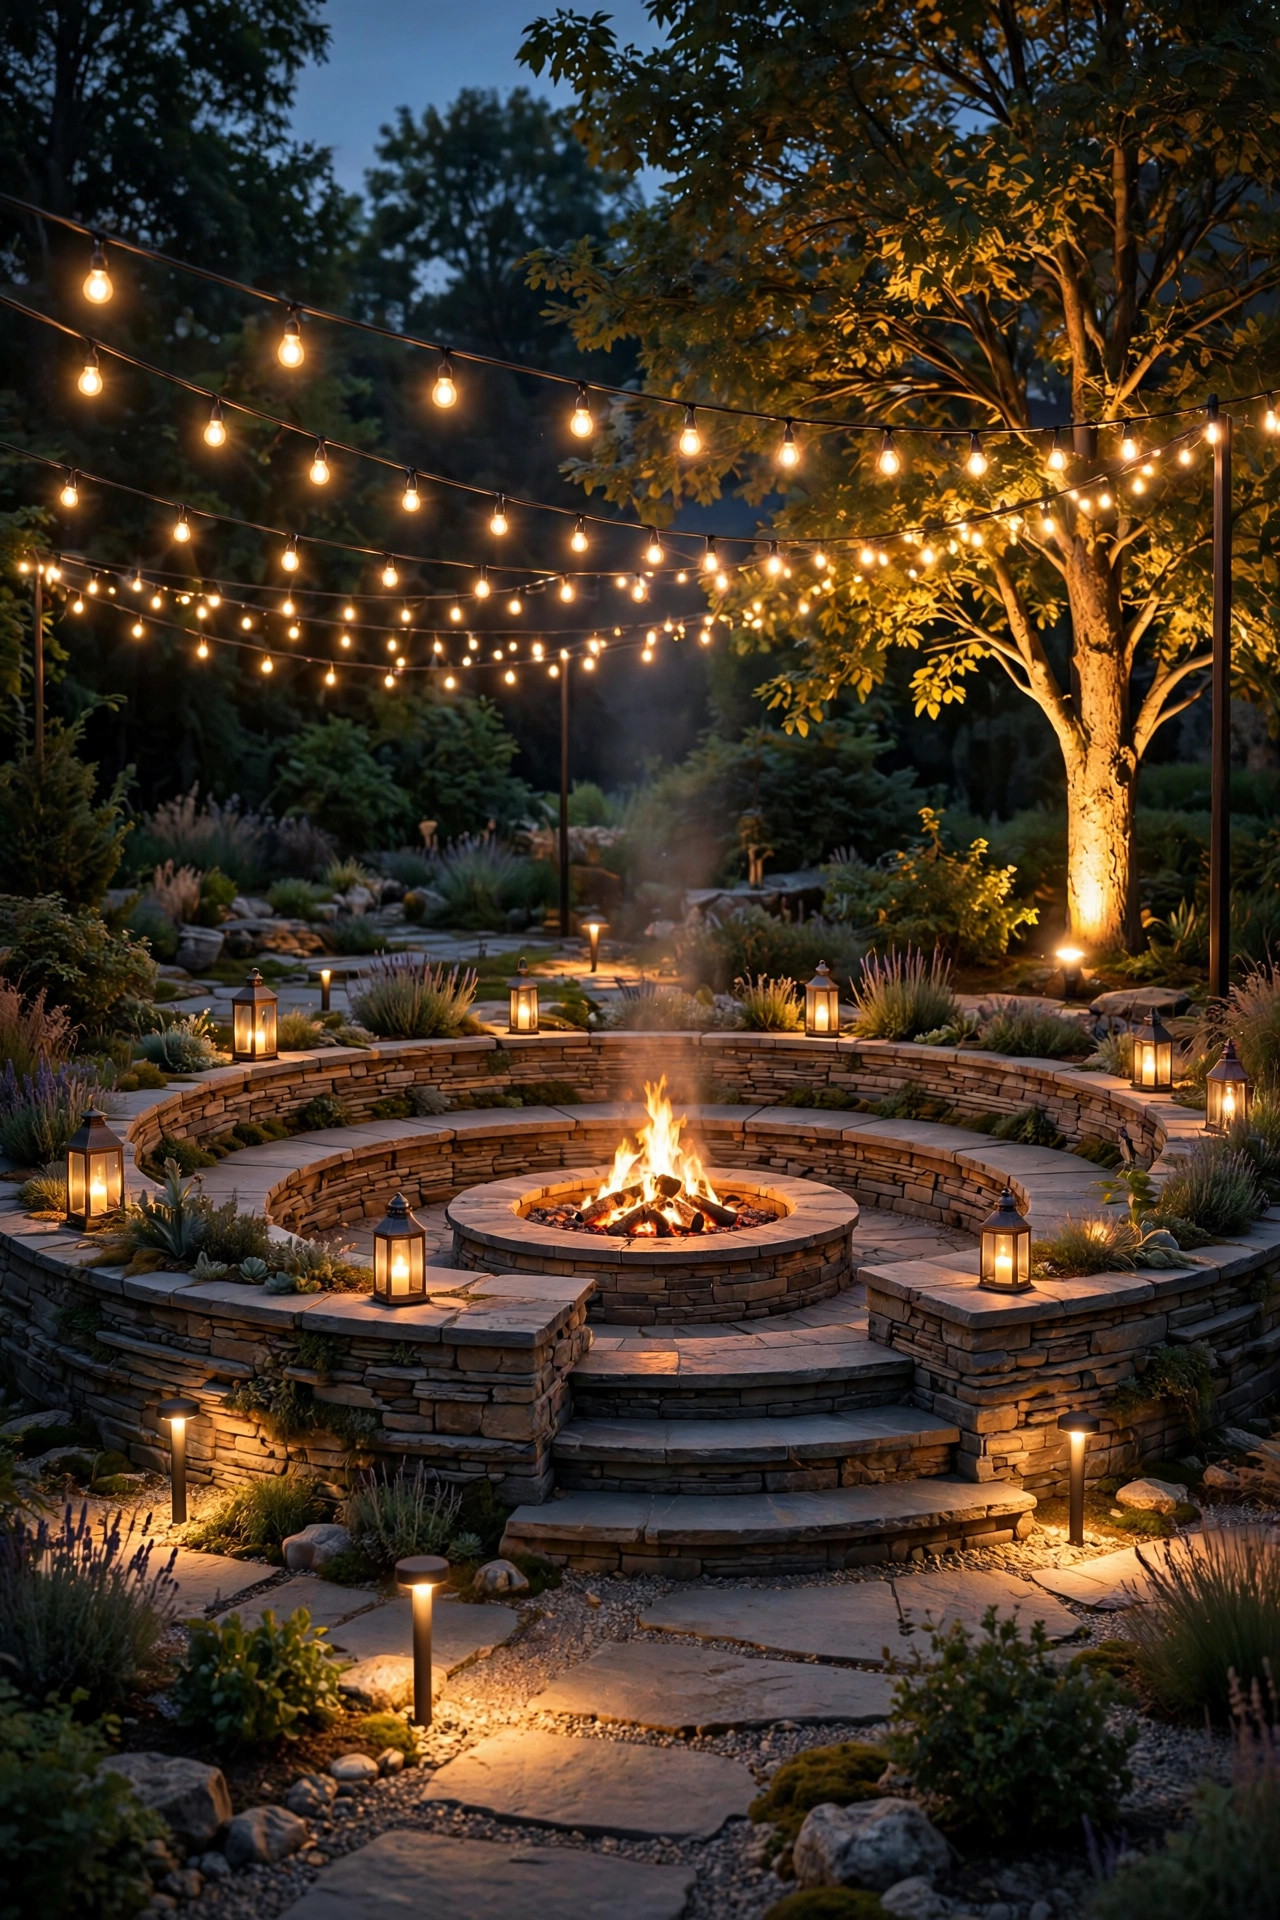
If you add only one layer, make it this one. Cafe-style string lights swagged above the seating circle give you the soft, flattering overhead glow that firelight alone cannot, because flames light faces from below and leave the tops of heads in shadow. I run two or three strands in gentle catenary curves from poles set just outside the circle, crossing about 9 to 10 feet above the ground so the light feels like a ceiling without trapping smoke. Never string directly over the fire itself, since rising heat and sparks will cook the sockets and melt insulation; offset the swags so they frame the seating instead. Use shatterproof LED filament-style bulbs around 2700K, and keep the strands on a plug-in dimmer so you can drop them to a whisper once the fire is roaring. For a 12-foot circle, two 48-foot commercial-grade strands usually do it, with stainless guide wire taking the tension on any span longer than 15 feet. The result reads like an outdoor room, and guests settle in for hours longer.
Suggested budget range: $60 – $220.
2. Ring the Outside Edge With Low-Voltage Path Lights
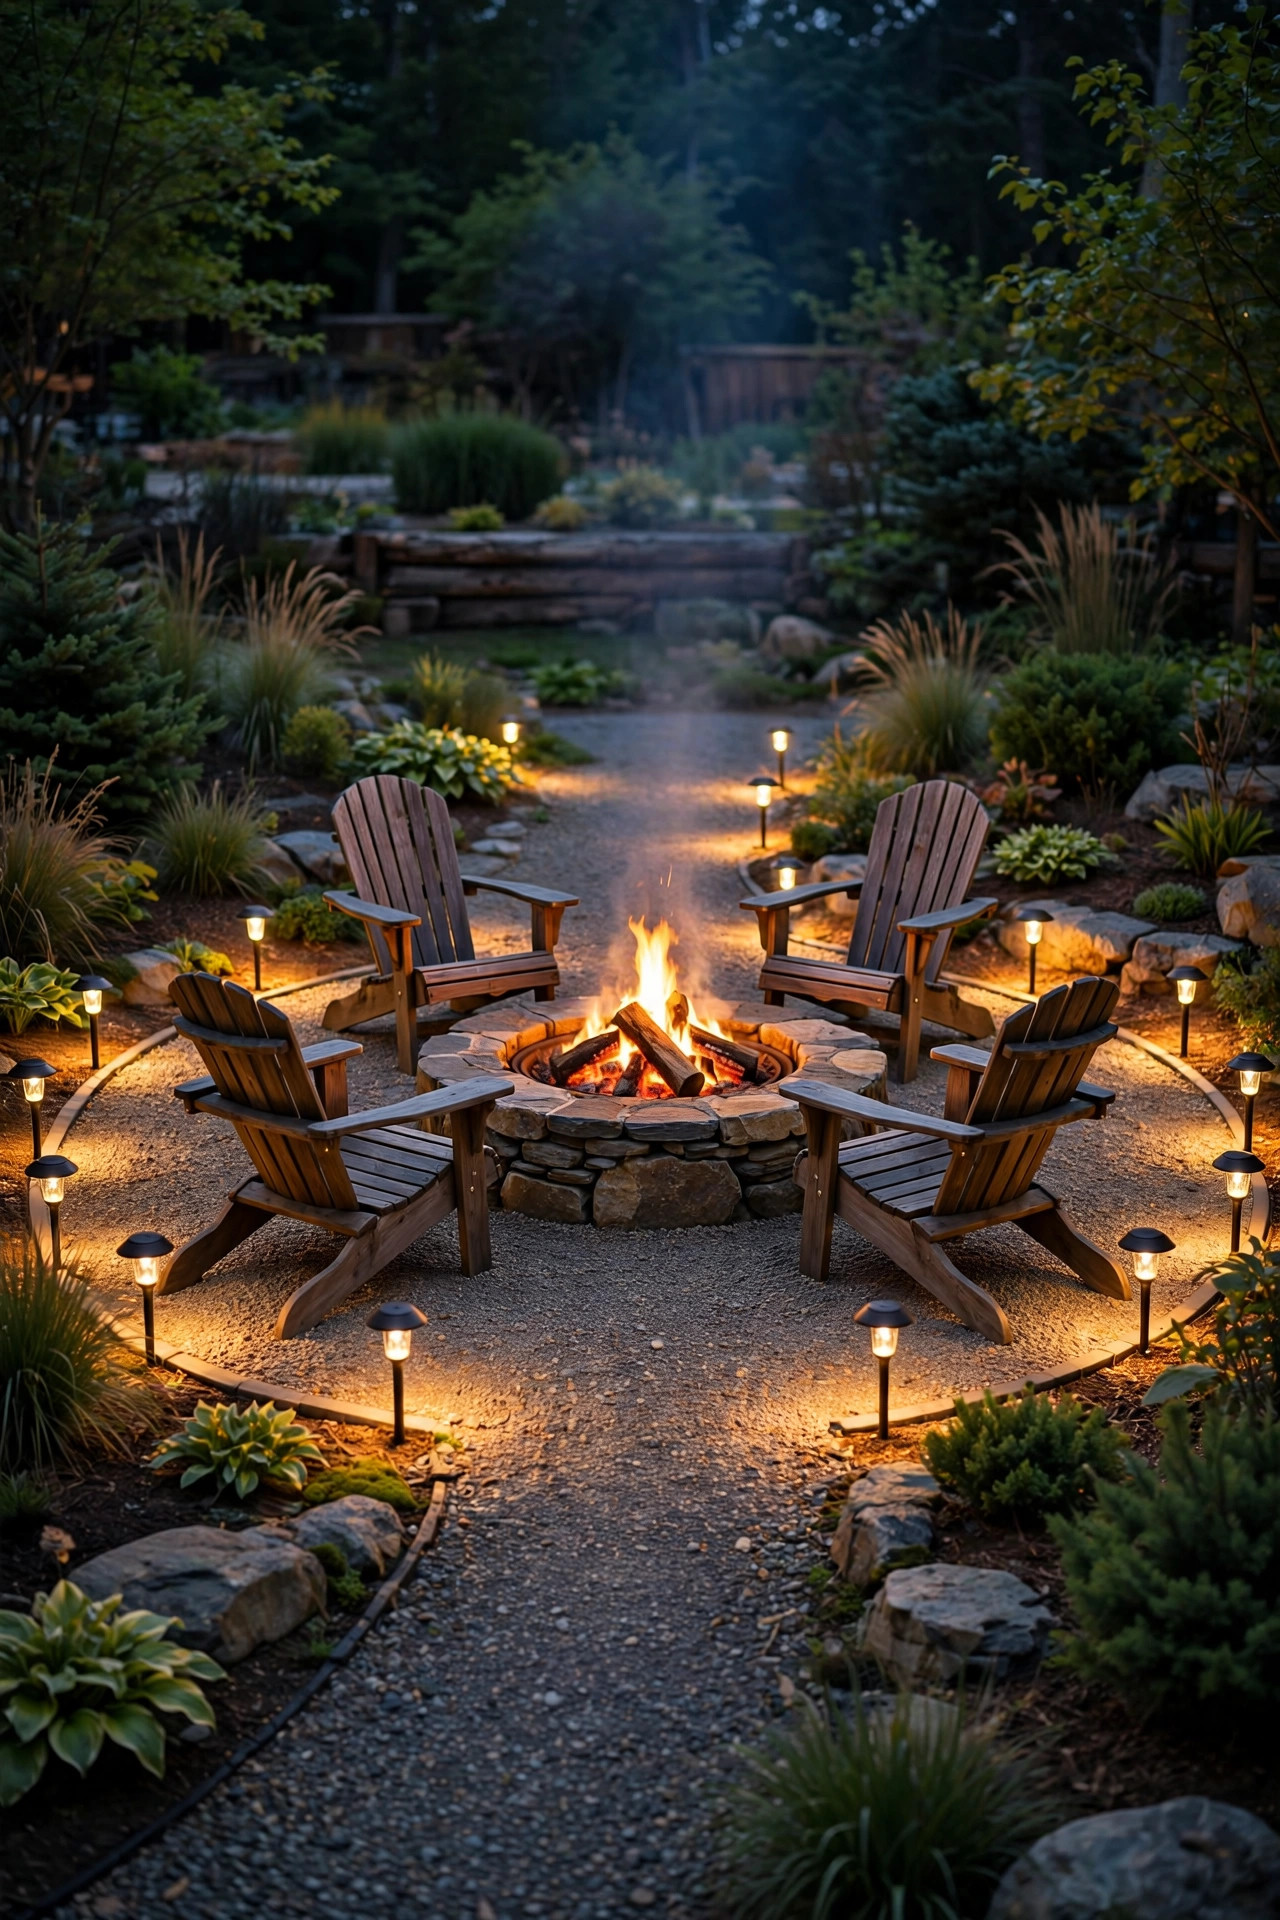
The most practical layer in my whole setup is a ring of low-voltage path lights set just outside the seating circle, roughly 18 to 24 inches behind the chairs. They mark the boundary of the gathering space, light the ground where people step back with hot marshmallow sticks, and keep the walk-behind path visible without shining in anyone's eyes. I space them 6 to 8 feet apart and choose low, hooded fixtures that throw light downward onto the gravel or pavers rather than outward. A 12-volt system is easy and safe to install yourself: bury the cable just 6 inches deep in a shallow slit trench, snap on the connectors, and run everything back to a transformer with a dusk-to-dawn photocell. Aim for fixtures in the 100 to 200 lumen range, which is plenty for orientation without flattening the firelight mood. In my experience this ring also stops the circle from feeling like an island floating in a black yard, because the eye reads a defined, welcoming perimeter.
Suggested budget range: $120 – $350.
3. Slip Solar Stake Lights Between the Seats
For a no-wiring win, solar stake lights tucked into the planting beds and gaps between seats are hard to beat. I use the shorter 12 to 15 inch styles so the fixtures stay below seated eye level, and I angle the little adjustable heads toward the ground or the base of a chair leg rather than out at faces. Warm white matters here: anything above 3000K reads cold and blue next to firelight, and it will fight the whole mood you are building. Expect a decent solar stake to give you 30 to 60 lumens, which sounds tiny but is exactly the gentle punctuation this layer needs. Place one every 4 to 5 feet wherever there is a gap in the seating, and keep the panels out from under chair shadows so they actually charge during the day. Honestly, this is the layer I recommend to renters and first-timers, because you can test the whole concept for the price of a pizza night and move every stake until the spacing feels right.
Suggested budget range: $30 – $90.

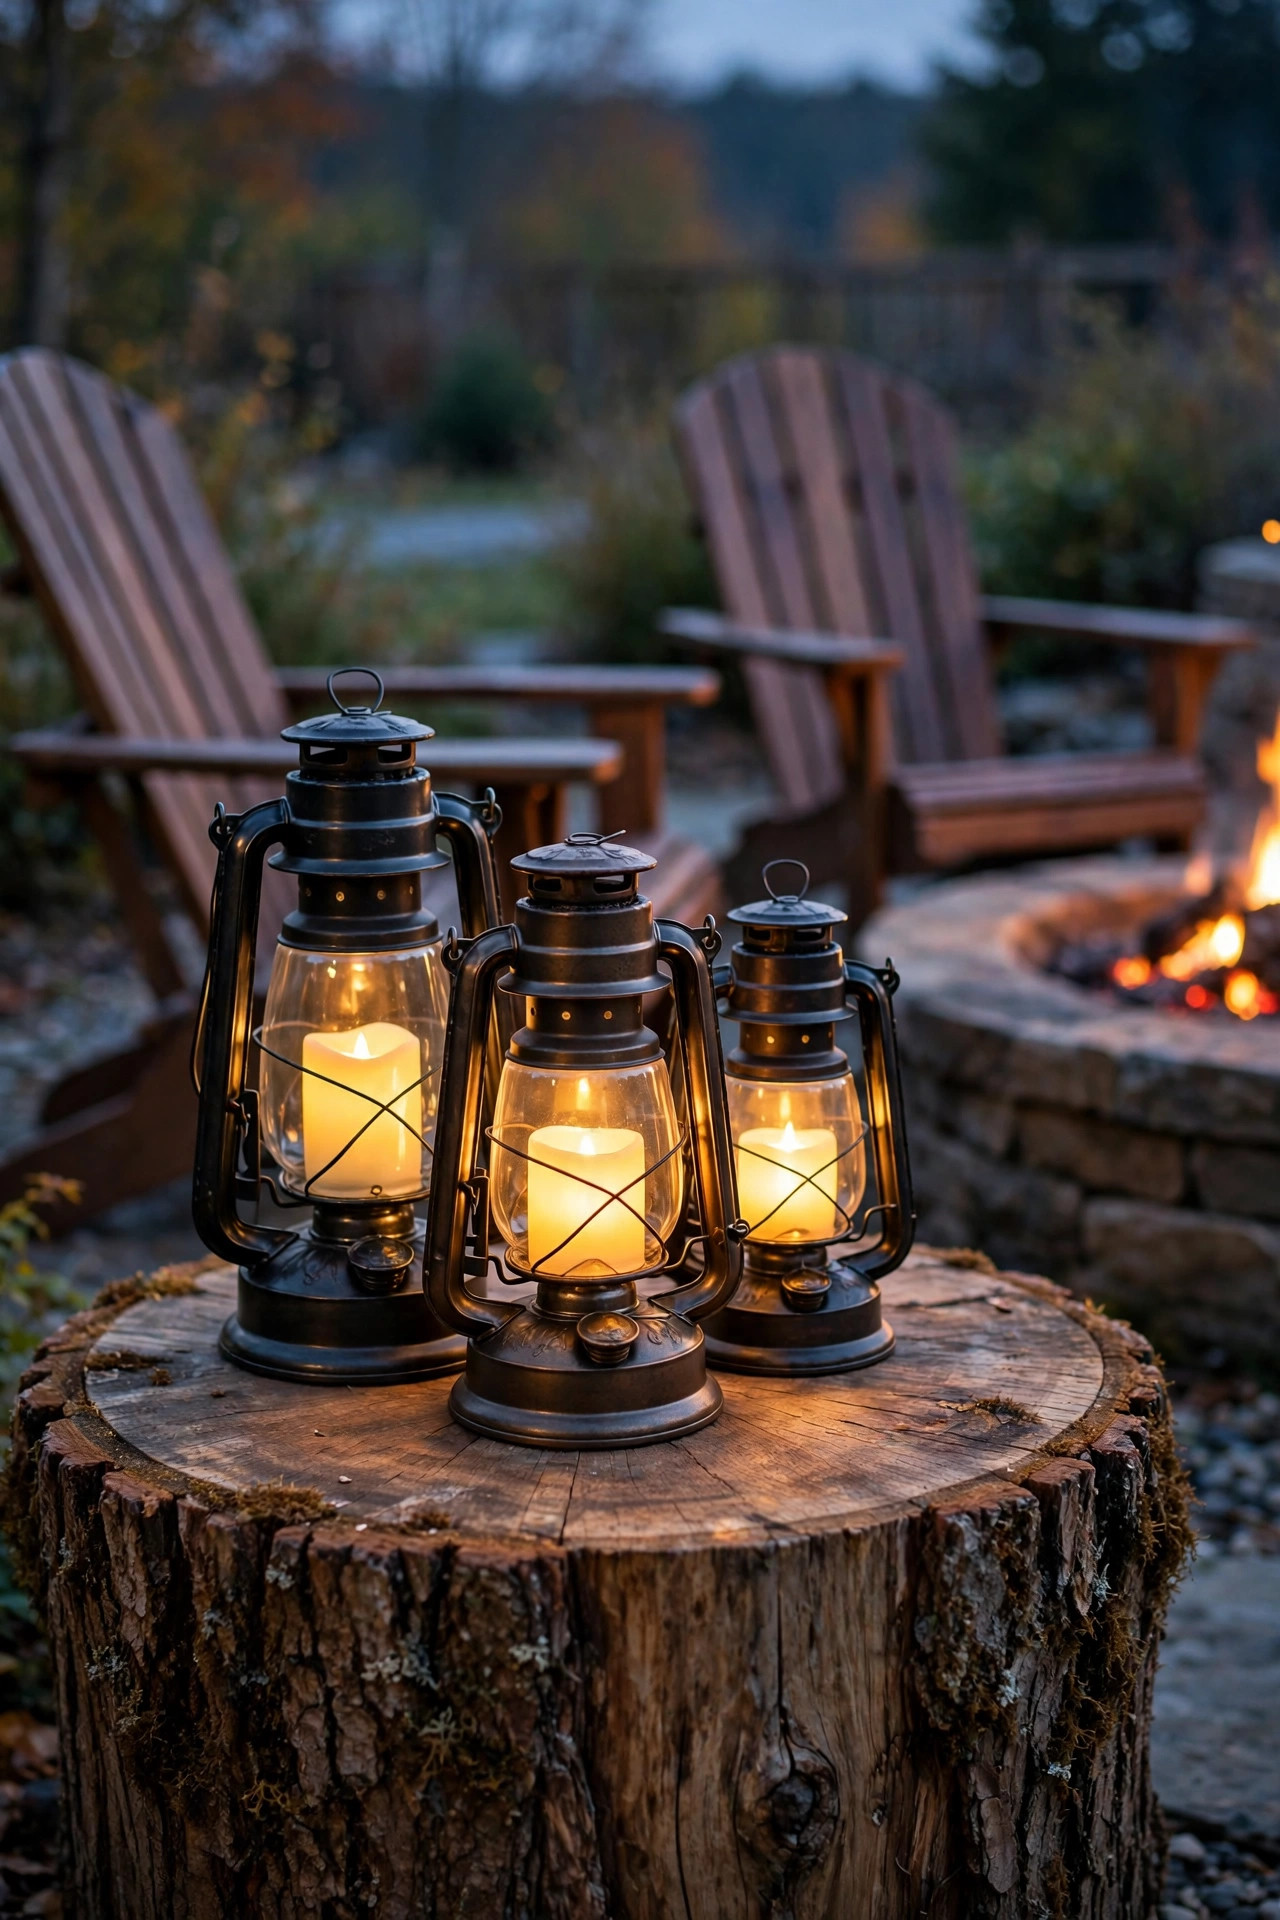
4. Cluster Lanterns on Side Tables and Log Rounds
Every seating circle needs light at drink height, and lanterns clustered on side tables, stumps, and log rounds are my favorite way to deliver it. I group them in odd numbers, threes mostly, mixing heights so the cluster looks collected rather than bought as a set. Flameless LED candles inside metal or seeded-glass lanterns are the safe play this close to seating, blankets, and the occasional tipsy reach for a mug; real candles near a fire pit is one flame too many for my comfort. A lantern with a 2700K flickering insert honestly fools everyone at conversational distance. Keep one cluster per two seats so nobody is stretching across a neighbor to find their cocoa, and use lanterns with timers so the whole circle switches itself on at dusk. Because this layer sits at about 20 to 24 inches high, it lights hands, faces, and the tops of knees in the warmest, most flattering way, and it doubles as decor during the day.
Suggested budget range: $40 – $150.
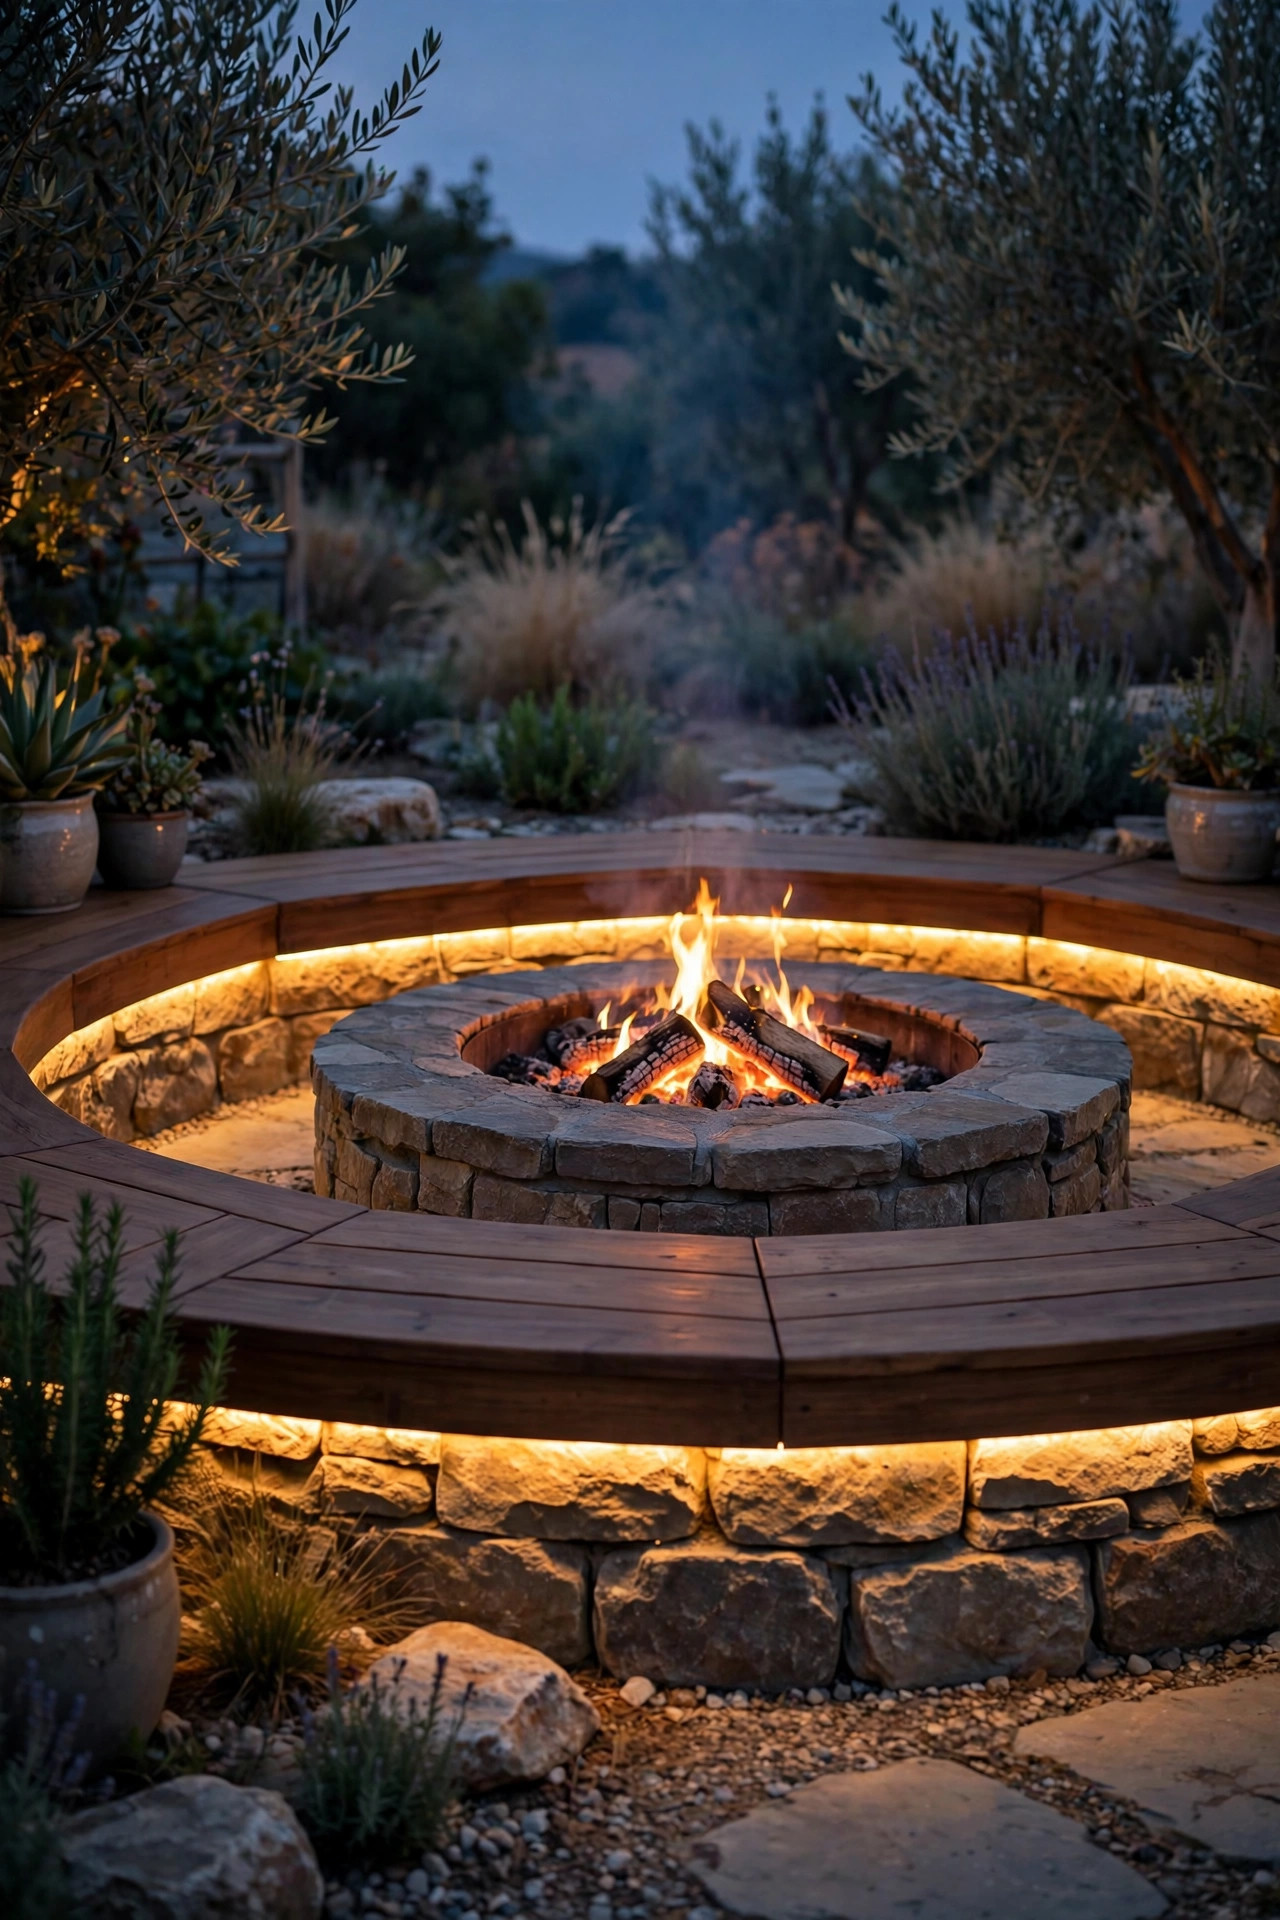
5. Hide LED Strips Under Built-In Bench Seating
If your circle has built-in benches or a low seating wall, the underside of that seat edge is prime real estate for a hidden LED strip. Mounted in an aluminum channel with a frosted diffuser and aimed down at the base of the bench, the strip throws a soft wash across the patio surface that makes the whole structure look like it floats. I use IP65 or better silicone-coated strips at 2700K, with the low-voltage driver tucked somewhere dry, like inside a bench storage compartment. This is guide light, not task light, so keep it dim; on a dimmer it can drop to almost nothing once the fire is the star. The practical payoff is real: shins, toes, and the edges of the seating stay visible, and nobody clips a bench corner in the dark. It also defines the inner edge of the circle beautifully, like a stage ring, which makes the fire feel centered and intentional rather than just parked in the middle of the yard.
Suggested budget range: $35 – $120.
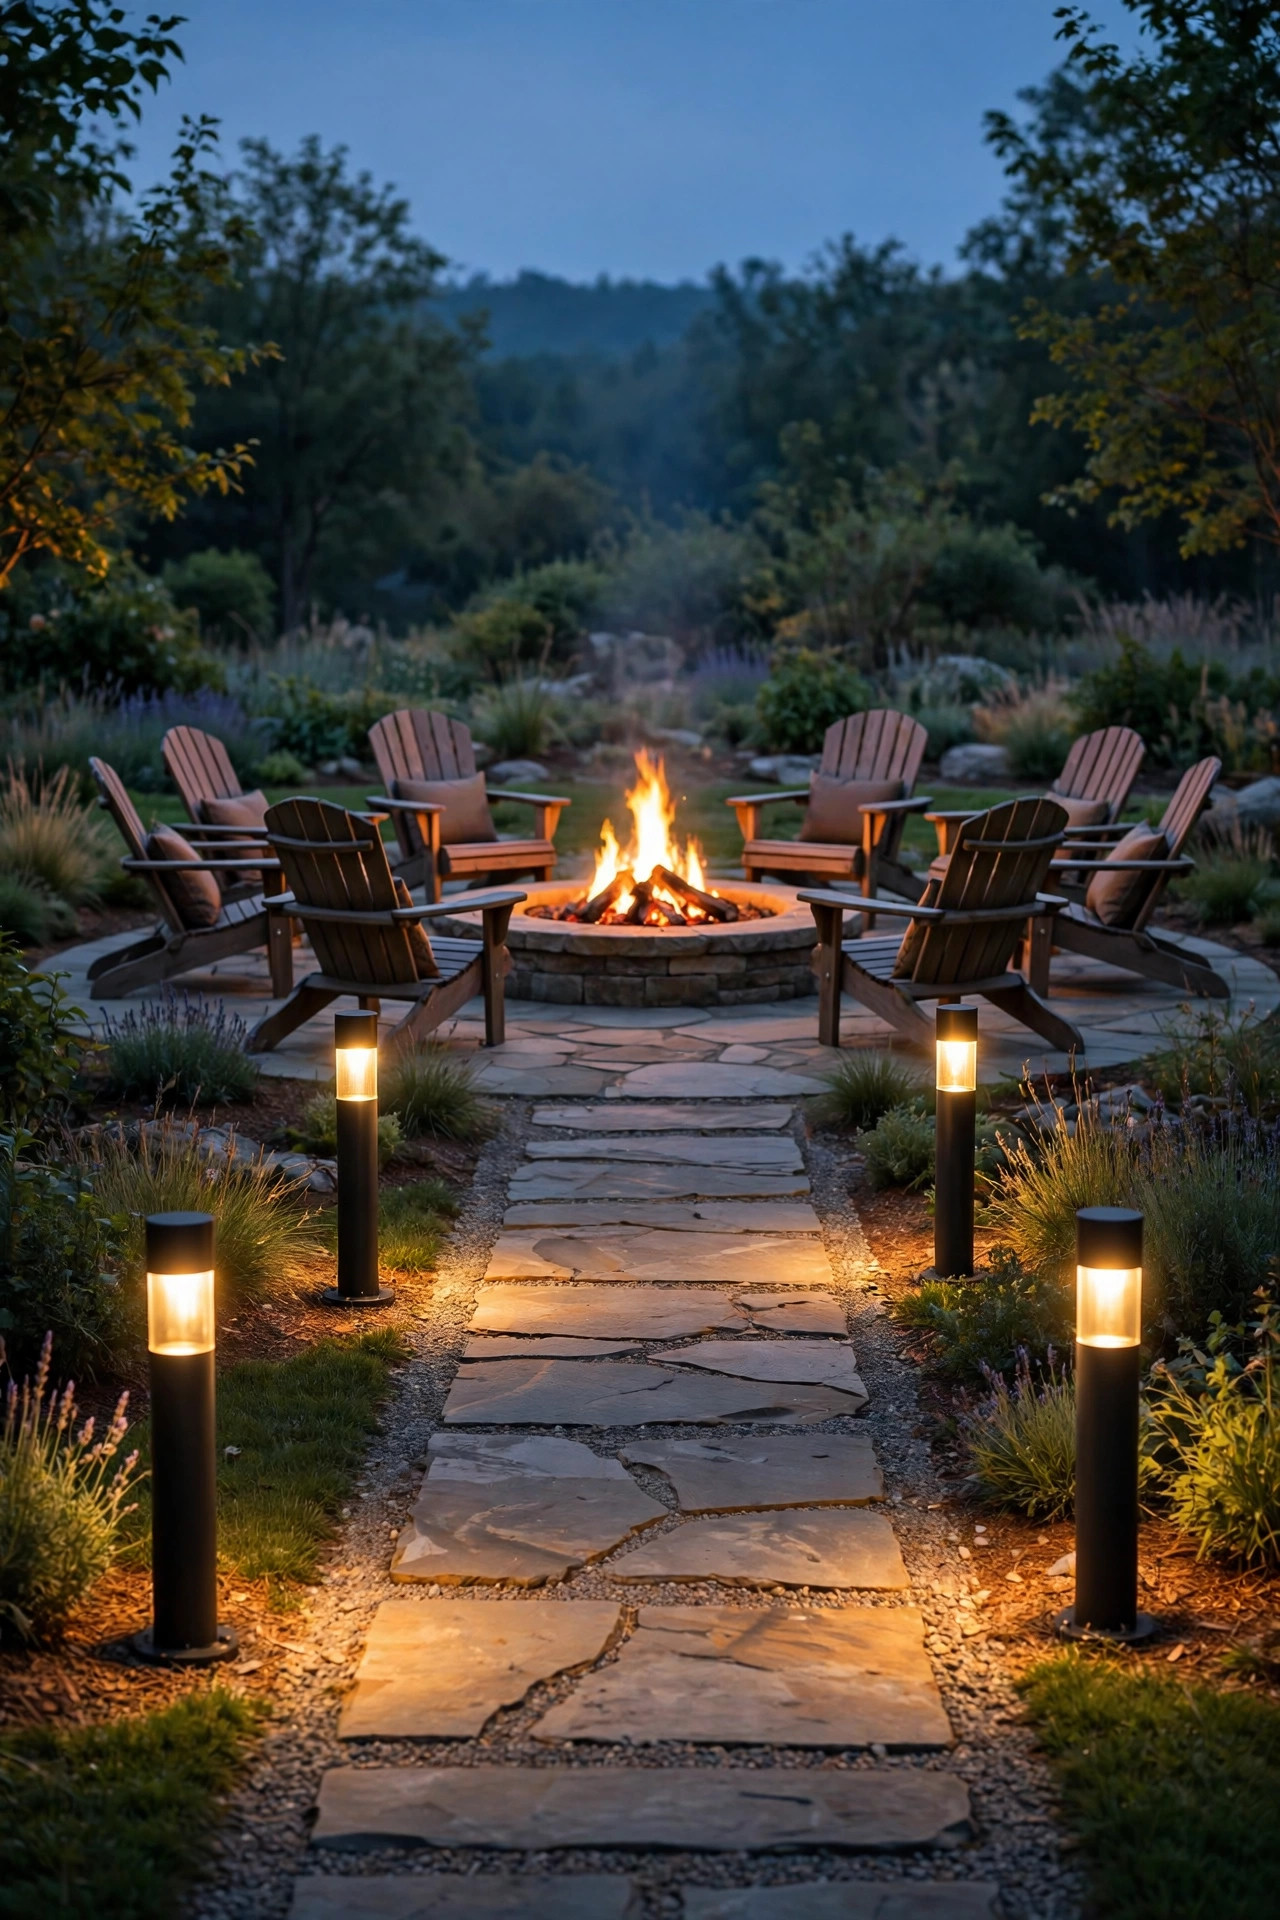
6. Mark the Walkway In With Short Bollard Lights
Every fire pit has a route people travel all night, from the back door to the circle and back again for drinks, blankets, and the bathroom. Short bollard lights, around 18 to 24 inches tall, are the grown-up way to light that route. I place three or four along the path, staggered about 8 feet apart, set back at least a foot from the path edge so mower wheels and chair legs never clip them. Choose bollards with louvered or shielded heads that push light down and out in a puddle, not sideways into the eyes of seated guests. This layer should be brighter than the circle accents, around 200 to 300 lumens, because its job is honest navigation. Wire them into the same low-voltage run as your path ring if you can, and put the whole circuit on a timer that keeps it on until your usual bedtime. In my experience, this single addition ends the parade of phone flashlights, which alone is worth the trenching.
Suggested budget range: $90 – $300.
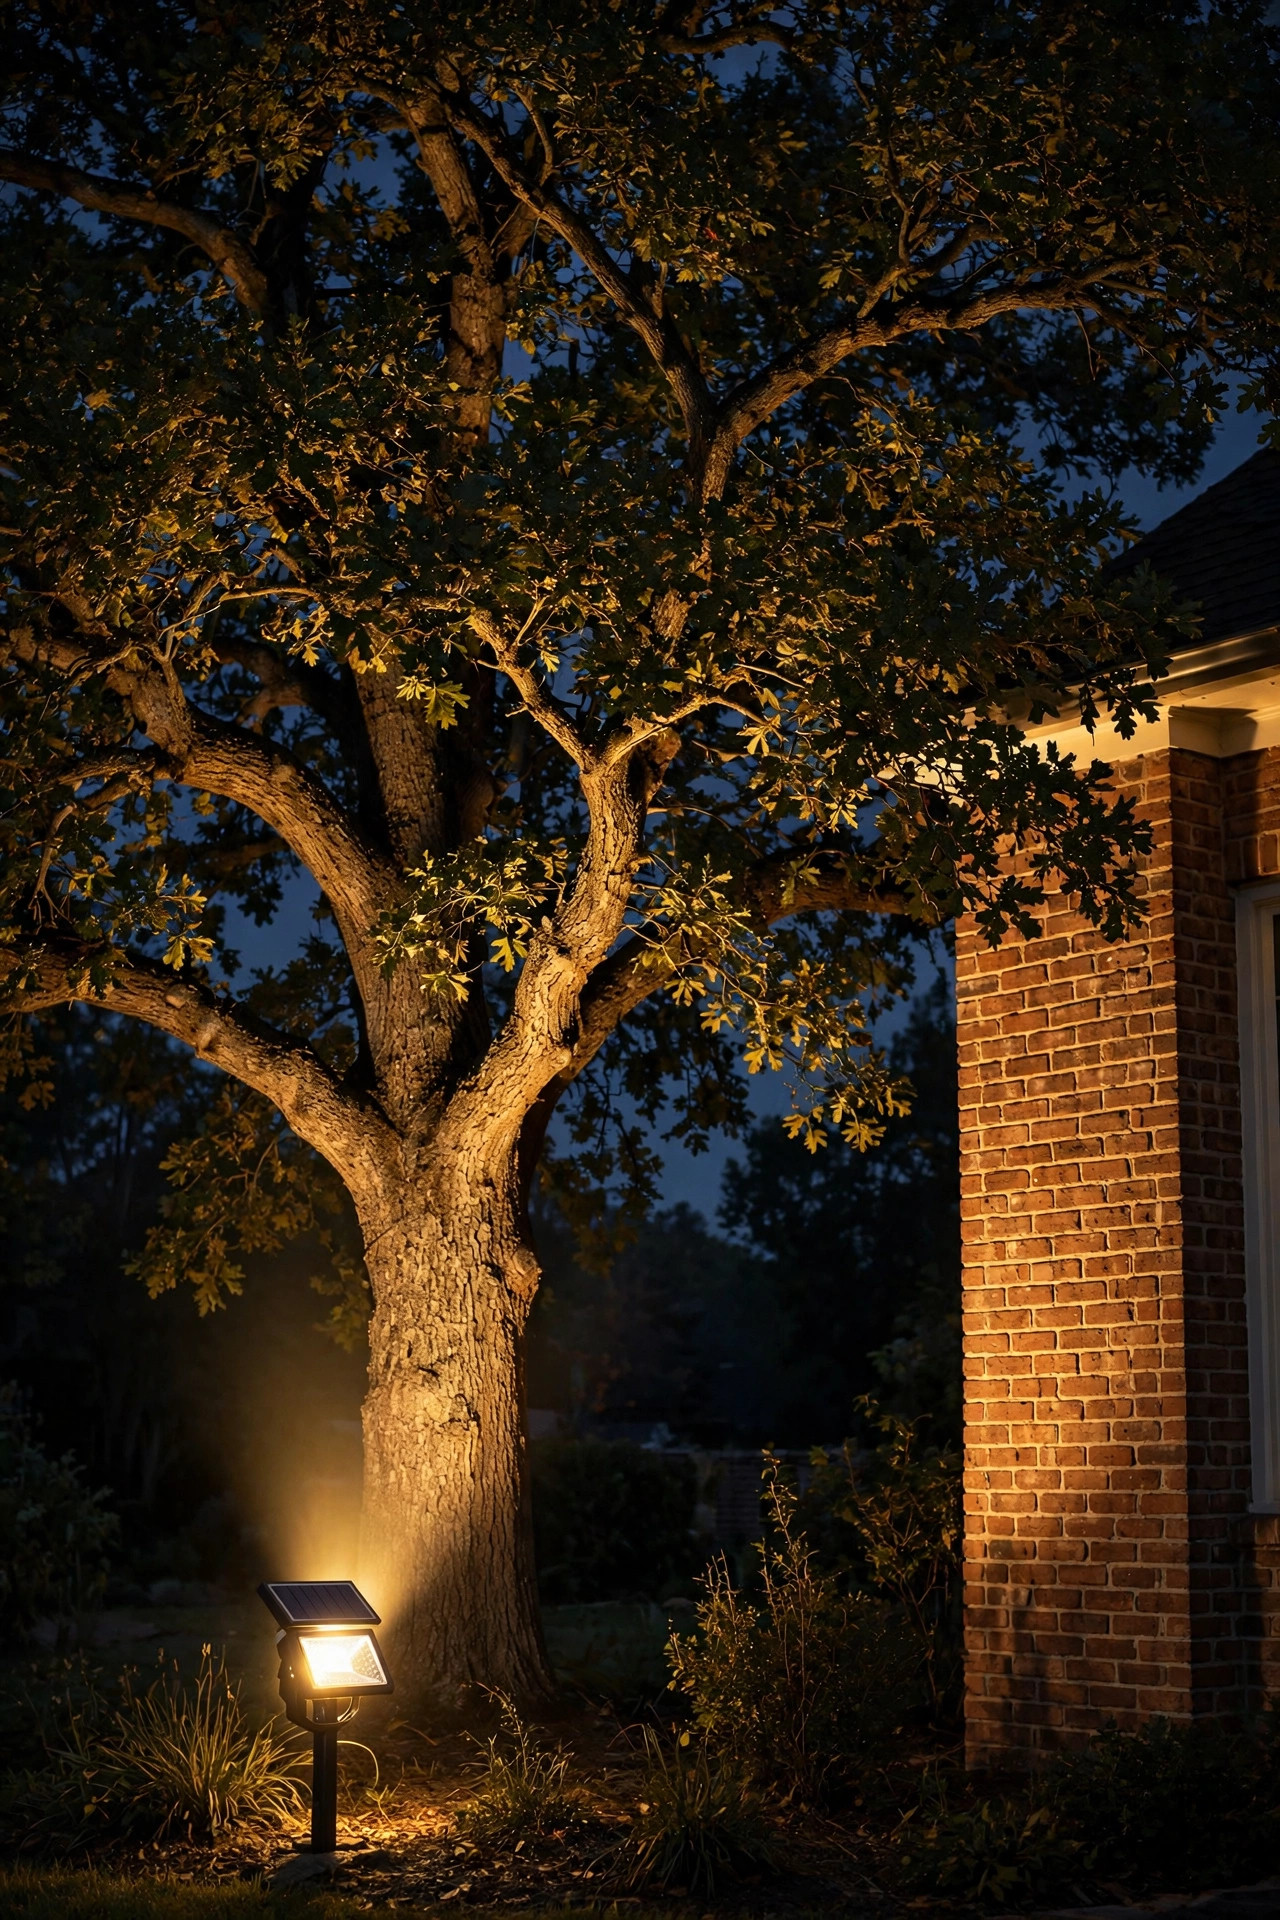
7. Uplight the Trees Behind the Circle
The backdrop matters as much as the circle itself. One or two well lights or narrow-beam uplights aimed into the canopy of a tree behind the seating gives the whole scene depth, turning a flat black wall of yard into a soft green ceiling that frames your gathering. I use a 12-volt fixture with a 15 to 30 degree beam, placed 12 to 18 inches from the trunk and tilted up into the lowest branches. Around 300 to 400 lumens is plenty; you want a gentle wash, not a stadium effect, and a warm 2700K lamp keeps it feeling like moonlight rather than a security light. This layer also bounces a surprising amount of soft ambient light back down into the circle, which helps faces read kindly. Keep the fixture far enough from the fire pit that heat is never a question, at least 10 feet from the rim in my yard, and check that the beam is not pointed at a neighbor's window. Trees grow, so plan to re-aim once a season.
Suggested budget range: $50 – $160.
8. Try Moonlighting From a High Branch
Moonlighting is the technique the pros charge for, and around a fire pit it is pure magic. A small downlight fixture mounted 15 to 20 feet up in a tree, aimed down through the branches, casts dappled pools of light that mimic a full moon and move slightly as the leaves stir. Position it off to one side of the circle rather than directly overhead, so the light rakes across the seating at an angle and never competes with looking up at the stars or the fire. A cool-warm balance matters here: I still stay near 3000K so it blends with the fire rather than reading blue, and I keep output modest, 200 to 300 lumens spread over a wide area. Hire an arborist or use a proper tree-mount kit with stainless hardware and a growth-friendly strap if you do this yourself, and never screw a lag bolt straight through bark casually. LED-only is non-negotiable in a tree, since anything hot near dry canopy is a fire risk of the wrong kind.
Suggested budget range: $150 – $450.
9. Line the Perimeter With Flame-Effect Solar Torches
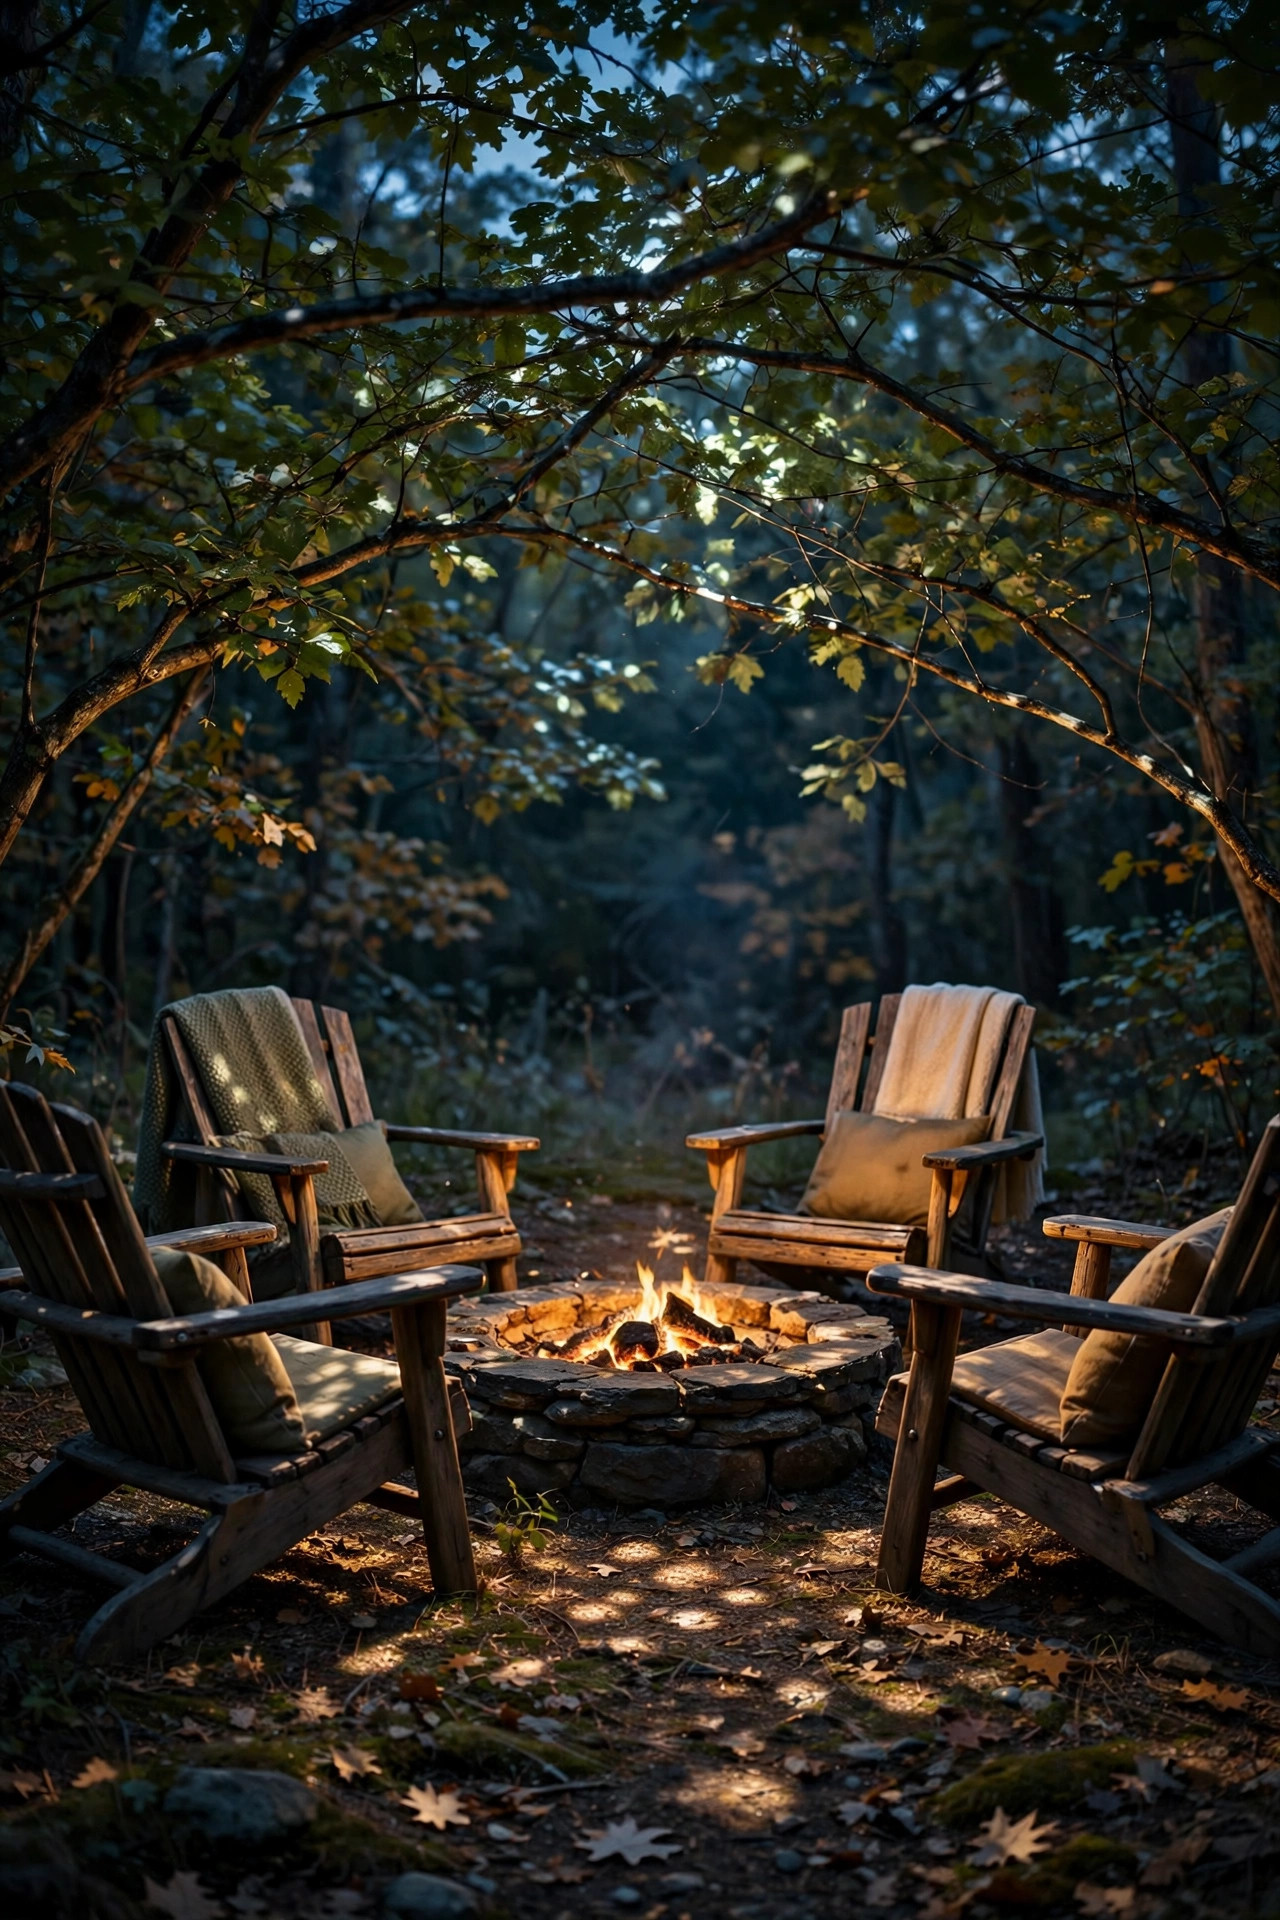
When you want the drama of tiki torches without open flame near chair cushions and kids in fleece pajamas, flame-effect solar torches are the answer. The LED inserts flicker in a surprisingly convincing flame pattern, and the solar panel sits right in the cap, so each torch is a one-step install: push the stake in and you are done. I line them around the outer perimeter of the seating area, 5 to 6 feet apart and at least 6 feet back from the fire itself, so the flicker reads as an echo of the real flames rather than a competing act. Most stand about 30 inches tall once staked, which puts the glow right at the edge of your peripheral vision where it feels festive. Look for versions with larger panels and replaceable batteries, because the cheapest ones fade by midsummer. On a still evening, a ring of these honestly makes our basic circle look like a resort fire lounge, and I have linked my full guide to choosing them in my fire pit area lighting notes if you want sizing details.
Suggested budget range: $45 – $130.
10. Weave Fairy Lights Through the Log Store
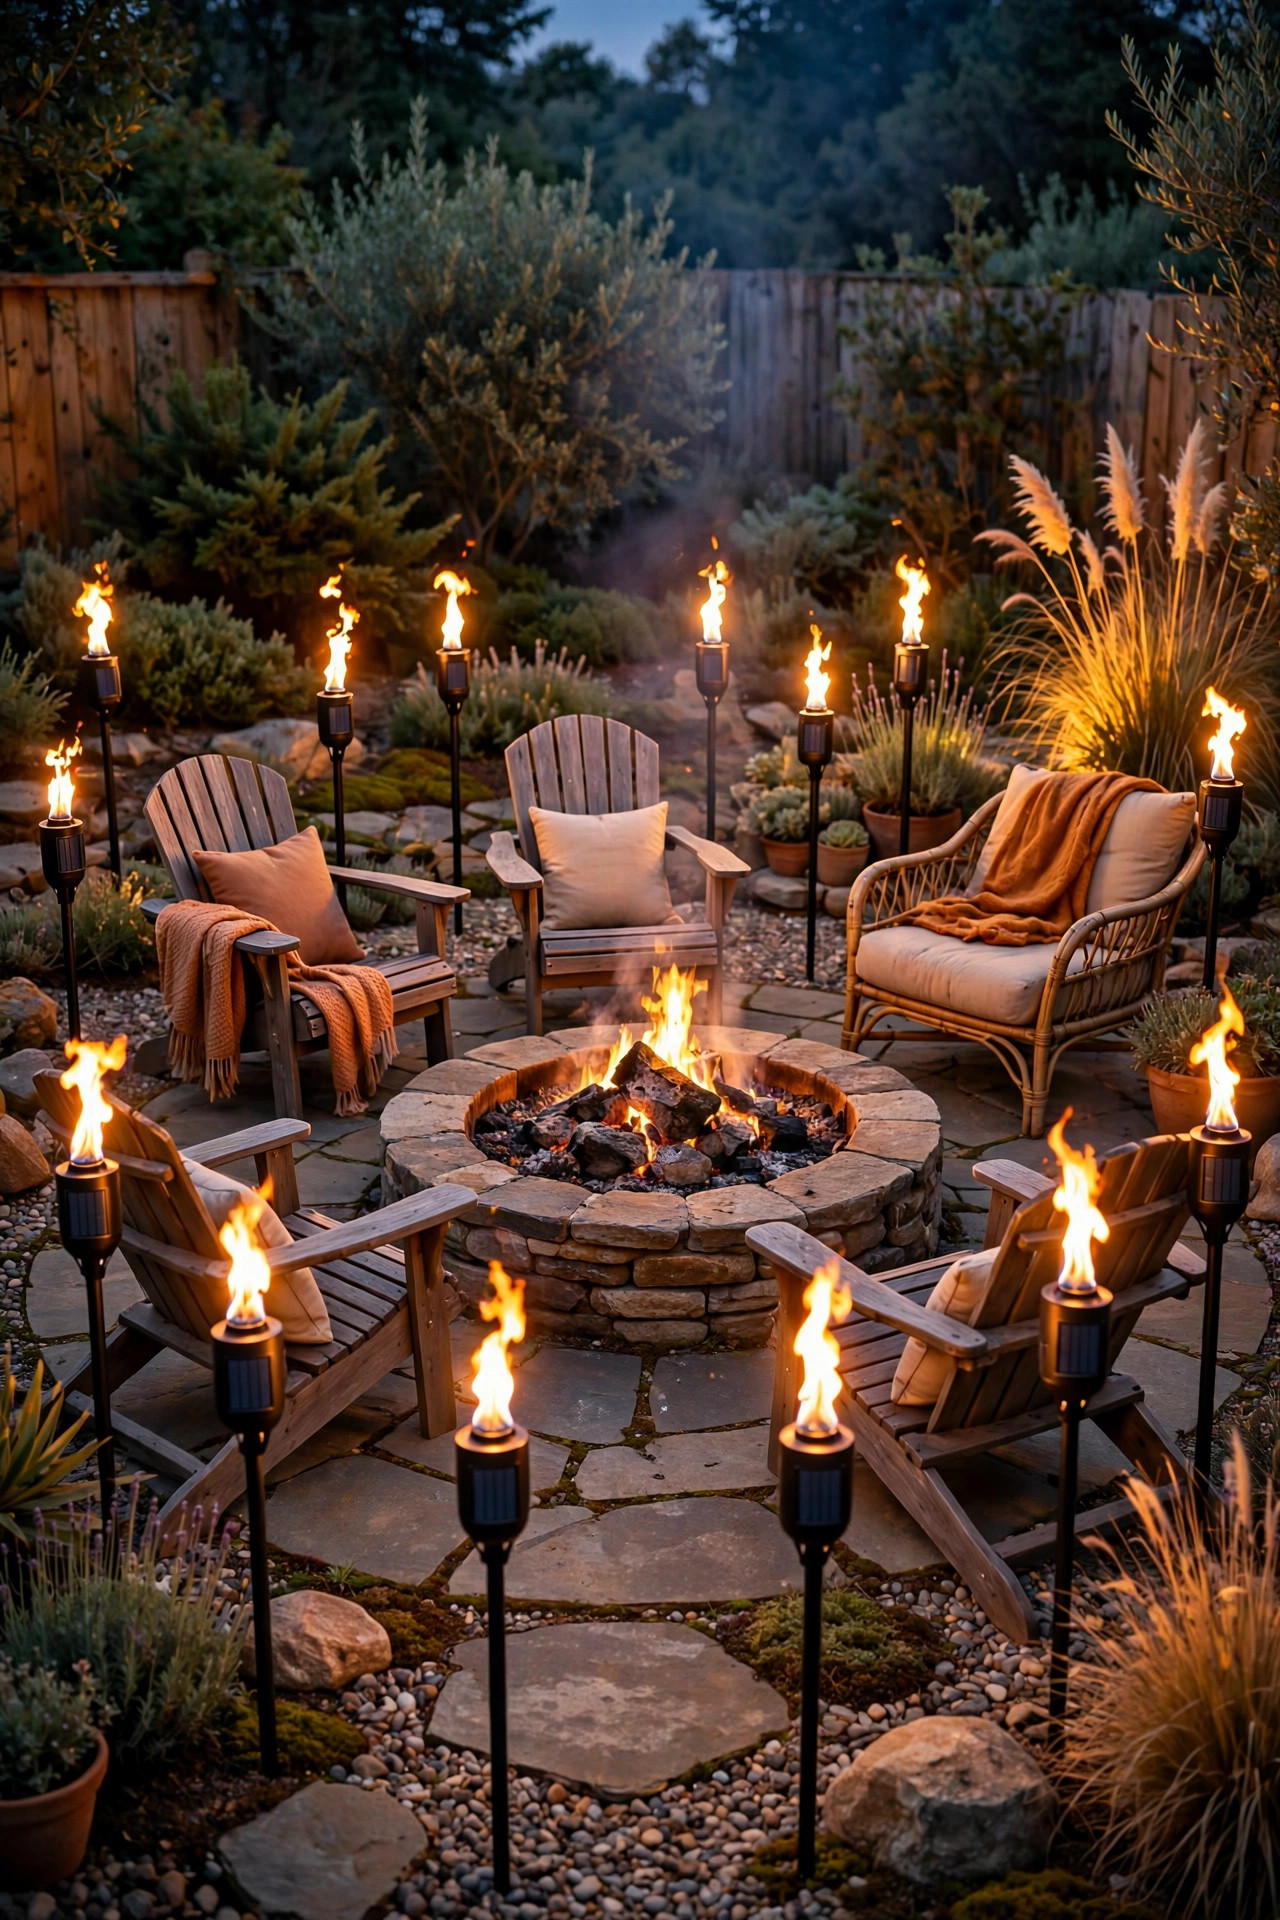
Your firewood stack has to live somewhere, so make it earn its keep as decor. Copper-wire fairy lights woven loosely through the logs of a wood store or log holder add a twinkling accent that looks like fireflies settled into the pile, and it quietly signals where the fuel lives so guests can help restock without a search party. Battery-operated strands with a six-hour timer are perfect here, since there is no cord to route and the set-and-forget cycle matches your evening rhythm. Keep the weaving loose and casual, a strand or two draped rather than wrapped tight, and choose warm white diodes; the tiny scale of fairy lights means even a cheap strand looks delicate rather than dim. One safety note I always give: keep the battery pack out of the logs themselves, clipped to the side of the holder, and never run any wired strand where sparks from the pit can land. It is a small layer with outsized charm, and it photographs beautifully.
Suggested budget range: $15 – $45.
11. Recess Step Lights Into the Patio Edge
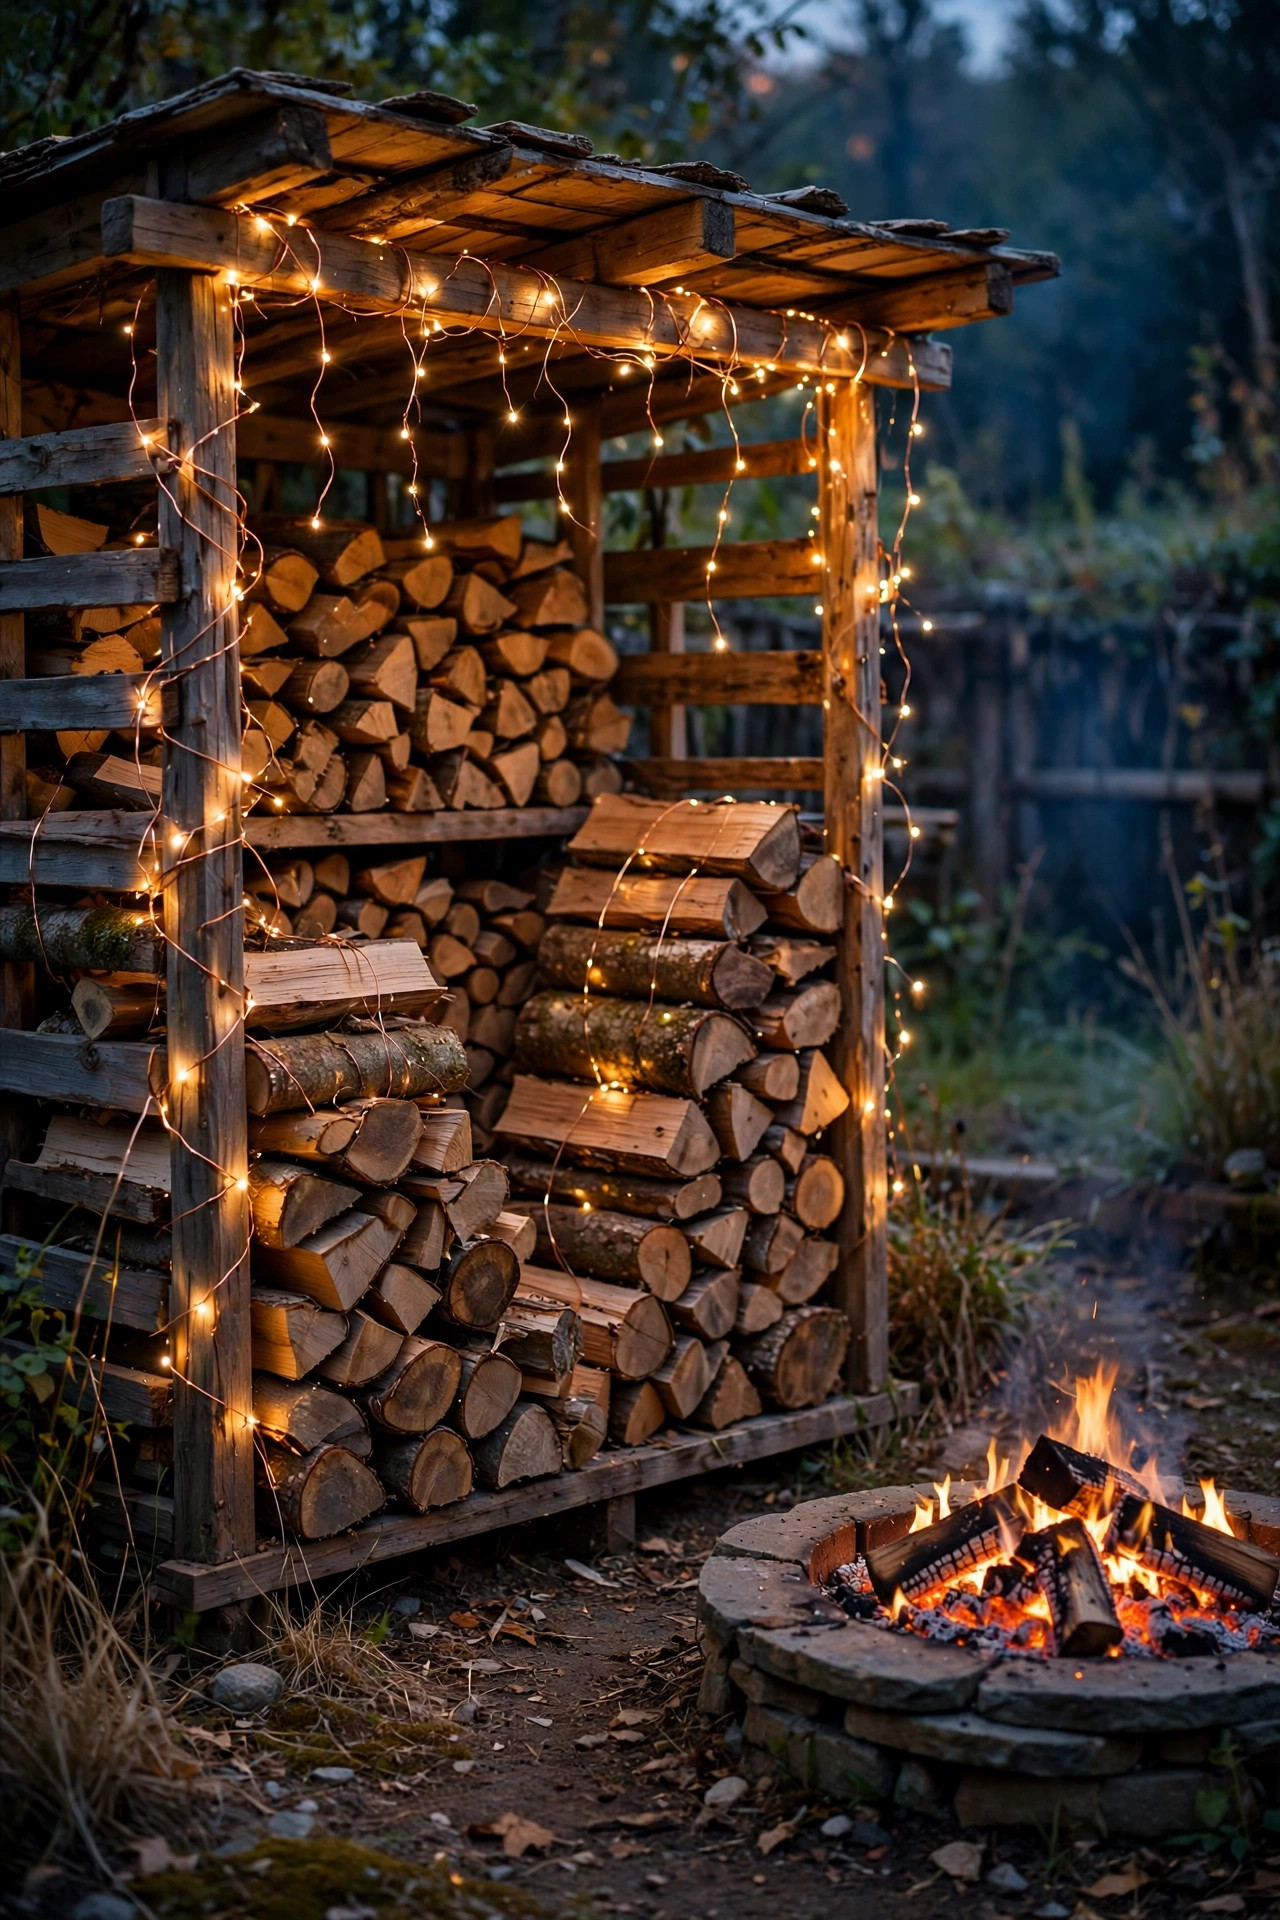
If your fire pit sits on a raised patio, a terraced deck, or even a single step up from the lawn, recessed step lights are the layer that prevents the one injury every host dreads. Small louvered fixtures set into the riser or the patio edge wash each tread with light exactly where feet land, and because the source is shielded, seated guests never see a bare bulb. I space them every 4 to 6 feet along the step and wire them into the main low-voltage run so they share the timer with everything else. Keep the output low, 50 to 100 lumens per fixture, because this is pure guidance light. For a retrofit without cutting masonry, surface-mount LED step lights or solar step lights screwed to the riser face get you 90 percent of the effect in an afternoon. In my experience, guests never consciously notice this layer at all, and that is the highest compliment safety lighting can earn.
Suggested budget range: $60 – $200.

12. Hang a Pendant or Mini Chandelier From a Pergola
If your fire pit circle lives under a pergola, you have a ceiling, and a ceiling begs for a pendant. An outdoor-rated pendant or a small chandelier hung over the seating, offset from directly above the fire, gives the space a true focal point and the kind of finished, room-like feeling string lights alone cannot quite reach. Hang it so the bottom sits at least 7 feet above the floor and well clear of the smoke column; in my setup the fixture is over the seating arc, not the pit. Choose damp or wet location rated fixtures with sealed sockets, LED filament-style bulbs around 2700K, and put it on its own dimmer so it can be bright for board games and barely-there for stargazing. A battery or solar pendant is a renter-friendly alternative that hangs from a hook with zero wiring. This is the layer that makes neighbors peek over the fence, especially paired with the glow of a patio fireplace on the other side of the yard.
Suggested budget range: $80 – $350.

13. Run Rope Light Under a Seating Wall Cap
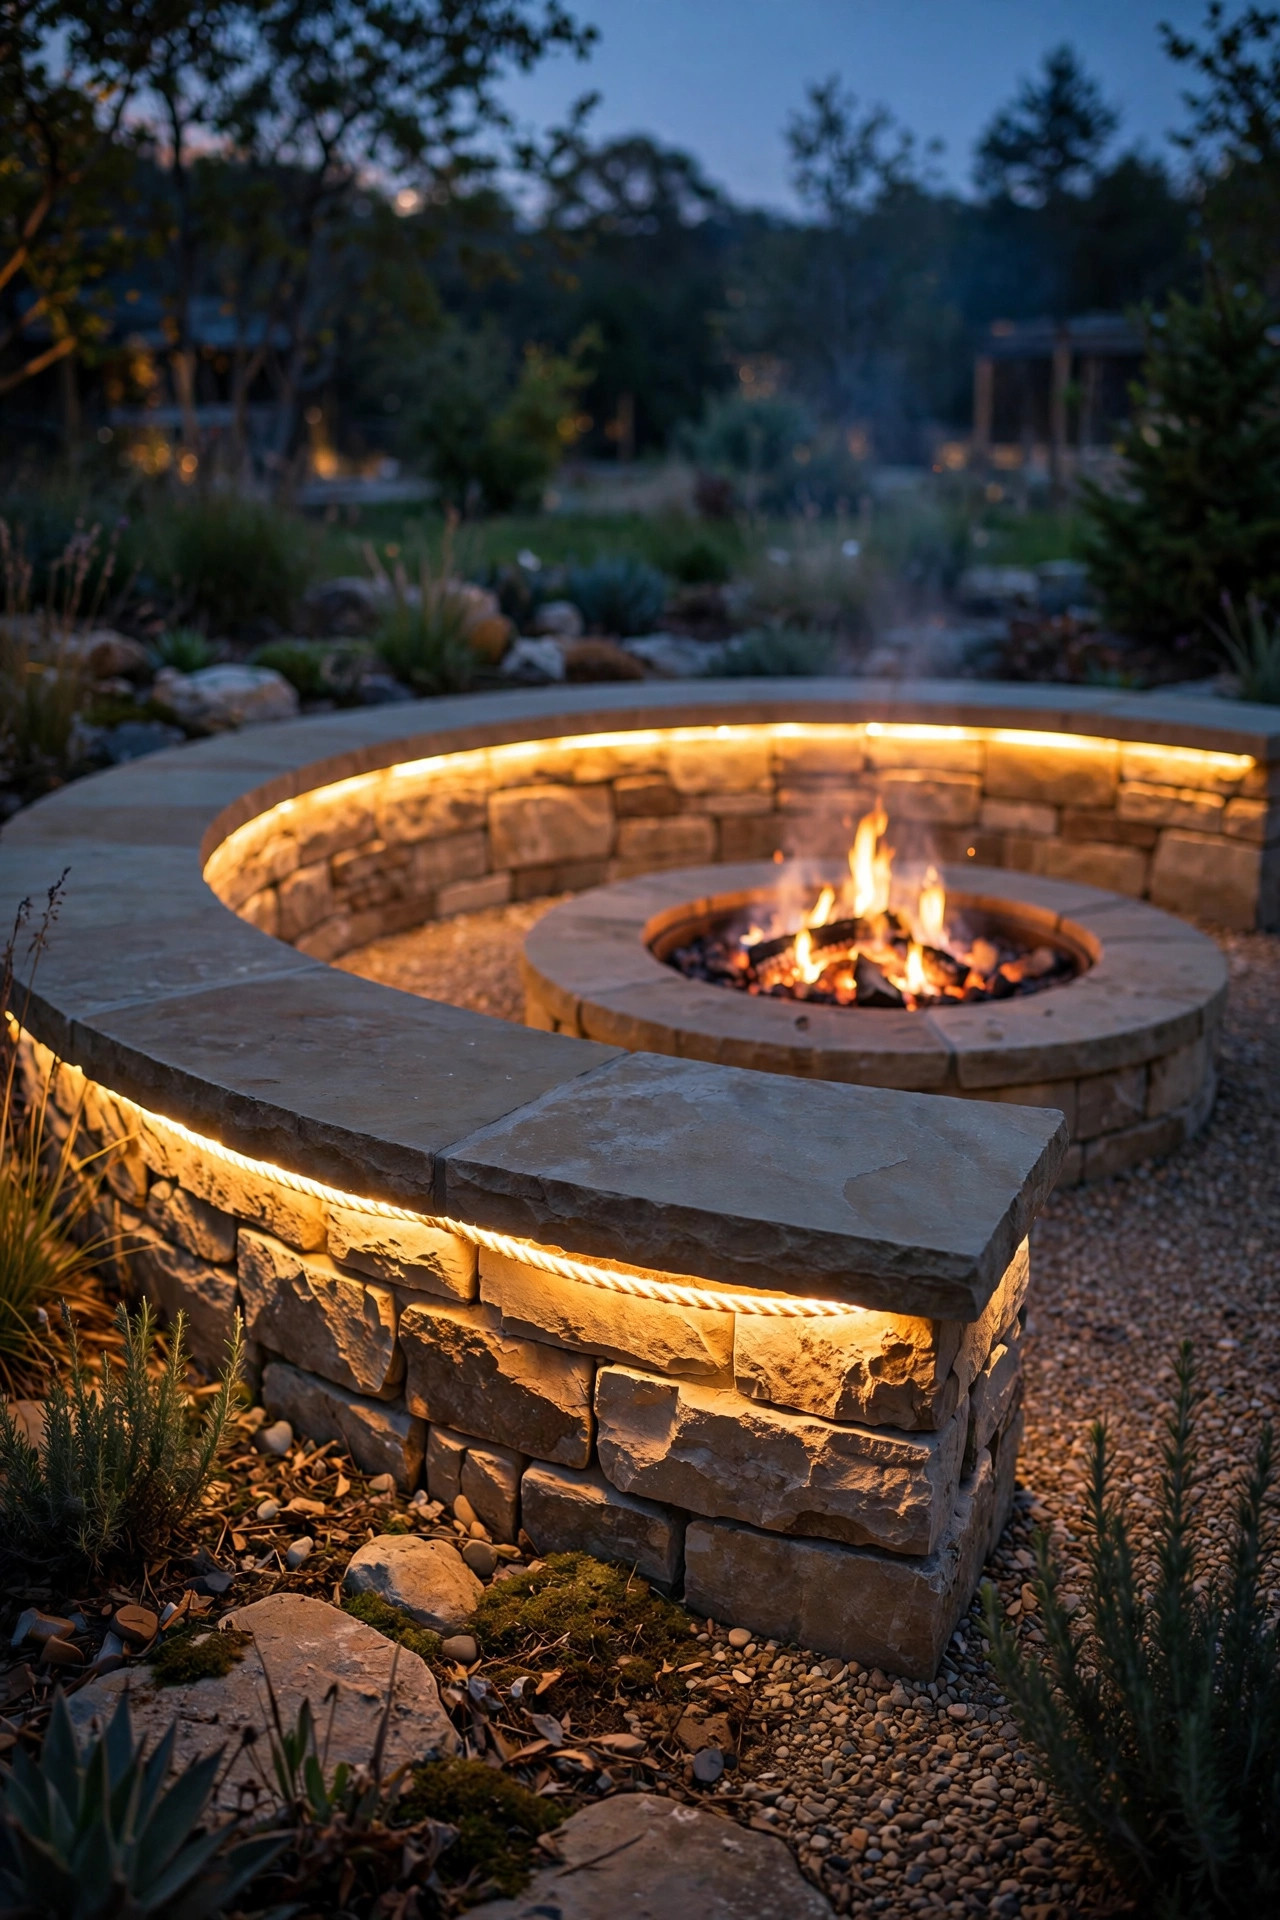
A low seating wall around the pit is wonderful architecture, and the shadow line under its capstone is the perfect hiding place for rope light. Tucked into that recess and aimed down the face of the wall, a warm LED rope throws a continuous ribbon of light that outlines the whole circle and lights the ground right where people set down drinks and step over the wall. LED rope is the only choice here, since old incandescent rope runs hot and the cap space traps heat; keep clips every 12 inches so it never sags into view. The effect is architectural and surprisingly modern next to a rustic fire, which is a contrast I love. Route the power feed down through the wall or in from the end nearest your transformer, and seal outdoor connections with waterproof wire nuts inside a junction box. Because the light is fully indirect, it is the gentlest layer in this entire list for light-sensitive guests.
Suggested budget range: $40 – $110.
14. Set Hurricane Lanterns at Ground Level Between Chairs
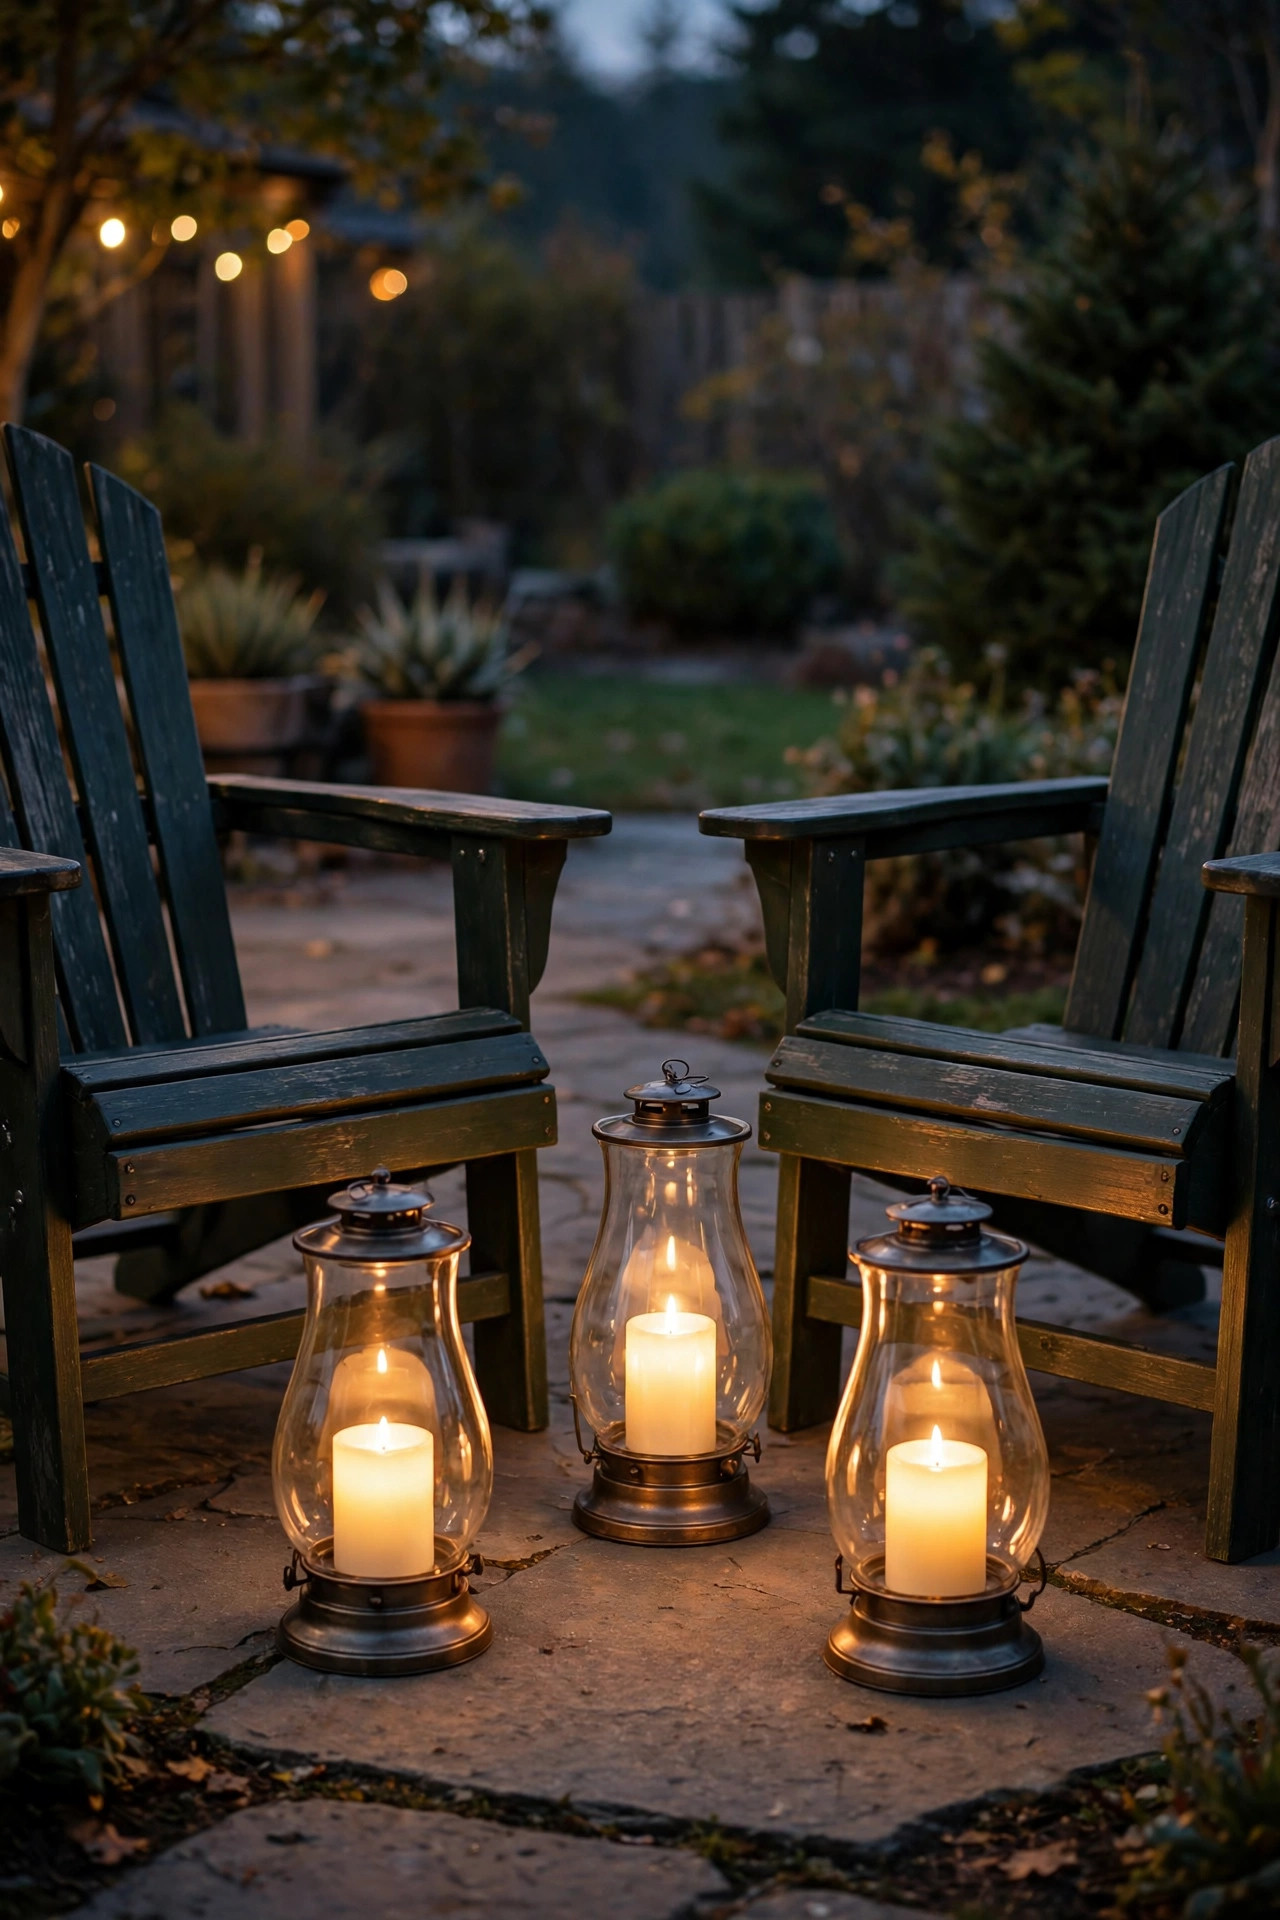
Not every layer needs to be installed. Big glass hurricane lanterns set directly on the ground in the gaps between chairs give you pools of low, intimate light that feel like the fire scattered itself around the circle. I use flameless pillar candles with a realistic flicker and a remote, so the whole set comes on with one click and there is no open flame anywhere near chair legs, blankets, or a dog tail. Vary the heights, 12 to 24 inches, and use an odd count around the circle for a collected look. The glass does real work here, shielding the glow from wind shimmer and bouncing it onto the gravel or pavers. Keep them at least 3 feet from the pit rim so heat never reaches the glass, and bring the candles in during winter if your batteries dislike the cold. In my experience this is the fastest layer to deploy when unexpected guests text that they are ten minutes away.
Suggested budget range: $35 – $120.
15. Add a Motion-Sensor Light for the Snack Run Route
Somebody always makes a late-night run back to the kitchen, and a motion-sensor light on that route is the unsung hero of the whole setup. Mount a solar or battery motion light on the fence, shed wall, or a post along the path, aimed to catch walkers about 10 feet out and stay on for 30 to 60 seconds. The trick is placement and direction: keep it outside the circle's sightlines and aimed along the path, never toward the seating, so it never blasts a seated guest who shifts in their chair. Most units let you set the sensitivity and duration, and I dial both low so it behaves like a polite usher rather than a stadium flood. Choose warm white if you can find it; many motion lights default to a harsh 5000K, which will wreck the mood every single time it triggers. This is pure utility, and done right, it is invisible until the exact moment it is needed.
Suggested budget range: $25 – $70.

16. Swap In Color-Changing Smart Bulbs for Party Nights
Ninety percent of the year my circle stays warm white, but for the Fourth of July, Halloween, and one very memorable birthday, color-changing smart bulbs turn the whole seating area into a theme. The easiest route is your existing string lights or lanterns fitted with outdoor-rated smart bulbs, or a color-capable strand that swaps as one unit. Set scenes in the app ahead of time: deep orange for Halloween, red and blue accents for July, a soft amber-gold for everything else. The discipline that keeps this classy is restraint, so I color the accent layers only and keep the path and step lights warm white for safety and sanity. Make sure anything smart and outdoor is genuinely rated for it, with sealed sockets facing down, and keep the hub within Wi-Fi range of the yard. Honestly, teenagers who claim to be bored by fire pit night come back to life when they get to run the color scenes.
Suggested budget range: $50 – $180.
17. Put the Whole Circle on Dimmers and a Timer
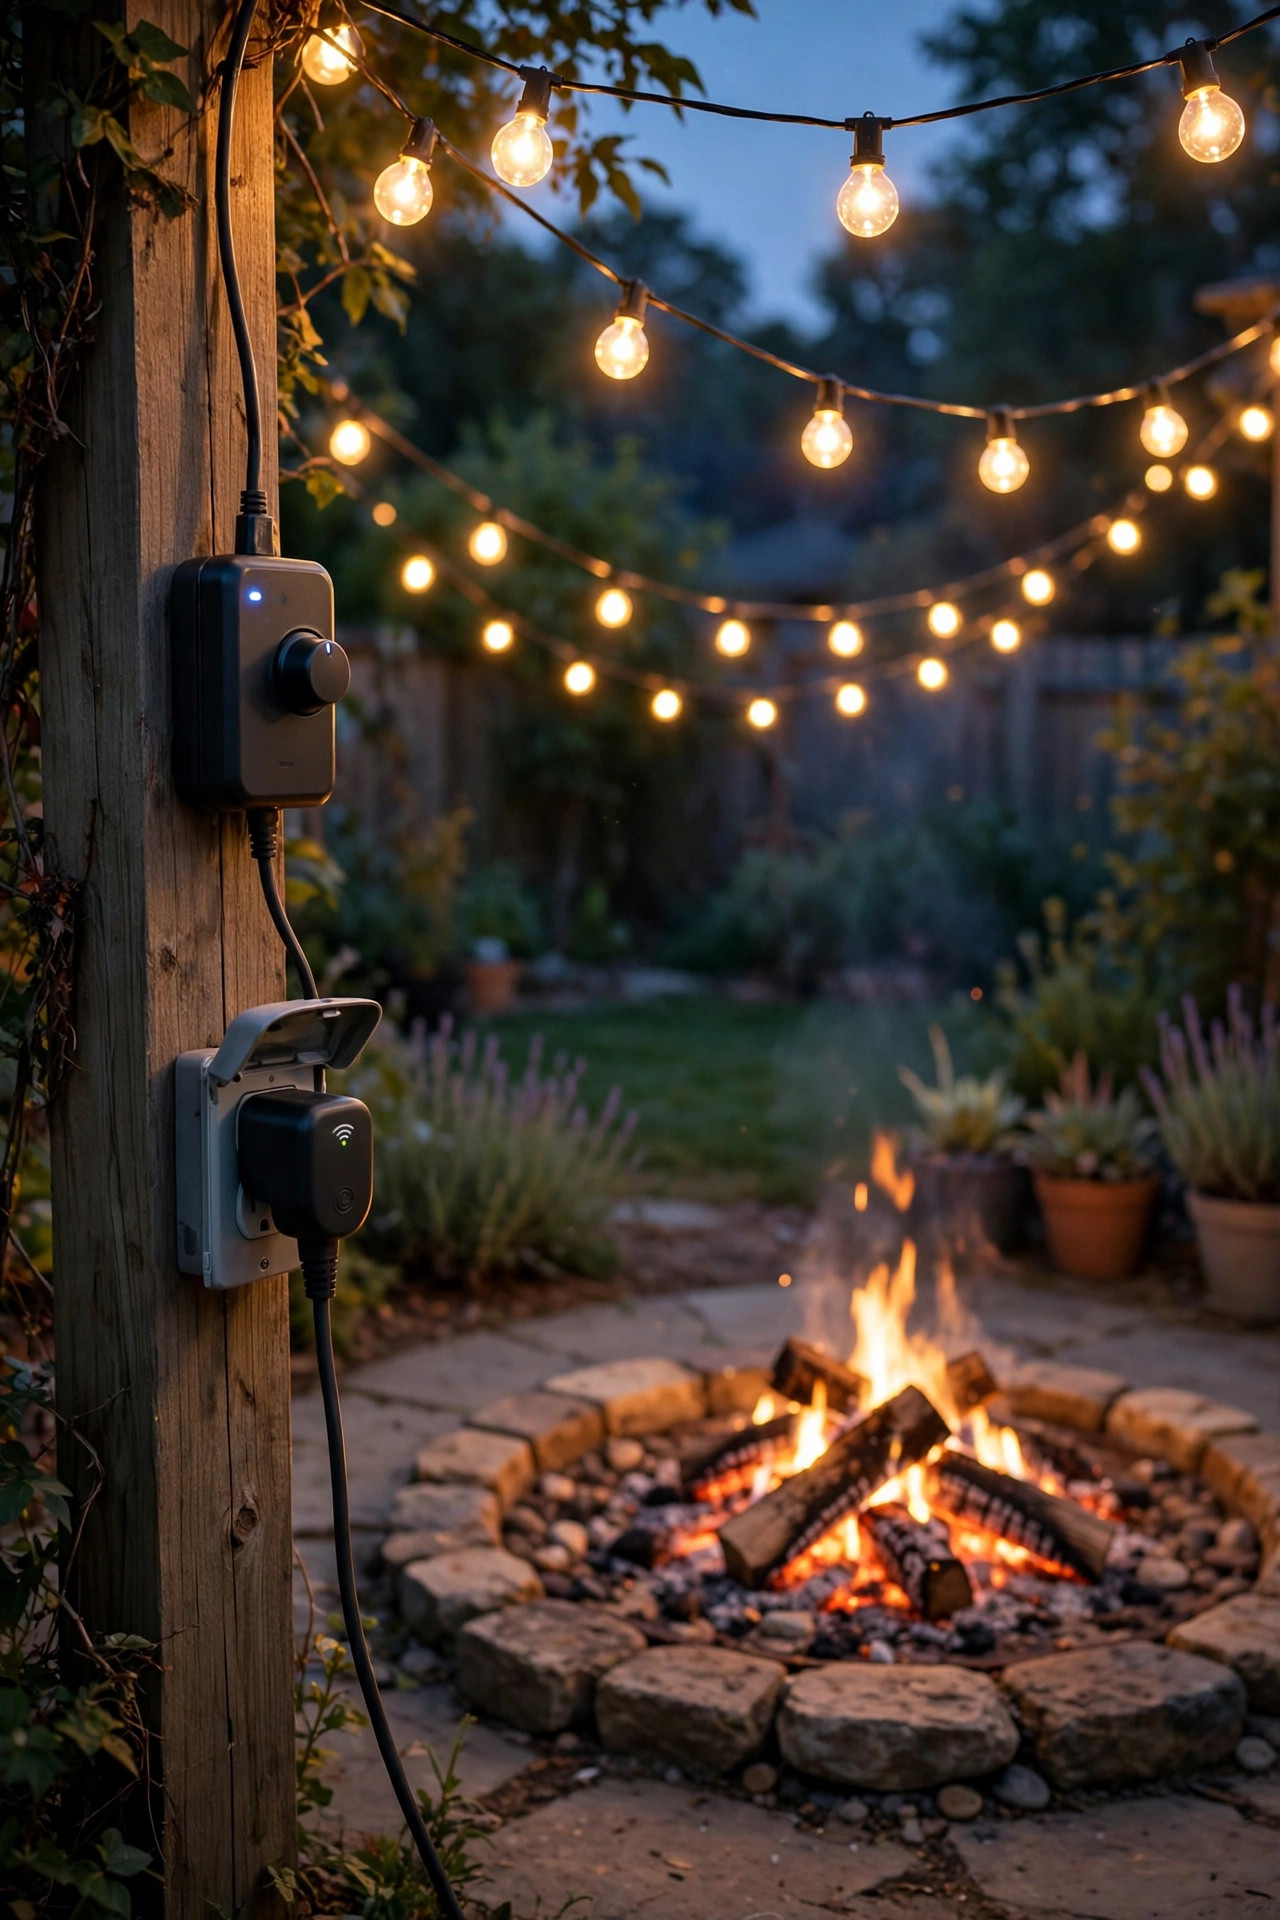
Control is the layer that makes every other layer work. A plug-in outdoor dimmer on your string lights, a smart plug on the lantern circuit, and the photocell timer on your low-voltage transformer together mean the circle lights itself at dusk, sits at exactly the brightness the moment wants, and shuts down without you remembering a thing. My rhythm is full brightness at setup, half once the fire is lit, and down to a glow for the last hour, because eyes adjust and less light feels like more as the night deepens. Astronomical timers that track sunset are worth the small premium if your evenings start at wildly different times across the seasons. If you entertain often, this is also the backbone of a bigger backyard entertaining setup, where the fire pit is one zone among several. In my experience, hosts skip this layer and then fiddle with switches all night; spend the money once and just be a guest at your own party.
Suggested budget range: $30 – $140.
18. Hang Solar Lanterns From Shepherd's Hooks
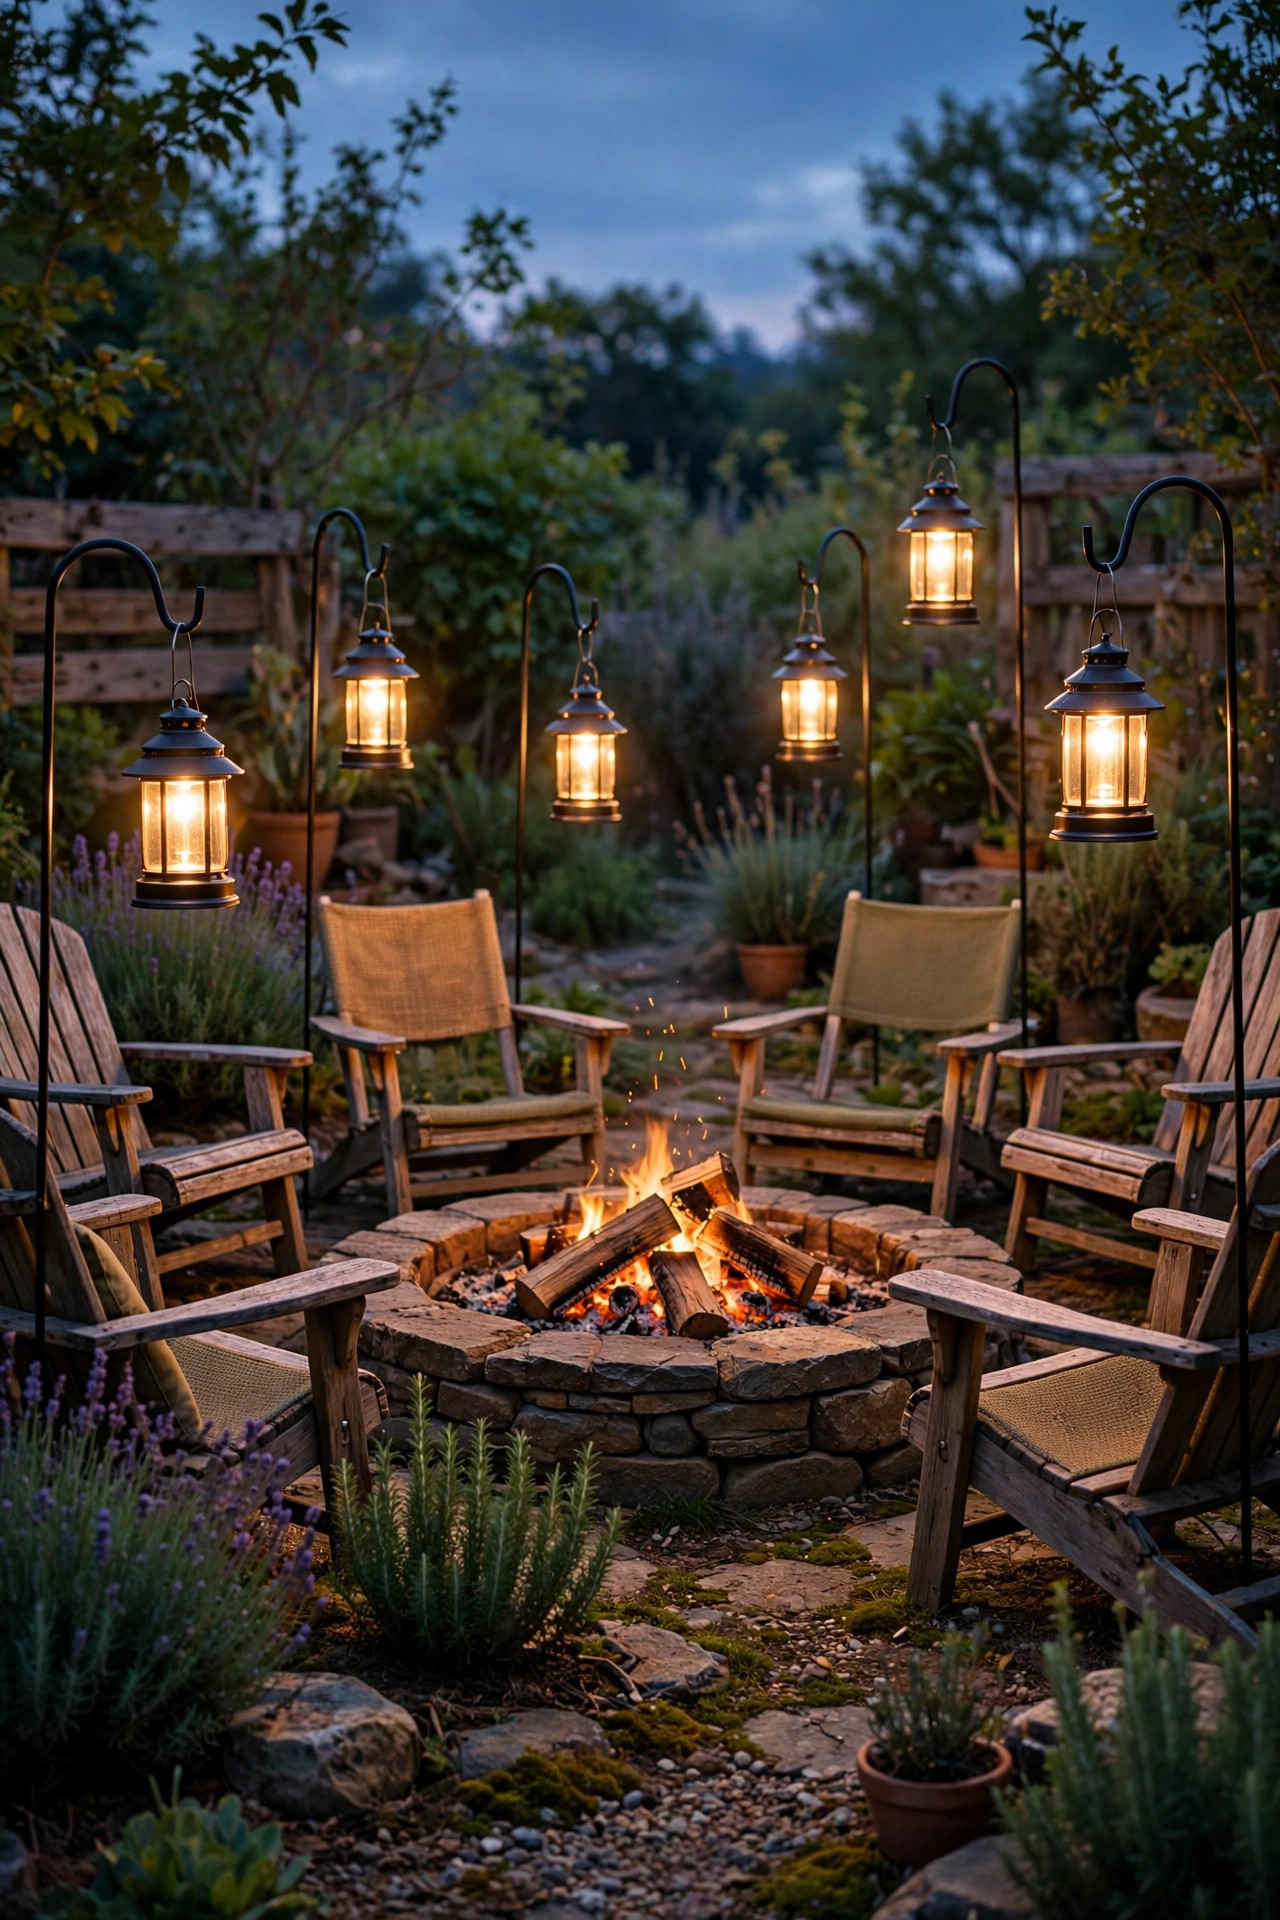
Shepherd's hooks are the most flexible hardware in my yard. Pressed into the ground around the outside of the circle, they hold hanging solar lanterns at about 4 to 5 feet, right at the height where light grazes faces kindly and reads as decor from across the lawn. Because nothing is wired, you can rearrange the whole constellation in five minutes when you add two chairs or swing the circle toward a better view. I look for lanterns with warm white LEDs and decent-size panels, and I hang them so the lantern clears the hook's curve by a few inches of chain, which keeps them from clanking in a breeze. Space hooks 5 to 7 feet apart and resist filling every gap; the dark spaces between are part of the rhythm. Move them to full sun for a day if a shaded week leaves them dim. They are also my favorite loaner layer, since a pair of hooks and lanterns can rescue a neighbor's dark patio in one trip.
Suggested budget range: $45 – $120.
19. Layer It All: My Go-To Fire Pit Seating Lighting Ideas Combined
Here is the exact recipe I land on most nights, because the best fire pit seating lighting ideas are never a single fixture. Start with the low-voltage path ring behind the chairs and the bollards on the walkway for a safe, defined perimeter. Add the string light swags overhead at half brightness for faces and that outdoor-room ceiling. Place lantern clusters on the side tables and two hurricanes on the ground for drink-height warmth. Let one uplighted tree close the backdrop, and keep the whole system on its timer and dimmers so it runs itself. That is five layers at five heights, and the total effect is somehow still subtle, because every source is shielded, warm, and aimed away from eyes. Build it in stages across a season if budget matters; the order above is the order I would buy them in. Your fire stays the star, and everything else is just the supporting cast making it look good.
Suggested budget range: $300 – $900.
Frequently Asked Questions
What color temperature is best for lighting around a fire pit?
Stay between 2700K and 3000K for anything near the seating circle. Firelight itself sits around 1800K to 2000K, so warm white bulbs blend with it instead of fighting it. Anything 4000K and above reads blue and clinical next to flames, and in my experience it is the single fastest way to make a cozy circle feel like a parking lot. If a fixture only comes in daylight tones, it belongs on the work route, not in the circle.
How bright should the lighting around a fire pit be?
Much dimmer than you think. Aim for gentle orientation light: roughly 50 to 200 lumens for accent and path fixtures near the seats, and keep total light low enough that the fire stays the brightest thing in view. Your eyes adapt quickly after sunset, so start everything on its lowest comfortable setting and raise it only if guests are struggling. Dimmers help enormously, because the right brightness at 8 p.m. is far too much by 11 p.m.
Are solar lights enough for a fire pit seating area, or do I need wired?
Solar handles the accent layers beautifully: stake lights, flame torches, hanging lanterns, and step lights all work well if they get six hours of sun. Where solar struggles is consistency on cloudy weeks and anything you need to be reliably bright, like the main walkway. My honest recommendation is a hybrid: a wired low-voltage backbone for the path ring and steps, solar everywhere else. That mix gives you dependability where safety matters and total freedom everywhere else.
How far should lights and fixtures be from the fire pit itself?
Keep string lights out of the direct smoke and heat column, offset to the sides rather than directly overhead, and keep lanterns, solar fixtures, and anything with batteries or plastic at least 3 to 6 feet from the rim. Wired fixtures should always be outdoor-rated, and any line-voltage work belongs on a GFCI-protected circuit. When in doubt, hold your hand at the fixture spot while the fire is going; if it feels hot to you, it is too close for the light.
Conclusion
A fire pit gives you the flame, but the circle around it is what makes people stay. Layer low light behind the chairs, a soft glow overhead, lanterns at drink height, and one lit backdrop, and your fire pit seating lighting ideas turn into a room your guests will not want to leave. Start with two layers this weekend, live with them for a few nights, and add from there. When you are ready for more, browse the rest of my outdoor lighting ideas here on the site and keep building your layers.