There is a quiet stretch every year when my garden is all promise and no payoff. The beds are freshly mulched, the daffodils are green spikes, the trees are still bare, and the blooms are weeks away. Honestly? That is exactly when spring garden lighting ideas earn their keep. Good lighting gives the garden shape and warmth long before the first tulip opens, and it lets me actually enjoy those longer evenings outside instead of admiring the yard through a window. In my experience, the trick is layering: soft light low along the paths, a warm middle layer of lanterns, and one or two uplights that show off bare branches and evergreens. Below are the 15 setups I come back to every March and April — nearly all of them solar or low voltage, and none of them hard to install. If you are freshening up the front of the house too, my spring front yard lighting ideas pair beautifully with everything here.
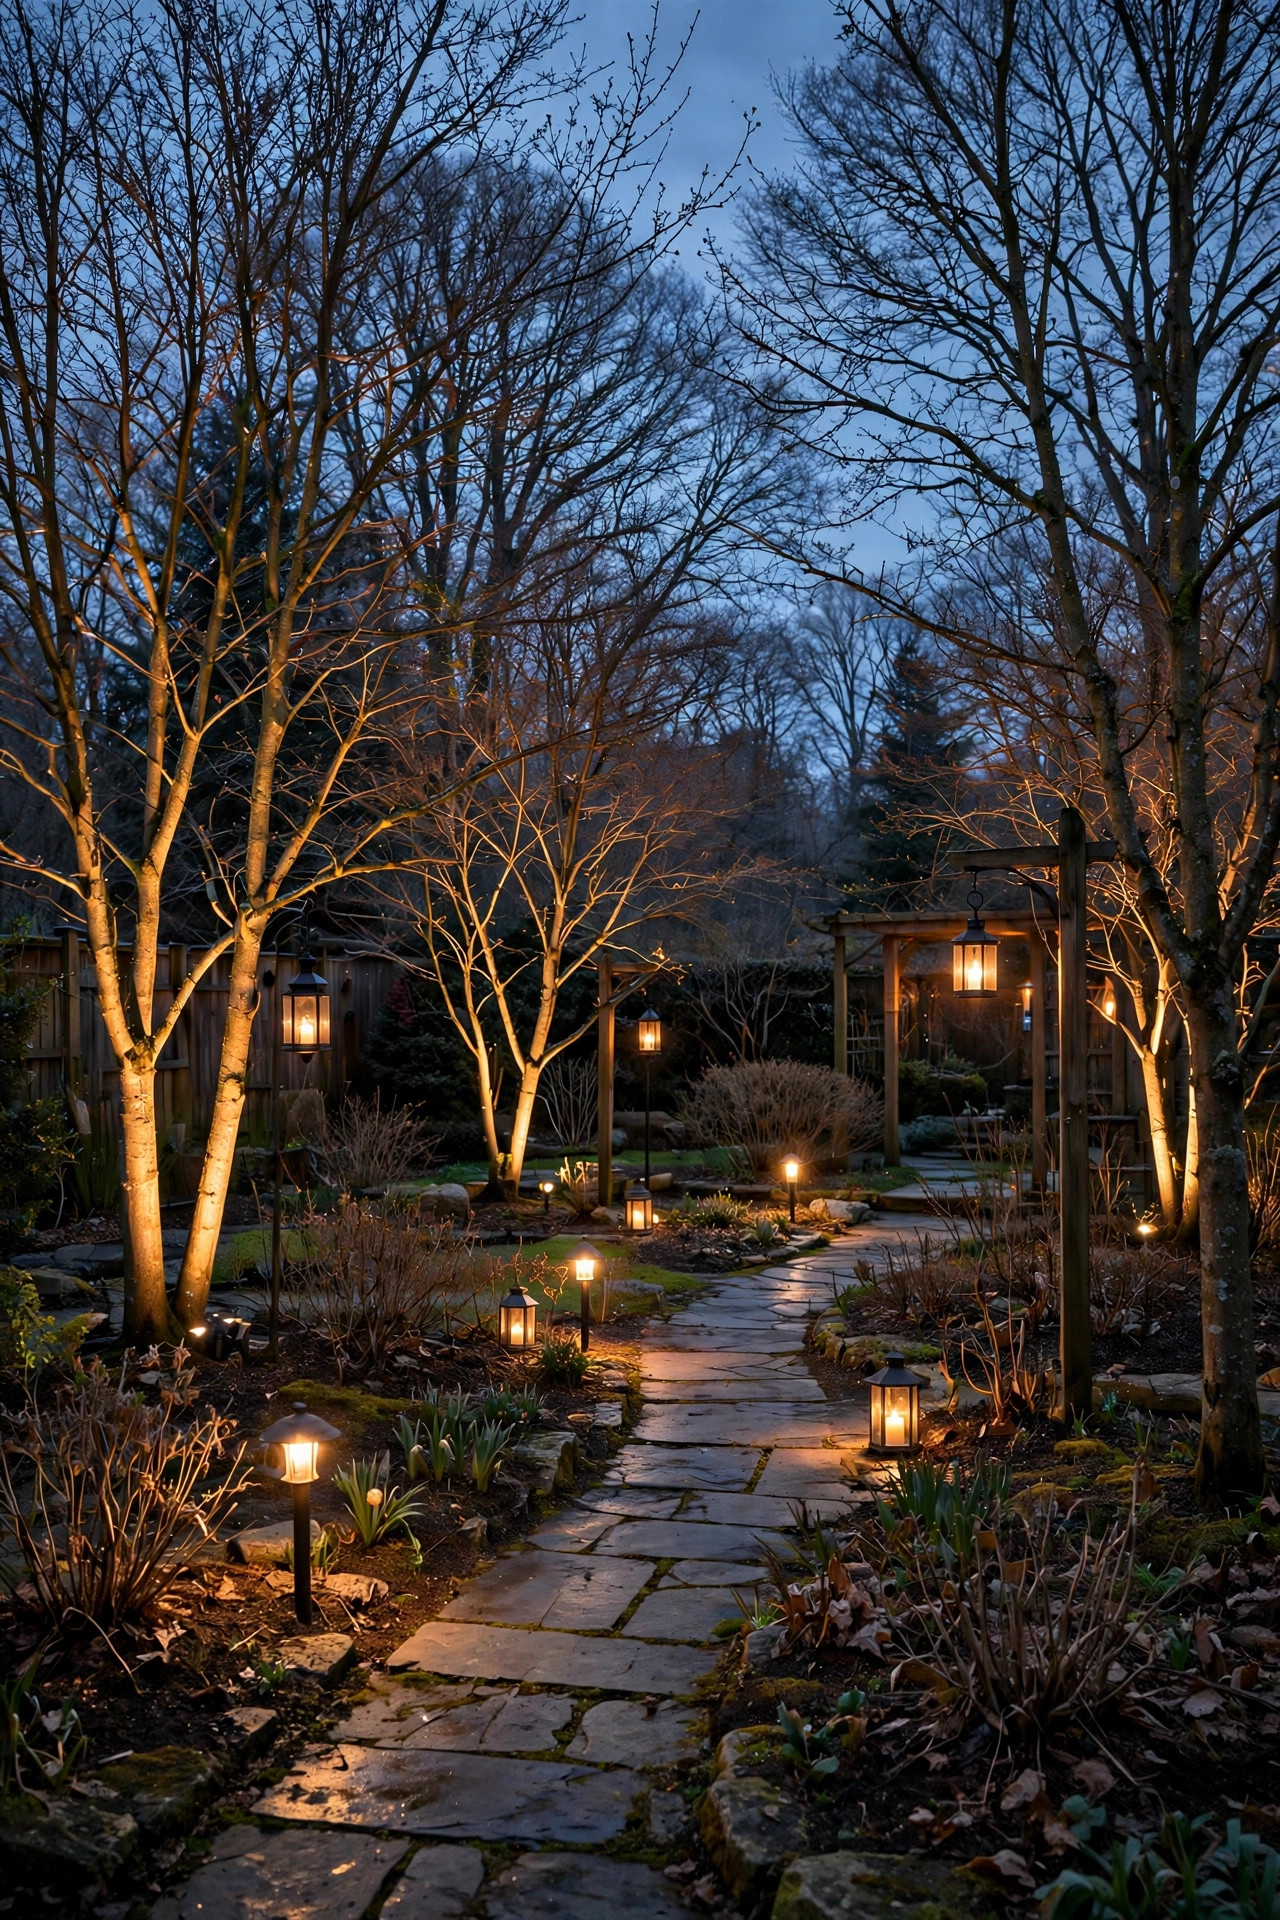
1. Spring Garden Lighting Ideas Begin With Bare-Branch Uplighting
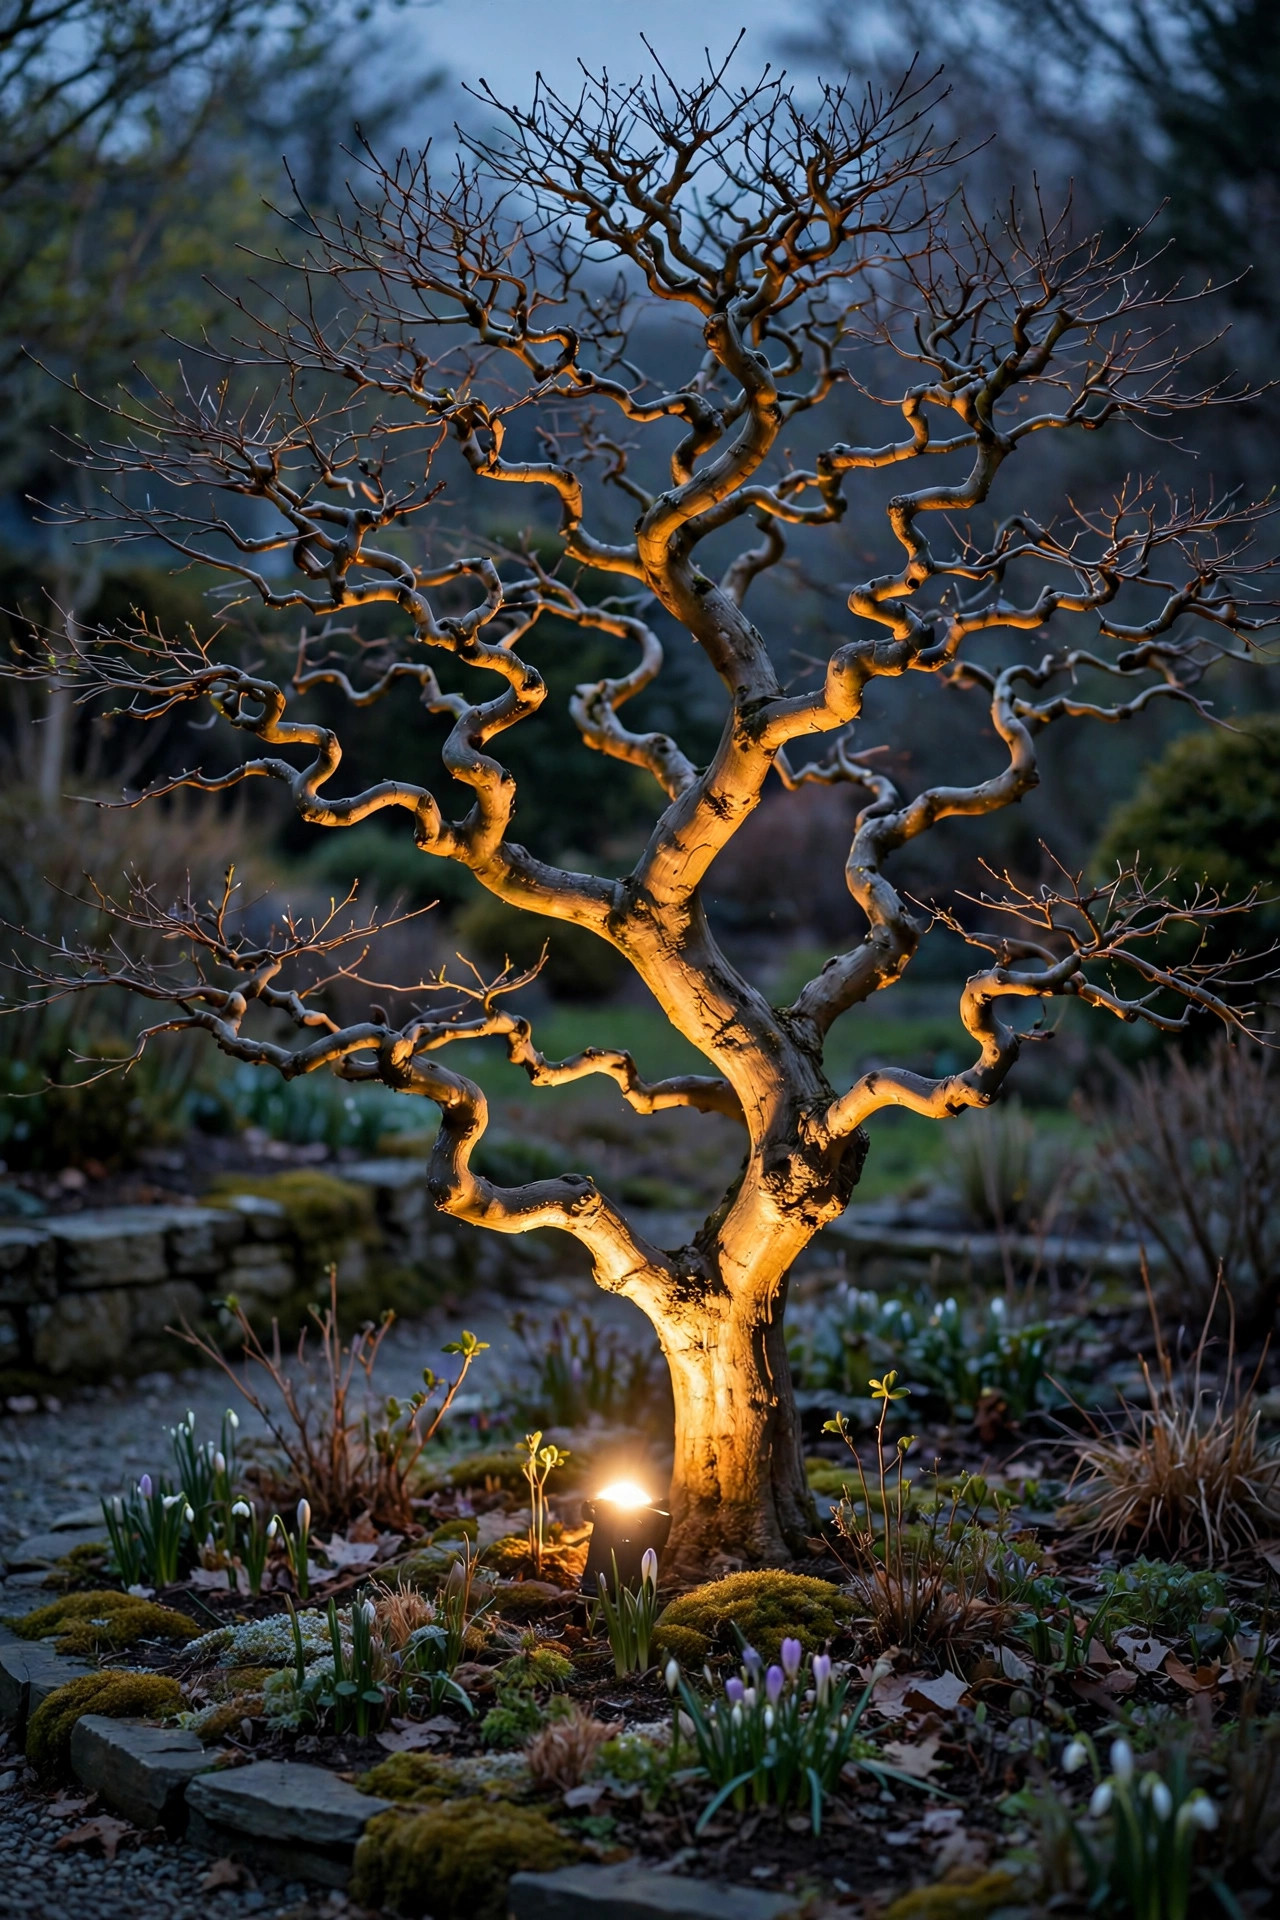
Before a single leaf appears, my ornamental trees are pure sculpture — twisted branches, peeling bark, beautiful silhouettes that disappear the moment the sun sets. A single uplight at the base brings all of that back. I use spike-mounted LED spotlights or recessed well lights, placed 12 to 18 inches from the trunk and angled up at about 30 degrees so the beam rakes across the bark instead of blasting straight up. Warm white, 2700K, is non-negotiable for me; anything cooler makes bare wood look ghostly and gray. One fixture per small tree is plenty, while a wide-spreading cherry or redbud might want two, crossed slightly for depth. This is a low-voltage job, so the transformer and cable you may already own for path lights will usually run it. Keep the lens wiped clean — early spring throws a lot of mud splash around. Of all the tricks in this list, this one changes the garden the most for the least money, because it turns the plainest month of the year into a nightly gallery walk.
Suggested budget range: $40 – $120.
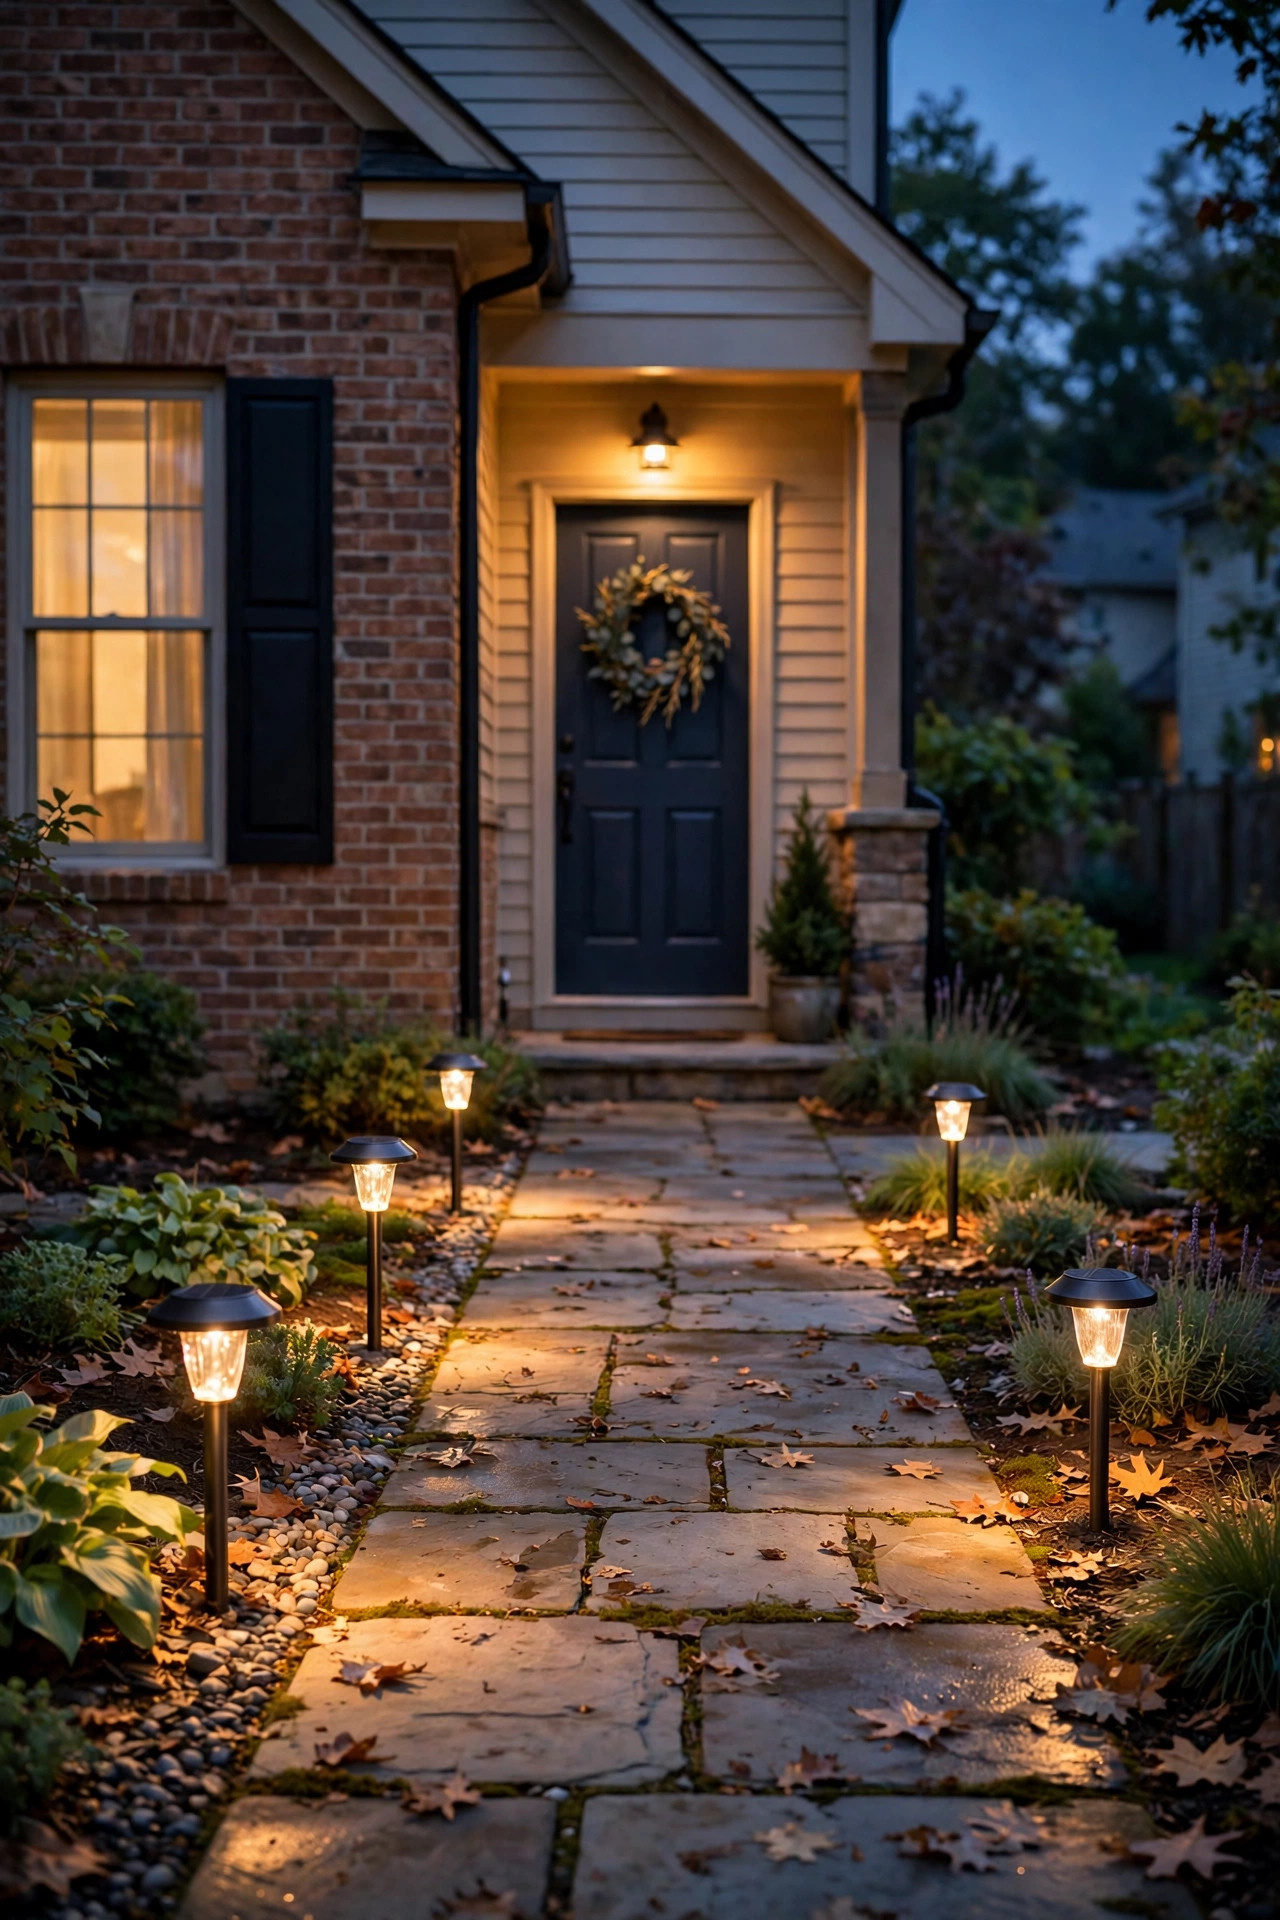
2. Line Mulched Paths With Warm Solar Stakes
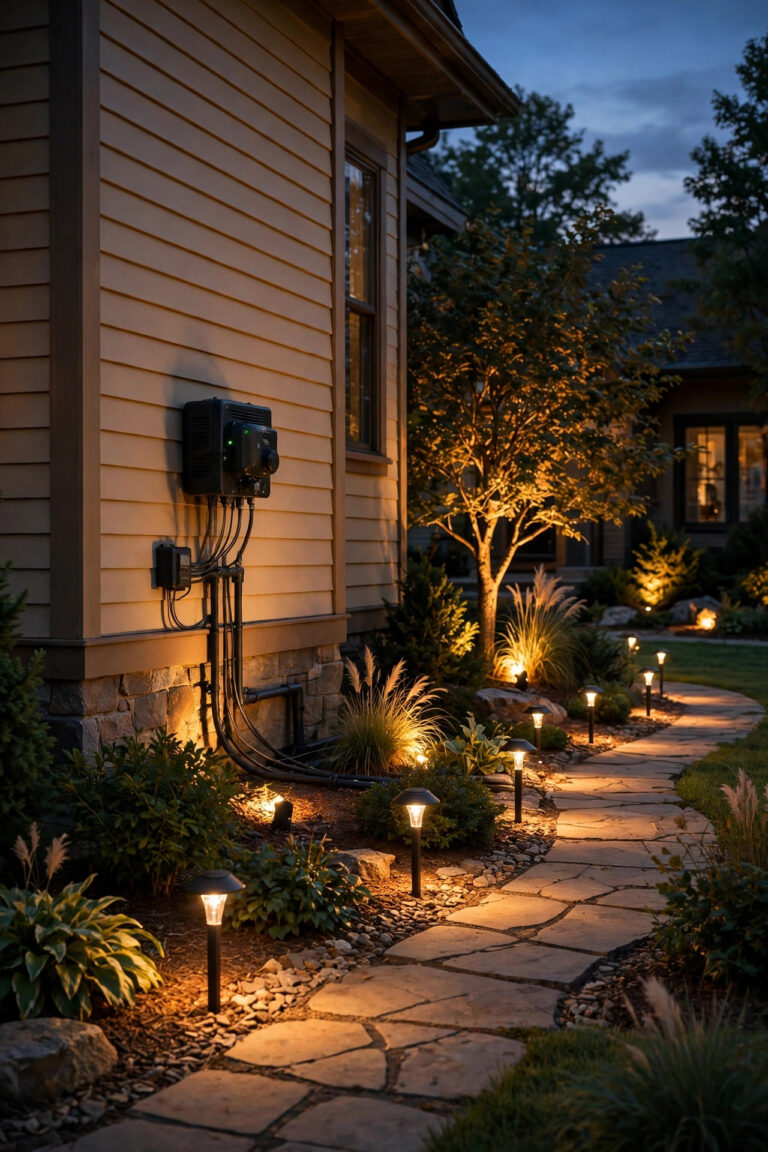
Fresh mulch looks wonderful at noon and turns into a black void by seven in the evening, which is when I am usually still out there with a watering can. Solar path stakes fix that in about ten minutes. I push them in 6 to 8 feet apart along the main walk, staggered rather than in stiff pairs, and I always choose warm white models in the 2700–3000K range — the bluish bargain-bin ones make spring green look sickly. Look for stakes at least 12 inches tall so the light clears the mulch, and give the little solar panels a wipe every couple of weeks; pollen season coats them fast. Because they are solar, there is no trench, no cable, and no commitment — if a bed gets replanted in May, I just pull the stake and move it. In my experience, a dozen mid-quality stakes outlast two dozen of the cheapest ones, so buy once and buy decent. They also make a surprisingly pretty dotted line of light when you look back at the garden from the porch.
Suggested budget range: $25 – $60.
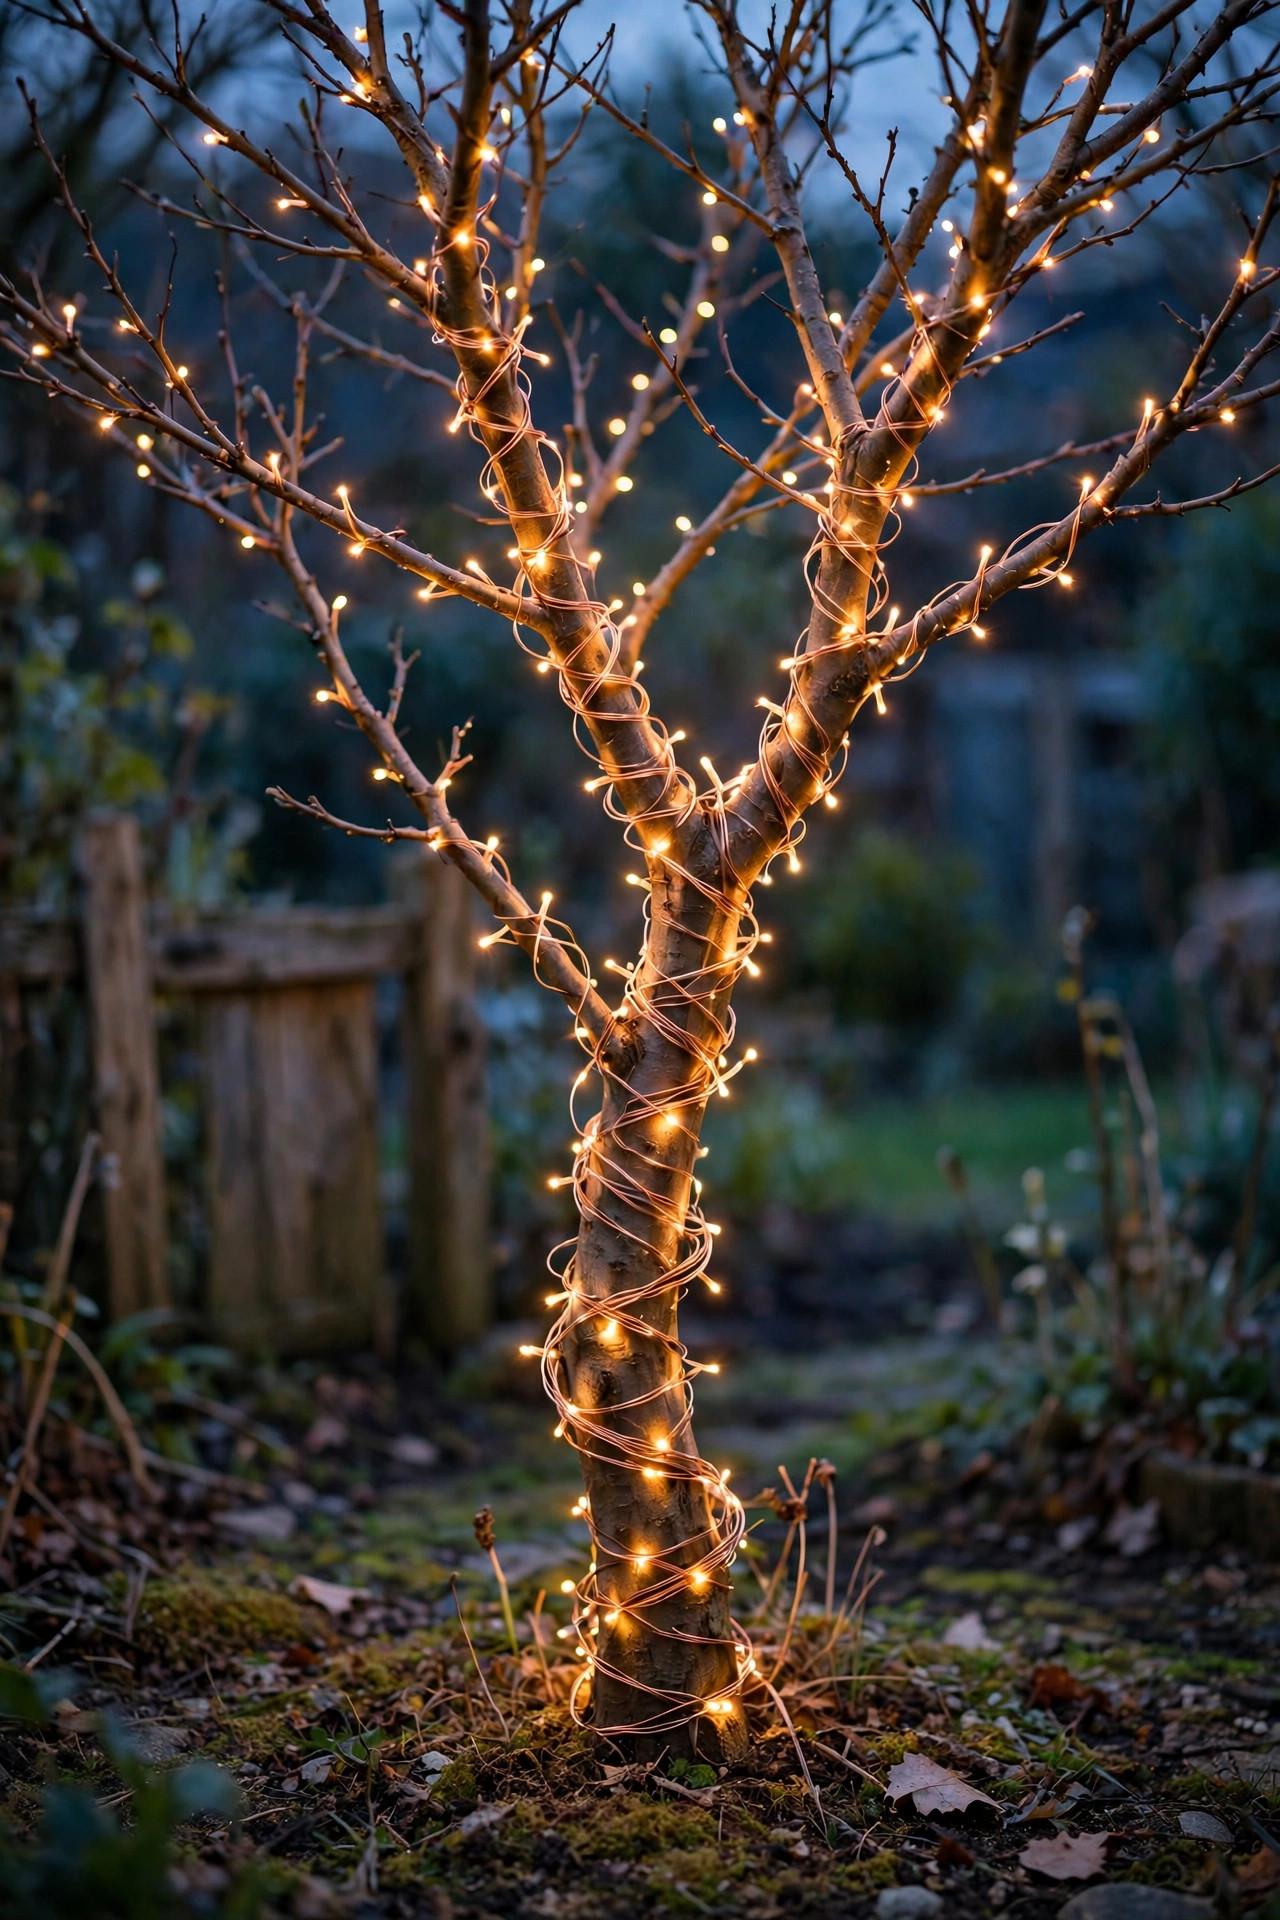
3. Wrap Bare Trunks in Copper-Wire Fairy Lights
A leafless tree wrapped in fairy lights reads as pure magic, and early spring is the one season you can wrap every branch without fighting foliage. I use copper-wire fairy lights — the wire nearly disappears against bark — and spiral them from the base of the trunk outward along the two or three main limbs, leaving 4 to 6 inches between passes. Solar and battery-pack versions both work; I prefer battery packs with a timer for trees far from the house, set to glow from dusk for six hours. Keep the wrap loose, never cinched, and plan to take it down before the tree leafs out fully, since growing branches and tight wire are not friends. Warm white is my default, though a soft gold looks stunning on white-barked birch. I have a whole post on fairy light tree wrap ideas with spacing photos if you want the detailed walkthrough. One 33-foot strand handles a small tree; buy two for anything over about 10 feet tall.
Suggested budget range: $15 – $45.
4. Hang Lanterns on Shepherd's Hooks Over Empty Beds
A freshly cleaned bed waiting for annuals can look a little stark, and a row of lanterns on shepherd's hooks fills that emptiness with height and glow. I use hooks 48 to 60 inches tall, pushed at least a foot into the soil so they stand straight, and hang metal lanterns fitted with flameless LED candles — real flame in a breezy spring garden, near dry mulch, is a worry I do not need. Group them in odd numbers, three or five along a bed, and vary the heights slightly for a relaxed feel. The flickering flameless candles are convincing from ten feet away and run on timers, so the bed lights itself every evening. This is also my favorite trick near the vegetable garden, where the beds sit empty longest. Choose powder-coated or stainless hooks; the cheap painted ones rust at the soil line by midsummer. When the plantings fill in around June, I move the hooks to the patio and the lanterns keep working all season in their second home.
Suggested budget range: $30 – $90.
5. Fake the Moonlight With a High Downlight
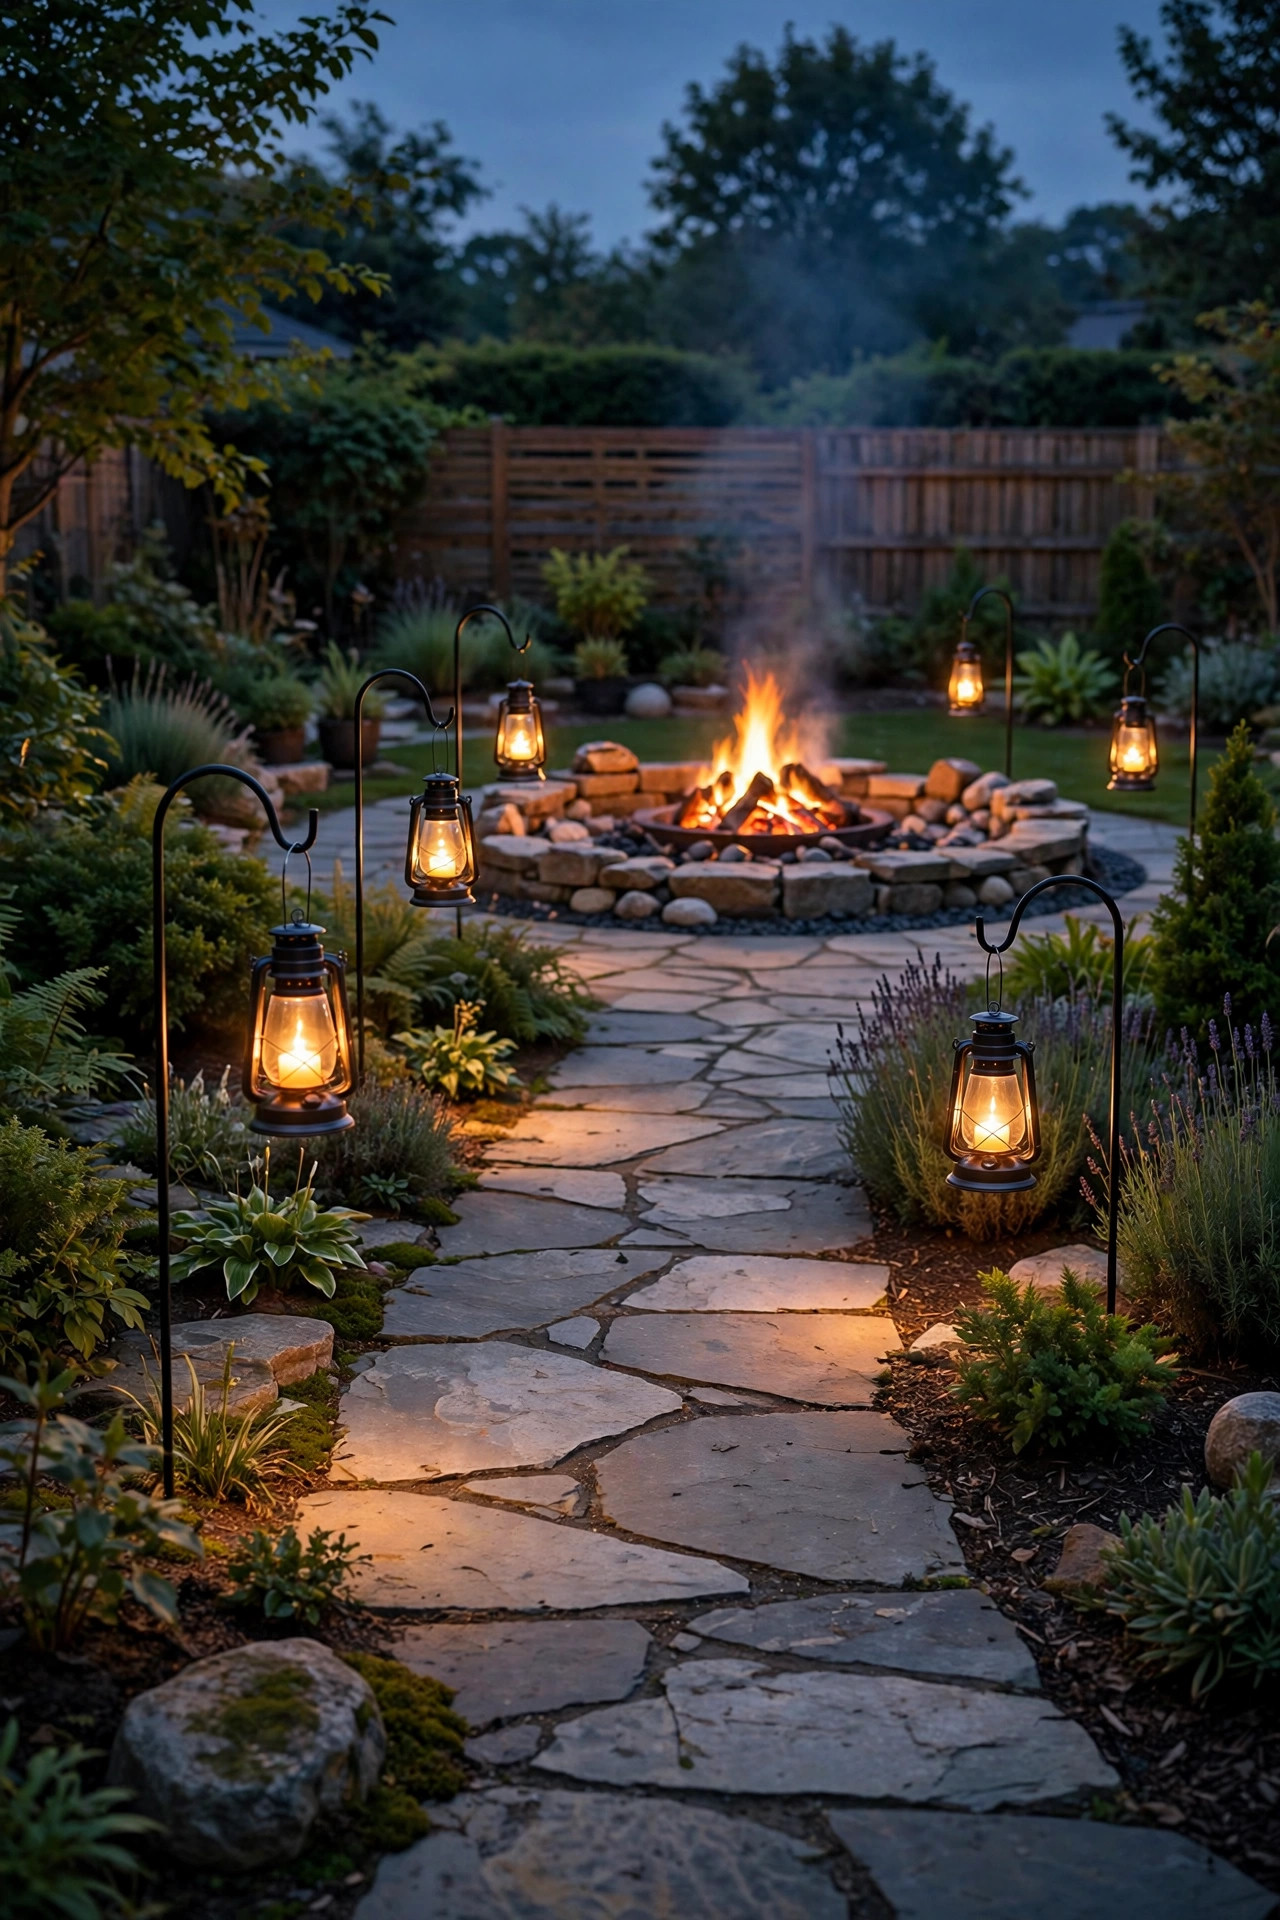
Moonlighting is the most natural-looking light in any garden, and before the canopy fills in, it is the easiest to install. The idea is simple: one soft fixture mounted high — in a tree crotch 15 to 20 feet up, or tucked under a porch eave or arbor beam — shining down through the branches so the ground gets dappled pools of light instead of a harsh spotlight circle. I use a shielded LED downlight around 3000K and keep the wattage modest; moonlight should whisper, not shout. The moving shadows of bare branches on the path below are half the charm. Safety note from someone who has done the wobbly-ladder thing: if the mounting point is higher than you can reach confidently from a ladder on level ground, hire a pro for that one fixture — it is a 30-minute job for them. Never use actual line-voltage wiring in a tree unless an electrician runs it in conduit. Done right, this single light makes the whole garden feel moonlit even on cloudy spring nights.
Suggested budget range: $60 – $180.
6. String Café Lights Over the Garden Seating Corner
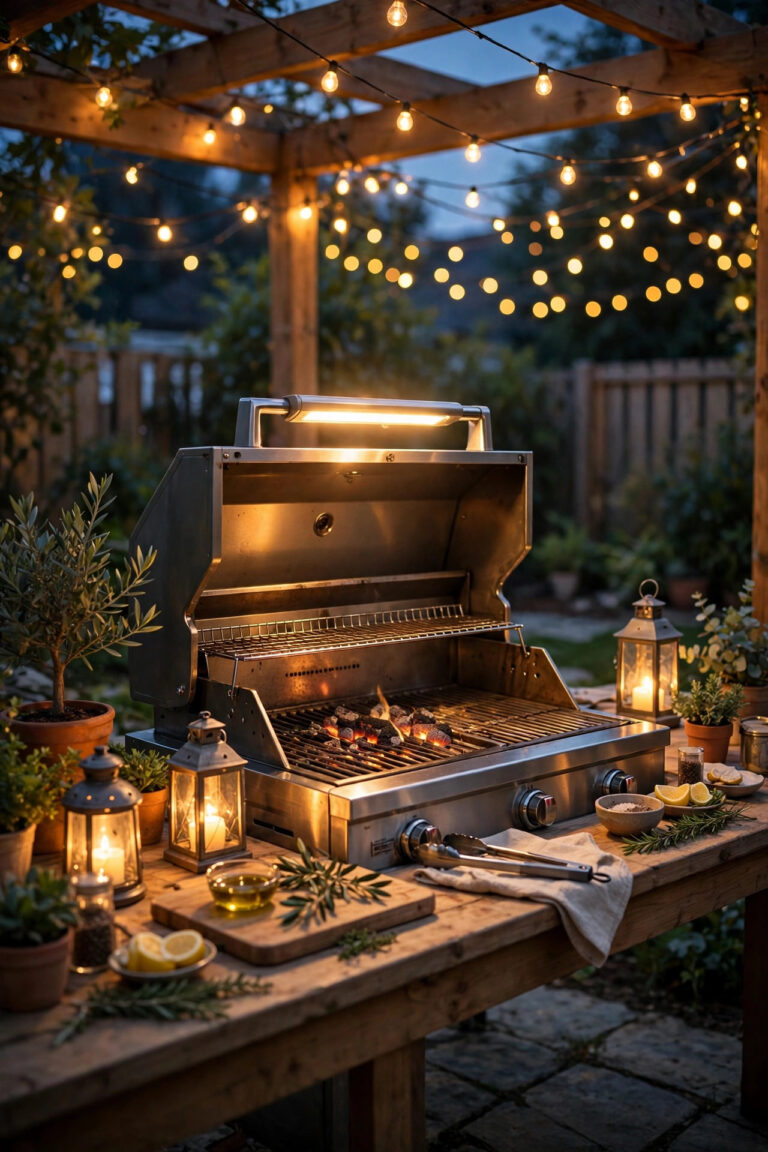
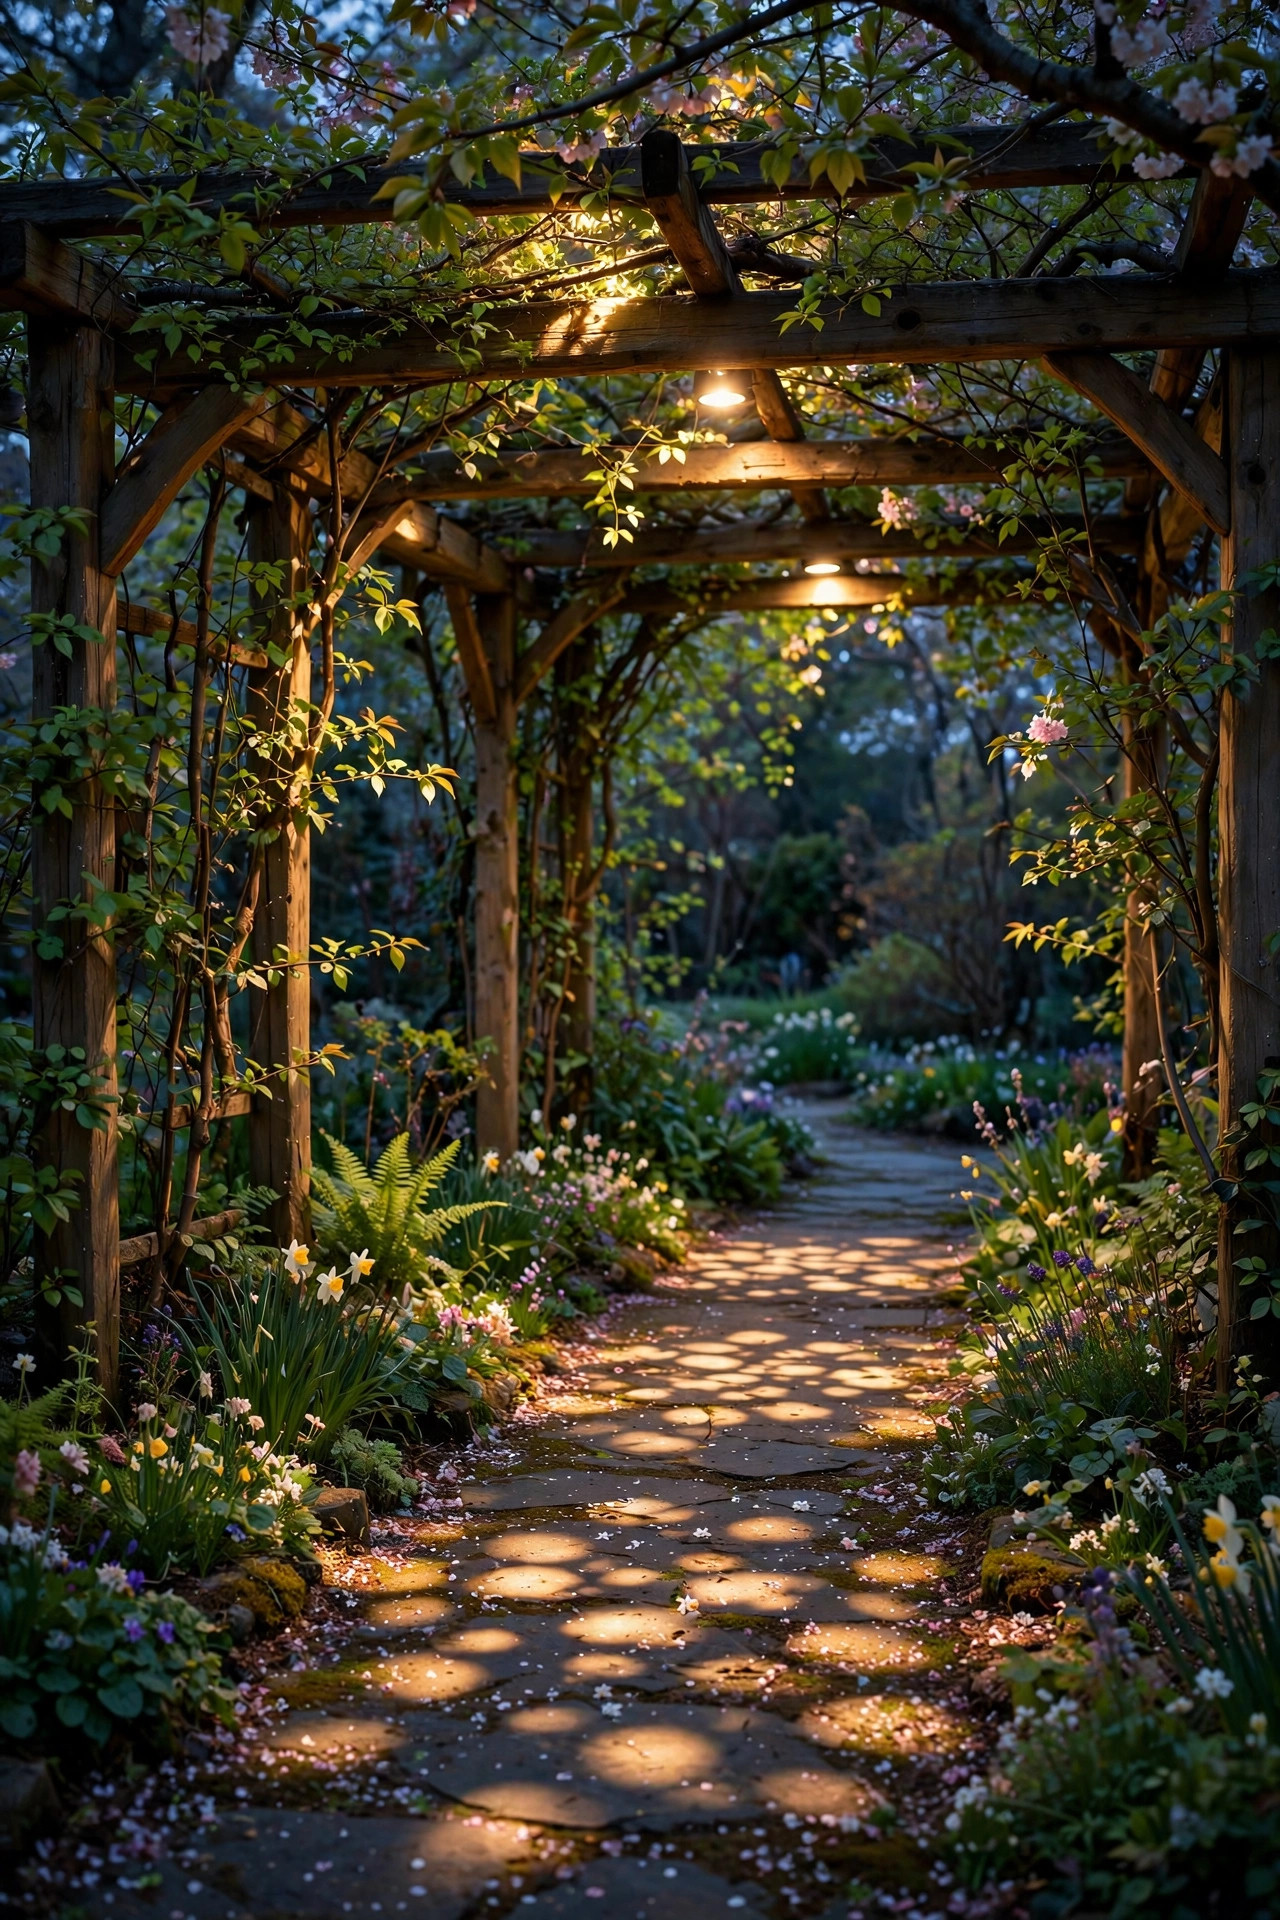
My little bench-and-bistro corner wakes up weeks before the garden around it does, because string lights make a ceiling where there is none. I run commercial-grade café string lights from the house to a sturdy post or tree, sagging each span in a gentle swag, and I use LED filament-style bulbs — they give that warm diner glow, sip power, and never get hot near branches. A guide cable takes the strain off the sockets in spring winds, which are no joke in March. Put the strand on an outdoor-rated dimmer if you can; at full brightness string lights can overpower the subtler layers, and at about 60 percent they blend beautifully with lanterns and uplights. Measure before you buy — most strands are 25 or 48 feet — and count on one bulb every 2 feet for even light. This corner becomes our first outdoor coffee spot of the year, usually with blankets, long before a single flower opens.
Suggested budget range: $35 – $100.
7. Spotlight the Bones: Statues, Birdbaths, and Urns
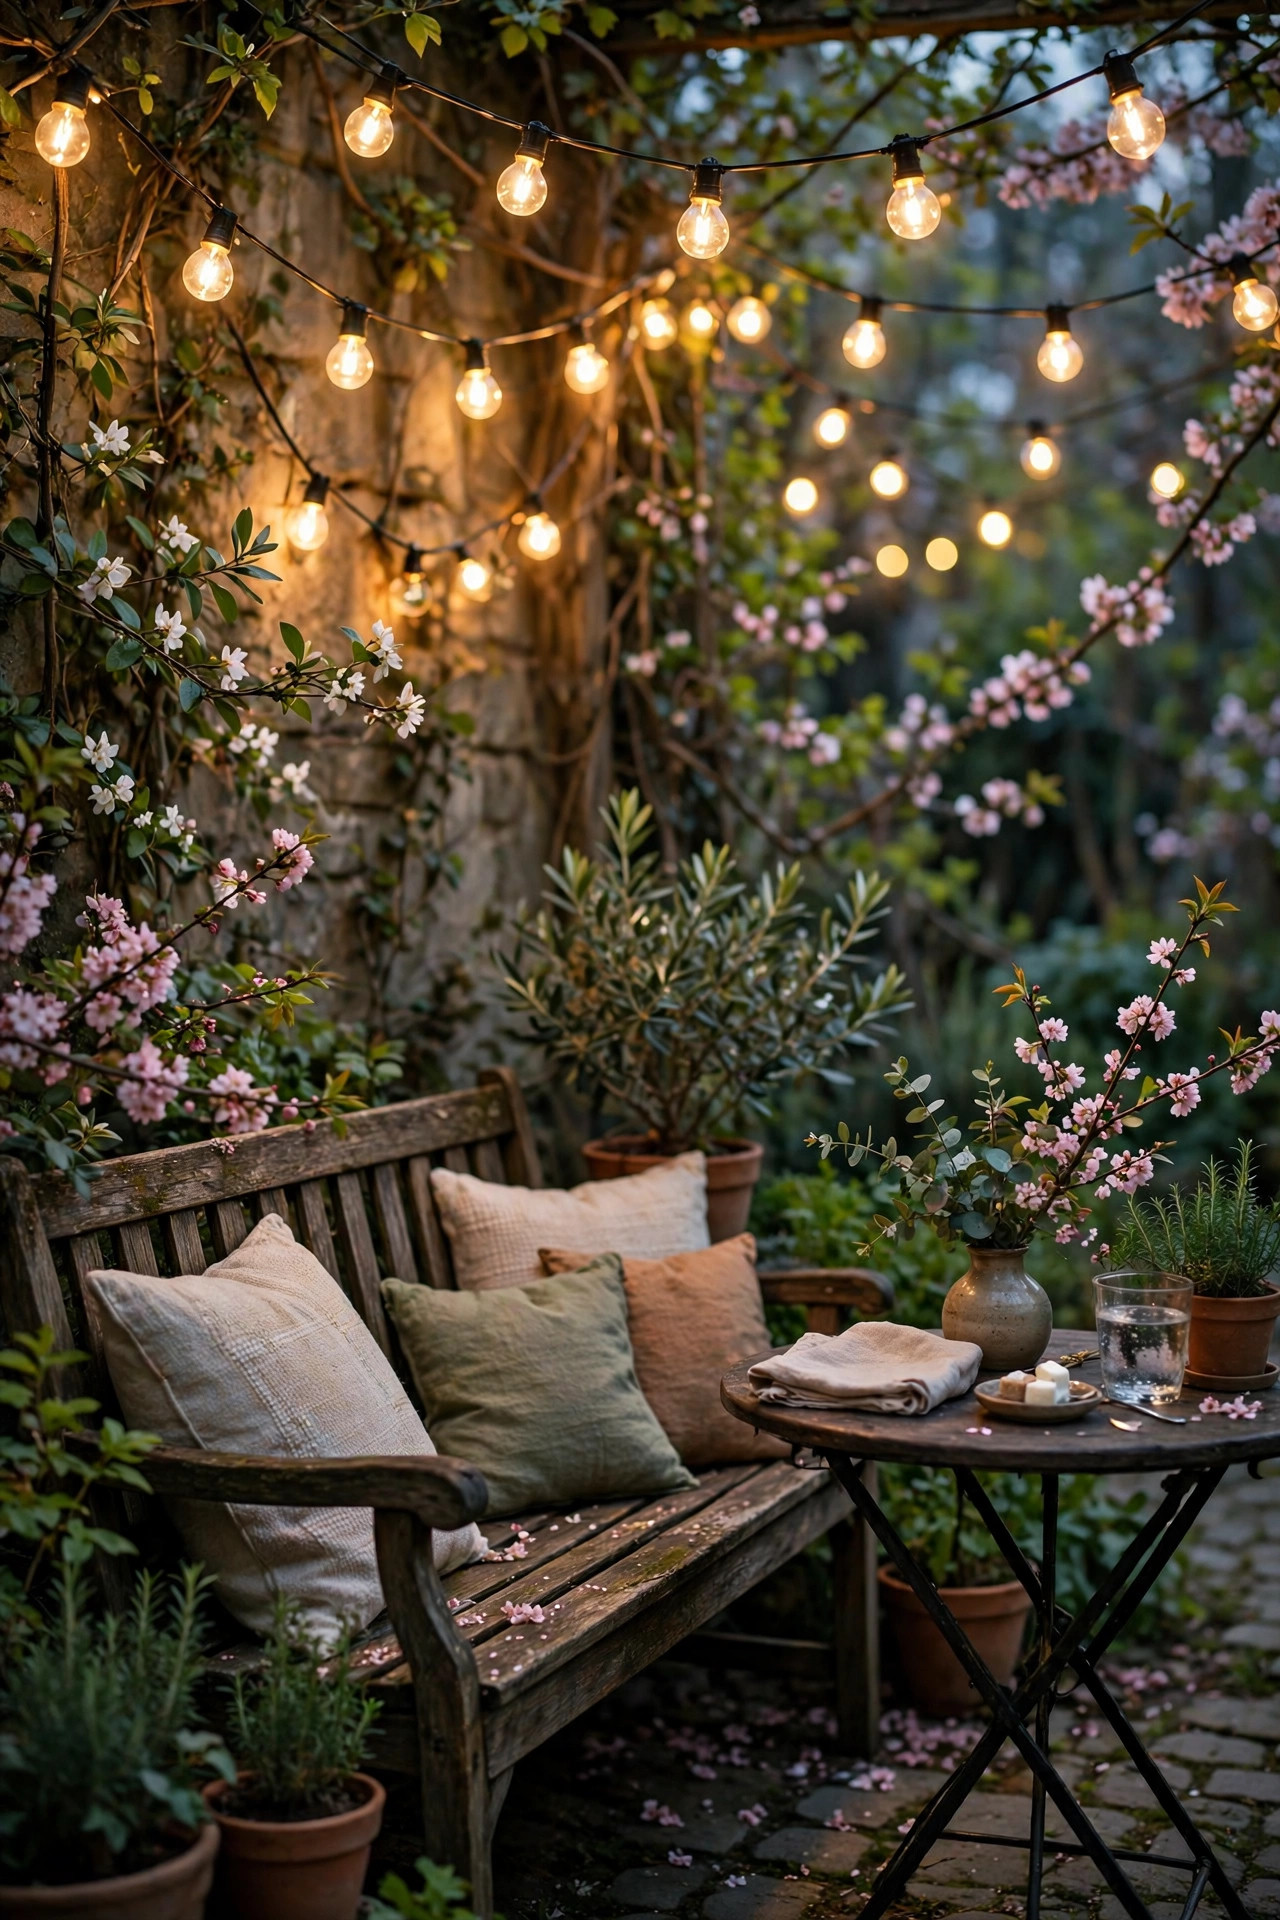
Every garden has "bones" — the statue, the birdbath, the big empty urn — and spring is when they carry the whole design. A small spotlight on each one gives the pre-bloom garden its focal points. I use narrow-beam LED spots, around 30 degrees, placed low and slightly off to one side so the object throws a soft shadow and looks three-dimensional rather than flat-lit. Graze the light across textured surfaces like stone or aged concrete; the raking angle makes every detail pop. Keep fixtures a good 10 inches back from the base so mulch and spring rain do not splash the lens constantly. This is honestly my favorite argument for walking the garden at dusk with a flashlight first: find the angles in the dark, then place the real lights where your test beam looked best. For more ways to build focal points, my broader garden lighting ideas guide covers the year-round version of this same layering approach. Three well-aimed spots beat ten random ones, every time.
Suggested budget range: $30 – $85.
8. Solar Stakes in Bulb Beds: Spring Garden Lighting Ideas That Grow With the Garden
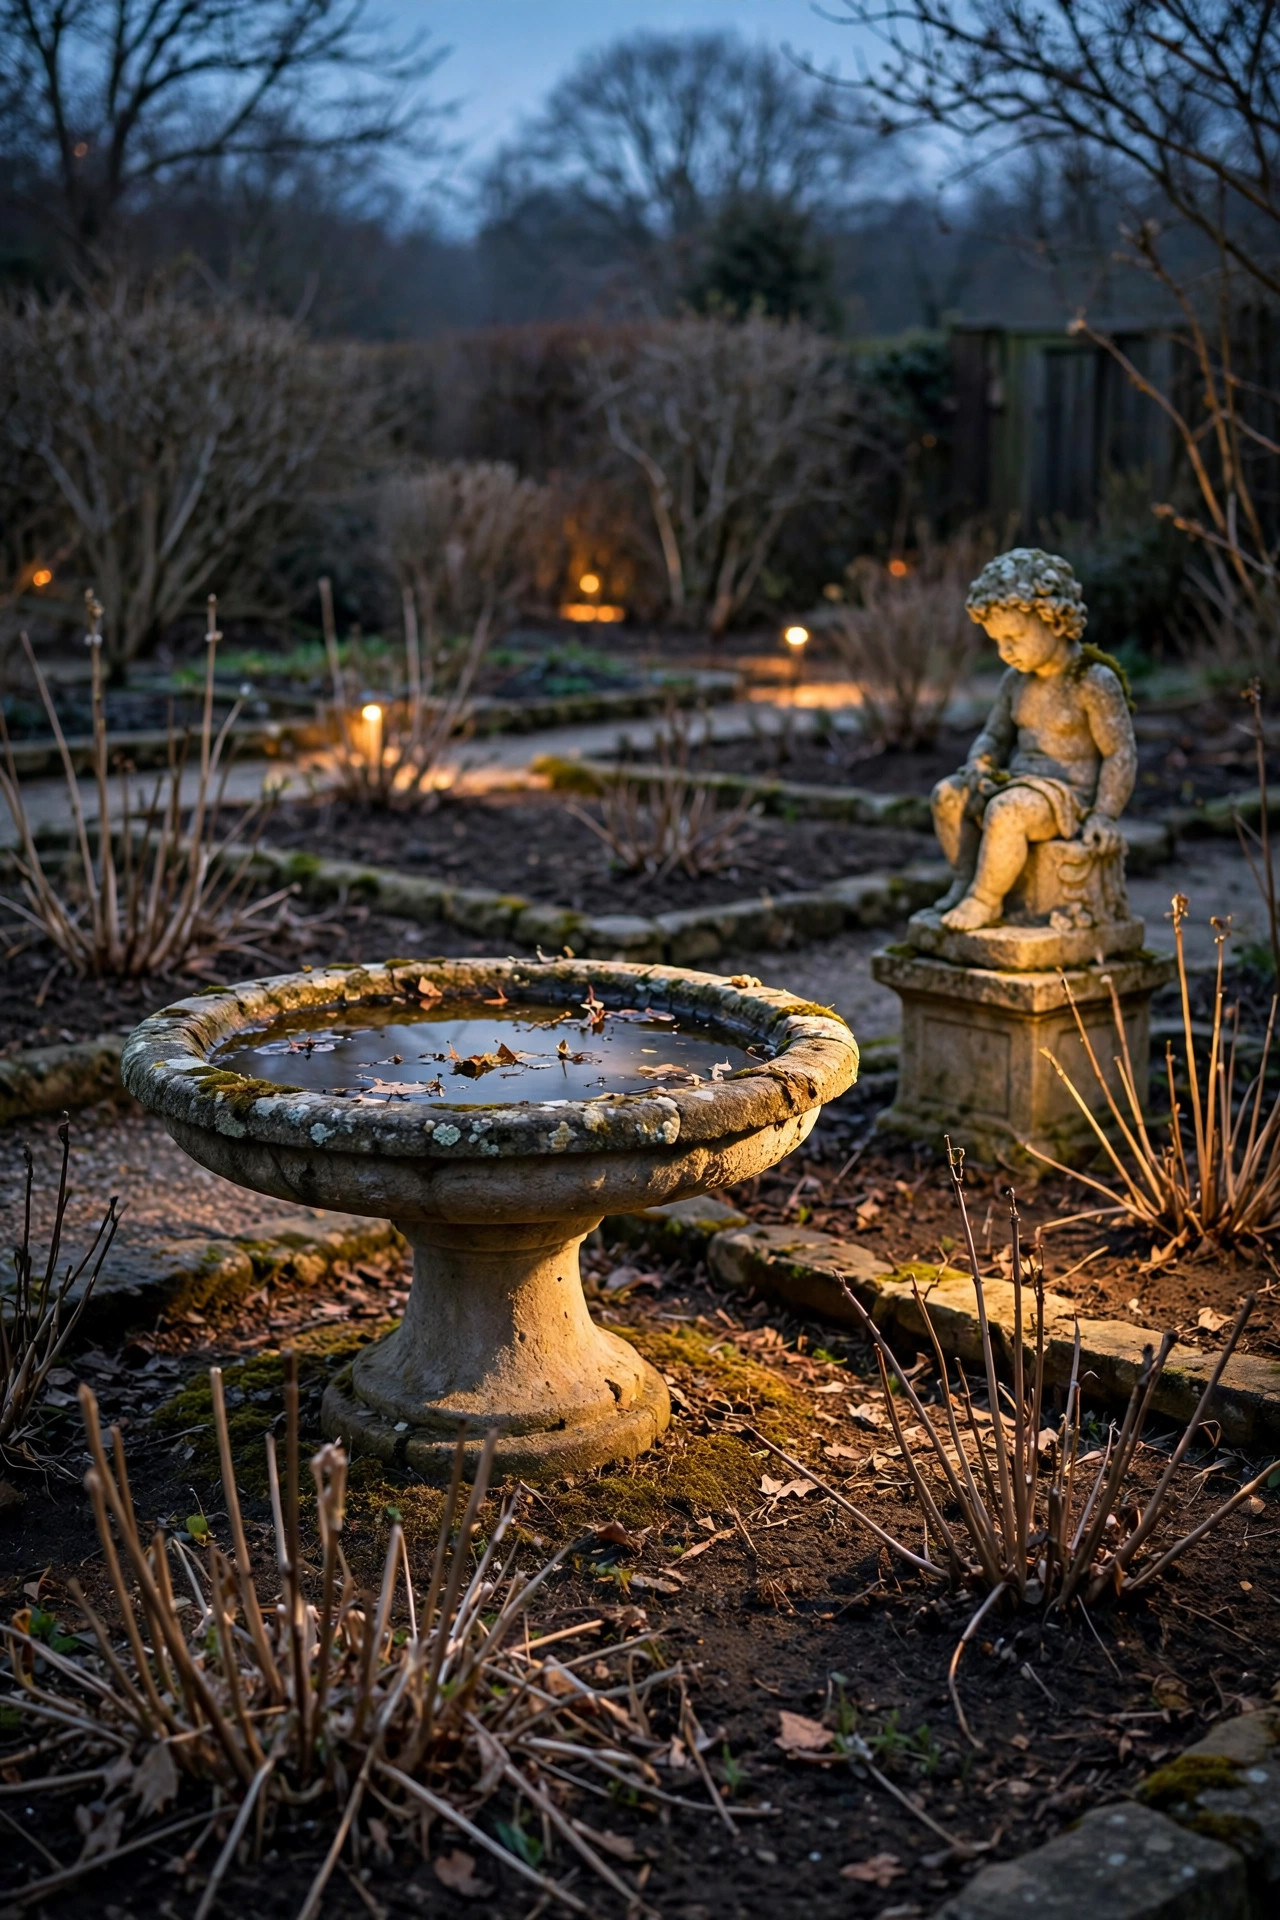
The first green spikes of daffodils and tulips are easy to step on and hard to see at dusk, which makes bulb beds my favorite place for small solar stakes. I tuck short globe or crackle-glass stakes right among the emerging shoots, spaced a foot or two apart in loose drifts rather than rows. The light sits low, washes the mulch with a soft halo, and marks the bed edge so nobody — me included — cuts across it in the dark. As the foliage grows through April, the stakes seem to rise right along with it, and by bloom time they are glowing from inside the leaves, which is prettier than any effect I could plan. Keep the solar tops clear of soil splash and snip back any leaf that shades a panel, since a shaded panel means a dark stake by nine. Choose stakes with replaceable batteries and you will get three or four springs out of a set. It is the cheapest "watch this space" sign a garden ever had.
Suggested budget range: $20 – $55.

9. Cluster Flameless Lanterns on the Garden Steps
Steps and low retaining walls are where spring evenings turn into twisted ankles, so I light them with clusters of flameless lanterns — pretty first, safety a very close second. I group two or three lanterns of different heights at the side of each step or landing, never in the walking path itself, and I use the flameless candles with timers so the whole staircase switches on at dusk without me thinking about it. Black metal lanterns read classic against stone; weathered wood ones suit a cottage bed. Real candles are lovely indoors, but spring wind plus dry leaves plus an forgotten flame is a combination I avoid outdoors, full stop — modern flameless candles flicker convincingly enough that guests rarely notice. Give the lanterns a quick wipe-down when you set them out, since winter storage leaves them dusty. Weighted bases or a dab of museum putty keep them upright on blustery nights. When summer comes, the same clusters migrate to the patio table and keep earning their keep.
Suggested budget range: $25 – $75.

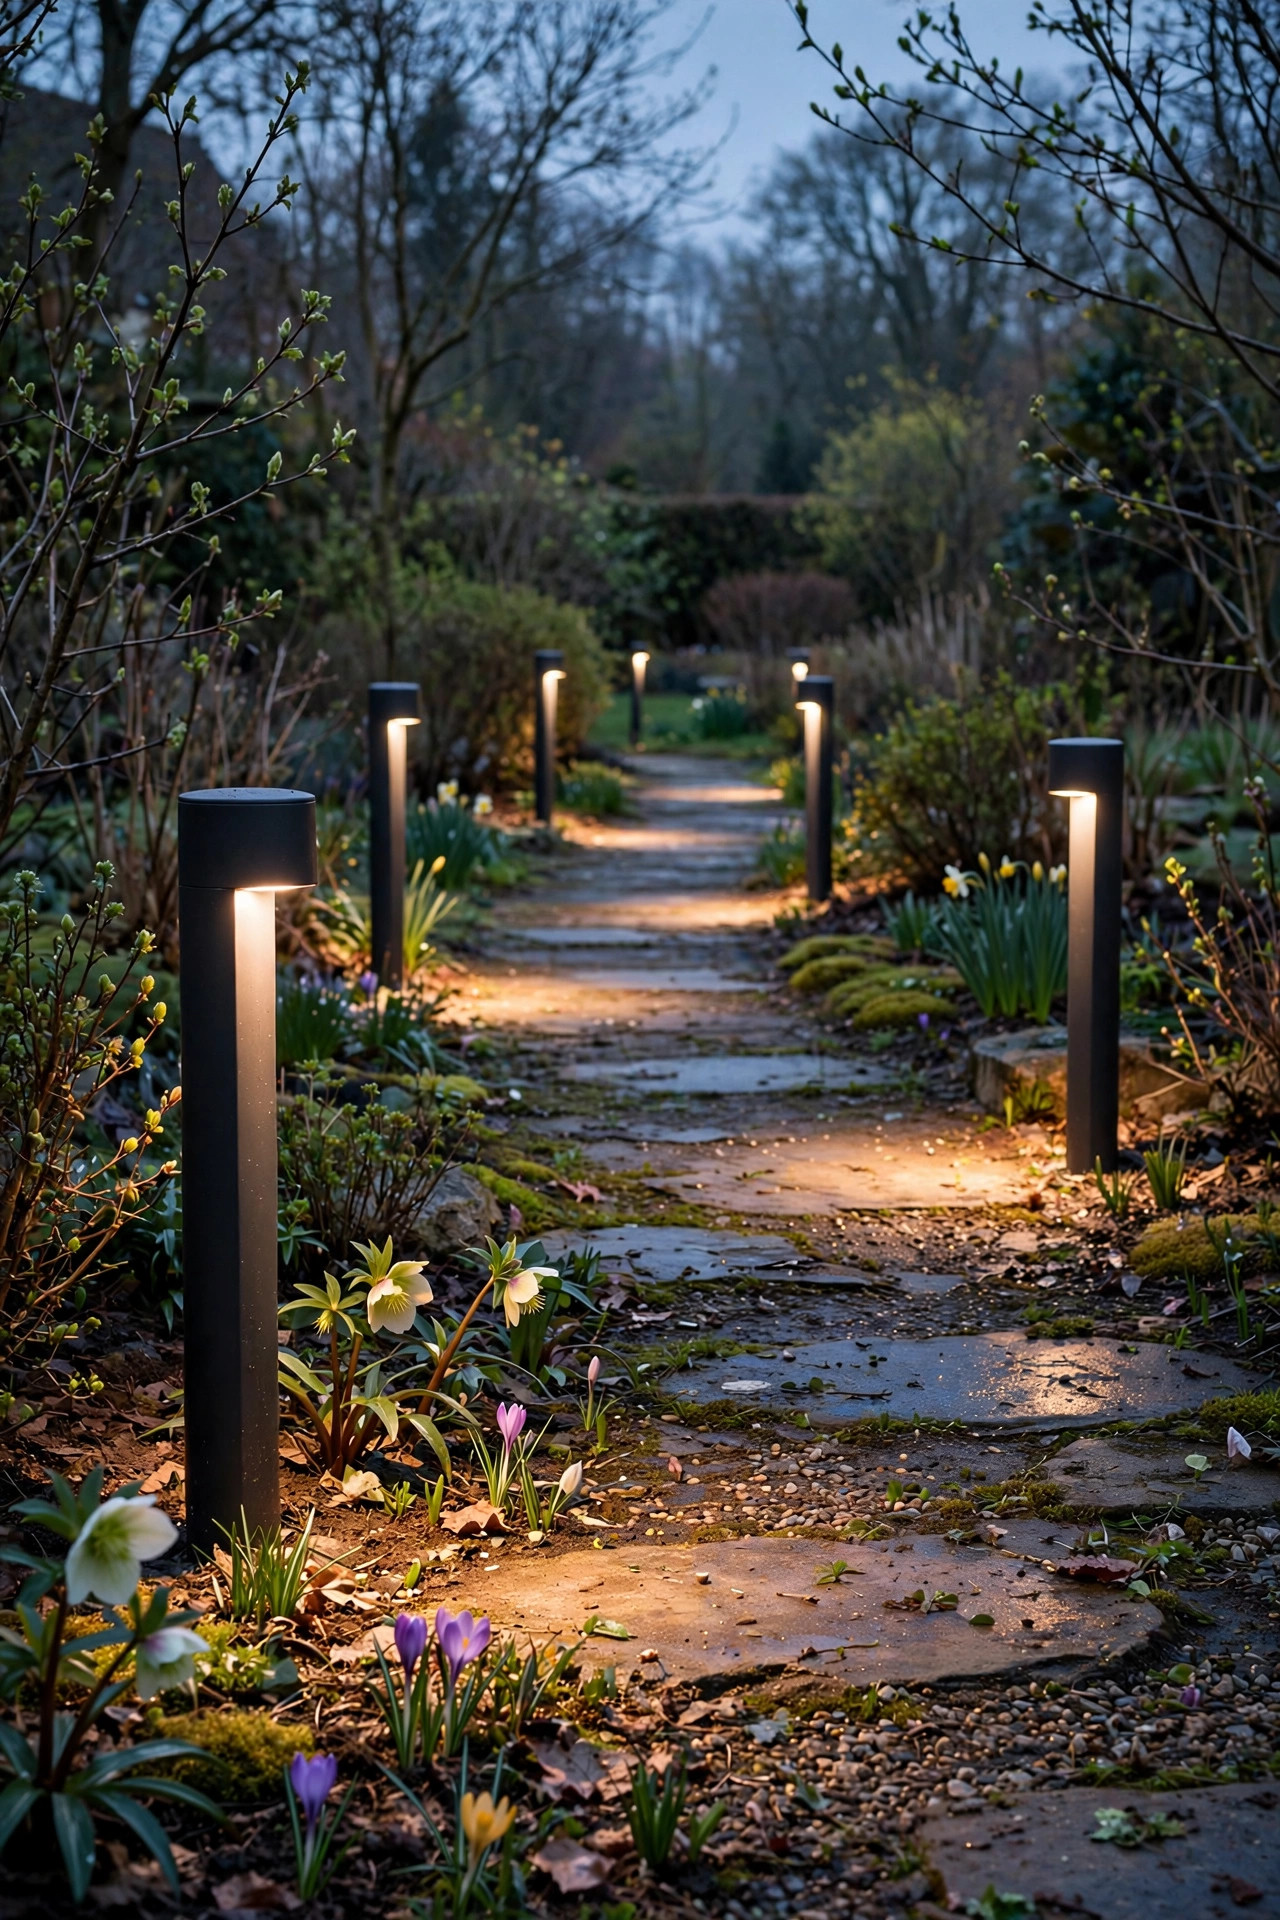
10. Add Short Bollards for Clean, Modern Structure
When everything in the garden is still stubby and low, vertical structure has to come from somewhere — and short bollard lights provide it beautifully. I use matte black or bronze bollards 12 to 18 inches tall along a path edge or flanking the garden gate, where their tidy columns double as sculpture by day. Space them 8 to 10 feet apart; bollards throw light in a controlled downward pool, so closer spacing just makes expensive polka dots. Low-voltage wired versions are the reliable choice for a permanent run, though solar bollards have gotten genuinely decent and are fine for a single pair. In my experience bollards suit modern and minimalist gardens best, but a simple bronze finish blends into cottage beds too. Keep the light source shielded — you want to see the glow on the path, never the bare bulb in your eyes. They also survive being bumped by the wheelbarrow and the mower far better than little mushroom stakes do, which counts for a lot in spring cleanup season.
Suggested budget range: $70 – $200.
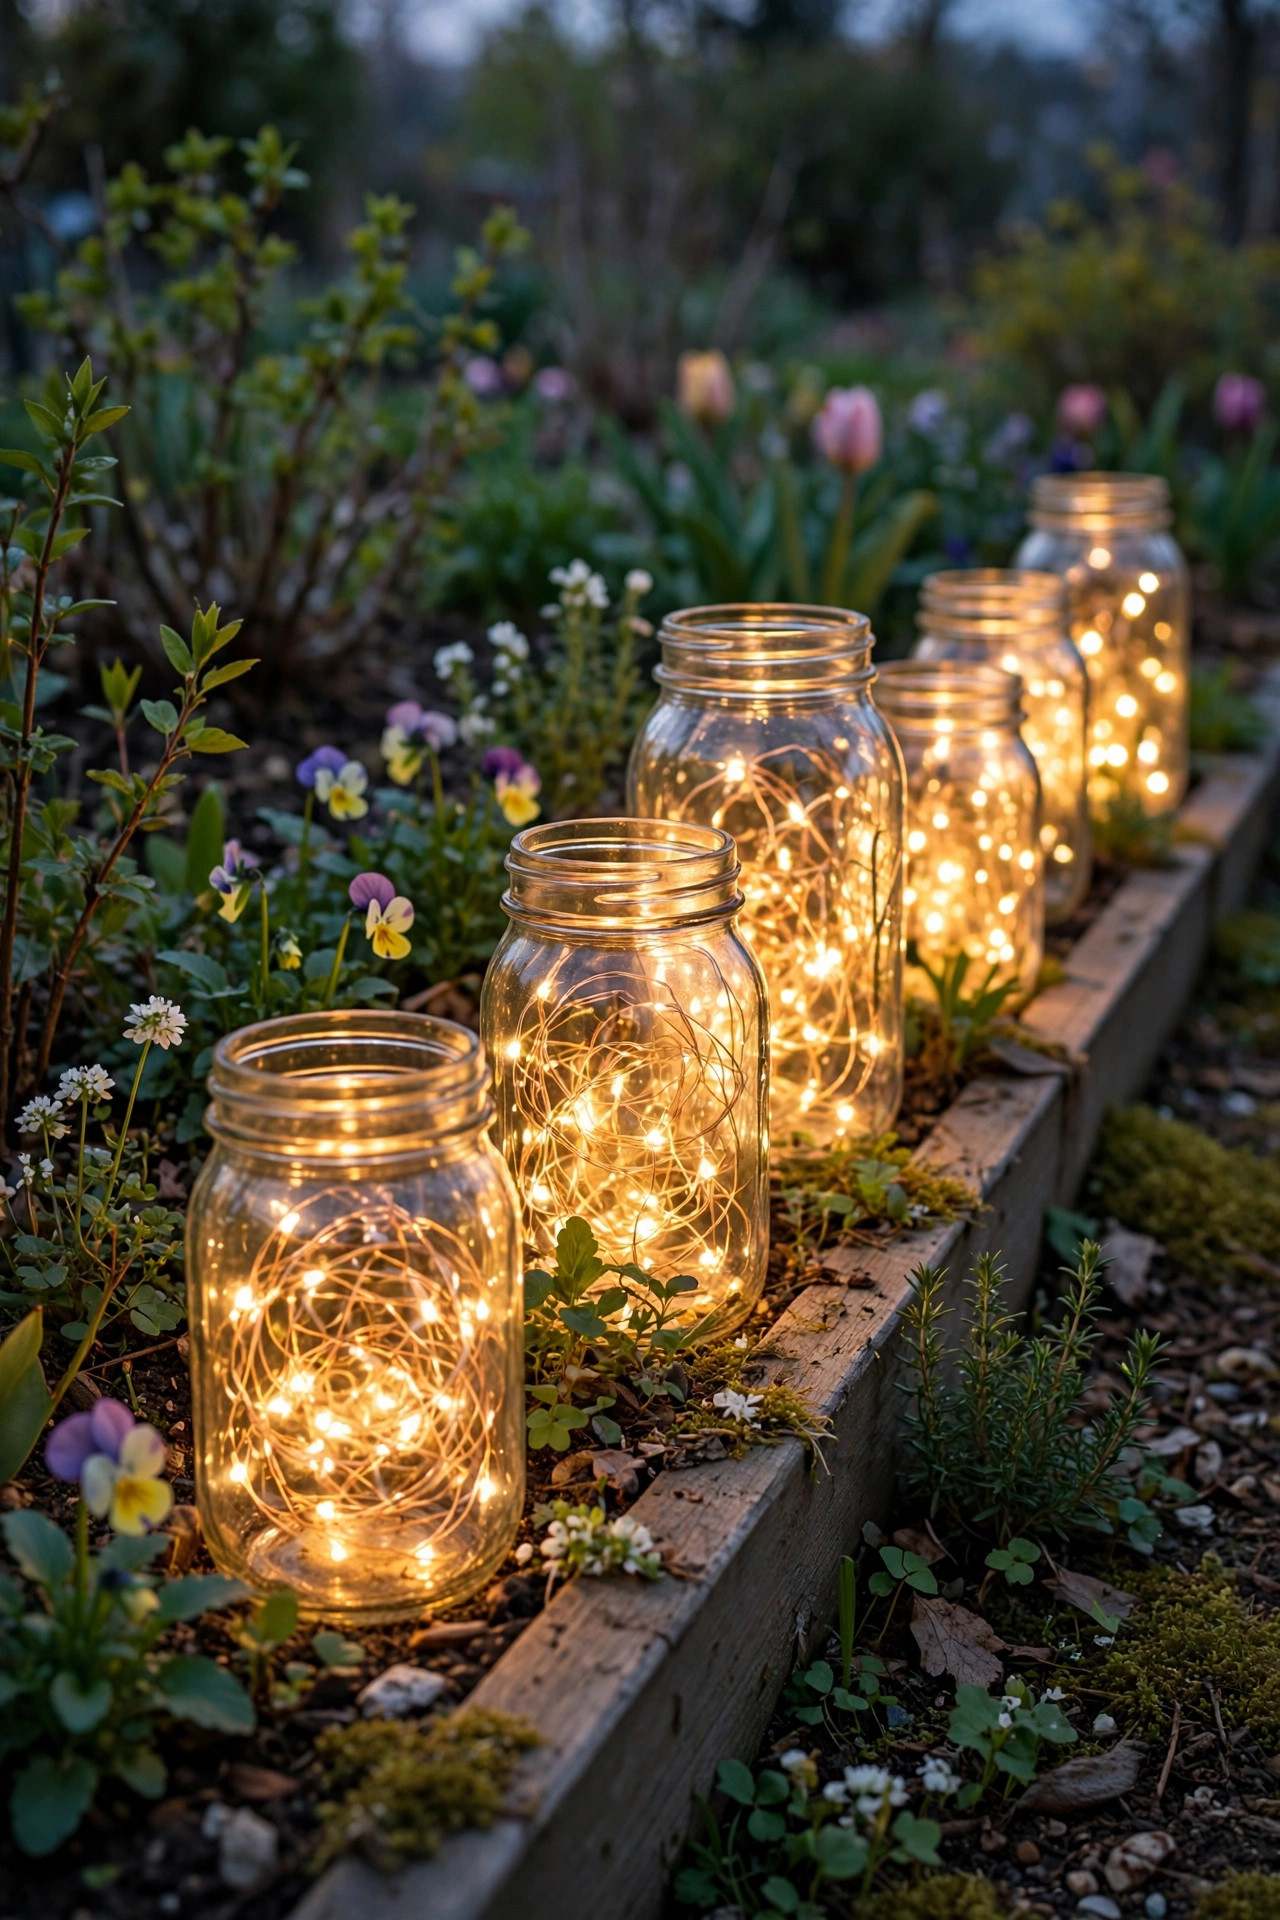
11. Fill Mason Jars With Solar Fairy Lights
This is the project I hand to anyone who says garden lighting sounds expensive. A mason jar, a solar fairy light lid or a short copper-wire strand coiled inside, and you have a lantern that costs less than lunch. I line six or eight along a bed edge, hang them from low branches with twine, or set one on every fence post — grouped, they look deliberate and charming; scattered singly, they look lost, so always cluster. The solar lids charge all day and switch on by themselves, and the glass throws lovely speckled light across mulch and early shoots. Use real glass jars rather than plastic — they weather better and the light looks warmer through them. Frosted or amber-tinted jars give the softest glow if your plain ones feel harsh. Bring them in before a hard freeze if you used battery strands, since cheap batteries hate the cold. Kids love making these, and honestly, so do I — it is fifteen minutes of work for a whole season of glow.
Suggested budget range: $15 – $40.
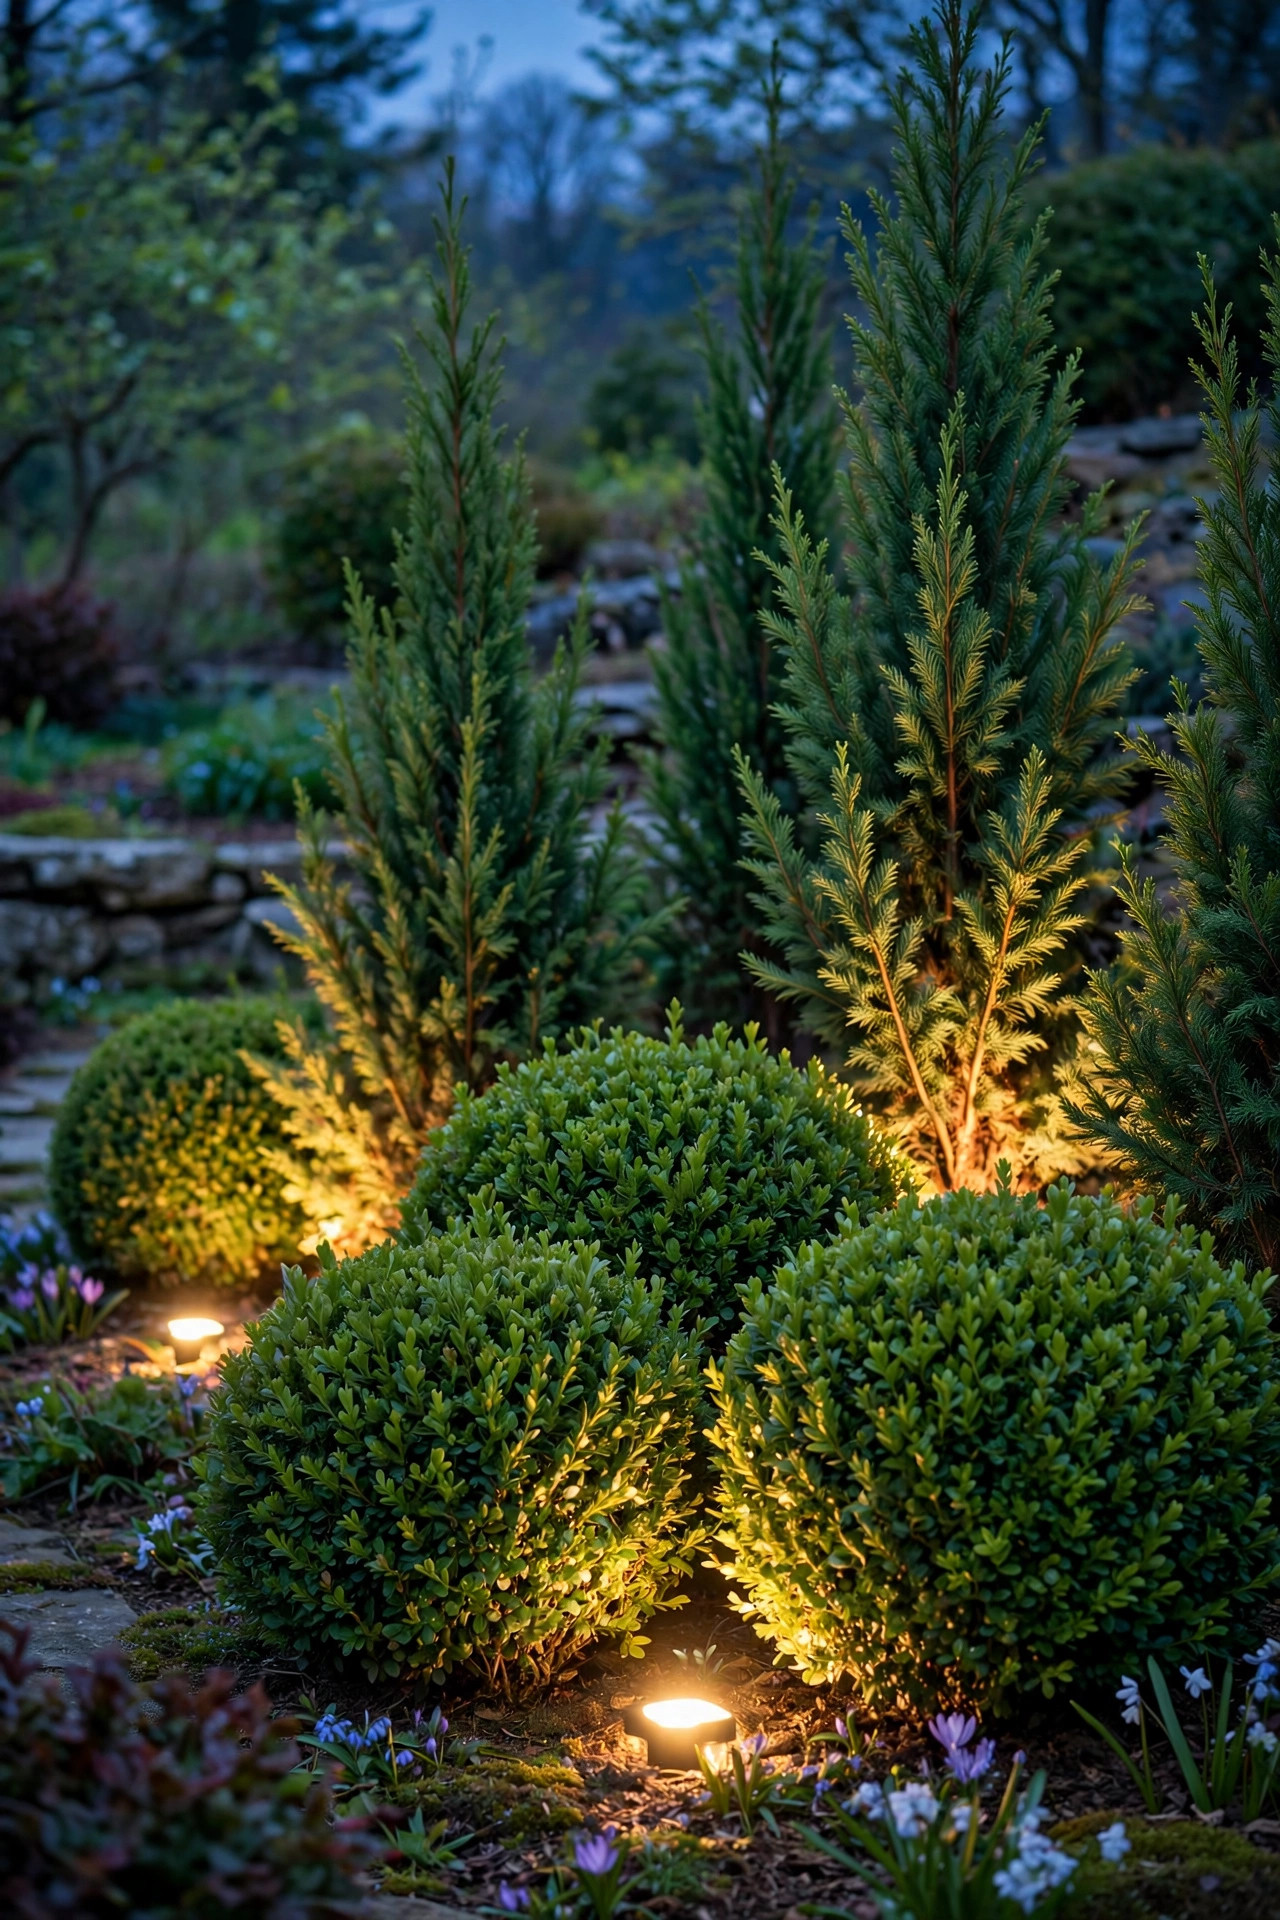
12. Uplight the Evergreens That Carry the Spring Garden
While the deciduous plants are still waking up, the evergreens — boxwood, holly, conifers, camellias — are doing all the visual work, and uplighting thanks them for it. One well-placed spot at the base of a rounded boxwood turns it into a glowing green lantern, and a pair crossed on a tall conifer shows off every layer of its structure. I use the same 2700K low-voltage spots as my tree uplights, tucked 8 to 12 inches out from the shrub so the beam catches the whole face instead of one hot spot. Evergreens also reflect light warmly back into the garden, which makes nearby paths feel brighter without extra fixtures. Do keep the lens and the lowest branches trimmed apart — a fixture buried in foliage wastes its light and can scorch leaves if it ever runs hot, one more reason I stick to LED. This layer matters most of all in the pre-bloom weeks, because it proves the garden is not empty at all; it is just wearing its green framework.
Suggested budget range: $45 – $130.
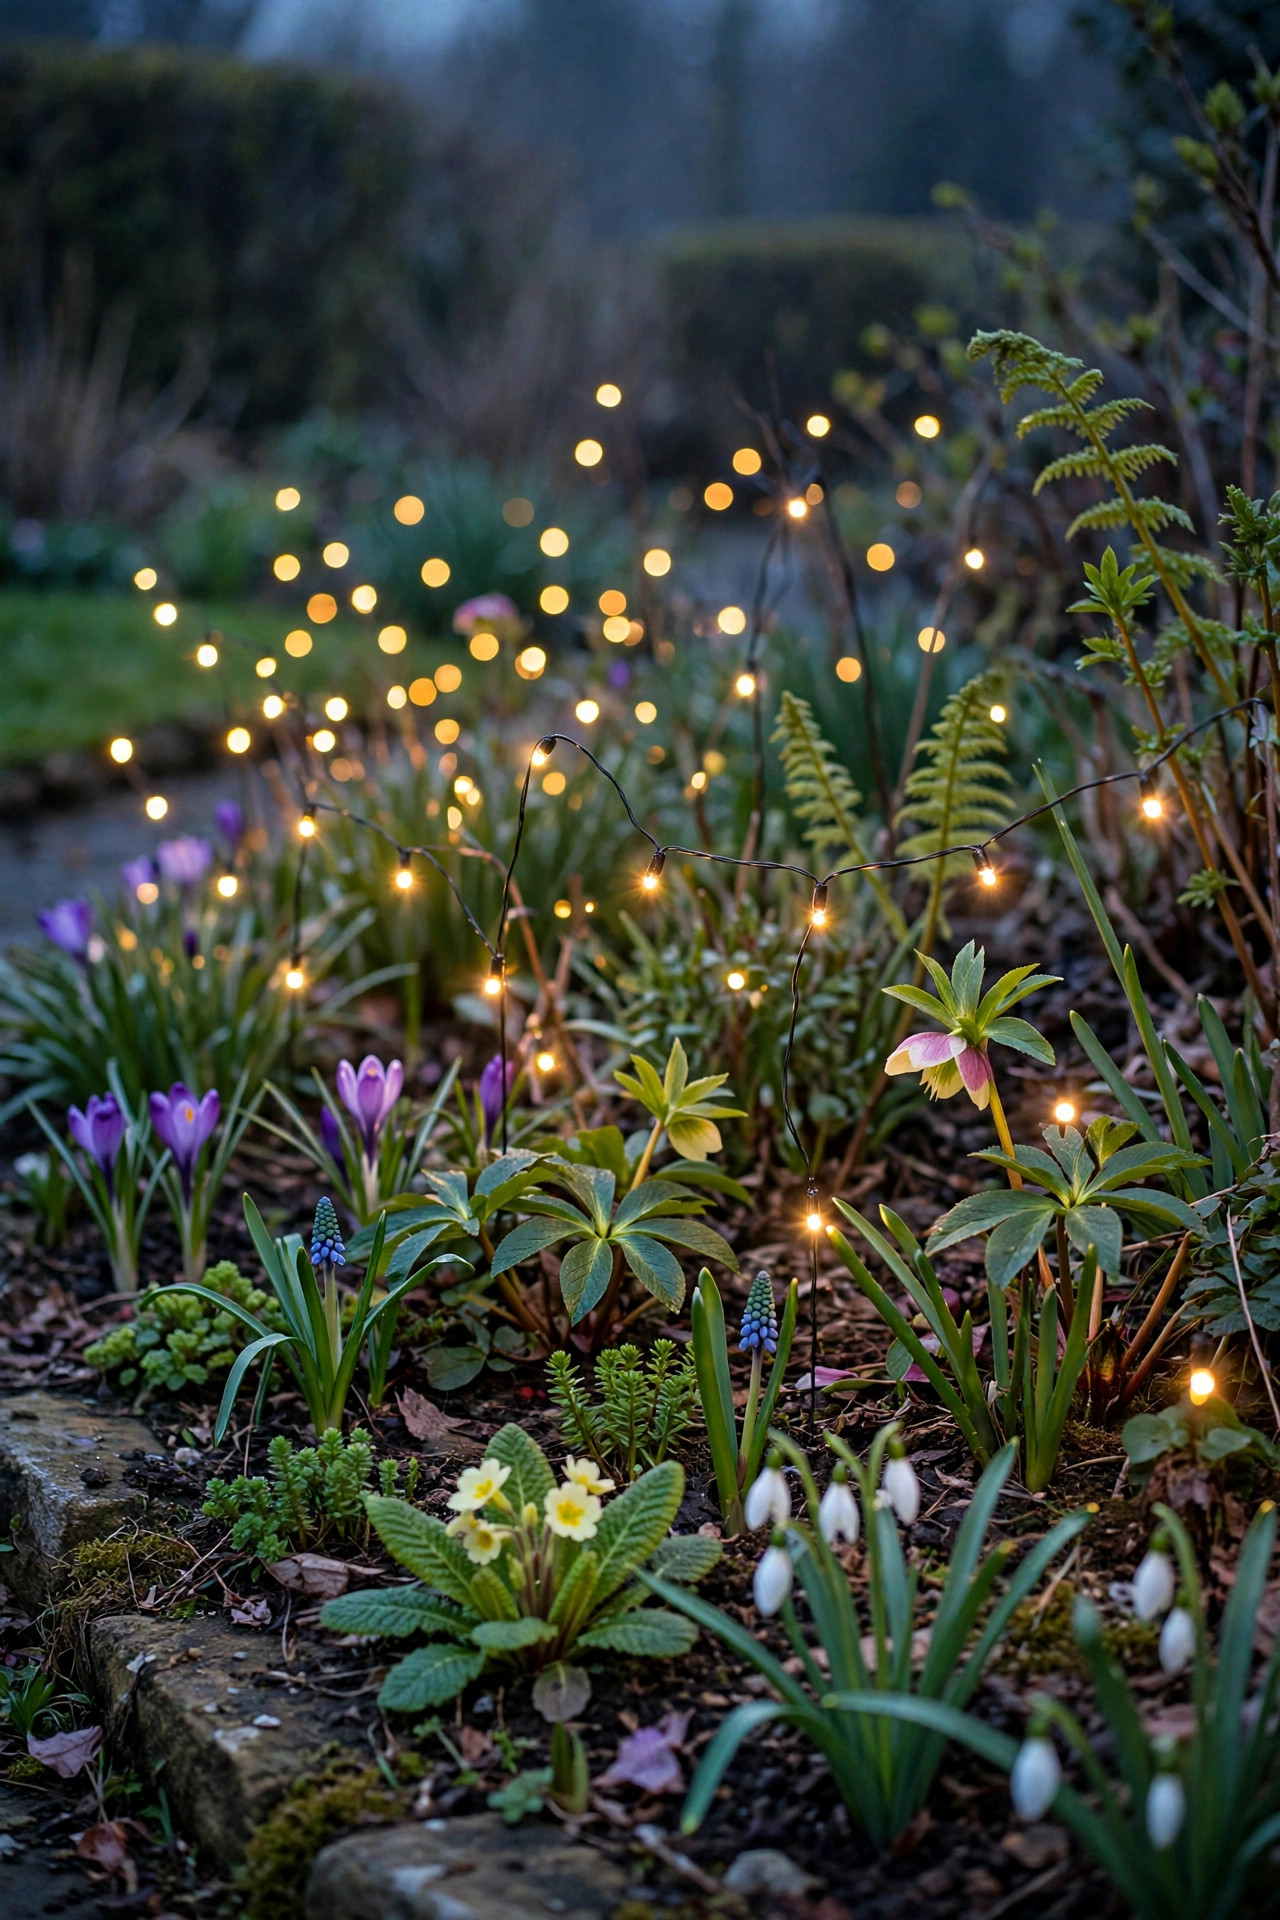
13. Scatter Firefly Lights Through the Borders
Firefly lights — thin flexible stems topped with tiny warm LEDs that sway in the breeze — are pure whimsy, and a spring border is exactly where whimsy belongs. I plant two or three sets in loose drifts among the emerging perennials, where the moving pinpoints of light make the whole bed feel alive on still evenings. Most sets are solar with the panel on a separate stake, so position that panel in the sunniest spot at the bed edge even if the "fireflies" themselves live in part shade. The stems are delicate; push them into softened soil rather than forcing them through compacted ground, and expect to straighten a few after spring storms. They give almost no useful task light, and that is fine — they are the sparkle layer, not the safety layer, and every good lighting plan needs a little sparkle. Warm white reads as fireflies; the multicolor versions read as a party, so choose by mood. In my experience, this is the single idea guests ask about most.
Suggested budget range: $18 – $45.
14. Make Steps and Edges Safe for Dark Spring Evenings
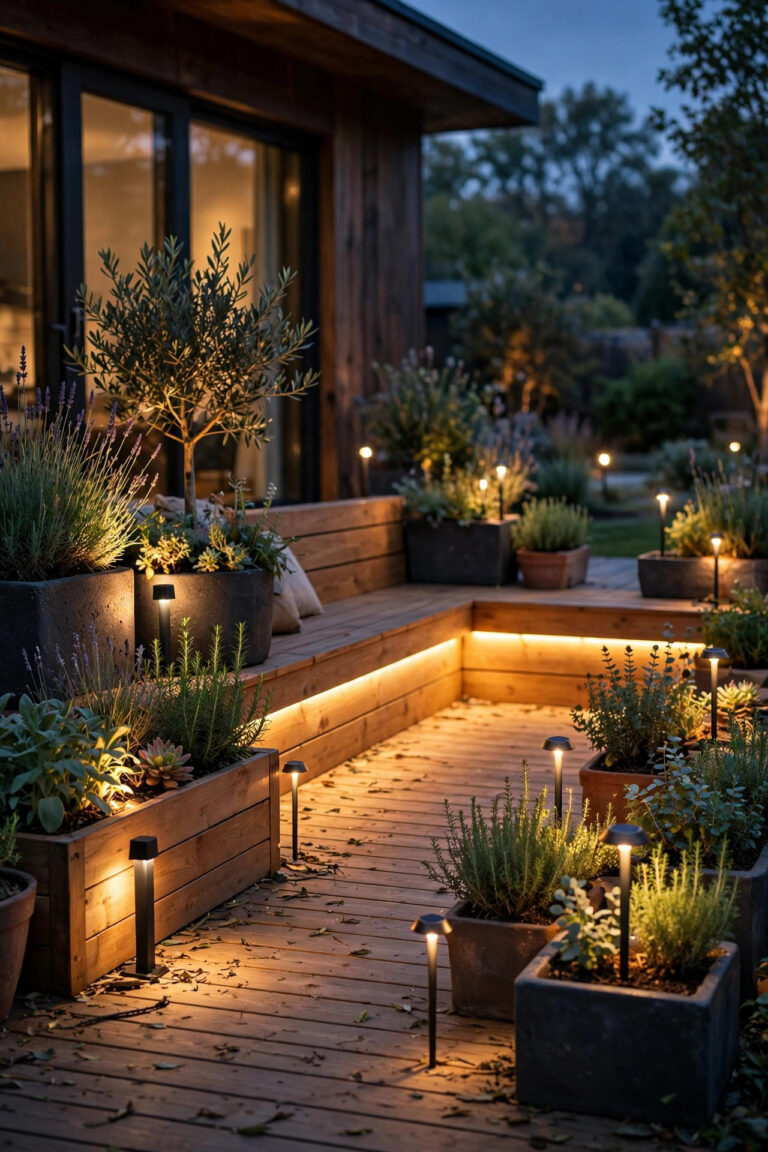
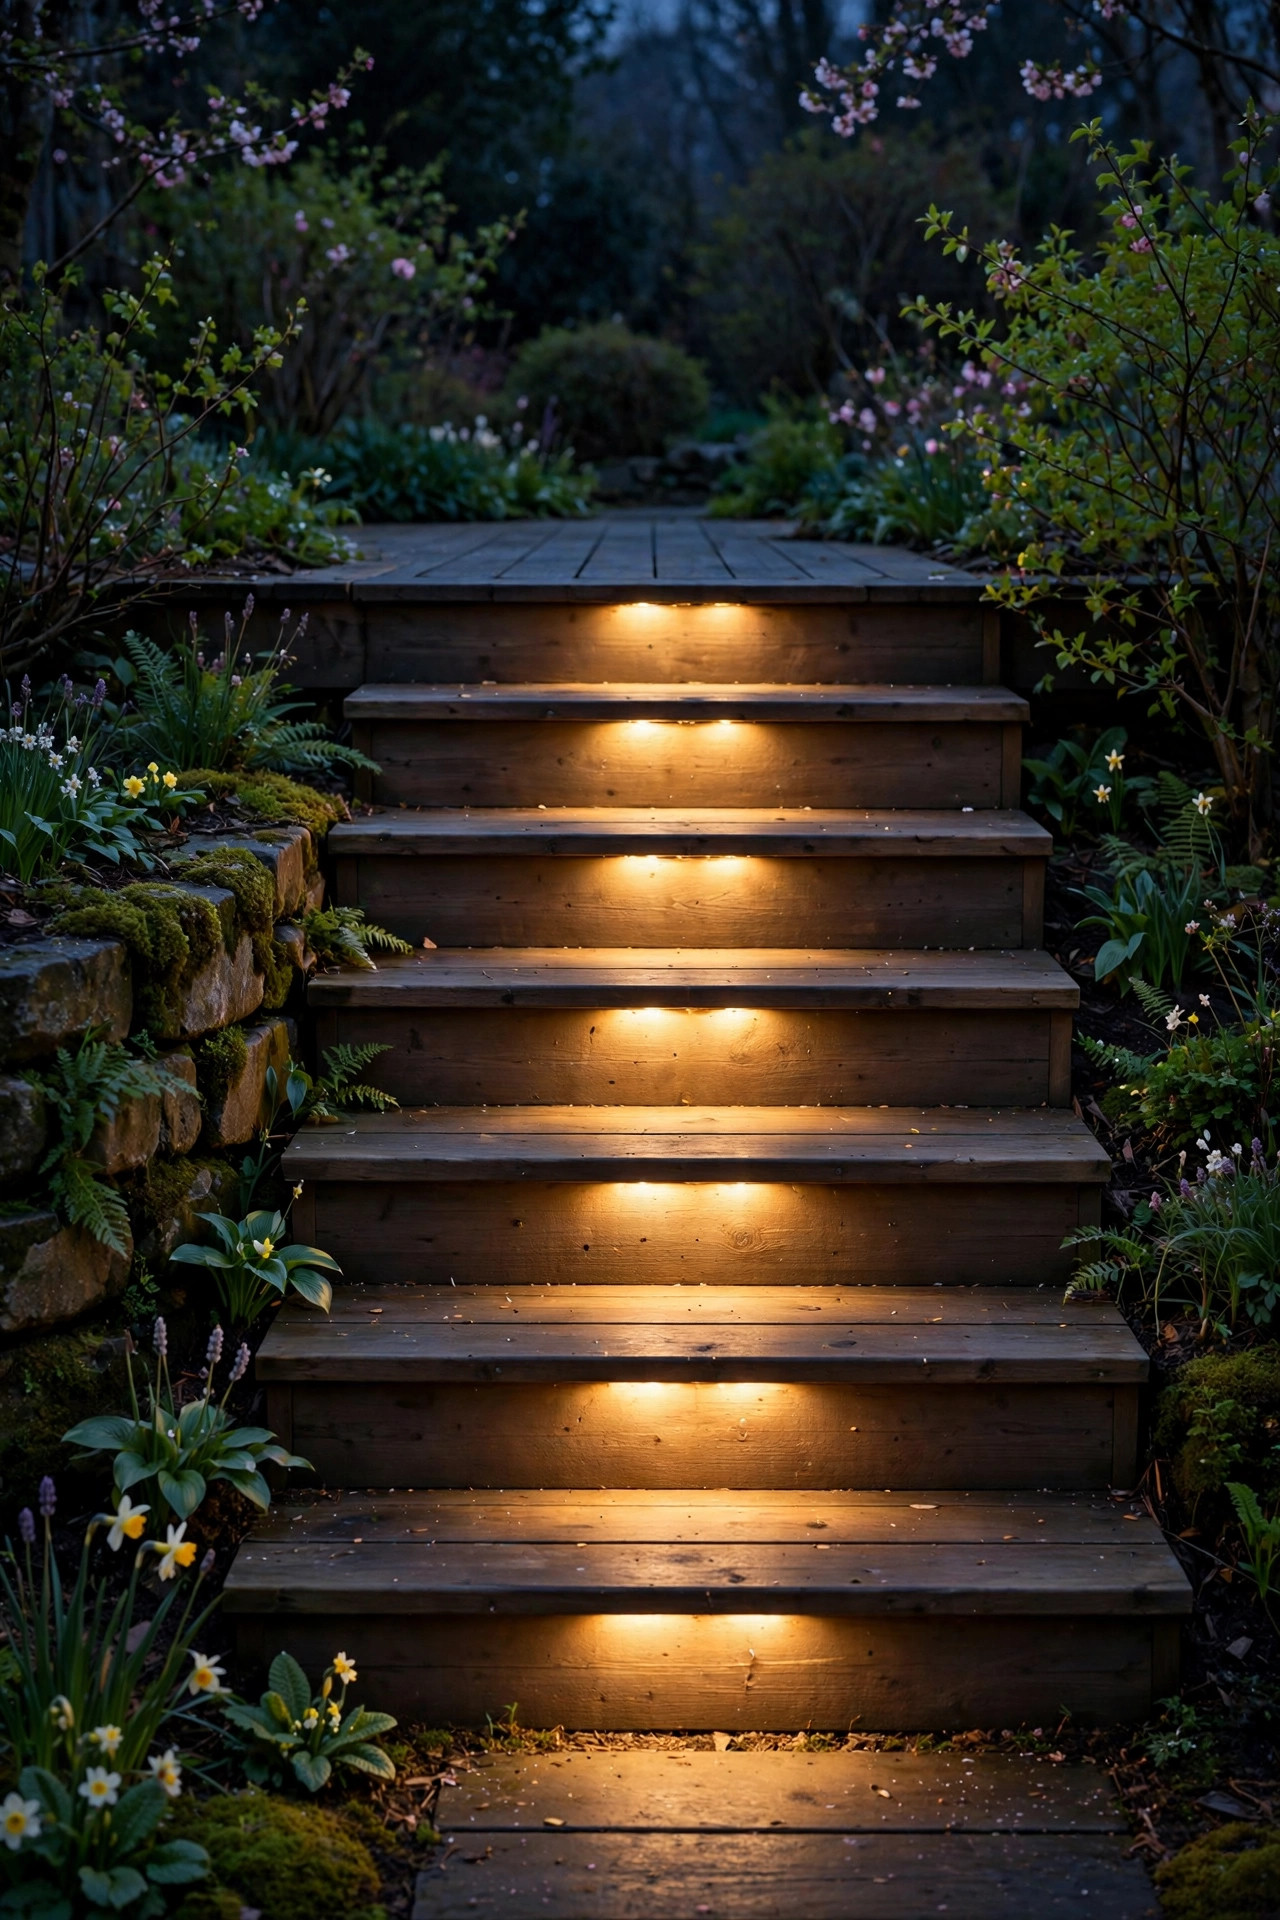
Spring pulls me outside at dusk with muddy boots and armfuls of prunings, and that is exactly how falls happen — so before any of the pretty layers, I make sure every step, edge, and grade change in the garden has light. Recessed step lights and low deck-edge LEDs are the tidy permanent option, but solar step lights that screw or stick onto risers do the job for a season at a fraction of the effort. The rule I follow: every change in level gets its own pool of light, close enough to the step that the edge reads clearly, and I test it by walking the route at night carrying something bulky. Keep fixtures at ankle height and shielded, so the light lands on the tread and not in your eyes. Outdoor-rated and IP65 or better is a must in spring rain country. It is the least glamorous idea on this list and the one I would install first in any garden, because a beautiful garden you trip in is not beautiful for long.
Suggested budget range: $40 – $110.
15. Putting It All Together: My Layered Spring Garden Lighting Ideas Plan
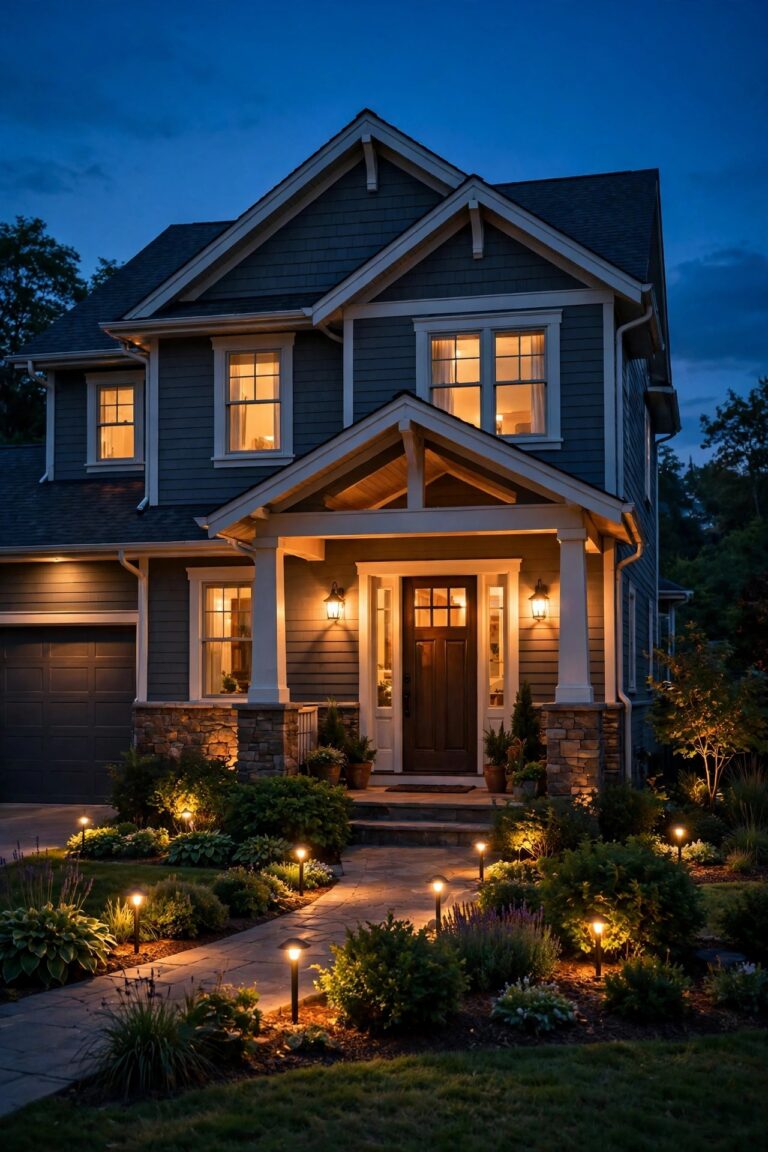
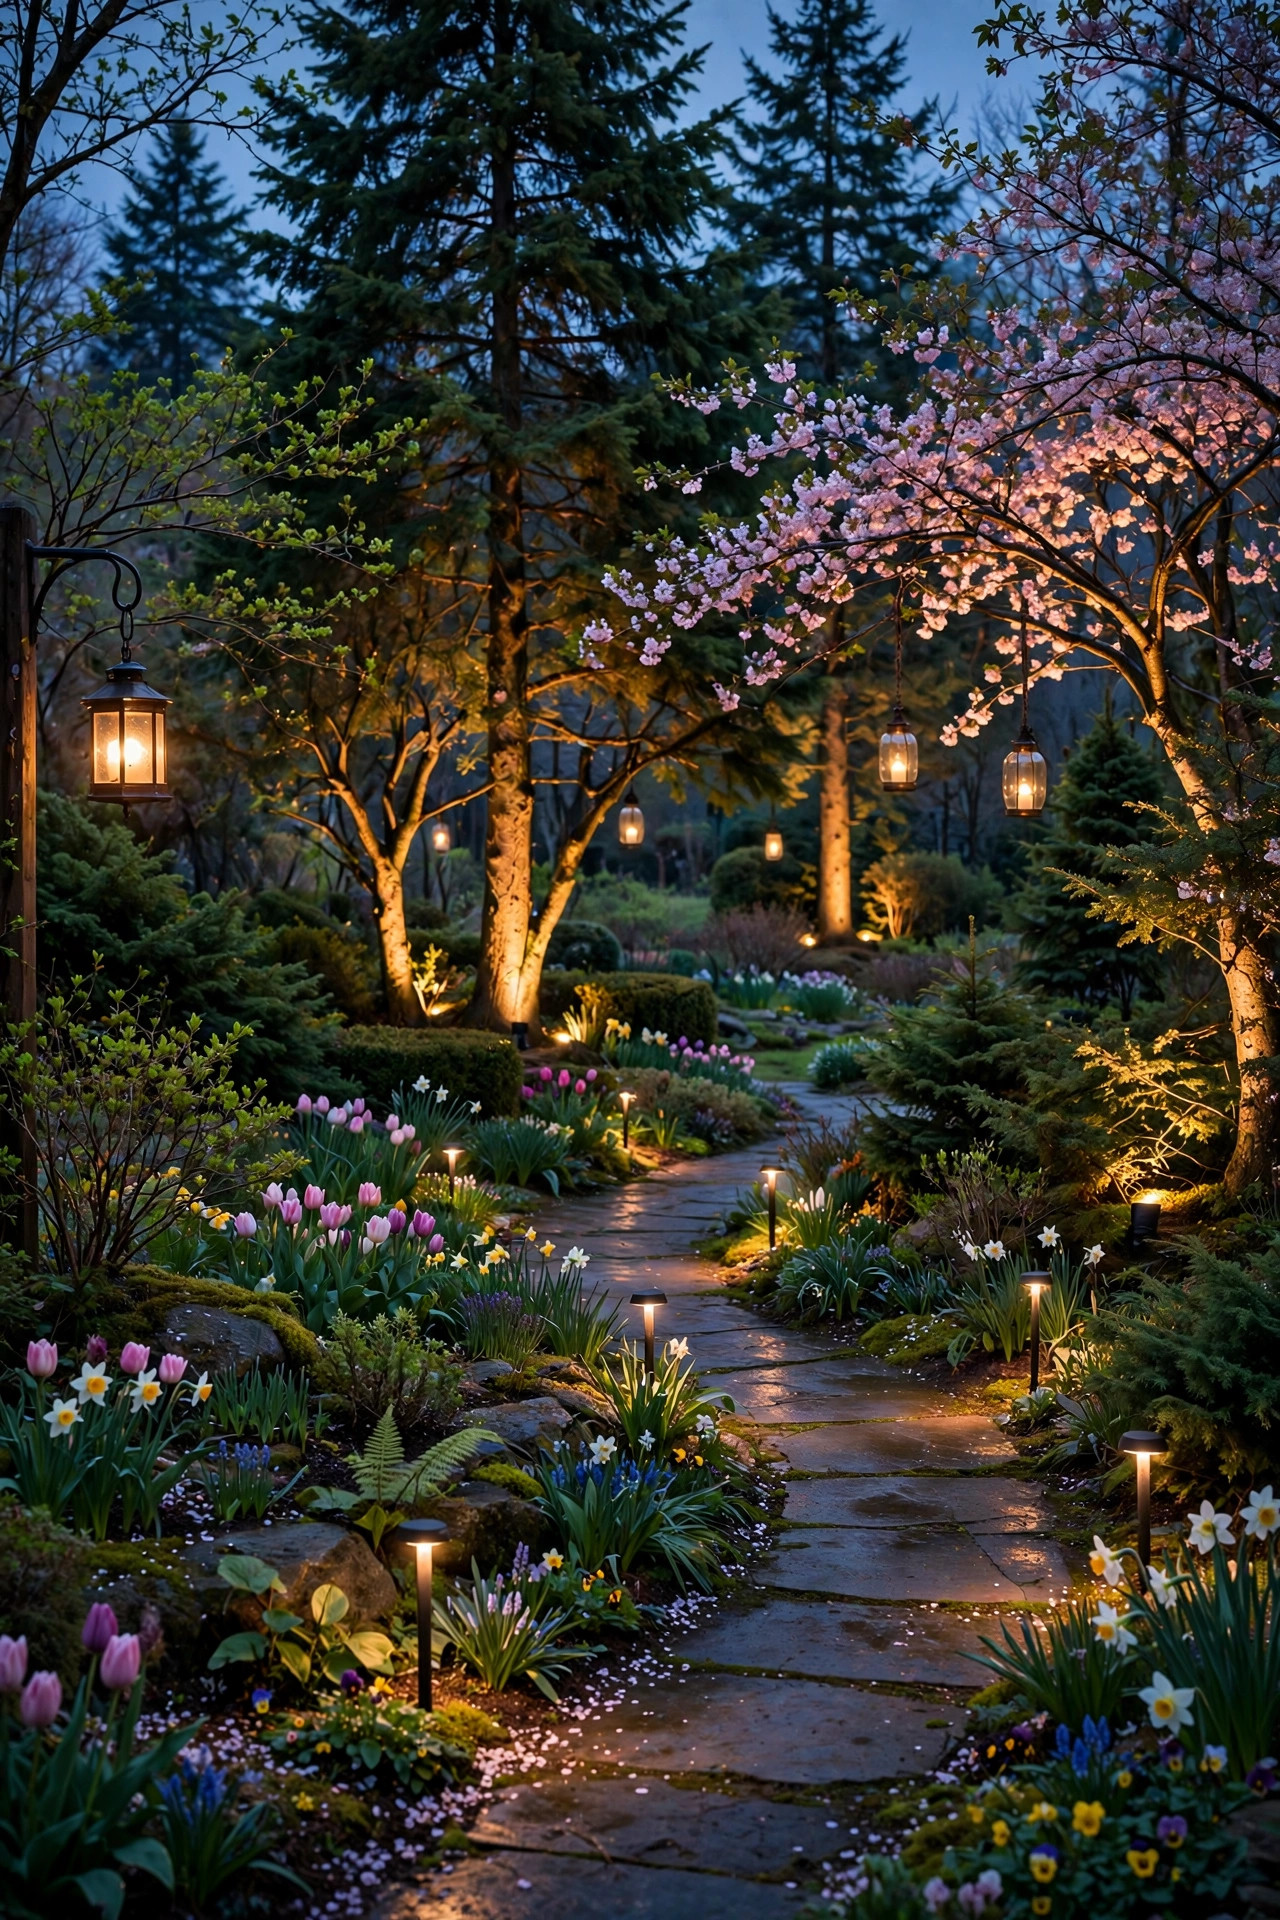
Here is how the whole list comes together in my own garden, because the layers matter more than any single fixture. Low layer first: solar stakes on the paths and in the bulb beds, plus step lights anywhere the ground changes level. Middle layer next: lanterns on hooks and steps, mason jars, and fireflies for warmth and sparkle at sitting height. High layer last: one bare tree wrapped or uplighted, a moonlight downlight, and the evergreens glowing like green lanterns. Then I put everything possible on timers or dusk-to-dawn sensors, because a garden that lights itself gets enjoyed ten times more than one that needs switching on. Walk your own garden at dusk with a drink and a notebook before you buy anything, mark where the dark corners and the pretty bones are, and build one layer per weekend. By the time the tulips open, the lighting will already be the best thing in the garden — and it will make every bloom that follows look twice as good.
Suggested budget range: $100 – $300.
Frequently Asked Questions
What color temperature is best for spring garden lighting?
Warm white, between 2700K and 3000K, is my pick almost every time. It flatters bark, mulch, stone, and the first green shoots, and it feels like candlelight rather than a parking lot. Cooler 4000K-plus light can make early spring foliage look blue and washed out, so I save it for nothing, honestly. Mixing temperatures in one view looks messy — pick one warm range and let every fixture agree.
Are solar lights bright enough for a spring garden?
For paths, bed edges, and sparkle, absolutely — modern solar stakes and lanterns give plenty of glow for marking and mood. Where solar falls short is uplighting a tall tree or lighting a whole seating area, so I use low-voltage wired fixtures for those bigger jobs. One spring caveat: shorter, cloudier days mean less charge, so place panels in your sunniest spots and expect slightly shorter run times in March than in June.
When should I install garden lights in spring?
As soon as the soil can be worked and before the beds fill in — that window is the whole point of this list. Cables are easy to tuck under fresh mulch, stakes go in before roots and bulbs crowd the space, and wraps go on trees before leaves make them awkward. I do my lighting the same weekend I do my big spring cleanup, while the garden's structure is visible and easy to reach.
How do I keep lights safe around new shoots, mulch, and spring rain?
Three habits cover almost everything. Use LED fixtures only — they run cool, so they will not scorch tender shoots or dry mulch. Choose outdoor-rated fixtures, IP65 or better, and plug any line-voltage gear into a GFCI outlet. And keep fixtures and solar panels a few inches clear of growing foliage, checking every couple of weeks, because spring growth is fast and a buried light is a wasted light.
Conclusion
The pre-bloom garden is not an empty garden — it is a structured one, and the right spring garden lighting ideas prove it every single evening. Light the bones first, layer low to high, keep everything warm, and let timers do the remembering. Start with one layer this weekend and add the next when you are ready; by the time the blooms arrive, your garden will already have been beautiful for weeks. Browse more of my outdoor lighting ideas here on the site, and I will see you out there at dusk.