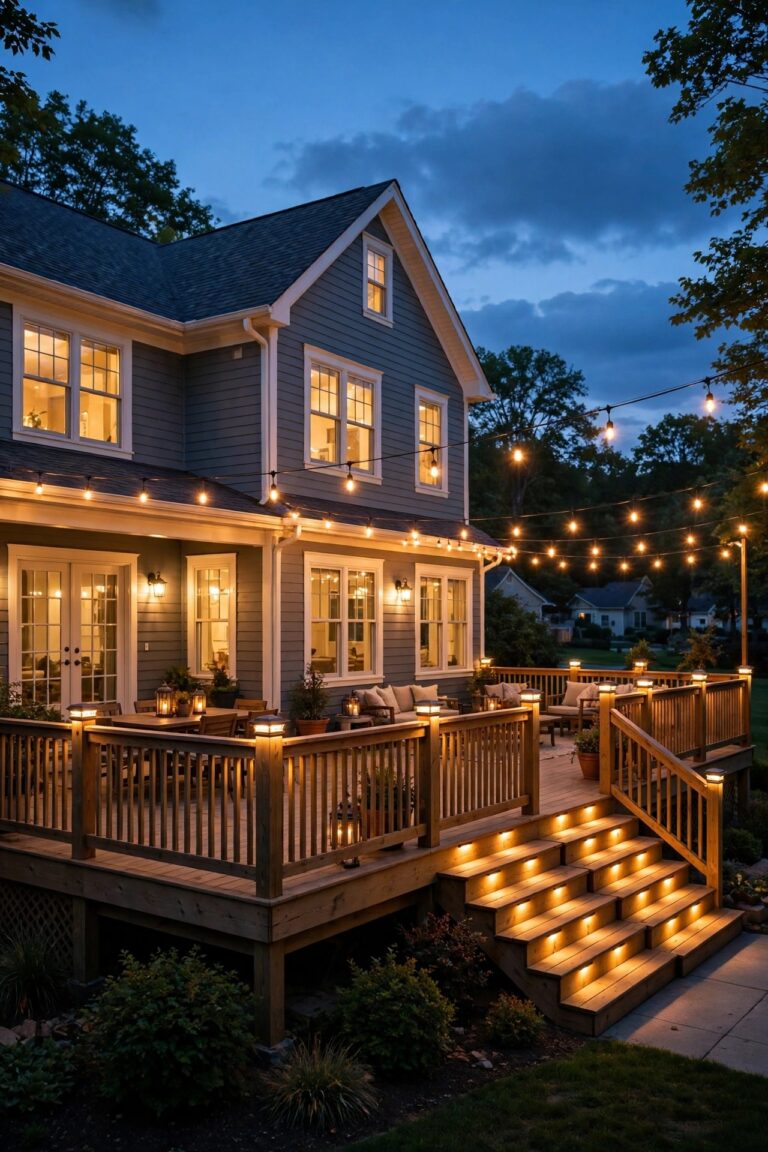
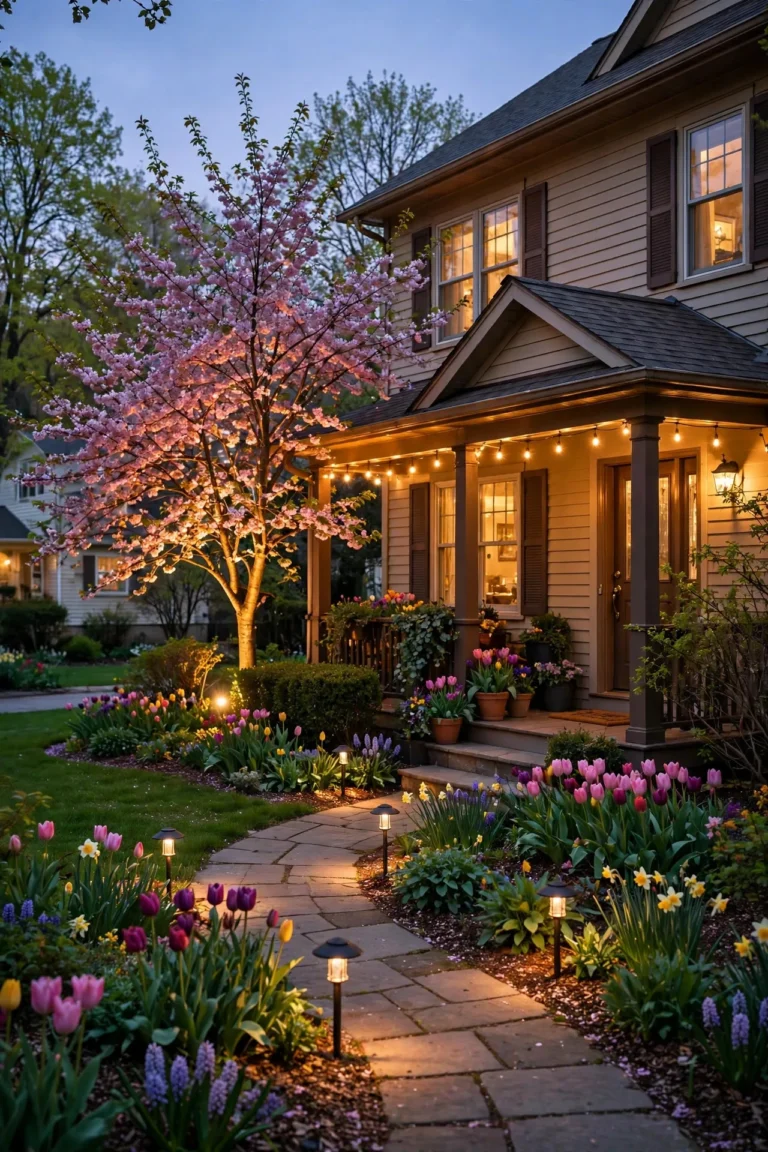
When your house sits close enough to the neighbors that you can hear their dinner conversation through the fence, lighting the backyard becomes a balancing act. You want a warm, usable glow for your own evenings, but one badly aimed floodlight can turn the house next door into a stadium. That is exactly the puzzle I set out to solve, and these zero lot line backyard lighting ideas are the ones that actually work in a tight lot: every fixture is shielded, low, or aimed inward, so the light lands on your patio and garden beds instead of sailing over the fence. My rule for close-set homes is simple layering: gentle light at ground level for safe footing, soft light at sitting height for faces and food, and just a whisper of sparkle overhead. Nothing blasts outward or glares sideways, and everything dims down once the evening winds down. Below are the 17 setups I reach for, with honest budget ranges, spacing numbers, and neighbor-friendly tricks that keep the peace.
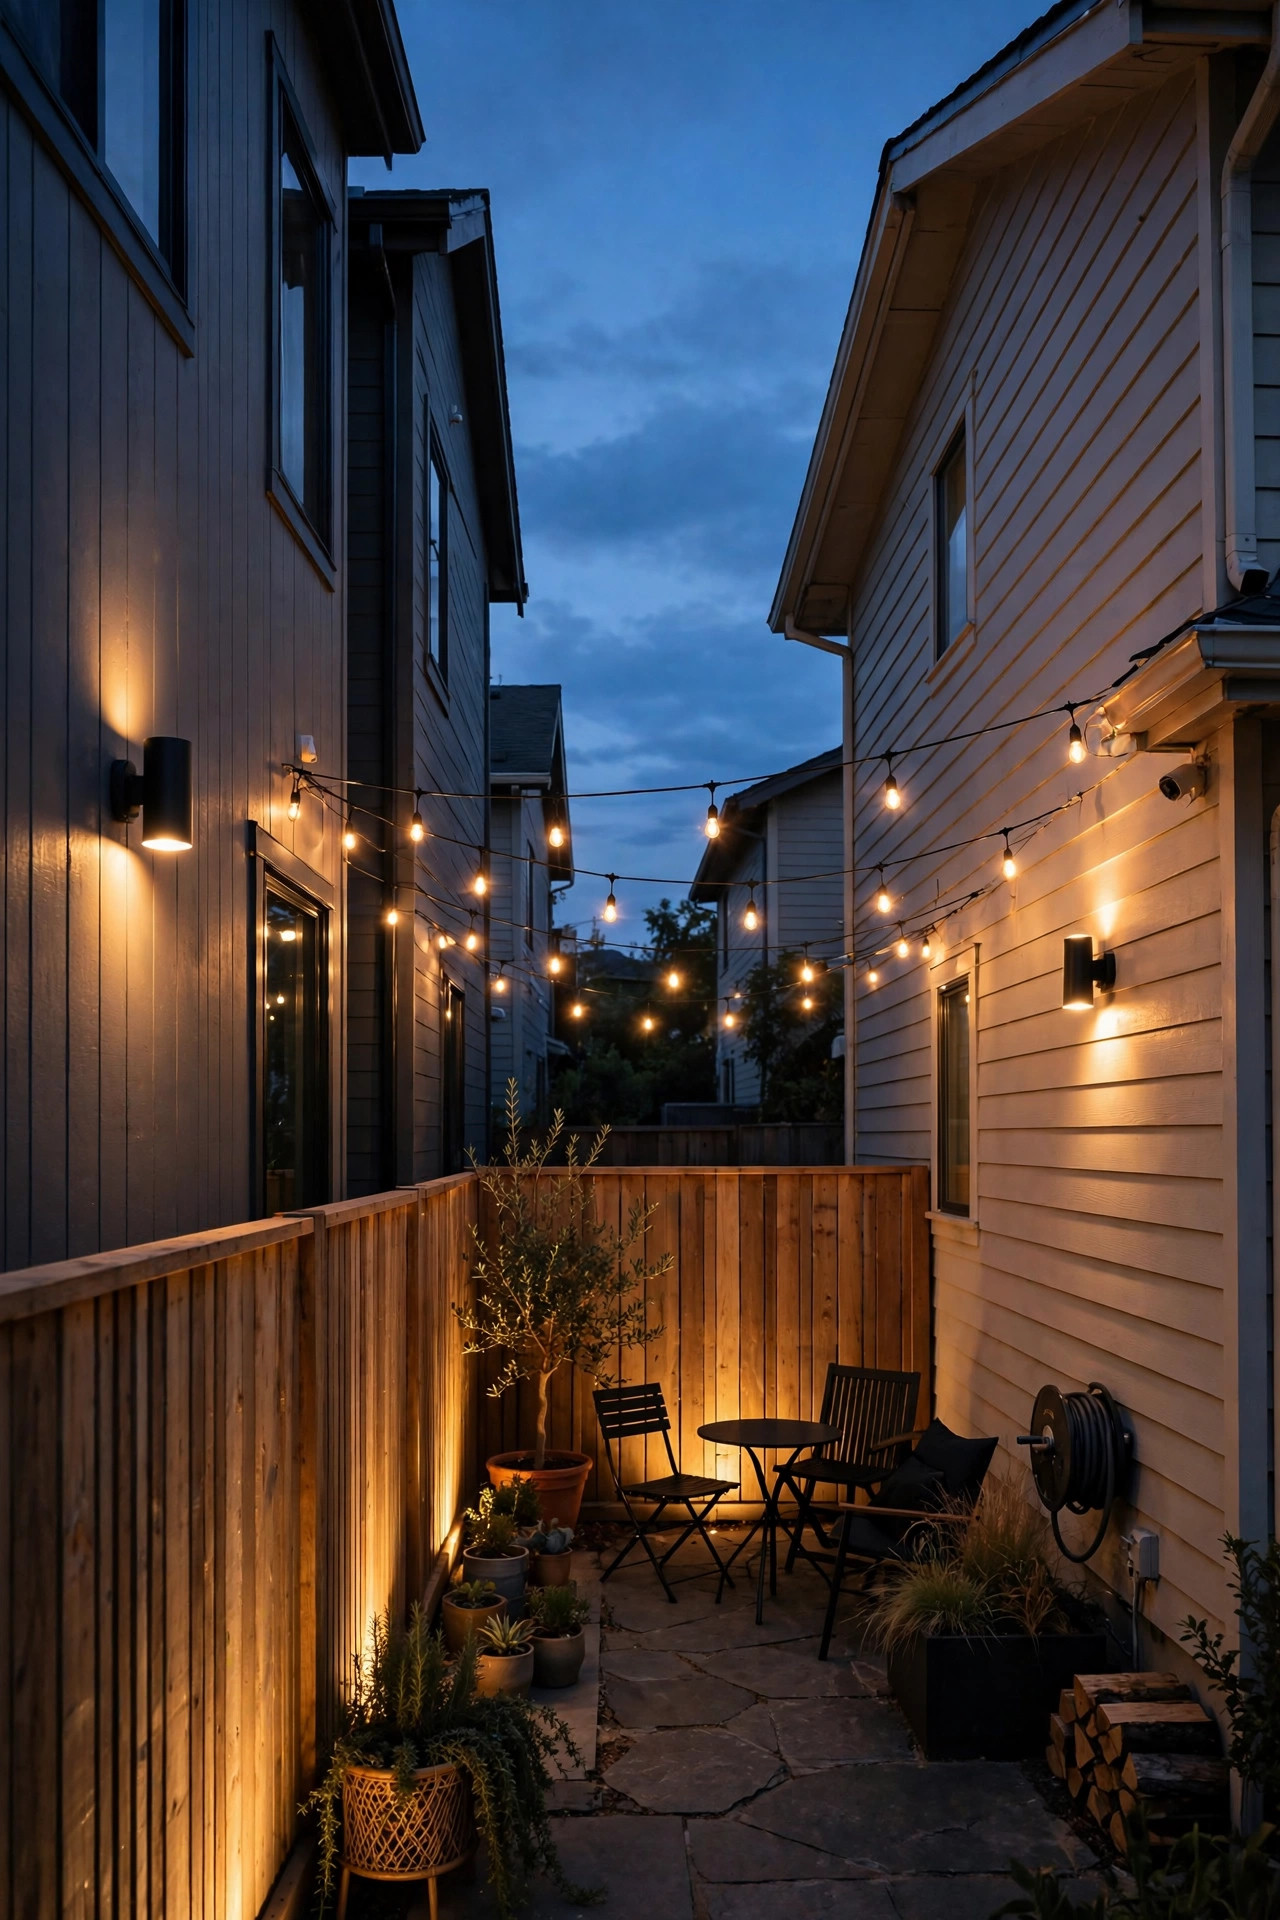
1. Plan Your Zero Lot Line Backyard Lighting Ideas Around the Property Line
Before you buy a single fixture, stand on your property line at dusk and look back at your own yard. In a zero lot line layout, your fence is basically the wall of your outdoor room, and every lumen you aim outward ends up in someone else's evening. I plan these yards in three passes: footing light low to the ground, gentle light at sitting height, and sparkle that stays inside the fence. Sketch the lot on paper and mark the four spill risks: the side passage, the back fence, windows facing your yard, and any second-story windows that look down into it. Then assign every light a job and a direction, and if a fixture has no inward direction, it does not make the list. Honestly, a five-minute chat with the neighbors before you install is worth more than any shield: tell them you are keeping everything warm, low, and off by ten, and most people relax completely. Check your HOA or city rules too, since some close-lot communities cap brightness or ban upward light. This plan-first approach guides every idea that follows.
Suggested budget range: $0 – $25.
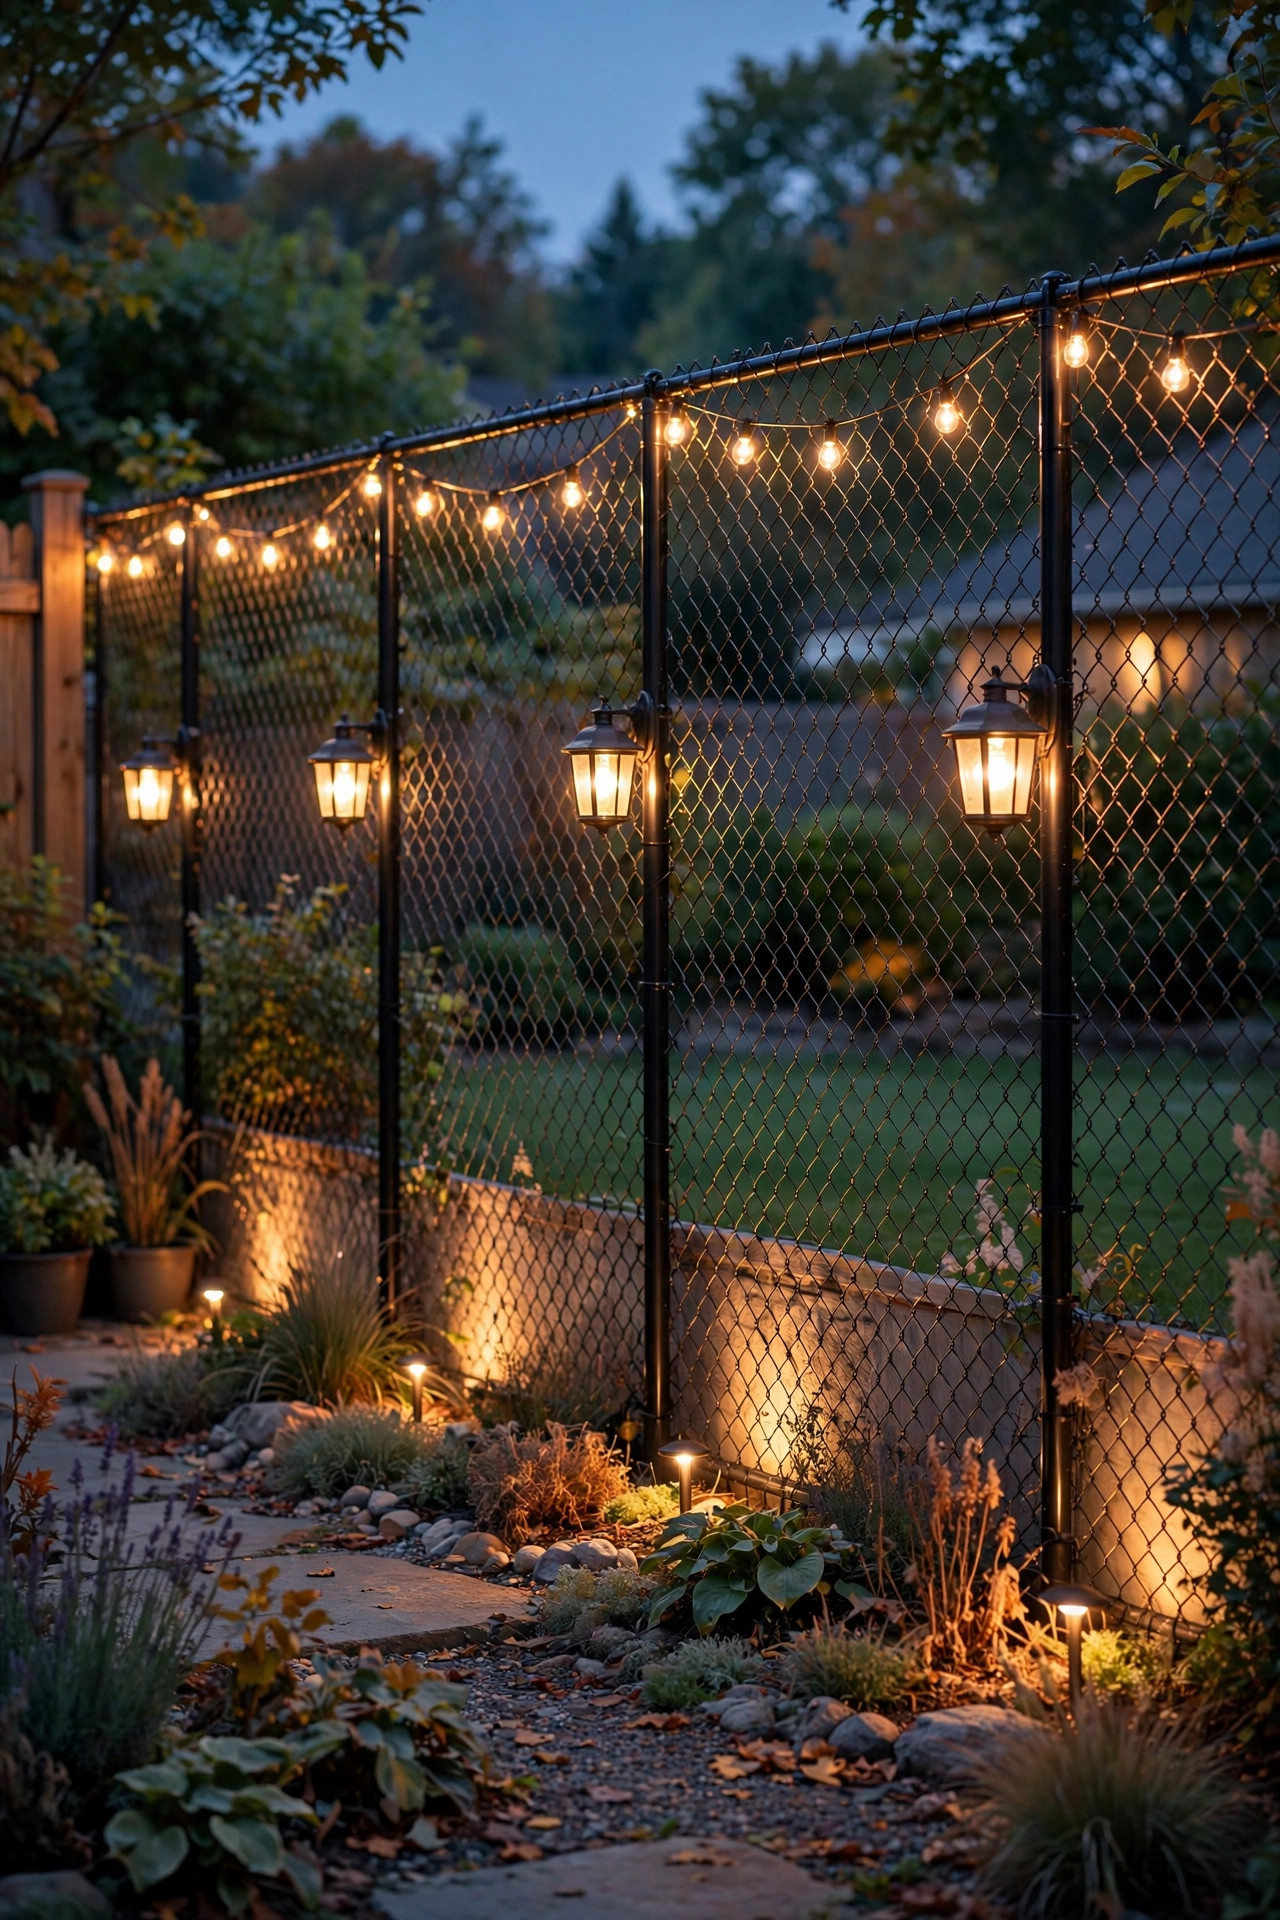
2. Choose Fully Shielded Fixtures That Aim Every Lumen Down
The single biggest difference between a cozy tight-lot yard and a nuisance yard is whether you can see the bare bulb. Bare bulbs throw light sideways for a hundred feet; shielded fixtures with hoods, caps, or frosted lenses cut that cone off at the ground. I look for path lights with a solid hat on top, wall lights with a shade that hides the bulb from the side, and spotlights with a glare shield or snoot. Here is my driveway test: stand at your neighbor's fence line at eye level. If you can see the glowing bulb itself from there, the fixture is wrong, no matter how pretty it looks from your patio. Swap in a hooded model or add a shield and the problem disappears. Full-cutoff designs also put more of the light you paid for onto your path instead of into the sky, so a modest 100 to 200 lumen fixture does the work of a glaring 400 lumen one. Weatherproofing still matters: choose fixtures rated for wet locations, and plug everything into a GFCI outlet. Shield first, and the brightness arguments mostly solve themselves.
Suggested budget range: $25 – $90.
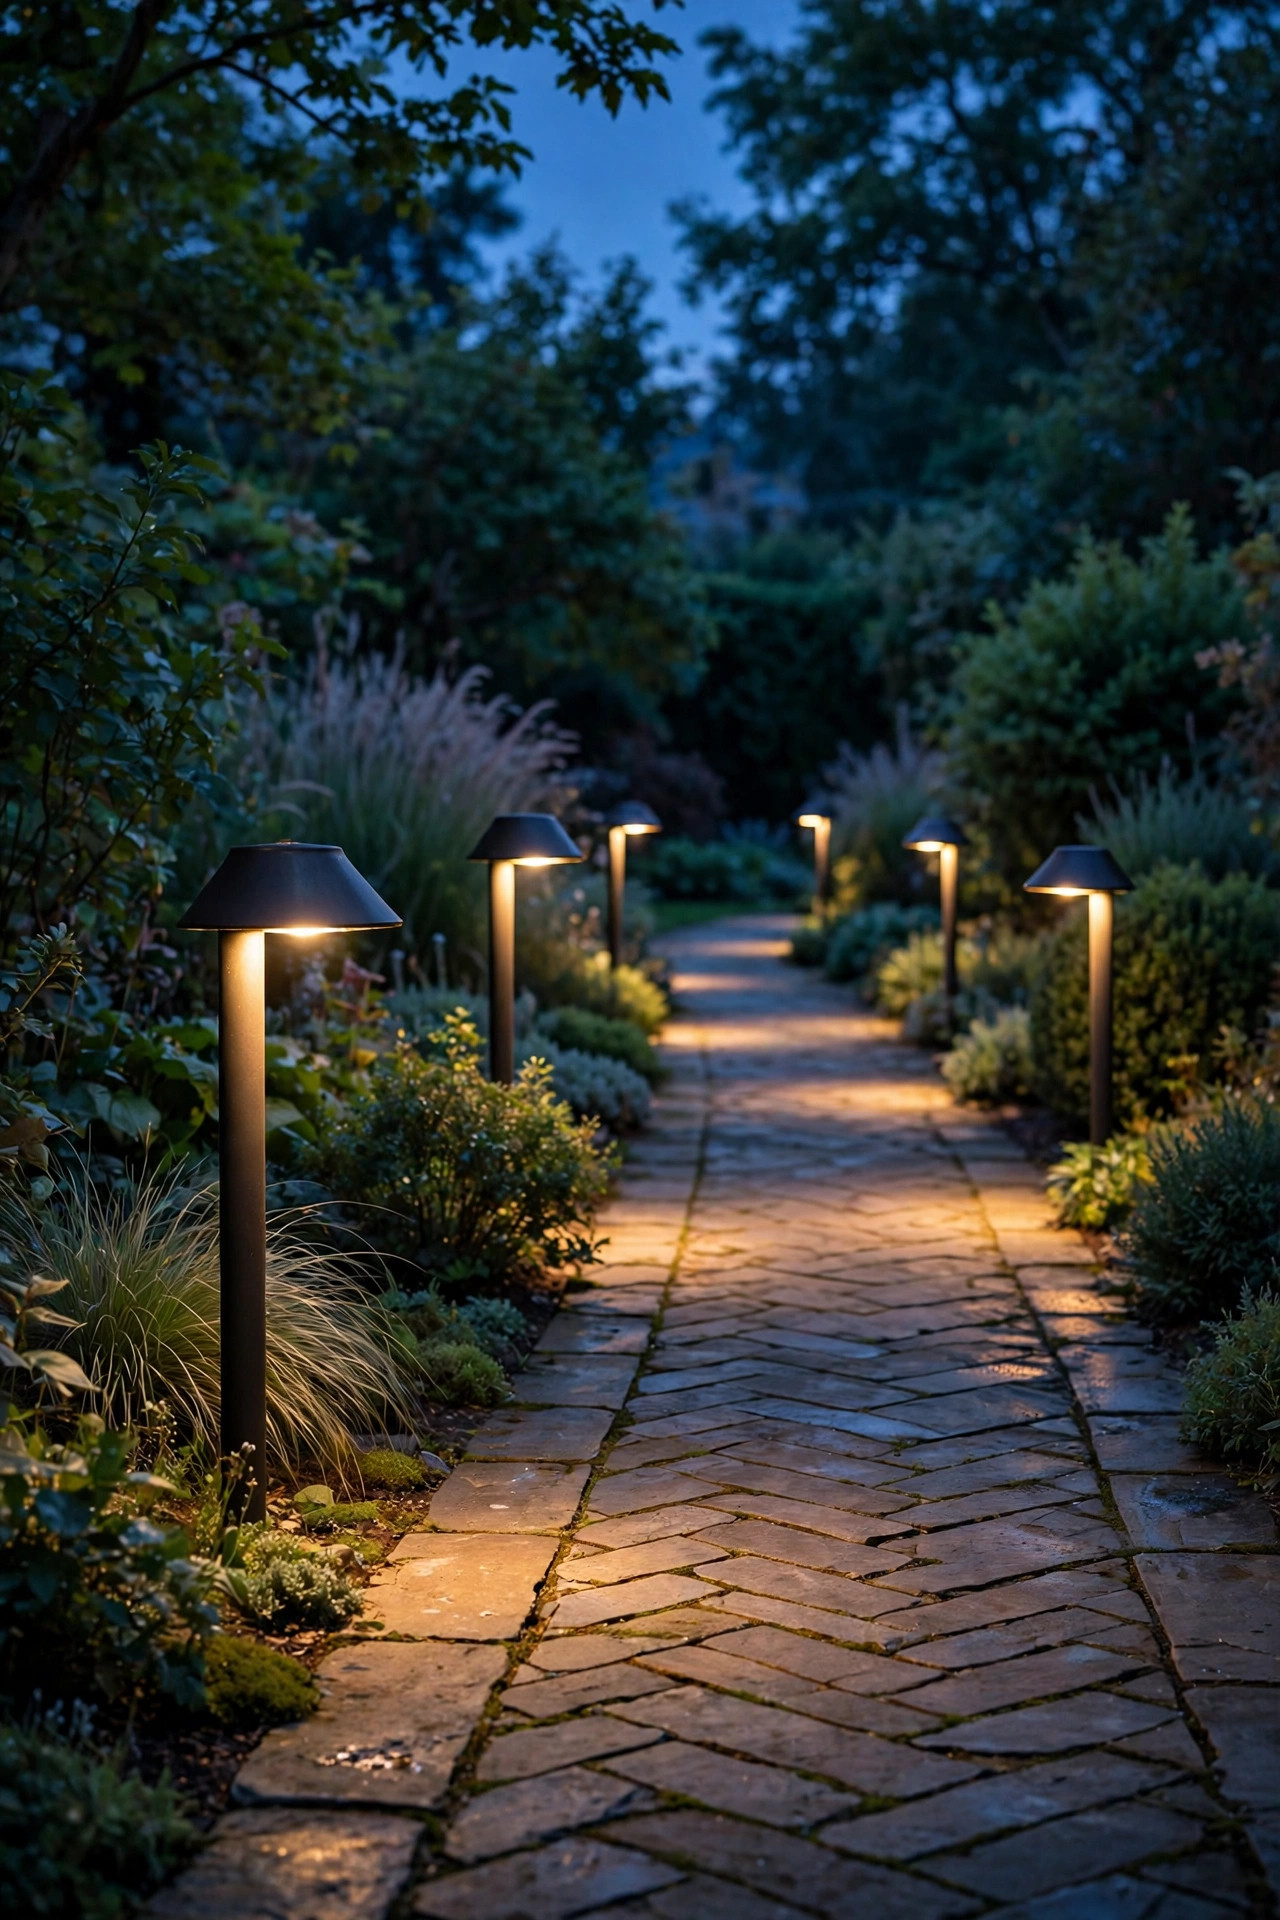
3. Wash Your Own Fence With Soft Grazing Light
A fence lit gently from above or below becomes a glowing backdrop, and it bounces soft light back into your yard instead of beaming it into the next one. Two ways work beautifully. Mount small shielded downlights on your side of the fence posts, about 6 feet up, aimed straight down so the light grazes the boards and pools at the base. Or set low uplights a foot from the fence base, tilted so the beam climbs the boards and dies before the top rail. Either way, keep the source hidden and the top of the fence dark, because that dark top line is what your neighbors see. Wood fences look especially rich with a warm wash: the grain shows, shadows soften, and the whole yard feels taller. For the full playbook on fixtures and spacing, my notes on privacy fence lighting ideas walk through post caps, washes, and strips in detail. Space the grazers 6 to 8 feet apart for an even scallop, and keep them on the same warm temperature as the rest of the yard so the fence reads as one calm wall of light.
Suggested budget range: $40 – $120.

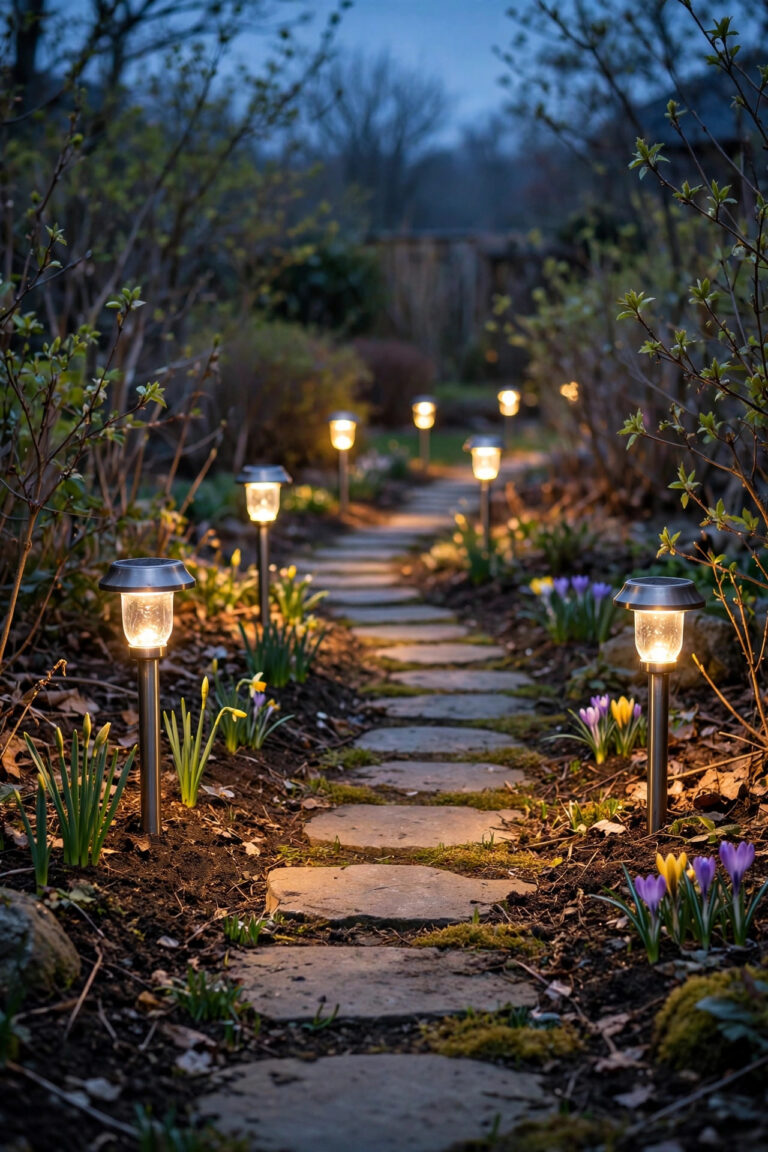
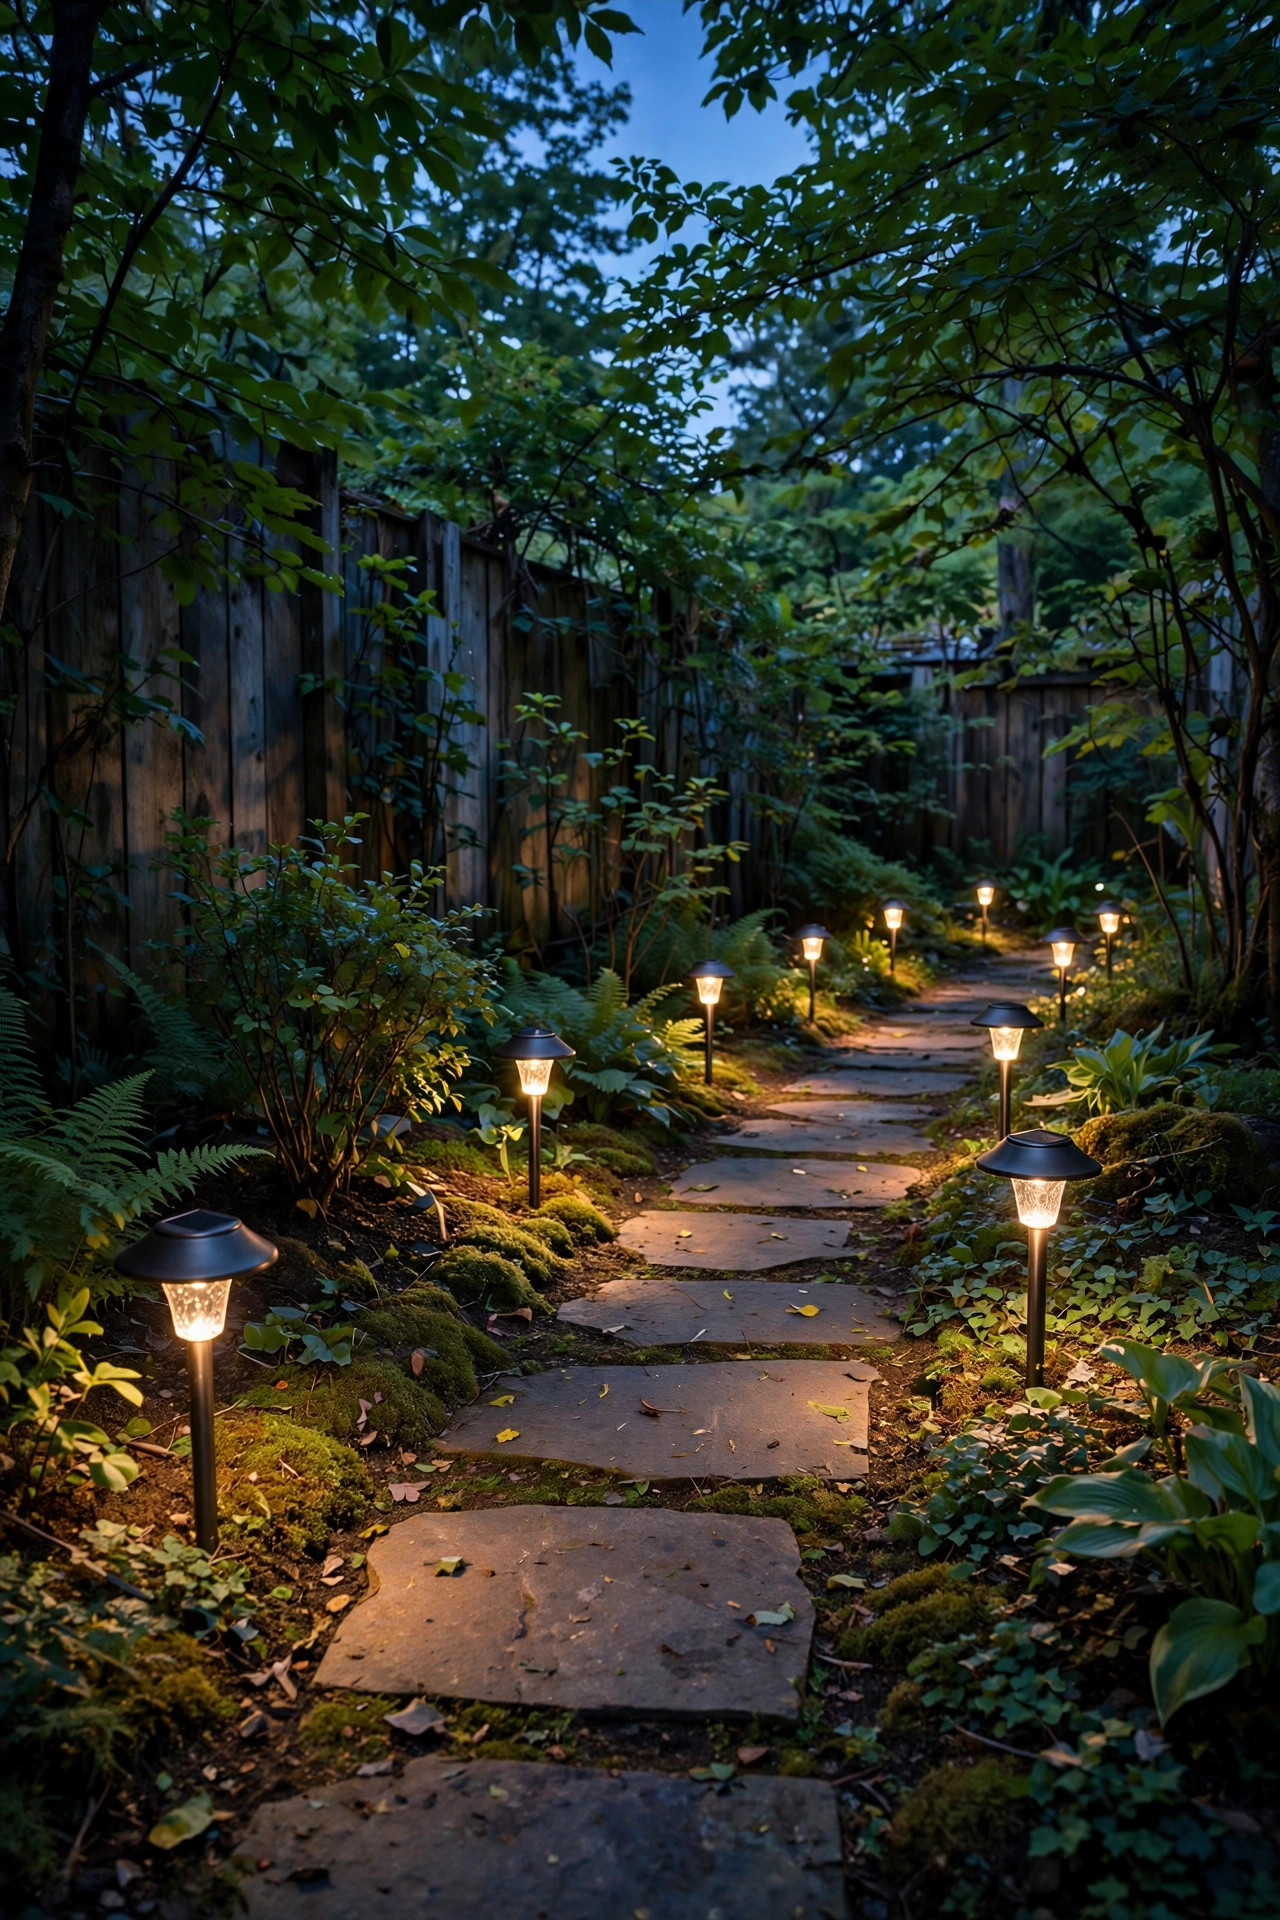
4. Keep Path Lights Low, Modest, and Close Together
Tall path lights are spill machines in a small lot: the higher the fixture, the farther its light travels sideways. I keep tight-lot path lights under 18 inches tall and genuinely modest, around 100 to 150 lumens each, then compensate by spacing them closer, every 5 to 6 feet along the walk. Low and close gives you overlapping pools of light with no dark gaps and no sideways blast. Mushroom and bollard styles with downward lenses work best; skip anything with a clear exposed bulb at knee height, because that is exactly a seated neighbor's eye level through the fence slats. Low-voltage wired lights give the most consistent result along a long run, while solar stakes are fine for short paths that get six hours of sun. Push solar stakes in deep and straight, since a leaning stake aims its little panel of light straight into the fence gap. Along the side passage and the gate run, this low line of pools is usually the only light you need after dark, and it reads as a friendly dotted line from next door rather than a runway.
Suggested budget range: $30 – $80.
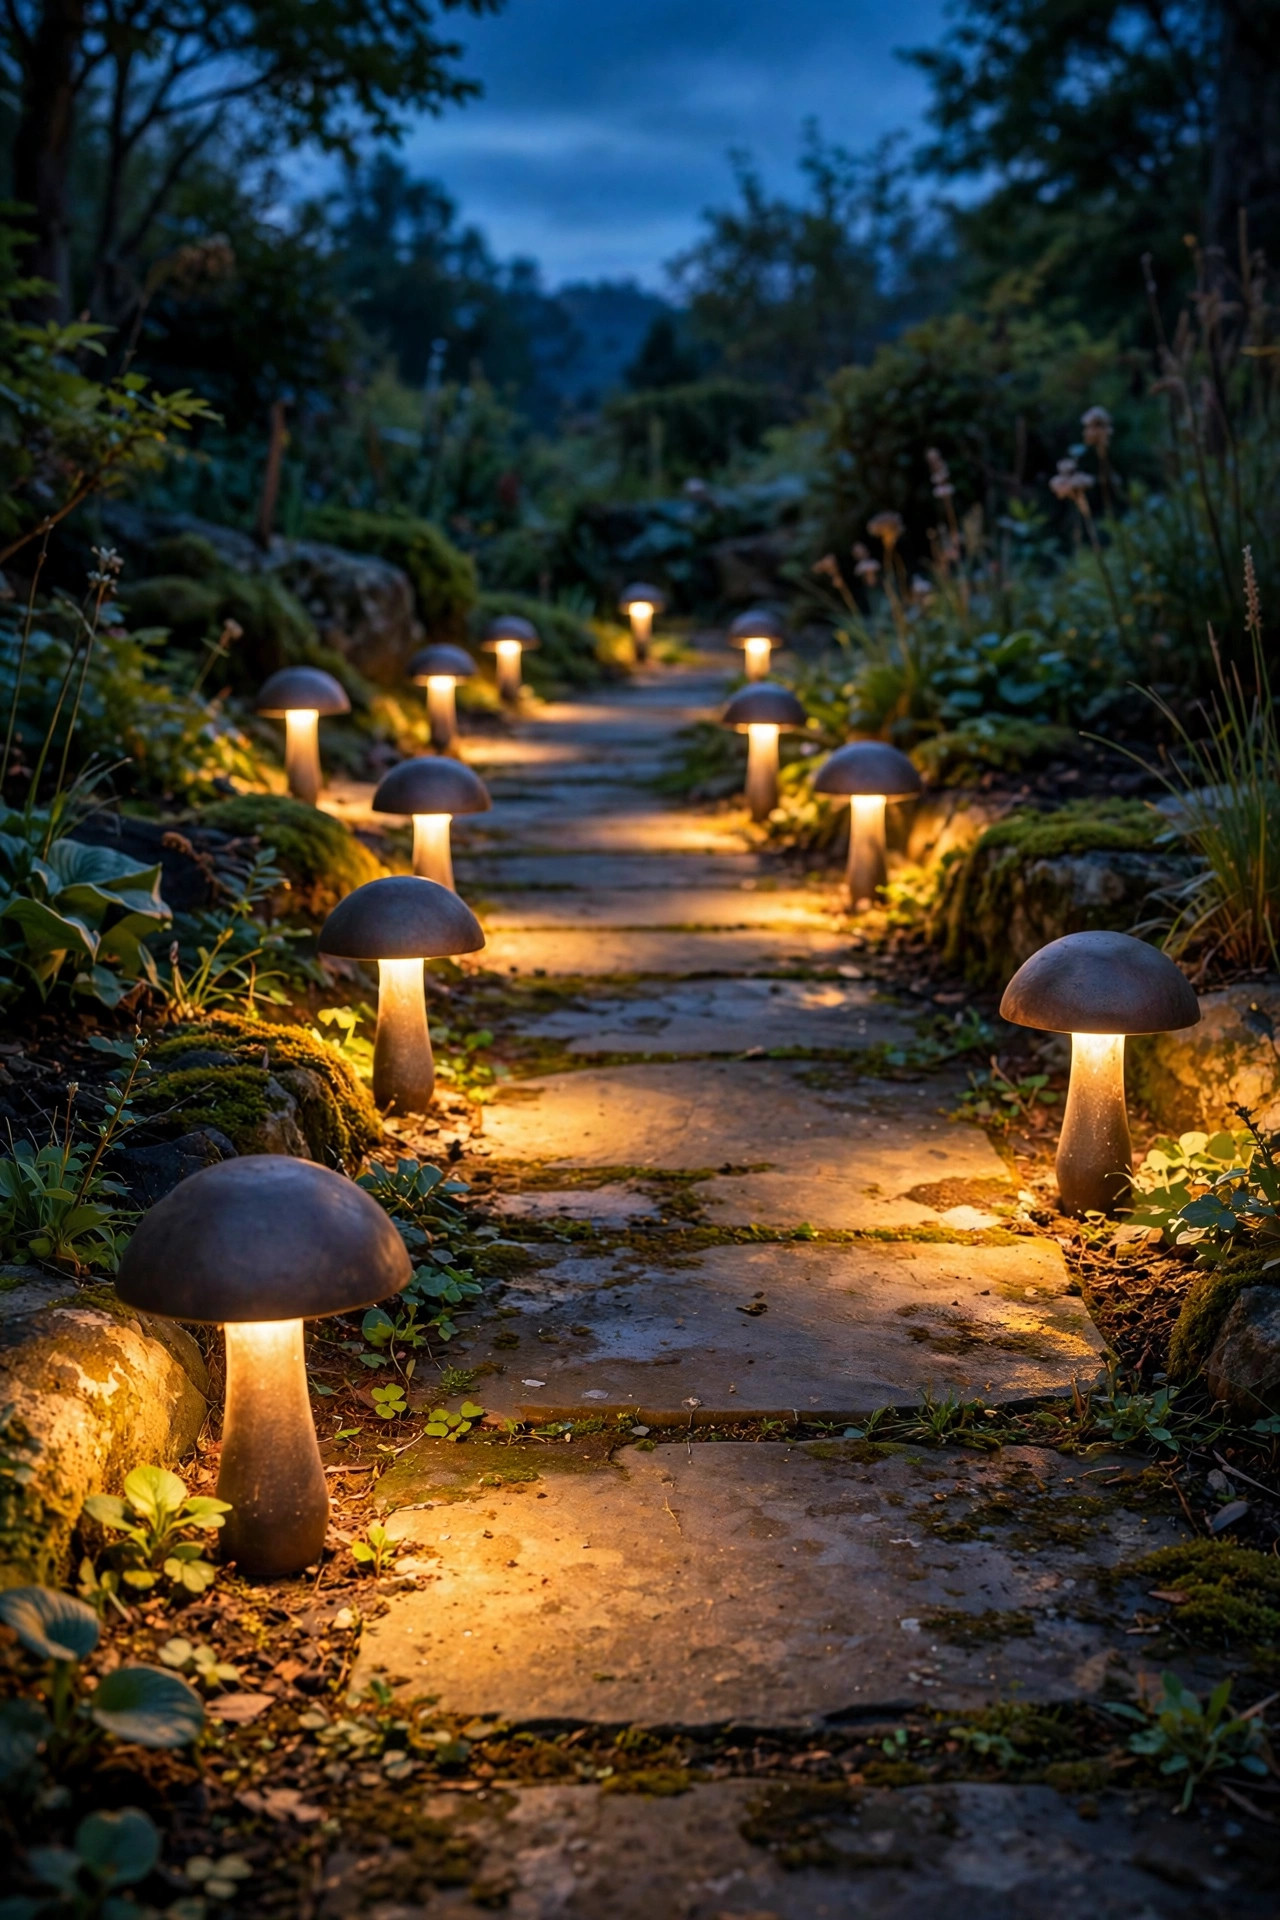
5. Pick Warm 2700K Bulbs and Never Mix Temperatures
Color temperature does more for neighbor relations than any other single choice. Cool white light in the 4000K to 5000K range reads as commercial and harsh, and the eye catches it from doors away; warm 2700K light reads as candlelight and fireflies, and people simply forgive it. In my experience, a yard lit entirely at 2700K can run a touch brighter than a cool-white yard before anyone complains, because the glow feels like it belongs to a home. Lock the temperature in across every fixture: the string lights, the path stakes, the fence wash, all of it. Mixing a warm patio with one blue-white security bulb makes that bulb look ten times harsher by contrast. When you shop, check the box for 2700K, sometimes labeled soft white, and buy spares from the same batch, since cheap bulbs drift in color between production runs. If a fixture comes with a fixed cool LED, it does not go in a close-set yard, full stop. One warm temperature everywhere is also the trick that makes a tiny yard feel designed rather than assembled from leftovers.
Suggested budget range: $10 – $40.
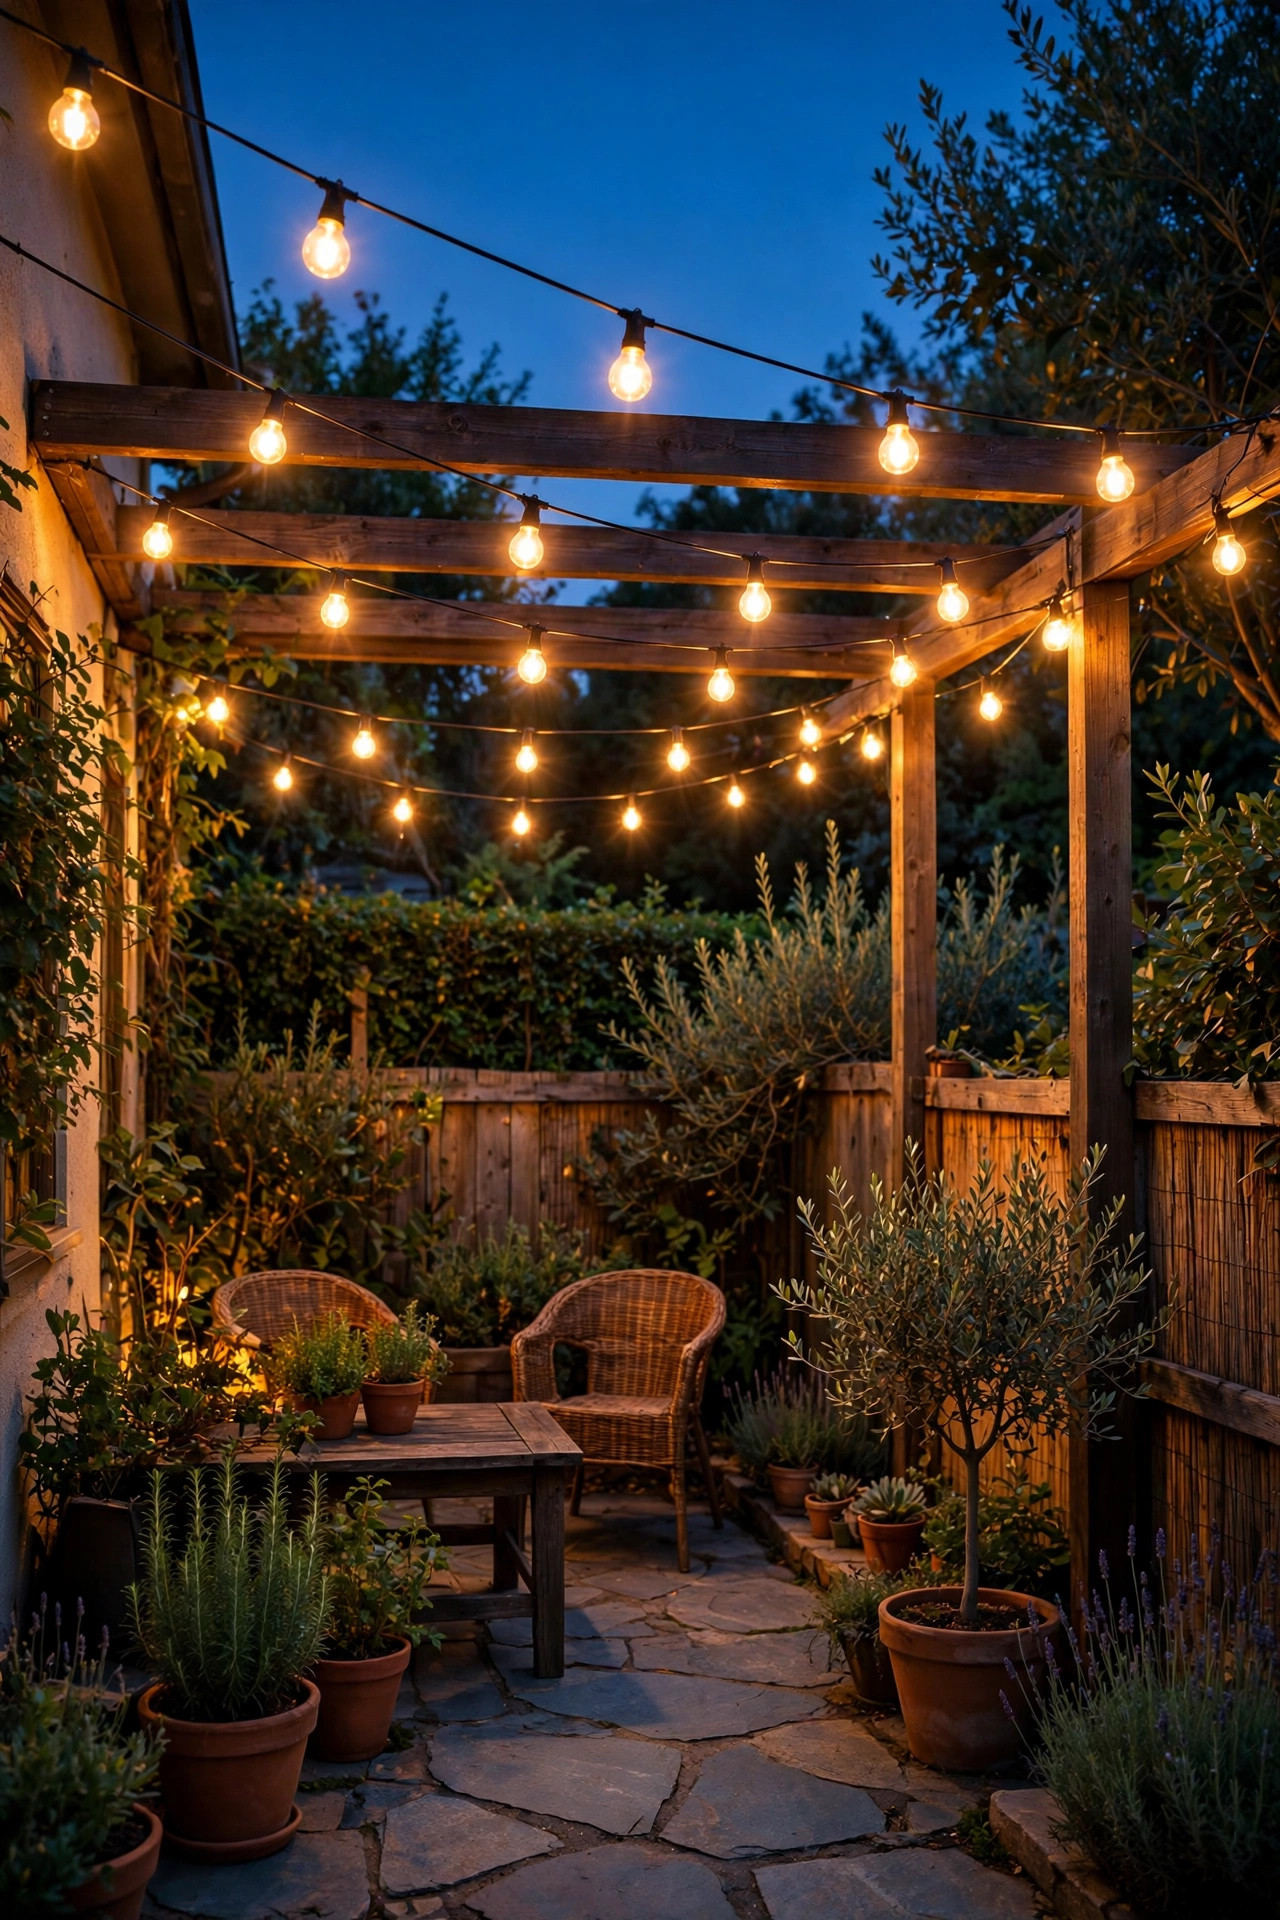
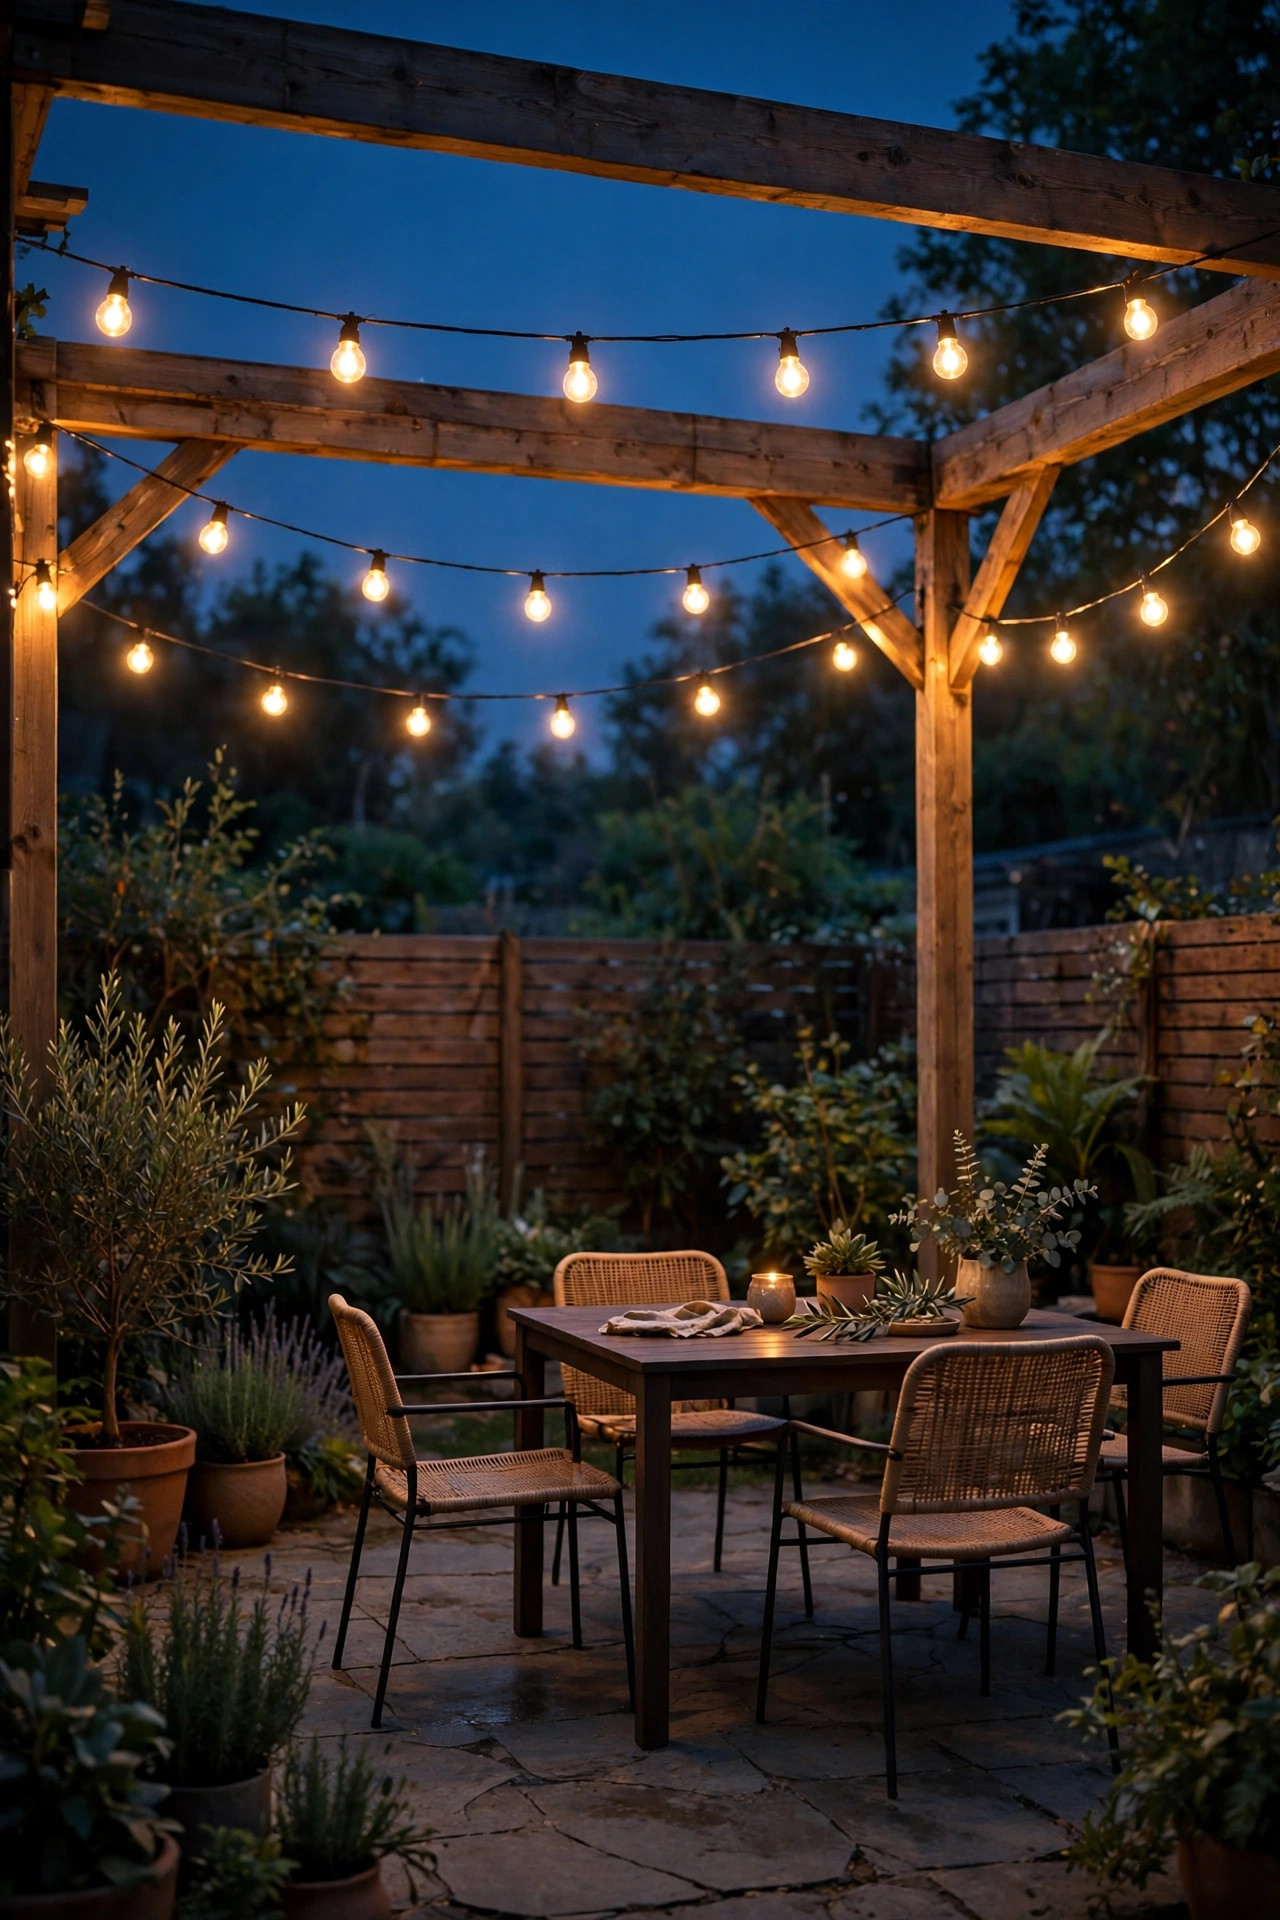
6. Hang String Lights Low, Taut, and Inside Your Own Fence Line
String lights are the soul of a small backyard, but in a zero lot line setup the mounting rules matter. Run them from your house wall to your own fence posts or to poles set inside your line, never screwed into a shared fence without asking, and keep the lowest sag around 7 feet so the canopy sits below the fence top from most viewing angles. A low, taut swag lights your table beautifully while the fence blocks the direct view from the yard next door. Choose warm filament-style LEDs with shatterproof bulbs, and run two swags across a narrow lot instead of one dense zigzag, since tight lots need less light than you think. Put the strand on a plug-in timer that clicks off at 10 p.m.; a yard that politely goes dark on schedule earns enormous goodwill. Secure the cord with proper hooks or a guide wire rather than draping it over the fence cap, and plug into a GFCI outlet with a weatherproof cover. If wind slaps the strand against the fence, shorten the swag; a quiet strand is a considerate strand.
Suggested budget range: $25 – $70.
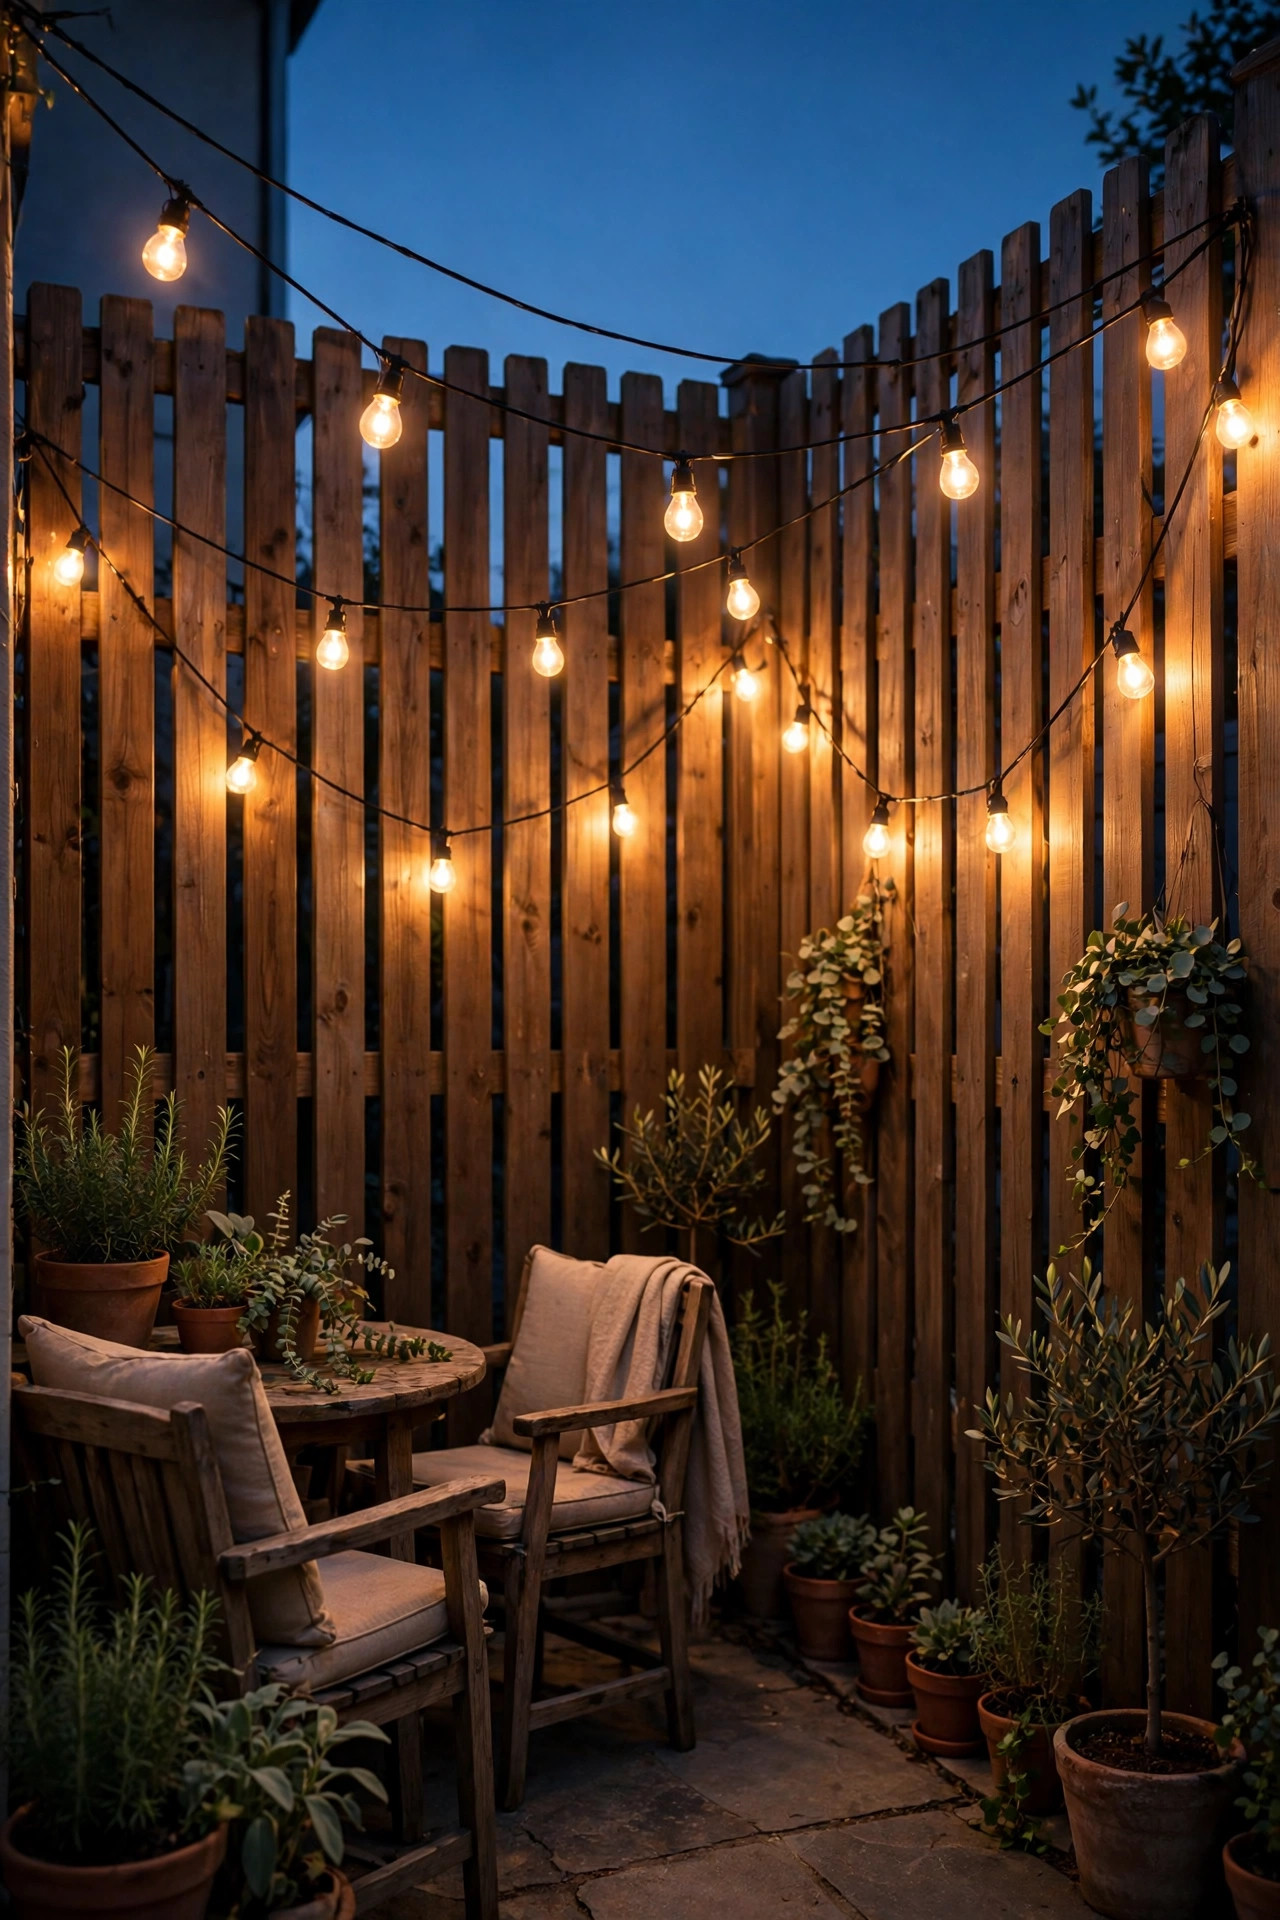
7. Light the Side Passage Without Aiming at Their Windows
The strip between two close houses is the most delicate lighting zone on the lot. Your neighbor's bedroom window is probably ten feet from your gate path, so anything bright or eye-level there is a genuine problem. My approach is low and one-sided: short bollards or shielded step lights mounted on my own wall or fence, aimed down at my stepping stones and angled slightly toward my house, never across the passage. Pools of light at ankle height are plenty for carrying the trash out or letting the dog through. For placement, spacing, and fixture picks that work in these tight corridors, the roundup of narrow side yard lighting ideas on this site is the one I send friends. Avoid motion floods at the gate pointing down the passage; a triggered flood fires straight into facing windows. If you need security coverage, a shielded motion light over your own gate, aimed at your own ground, does the job without the drama. Keep this strip dimmer than the main yard on purpose; it is a hallway, not a room.
Suggested budget range: $20 – $75.
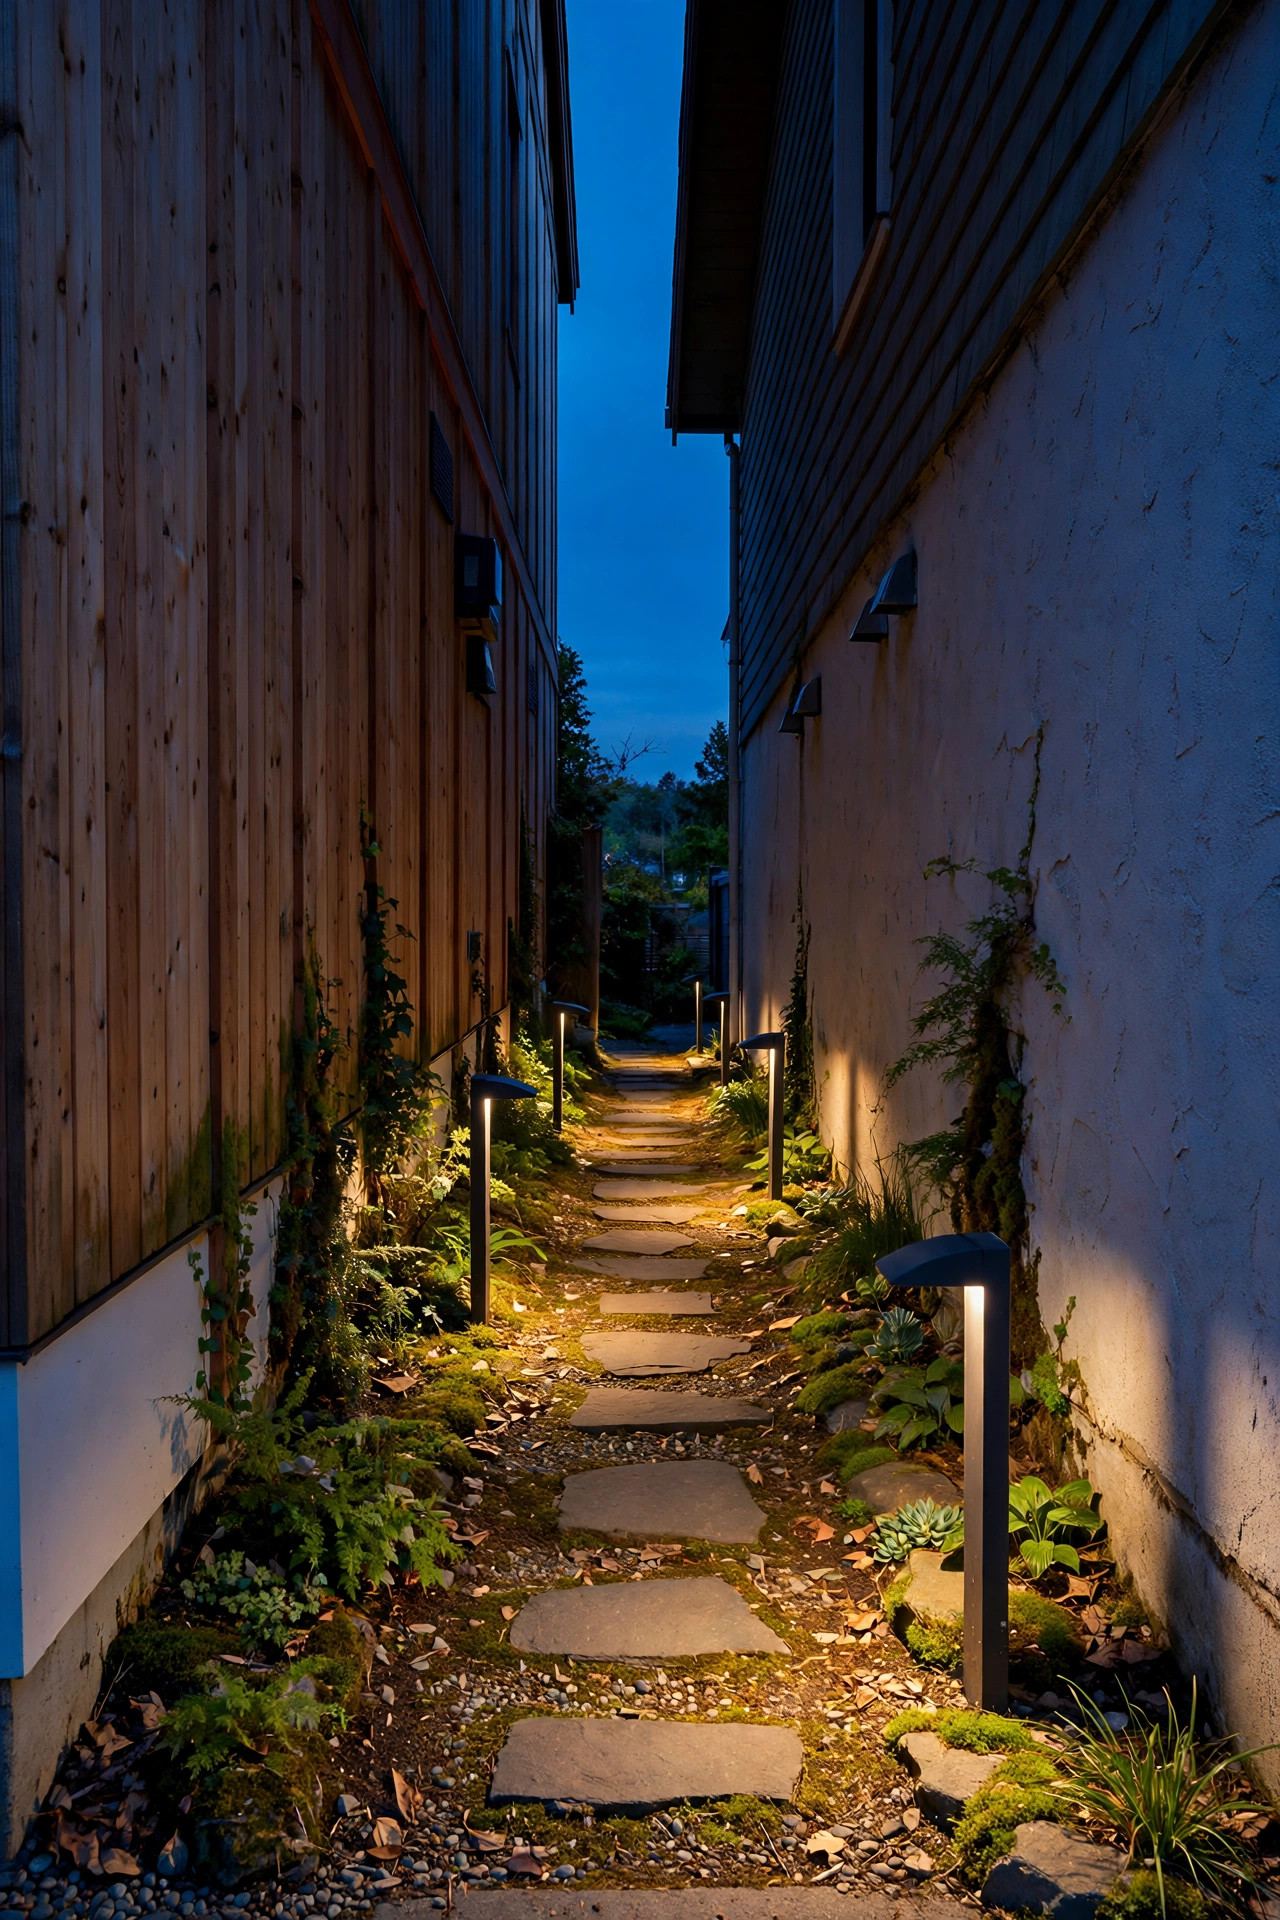
8. Use Motion Sensors With Short, Polite Timers
Some spots only need light when someone is actually there: the gate, the trash bins, the side door. A motion sensor handles those perfectly, but the settings decide whether it is a good neighbor or a strobe light. I set the timer to 30 to 60 seconds, the shortest that lets you unlock a gate, and aim the sensor so it triggers on your path, not on the sidewalk or the neighbor's dog run. Sensitivity matters too: dial it down until passing cats stop setting it off, because a light that fires all night trains everyone to hate it. Choose a shielded fixture in warm white, mounted over your door or gate and aimed at your own ground, and the coverage is plenty. My guide to neighbor friendly security light ideas covers sensor ranges and mounting heights in more depth if you want the numbers. Also, tell the neighbors it exists and why; people accept a brief, warm light that clicks on for the trash run far better than a mystery light. Brief, warm, and aimed home: that is the whole recipe.
Suggested budget range: $20 – $60.
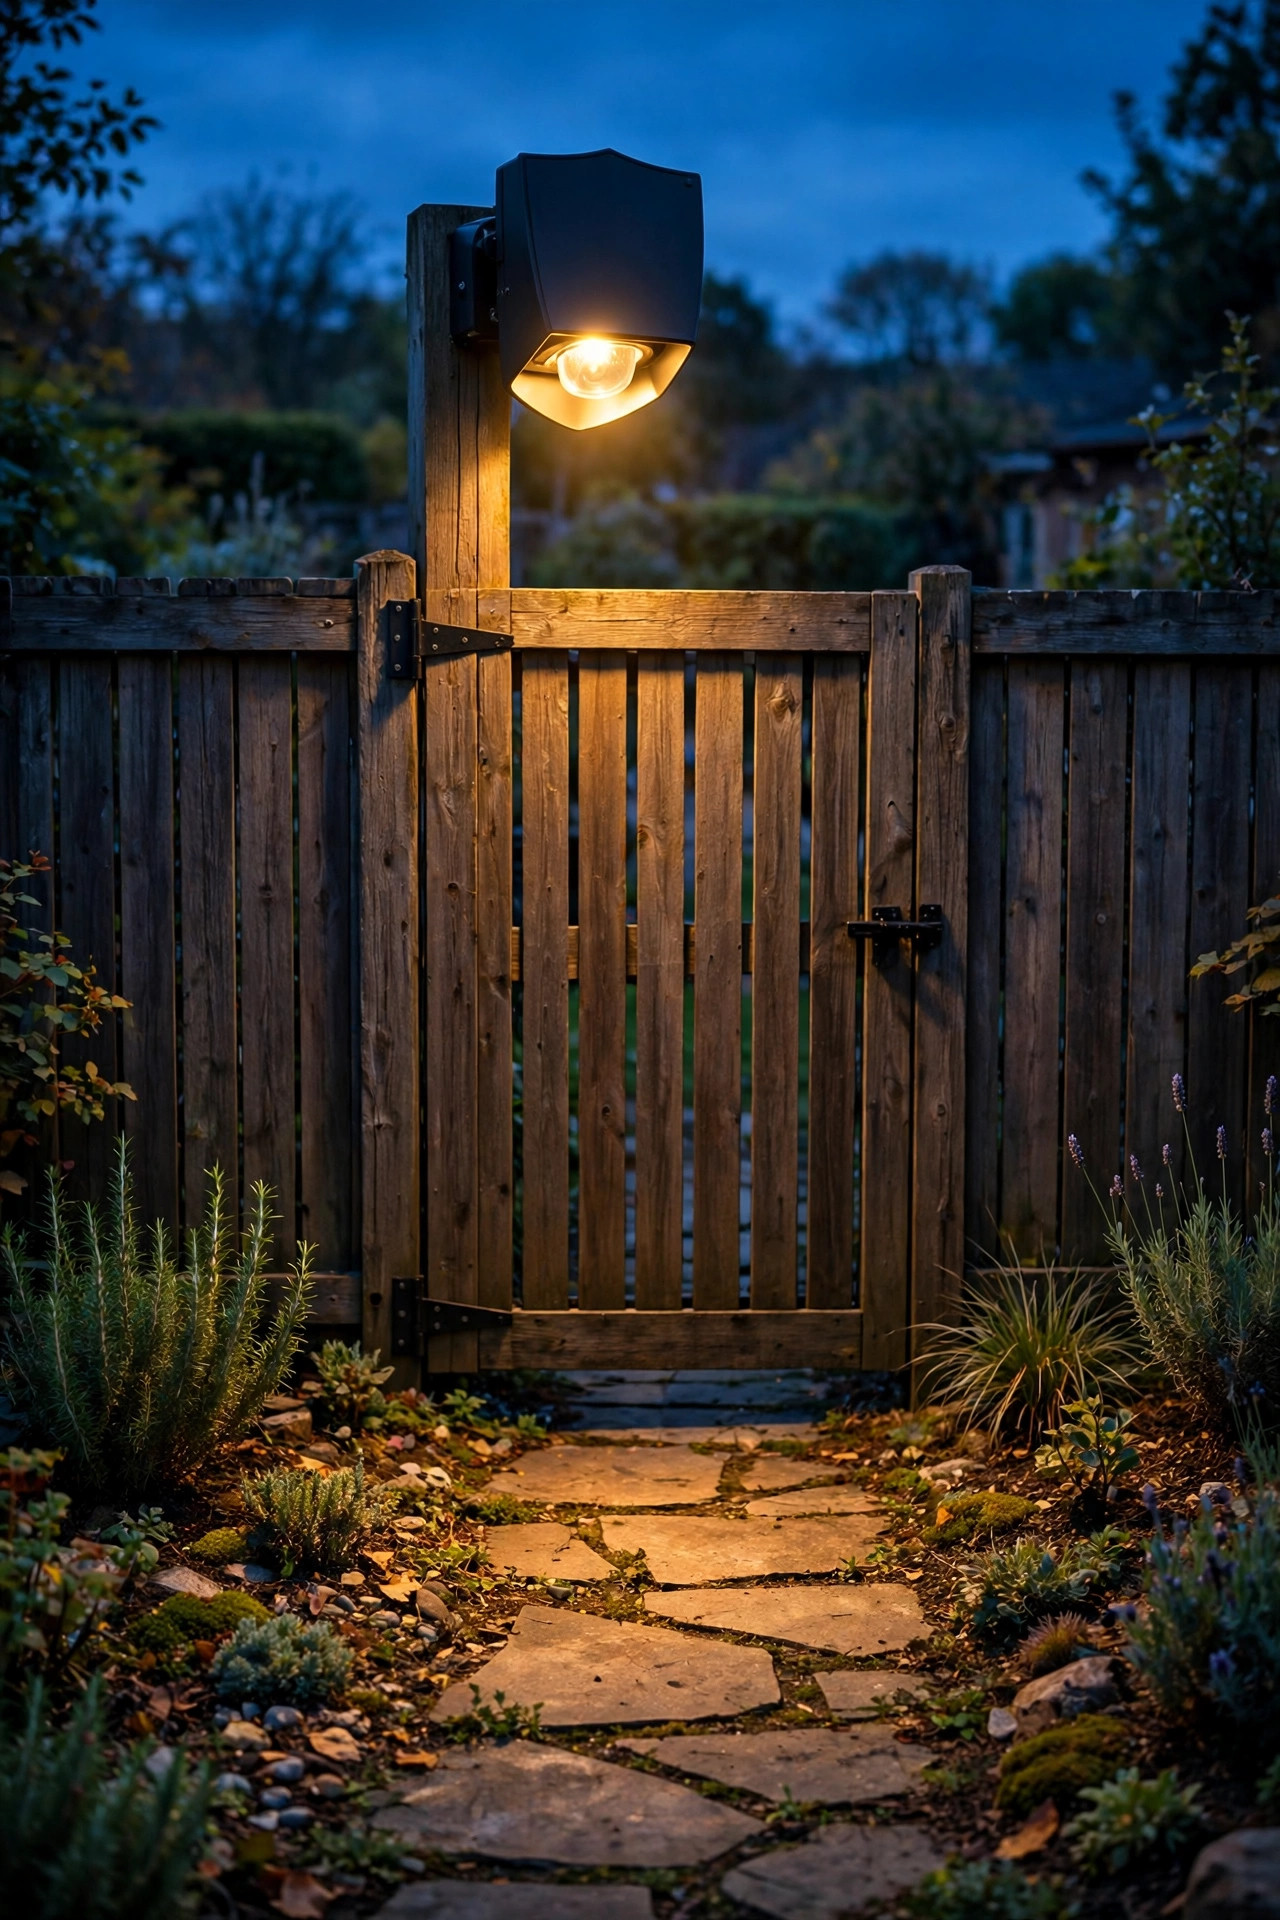
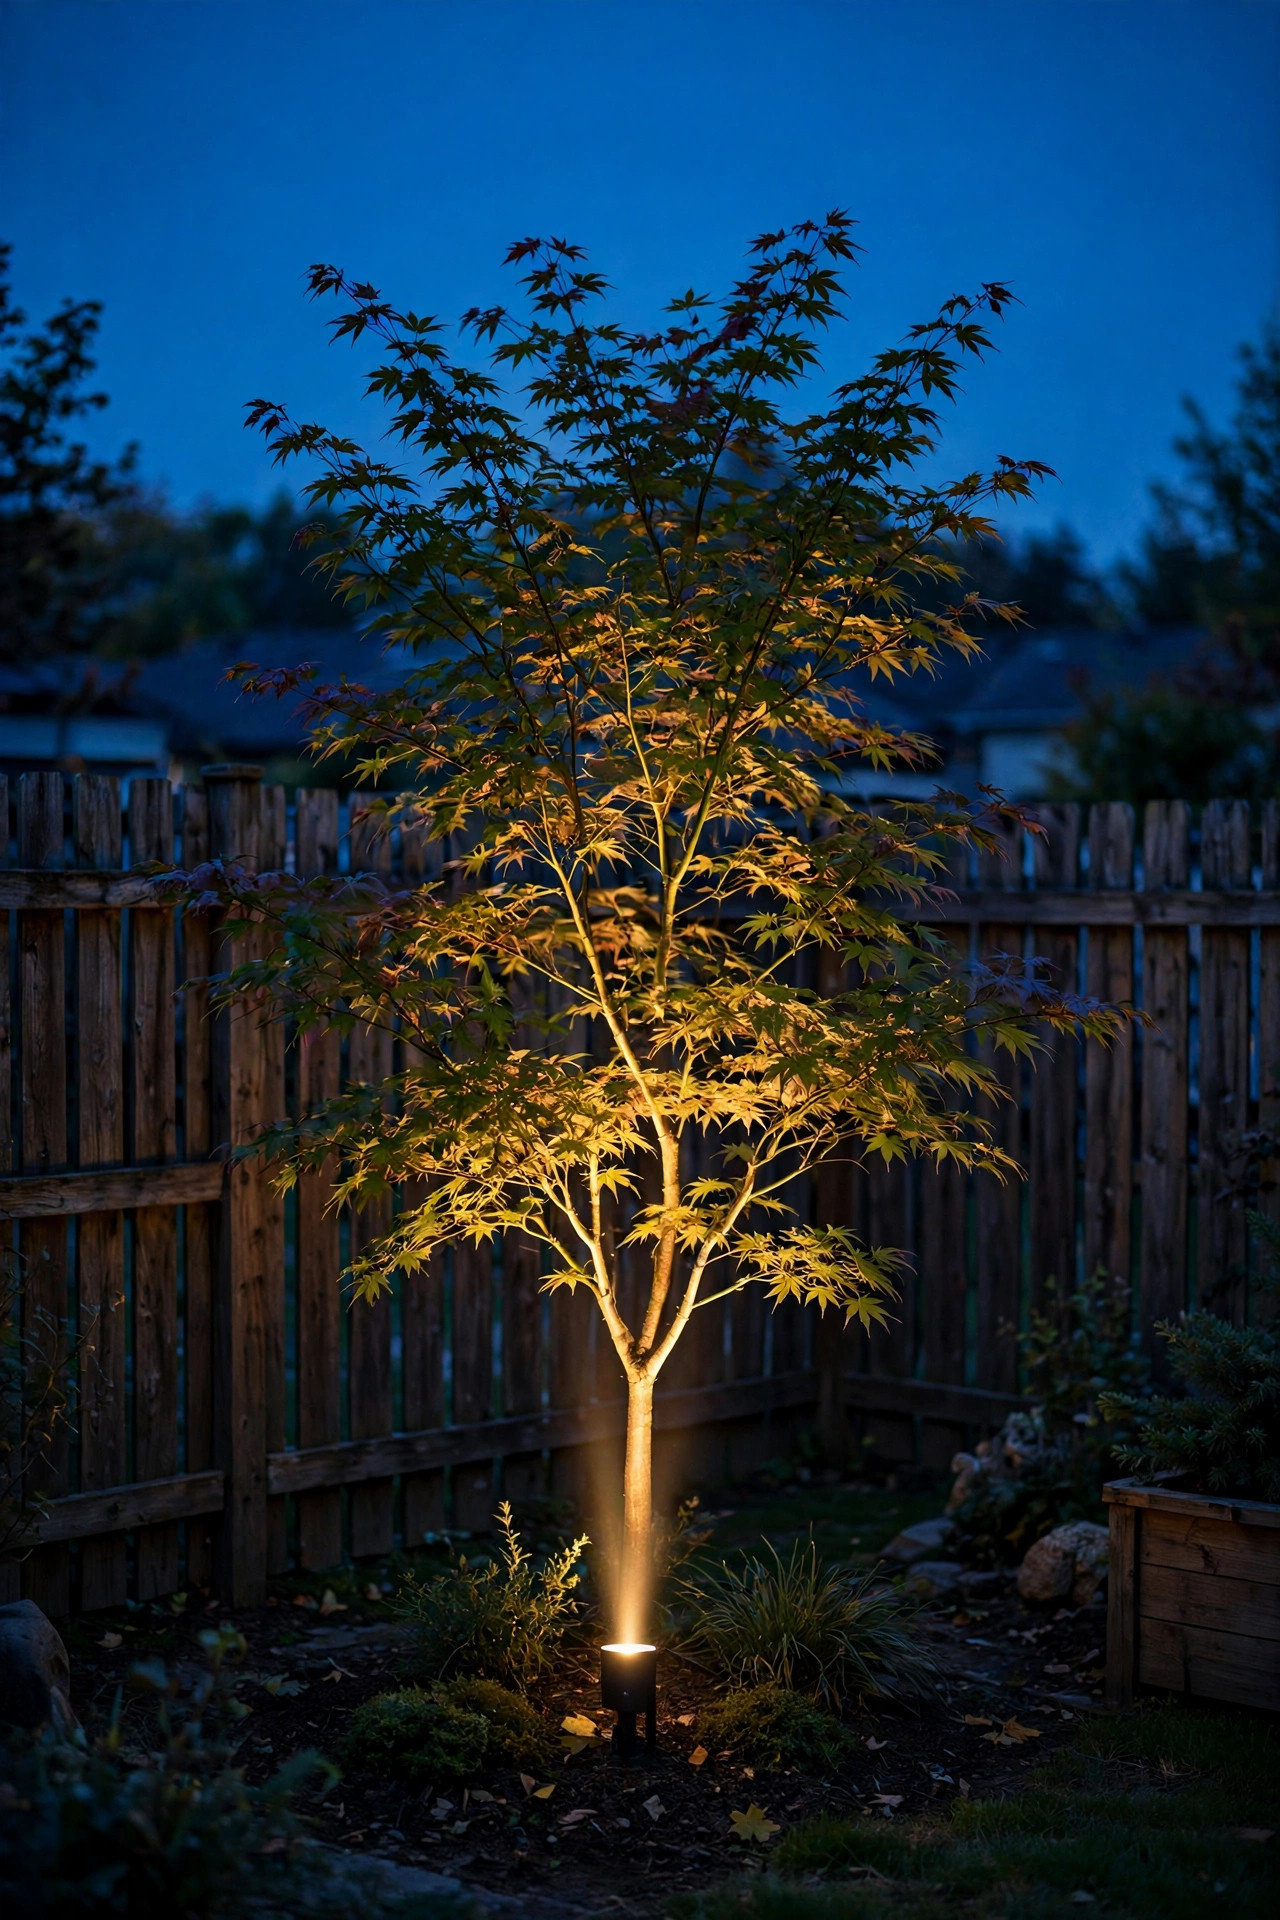
9. Uplight One Small Tree With a Narrow, Careful Beam
Uplighting is where close-lot yards get in trouble, because a wide beam through a canopy throws moving light blobs across three properties. The fix is restraint: one small tree, one narrow beam. Choose a spotlight with a 10 to 20 degree beam angle, tuck it at the trunk base, and aim it straight up into your own canopy so the leaves absorb and scatter the light before it escapes. A small ornamental tree or a multi-stem shrub inside your fence line is perfect; skip anything whose canopy hangs over the neighbor's roof. Keep the wattage modest and the color warm, and put the uplight on the main timer so it dies with the rest of the yard at 10 p.m. The effect is pure magic from your patio: a glowing green ceiling that makes the small yard feel twice as tall, with a soft shimmer instead of spill. Honestly, if the canopy is shared or the tree straddles the line, skip uplighting entirely and get your height from the fence wash instead. One disciplined beam is a feature; three loose ones are a light show nobody ordered.
Suggested budget range: $25 – $80.
10. Swap Overhead Floods for Table-Level Lanterns
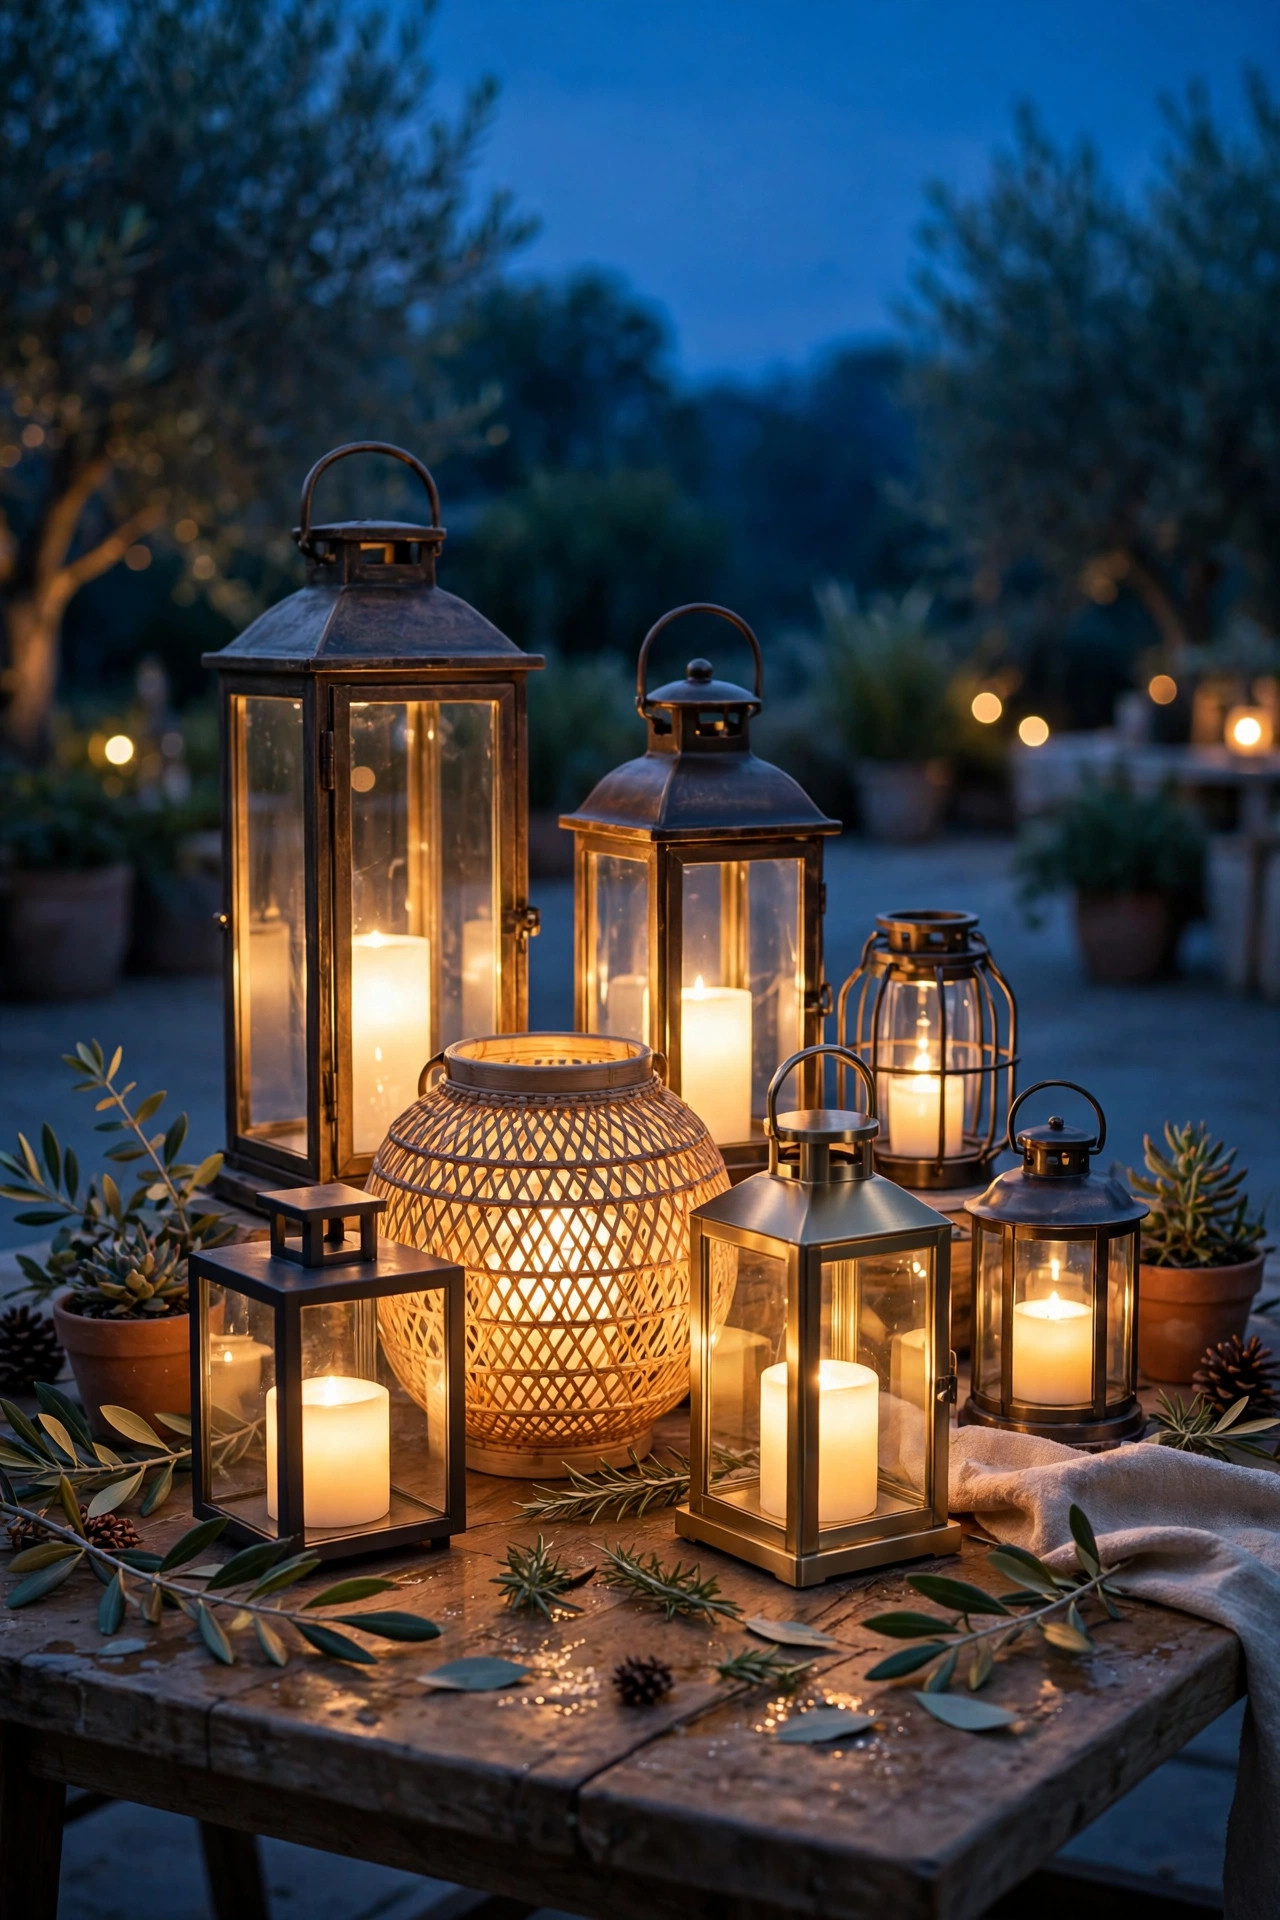
Here is a secret from every small yard I have lit: people need light at the table, not at the roofline. A cluster of battery or flameless lanterns at sitting height lights faces, food, and board games beautifully, and because the source is low and shaded by the table itself, almost nothing escapes over the fence. Group three lanterns at different heights on the table or a side stool, all warm white, and the pool of light feels like a fireplace everyone gathers around. Flameless candles are the safe pick near cushions, paper napkins, and kids, and rechargeable lanterns save a fortune in batteries across a season. Compare that with the classic builder floodlight under the eave, which lights your whole lot, both neighbors' lots, and possibly low-flying aircraft. If your yard came with one, leave it off except for genuine chores, or swap the bulb for the warmest, dimmest option it accepts. Low light where people sit, darkness where nobody sits: that ratio is what makes a close-set yard feel private instead of exposed.
Suggested budget range: $20 – $60.
11. Add Step and Edge Lights Where Feet Actually Land
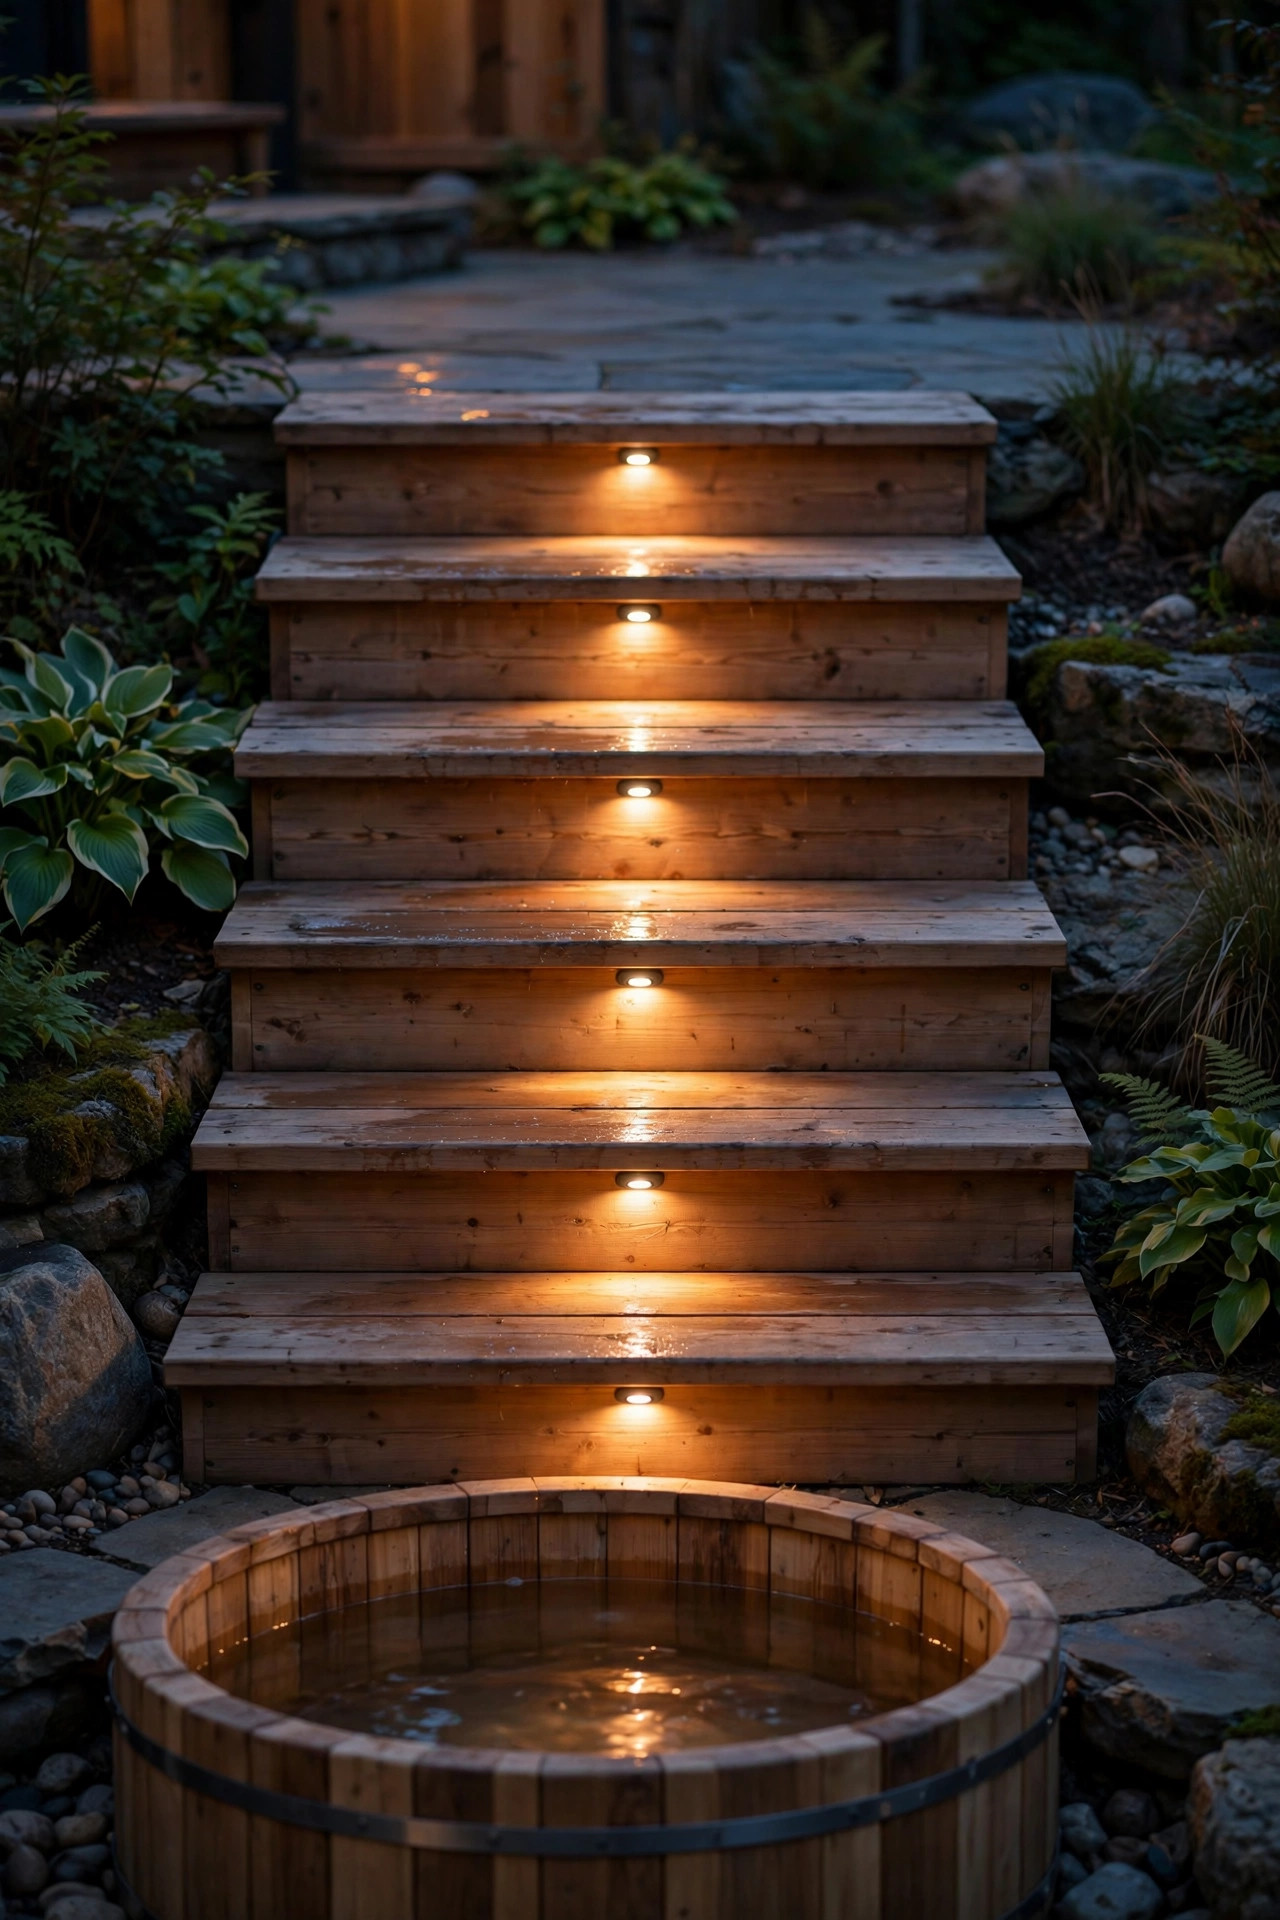
Safety lighting in a tight yard should be surgical: small pools exactly where feet land, and darkness everywhere else. Recessed step lights in each riser, a short LED strip under the deck edge, and one shielded light at the gate latch cover 95 percent of nighttime trips without raising the yard's overall brightness at all. These fixtures sip light, around 30 to 80 lumens each, and because they sit at ankle height under caps and lips, their glow never reaches a fence line. Solar step lights are the easy retrofit: stick or screw two per stair and let the sun do the wiring, though shaded stairs may need wired low-voltage versions for reliability. Mark the level changes too: the patio edge, the spot where the path meets the gate, the raised bed border everyone forgets. I walk the yard barefoot at dusk once a season and note every surprise underfoot; each one earns a small light. Guests will never notice these fixtures, and that is the point. They will just feel oddly sure-footed in your yard.
Suggested budget range: $15 – $55.
12. Choose Solar Stakes With Honestly Modest Lumens
Solar marketing loves inflated numbers, but in a zero lot line yard, the softness of real solar lights is a genuine feature. A stake that truly puts out 50 to 150 lumens gives you a warm marker and a small pool, which is exactly the scale a close-set yard wants. Read reviews for real-world brightness rather than trusting the box claim, and favor models with the solar panel on top of a hooded head, so the light itself stays shielded. The catch is shade: tight lots sit in the shadow of two houses, so some stakes will undercharge. Place the charging-critical lights along the sunniest fence run, or choose models with a separate panel on a short cord that you can park in a sunny corner while the light itself stays in the shade. Keep one wired anchor light, like the porch or gate fixture, for the nights when a cloudy week leaves the solar crew dim. Solar also wins on installation: no trench, no transformer, and you can rearrange the whole scheme in ten minutes when you change your mind.
Suggested budget range: $20 – $65.
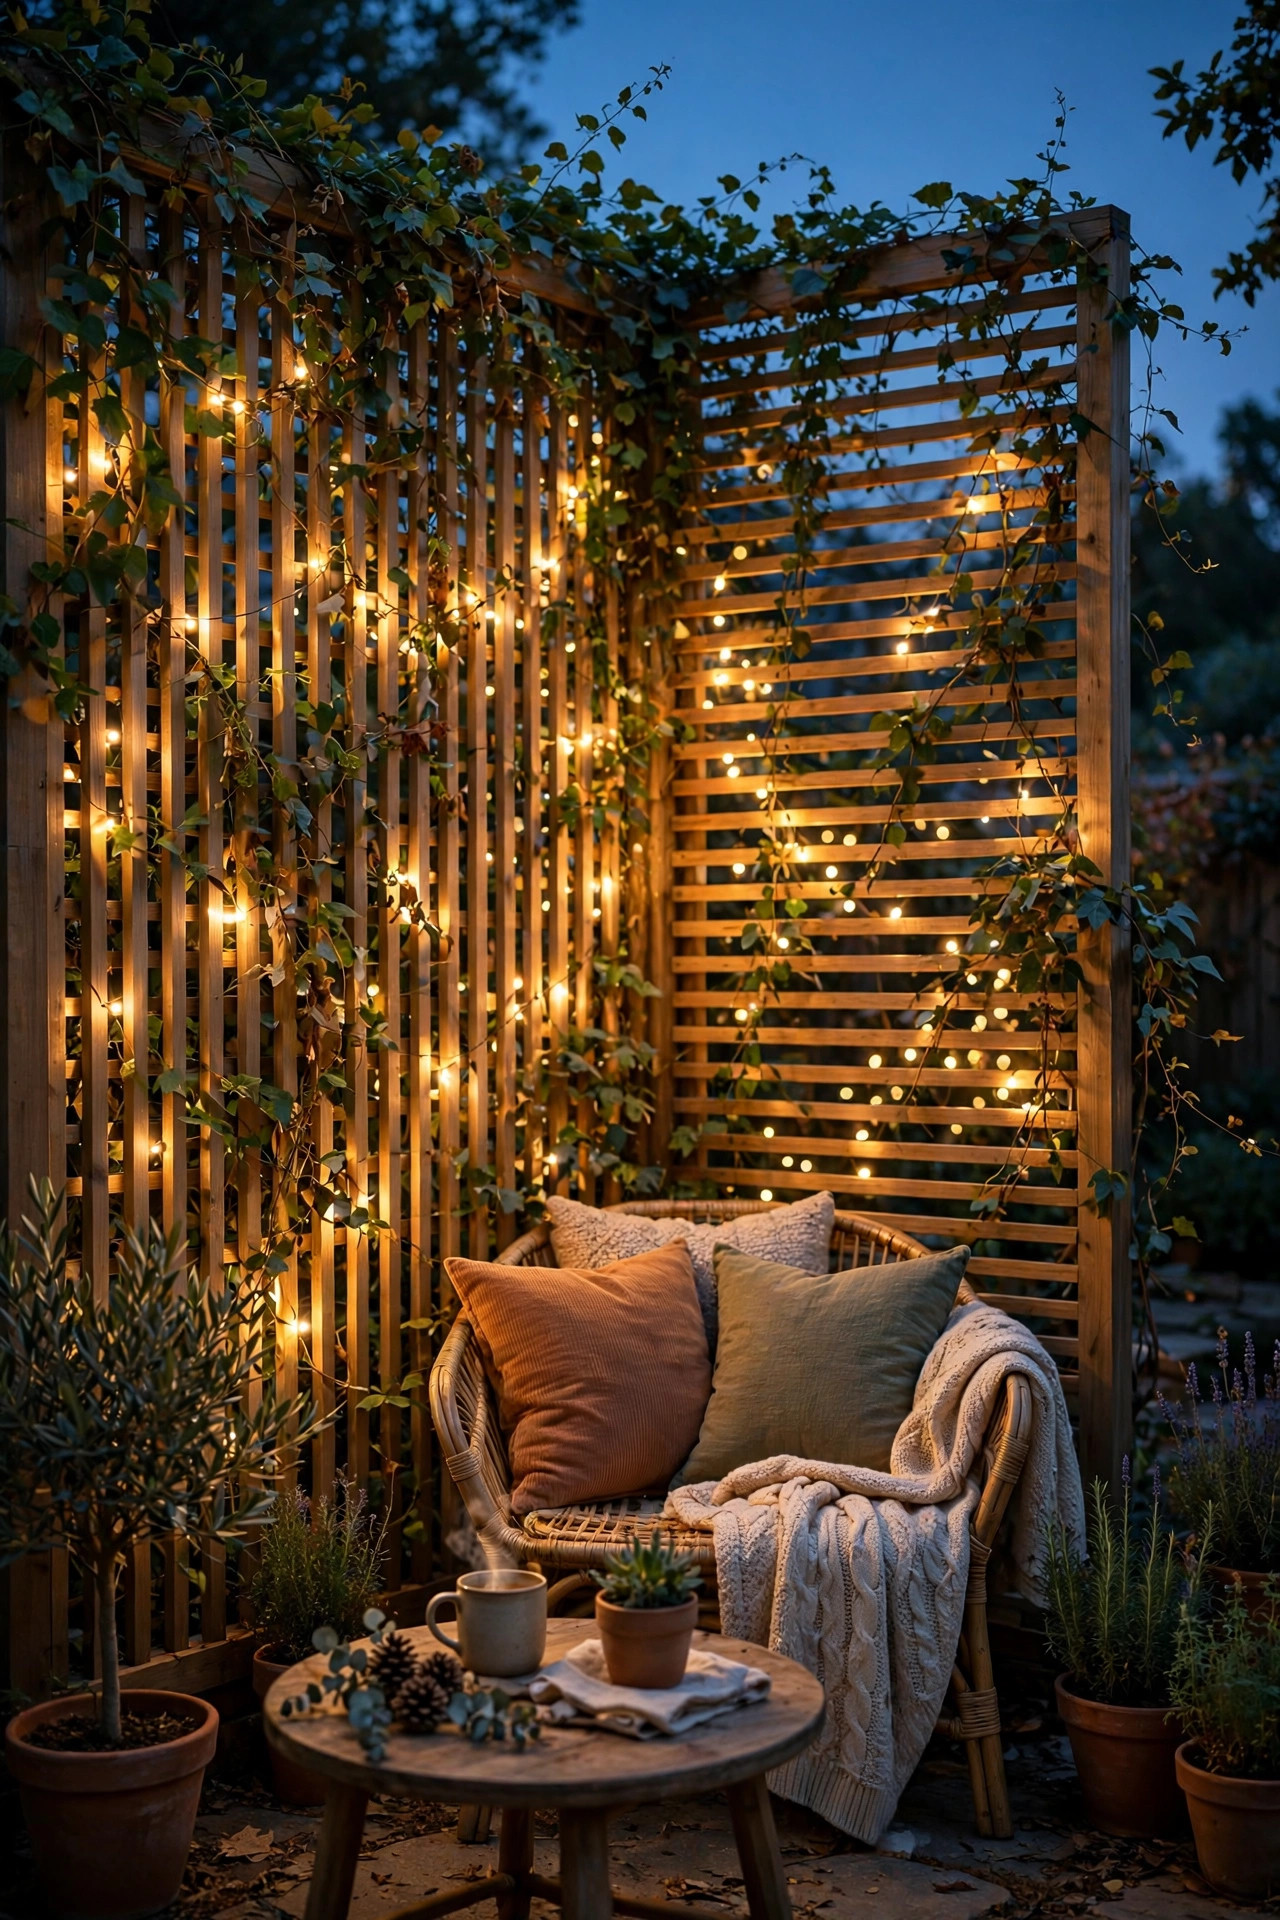
13. Backlight a Trellis or Privacy Screen for a Silhouette Glow
A trellis or slatted privacy screen on your side of the fence does double duty in a close lot: it adds height and privacy by day, and at night it becomes a lantern. Run a strand of copper-wire fairy lights behind the slats, or set one low uplight at the base aimed up the screen, and the light filters through the gaps in soft stripes while the screen itself blocks the direct view from next door. Climbing vines make it even better, scattering the glow into a leafy shimmer. Because the source hides behind the screen, your neighbors see a gentle pattern, not fixtures, and your patio gets a glowing backdrop that photographs like a boutique hotel courtyard. Build the screen inside your property line and keep it freestanding or attached to your own posts to stay clear of shared-fence rules. Battery fairy lights on a timer are the simplest version: six hours on at dusk, off before midnight, no cords crossing the yard. This is my favorite trick for the seating corner, where you want the feeling of a lit wall without a lit fence pointed at anyone.
Suggested budget range: $30 – $110.
14. Put the Whole Yard on Dimmers and a Courtesy Timer
Brightness is only half the neighbor equation; timing is the other half. I put every plug-in light in a tight yard on an astronomical timer or smart plug, set to wind the evening down in stages: full glow at dusk for dinner, a dimmer scene after nine, then off at ten on weeknights. Dimming to half after nine is a courtesy your neighbors will actually notice, because a yard that visibly settles down reads as considerate. Astronomical timers track sunset automatically, so the schedule stays right in June and in October without you touching anything. Smart plugs add app control for the impromptu late night, and you can leave one low path light on a separate setting if the dog needs a late run. For hardwired fixtures, an LED-compatible dimmer at the switch does the same job; just confirm your bulbs are rated dimmable. Whatever system you choose, test the off-time from the street once. A yard that goes politely dark on schedule almost never gets a complaint, even in the closest of lots.
Suggested budget range: $15 – $60.
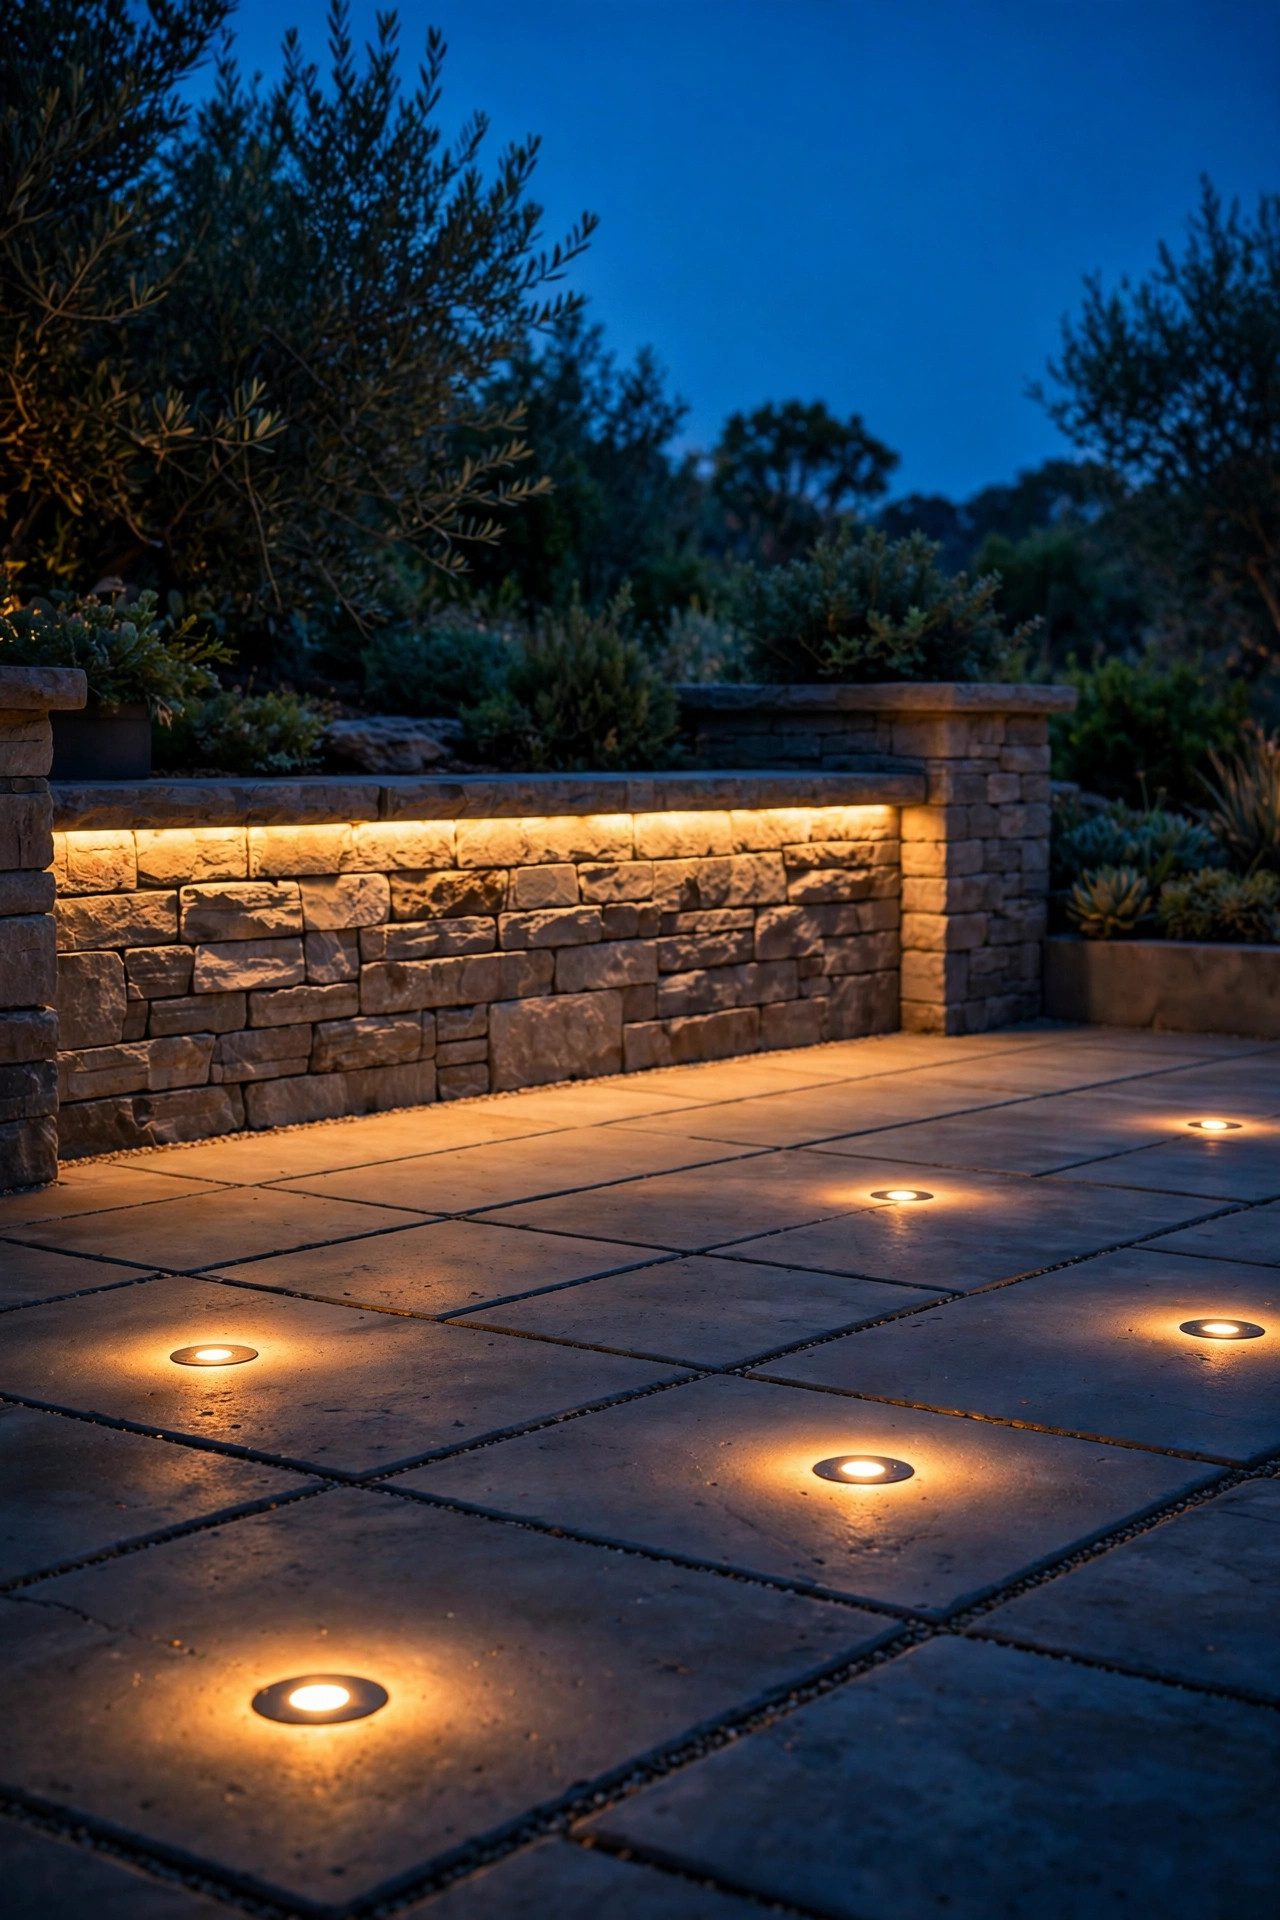
15. Recess Lights Into the Deck, Walls, and Hardscape
The most invisible lighting of all is built into the surfaces themselves. Paver lights set into the patio edge, recessed wall lights in a low retaining wall, and LED strips hidden under a bench or cap rail all share one virtue: you see the effect, never the source, and hidden sources simply cannot glare sideways into a neighboring yard. Under-cap lighting on a low seat wall is my favorite version for tight lots, because it washes the patio floor in a soft band and outlines your seating zone like a boutique courtyard. These are mostly low-voltage systems, so plan them during a patio or deck project when trenches and conduits are easy; retrofitting into finished hardscape is possible but fiddly. Keep the color warm and the brightness low, since a long hidden strip adds up to a lot of total light. Heat and drainage matter too: choose fixtures rated for in-ground or in-deck use, and keep drivers and connections in accessible, dry boxes. Built-in light is the closest thing to spill-proof, which makes it the premium answer for homes that sit close.
Suggested budget range: $60 – $200.
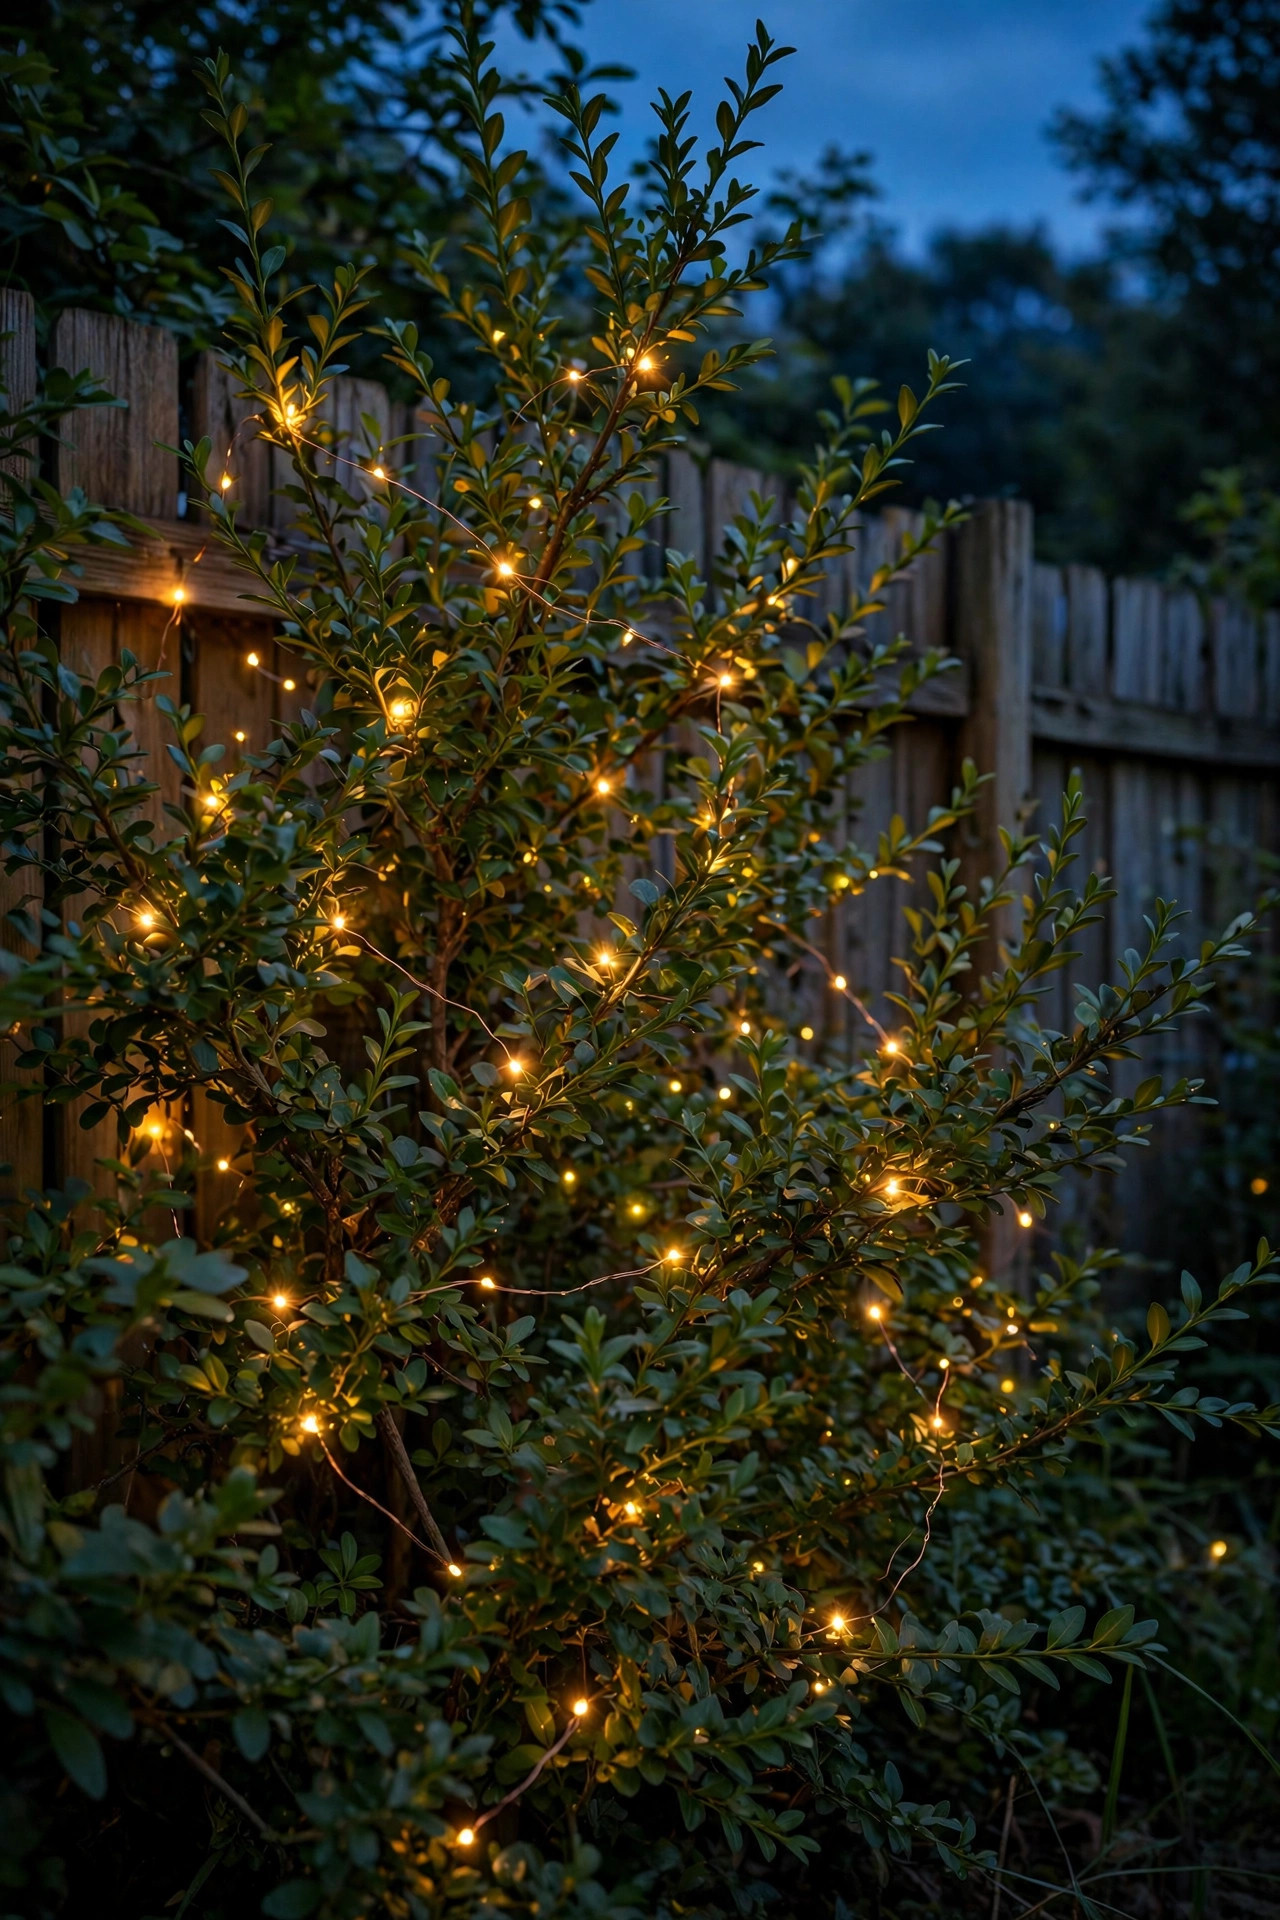
16. Tuck Fairy Lights Into Shrubs for Sparkle That Stays Home
When you want magic without brightness, copper-wire fairy lights woven inside shrubs on your side of the fence are unbeatable. The foliage itself is the shade: hundreds of pinpoints glow through the leaves, the total spill is close to zero, and from the patio it looks like the hedge is full of fireflies. Solar strands with a remote panel suit shaded tight lots, since you can mount the little panel on the fence top where the sun actually lands. Weave the wire loosely through the inner branches rather than wrapping the outside, which keeps the sparkle deep and dimensional and keeps every diode pointed inward. Stick to warm white; colored strands read as carnival from the next yard and cheapen the effect. One strand per shrub is plenty, and a timer that runs them six hours from dusk keeps the show consistent. Pull them out before heavy pruning, and store solar units indoors for the winter if your winters are harsh. It is the cheapest idea on this list per unit of charm, and the least likely to bother anyone.
Suggested budget range: $10 – $35.
17. Finish With a Walk-Through of Your Zero Lot Line Backyard Lighting Ideas From Their Side
The last step happens outside your fence. On the first clear evening after install, walk the property line slowly, stand where your neighbors sit, and look at your yard the way they will see it all summer. With permission, step into their yard for two minutes; if that is not an option, a step stool at your fence line at seated eye height tells you most of the story. You are hunting for three things: any visible bare bulb, any beam that lands past the fence, and any fixture bright enough to pull the eye from across their patio. Angle, shield, or dim each offender on the spot; most fixes take a quarter turn of a fixture head. Then do the same check from the upstairs window line if you can, since second stories see clean over fences. This walk-through is also when you confirm the timers behave and the late dim scene actually feels dim. Honestly, doing this once, and telling the neighbors you did it, buys more goodwill than any fixture on this list. Great close-lot lighting is invisible from everywhere except the chair you are sitting in.
Suggested budget range: $0 – $20.
Frequently Asked Questions
What color temperature is least likely to bother close neighbors?
Warm white at 2700K or below. It reads as candlelight rather than commercial light, the eye forgives it at much higher brightness, and it flatters faces and food at the same time. Avoid 4000K and 5000K fixtures in close-set yards; even a modest cool bulb looks harsh next to everyone else's warm porch lights.
How many lumens do I actually need when houses sit close together?
Far fewer than the packaging suggests. Path and step lights work beautifully at 30 to 150 lumens each, accent and fence-wash fixtures at 100 to 300, and one modest fixture rarely needs to exceed 400. In a tight lot, total layered light matters more than any single bright source, so spend on more small fixtures instead of fewer big ones.
Are solar lights bright enough for a zero lot line yard?
Yes, for paths, markers, steps, and ambient sparkle, solar is honestly ideal here because its natural softness suits close homes. The limitation is shade: lots shadowed by two houses may undercharge panels, so use remote-panel models or place stakes along the sunny fence run, and keep one wired anchor light for the darkest weeks of winter.
What time should backyard lights turn off in a close neighborhood?
Ten p.m. is the widely accepted courtesy hour, and many HOAs and city ordinances set quiet or lighting curfews around then. Put everything on an astronomical timer or smart plug so the yard winds down on schedule, dimming after nine and going dark at ten, with only a low path light left on if you need it.
Conclusion
The through-line in all of these zero lot line backyard lighting ideas is aim, height, and timing: keep the light low, point it home, and let it retire early. Start with the property-line plan and the shielded fixtures, add your layers one at a time, and do the neighbor-side walk-through before you call it finished. A small lot is not a limitation; honestly, it is an excuse to light with more care than the big-lawn crowd ever bothers with. Browse the rest of the outdoor lighting ideas here on the site for your next project, and may your evenings stay golden and your fences stay friendly.