If your backyard is long and narrow, you already know the problem. The patio glows, the grill area looks great, and then the yard just fades into a dark tunnel, with a fence line you can barely see past the first twenty feet. I lived with that tunnel effect for two summers before I figured out that fence line lighting ideas are the fastest way to make a long yard feel finished. A lit border pulls your eye all the way to the back corner, and suddenly the whole space reads bigger, safer, and honestly a little magical. My approach is the same layering I use everywhere: a soft base of light at ground level, a gentle glow on the fence itself, and a few taller accents to break up a long run. Below are fifteen ways to do it, most of them renter-friendly and many of them solar, so there is no trenching and no electrician required. If you want the broader overview first, my guide to fence lighting ideas covers every fence style, but this post is specifically about long borders and lighting every last foot of them.
1. Solar Post Caps: Fence Line Lighting Ideas With Zero Wiring
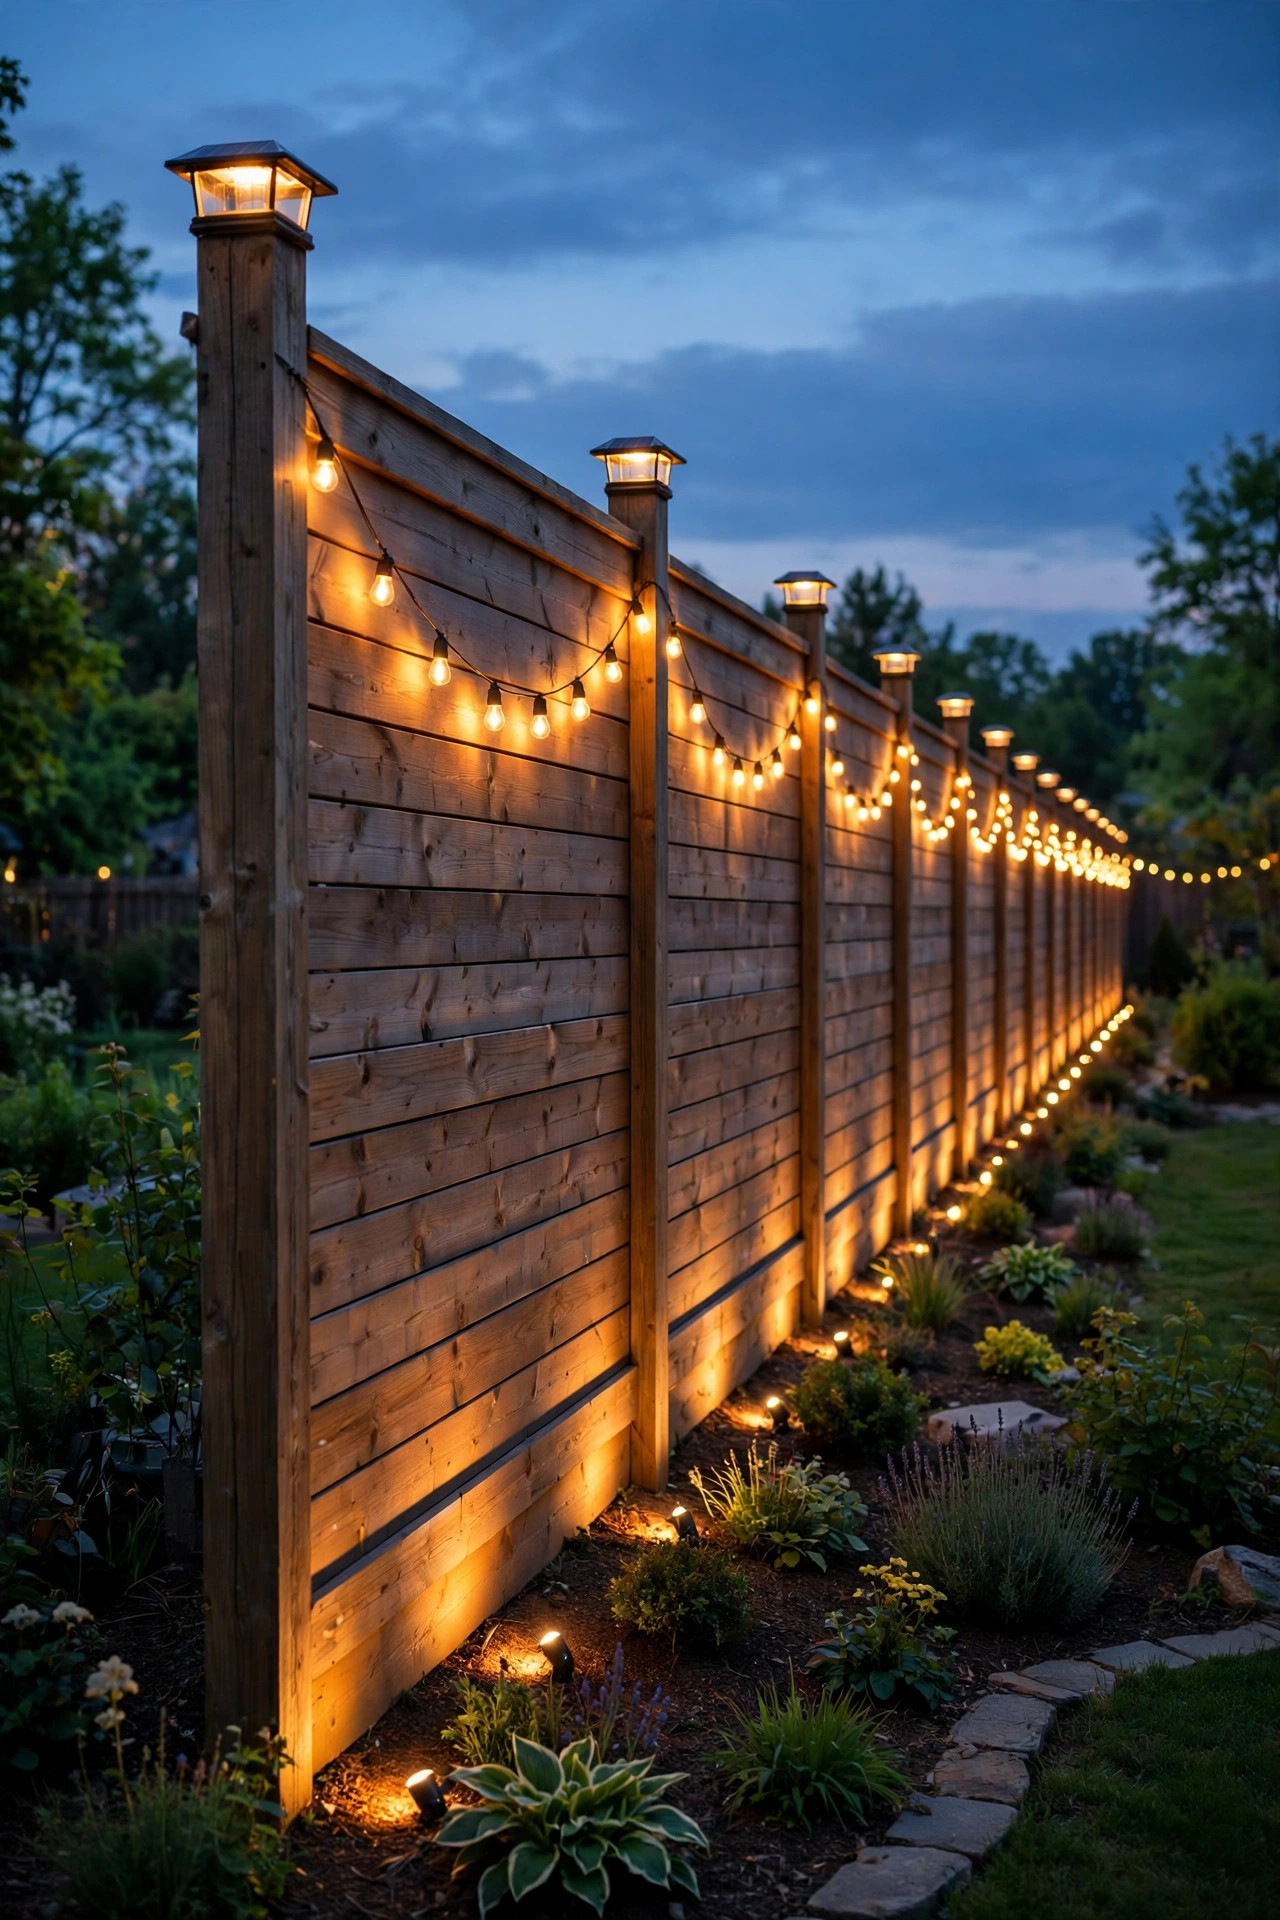
When a client or a neighbor asks me where to start on a long fence, I always say the same thing: the posts. On a typical six-foot privacy fence, posts land every six to eight feet, which gives you a ready-made rhythm of light points marching down the whole border without a single wire. Solar post cap lights simply sit on top of each post, usually with screws or an adapter base for 4×4 and 6×6 posts, and they charge all day from the flat top surface. Look for caps rated at least 10 to 20 lumens each with a warm 2700K to 3000K color temperature, because cool blue-white caps look harsh against wood. On my own back fence I run caps on every post along the longest run, roughly ninety feet, and the effect is like a runway of soft lanterns. One honest warning: cheap caps with tiny panels fade after two hours, so buy the style with replaceable rechargeable batteries and panels you can wipe clean. I have a full roundup of styles in my solar post light ideas post if you want to compare shapes before you commit to twenty matching caps.
Suggested budget range: $60 – $180.

2. Swag String Lights From Post to Post
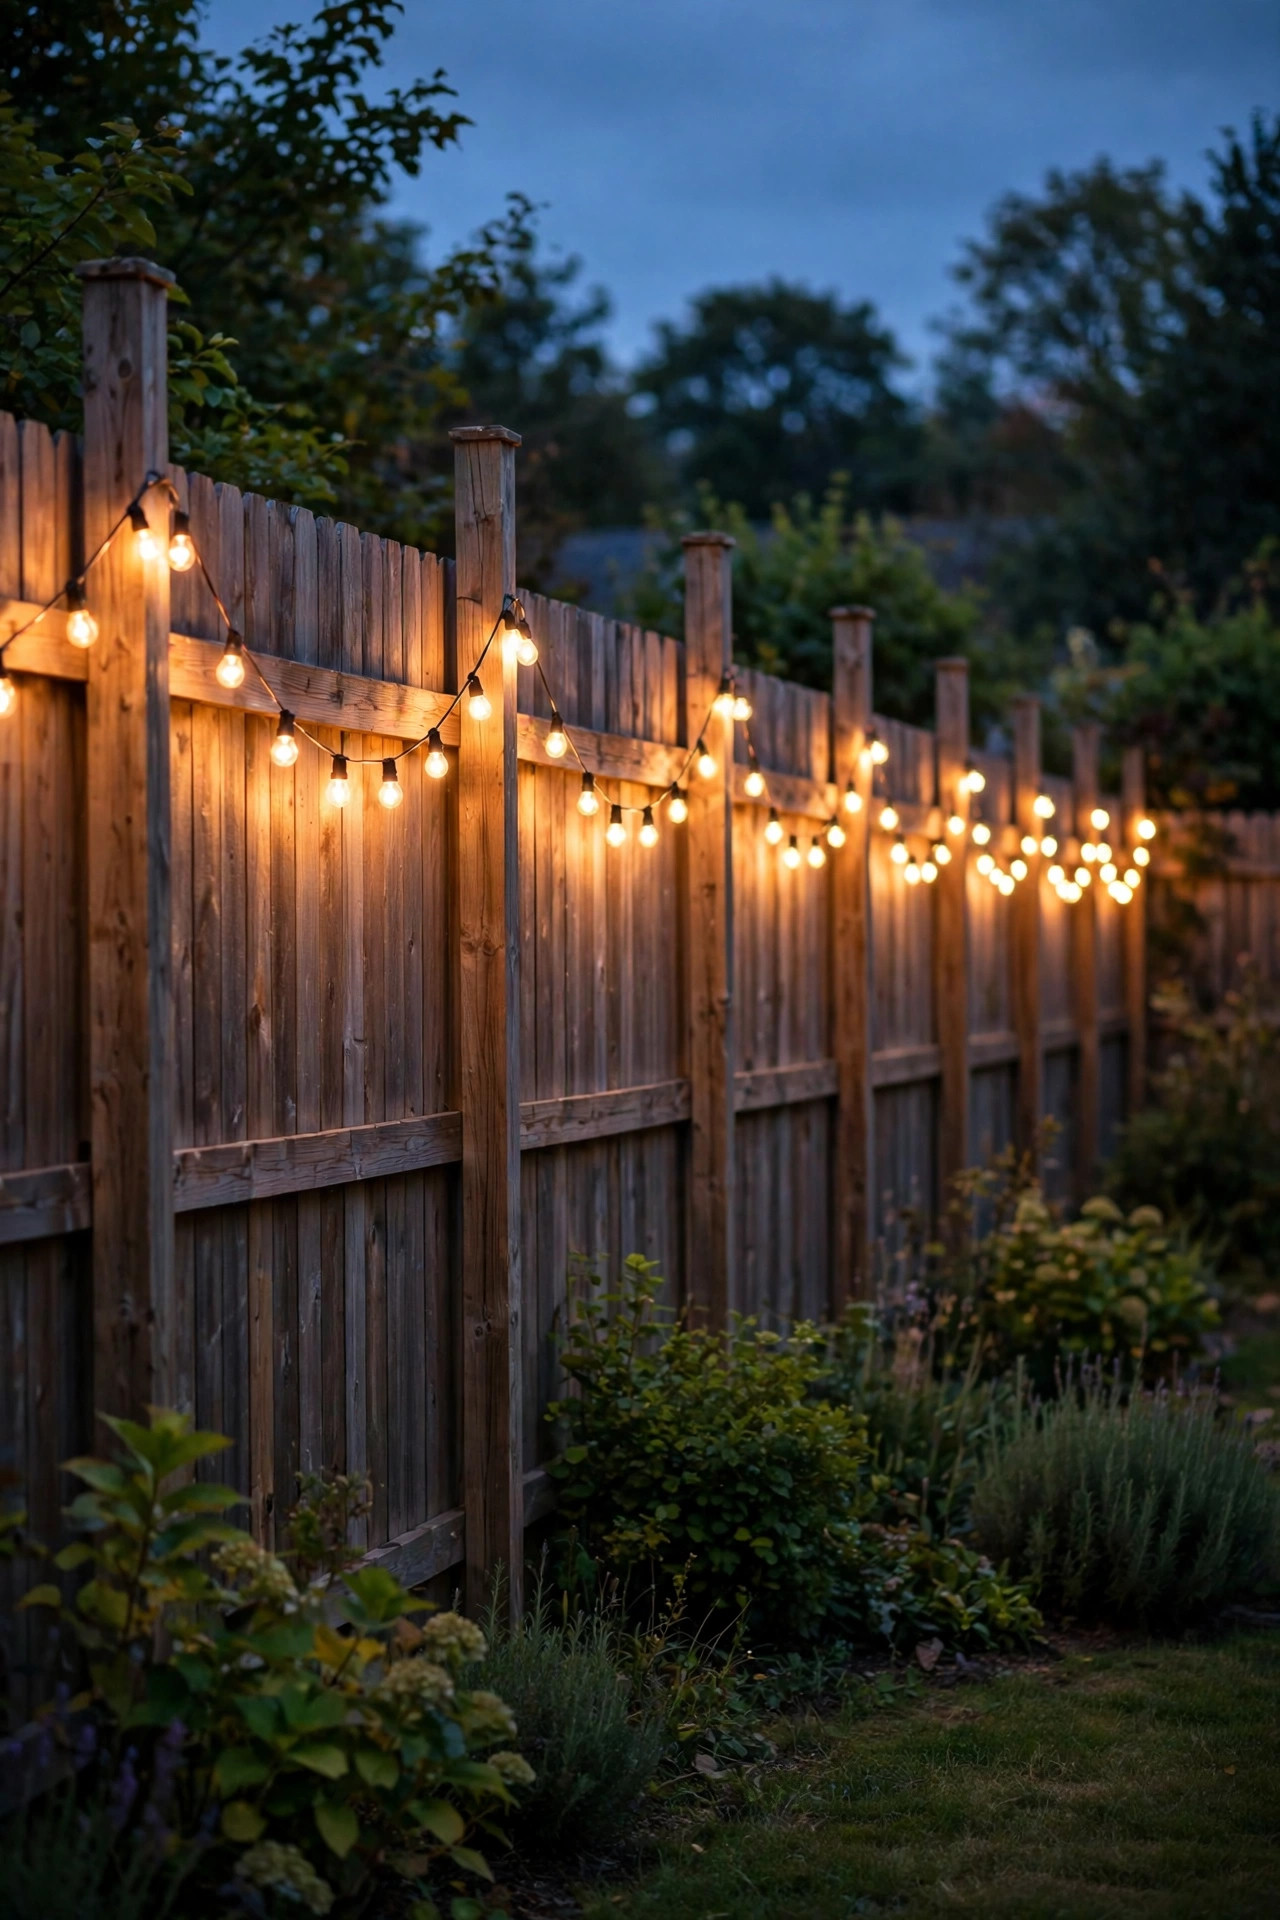
String lights are the hardest-working layer on a long fence because one strand covers twenty-five to forty-eight feet, so two or three strands can dress an entire border in an afternoon. I hang mine in gentle swags, attaching at each post with screw-in cup hooks or stainless eye bolts so the dips land evenly between posts instead of sagging randomly. Keep the lowest point of each swag around five and a half feet so nobody brushes a bulb walking the border, and use shatterproof LED filament-style bulbs rated for outdoor use. On a long run, spacing matters more than brightness: even six-foot swags look intentional, while uneven droops look like a party that never got cleaned up. If your fence borders a planting bed, let the swags sit about a foot out from the boards so the light grazes the plants below. For outlets, I run one outdoor smart plug at the house end so the whole line comes on at dusk automatically, and I never connect more strands in series than the strand rating allows, usually three. It is the single change guests comment on most.
Suggested budget range: $50 – $150.
3. Graze the Boards With Low-Voltage Uplights
If your fence itself is pretty, with cedar boards or horizontal slats worth showing off, uplighting is the most elegant layer you can add. Small low-voltage spotlights or well lights sit at the base of the fence, aimed up at a steep angle so the beam grazes across the wood grain instead of blasting a hot spot. On a long border I space them every eight to ten feet, alternating slightly in and out of the planting bed so the scallops of light overlap softly. A 12-volt system with a 100 to 200 watt transformer handles a hundred-foot run comfortably, and the cable simply tucks into the mulch line along the fence, no deep trenching needed. Choose fixtures with a 2700K LED and a narrow-to-medium beam, around 30 to 45 degrees, so the light climbs the boards rather than spilling into your neighbor's yard. This is the same wall-grazing technique I break down in my fence wall wash lighting ideas, and it makes even a plain stockade fence look custom-built after dark. Keep fixtures a few inches off the boards so leaf litter does not pile against hot lenses.
Suggested budget range: $180 – $450.
4. Line the Base With Solar Stake Lights
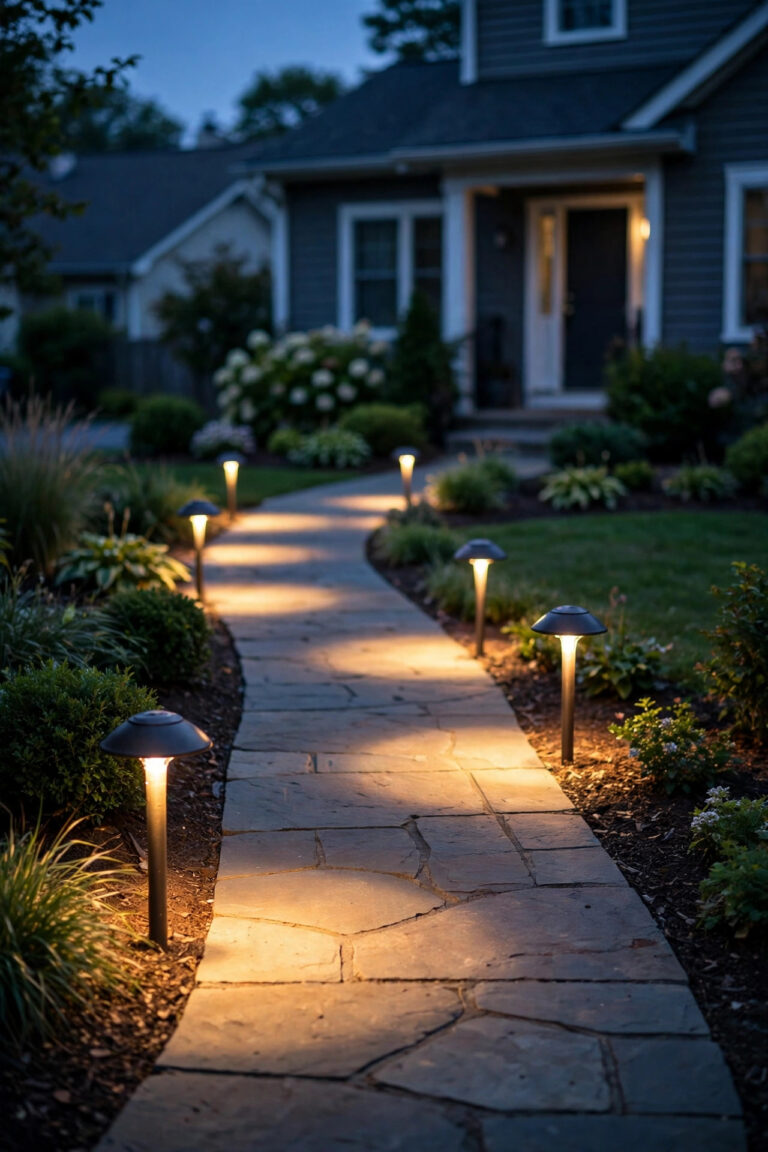
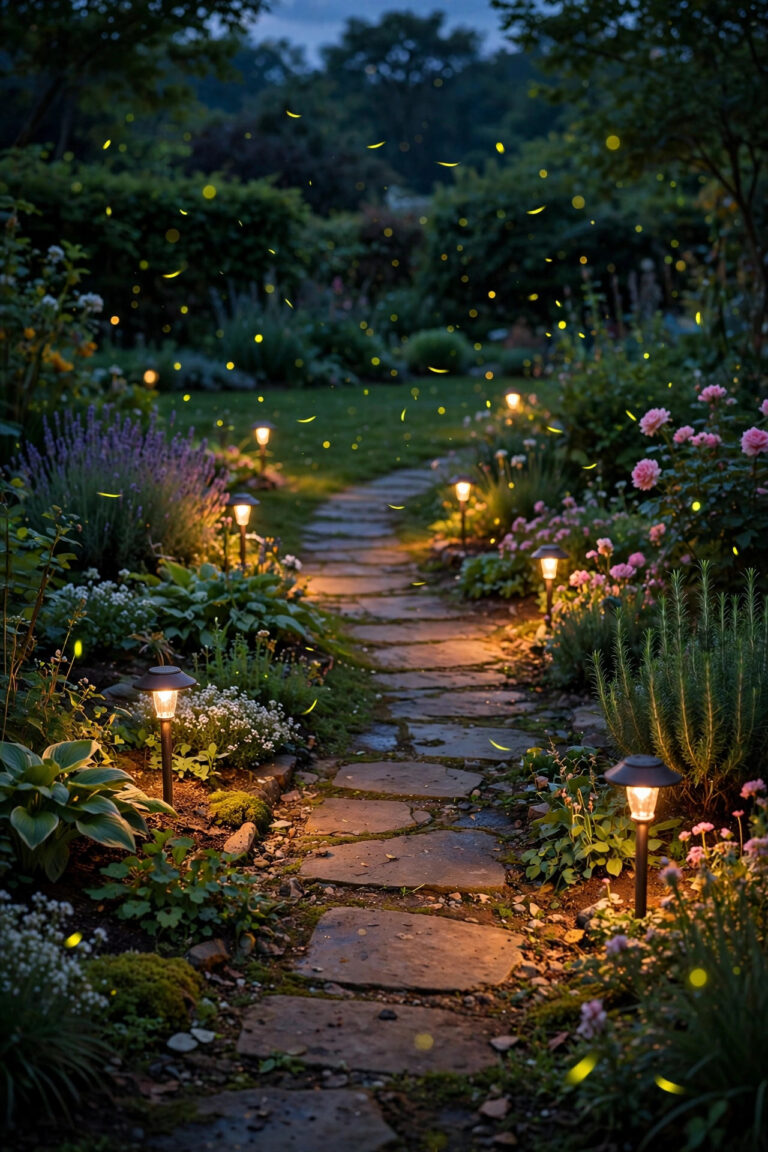
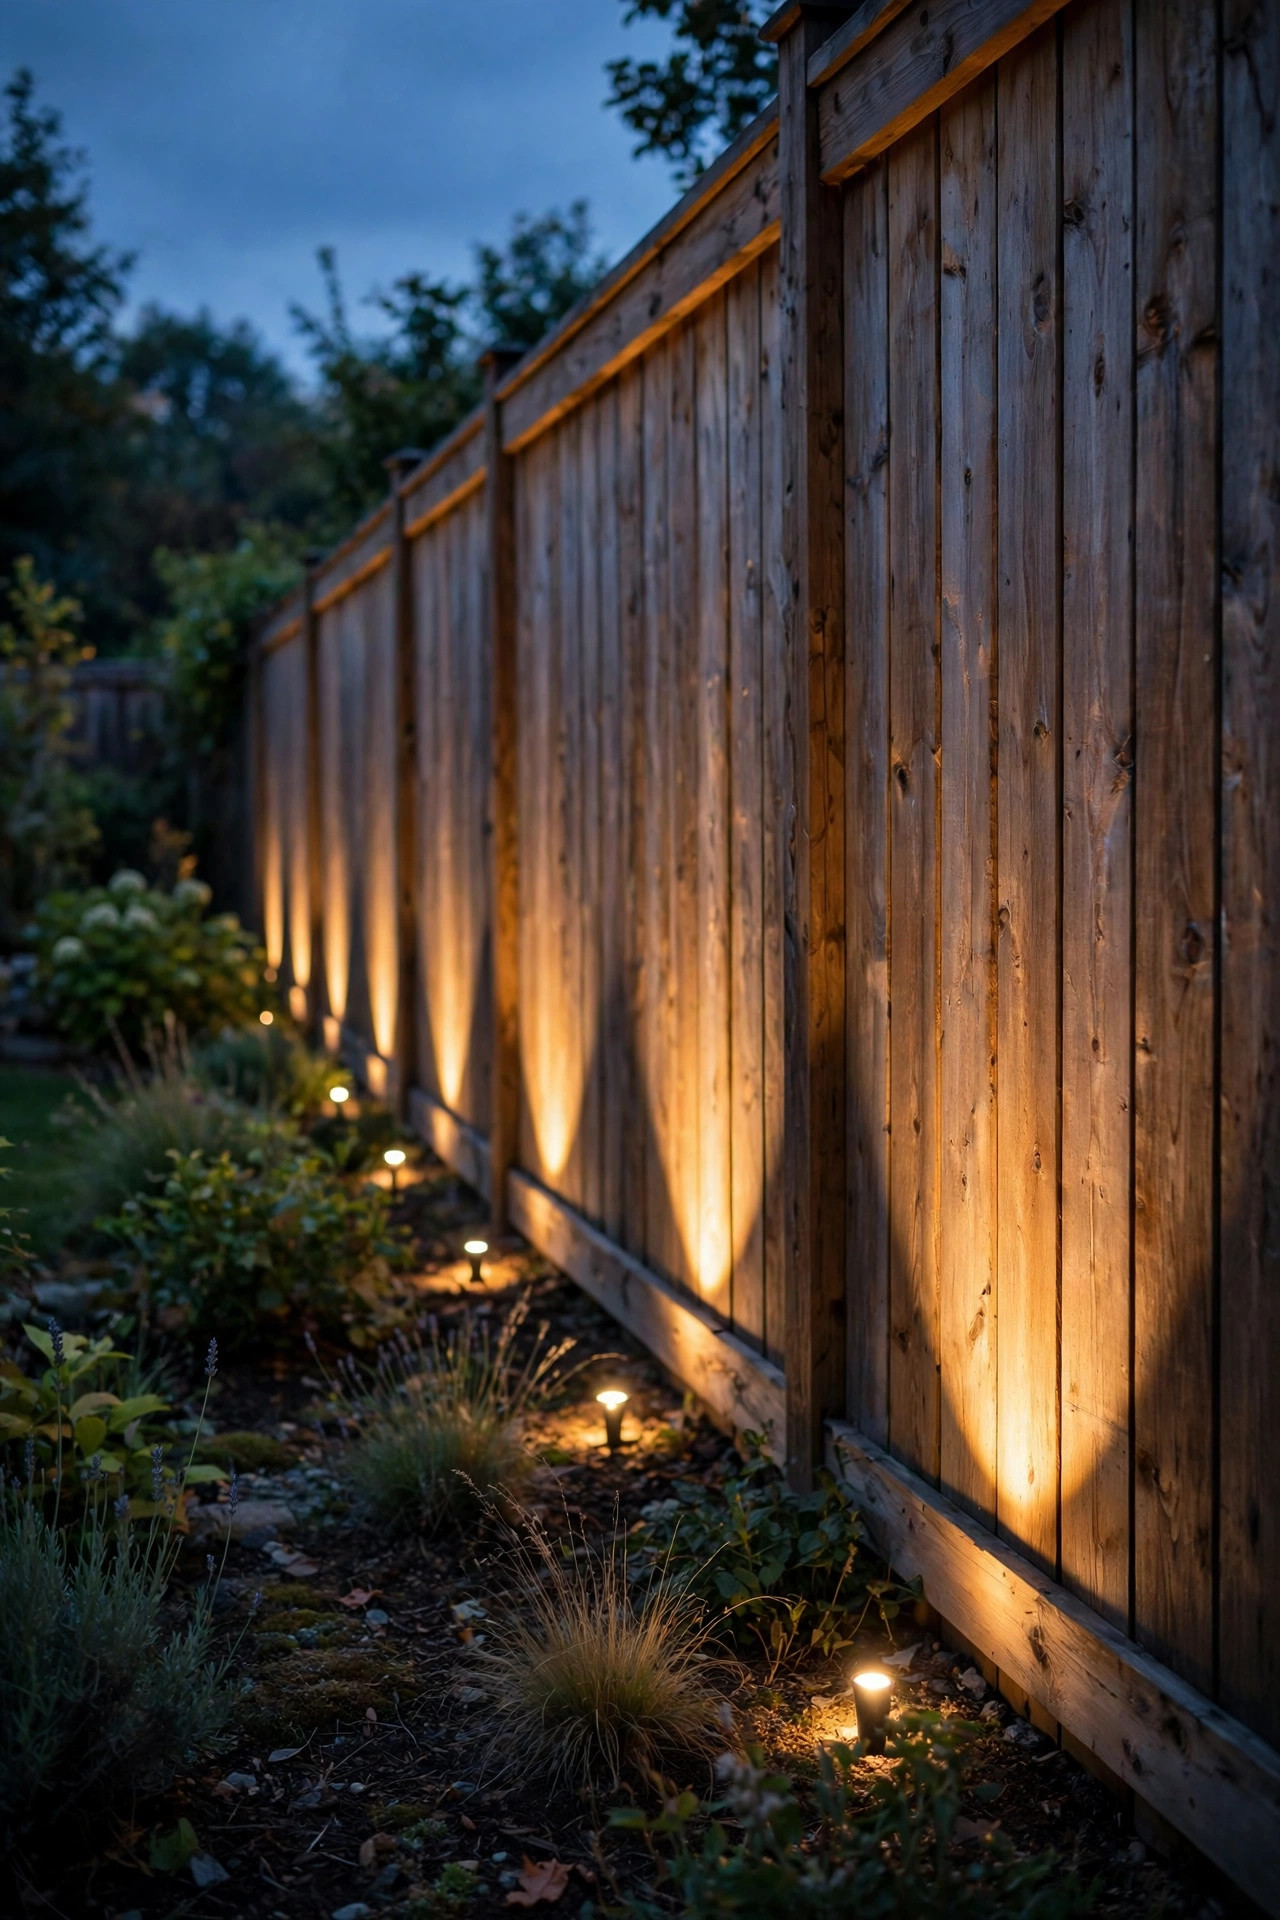
The ground layer is what makes a long border feel safe to walk at night, and solar stake lights are the cheapest way to get it. I push them into the soil or mulch a few inches out from the fence, spaced about four to six feet apart, staggering them slightly instead of marching them in a perfect soldier line. That little bit of irregularity reads more like a garden and less like an airport. For a long fence, buy in bulk packs and buy extras, because one or two in any cheap set will underperform, and matching replacements get discontinued fast. Warm white is non-negotiable for me; the bluish bargain stakes make mulch look gray and sad. Push stakes fully upright after the first rain, since soft soil lets them lean, and pull them in for a panel cleaning every month or so. In shady borders, solar stakes struggle, so reserve them for the sunny stretches and fill the shaded gaps with the low-voltage options elsewhere in this list. Mixed thoughtfully, nobody can tell which lights are solar and which are wired once the sun goes down.
Suggested budget range: $40 – $120.
5. Mount Downlights on the Fence for a Moonlight Wash
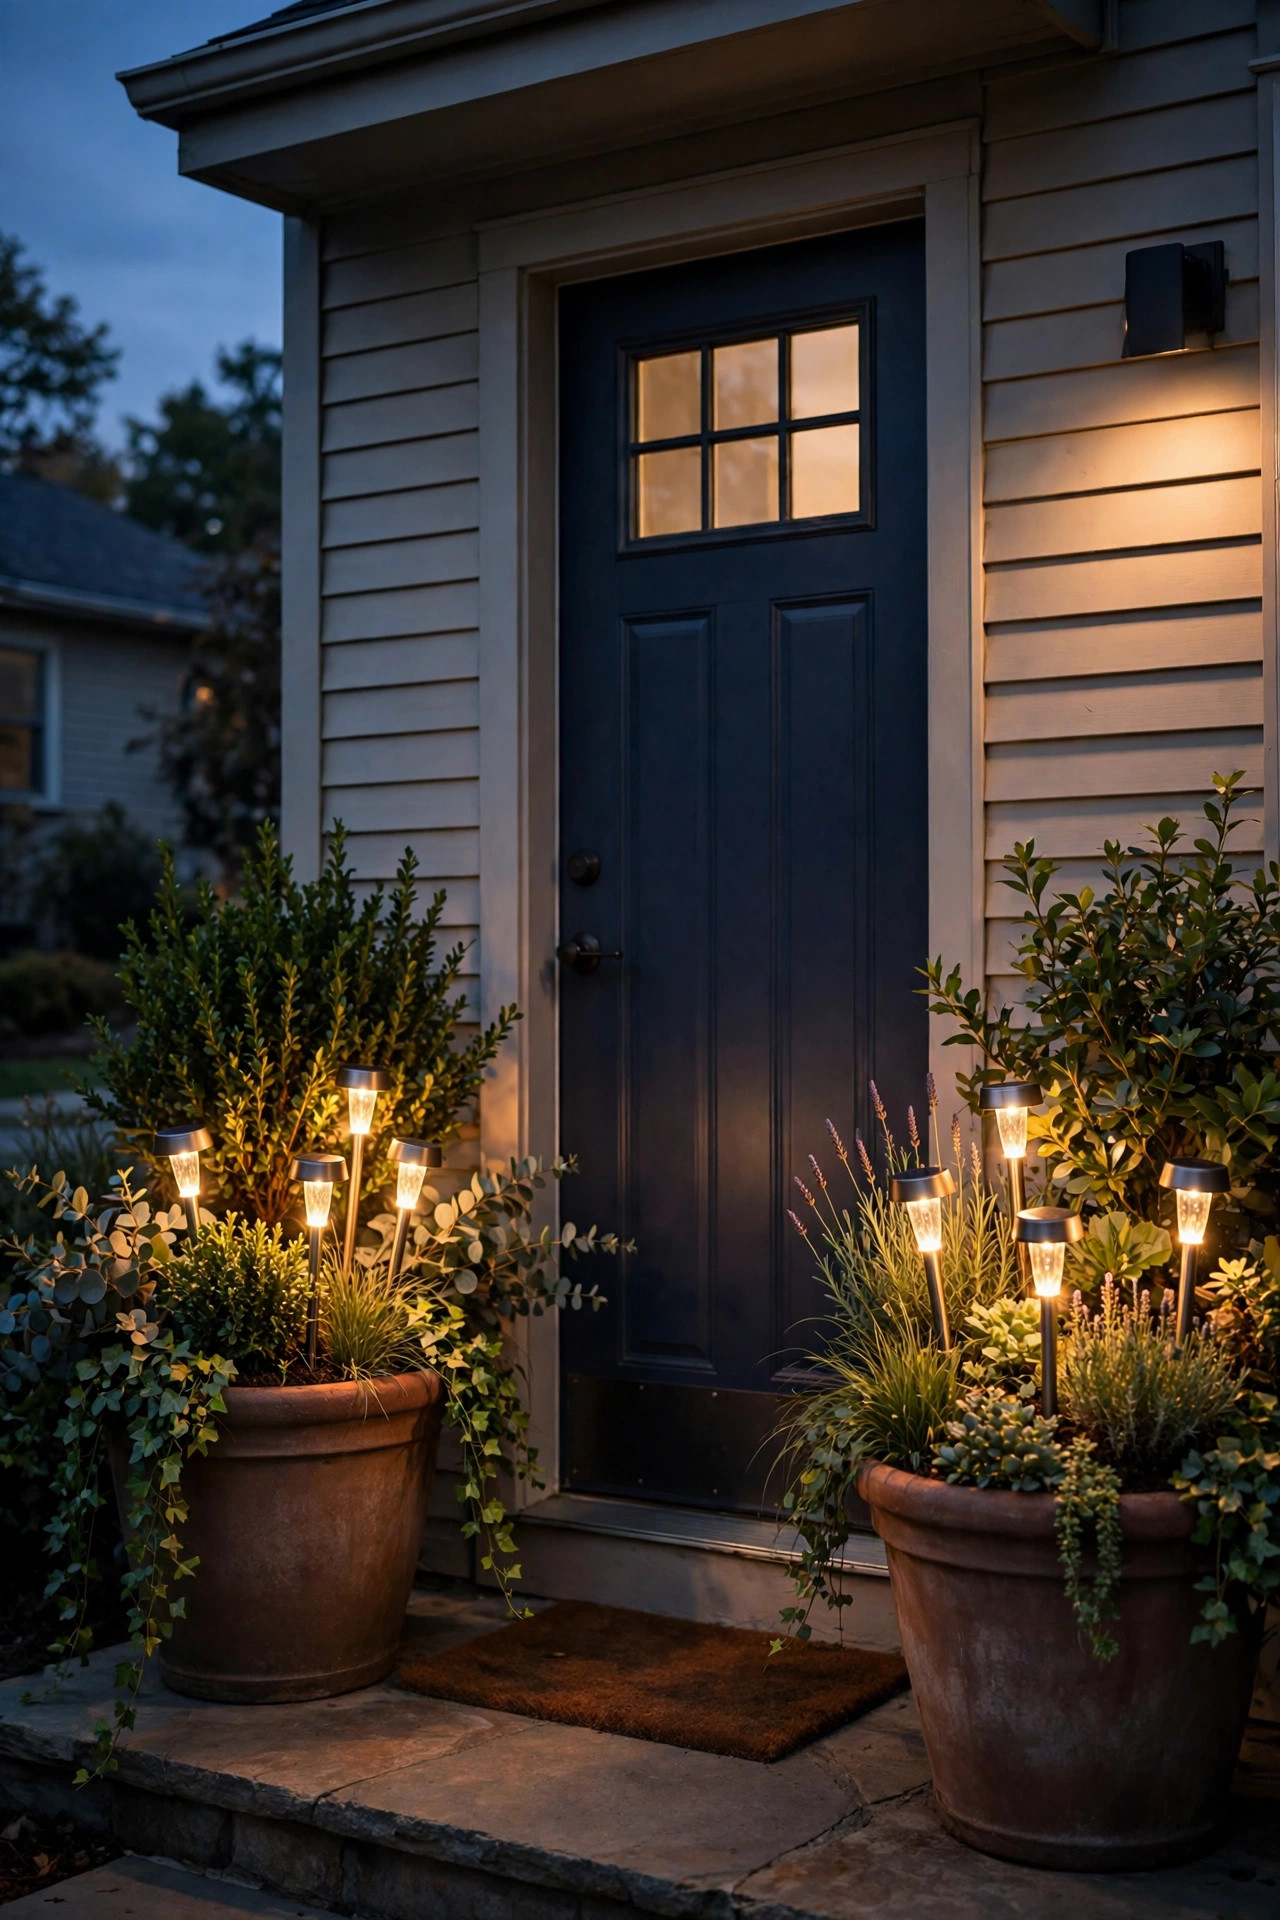
Most fence lighting points up or out, but my favorite trick for a long border points down. Small hooded downlights, sometimes sold as deck rail or eave lights, mount high on the fence posts or under the top rail and wash a soft cone of light down the boards and onto the ground. It mimics moonlight, which is why it feels so calm, and it keeps the light source shielded so you are never staring into a bare bulb from the patio. I mount them every second or third post, about ten to sixteen feet apart, wired in a low-voltage run or in solar versions where the fence gets strong sun. Because the beam is aimed down, almost none of it crosses into neighboring yards, which makes this the most neighbor-friendly option on a tight lot. Angle each fixture so the pool of light lands about two feet out from the fence, right where the planting bed meets the lawn. The layered effect, boards glowing above and ground pooled below, is what designers do on estate fences, and it scales beautifully down to a regular suburban lot.
Suggested budget range: $120 – $300.

6. Weave Fairy Lights Through Climbing Vines
If your long fence is softened with climbing roses, jasmine, or even a simple ivy panel, copper-wire fairy lights were made for it. The wire is nearly invisible in daylight and bends around stems without any clips, so you can trace the vine growth itself and the whole fence section sparkles from inside the foliage. I use battery or solar strands with a built-in timer, set to come on for six hours at dusk, and I weave them loosely rather than wrapping tight, leaving room for the plant to grow without strangling stems. Stick to LED fairy lights only near foliage and wood, never any bulb that gets warm, and tuck battery packs into a small weatherproof box at the base of the post. On a long border, you do not need to cover every foot; clustering the sparkle at two or three vine panels and leaving calm stretches between actually looks more designed. The effect at night is pure fireflies, and it photographs beautifully, which matters if your yard doubles as your evening entertaining backdrop. Replace strands every couple of seasons, as the thin wire eventually corrodes outdoors.
Suggested budget range: $25 – $80.

7. Hang Lantern-Style Sconces on Key Posts
A long fence line benefits from a few fixtures with real presence, and lantern-style sconces mounted on posts deliver exactly that. Instead of lighting every post the same way, I pick the punctuation points: the gate, the corner, the spot across from the patio doors, and maybe the far end of the run. A lantern sconce at eye level, about five and a half to six feet up, reads like architecture rather than decoration. Hardwired versions on a low-voltage line are the most reliable, but solar lantern sconces have gotten genuinely good, especially the styles with a separate panel you can angle toward the sun. Keep the bulb warm, 2700K, and modest in output; these are glow pieces, not floodlights, and two or three along a long border is plenty when your other layers carry the base light. Match the finish to your gate hardware and house trim so the fence feels connected to the home. In my experience, this is the layer that makes a fence line look expensive, because the eye reads fixtures at standing height as intentional design.
Suggested budget range: $90 – $260.

8. Run Rope Light or an LED Strip Under the Top Rail
For a clean, modern line of light with zero visible fixtures, hide a rope light or outdoor LED strip in the shadow gap under the fence's top rail. Many privacy fences have a horizontal 2×4 cap or rail, and the underside is a perfect channel: the strip glows down the boards in one continuous ribbon and you never see the source. On a long run this is wonderfully forgiving, because the continuous line hides small gaps that individual fixtures would expose. Use a strip rated IP65 or better, or a fully encased rope light, and secure it with clips every twelve inches rather than trusting adhesive outdoors. Power it from a low-voltage transformer where you can, or choose solar rope sections for shorter borders. Watch your total run length, since long strips dim toward the far end; on runs past about thirty feet, feed power from both ends or split the border into two zones. The result reads like a high-end landscape install, a single thread of gold running the length of the yard, and it pairs beautifully with the ground layer below.
Suggested budget range: $45 – $140.

9. Spotlight the Specimen Plants Along the Border
A long fence usually has a long planting bed in front of it, and lighting only the fence misses half the show. I place a few adjustable spotlights in the bed aimed at the stars: the small ornamental tree, the big hydrangea, the ornamental grasses that move in the breeze. Aiming some beams at plants and letting others graze the fence behind them creates depth, so the border reads as layers instead of a flat glowing wall. Three to five spotlights along a long border is enough if you choose your subjects well, spacing them unevenly, the way plants themselves grow unevenly. Keep beams at 2700K and moderate output, around 200 to 400 lumens, so the grasses glow rather than glare. Cross-lighting, aiming two low beams at one plant from different angles, looks especially lush and hides the fixture positions. Set spotlights on short stakes you can nudge as plants grow, and re-aim twice a year, because a beam that was perfect in spring can disappear into summer foliage. This layer gives the fence line something worth lighting in the first place.
Suggested budget range: $100 – $320.

10. Add Motion-Sensor Lights at Gates and Corners
Ambient glow is for beauty, but the ends of a long fence are working zones: the gate, the trash-bin corner, the path to the shed. Those spots deserve motion-sensor lights that stay dark until you approach, then give you a clear, bright pool to work by. I mount solar motion lights with a separate adjustable panel on the gate post and at the far corner, aimed down the side-yard path. Choose models with a warm-to-neutral color temperature if you can find them, a detection range you can dial back to about fifteen feet, and a timer that shuts off within a minute so you are not lighting the yard for every passing cat. Because they are dark most of the night, they do not fight with your pretty layers, and they draw almost nothing from their batteries. In my experience the gate light is the single most appreciated fixture by anyone who has ever fumbled a latch in the dark with a trash bag in hand. Keep one at any fence door in the middle of a long run too, since mid-border gates are easy to forget when you plan.
Suggested budget range: $35 – $110.

11. Stand Flame-Effect Solar Torches Along the Line
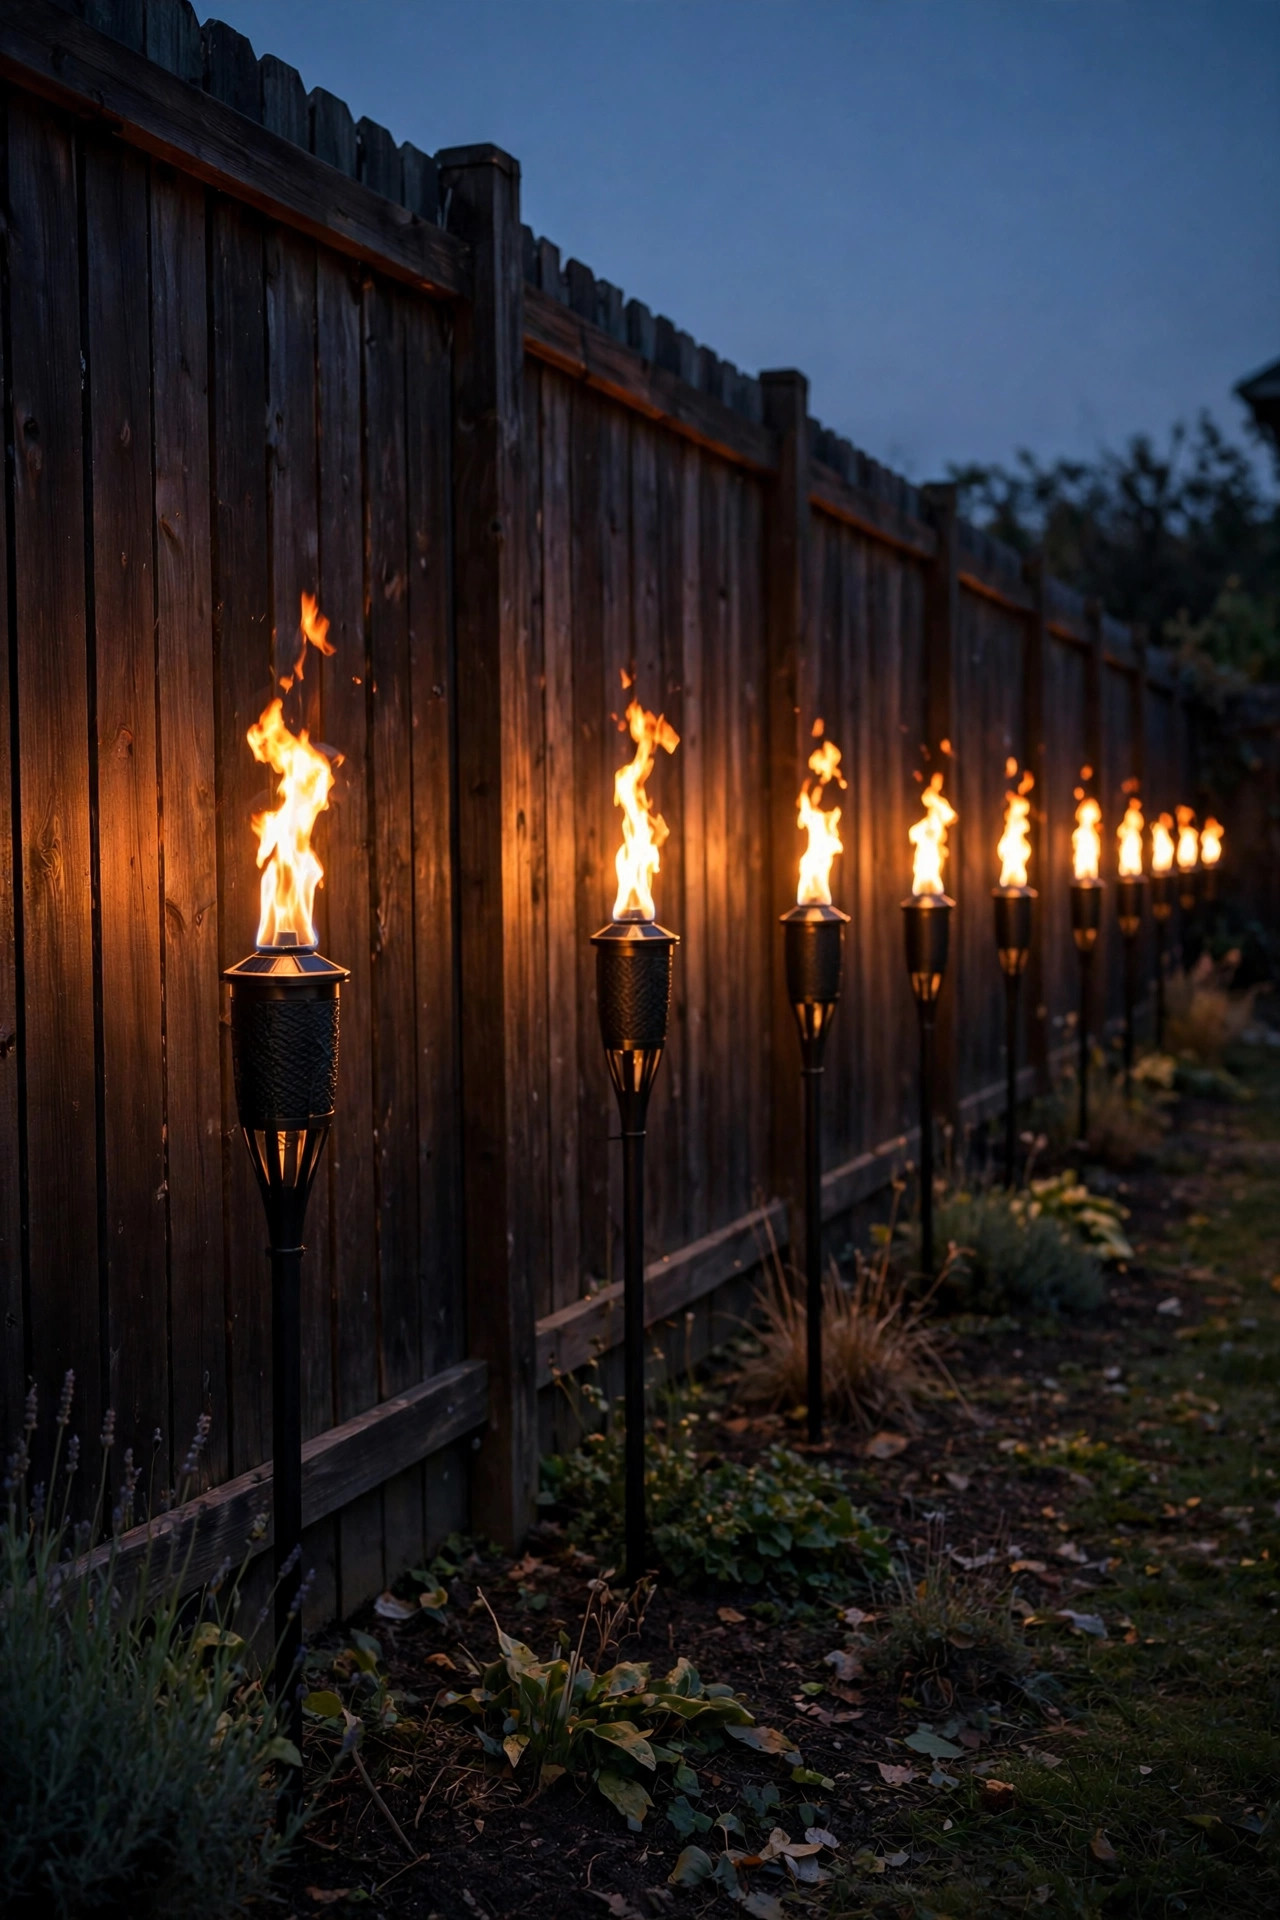
When you want a border that feels like a resort walk, flame-effect solar torches are pure theater. The LED flame flickers inside a torch head on a stake, and a row of them along a long fence reads as living firelight without a single real flame near your wooden boards. I space them wider than path lights, every six to eight feet, and I like them best in front of darker fence sections where the orange flicker has contrast. Height helps: many models come with extension stakes, and a torch head around two and a half to three feet tall shows above low plantings. Be honest with yourself about quality here, because the cheapest flame torches look like traffic cones at noon and die by midsummer. Mid-range ones with bigger panels and metal stakes are worth it. This is the layer I switch on for parties even when the rest of the system is my everyday setup; the flicker animates the whole border in a way steady light never does. LED-only and solar means no fire risk near fences, mulch, or dry grasses.
Suggested budget range: $55 – $160.
12. Set In-Ground Well Lights for a Clean Border Beam
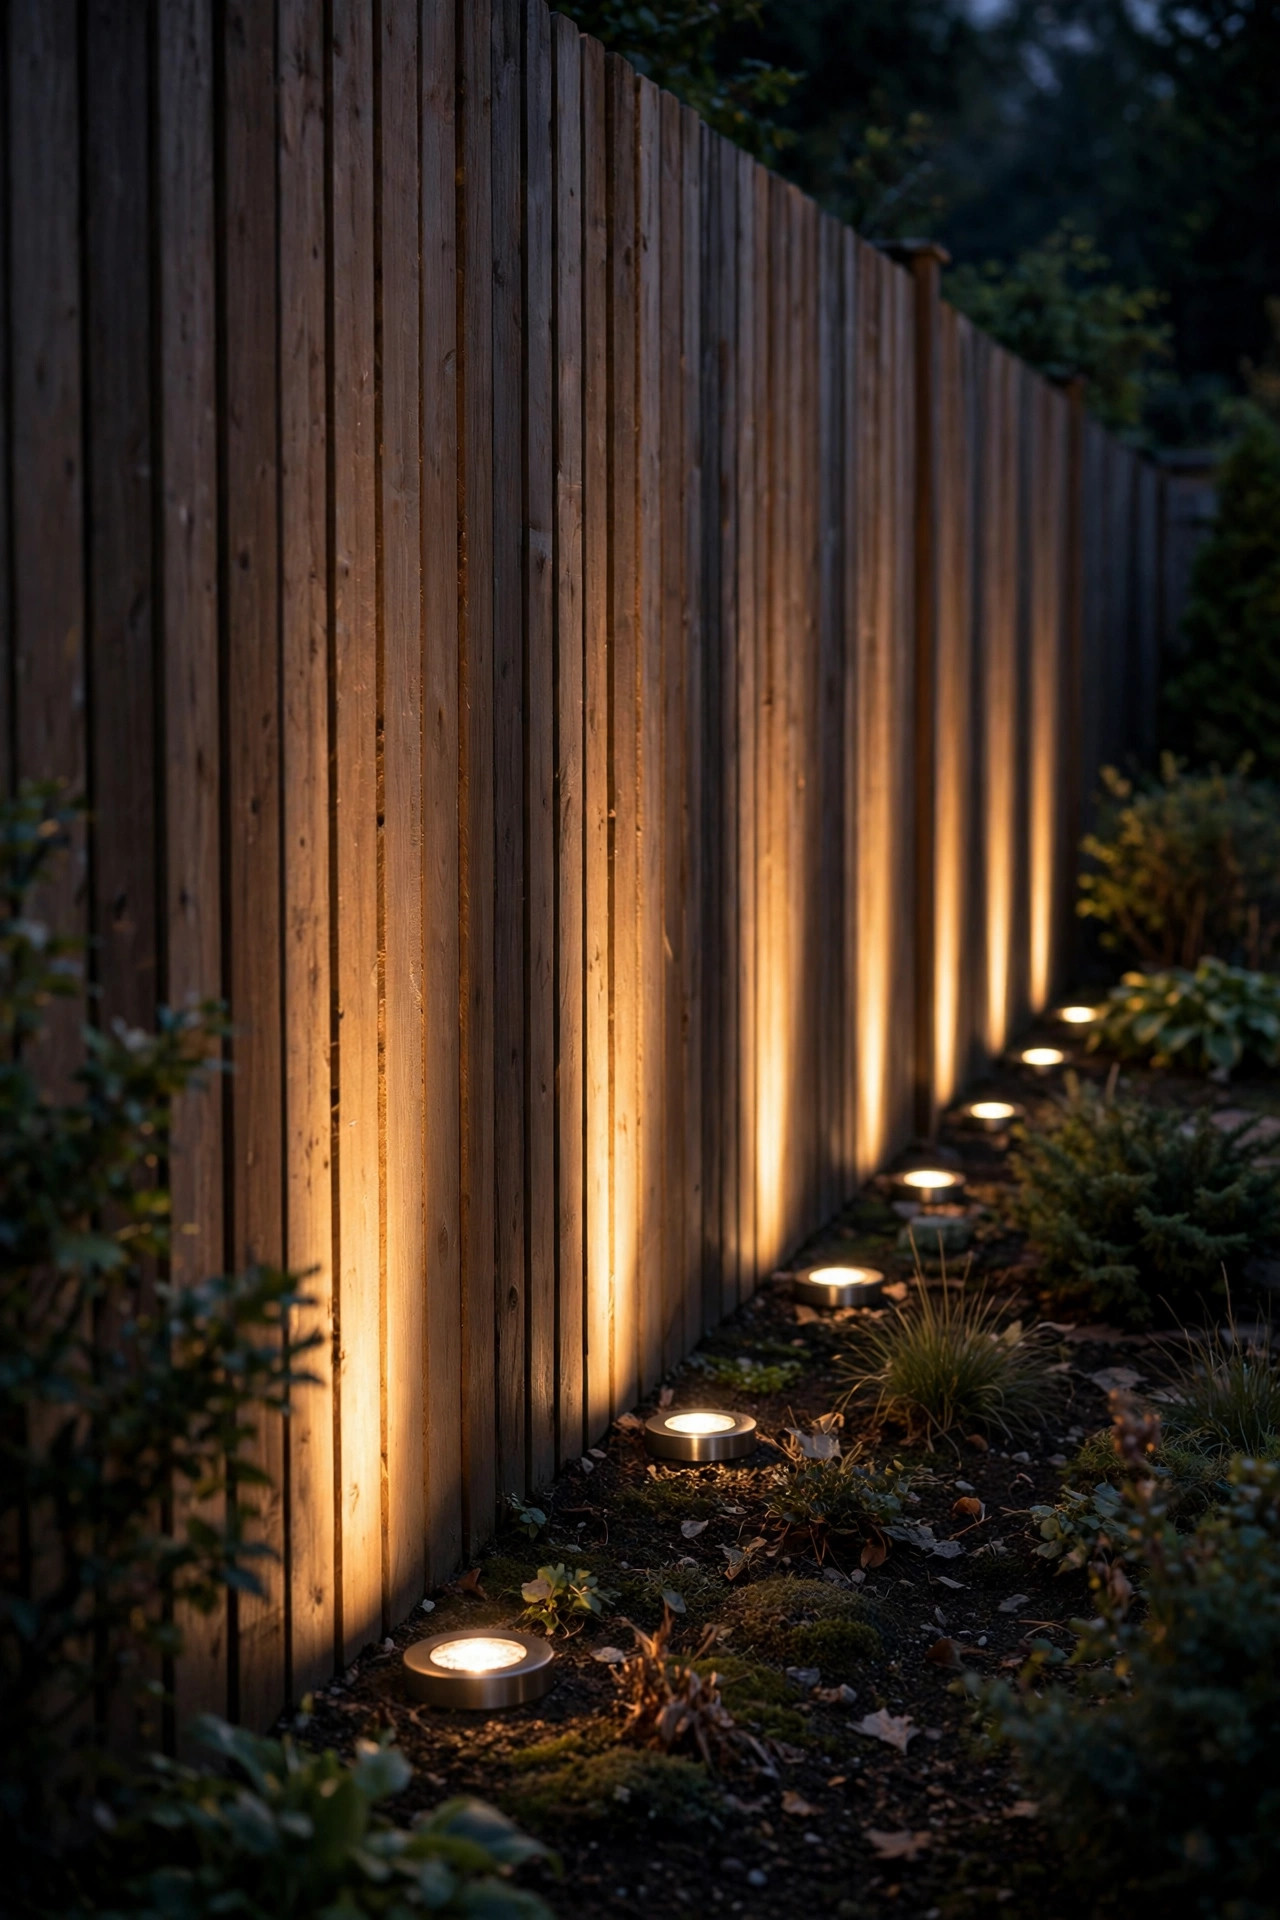
If you prefer your lighting invisible until dark, in-ground well lights are the most discreet way to wash a long fence. The fixture sits flush in the soil or gravel at the base of the border, lens at ground level, and throws a tight beam straight up the boards. By day there is nothing to see but a small metal or composite ring. I space well lights about six to eight feet apart on long runs, closer than uplight spots because their beams are narrower, and I choose models with a honeycomb louver or shielded lens so you do not get blinded walking the bed. Drainage is the one real consideration: set each fixture in a small gravel pocket so water moves away from the housing, and pick sealed IP67-rated fixtures. These are almost always a wired low-voltage install, so they suit the fence you plan to keep for a decade. The look is gallery-clean, just light and shadow on the wood with no hardware showing, and it holds up to mowers and trimmers better than any stake. For a formal long border, nothing beats it.
Suggested budget range: $200 – $520.
13. Use Color-Changing Smart Lights for Holidays and Parties
A long fence is a huge canvas, and color-changing smart lights let you repaint it for every season without climbing a ladder. I keep my everyday look warm white, then shift the border to amber and rust tones in fall, red and green at Christmas, and team colors on game days. The easiest route is smart outdoor string lights or smart flood bulbs in your existing accent fixtures, all run from one app and a couple of outdoor smart plugs. On a long run, group the border into two or three zones, left, back, and right, so you can color them independently and create gradients. A word of Sarah honesty: saturated color everywhere gets old fast, so I use color on about a third of the border, usually the accent layer, and keep the base layers warm white. It reads festive instead of nightclub. Set the fun scenes on schedules so the yard returns to calm warm white on weeknights automatically. Kids, for the record, consider this the greatest invention in lighting history, and they are not entirely wrong.
Suggested budget range: $80 – $240.
14. Perch Flameless Candle Lanterns on a Wide Cap Rail
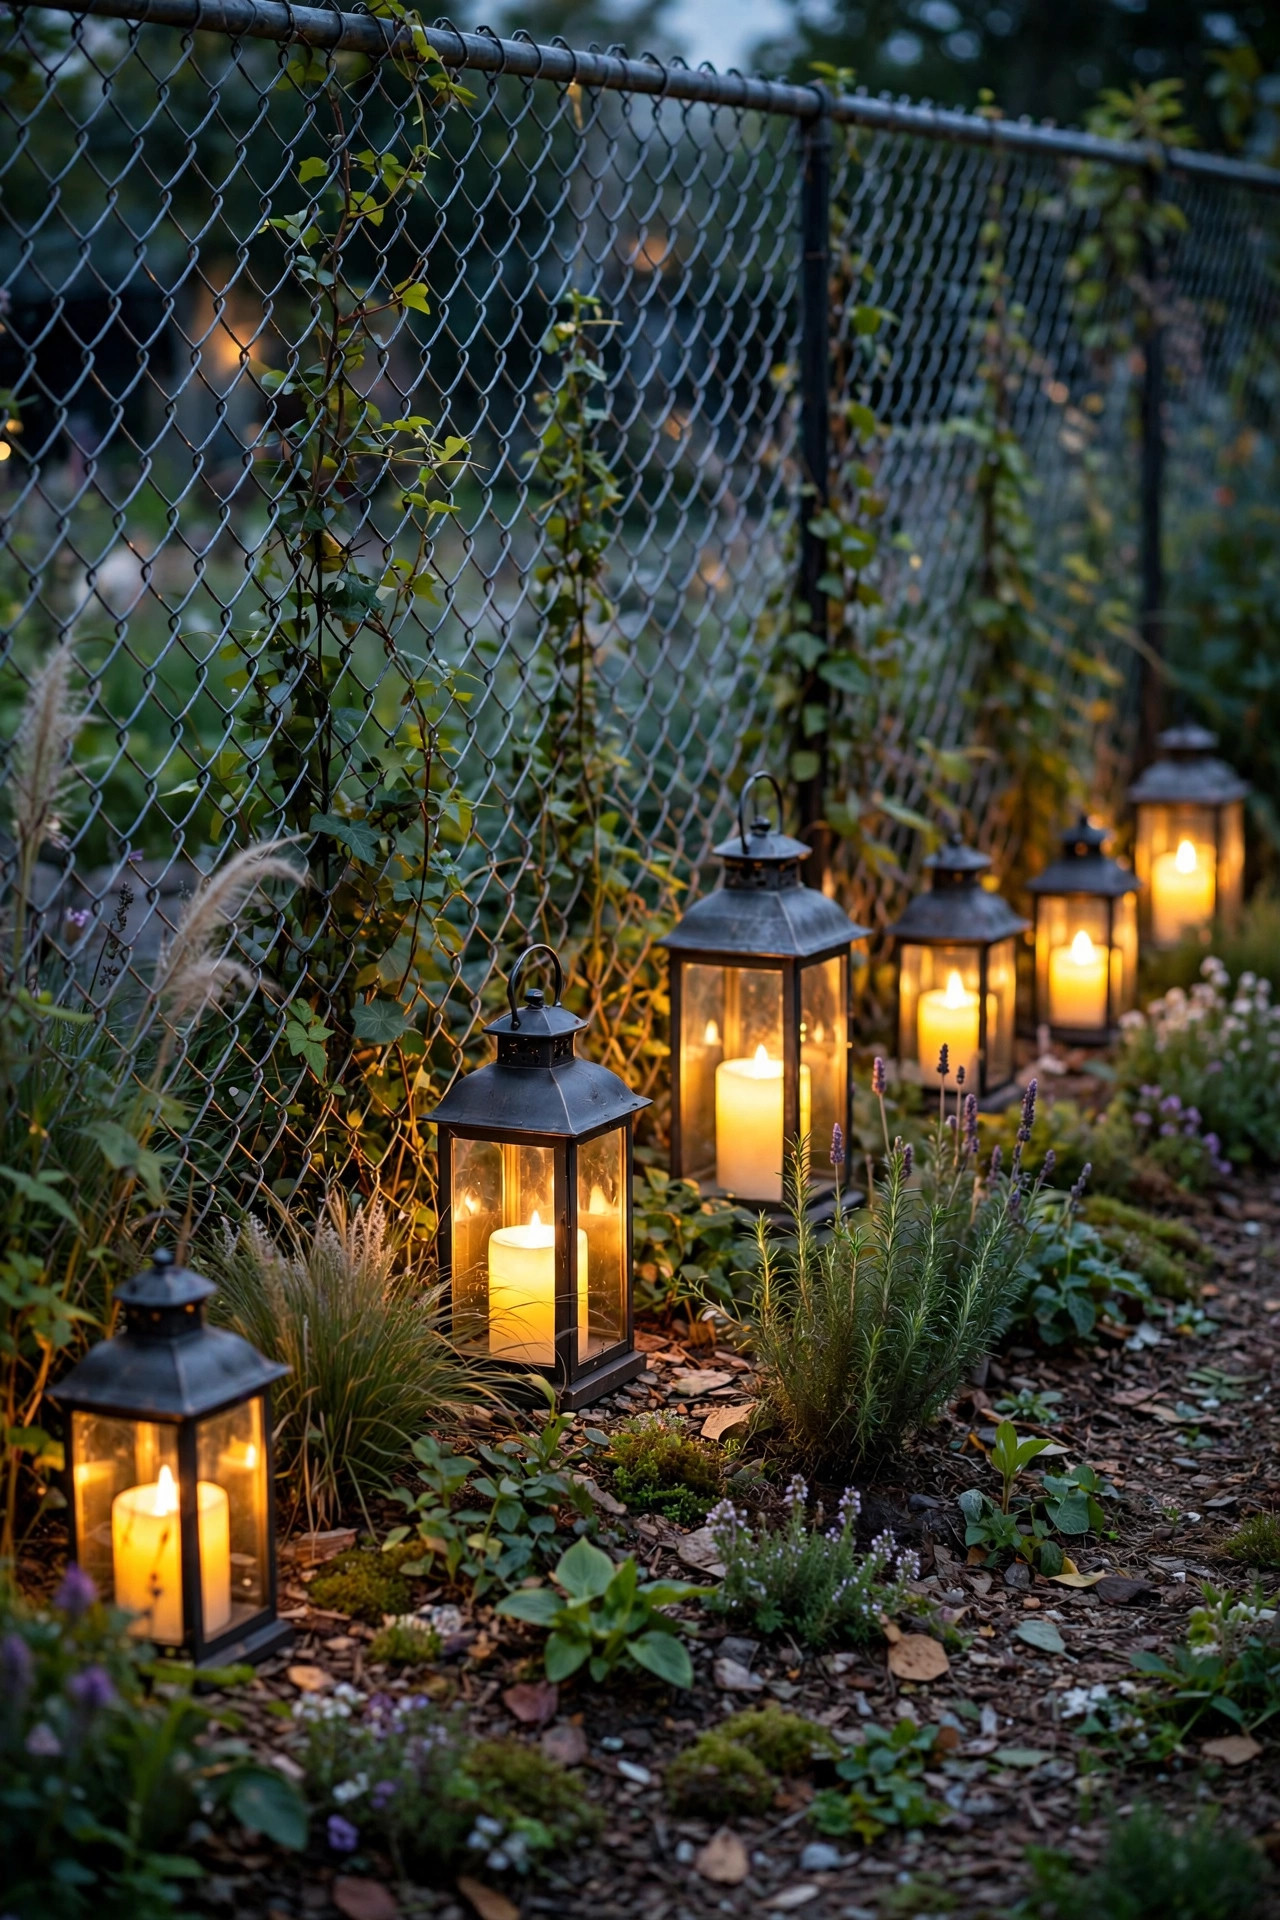
Some fences have a wide flat cap rail, and if yours does, you are sitting on a built-in display shelf. I line mine, loosely and in clusters rather than a stiff row, with flameless candle lanterns in weather-resistant finishes. The flickering LED candles give you that intimate dinner-party glow at exactly seated eye level when you are out on the patio looking down the border. Group two or three lanterns, then skip a stretch, then group again; the rhythm keeps a long run from looking like a store display. Timers are essential here, set them once to glow for five hours from dusk and forget them for the season. Flameless is non-negotiable outdoors near wood and dry plantings, and LED candles also survive wind that would kill real flames in seconds. I swap lantern styles with the seasons, galvanized in summer, darker bronze in fall, and store them in the garage in deep winter to save the batteries. It is the coziest layer on this whole list, and the cheapest to start, since three lanterns already change the mood.
Suggested budget range: $30 – $90.
15. Pull It Together: Layered Fence Line Lighting Ideas on One Timer
Here is the truth I have learned from lighting a lot of long yards, including my own: no single idea on this list carries a whole border by itself. The magic is in the layers working at three heights, ground, fence, and above, and in giving the whole system one brain. Pick one ground layer, stakes or well lights; one fence layer, caps, downlights, or a hidden strip; and one accent, spotlights on plants or lanterns at the punctuation points. Then put everything on timers or a smart plug schedule so the border wakes up at dusk as one scene instead of relying on you to wander around switching things on. Walk the fence at night before you finalize anything and look for dark gaps longer than about ten feet; on a long run, those gaps, not dim fixtures, are what make a border feel unfinished. Fill gaps with the cheapest layer first. Keep every bulb in the system at 2700K to 3000K so the layers blend into one warm glow. Do that, and the longest, plainest fence becomes the best-looking wall of your outdoor living room.
Suggested budget range: $150 – $400.

Frequently Asked Questions
How far apart should fence line lights be spaced?
It depends on the layer. Post caps go on every post, usually six to eight feet apart. Ground stakes and uplights work best every six to ten feet so their pools of light just touch, and downlights can stretch to ten or sixteen feet. The real test is walking the border at night and checking for dark gaps longer than about ten feet.
What color temperature looks best along a fence?
Warm white, between 2700K and 3000K, almost every time. It flatters wood tones, makes foliage look deep green instead of blue, and matches the glow of string lights and candles. Cool daylight bulbs above 4000K are the number one reason fence lighting looks harsh and commercial, so check the Kelvin rating before you buy anything.
Are solar lights bright enough for a long backyard border?
For ambient layers, yes, as long as the fence gets at least six hours of direct sun and you buy mid-range fixtures with replaceable batteries. Solar caps, stakes, and torches handle the glow beautifully. For strong uplighting or a border in heavy shade, low-voltage wired lights are noticeably brighter and more consistent, so I mix both on long runs.
Can I mix solar and wired lights on the same fence line?
Absolutely, and on long borders I recommend it. Use wired low-voltage fixtures for the hard-working layers, like uplights and well lights, and solar for caps, stakes, and accents where trenching cable would be a pain. Just keep every fixture in the same warm color temperature range and the blend will be invisible after dark.
Conclusion
A long fence is not a problem to hide; it is the longest design surface in your yard, and these fence line lighting ideas turn it into the backdrop your whole backyard has been missing. Start with one layer, live with it for a week, then add the next. Before long, the dark tunnel at the back of the lot becomes the view everyone drifts toward after dinner. Browse the rest of the lighting ideas here whenever you are ready for the next project, and I will see you out in the glow.