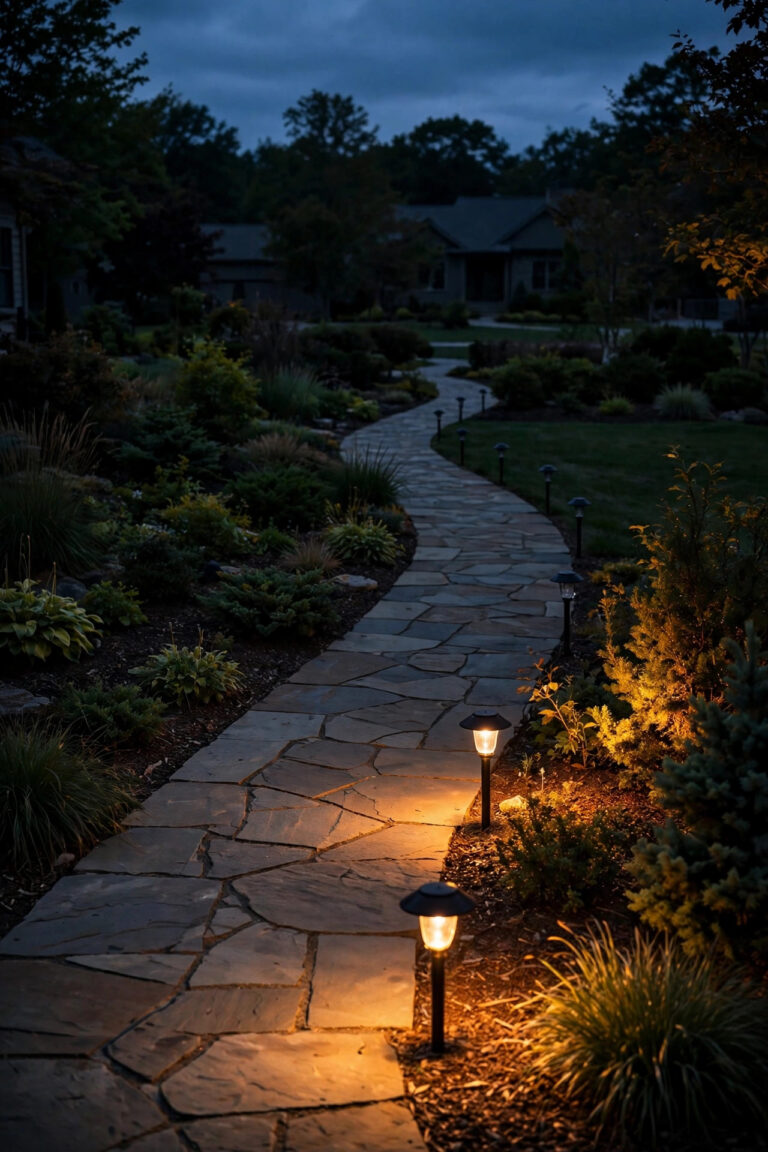
For years I apologized for the chain-link fence at the back of our yard. It was practical, it kept the dog in, and honestly? It was the first thing guests noticed, and not in a good way. Then one evening I clipped a single strand of warm fairy lights along the top rail just to test a theory, and the whole fence changed character. The diamonds stopped looking industrial and started looking like a pattern the light was playing on. That is the secret behind all the chain link fence lighting ideas in this post: you do not hide the fence with more stuff, you hide it with layers of light. A soft wash at ground level, a glow at eye level, and something sparkling near the top rail, and the mesh simply disappears into the background. In my experience the best results always come from three heights of light working together in the same warm color temperature. Below are the 19 approaches I have tried, borrowed, or admired in neighbors' yards, with honest costs and the little placement tricks that make each one work.
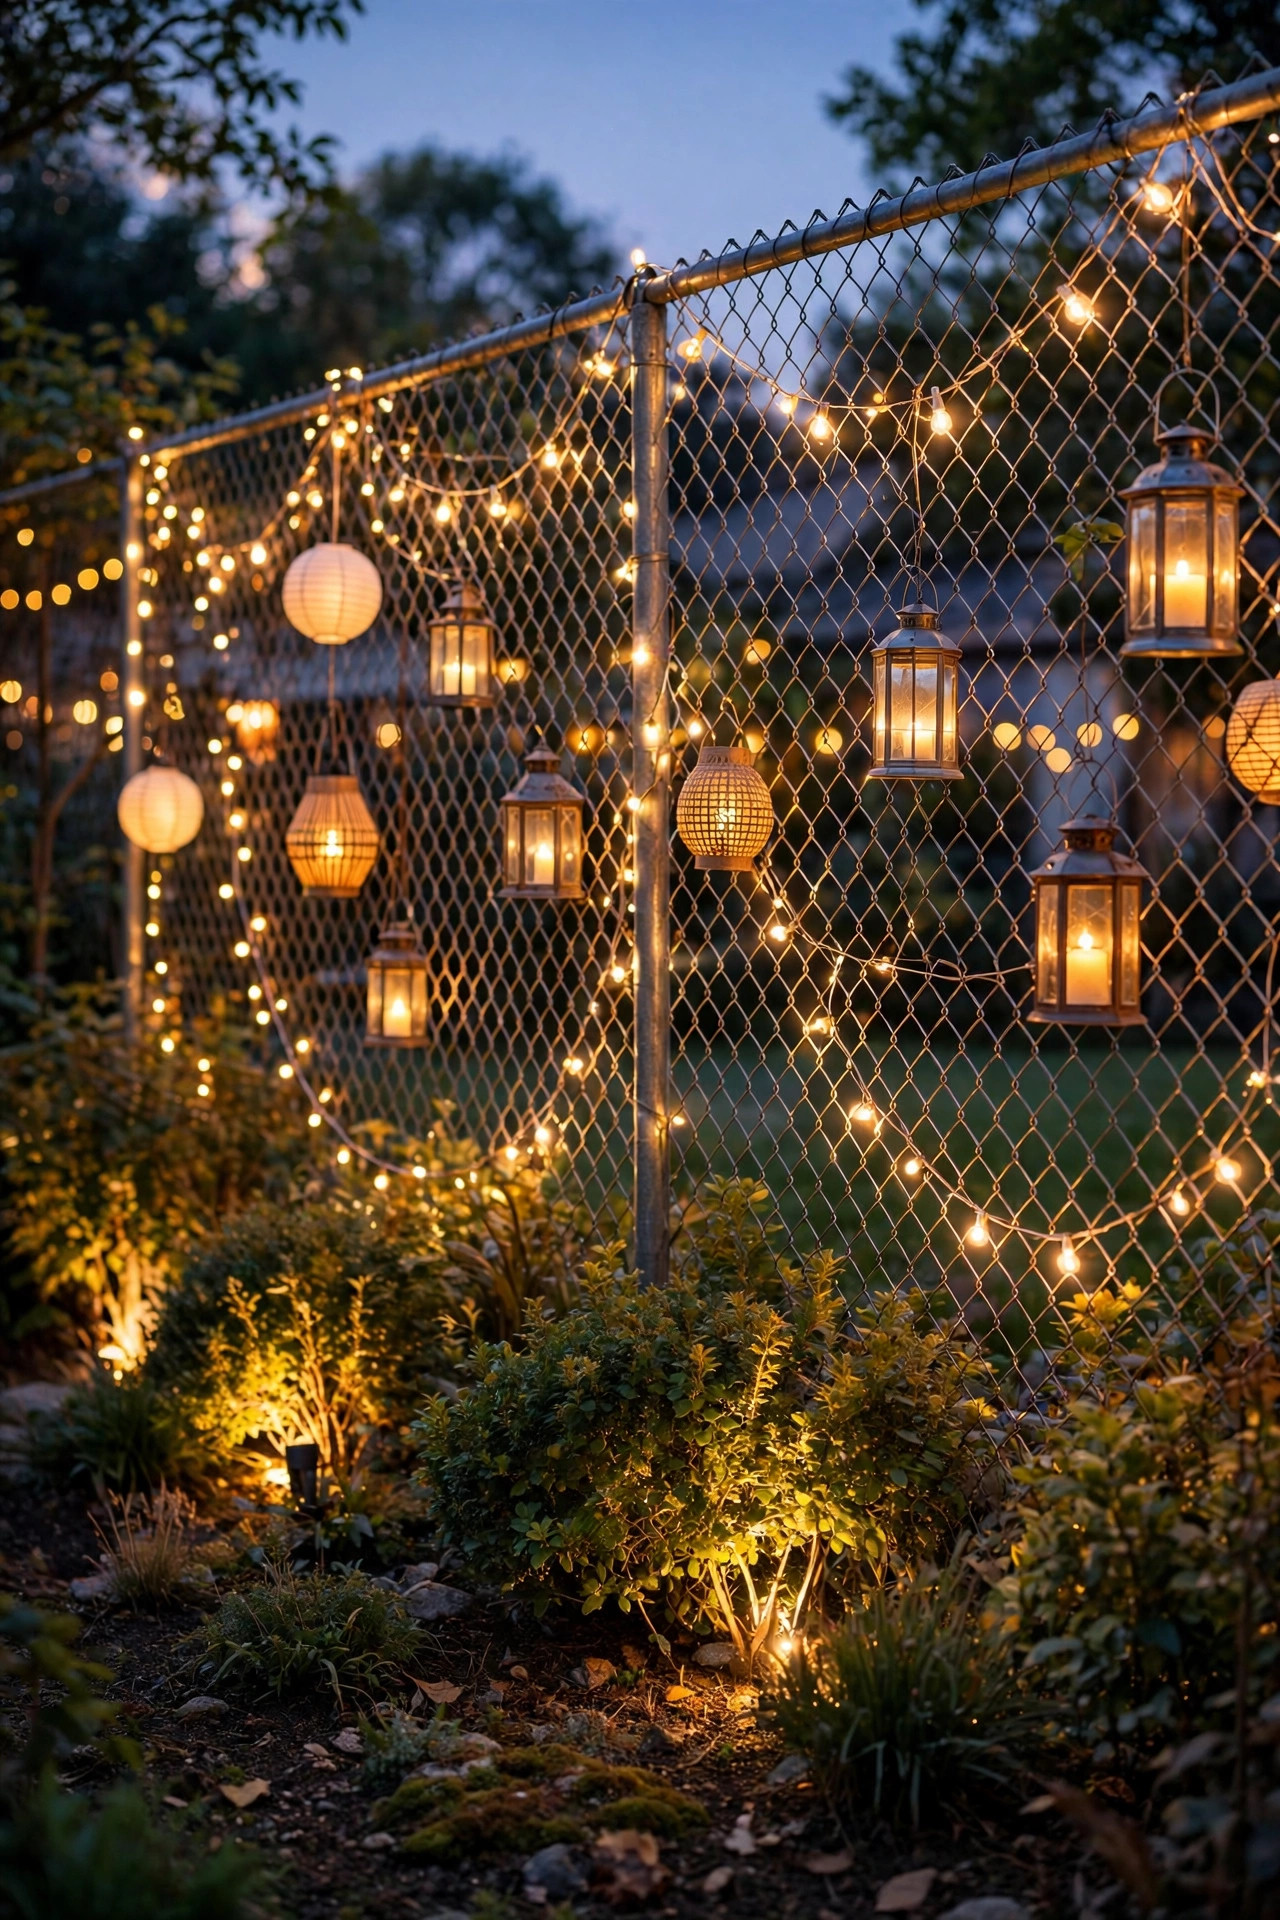
1. Start With a Layered Plan: The Foundation of All Chain Link Fence Lighting Ideas
Before you buy a single bulb, stand in your yard at dusk and look at the fence the way a guest would. The mesh reads as one flat, gray sheet because nothing interrupts it. Layering breaks that sheet into three horizontal bands: a ground layer that washes the base, a middle layer that glows at seated eye level, and a top layer that traces the rail. When all three bands glow at once, your eye reads depth and texture instead of wire. I always recommend sketching the fence line and marking which ideas go in which band, then choosing one warm color temperature, 2700K, for everything so the layers feel like one design. Our broader fence lighting ideas guide walks through layering for wood and vinyl fences too, and the same rules apply here. Keep fixtures small and frequent rather than big and sparse; a chain-link fence is a grid, and rhythm is what disguises a grid. Plan for one light source every 4 to 6 feet in at least two bands. That simple spacing rule is what turns a random string of lights into a deliberate, mesh-erasing glow.
Suggested budget range: $10 – $30.
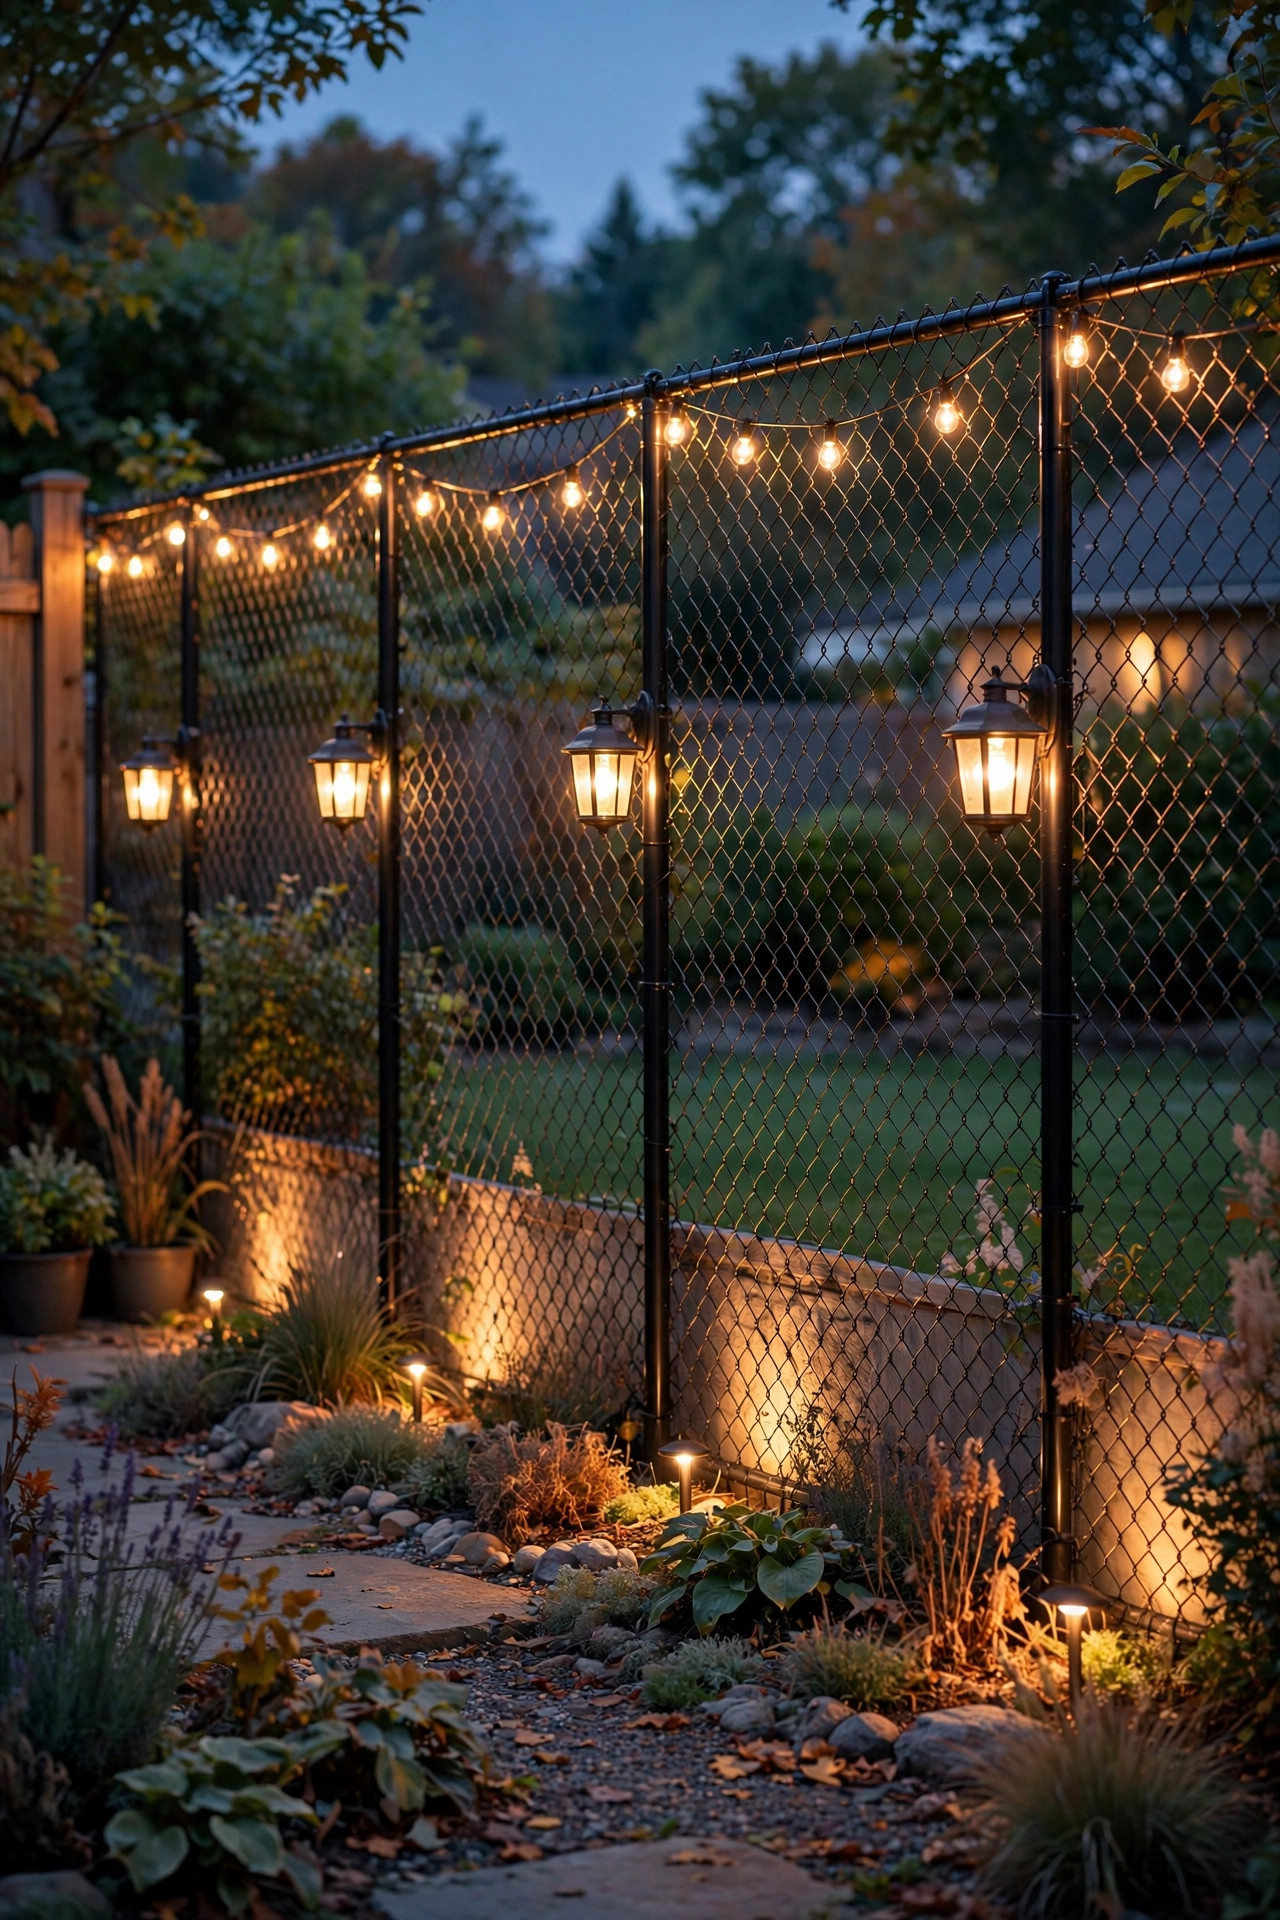
2. Weave Copper-Wire Fairy Lights Through the Diamonds
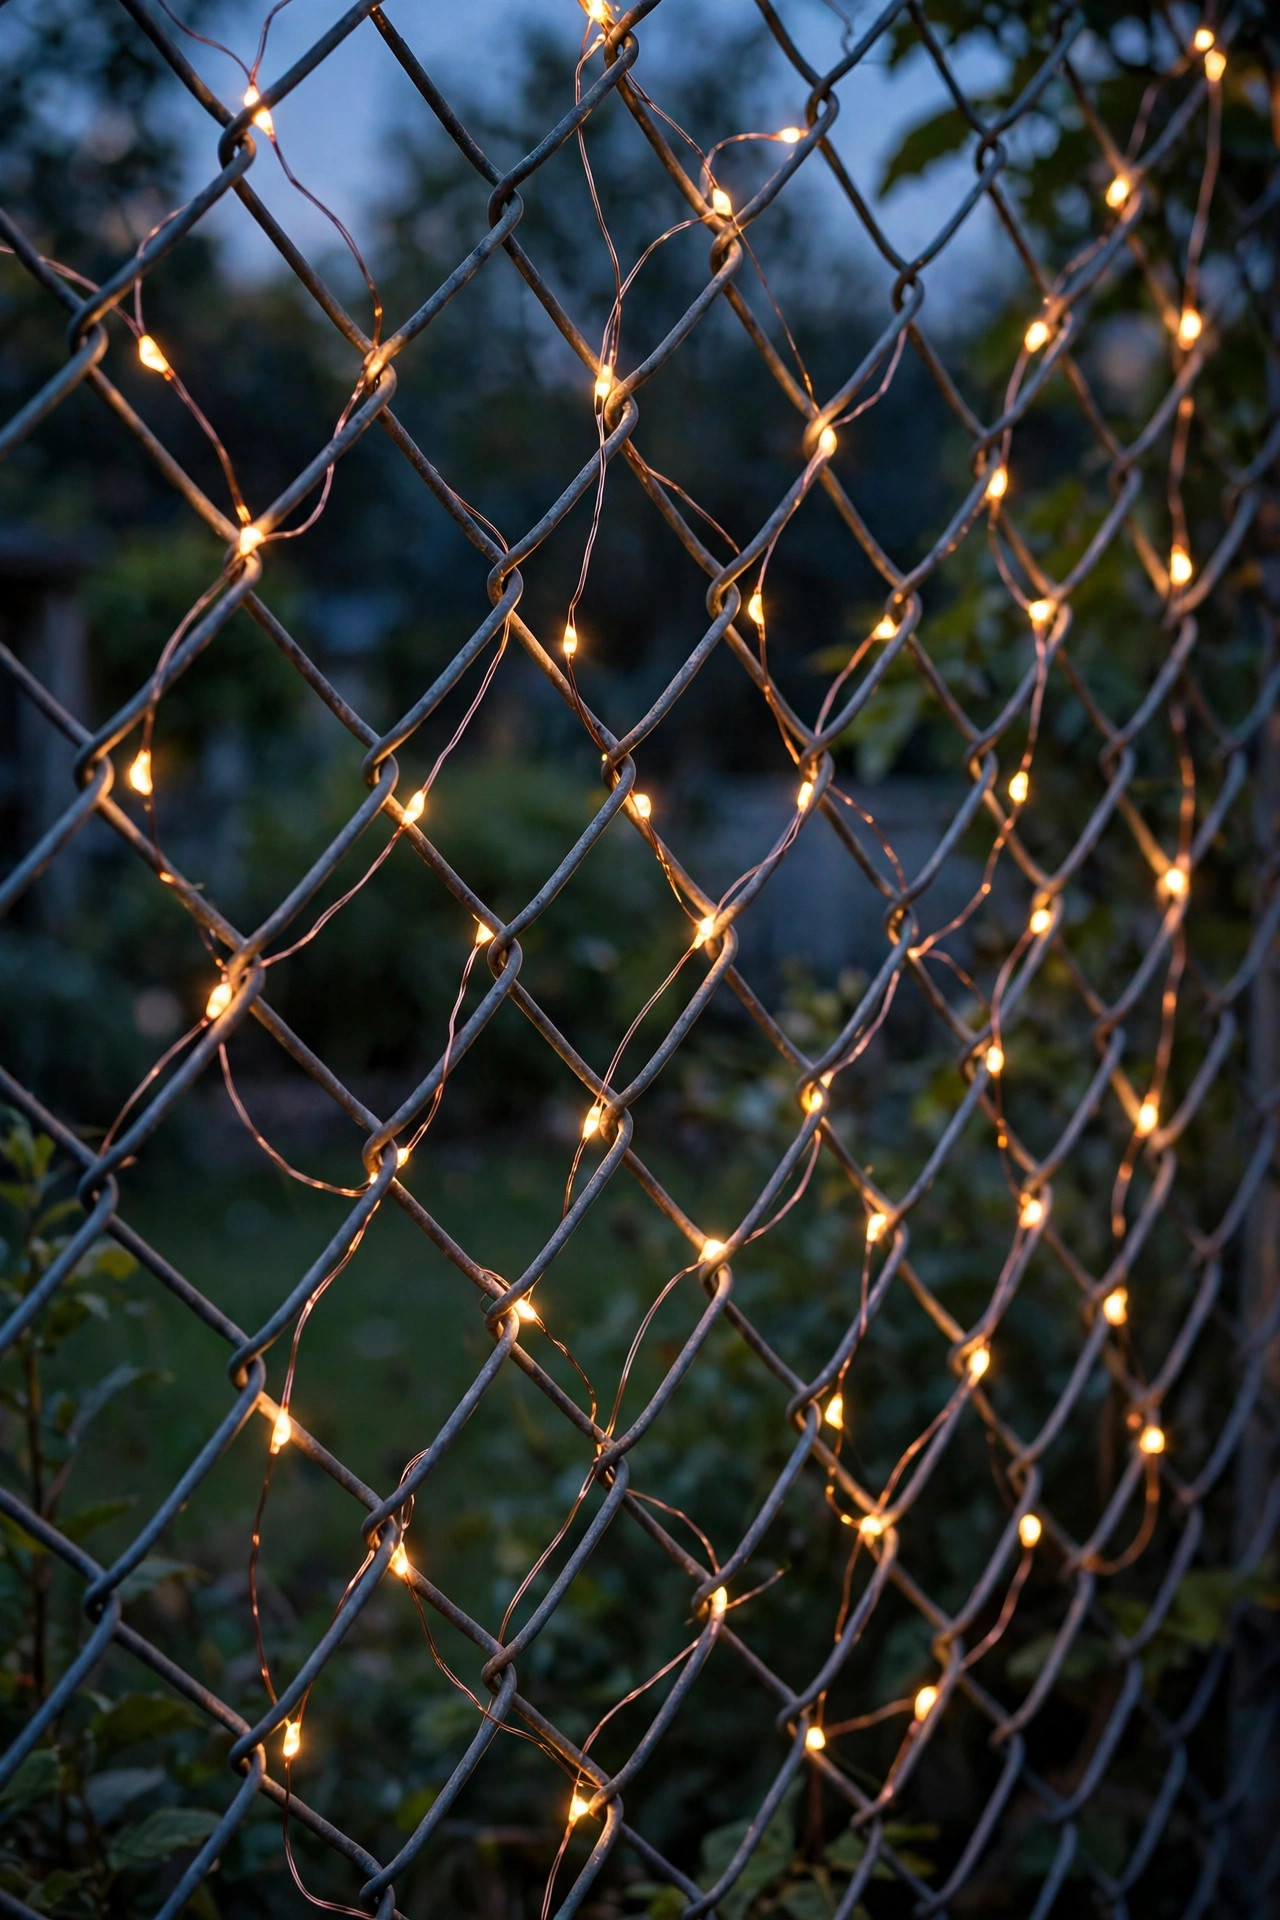
This is the trick that started it all for me, and it is still the most effective per dollar. Copper-wire fairy lights are thin enough to thread in and out of the diamond pattern itself, so the light source sits inside the mesh rather than in front of it. Work in gentle horizontal waves, passing the wire through every fourth or fifth diamond, and the whole fence shimmers like fabric. A 33-foot strand covers roughly 10 feet of fence when woven loosely, so measure before you order. Solar versions with the panel staked on the sunny side of the fence are the easiest, but plug-in strands on an outdoor timer are brighter and more reliable in winter. Stick with warm white; cool white makes the galvanized wire look blue and clinical. Our collection of outdoor fairy light ideas has more weaving patterns if you want a denser look. One caution from experience: weave loosely. A strand pulled drum-tight will kink the wire and kill sections, while a relaxed wave survives wind and lasts for seasons.
Suggested budget range: $12 – $35.
3. Hang Solar String Lights Along the Top Rail
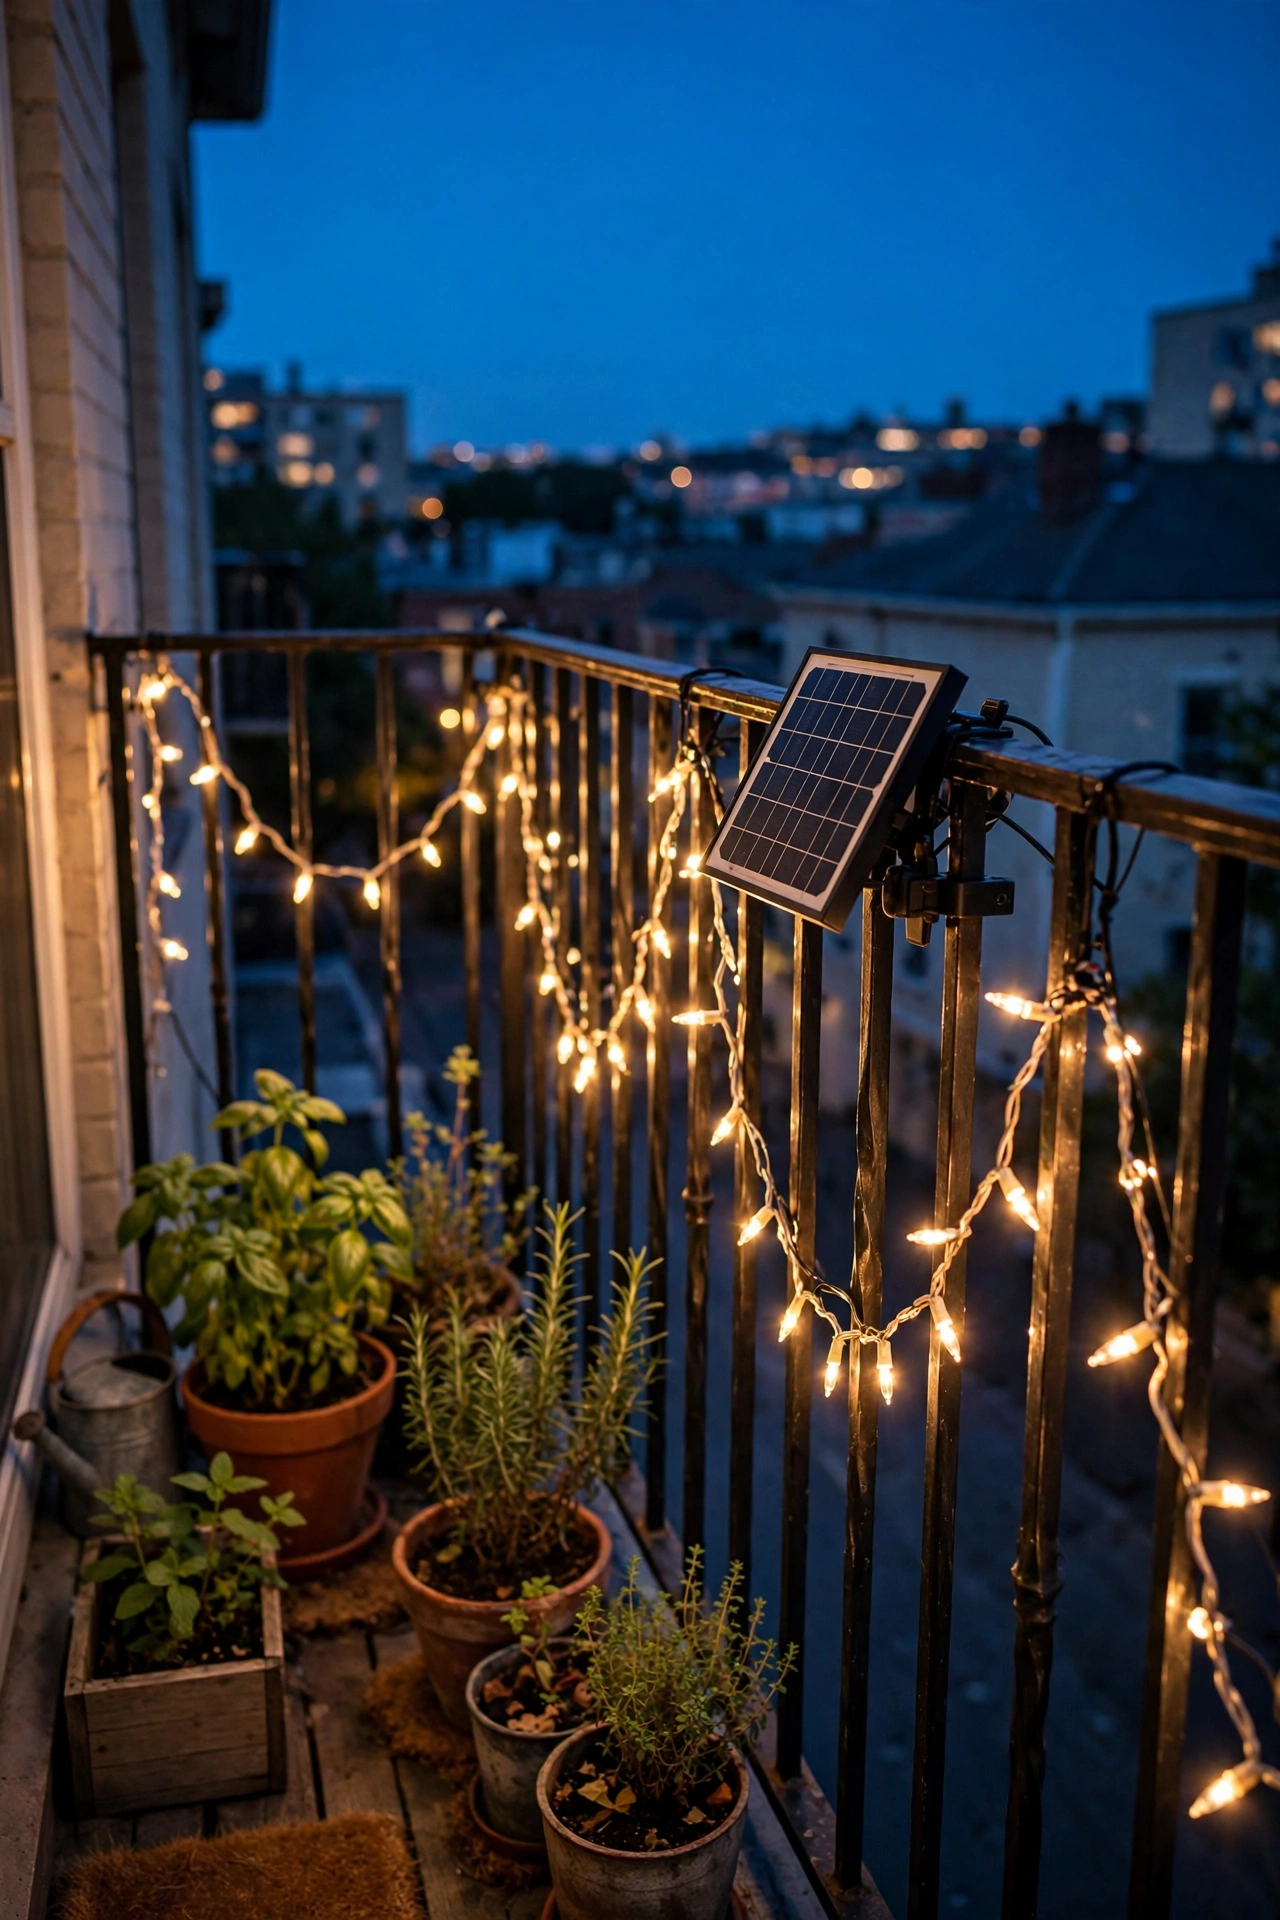
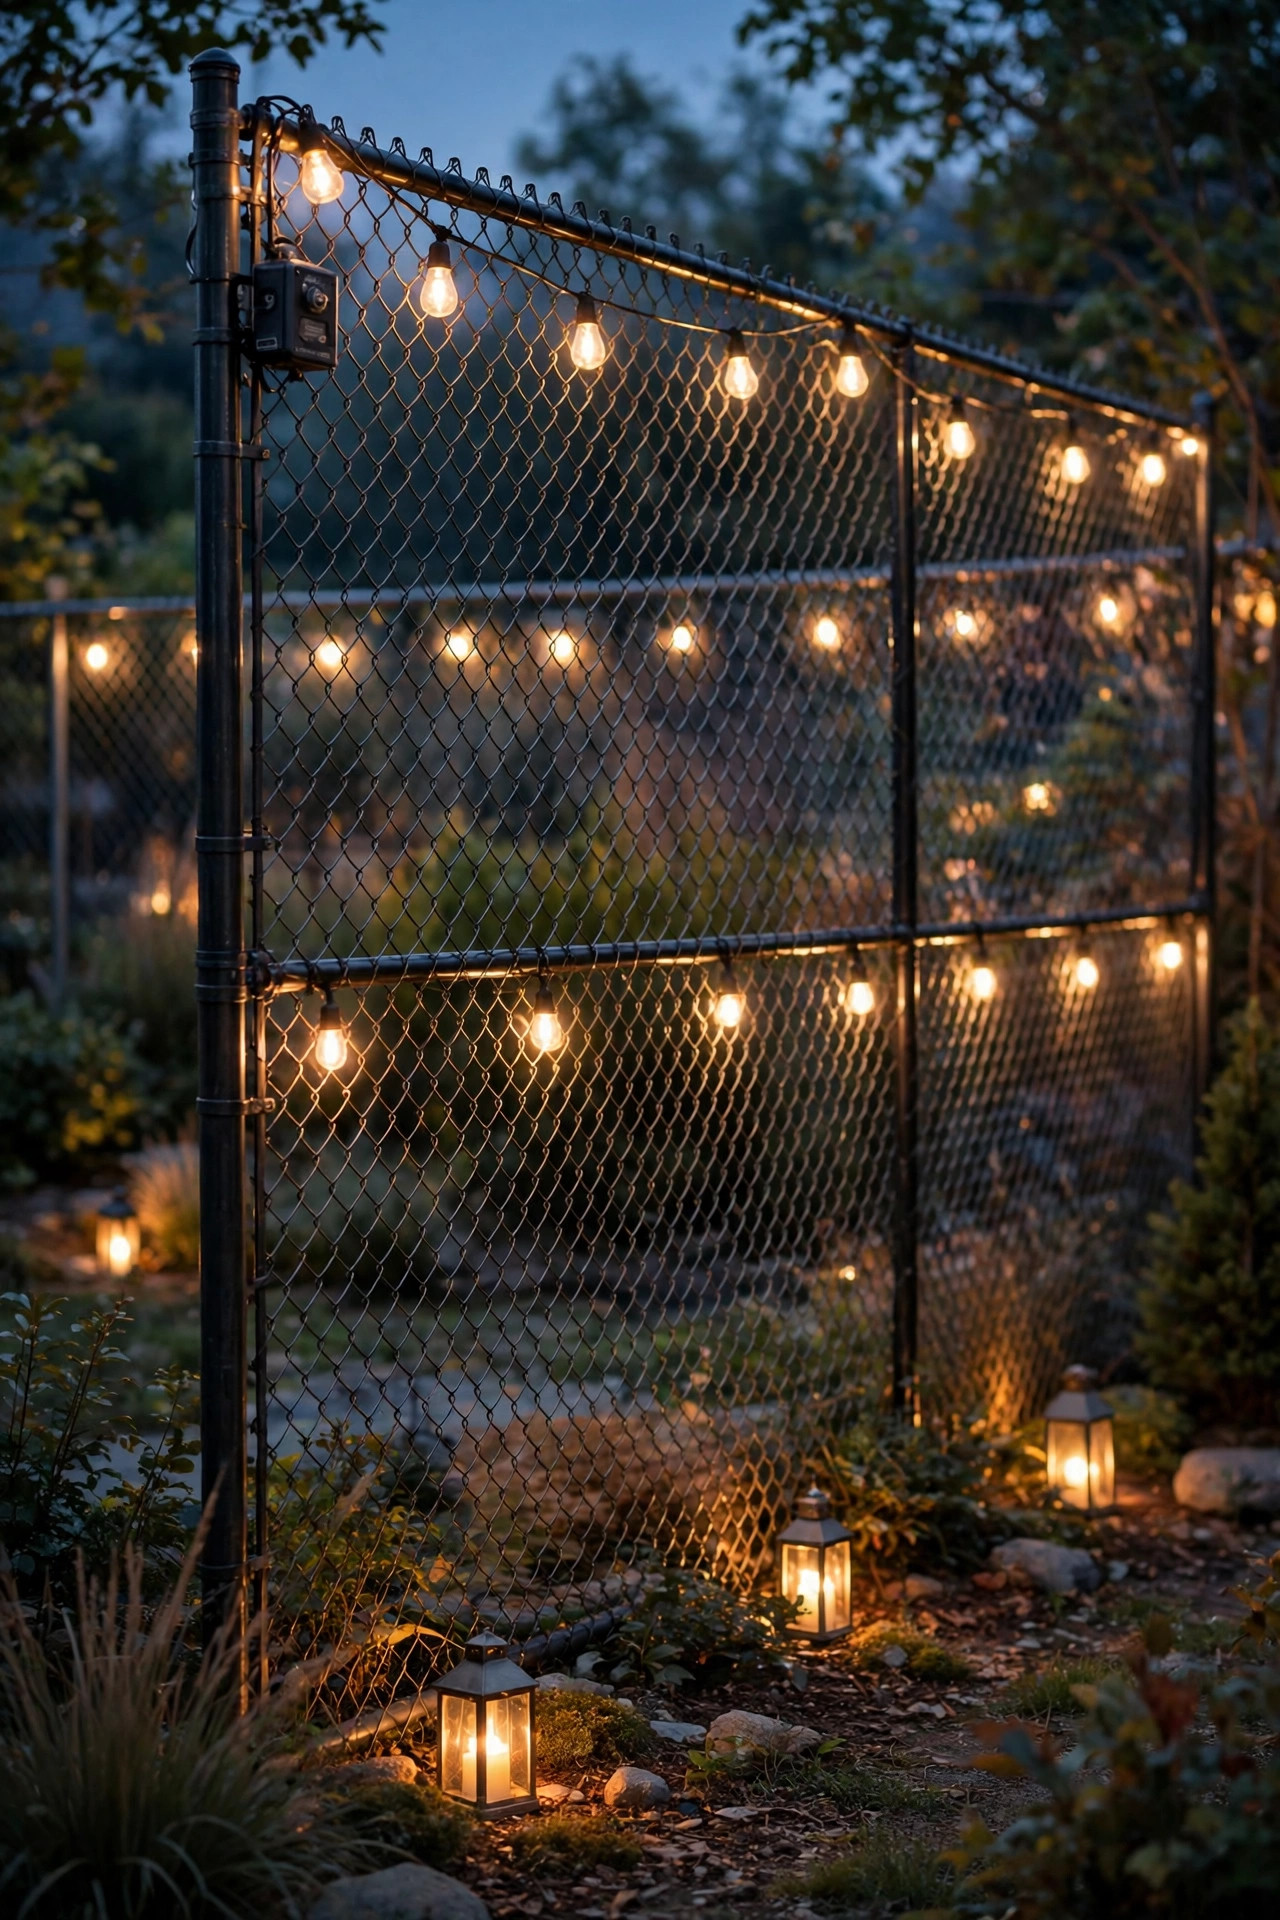
The top rail is the strongest horizontal line on a chain-link fence, and tracing it with light turns a liability into architecture. Solar string lights with shatterproof LED filament-style bulbs clip right onto the rail with S-hooks or zip ties every 12 inches, and a gentle swag between posts, about 6 inches of dip, looks far more designed than a taut line. Space the swags evenly: on a standard 8-foot panel, one dip per panel reads clean and intentional. Because the bulbs hang below the rail, their glow pools on the ground and pulls attention downward, away from the mesh. I have had the best luck with strands where the solar panel detaches on a short lead, so you can mount the panel on the sunny side while the bulbs dress the shady side. If your fence line is long, our solar string light ideas roundup compares strand lengths and battery sizes for bigger yards. Expect the classic cafe look for very little money, and zero wiring.
Suggested budget range: $20 – $45.
4. Clip Solar Post Cap Lights Onto Every Post
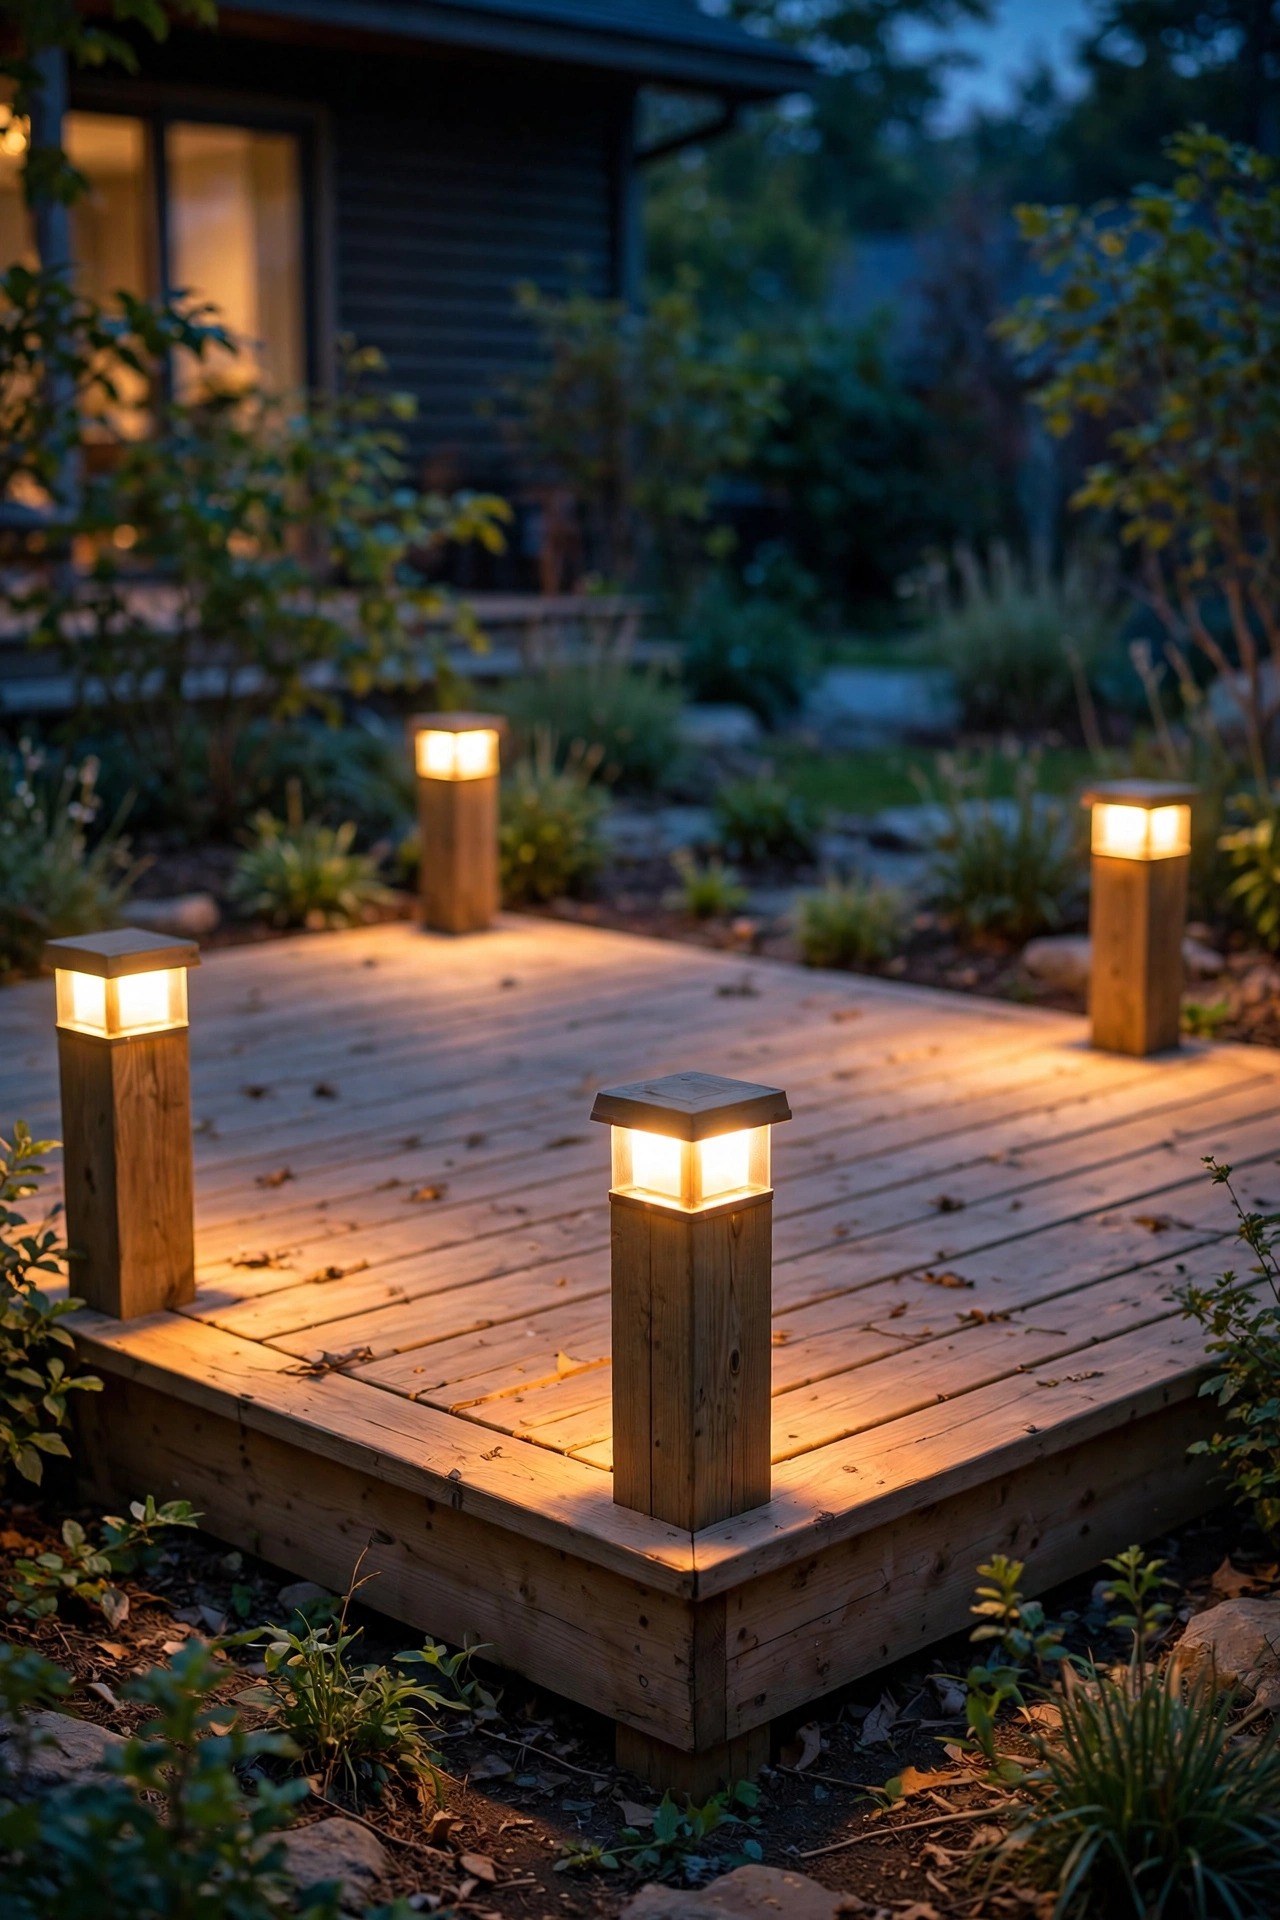
Chain-link posts are plain galvanized tubes, but that flat round top is a perfect perch for a solar cap light. Most solar post caps are sized for wood posts, so look for the round metal-post adapters, or do what I did and use stainless hose clamps to snug a cap onto each terminal and line post. The effect is a row of quiet beacons marching down the fence line, and repetition is exactly what makes the mesh fade: your eye follows the rhythm of the lights instead of the wire between them. Keep the caps modest, 10 to 20 lumens each. You want markers, not runway lights, and a soft row of them defines the yard's edge beautifully from a patio chair. Clean the little solar panels with a damp cloth every month or so; pollen film is the number one reason these dim by midsummer. Replaceable batteries mean a $15 set can serve three or four seasons with one battery swap.
Suggested budget range: $25 – $60.
5. Backlight Privacy Slats So the Fence Glows Like a Screen
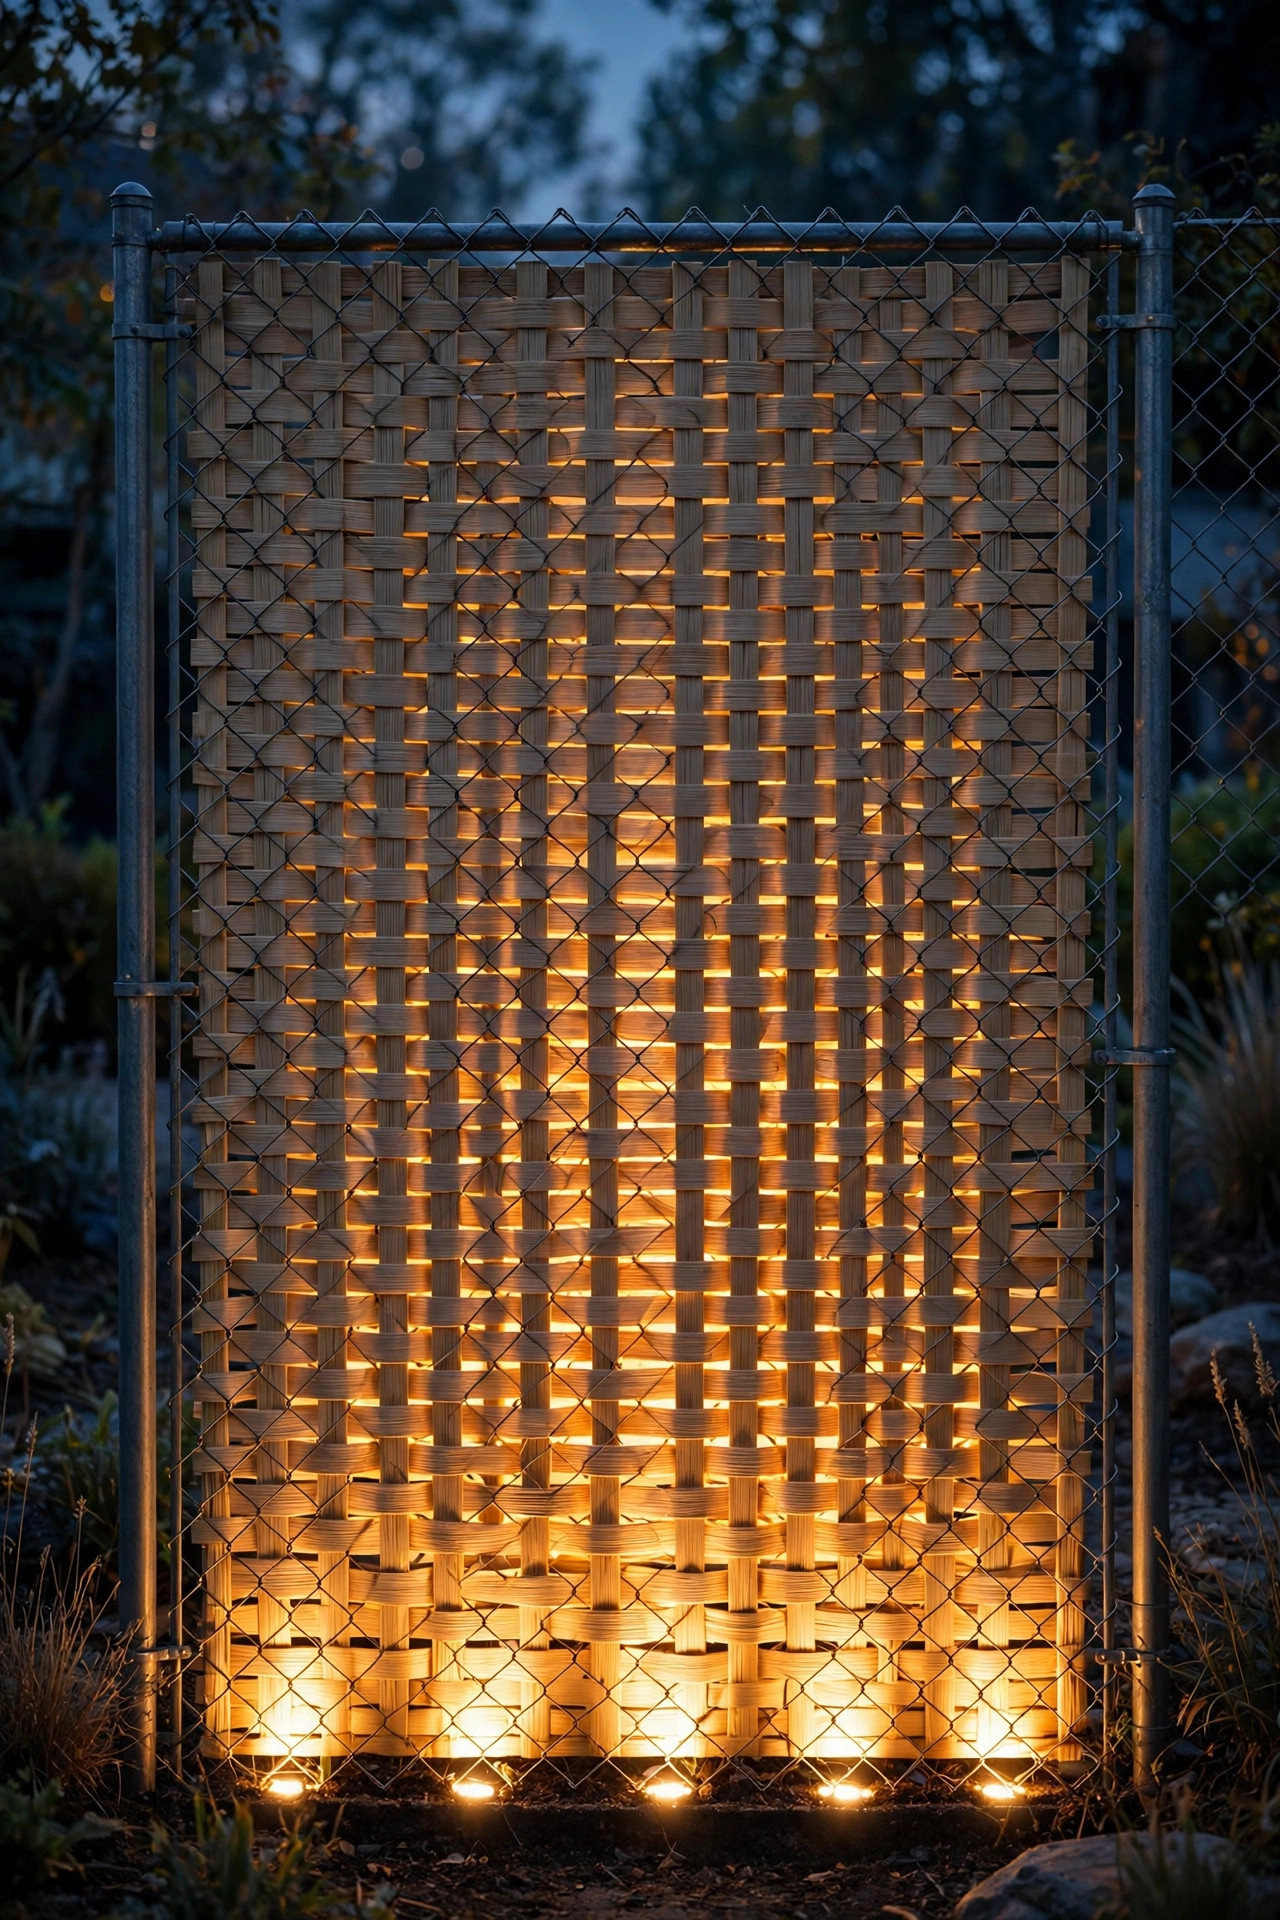
If your fence already has privacy slats woven through it, or you have been thinking about adding them, lighting is their best friend. Thin vertical slats turn the fence into a slatted screen, and a row of low uplights at the base, set about 8 inches out from the fence and aimed straight up, makes the whole run glow like a lantern wall. The mesh disappears completely behind the slats, and the light grazes across them so you see warm texture, not wire. Choose slats in a mid-tone color; very dark slats swallow light, and white slats can glare. This is one of the few ideas that also adds real daytime privacy, which makes the budget easier to justify. Low-voltage spotlights on a transformer give the most even wash, though solar uplights work on shorter runs. Aim carefully so the brightest hot spot sits below eye level, and stagger two fixtures per 8-foot panel for a seamless band of light with no dark gaps between posts.
Suggested budget range: $60 – $180.
6. Grow a Living Green Wall and Uplight It
The most complete disguise is not on the fence at all; it is in front of it. Fast-growing vines like jasmine, clematis, or Virginia creeper will thread themselves through chain-link diamonds within a couple of seasons, and once the fence is a green wall, a few well-placed uplights finish the job after dark. Set small low-voltage spotlights 12 to 18 inches in front of the planting bed, angled up into the foliage, and the leaves glow while the fence behind them simply ceases to exist. This is the approach I recommend to anyone who plans to stay in their home a while, because it gets better every year instead of wearing out. While the vines fill in, the other ideas in this list cover the gaps. Water the bed, not the fixtures, and choose IP65-rated lights that shrug off sprinklers. Keep one honest caveat in mind: dense vines add wind load and weight, so check that older posts are solid before you let a mature wall of green lean on them all winter.
Suggested budget range: $40 – $120.
7. Run LED Rope Light Along the Top Rail
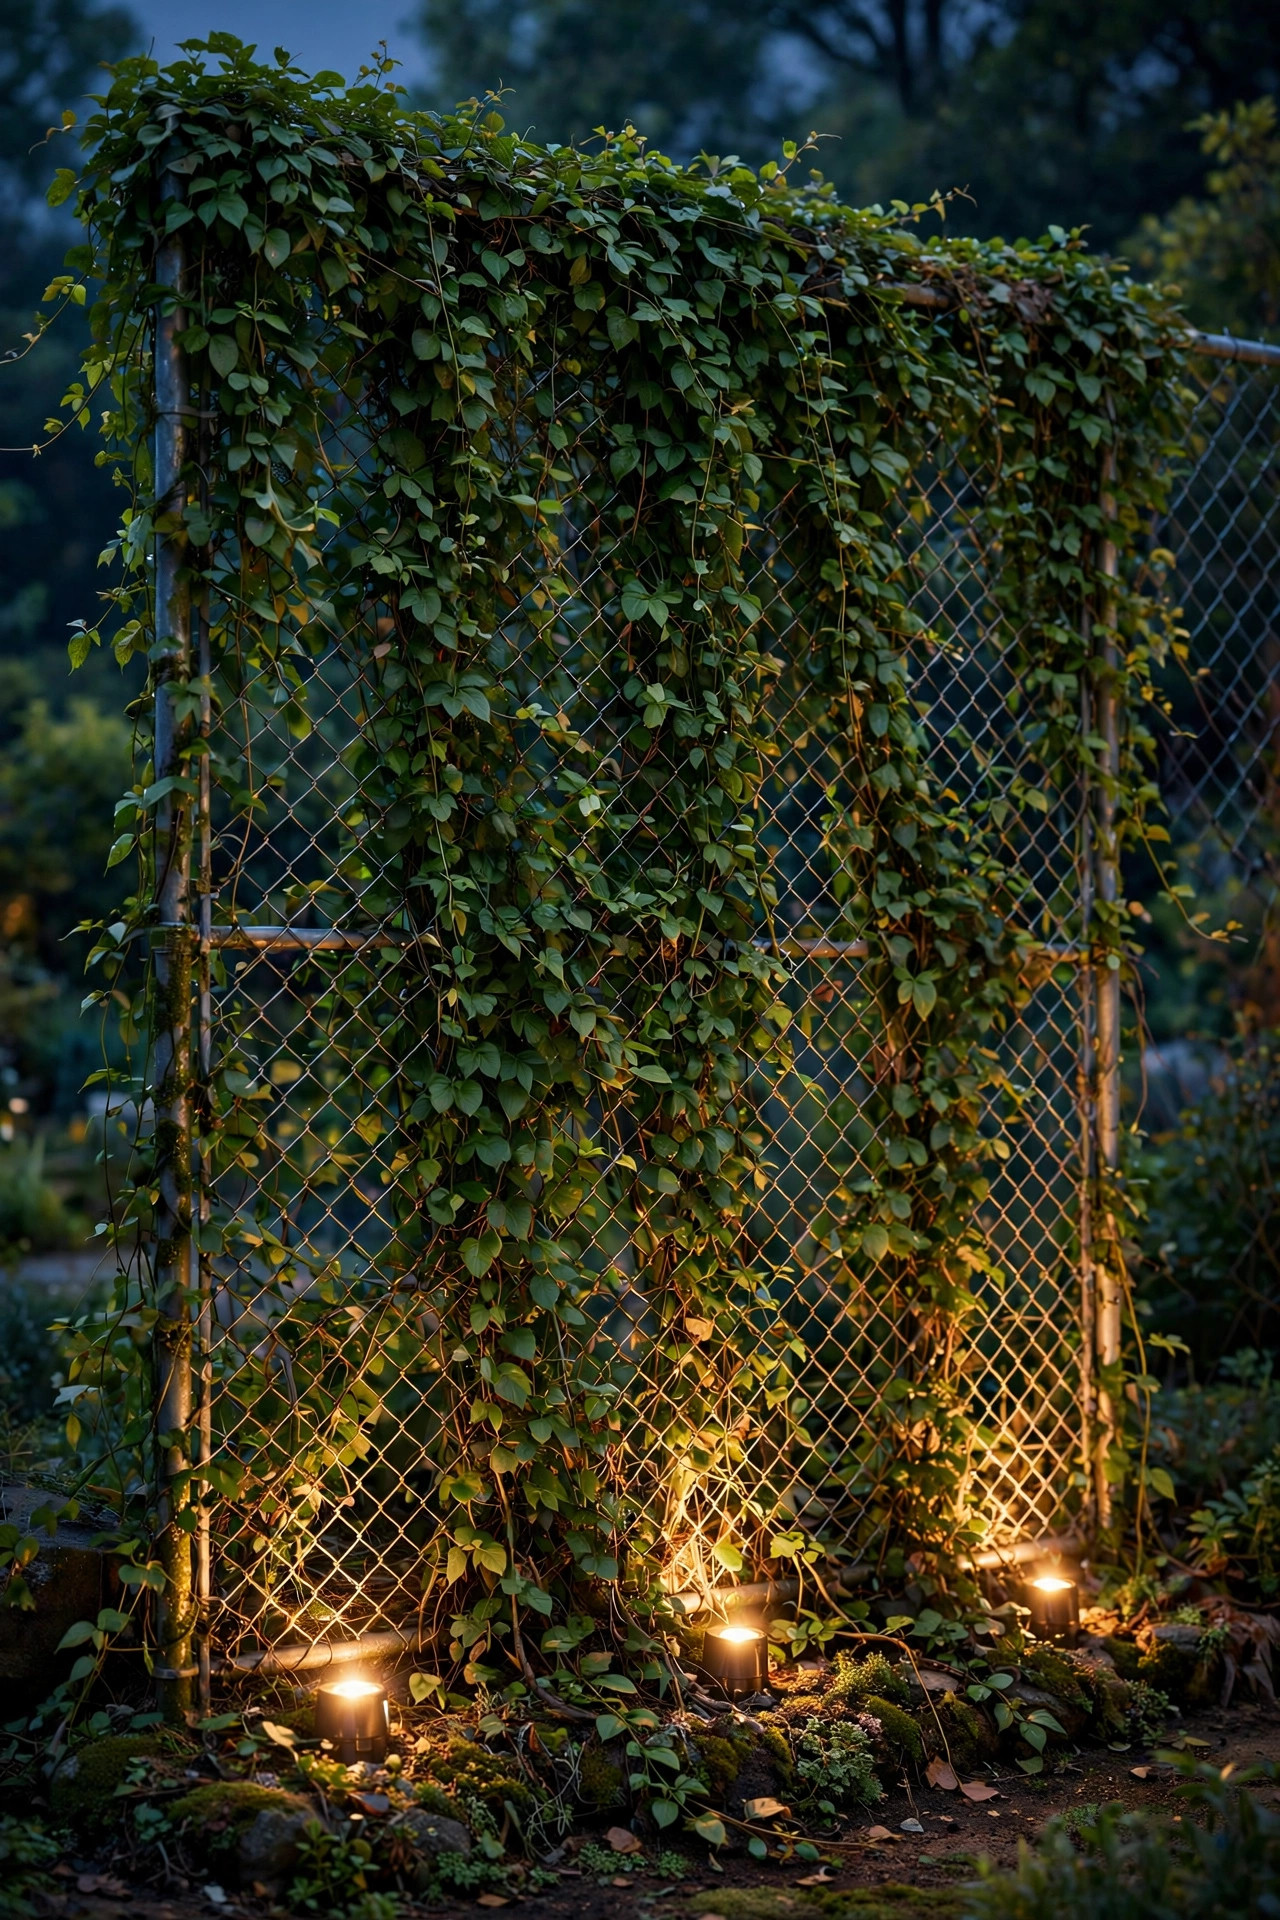
Where string lights swag, rope light rules a straight, clean line, and on a modern-leaning yard that crisp outline looks sharp. Outdoor LED rope light in warm white clips to the top rail with mounting clips every 12 inches, or threads through zip ties if you want it snug against the rail's underside, which hides the rope itself and leaves only a floating line of light. That underside trick is my favorite: after dark you see a glowing horizon line floating at fence height with no visible source, and the mesh below it falls into shadow. Rope light is also genuinely tough, rated for weather, and it cuts to length at marked intervals, so one 50-foot coil handles most side fences. Pair it with a plug-in dimmer and you can drop it to a candle-soft level for weeknights and bring it up for parties. Avoid the old incandescent rope, which runs hot near vinyl slats and dry leaves; LED only, always, this close to fencing and foliage.
Suggested budget range: $18 – $40.
8. Hang Lanterns From Shepherd Hooks Along the Fence
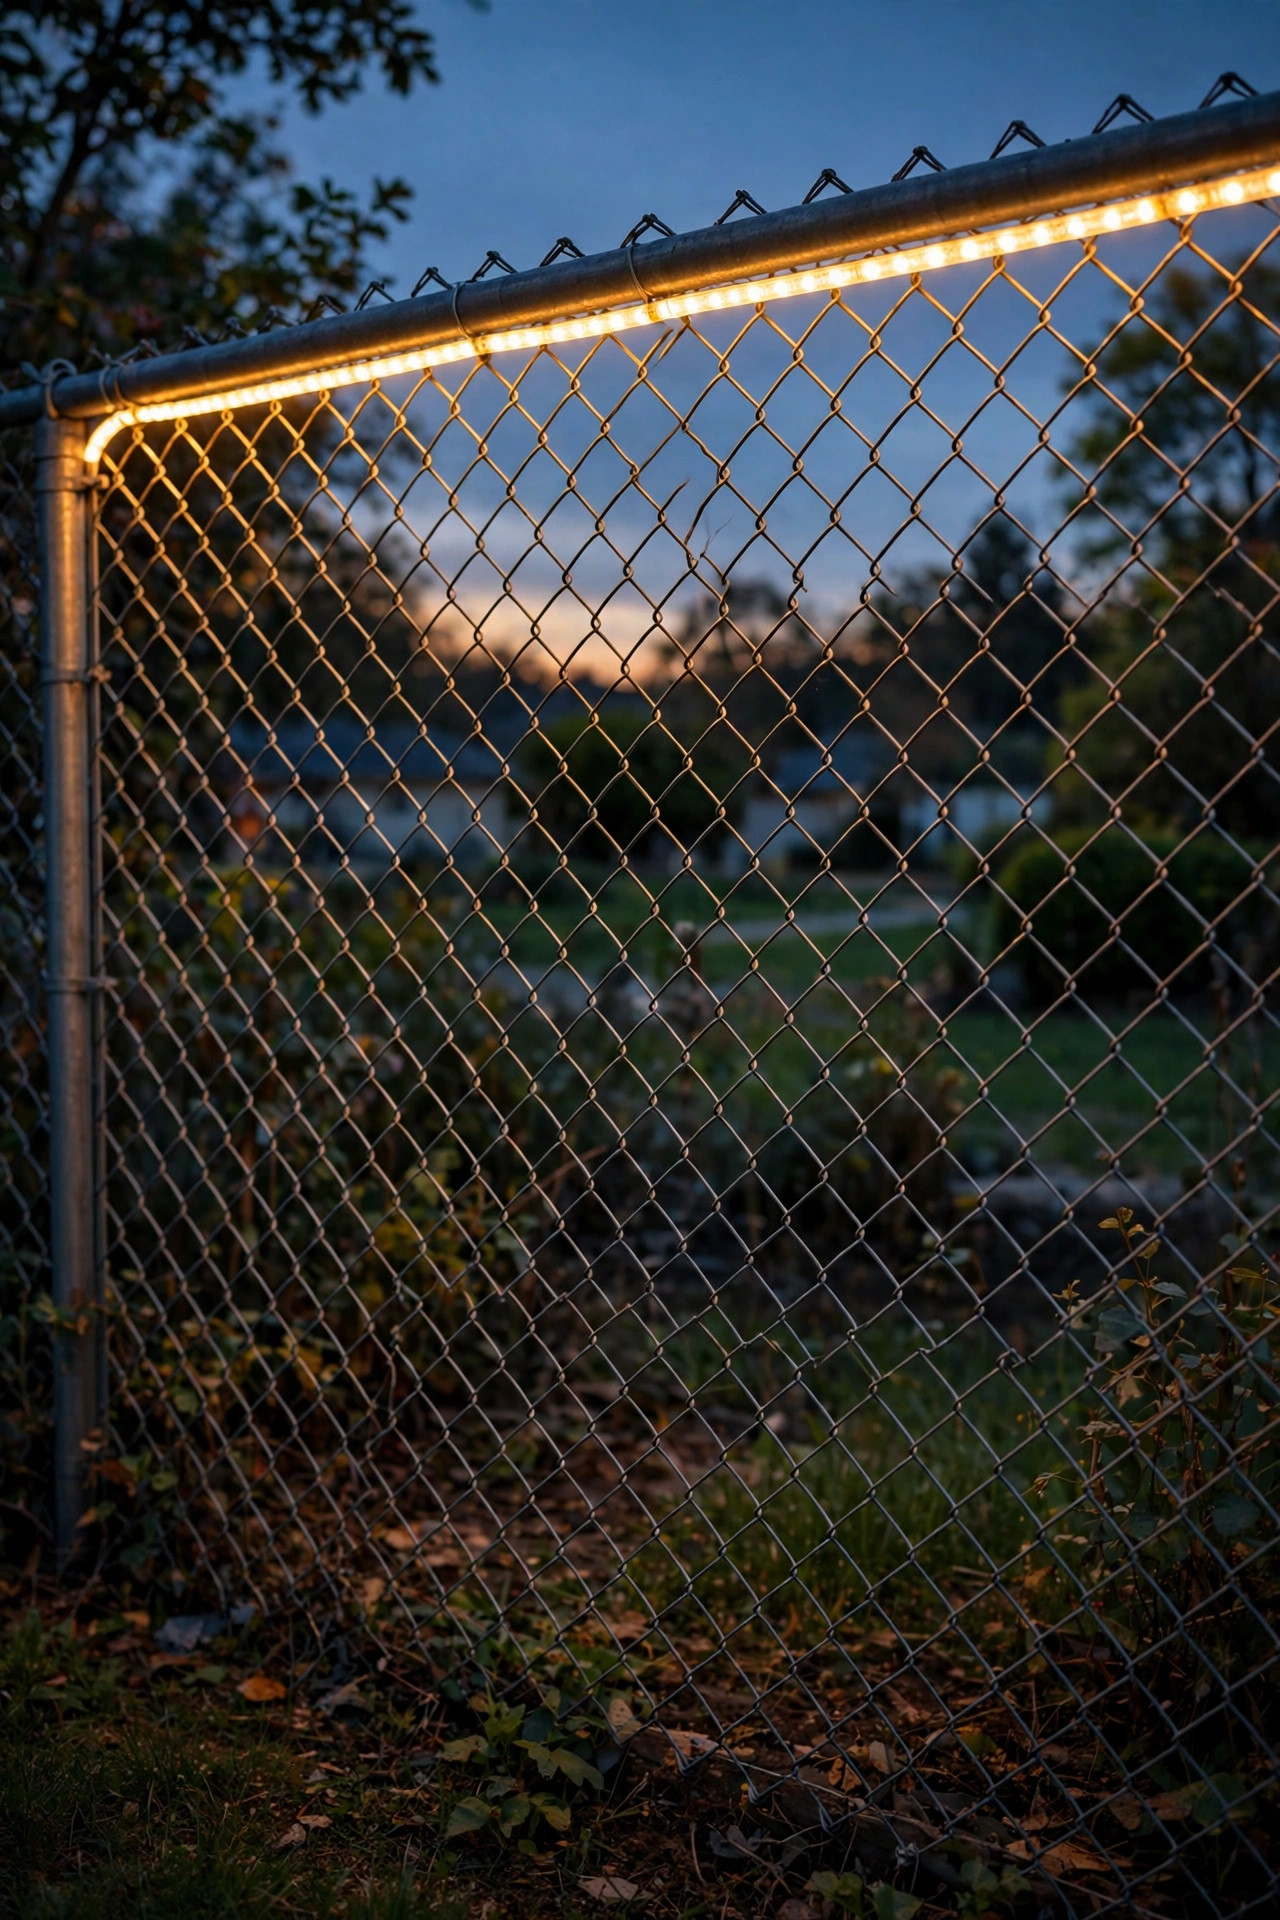
Sometimes the smartest way to disguise a fence is to give people something prettier to look at in front of it. A row of shepherd hooks, the kind sold for hanging baskets, pushed into the bed along the fence line creates a rhythm of hanging lanterns at about 5 feet high, right at seated eye level. Battery lanterns with flameless candles or solar lanterns both work; I mix in a hanging basket or two so the row reads as garden decor rather than a lighting project. Space the hooks 5 to 6 feet apart and keep lantern heights identical, because the even rhythm is what makes it feel designed. The glow sits in front of the mesh and throws soft shadows across it, which breaks up the diamond pattern better than brightness alone. Choose lanterns with frosted glass if your seating faces the fence, since a bare bulb at eye level glares. This is also the most renter-friendly idea here: everything pulls out of the ground in minutes when you move.
Suggested budget range: $35 – $90.
9. Mount Solar Sconces Directly on the Posts
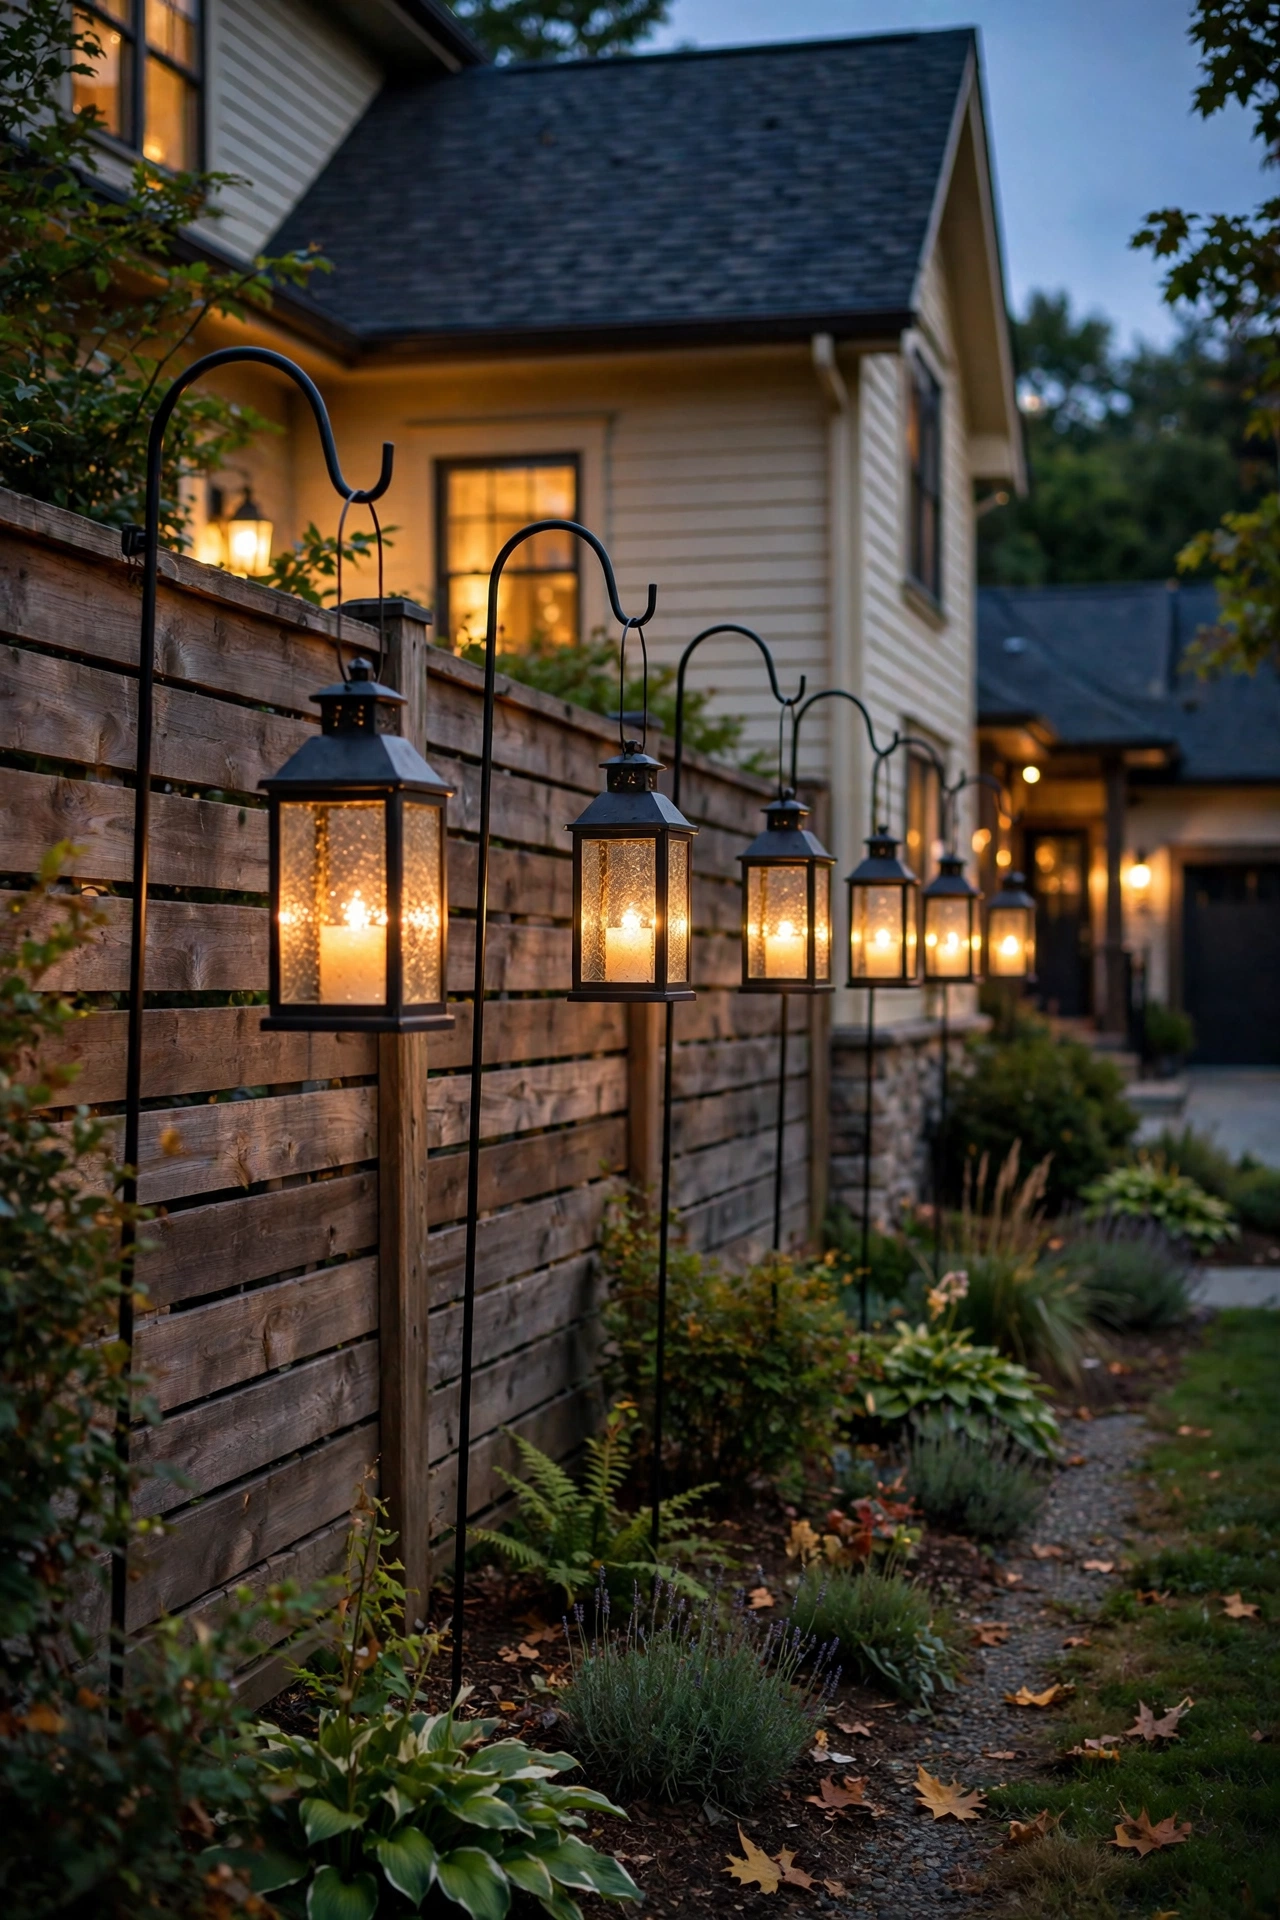
If post caps feel too subtle, solar wall sconces give you a stronger, more architectural statement, and chain-link posts are sturdy enough to carry them. Most solar sconces are designed for flat walls, but a flat mounting plate hose-clamped to a round post works perfectly well, and I have also seen them screwed to a short length of painted board zip-tied between the post and the mesh. Face the sconces outward toward the yard so their light washes down the post and pools at the base; that downward wash hides the lower mesh in gentle brightness. Match the fixture finish to your other outdoor pieces rather than the galvanized steel, black or bronze both look intentional. One sconce per post on a long fence can get pricey, so try every other post, roughly every 16 feet, with a cheaper layer like rope light filling between. Solar sconces with replaceable batteries and a dusk-to-dawn sensor need no switches and no wiring, which keeps this firmly in weekend-project territory.
Suggested budget range: $30 – $80.
10. Drape Net Lights Over Shrubs Planted in Front
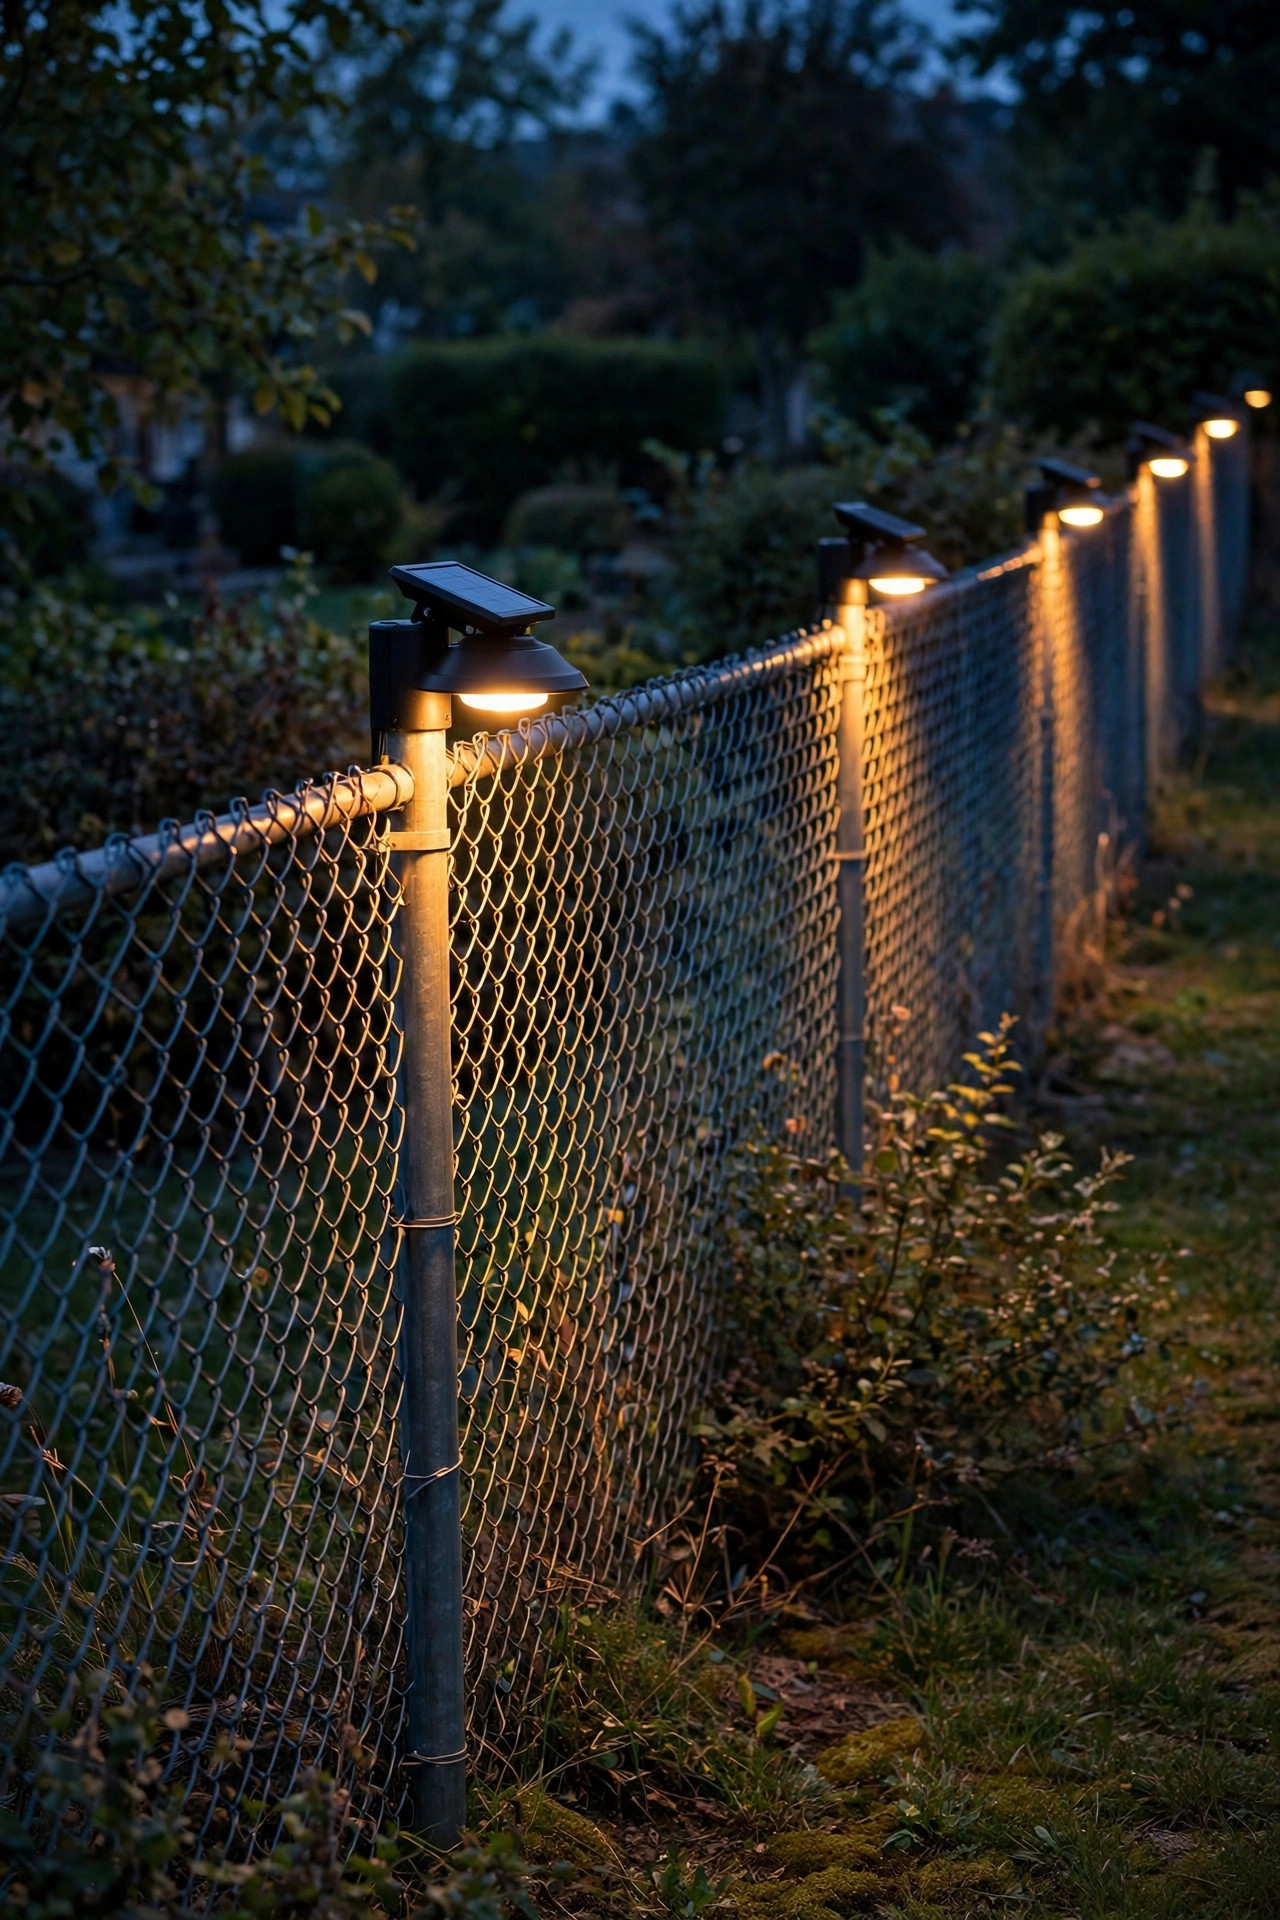
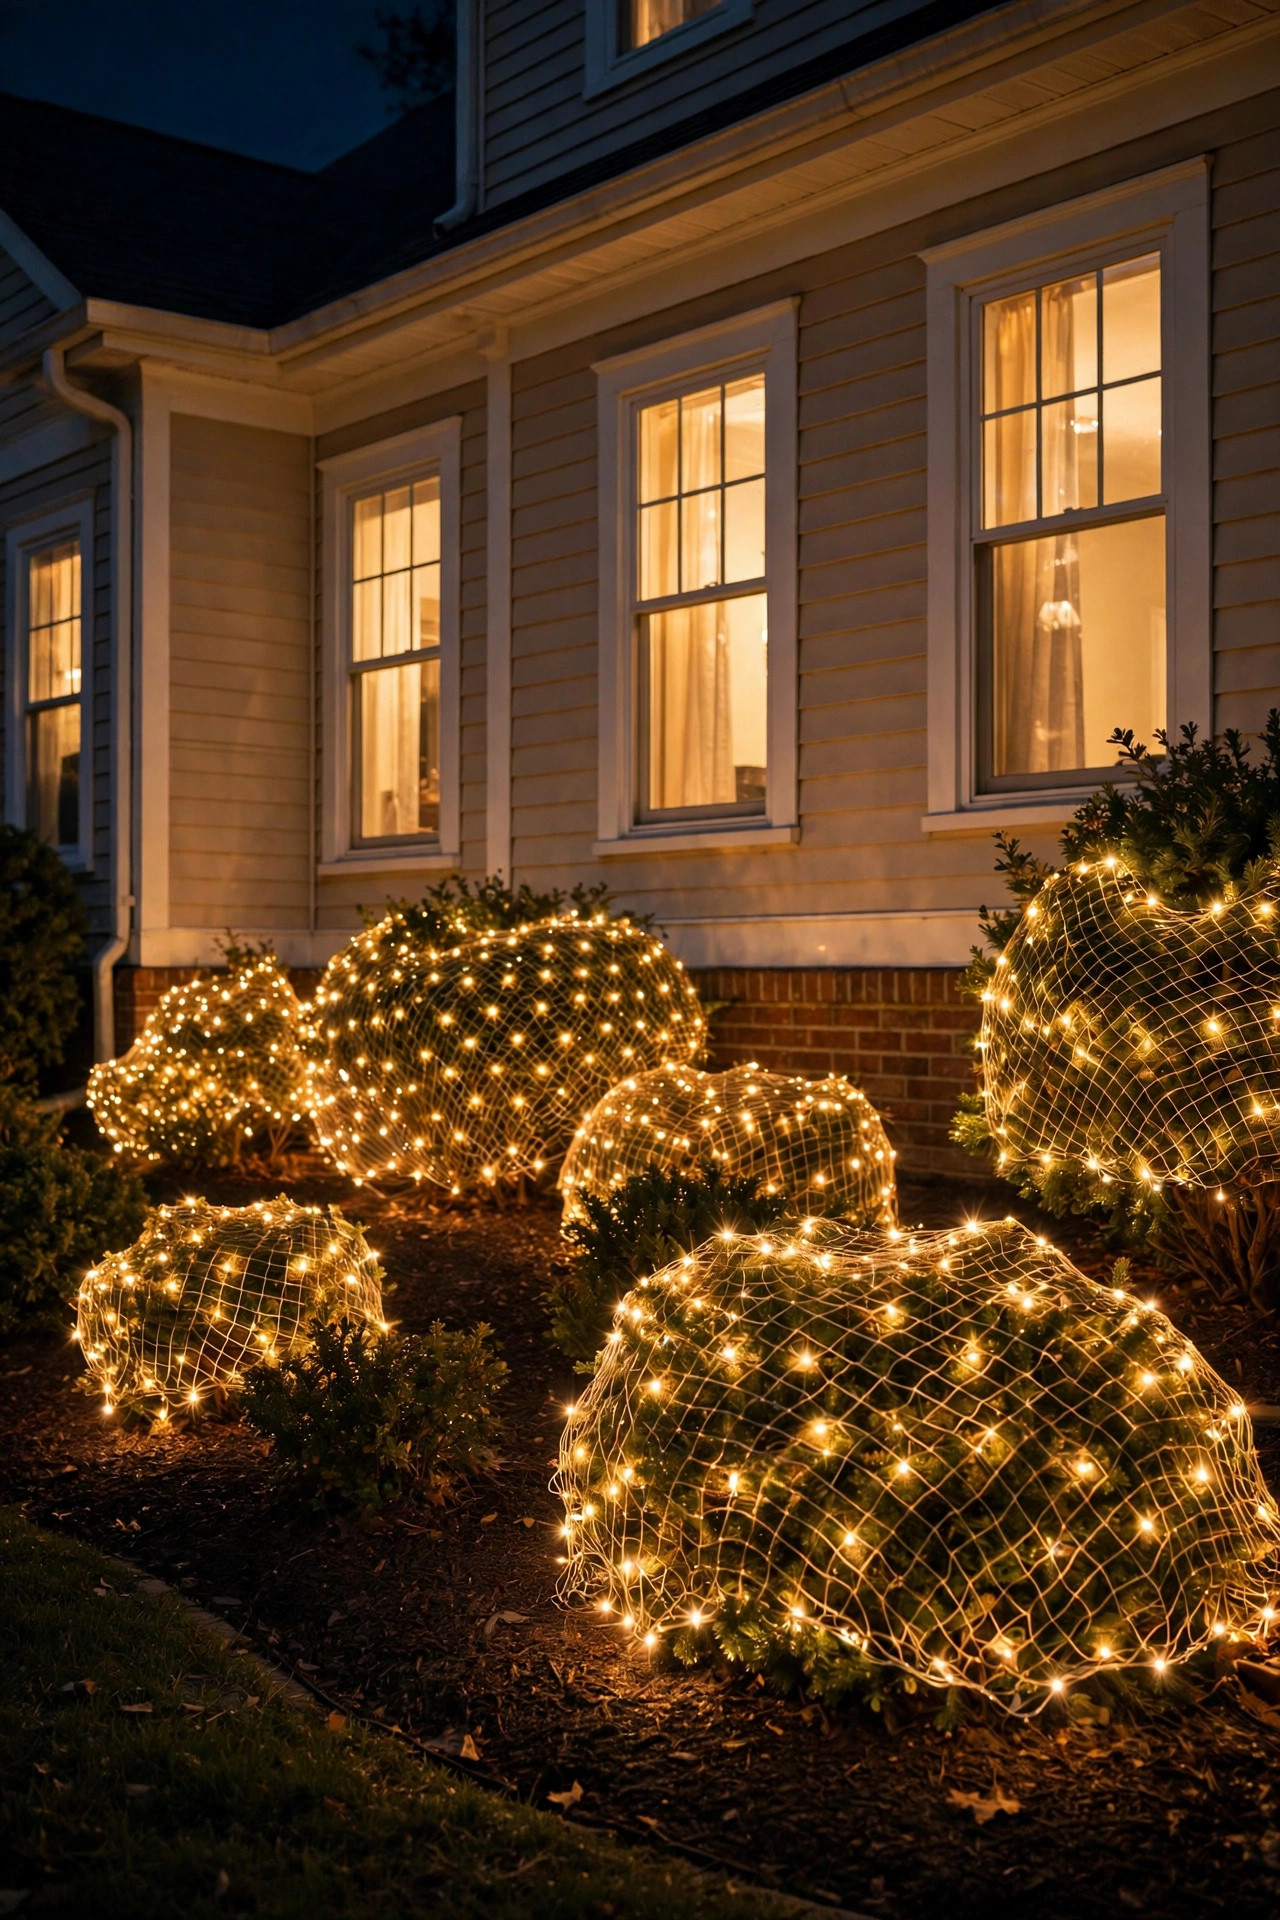
Net lights are the holiday aisle's gift to fence disguise. A mesh of tiny LEDs on a net grid, designed for draping over shrubs, turns any planting in front of your fence into a floating cloud of sparkle, and a sparkle cloud is a wonderful thing to put between your patio and a chain-link fence. Plant a loose row of medium shrubs, boxwood, holly, or ornamental grasses, a foot or two in front of the fence, then drape one net over each shrub and let the edges overlap slightly so the row glows as one continuous band. The fence behind simply vanishes into darkness. Solar nets exist but are dimmer; plug-in nets on a timer give the full effect and cost pennies a night to run. Warm white only, and choose the twinkle setting if yours has one, since gentle movement keeps the eye on the shrubs. When shrubs outgrow the nets in a few seasons, the nets move to the next distraction and the now-mature shrubs hide the fence on their own.
Suggested budget range: $15 – $45.
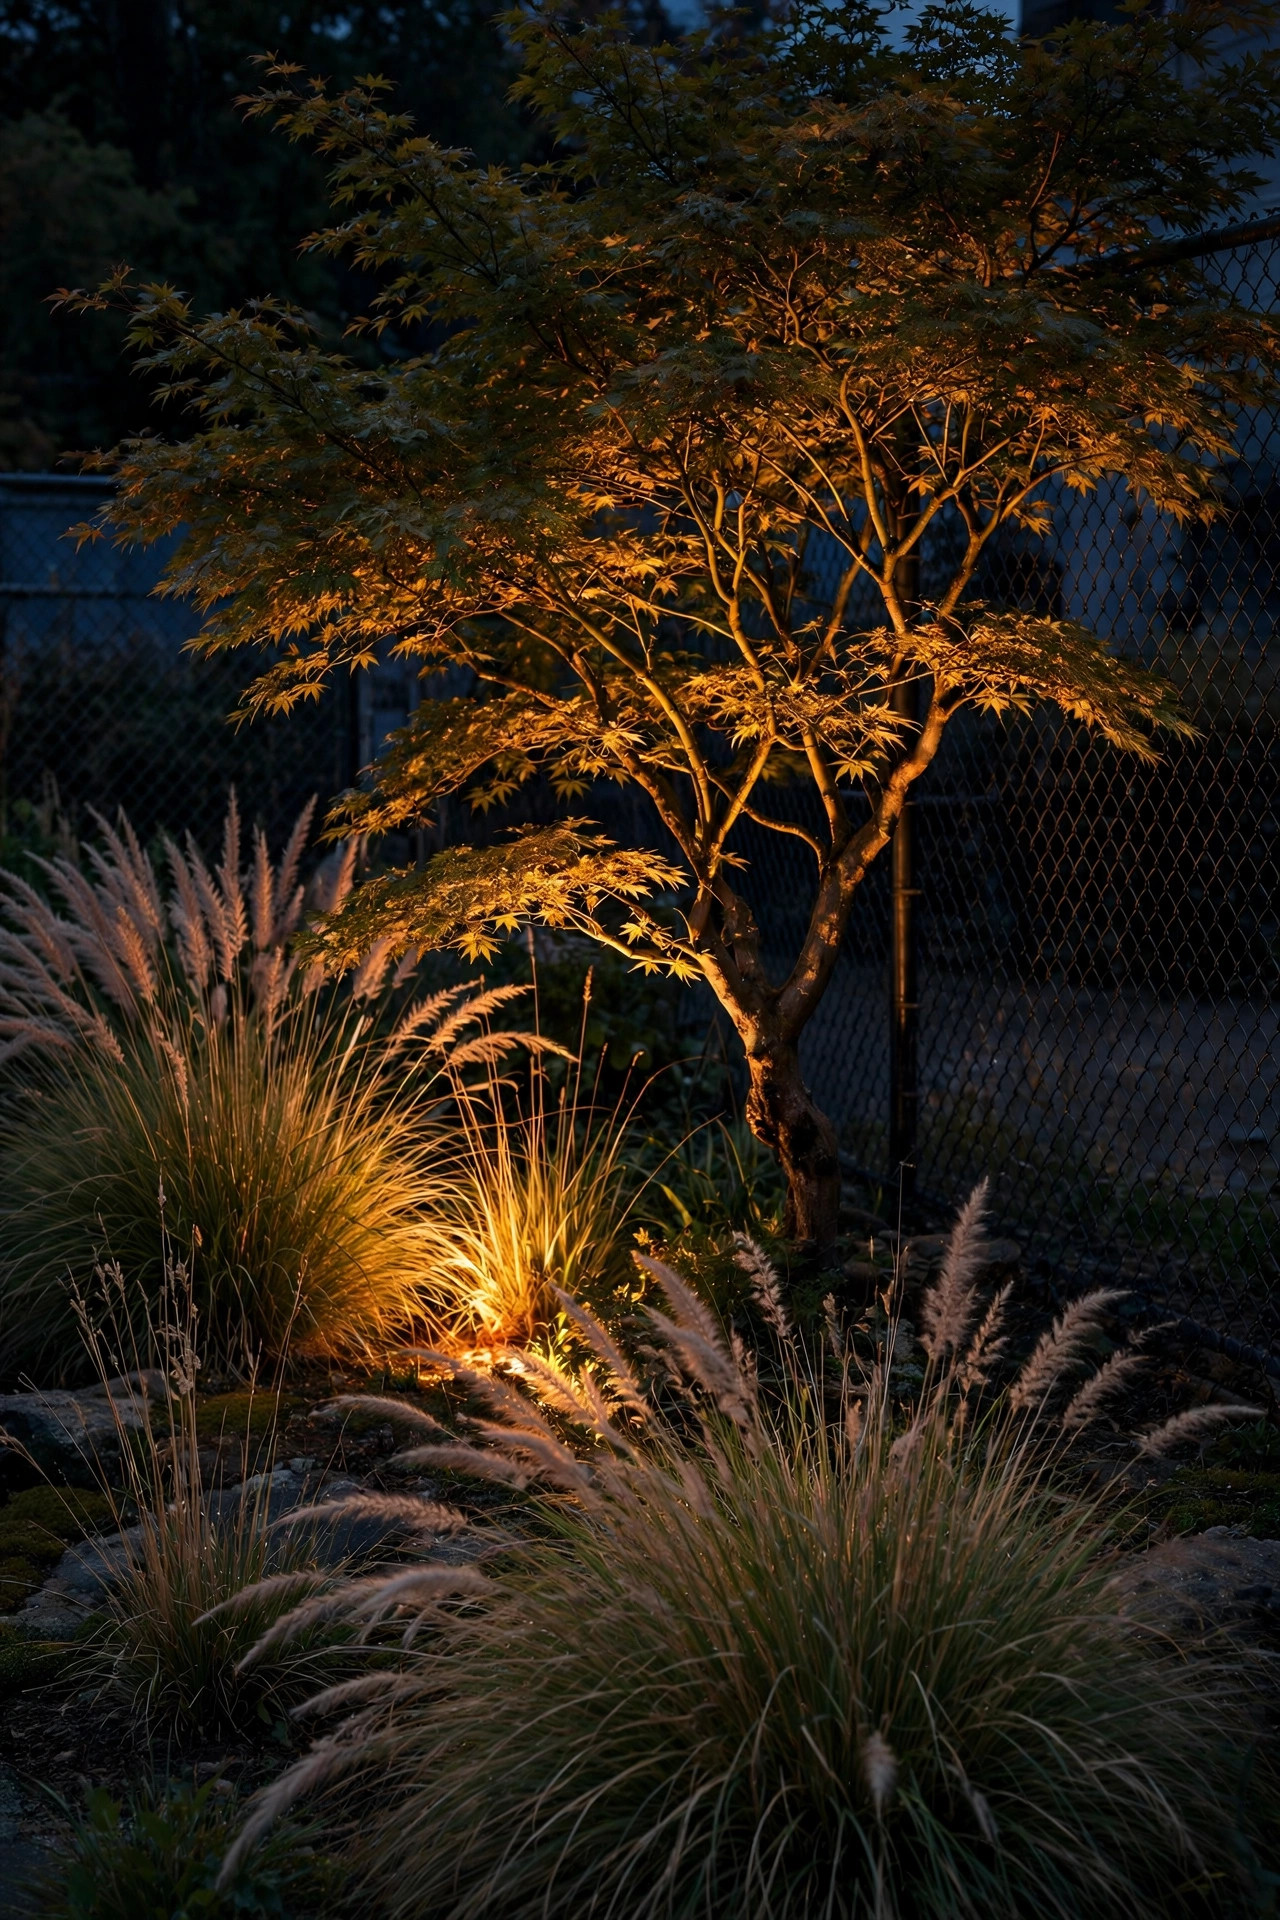
11. Graze Plantings With Spotlights So Nobody Looks at the Mesh
Lighting designers call this distraction by focal point, and it works on chain-link better than almost anything. Instead of lighting the fence, light what stands near it: a small ornamental tree, a birdbath, a cluster of tall grasses, a garden statue. A low-voltage spotlight at the base of each feature, aimed upward and slightly across it for texture, creates bright islands of interest. Your guests' eyes travel from island to island and never settle on the wire in the dark gaps between. This is why the dark gaps matter: an unlit chain-link fence at night is nearly invisible, while a lit one advertises every diamond. Keep the fence itself in shadow on purpose. Three to five focal points along an average backyard fence is plenty, spaced unevenly for a natural feel. Choose fixtures with adjustable heads and glare shields so light lands on the subject, not in anyone's eyes. Honestly, half the fences I have "disguised" for friends were solved by this idea plus one string of lights for the patio's sake.
Suggested budget range: $45 – $130.
12. Hang Mason Jar Lights From the Top Rail
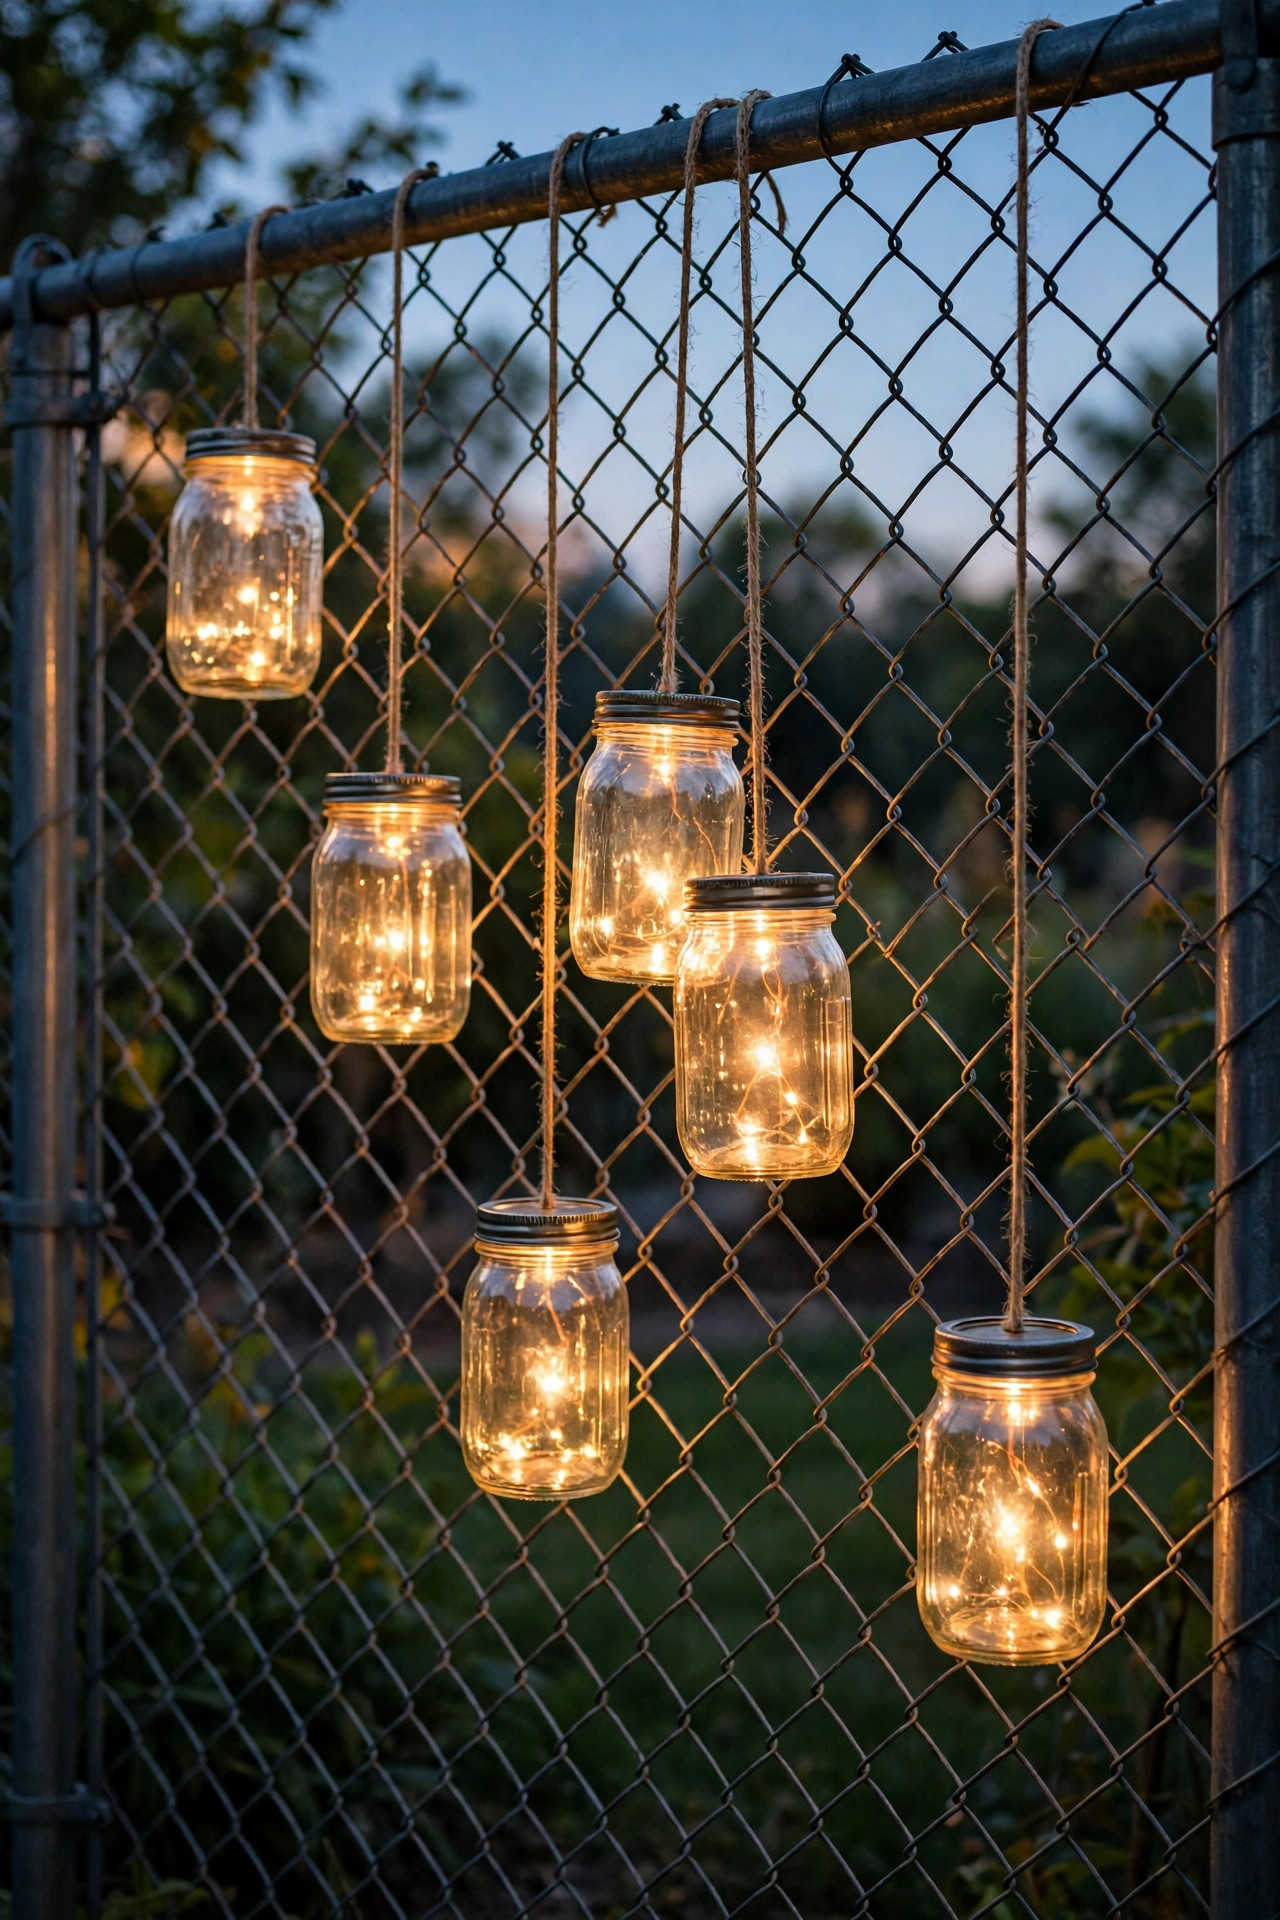
For a softer, cottage-garden mood, mason jar lights are hard to beat, and chain-link practically begs for them because the top rail gives you a hanging point every few inches. Use jars fitted with solar lids or drop in battery tea lights, then hang each jar from an S-hook or a loop of jute twine at slightly varied heights, 4 to 8 inches of difference down the row. That gentle irregularity reads handmade and charming, and the frosted glow through glass is far more flattering than any bare bulb. Group jars in odd numbers where the fence passes seating areas, and thin them out along the plain stretches. A word of practical caution from my own yard: real candles in jars this close to a fence collect bugs, soot the glass, and are a fire risk near dry leaves; flameless LED candles only, please. Solar lids charge best where the fence gets afternoon sun, so on a north-facing run, charge the lids on a sunny step and rotate them through the jars weekly.
Suggested budget range: $20 – $50.
13. Install Fence-Mounted Downlights for a Soft Wash
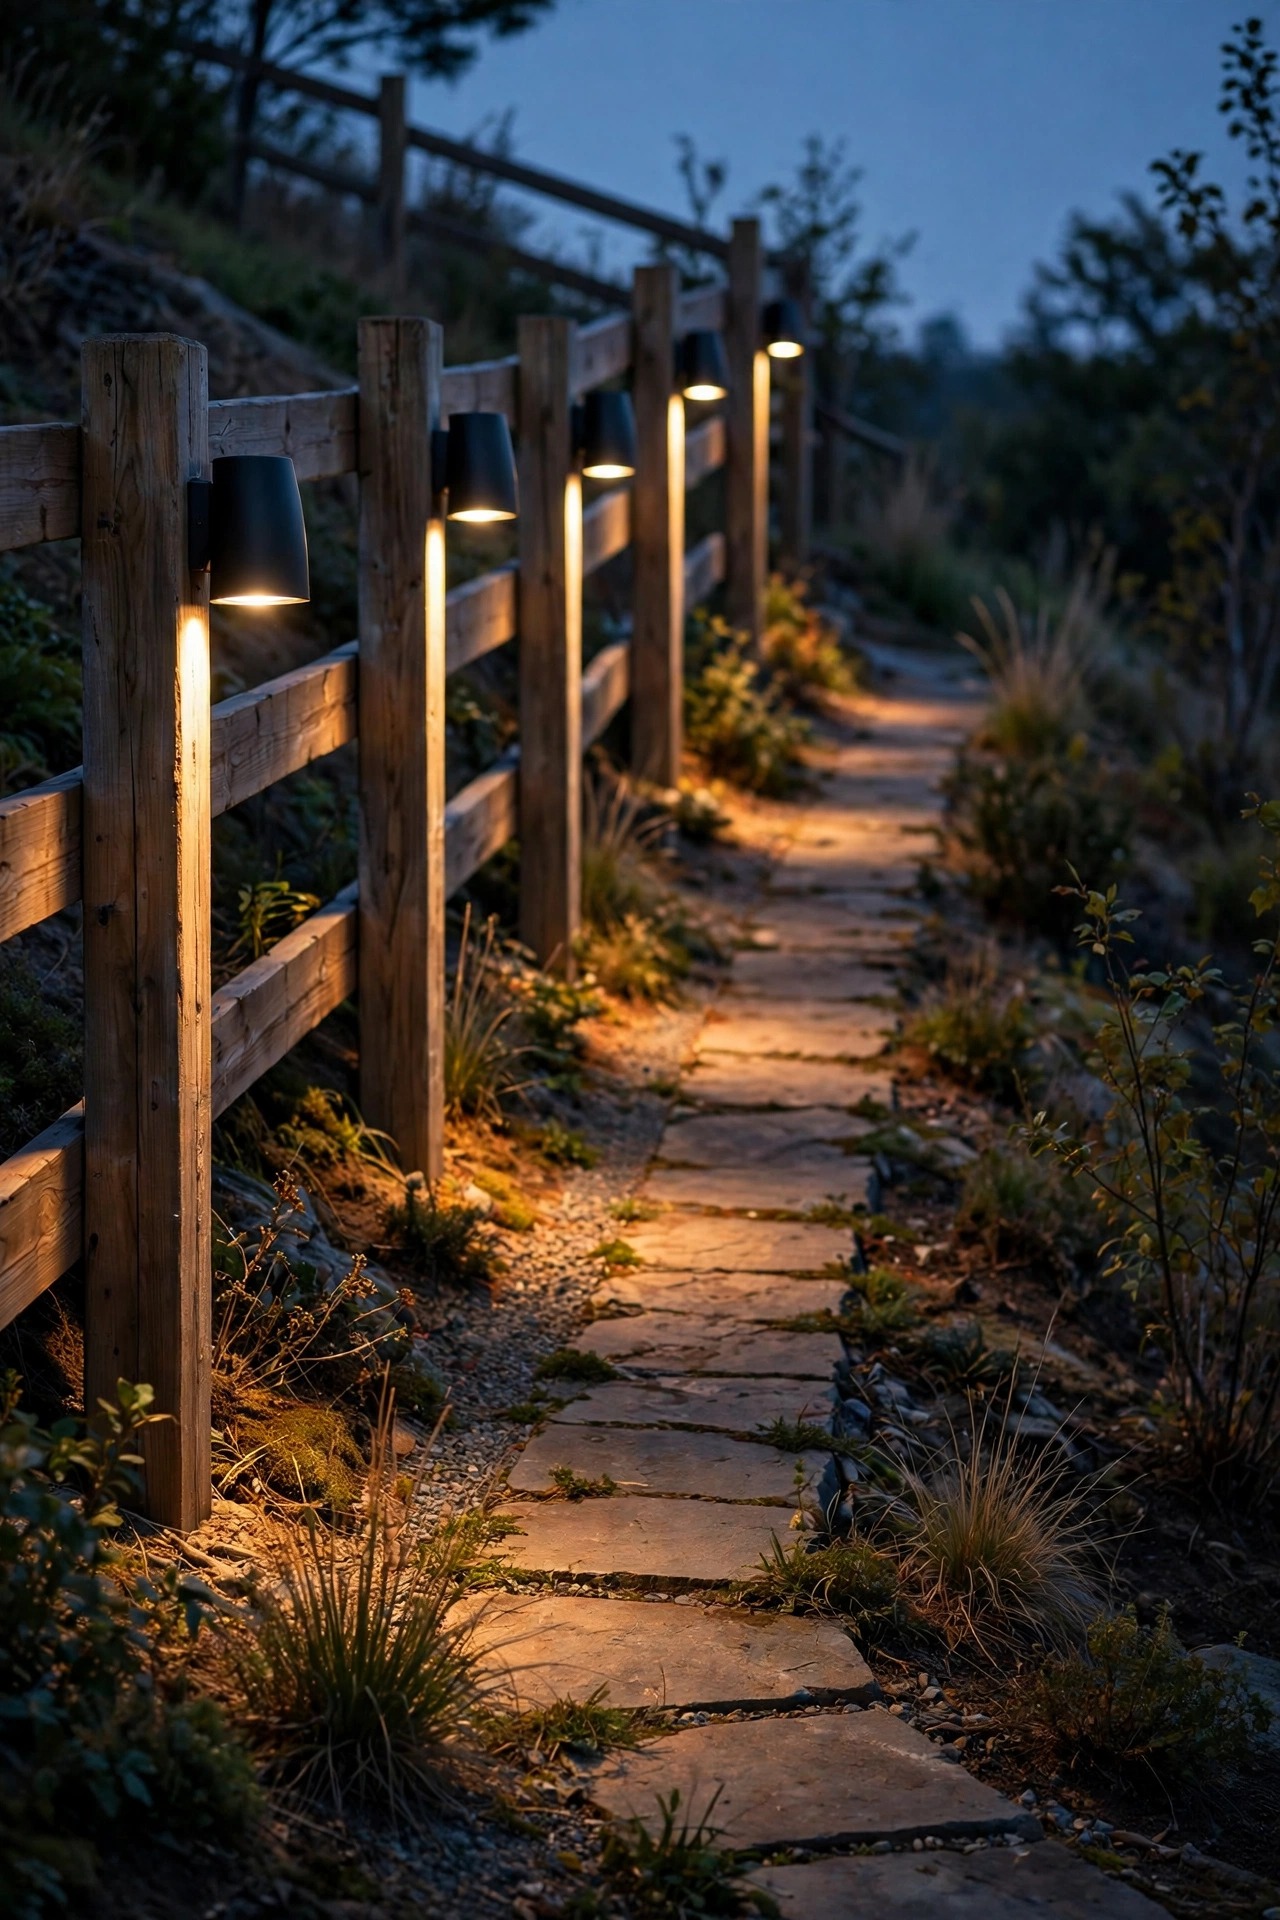
Downlighting is the most polished look on this list, the one that makes people ask who your landscaper is. Small hooded fixtures clamp or screw to the top rail or the posts and throw a soft cone of light straight down the face of the fence, grazing the mesh so it reads as texture rather than barrier. Run them as a low-voltage system off one transformer and you get even, dimmable light with no batteries to babysit. Space fixtures 6 to 8 feet apart and overlap the cones slightly at the base. The grazing light also washes whatever is planted at the fence's foot, so a simple bed of hostas or ferns looks lush and intentional. Because the light points down, it is neighbor-friendly and dark-sky friendly, with nothing spilling over the fence. Wiring runs along the top rail inside a split-loom tube for a tidy, protected install. This is the priciest idea here per foot, so many readers do the patio-facing run in downlights and echo the look on side fences with rope light.
Suggested budget range: $90 – $250.
14. Set Flameless Candle Lanterns at the Base
Ground-level glow is the layer most people skip, and it is the layer that makes a fence feel like the edge of a room instead of the edge of a property. A row of outdoor lanterns with flameless candles, set on the ground or on low stumps and pavers along the fence base, creates a warm horizon that your eye rests on. Mix two lantern sizes for a collected look, keep the candle color a consistent amber, and set the built-in timers so the whole row wakes up at the same dusk moment. Battery candles now run 500-plus hours per set of batteries, so a spring installation honestly lasts the season. Place lanterns just inside the planting bed, a few inches in front of the mesh, and the light they throw backward silhouettes stems and leaves against the wire in the prettiest way. Never use real flame at a fence base: dry mulch and leaf litter collect there, and LED candles give you the flicker without the worry.
Suggested budget range: $25 – $70.
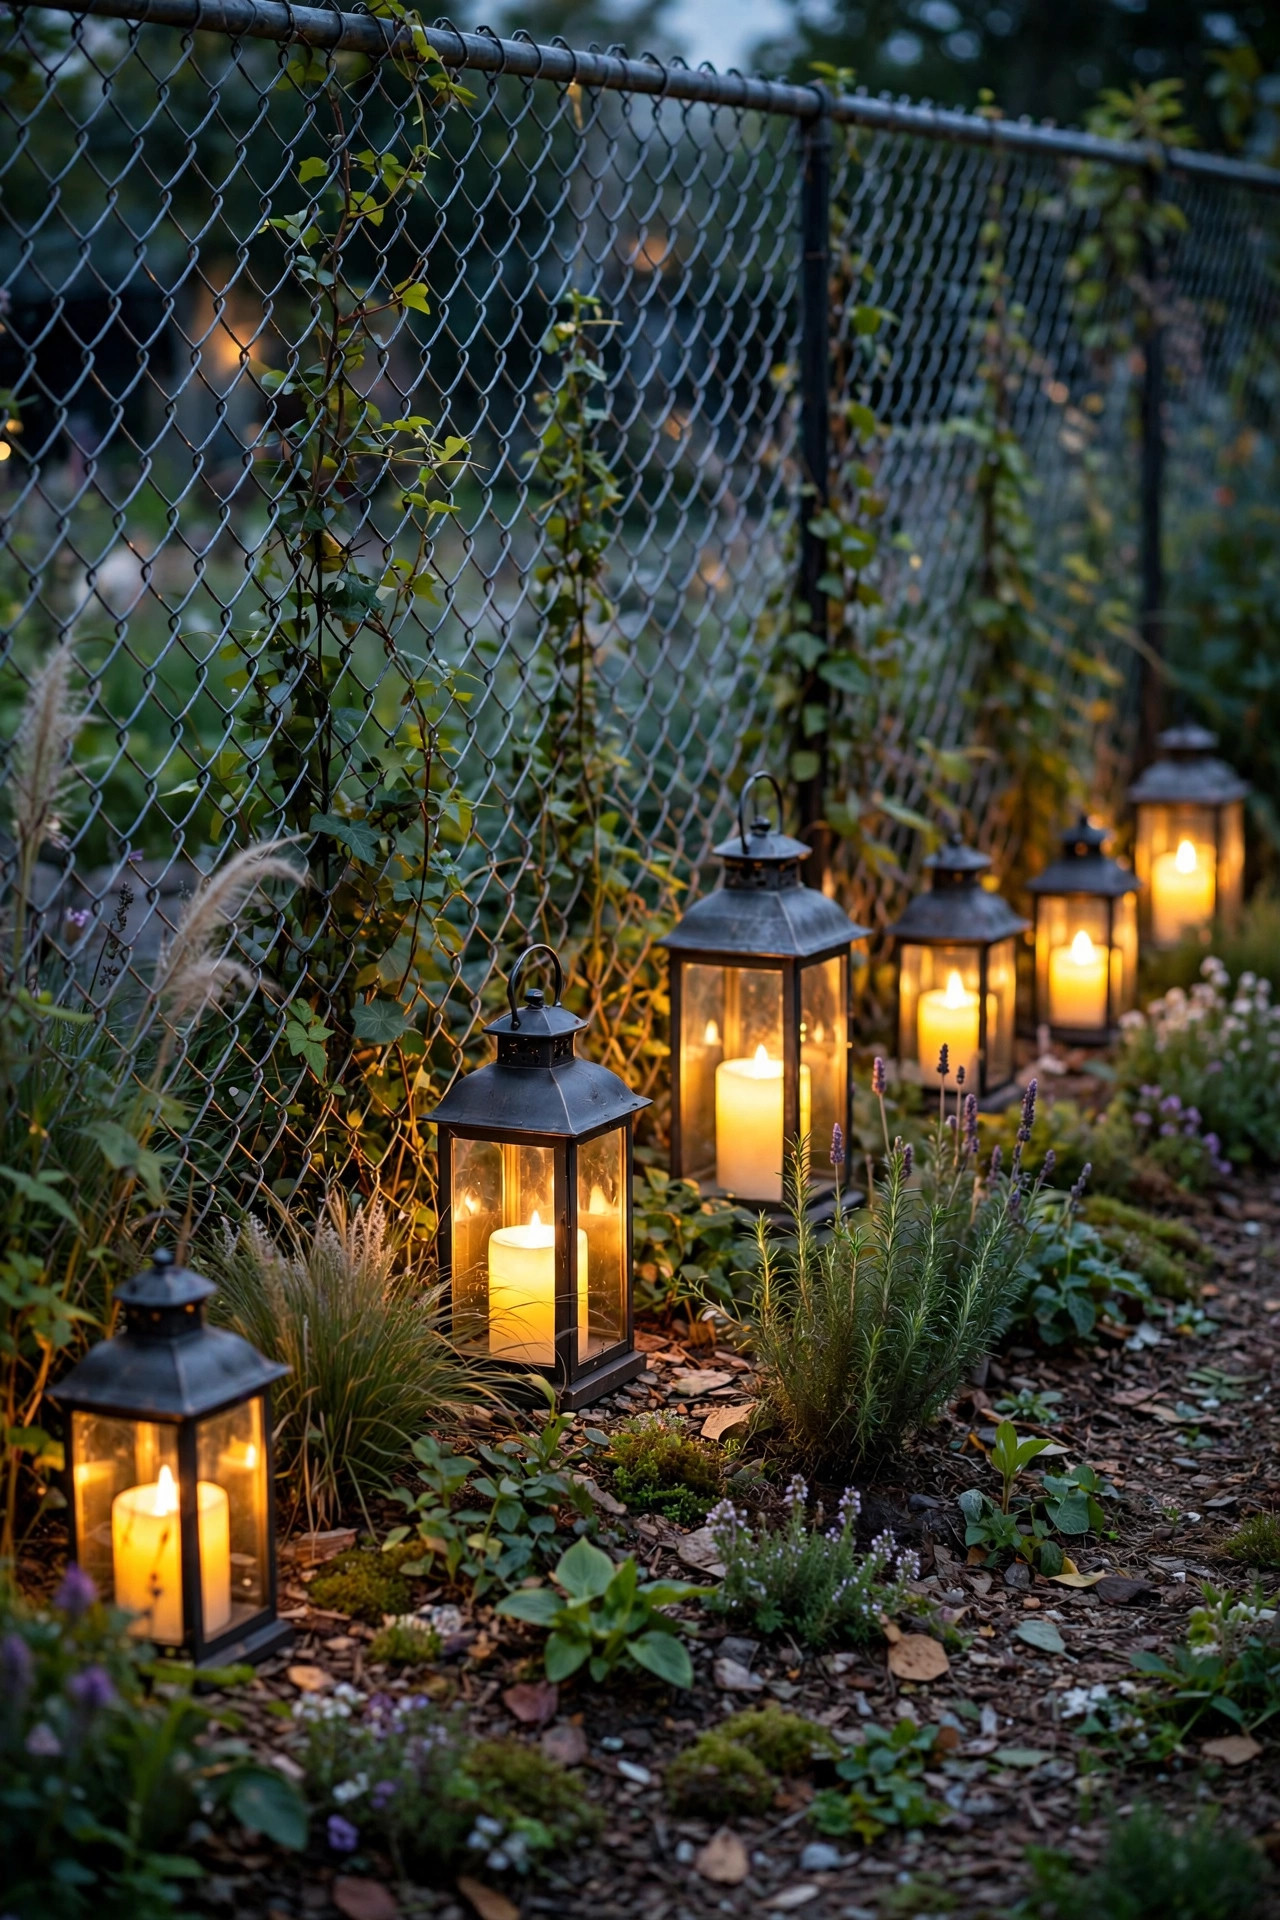
15. Stake Solar Path Lights in a Row in Front of the Fence
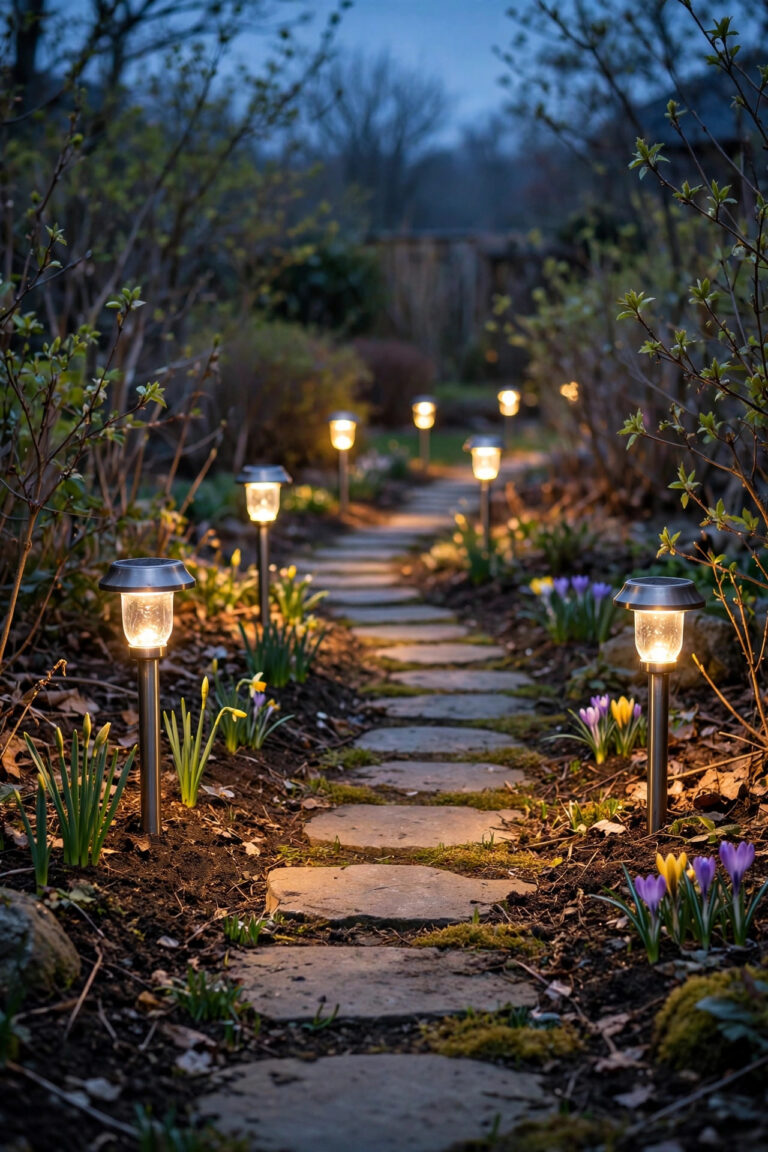
Path lights are sold for walkways, but a fence line is just a path nobody walks, and treating it like one works beautifully. A row of solar path lights staked 6 inches in front of the fence, spaced a very regular 4 feet apart, lays a dotted line of light along the whole boundary. The regularity is the disguise: a measured rhythm of identical glows convinces your eye the boundary is a designed garden edge. Choose lights that throw their light downward in a circle rather than outward through a clear lens; the pools on the ground are prettier and keep glare out of the seating area. If your fence borders an actual path or driveway gate, this row does double duty as genuine wayfinding. A good solar path lights guide covers lumen counts and spacing math in more depth if you want to get precise. Keep the row one style and one color temperature; mixing leftover singles from other projects is the fastest way to make this look like a yard sale instead of a design.
Suggested budget range: $22 – $55.
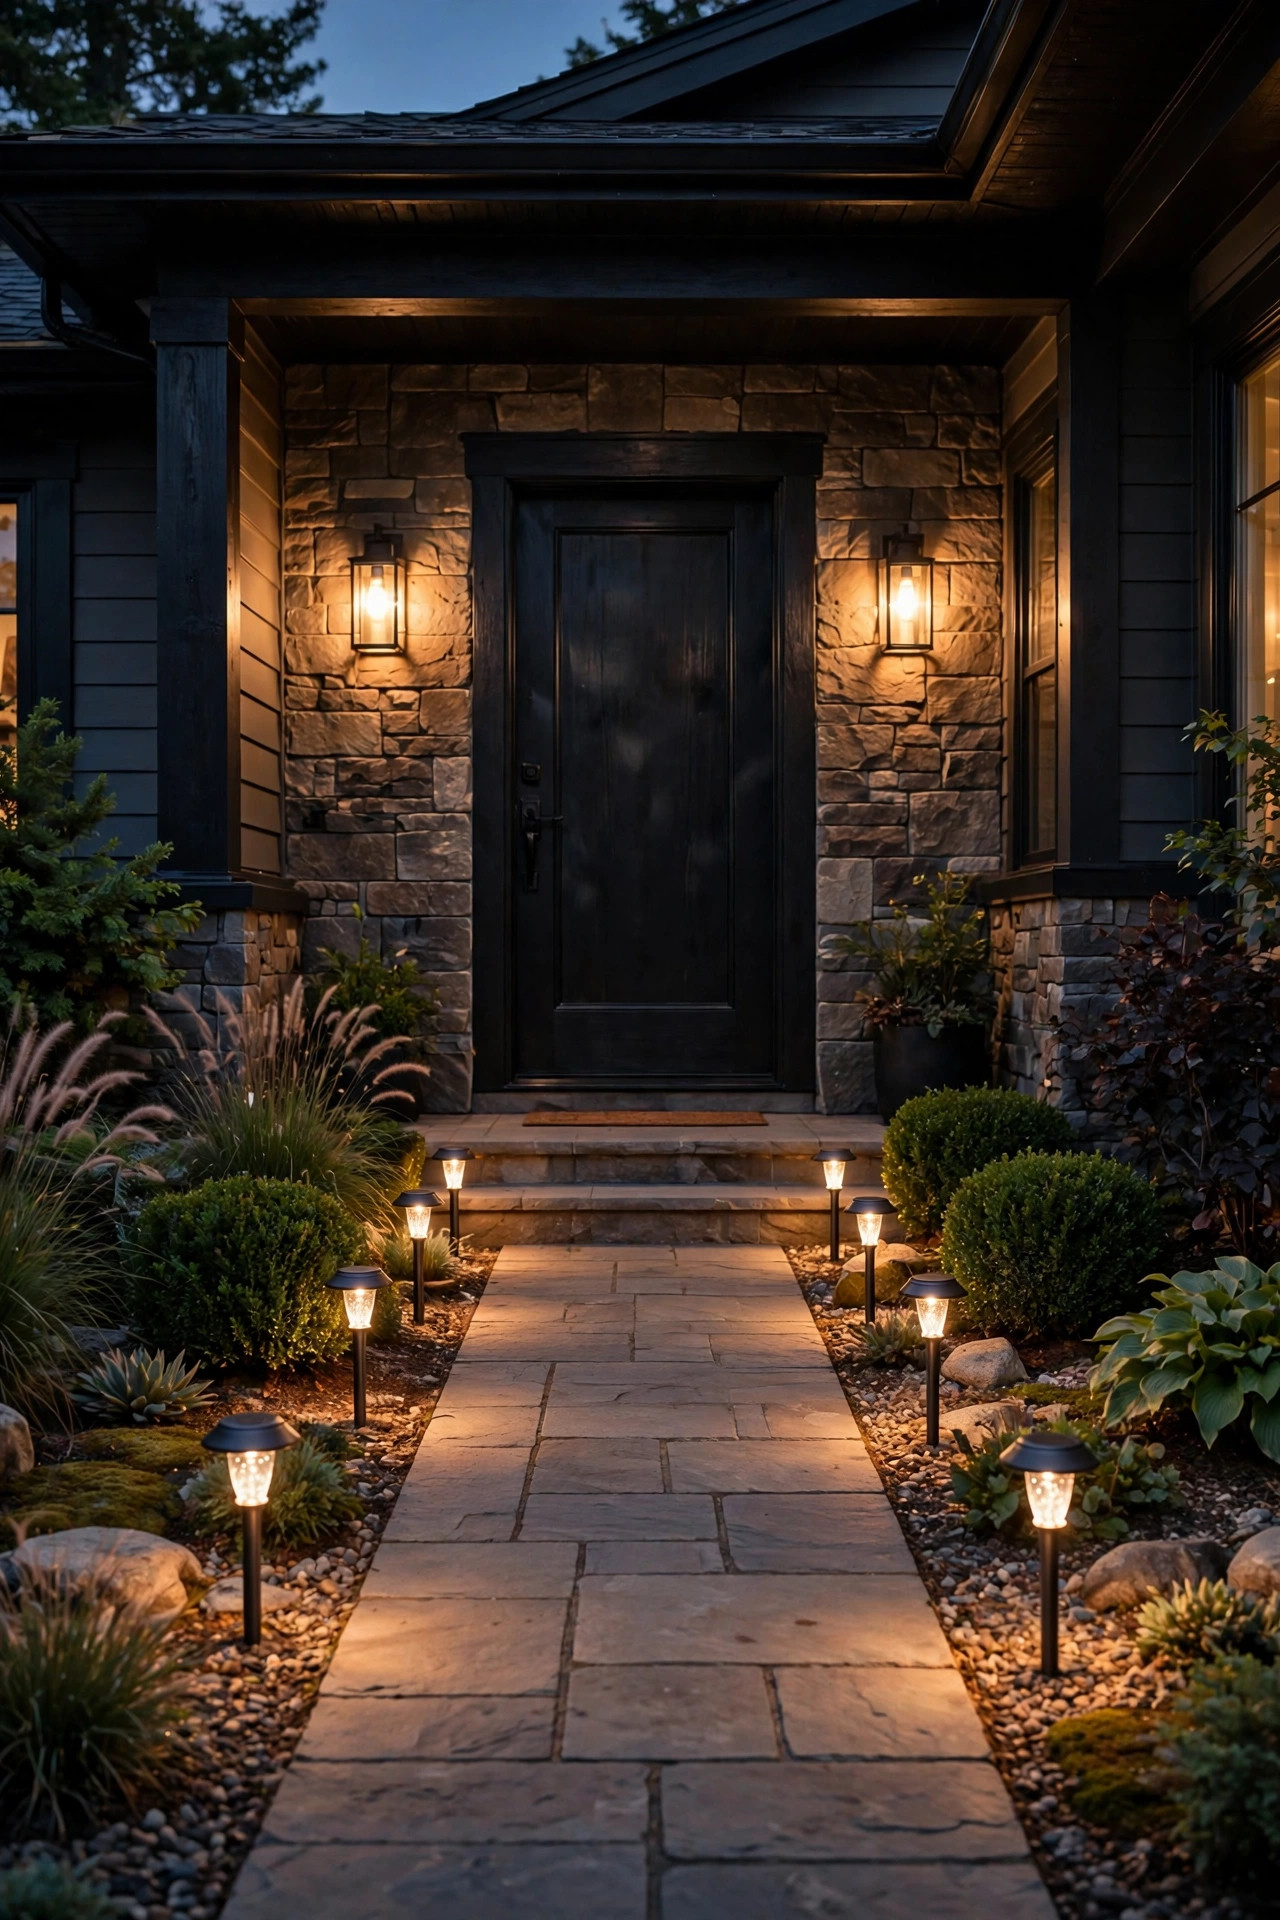
16. Paint the Fence Black: One of the Smartest Chain Link Fence Lighting Ideas Costs Almost Nothing
Here is the idea my neighbors resist, then thank me for. Galvanized chain-link reflects every stray light in the yard, which is exactly why it glows gray and obvious at night. Paint it matte black, or buy black vinyl-coated mesh when you next repair a section, and the fence nearly vanishes after dark on its own. Then even a modest layer of warm light in front of it looks twice as rich, because there is no silvery grid competing with the glow. A roller with a thick nap and rust-inhibiting metal paint handles a panel in minutes; work on a calm day and lay a drop cloth for the planting bed. Black posts and a black top rail complete the disappearing act, and black hardware makes budget fixtures look custom. Honestly, if you do only one thing from this entire list, do this plus idea 2's woven fairy lights: a black fence threaded with warm micro-lights is the single most convincing "that cannot be chain-link" transformation I know, and it costs less than a pizza night.
Suggested budget range: $30 – $85.
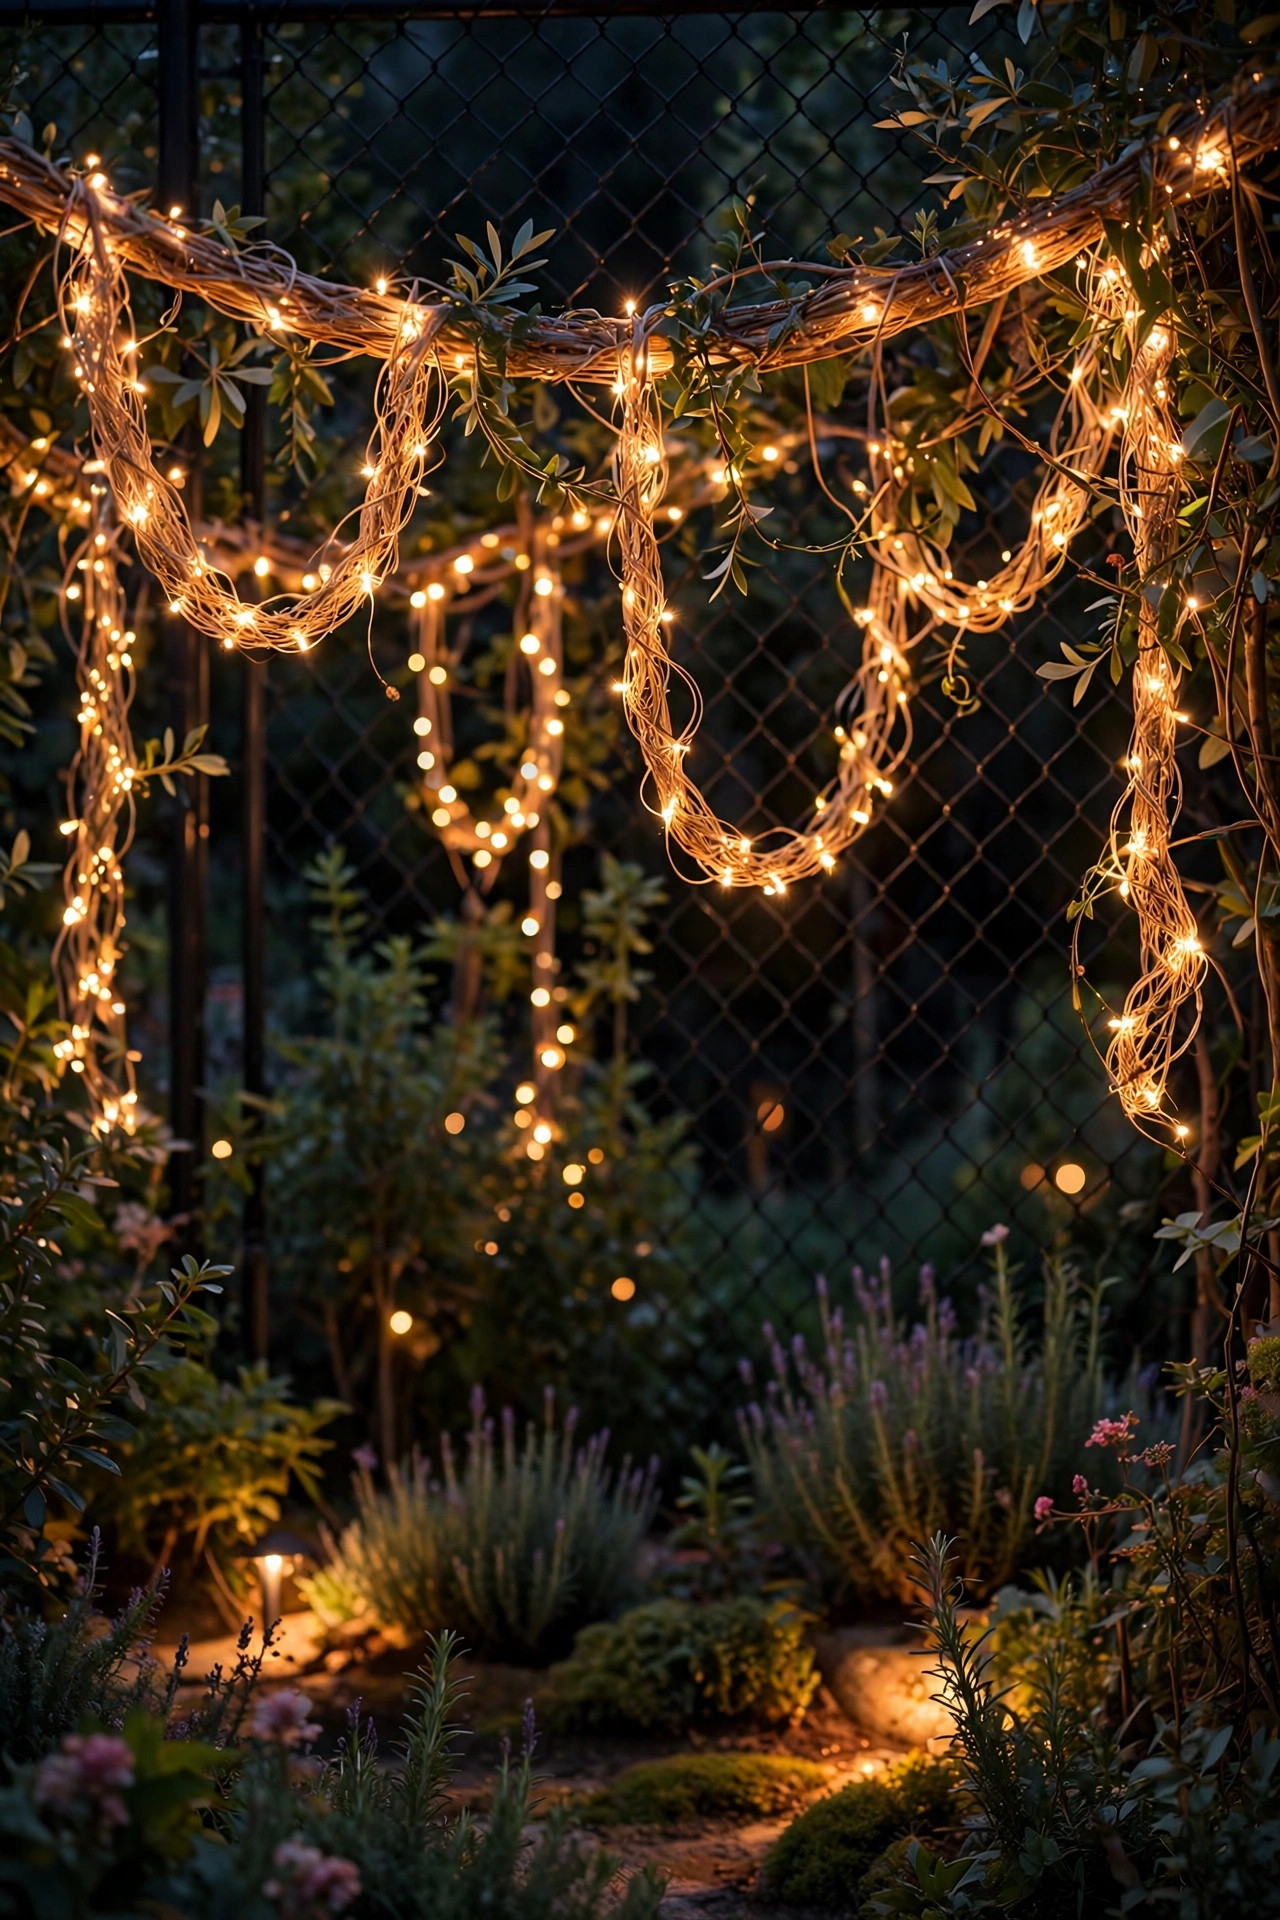
17. Hang Outdoor Curtain Panels and Backlight Them
On the patio-facing stretch of fence, think like a stage designer: hang weatherproof outdoor curtain panels from a cable strung between two posts, and place a lantern or two behind them. The panels billow slightly, read as a soft wall of fabric, and the backlight turns them into glowing screens that completely erase the mesh behind. Sheer outdoor panels give the strongest lantern effect; heavier canvas panels give more privacy and a dimmer, moodier glow. A stainless cable kit with turnbuckles keeps the line taut, and curtain weights or a bottom hem channel stop the panels sailing in a breeze. Tie them back during the day so the yard stays open, then let them down at dusk when the show starts. This works especially well behind a dining set, where the fence sits in every photo. Choose LED lanterns only behind fabric, never real flame, and give the lanterns a few inches of clearance from the panel so heat and light both stay gentle.
Suggested budget range: $45 – $110.
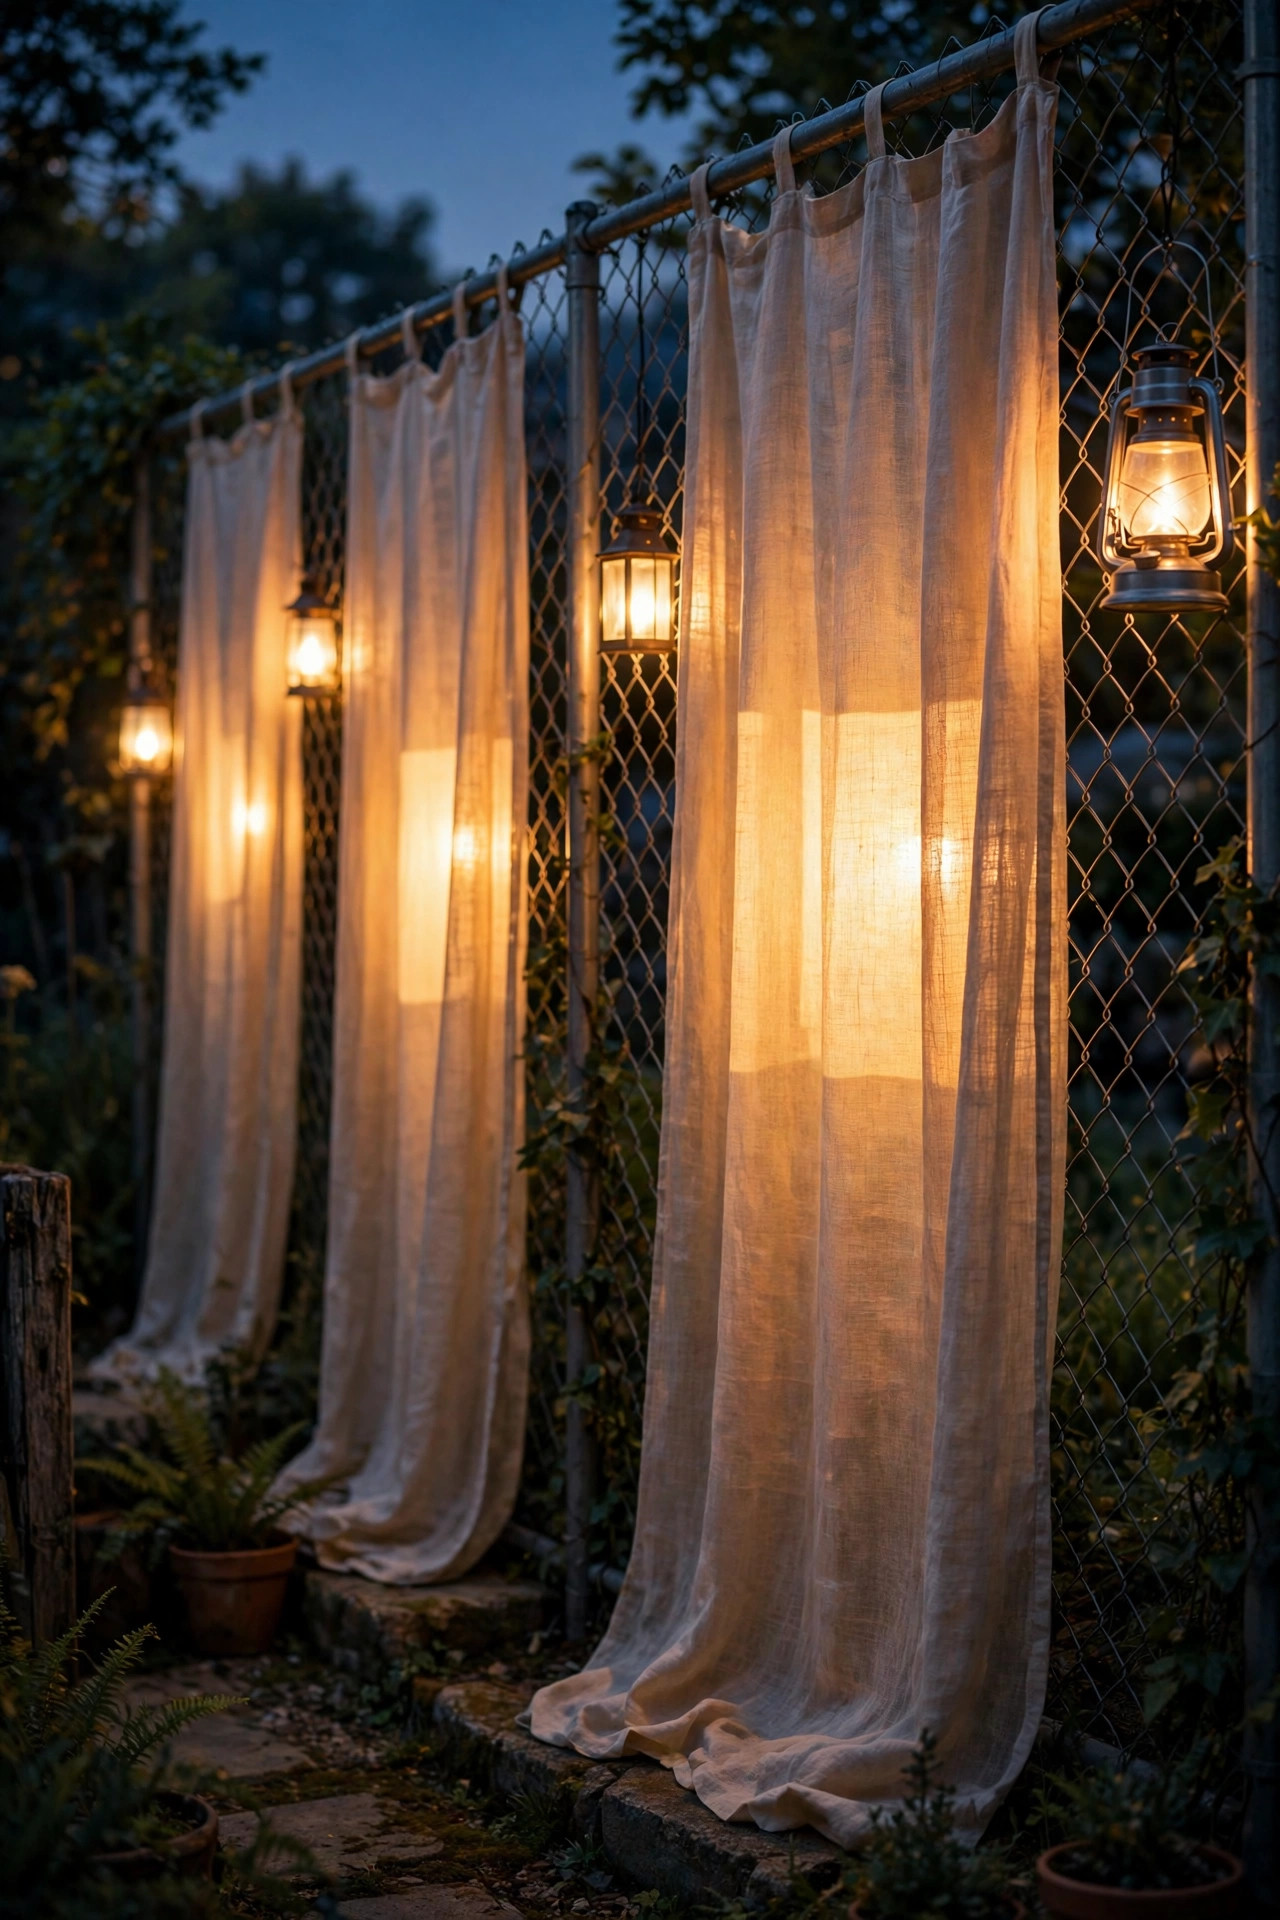
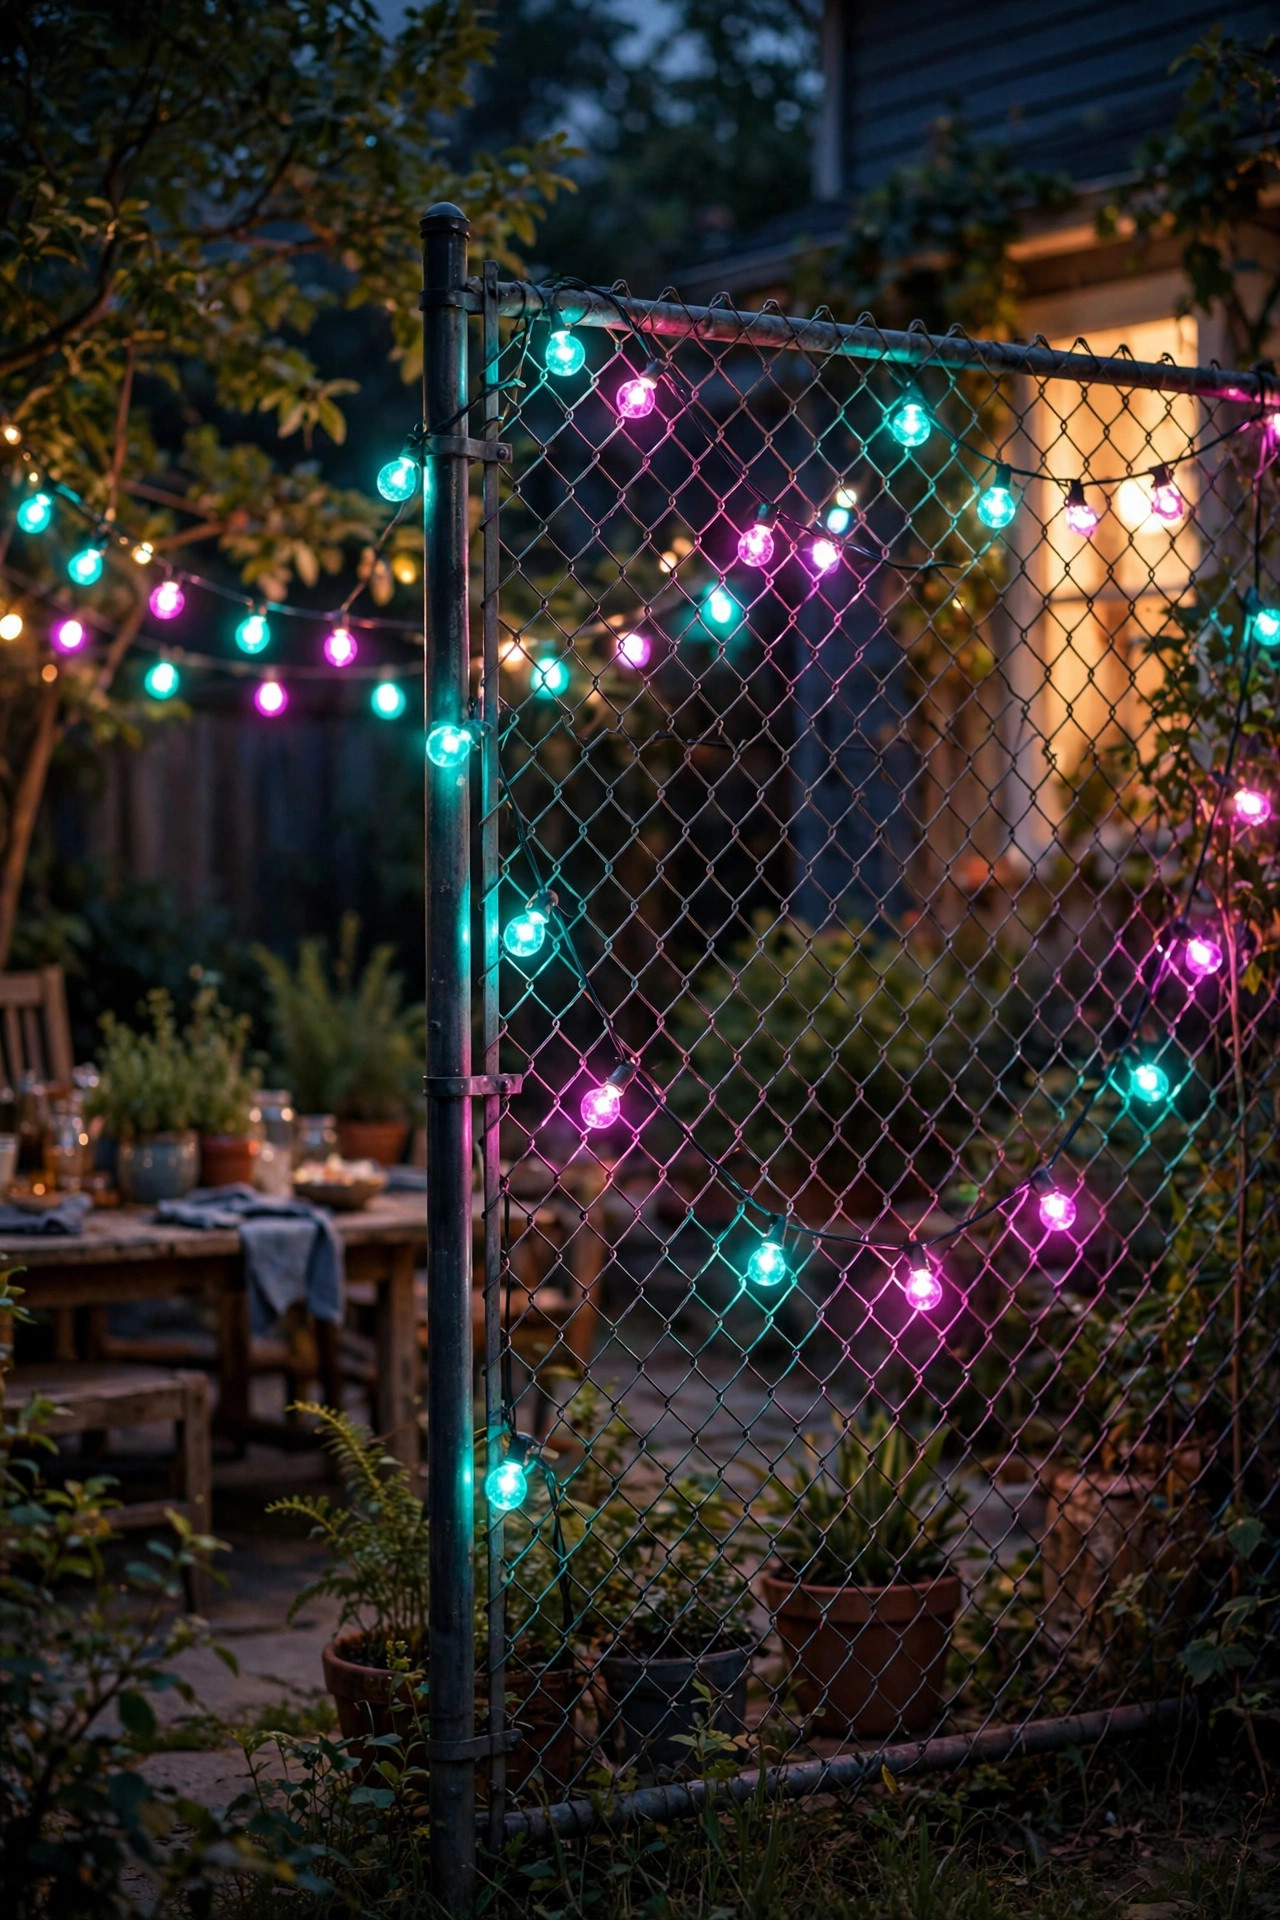
18. Swap In Color-Changing Bulbs for Party Nights
Everyday disguise lighting should be warm and calm, but a fence that can change costumes earns its keep at parties. If your top-rail or swag layer uses standard sockets, smart color-changing LED bulbs drop right in, and one tap turns the whole fence line amber for dinner, then teal, magenta, or slow color fades once the music starts. The mesh becomes a backdrop for the color wash, and saturated color hides the diamonds even better than white light does. Keep the smart bulbs in the overhead layer only; your ground and mid layers stay warm white so faces and food still look good. A simple scene saved in the app, my "cookout" setting is warm white at 60 percent with the fence in soft amber, means the whole yard changes mood in seconds. Weather matters here: only use bulbs rated for outdoor and wet locations in exposed sockets, or keep smart bulbs under a covered pergola edge and let cheaper layers brave the rain.
Suggested budget range: $35 – $95.
19. The Layered Finale: Pull Your Favorite Chain Link Fence Lighting Ideas Together on One Timer
Every fence I am proud of ended the same way: three layers, one color temperature, one switch. Pick a ground layer, path lights or base lanterns. Pick a mid layer, woven fairy lights, sconces, or backlit slats. Pick a top layer, string lights or rope light along the rail. Put every plug-in piece on a single outdoor timer or smart plug set to dusk, and let the solar pieces fend for themselves alongside. Then step back at full dark and edit like a designer: dim or remove anything that glares, add one lantern wherever a dark gap breaks the rhythm, and check the view from your actual chairs, not from the fence. In my experience the whole composition lands when a guest asks what kind of fence that is, and has to walk up and touch it to believe the answer. That moment is worth every zip tie. Total cost for most backyards lands between a nice dinner out and a modest weekend trip, and the result works every single evening, not just on party nights.
Suggested budget range: $120 – $350.
Frequently Asked Questions
What color temperature looks best on a chain-link fence?
Warm white, in the 2700K to 3000K range, wins every time. It flatters skin, food, and foliage, and it makes galvanized metal recede instead of sparkle. Cool white above 4000K gives chain-link a blue, institutional glare that emphasizes every diamond. Whatever you choose, keep every layer the same temperature so the fence reads as one design.
Can solar lights really hide a chain-link fence at night?
Yes, with realistic expectations. Solar handles accent layers beautifully: post caps, woven fairy lights, path rows, and lanterns. What solar cannot do well is a strong wash or downlight effect on a long, shaded fence line. My rule: solar for sparkle and rhythm, plug-in or low-voltage for the base wash that does the heavy disguising.
How do I attach lights to chain-link without damaging the fence?
Zip ties are the fence owner's best friend: UV-rated black ties blend in, hold string lights, rope light, and curtain cables, and snip off cleanly. Stainless S-hooks work anywhere on the top rail, and hose clamps mount sconces and cap adapters to round posts. Avoid drilling the posts; it invites rust and weakens the one part you cannot easily replace.
How much does it cost to light a whole fence line?
A fairy-light and path-light combination for a typical 40-foot run lands between $60 and $150. A polished low-voltage downlight system runs $250 to $500 for the same stretch. Painting the fence black first, roughly $40 in supplies, makes every dollar after it work harder, which is why I call it the highest-value step in this whole list.
Conclusion
A chain-link fence stops being an eyesore the moment light, not wire, becomes the thing your eye lands on. Layer a ground glow, a mid-height sparkle, and a top-rail line in one warm color, keep the rhythm even, and these chain link fence lighting ideas will turn the plainest boundary in the yard into its prettiest backdrop. Start with the black paint and one woven strand this weekend, then browse more of the lighting ideas here and add a layer whenever the mood strikes. Your fence is not going anywhere, so it might as well glow.