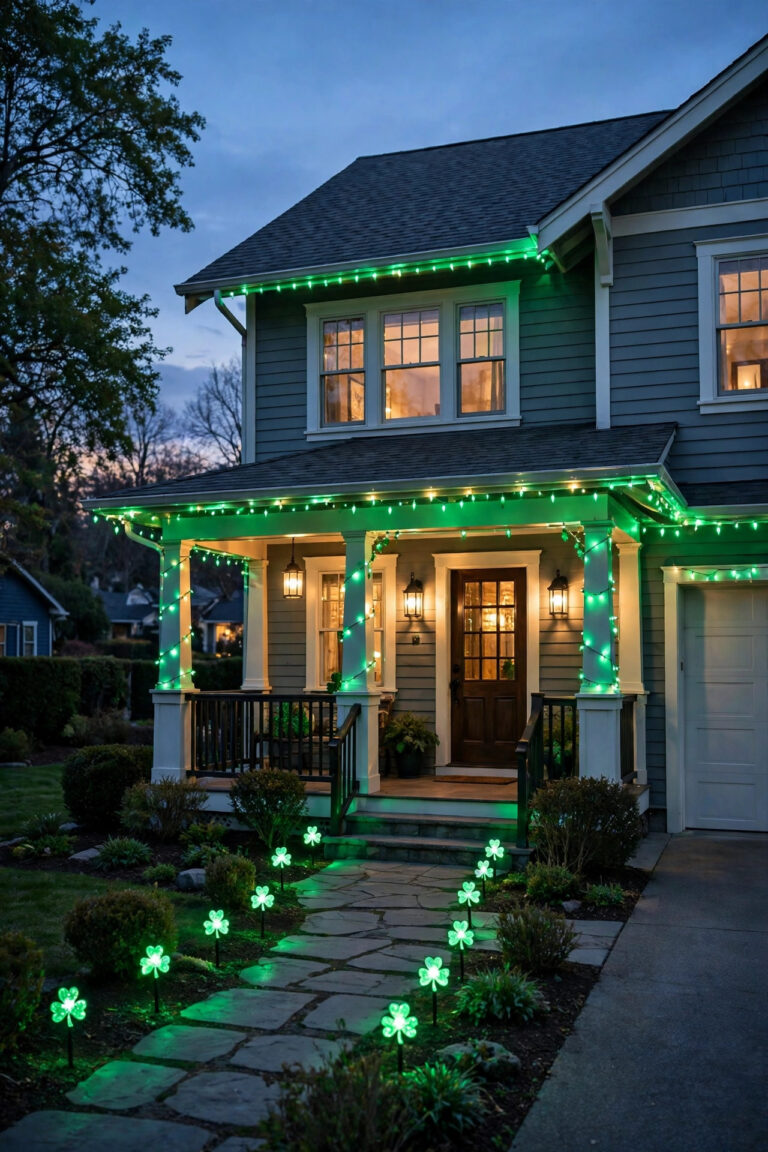
That skinny strip of garden running down the side of your house deserves so much better than darkness. In my experience, side gardens get treated like storage corridors — home to the AC unit, the hose reel, and a tangle of bins — while all the pretty lighting budget goes to the front porch and the back patio. It does not have to stay that way. With the right narrow lot garden lighting ideas, a five-foot-wide pass-through becomes a glowing garden corridor you actually want to stroll through after dinner. The secret is the same layering philosophy I use everywhere: a soft ground layer so your feet know where to step, an eye-level layer for sparkle and depth, and one or two gentle highlights that make the plants look sculpted instead of flat. Narrow spaces respond beautifully to light because the walls and fences bounce it back, so a little goes a very long way. Below are the 17 setups I reach for in tight side yards, most of them solar or low-voltage, all sized for real narrow lots.
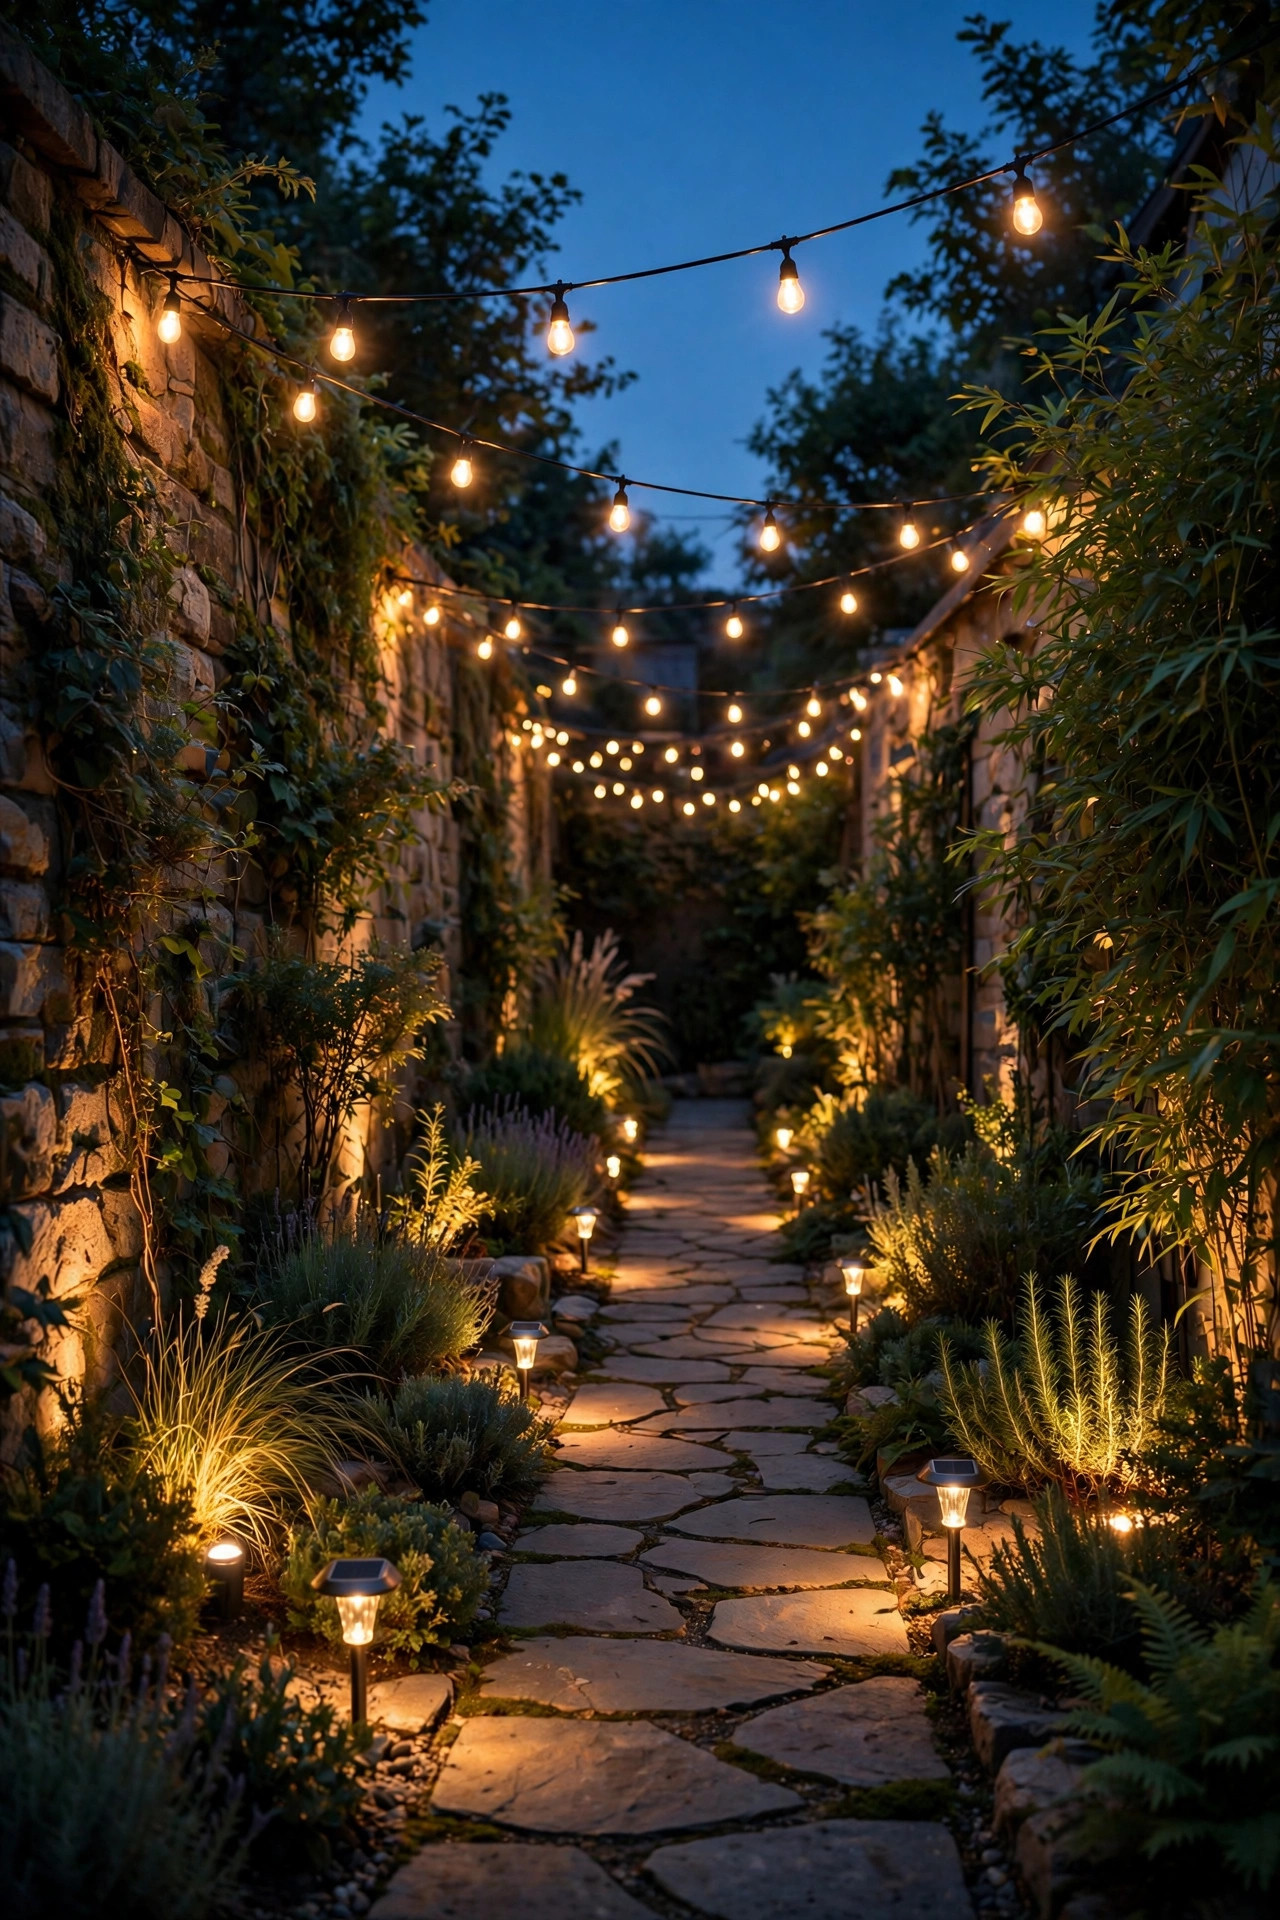
1. Start With a Layered Plan for Your Narrow Lot Garden Lighting Ideas
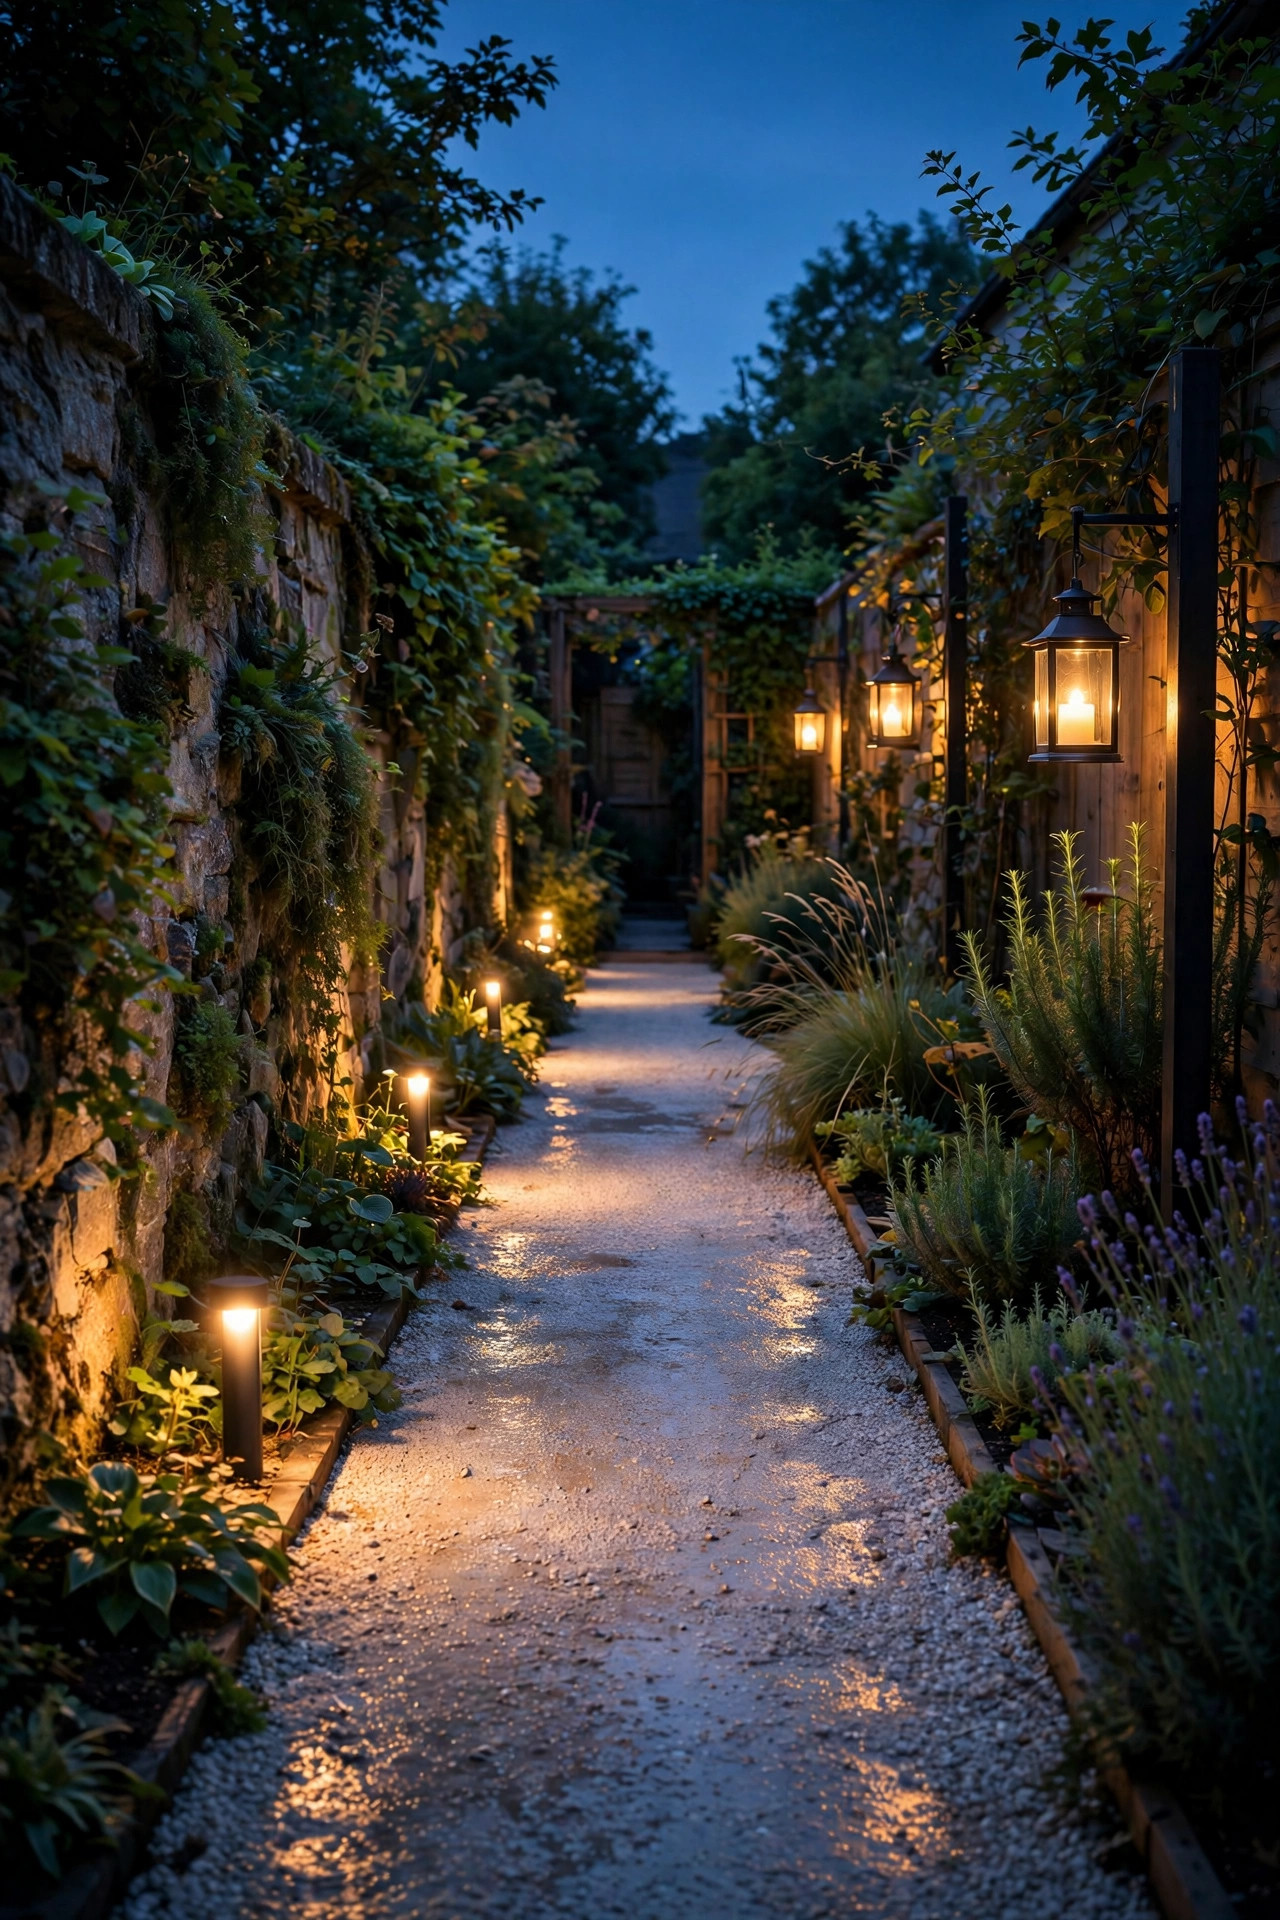
Before you order a single fixture, stand in the side garden at dusk with a notepad and look at what you actually have: the path you walk, the plants worth showing off, and the dark corners where the bins hide. Narrow lots forgive almost nothing, because every light sits close to eye level and close to your neighbor, so placement matters far more than raw power. My formula is three layers. Ground level first: low path light so feet and stepping stones read clearly. Eye level second: a gentle wash or sparkle along the fence so the corridor feels wide instead of tunnel-like. Highlight last: one uplight per stretch of planting, aimed at the best shrub or small tree in that stretch. Sketch the run in sections of about 10 feet and give each stretch one job from each layer; that rhythm keeps a long, thin garden from looking like an airport runway. Note where the sun actually lands during the day, because that decides which stretches can go solar and which ones need a low-voltage cable. Ten minutes of planning here saves you the return shipping later, honestly.
Suggested budget range: $0 – $25.
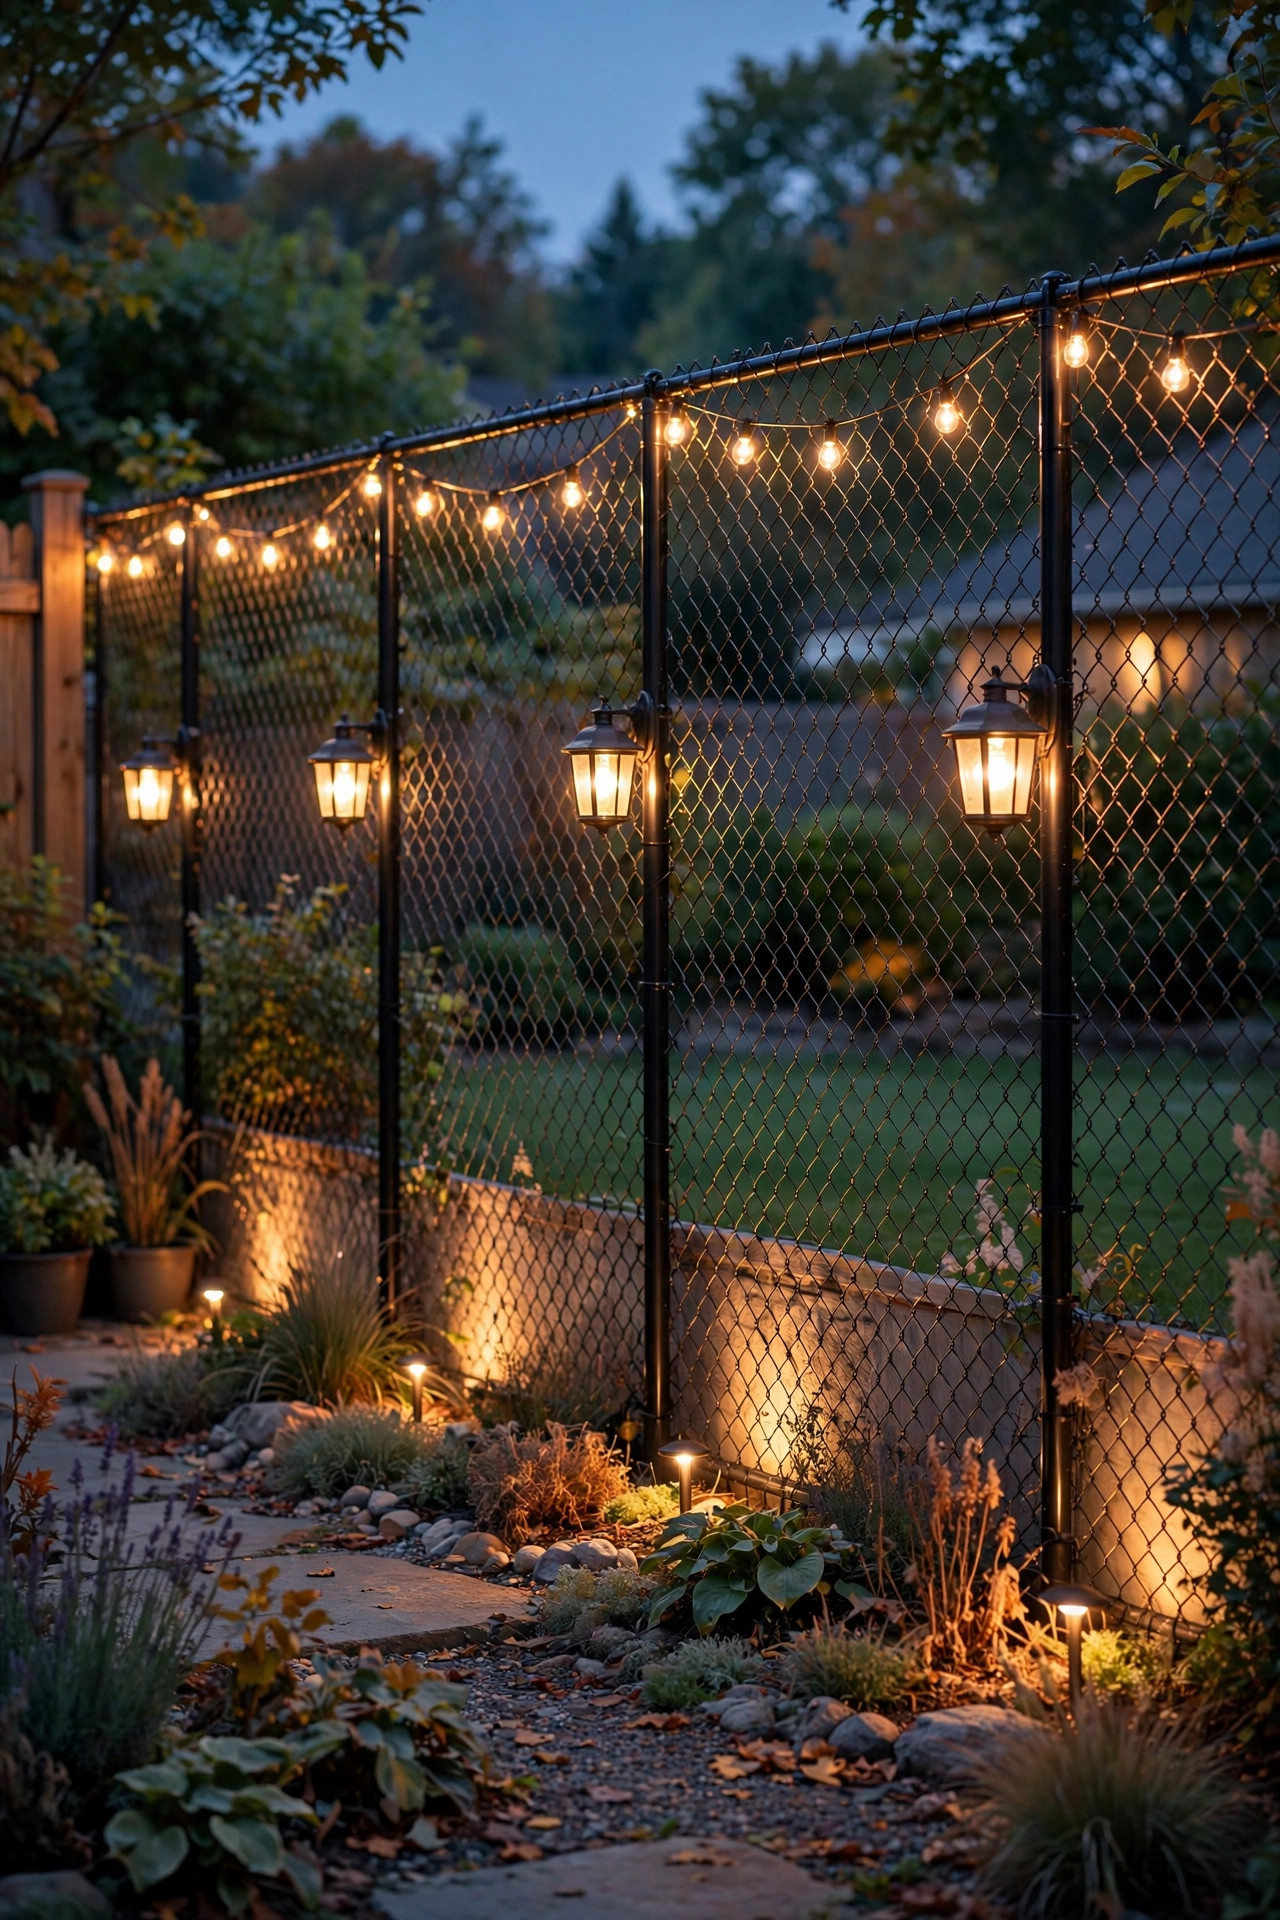
2. Line the Path With Low Solar Stakes
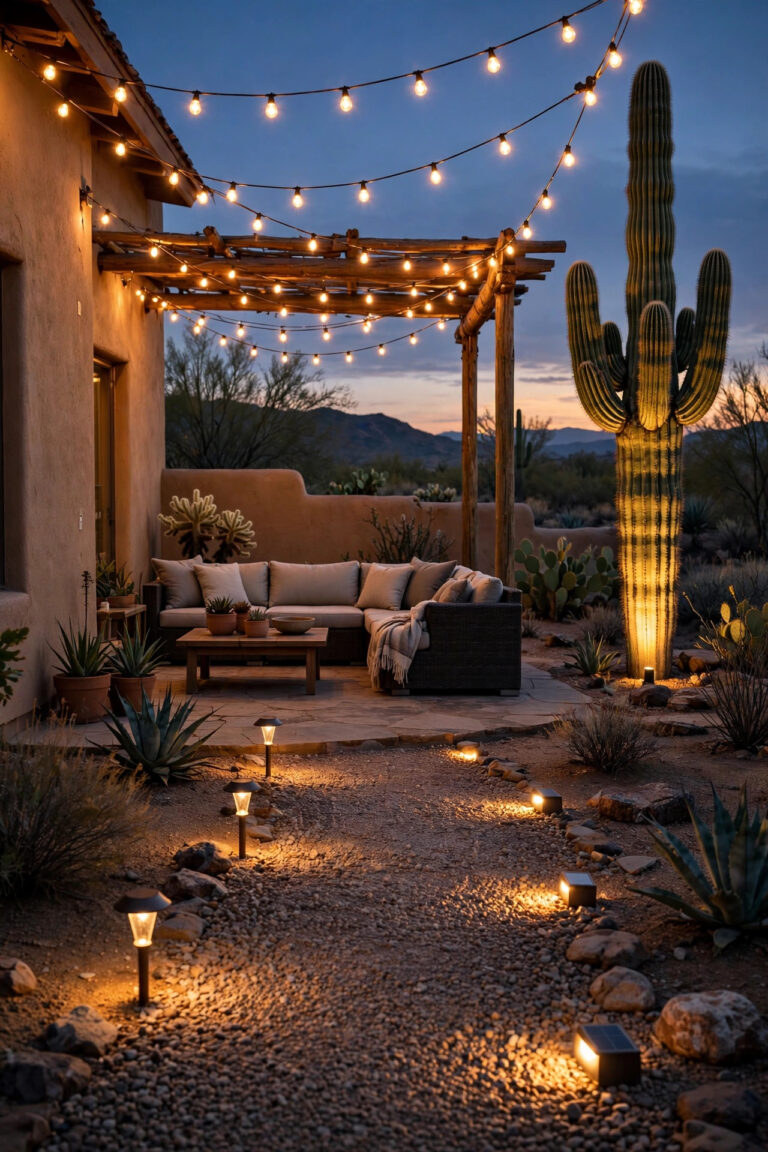
The path is the working backbone of any side garden, so it gets light first at my house. Solar stake lights are perfect here: no wiring, no cords to trip over, and they switch themselves on at dusk. Push them in every 6 to 8 feet along one side of the path, staggering slightly so the pools of light overlap and there are no dark gaps where a stepping stone edge can surprise you. Look for fixtures in the 30 to 80 lumen range, which is plenty for wayfinding in a narrow space without glaring off the house wall. Keep the heads short, around 12 to 15 inches tall, so the light stays below knee height and reads as guidance rather than decoration. Warm white, 2700K to 3000K, keeps the corridor cozy. My full notes on narrow side yard lighting ideas cover the tighter 3-to-4-foot passages in more detail. One honest caveat: a side garden shaded by two houses all day will starve solar panels, so check each stake gets at least five or six hours of direct sun before you commit to a whole run of them.
Suggested budget range: $25 – $60.
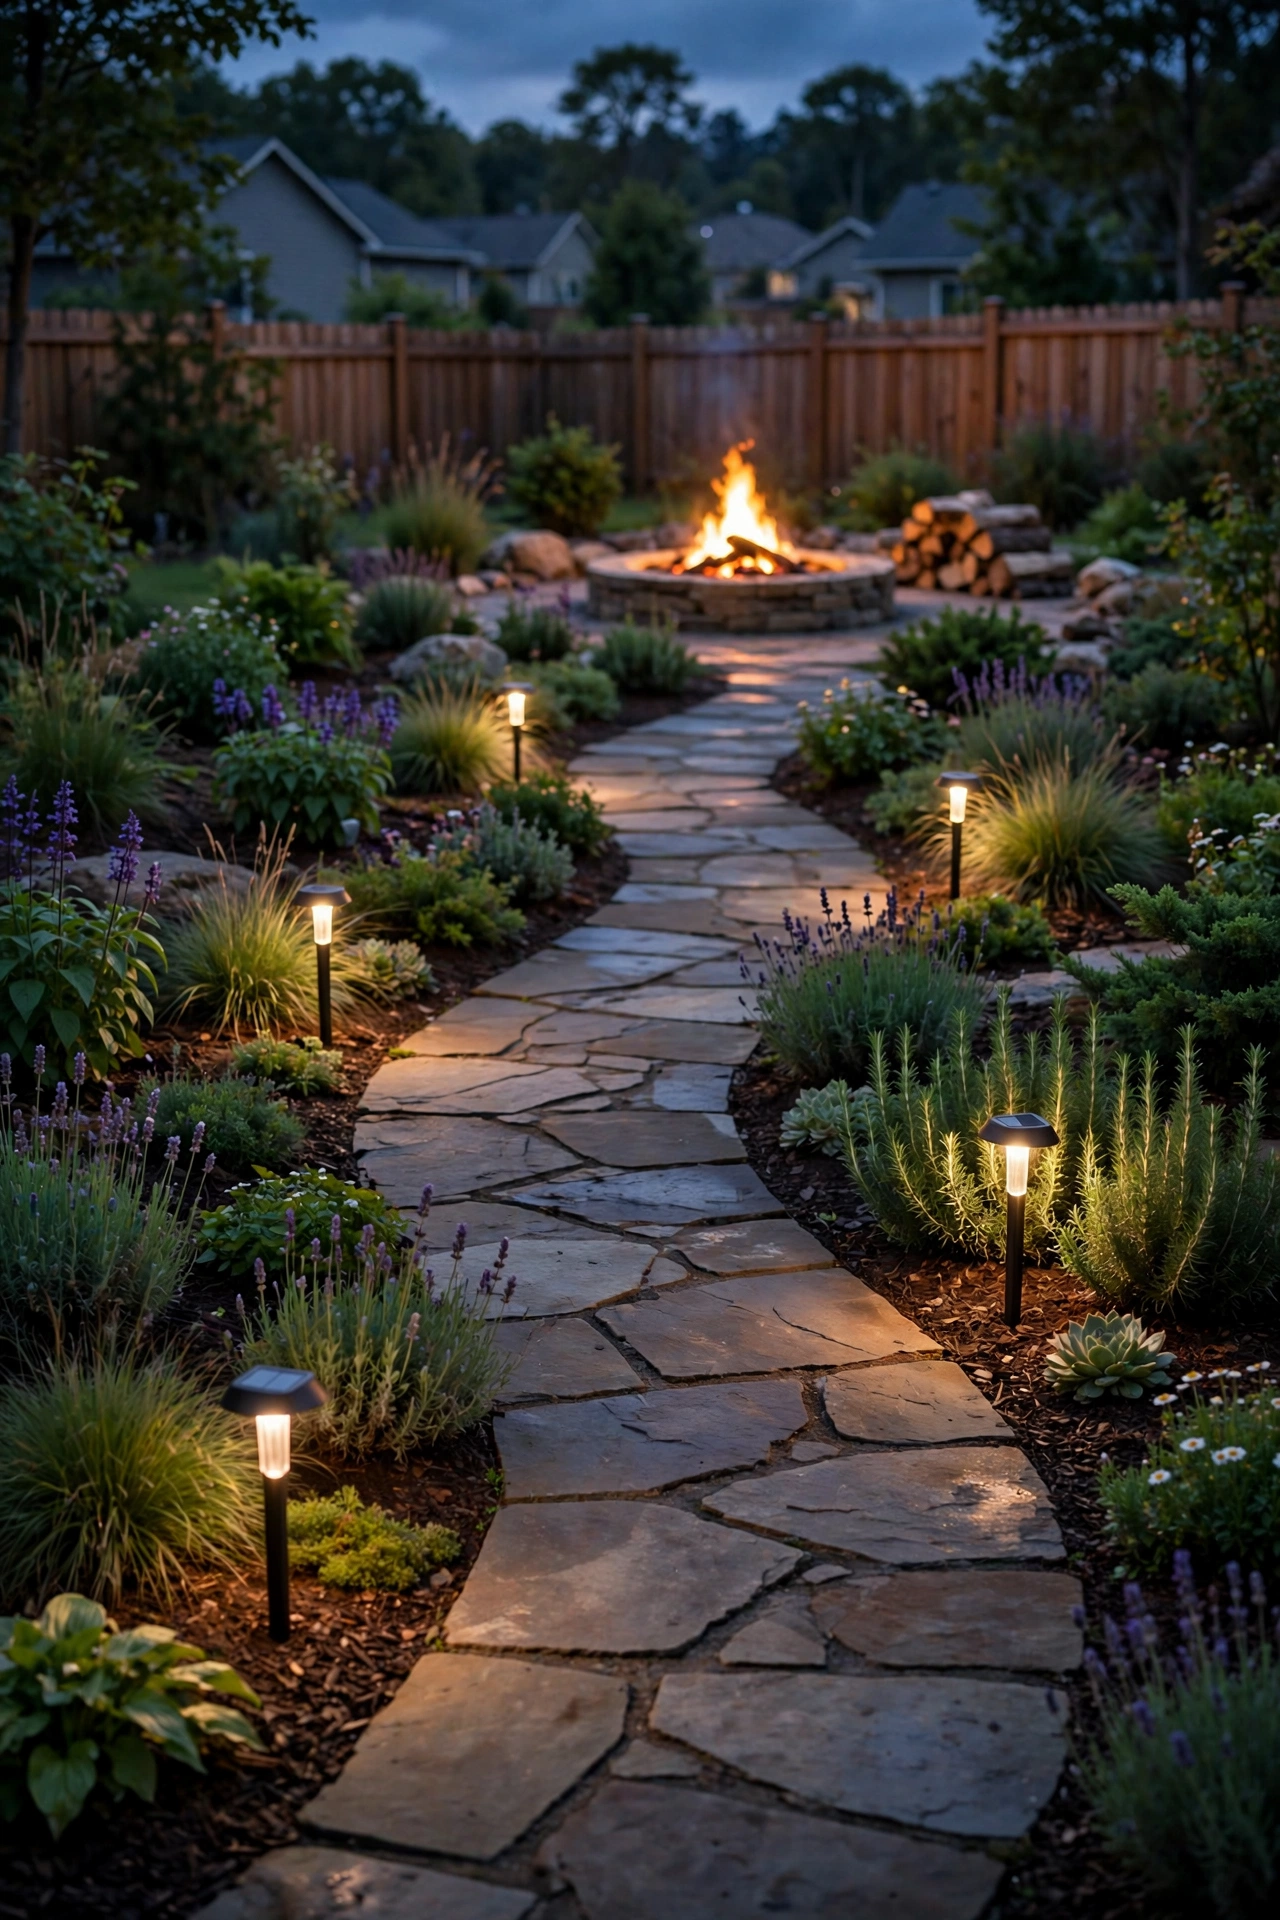
3. Graze the Fence With Wall-Washer Downlights
A bare fence is the biggest flat surface in a narrow garden, and grazing it with light is the fastest way to make the whole space feel designed. Mount small downlights or wall washers along the top of the fence, or on the house wall opposite it, angled so the beam rakes down across the boards. That raking light picks up every knot and grain line, and the texture does the decorating for you. Space fixtures 6 to 10 feet apart and keep them shielded so the light points down at the fence, never out into a neighbor window. Low-voltage wired fixtures win here because the run is long and the effect depends on even brightness from one end to the other. If your fence has climbing plants, even better: the wash turns a jasmine or clematis tangle into a soft green waterfall after dark. Aim for a gentle wash, not a spotlight blast; in a narrow corridor, subtle always reads more expensive. This is the layer that makes guests say the side garden looks like a boutique hotel passage, and it is mostly just one row of small fixtures doing quiet work.
Suggested budget range: $40 – $120.

4. Run String Lights Down the Long Axis
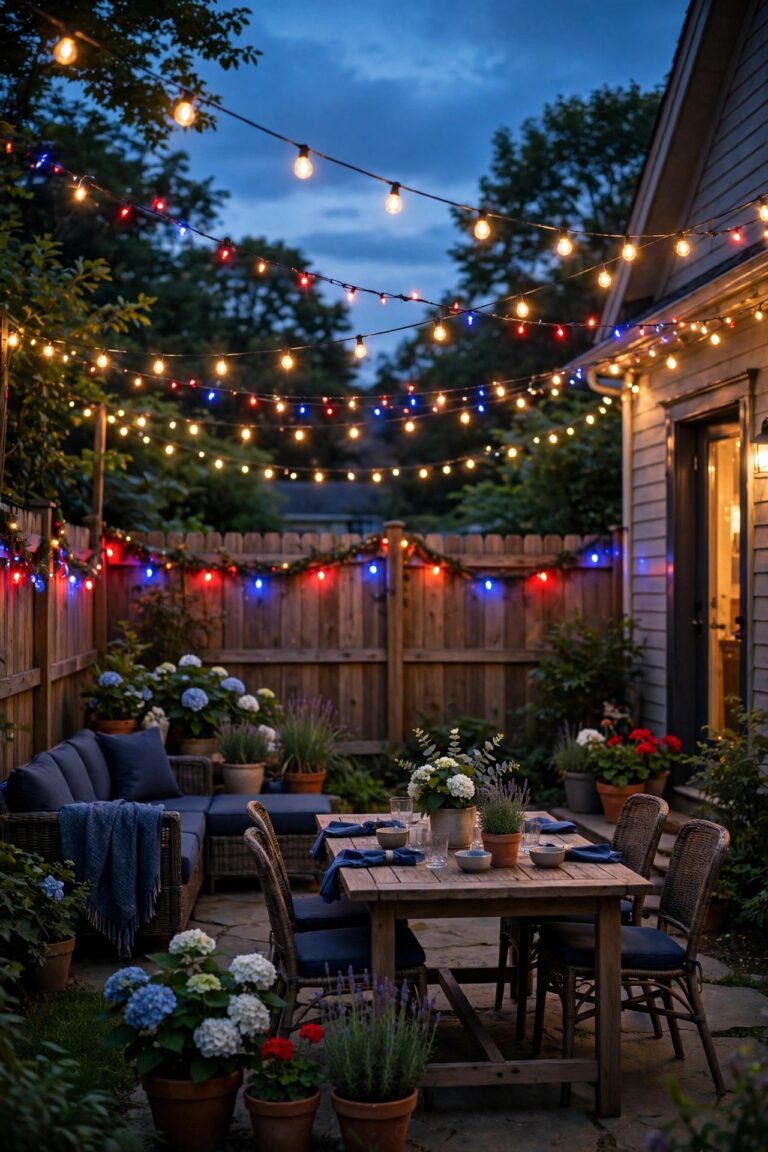
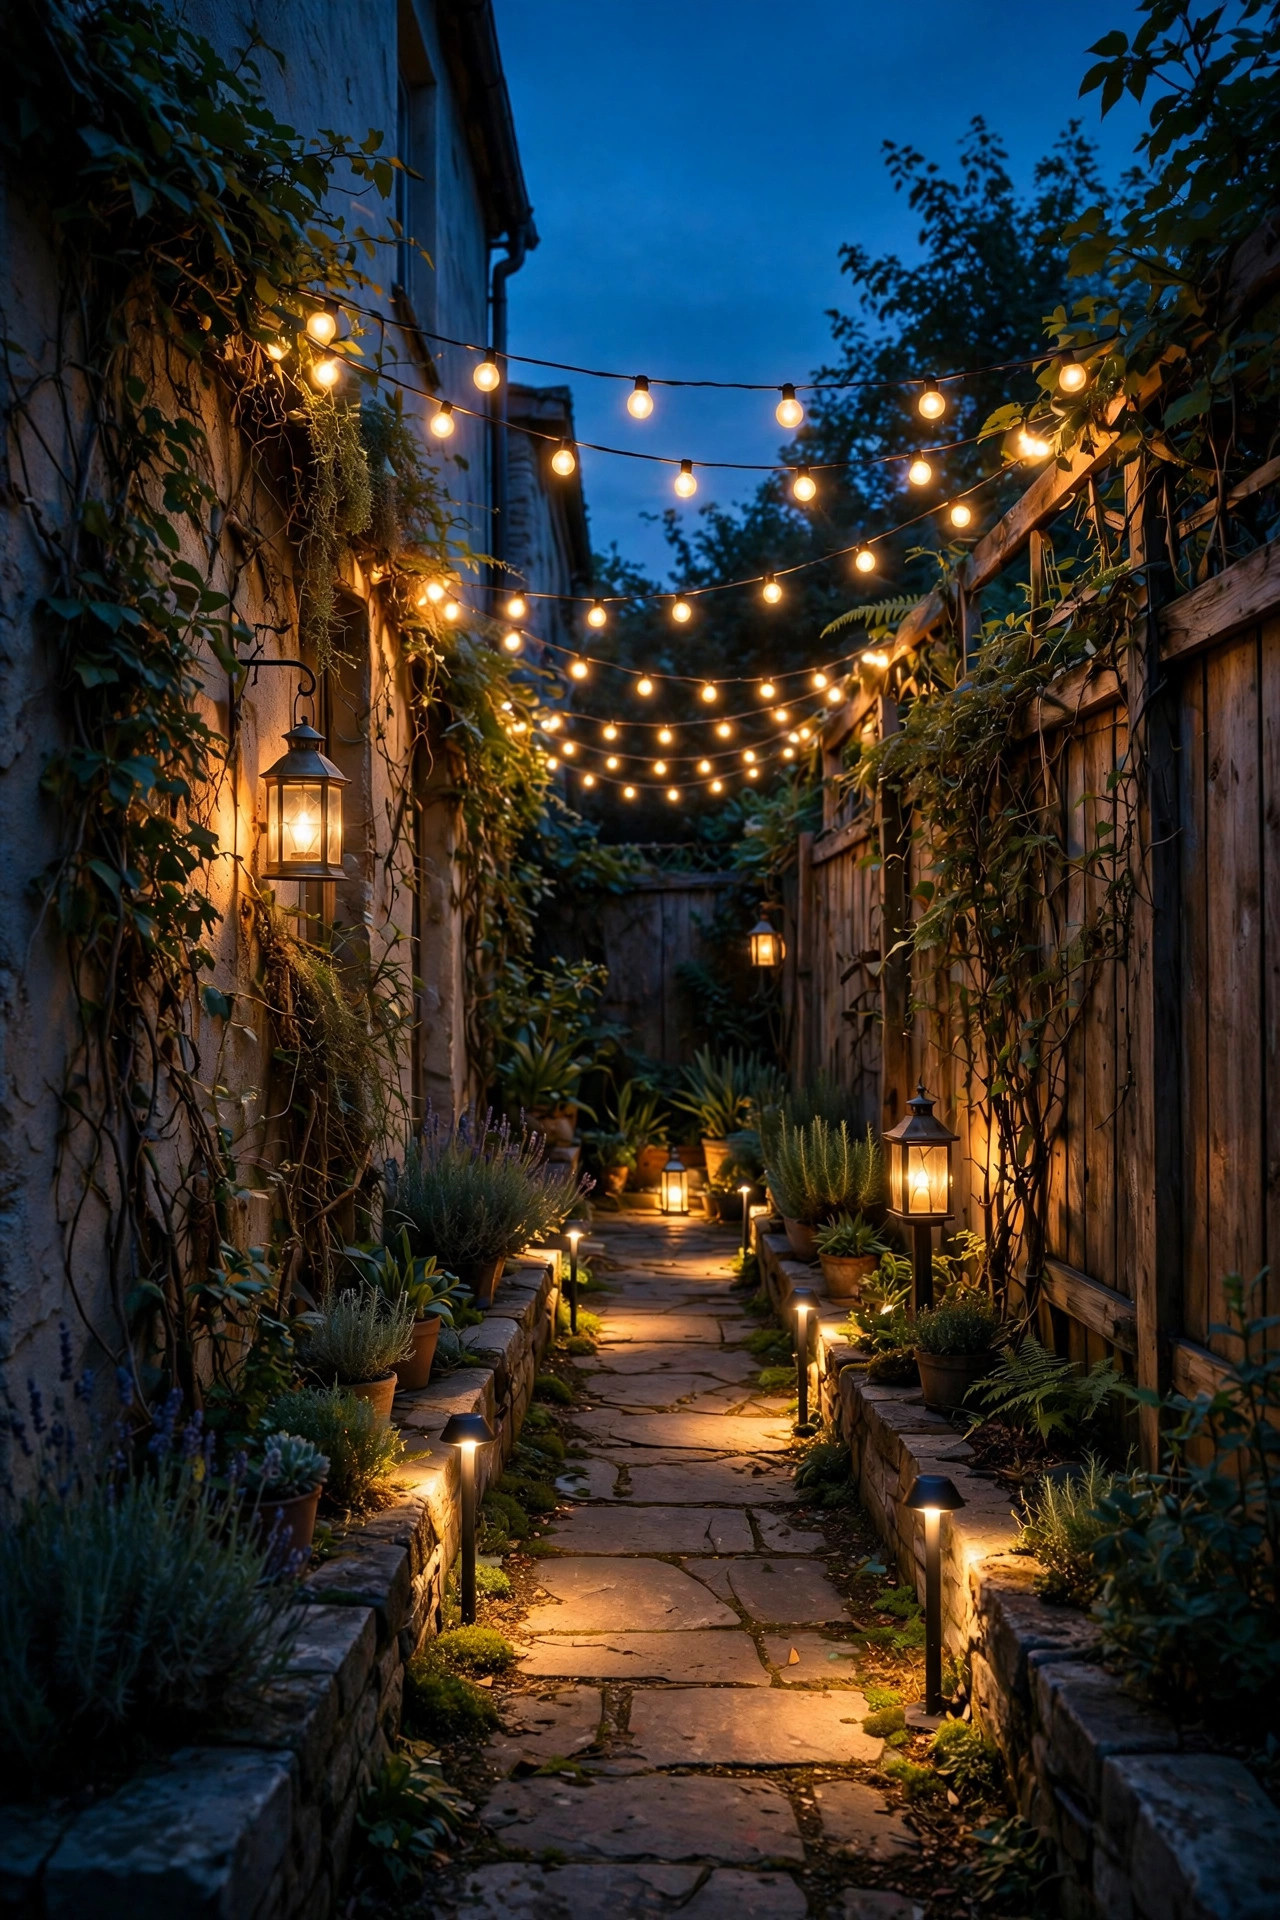
Narrow gardens are long, and long is exactly what string lights love. A single run of outdoor string lights down the center line of the corridor, or zigzagged gently between the house wall and the fence, adds the eye-level sparkle that makes the space feel like a destination instead of a shortcut. Keep the swag shallow, no more than a foot or so of dip, because in a tight passage a deep catenary ends up at face height. Use shatterproof LED bulbs and commercial-grade cord rated for outdoor use, and plug into a GFCI outlet with a weatherproof in-use cover. Anchor to the house and fence with proper screw hooks rather than draping over gutters or branches. Warm white filament-style bulbs at 2700K give that soft cafe glow. One long run looks better than two parallel ones in a space under 8 feet wide; the single line draws the eye down the garden and makes it feel longer in the good way. Put the strand on a timer so it greets you at dusk and clicks off at bedtime without you remembering a thing.
Suggested budget range: $30 – $80.
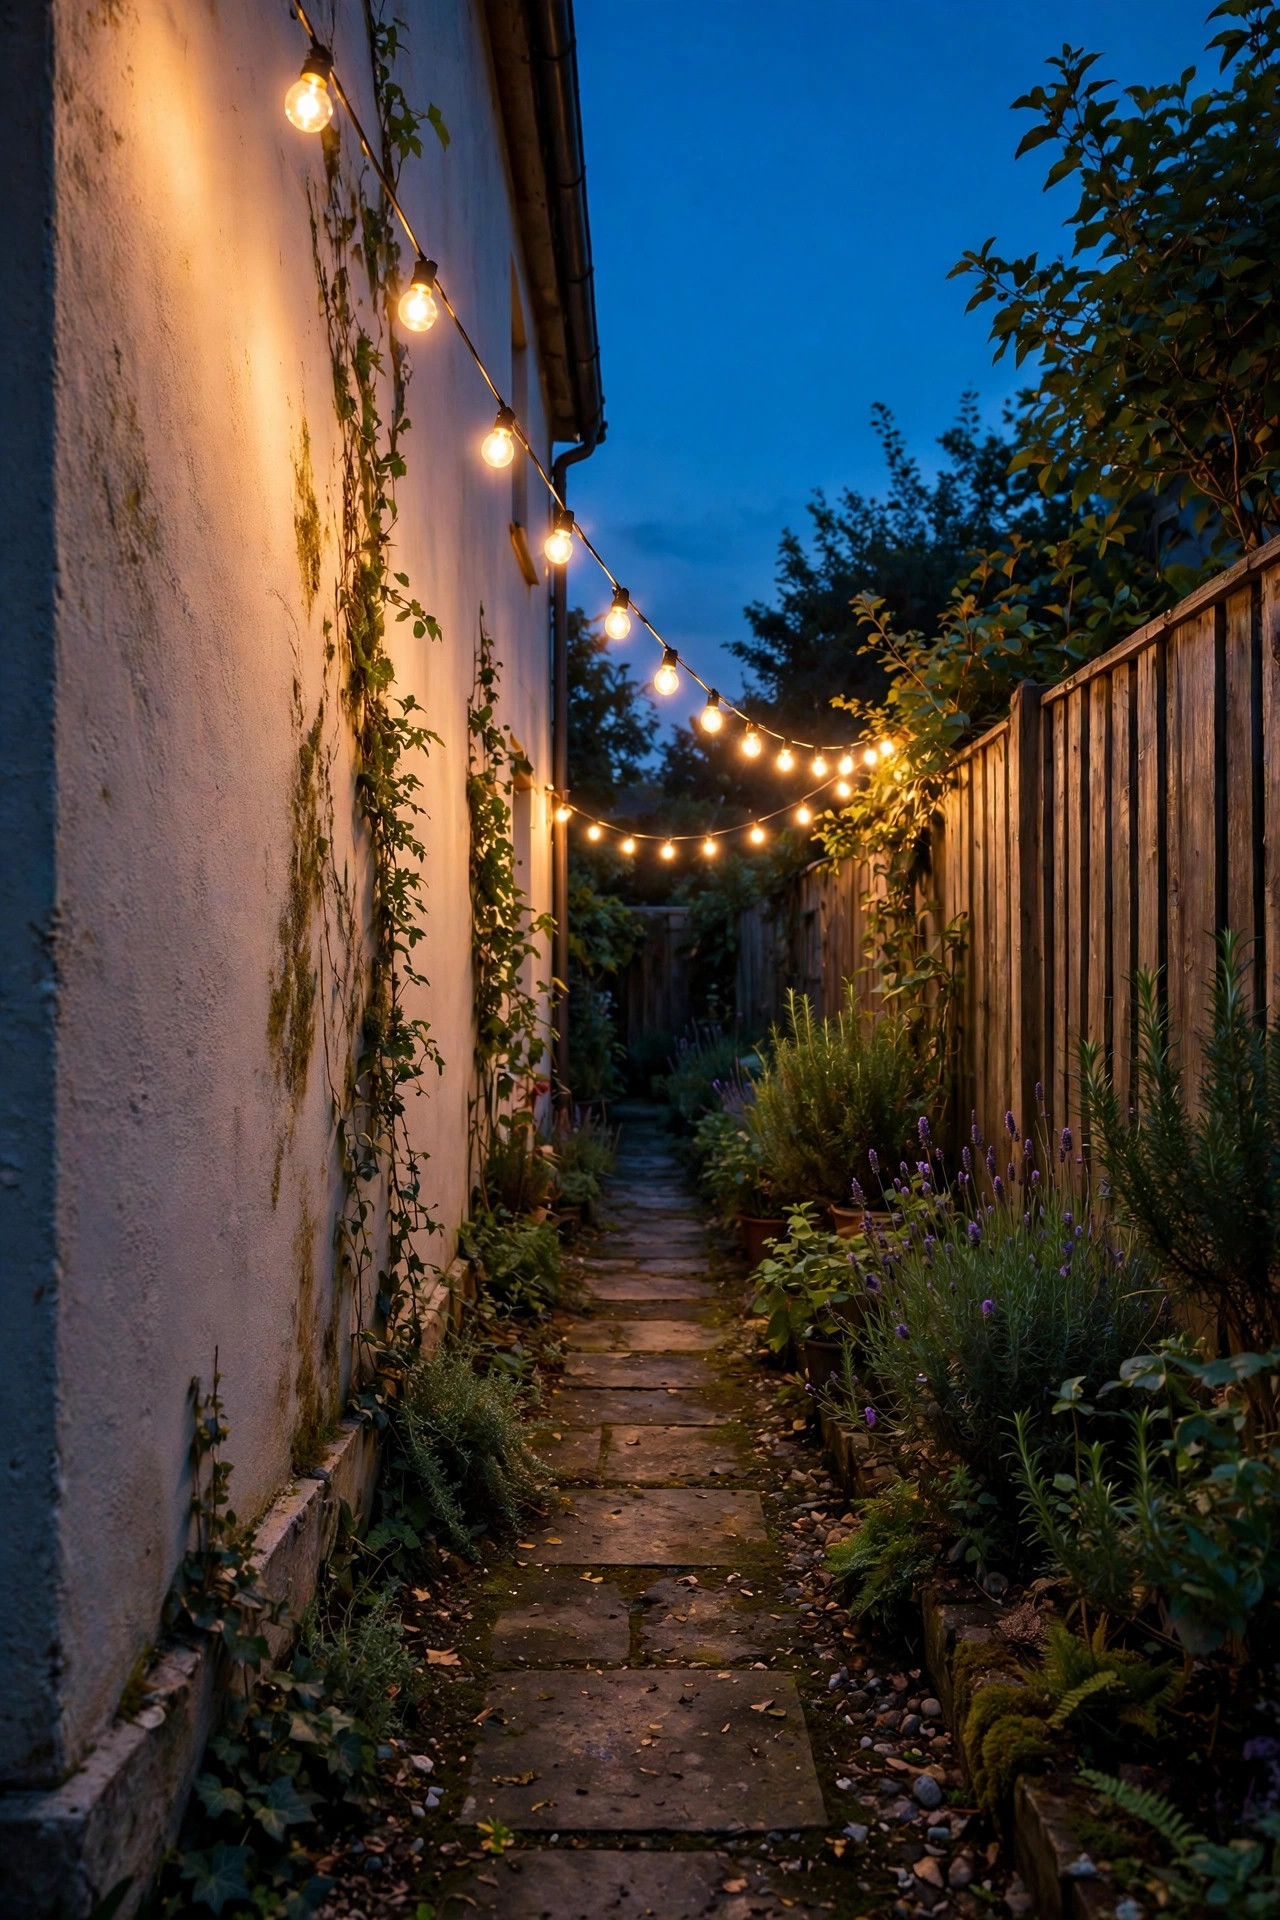
5. Uplight One Statement Plant Per Stretch
In a wide garden you can uplight everything; in a narrow one, restraint is the whole trick. Pick one statement plant per 10-foot stretch — a sculptural fern, a small Japanese maple, a clump of ornamental grass — and give it a single low-voltage spotlight from a few feet away, angled up through the foliage. The light catches leaf edges and throws soft shadows onto the fence behind, which doubles the depth of a corridor that might only be 5 feet wide. Keep the fixture small and black so it disappears into the mulch during the day, and choose a narrow-to-medium beam, around 30 to 45 degrees, so the light stays on your plant instead of spilling onto the path. Grasses are my favorite here because they move; a lit grass clump swaying slightly looks alive in a way static shrubs never do. Resist the urge to add a second light to the same plant. One source, one shadow pattern, one little moment of drama every few steps is exactly the rhythm that makes a side garden feel curated instead of cluttered.
Suggested budget range: $20 – $75.
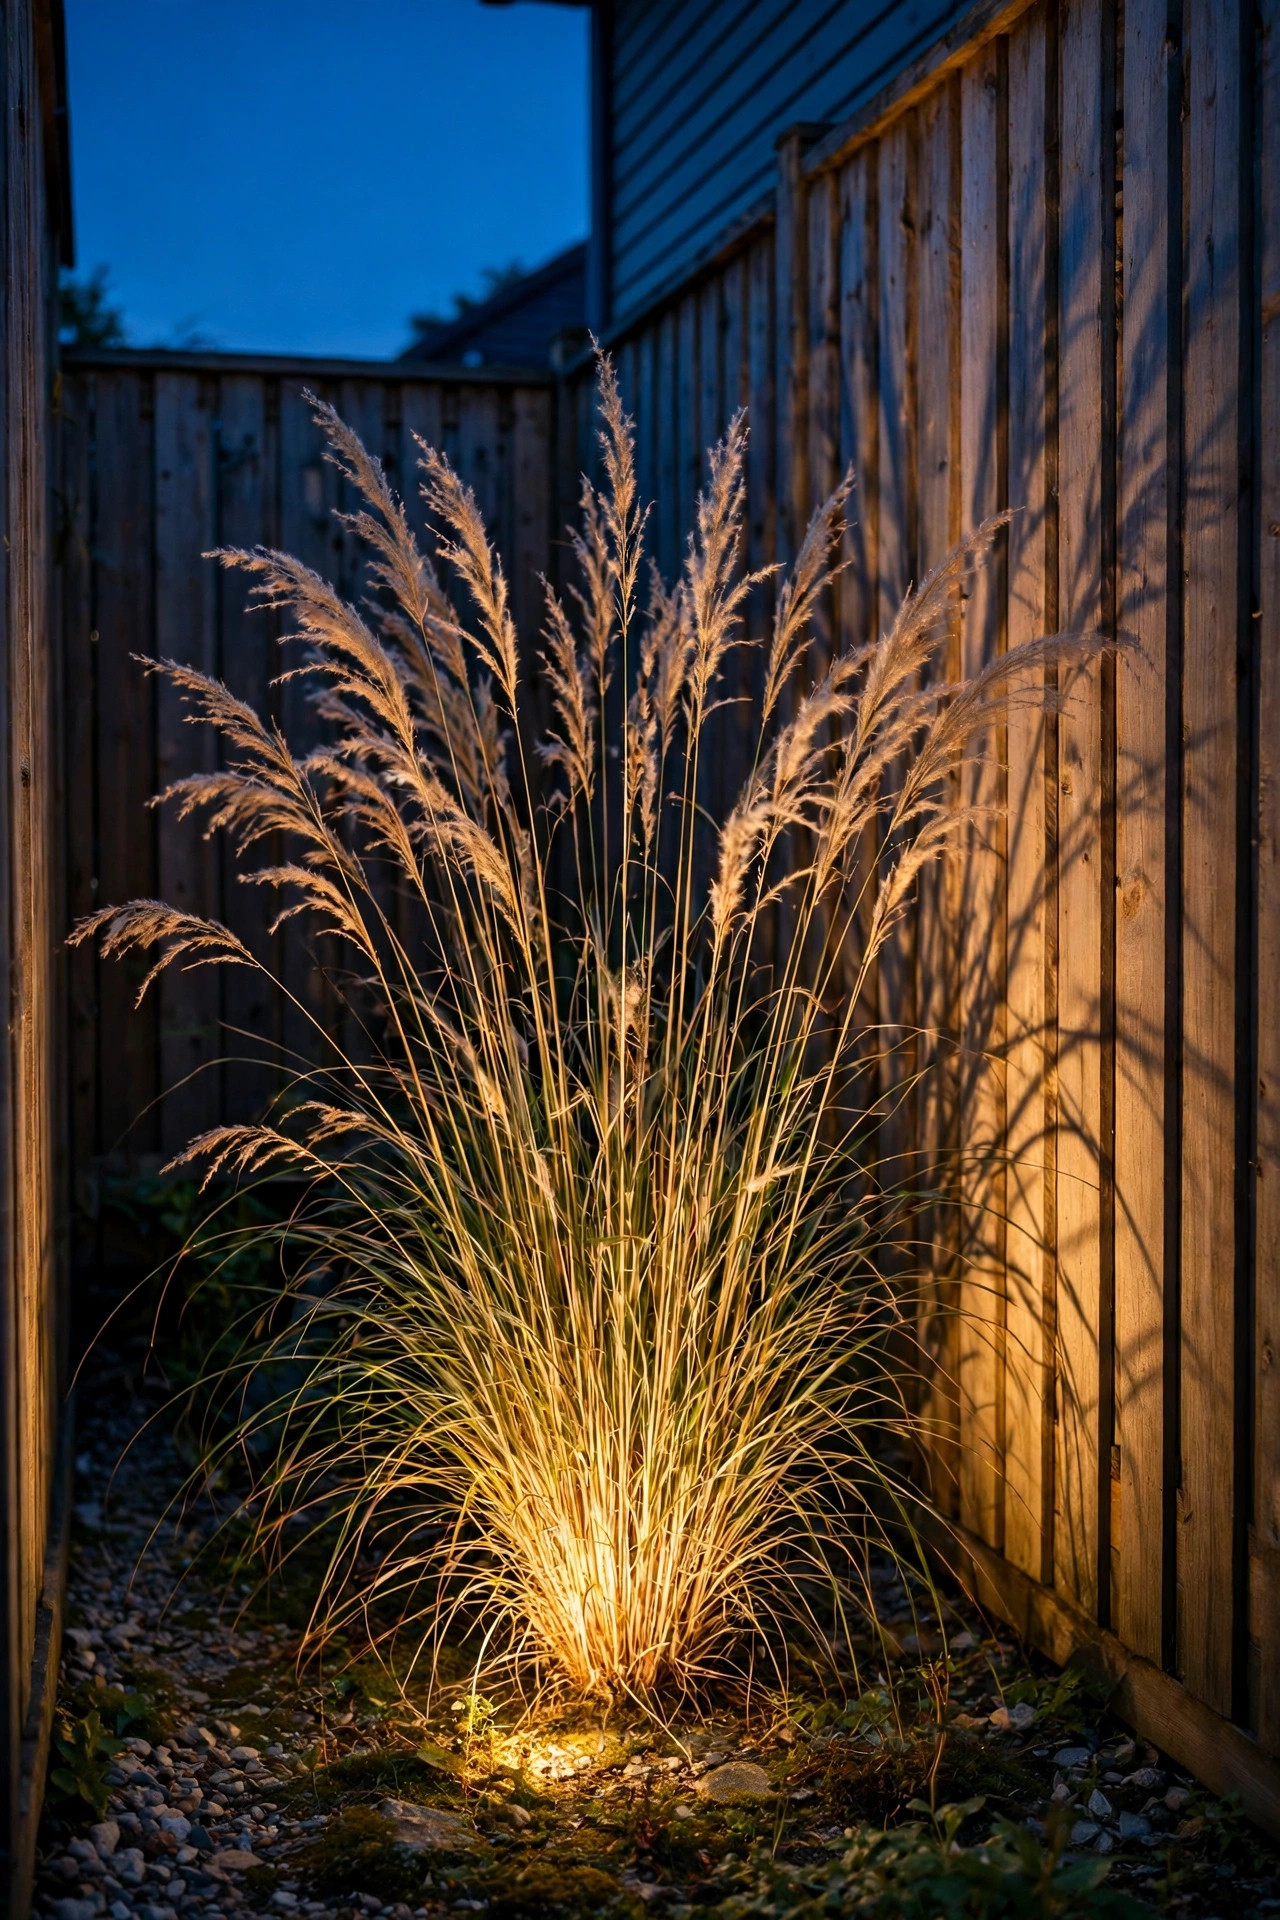
6. Tuck LED Strips Under Raised-Bed Edges
If your side garden has raised beds, planters, or a low retaining edge, the underside of that lip is prime hidden real estate for light. Outdoor-rated LED strip tucked beneath the cap board throws a soft ribbon of light down the bed face and onto the path edge, with the source completely invisible. It reads modern and clean, and because the strip is continuous there are no dark gaps, which matters on a path you walk carrying laundry baskets or garden tools. Choose waterproof IP65 or better strip, warm white, and run it off a low-voltage driver tucked somewhere dry. Adhesive backing alone will not survive outdoors, so add the little mounting clips every foot or so. This is also the kindest light for plants at the bed edge: no hot spots, no glare, just a glow that makes herbs and flowers look lush. In my experience, under-lip strip is the single fixture visitors ask about most, because they can see the effect everywhere and the fixture nowhere. Keep the brightness modest; you want a ribbon, not a runway.
Suggested budget range: $25 – $70.
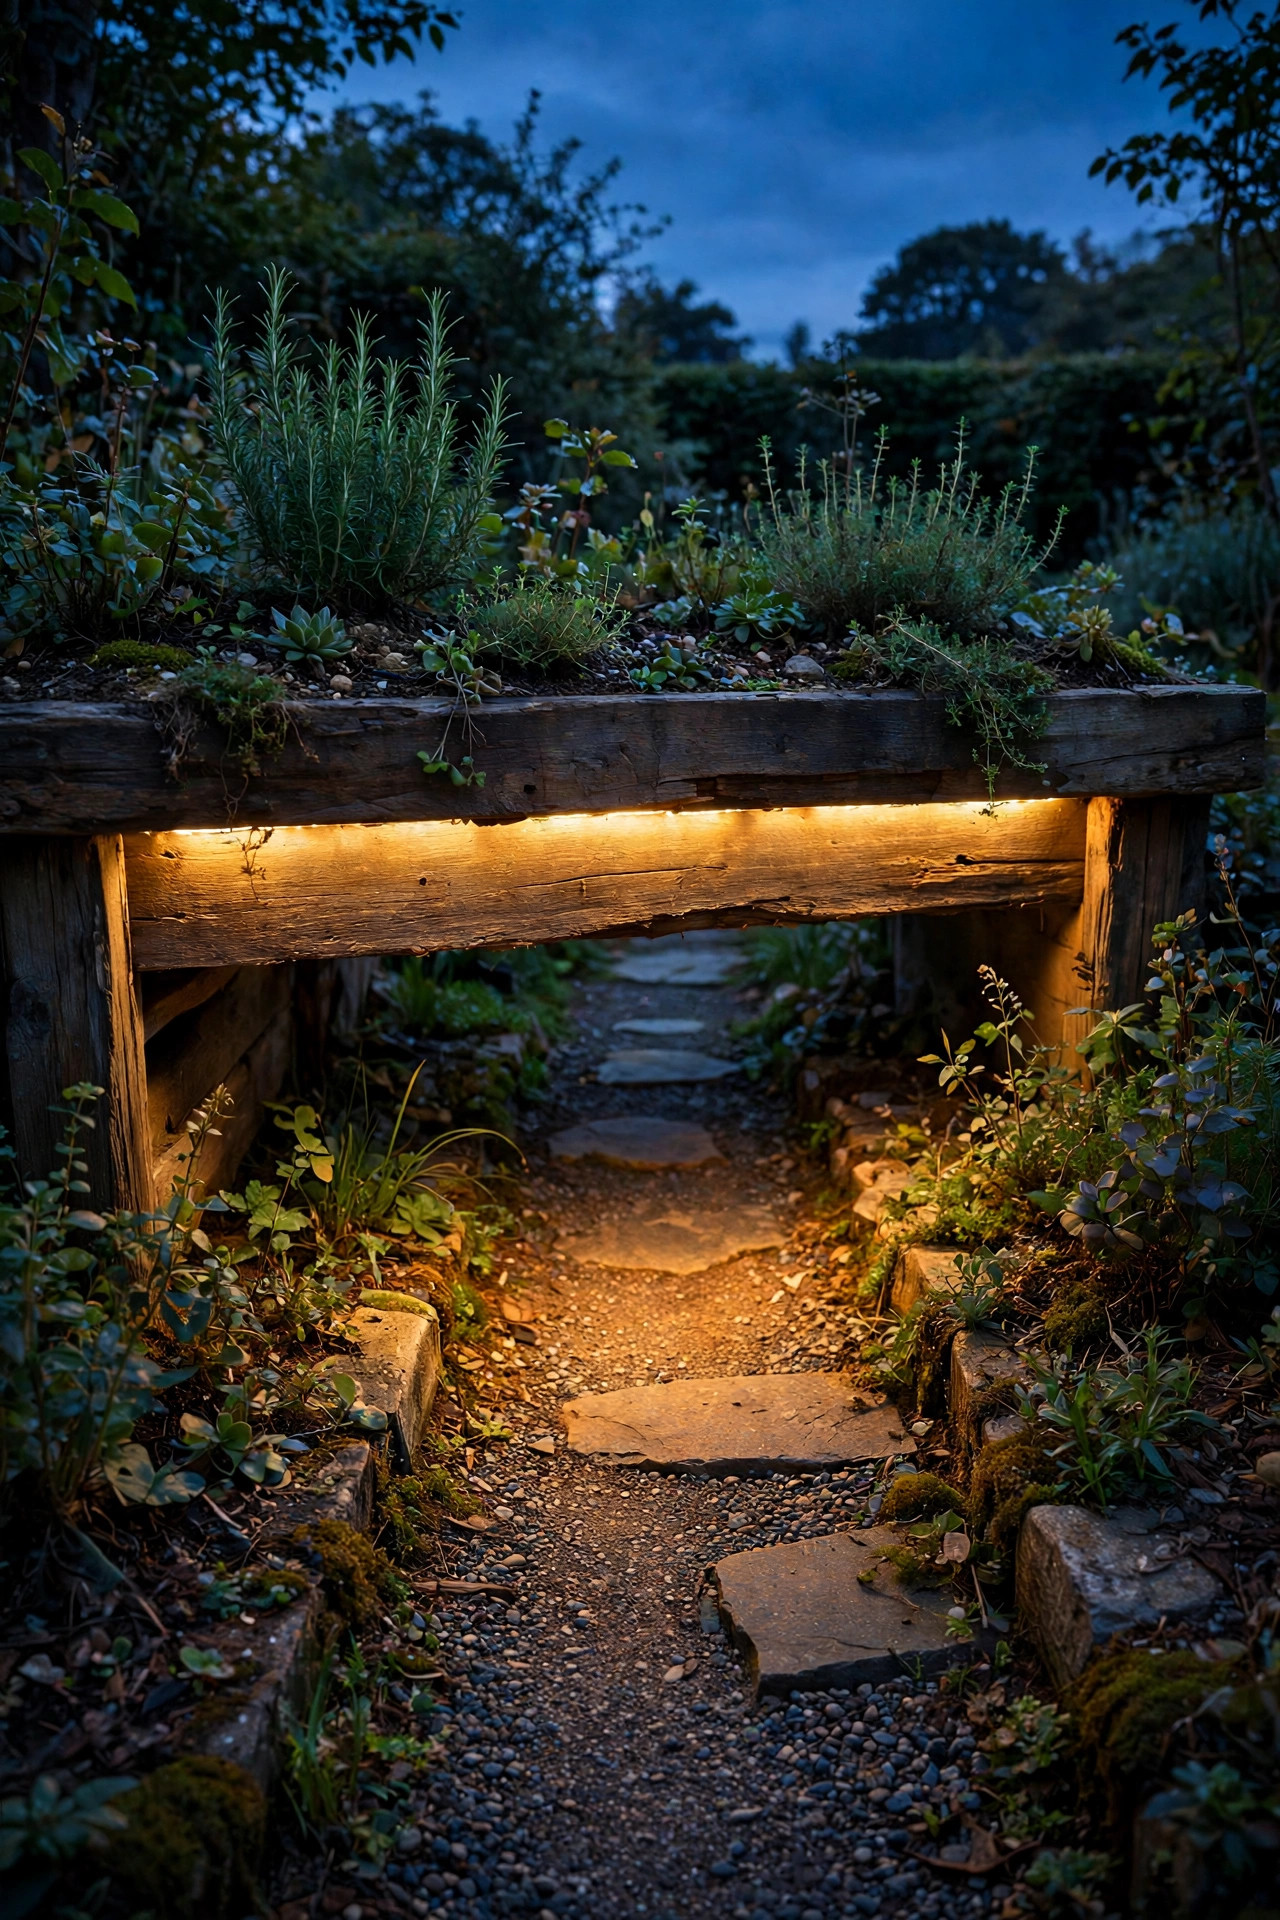
7. Hang Lanterns From Shepherd's Hooks Along the Path
Sometimes a narrow garden needs light that feels collected rather than installed, and shepherd's hooks deliver exactly that. Push the hooks into the planting beds every 8 to 10 feet, alternating sides of the path, and hang a weatherproof lantern from each one. The stagger keeps the corridor from feeling like a runway and puts a warm pool at sitting height wherever you pause. Battery-powered lanterns with flameless candles are my pick here: no cords across the path, no flame near dry foliage, and a flicker setting that reads beautifully through frosted glass. Solar lanterns work too if your corridor gets decent sun. Choose lanterns around 10 to 14 inches tall so they hold their own visually without crowding a tight space, and bring the batteries inside for a midwinter charge so the set stays even. A hook also earns its keep twice, holding a hanging basket by day and a lantern by night if you swap with the seasons. It is the easiest layer to rearrange, which makes it perfect for renters and chronic re-decorators alike.
Suggested budget range: $30 – $90.

8. Borrow Moonlight From One Tall Tree
If a tree canopy reaches over your side garden, you own the best fixture position in the whole corridor: up high. Moonlighting means mounting one soft downlight 15 to 20 feet up in the branches so light filters through the leaves and dapples the path the way real moonlight does. In a narrow lot this is doubly valuable, because the light comes from above the fence line, spreading gently across the whole width without a single fixture competing for your scarce ground space. Choose a low-voltage fixture with a frosted lens, around 200 to 300 lumens, aimed through the branches rather than straight down so the leaf shadows do the patterning. This is the one job on my list where I say hire it out or use a proper extension ladder with a spotter; the fixture and cable need to be secured to the trunk with room for the tree to grow. Solar versions exist but canopy shade starves them, so wired wins here. The effect is pure storybook, and it quietly solves security too, since a moonlit corridor has no truly dark corner left in it.
Suggested budget range: $45 – $150.

9. Add Motion-Sensor Lights at Both Gates
The ends of a side garden are transition zones — the front gate, the back gate, the corner where the bins live — and they need light on demand rather than light all evening. A solar or battery motion-sensor light mounted 6 to 7 feet up at each end catches movement within about 15 feet and pops on for 30 seconds, lighting your way when you arrive with your hands full and quietly announcing movement to anyone inside. Angle the sensor slightly downward so it triggers on people and pets, not on every passing car beyond the fence. Warm white at a moderate 200 to 400 lumens feels helpful instead of alarming; a sudden blast of blue-white floodlight in a narrow corridor is genuinely unpleasant. These lights also solve the darkest practical problem in side gardens, which is finding the gate latch in the dark. For more layouts that pair pretty with practical, my notes on side yard lighting ideas walk through whole-yard plans. Choose IP44 or better and test the trigger range on a real evening walk before you call it done.
Suggested budget range: $25 – $70.
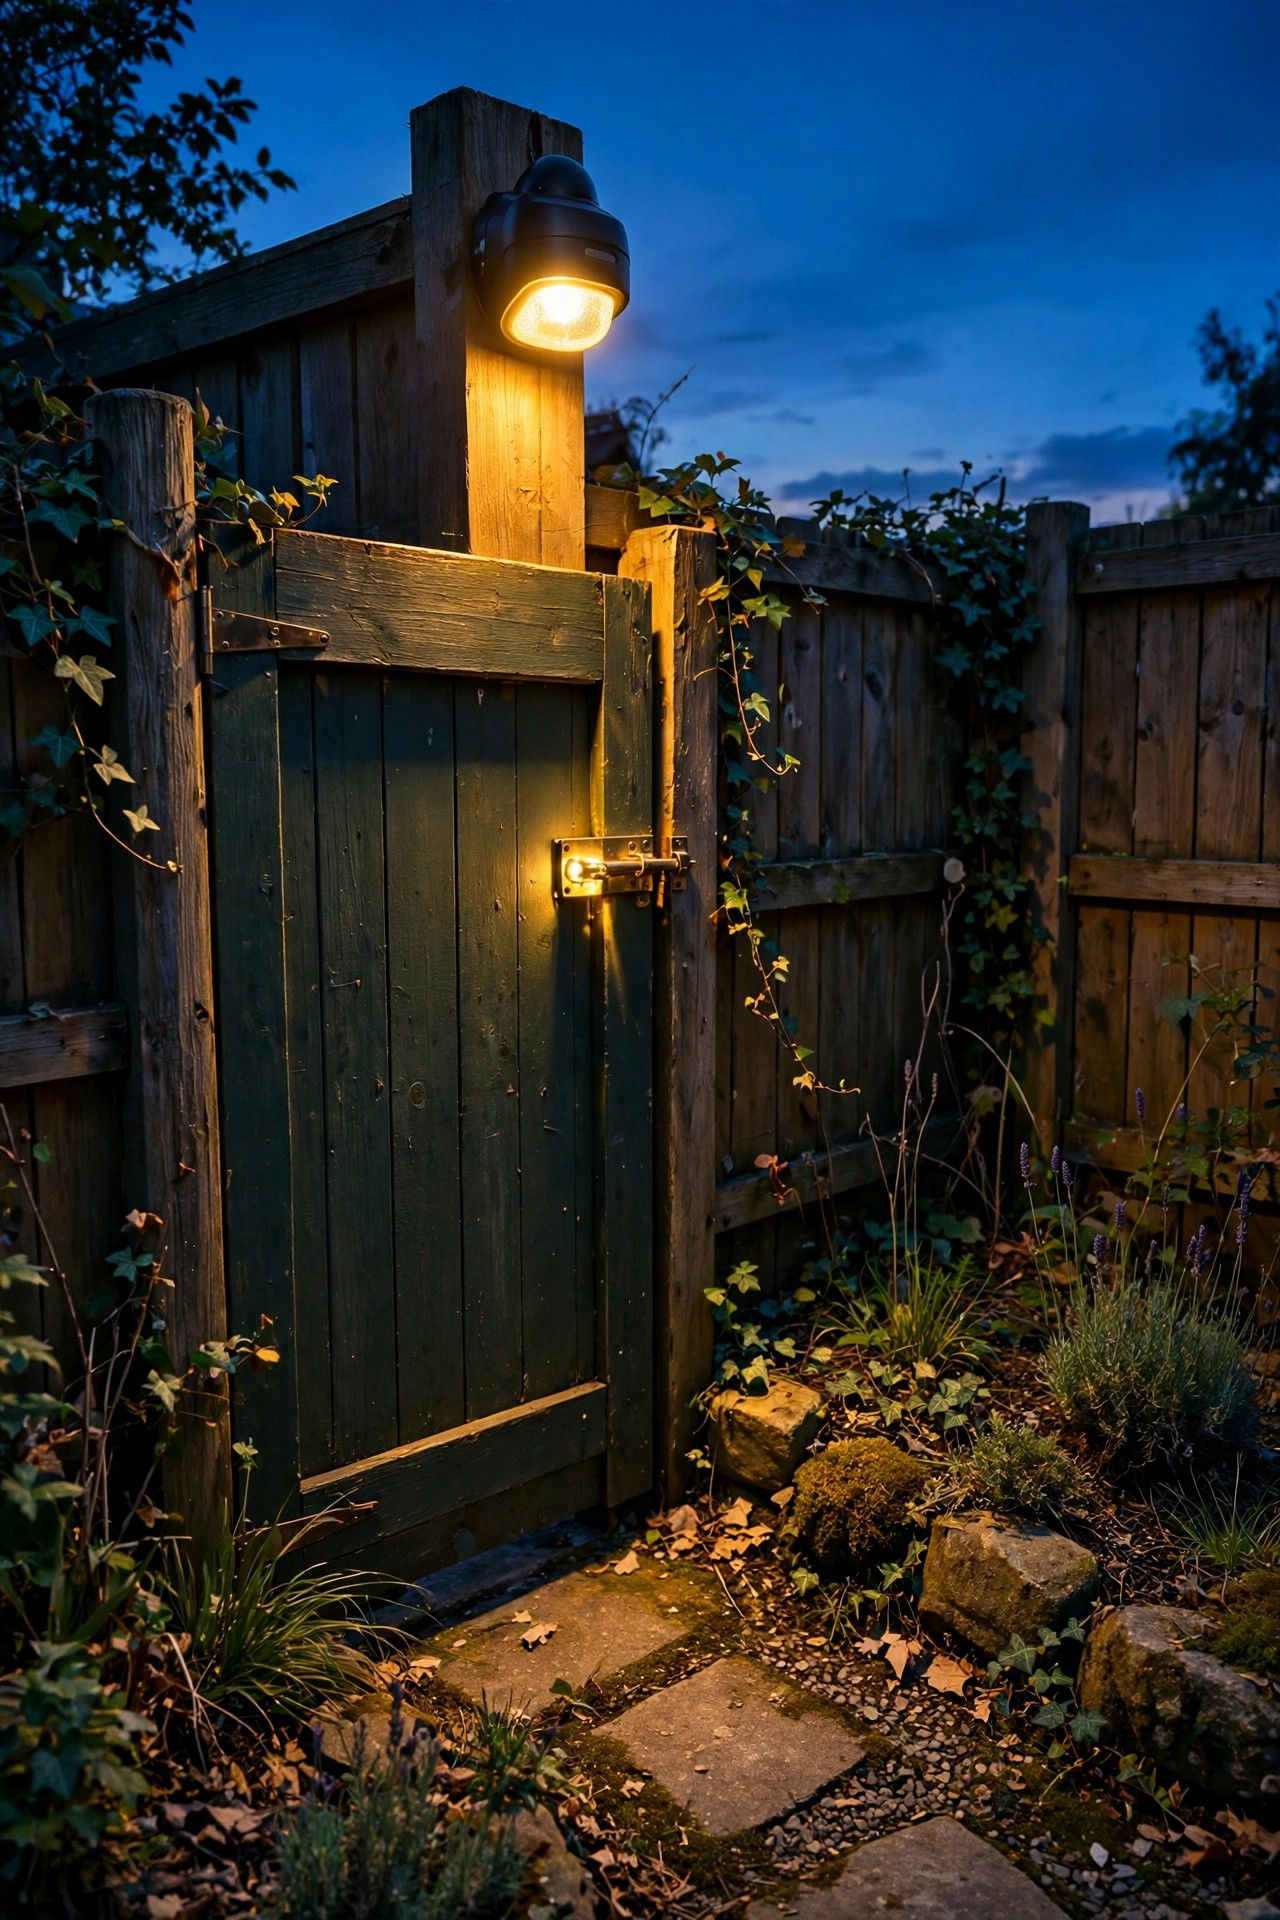
10. Bounce Light Off Pale Gravel and Light Surfaces
Here is the cheapest multiplier in a narrow garden: pale surfaces are secret fixtures. Light-colored gravel on the path, a coat of soft white or cream paint on a dark fence panel, or pale stepping stones will catch whatever light you already have and bounce it gently around the corridor, easily doubling the perceived brightness without one extra watt. In my experience this works especially well in side gardens because the space is basically a shallow box, and boxes reward reflective walls. If a full repaint is too much, even pale mulch or a row of light river rock along the bed edge helps. The bounce also softens everything: direct light can feel harsh in a tight space, but reflected light loses its glare and keeps its glow. Pair pale surfaces with slightly dimmer fixtures than you think you need and the corridor will still read bright, calm, and layered. It is the opposite of the usual advice to just add more lights, and honestly it is the trick that separates a narrow garden that feels luminous from one that feels like a lit hallway. Start with the path surface; that is where the bounce does the most work.
Suggested budget range: $15 – $60.
11. Weave Fairy Lights Through a Trellis or Espalier
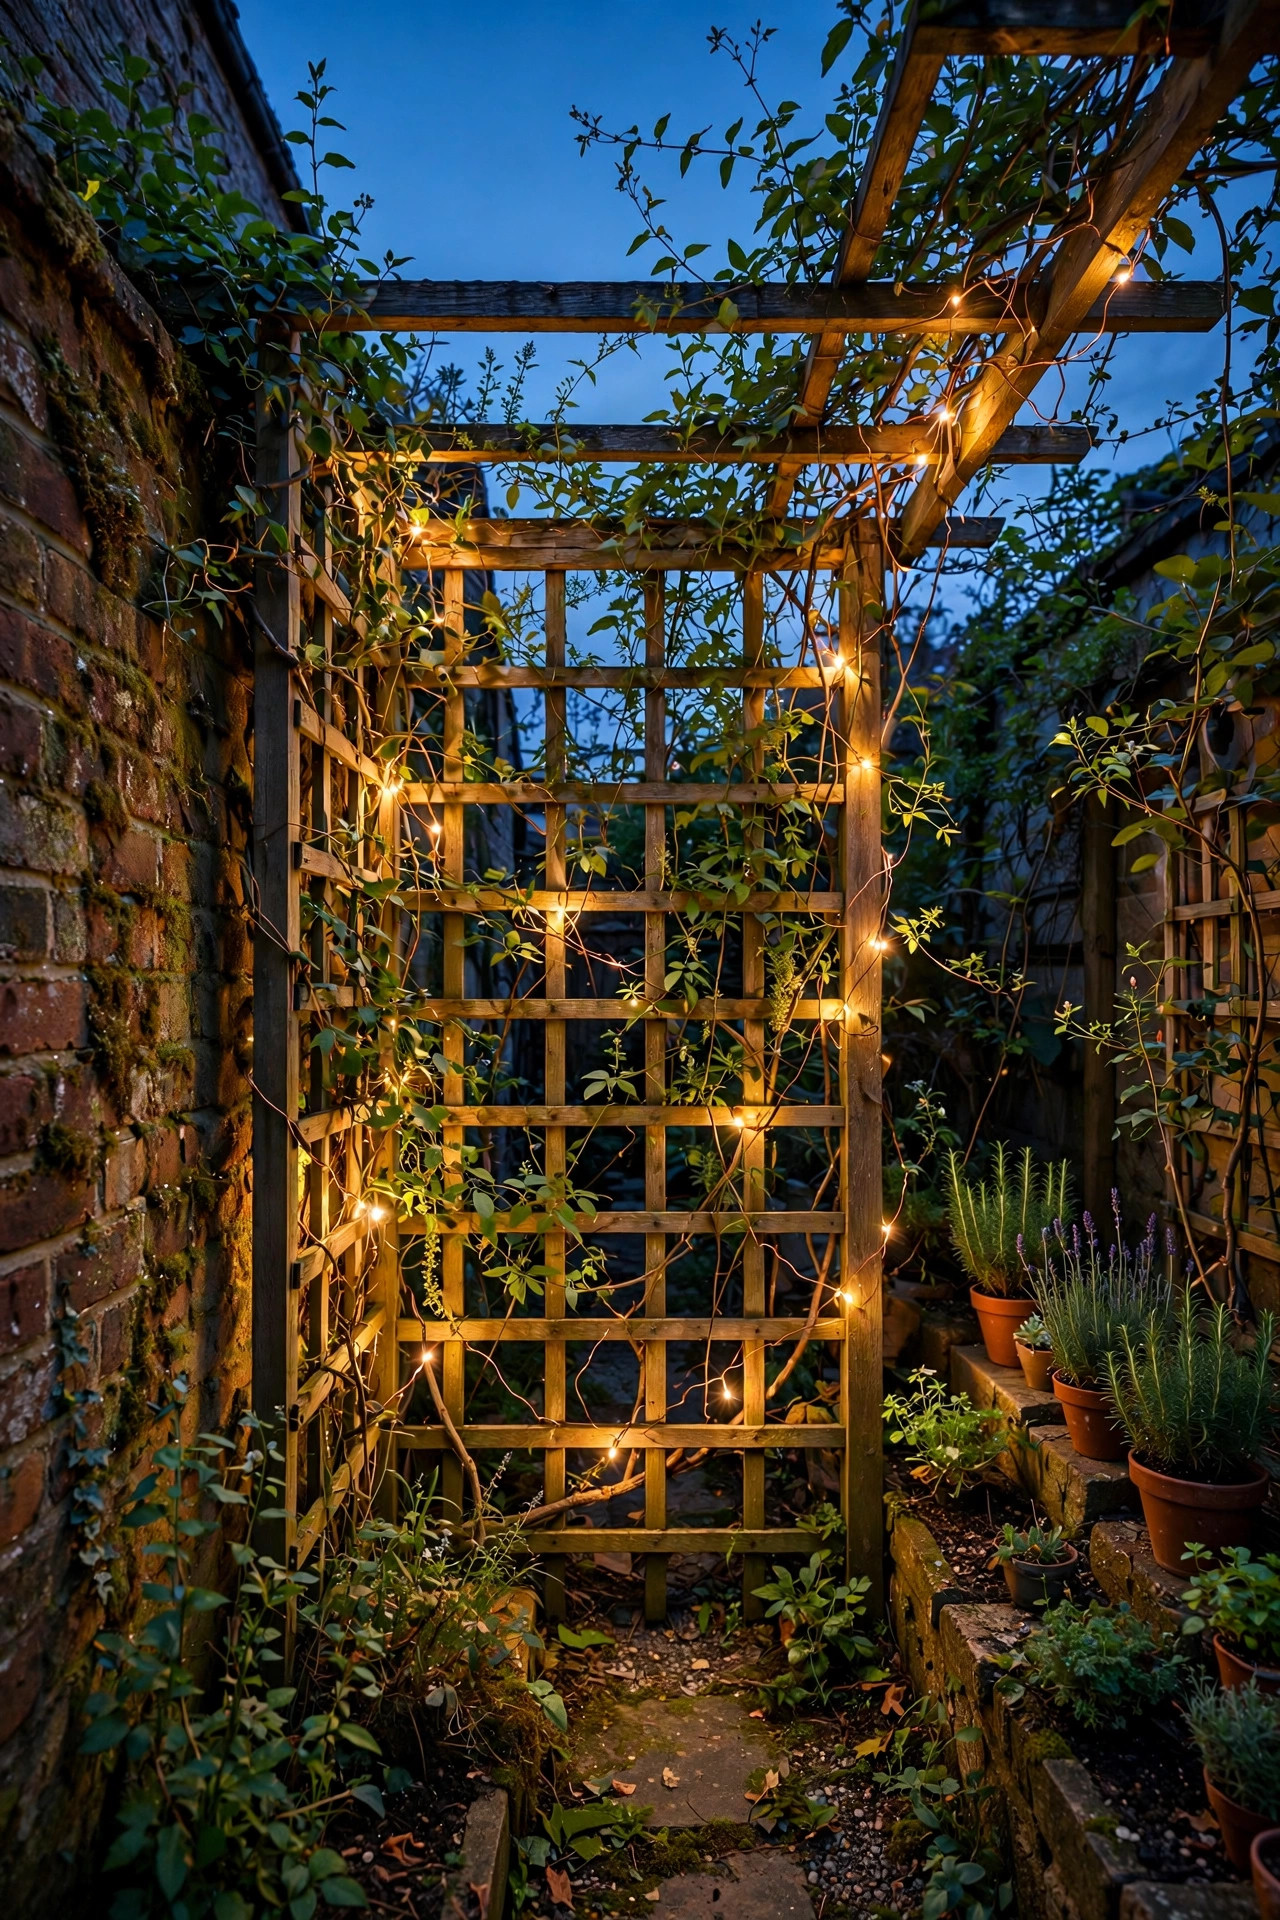
A trellis against the fence is standard equipment in narrow gardens because it grows plants up instead of out, and it is begging to be lit. Weave a strand of copper-wire fairy lights through the lattice, following the same path as the vines, and the whole panel turns into a soft constellation at eye level. The wire is nearly invisible by day, and at night the tiny points of light make the corridor feel deep and layered rather than flat and fenced. Keep the battery pack or solar panel tucked at the top corner where it catches light and stays out of the splash zone, and choose a strand rated for outdoor use, since the cheap indoor ones fog and fail by midsummer. Battery fairy lights on a timer are my favorite version: six hours on from dusk, then off, no thinking required. One 30-foot strand usually covers a 4-by-8-foot trellis panel with a loose, generous weave. This is accent light, not task light, so let it whisper. Paired with the fence wash behind it, a lit trellis reads like a glowing garden wall, and it costs less than a pizza night.
Suggested budget range: $15 – $45.
12. Cap the Fence Posts With Solar Lights
Fence posts are the metronome of a narrow garden; they march down the lot line at regular intervals, and capping them with light turns that rhythm into a design feature. Solar post cap lights sit right on top of standard 4×4 or 6×6 posts, no wiring at all, and they throw a soft halo that outlines the whole corridor from above. Because the light source is at fence height, around 5 to 6 feet, it fills the eye-level layer without poles or clutter at ground level. Choose caps with warm white LEDs and a modest output; you are marking a line, not landing planes. The effect from the back door is lovely, two glowing rails converging down the garden, and it quietly shows your neighbor a tidy, finished edge instead of a dark gap. Caps are also the most forgiving fixture in this whole list for uneven sun, since the panel sits flat and high where it catches whatever sky the corridor allows. Measure your posts before ordering, because cap sizes are not forgiving, and add a bead of outdoor adhesive if your posts have shrunk slightly with age.
Suggested budget range: $35 – $85.

13. Mark Every Level Change With Step Lights
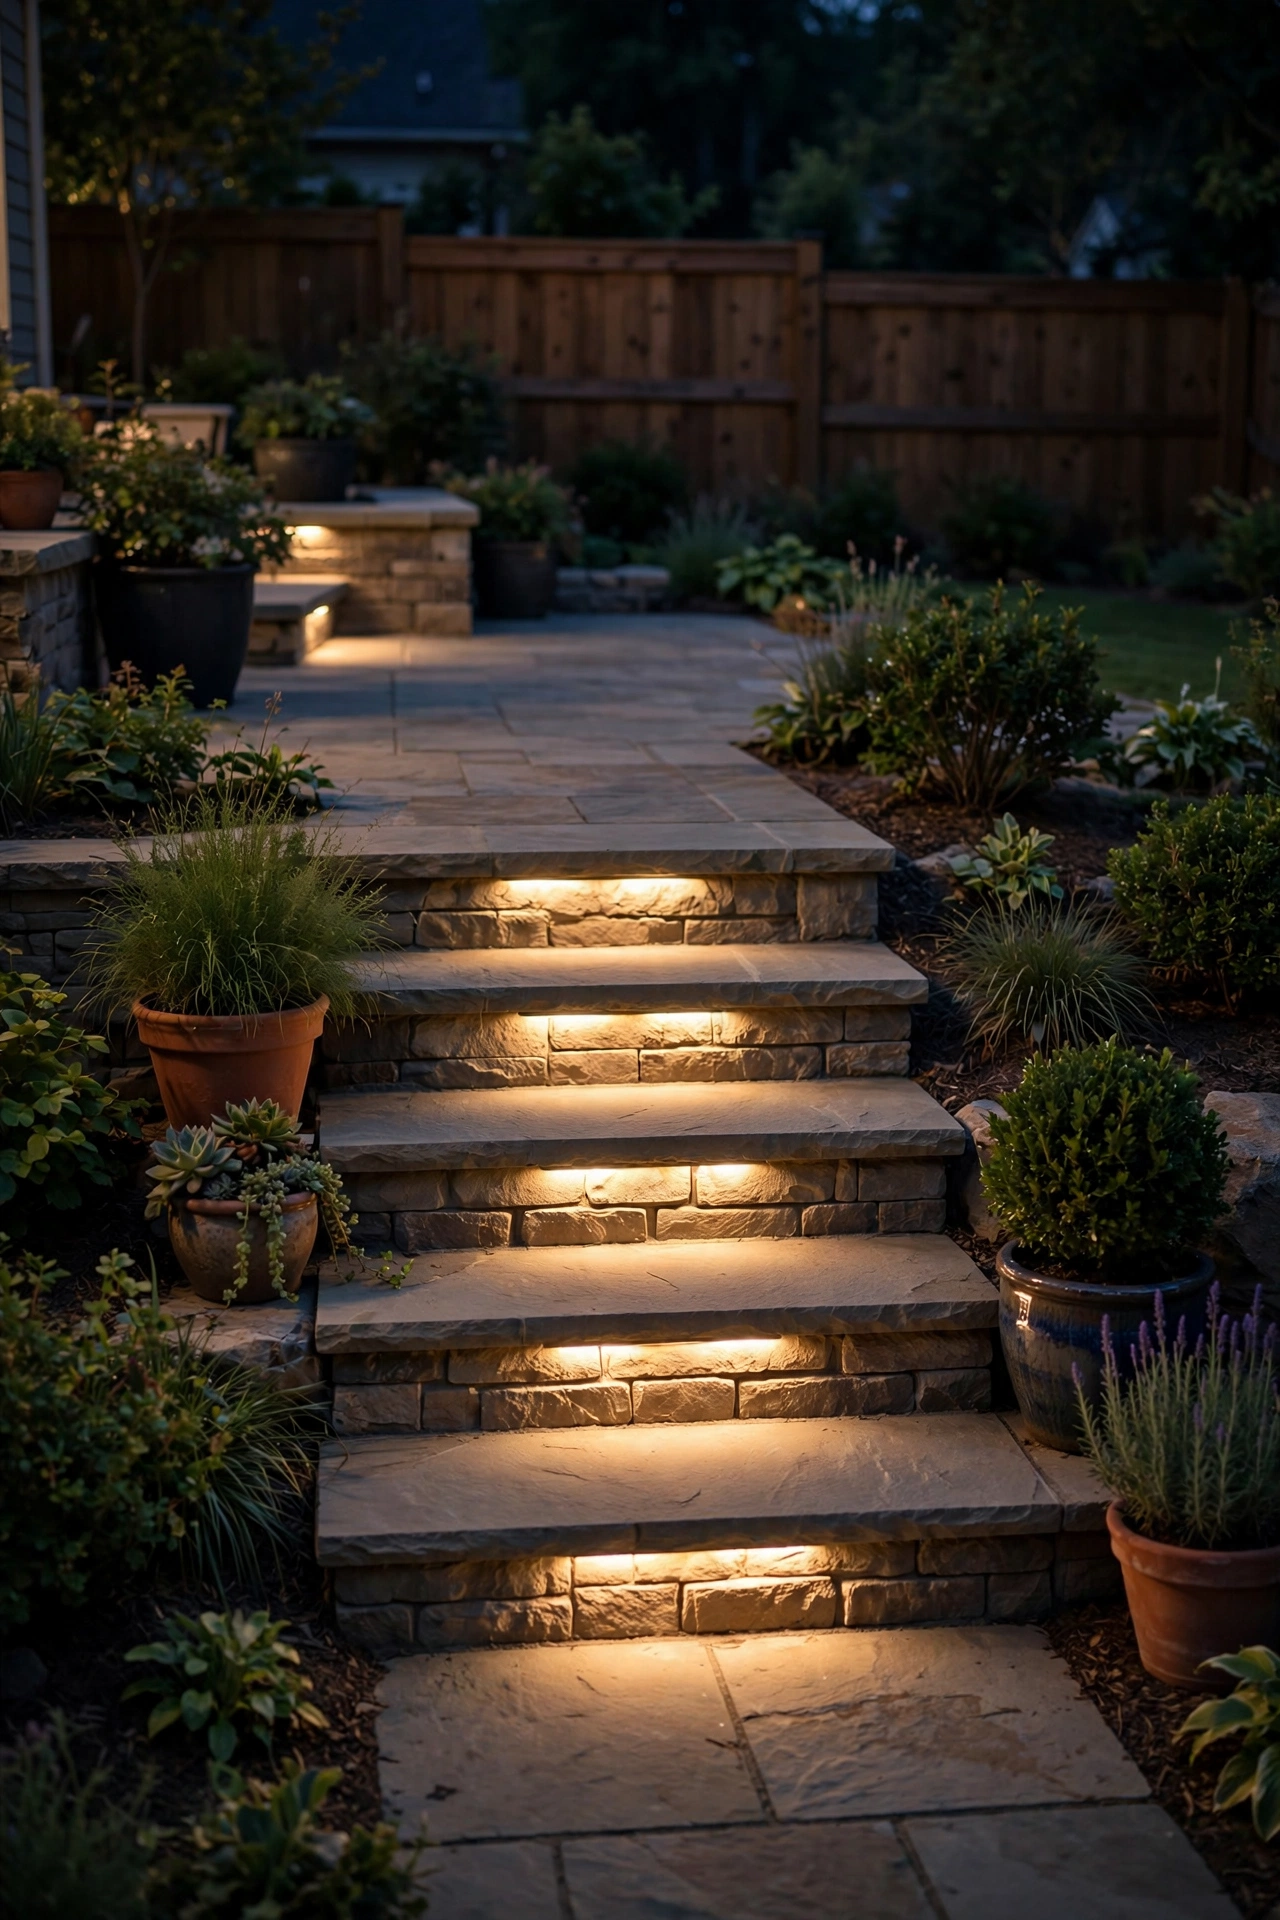
Narrow side gardens love to hide level changes: one step down off the patio, a raised threshold at the gate, the spot where the path crosses a shallow drainage swale. After dark, those are exactly the places ankles get rolled. Small step lights fix it permanently. Mount a compact fixture on the riser face of each step, or tuck a solar step light on the edge where it throws a pool straight down onto the tread below. Two lights per standard step is plenty. Choose diffused lenses so the light spreads instead of glaring up into your eyes, and warm white so the step reads as part of the garden rather than a construction zone. Do the same at any border crossing you make on autopilot: the raised bed edge, the AC pad, the paver that sits a half inch proud of its neighbors. Honestly, walk the corridor once at night thinking like a sleepy person carrying something with both hands; every spot where your foot hesitates deserves a marker. This is unglamorous lighting, and it prevents more stubbed toes than everything else on the list combined.
Suggested budget range: $20 – $65.
14. Set Flameless Lanterns on the Garden Bench
If your side garden has even one place to sit — a small bench, a bistro chair tucked by the herbs — that spot deserves its own pool of light, because a seat in a lit corridor gets used ten times more than a seat in a dark one. A pair of flameless candle lanterns on the bench or on the ground beside it does the job with zero installation. Flameless matters here: real candles near dry mulch, fence boards, and overhanging plants in a narrow space is a risk I never take, and the LED versions flicker convincingly these days. Group two or three lanterns of different heights rather than one, and choose weatherproof resin or metal frames that can live outside all season. A timer setting that runs them from dusk for five hours means the bench glows invitingly every single evening whether you remember or not. I keep a spare set charged in the mudroom for the nights neighbors wander over. It is the smallest idea on this list and, in terms of evenings actually spent in the side garden, possibly the most effective one.
Suggested budget range: $20 – $55.

15. Keep One Warm Color Temperature From End to End
Nothing unravels a narrow garden faster than mixed light colors: warm string lights at one end, a bluish solar stake in the middle, a daylight-white motion light at the gate. In a wide yard the eye sorts it out; in a corridor, every bulb is in the same sightline and the mismatch is all you see. Pick one temperature and hold it everywhere, 2700K if you want the coziest glow, 3000K if you prefer it a touch crisper. Check the Kelvin rating on every box before it goes in the cart, because packaging loves to hide it, and be suspicious of any solar fixture that does not state a temperature at all; unspecified usually means blue-white. If you inherit a few mismatched fixtures, relocate the offenders to the front yard or the garage side where they will not share a view with the corridor set. This discipline costs almost nothing, mostly a few replacement bulbs, and it is the difference between a side garden that looks collected and one that looks accumulated. In my experience, color consistency is the highest-impact, lowest-cost upgrade in all of outdoor lighting.
Suggested budget range: $10 – $40.

16. Put the Whole Corridor on Timers and Dusk Sensors
A narrow garden lighting scheme only works if it is actually on when you walk through, and that is a scheduling problem, not a fixture problem. Photocell stakes and dusk-to-dawn bulbs handle themselves, tracking sunset across the seasons. For the plug-in pieces, one astronomical timer at the outlet runs the string lights and the fence wash together, set to come on at dusk and off around 11 p.m., which keeps the neighbors happy too. Smart plugs are a fine upgrade if you want to override from the patio chair, but honestly the humble timer does most of the work for a fraction of the price. For battery lanterns and fairy lights, buy the versions with built-in timers and set them all to the same start time so the corridor wakes up as one scene instead of in dribs and drabs. Test the whole system at the start of each season and again after any time change; timers drift and photocells get dirty. A side garden that lights itself at dusk stops being a chore corridor and starts being part of the evening, and that shift is worth automating.
Suggested budget range: $15 – $50.
17. Walk the Corridor at Dusk and Fine-Tune Your Narrow Lot Garden Lighting Ideas
Once everything is installed, do the test that actually matters: walk the corridor slowly at full dark, from gate to gate, carrying something in both hands the way you really use the space. You will spot things no daytime install reveals. A path light that looked perfect glares straight into your eyes at walking height. An uplight throws the good fern into shadow and spotlights the compost bin. One stretch reads twice as bright as its neighbor because the pale gravel starts there. Bring a roll of painter's tape and mark every fixture that needs angling, dimming, or moving while it is fresh in your mind, and nudge angles a few degrees at a time; in a narrow space, small aim changes make big differences. Check the view from your neighbor side of the fence too, because good narrow lot garden lighting ideas should be invisible from their windows. Then do it again in a different season, since plants grow, canopies thicken, and sunset angles change. Ten minutes of honest walking now saves a whole season of almost-right lighting, and your future self, arms full of groceries, will be grateful.
Suggested budget range: $0 – $30.
Frequently Asked Questions
What color temperature is best for a narrow side garden?
Warm white, 2700K to 3000K, is my recommendation for the whole corridor. It flatters plants and skin, keeps glare low at the close distances a narrow space forces on you, and makes pale surfaces bounce a soft golden light instead of a stark one. Whatever you choose, hold the same temperature end to end; consistency matters more in a corridor than the exact number.
Are solar lights bright enough for a narrow side yard?
For paths, post caps, and step marking, yes, modern solar fixtures handle it well after a sunny day. The catch is shade: a corridor between two houses may only get a few hours of direct sun, which starves panels by evening. In deep-shade stretches, use low-voltage wired fixtures for the anchor layers and save solar for the sunny ends.
How do I light a side garden with no outdoor outlet?
You have more options than you think. Solar stakes, post caps, and motion lights need no outlet at all, battery lanterns and fairy lights cover the accent layer, and a single low-voltage transformer can plug into an indoor outlet or a garage receptacle with the cable run through a discreet path. Start solar, then add one wired anchor layer only if the shade demands it.
How much does it cost to light a narrow side garden?
A solid layered setup typically lands between $200 and $600: roughly $50 to $100 for path stakes, $40 to $120 for a fence wash, $30 to $80 for string lights, and the rest spread across accents, timers, and one or two uplights. Because the space is small, narrow gardens deliver more visible glow per dollar than almost any other part of the yard.
Conclusion
Great narrow lot garden lighting ideas all come back to the same principle I use everywhere: layer it, keep it warm, and keep it consistent. Ground light shows your feet where to land, fence and trellis light gives the corridor width and sparkle, and one honest highlight per stretch makes the plants look sculpted. Start with the path and the gates, add the string lights and the wash as the season goes on, and finish with one slow dusk walk-through before you call it done. If you are ready for more projects, browse the full set of garden lighting ideas here on the site; there is a whole yard left to glow up, and your side garden was only the beginning.